My Story in Recipes
  • Recipe Index
  • Blog Posts
  • My Story
  • Connect

Apple Pie Squares

2/18/2012

0 Comments

 
Picture
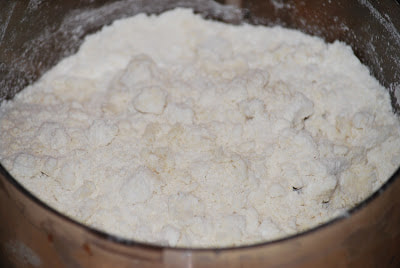
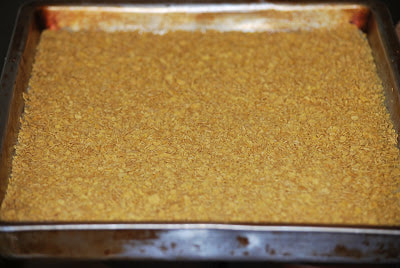
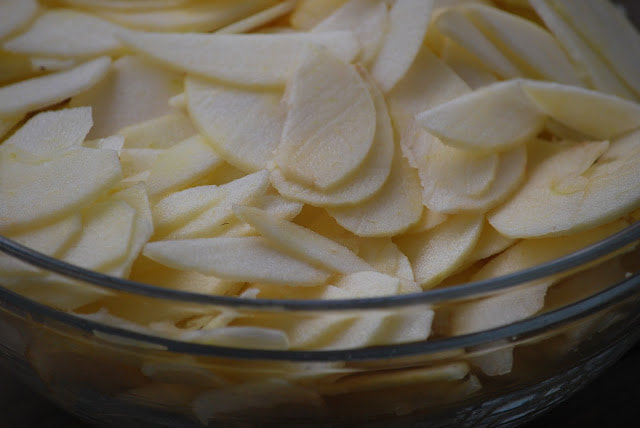
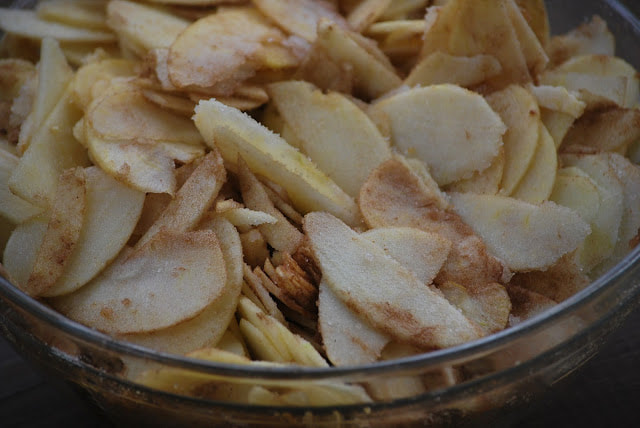
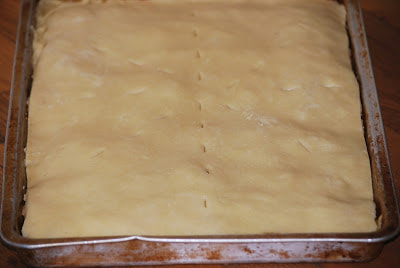
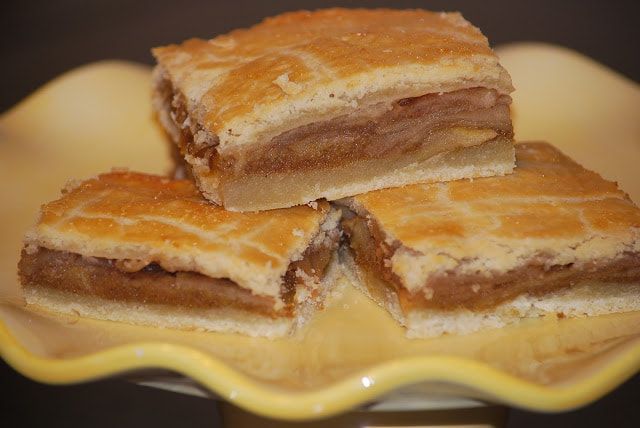
​I have this bad habit of consistently overestimating the number of apples that my family can consume before they go bad.  I get sucked into those beautiful grocery store apple displays - I get overzealous and I buy way more than I need.  Since the sight of wrinkled apples makes me crazy, I usually find some way to use them up quickly.  This week I made some apple squares from a recipe that I found on the Make Ahead Meals for Busy Moms website. 
Picture
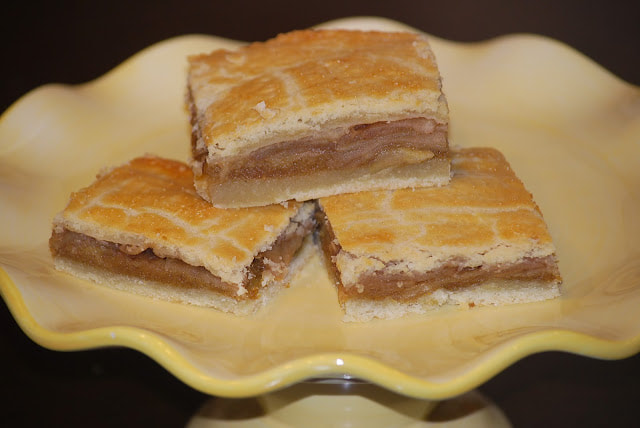
Apple Squares
Dough
5 cups flour
1 teaspoon salt
2 cups shortening 
1 cup milk
4 eggs, separated
2 cups crushed cornflakes

Filling
6 Granny Smith apples
1 cup sugar
1 1/2 teaspoons cinnamon
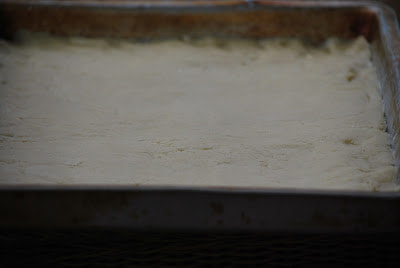
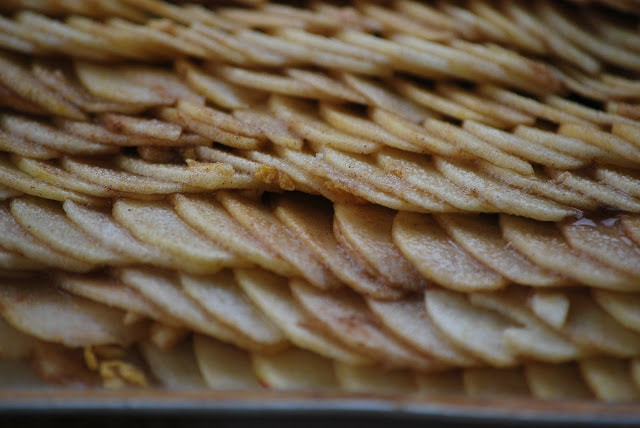
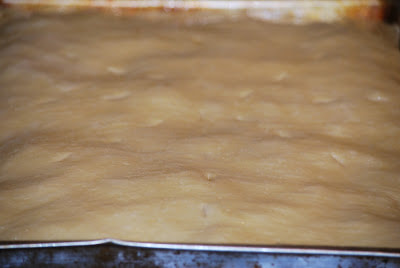
​Combine flour and salt in cuisinart.  Cut in shortening.
​Beat together egg yolks and milk.  Reserve egg whites.
Picture
Picture
​Add egg mixture to four.  Mix the dough until it forms a ball.  Cut dough in half, wrap in plastic wrap and refrigerate for an hour.
​Crush cornflakes.  Roll dough and place in a 15x10 pan.
Picture
Picture
​Sprinkle with cornflakes.
​Peel and slice apples.
Picture
Picture
​Toss with cinnamon and sugar.
​Place apples in layers on top of cornflakes.
Picture
Picture
​Roll out remaining dough and place on top of apples.  Cut slits in top to let steam out.
​Beat egg whites until foamy and brush over top of crust.
Picture
Picture
​Bake 1 hour at 350.
Picture
​The original recipe had a simple powdered sugar icing drizzled on top.  To be perfectly honest after smelling the irresistible aroma of freshly baked apples for an hour, there was no way we were going to wait for them to cool and get iced before eating them.  I cut them into squares and the sampling began.
Picture
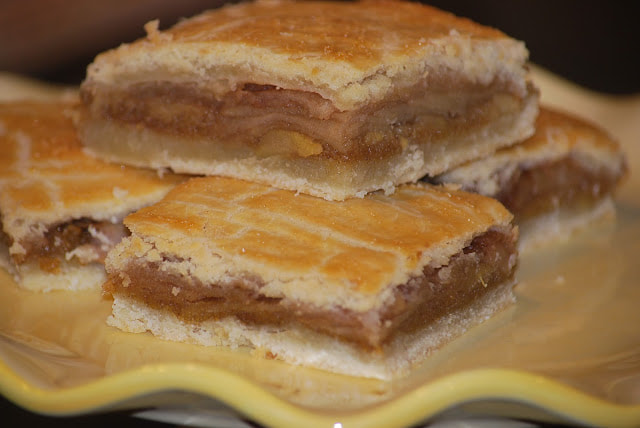
​The verdict? - yummmmmm!   These little apple squares were so good it was hard not to eat more than one.

No time to make a pie?  No problem - make apple squares instead.  They're quicker and easier to transport and serve than apple pie but they taste just as delicious.

Ciao!
Click here for a printable version of this recipe
0 Comments

Dry Rubbed Pork Chops

2/17/2012

0 Comments

 
Picture
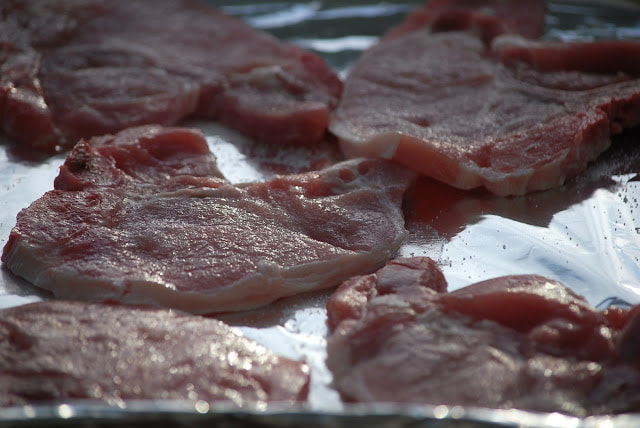
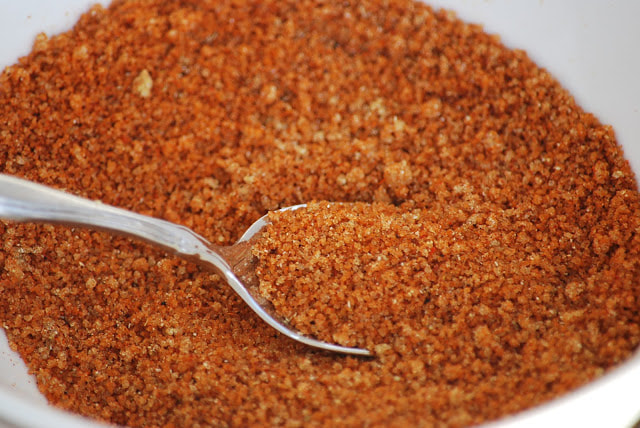
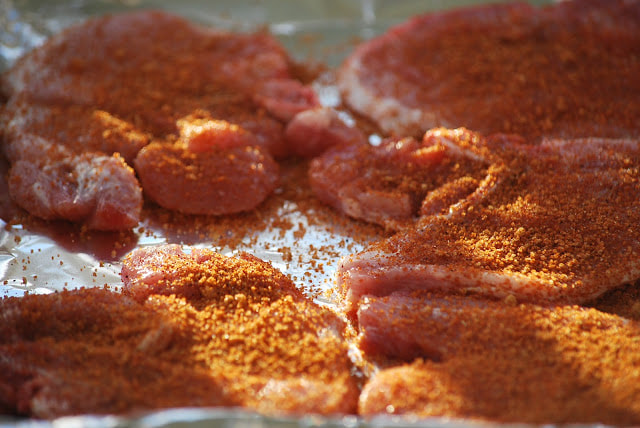
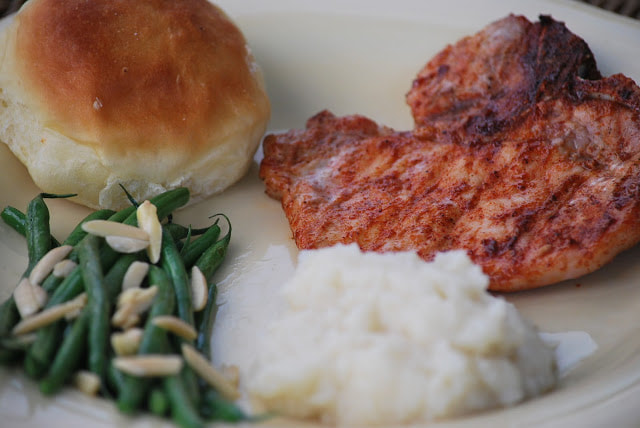
​This has been a really busy week for all of us.  Dinner had to come together quickly because there was no extra time for frilly or fancy meals this week.  Pork chops were already on the menu for the week so I chose some thin sliced chops for quick grilling.  A quick dry rub and 10 minutes on the grill made these pork chops not only quick but also delicious. Check out that mashed cauliflower on the plate too.  
Dry Rubbed Pork Chops
Rub:
2 Tablespoons brown sugar                 1 ½ teaspoons cumin
2 teaspoons salt                                       ½ teaspoon dry mustard
2 teaspoons paprika                                ¼ teaspoon allspice
2 teaspoons chili powder                      ¼ teaspoon red pepper
1 ½ teaspoons garlic powder


​​Thin chops make grilling time really short.
Picture
​I mixed up the rub and sprinkled it on the chops just before grilling.
Picture
Picture
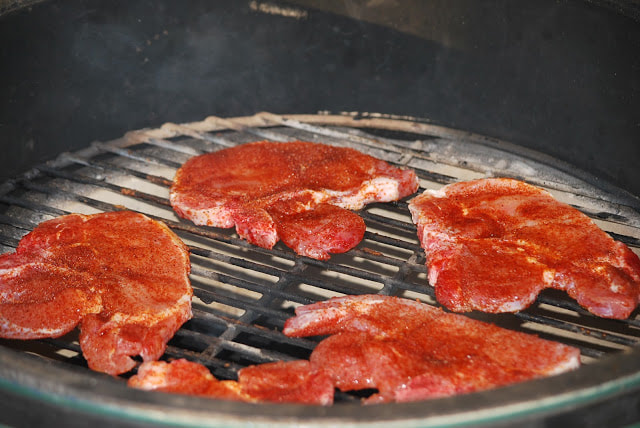
​I cooked the pork chops on the Big Green Egg for about 10 minutes on each side at 300 degrees.
Picture
Picture
​I served the pork chops with mashed cauliflower, fresh green beans and yeast rolls.
Picture
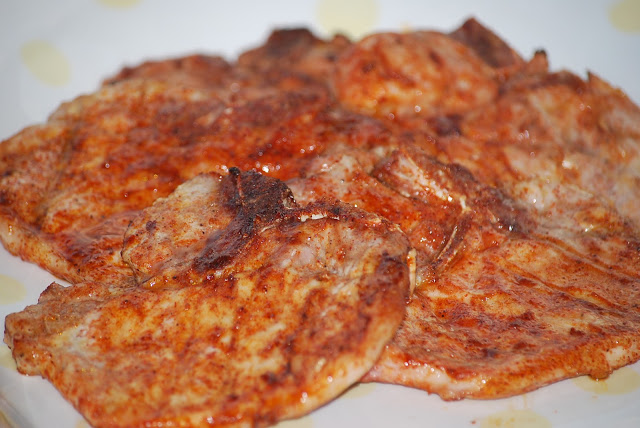
​The pork chops were delicious and I love the fact that dinner came together in under 30 minutes.  If you have a busy week ahead, make sure you put these grilled pork chops on your menu.
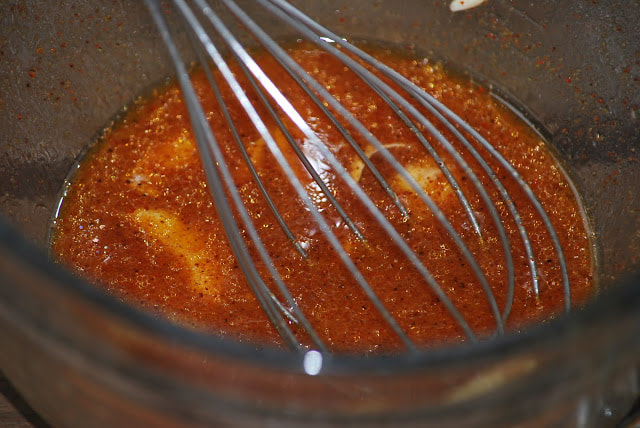
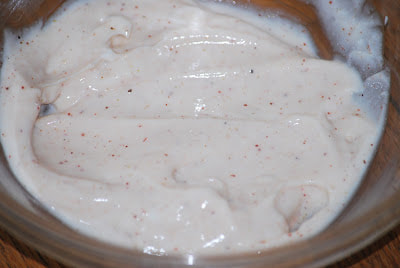
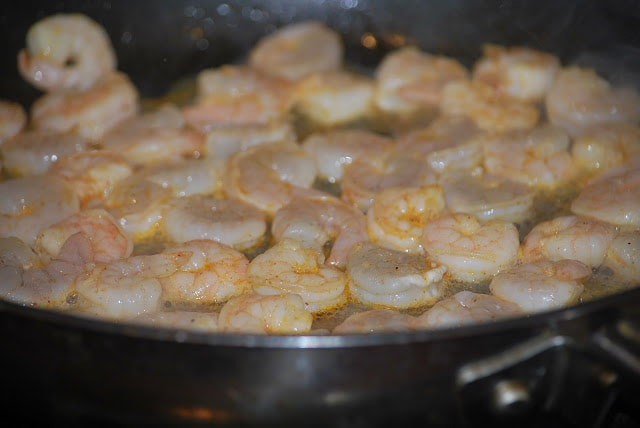
Ciao!
Click here for a printable version of this recipe
0 Comments

Shrimp Tacos

2/15/2012

0 Comments

 
My struggle to get healthy weeknight meals on the table continues. I'm starting to wonder whether we are ever going to have an evening when all four of us are home before 7:00. With no real end to the hectic schedules in sight, I planned another weeks worth of quick dinners to feed this busy family.  I'm starting to run out of healthy recipes that I can fix in a hurry so if you have any great dinner ideas - I would love for you to share them with me. This week, I made some shrimp tacos and they definitely fit into the categories of healthy, quick and delicious.
Picture
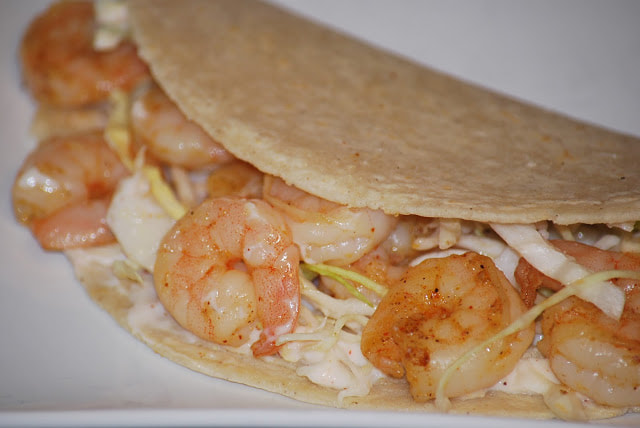
Shrimp Tacos
Sauce:                                                           Marinade:
¼ cup fat free sour cream                        1 pound shrimp
¼ teaspoon chili powder                          3 Tablespoons orange juice
1/8 teaspoon cumin                                  2 cloves garlic
¼ teaspoon red pepper                             2 teaspoons olive oil
1/16 teaspoon cinnamon                        1 teaspoon chili powder
Salt                                                                ½ teaspoon cumin
                                                                      ¼ teaspoon red pepper
                                                                      ½ teaspoon salt
​I combined the marinade in the morning and stored it in the refrigerator. I also defrosted the frozen shrimp in the refrigerator.
​After a whirlwind day, I ran home and dumped the now defrosted shrimp into my prepared marinade.
Picture
Picture
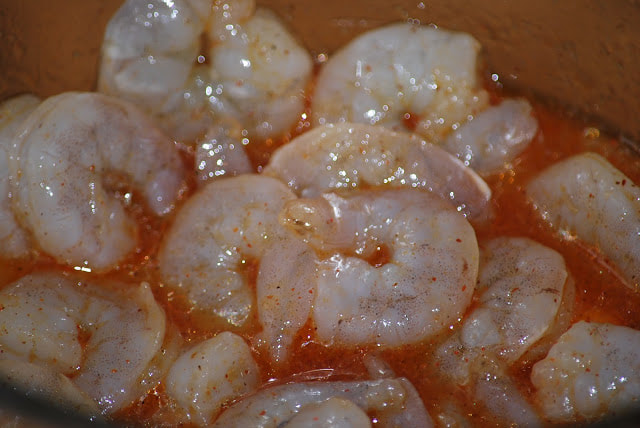
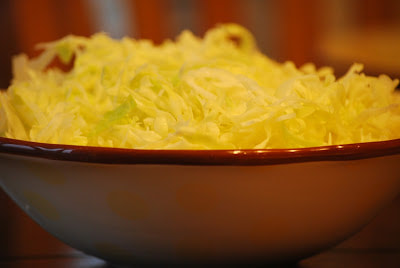
I let the shrimp marinate for about 15 minutes while I mixed together the sauce and opened a bag of shredded cabbage.
Picture
Picture
​Once the shrimp had marinated, I poured out the marinade and put the shrimp into an empty skillet. I sauteed the shrimp until they were no longer pink.  
​I served the tacos with corn tortillas.
Picture
Picture
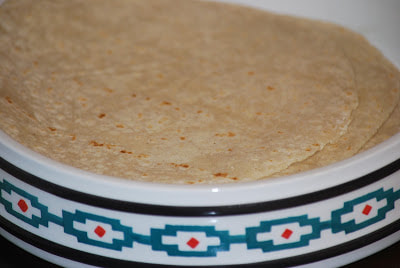
The best way to eat these delicious tacos is to spread a little sauce on the tortilla, top with some shredded cabbage and then add a few shrimp. It was really hard for me to stop myself from eating more than 3 tacos. They were really good. Give these a try on your next busy night and don't forget to send me your quick and healthy dinner ideas.
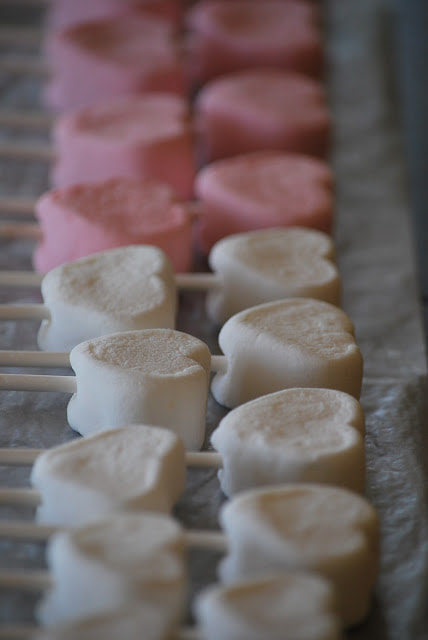
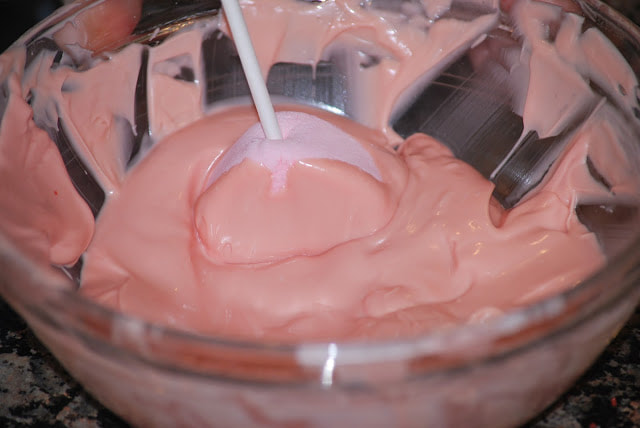
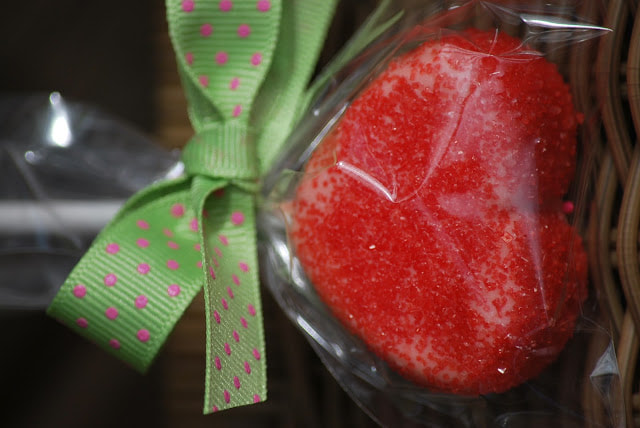
​Ciao!
Click here for a printable version of this recipe
0 Comments

Chocolate Covered Marshmallows

2/14/2012

0 Comments

 
Picture
​I'm not really sure what I am going to do when my kids don't want me to help them make homemade Valentine's anymore.  That is one of my favorite parts about this holiday.  This year, my daughter and I made chocolate covered, heart shaped marshmallows for her to pass out to all of her friends at school. 
Picture
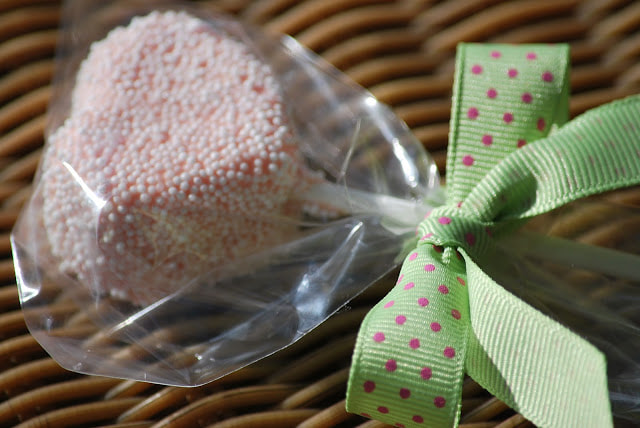
​These cute little treats were super simple to make - we made about 24 in under an hour.  (Clean up took longer than expected though because somehow we managed to sprinkle EVERYTHING!)  

My daughter spotted a bag of heart shaped marshmallows in the grocery store several weeks ago and really thought they were something special.  I didn't buy them right away because I really didn't know what to do with a heart shaped marshmallow.  I came across the idea of dipping marshmallows in chocolate on pinterest and I thought they would be even cuter with heart shaped marshmallows.  
Picture
​I gathered up all of the supplies:
Lollipop sticks
Bag of Heart Shaped Marshmallows  (half were pink and half were white)
Pink Melting Chocolate 
Valentine Sprinkles
Cellophane Bags
Ribbon
​I started by laying out a piece of waxed paper on my kitchen counter and then inserting a lollipop stick into each marshmallow.  
Picture
​We melted our pink chocolate in the microwave.
​We dipped each marshmallow lollipop into the melted chocolate.
Picture
Picture
Picture
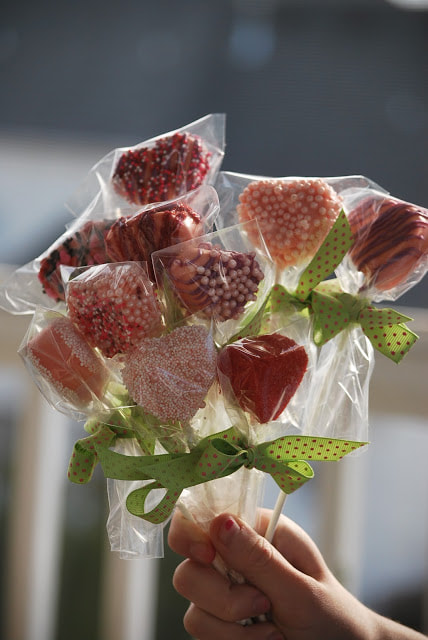
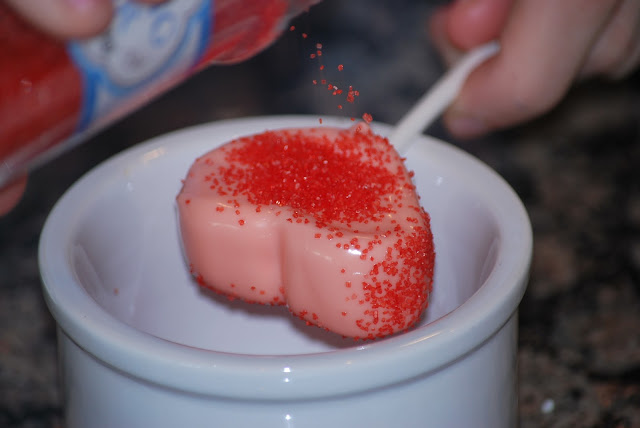
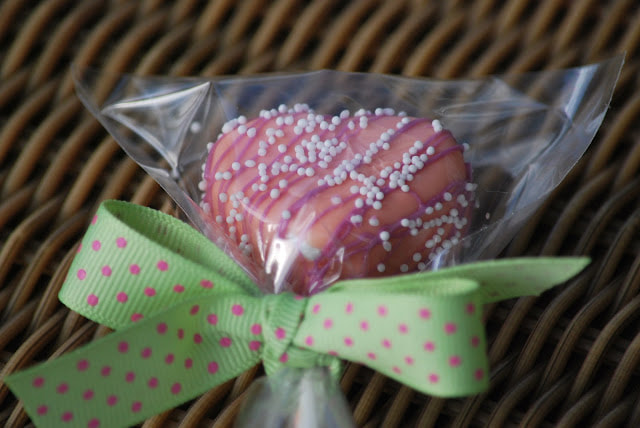
​Then came the fun part - sprinkling!  When we finished, no 2 were alike.
Picture
Picture
Picture
Picture
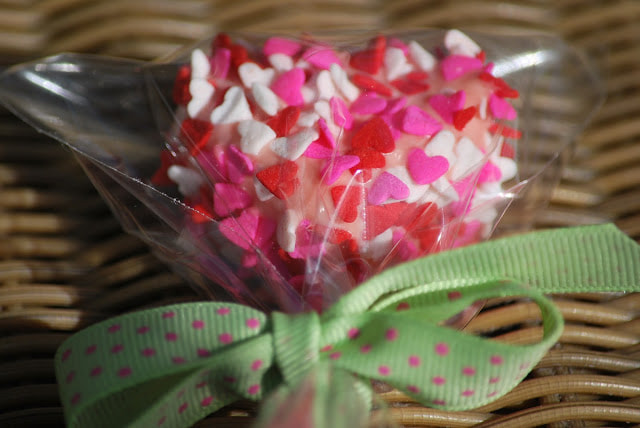
​These were some of the cutest Valentines that we have ever made.  They looked really cute gathered up into a little Valentine bouquet too.
Picture
​I hope you have a great Valentine's Day.  Remember that you can share this post on your facebook page by clicking the "recommend on facebook" button on the right side of the blog.   

Ciao!
0 Comments

Southwest Stromboli

2/13/2012

0 Comments

 
Last week, I had one of those days that absolutely wore me out.  My to do list for the day looked something like this:
Send 2 kids and 1 husband out the door by 7:00 A.M. (one with 4 dozen cookies in hand),  walk the dog, get through an Insanity workout, make a trip to the orthodontist, dip 4 dozen cheesecake squares in chocolate, run through the grocery store, decorate 5 dozen rubber ducky sugar cookies, pick up t-shirts for the wrestling team from the printer, make 3 dozen white chocolate filled brownie cups, drop off snacks and drinks to the wrestling team, do 3 loads of laundry, attend a field trip meeting at school, bake and decorate 3 dozen pink lemonade cupcakes, pack snacks and lunches for the next day and help with homework.   While I was doing all of this my husband was dropping the kids off at school, taking our son to the ENT, picking our daughter up from soccer practice, taking our son home from wrestling practice, cleaning the house and trying to squeeze some work in there too.  
It makes me tired just to think about everything that we accomplished that day.  In the midst of all the craziness and chaos of the day, I also wanted to make sure that my family ate a healthy dinner.  I turned to one of my favorite super fast dinner ideas - rotisserie chicken.  
Picture
Picture
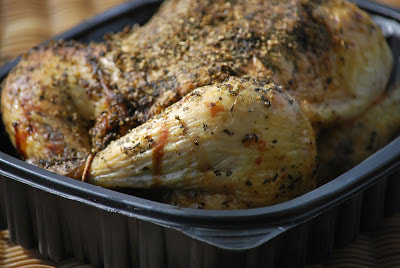
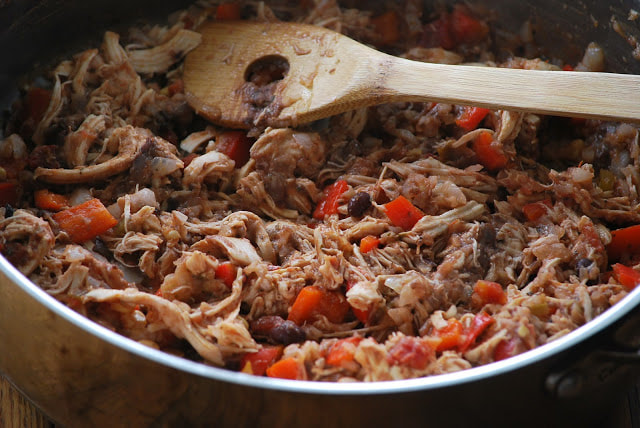
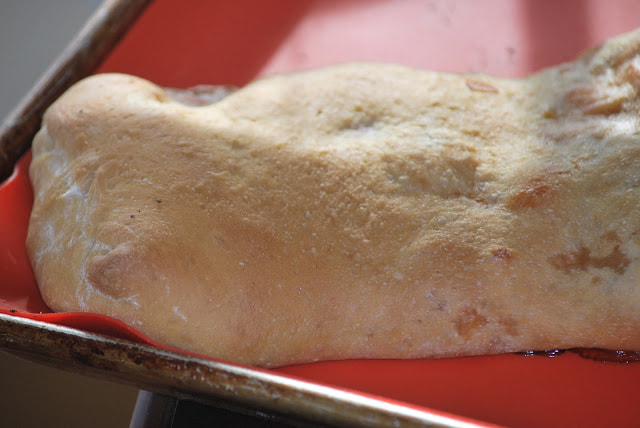
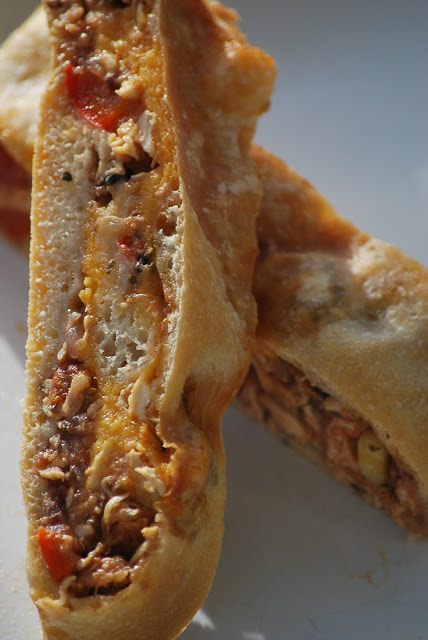
​The only problem was that we needed to pack dinner to eat somewhere in between practice and school meetings and homework and let's face a whole chicken just wouldn't have been very practical.  I turned my rotisserie chicken in Southwest Chicken Stromboli in under 30 minutes.  My husband and my son ate their dinner at home and I packed some up for my daughter and I to eat in the car.
​Southwest Chicken Stromboli
Pizza dough (in tube)                                       3/4 cup salsa
1 onion, finely chopped                                   2/3 cup Mexican cheese
1 yellow pepper, chopped                                1/2 cup refried beans
1 Tablespoon oil                                                 3/4 teaspoon cumin
1 1/2 cups shredded, cooked chicken            1/4 teaspoon garlic powder
1/4 teaspoon chili powder                                1/4 teaspoon dried oregano
1 egg white
​Saute onion and pepper in oil.  
​Stir in chicken, chili powder, salsa, beans, cumin garlic powder and oregano.  Set aside.
Picture
Picture
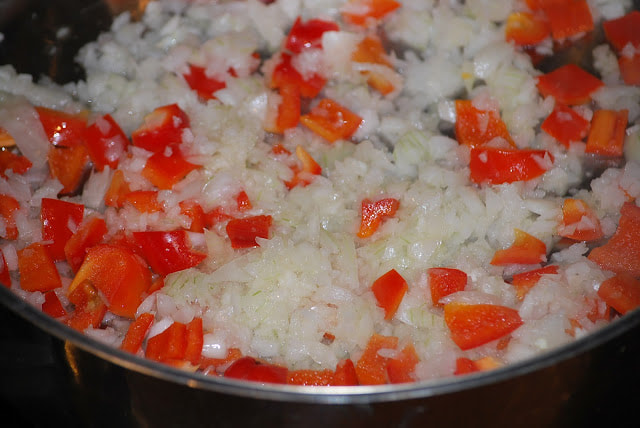
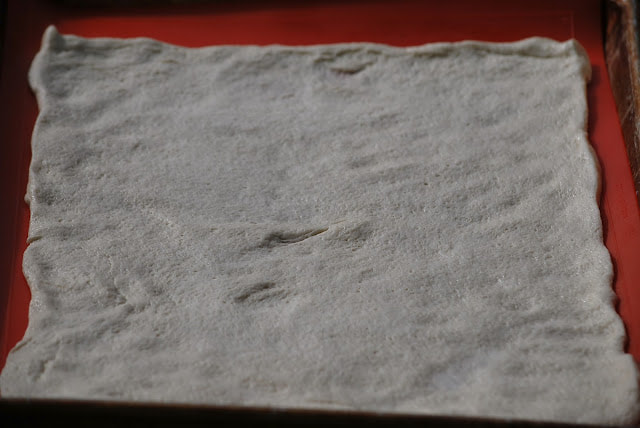
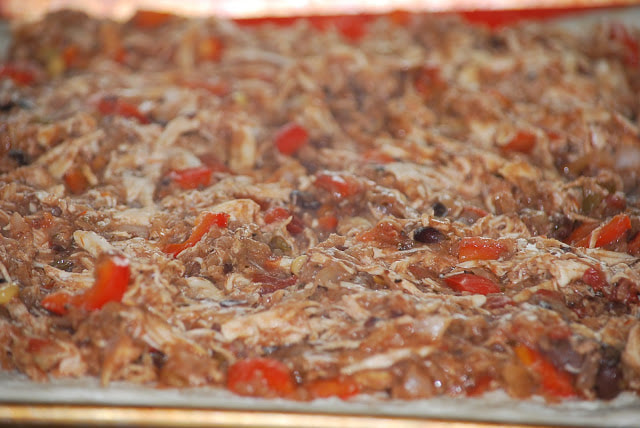
​Roll out pizza dough and spread filling over dough.
Picture
Picture
​Sprinkle with cheese.  
​Roll dough lengthwise and press edges to seal.
Picture
Picture
Place on baking sheet and bake 35 minutes at 350.
​Slice and serve.
Picture
Picture
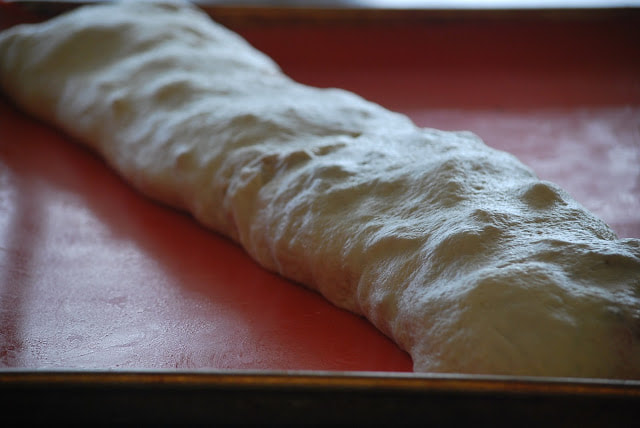
My kids picked out the red peppers from their Stromboli but they liked it.  My husband really loved it and even took the leftovers for lunch the next day.  I love that it was super easy and portable!

Ciao!
Click here for a printable version of this recipe
0 Comments
<<Previous
Forward>>
    Like my page on facebook.

    Follow me on Instagram


    Follow Me on Pinterest

    Categories

    All
    30 Minute Meals
    30-minute-meals
    Big Green Egg Recipes
    Chocolate
    Christmas Classics
    Comfort Foods
    Crock Pot Meals
    Fall Favorites
    Healthy-choices
    Healthy-choices
    My Favorites
    Springtime Treats
    St Patrick's Day Goodies
    Summertime Specialties
    Thanksgiving Classics
    Valentine Treats
    Vegetarian
    Winter Warm Ups

    Archives

    November 2025
    October 2025
    September 2025
    August 2025
    July 2025
    June 2025
    May 2025
    April 2025
    March 2025
    February 2025
    January 2025
    December 2024
    November 2024
    October 2024
    September 2024
    June 2024
    May 2024
    April 2024
    March 2024
    February 2024
    January 2024
    September 2023
    August 2023
    July 2023
    June 2023
    May 2023
    April 2023
    March 2023
    February 2023
    January 2023
    December 2022
    November 2022
    October 2022
    September 2022
    August 2022
    July 2022
    June 2022
    May 2022
    April 2022
    March 2022
    February 2022
    January 2022
    December 2021
    November 2021
    October 2021
    September 2021
    August 2021
    July 2021
    June 2021
    May 2021
    April 2021
    March 2021
    February 2021
    January 2021
    December 2020
    November 2020
    October 2020
    September 2020
    August 2020
    July 2020
    June 2020
    May 2020
    April 2020
    March 2020
    February 2020
    January 2020
    December 2019
    November 2019
    October 2019
    September 2019
    August 2019
    July 2019
    June 2019
    May 2019
    April 2019
    March 2019
    February 2019
    January 2019
    December 2018
    November 2018
    October 2018
    September 2018
    August 2018
    July 2018
    June 2018
    May 2018
    April 2018
    March 2018
    February 2018
    January 2018
    December 2017
    November 2017
    October 2017
    September 2017
    August 2017
    July 2017
    June 2017
    May 2017
    April 2017
    March 2017
    February 2017
    January 2017
    December 2016
    November 2016
    October 2016
    September 2016
    August 2016
    July 2016
    June 2016
    May 2016
    April 2016
    March 2016
    February 2016
    January 2016
    December 2015
    November 2015
    October 2015
    September 2015
    August 2015
    July 2015
    June 2015
    May 2015
    April 2015
    March 2015
    February 2015
    January 2015
    December 2014
    November 2014
    October 2014
    September 2014
    August 2014
    July 2014
    June 2014
    May 2014
    April 2014
    March 2014
    February 2014
    January 2014
    December 2013
    November 2013
    October 2013
    September 2013
    August 2013
    July 2013
    June 2013
    May 2013
    April 2013
    March 2013
    February 2013
    January 2013
    December 2012
    November 2012
    October 2012
    September 2012
    August 2012
    July 2012
    June 2012
    May 2012
    April 2012
    March 2012
    February 2012
    January 2012
    December 2011
    November 2011
    October 2011
    September 2011
    August 2011
    July 2011

Photo from Texas_Custom_Patios
  • Recipe Index
  • Blog Posts
  • My Story
  • Connect