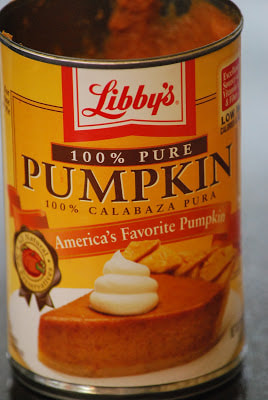
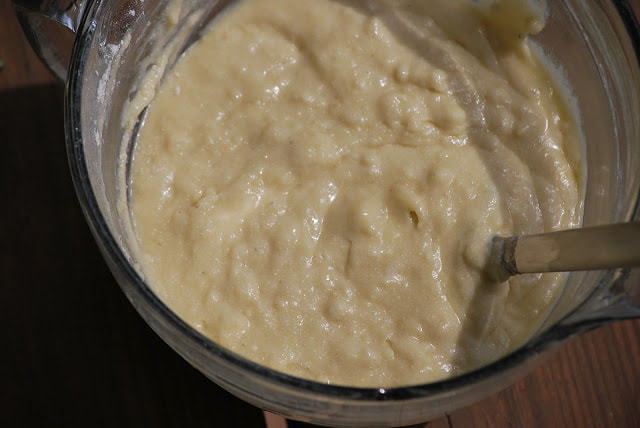
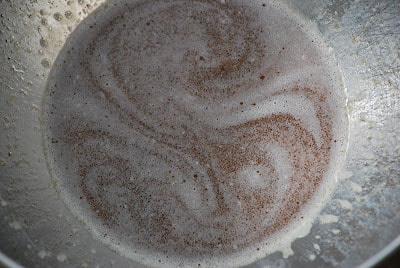
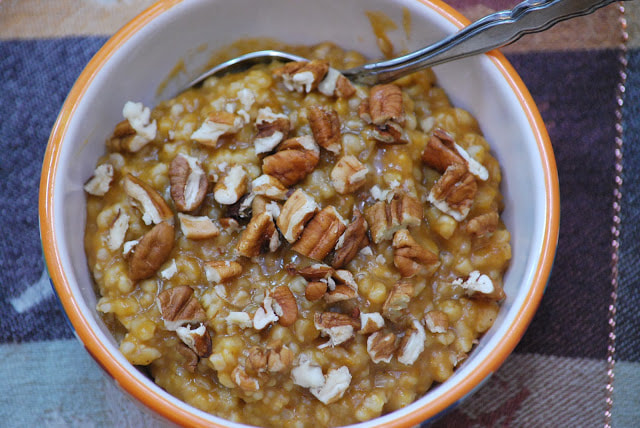
 I really don't see anything wrong with eating pie for breakfast. (I think my dad would agree with me on this one.) A giant slice of pumpkin pie and a cup of steaming hot coffee seems like a perfectly acceptable breakfast. Unfortunately, that kind of breakfast doesn't have quite the nutritional value that I prefer in my first meal of the day. Not to mention the fact that I would be hungry for a snack about 30 minutes after eating it. Since I can't justify eating pie for breakfast, I came up with the next best thing, pumpkin pie oatmeal! Seriously, where has this recipe been all my life? Eating a bowl of warm pumpkin spice oatmeal is like eating a giant slice of pumpkin pie in the morning. This oatmeal is my new favorite Fall breakfast. I got this idea from weelicious.com. She makes her oatmeal in a crock pot and lets it cook all night. I love that idea but I have a huge crock pot and I didn't want to make that much oatmeal. (I also didn't want to have to clean the crock pot in the morning.) I adapted her recipe and made my pumpkin spice oatmeal on the stove.
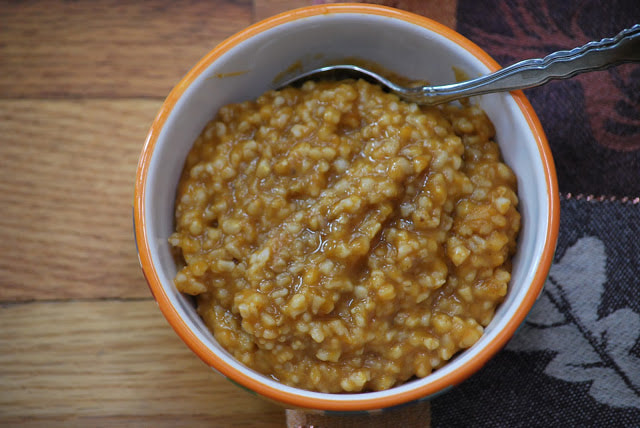 This is one of my new favorite pumpkin recipes. Oatmeal is one of the healthiest things that you can eat in the morning and adding pumpkin to the mix just boosts the nutritional content even more. 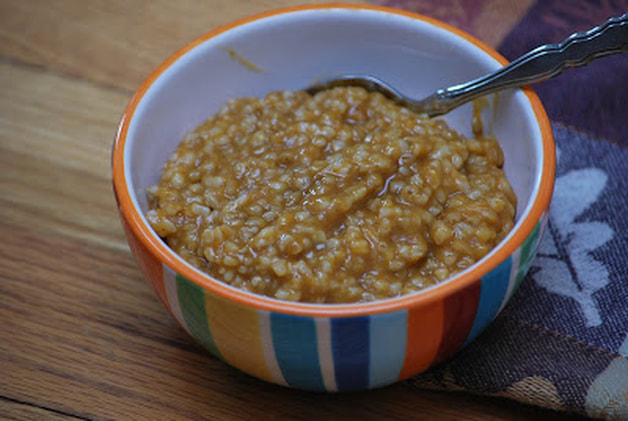 You can adjust the sweetness by adding a little or a lot of brown sugar to your oatmeal. I like to add a little crunch to the mix as well. Pecans are a good choice I think. 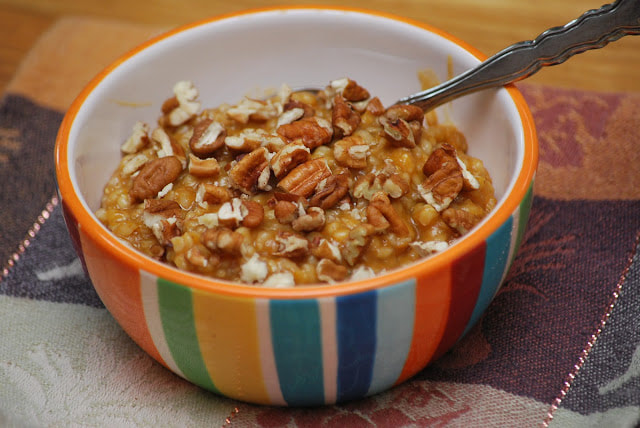
0 Comments
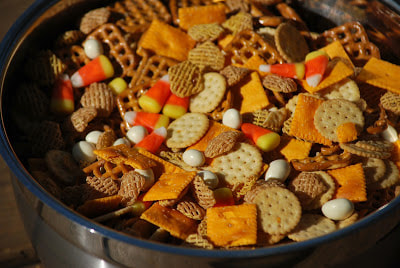
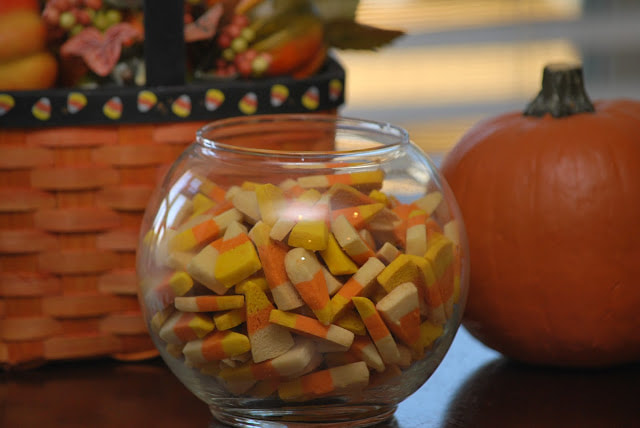 Nothing says Fall like candy corn. I admit that I am not a huge fan of the overly sweet sugary snack but I still cant resist buying a bag every Fall. Maybe it's the beautiful bright colors that attract me to this Halloween treat or maybe it's because it reminds me of my childhood - either way, I can't seem to get through the season without it. What could be better than this bright pop of Fall color to spruce up an ordinary snack?
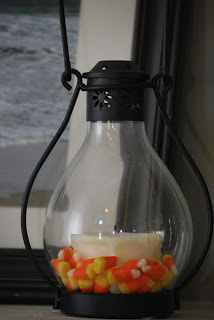
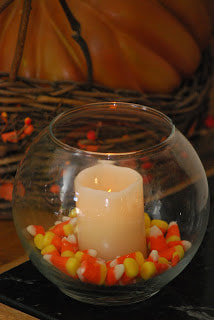
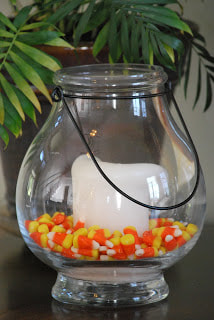
I also like to use it to decorate the house. I sprinkle it around candles that are nestled in the glass jars that sit on my mantle to create a festive Fall look.
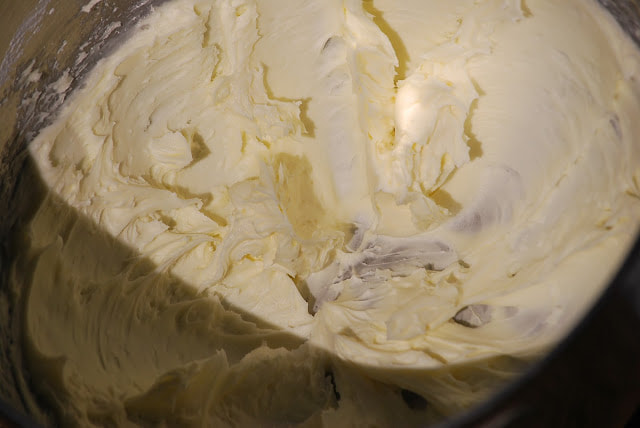
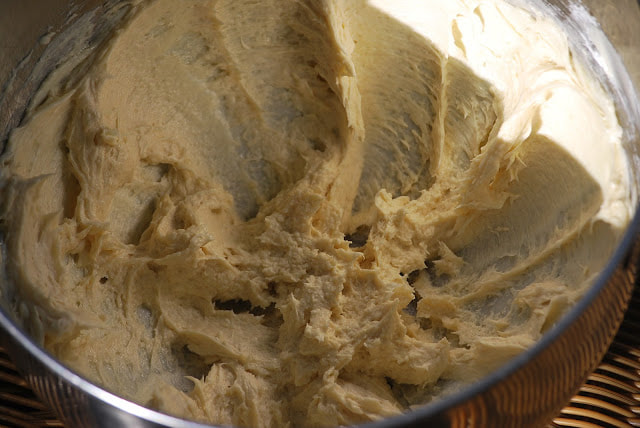
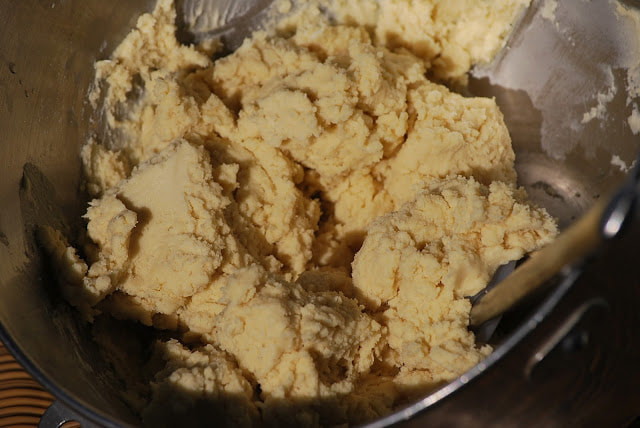
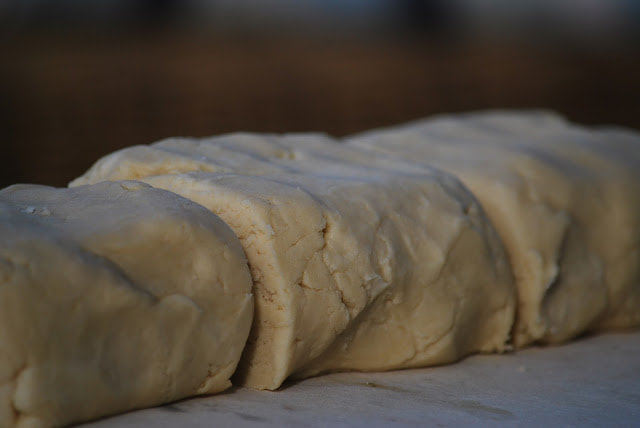
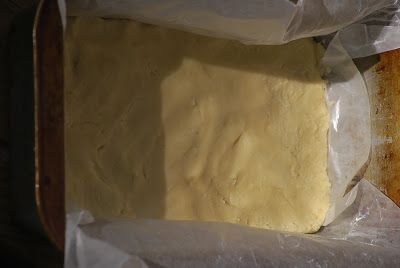
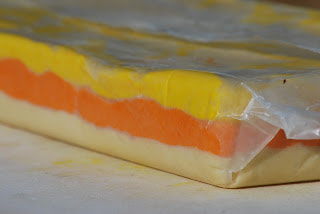
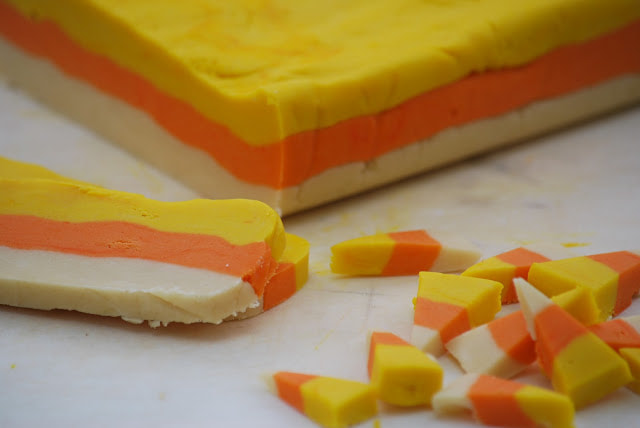
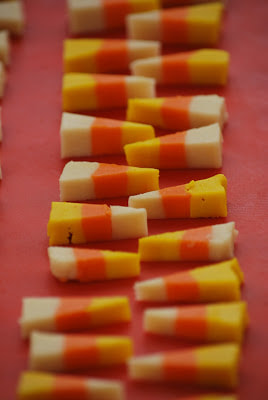
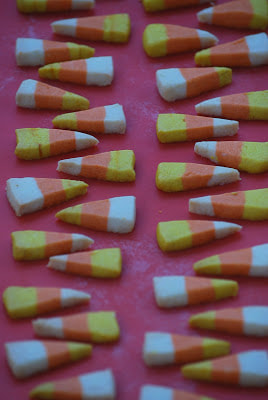
Candy corn - it looks so beautiful and festive but I don't love the taste. What a dilemma. It has to be good for something other than adding color to snack mixes and candle jars. Fortunately, I found a way to solve this less than momentous quandary - tiny candy corn cookies! I wish that I could take credit for this super creative Fall cookie idea but the truth is that the inspiration (and the recipe) came from PBS.org. (I didn't even know that they had recipes on their website until recently.) I'm not really sure what these cookies have to do with PBS but they are super cute and really yummy and completely addicting. 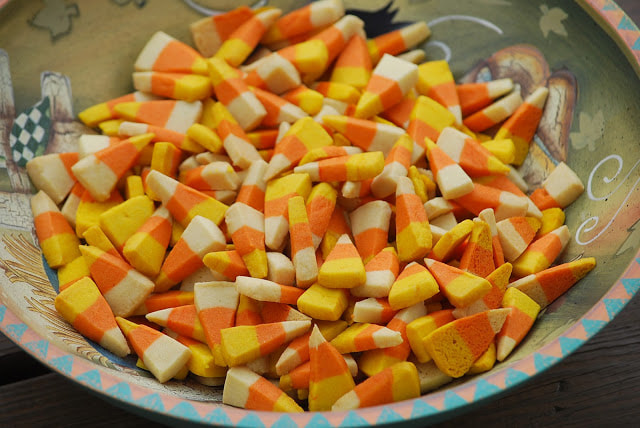 Candy Corn Cookies Ingredients 2 sticks butter, softened 1.5 cups powdered sugar 1 tbsp vanilla extract 1 egg ½ tsp baking soda ½ tsp salt 3 cups flour red food coloring orange food coloring
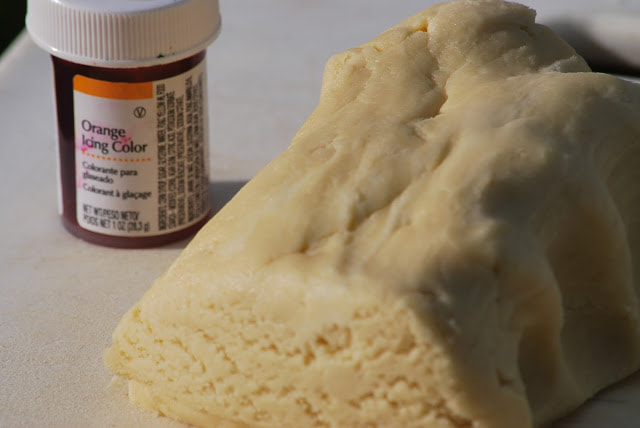
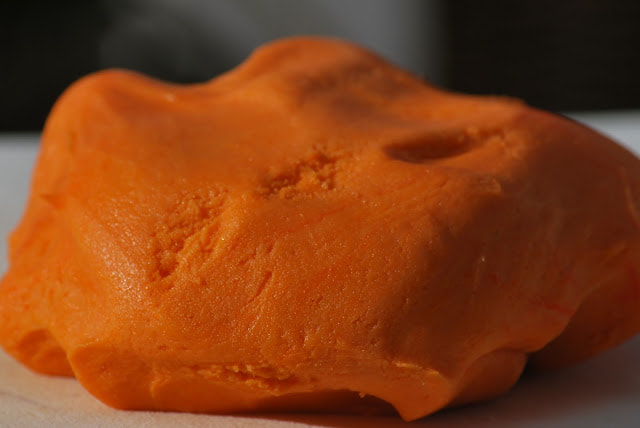
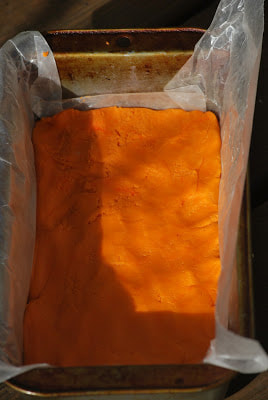
Add the orange coloring to one of the dough pieces.
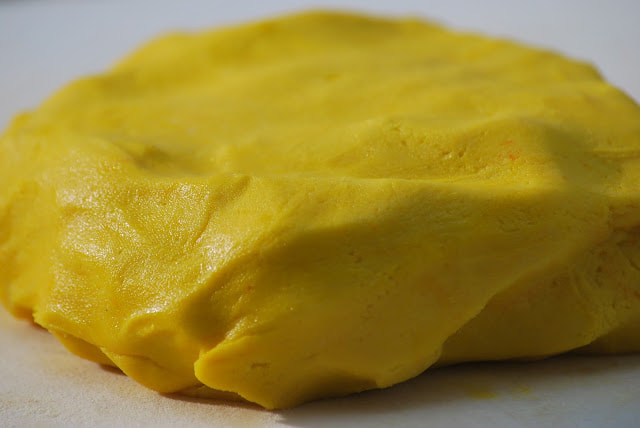
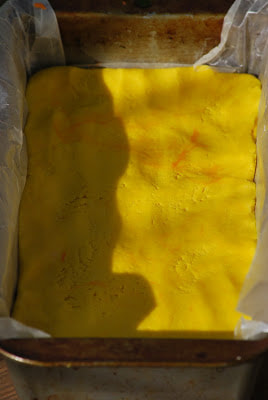
Place the orange dough on top (pat down firmly) followed by the yellow dough.
 There are so many fun and creative ways to serve these tiny treats. I took pictures of a few of my ideas but I had some other ideas that never got implemented. A mason jar filled with these tiny treats would make a great Fall gift when presenting to a well deserving teacher or a neighbor. 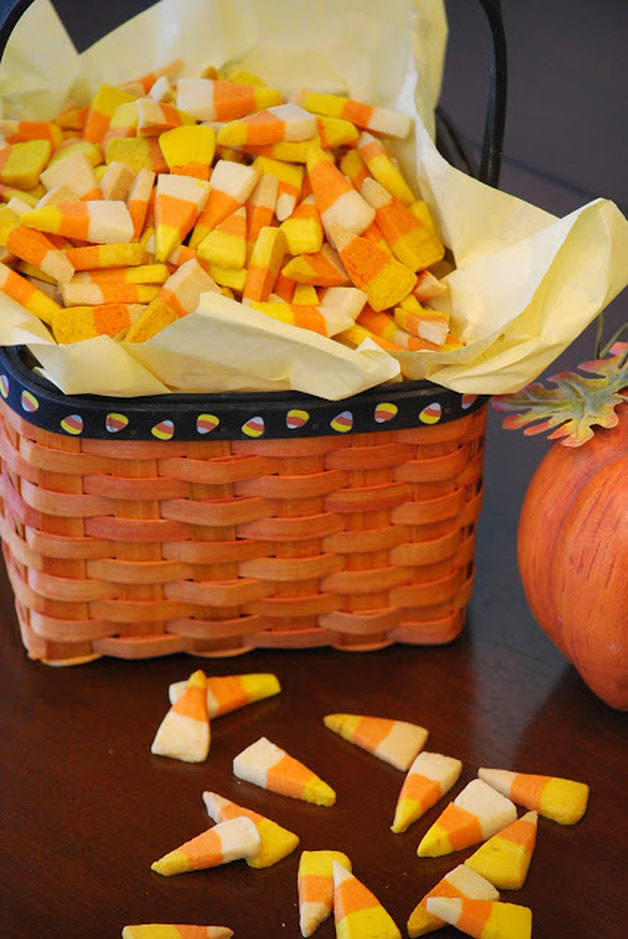 Ciao!
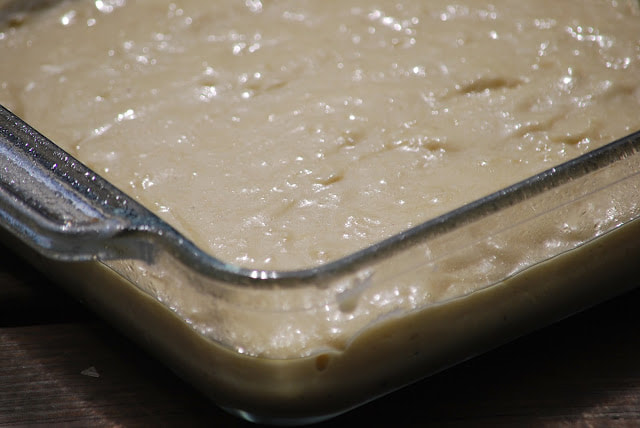
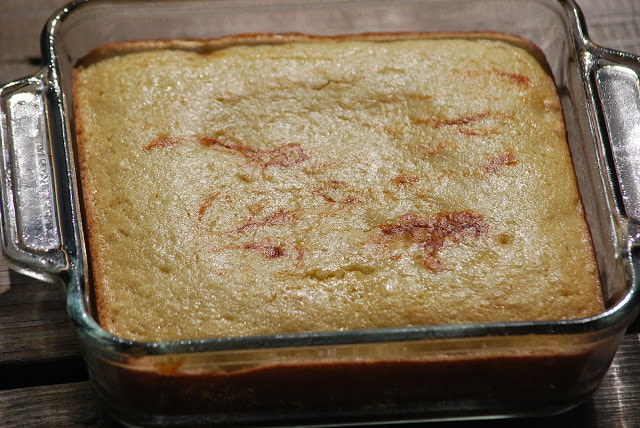
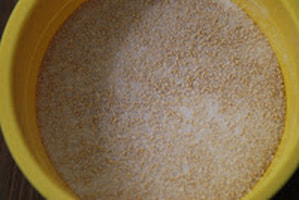
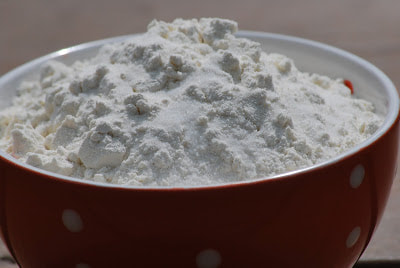
It was a beautiful day for a football game. The weather was absolutely perfect - a crisp 69 degrees and the sun was shining. 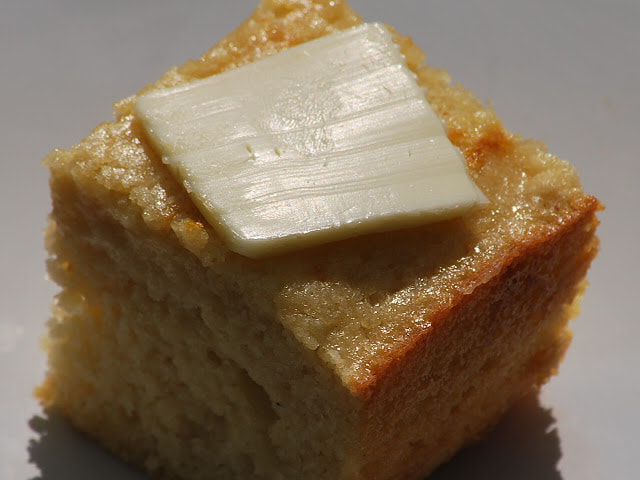 This Fall weather has me in the mood for a big bowl of soup. (or chili) I got quite a few responses from the Italian Chili recipe that I posted on Friday which leads me to believe that I'm not the only person craving chili these days. I can't think of a better side dish to compliment a steaming hot bowl of Italian chili than warm honey cornbread. So without further ado - here is the recipe for honey cornbread - compliments of Cook's Country magazine. 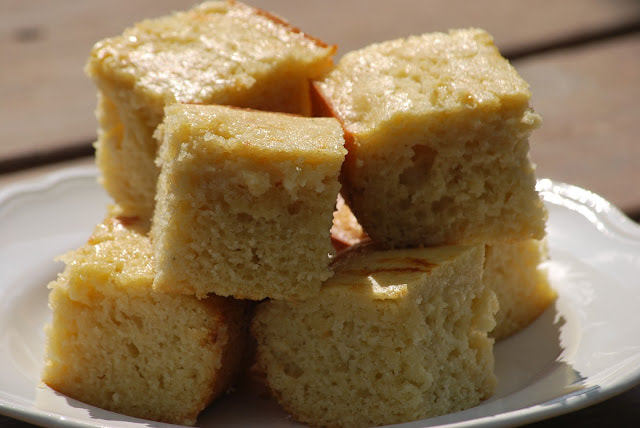 Honey Cornbread 1 cup buttermilk 2/3 cup honey 2 eggs 4 Tablespoons melted butter 1 1/4 cups flour 1 cup cornmeal 1 teaspoon salt 1 teaspoon baking powder 1/4 teaspoon baking soda
Turn cornbread out onto wire rack and cool an additional 15 minutes.  This cornbread had a really nice texture. It was slightly sweet without being overwhelmingly so. It was quick and easy to make so this recipe is a winner in my book. 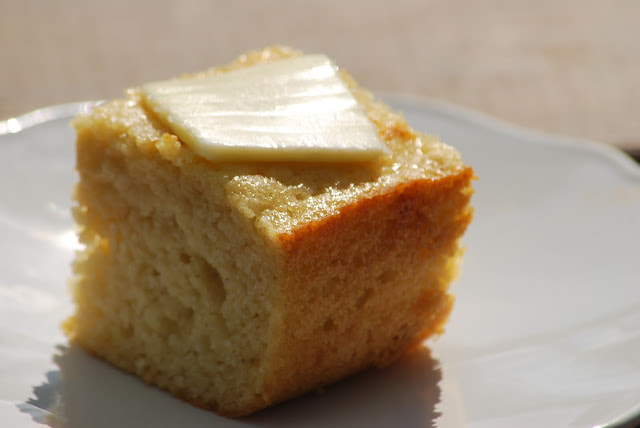 Get out your crock pots and make a batch of chili and a side of cornbread to go with it for dinner tonight.
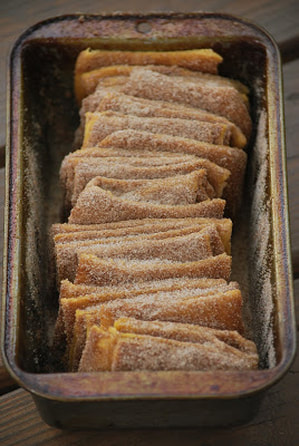
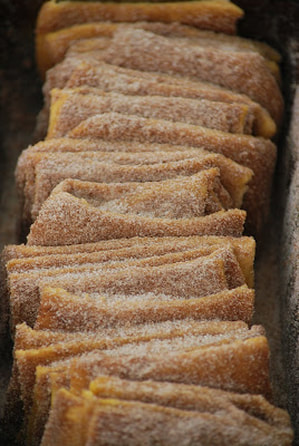
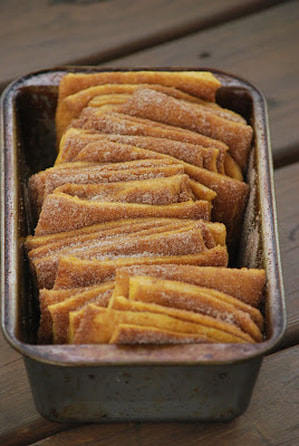
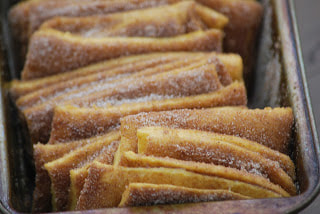
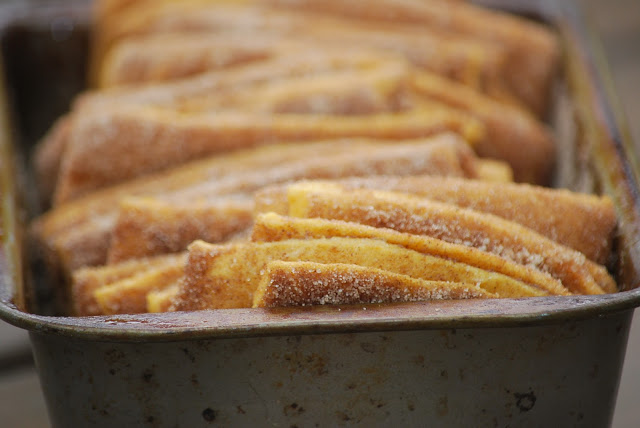
Ciao! 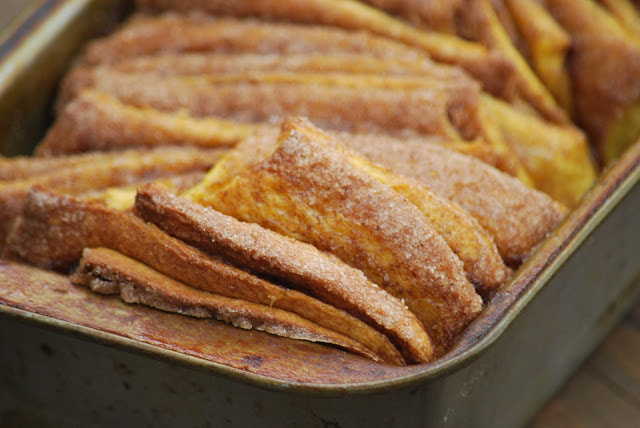 Pumpkin 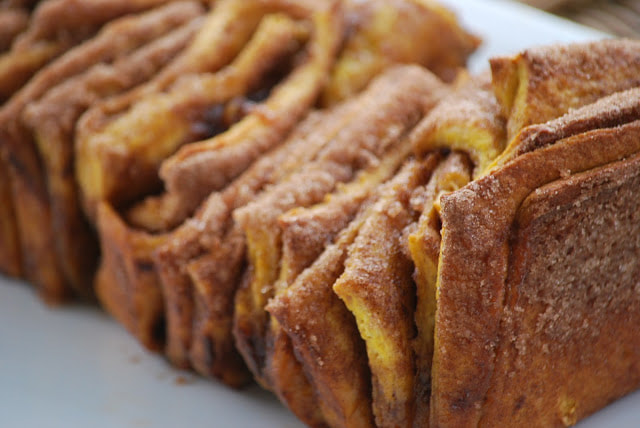 Pull 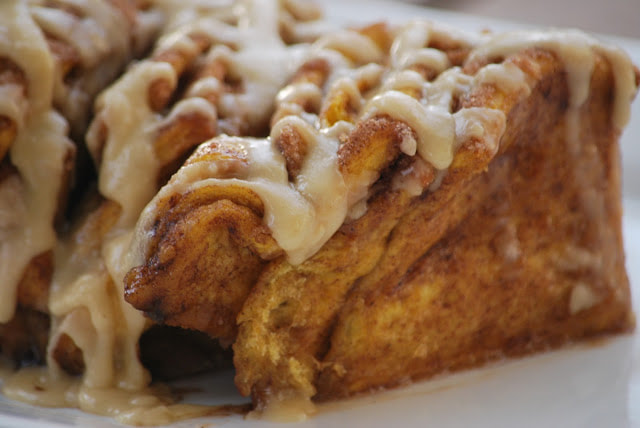 Apart 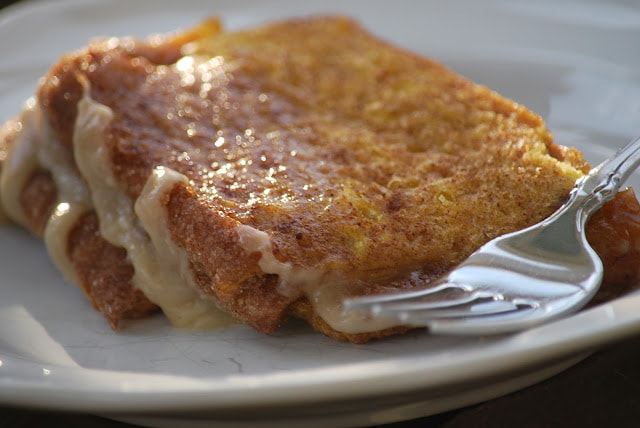 Bread 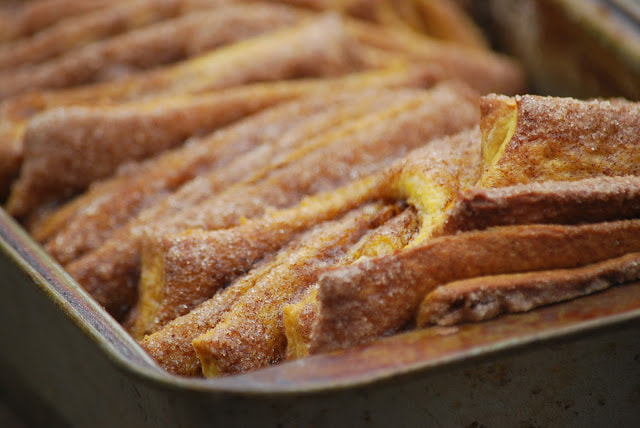 That is all I'm going to say about that. Pumpkin Pull-Apart Bread 1/2 cup milk 3/4 cup pumpkin puree 1/4 cup white sugar 2 tablespoons unsalted butter 1 teaspoon salt 2 1/4 teaspoons (1 envelope) active dry yeast 2 1/2 cups bread flour Filling Ingredients: 1 cup granulated sugar 2 teaspoons ground cinnamon 1/2 teaspoon fresh ground nutmeg 2 tablespoons unsalted butter Butter Rum Glaze Ingredients: 2 tablespoons unsalted butter 1/8 cup brown sugar 1 tablespoon plus 1 1/2 teaspoons milk 1/2 cup powdered sugar 1/4 teaspoon rum
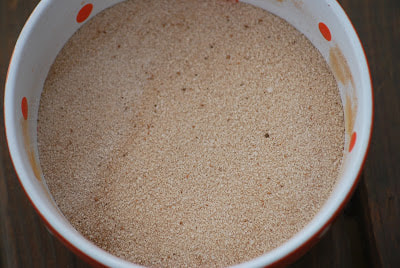
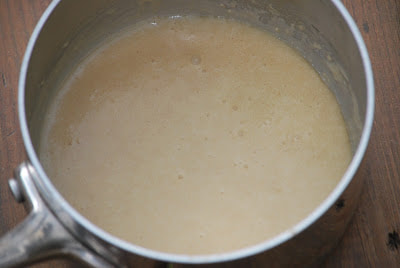
In the same saucepan over medium-low heat, warm the milk until it bubbles. Remove it from the heat and pour it into the bowl with the butter. Let these cool until they’re about 100-110 degrees F (use a candy thermometer to check). Stir the sugar and yeast into the milk/butter mixture and let it sit for about 10 minutes to proof (it should foam; if it doesn’t, discard it yeast and try again with new yeast).
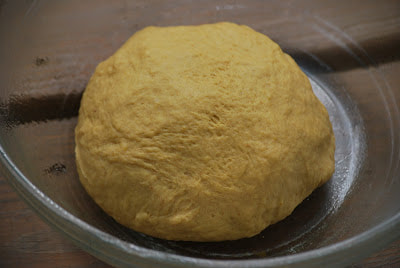
Stir in pumpkin, salt, and 1 cup flour. If you haven’t already, fit your mixer with a dough hook. Add the rest of the flour 1/2 cup at a time, stirring between each addition. When the dough is combined, knead on low speed with a dough hook until smooth and elastic (about 4 minutes with a mixer).
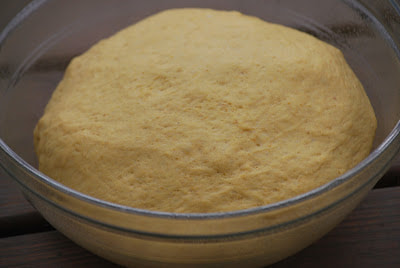
Place the dough in a greased bowl and cover it with a damp cloth. Let it rise in a warm place for about an hour until it doubles in size.
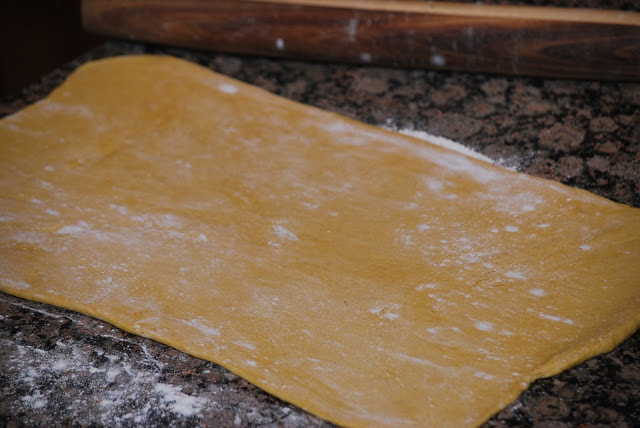
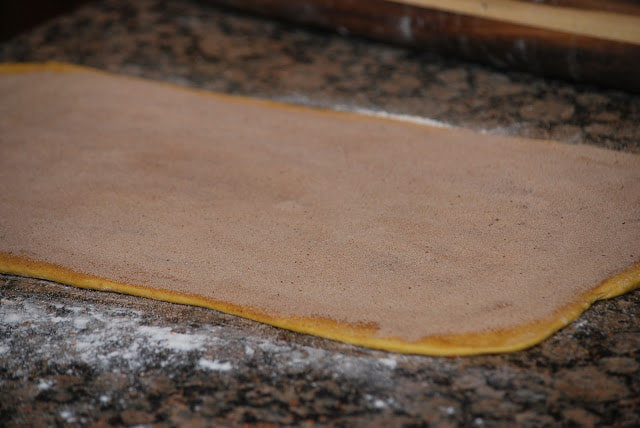
Toward the end of the rising time, melt the 2 tablespoons of butter for the filling in the saucepan over medium-high heat and brown it as directed above. Put it in a small heat-safe bowl to cool for use later. Shape and bake pull-apart bread: Knead a sprinkling of flour (about 1 tablespoon) into the dough, deflating it, and recover it. Let it sit to relax for 5 minutes. Flour a large work surface and turn your rested dough out onto it. Roll it out to a 20 inch long and 12 inch wide rectangle, lifting corners periodically to make sure it’s not sticking. If it seems to be snapping back, cover it with your damp towel and let it rest for 5 minutes before continuing (I had to do this twice during the process). Spread the browned butter over the surface of the dough with a pastry brush.
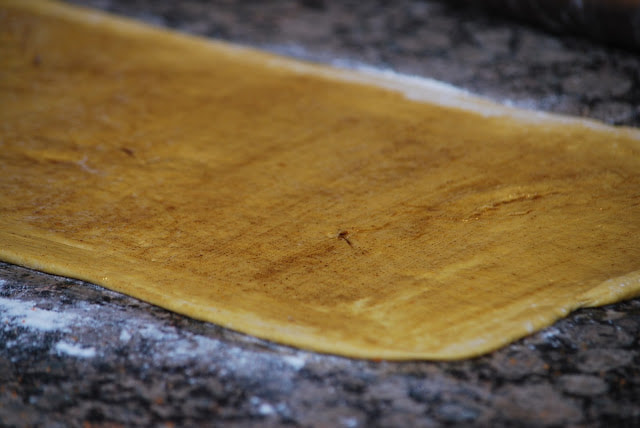
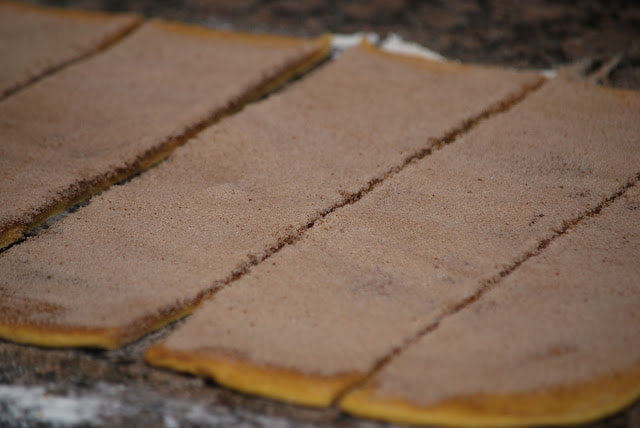
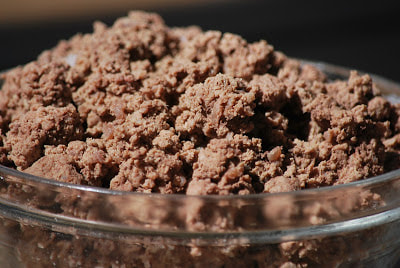
Sprinkle the sugar mixture over the top, patting it down to ensure it mostly sticks. Joy the Baker encourages you to use it all even though it seems like a ton, but I admit I got squeamish at the amount and only used most. It was fine despite my nerves. Go ahead and pile it on. With the long edge of the rectangle toward you, cut it into 6 strips (do this by cutting the rectangle in half, then cutting each half into equal thirds. I used a pizza cutter).
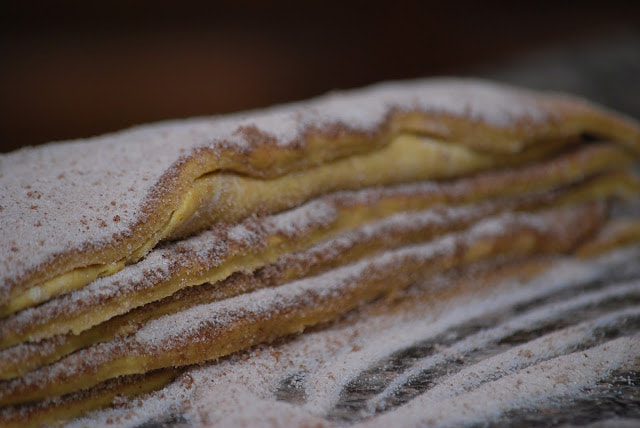
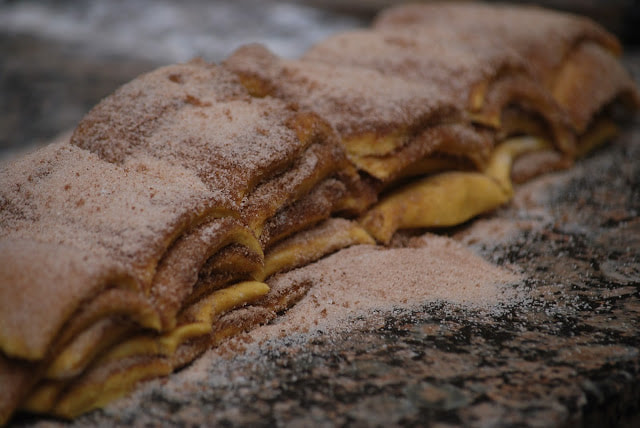
Place these portions one at a time into your greased loaf pan, pressing them up against each other to fit them all in.
Cover the pan with your damp cloth and place it in a warm place for 30-45 minutes to double in size.
While dough rises, preheat oven to 350 degrees F (or 325 if you have a glass loaf dish instead of a metal pan). When it’s risen, place the loaf in the center of the oven and bake for 30-35 minutes until dark golden brown on top (if you take it out at light golden brown, it’s liable to be raw in the middle, so let it get good and dark). Cool for 20-30 minutes on a cooling rack in the loaf pan while you make the glaze. 
Assemble and serve: Use a butter knife to loosen all sides of the bread from the loaf pan and gently turn it out onto a plate. Place another plate on top and flip it to turn it right side up. 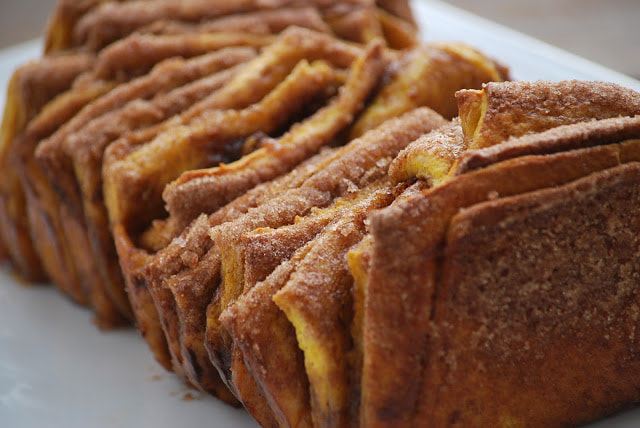 Drizzle glaze over top. 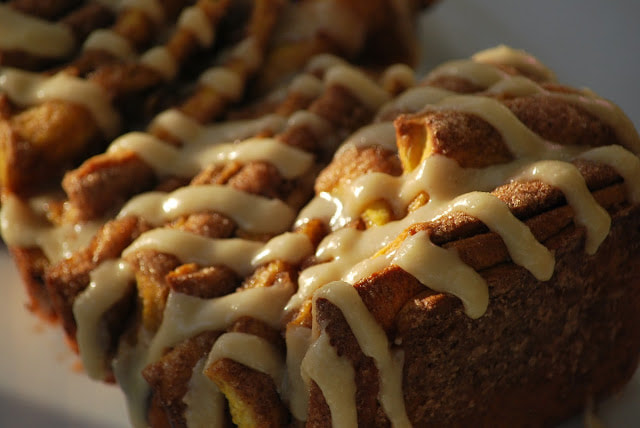 Serve each piece slightly warm with a drizzle of glaze. 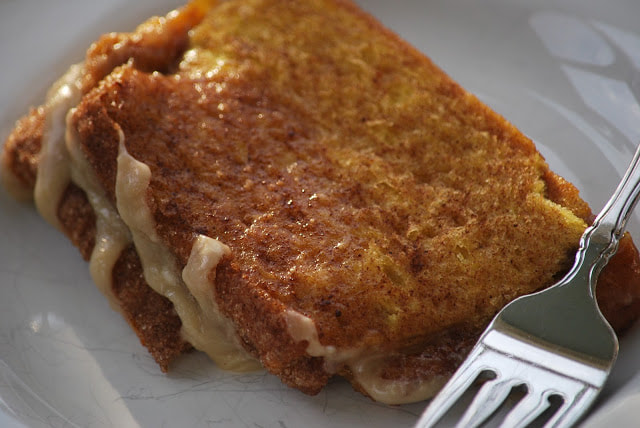 In this case, a picture is worth a thousand words. I am going to let these pictures speak for themselves.
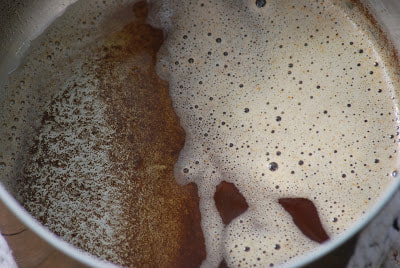
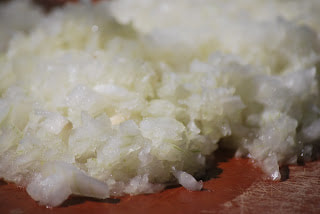
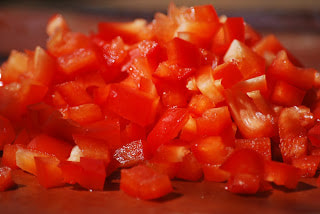
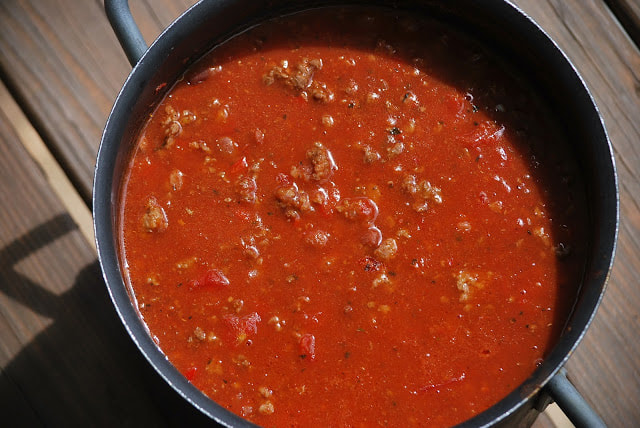
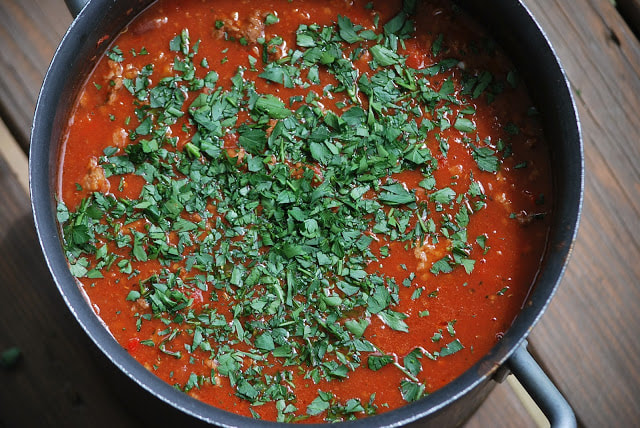
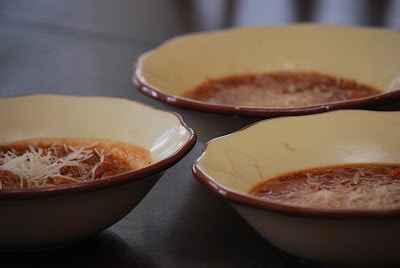
Ciao! 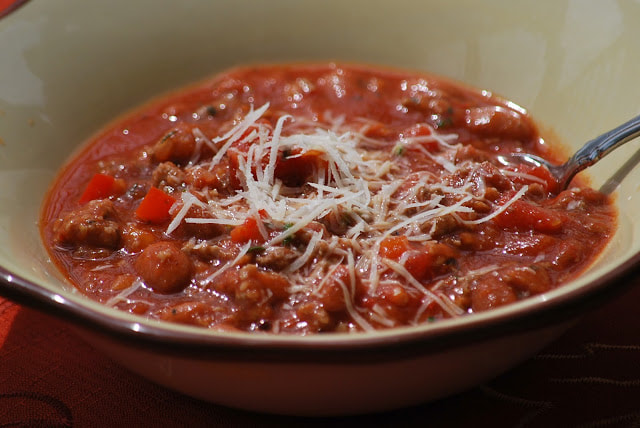 It's football season. Ben and my son are huge Ohio State football fans and they had the opportunity to go to a game in the horseshoe a few weeks ago. (Thanks to a very generous uncle.) I probably don't even need to say this but - yes, they had a fantastic time. I can't help but thinking that the trip was a big mistake though - we now have a child who is completely convinced that he NEEDS to go to Ohio State. He is certainly ready to spread his wings but the thought of sending him off to a school with 64,000 students is terrifying for this mom. But, I digress. Back to my origional point - it's football season which means it's time for football food. And nothing says football like a bowl of Italian chili. 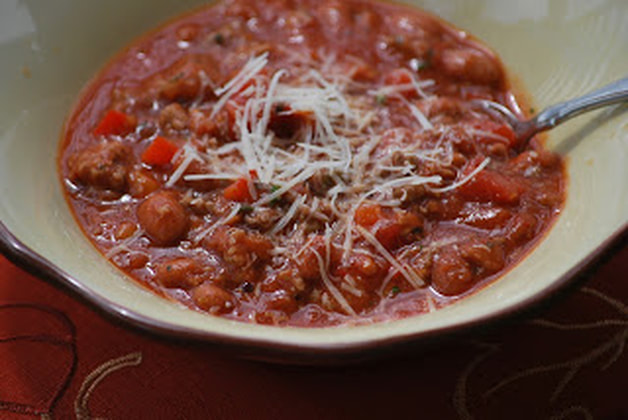 Italian Chili Pinch kosher salt 1 pound 90% lean ground beef 1 pound hot Italian chicken sausage, casings removed 1 tablespoon Italian seasoning 1 ½ cups chopped onion 1 cup chopped green peppers 4 cloves garlic, minced 2 14.5-ounce cans diced tomatoes 2 15-ounce cans chili beans (I prefer S&W) 2 10-ounce cans tomato sauce 1 teaspoon chili powder ¼ teaspoon cumin ¼ cup fresh parsley, chopped Pecorino Romano, grated for serving Garlic cheese croutons, for serving
In a large pot over medium high heat add browned meats, peppers and onion, cook until onions are translucent.
Add garlic and cook for 2 – 3 minutes.
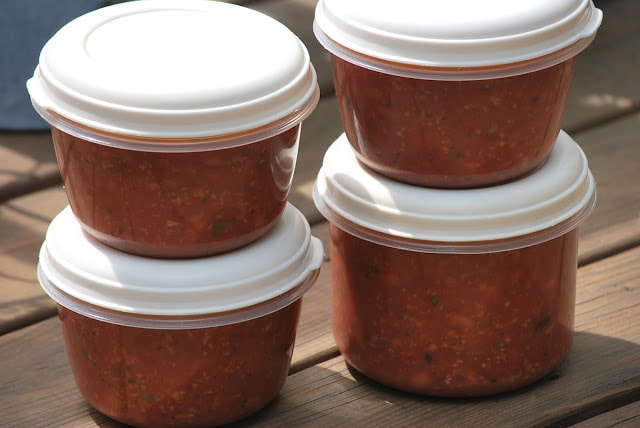
Serve with grated Pecorino Romano and croutons. 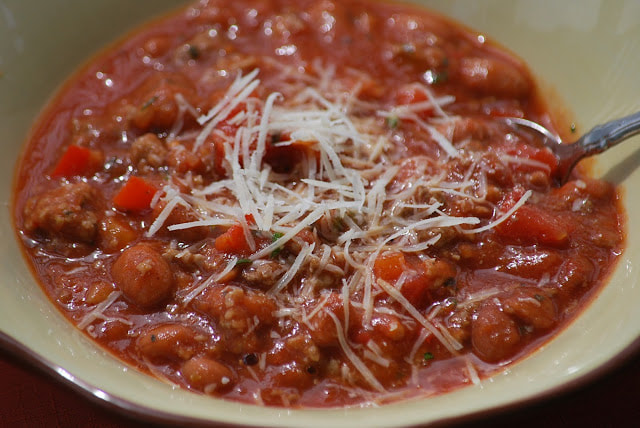 We had chili for dinner and plenty more to store in the freezer for those long, cold winter nights ahead. Bring it on old man winter - I'm ready. (OK so it doesn't get that cold in Georgia in the winter but we still like to eat chili.)
I want to know what you like to eat while you watch your favorite team. Send me a comment with your favorite football food.
Ciao! |