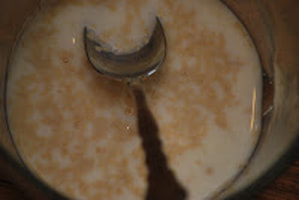
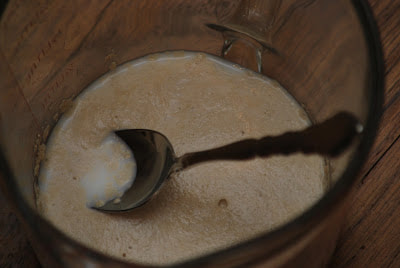
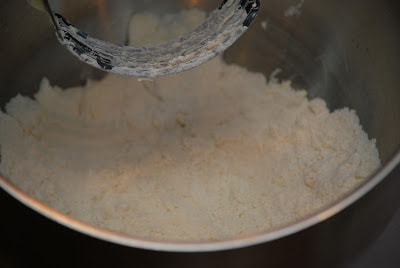
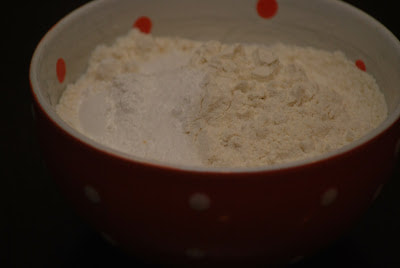
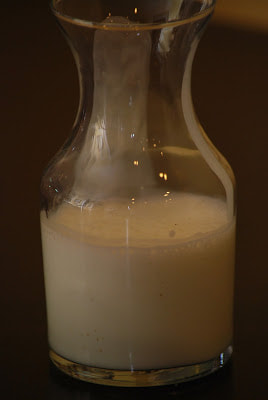
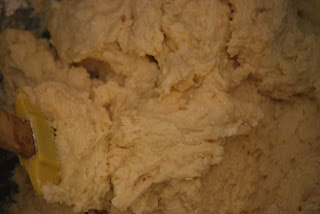
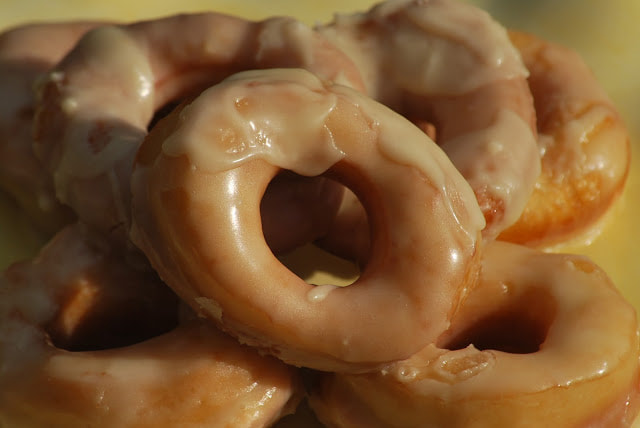
 Is there anything harder than driving past a Krispy Kreme store when the HOT NOW sign is shining brightly in the window? It's like that sign has some magnetic power to actually draw cars into the parking lot. 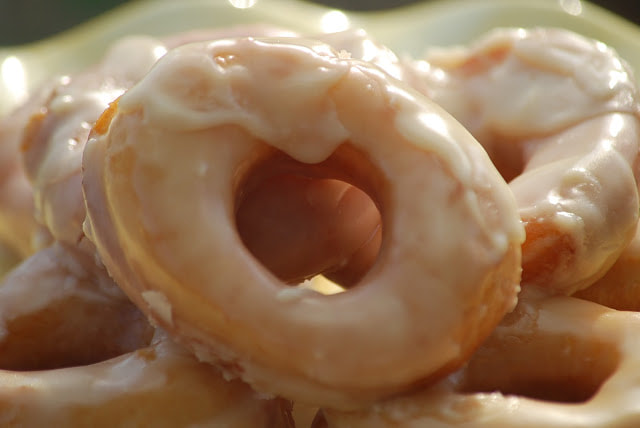 I am absolutely fascinated by the huge glazing conveyer belt machine. I stand and watch it perfectly glaze each and every doughnut as it passes through the wall of warm glaze and dream about how I could recreate a machine like that in my own kitchen. (OK, so I'm a little obsessed with the glaze machine.) Even though I haven't yet figured out how to get that glazing conveyer belt into my kitchen, I decided to try and recreate the Krispy Kreme doughnuts at home for my family. I declared it "doughnuts for dinner night." (We did have a few other things to go with our doughnuts too.) This recipe came from www.leannebakes.blogspot.com. I altered her recipe a little and the doughnuts were amazing. They were so good in fact that I almost didn't get a picture of them before they were scarfed down by hungry teenagers. It was a group effort to get these doughnuts made for sure. You'll see why as you read through the recipe. 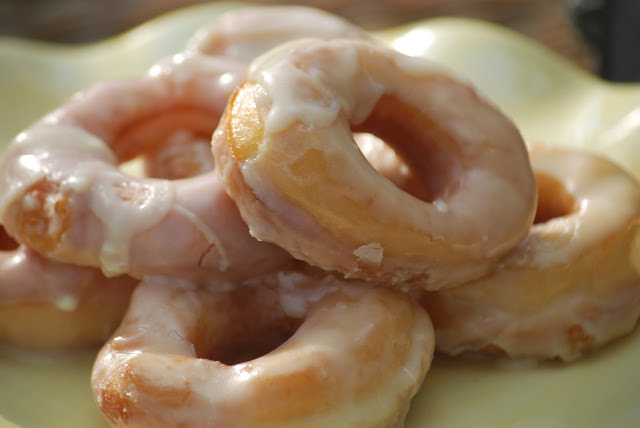 Krispy Kreme Doughnuts 3 tbsp milk 3 tbsp boiling water 1 tsp dry active yeast 1 1/2 cups flour 1 1/2 oz sugar (about 3 tablespoons) 1 egg 1 oz butter, cold to room temperature dash of salt Enough oil to cover the bottom few inches of a wok, or a deep fryer. In a large measuring cup, combine the milk and boiling water. Add a teaspoon of the sugar and the yeast. Stir it gently, then leave it in a warm place for the yeast to activate.
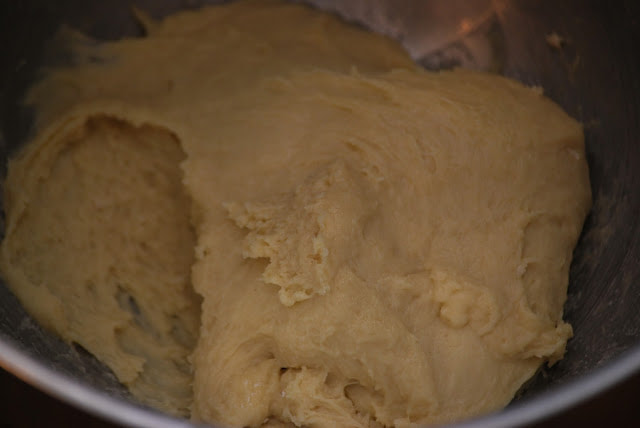
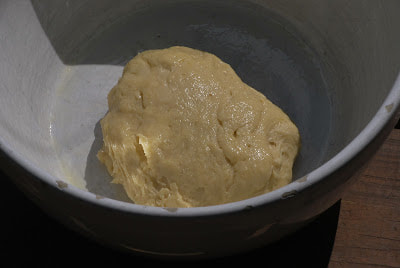
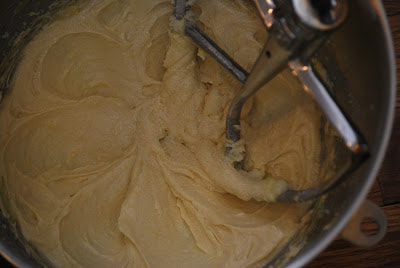
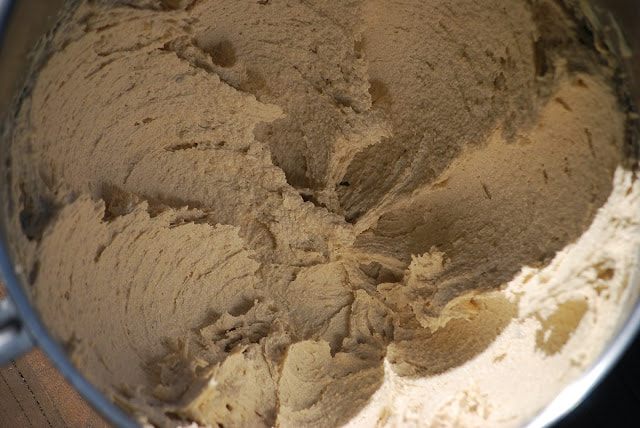
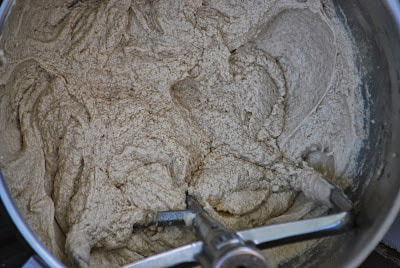
Turn the dough out onto a lightly-floured counter and knead for about 5 to 10 minutes—it should feel springy and little bubbles should form under the surface. Place it back in the bowl, cover with a cloth or plastic wrap, and let rise for about an hour until double in size. Courtney was my dough maker. She did a fabulous job don't you think?
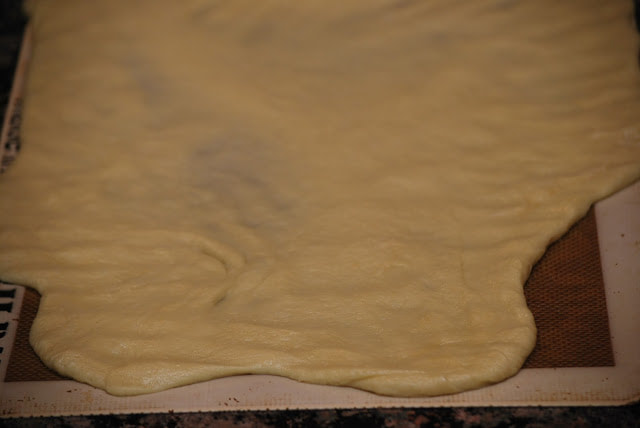
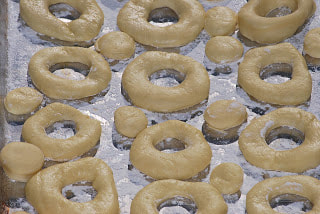
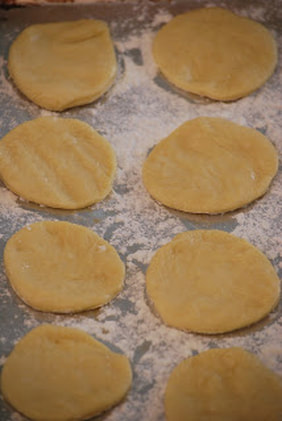
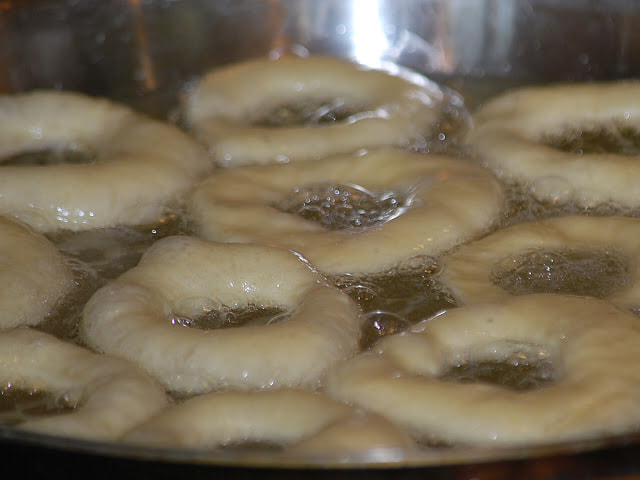
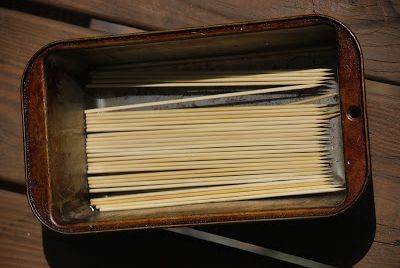
Stretch dough into a rectangle and using a donut cutter, cut circles. Place on a floured baking sheet. Cover the doughnuts and holes with a cloth to rise while you heat the oil to 375F.
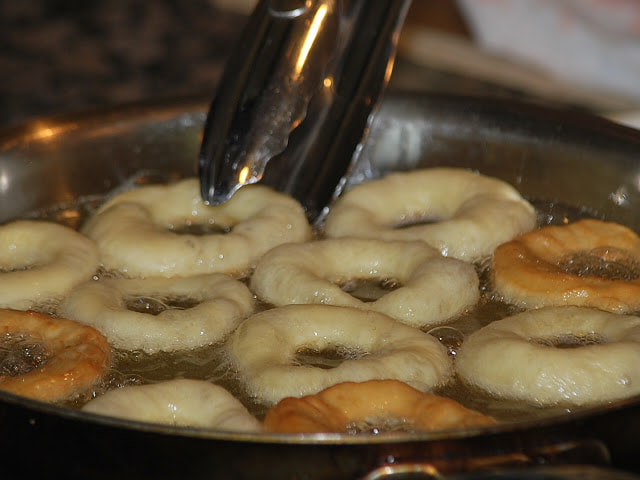
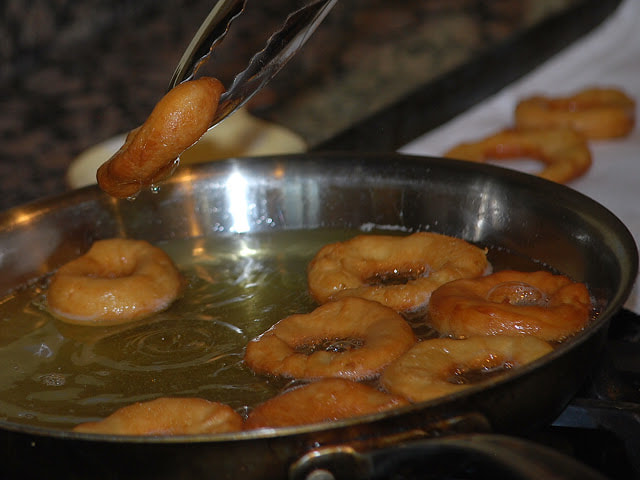
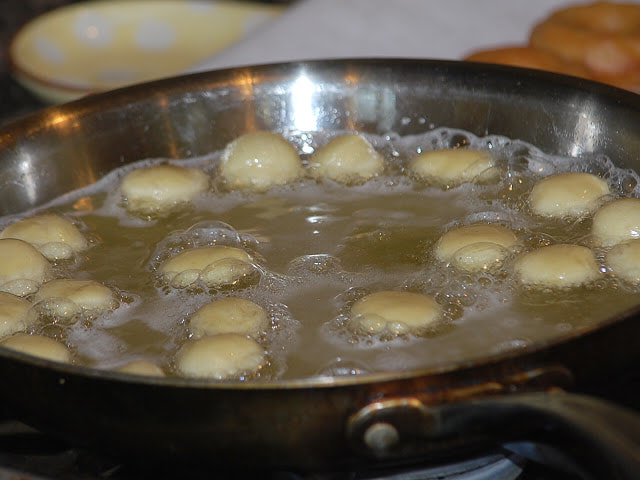
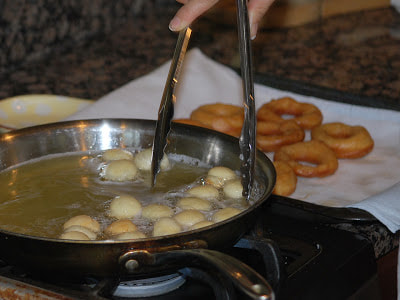
Place the doughnuts into the oil and fry until golden brown on each side, about 2 minutes. Be sure to fry only a few at a time so they don’t overcrowd and stick together.
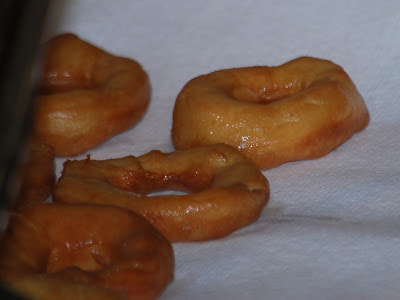
Drain on a paper towel.
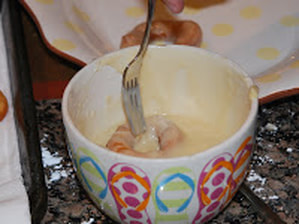
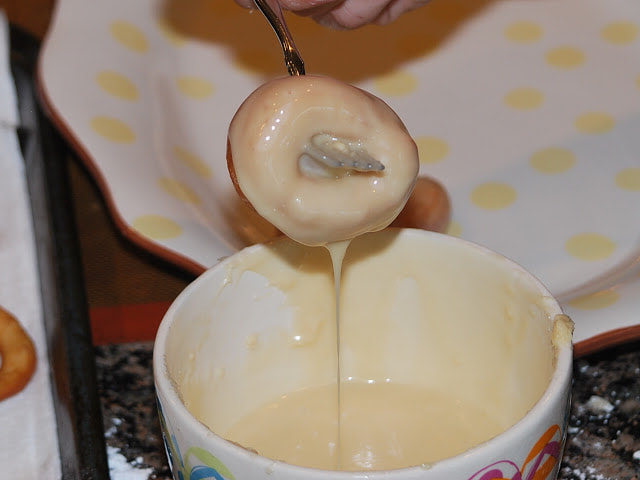
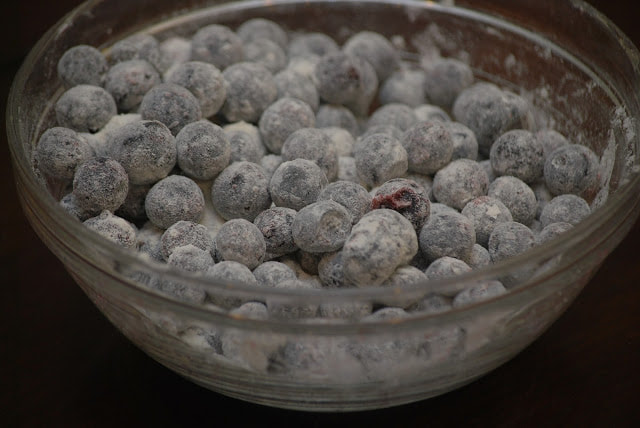
Combine glaze ingredients. Dip each doughnut into glaze briefly. Ryan was the glazer. He also did a fantastic job - even though he didn't have a conveyer belt with a steady stream of glaze pouring through it.
Repeat process with doughnut holes.
Where was Ben you ask? Taking all of these fabulous pictures. He served as guest photographer on this post and he did a wonderful job - don't you think? 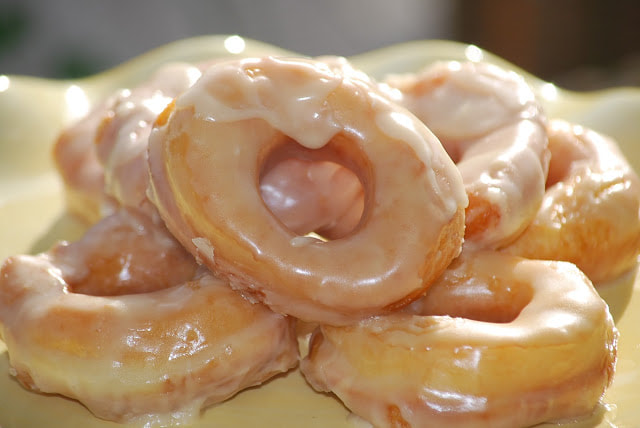 No kidding, these doughnuts were on the table less than 5 minutes. Courtney had a couple of friends over and they were eating doughnuts as fast as Ryan could glaze them. The pictures don't really do them justice because the glaze didn't really have a chance to set up. I had to grab these off of the plate quickly so I could snap a few quick pictures before they got eaten. You'll have to take my word for it - they were good. I think I'm ready to hang a "Hot Now" sign in my window now. (Well then again, maybe not.)
Ciao!
1 Comment
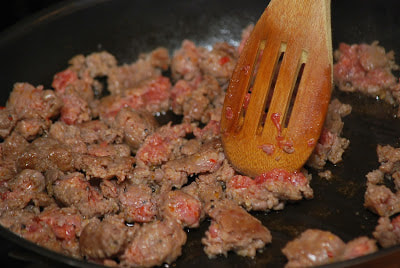
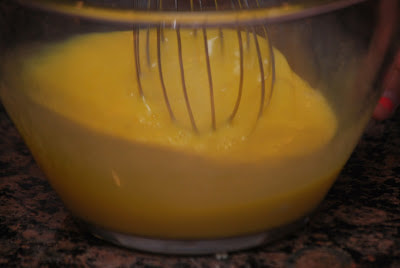
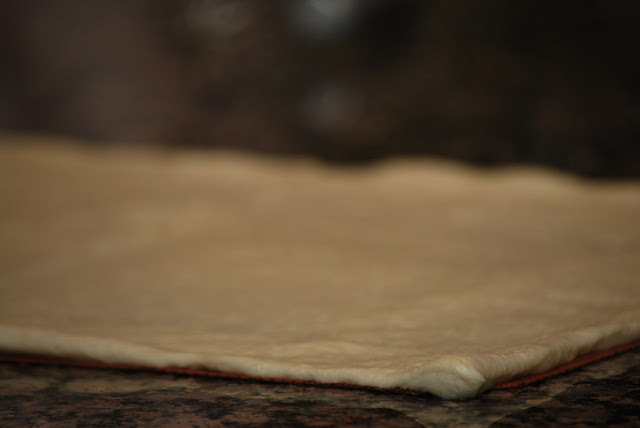
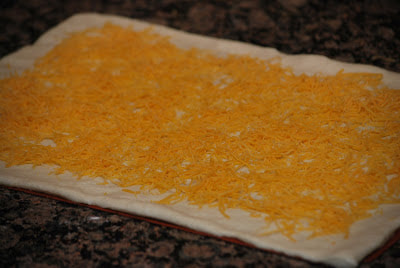
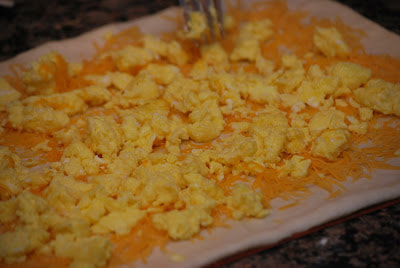
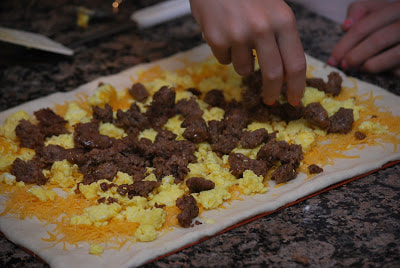
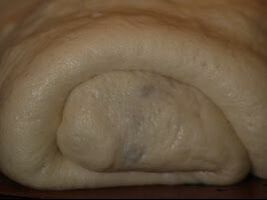
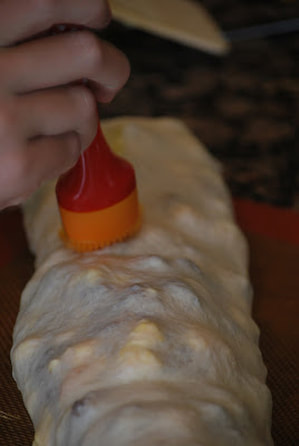
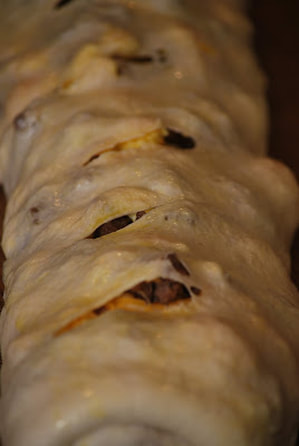
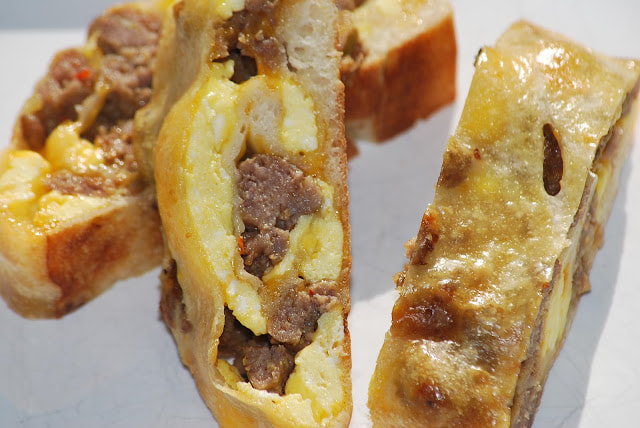 I don't know what mornings are like in your house but in my house, they can be a little chaotic. There's a lot of "Get out of bed. Get up now. It's time to get up. You have to get up now." going on around this house. (And that's just to get myself out of bed at 6:00. - hehe) Seriously though, as we get farther into the school year, it gets even harder to get the kids out of bed. I would like to make a warm breakfast for everyone before they head out the door every morning but some days that just isn't realistic. Since some of our favorite breakfast foods are too time consuming to make at 6:00 in the morning, we've designated Sunday nights as "breakfast for dinner" nights. We pull out our favorite breakfast recipes that we don't have time to make on a back to school morning. I tried this breakfast stromboli recipe from thespiffycookie.com on a Sunday night but quite honestly, it's easy enough to make on a school morning.  Breakfast Stromboli 1 tube pizza dough 1 lb. sausage 4 eggs, plus one more beaten for an egg wash 2 Tbsp milk Pinch salt and pepper 1 cup shredded cheddar cheese
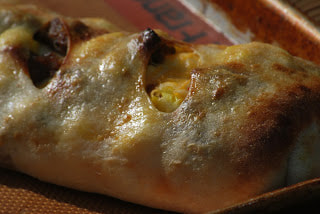
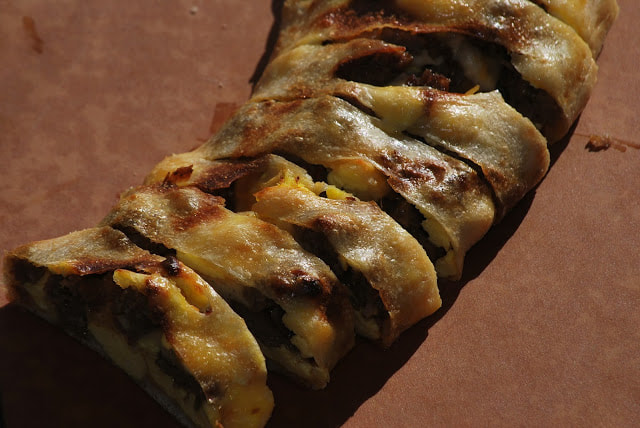
These were really delicious. We ate ALMOST the entire loaf of stromboli for dinner. (It was that good.) You could definitely change this up and add bell pepper, green chilies or other vegetables that strike your fancy. 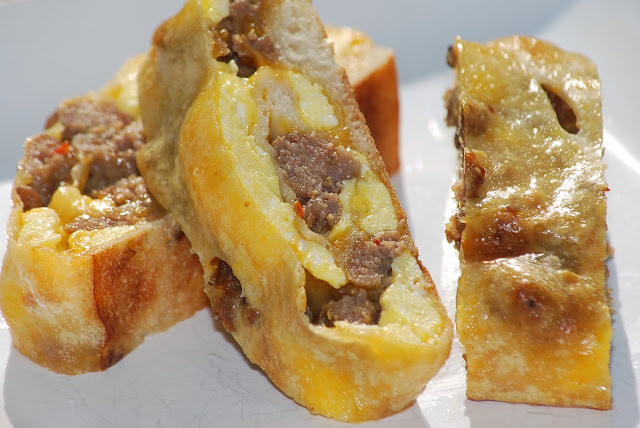 Ciao!
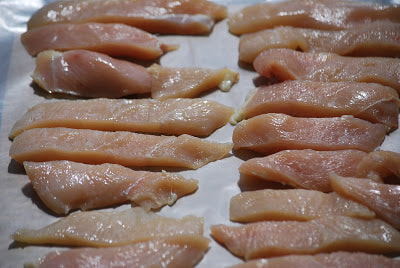
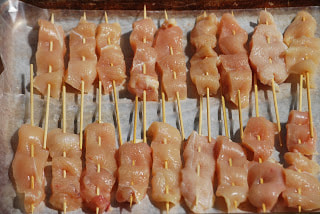
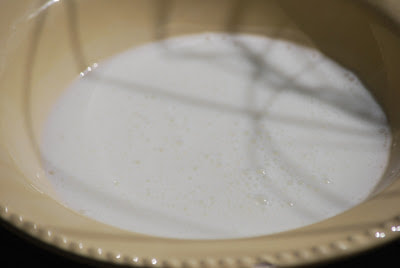
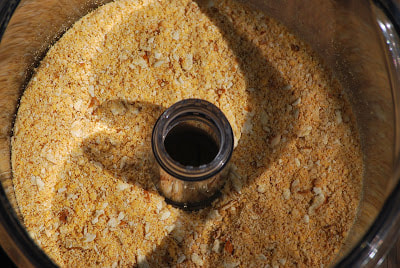
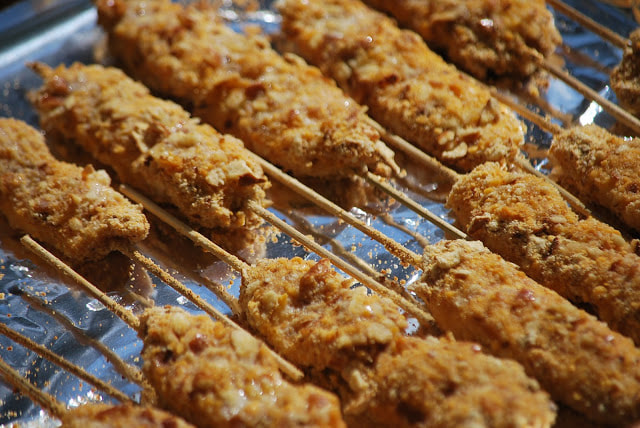
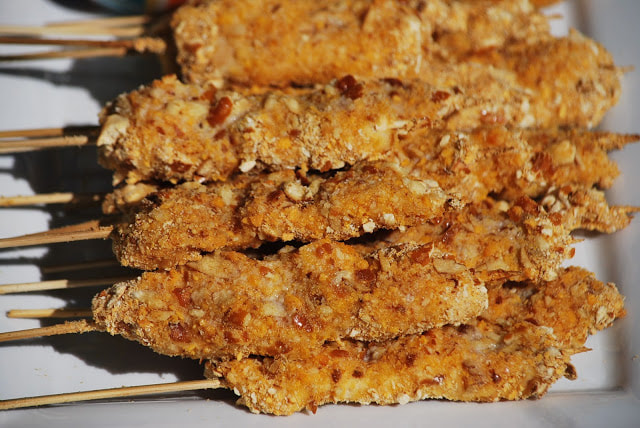
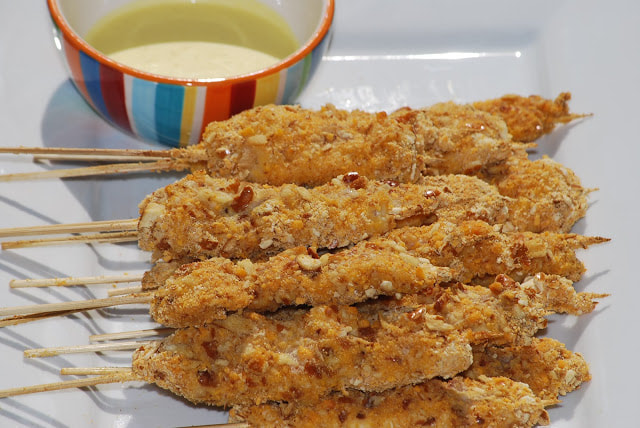 My children have always loved Goldfish crackers. I mean really LOVED the cheesy aquatic snack. I started to feed them Goldfish when they were just toddlers, barely able to pick them up in their tiny fingers and get them into their mouths. 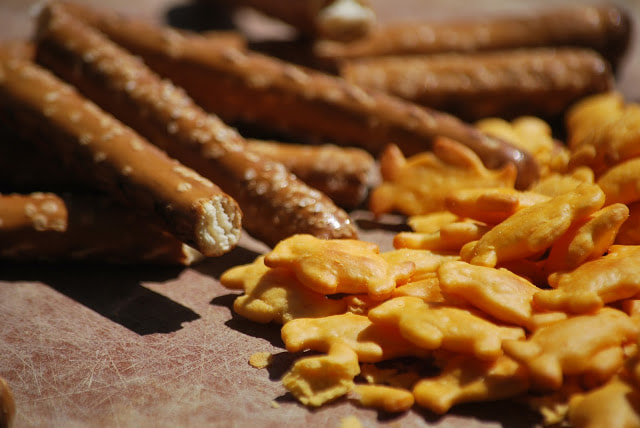 I think Courtney has only grown more fond of the cheesy crackers over the years. She eats at least 2 bags of Goldfish a month. Last summer I discovered a similar cracker available at Wal Mart stores for a slightly cheaper price. Instead of the classic fish shape, the store-brand crackers sported a darling little penguin shape. (Super cute.) Much to my delight, my daughter actually said that she "preferred" the less expensive, store brand crackers to the original. (Bonus cost savings for mom.) I jumped on that bandwagon and stocked up the pantry with these new favorite snack crackers. About a month ago, I noticed that I hadn't had to replace the crackers for several weeks. Naturally, I inquired about why my daughter had a sudden loss of interest in the cheese crackers. My daughters reply "They just aren't as good as Goldfish." Uuuuugggg! A month ago, the penguins were the best thing on the face of the earth. Today, they're so repulsive that she couldn't seem to choke one down if that was the last thing to eat in the house. Gotta love kids! So here I am with a bin full of penguins and a child who wont even consider eating them so what am I to do? Sneak them into her dinner of course. Isn't that what you would do? I saw a cute idea on Pinterest for Cheesy Pretzel Chicken Pops from www.aspicyperspective.com and it seemed like the perfect way to use up the remaining penguin crackers that my daughter refused to eat. The concept was a simple - a chicken tender on a skewer (the "pop") coated in a pretzel and cheese cracker coating. Perfect! 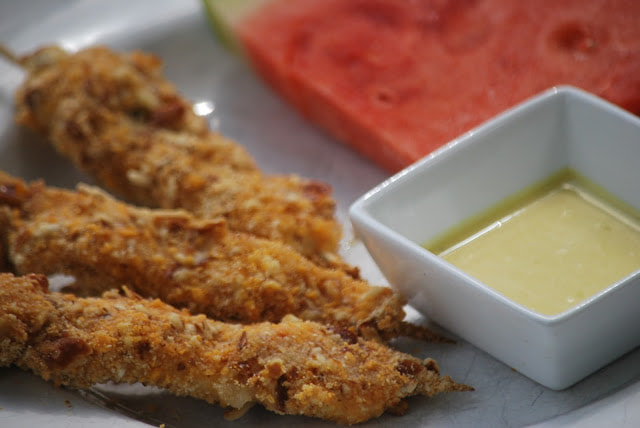 Cheesy Pretzel Chicken Skewers 2 pounds boneless, skinless chicken breasts skewers 1 cup buttermilk 1 cup cheese crackers 12 pretzel rods 1 Tablespoon butter
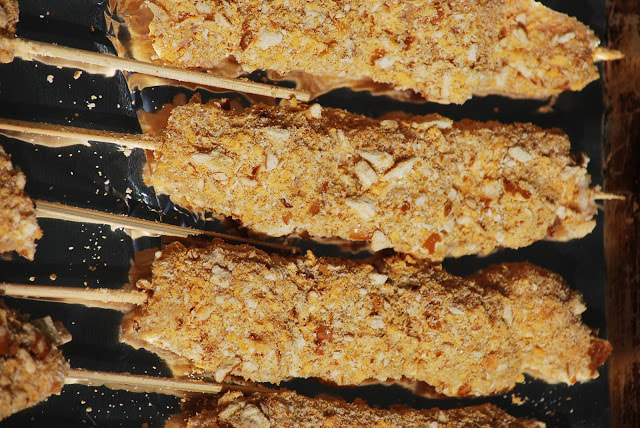
Thread onto skewers that had been soaked in water for at least 20 minutes.
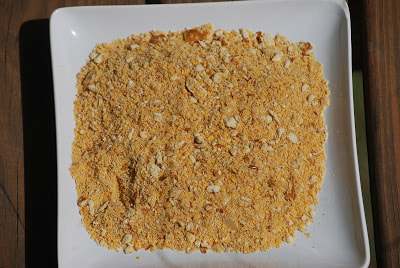
Combine crackers and pretzels in a food processor. Process until finely chopped.
Dip each skewer into buttermilk and then crumbs.
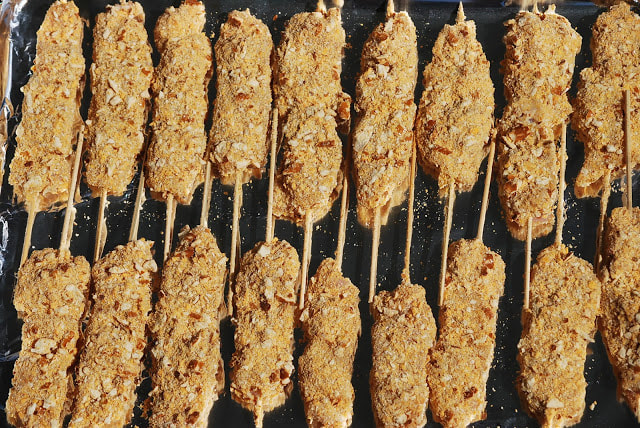
Bake 15 minutes at 450.
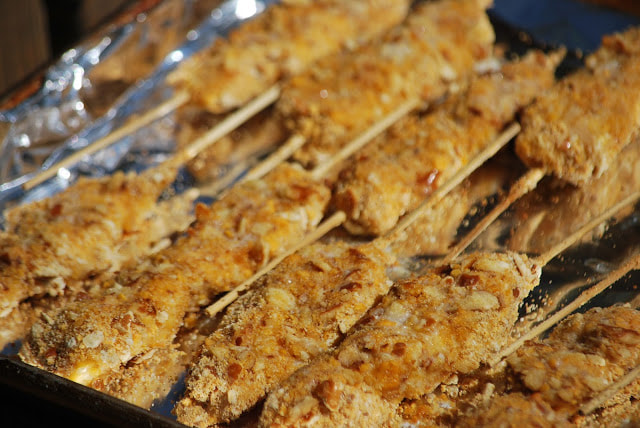
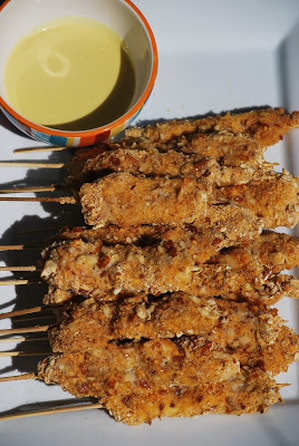
Drizzle the chicken with melted butter. Serve with honey mustard.
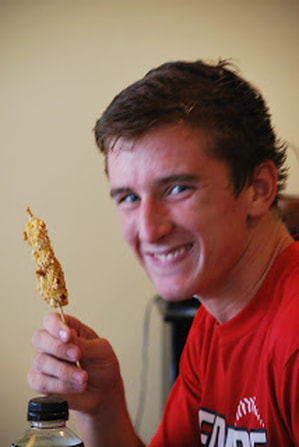
Well, I tricked Courtney into finishing the penguin crackers after all, and the truth is - she loved them. I loved them too - we all did. Ryan even asked if he could take the leftovers in his lunch the next day. (I actually did a little happy dance right there in the kitchen after that comment.) My sneaky way of using up leftover crackers and pretzels turned into a yummy meal that we all enjoyed.
Ciao!
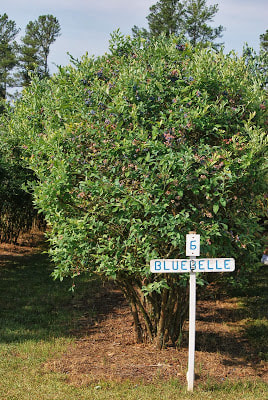
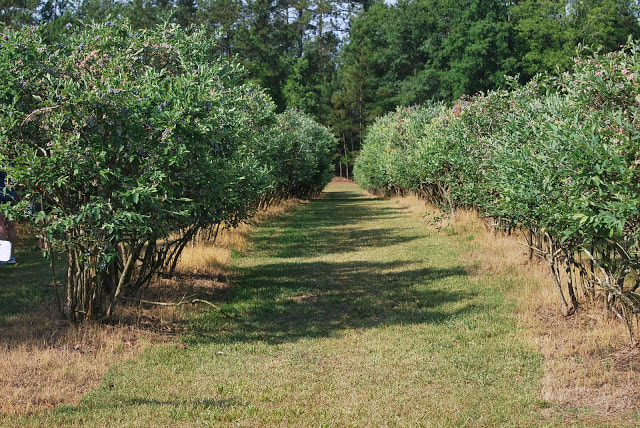
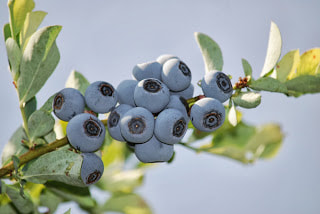
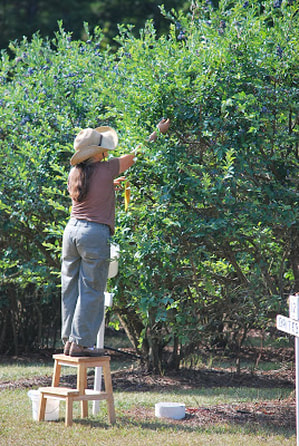
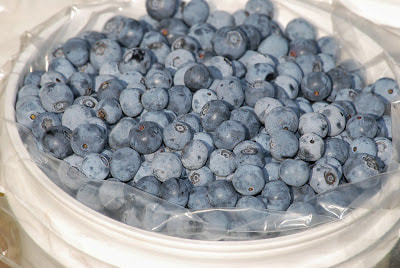
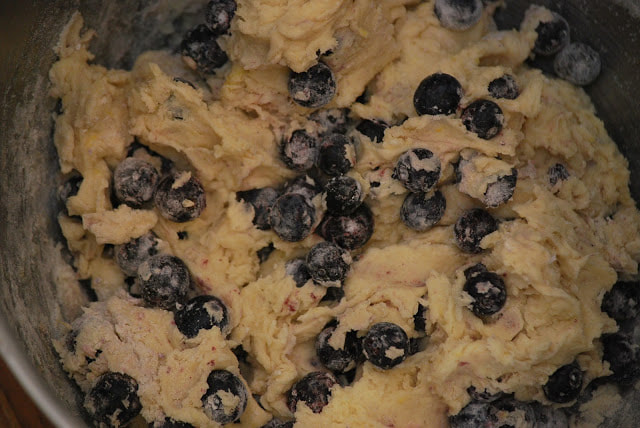
Unfortunately it was not a great year for blueberry picking in Atlanta. The cause? Too much rain and too little sunshine --- according to the owner of my favorite blueberry farm. My friend, Tracy and I did manage to get to the farm early one Saturday morning in July and we each picked a bucket of berries. They were not nearly as plentiful as we have seen them in past years but we were happy to pick whatever was available.
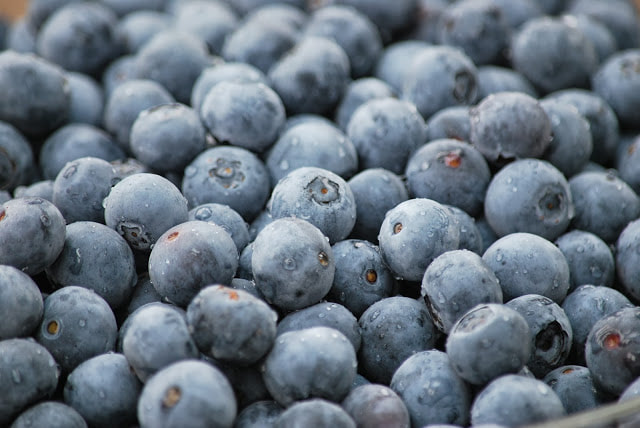
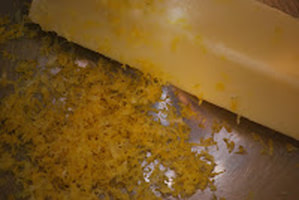
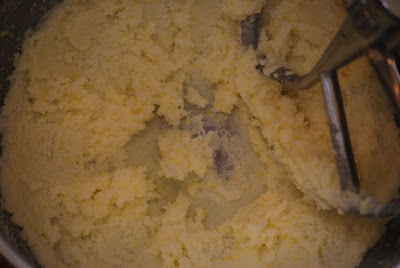
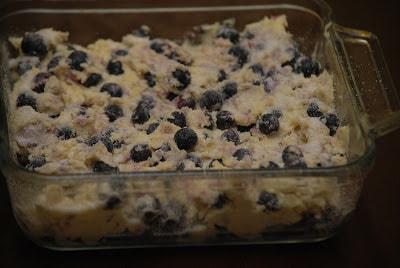
I brought my fresh berries home and froze them in quart size Ziploc bags. Not long after we made that trip, I got an email saying that the blueberry farm was forced to close due to the lack of berries. 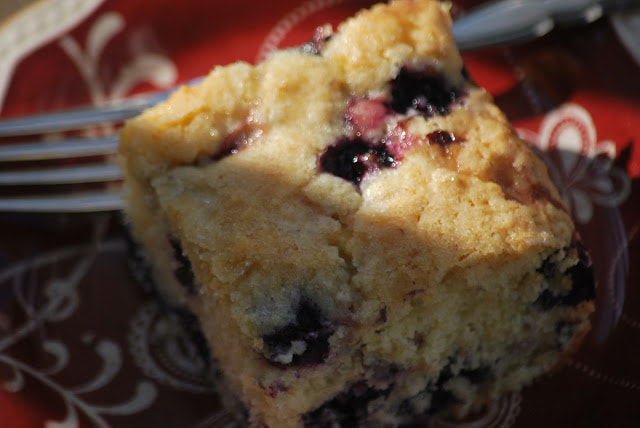 I'm savoring my frozen berries and using them sparingly. (Only in recipes that are fresh picked blueberry worthy.) This recipe for Buttermilk Blueberry Coffee Cake is defiantly, fresh blueberry worthy. 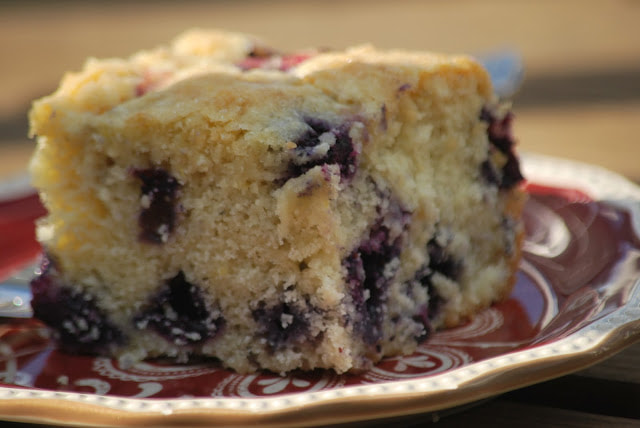 Buttermilk-Blueberry Breakfast Cake ½ cup unsalted butter, room temperature zest from 1 large lemon 1 cup + 1 tablespoon sugar 1 egg, room temperature 1 tsp. vanilla 2 cups flour (set aside 1/4 cup of this to toss with the blueberries) 2 tsp. baking powder 1 tsp. kosher salt 2 cups fresh blueberries ½ cup buttermilk Preheat the oven to 350ºF. Cream butter with lemon zest and 7/8 cup of the sugar until light and fluffy.
Bake for 45-55 minutes. 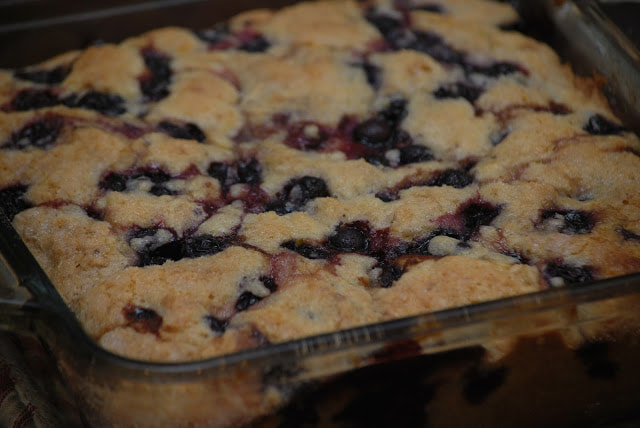 Let cool at least 15 minutes before serving. 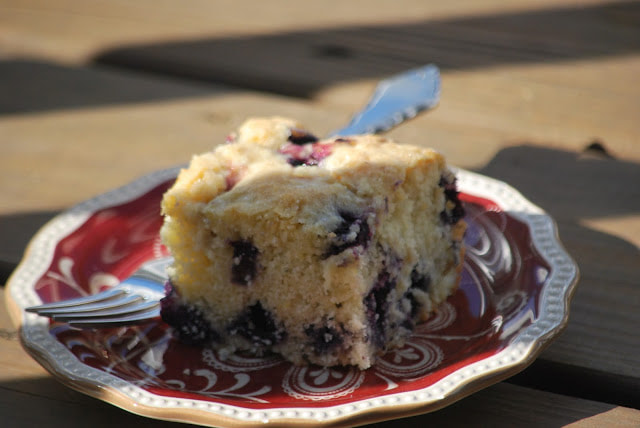 Ciao!
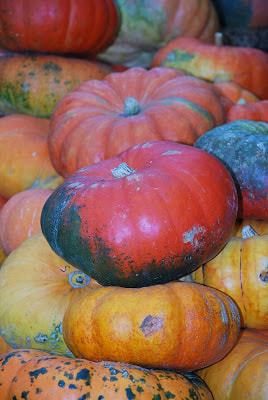
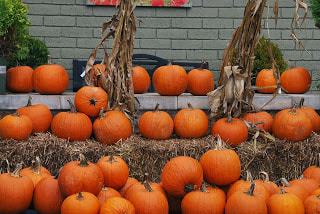
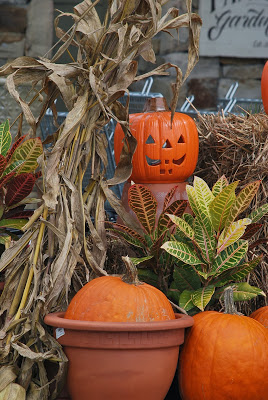
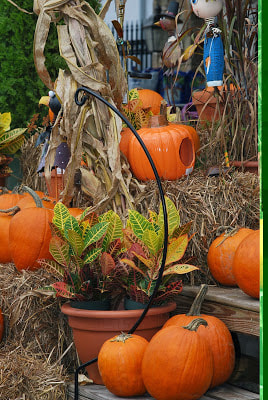
 Anybody else like to wander through local garden centers during the month of October as much as I do? Their Fall displays are so beautiful and yet not so much that they inspire me to recreate one on my own front porch. 
I now have a greater appreciate for the garden center displays because I know that it takes an artistic eye to pull that all together. (Something I was apparently lacking.) I wish that I had taken some pictures of it but at the time, but I was probably too embarrassed or didn't want to document my pitiful display. Maybe one day, I will seek some assistance from a professional and attempt another display for the Davis front porch but for now, I'll just enjoy and appreciate the Fall displays at the garden centers.
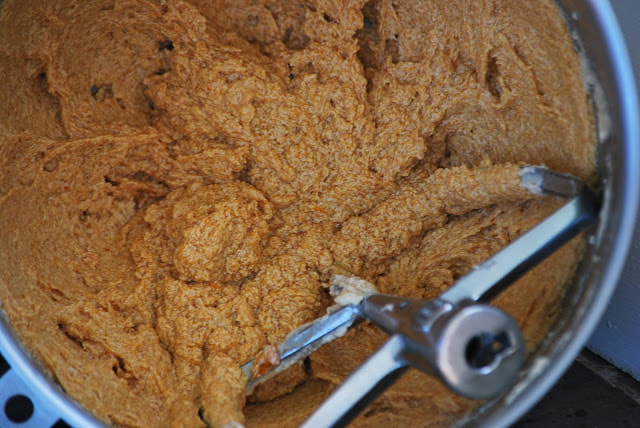
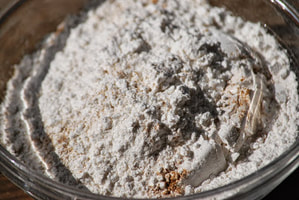
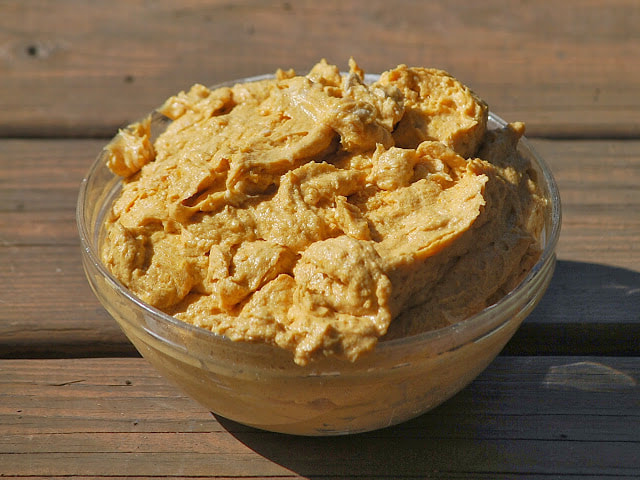
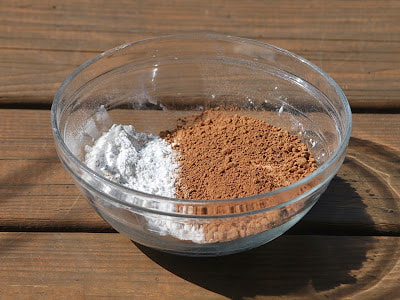
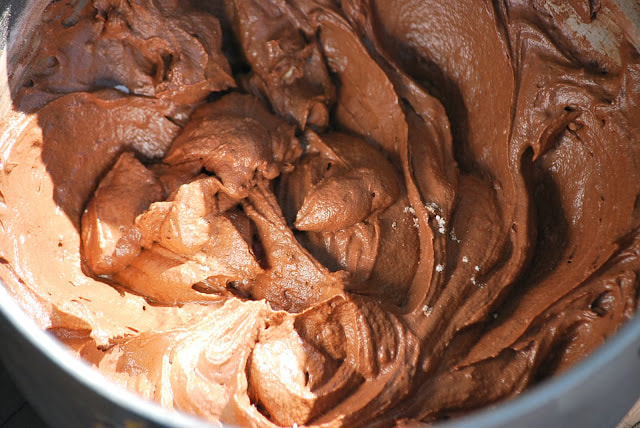
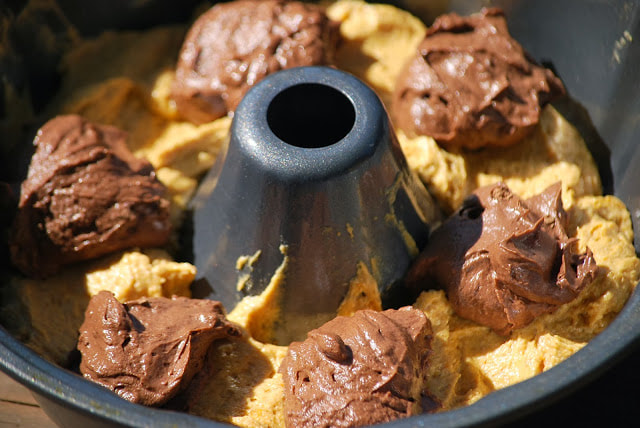
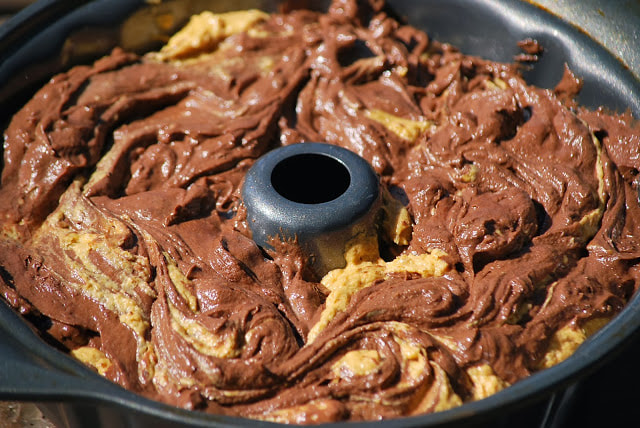
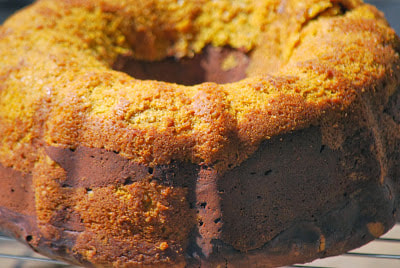
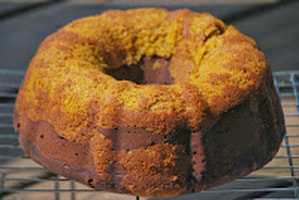
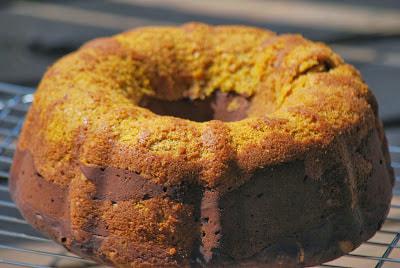
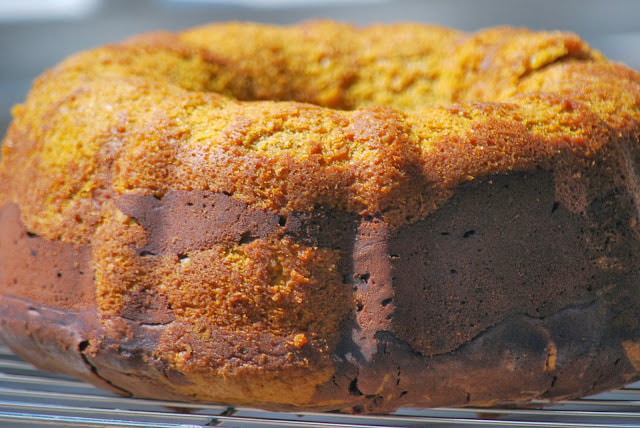
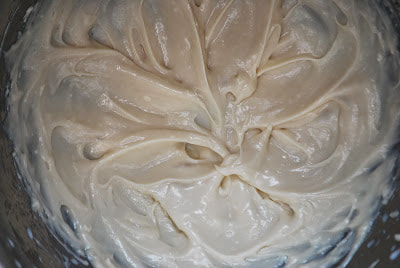
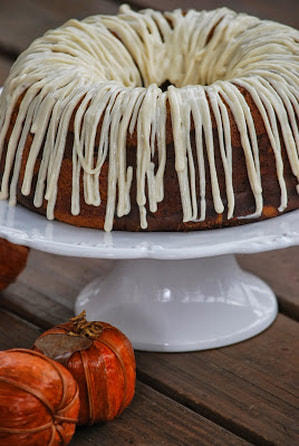
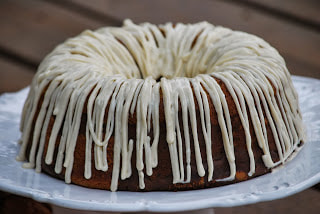
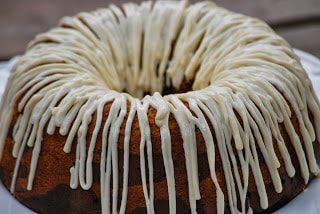
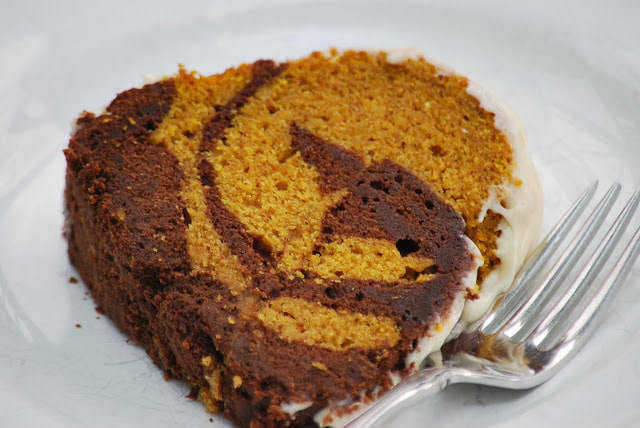
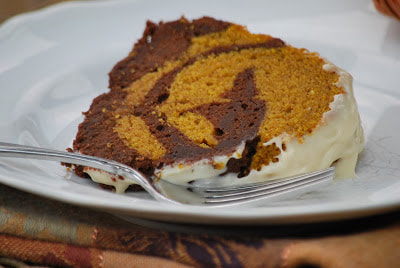
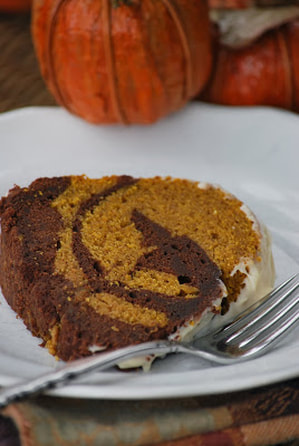
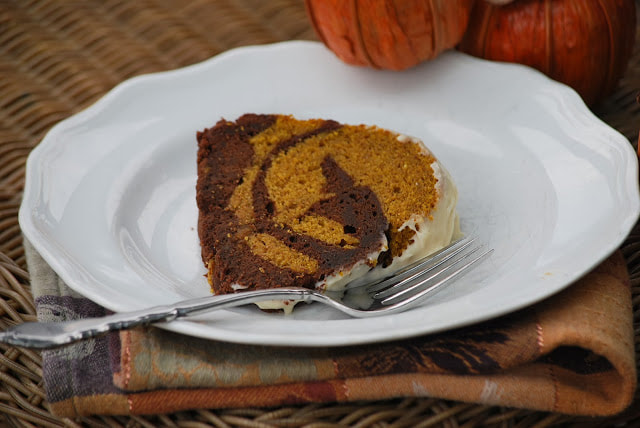
I came home totally inspired - not to make a Fall display on my porch but to make pumpkin dessert. (Pretty sure that was NOT the goal.) Anyway, I decided to make a pumpkin chocolate marble cake. I tried a new one this year and it was definitely a winning combination. 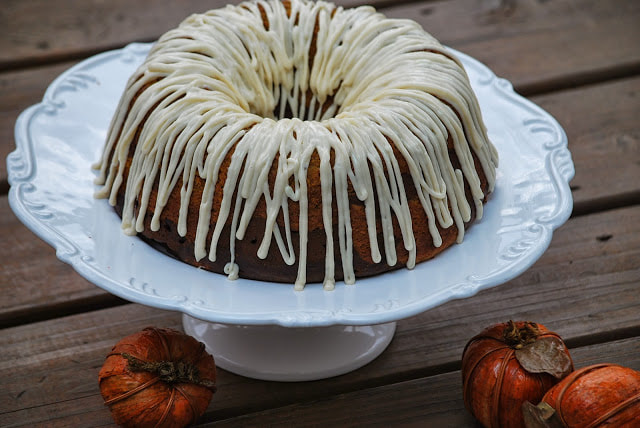 Pumpkin Chocolate Marble Cake Cake: 1 1/4 cups pumpkin puree 1 cup sugar 1 cup packed dark brown sugar 1 1/2 cups unsalted butter, softened 5 large eggs 1 tsp. vanilla 2 3/4 cups cake flour, divided 3 tsp. pumpkin pie spice 1 tsp. baking powder, divided 1/2 tsp. baking soda, divided 1 tsp. salt, divided 3/4 cup Dutch-processed unsweetened cocoa 1 1/3 cup regular or low-fat buttermilk, divided Cream Cheese Glaze: 1/2 cup powdered sugar 4 oz. (1/2 cup) regular or low-fat cream cheese 1/2 tsp. vanilla 3-4 tbsp. milk (or more if you want a thinner glaze) Preheat oven to 350. Rub a bundt pan and dust with 1 tbsp. flour until the interior is covered. Tap lightly to shake loose extra flour. Set aside.
Bake for 45-55 minutes or until a toothpick inserted in the center comes out with a few moist crumbs (make sure you’re checking in both the pumpkin and chocolate parts, I noticed large chocolate sections needed a few additional minutes). 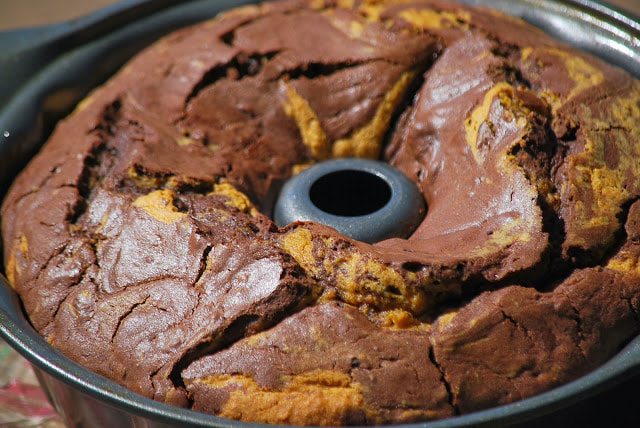 Cool in pan for 10 minutes, then remove from pan and cool for another 10 minutes on a rack.
Drizzle on the warm cake. Let cake cool completely.
Slice and serve.
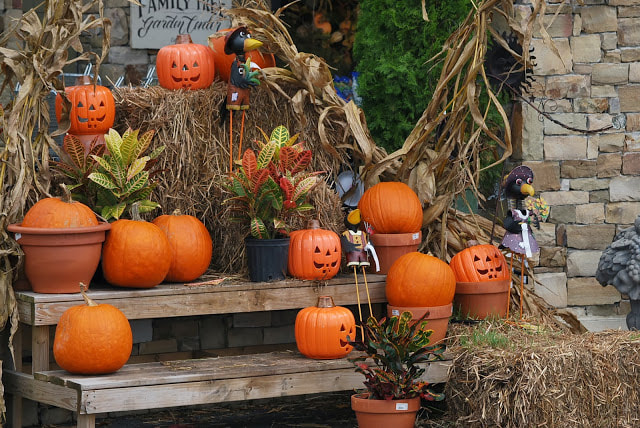
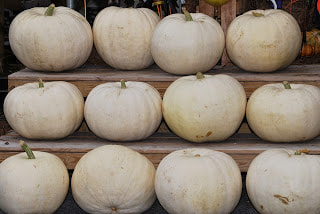
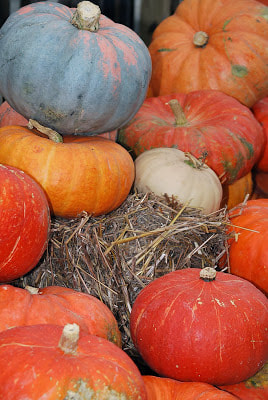
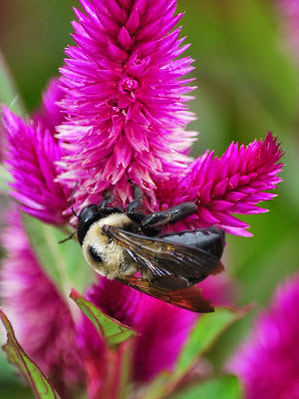
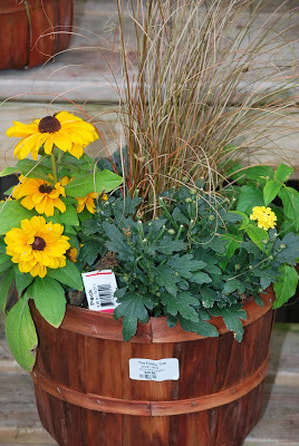
By the way, I want to send a shout out to The Family Tree garden center in Snellville, Georgia for their fabulous Fall displays AND for allowing me to come and photograph them all. These are a few of my favorite pics from my stroll through the nursery last week.
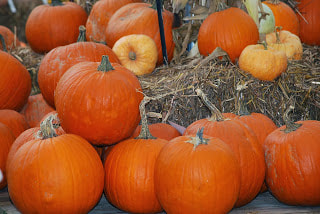
Fall just wouldn't be Fall without a little pumpkin cake to go along with the beautiful displays.
Happy Fall everyone. Ciao! |