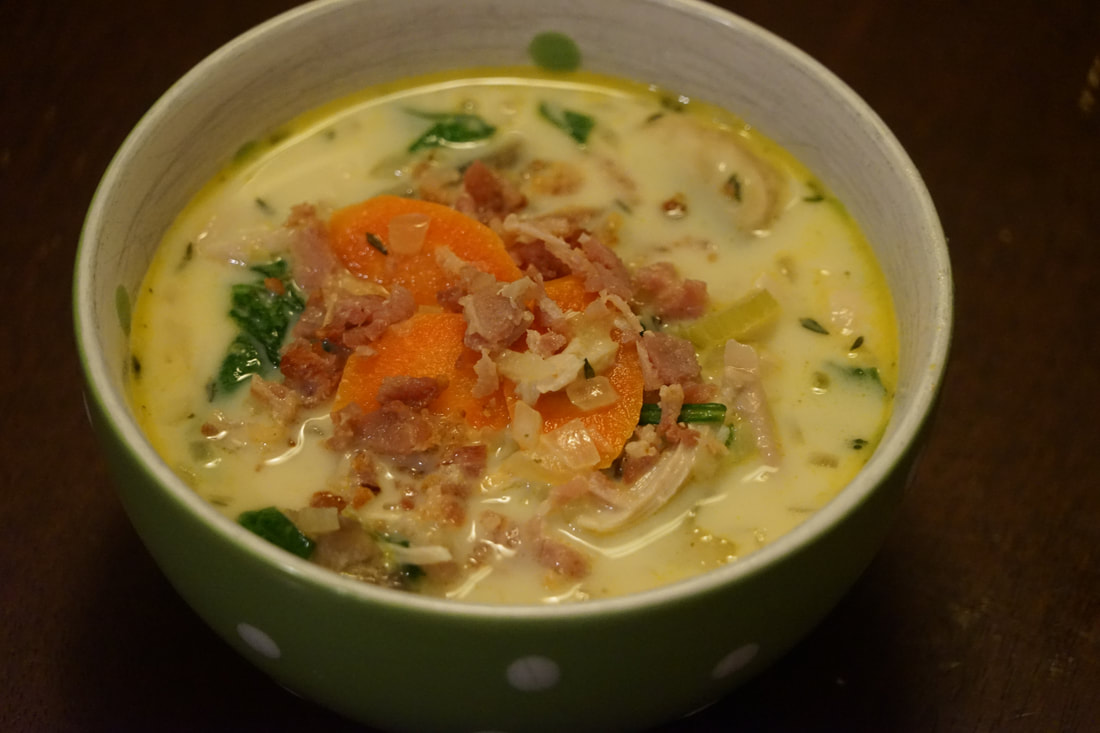
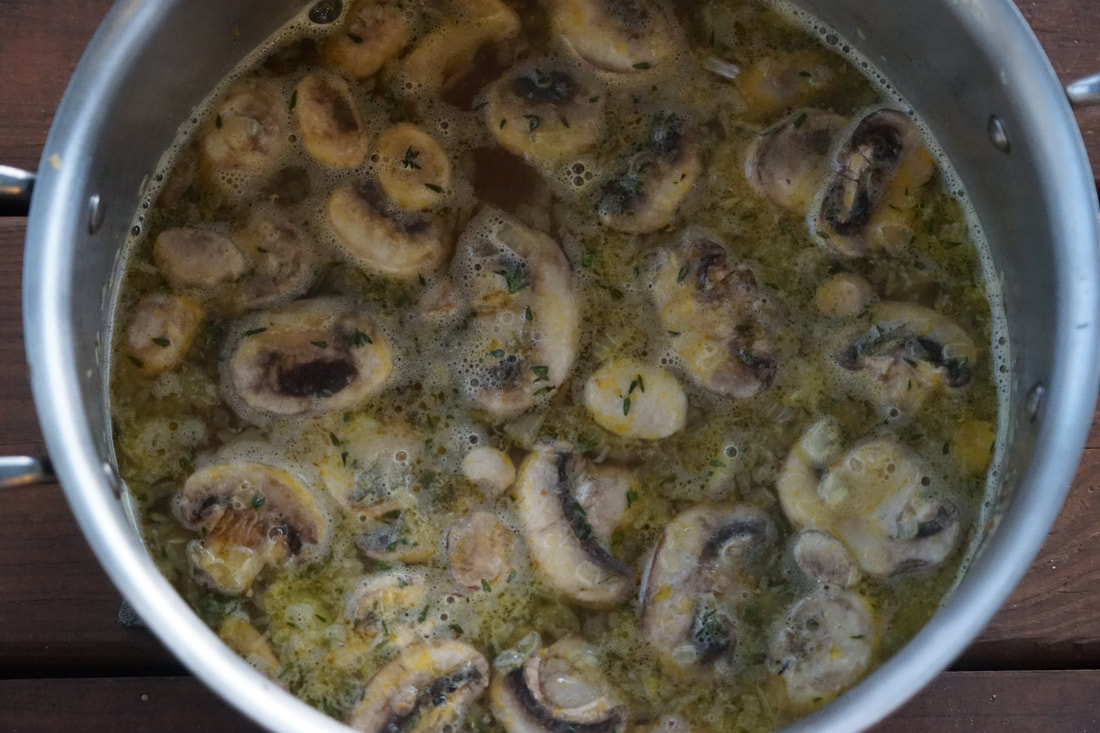
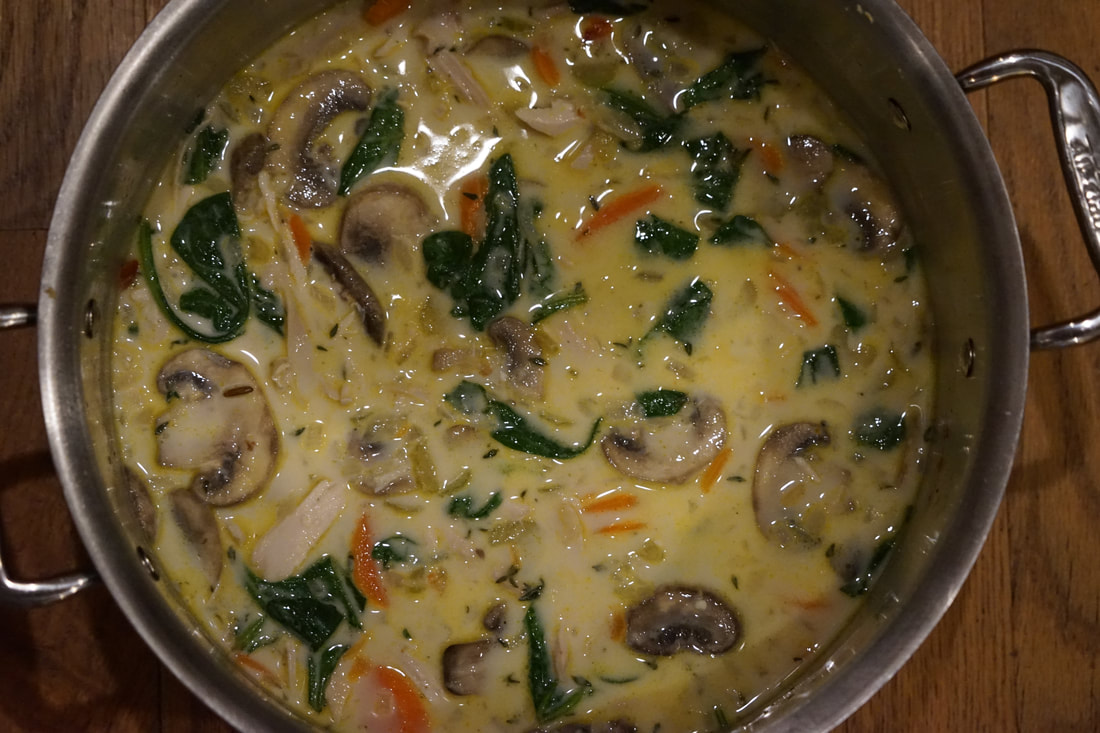
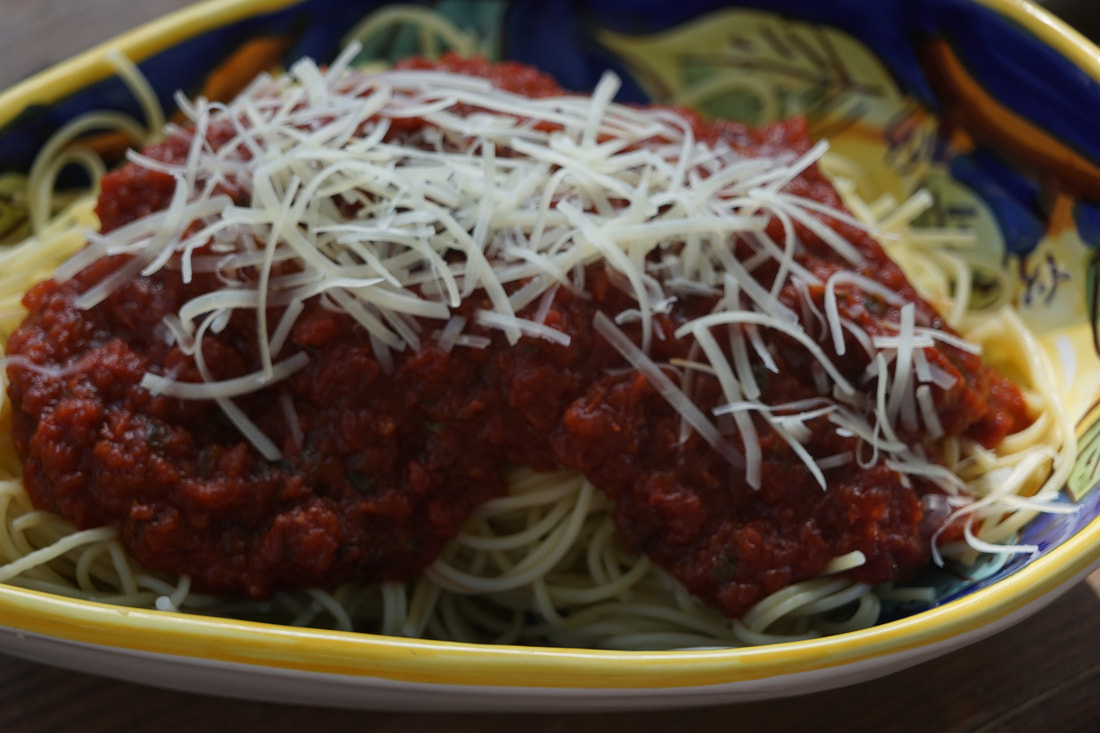
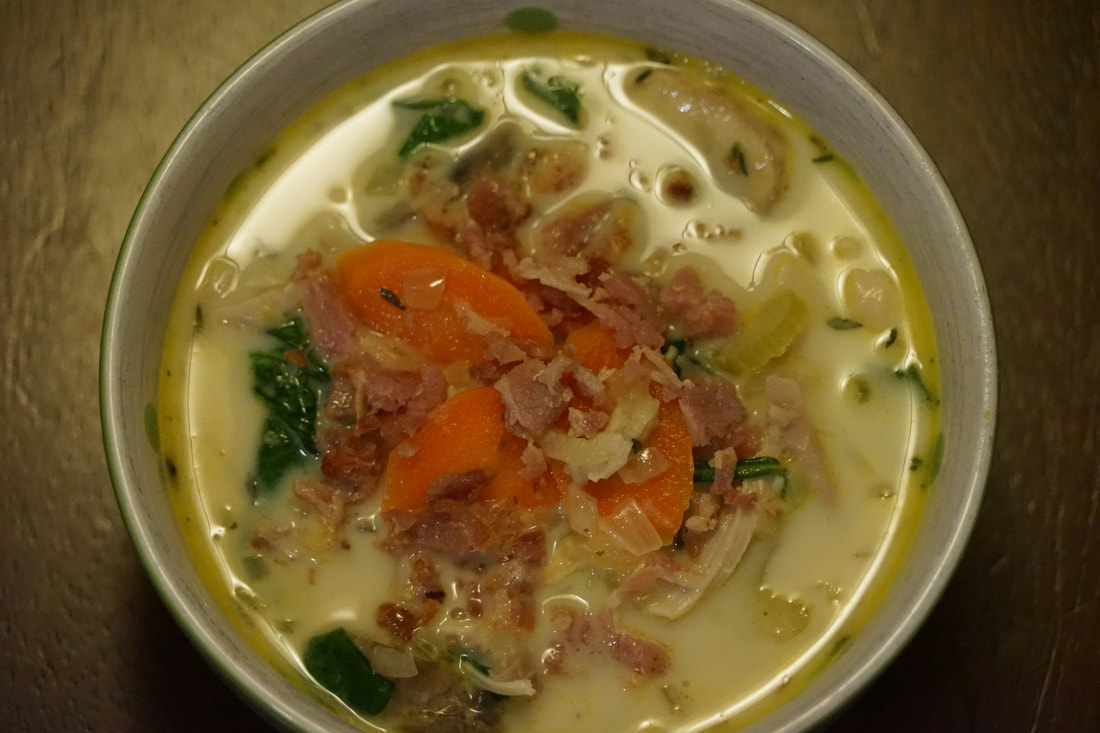
 Maybe it's because of the fact that I was driving around using the air conditioner earlier this week but the 40 degree reading on the thermostat this morning felt EXTRA cold. I really don't mind the cold weather - fuzzy scarves, cozy sweaters, hot chocolate, big bowls of soup - all things that I like to enjoy when the temperatures drop. Last we warmed up over giant bowls of Creamy Chicken and Wild Rice Soup. It definitely hit the spot on a cold November evening.
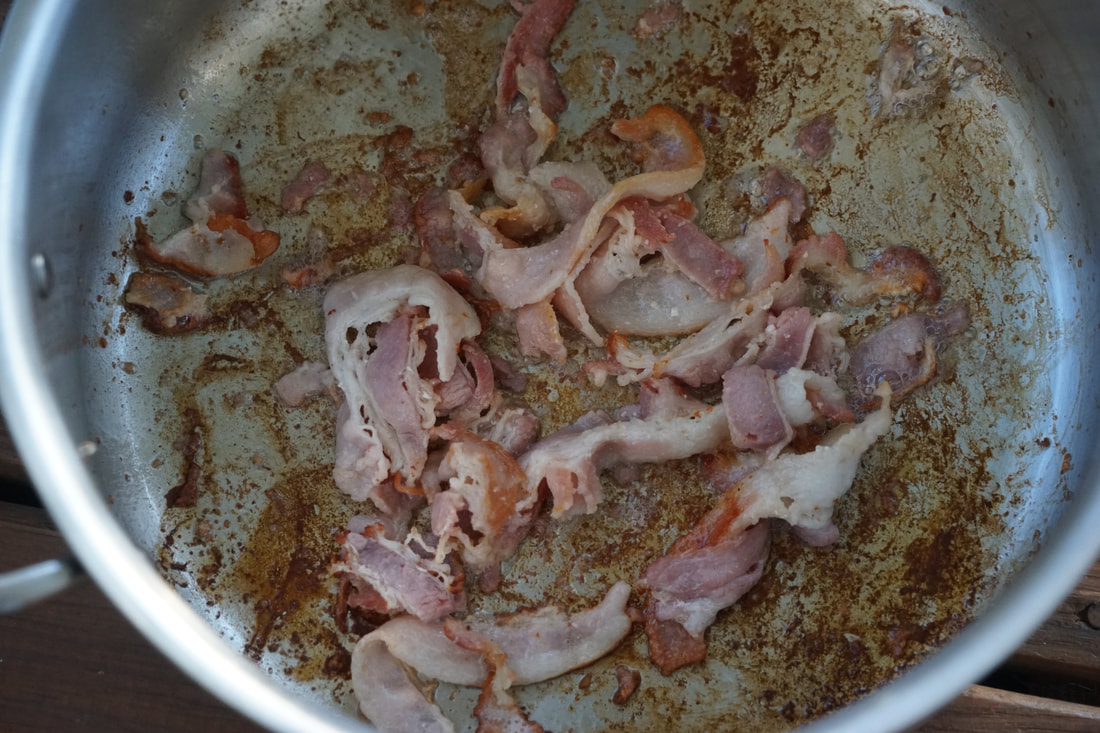
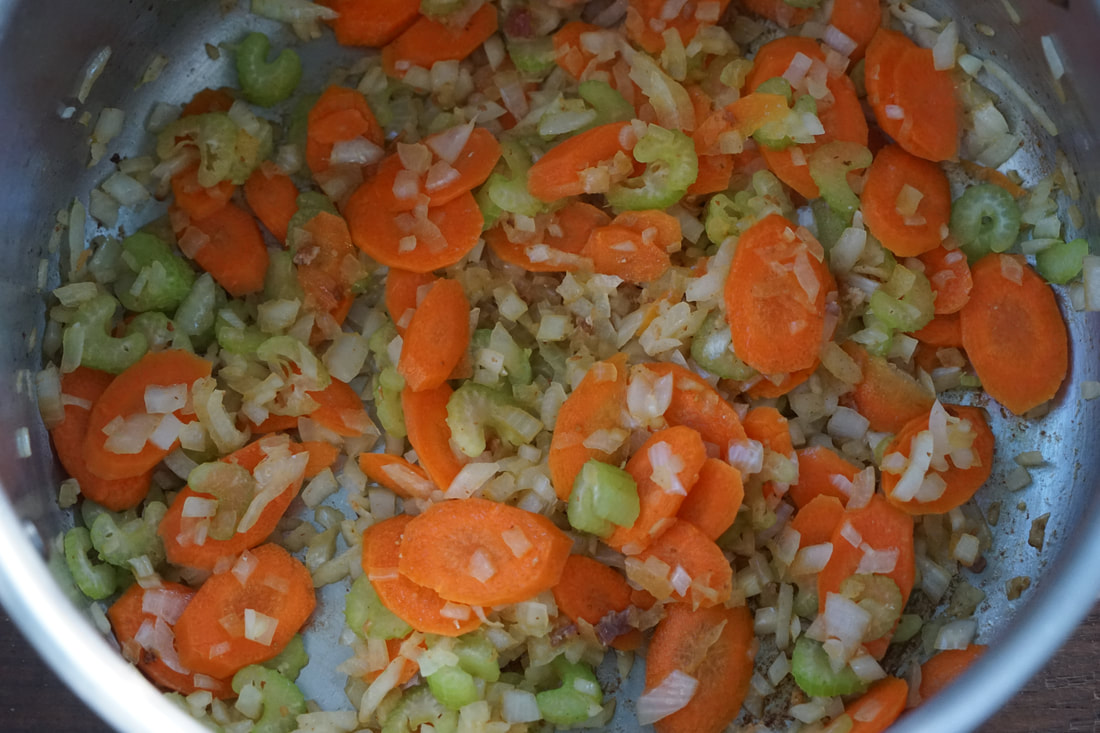
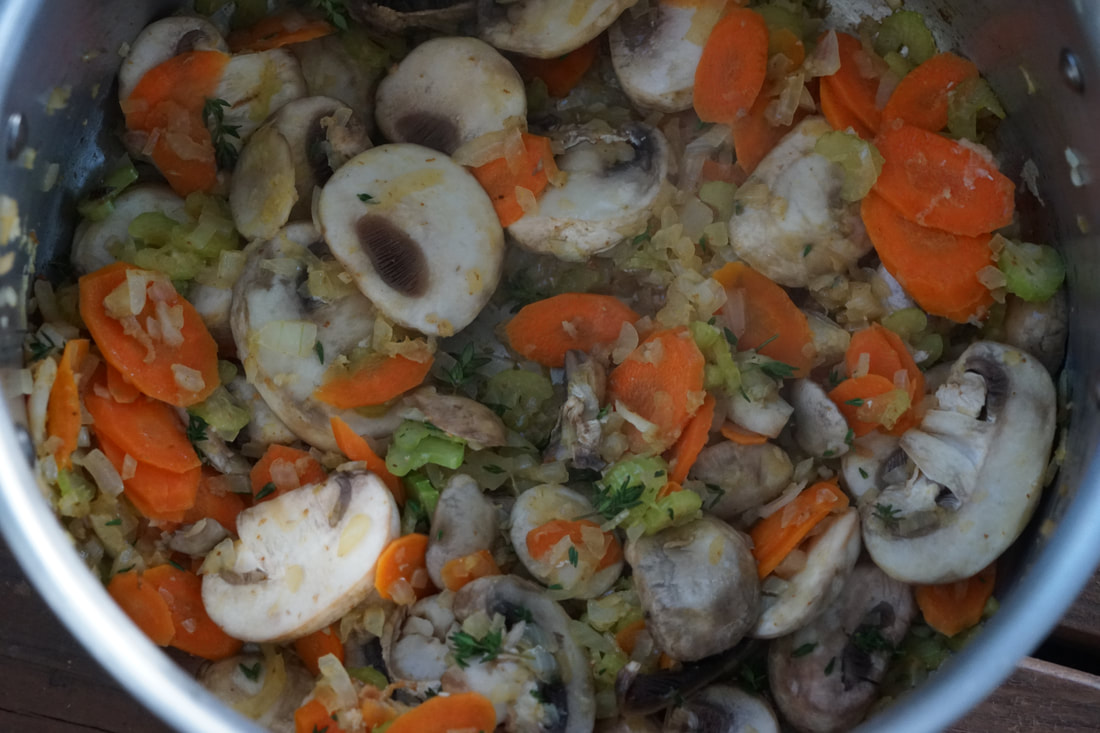
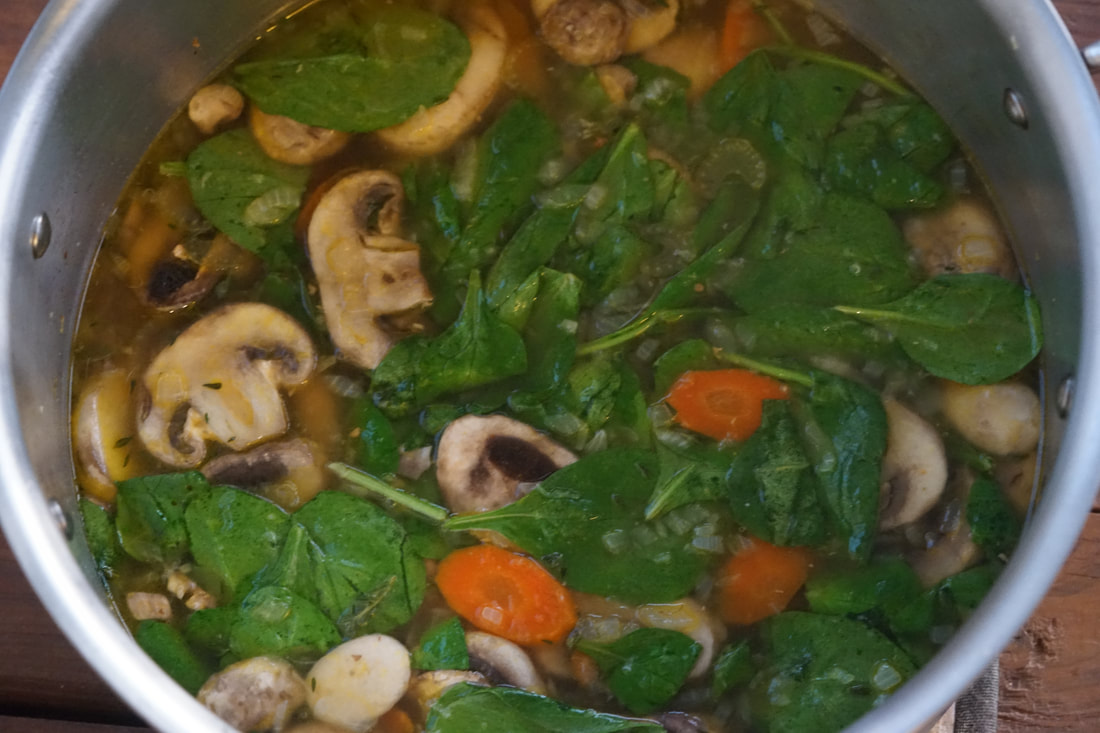
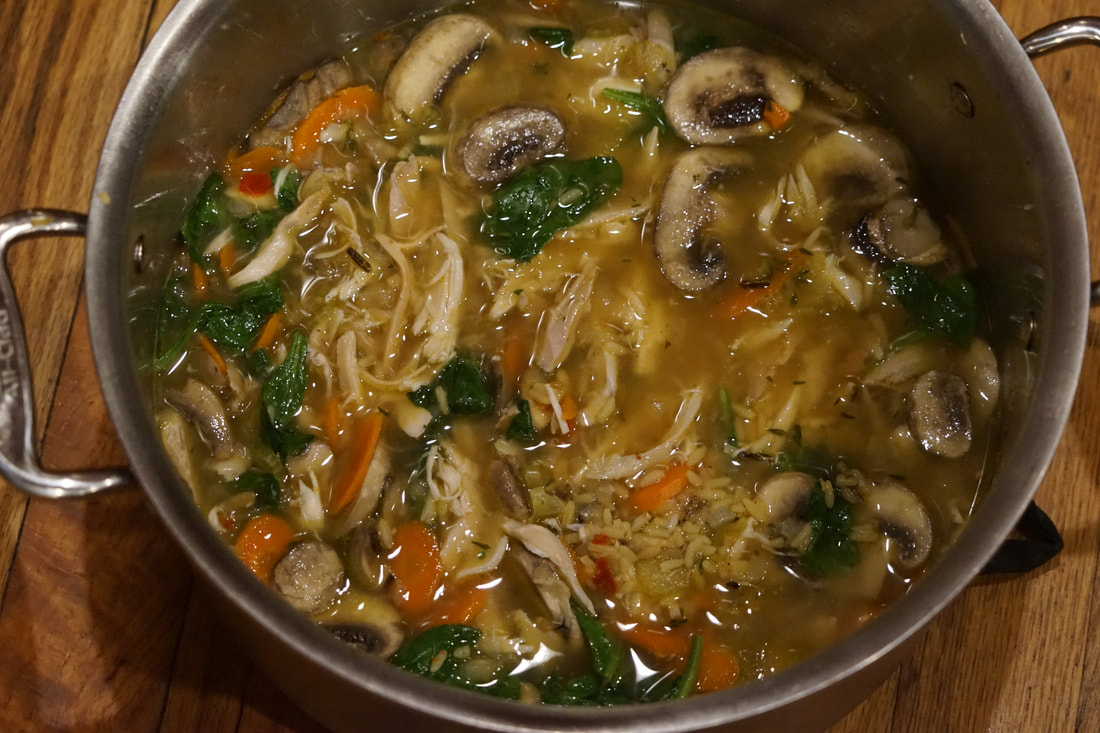
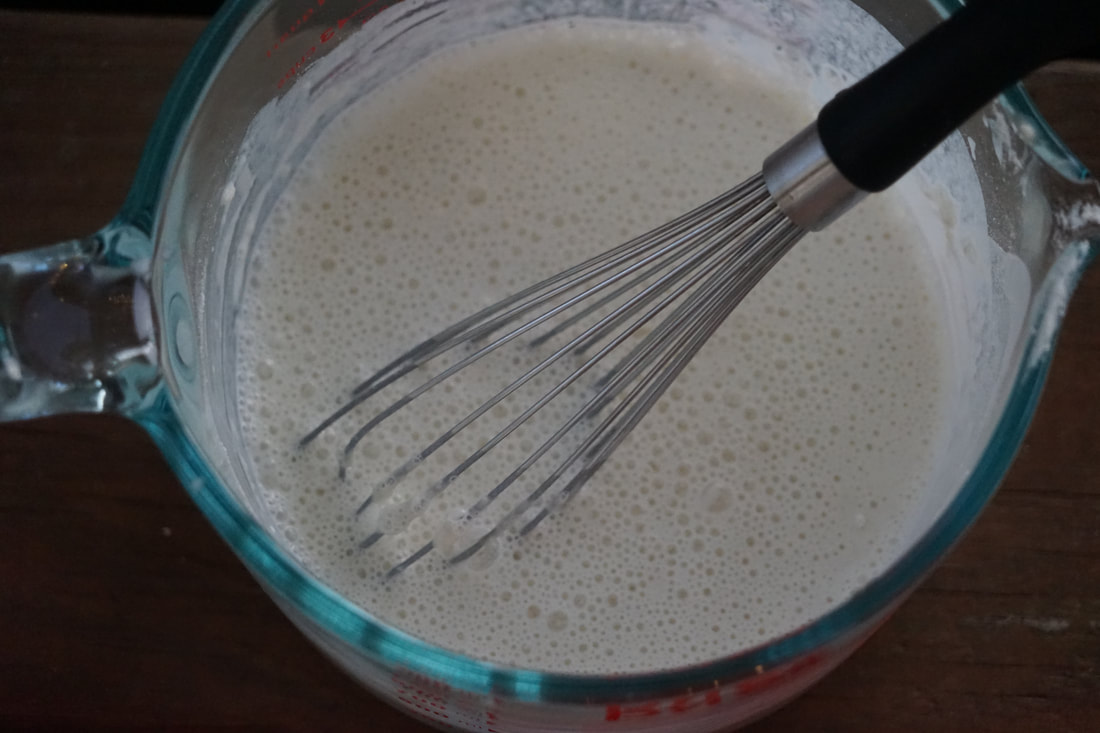
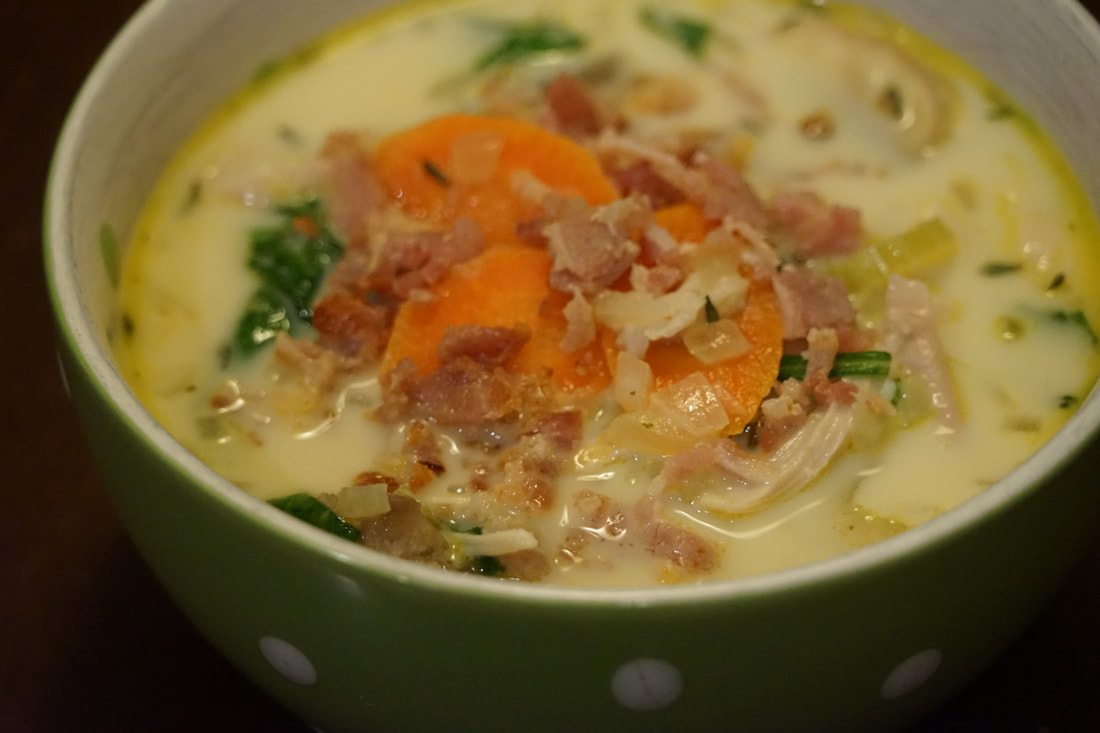
Creamy Chicken and Wild Rice Soup 5 slices bacon 1 cup chopped onion 1 cup thinly sliced carrot 1/2 cup thinly sliced celery 8 ounces sliced mushrooms 4 cloves garlic, minced 4 cups chicken broth 1 cup water 4 cups spinach 1 teaspoon salt 1/2 teaspoon pepper 6 ounces shredded rotisserie chicken breast 1 cup wild rice, cooked 1 cup half and half 1/3 cup flour
Ladle into bowls and top with bacon. 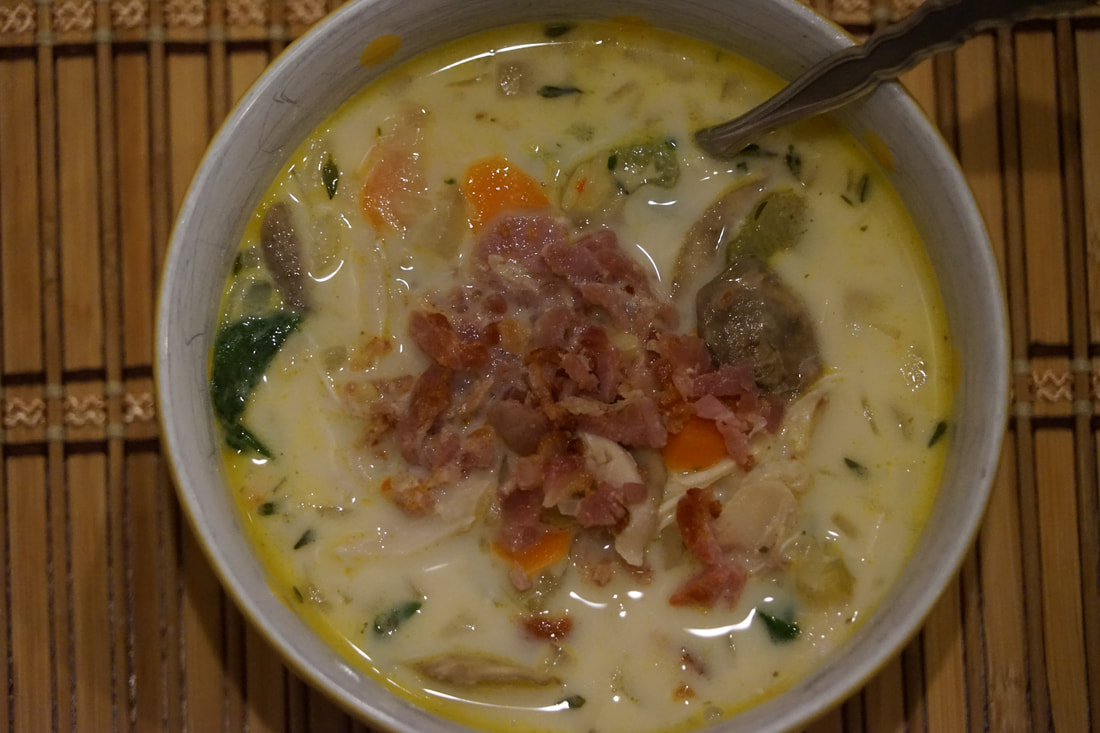
Starting with a rotisserie chicken really makes this soup come together quickly. I was a little skeptical of adding the spinach but even the green-phobic eater in the house ate it up. This really was a tasty soup and thank goodness we have plenty leftover to reheat for lunch today. Stay warm friends.
Ciao!
0 Comments
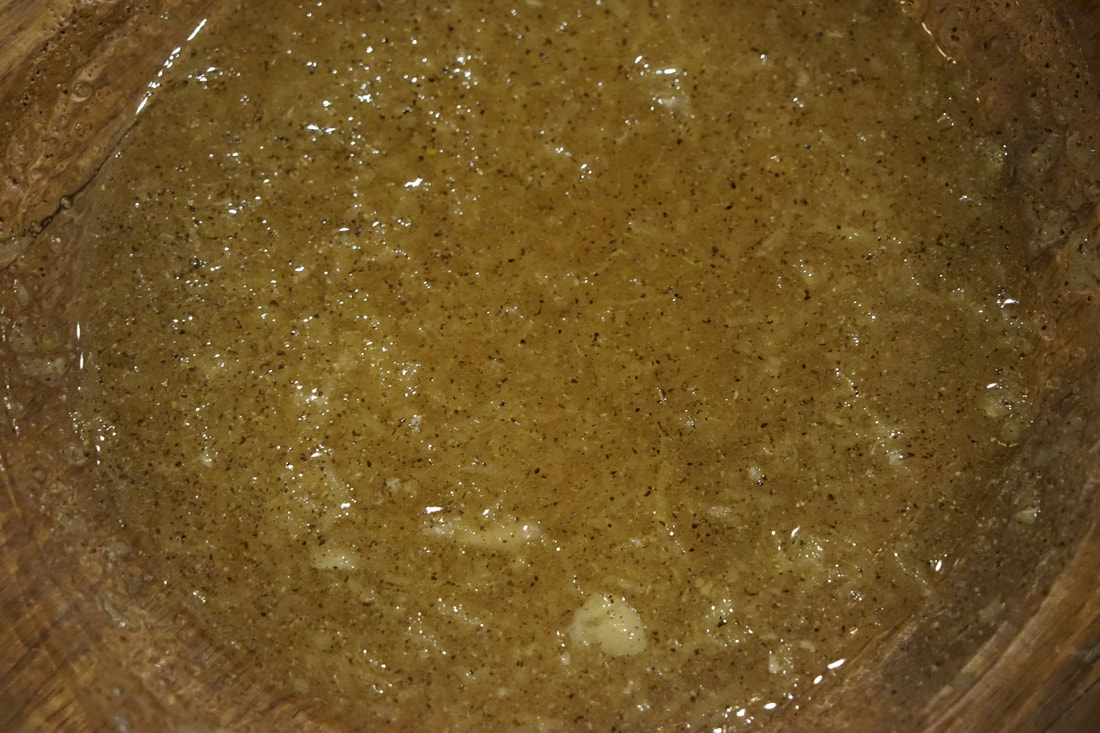
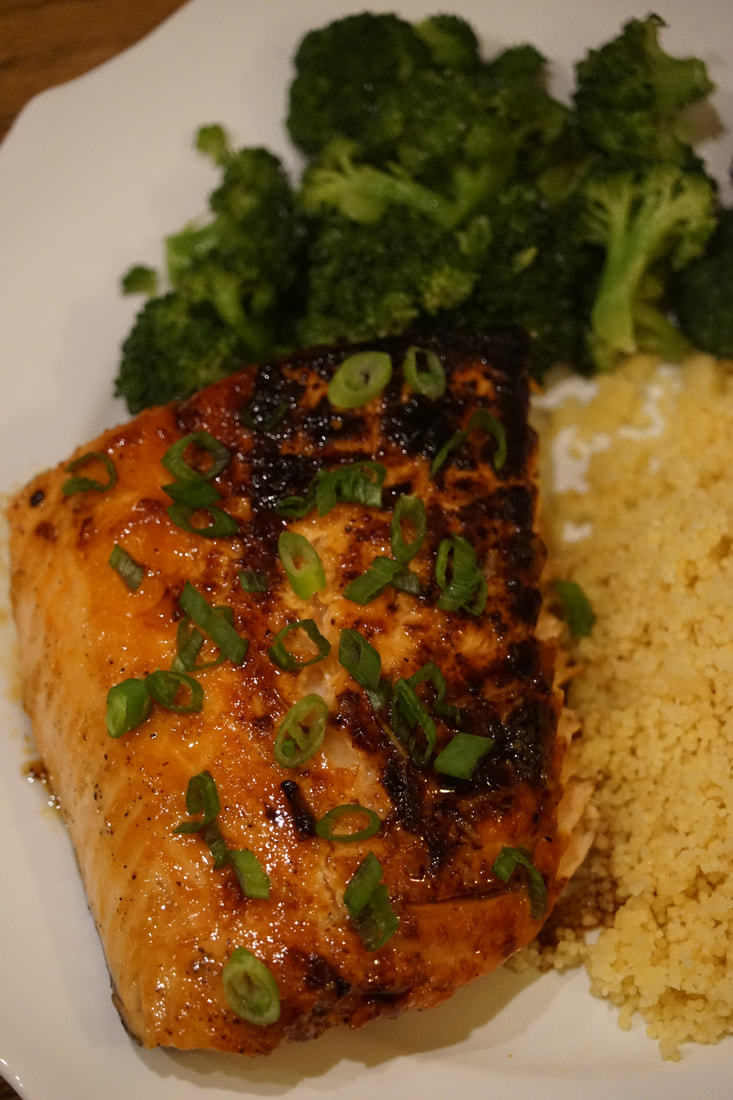
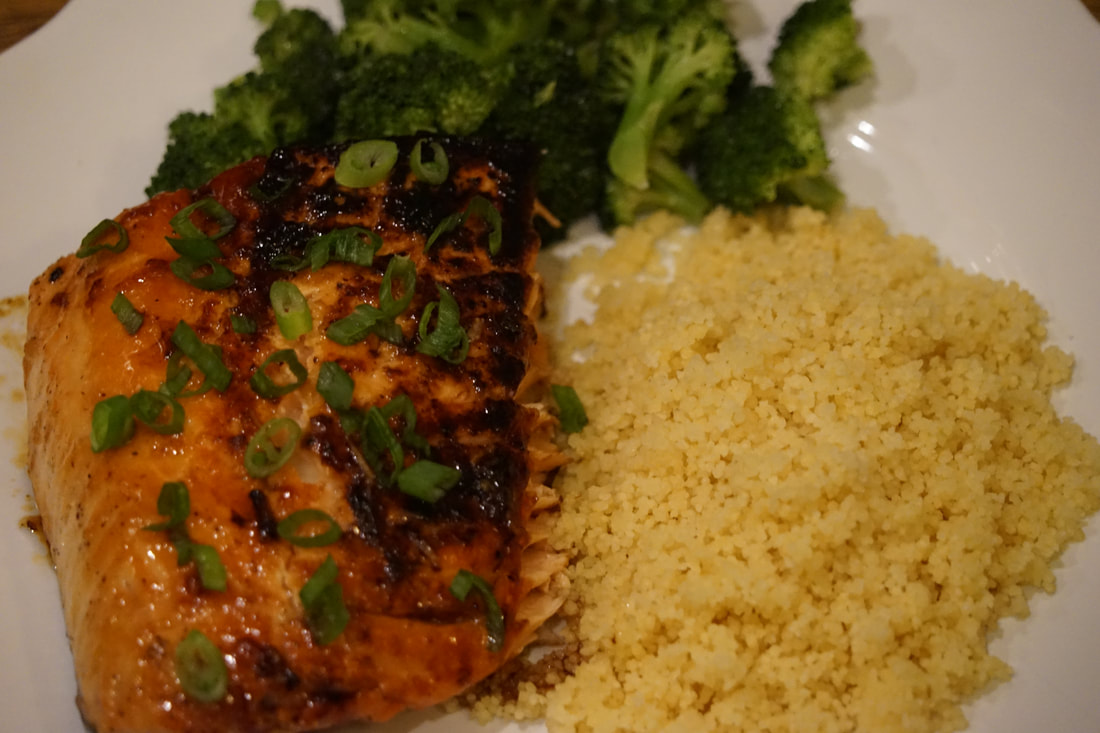
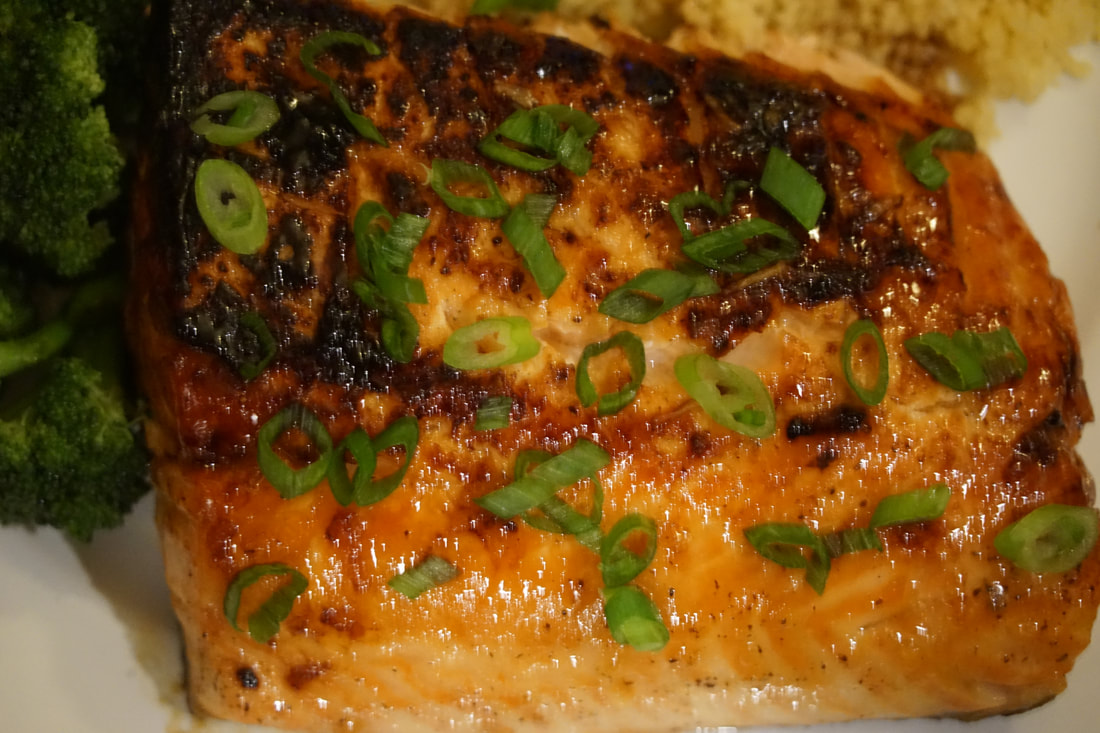
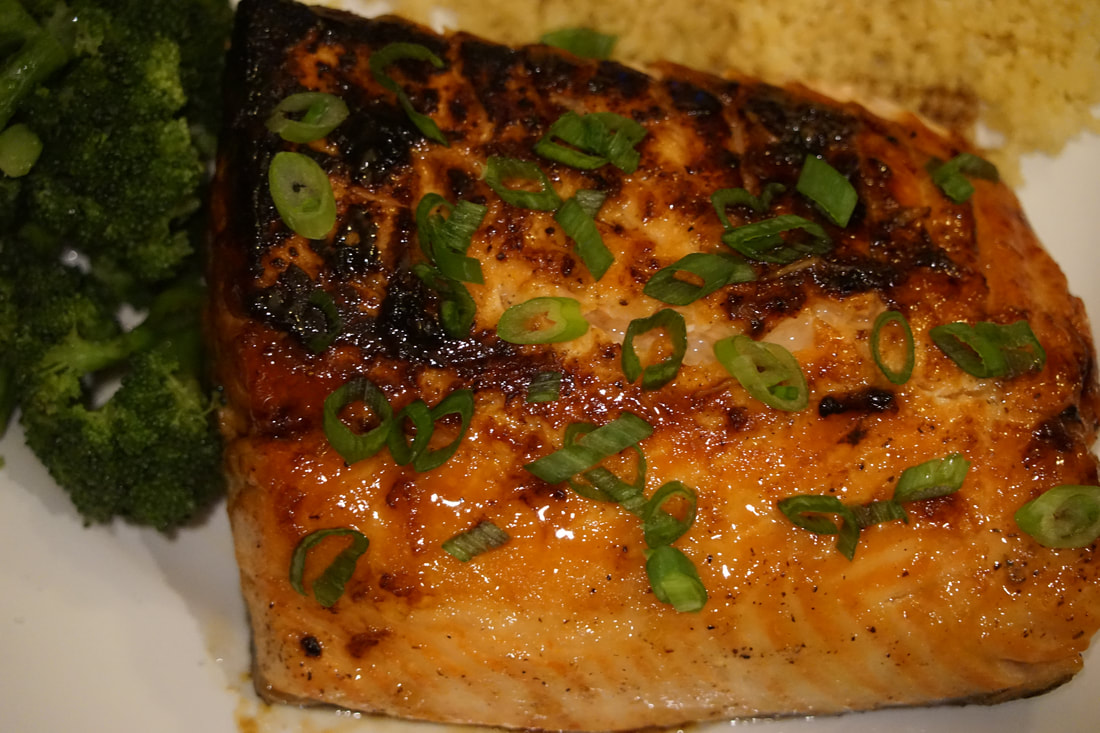 I've always said that I have THE best blog followers EVER! Seriously, you guys are awesome and you always come through for me when I need your help. I'm looking for advice from all my Insta Pot readers today. In case you haven't heard of the Insta Pot, it's the newest kitchen gadget on the market. A programmable pressure cooker that cooks food super fast. I want to hear from all of you Insta Pot owners. Should I add one to my Christmas list? Do they really cook frozen meats in record time while maintaining moist, fresh flavor? I've got to be honest, I'm a bit skeptical because I really don't need another kitchen appliance or have any idea where I would store one but I want your honest feedback. Do you have one? Do you love it? What are your favorite Insta Pot recipes? How often do you use it? For now, I'll be cooking my salmon the old fashioned way. This Honey Garlic Salmon is amazing and it's defiantly a recipe that I recommend that you try soon. 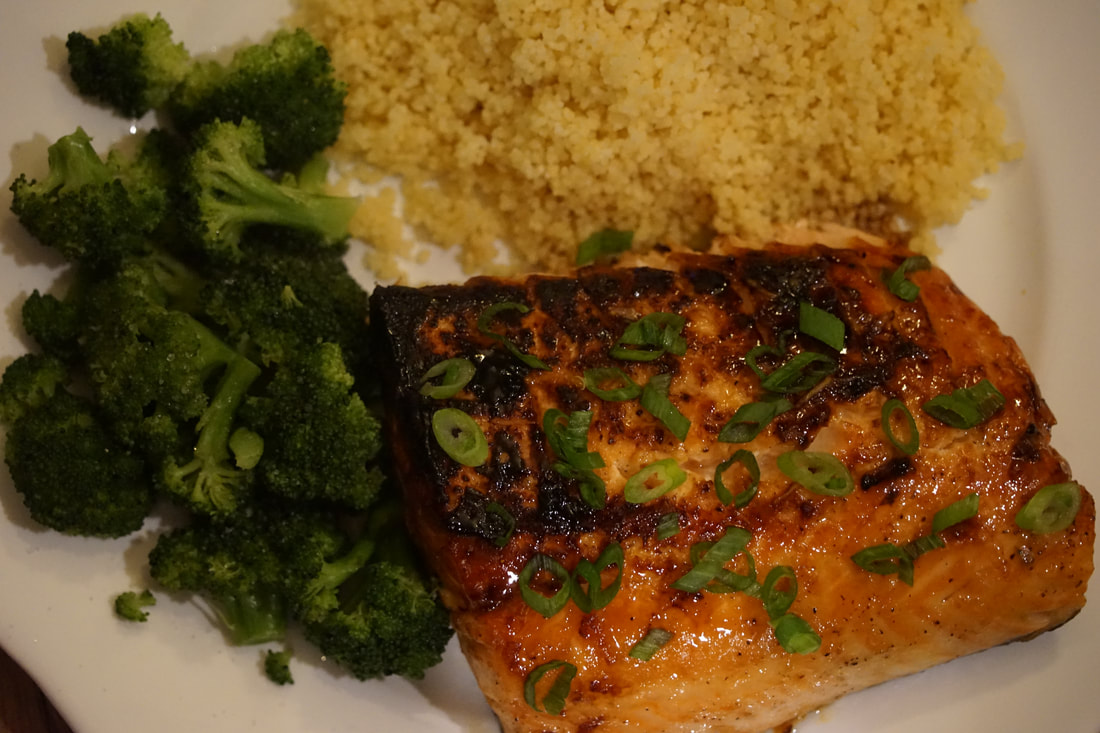 Crispy Honey Garlic Salmon 2 tbsp honey 1 tbsp lemon/lime juice 2 - 3 large garlic cloves, crushed 1/2 tsp salt 1/2 tsp ground black pepper 6 x 3 oz each salmon fillets 1 - 2 tsp extra virgin olive oil 1 green onion, finely chopped
Heat oil in skillet. Place fish, flesh side down in pan. Cover and cook 3 minutes. Remove lid. Cook 1 minute longer and flip fish. Continue to cook until cooked through. 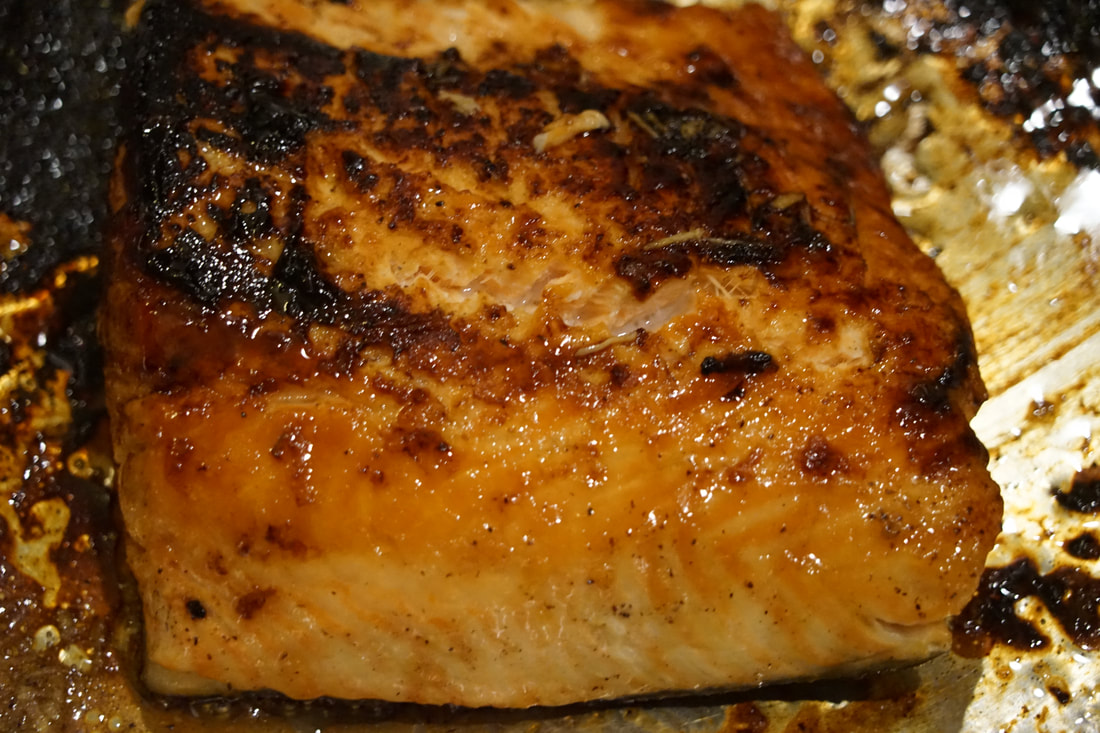 Garnish salmon with green onions.
Since I'm in the process of putting my Christmas list together. What other kitchen tools or gadgets are your favorites? What are the things that you absolutely cannot live without? If you share your suggestions in the comment section we can all get started on our Christmas lists.
Ciao!
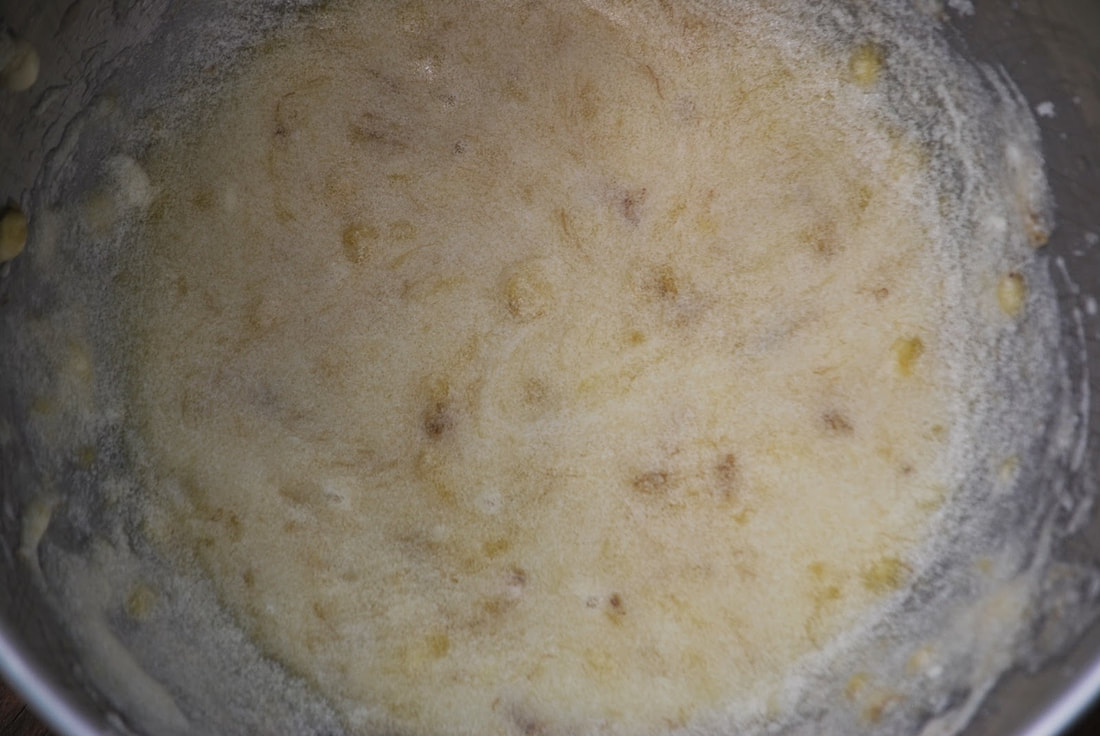
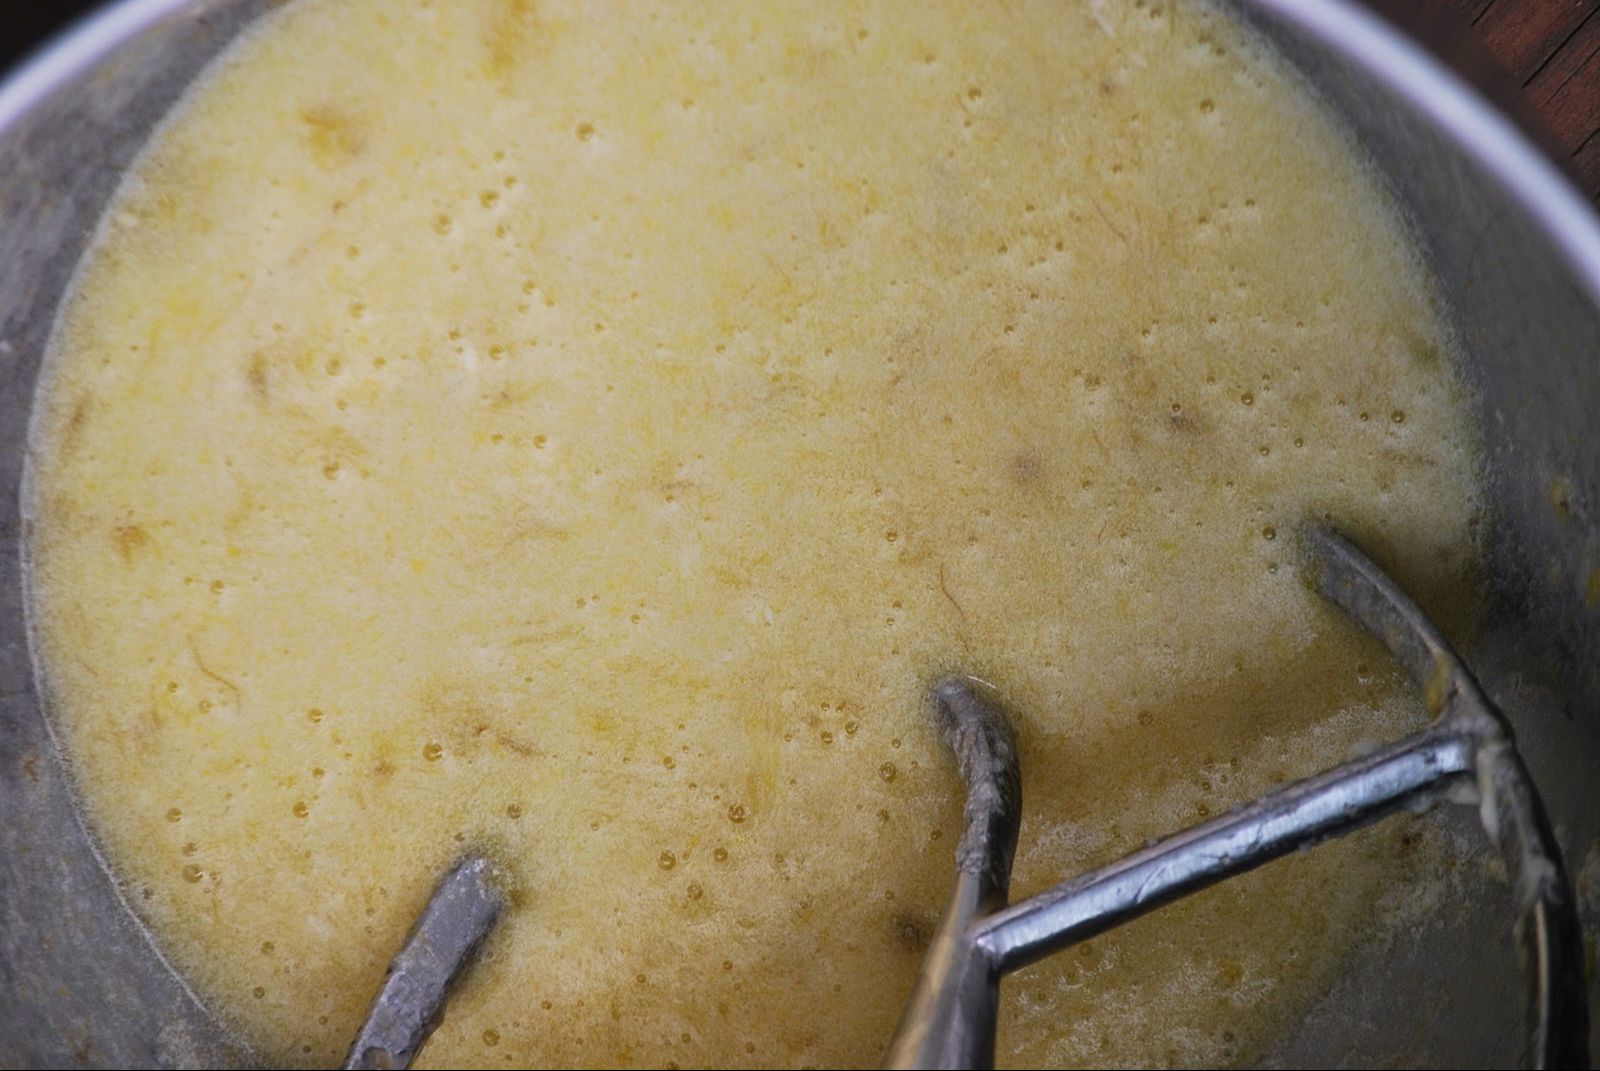
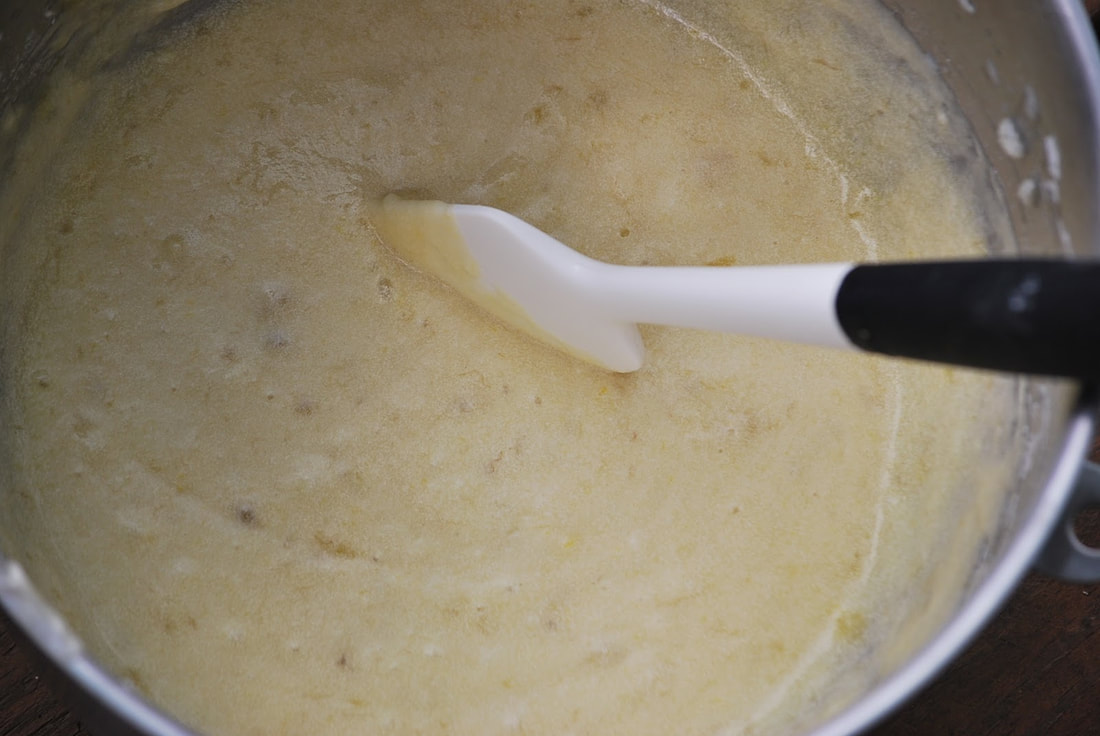
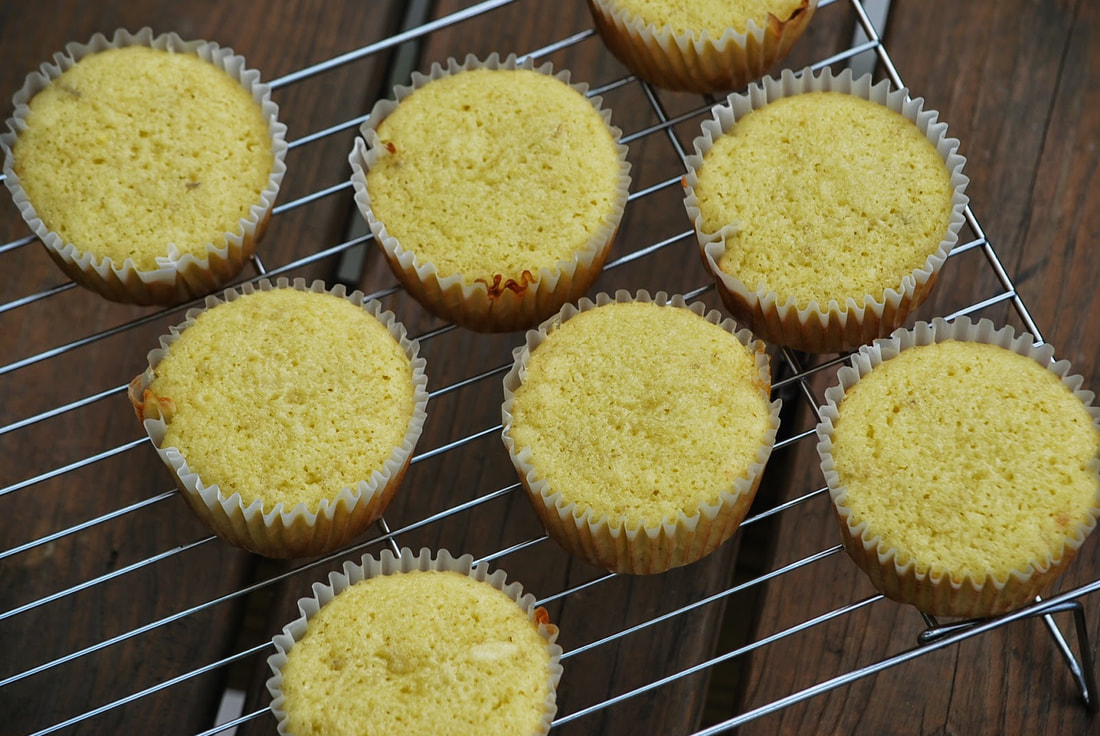
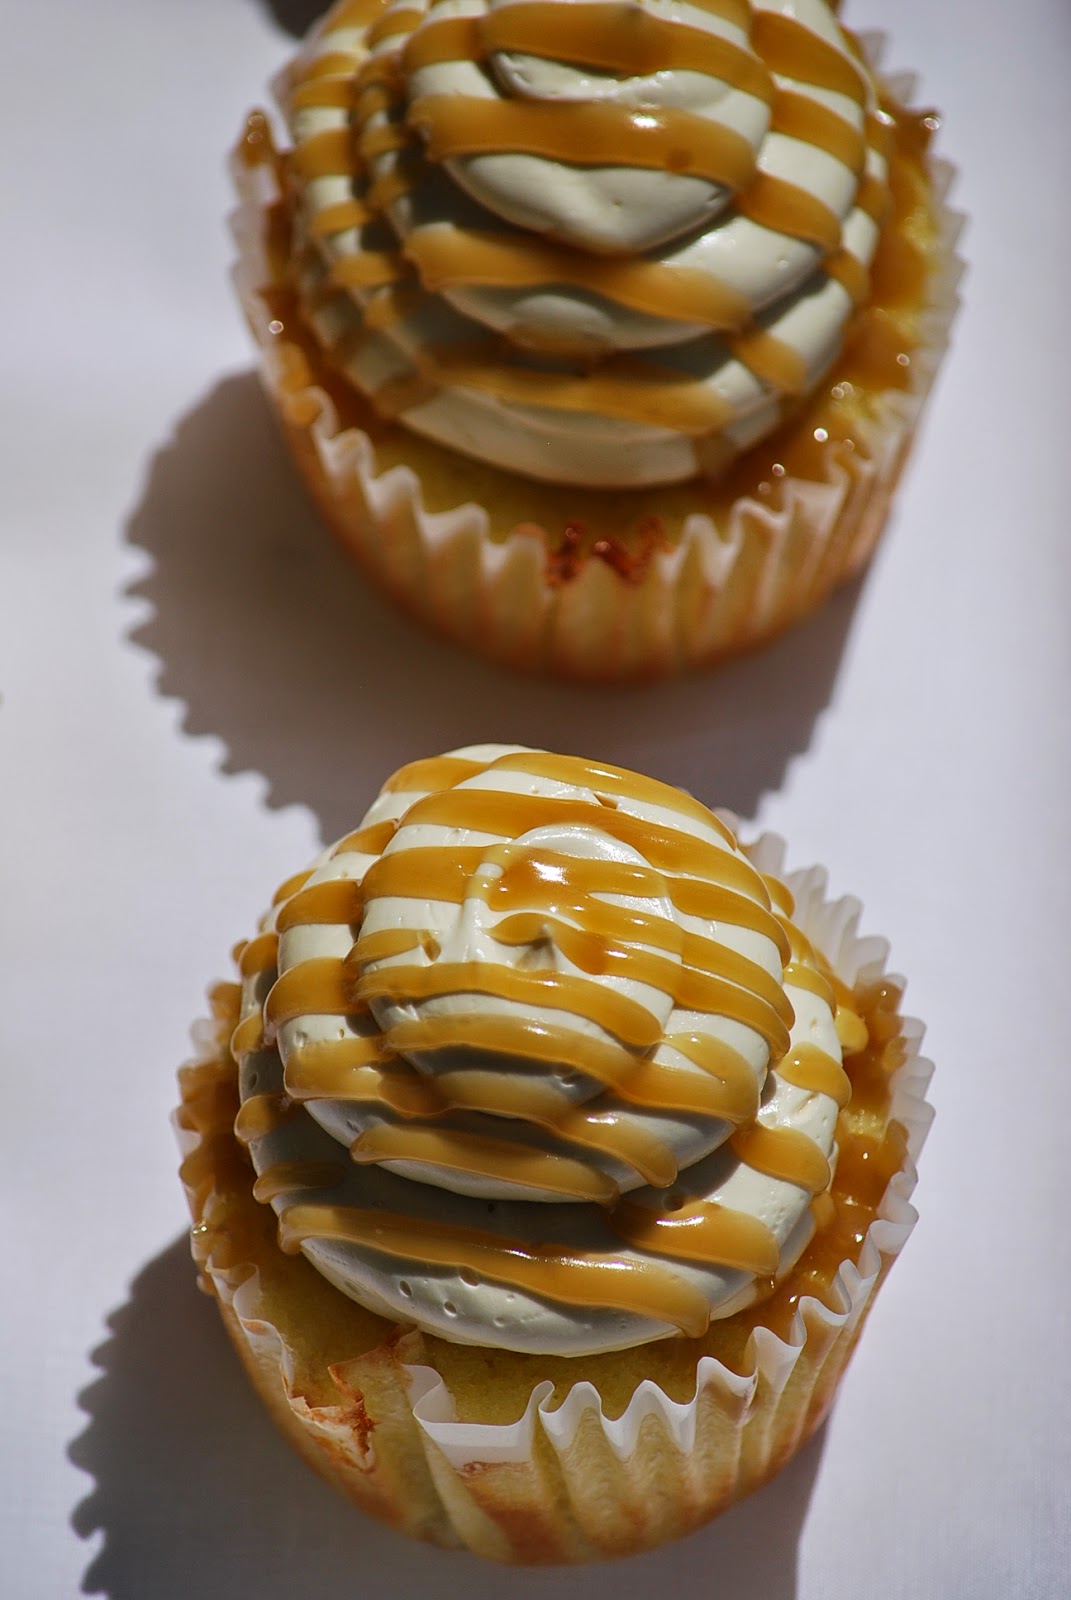
I have an ongoing list of new cupcake flavors that I intend on baking, on my refrigerator . (Doesn't everybody?) I am constantly pulling recipes from websites, from cookbooks, blogs and magazines and I found that the best way to organize them (and remember them) was to start a list and post it on the refrigerator door. That way, when it's time to bake cupcakes - I've got instant inspiration. (By the way, this strategy works for dinner ideas too.)  Some of my favorite cupcake recipes have come from annies-eats.com. She has a way of pulling flavors together that I never would have even thought about combining into a cupcake. This caramel banana cupcake is adapted from her recipe and I hope that even if the flavor combination doesn't appeal to you - the pictures will draw you in for a closer look.  These cupcakes really are the incredible. A perfect little treat for a cool Fall day.
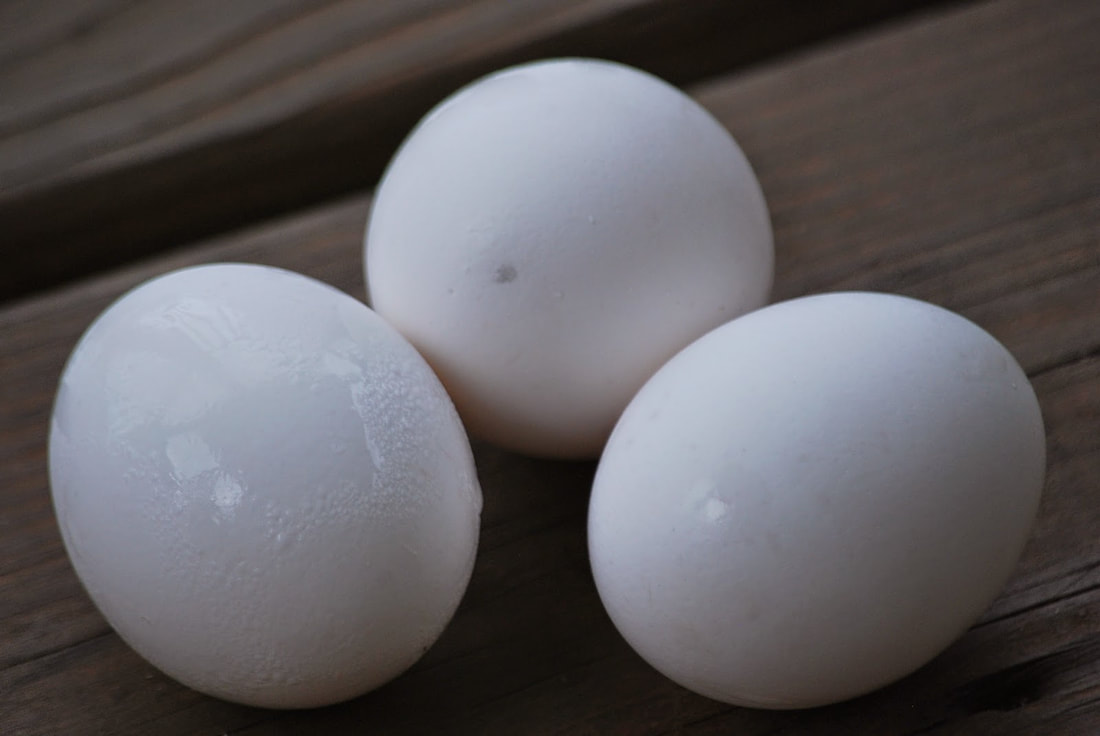
Banana Caramel Cupcakes 2½ cups all-purpose flour 1 tbsp. baking powder ½ tsp. salt 12 tbsp. unsalted butter, at room temperature 2½ cups sugar 6 eggs 1 cup plus 2 tbsp. buttermilk 1 1/3 cups mashed ripe banana Caramel buttercream
Mix in the mashed banana until well combined.
Reduce the mixer speed to medium low and add in eggs one at a time, scraping down the sides of the bowl as needed.
Frost with caramel buttercream and drizzle with caramel sauce.
Ciao
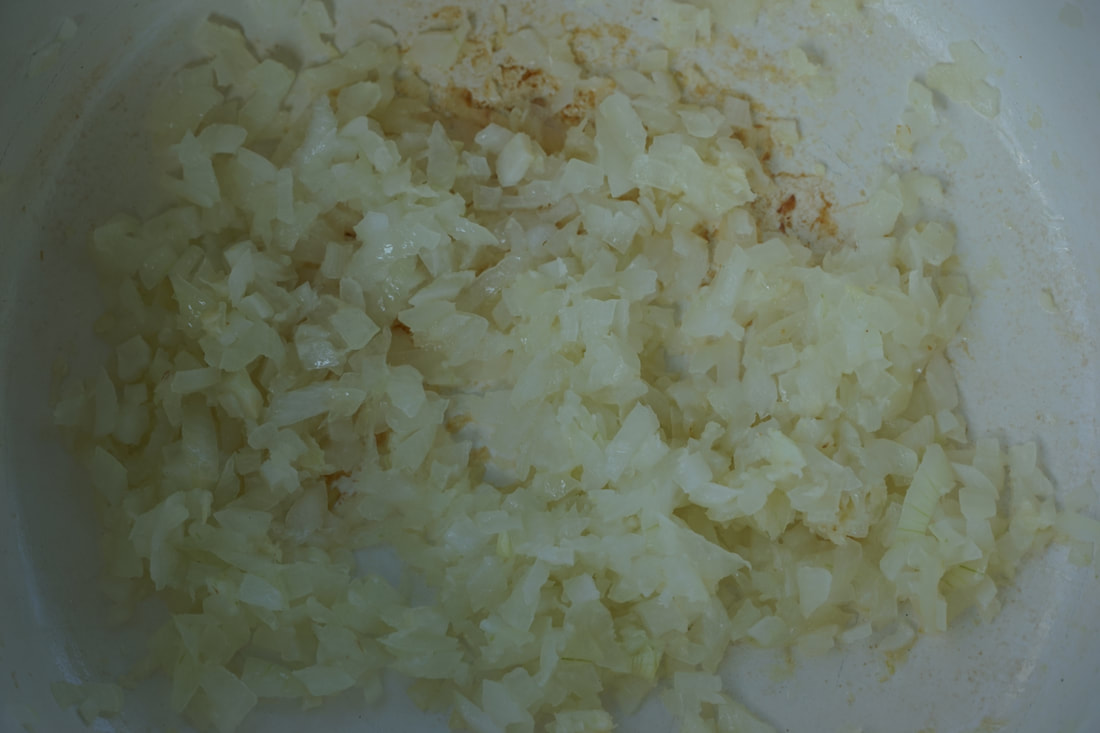
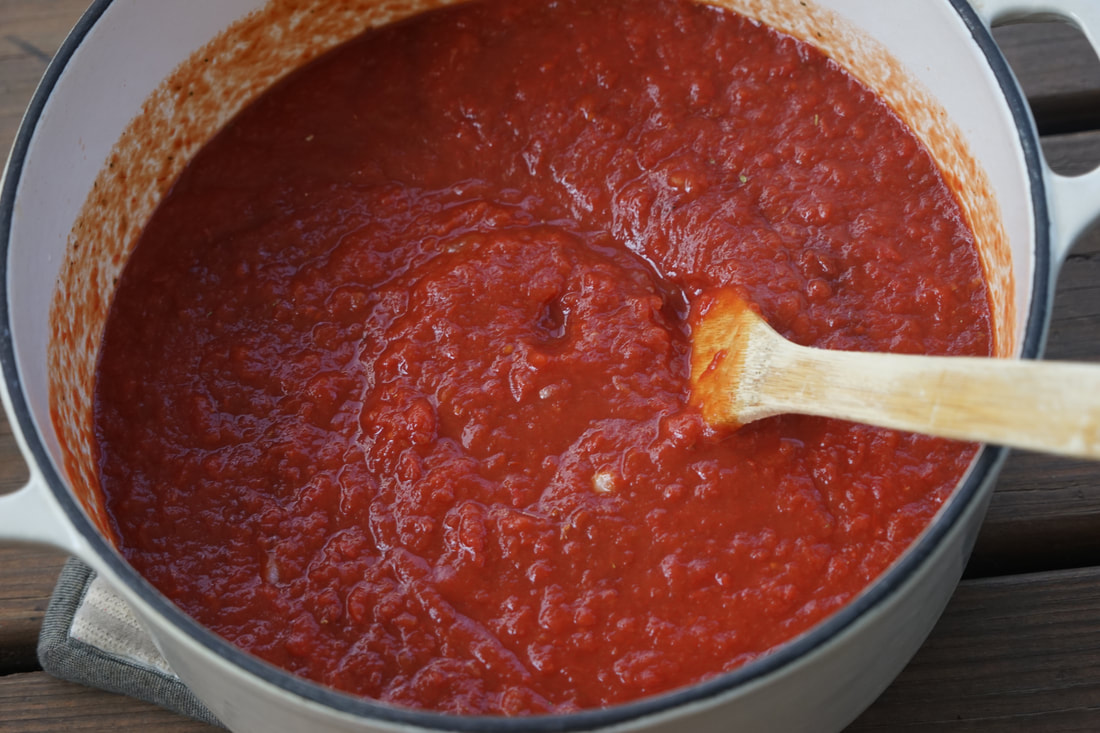
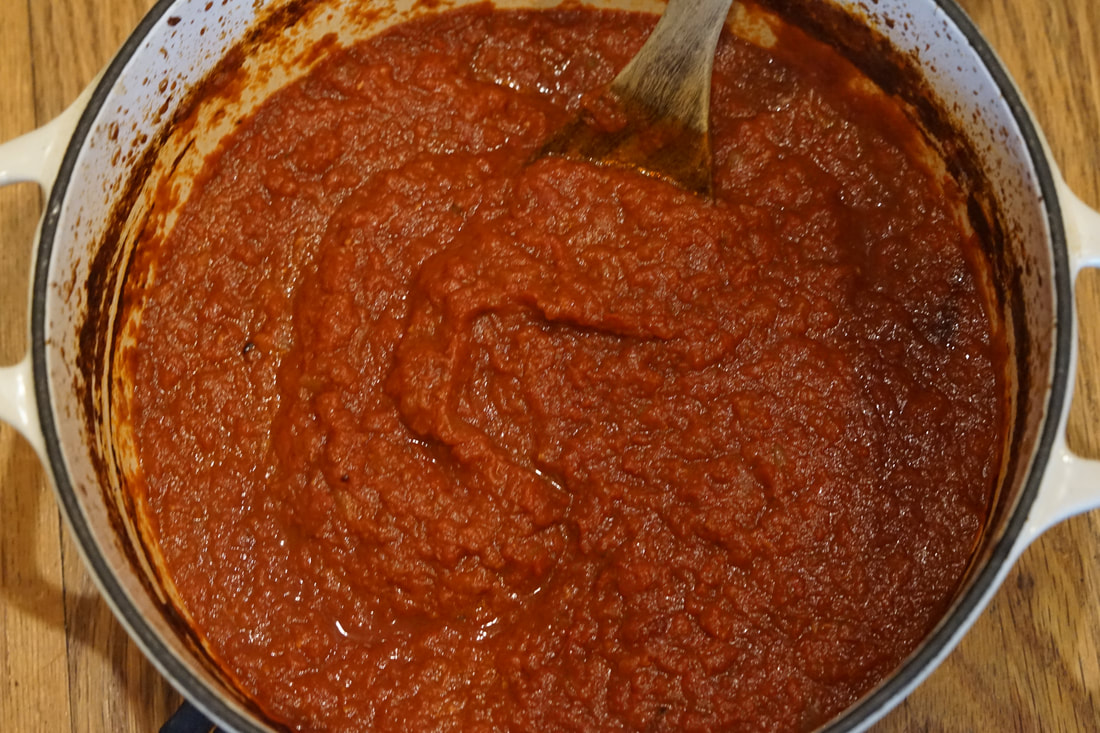
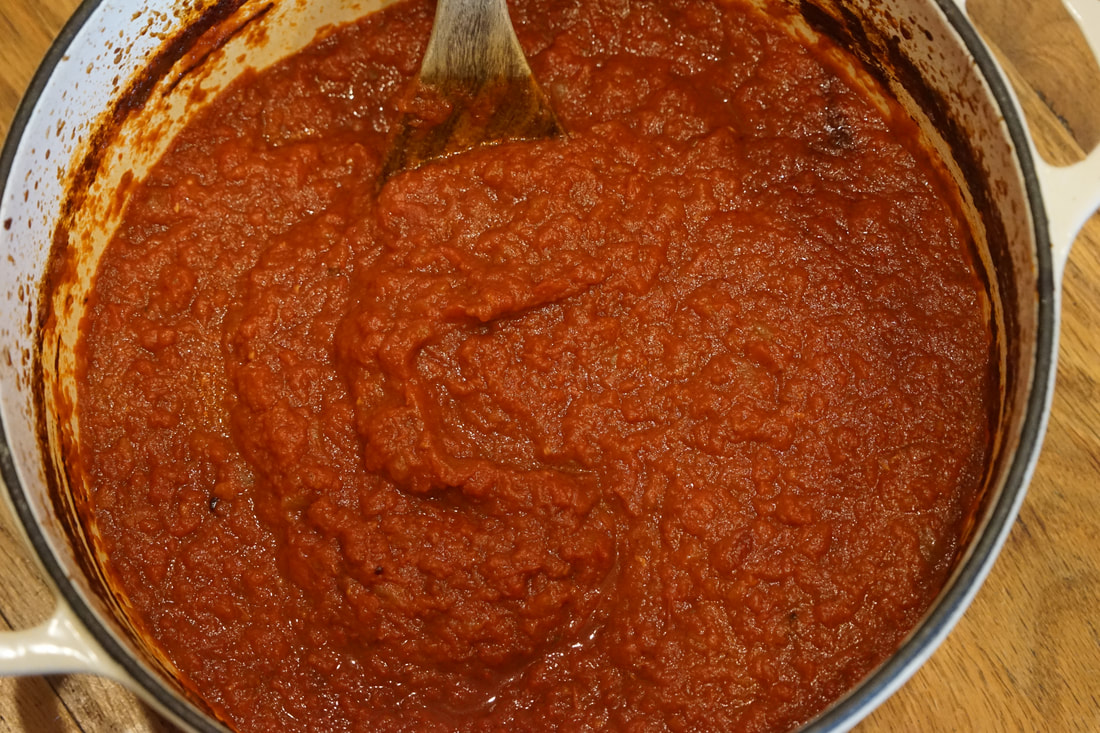
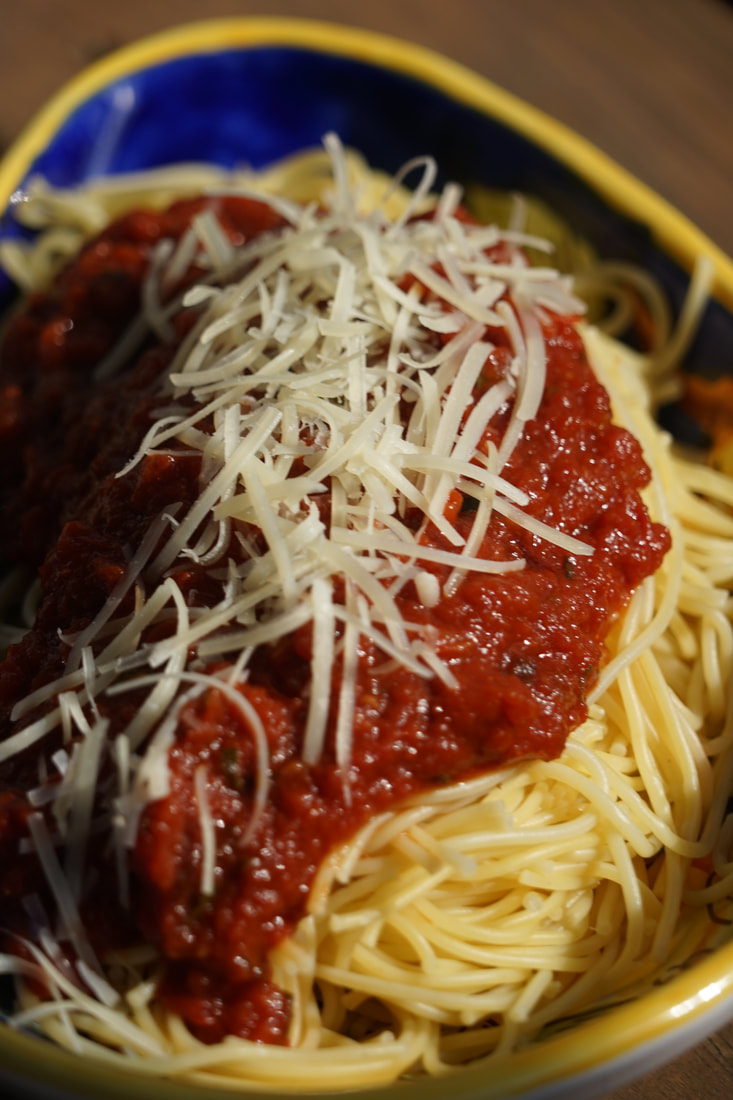
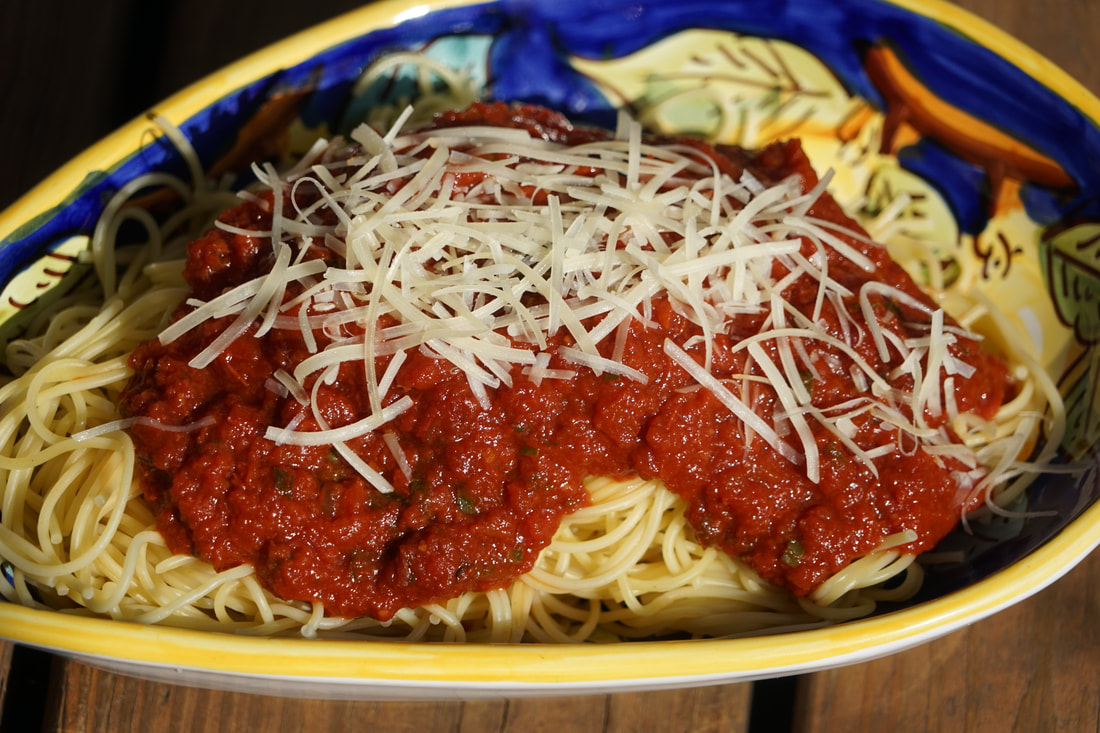
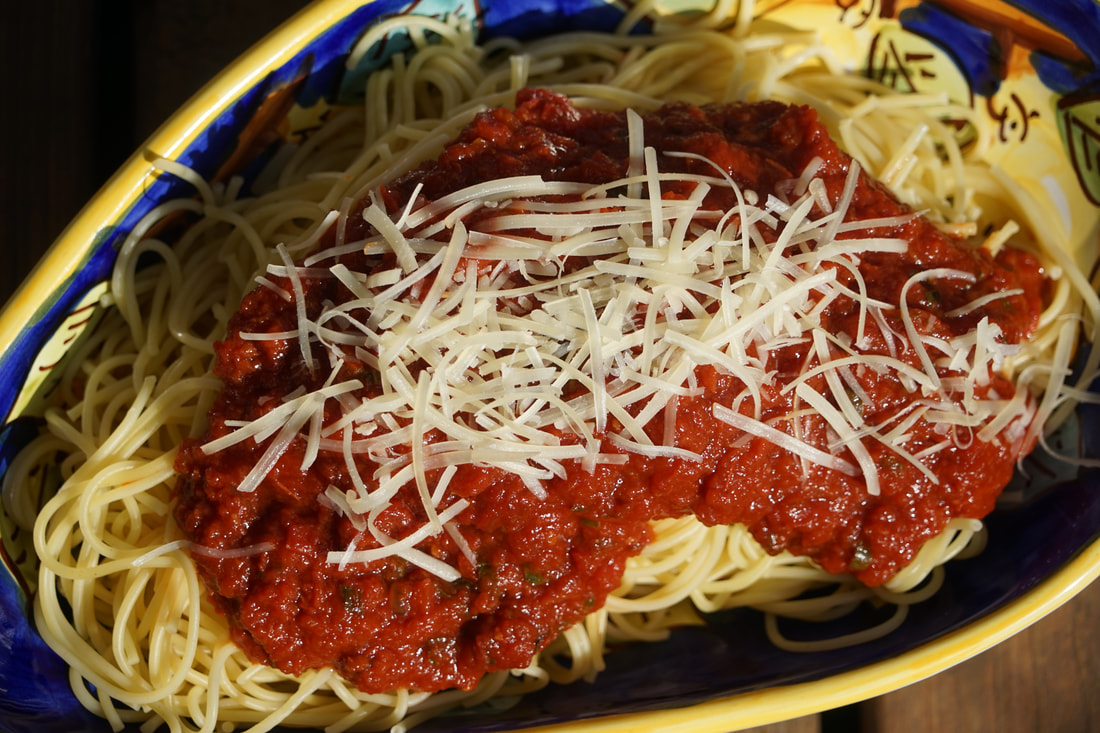 I am such a big fan of food prepping and I honestly don't know how I could function during the week without prepping at least some of our meals ahead of time - especially during my busy baking season. I typically do my grocery shopping on Monday morning and then I set aside a couple of hours to prep our food for the week. It's amazing how much time it saves me to have everything prepped and ready to heat and eat at dinner time. I feel like food prepping helps us to eat healthier too because I'm less tempted to serve something unhealthy just because it's quick when I have meals prepped and ready to pull out of the frig or the freezer. 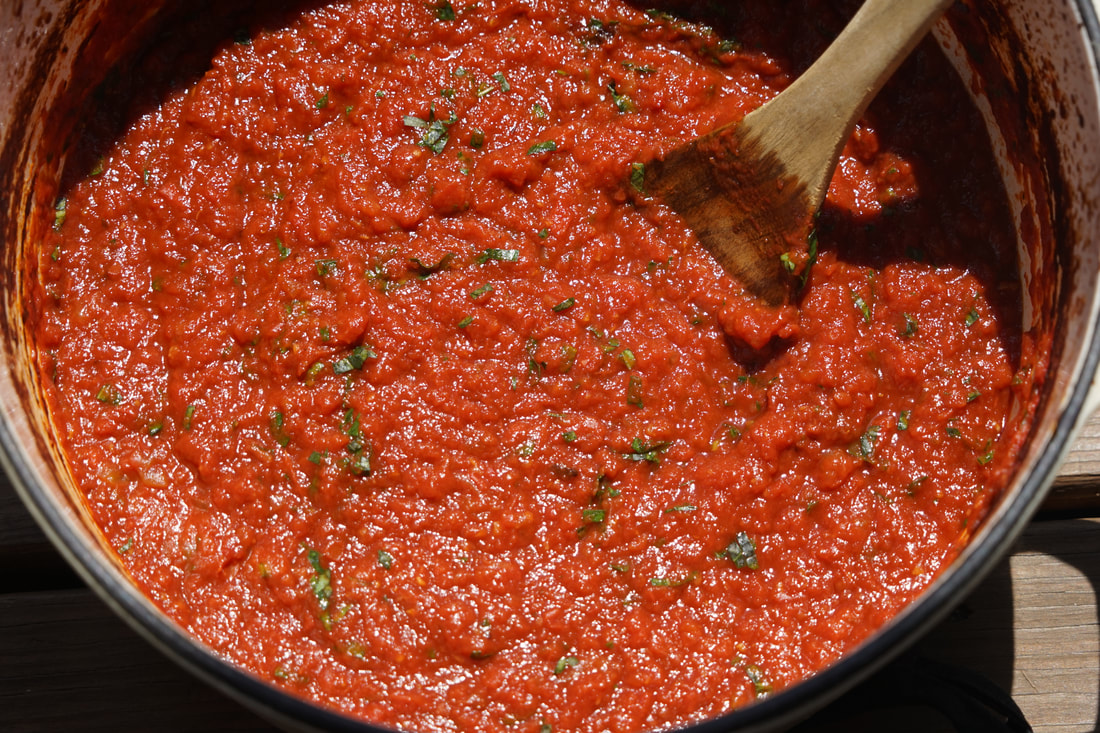 One of the things that I ALWAYS keep on hand as a meal prep basic is homemade marinara. Maybe it's my Italian roots but I just can't seem to live without it. Whether I'm spooning it over a meatball sub, baking it with my eggplant parmesan, serving it on top of chicken parmesan or just mixing it into a giant bowl of pasta - a great marinara sauce is essential. This deep rich marinara sauce bumps up the flavor of anything that you put it on. 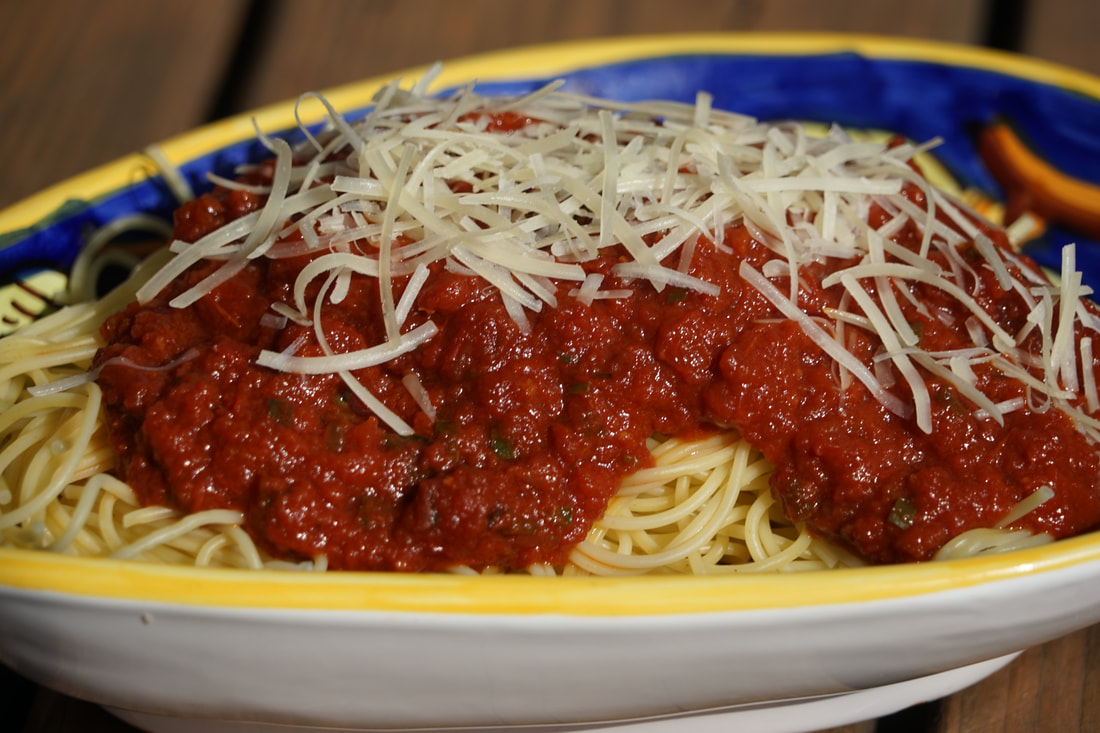 Marinara 1/4 cup oil 1 cup onion, finely chopped 3 garlic cloves, minced 3 (28 ounce) cans crushed tomatoes 1 Tablespoon sugar 2 teaspoons salt 1/2 teaspoon oregano 2 teaspoons soy sauce 1 Tablespoon butter 2 sprigs fresh basil
Stir in basil and let stand 20 minutes. 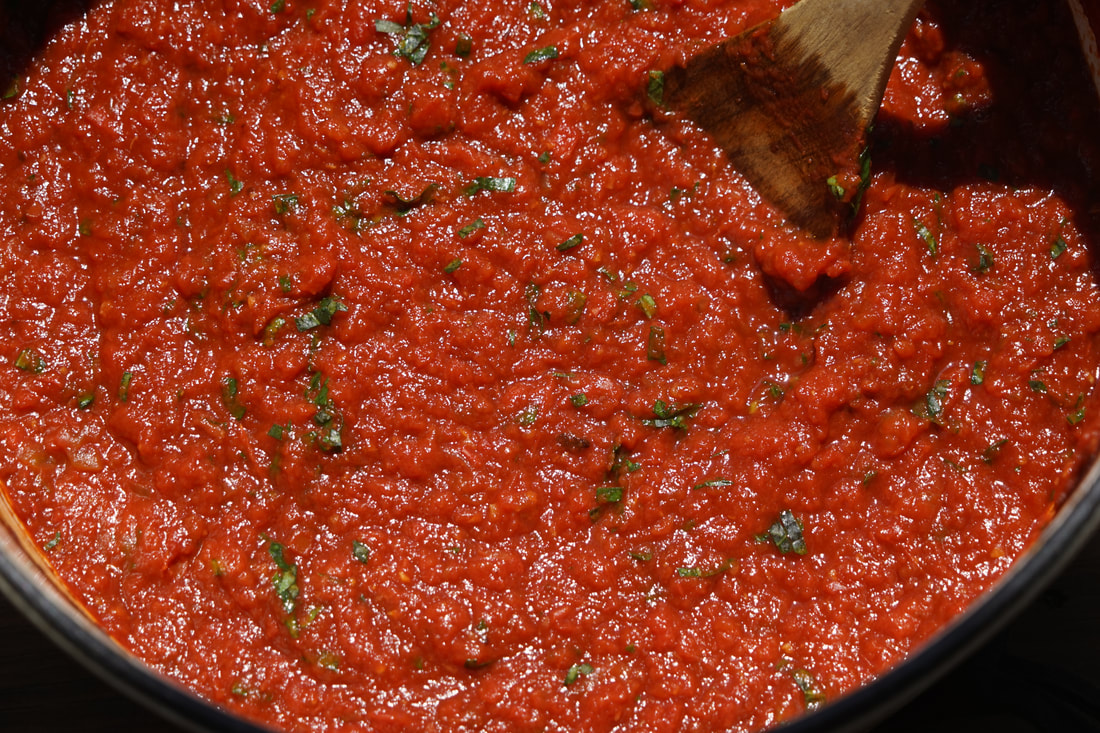 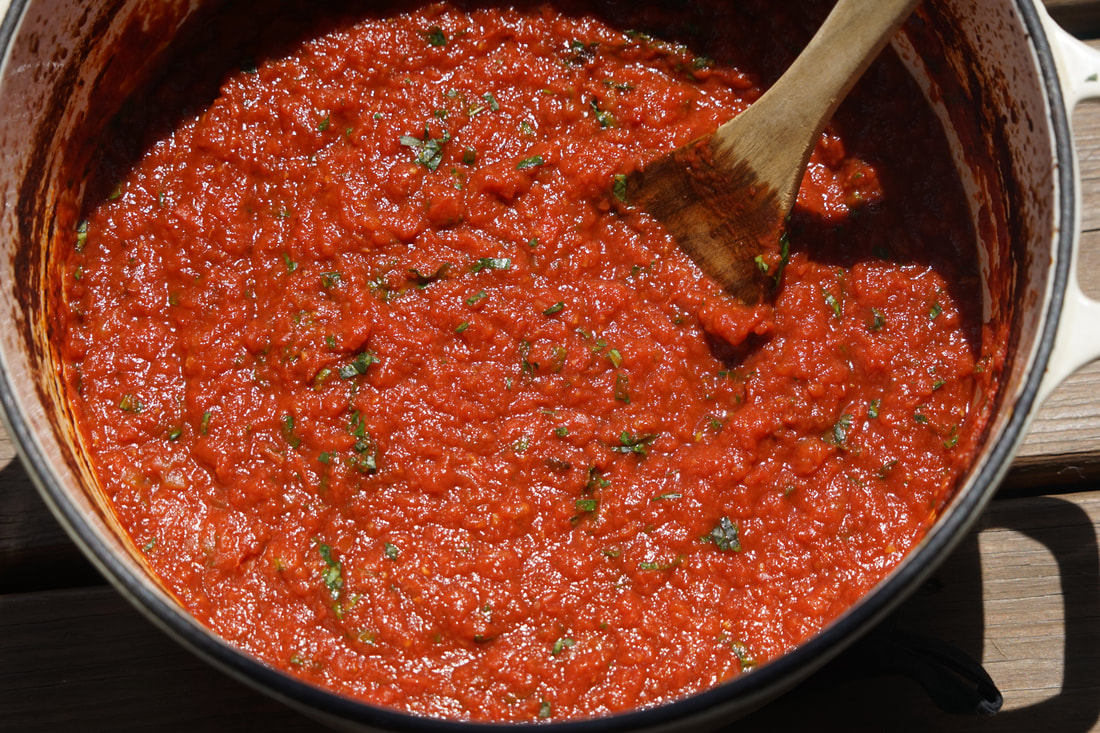 Talk about an easy meal. Boil some pasta noodles and voila - a delicious, homemade dinner is served. 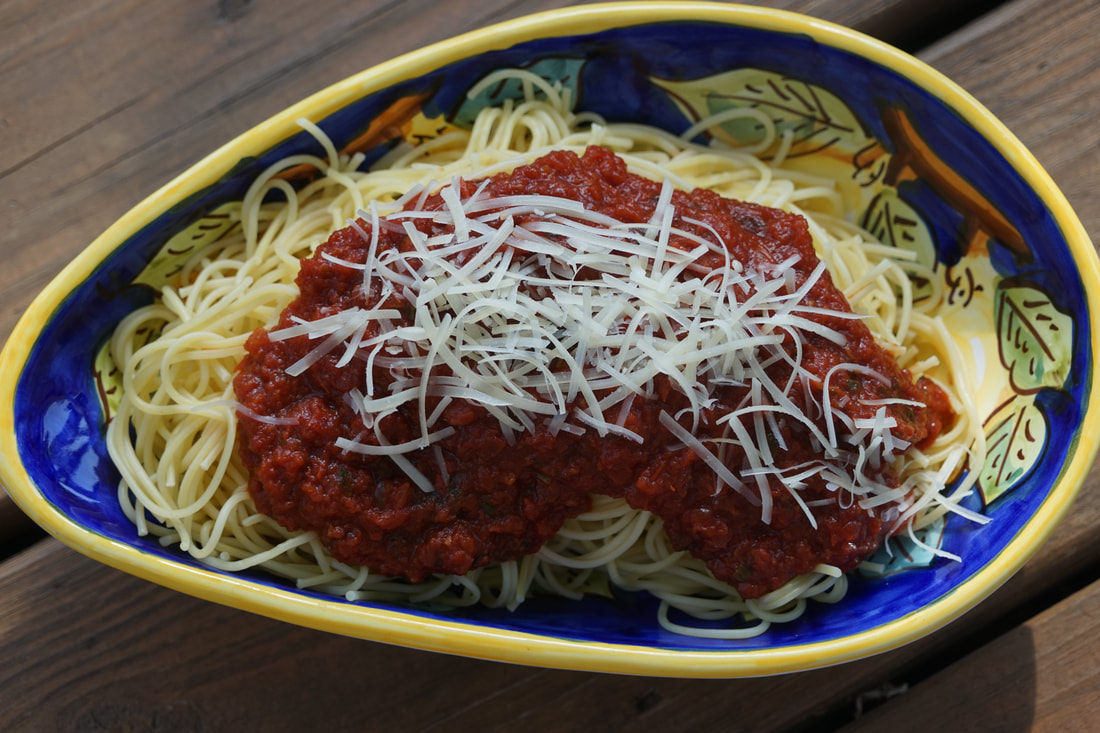
This is meal prepping to the extreme because this recipe makes a whole lot of sauce. I like to portion out the sauce into small tupperware containers and freeze them. If your anything like me - you'll be glad that you have some extra on hand during the busy holiday season.
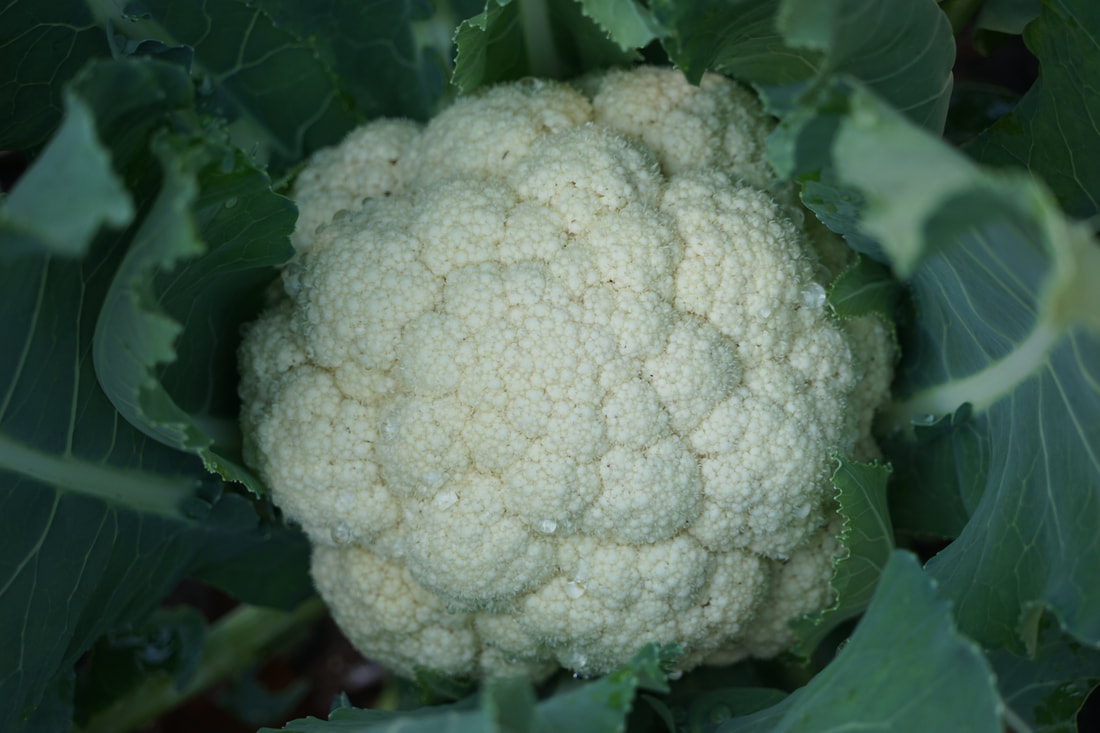
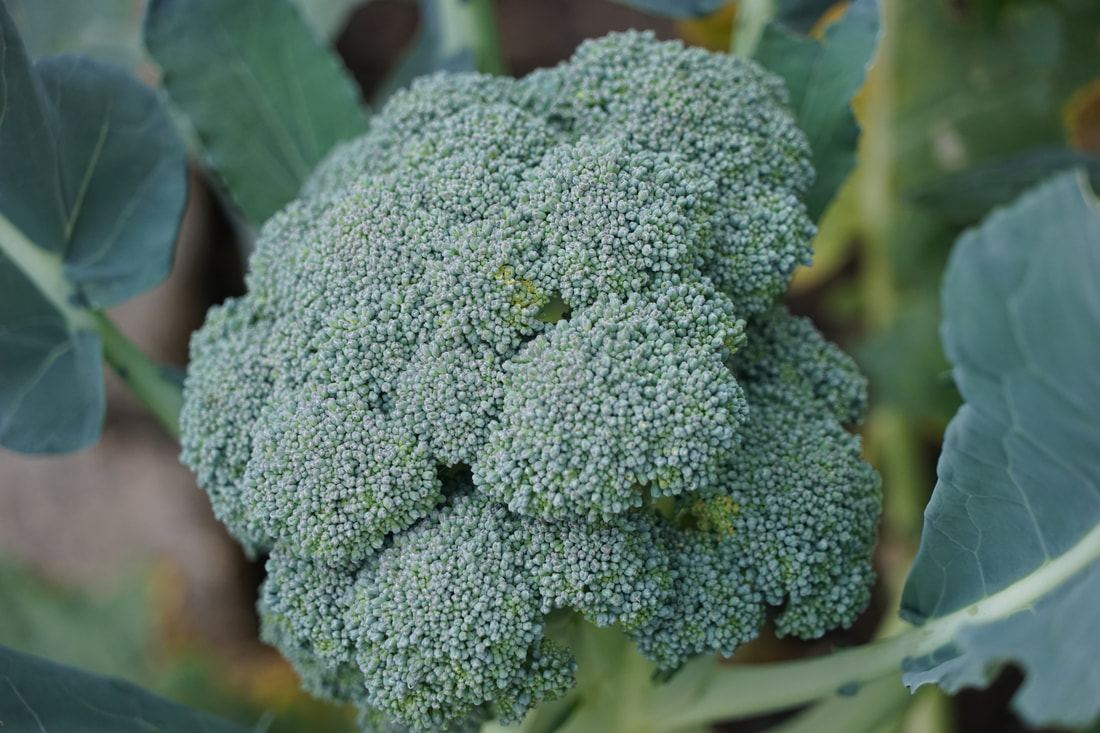
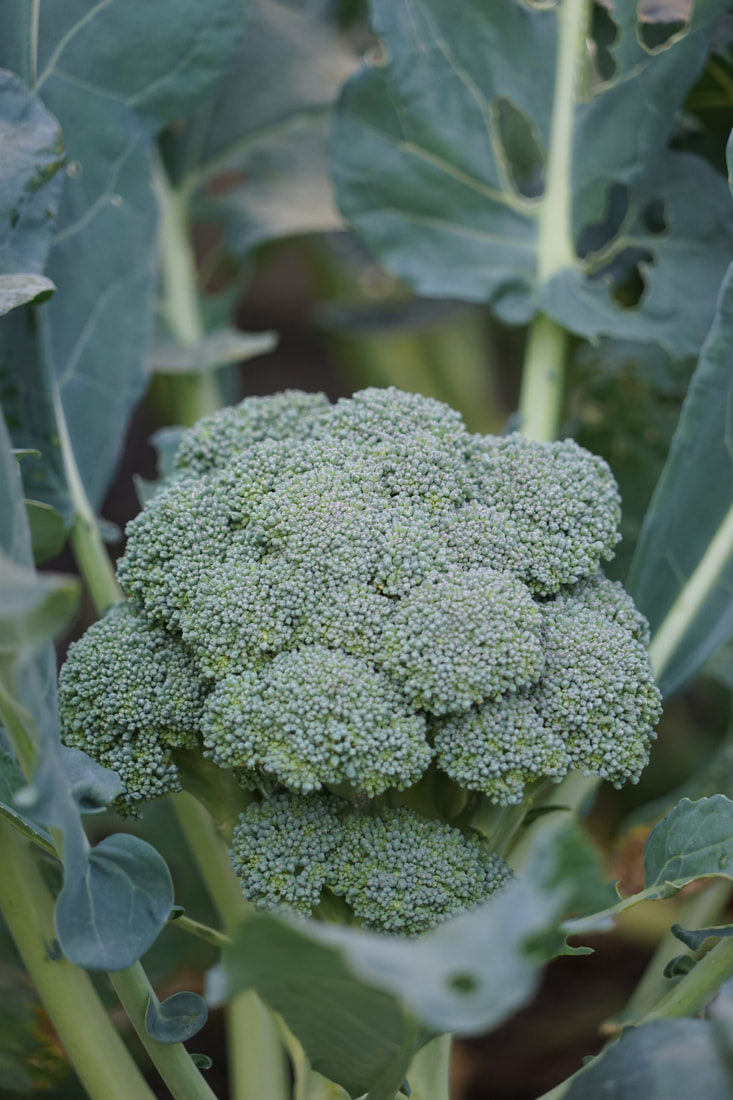
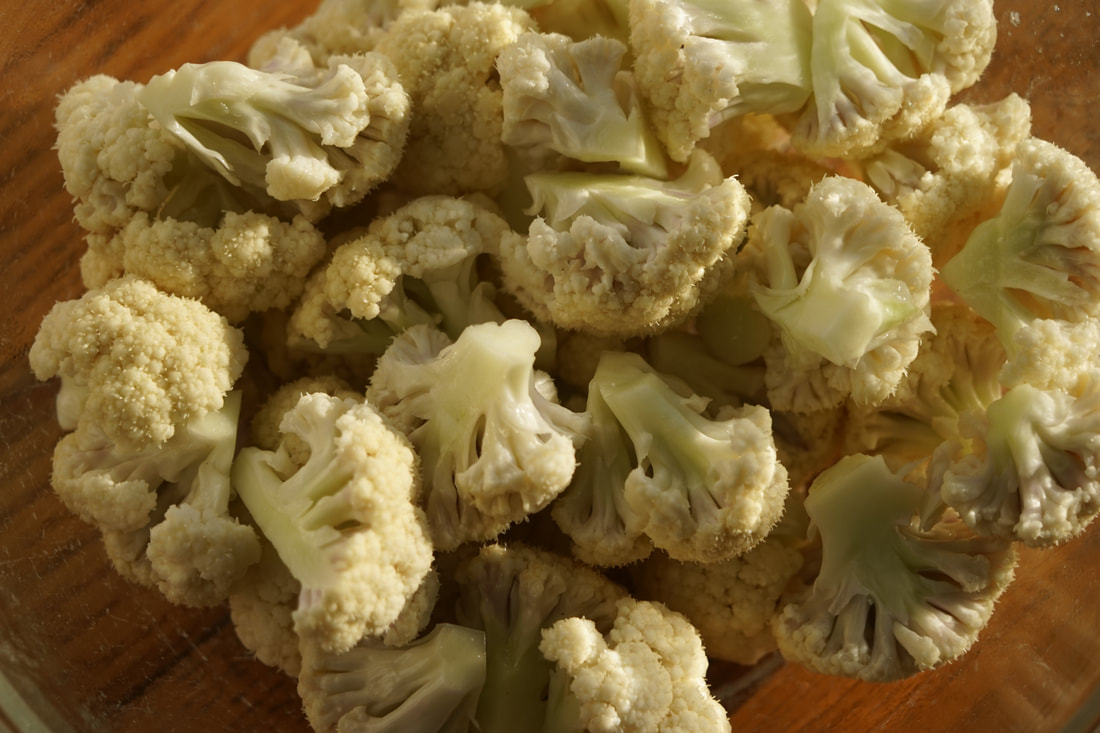
Ciao! 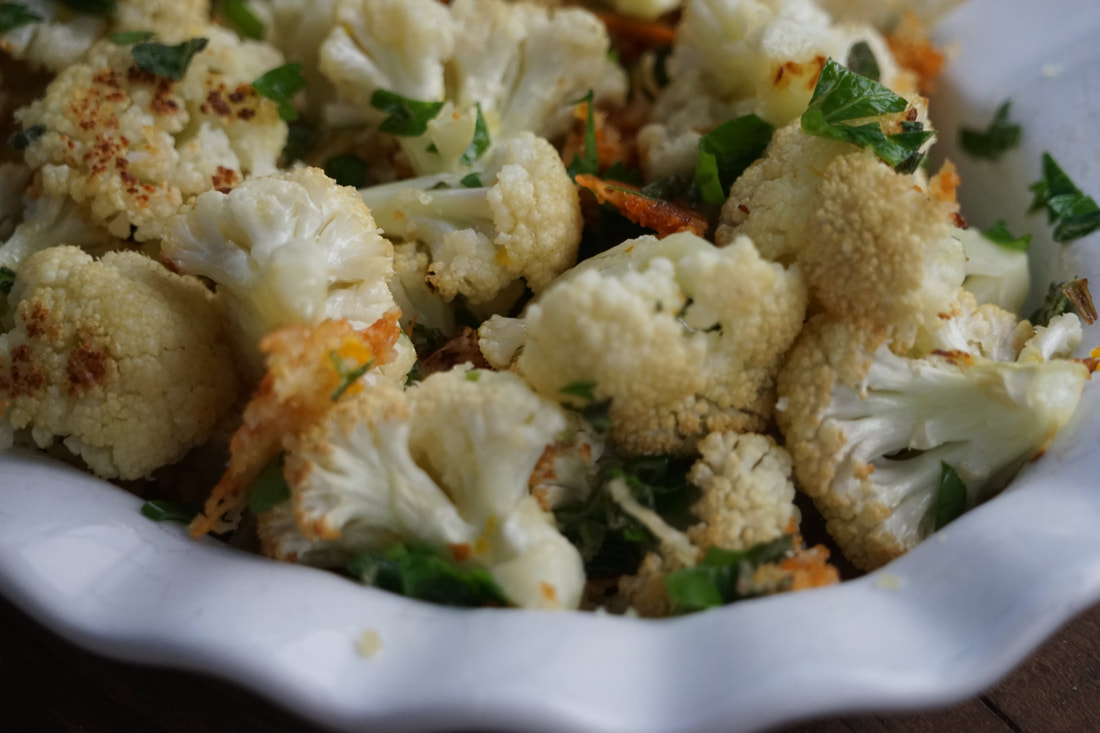 I ventured into the world of Fall gardening this year and I am LOVING it. I planted cauliflower, broccoli and red romaine lettuce. It was a year of experimentation since I don't have a lot of experience with these vegetables. I had my share of challenges - mainly deer and bunnies and insects that wanted to share in my vegetable bounty but once I got the critters under control - I had a pretty successful Fall garden.
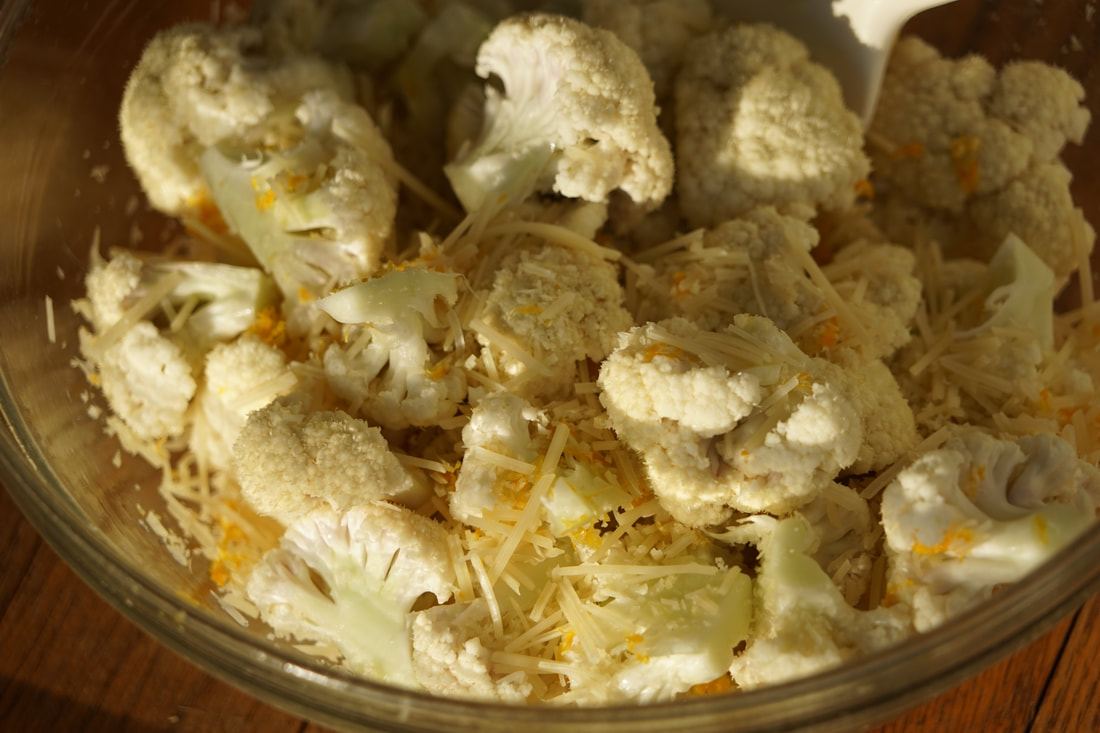
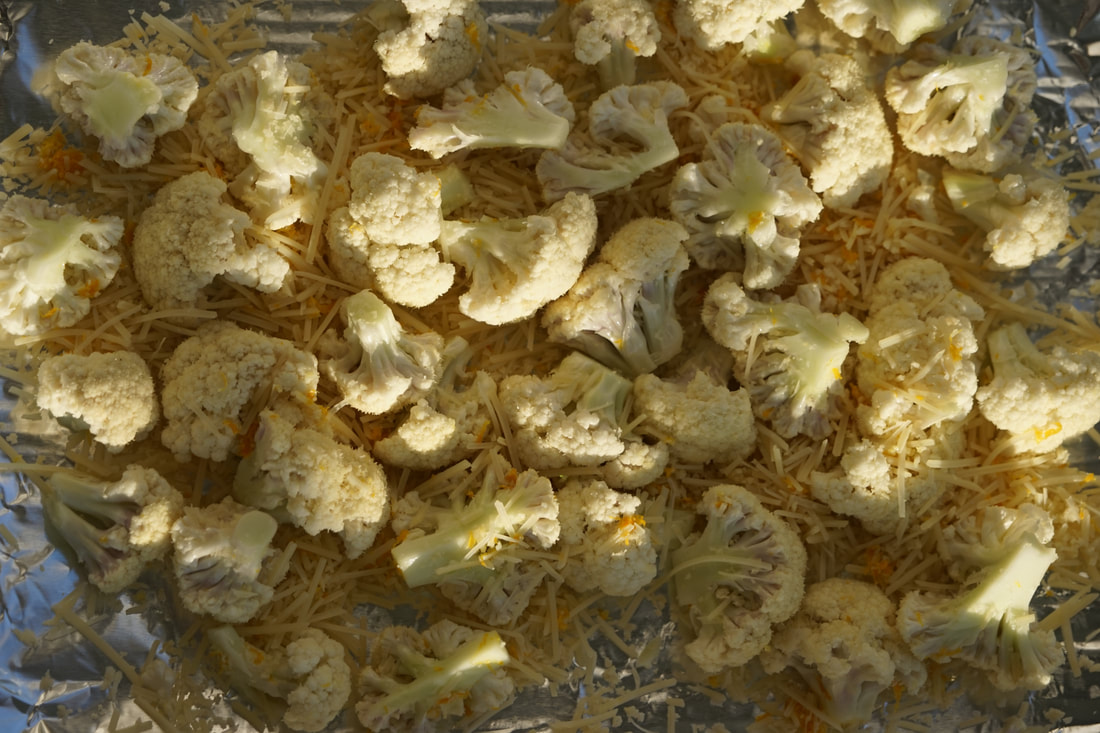
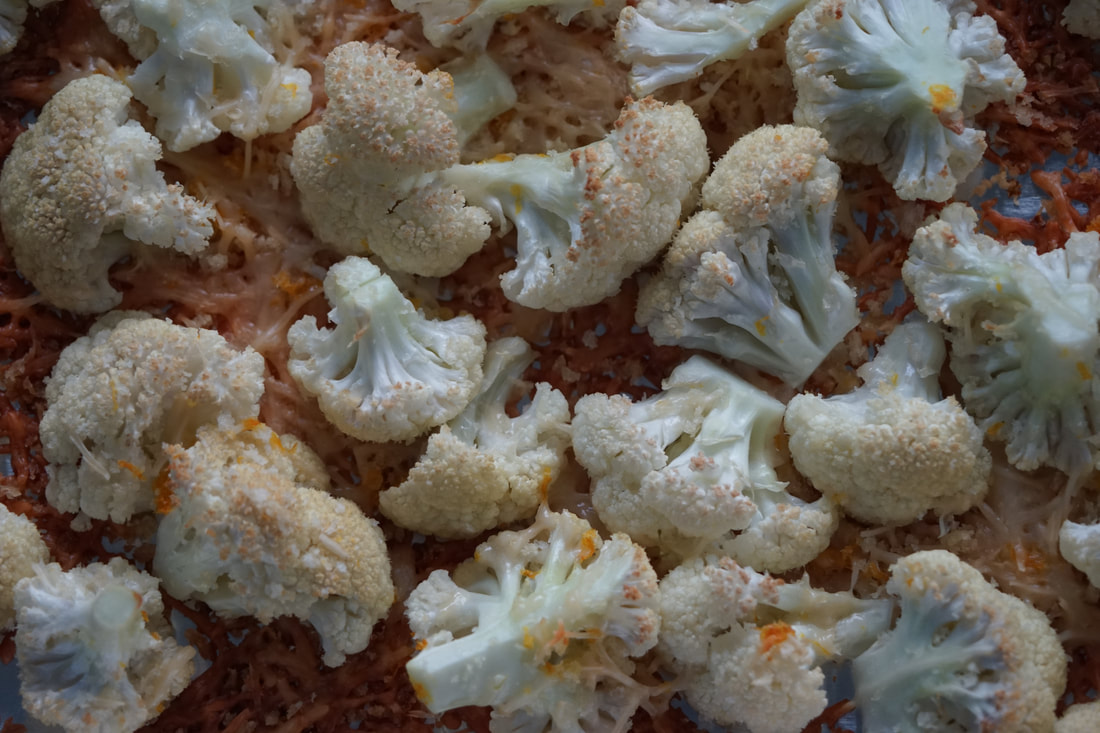
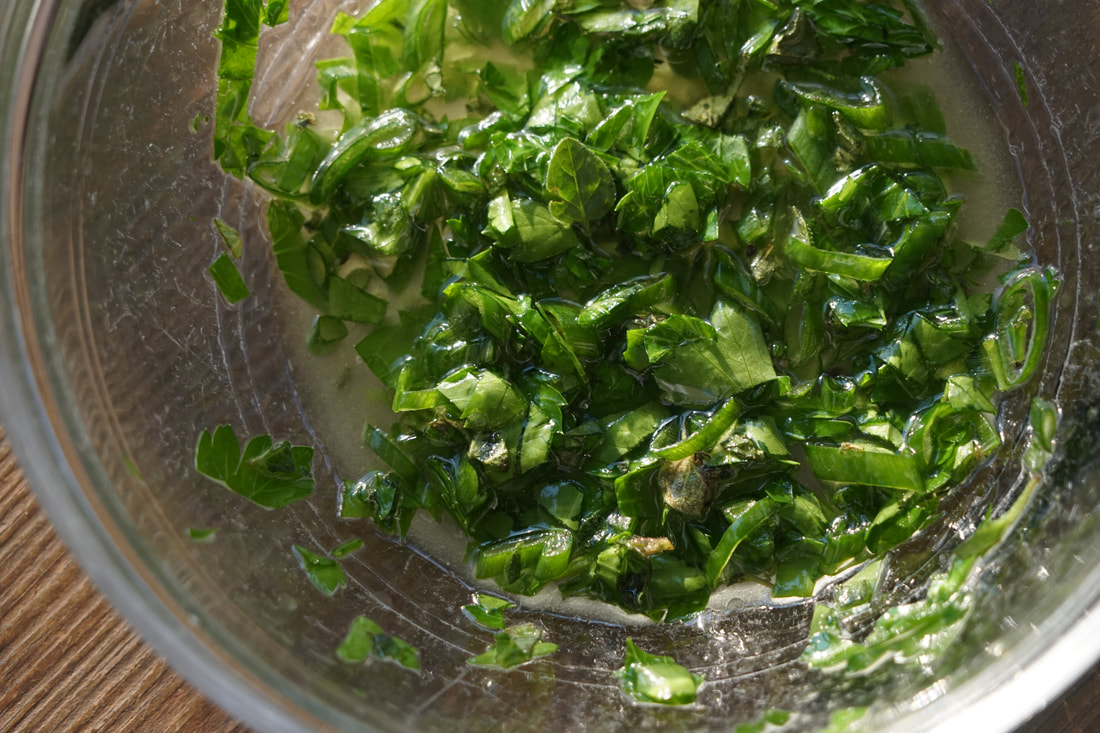
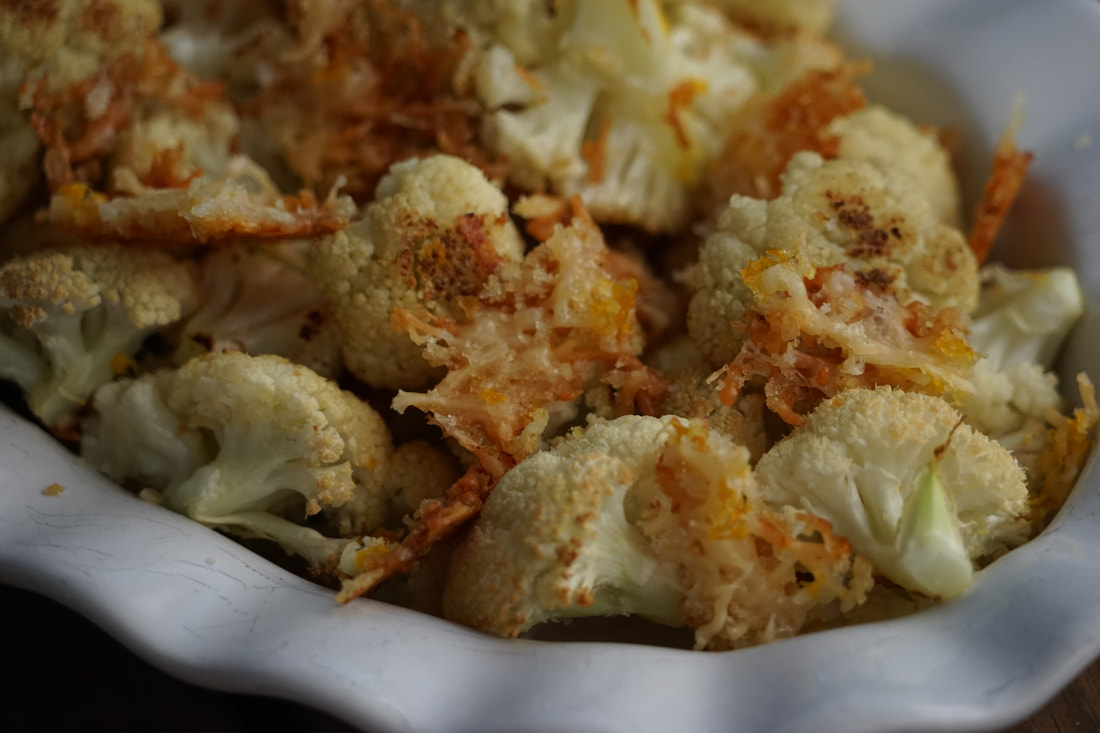
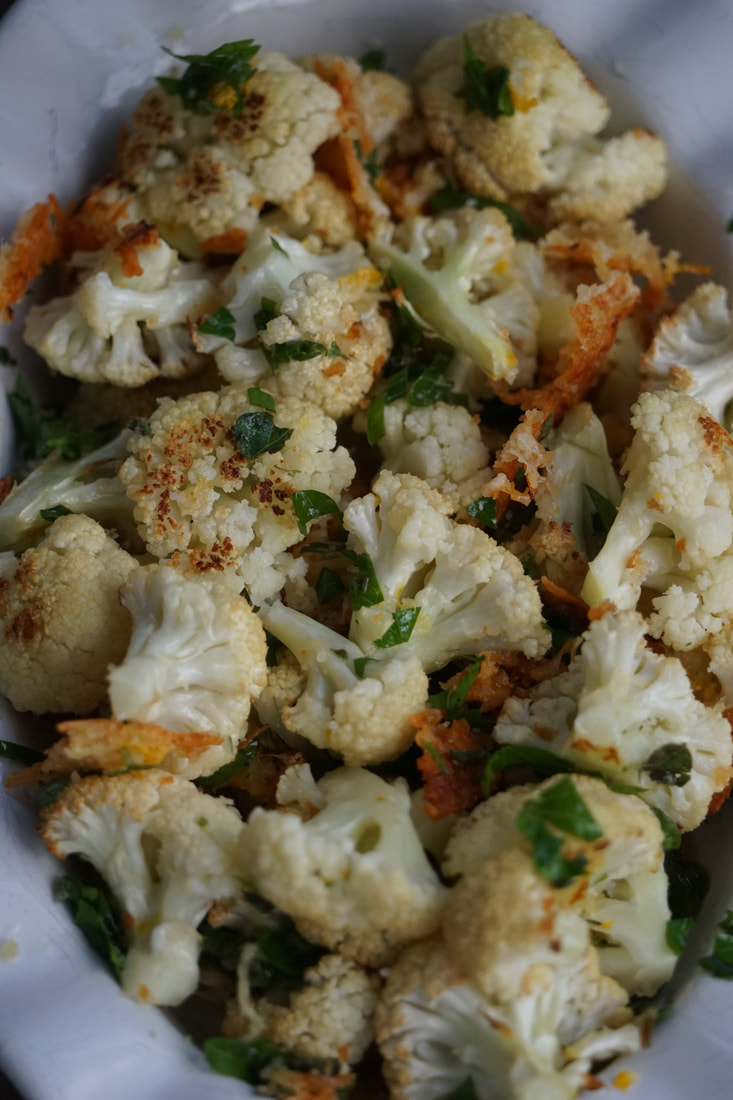
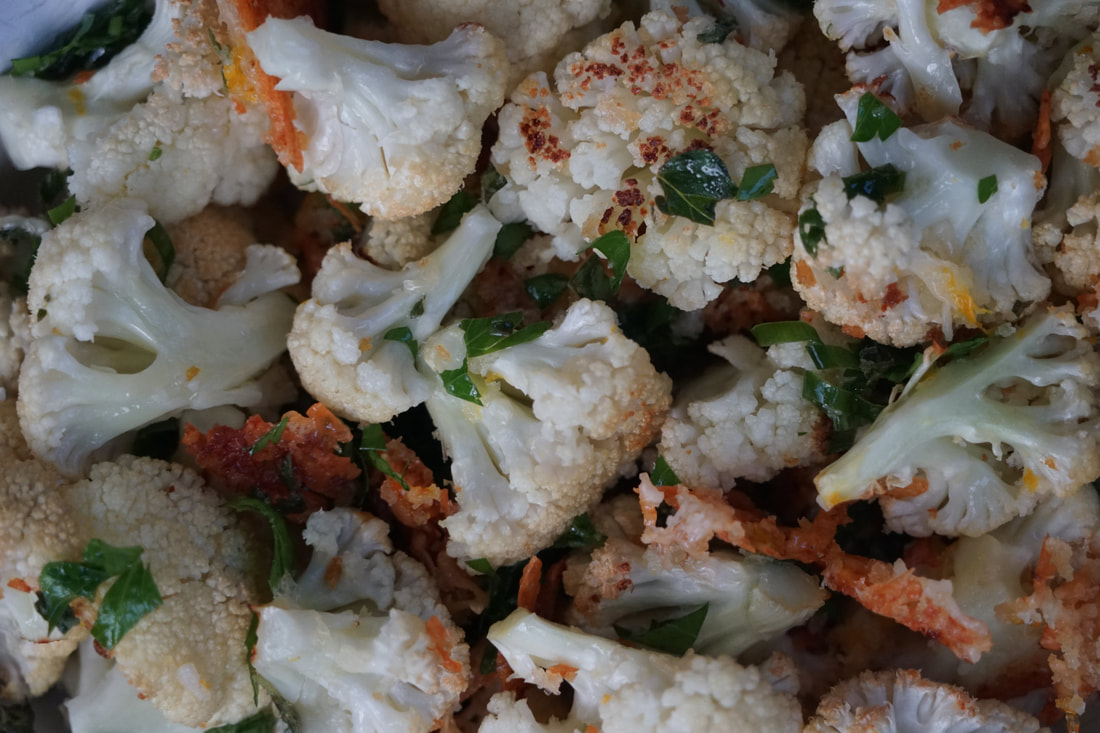
This is where I need the help of some more experienced gardeners. How do I know when to cut my broccoli and cauliflower and bring it in? I want to pick it at the peak of freshness but I have no idea how to know when it's at its best. Fortunately, my vegetables seem to be ripening at different rates so I can pick one at a time and eat it the same day that it's picked. This week I made crispy cauliflower with the cauliflower that I grew in my own garden. (I'm such a proud gardener.) 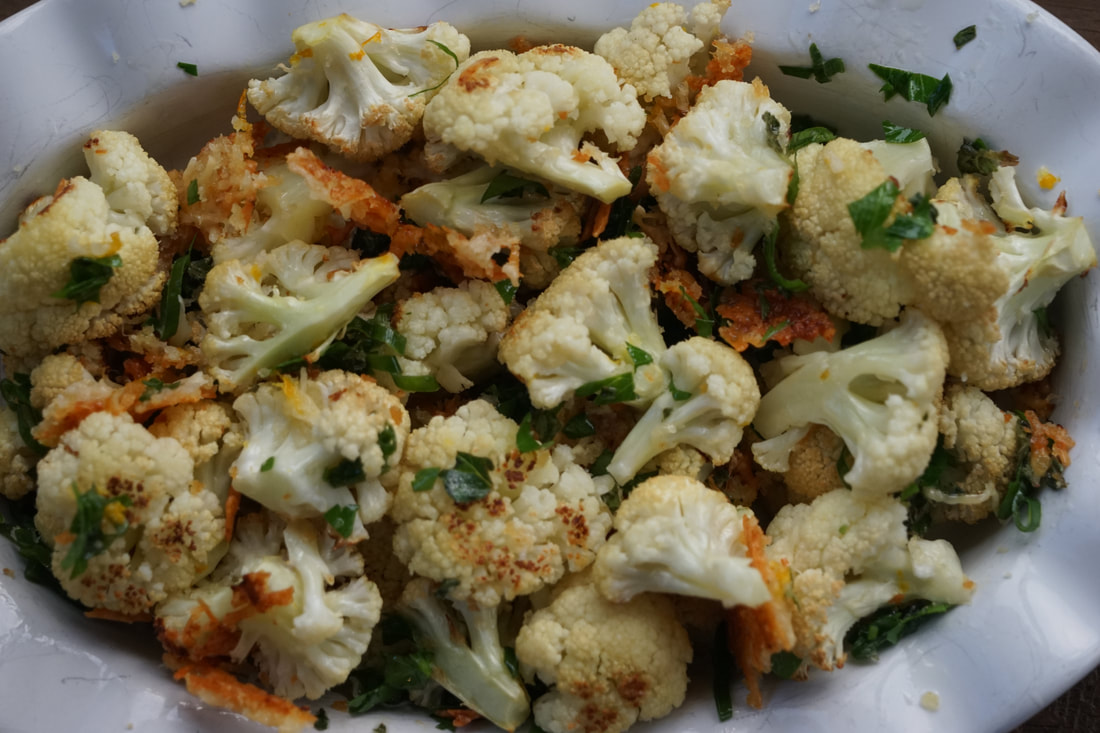 Crispy Cauliflower 6 cups cauliflower florets 1/4 cup breadcrumbs 1 Tablespoon lemon zest 1/2 cup Parmesan cheese 1/4 cup chopped scallion 1/4 cup olive oil 3 Tablespoons chopped fresh parsley 1 1/2 Tablespoons fresh lemon juice 1 Tablespoons chopped fresh oregano 1/8 teaspoon crushed red pepper
Spoon parsley mixture over cauliflower.
I'm pretty sure that the cheese, bread crumb mixture was supposed to stick to the cauliflower and mine did not. I ended up breaking up the parmesan crisp at the bottom of the pan and mixing them in with the baked cauliflower but I think next time, I'll drizzle my cauliflower with a little olive oil to help the sticking process.
It looks like I'll have another head of cauliflower from my garden ready to cut in about a week so I might just have to try this recipe again. Ciao! |