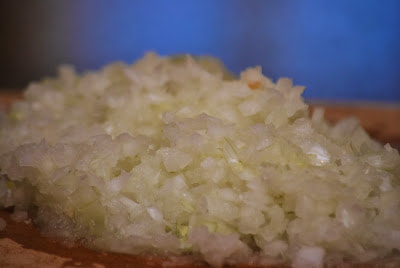
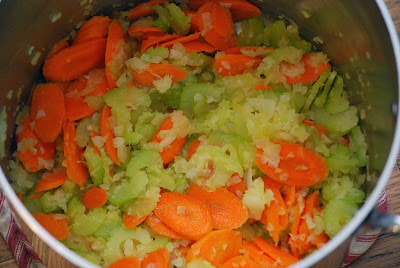
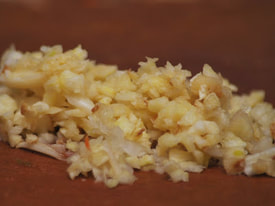
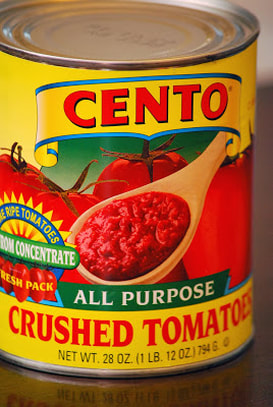
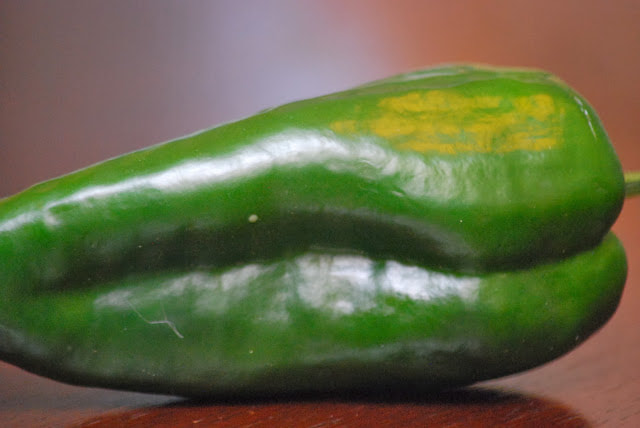
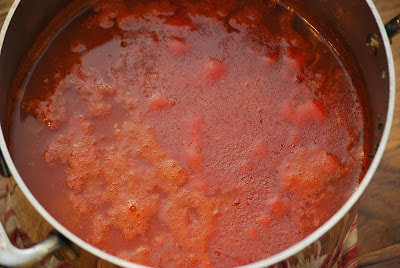
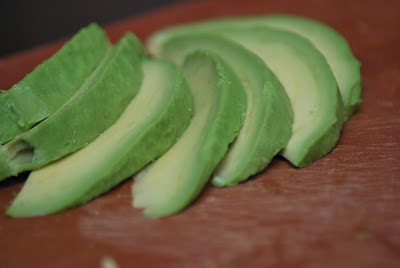
 Anybody remember Tuesday's blog post for Lemon Rosemary Chicken? Just in case you missed it - I added the link so you can go back and check it out. It was so flavorful and juicy that I decided to turn the leftovers into a chicken soup. I very loosely followed a recipe that I found on recipedutchess.blogspot.com. I made quite a few substitutions to the original recipe but she definitely served as my inspiration for this hearty leftover creation.  Mexican Chicken Soup 3-4 cups shredded cooked chicken 2 cups chopped onions (2 onions) 1 cup chopped celery (2 stalks) 2 cups chopped carrots (4 carrots) 4 large garlic cloves, chopped 2 1/2 quarts chicken stock, preferably homemade 1 (28-ounce) can crushed tomatoes 1 poblano pepper, seeded and minced 1 teaspoon ground cumin 1 teaspoon ground coriander seed 1/4 to 1/2 cup chopped fresh cilantro (optional) Toppings Sliced avocado Sour cream Cheddar cheese Tortilla chips Heat 3 tablespoons of olive oil in a large pot or Dutch oven. Add the onions, celery, and carrots and cook over medium-low heat for 10 minutes, or until the onions starts to brown. Add the garlic and cook for 30 seconds.
Add the chicken stock, tomatoes with their puree, jalapenos, cumin, coriander, 1 tablespoon salt (depending on the saltiness of the chicken stock), 1 teaspoon pepper, and the cilantro, if using.
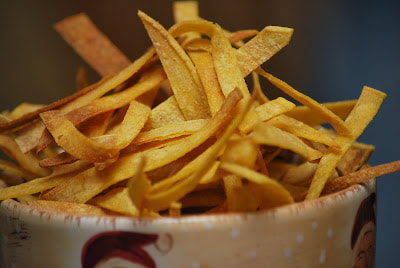
This is how I "dressed" my bowl of soup...  I think that snowpocolypse is behind us but we can still enjoy a bowl of chicken soup. I have another container of this soup in my freezer, ready to pull out during our next snow storm - or perhaps just for a chilly day.
Ciao!
0 Comments
Technically I guess today is snow day two and a half for my kids. (Since they did go to school for a half day on Tuesday, I won't count that as a complete snow day.)
Mia was very excited to be outside eating snowballs and chasing sleds yesterday. She crashed out in front of the fire pretty early last night.
Who am I kidding? After a day of sledding and snowball fights, we ALL crashed out pretty early last night.
I love snow days.
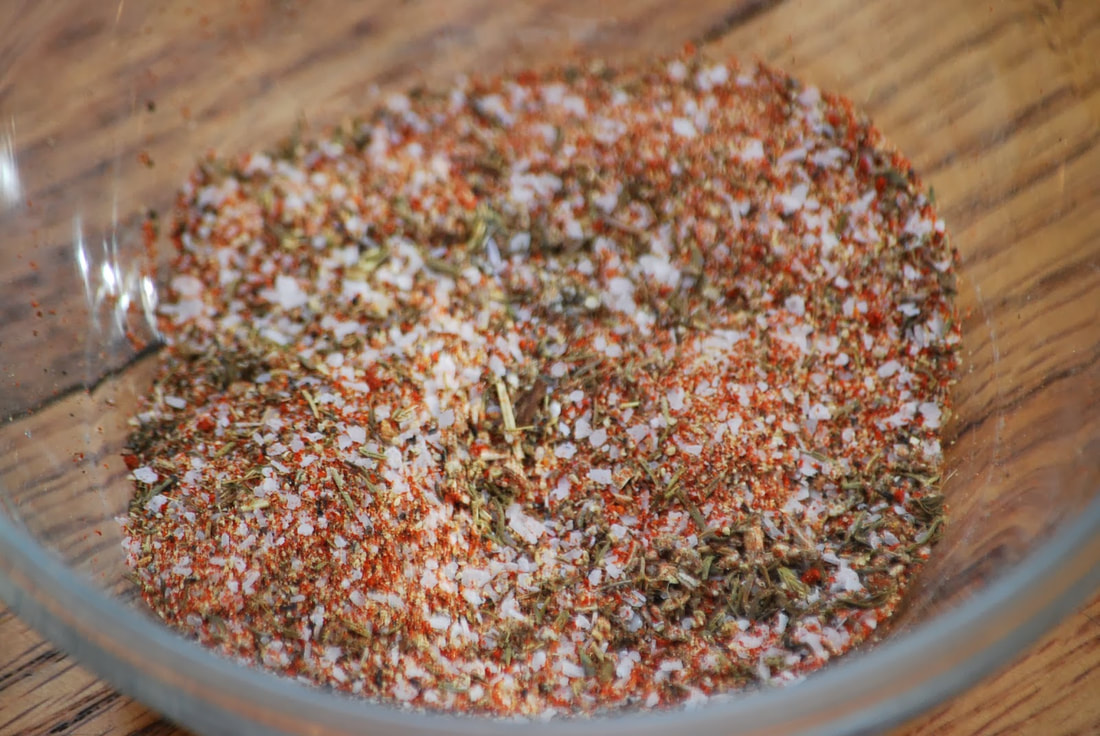
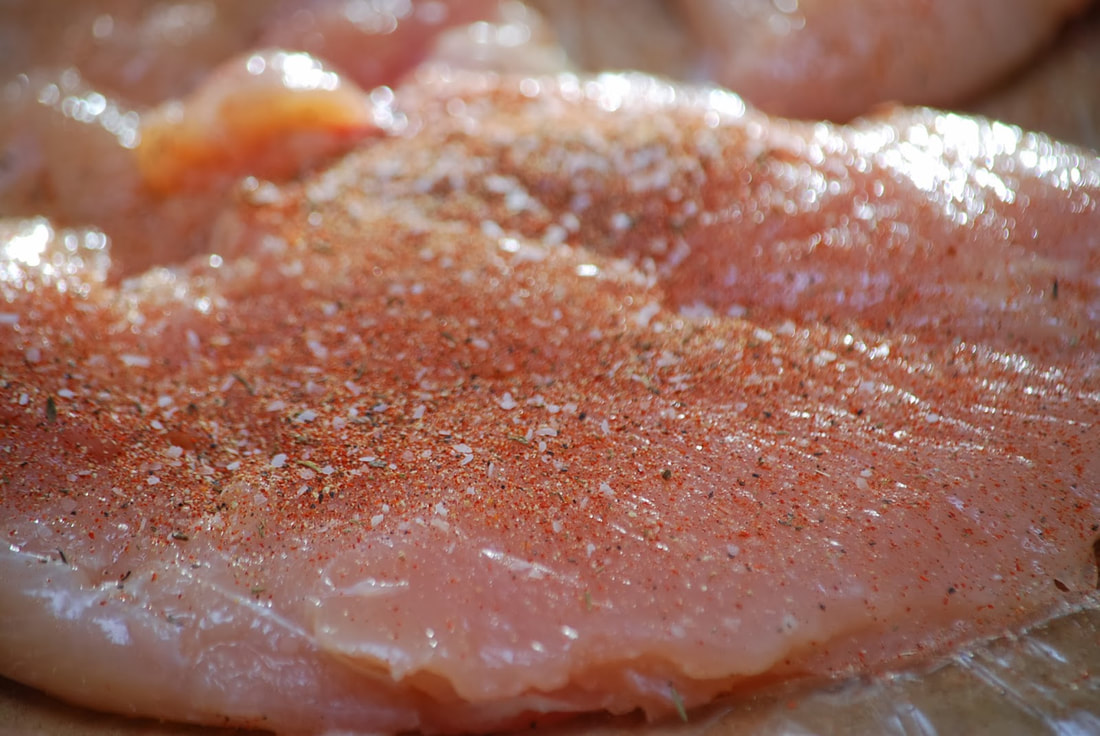
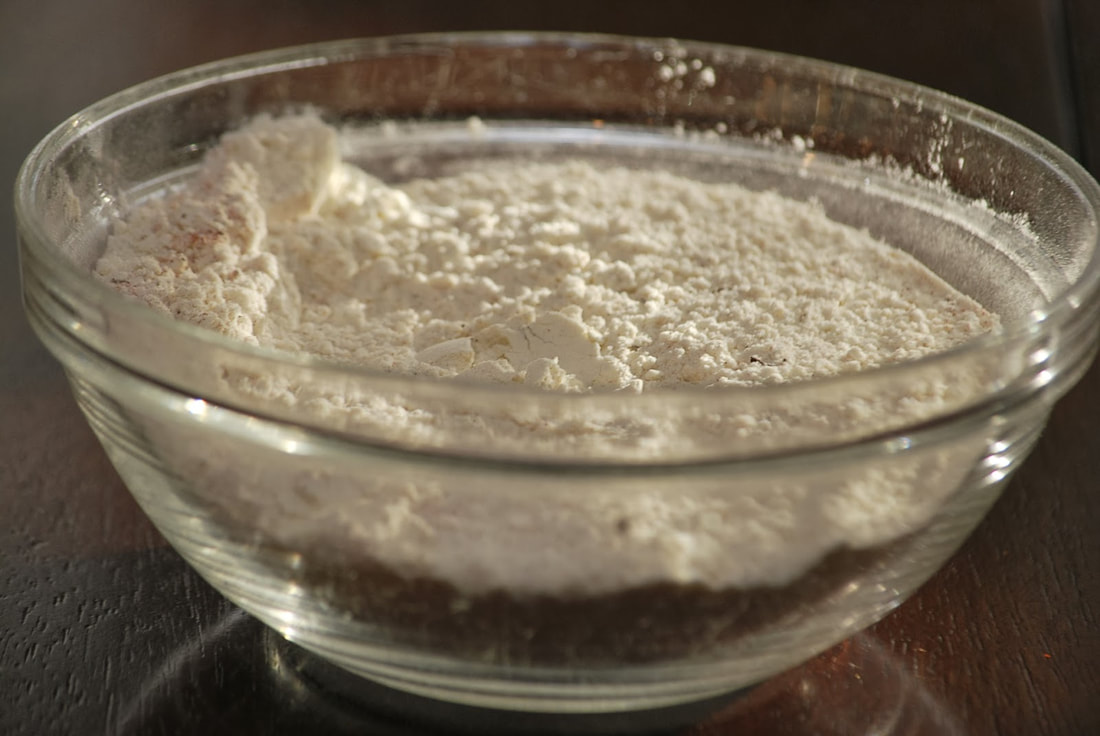
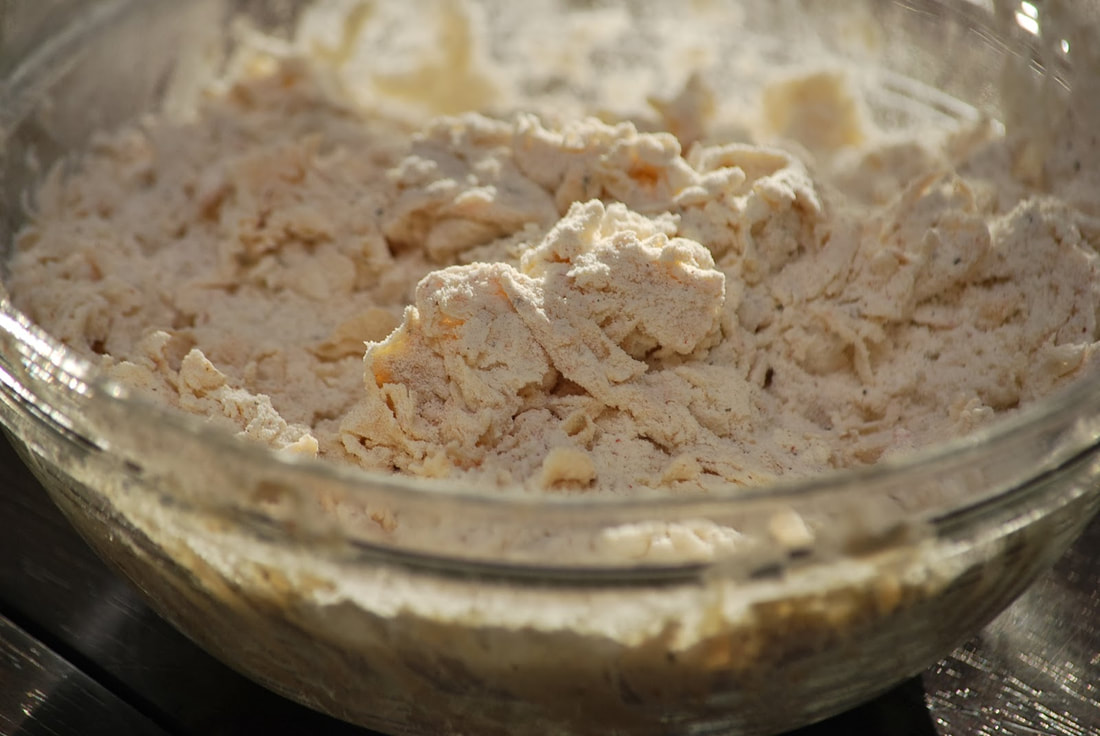
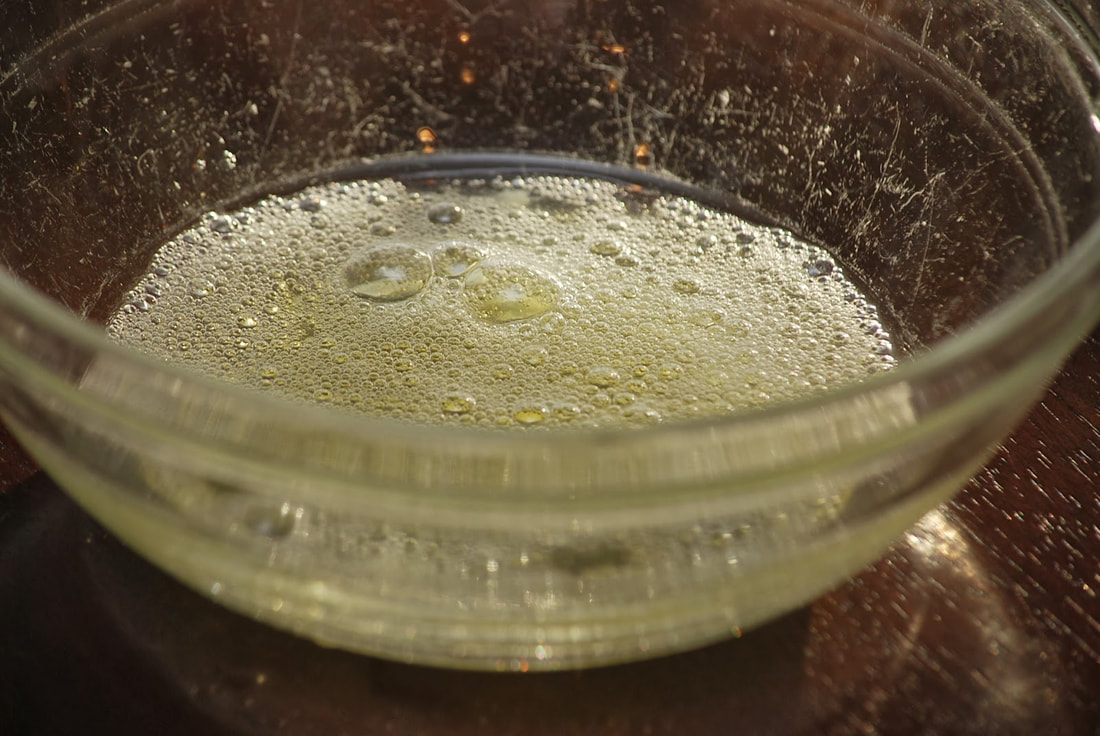
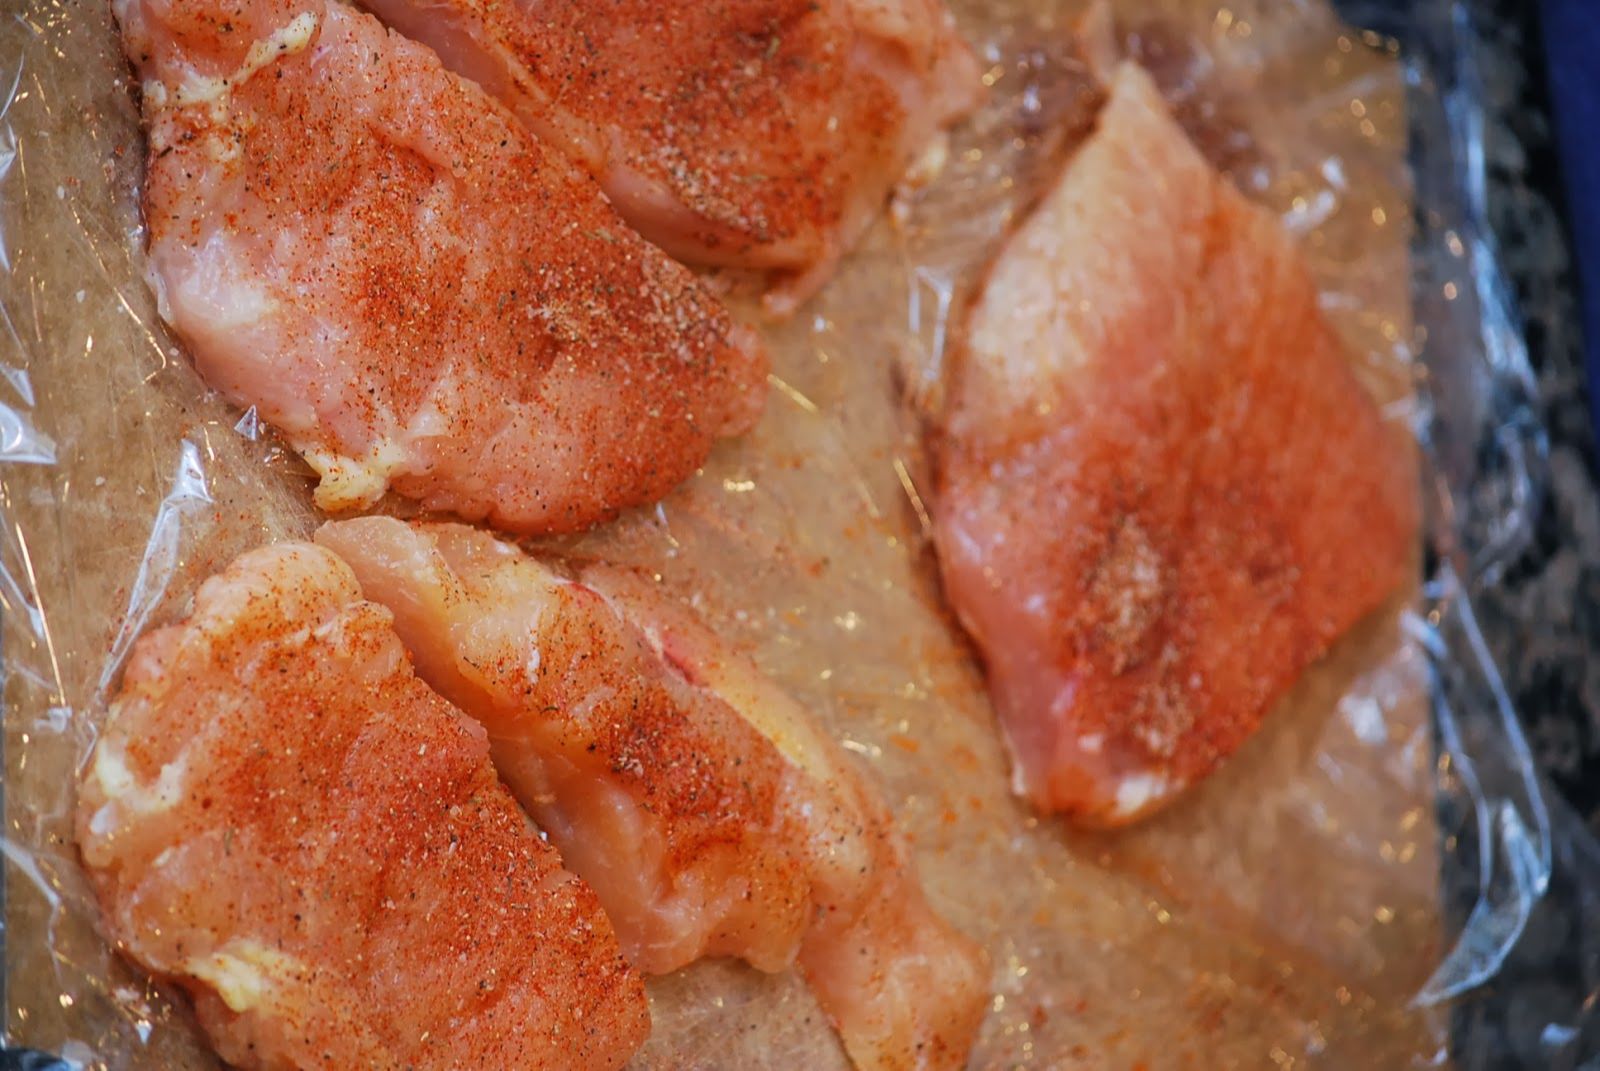
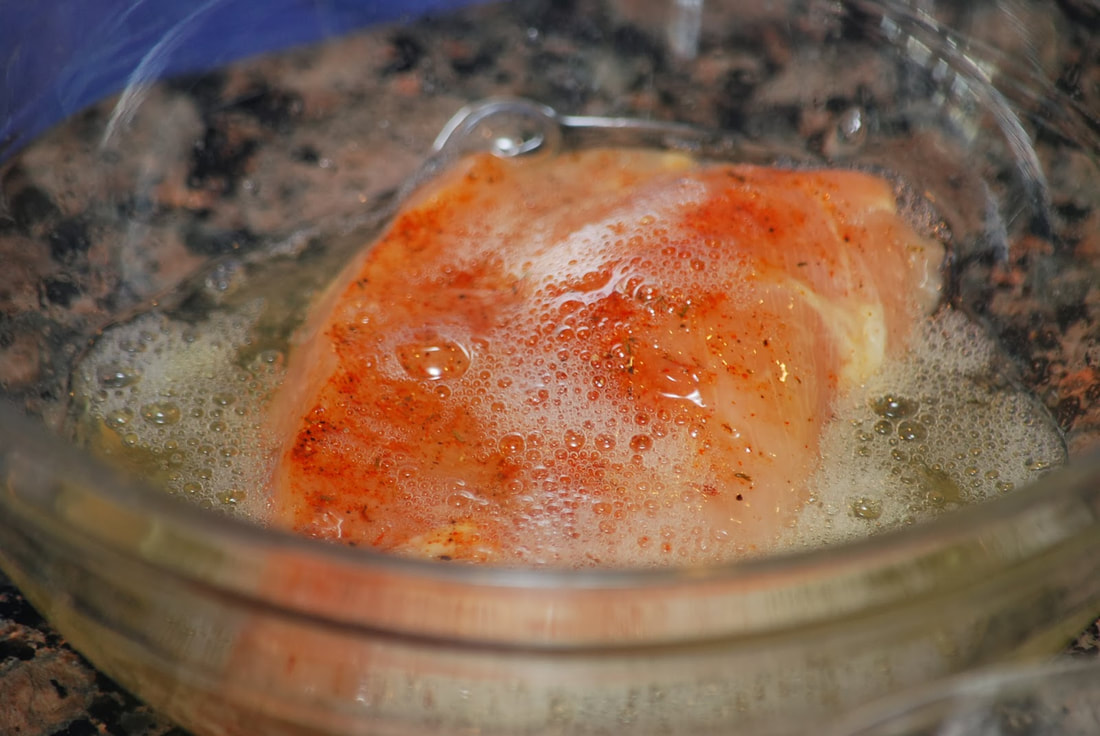
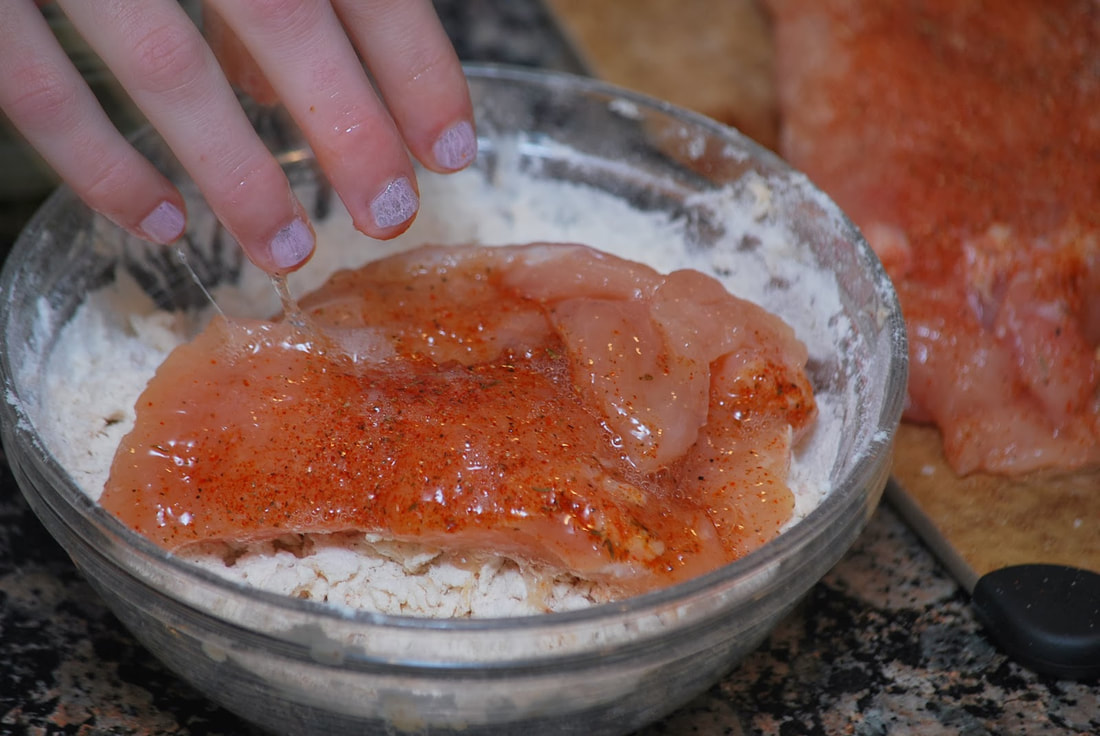
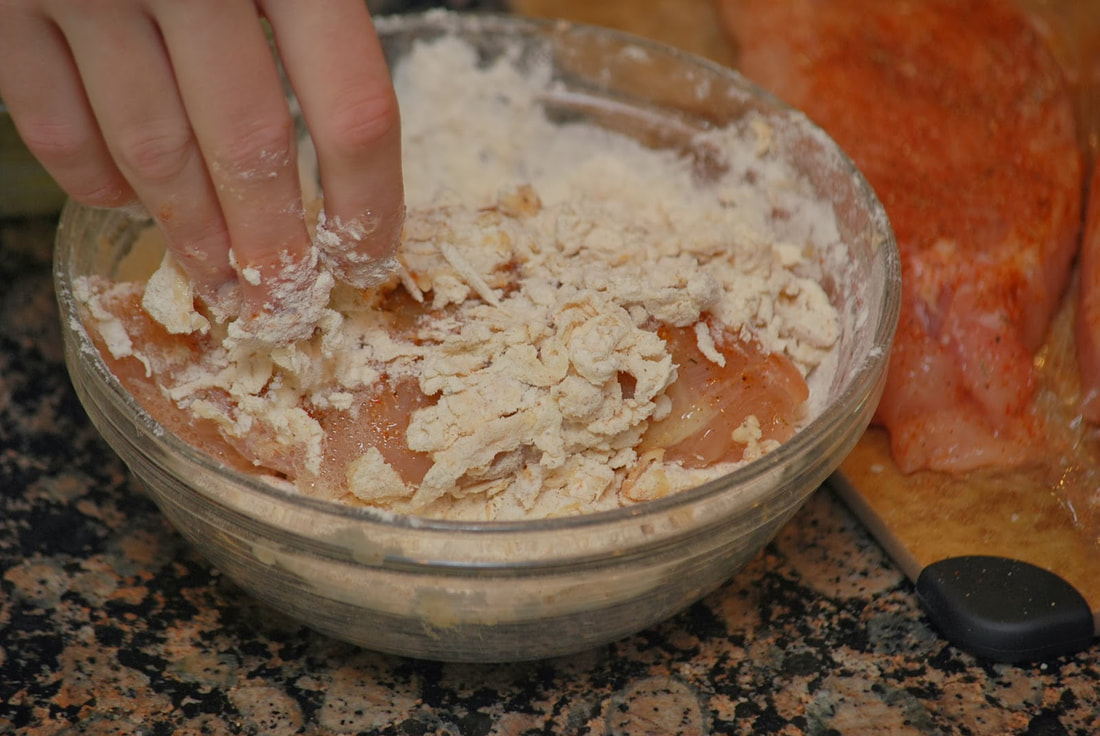
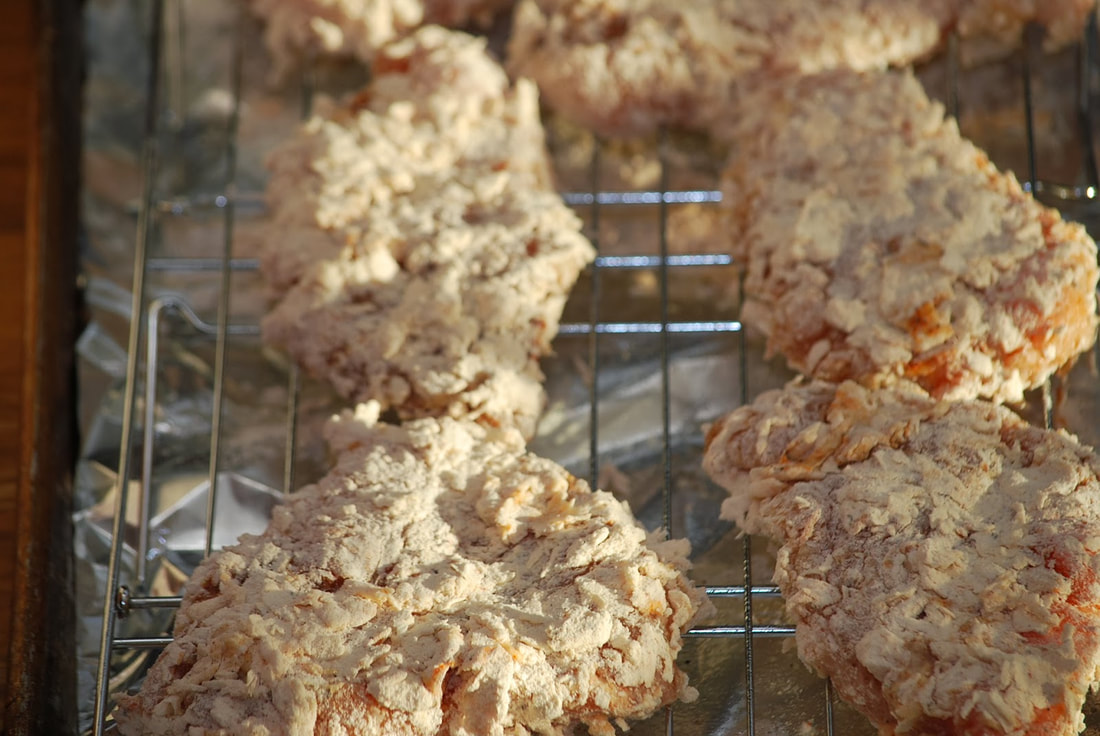
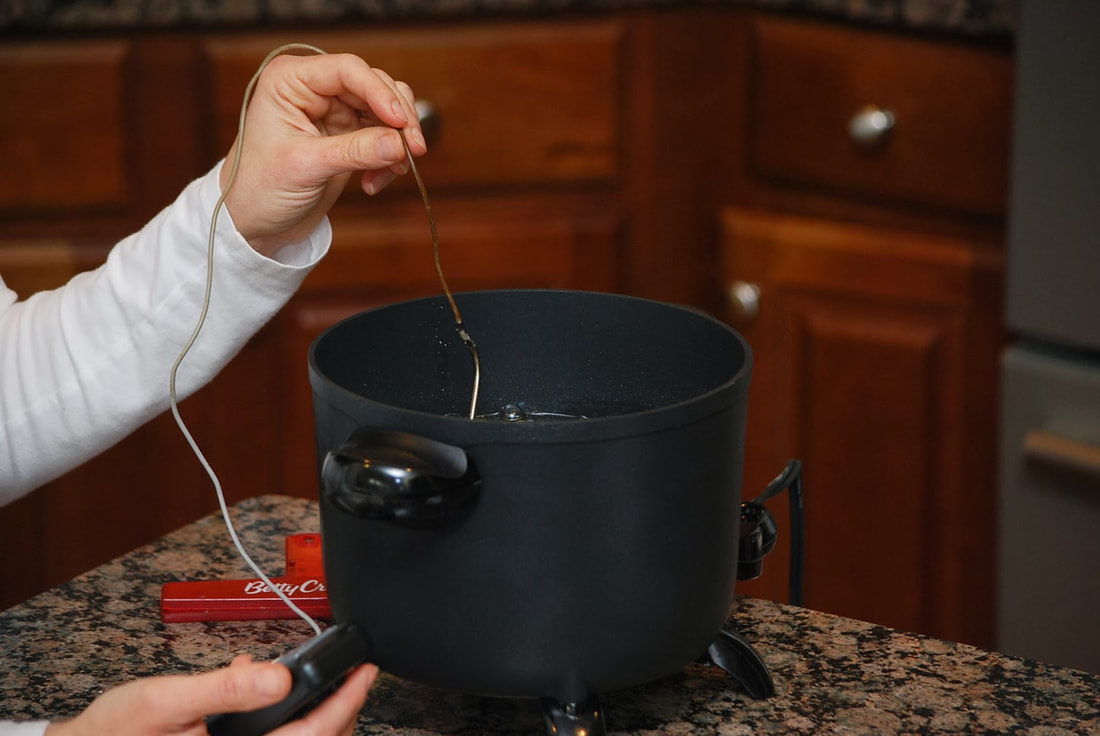
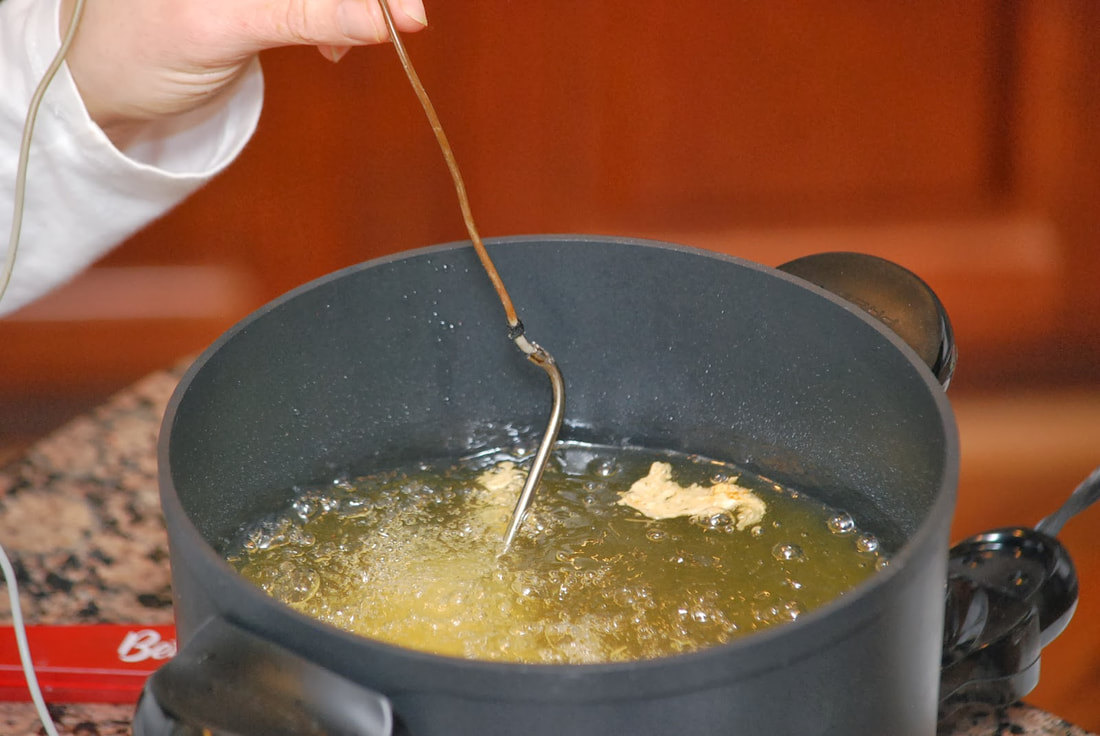
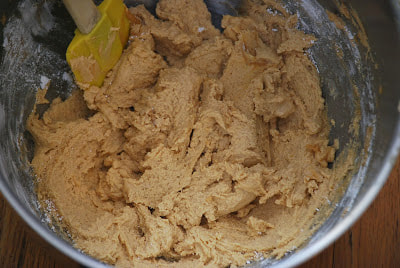
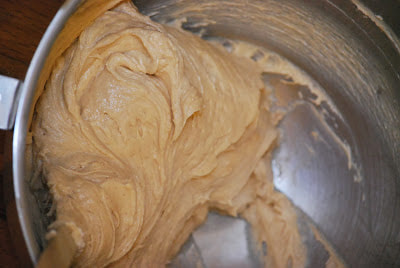
After our day in the snow, it felt good to come inside for a nice warm dinner. Fried chicken sandwiches from Cook's Country seemed like a perfectly acceptable meal for snow day #1 1/2. 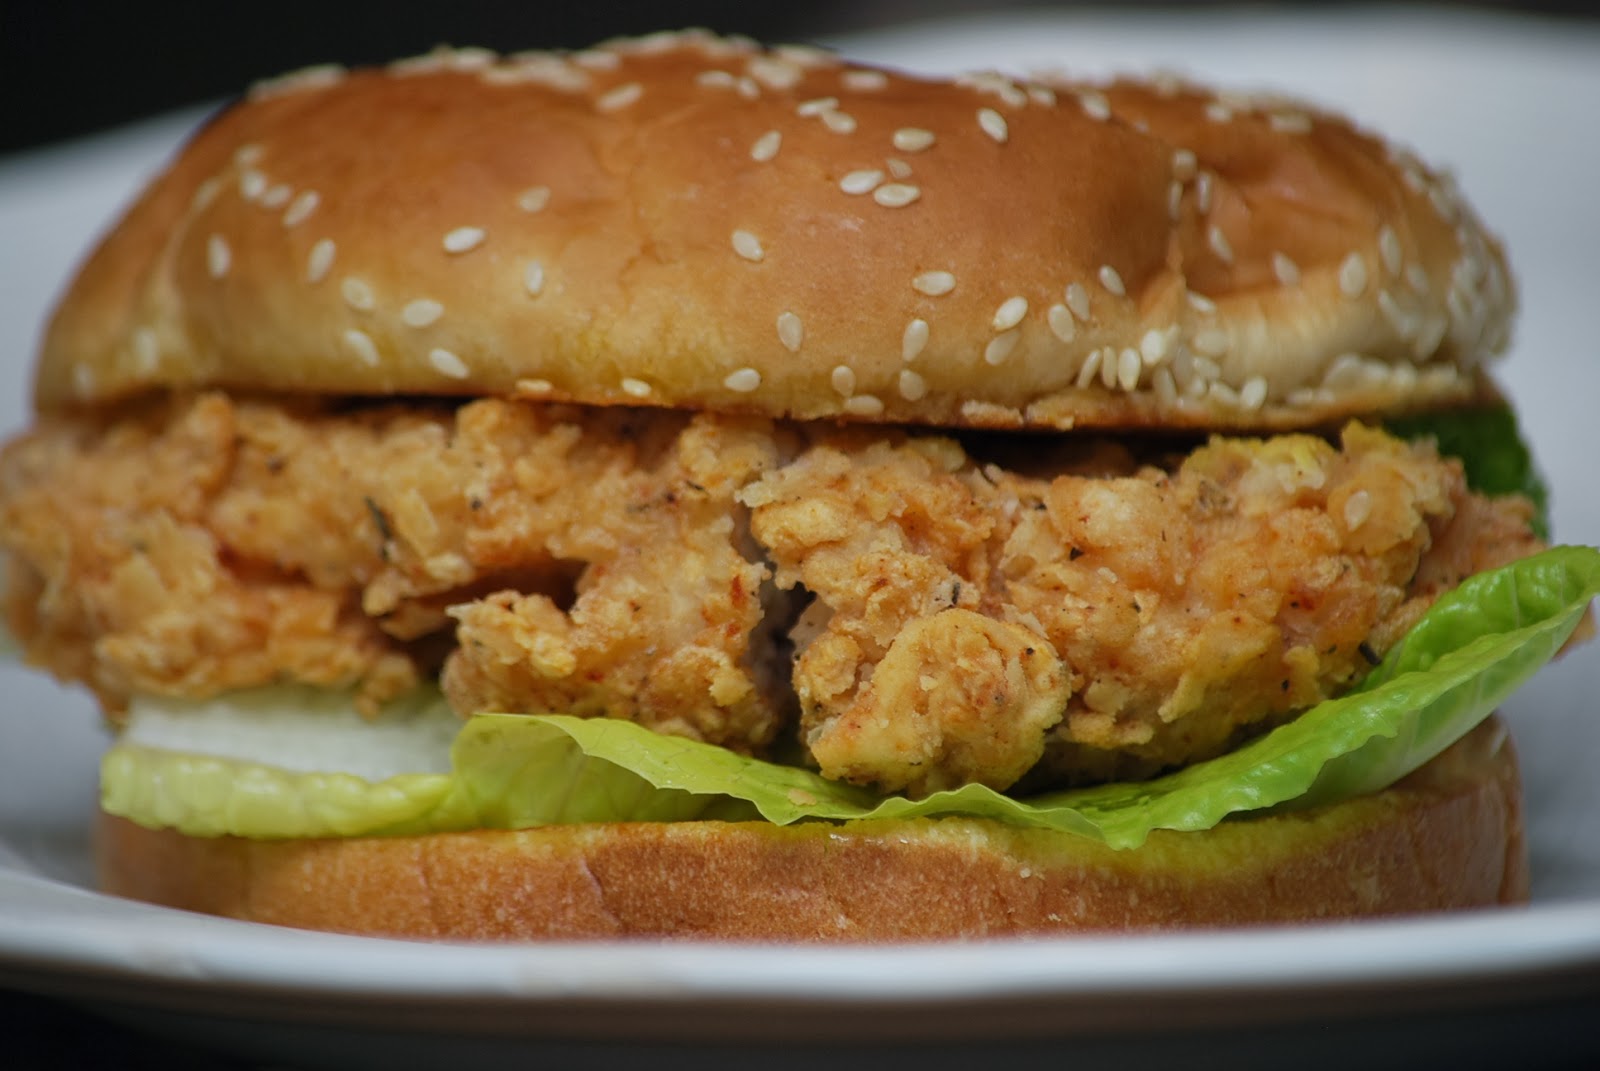 Fried Chicken Sandwiches 1 1/2 teaspoons kosher salt 1 teaspoon paprika 1 teaspoon pepper 1 teaspoon garlic powder 1/2 teaspoon dried sage 1/2 teaspoon thyme 1/8 teaspoon cayenne pepper 3 boneless, skinless chicken breasts 1 1/2 cups flour 1 teaspoon baking powder 3 Tablespoons water 2 egg whites 2 quarts peanut oil
Dip in breading. Courtney did all of the breading for me last night which meant that I could be the photographer. (Did I mention how much I love having them home on snow days?)
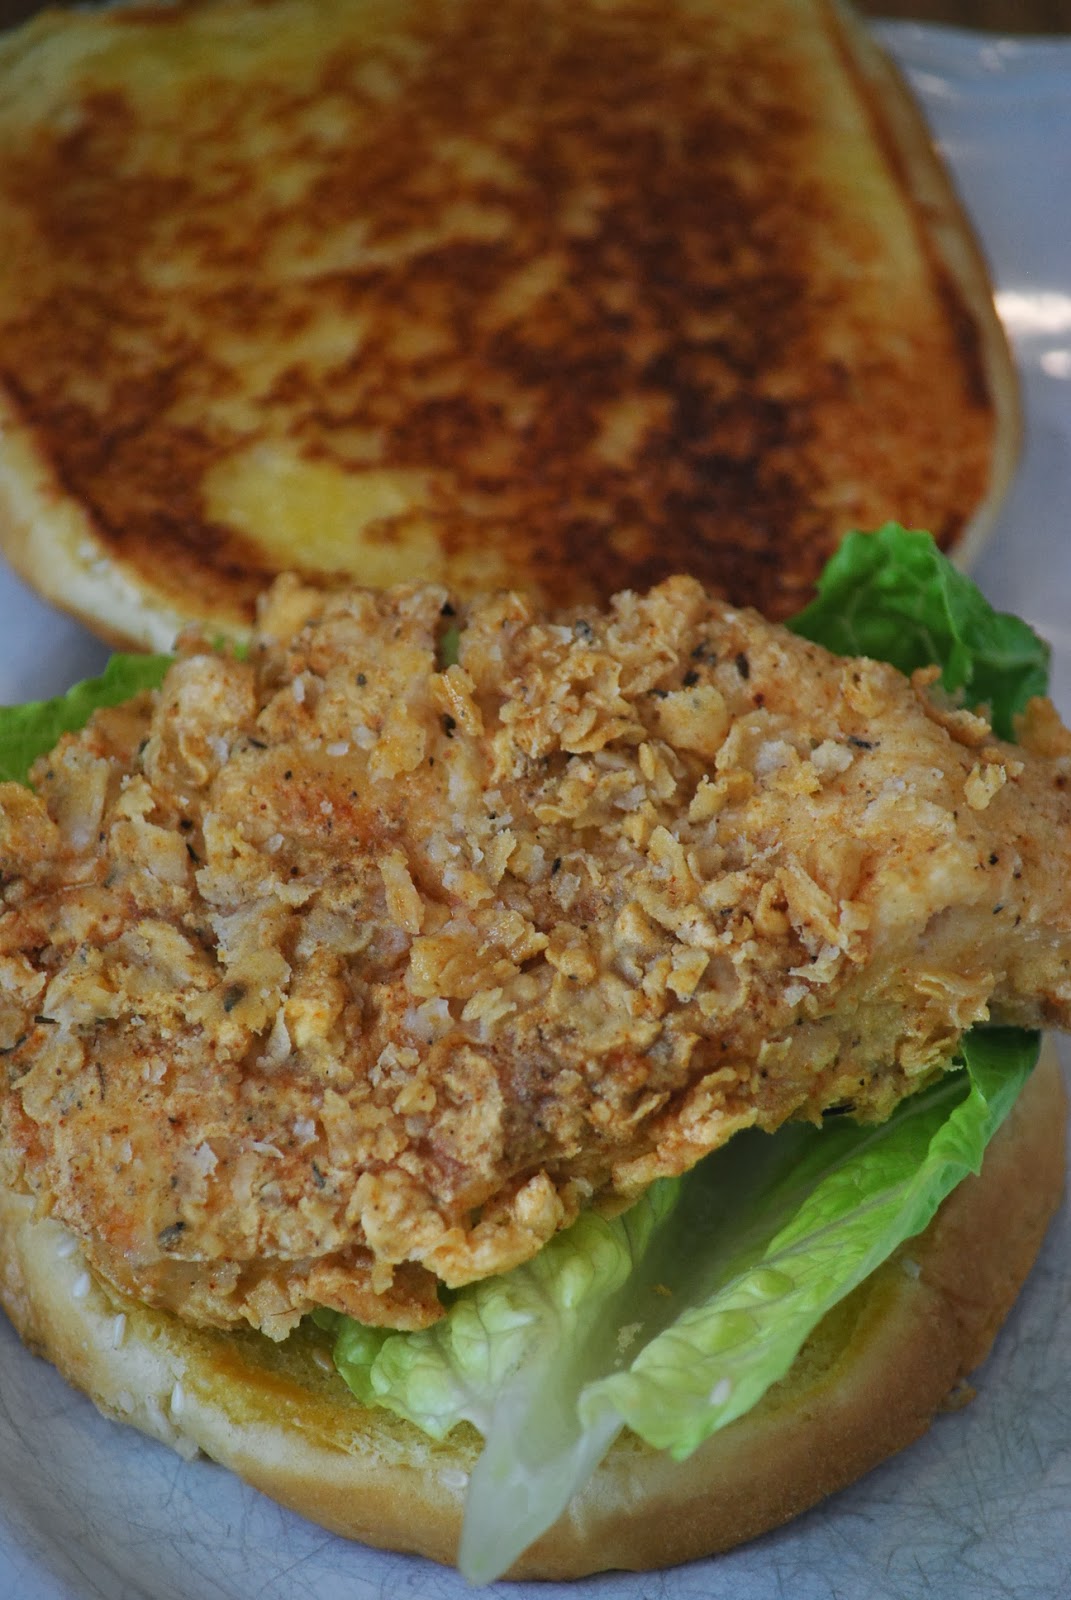
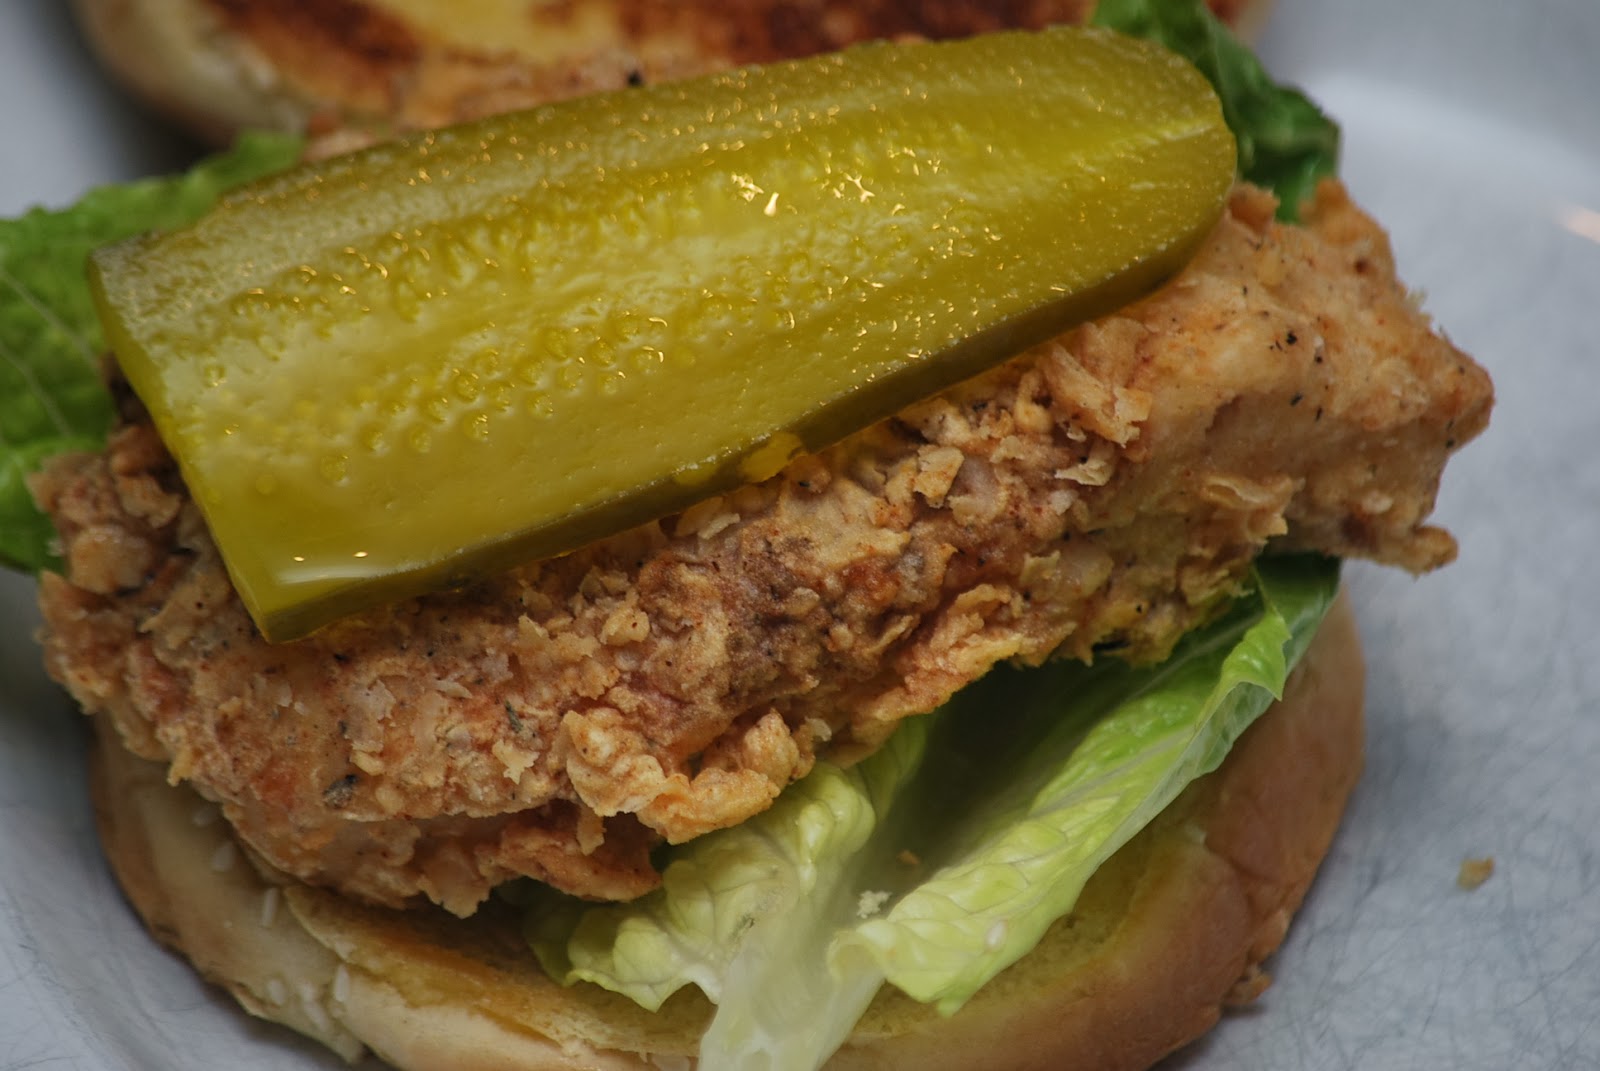
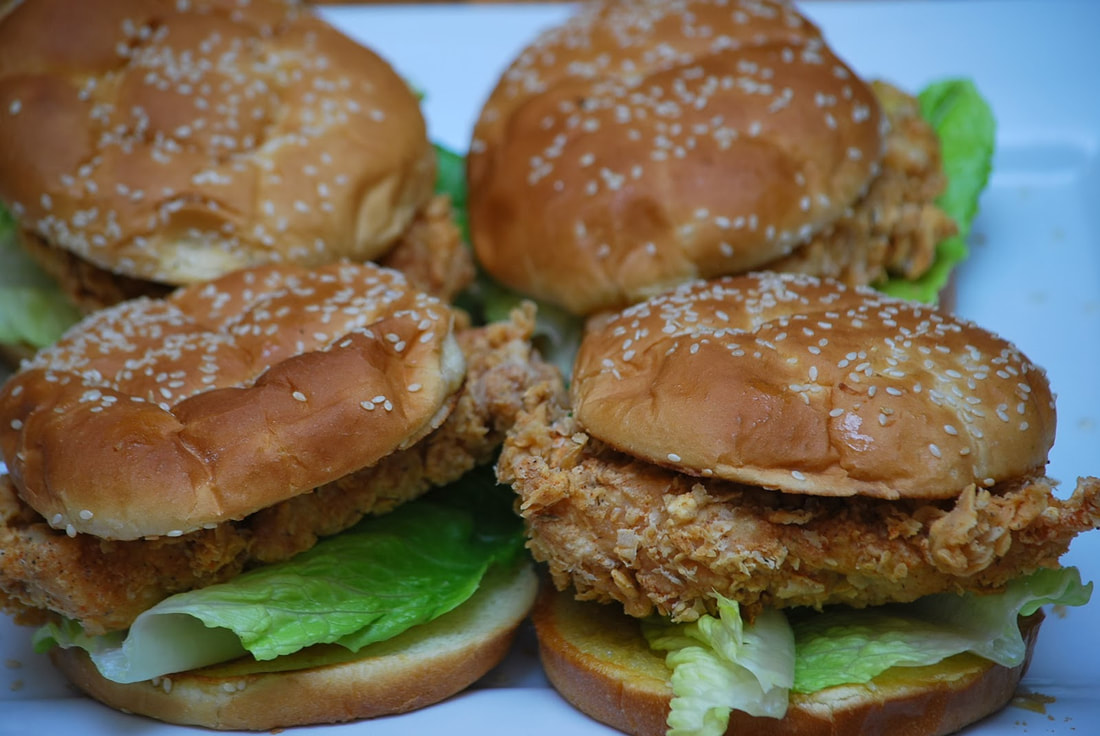 I thought that these were mighty tasty chicken sandwiches but the biggest compliment of all was that my family voted them even BETTER than their favorite fast food chicken sandwiches! (In the world of me - that is the highest compliment that I could receive.) 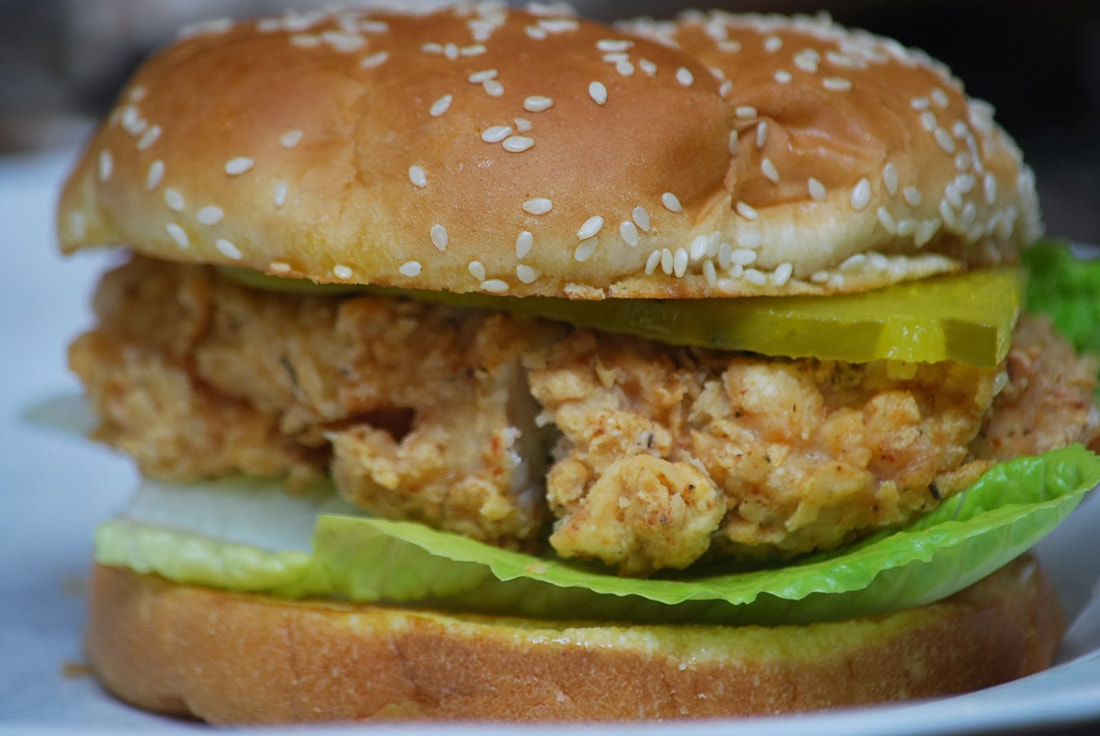 I think we just found our new snow day staple - fried chicken sandwiches.
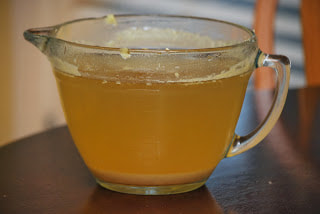
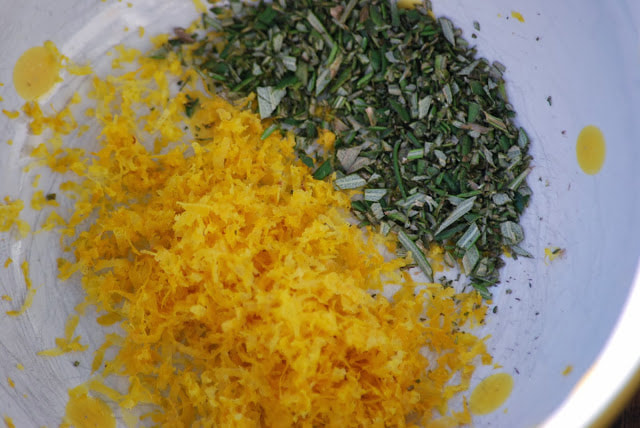
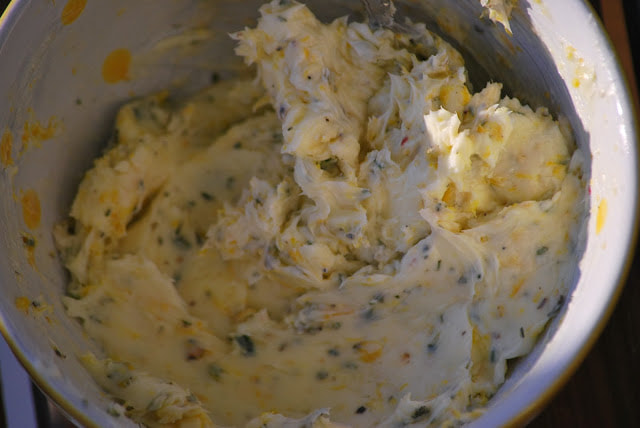
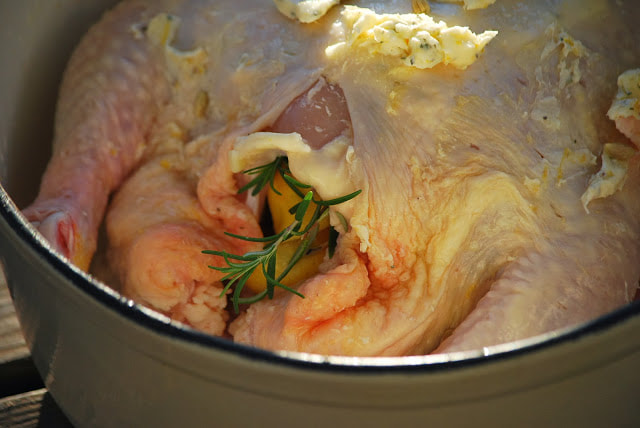
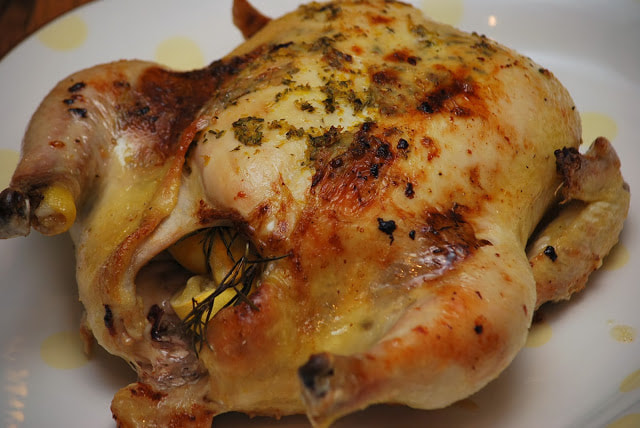
Ciao! 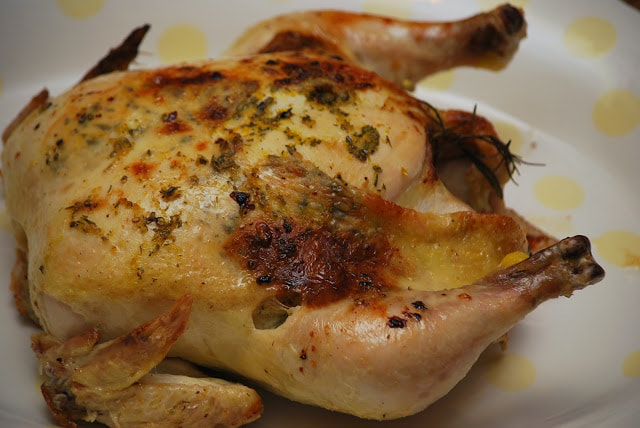 I am such a seasonal eater. As soon as the weather turns cold, I want to roast a chicken in the dutch oven with herbs and vegetables and lots of warm, hearty flavor. (I also like the fact that the oven keeps the kitchen nice and warm while I'm cooking.) I found this recipe for a Lemon Rosemary Chicken on achickwhocancook.com. It was a great "warm me up" kind of meal. I was able to use my chicken for 2 dinners. I served it with cornbread on the first night and then took the meat off the bones and boiled the carcass to made chicken stock for soup. The broth was really flavorful from the lemon and rosemary and it made fantastic soup the second day.
Let rest 15 minutes before carving.
They're forecasting snow for Atlanta this afternoon. While everyone else is running to the grocery store to buy bread and milk today, (If you live in the south, you know this is true.) I'll be buying something that I can roast in the oven. Stay warm friends. Ciao! Sometimes I find ingredients in the most LEAST likely places. I found a recipe for Pear Vinaigrette on simplyscratch.com and I really wanted to serve it with a spinach salad for Christmas dinner. A simple salad of fresh spinach, toasted walnuts, diced pears and a sprinkling of blue cheese was the perfect compliment to my beef tenderloin dinner.
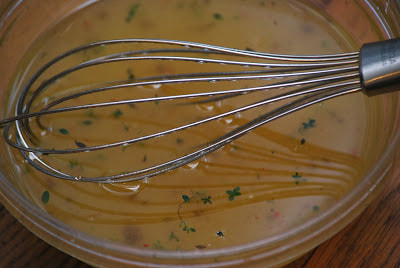
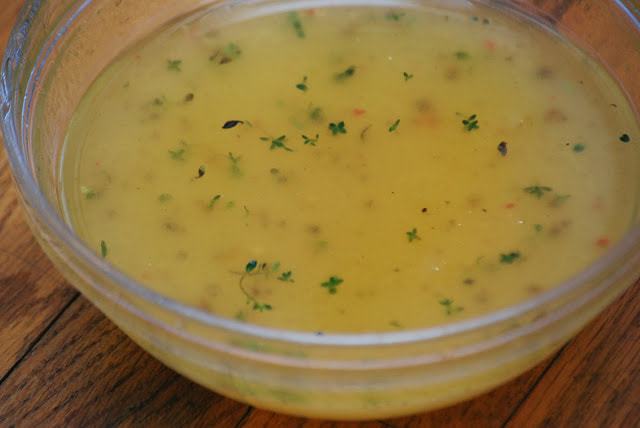
I always plan my Christmas menu well in advance so that I can get some things made ahead of time. The pear vinaigrette was one of those things on my menu that I wanted to make ahead of time so I headed to the grocery store to look for the ingredients. I went to Kroger - no pear infused vinegar. I went to Fresh Market and Trader Joes - No pear infused vinegar. I finally ended up at Wal Mart and MUCH to my surprise - PEAR INFUSED VINEGAR. (Not sure why in the world Wal Mart carries such an obscure product but I'm not complaining.) 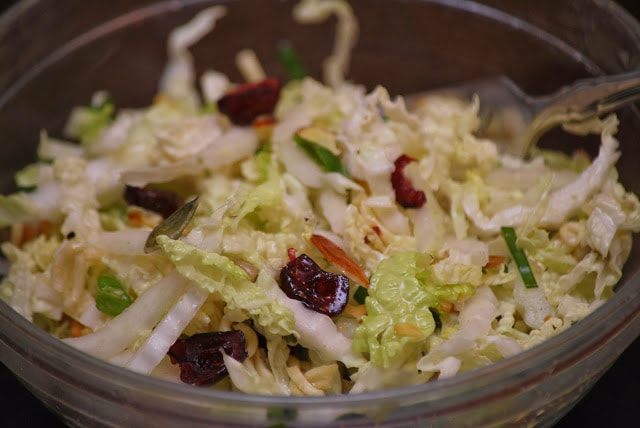 Pear Vinaigrette 3 tablespoons Pear Juice 1 tablespoons Pear Infused Vinegar 2 tablespoons Olive Oil 2 sprigs of Thyme, leaves removed {discard stem} 1/8 teaspoon Fresh Ground Black Pepper Whisk together ingredients.
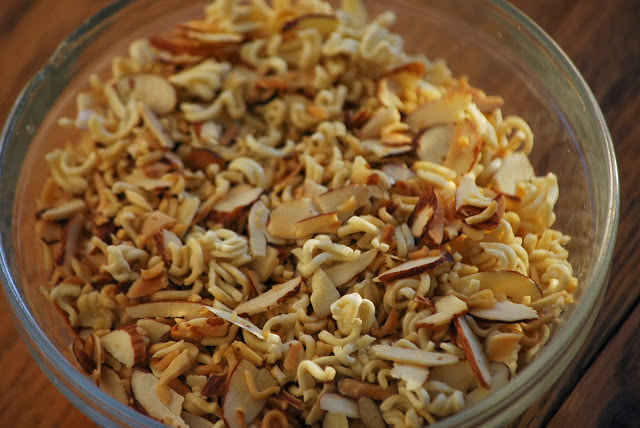
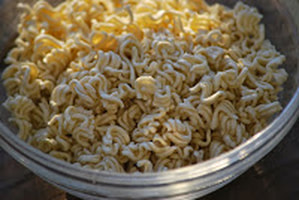
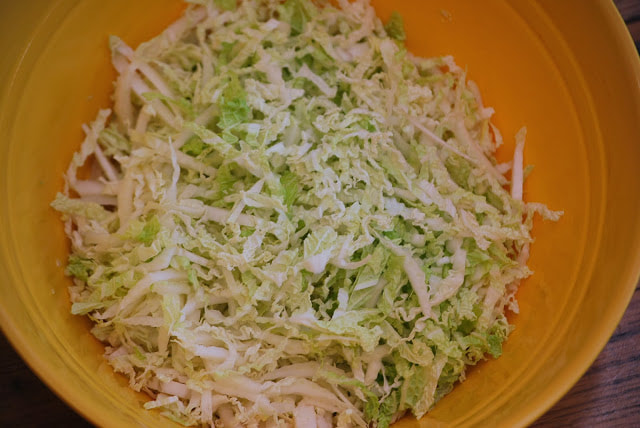
I made a double batch of dressing because I also wanted to use some on a cabbage salad that I was sending to school for a teacher luncheon. I really like the Ramen noodle salad but I've never liked the uber-salty dressing that's made with the seasoning packet and normally served with the salad. I thought this pear vinaigrette might be a nice light addition to the salad.
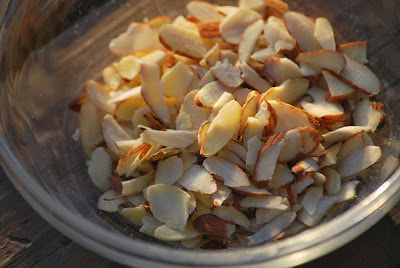
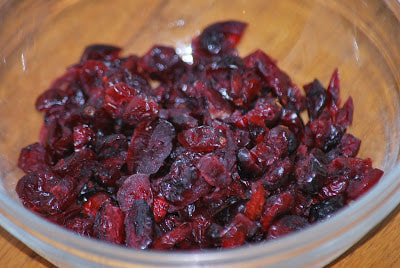
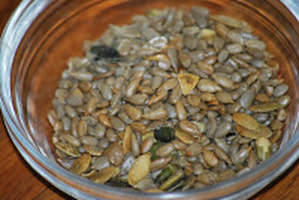
Then I added some sunflower seeds, pumpkin seeds and dried cranberries to the mix.
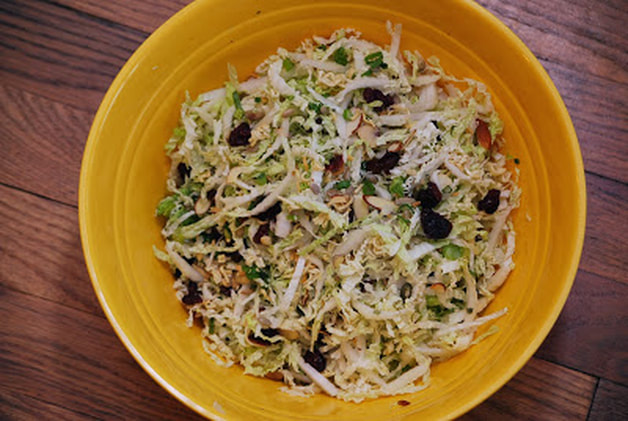 I drizzled my salad with the pear vinaigrette and it was delicious. (Way better than the soy/ramen dressing.)  I love when I can use 1 dressing for multiple things.
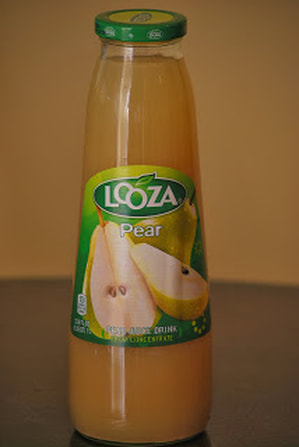
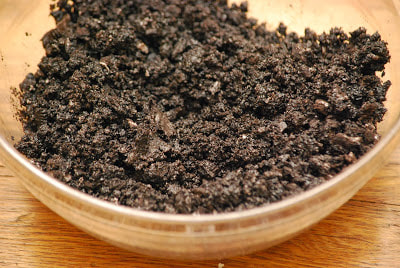
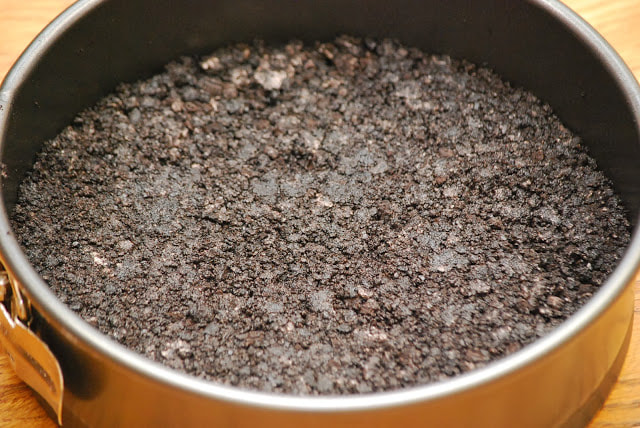
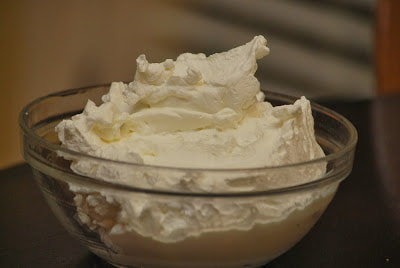
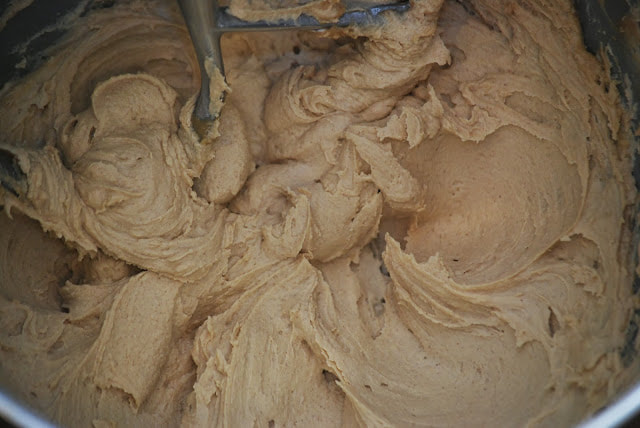
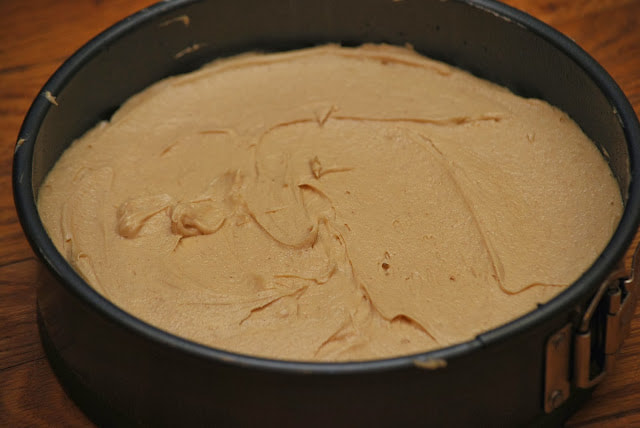
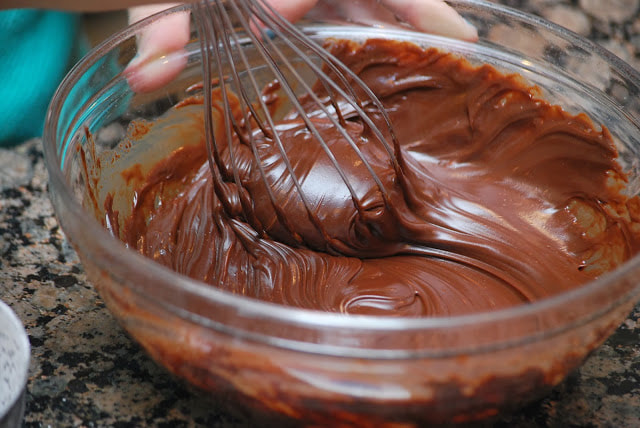
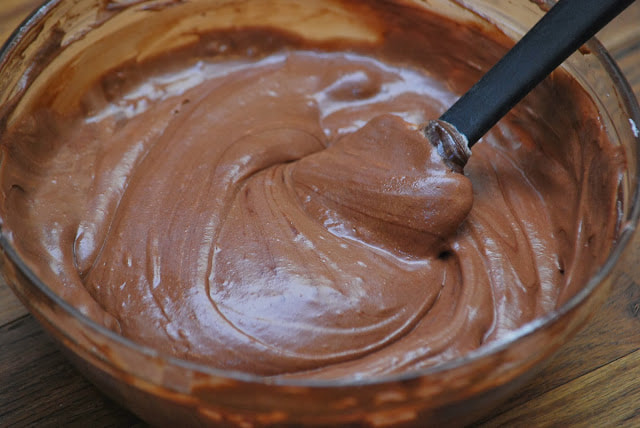
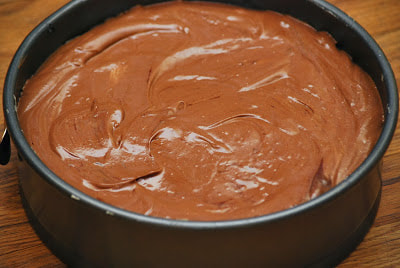
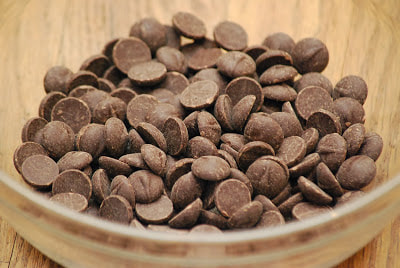
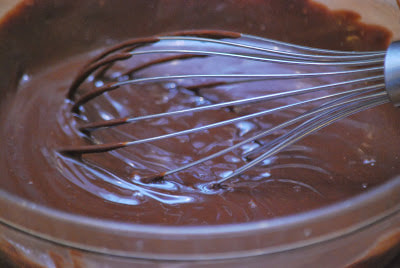
Everyone in this house was quite curios about the pear juice so we all had to try it. It really does taste just like a pear. It's a little thick and syrupy for me but I combined it with some apple juice and it was really much better. Not sure I would buy pear juice just to drink on it's own but since I have some leftover, I'll be enjoying some apple-pear juice for breakfast. Ciao! 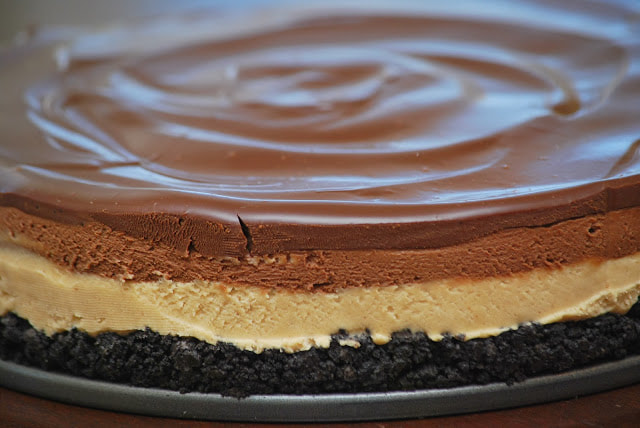 Have you ever been so busy that you don't even realize that you're too busy? That is exactly what I felt like during the month of December. I slid right into my busy holiday schedule so gradually this year so I don't think I even realized how busy I was. It wasn't until I was on at least my 5th trip to the grocery store for the week, when I strolled passed by the Starbucks in my local Kroger that it hit me.  The aroma of roasted coffee was overwhelming and I suddenly had the most intense craving for a cup of coffee. I'm not a huge fan of Starbucks so I resisted the urge to order a coffee but I did brew myself a cup of Joe as soon as I got home from the store. (Not to mention the fact that I am not coordinated enough to grocery shop and drink coffee at the same time without spilling it on me or another innocent shopper.) It wasn't until the moment that I actually sat down to drink my coffee that it occurred to me that I hadn't actually sat down and taken a break in a really long time. I never realized how busy it WAS until I finally stopped being so busy. Maybe it's time to slow down and drink a little more coffee. It's really busy days that I appreciate a great dessert that I can pull out of the freezer and serve at a moments notice. (You just never know when the urgent call for chocolate will come.) This chocolate and peanut butter mousse cheesecake is a fabulous dessert that I like to keep in my freezer. 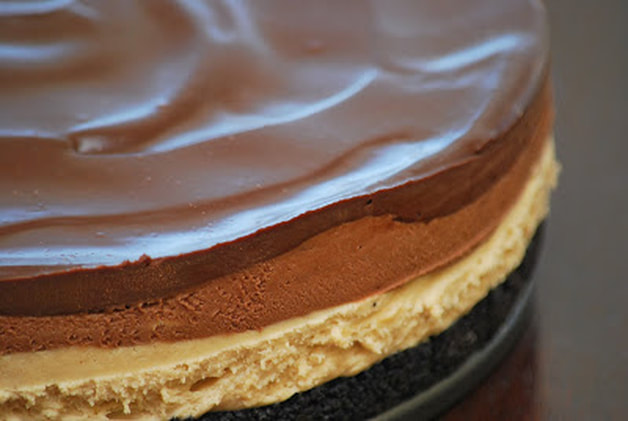 Chocolate and Peanut Butter Mousse Cheesecake Crust 1 1/2 cups chocolate wafer crumbs 1/4 cup butter Peanut Butter Layer 1 1/4 cups whipping cream 3/4 cup peanut butter 5 ounces cream cheese 2 Tablespoons butter 1 1/4 cups powdered sugar Chocolate Layer 3 1/2 ounce chocolate bar 1/3 cup sugar 1/4 cup milk 1 teaspoon vanilla Ganache 6 ounces bittersweet chocolate 2/3 cup heavy cream 1 teaspoon vanilla
Cool to room temperature and slightly thickened. Spread over cheesecake. 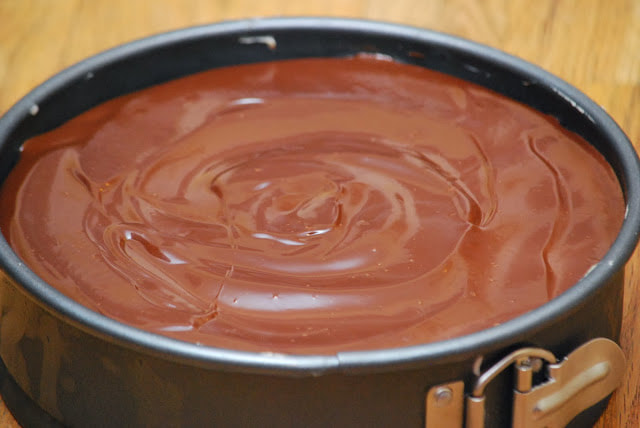 Refrigerate at least 1 hour before removing outer ring of pan. 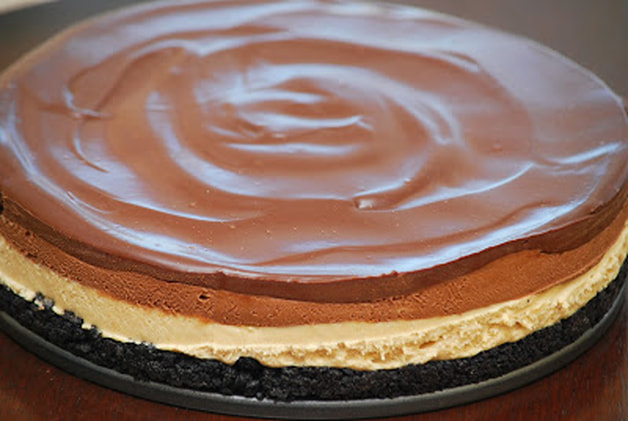 If you like Reese's Peanut Butter Cups, you will love this dessert. It is heaven on a plate.
Ciao! |