Thanksgiving was a week ago and I still feel like I'm getting back into the swing of things back at home. We took a road trip to Ohio for the holiday and it was a fabulous week of family time, great food and fun (wintery) adventures.
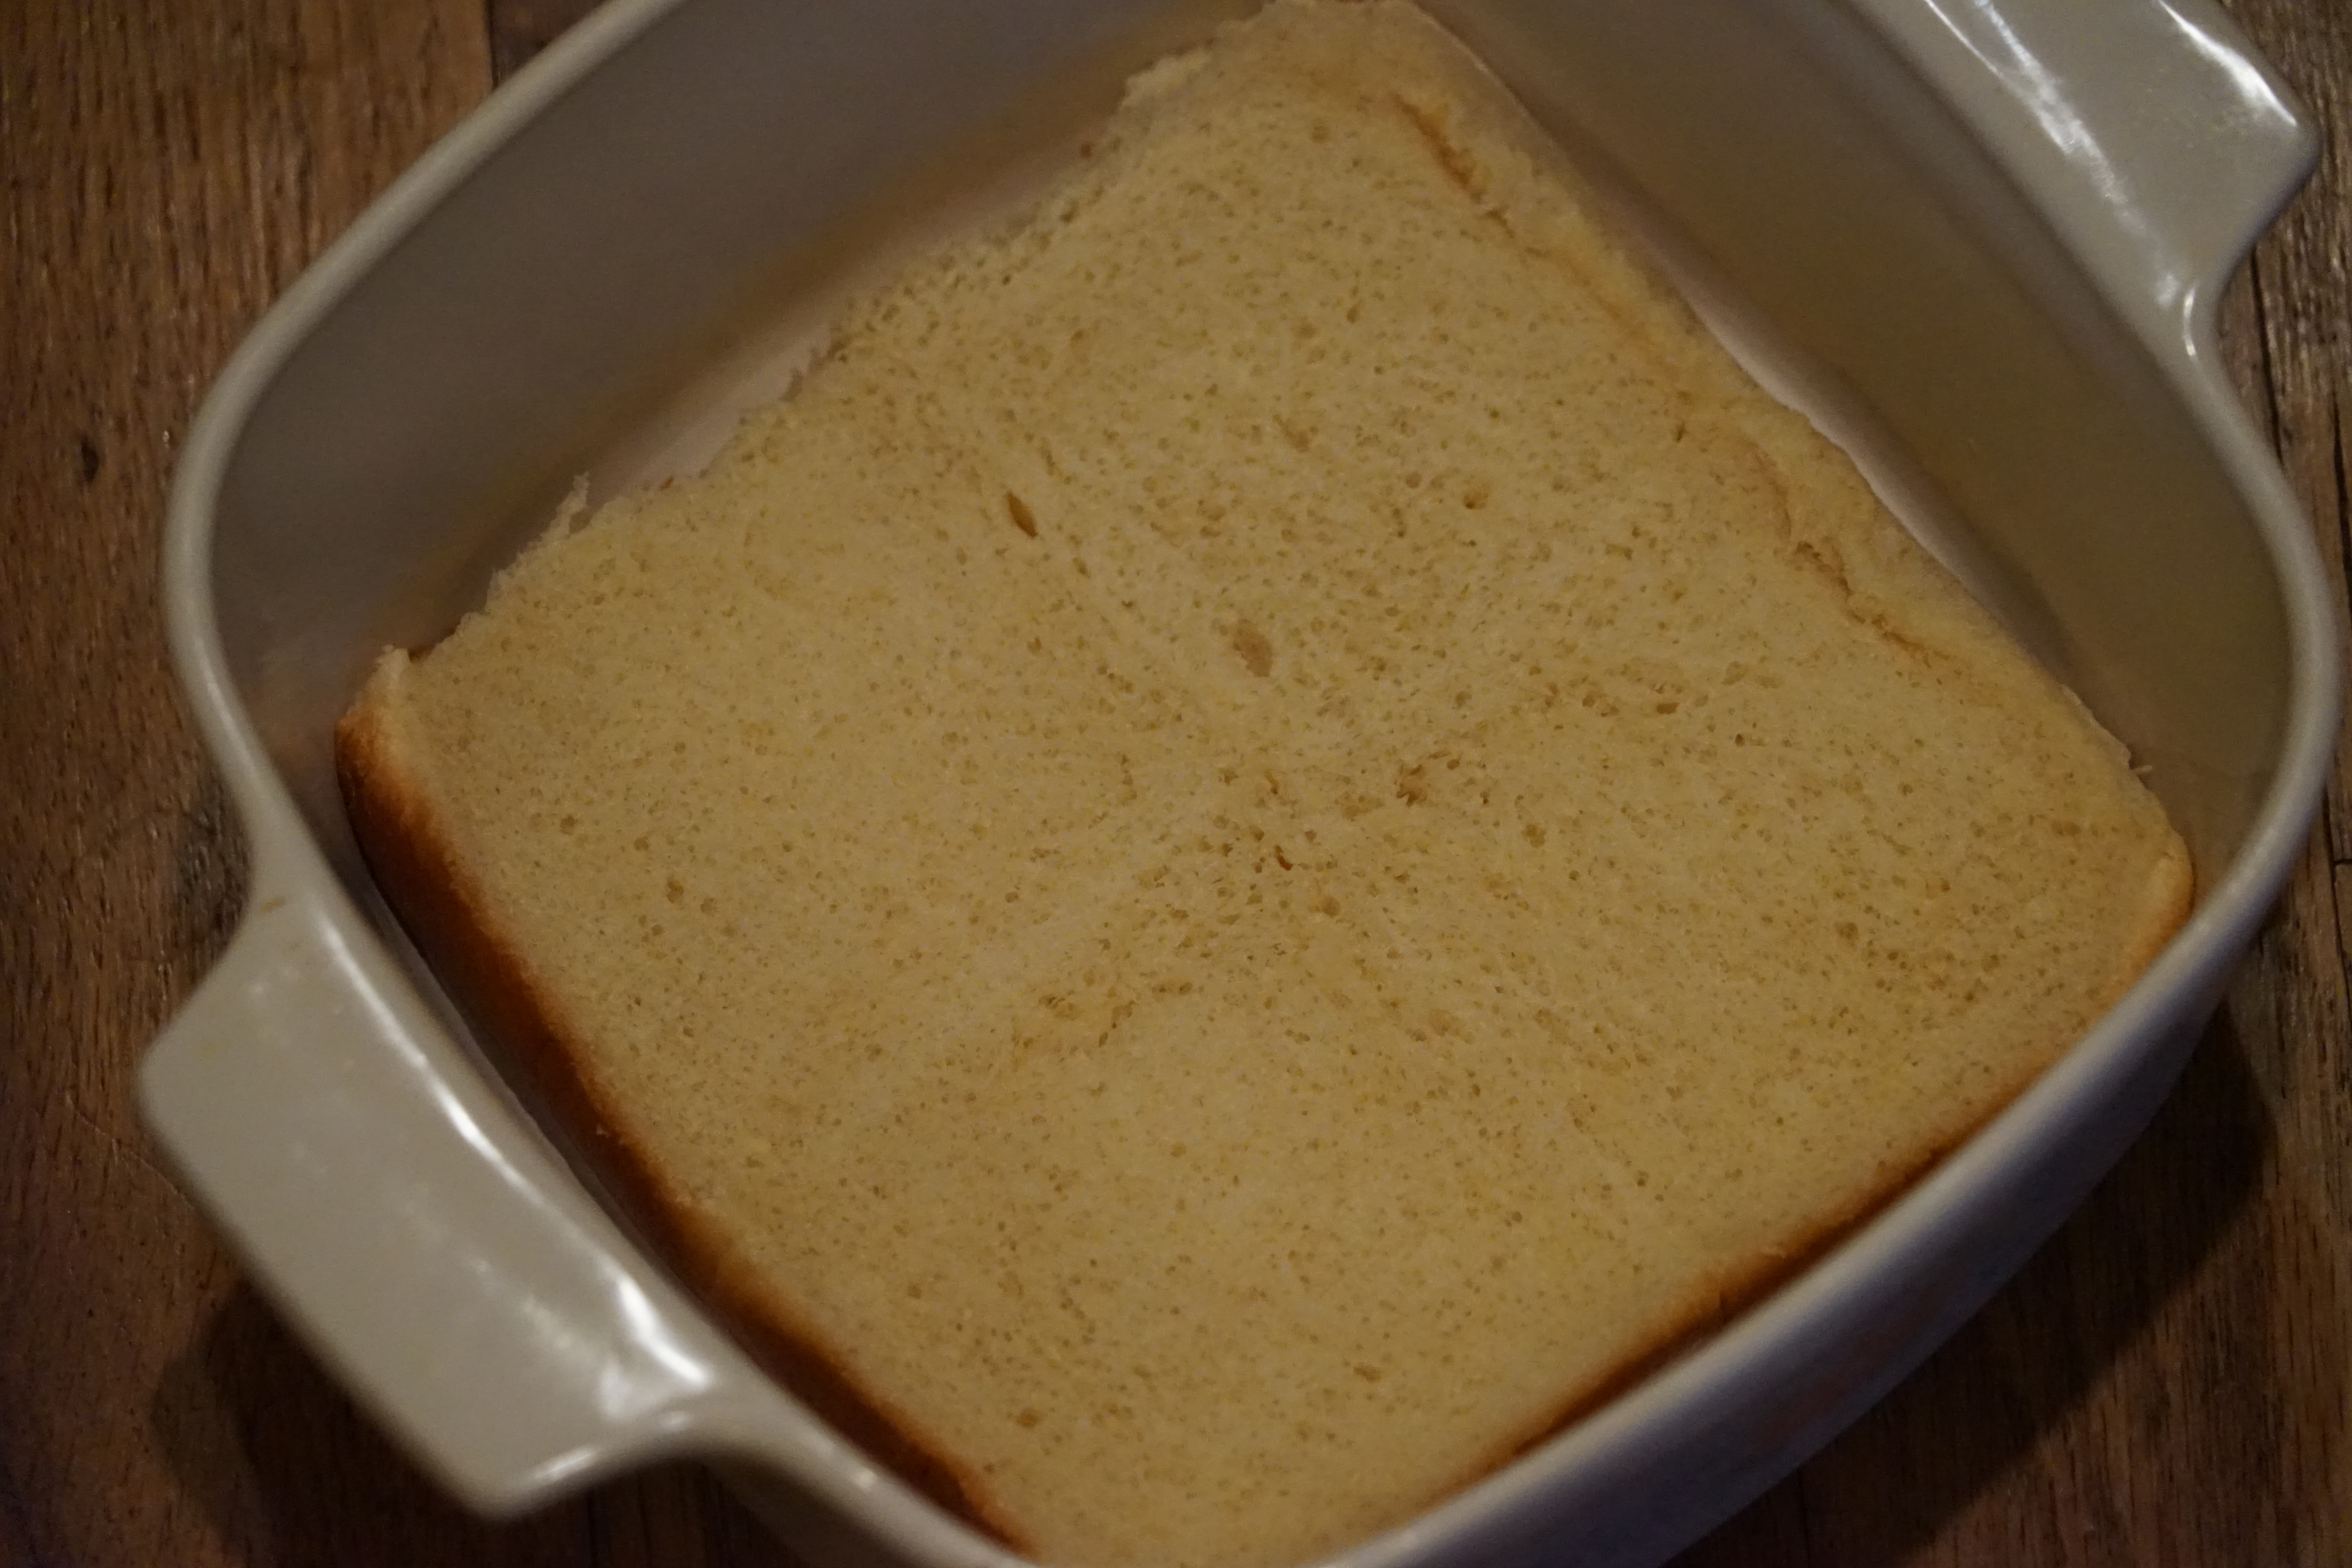
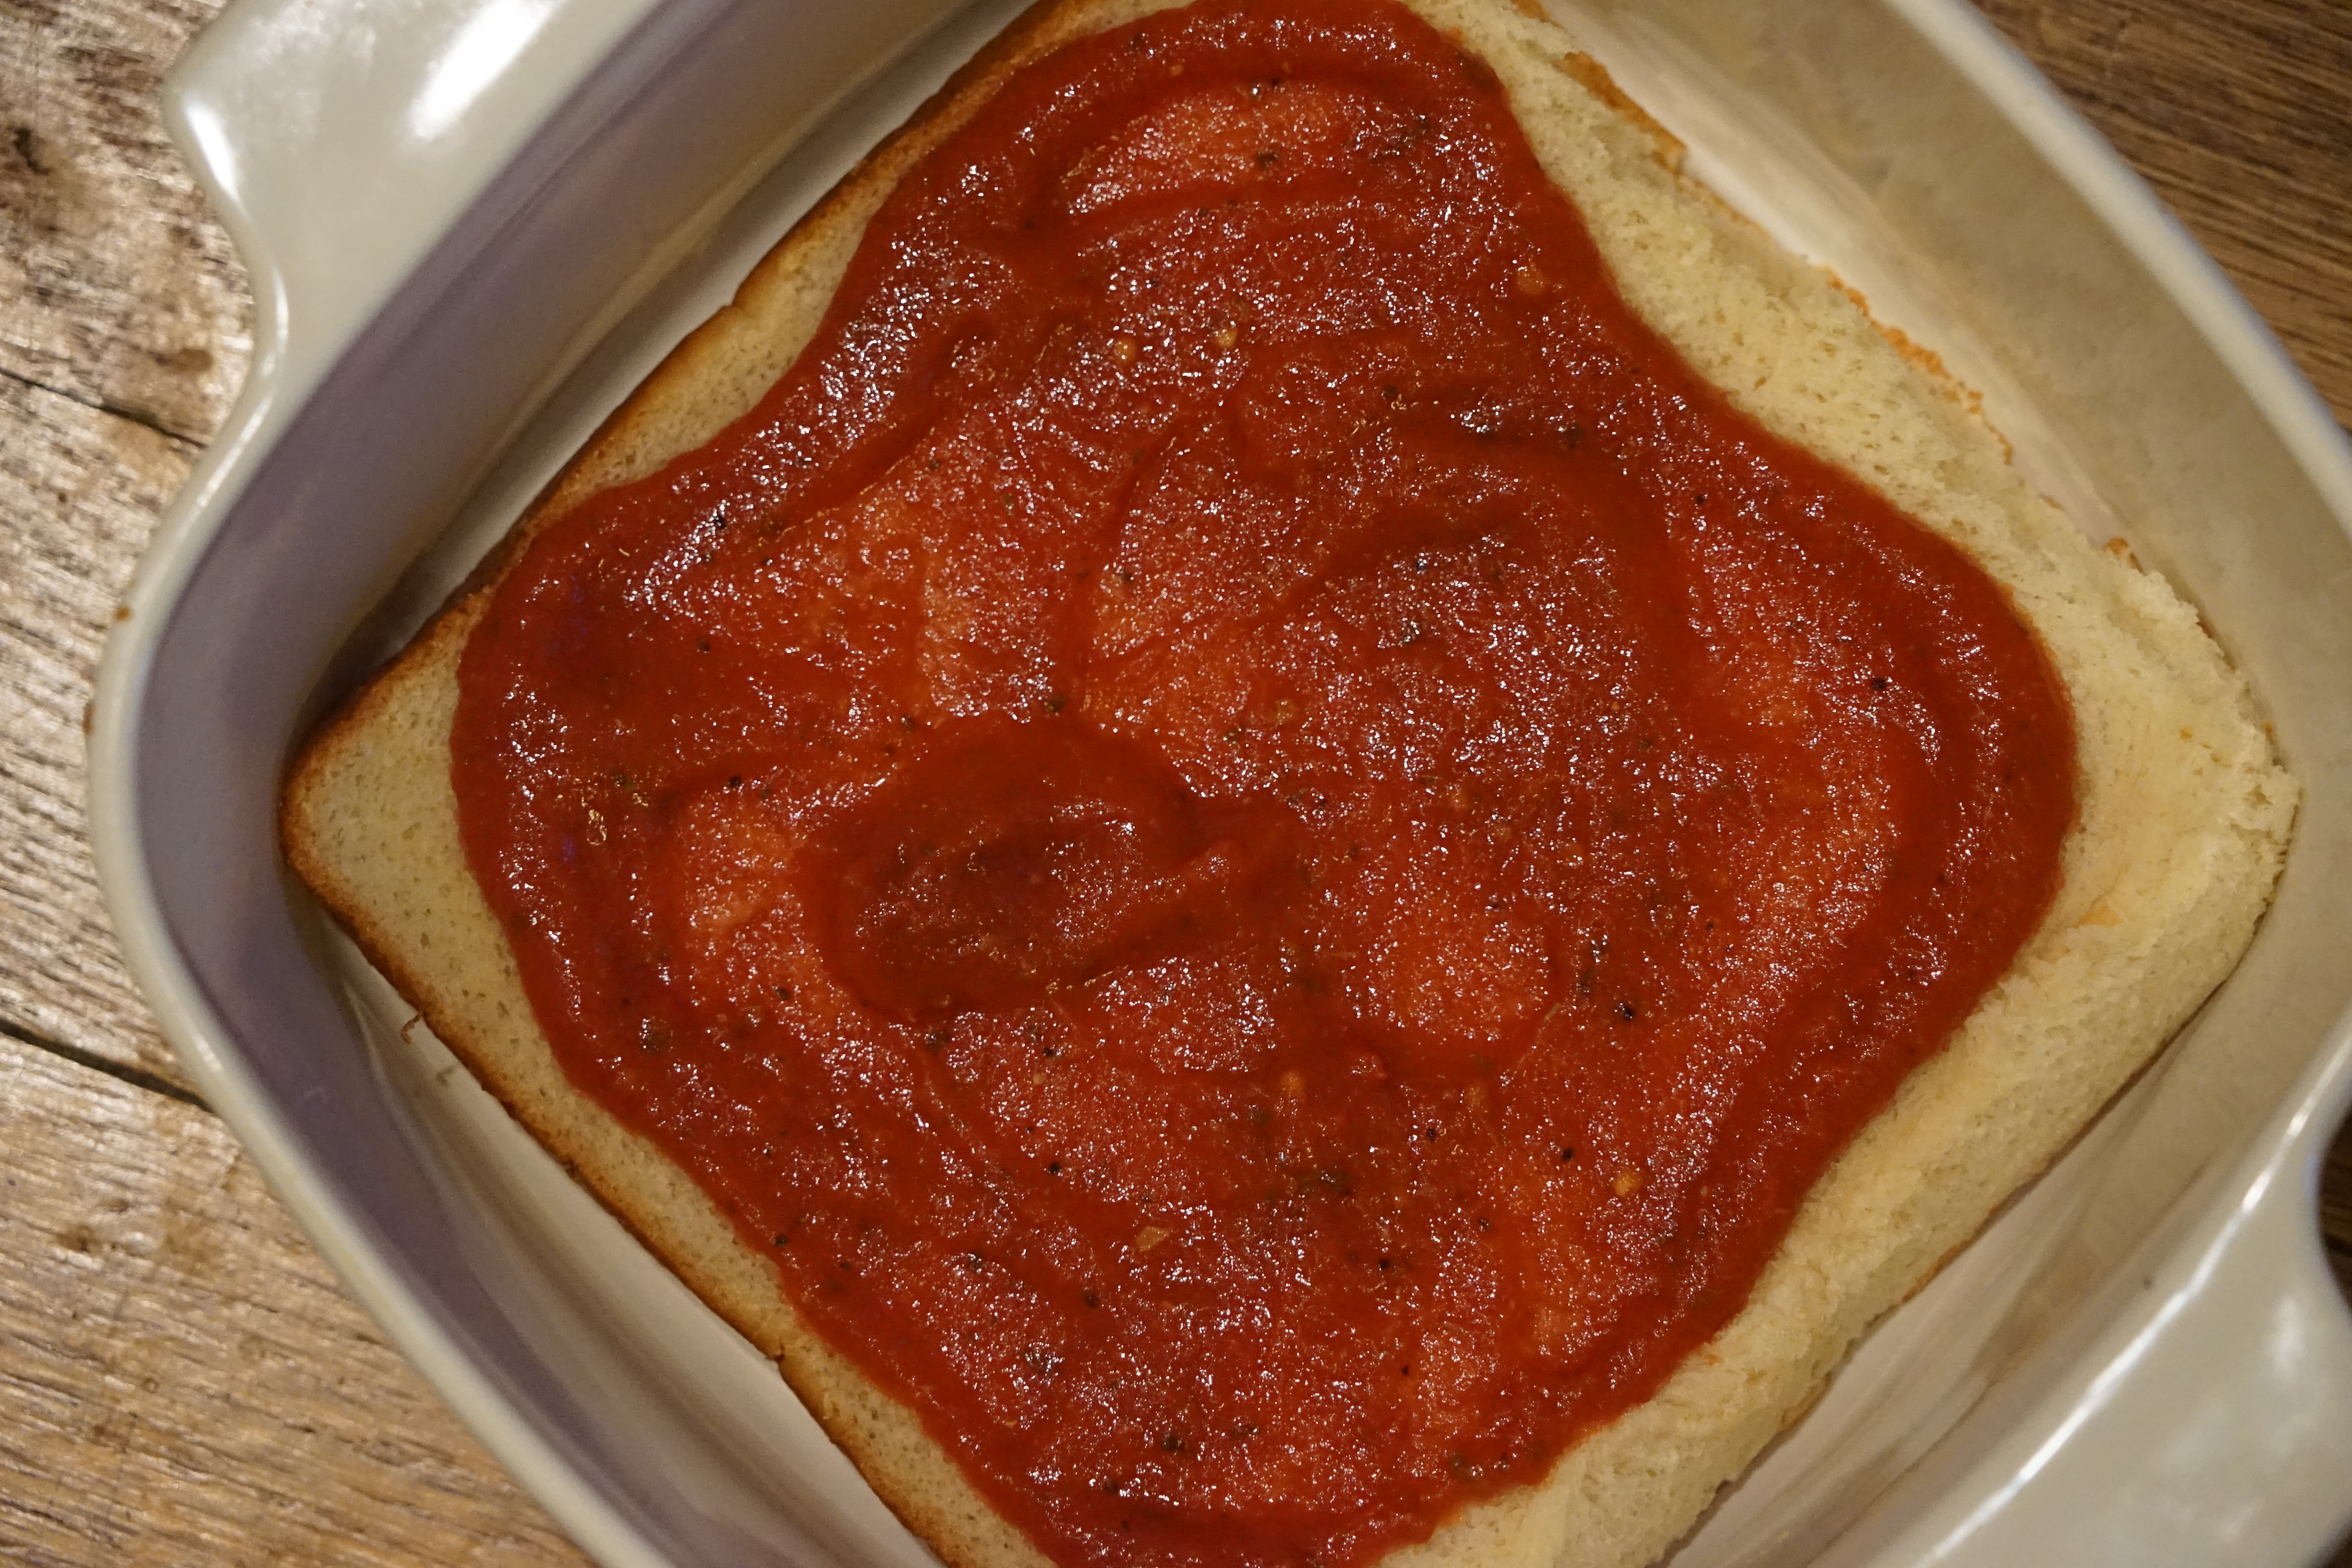
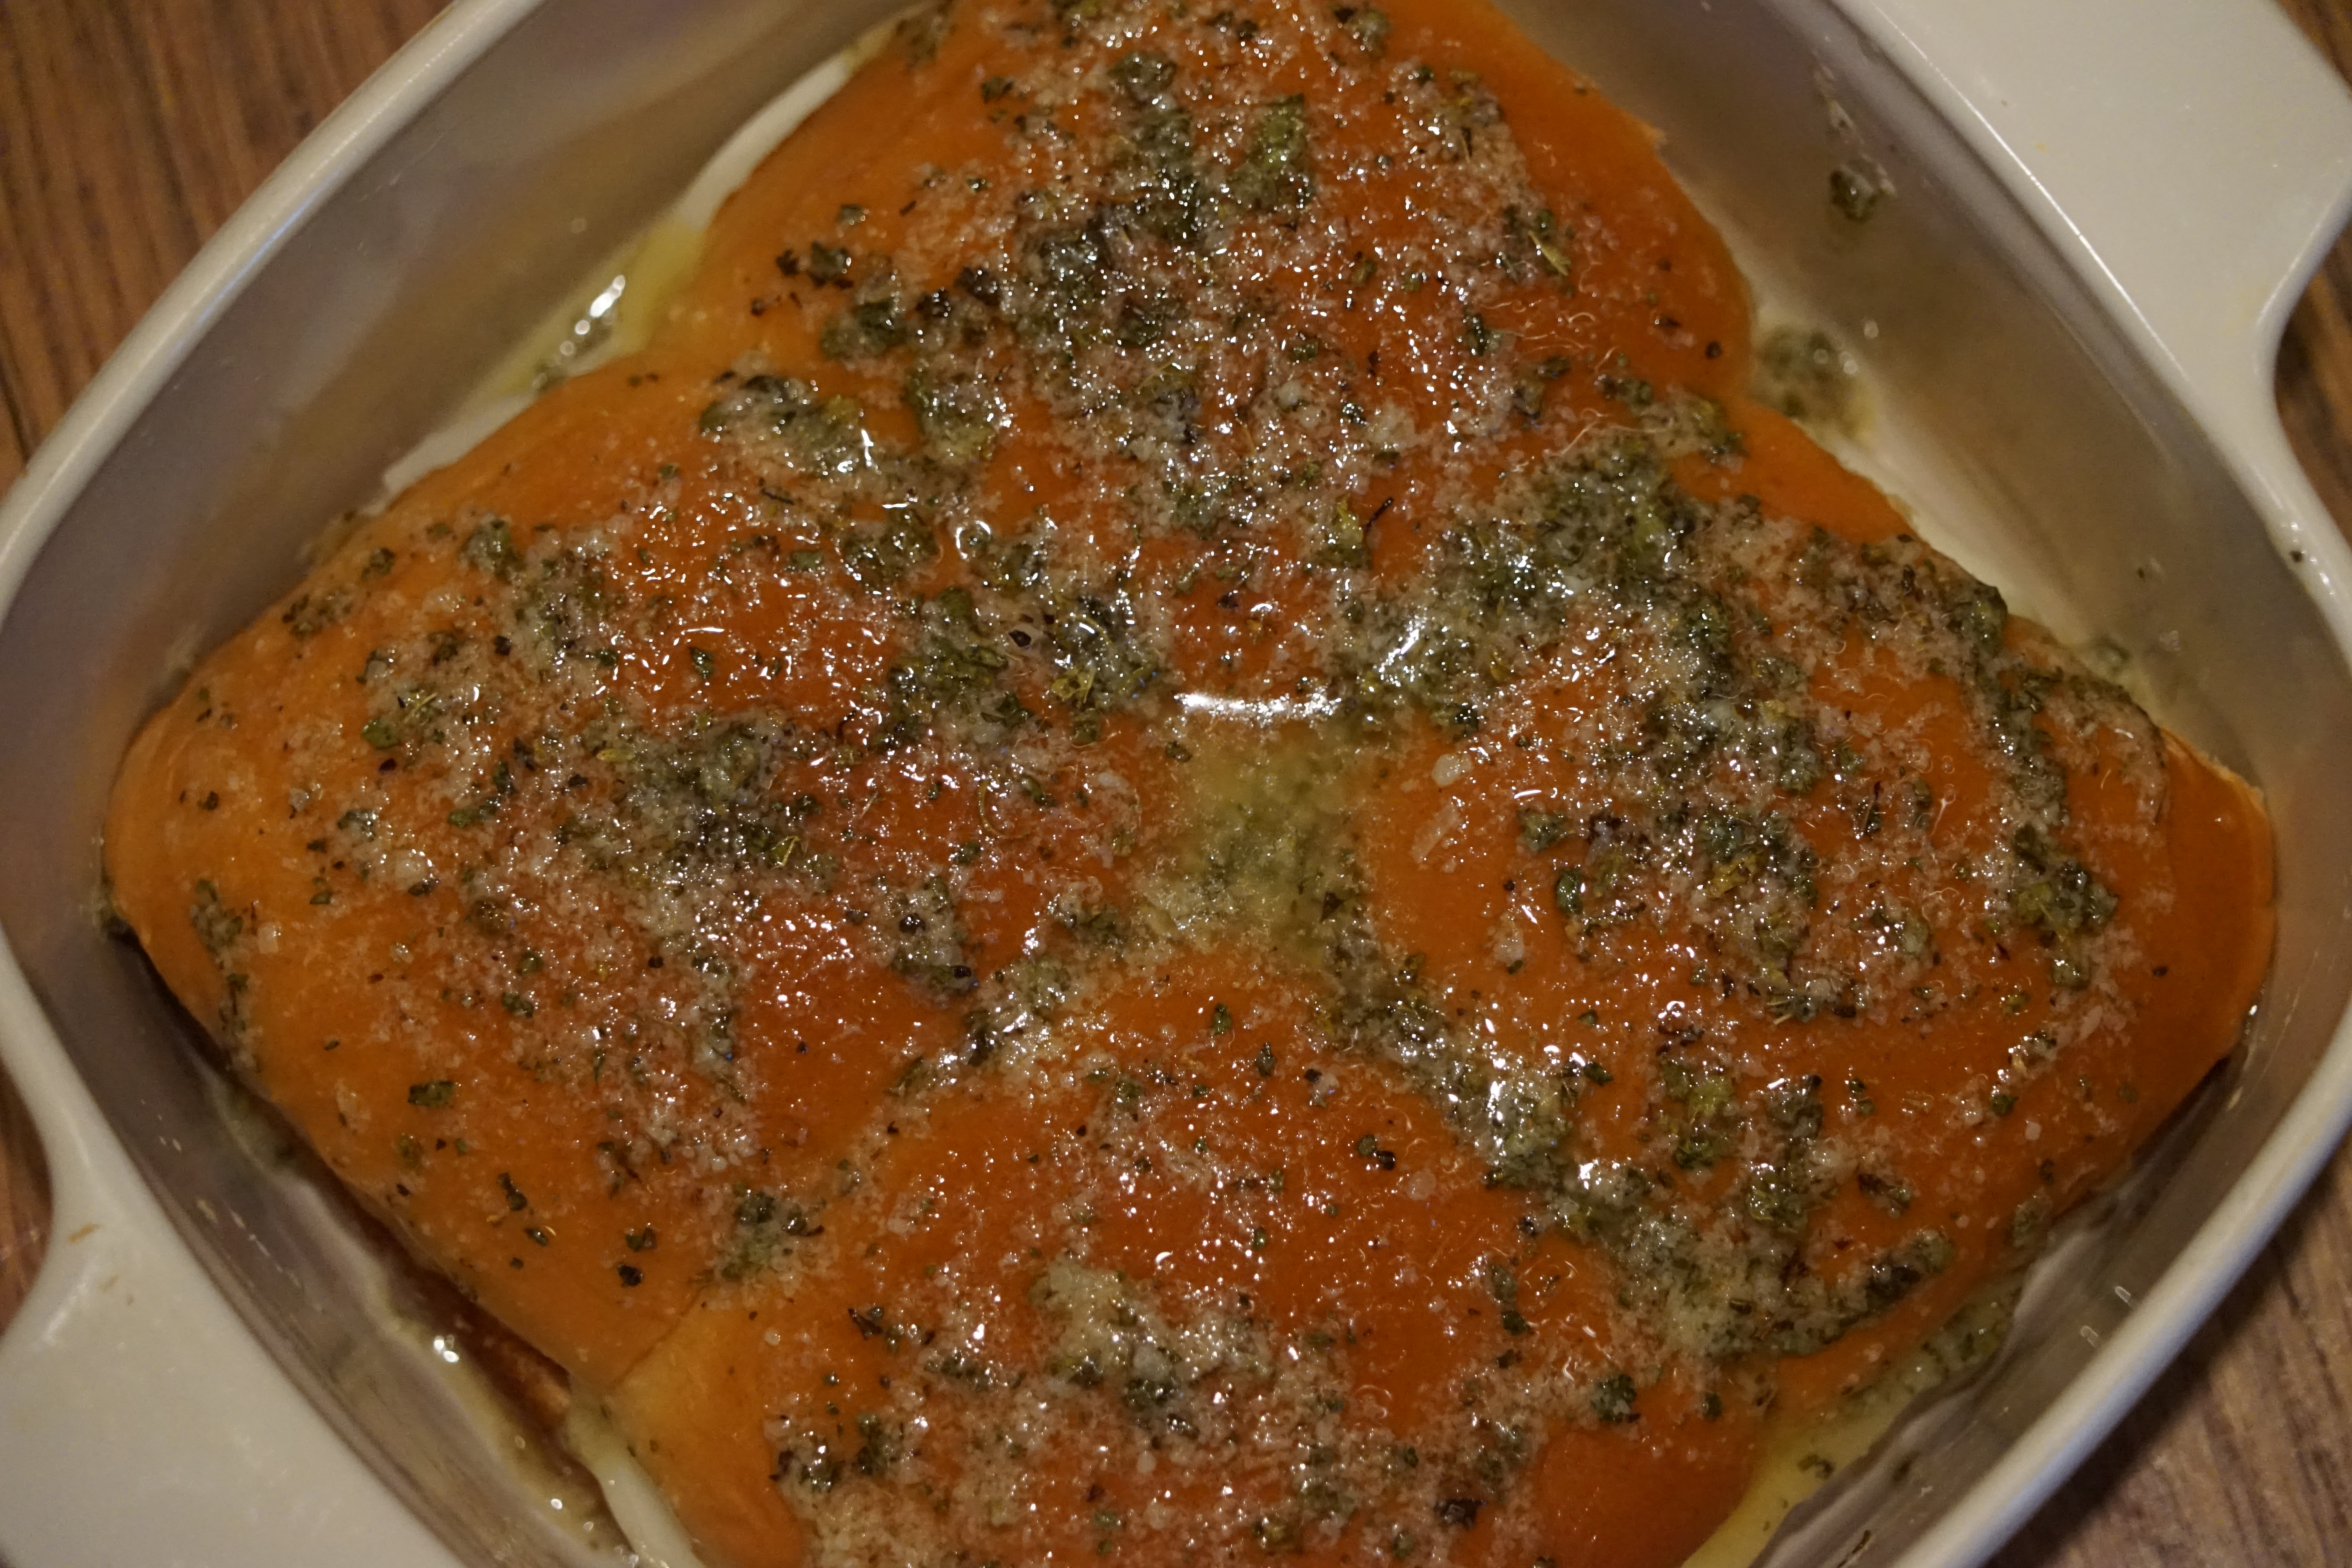
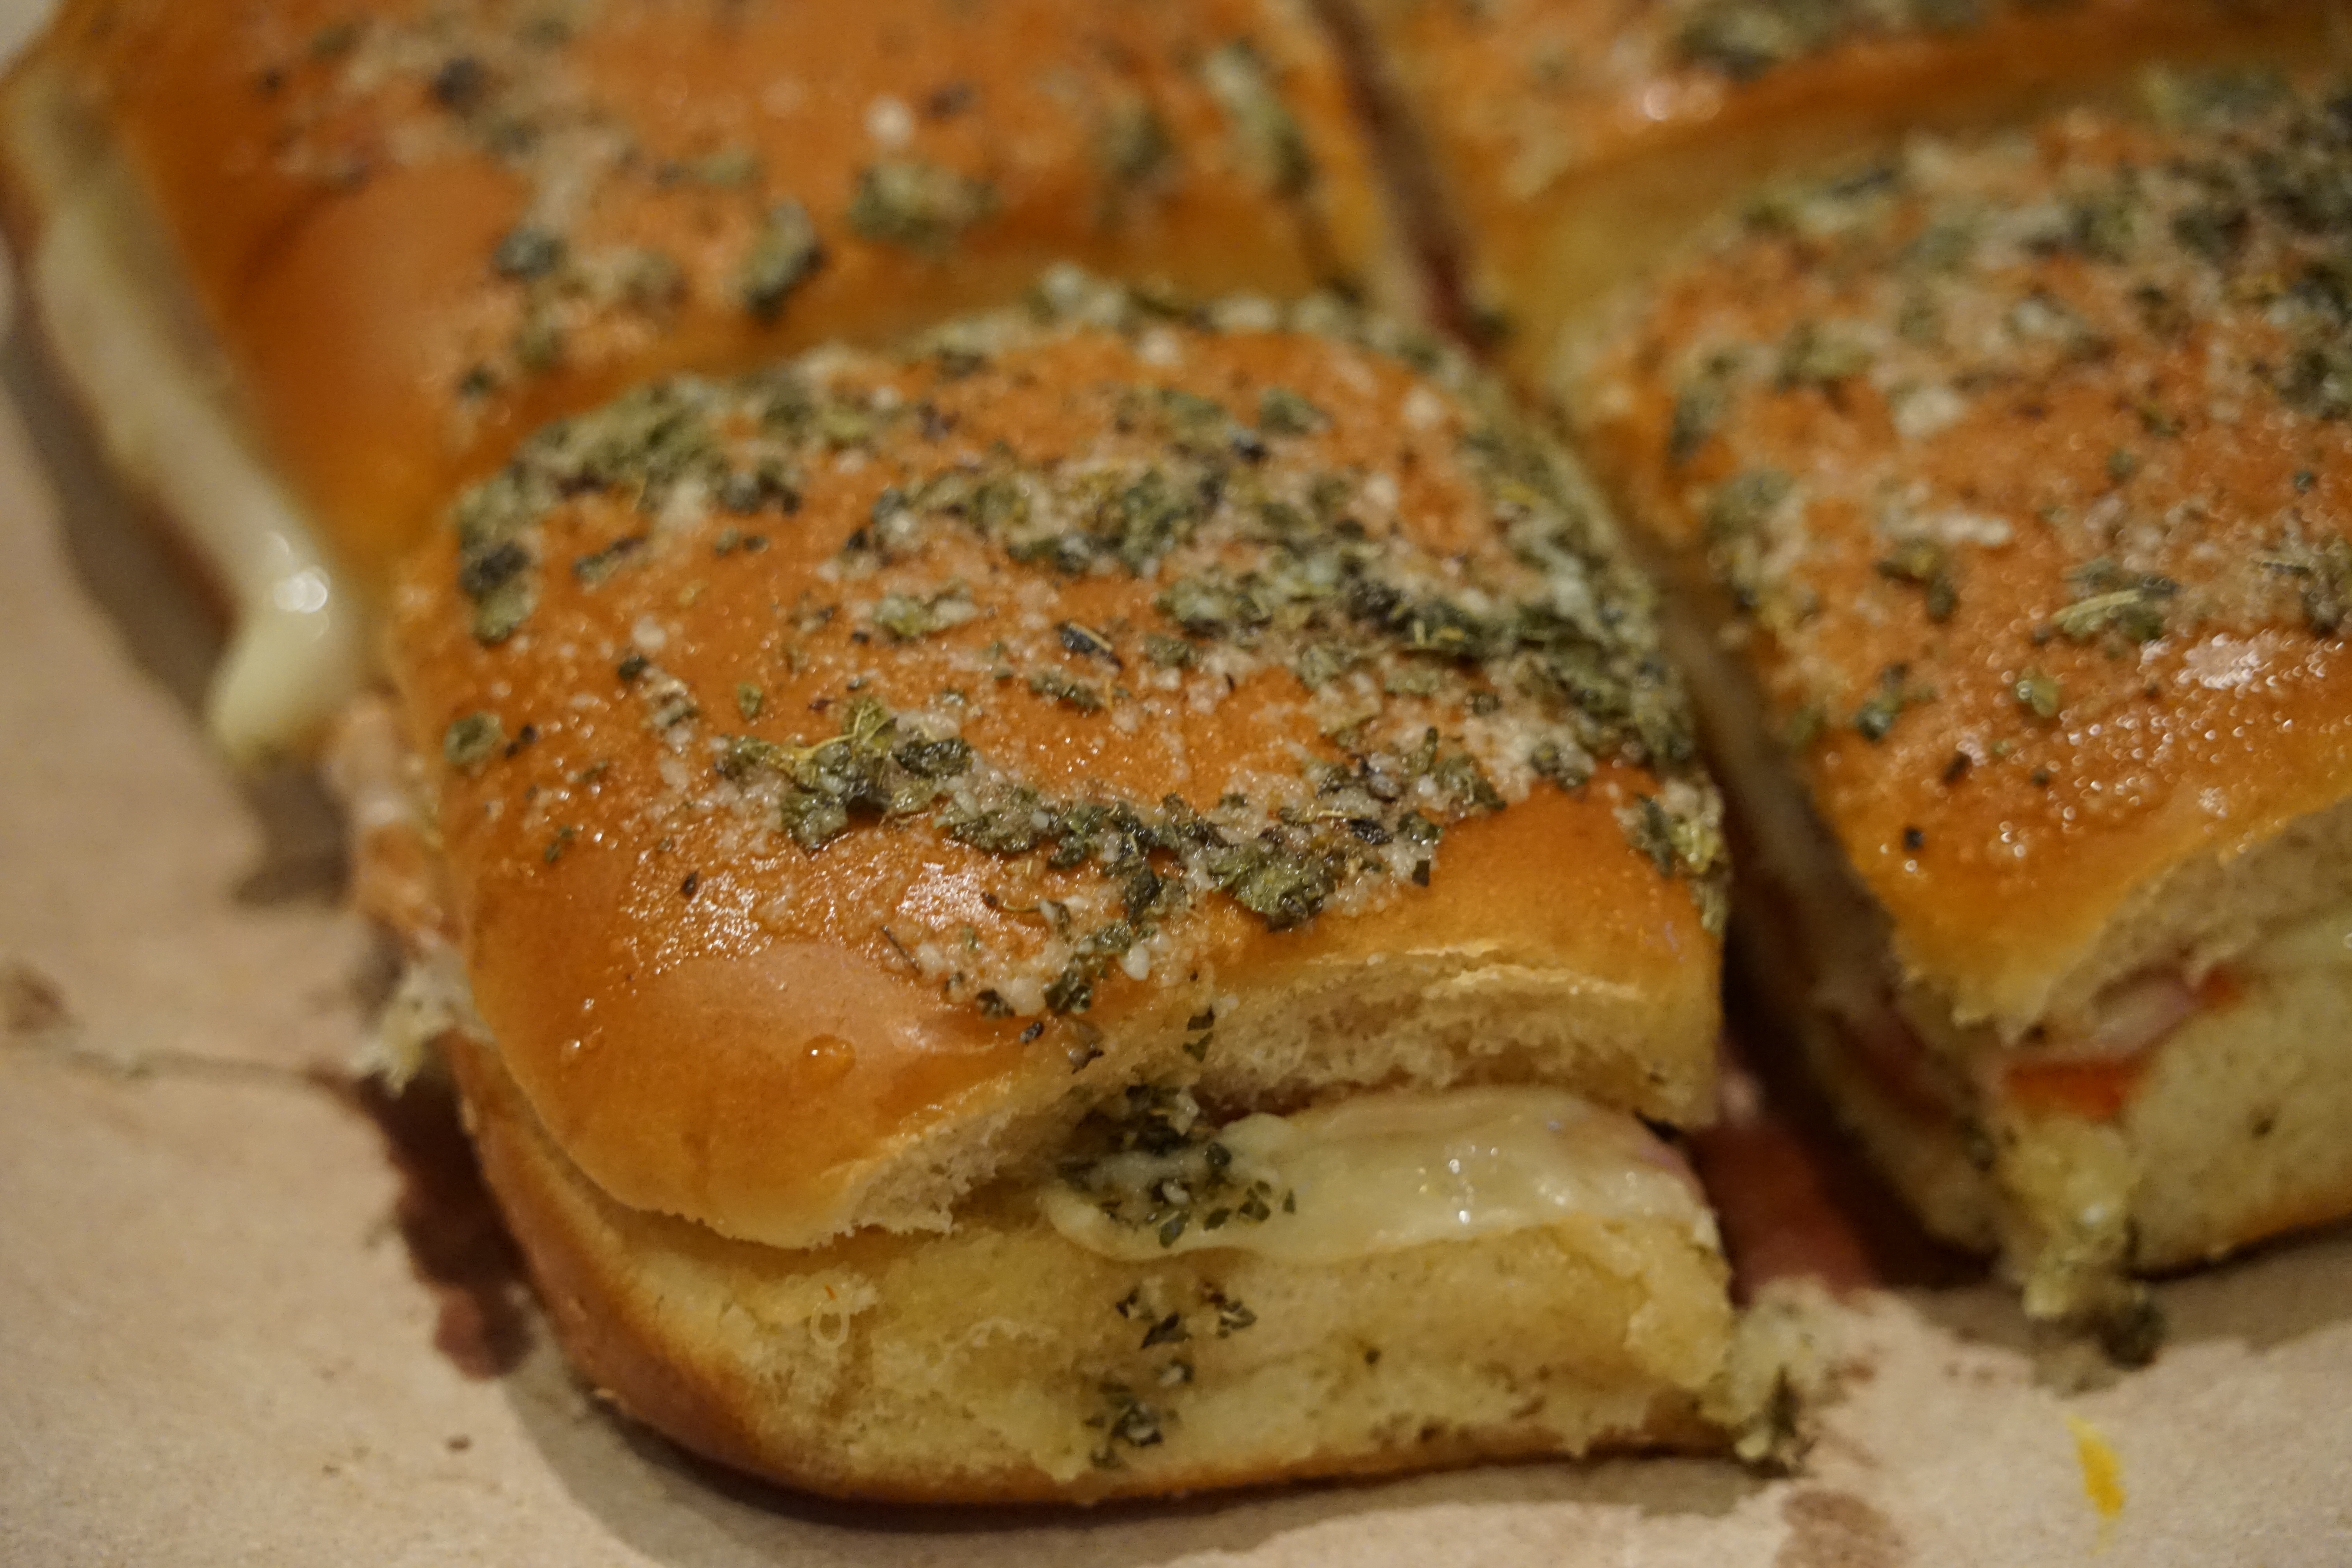
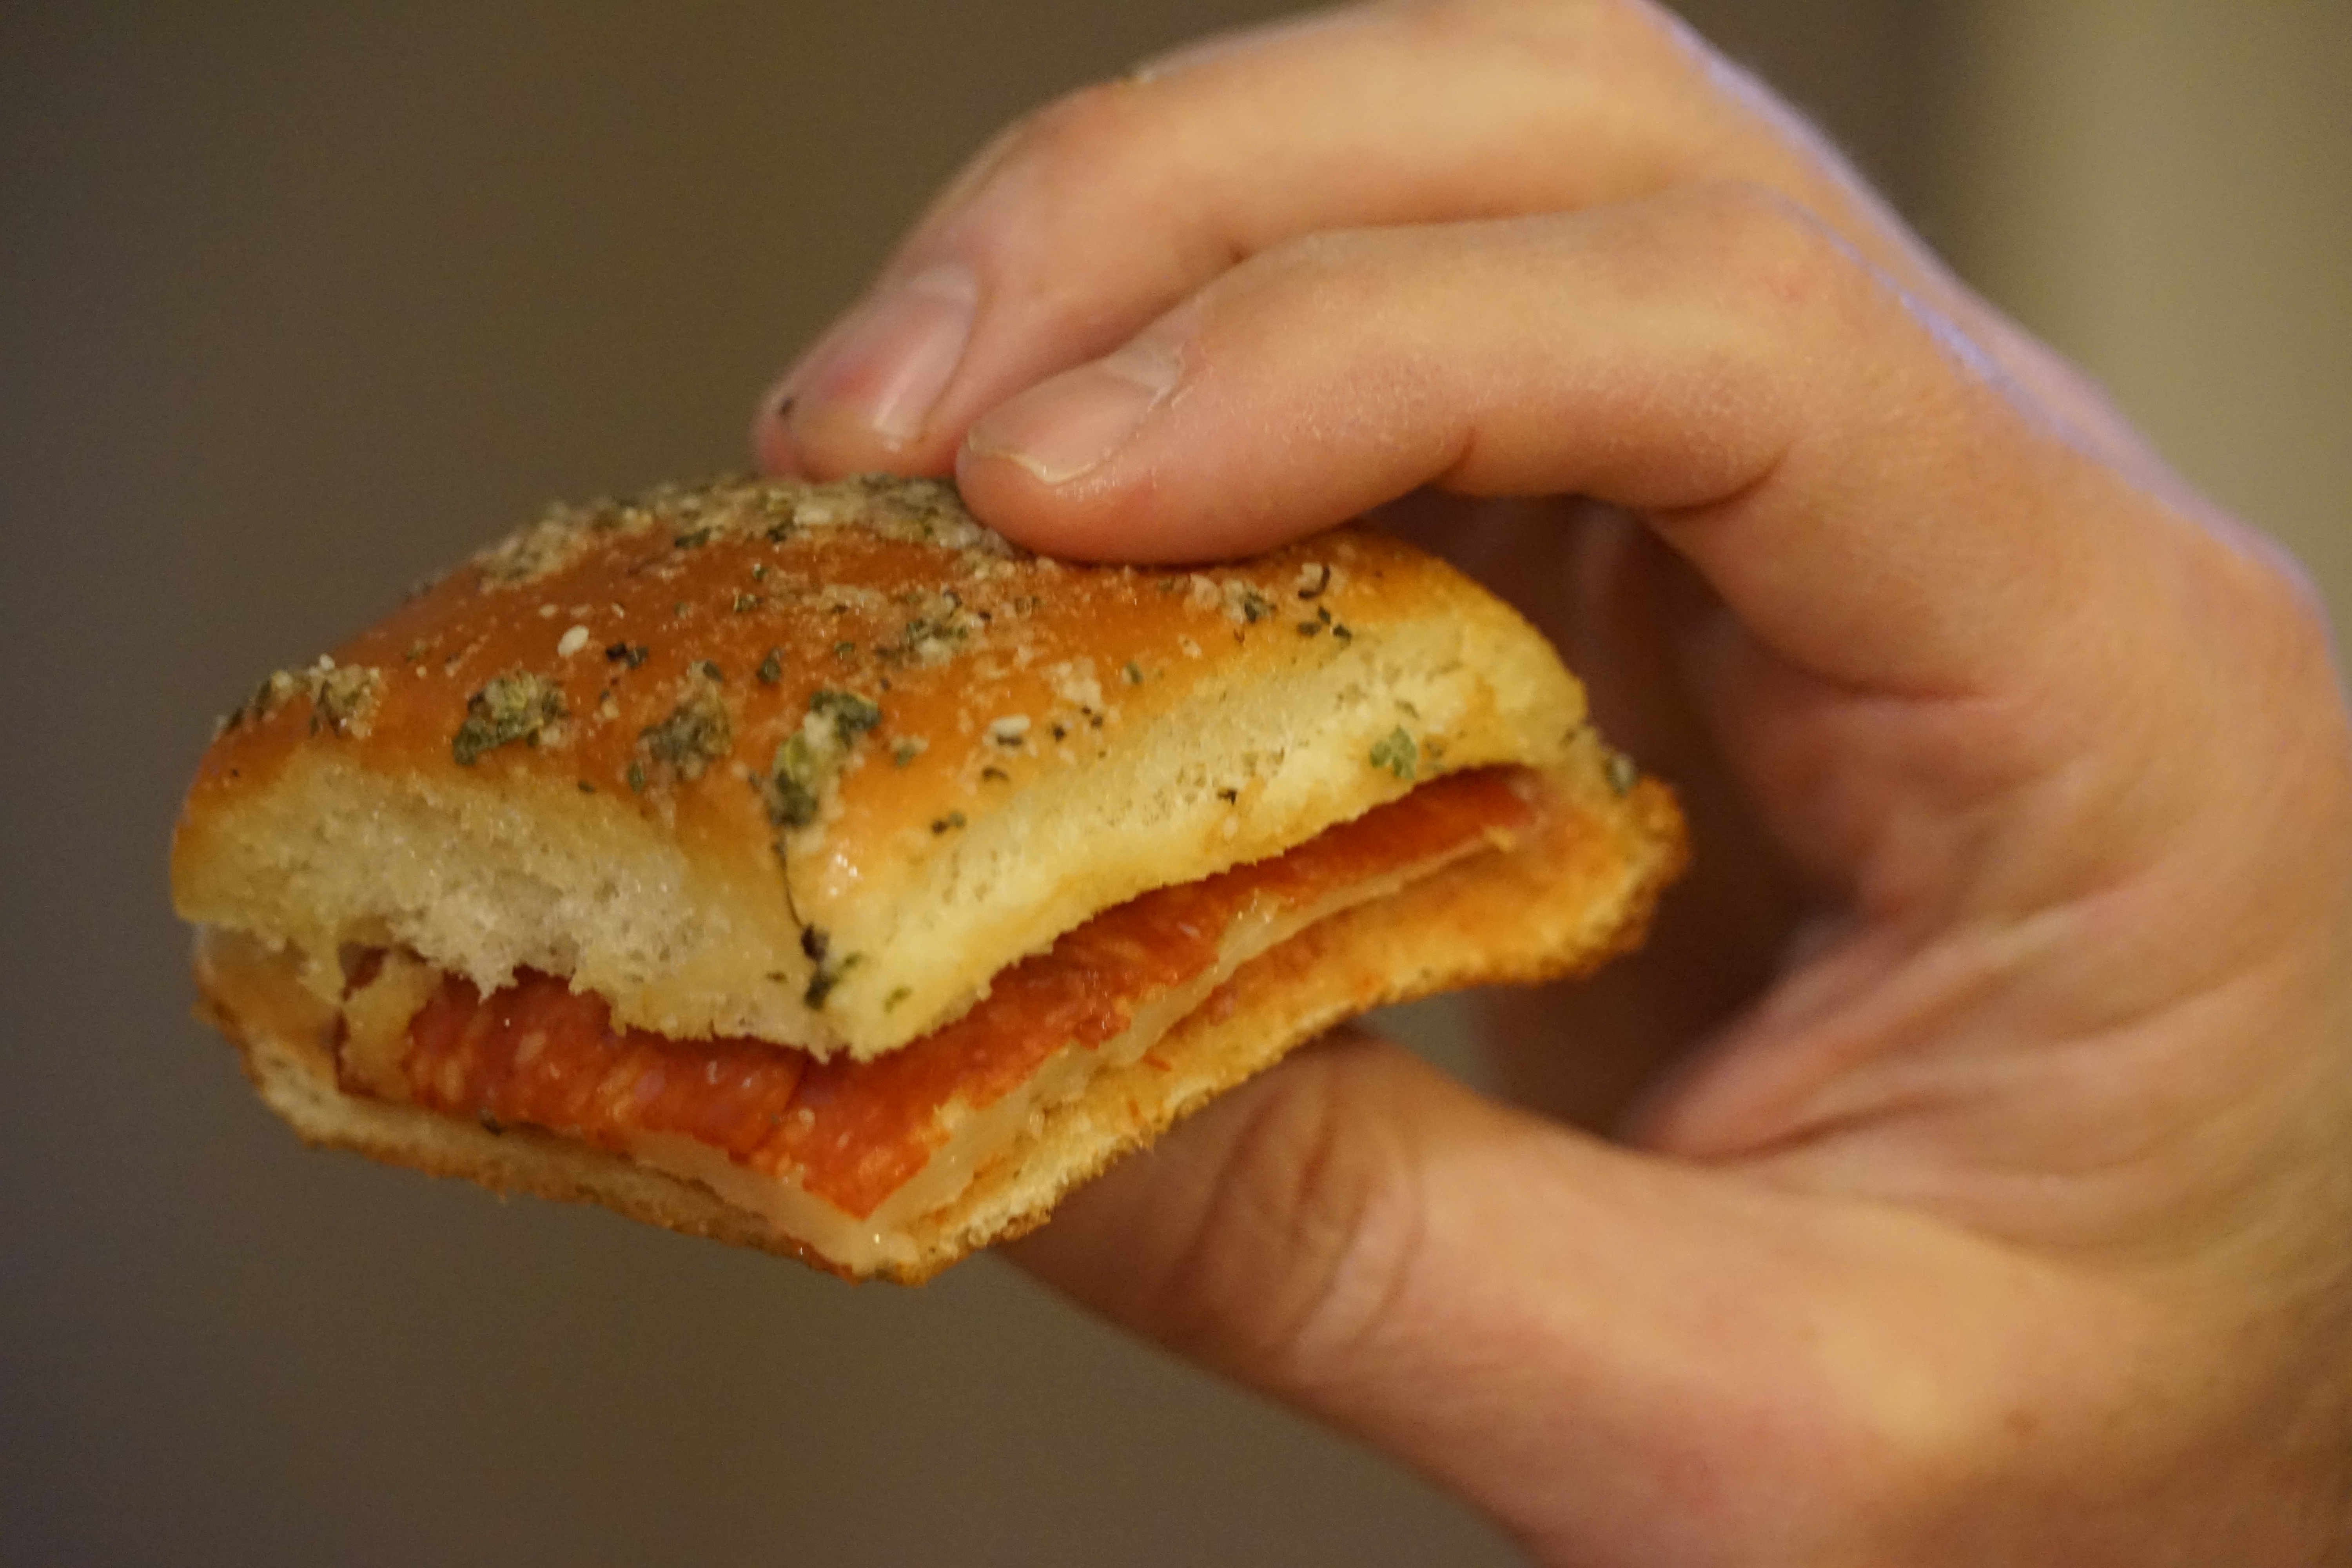
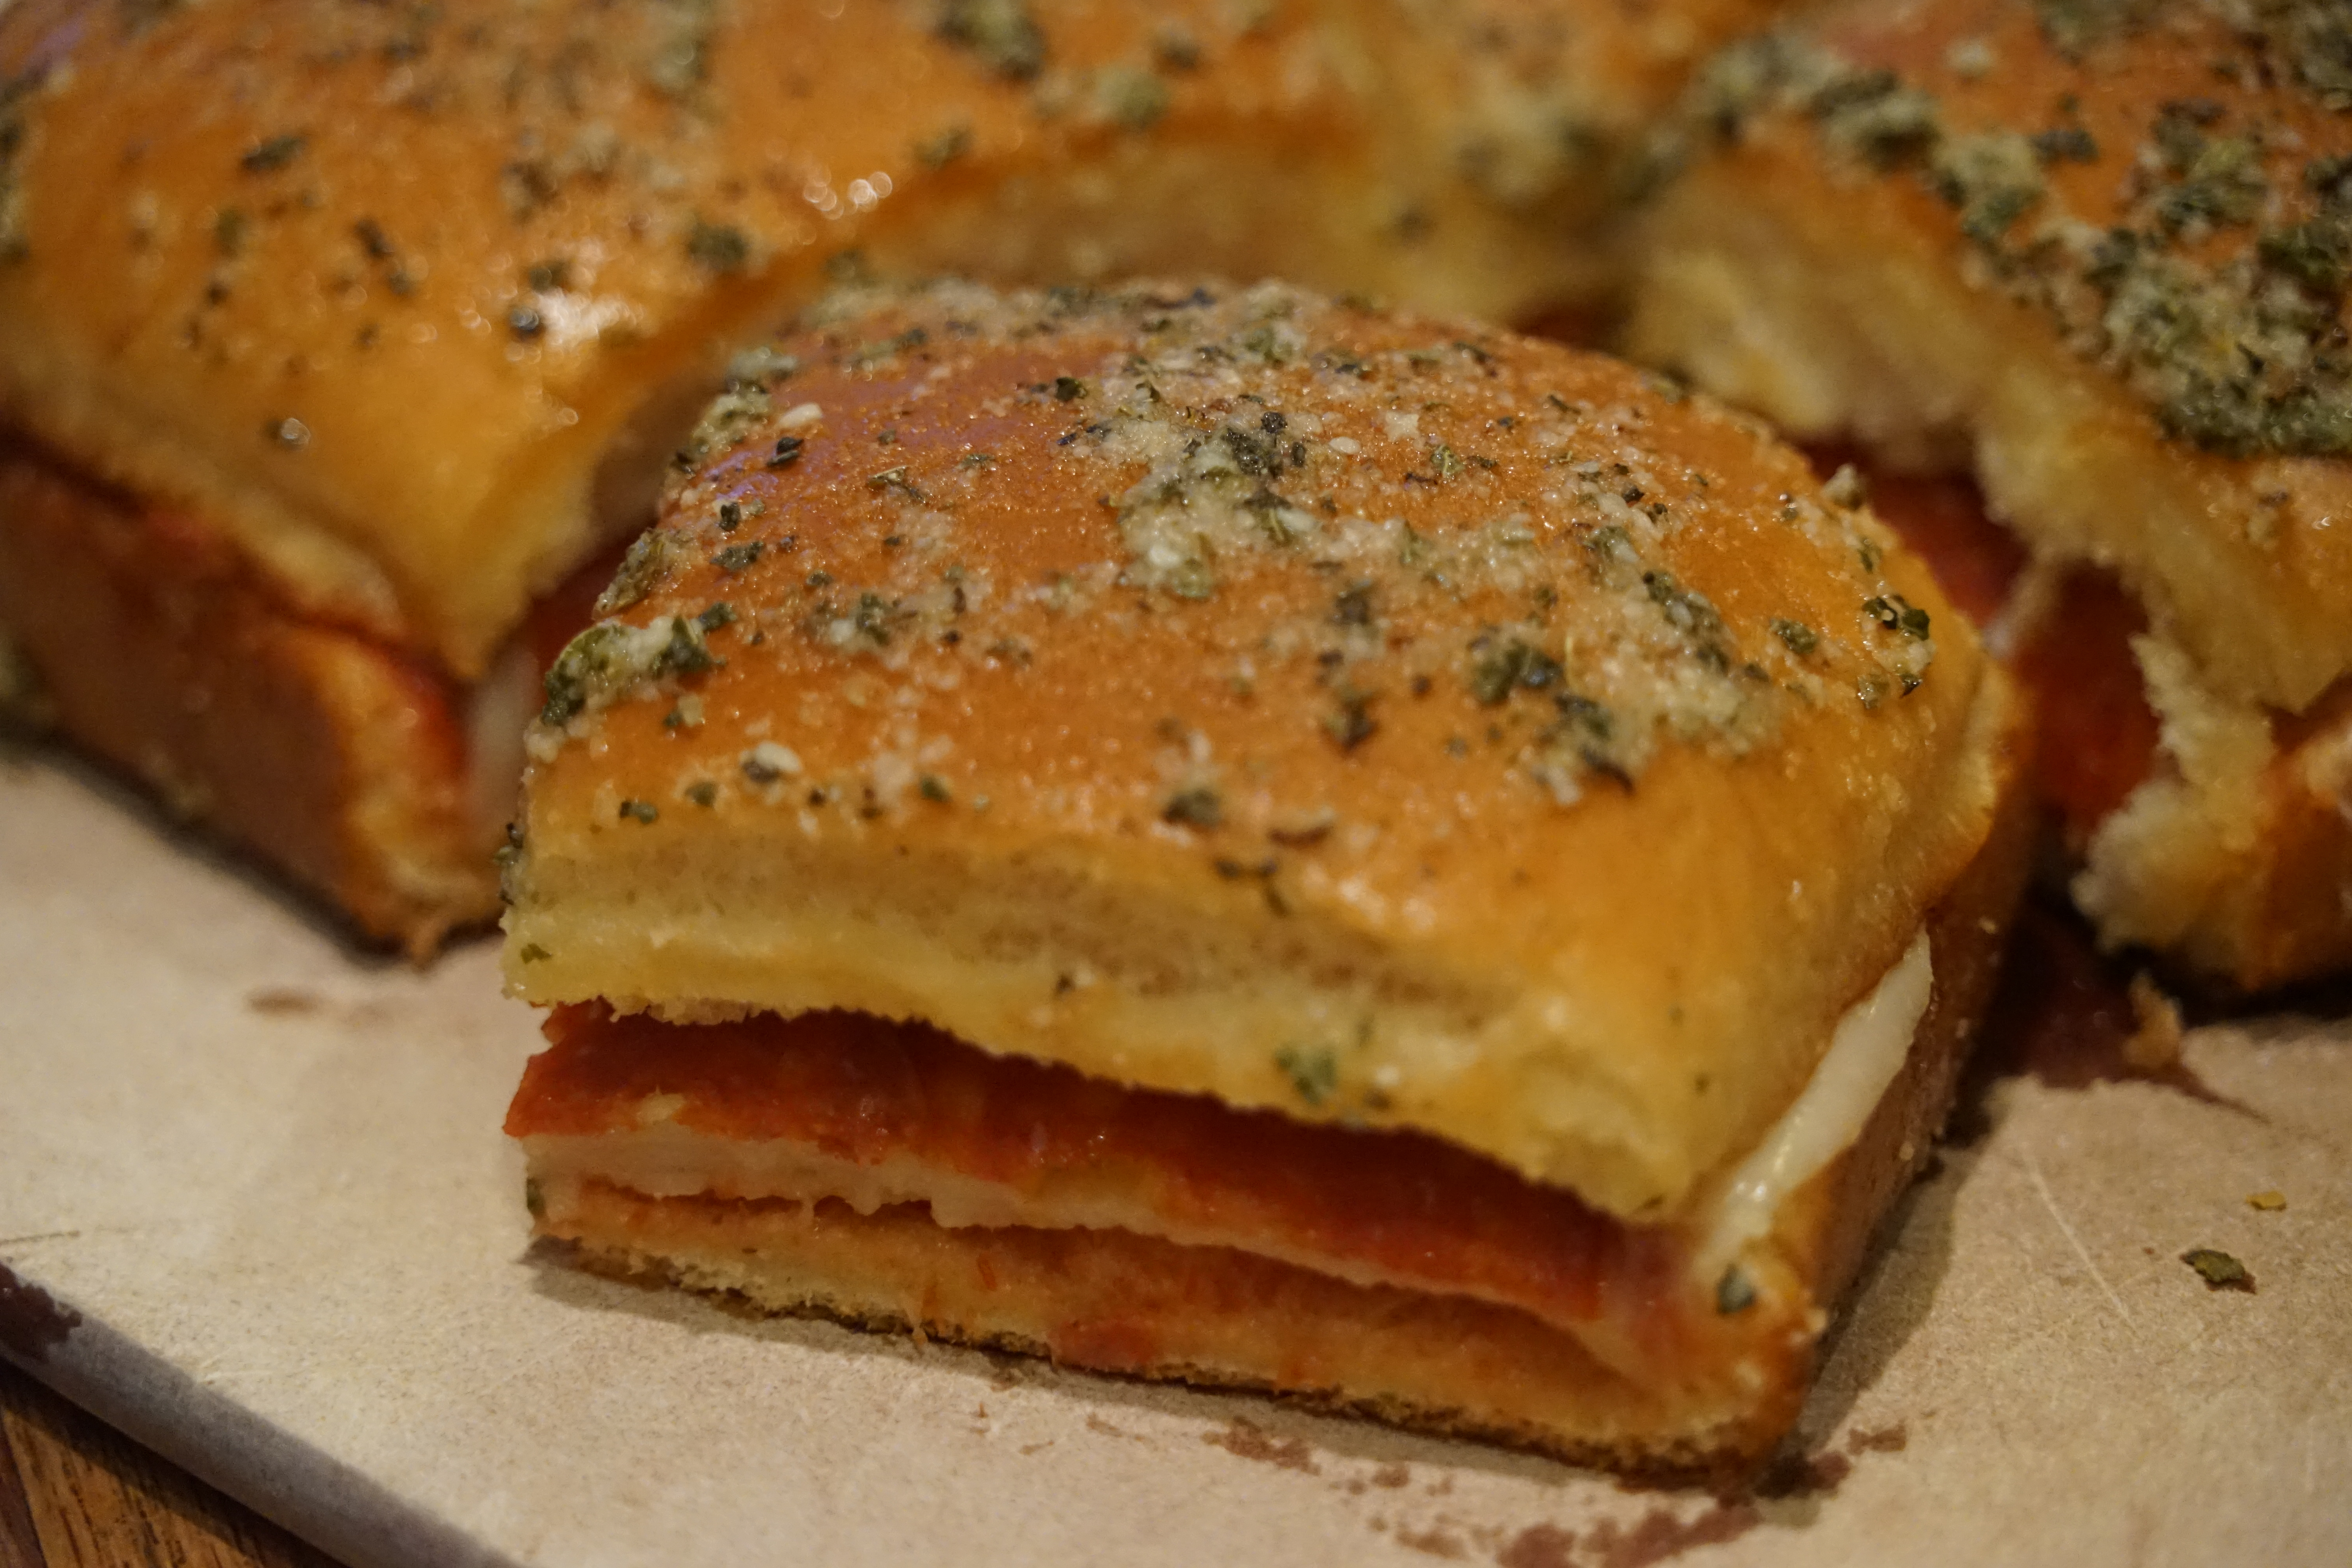
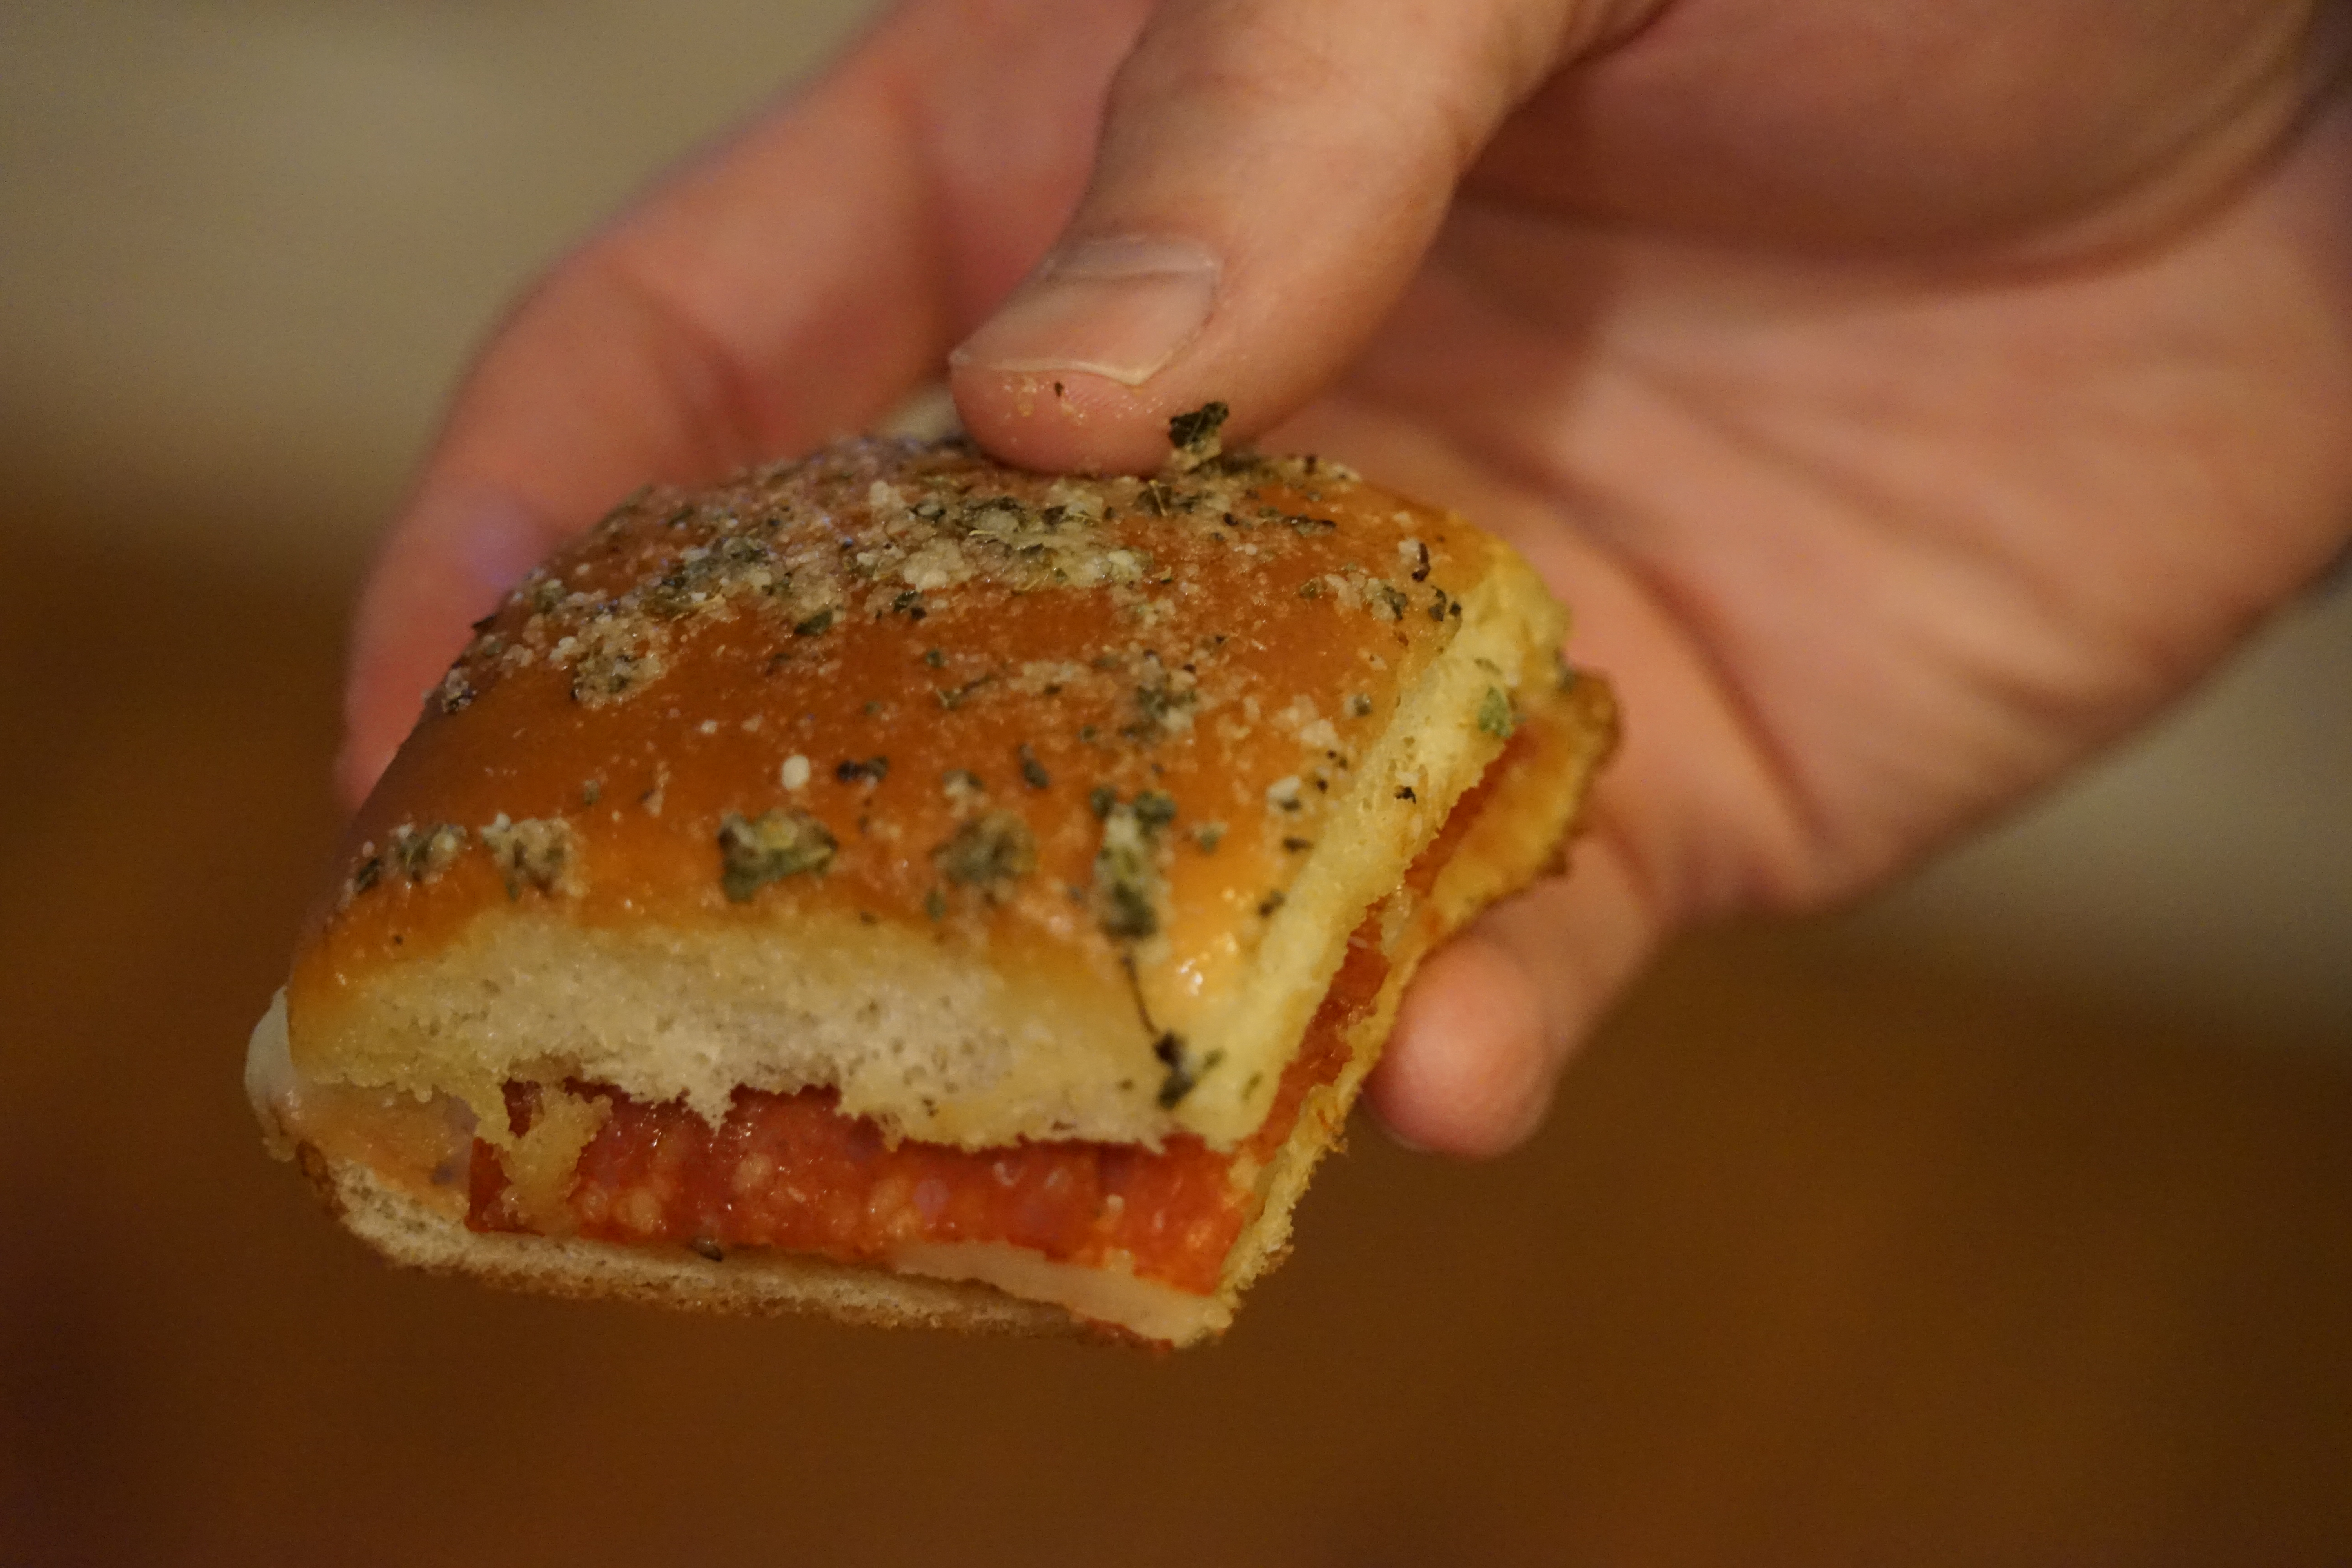
As soon as I got back, I launched into full blown holiday baking mode. Since my kitchen has been consumed by sugar cookies and cupcakes, there is no time (or space) for dinner. I've resorted to super quick and easy dinners this week. 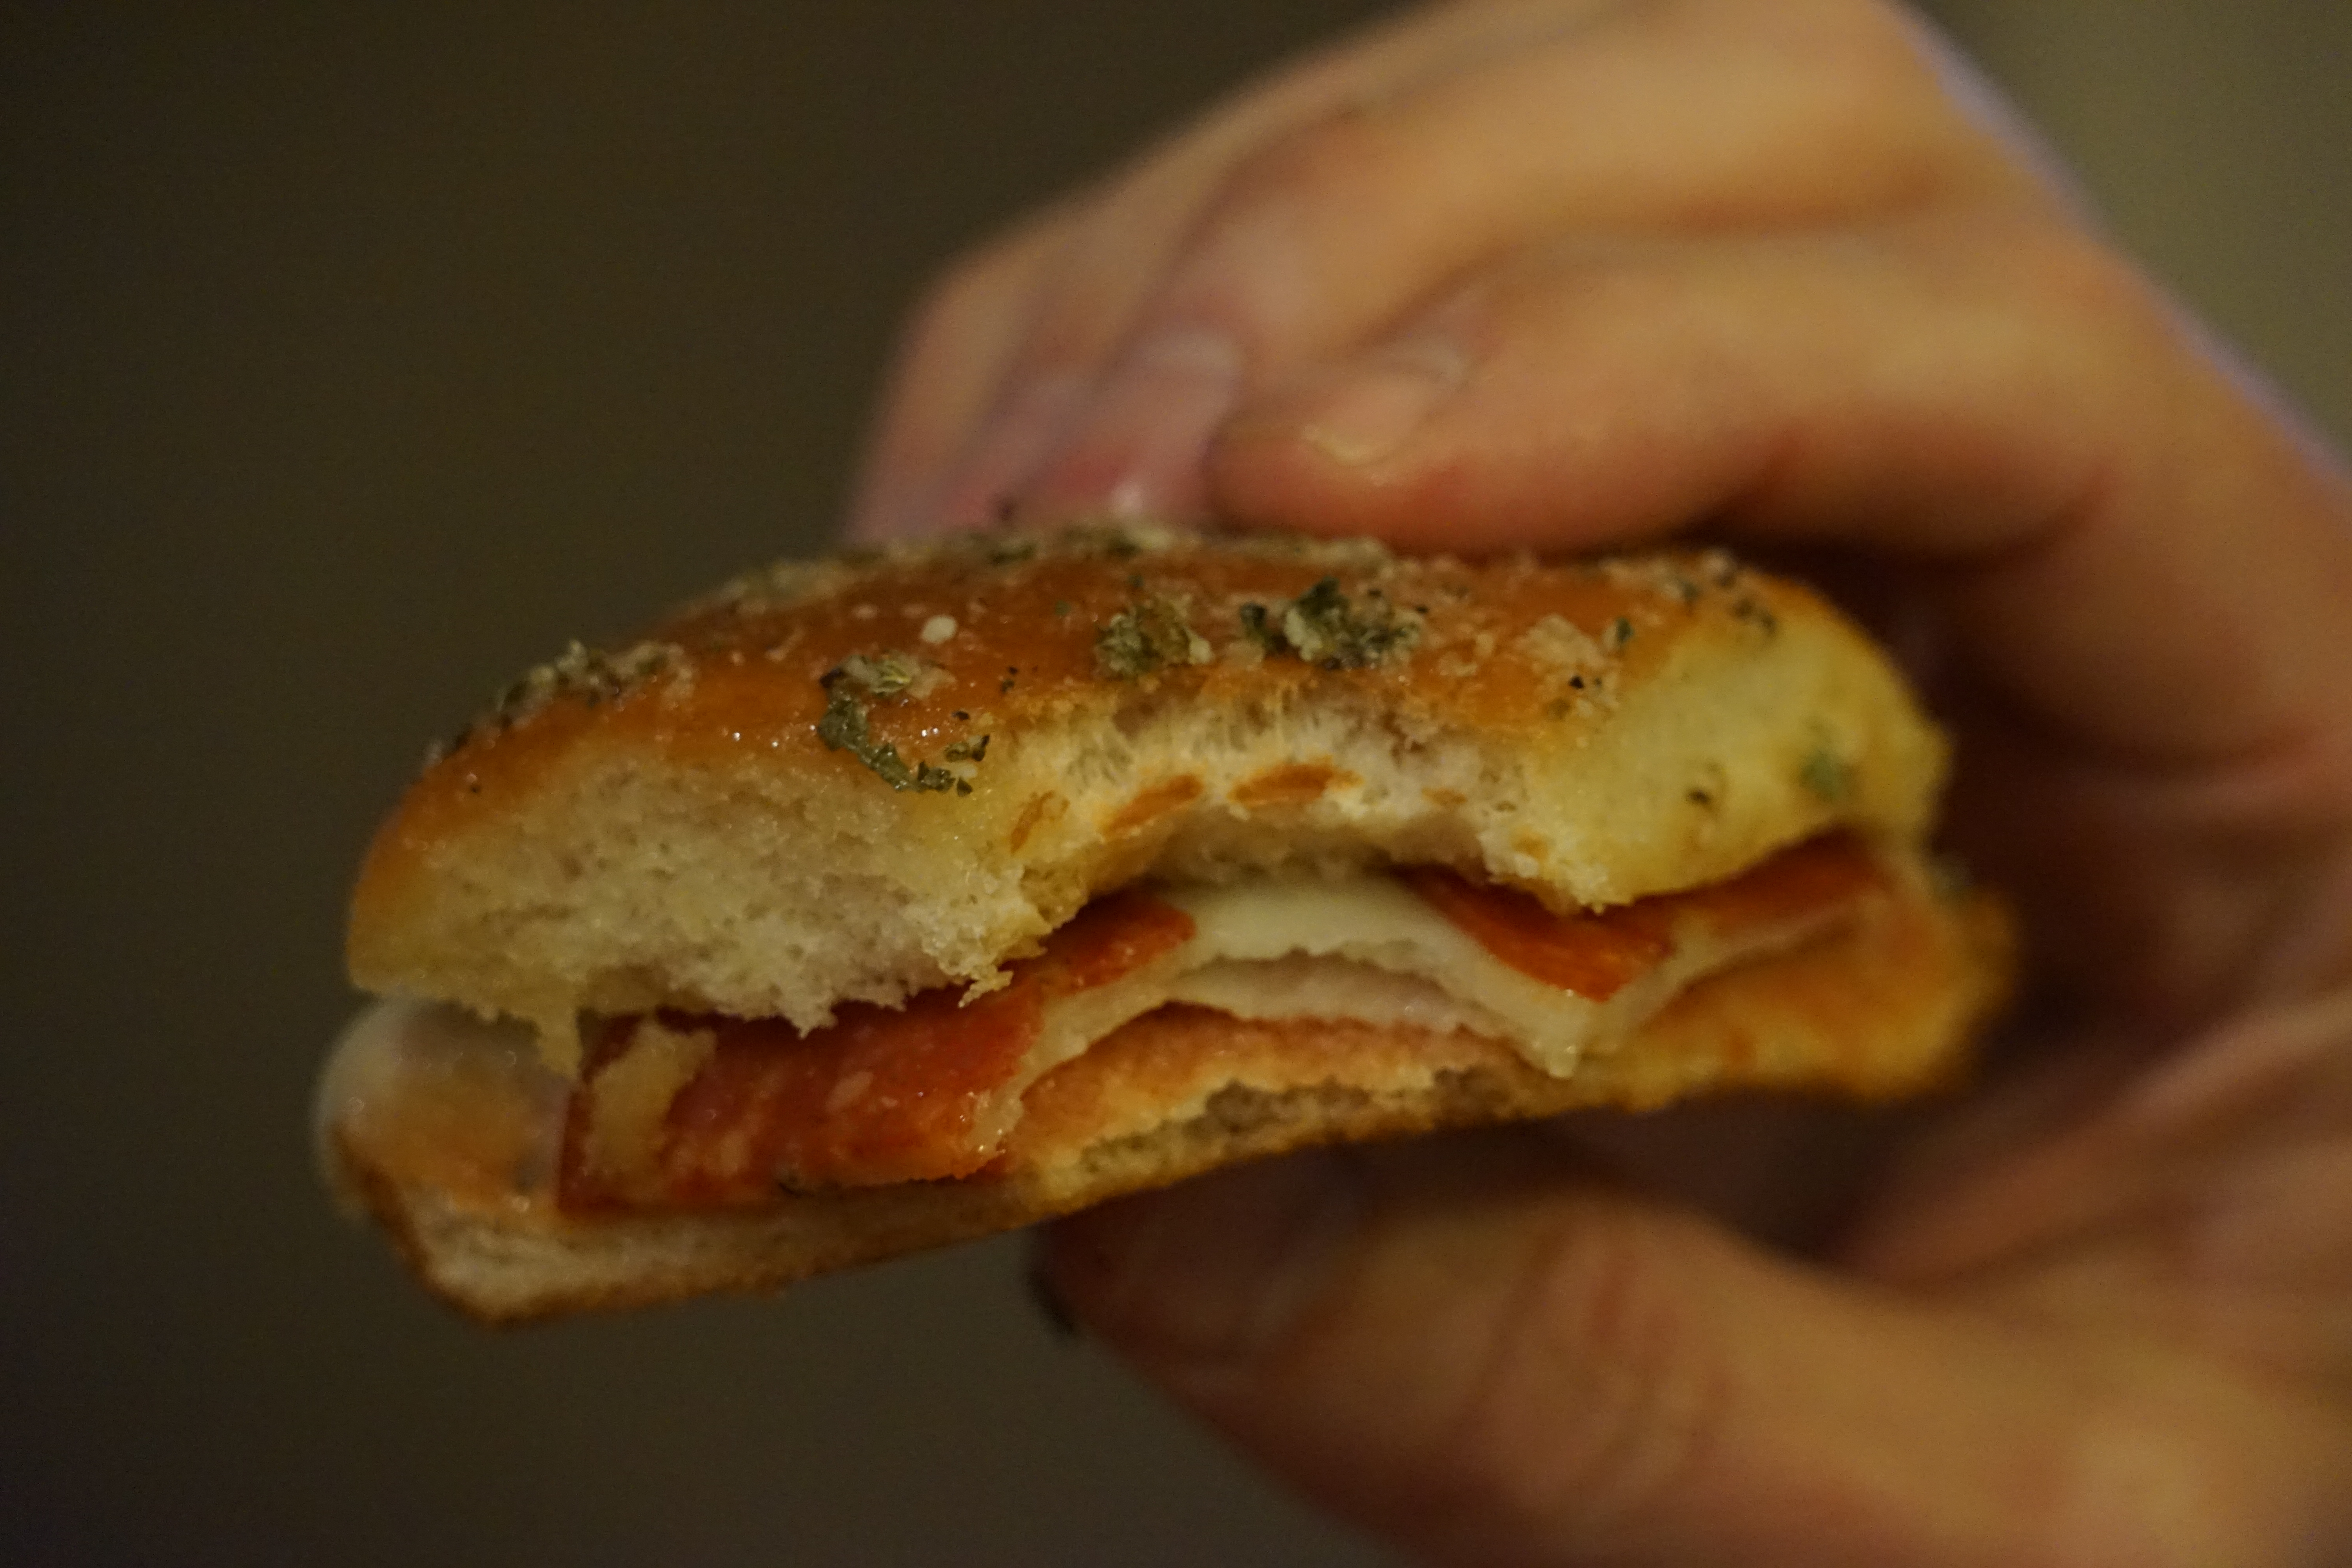 There were no complaints about my quick and easy pizza sliders though. We liked them so much that there were some serious negoations going on over the last slider on the plate. ;)  These pizza sliders would be perfect for a children's birthday party, a tailgate party or any night that you have less than 20 minutes to get dinner on the table for your hungry family.  Pizza Sliders 1 package slider buns Pizza Sauce Sliced Provolone Cheese Pepperoni 2 Tablespoons butter 1 Tablespoon parmesan cheese 1 teaspoon garlic salt 1 teaspoon onion powder 1 Tablespoon oregano Place bottom half of slider buns in a baking dish.
Cover pan with foil and bake 15 minutes at 350.  Remove sliders from pan.
Enjoy.
 Now I think I want to experiment with other pizza toppings on my sliders. Sausage? Mushrooms? Olives? What do you think? If you come up with a yummy pizza slider variation - send me a comment. I'd love to hear your ideas.
Ciao!
0 Comments
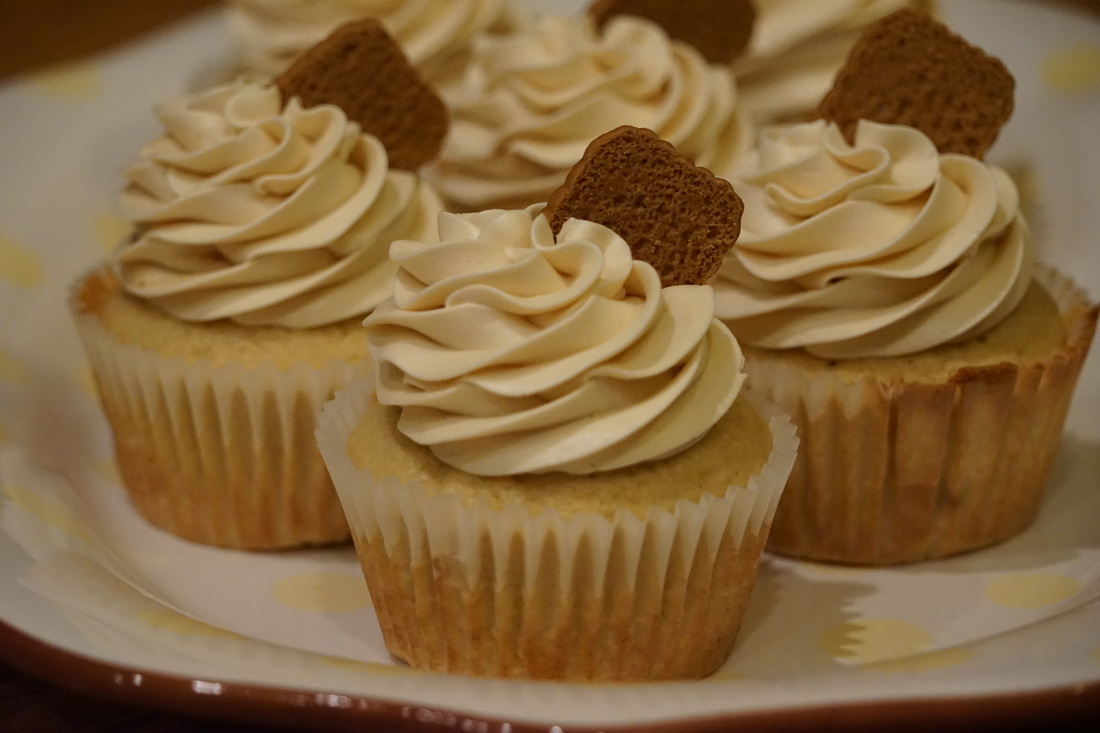
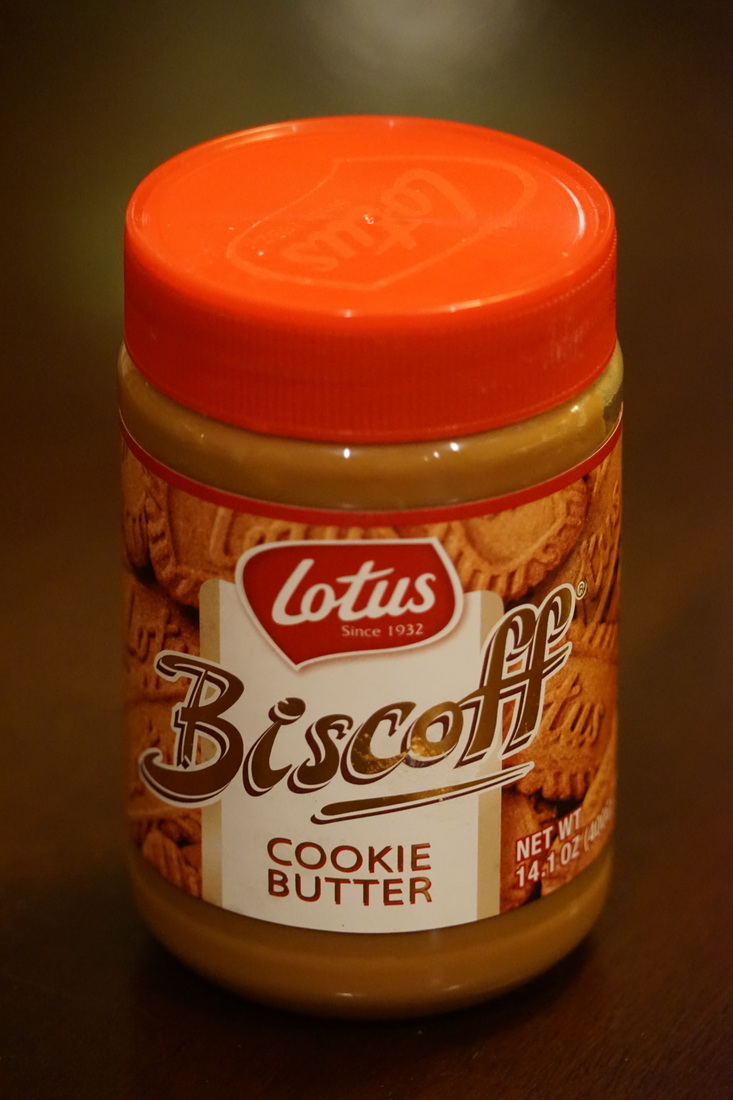
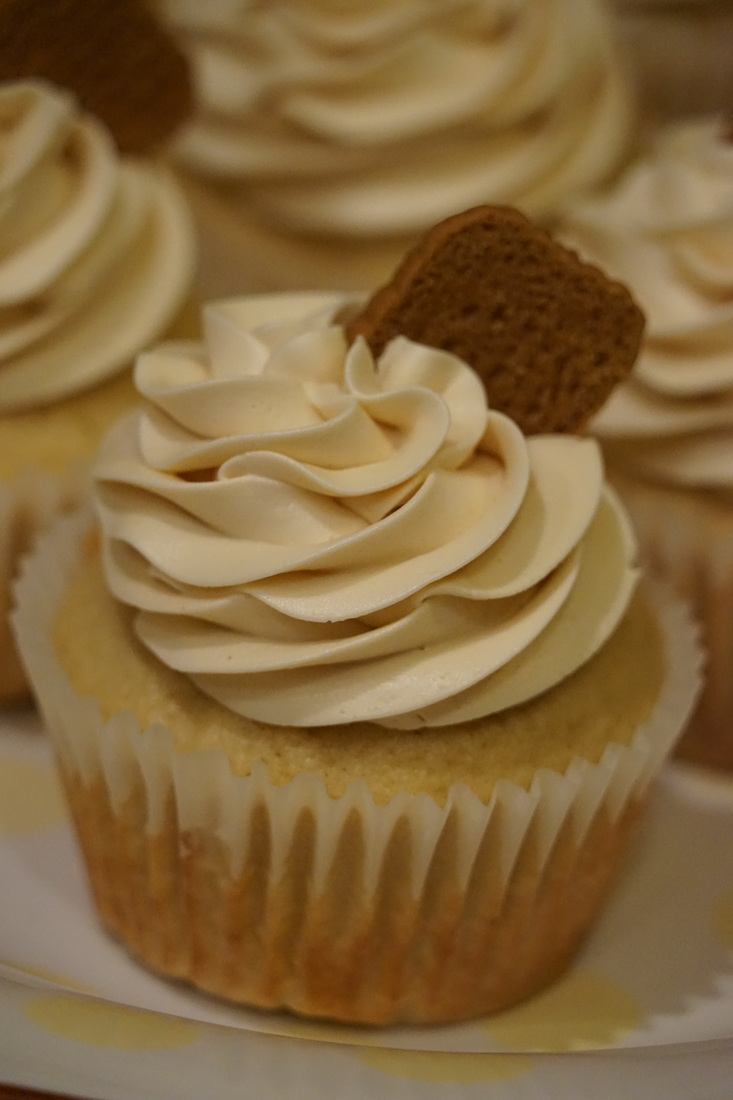
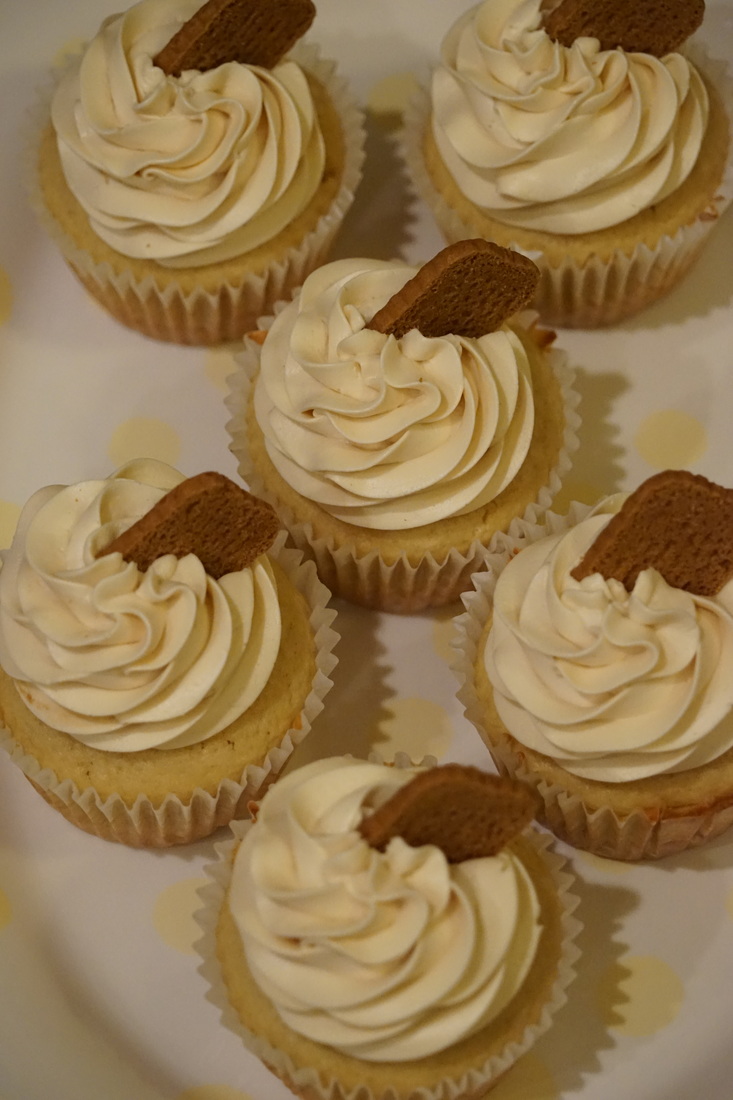
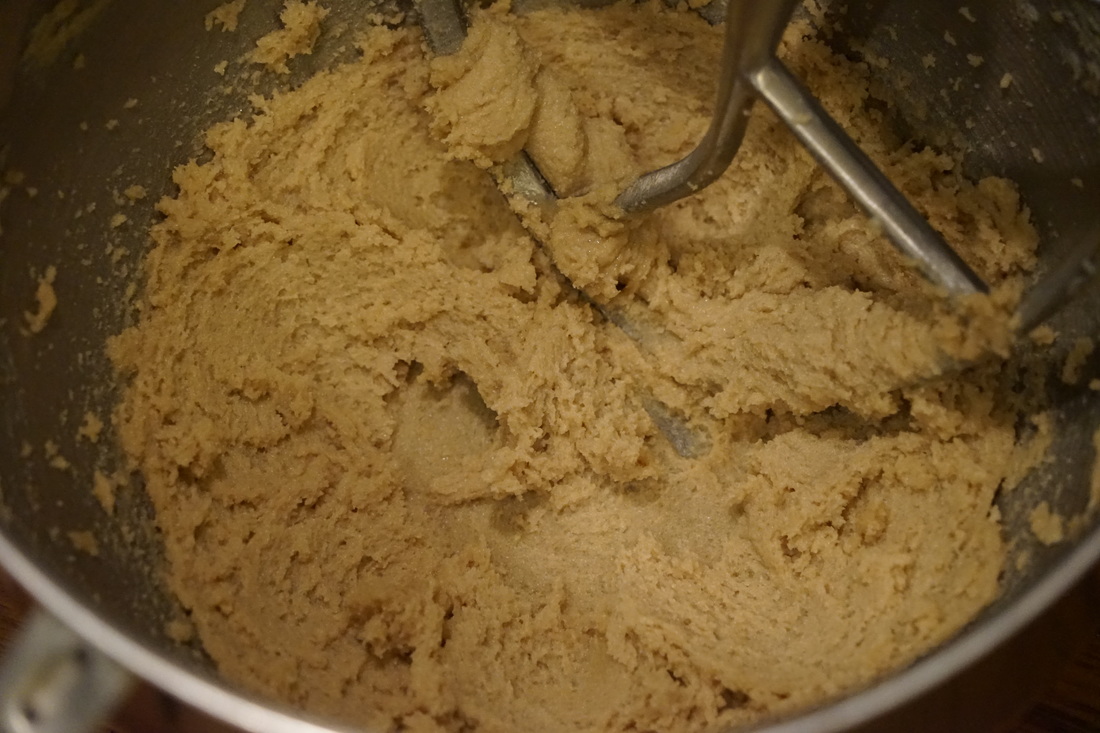
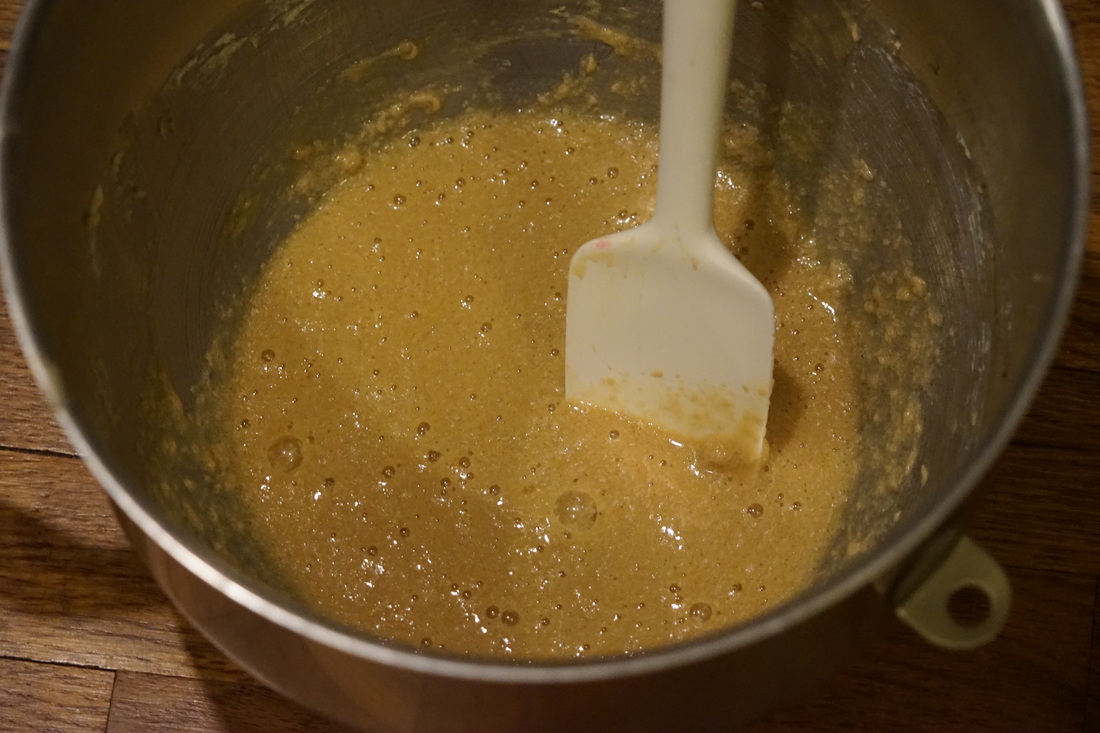
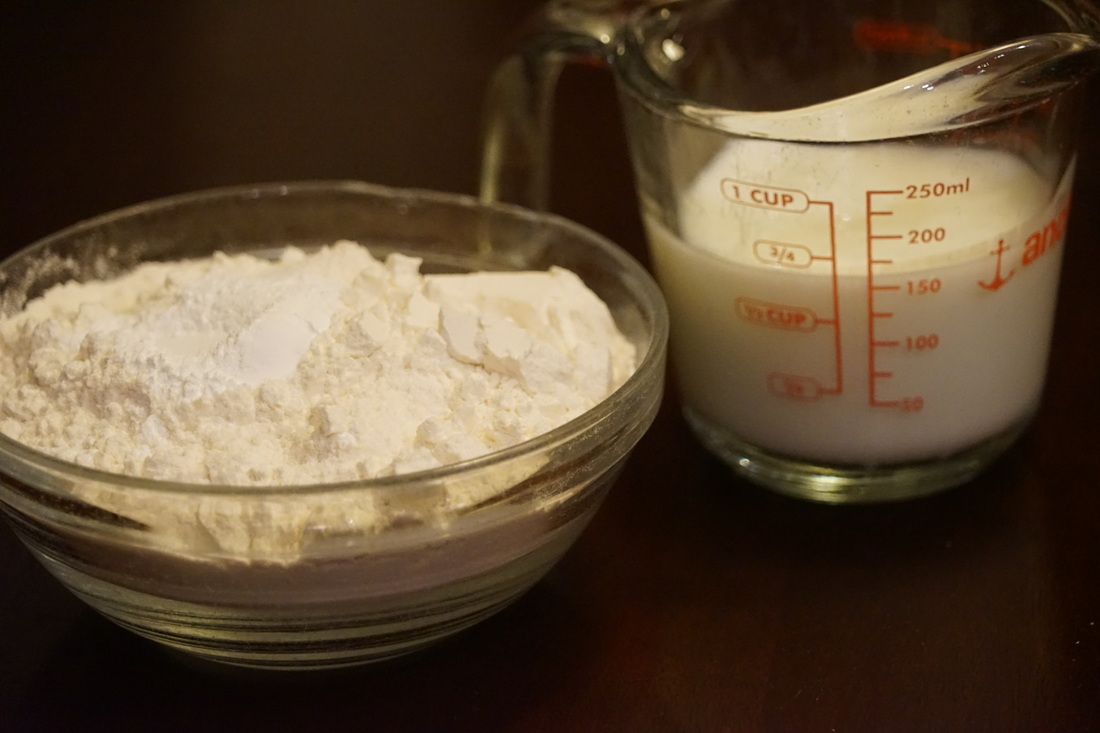
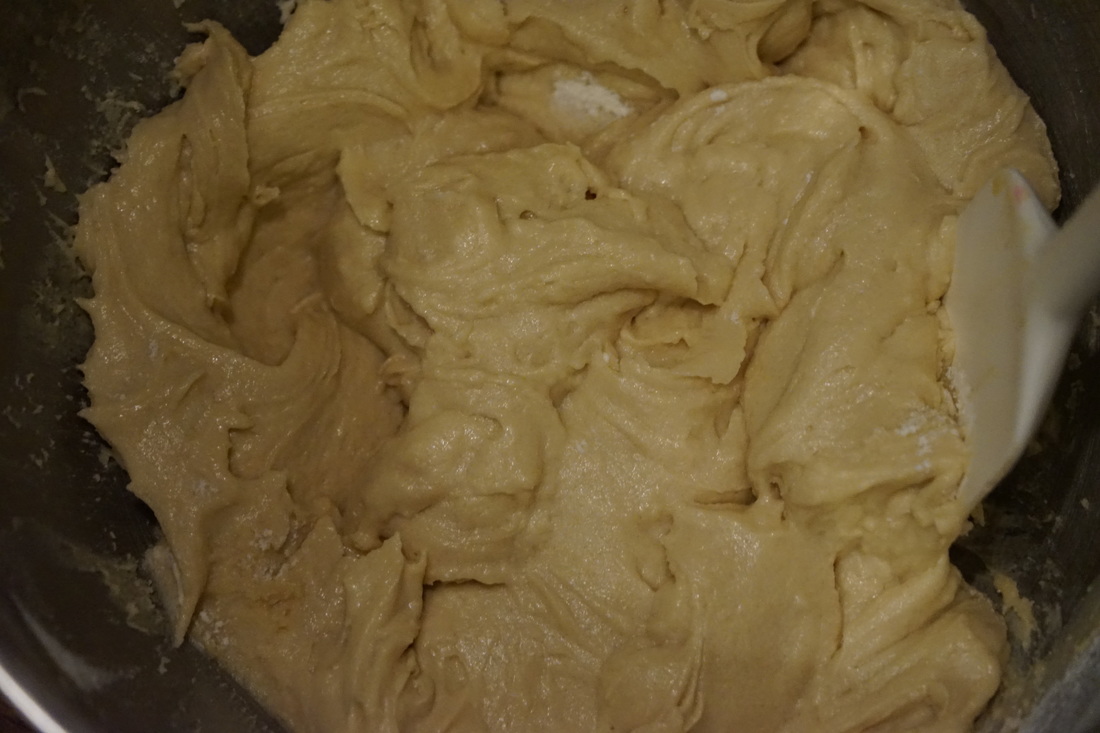
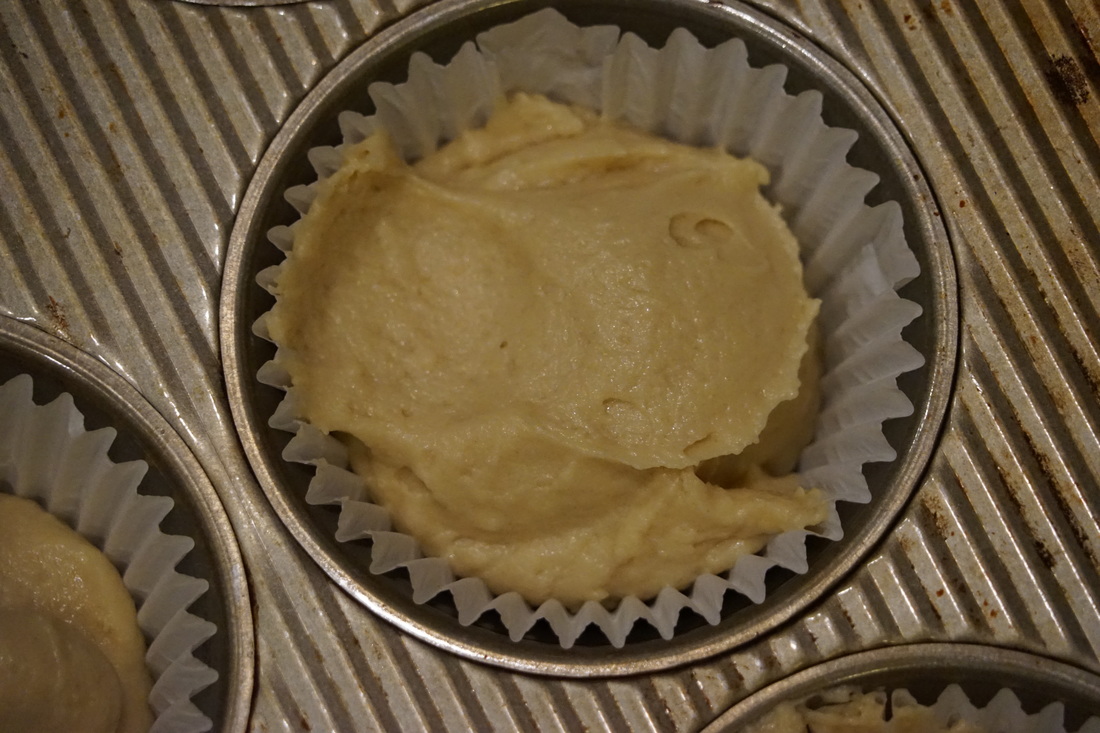
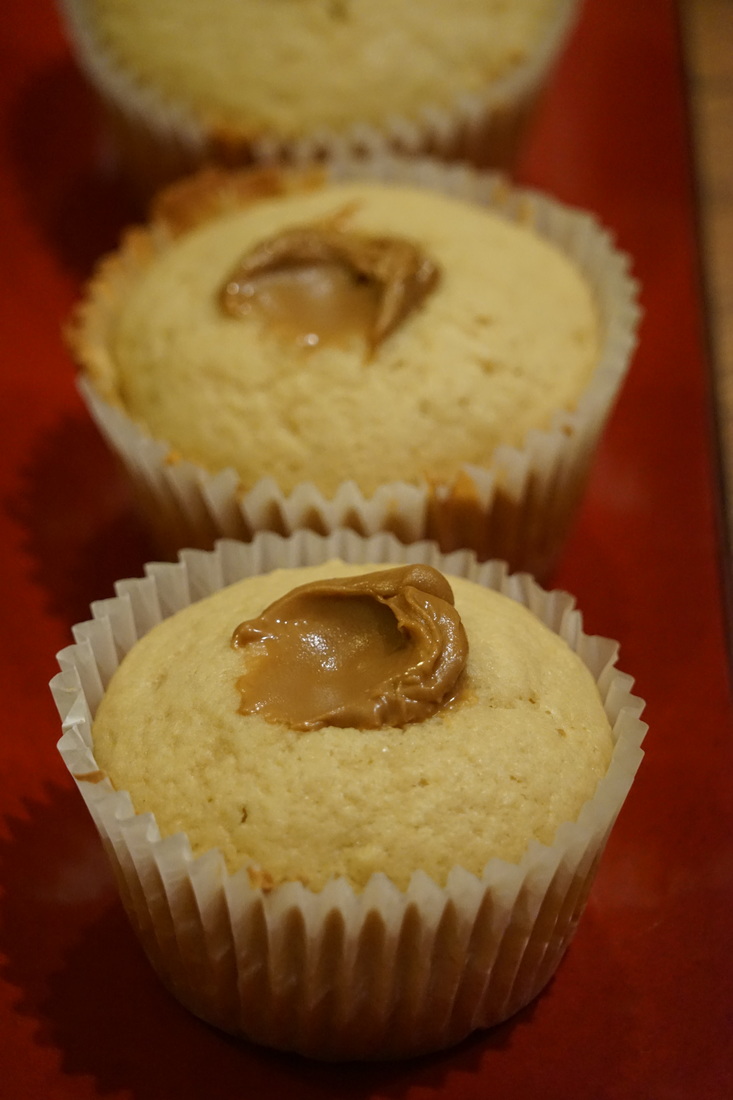
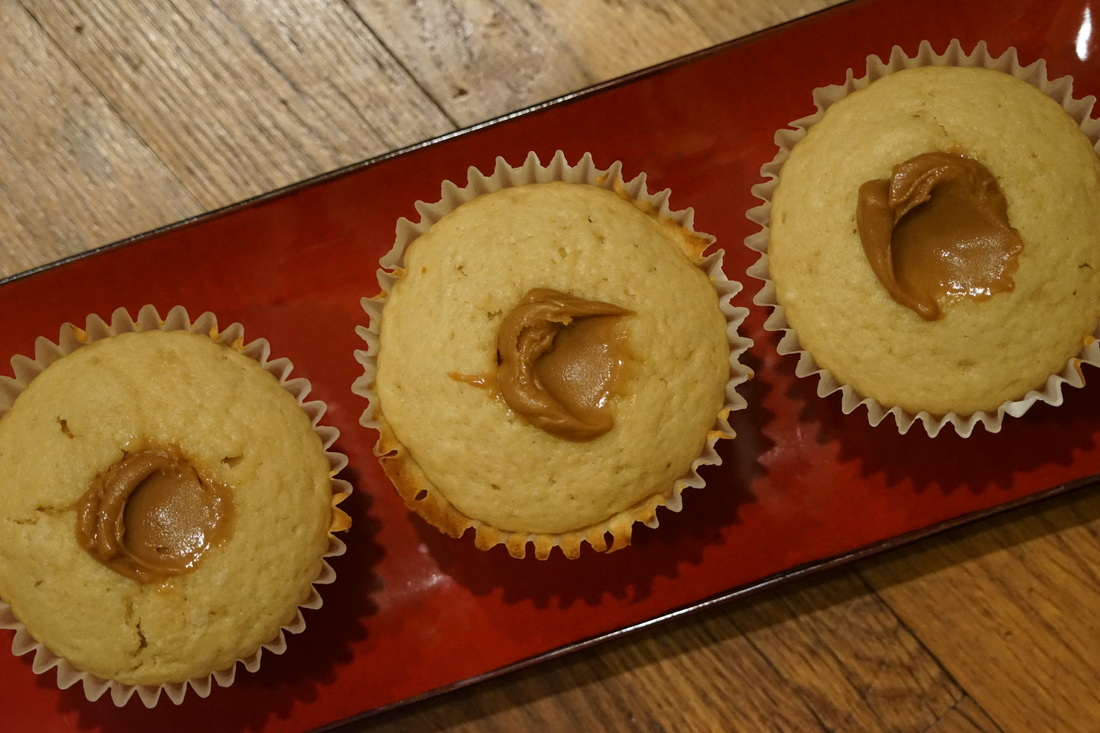
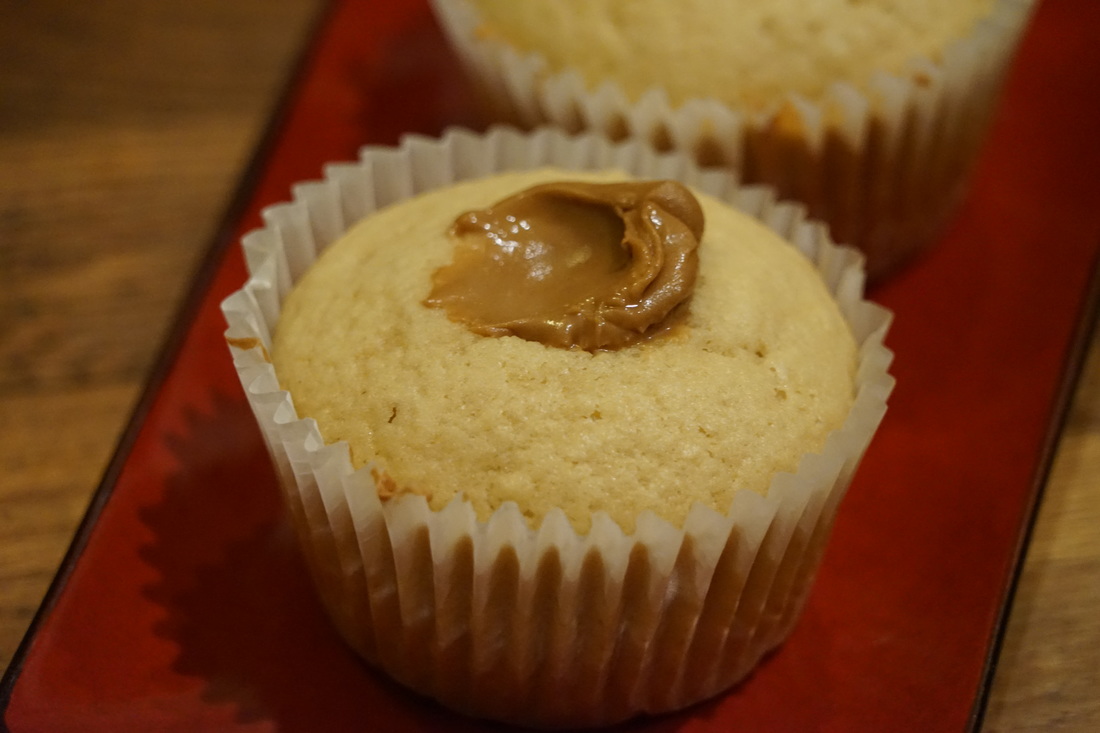
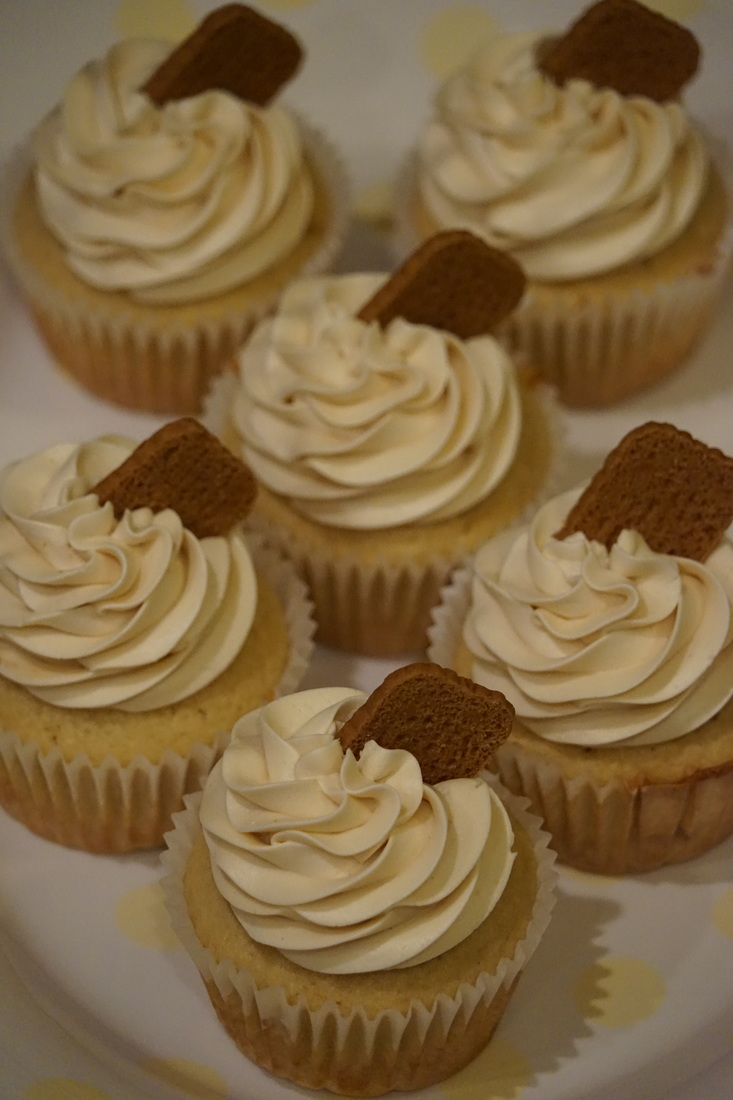
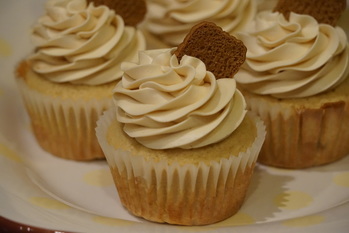
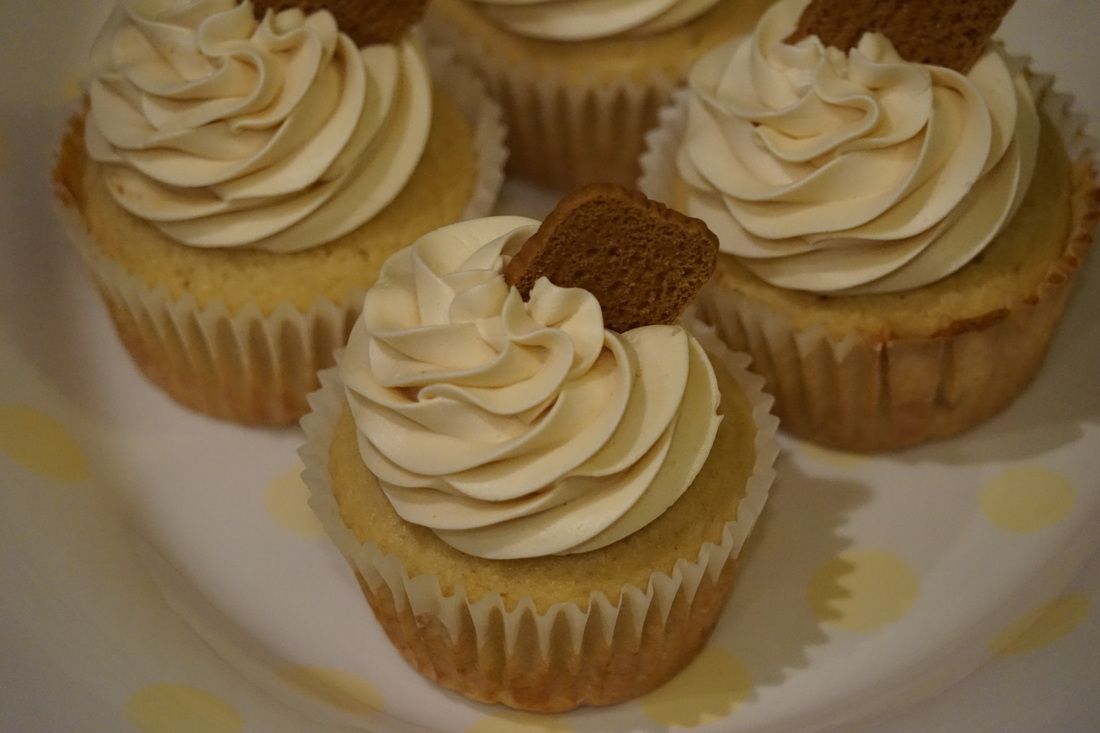
Triple Cookie Butter Cupcakes 1½ cups all-purpose flour ¾ teaspoon baking powder a large pinch of salt 6 tablespoons of unsalted butter, room temperature ½ cup brown sugar ¼ cup sugar 2 large eggs 1 tablespoon pure vanilla extract ½ cup plus 2 tablespoons buttermilk 12 biscoff cookies broken in half 1/4 cup cookie butter
Stir in dry ingredients, alternating with buttermilk.
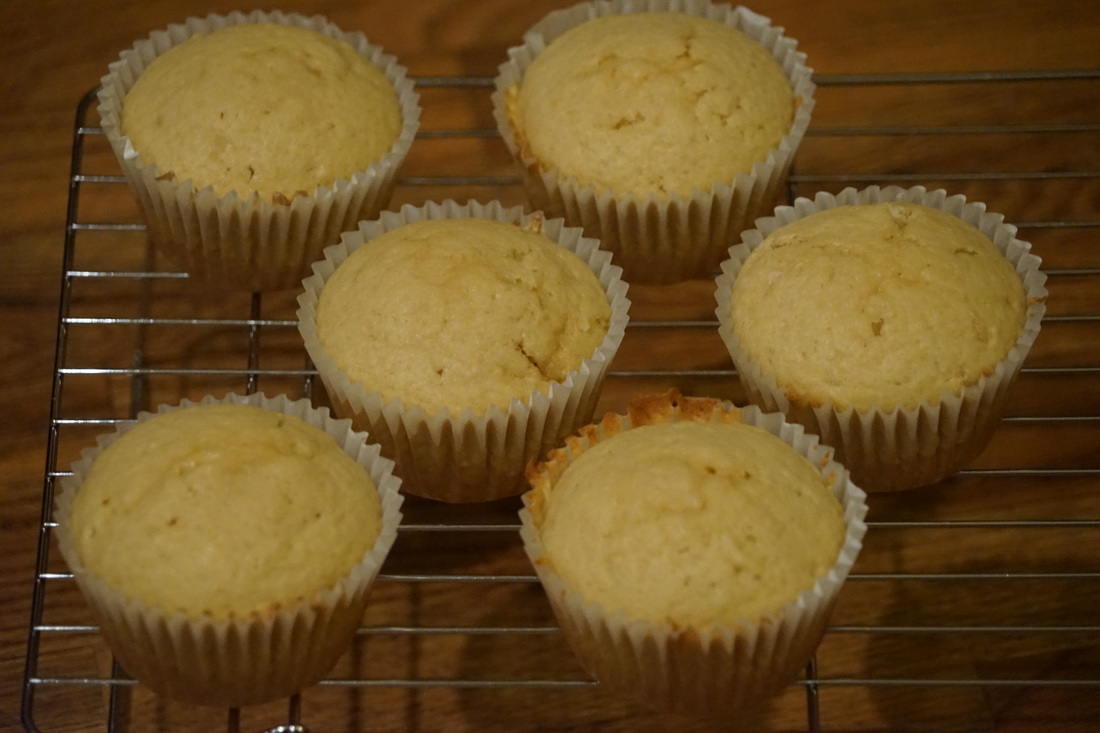
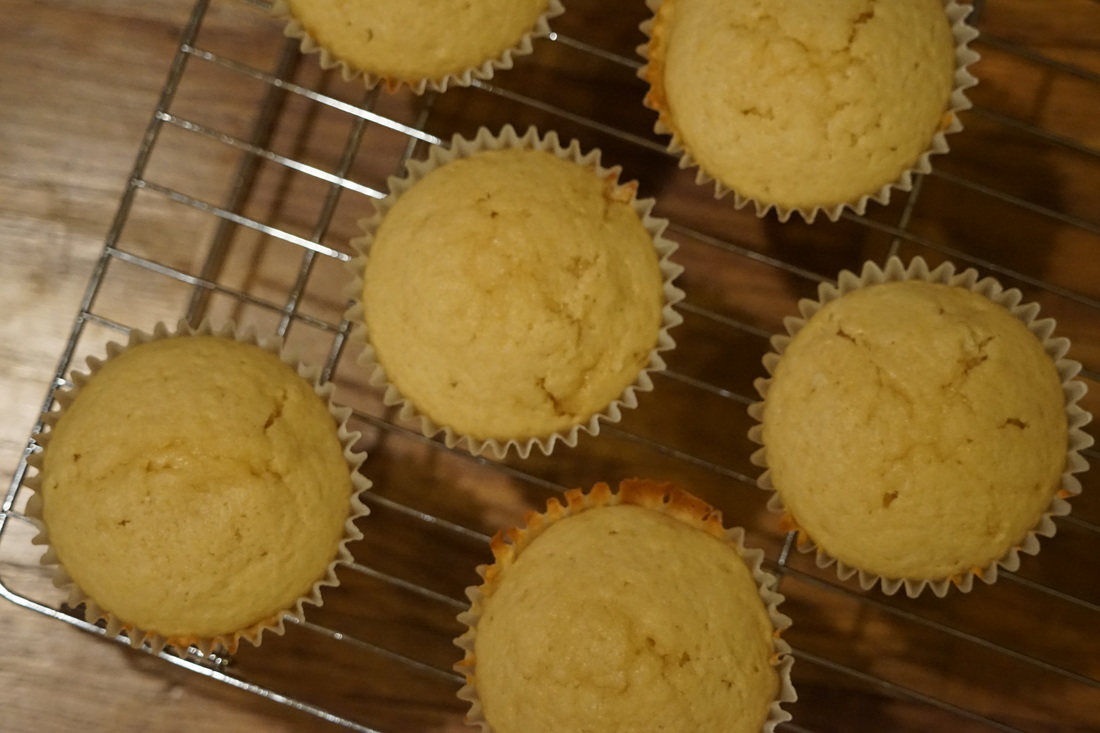
Bake 22 minutes at 350. Cool on wire racks.
Cut out the center of each cupcake and fill with cookie butter.
Frost with cookie butter buttercream. (A swiss meringue buttercream with a dollop of cookie butter swirled in.)
Cookie butter is available in most supermarkets and it's sold as speculos spread at Trader Joes. If you can't find it in the store - you can buy it on amazon. ;)
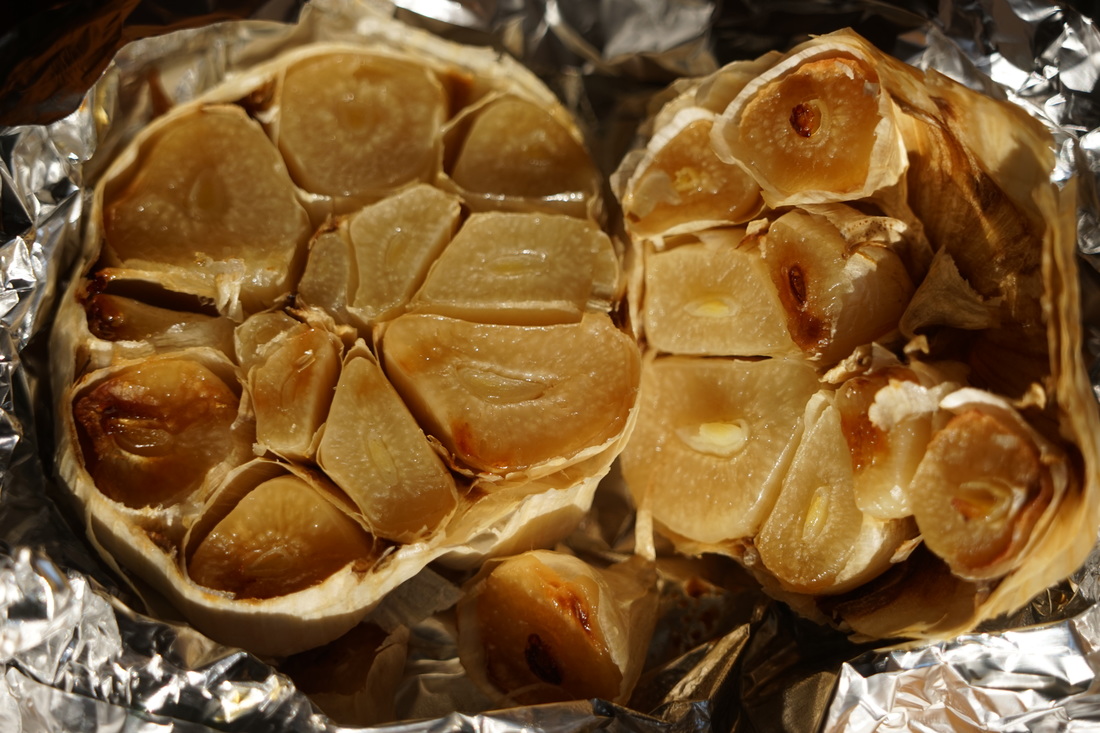
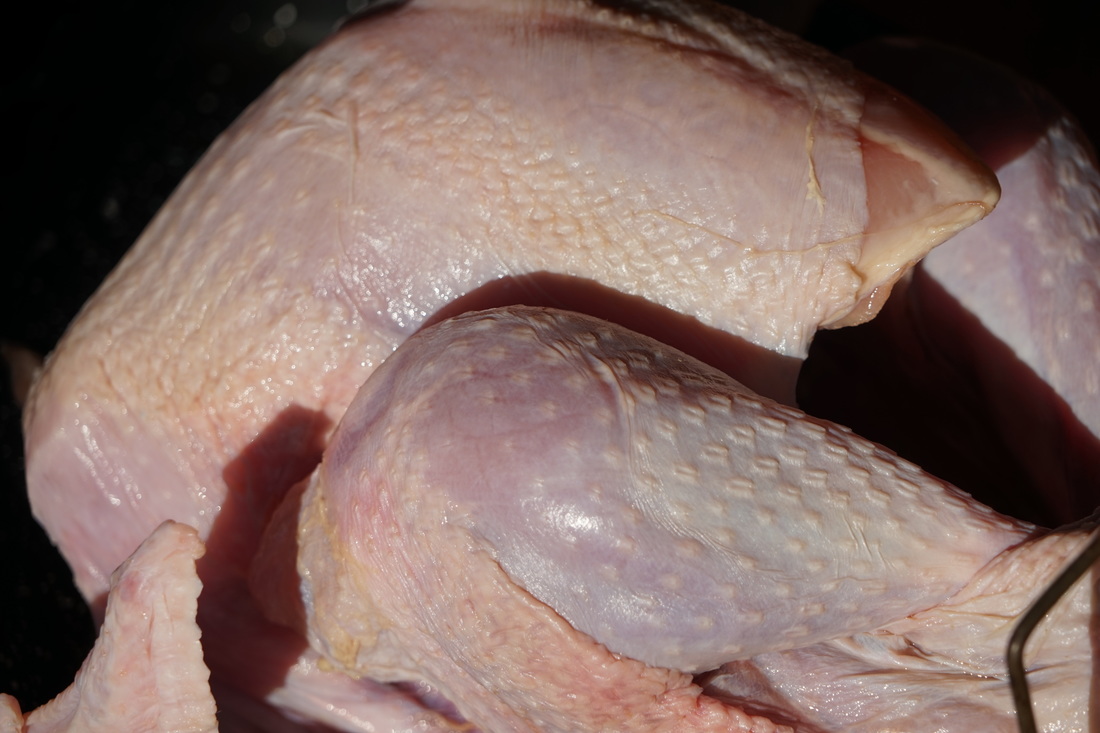
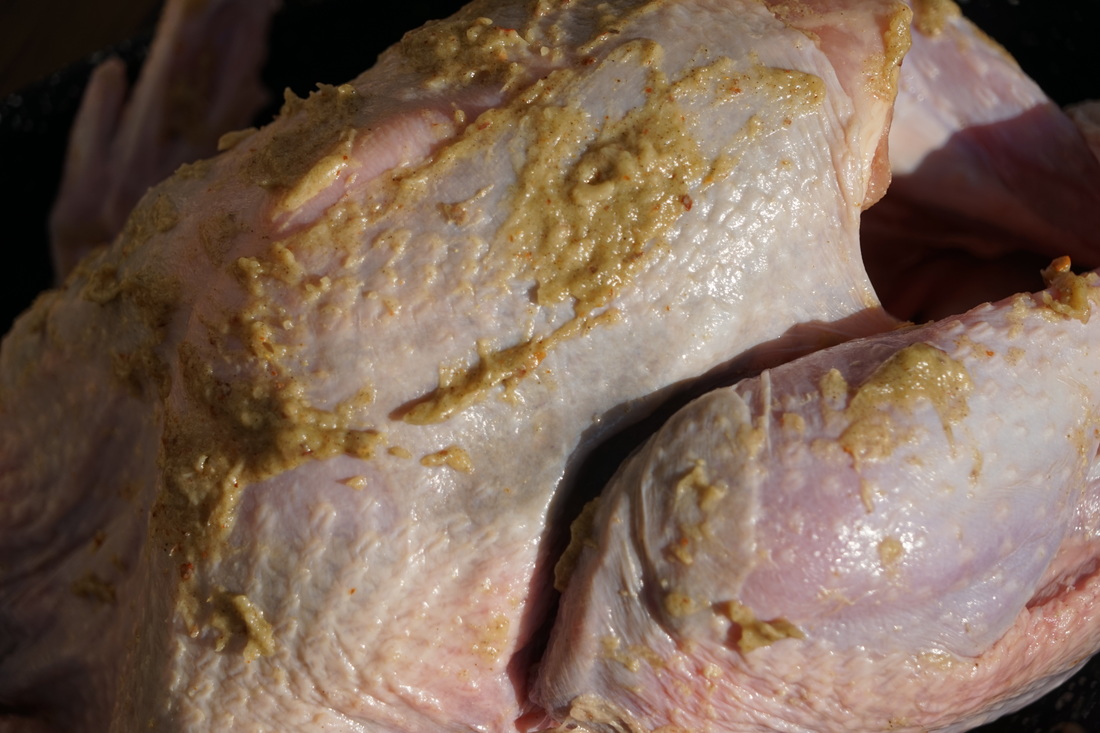
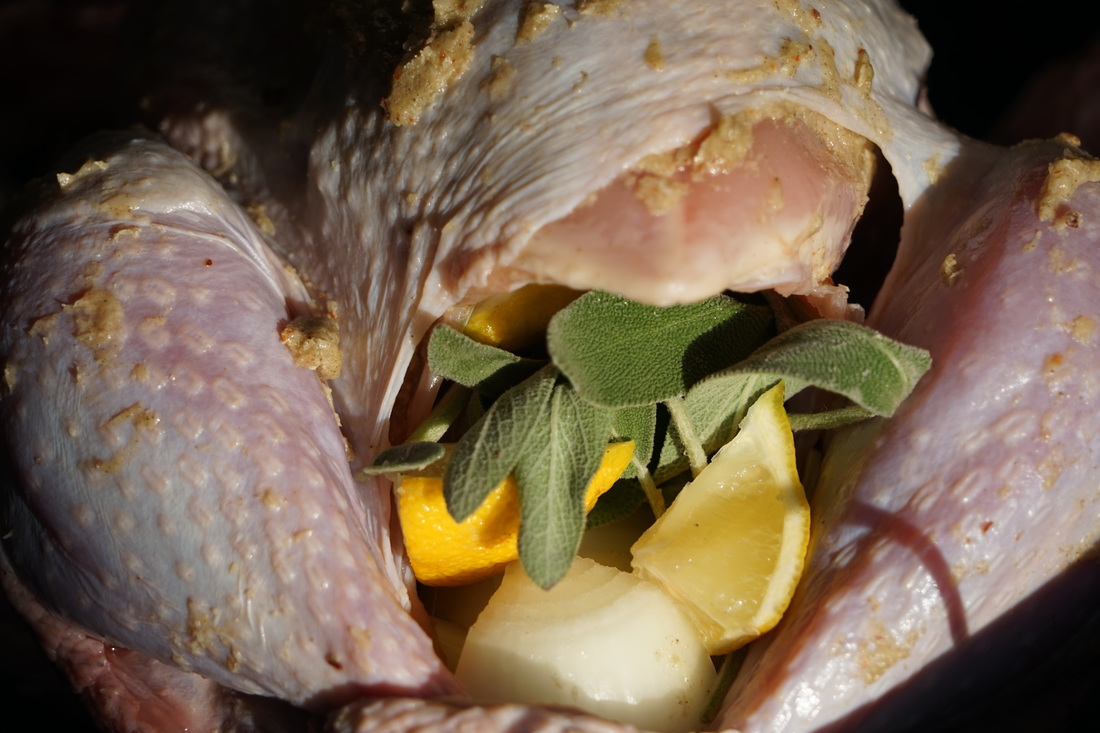
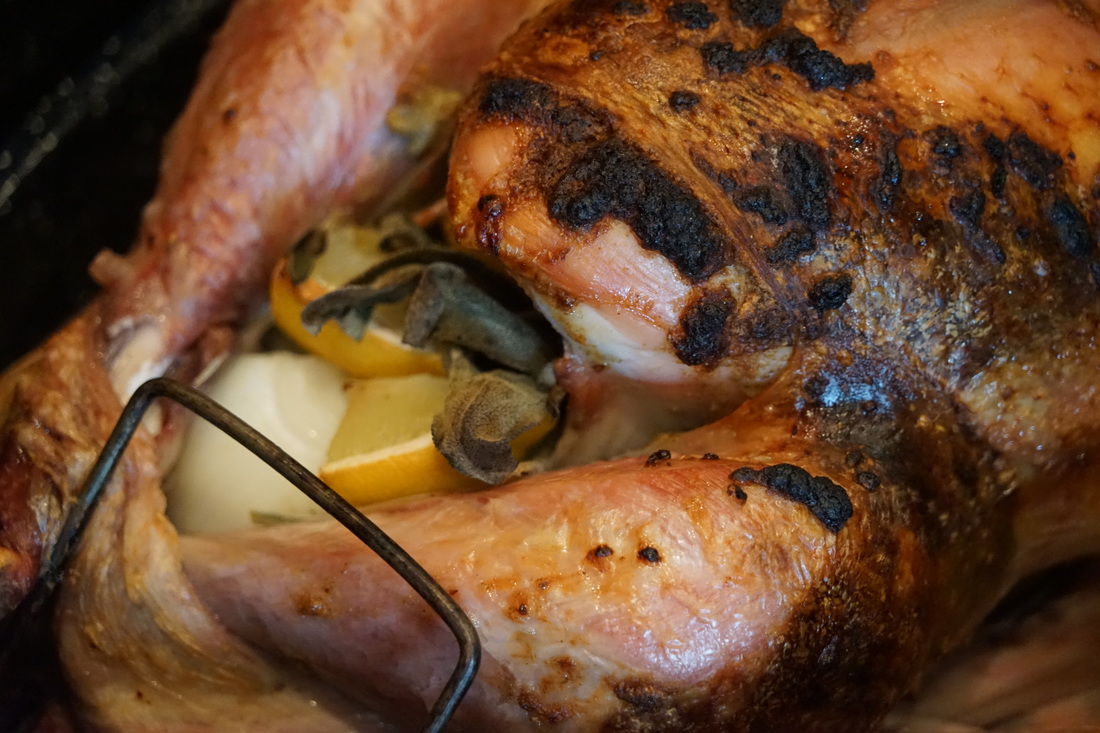
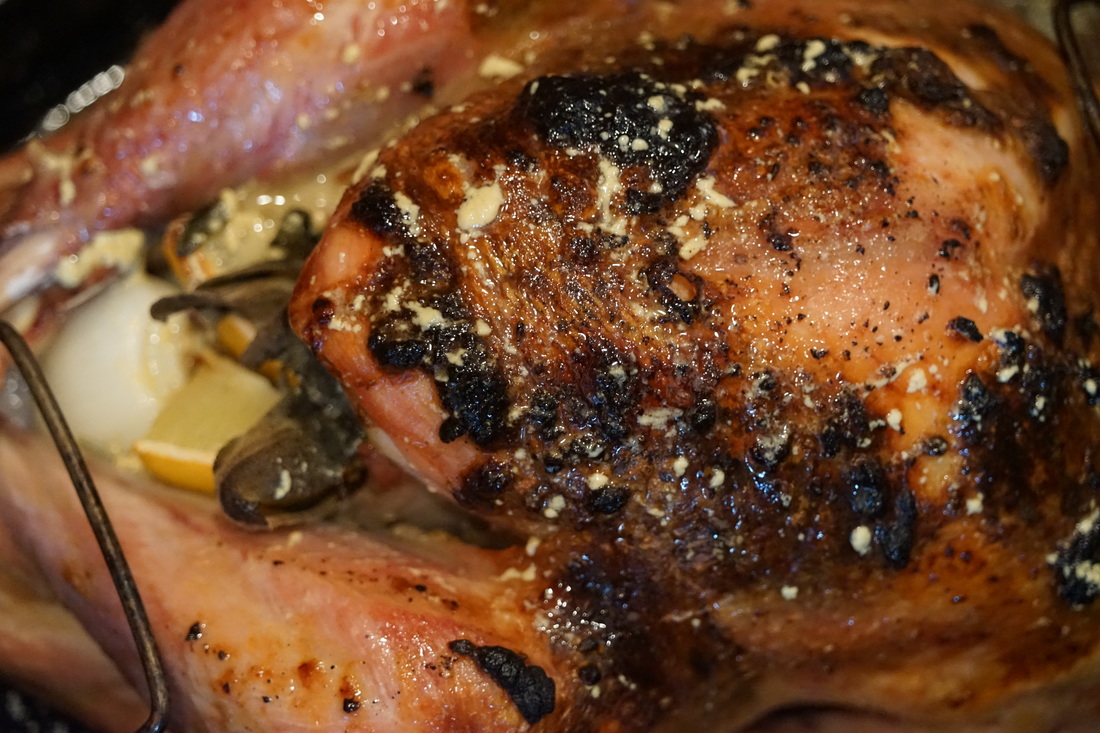
I want to know what you're eating with your cookie butter. I'm completely addicted to this yummy spread and I can't imagine anything that it WOULDN"T be good on but I want to hear how you enjoy your cookie butter too. Send me your recipes and cookie butter ideas - I can't wait to try them. Ciao! 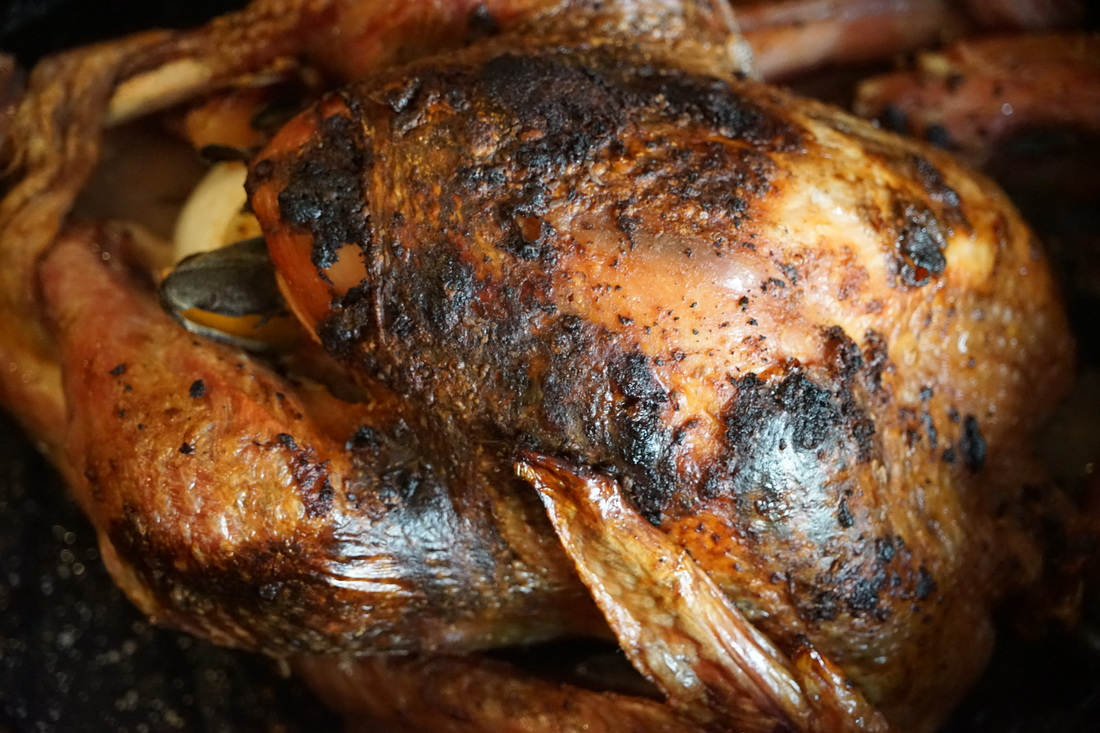 I find that even people who are not regular blog followers will seek out recipes, tips and advice for Thanksgiving menus. (I am no exception either.) It's the one holiday where the food takes center stage and everyone wants to present their very best recipes to their guests. It's no wonder that we look to the internet for inspiration for our Thanksgiving meal. If you're a regular follower or just a curious Thanksgiving browser who happened to land on my website - welcome. I hope that you will take a minute to browse my step by step illustrated Tuscan turkey recipe and then sign up to follow my blog on Facebook or email. (or both) If you have any questions about your Thanksgiving turkey, feel free to leave me a comment. I'll do my best to get your questions answered as quickly as possible.  Tuscan Turkey 3 garlic heads 6 Tablespoon butter 1/4 cup chopped sage 1 Tablespoon grated lemon zest 2 teaspoons kosher salt 2 teaspoons crushed red pepper 1 whole turkey 5 sage sprigs 1 lemon, halved 1 onion, quartered 1/4 cup olive oil 1/3 cup white wine 1 Tablespoon Dijon mustard
Reduce oven temperature to 350 Bake another 1 hour. Baste turkey with remaining mixture. Bake 10-20 minutes longer or until turkey registers 165. Remove from oven. Cover and let stand 20 minutes. 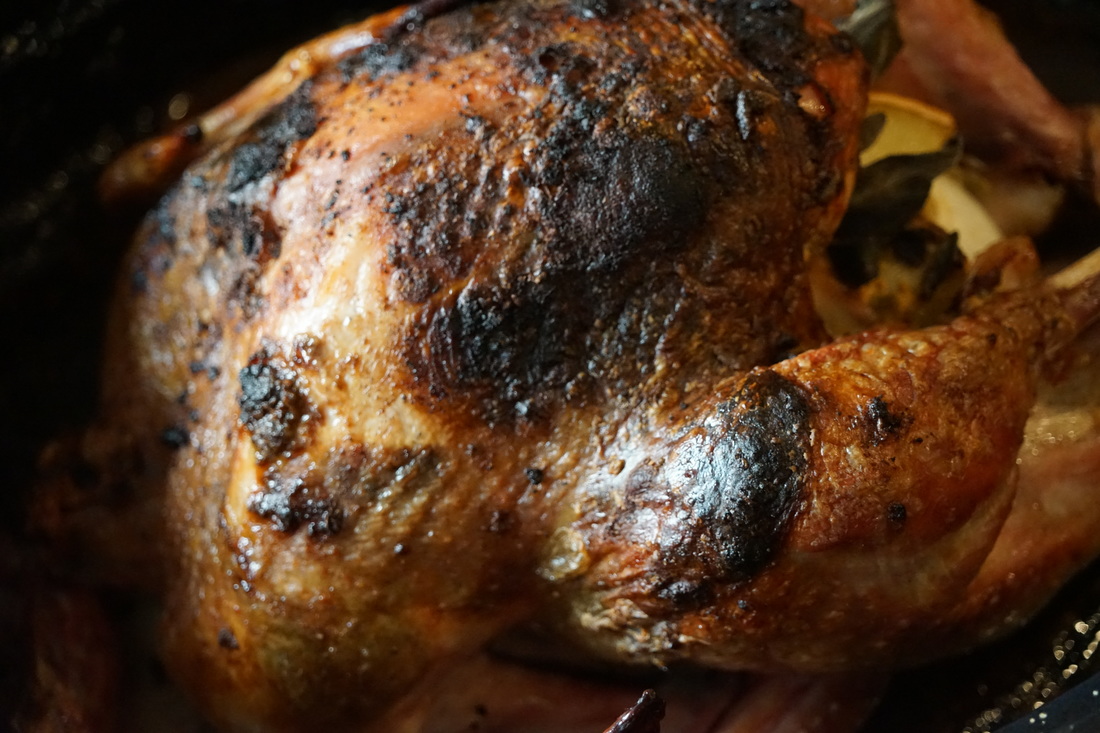  If you find that you need more immediate help with your turkey, you can always access the Butterball Turkey Talk-Line or give them a call at 1-800-BUTTERBALL (1-800-288-8372). There is really no excuse for NOT trying to cook a turkey this year.
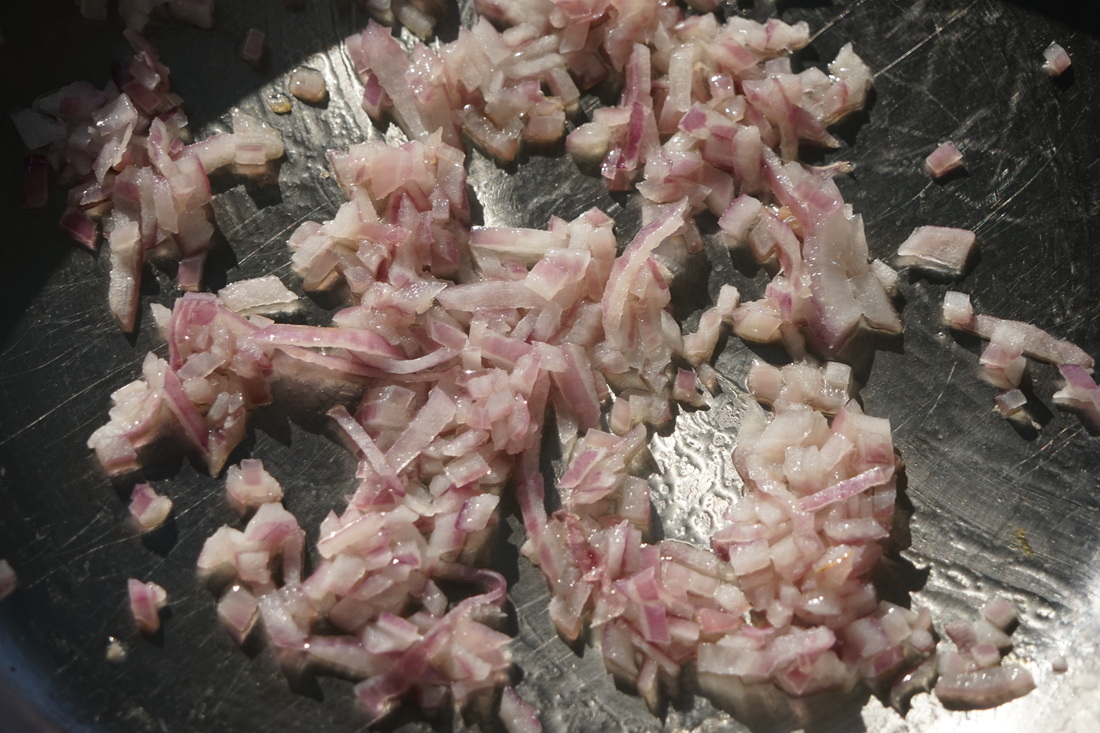
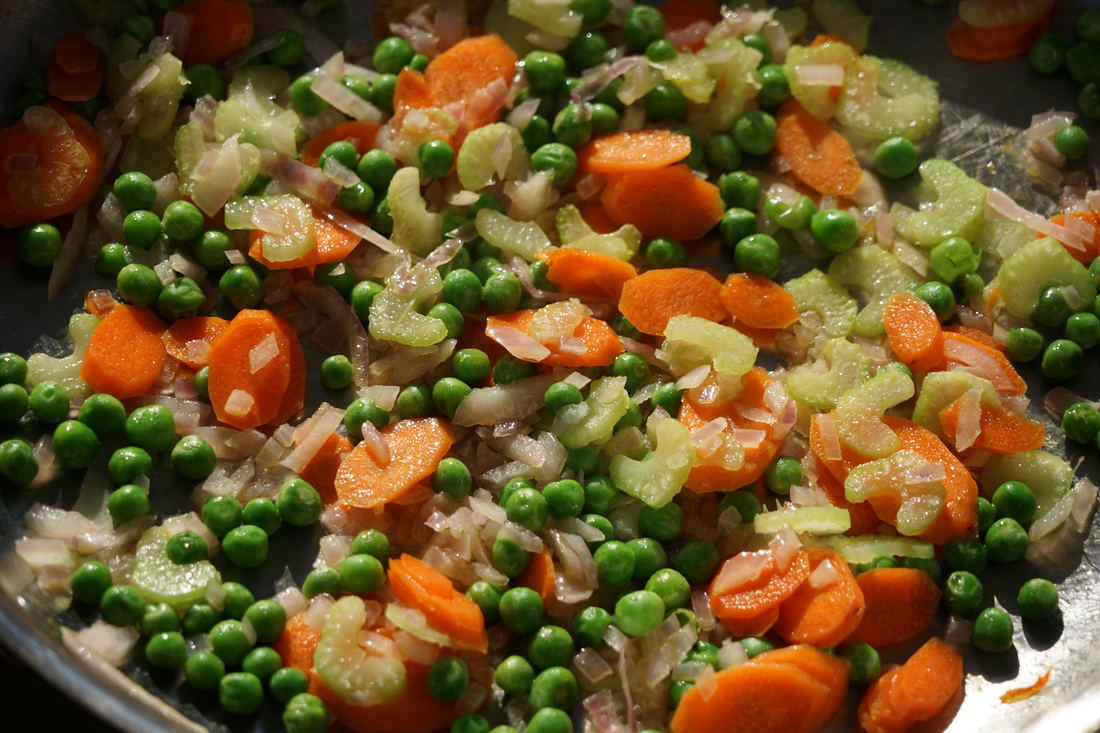
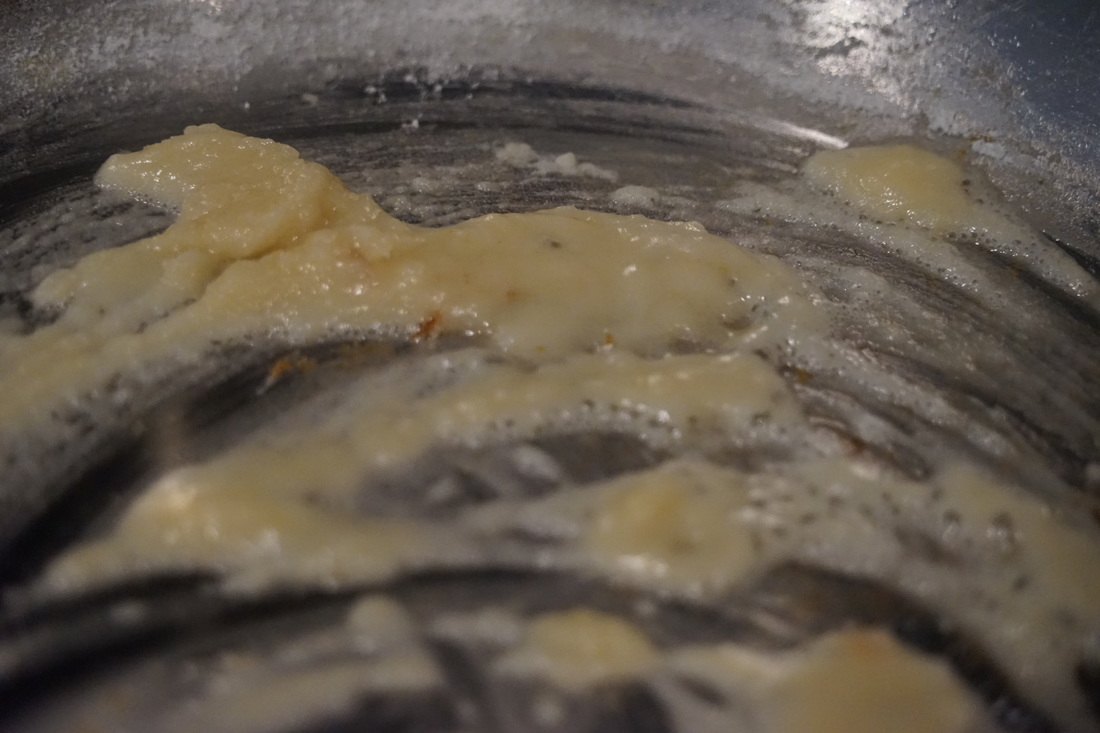
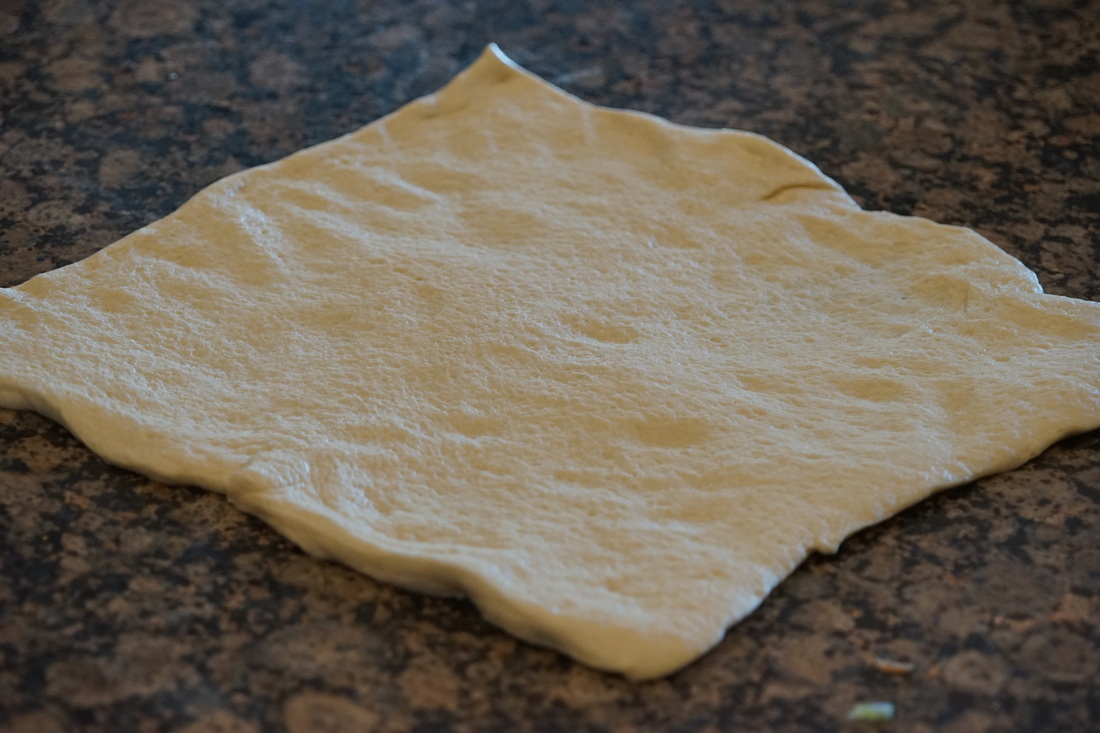
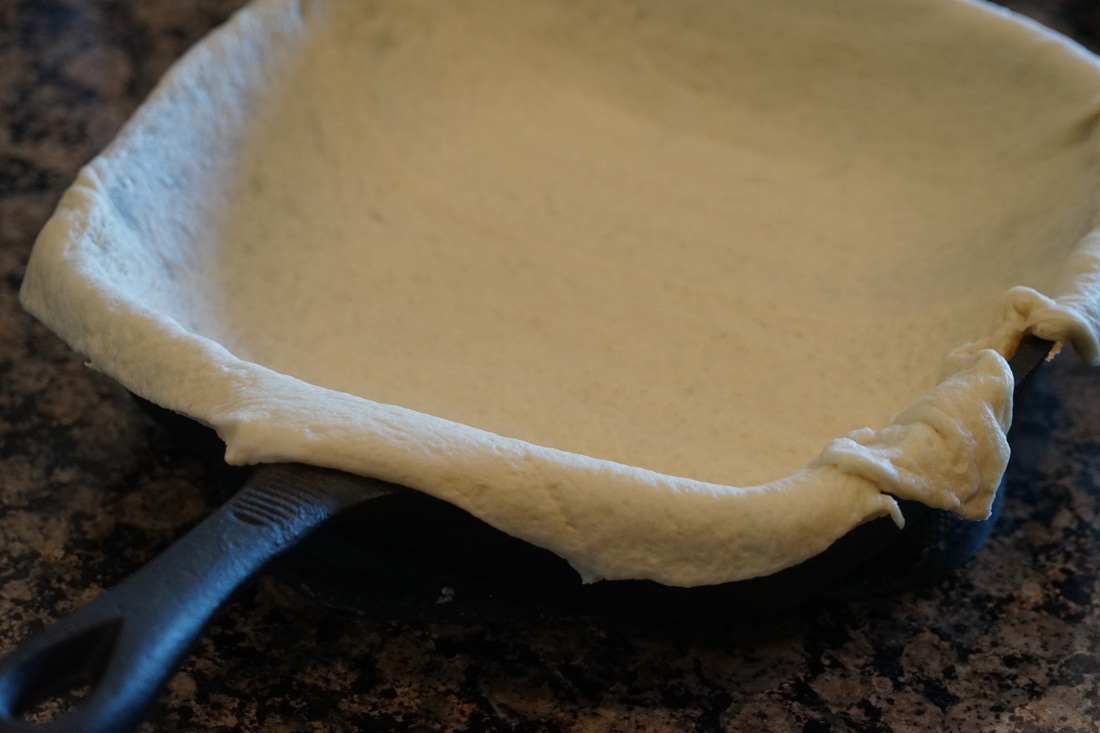
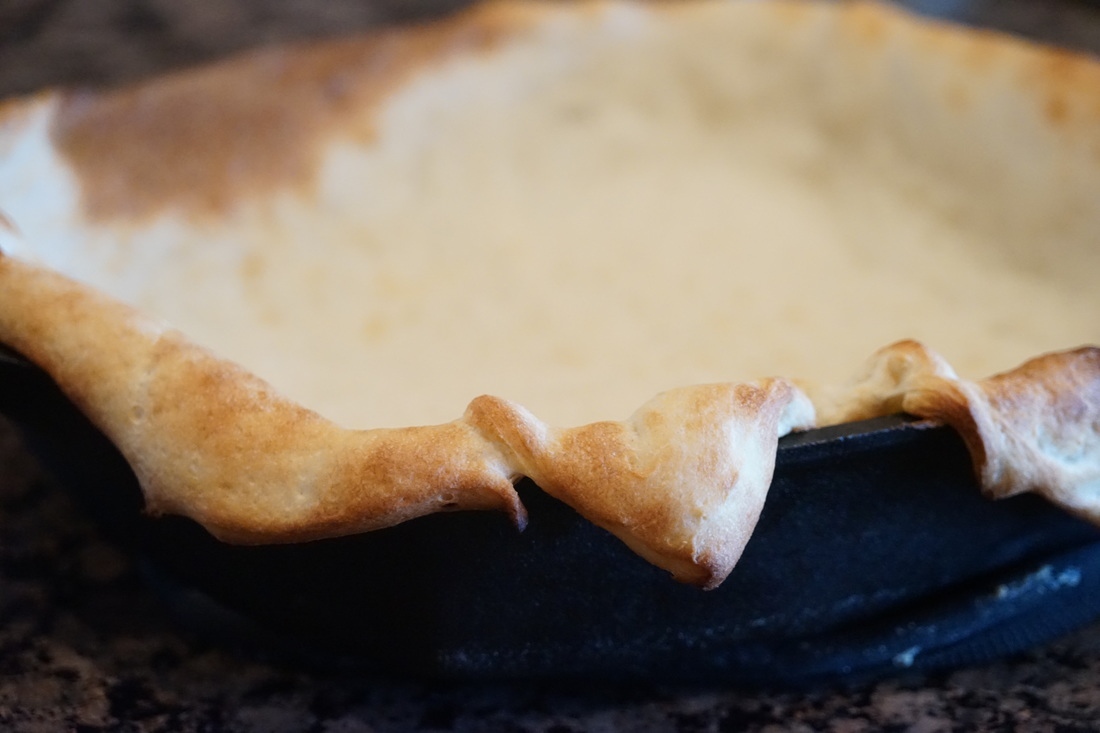
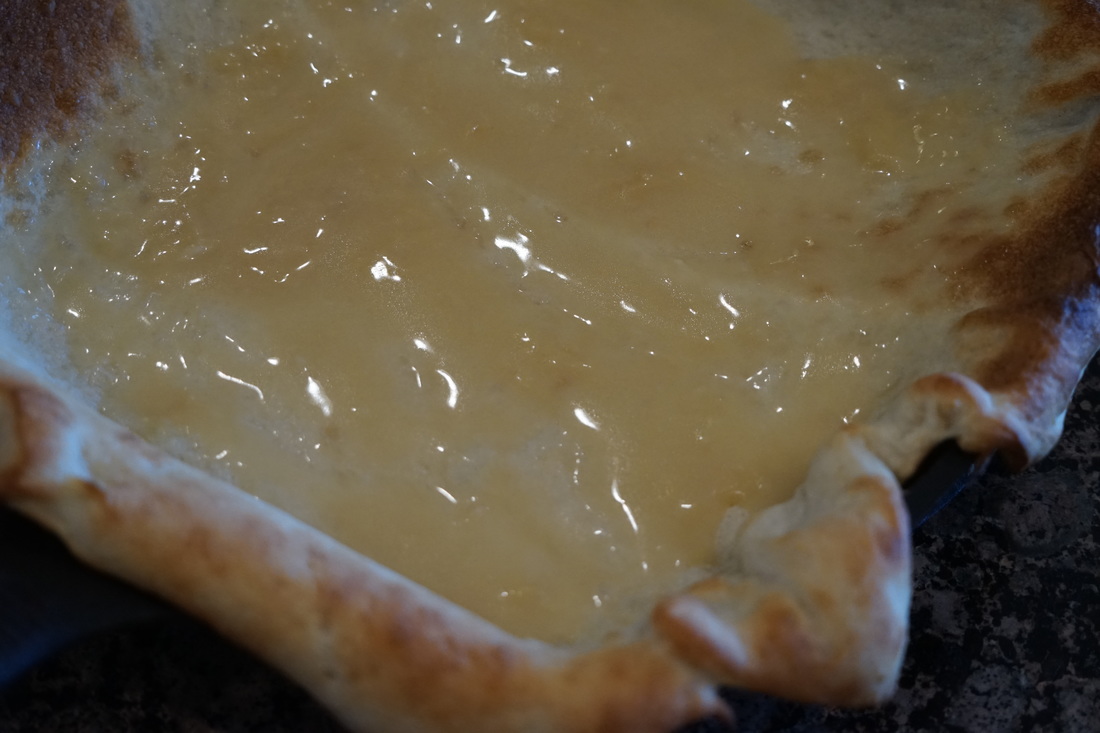
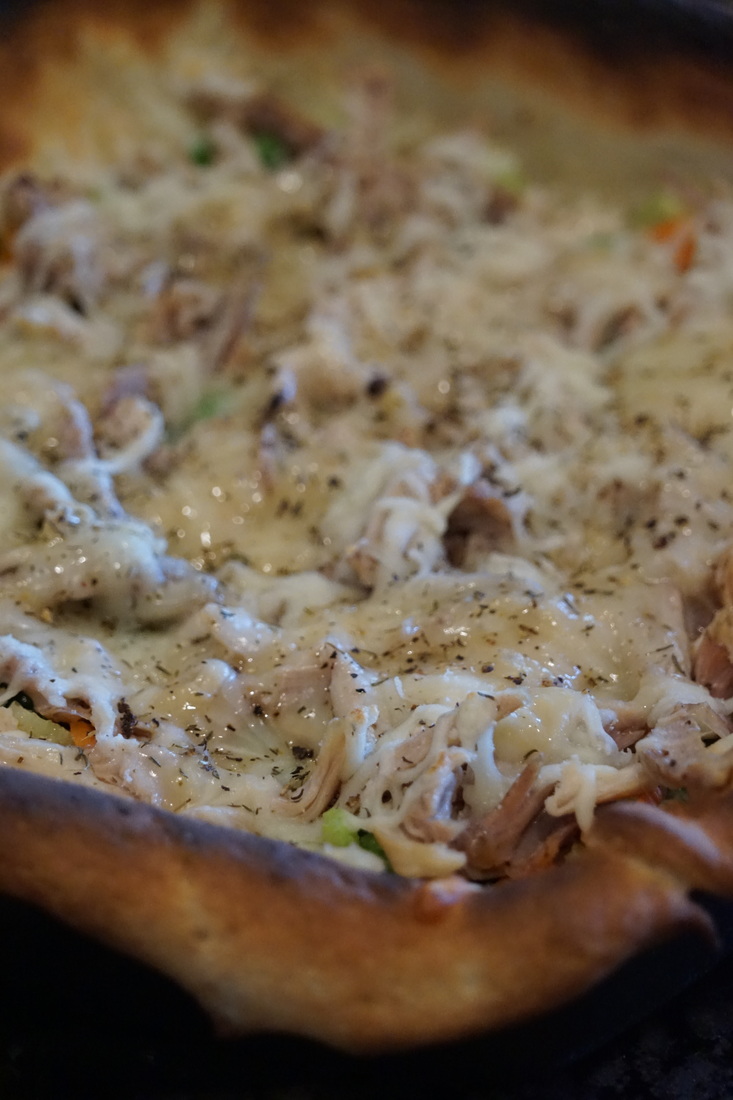
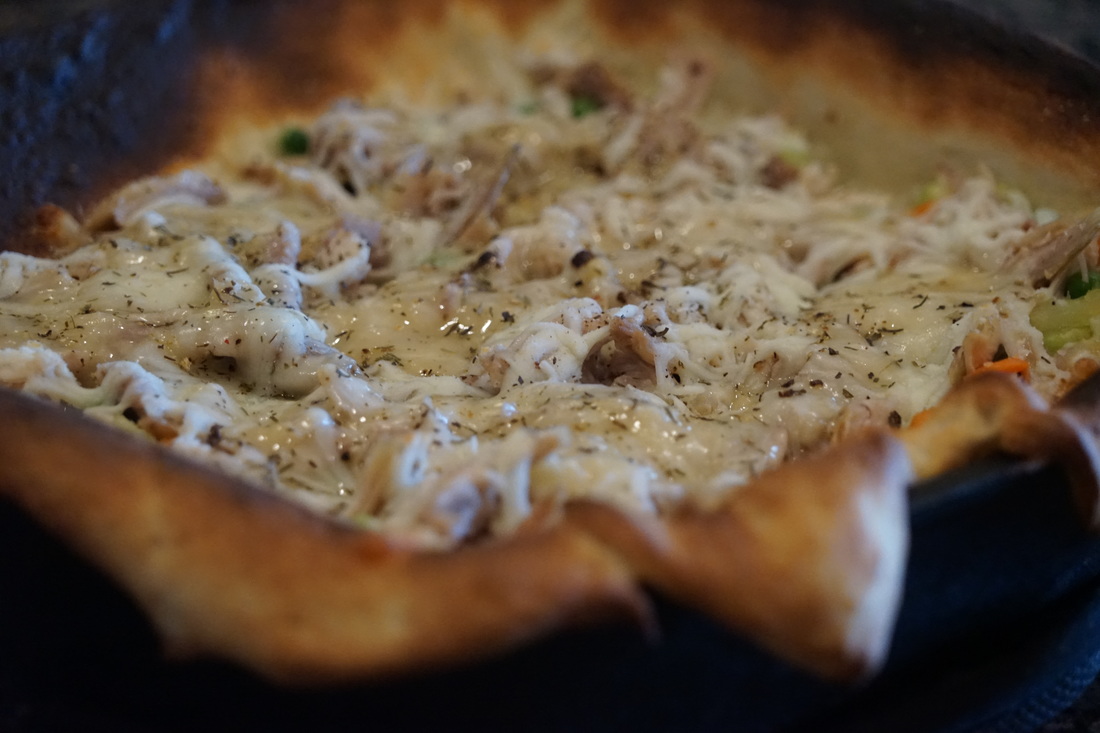
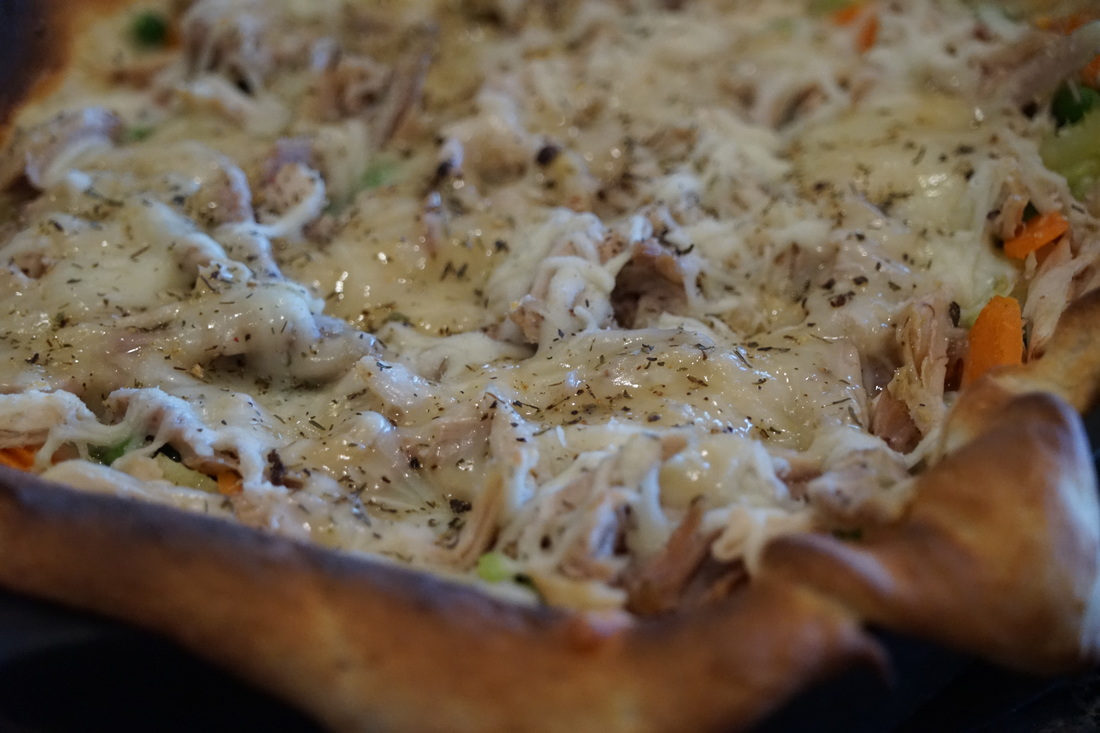
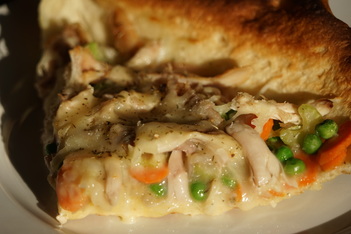
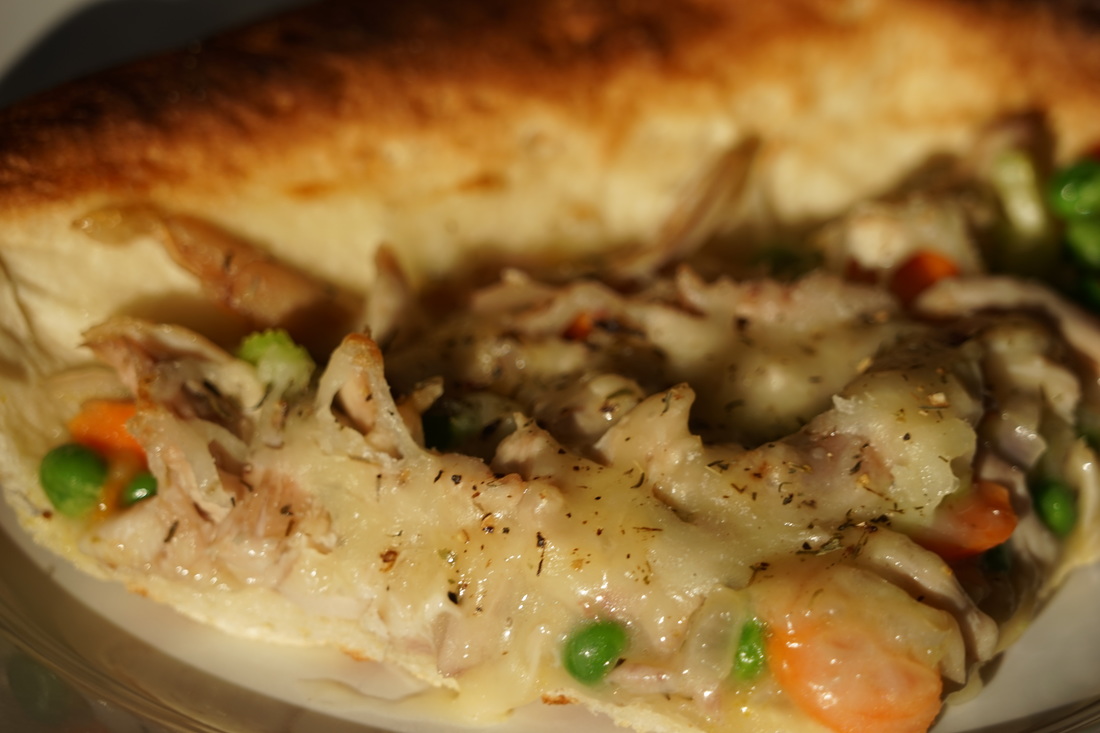
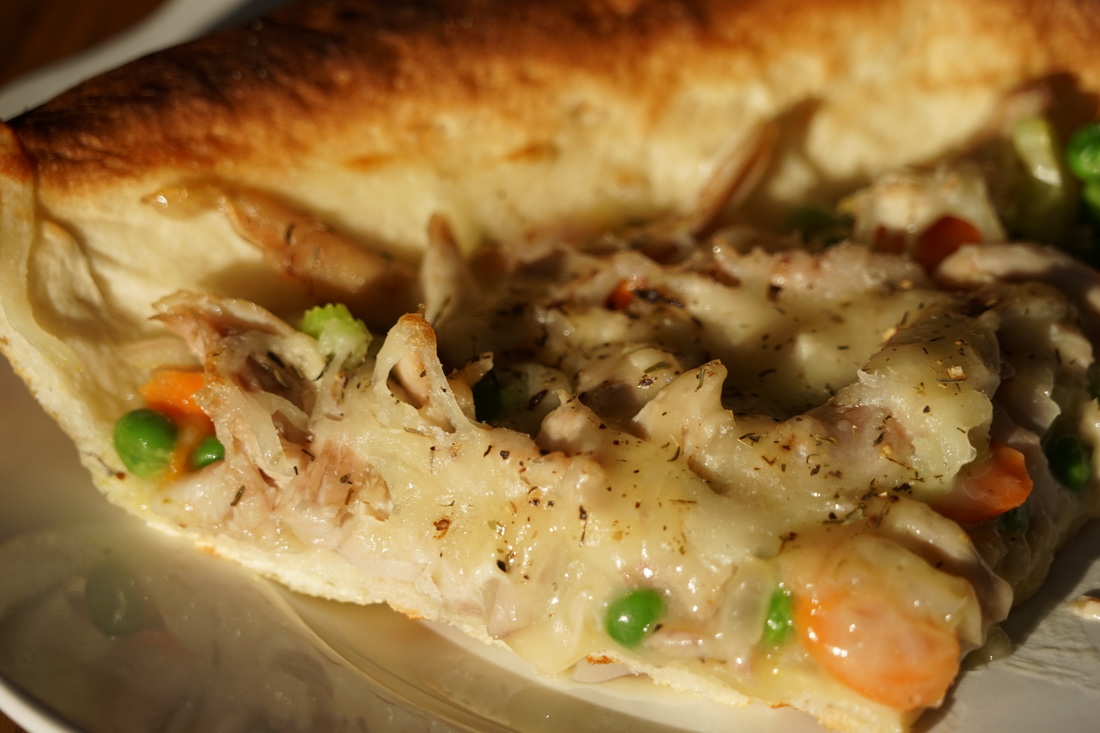
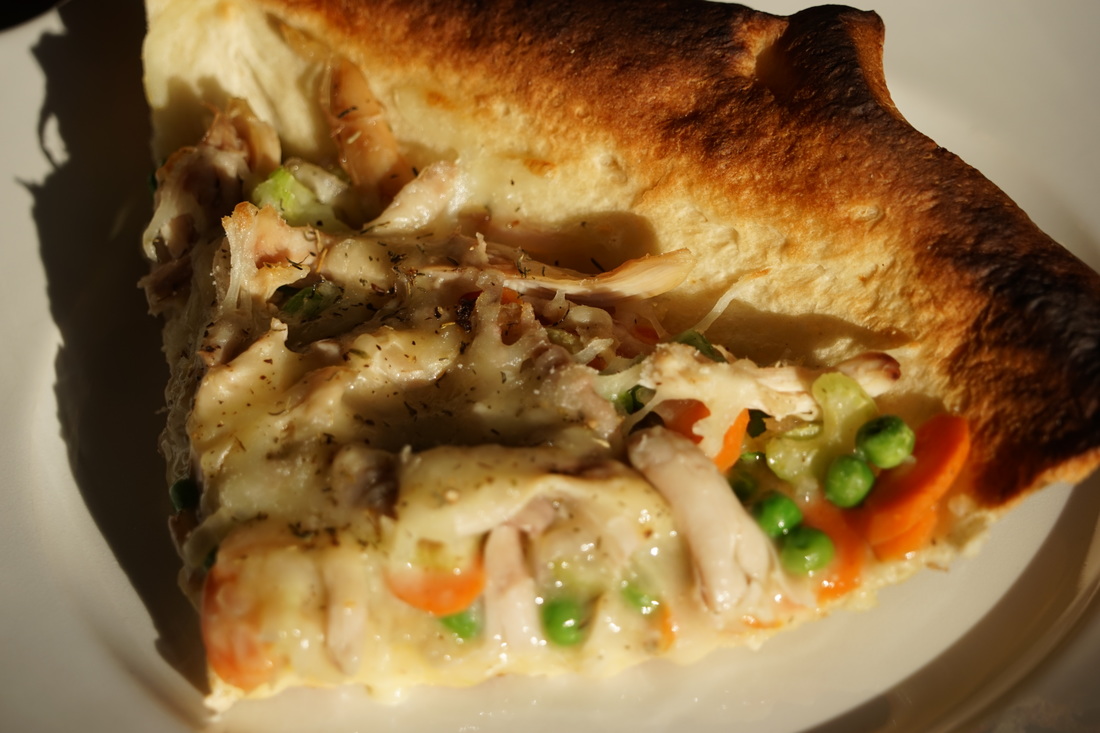
Ciao! 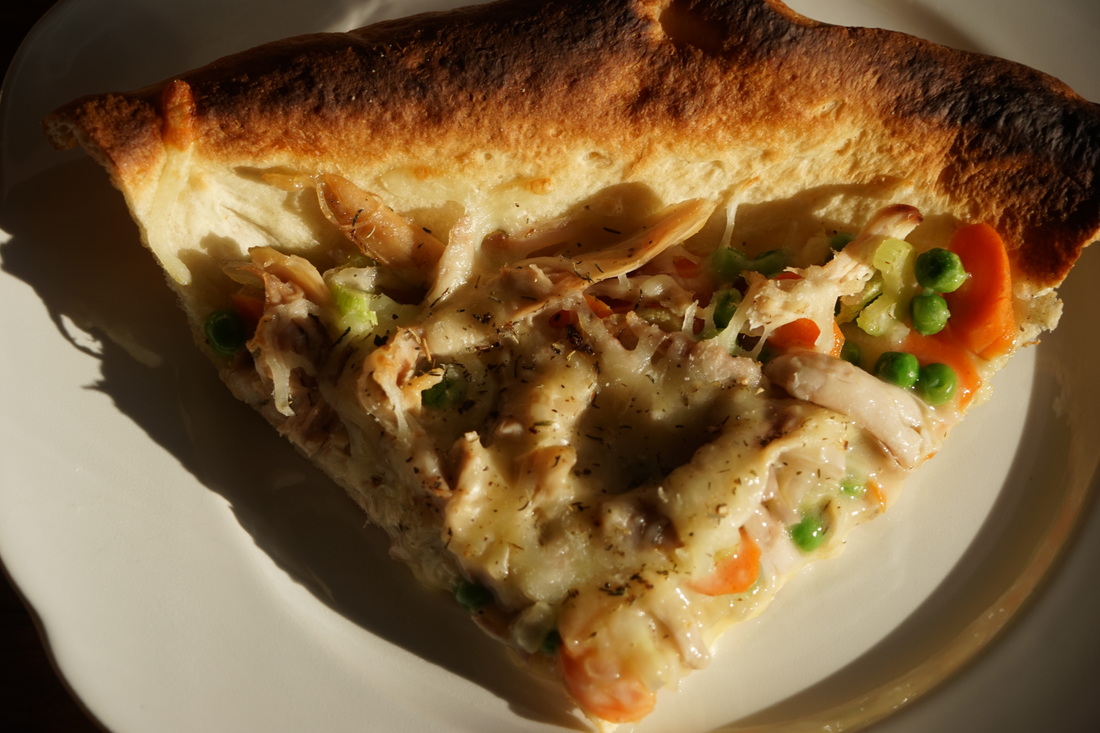 Ever have one of those moments when what you hear someone say to you is entirely different from the what they intended to say? When I served Chicken Pot Pie Skillet Pizza to my husband his response was "I like this better than regular Chicken Pot Pie." What I heard him say was "I never liked your chicken pot pie." I recognize the ridiculousness of that but it proves my point that all to often I assign thoughts to others that they never actually had. I assume that people are holding judgement against me that they never intended. While I'm still having to remind myself to really listen to the words that people say, I know that my identity is not wrapped up in what other people think of me - or my cooking. My identity comes from the love of the one who created me and that is the only thing that really matters. 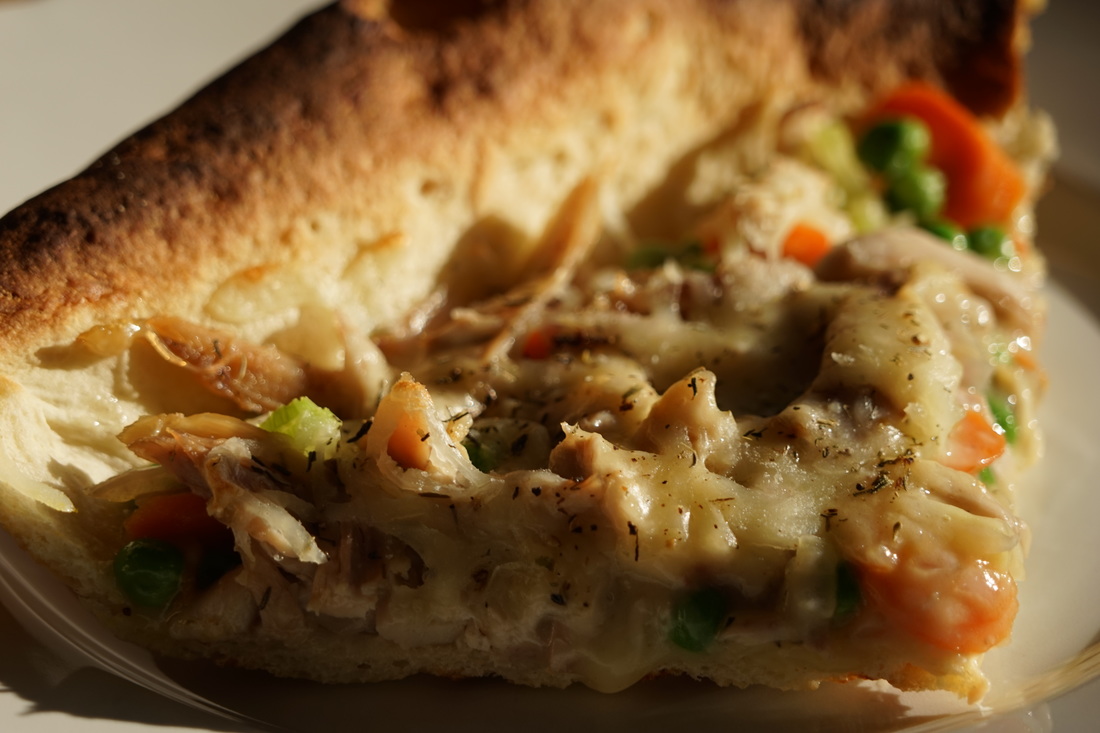 Chicken Pot Pie Skillet Pizza 4 Tablespoons olive oil 1/4 cup chopped onion 1/4 cup sliced carrots 1/4 cup chopped celery 1/4 cup peas 1 1/2 Tablespoons flour 1 cup chicken stock 1 whole wheat pizza crust 3/4 cup rotisserie chicken breast, shredded 3/4 cup shredded mozzarella cheese 1 teaspoon thyme 1/4 teaspoon pepper 1/8 teaspoon salt
Sprinkle with onion mixture, chicken and cheese. Drizzle with remaining stock mixture. Sprinkle with thyme, salt and pepper. 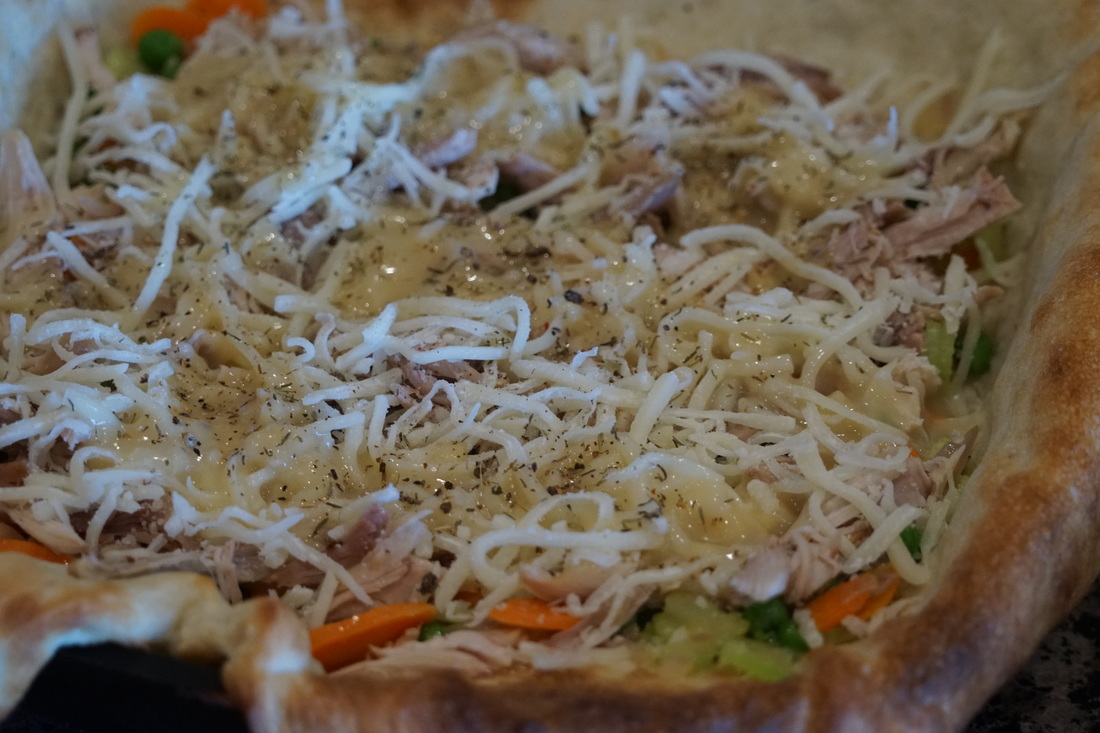 Broil until cheese is melted.
Cut into wedges.
Needless to say, this chicken pot pie skillet pizza was delicious and well received by my family. They gave rave reviews and what most people would consider compliments. LOL
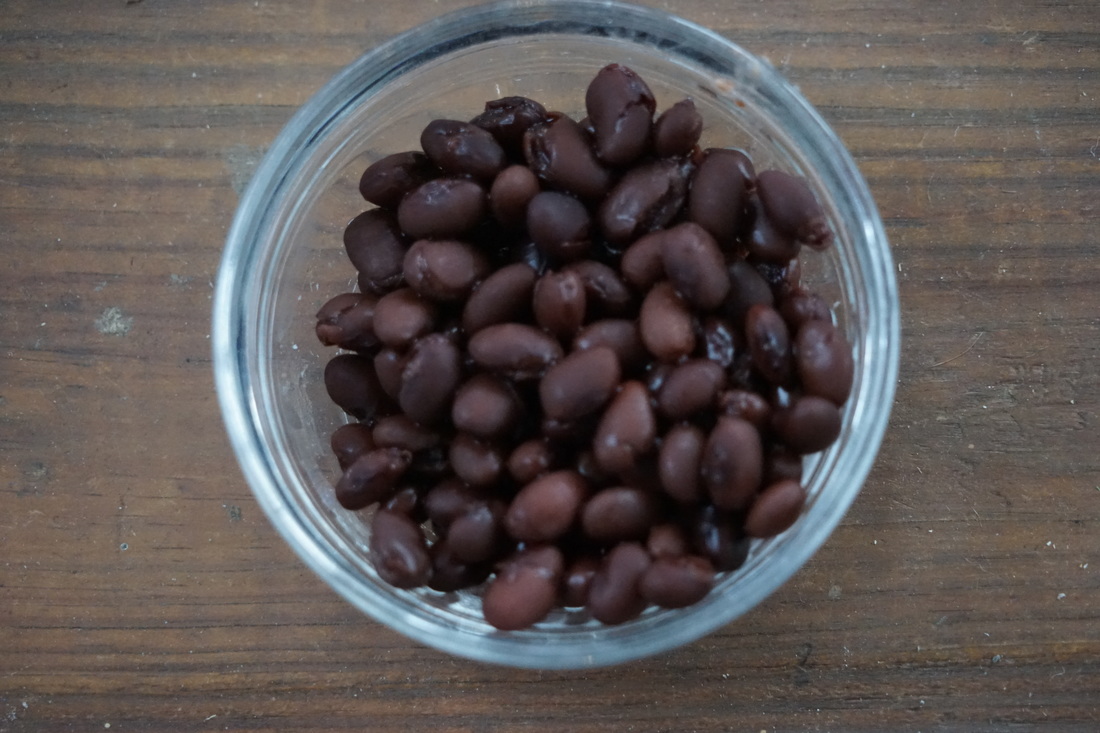
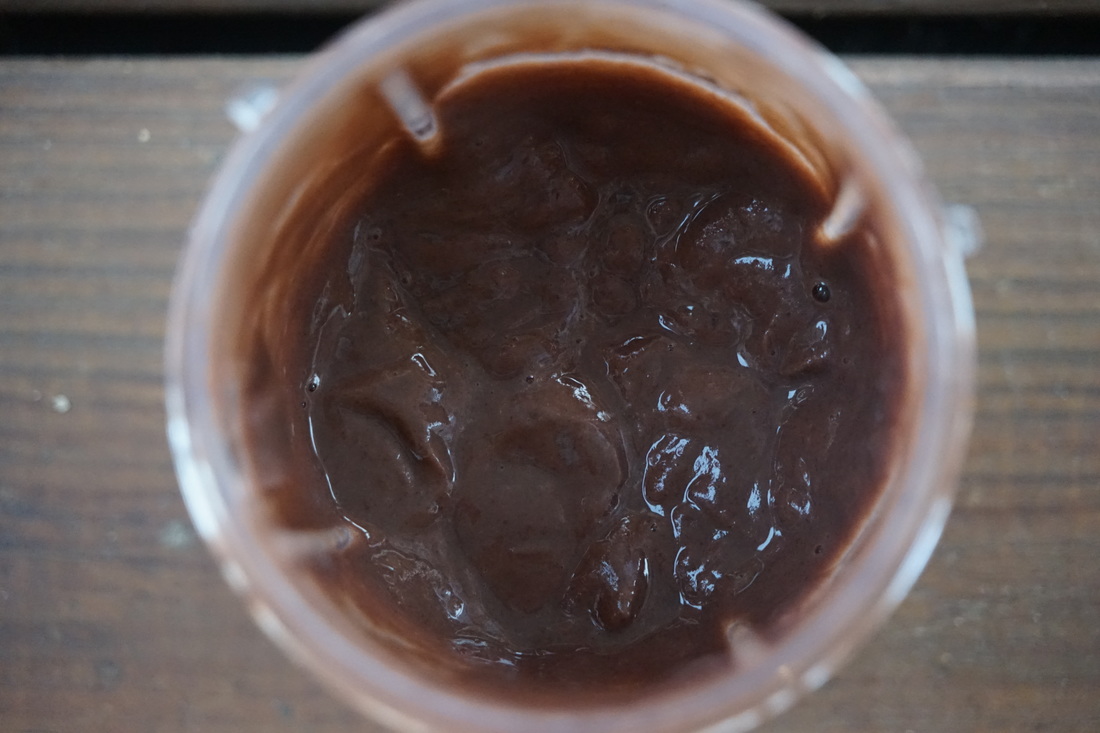
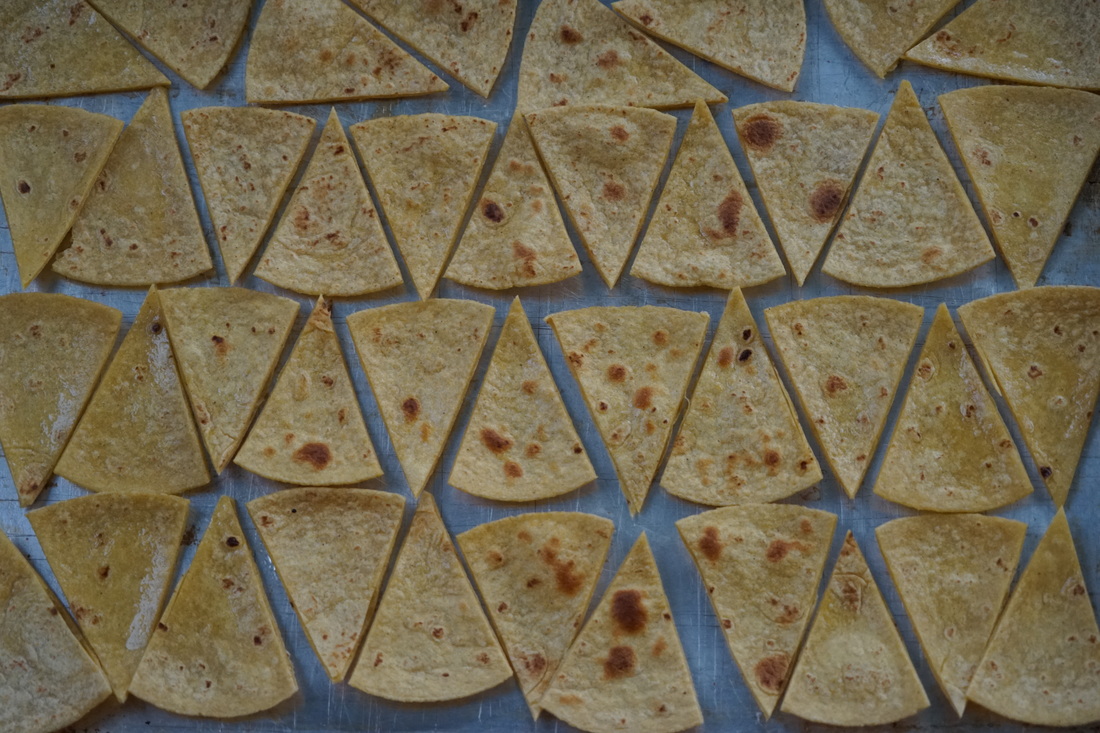
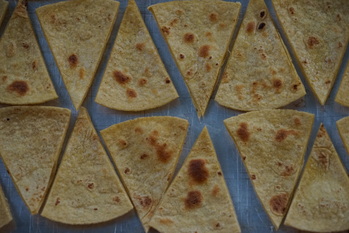
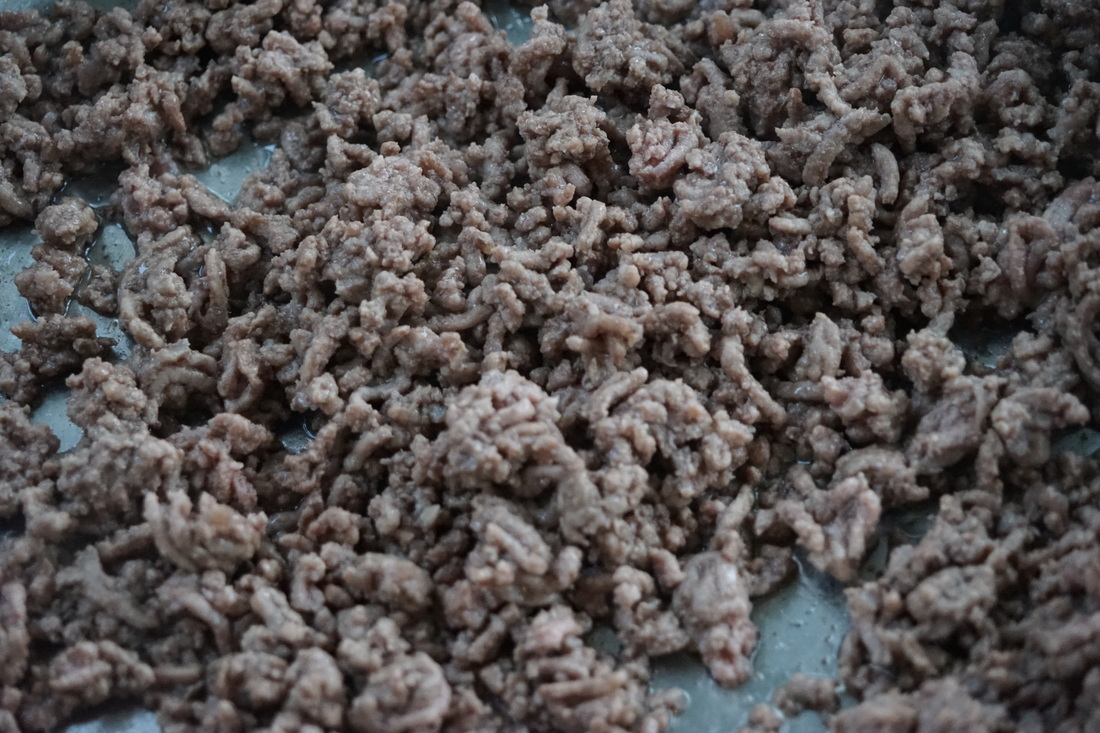
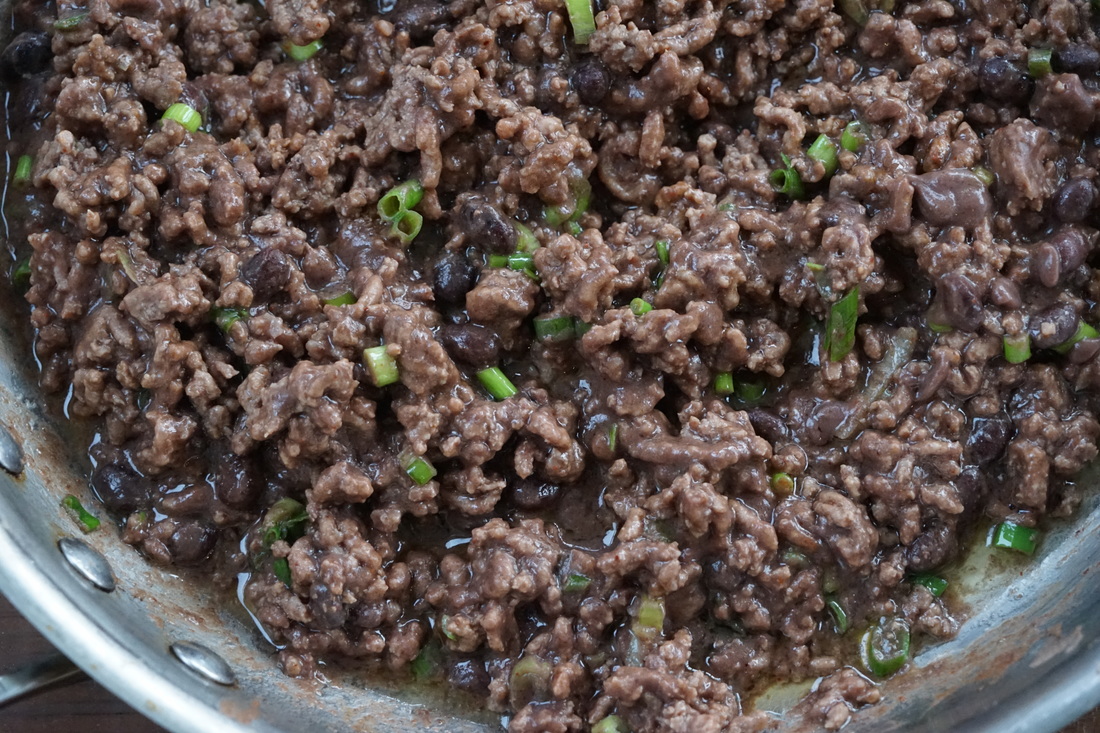
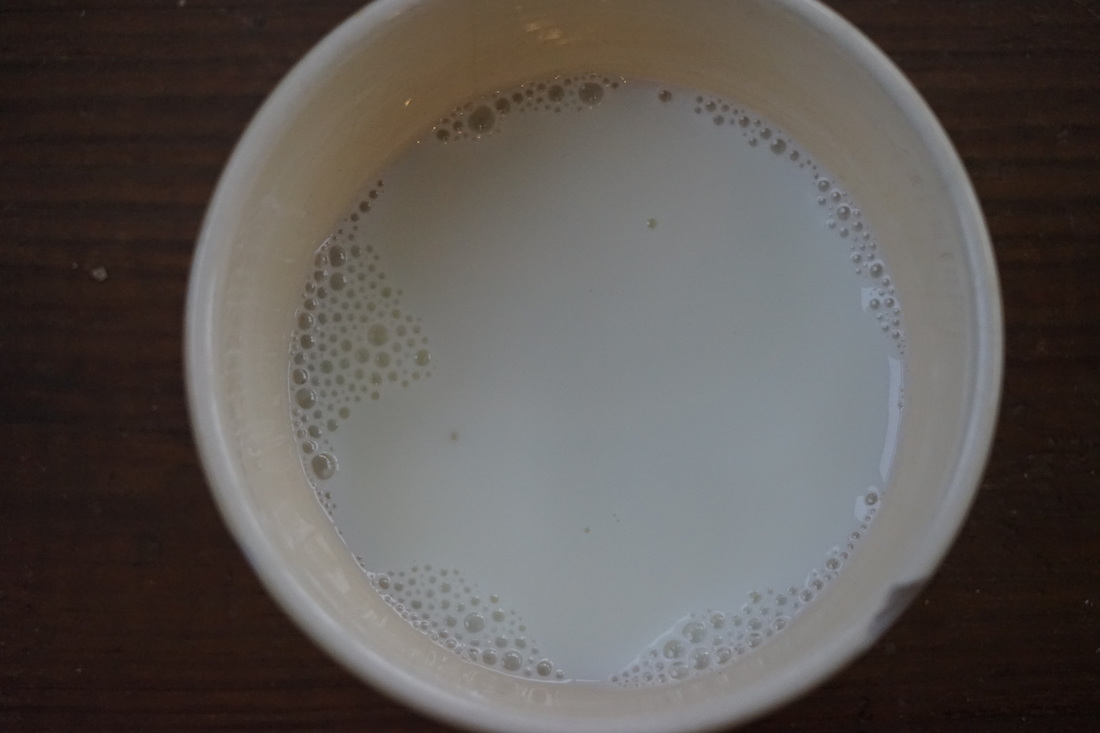
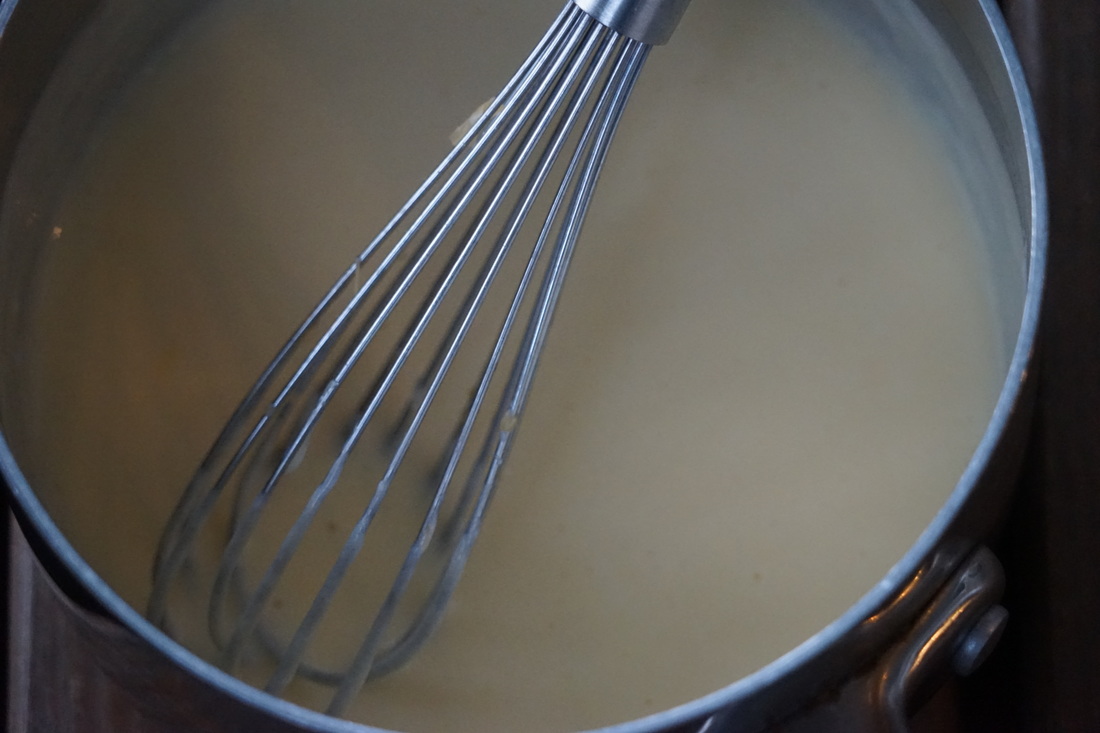
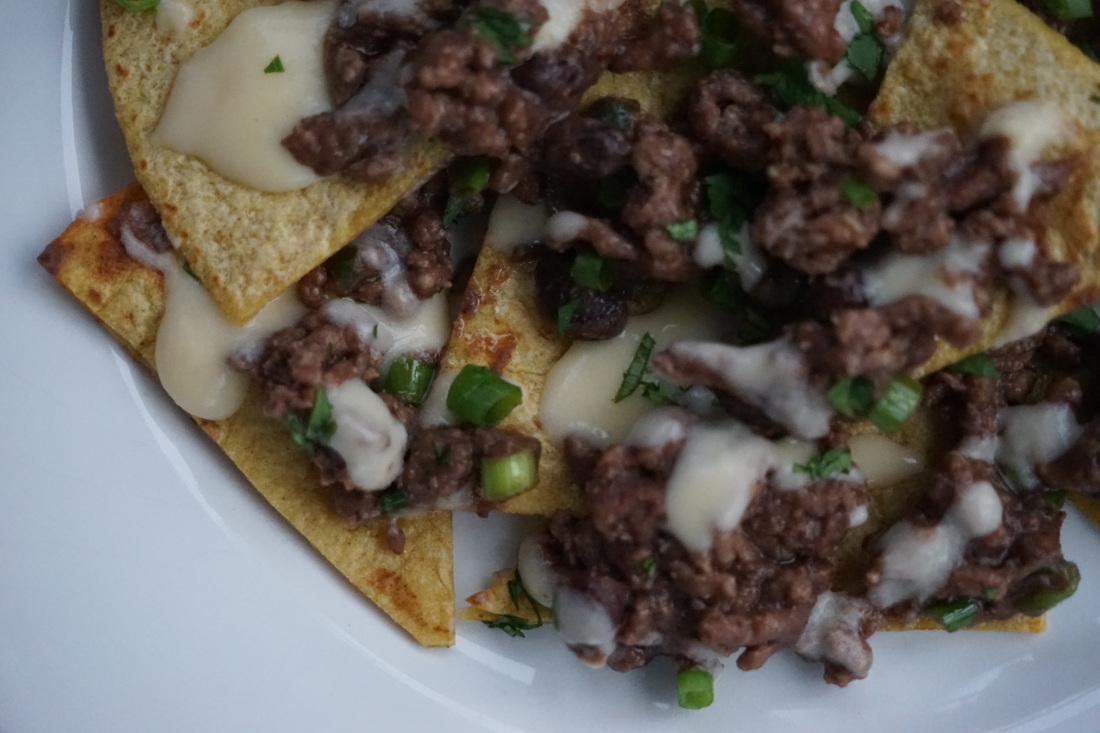
Ciao! 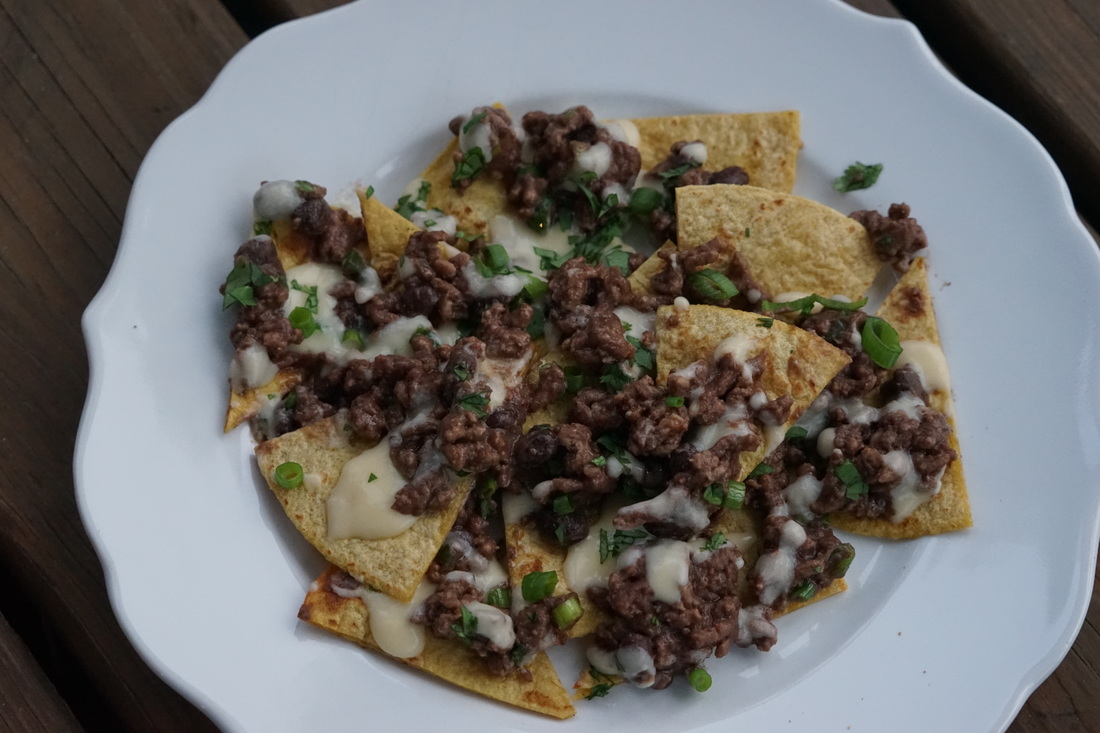 I am in full blown cooking mode this week with lots of special Thanksgiving orders and prep work. I love the business but when I'm busy cooking for clients, my own family dinners tend to suffer. When work gets crazy, I have to rely on easy to fix dinners that my family will still love. My daughter LOVES nachos so when I found this recipe for Sheet Pan Beef Nachos, I just had to try them. This recipe was perfect for my busy week: easy to prepare, delicious, and moderately healthy. 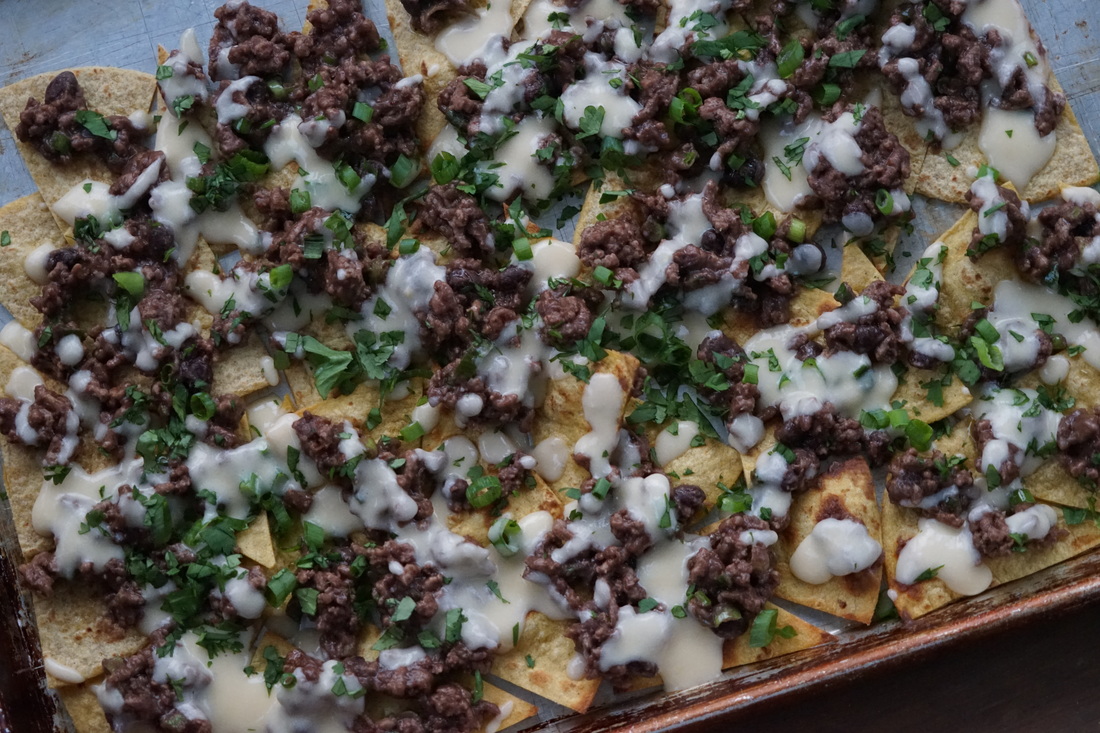 This recipe came together, start to finish, in less than 30 minutes. AND more importantly, they were gobbled up even faster. My family loved them.  Sheet Pan Beef Nachos 1 can black beans 1/2 cup water 8 ounces lean ground beef 1/2 teaspoon chili powder 2 green onions 8 corn tortillas (6 inch) 2/3 cup milk 1 1/2 teaspoons cornstarch 1/2 cup cheddar cheese 1 Tablespoon fresh cilantro, chopped
Cut tortillas into wedges. 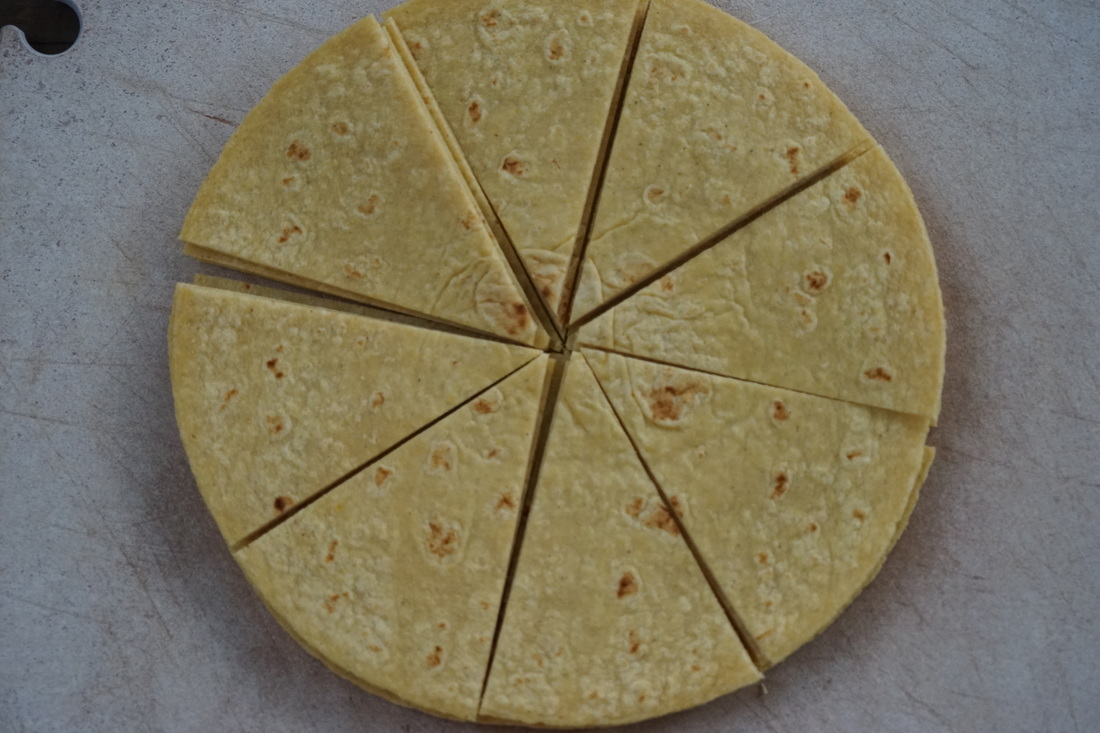 Arrange tortilla wedges on a baking sheet and spray with cooking spray. Broil until browned. Flip. Brown other side.
Sprinkle beef mixture over browned tortillas wedges. 
Drizzle cheese mixture over beef on pan. Top with remaining green onions and cilantro. 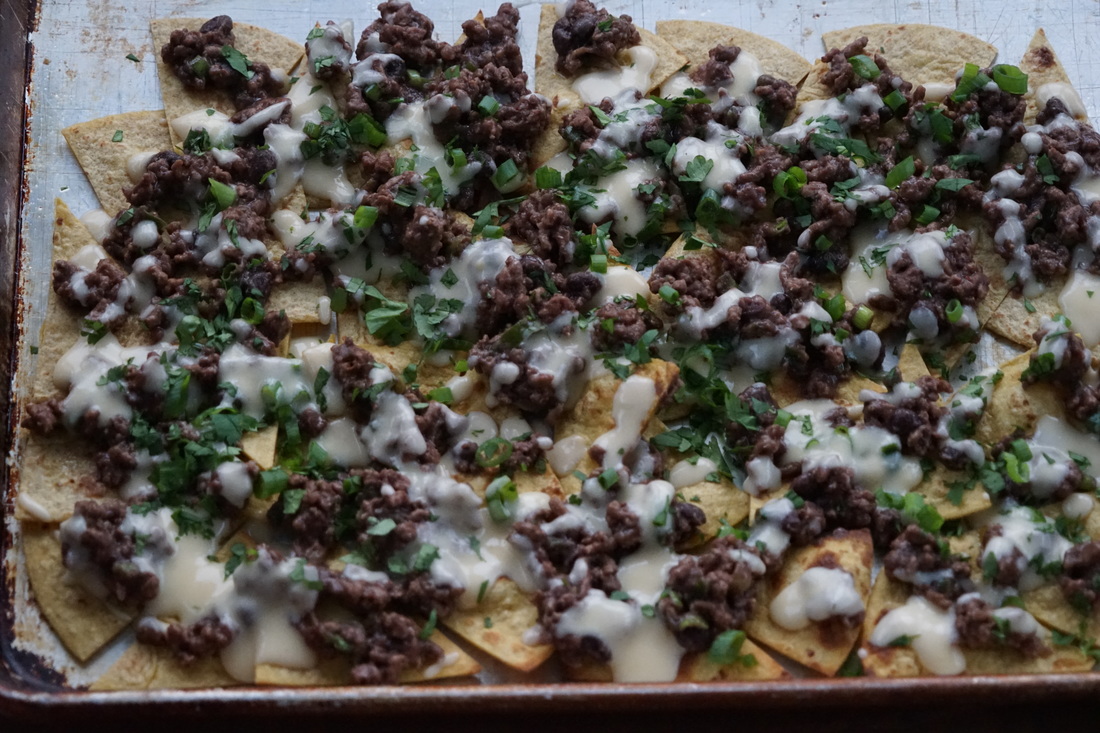 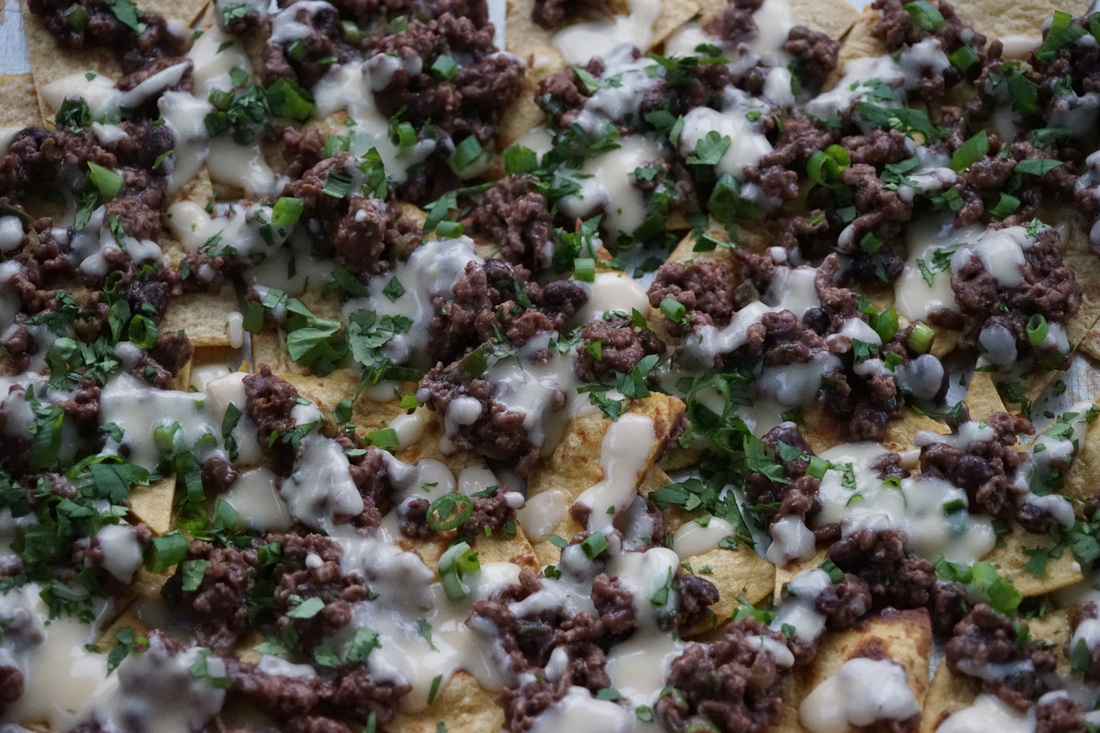 Serve.
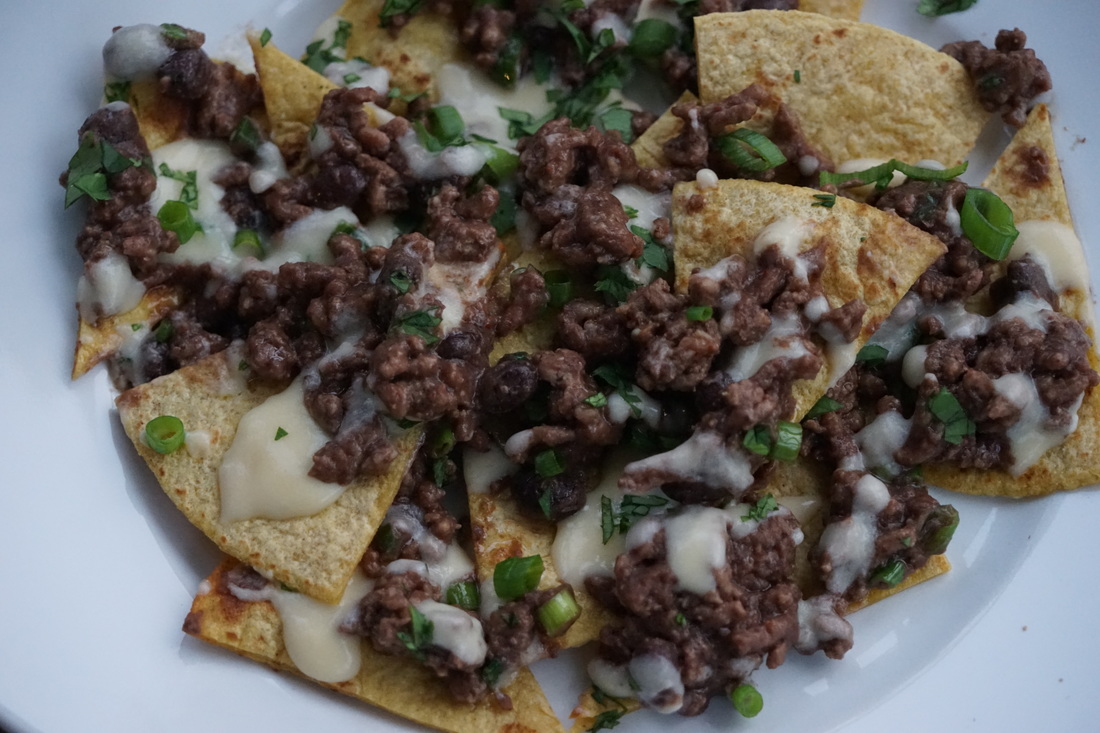 I would love to try these nachos again with ground turkey instead of the beef. I really liked the cheese sauce and the black bean mixture. I wish that I had a few tomatoes to sprinkle over the top - just to add a little color but - there's always next time.
If you've got a busy week like me - give these nachos a try. I'm pretty sure your family will love them too. Ciao! |