My Story in Recipes
  • Recipe Index
  • Blog Posts
  • My Story
  • Connect

Brownie Pops

11/30/2011

0 Comments

 
Picture
​I decided that it was time for me to jump on the cake pop bandwagon.  Cake pops are all the rage now and if Starbucks is getting $2.50 a piece for these little gems, they must me something wonderful, right?    I did some research to learn how to make these lollipop shaped snacks and my brother even volunteered to buy a cake pop and eat it while we skyped so I could see what was inside.


​Duncan Hines sent me some coupons as part of the Foodbuzz Tastemakers program.  This was the perfect excuse to try my hand at cake pops.  I decided on brownie pops instead of cake pops for no particular reason - they just sounded good.  
Picture
I ended up using a collaboration of recipes that I found on the internet to come up with a process for making my brownie pops.  I will walk you through the steps that I took to make them but keep in mind that it was my first attempt.
​I started by baking the Duncan Hines brownie mix according to the directions on the back of the box.  (I followed the instructions for cake like brownies and used 3 eggs instead of 2.)
​The brownies smelled so good when they came out of the oven.  Once they were cool, I crumbled them up with my fingers.
Picture
Picture

​​I added a half of a can of Duncan Hines chocolate frosting to the brownie crumbles and stirred it together with a spoon.  
Picture
Picture


​​I scooped the mix with my small cookie scoop and rolled it into balls. My daughter wanted to help.  (I think it was the smell of brownies that lured her into the kitchen.)  It was really a perfect opportunity for her to help because we are taking these brownie pops to school to celebrate her birthday this week. 
We placed them on a waxed paper lined baking sheet and put them in the freezer for an hour.
​Before I pulled them out of the freezer, I got my lollipop sticks ready and I melted some white chocolate.  
Picture
Picture
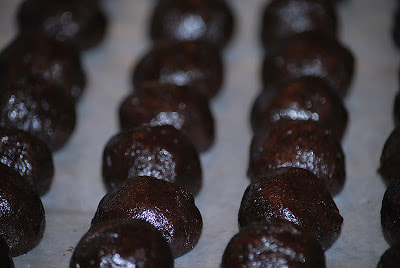
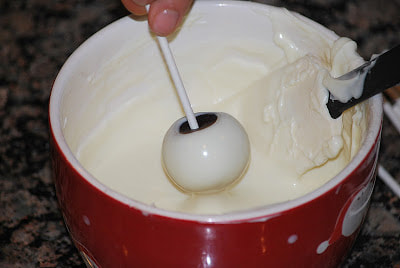
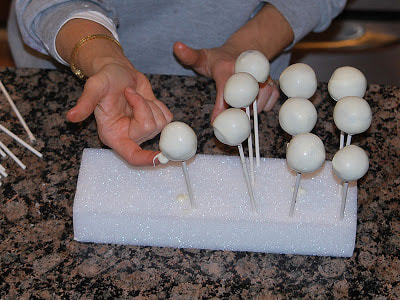
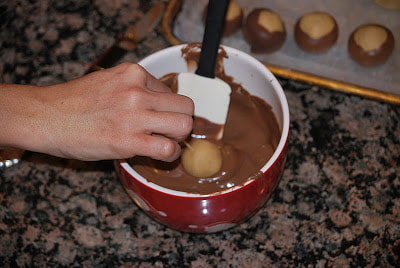
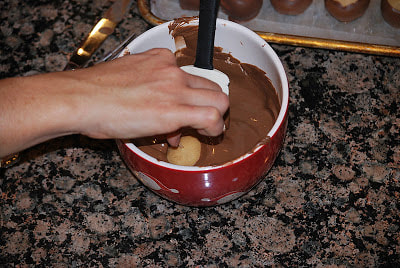
I pulled the tray of brownie balls out of the freezer and one at a time, I inserted a stick and then dipped it into the melted chocolate.
Picture
Picture
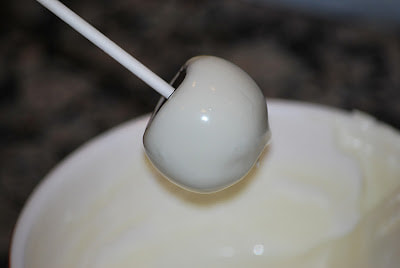
​I bought a small block of Styrofoam to hold my brownie pops and I inserted each one into the block once it had been dipped.
Picture
Picture
​I did have some trouble with the chocolate dripping from the bottom of the pops so I had to wipe the excess chocolate as it dripped.  (I haven't quite figured out how to solve this problem yet.  If you have any tips - let me know. )
Once they were all dipped, we cleaned up while letting the chocolate dry slightly.  (Cleaning up may have been even more fun than the baking.)
​Once the chocolate had set, I melted some semisweet chocolate in the microwave and put it into a plastic bag for decorating.  I cut the tip off of one corner of the bag and drizzled chocolate over the pops.
Picture
Picture
I also tried to sprinkle some peppermint crunch on top but I had a hard time getting it to stick.  You can see from my picture that I only tried it once.  

The brownie pops were really fun to make and they were really good.  The chocolaty brownie centers are sure to be a big hit with the kids at the birthday celebration. 
Picture
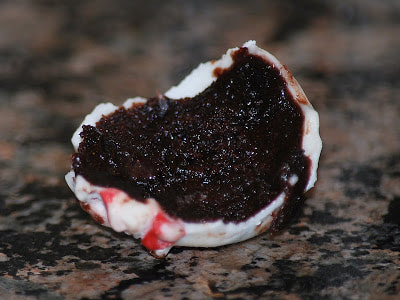
Thanks again to the generous people at Duncan Hines for providing me with the delicious brownie mix and frosting for my brownie pops.  Duncan Hines is also making it easier for you to try this recipe by giving away 6 free Duncan Hines coupons to my blog readers.  The first 6 people to leave a comment on my blog will receive a coupon good for a free Duncan Hines product.  (It must be a comment on my blog and not on my facebook page.)  I will announce the winners on tomorrow's blog so make sure you check back. Good Luck.

Ciao!
0 Comments

Black Bean Casserole

11/29/2011

0 Comments

 
Picture
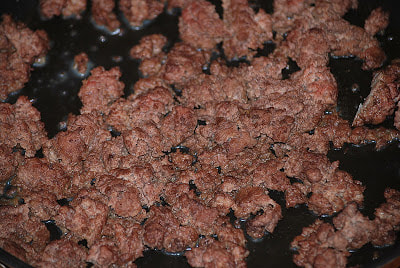
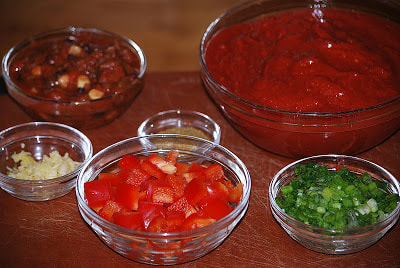
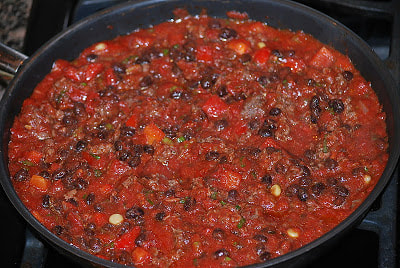
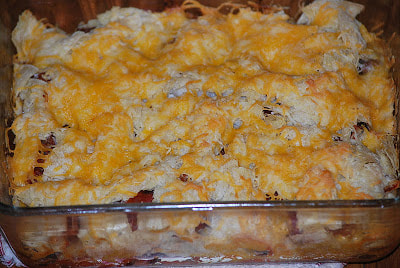
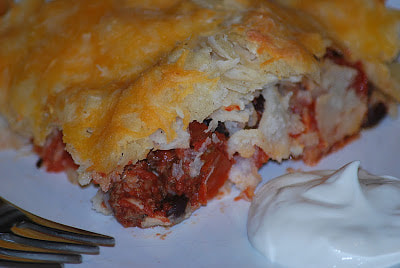
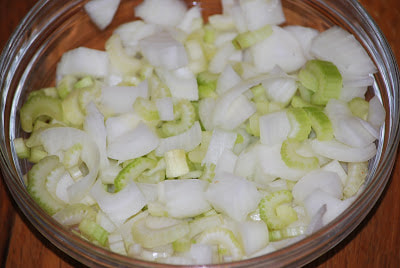
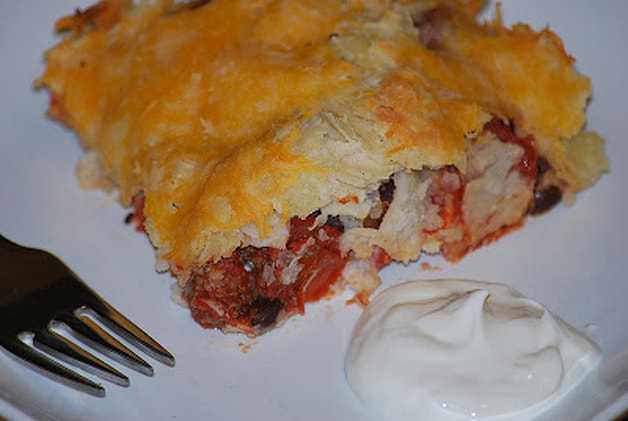
​This recipe for black bean casserole was passed down to me from my mom.  I think that the original recipe was intended to be made without meat.  It was my mom's idea to add some ground beef to the recipe to boost the protein content of the dish.  I have also made it with ground turkey and it's just as delicious.
Black Bean Casserole
½ cup chopped green pepper                12 – 6” tortillas
½ cup chopped green onion                   2 c. Monterey Jack cheese
28 ounces crushed tomatoes                 shredded lettuce
¼ cup salsa                                                 sour cream
2 teaspoons cumin                                    olives
15 ounces black beans, drained             tomato
1 pound ground beef                                2 cloves garlic
​Brown beef in skillet.  Drain and return to skillet.
Add onion, pepper, tomatoes, salsa, garlic and cumin.
Picture
Picture
Bring to a boil, reduce heat and simmer for 10 minutes.
​Add beans.
Picture
Picture
Spoon 1/3 of the sauce in bottom of a 9x13 baking dish.  (I divided my casserole up into 3 smaller containers.)
Layer ½ of the tortillas on top.
Picture
Picture
Sprinkle with cheese.
Bake 30 minutes at 350.
Picture
Picture
​You can serve this casserole with lettuce, sour cream, olives and tomatoes.  We were in a bit of a hurry last night so we ate it without the toppings.  
​I packed two of the casseroles up to take to my father in-law this afternoon.  These casseroles freeze really well so make an extra one to keep in your freezer.
Picture
Picture
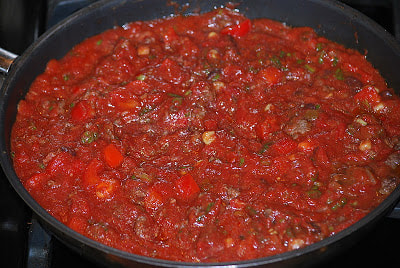
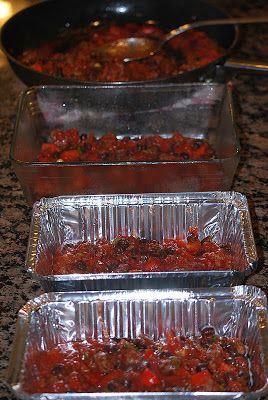
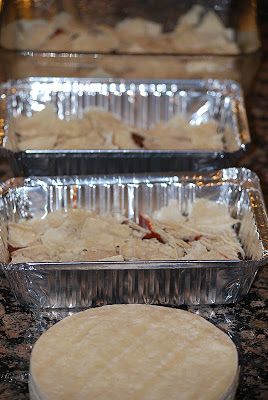
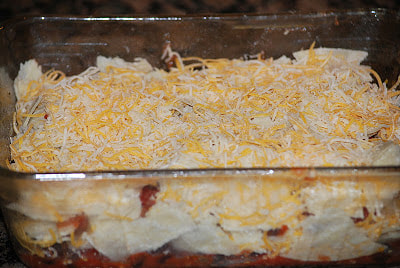
Recipe disclaimer - I rarely measure out exact portions when I'm cooking.  (I save the exact measuring for my baking.)  Sometimes I double or even triple the recipes.  I also use different containers than listed in the recipe quite often because we eat most of the food that is blogged and I portion it to fit the needs of my family.   For these reasons, my pictures may not always reflect the recipe exactly.   
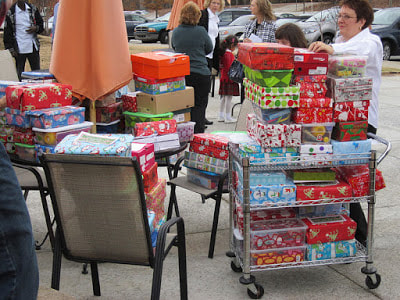
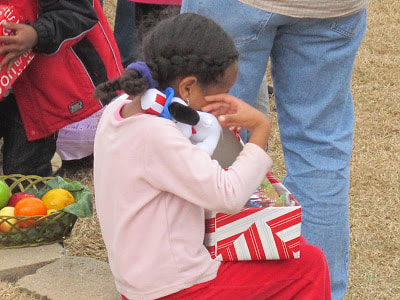
​Ciao!
Click here for a printable version of this recipe
0 Comments

Turkey and Dressing Casserole

11/28/2011

0 Comments

 
My family had the privilege of serving Thanksgiving dinner to some very well deserving families on Saturday at our church.   It was a humbling and rewarding experience all at the same time.  It made me realize just how often I take for granted the fact that my cupboards are nearly full.  I am blessed to be able to feed my children nutritious meals everyday and I don't often pause to think about the families who struggle to provide food.  It was such a blessing for us to be able to provide these families with a meal and a few surprises.

We even dressed the part of servers.  (Could these two look any more alike?) 
Picture
​The setting was elegant - black tablecloths, fresh flowers, candles, the works.  There were baskets of fresh fruit in the center of each table.  The guests were invited to eat the fruit and then the baskets were refilled and sent home with the guests. 

Once everyone arrived, we served up a meal fit for a king.  (or queen)  Turkey, stuffing, mashed potatoes, gravy, macaroni and cheese, green bean casserole, cranberries and rolls.  For dessert - pumpkin and pecan pie delighted the guests.  

After the meal, the families were invited outside where we filled their hands with all sorts of "goodies" to take home.   Each child that attended the feast was presented with a shoebox full of toys and gifts.
Picture
Picture
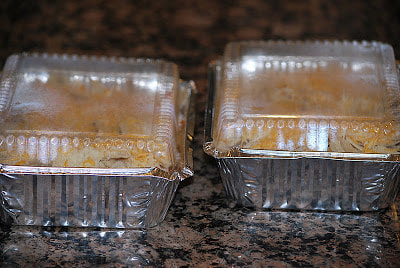
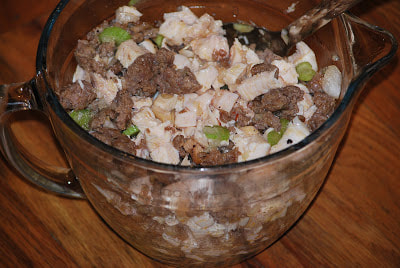
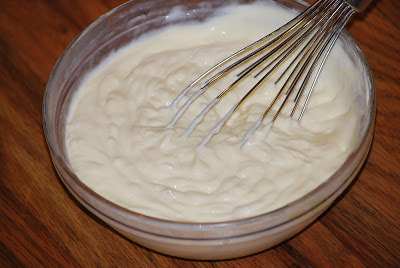
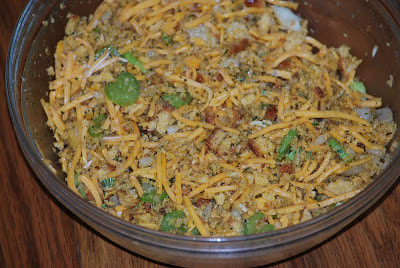
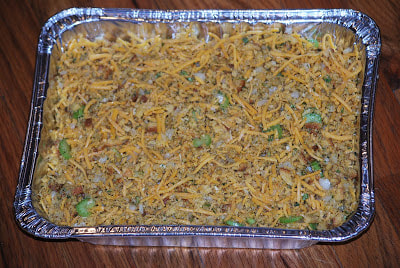
​My heart overflowed with joy as I stood watching these children receive their gifts with such happiness.  It was a good reminder for me, especially this time of year, to stop and reflect on the blessings that I have been given.  The things in my life that I cherish the most are not expensive or extravagant and yet I often take those things for granted.  I think that I was far more blessed by the gift giving than the children who received the presents.  

I'm sure that you are not up for preparing another Thanksgiving meal already but Saturday's dinner had me thinking about turkey and dressing again.  I wanted to share this recipe with you just in case you have leftover turkey and you're getting tired of turkey sandwiches.   
Picture
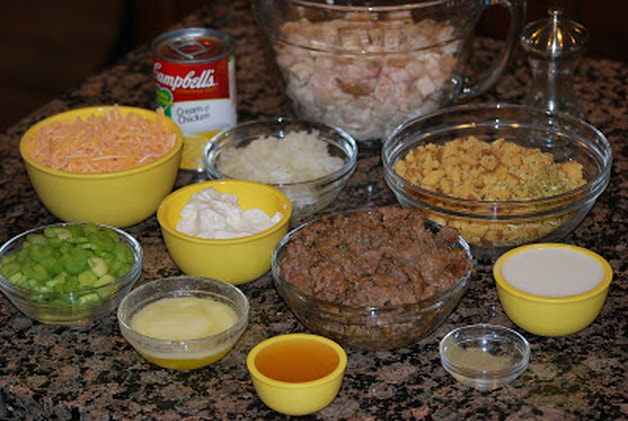
Turkey and Dressing Casserole
4 cups cubed cooked turkey                      8 ounces sour cream
8 ounces sausage, cooked                           ½ cup milk
½ cup onion, chopped                                 1 pkg cornbread stuffing mix
½ cup  celery, chopped                               ¼ cup butter, melted
½ teaspoon pepper                                       ¼ cup chicken broth
1 can cream of chicken soup                    1 ½ cup cheddar cheese
½ teaspoon sage
Combine turkey, sausage, sage, ¼ c. onion, ¼ c. celery and ¼ t. pepper.
Combine soup, sour cream and milk.
Picture
Picture
Stir into turkey mixture.  Spoon into a 9x13 dish.
Combine stuffing mix, butter, chicken broth, onion, celery and pepper.  Stir in cheese.
Picture
Picture
Spoon over turkey mixture.
Bake 45-50 minutes at 350 or cover it and refrigerate it up to 24 hours.  
Picture
Picture
​If you prefer to freeze it, wrap the casserole in foil, label it and write cooking instruction on the foil.  Put it in the freezer for up to 3 months.
Picture
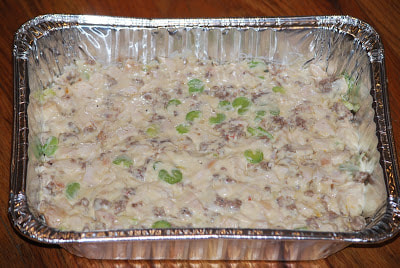
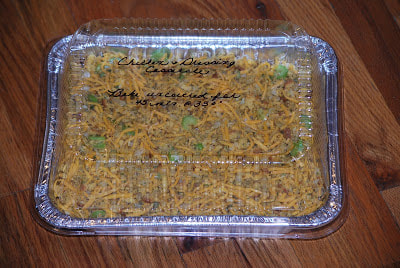
I don't have a picture of the cooked casserole because I put it together and put it in my freezer.  I think my family is getting a little tired of turkey and the beauty of casseroles is that they're freezable.   My family is not super thrilled about most casseroles but they have always liked this one.  It's easy to put together and it's delicious.  

Ciao!
Click here for a printable version of this recipe
0 Comments

Buckeyes

11/27/2011

0 Comments

 
Picture
In honor of my home state of Ohio AND the big Ohio State vs. Michigan football game this weekend - I made a batch of buckeyes.  

My husband and my son are huge Ohio State fans.  They love watching the Buckeyes play football and the biggest game of the year is Ohio State vs. Michigan.  That game was yesterday afternoon and we couldn't be  home to watch it so my husband recorded the game and watched it later that afternoon. 
Picture
Picture
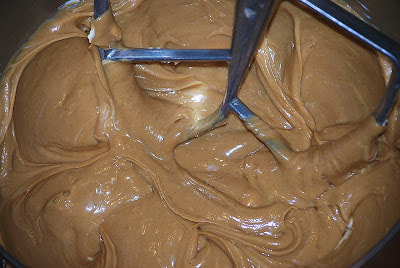
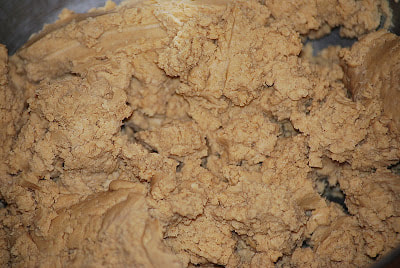
Buckeyes
2 cups peanut butter                    1 pound powdered sugar
½ cup butter                                    melting chocolate
1 teaspoon vanilla
​Cream butter, peanut butter and vanilla.
Stir in powdered sugar.  
Picture
Picture
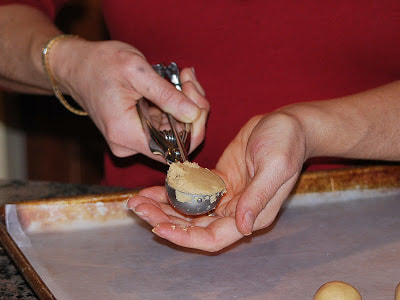
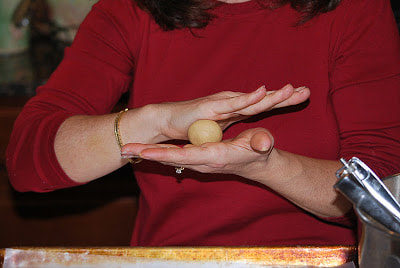
​Form into 1” balls.   I used a cookie scoop to portion out the dough evenly.  ​Place the balls on a waxed paper lined baking sheet.
Picture
Picture
Picture
Picture
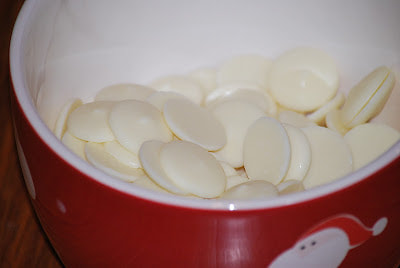
Place the peanut butter balls in the freezer for at least 30 minutes.
Melt chocolate in microwave.
Picture
Picture
​Insert a toothpick into the peanut butter ball and dip into melted chocolate.  ​Wipe excess chocolate from the bottom of the buckeye and place back on waxed paper lined baking sheet. 
Picture
Picture
Picture
Picture
I like to smooth out the little toothpick hole in the top with my finger when I am finished dipping.
Picture
Picture
If you've never had a buckeye - you need to try one.  They are fun to make and really delicious.  (Better than a Reeses peanut butter cup if you ask me.)  Even though the outcome of the game was not favorable for Ohio State, snacking on these tasty treats made the loss a little easier to swallow.  
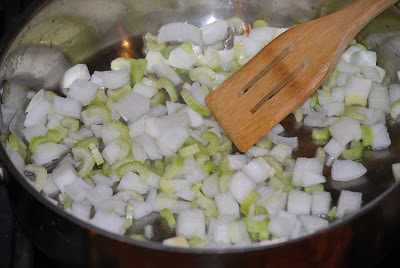
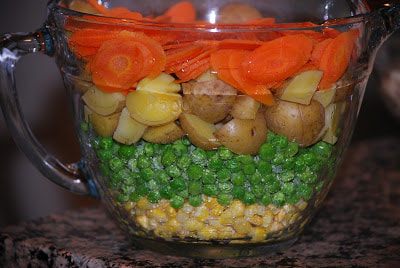
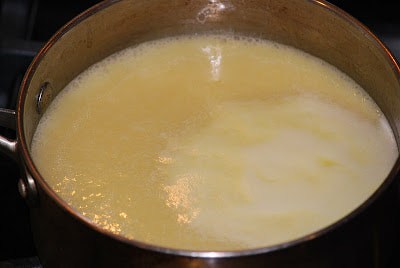
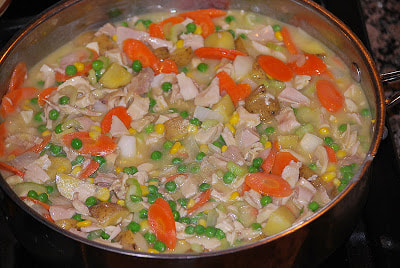
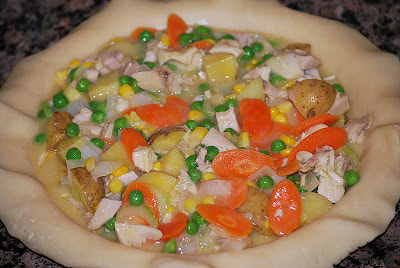
Ciao!
Click here for a printable version of this recipe
0 Comments

Turkey Pot Pie

11/26/2011

0 Comments

 
Picture
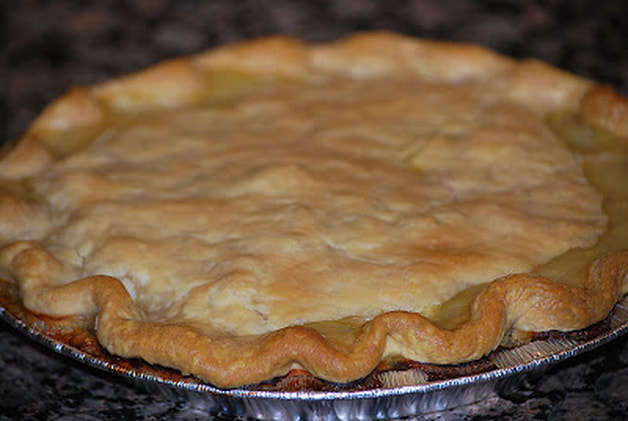
If you're wondering what to do with your leftover turkey check out my recipe for turkey pot pie.  
Picture
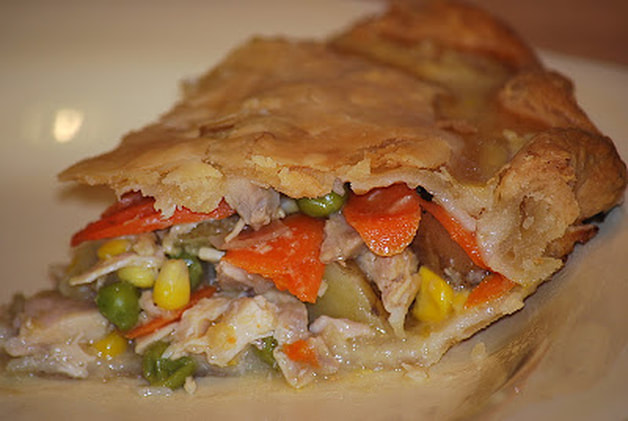
Turkey Pot Pie 
1 pie crust                                        2 ½ cups cooked carrots
2 medium onions                           2 potatoes, cooked and cubed
4 celery stalks, diced                     4 cups cooked turkey
2 Tablespoon olive oil                    5 Tablespoons butter
1 ½ cups corn                                   5 Tablespoons flour
2 cups peas                                       4 ½ cups chicken broth
Saute onion and celery in oil.
Picture
Picture
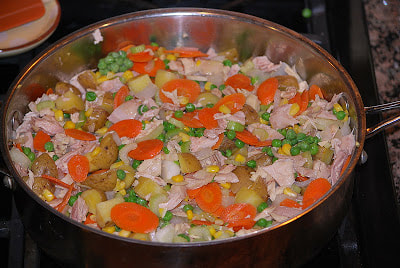
​Add remaining vegetables and chicken.
Picture
Picture
Melt butter in saucepan.  Whisk in flour and cook 2 minutes.
Slowly stir in broth.  Boil.  Reduce heat and simmer 5-7 minutes.  Season with salt and pepper.
Picture
Picture
Pour sauce over vegetables.
Pour into a pie shell.  (I had some really small pie pans so I made 3 pot pies out of 1 filling recipe.)
Picture
Picture
Top with remaining crust.  Bake 40 minutes at 400.
​You can wrap these pot pies (unbaked) in foil and freeze them for up to 3 months.  When you are ready to eat, defrost them for 24 hours in the refrigerator and then bake.
Picture
Picture
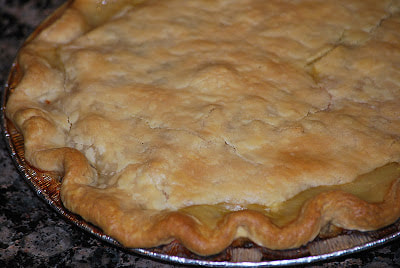
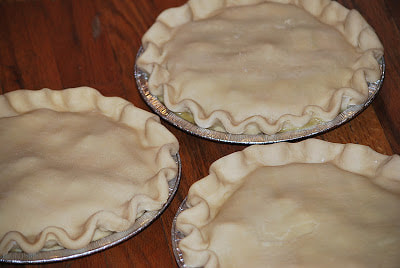
Allow the pie to cool 10 minutes before slicing.  
Picture
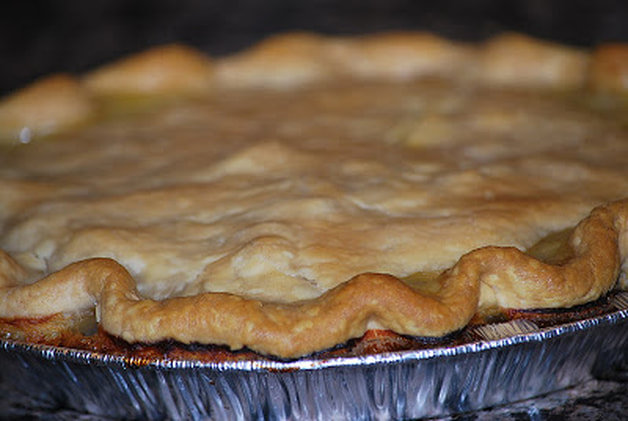
These pot pies also make a great gifts.  I took one of my pies to my mother in law who is going in for surgery next week.  Turkey pot pies are perfect for anyone who needs a warm and healthy dinner without all the prep work.  

​Ciao!
Click here for a printable version of this recipe
0 Comments
<<Previous
    Like my page on facebook.

    Follow me on Instagram


    Follow Me on Pinterest

    Categories

    All
    30 Minute Meals
    30-minute-meals
    Big Green Egg Recipes
    Chocolate
    Christmas Classics
    Comfort Foods
    Crock Pot Meals
    Fall Favorites
    Healthy-choices
    My Favorites
    Springtime Treats
    St Patrick's Day Goodies
    Summertime Specialties
    Thanksgiving Classics
    Valentine Treats
    Vegetarian
    Winter Warm Ups

    Archives

    August 2022
    July 2022
    June 2022
    May 2022
    April 2022
    March 2022
    February 2022
    January 2022
    December 2021
    November 2021
    October 2021
    September 2021
    August 2021
    July 2021
    June 2021
    May 2021
    April 2021
    March 2021
    February 2021
    January 2021
    December 2020
    November 2020
    October 2020
    September 2020
    August 2020
    July 2020
    June 2020
    May 2020
    April 2020
    March 2020
    February 2020
    January 2020
    December 2019
    November 2019
    October 2019
    September 2019
    August 2019
    July 2019
    June 2019
    May 2019
    April 2019
    March 2019
    February 2019
    January 2019
    December 2018
    November 2018
    October 2018
    September 2018
    August 2018
    July 2018
    June 2018
    May 2018
    April 2018
    March 2018
    February 2018
    January 2018
    December 2017
    November 2017
    October 2017
    September 2017
    August 2017
    July 2017
    June 2017
    May 2017
    April 2017
    March 2017
    February 2017
    January 2017
    December 2016
    November 2016
    October 2016
    September 2016
    August 2016
    July 2016
    June 2016
    May 2016
    April 2016
    March 2016
    February 2016
    January 2016
    December 2015
    November 2015
    October 2015
    September 2015
    August 2015
    July 2015
    June 2015
    May 2015
    April 2015
    March 2015
    February 2015
    January 2015
    December 2014
    November 2014
    October 2014
    September 2014
    August 2014
    July 2014
    June 2014
    May 2014
    April 2014
    March 2014
    February 2014
    January 2014
    December 2013
    November 2013
    October 2013
    September 2013
    August 2013
    July 2013
    June 2013
    May 2013
    April 2013
    March 2013
    February 2013
    January 2013
    December 2012
    November 2012
    October 2012
    September 2012
    August 2012
    July 2012
    June 2012
    May 2012
    April 2012
    March 2012
    February 2012
    January 2012
    December 2011
    November 2011
    October 2011
    September 2011
    August 2011
    July 2011

  • Recipe Index
  • Blog Posts
  • My Story
  • Connect