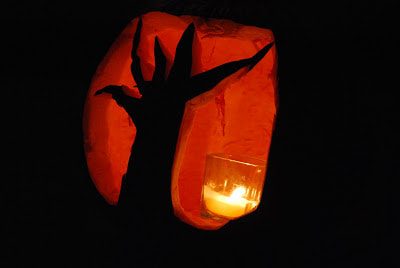
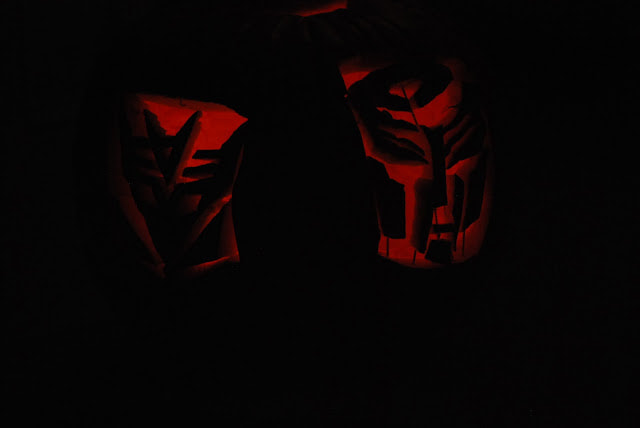
 We spent several hours designing and carving pumpkins on Sunday evening and they turned out fantastic. This is what they looked like...
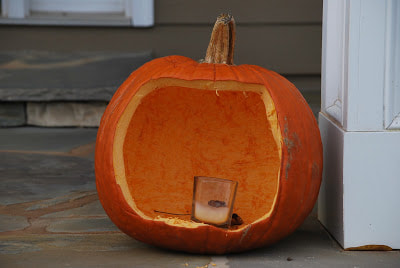
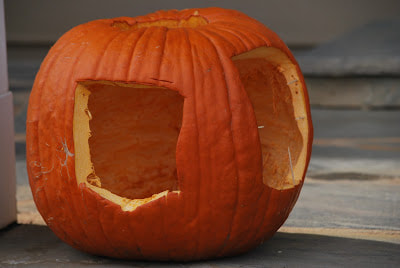
Monday afternoon when I walked outside to water the plants, this is what I found...
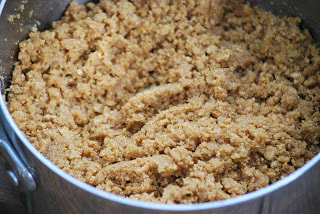
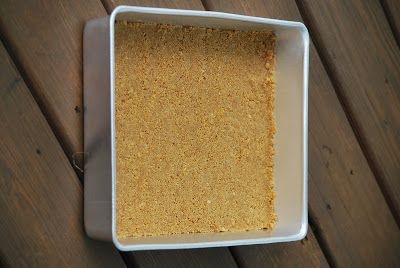
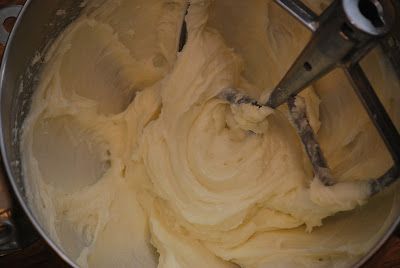
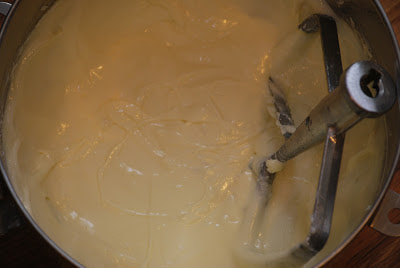
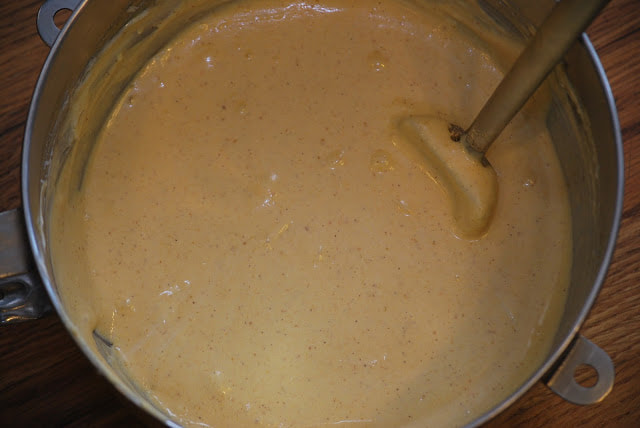
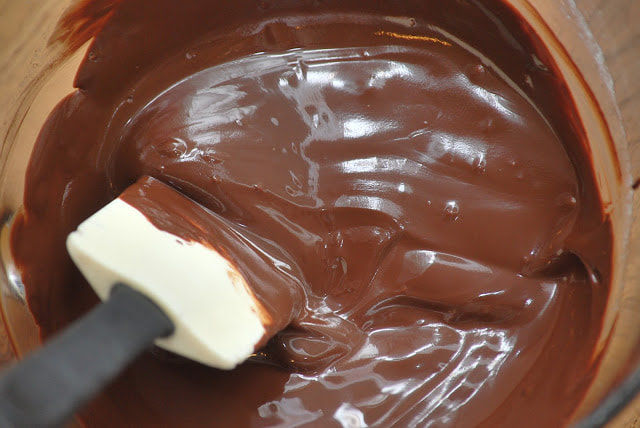
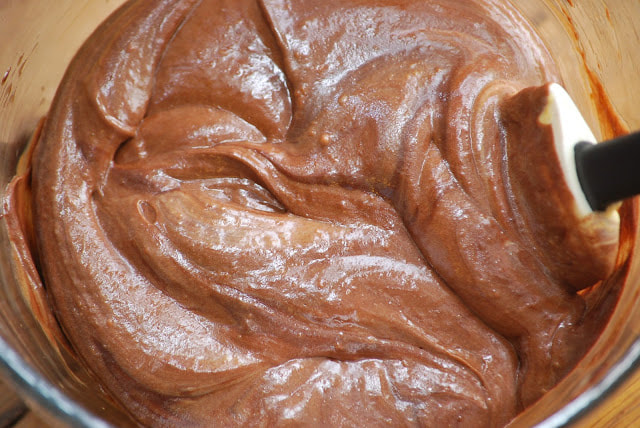
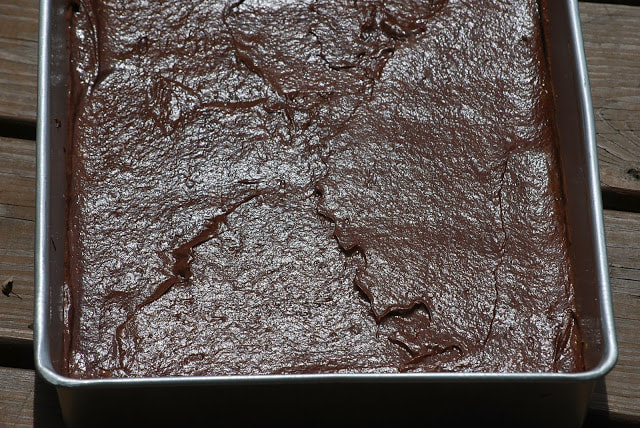
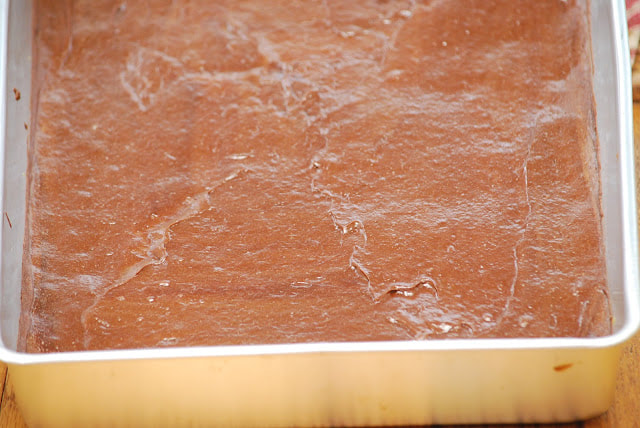
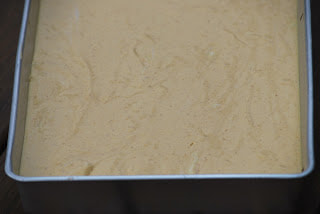
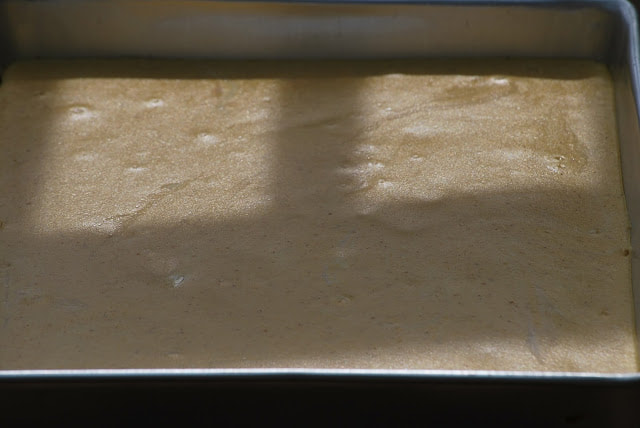
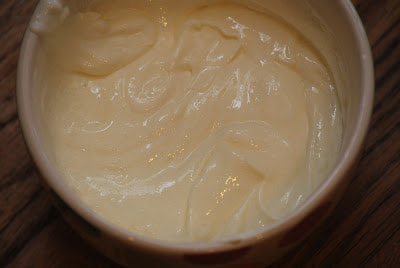
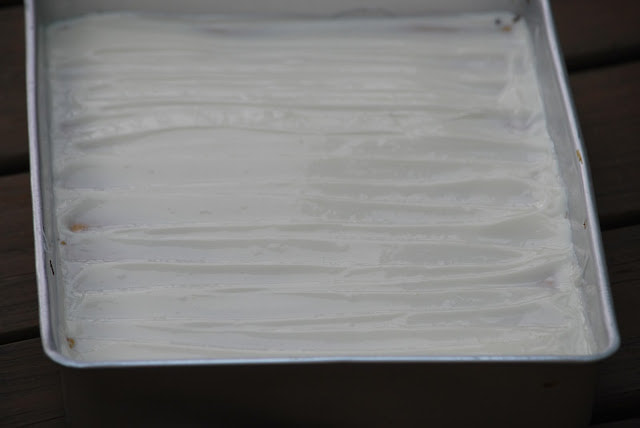
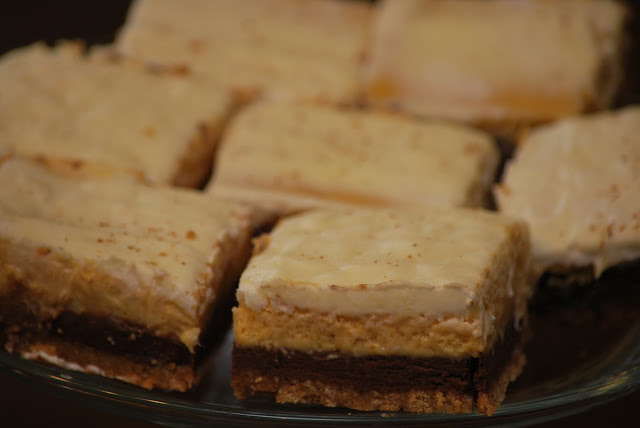
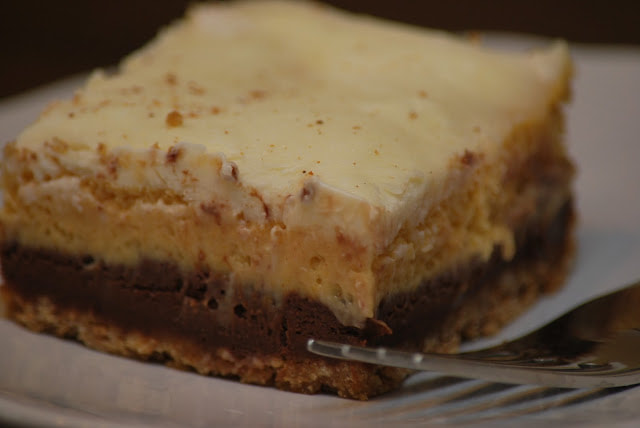
We are hosting a small dinner for some of our neighbors tonight before trick or treating. On the menu is chili, salad, bread and of course, treats! One of the desserts for this evening will be Pumpkin Chocolate Cheesecake Bars. I made these a few weeks ago and put them in the freezer so all I have to do is pull them out and put them on a platter tonight. This is a recipe that I have been using for a long time and I think that is was originally a Martha Stewart recipe. 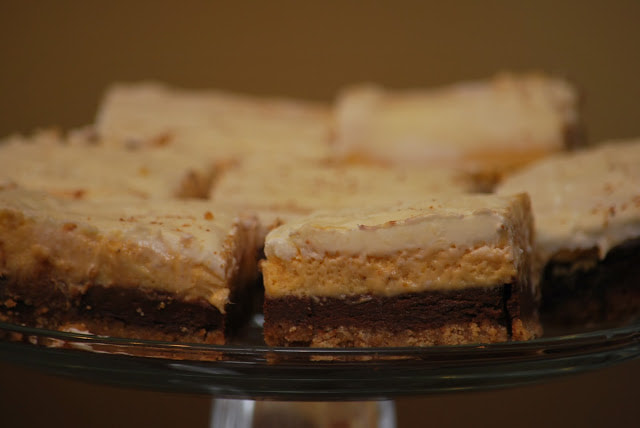 Pumpkin Chocolate Cheesecake Bars Crust Filling 2 ½ cups graham cracker crumbs 16 ounces cream cheese ½ cup sugar 3 eggs 2/3 cup butter, melted 1 cup pumpkin ½ t. pumpkin pie spice Topping ½ teaspoon vanilla 1 ¼ cups sour cream ¼ teaspoon salt ¼ cup sugar 6 ounces chocolate grated nutmeg 2 Tablespoons butter 1 3/4 cups sugar Combine crust ingredients and press into a greased 9x13 pan.
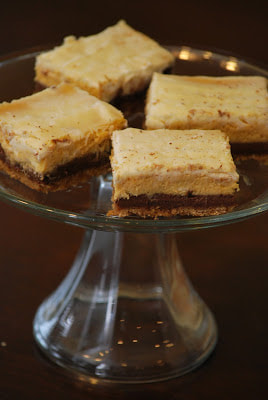
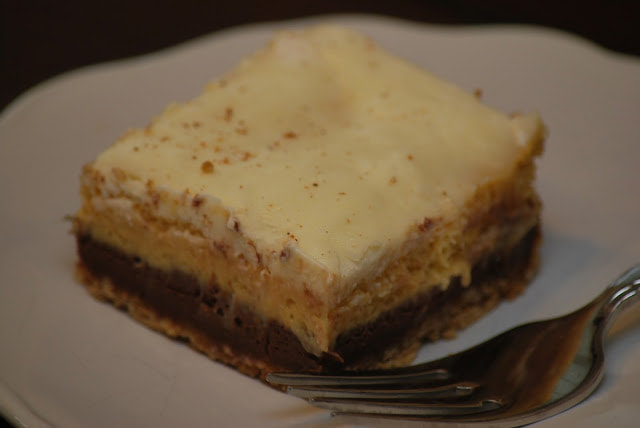
Slice into 24 squares. 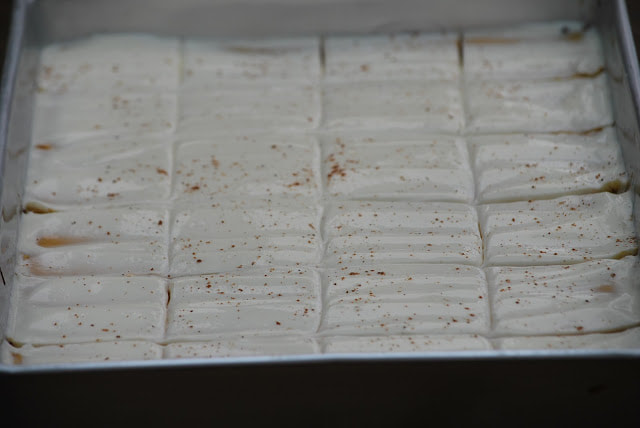 I'm getting double mileage out of these pumpkin chocolate cheesecake bars. Half are for tonight's neighborhood get together and the other half I am going to keep in my freezer until Thanksgiving.
Be safe out there tonight and enjoy your Halloween.
Ciao!
0 Comments
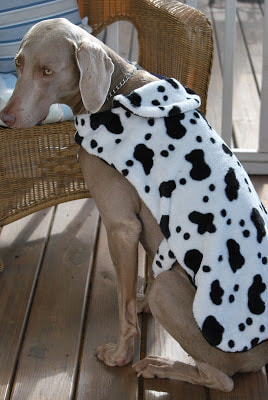
 With Halloween only 1 day away, my house is buzzing with excitement. Even Mia has been getting into the spirit of Halloween by wearing her costume around the house. I made her 2 costumes last week - a cow costume for Halloween and a hooded red jacket for Christmas. (Yes, I think I have too much time on my hands.)
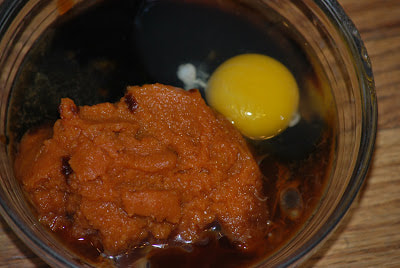
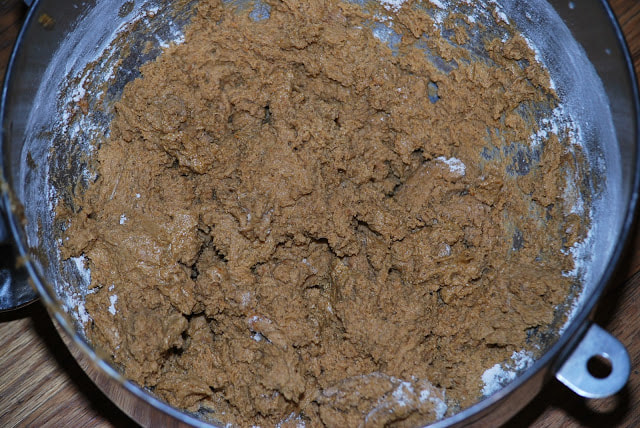
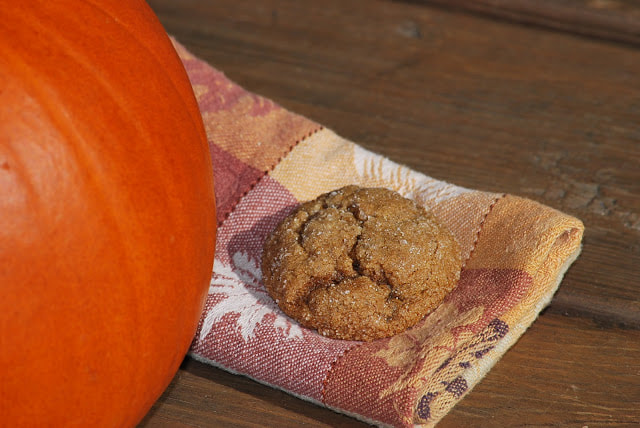
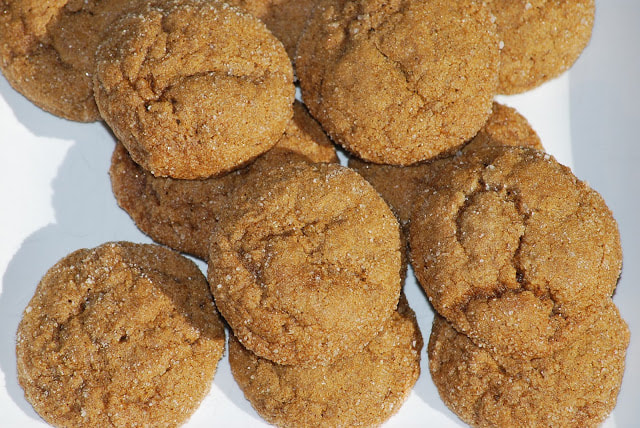
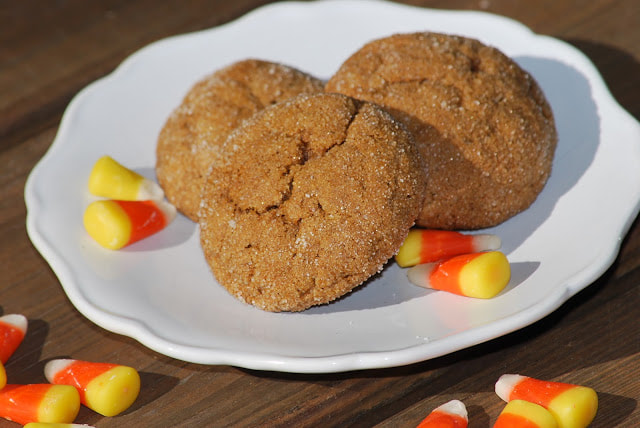
Don't be surprised if those picture end up on our Christmas card. This is what happens when my kids get too old for me to make their Halloween costumes anymore. Believe it or not, Mia LOVES her costumes and she wears them as much as I will let her. (Which I realize is not normal dog behavior.) Tomorrow, some of the neighbors are coming over for a chili dinner before the trick or treating begins so I've been busy making the "treats" for our little dinner. I found this recipe for Pumpkin Gingersnaps on Twopeasandtheirpod.com. (I don't know why I didn't think of the idea of combining these two Fall flavors into one delicious cookie.) 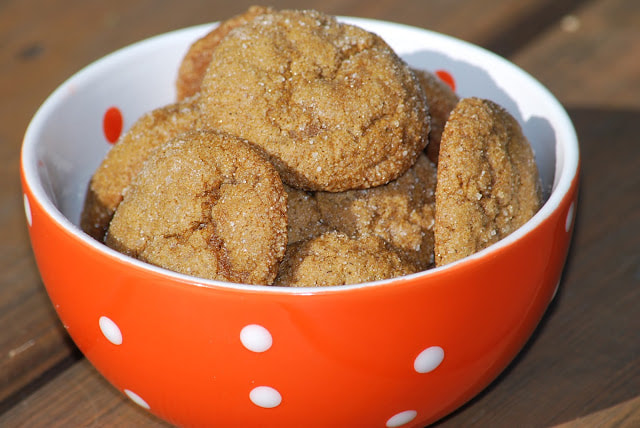 Pumpkin Gingersnap Cookies ½ cup of butter, at room temperature 1 cup granulated sugar, plus more for rolling the cookies ½ cup of pure pumpkin (I used Libby's canned pumpkin) ¼ cup of molasses 1 large egg 1 teaspoon vanilla extract 2 ⅓ cups all-purpose flour 2 teaspoons baking soda 2 teaspoons cinnamon 1 1/2 teaspoons ground ginger 1 teaspoon ground cloves 1/2 teaspoon salt
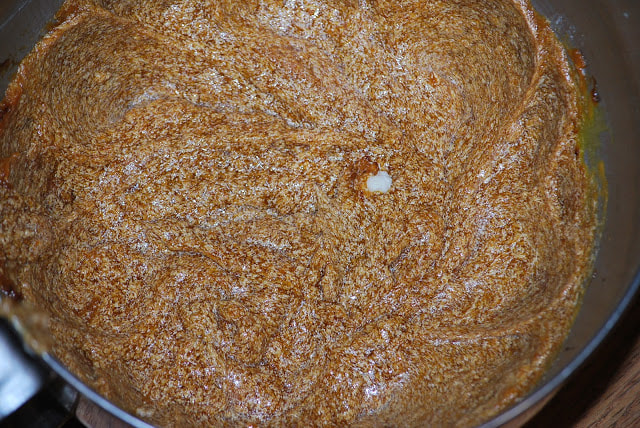
Add the pumpkin, molasses, egg, and vanilla extract, mix until well combined.
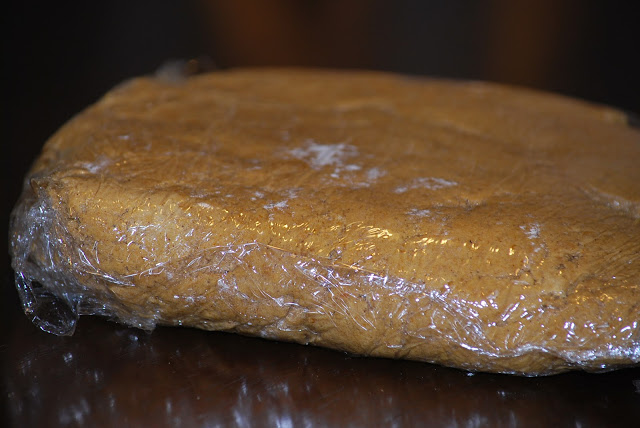
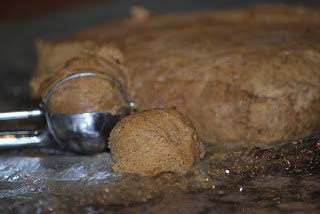
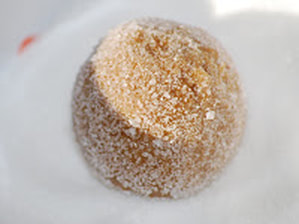
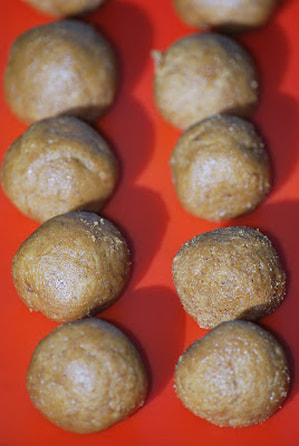
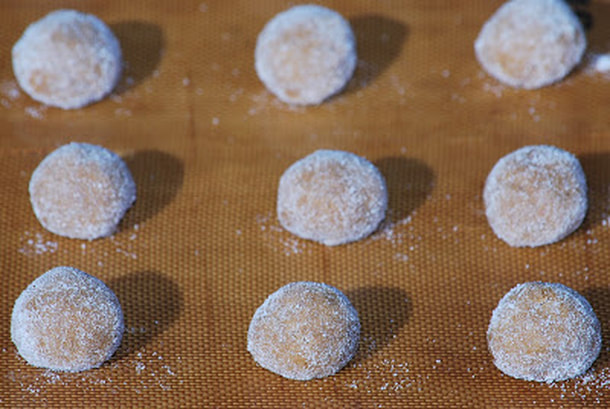
Place sugar in a small bowl. Roll tablespoon-sized balls of dough in sugar until well coated and place on prepared baking sheet, about 2 inches apart.
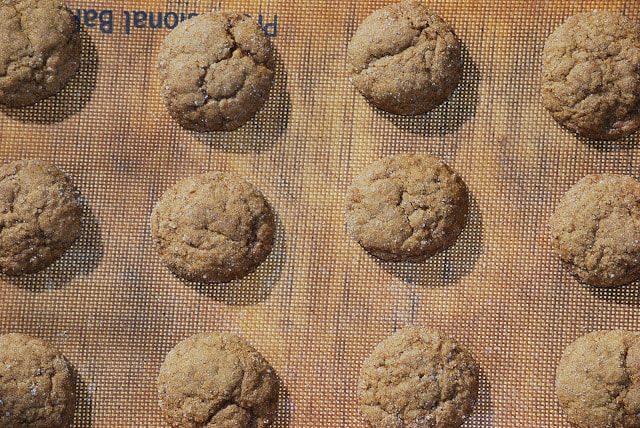
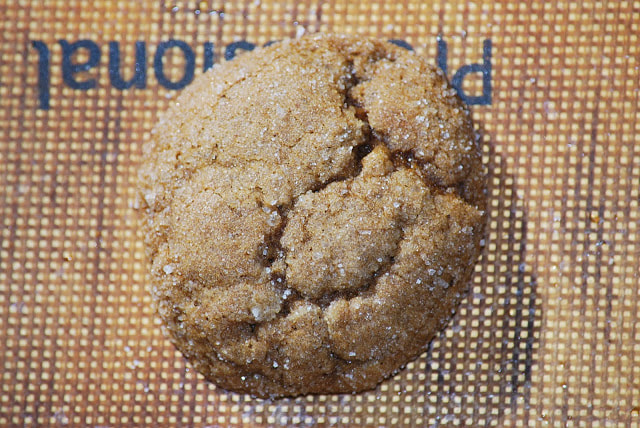
 Bake for 10–12 minutes, or until cookies look cracked and set at the edges. The cookies will still be soft. Let the cookies cool on the baking sheet for a 2-3 minutes after removing them from the oven, then transfer to a wire rack to cool completely.
 Ciao!
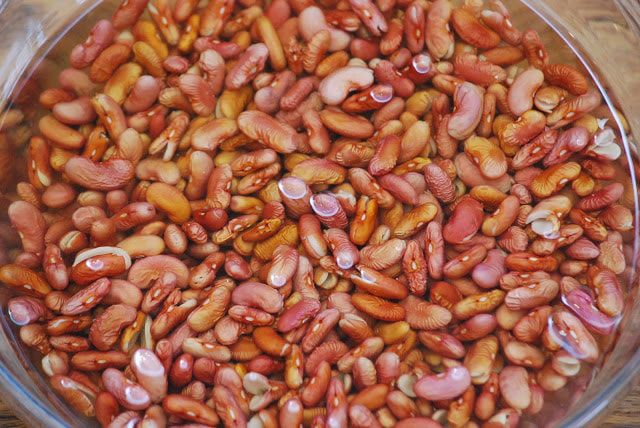
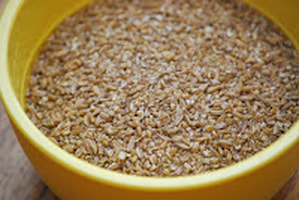
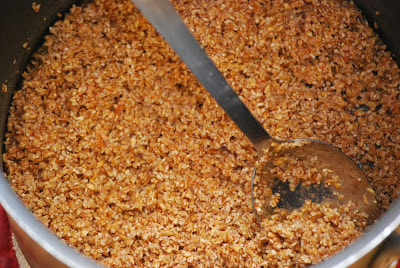
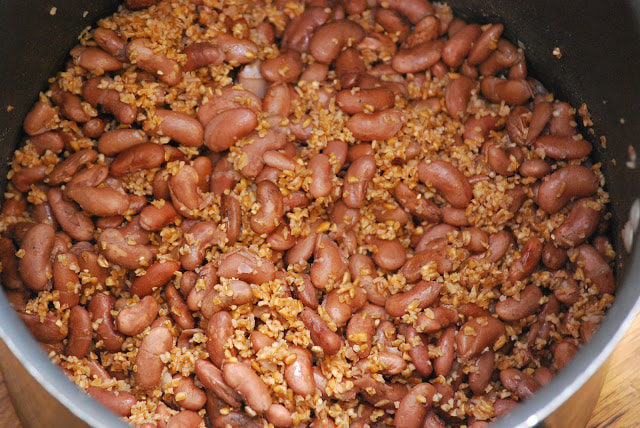
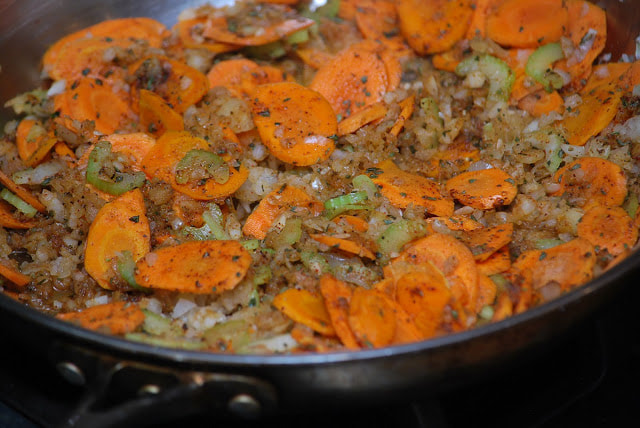
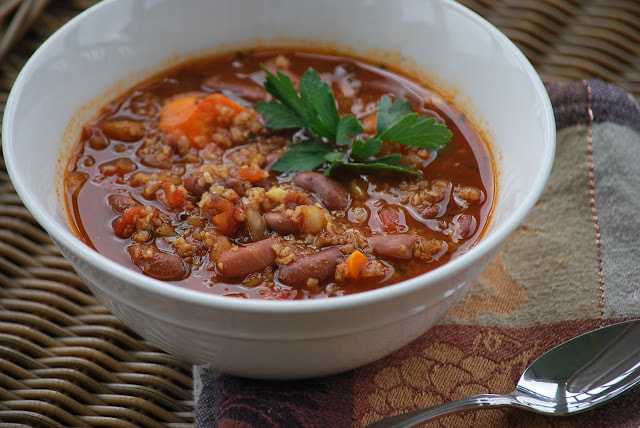 Why is it that most people associate the words vegetarian and vegan with tasteless and boring? I am not a vegetarian but I'm always trying to incorporate more vegetables into the meals that I prepare for my family. I like to look through vegetarian cookbooks for new and interesting ways to prepare vegetables. What I've learned is that vegetarian food can be just as rich and hearty and satisfying and it's meaty counterparts. I made this vegetarian chili for a group of friends (only 1 of which is actually a vegetarian) and they all really seemed to enjoy it. (That is proof enough for me that you don't have to be a vegetarian to eat vegetarian chili.) It really is delicious and even the most avid of meat eaters will enjoy this hearty chili.  Vegetarian Chili 2 ½ cups dry kidney beans 2 teaspoons basil 1 cup tomato juice 2 teaspoons chili powder 1 cup uncooked bulgur wheat 1 ½ teaspoon salt 2 Tablespoons oil black and red pepper 2 cups chopped onion 1 bell pepper, chopped 6-8 cloves garlic, minced 14 ounce can tomatoes 3 carrots, diced 3 Tablespoons tomato paste 1 celery stalk, diced fresh parsley, minced 2 teaspoons cumin 1 box vegetable stock
Add bulgur wheat to tomato juice. Cover and let stand for 15 minutes.
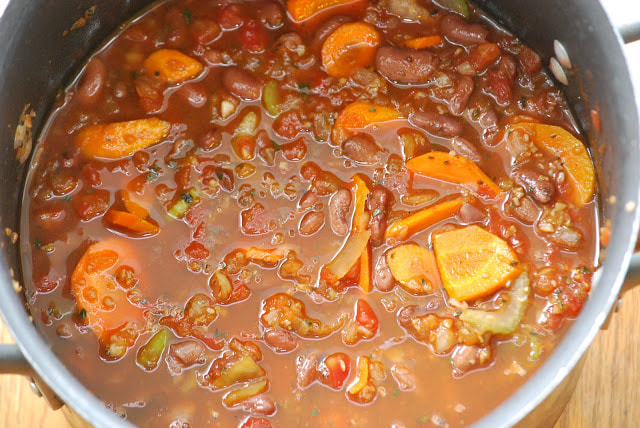
Add remaining garlic. Simmer 15 minutes longer. Serve with parsley and cheese. (Omit the cheese if you're going for a vegan chili.) 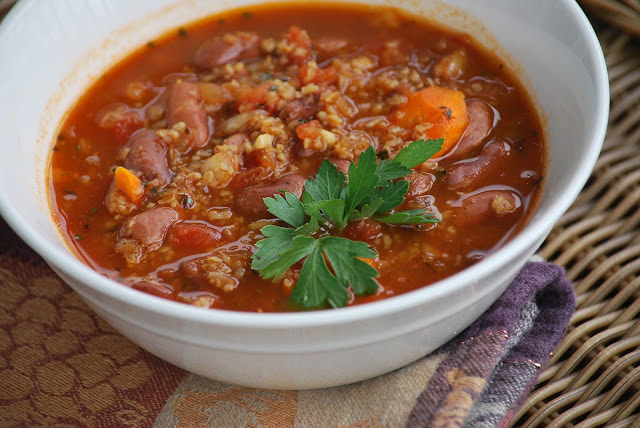 I usually make a batch of this chili to keep in my freezer over the winter. It makes a great lunch when I'm in a hurry and a great dinner on cold nights.
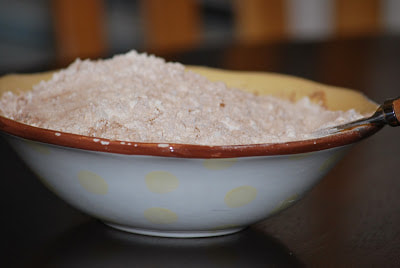
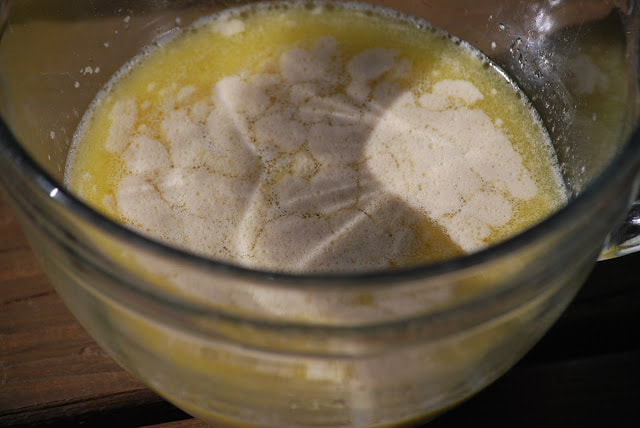
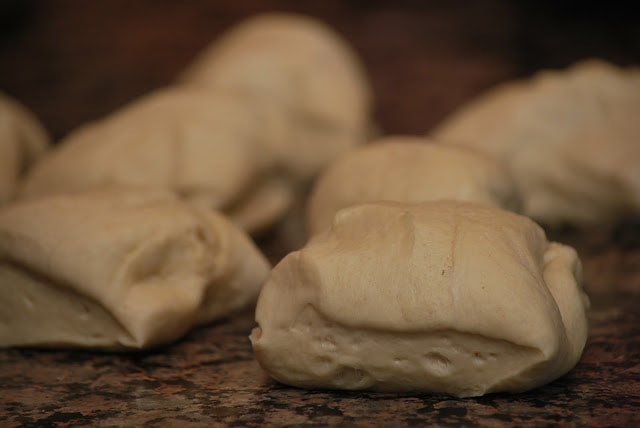
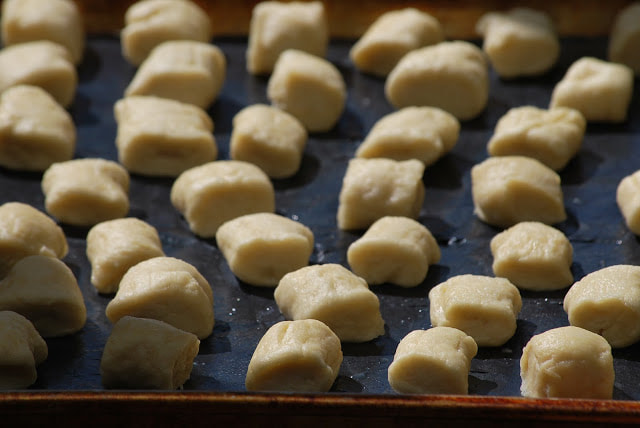
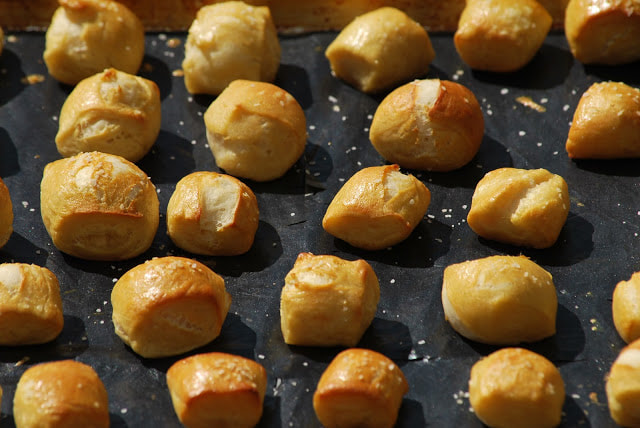
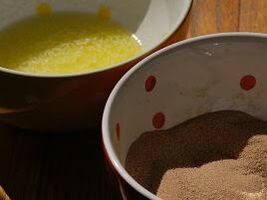
Ciao! 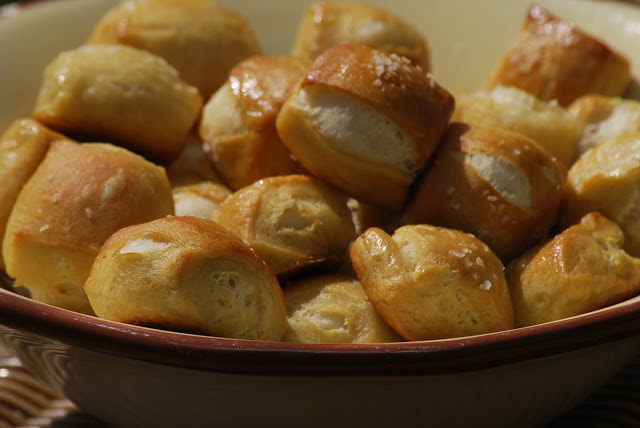 We went through the process of wisdom teeth extraction over Fall break with my son. I will spare him the humiliation of posting a picture of him with his puffy cheeks but take my word for it - he was really cute and resembled a chipmunk. His recovery went remarkably well - he was eating grilled cheese sandwiches 8 hours after surgery! The days following surgery were agonizing for him - not because of the pain but because I forced him to REST! Torture - For both of us. I can hardly blame him for not wanting to rest though - I think we are very much alike in that respect. (Just ask my family who had to tolerate me for 2 weeks of bed rest!) The day after surgery, my son really wanted to get out of the house and it was all I could do to keep him home for the day. I finally suggested that we make pretzel bites together to give him something to do to keep him busy. My daughter, who is never one to be left out, got in on the cooking as well. The three of us whipped up (and ate) a batch of soft pretzel bites that afternoon. I adapted this recipe from Bobby Flay recipes for Soft Pretzels with Queso Poblano Sauce and Mustard Sauce. I turned the pretzels into bites and skipped the sauces. We decided to sprinkle half with sea salt and the other half we brushed with melted butter and sprinkled with cinnamon and sugar. YUM! 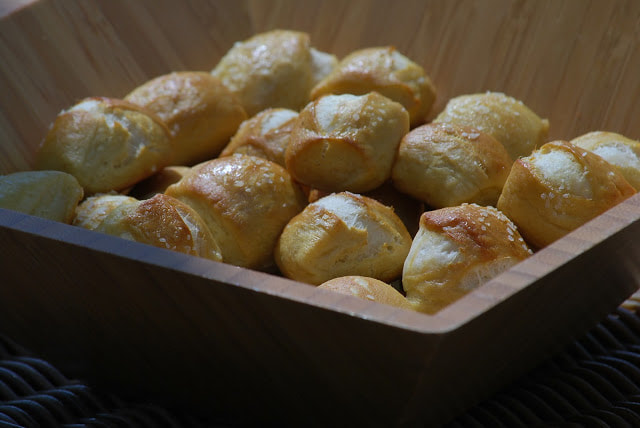 Soft Pretzel Bites 1 1/2 cups warm water 2 tablespoons light brown sugar 1 package active dry yeast 3 ounces unsalted butter, melted 2 1/2 teaspoons kosher salt 4 1/2 to 5 cups all-purpose flour Vegetable oil 3 quarts water 3/4 cup baking soda 2 whole eggs, beaten with 1 tablespoon cold water Coarse sea salt
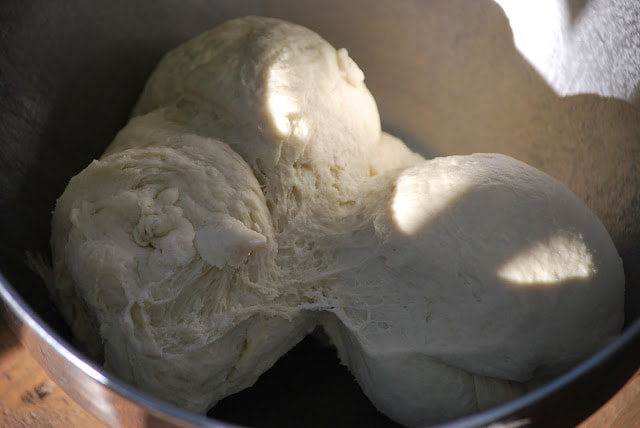
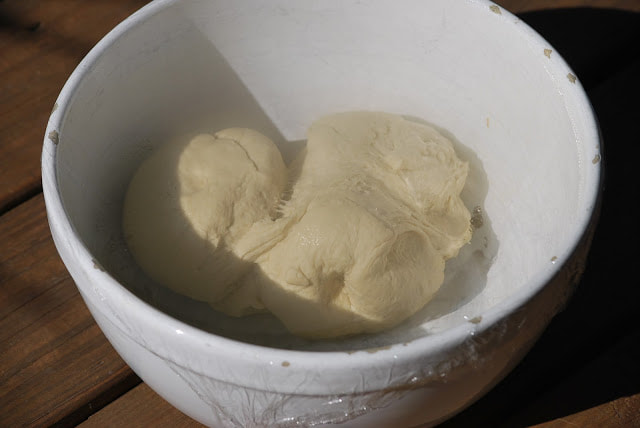
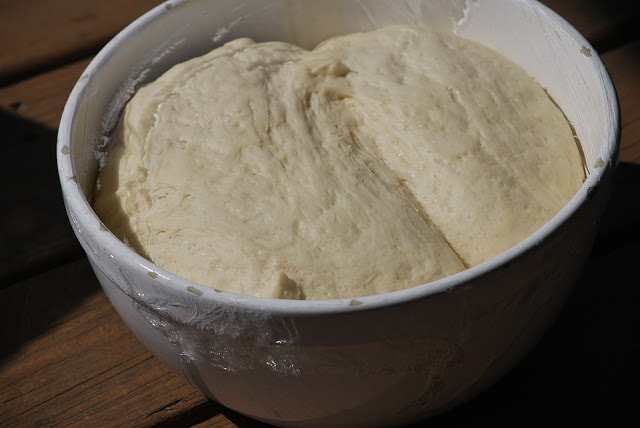
Oil a bowl with vegetable oil, add the dough and turn to coat with the oil. Cover with a clean towel or plastic wrap and place in a warm spot until the dough doubles in size, about 1 hour. (I put mine on top of the dryer to catch some residual heat.)
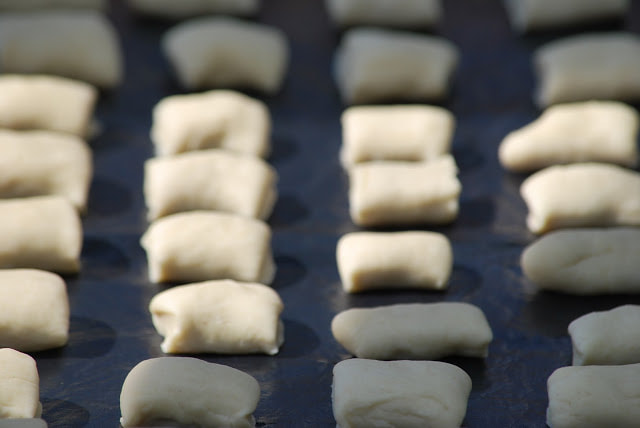
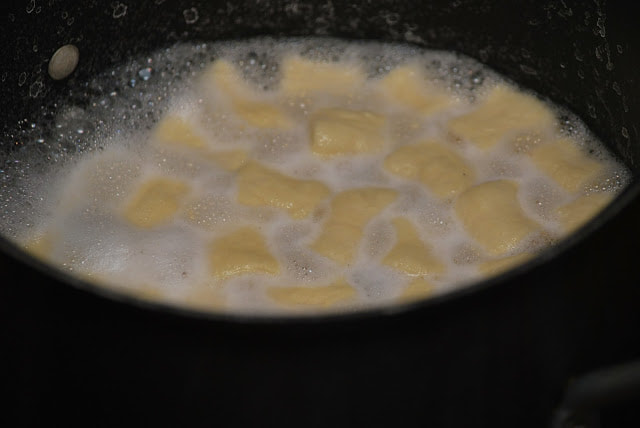
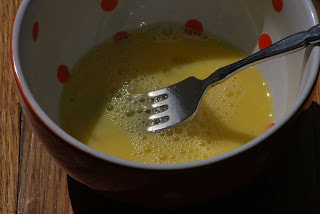
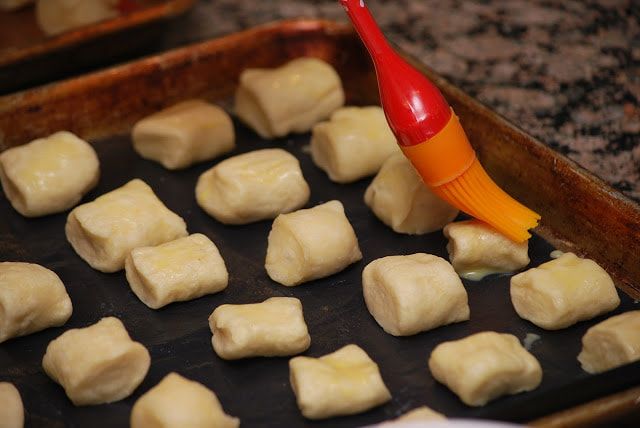
Brush the tops of half of the pretzels with the egg wash.
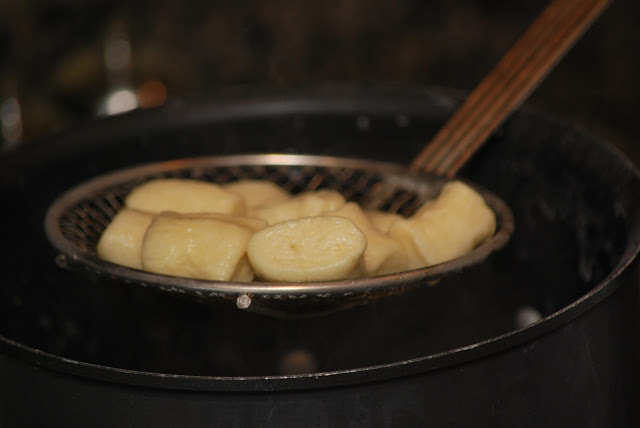
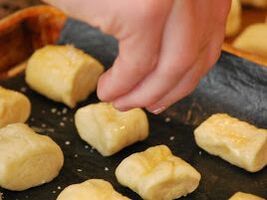
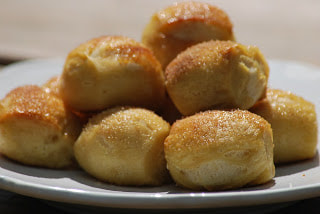
The bites that didn't get sprinkled with salt, get brushed with melted butter and sprinkled with cinnamon sugar.
There you have it, a sweet pretzel bite and a salty pretzel bite - it's up to you. 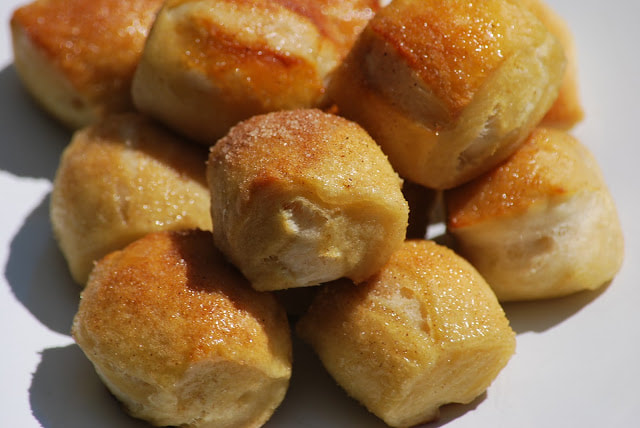 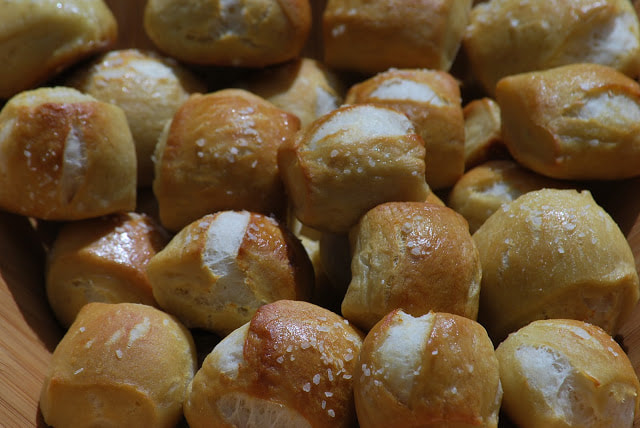 These pretzel bites were soft and chewy on the inside - perfect for those who had sensitive mouths. It was a great afternoon activity to keep the kids busy on Fall break too. If you've got an afternoon with your kids - why not spend it in the kitchen?
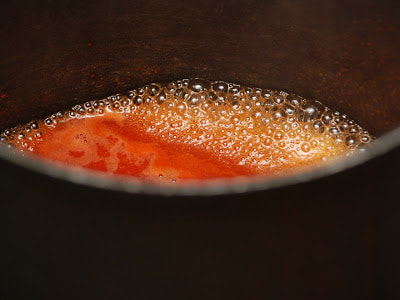
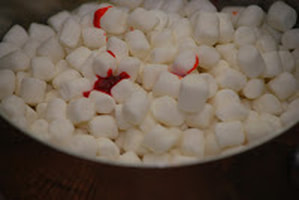
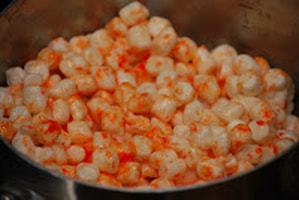
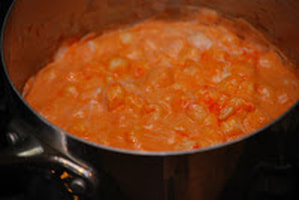
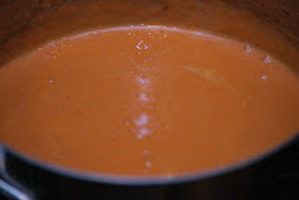
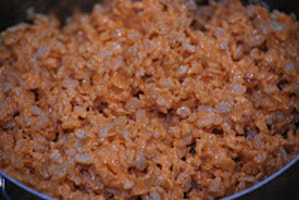
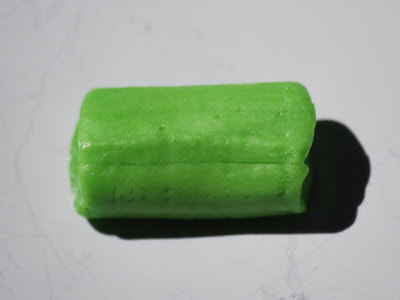
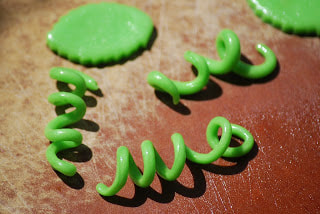
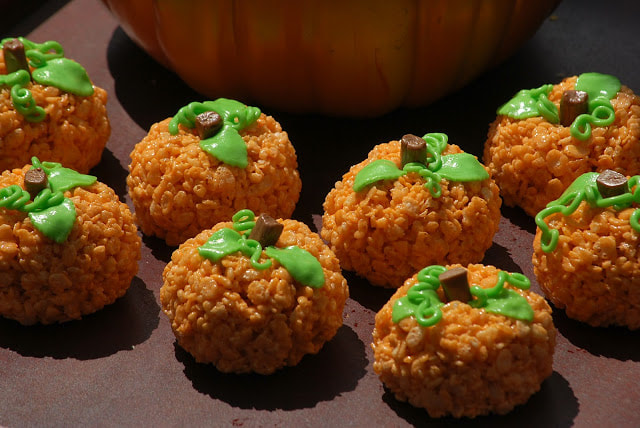
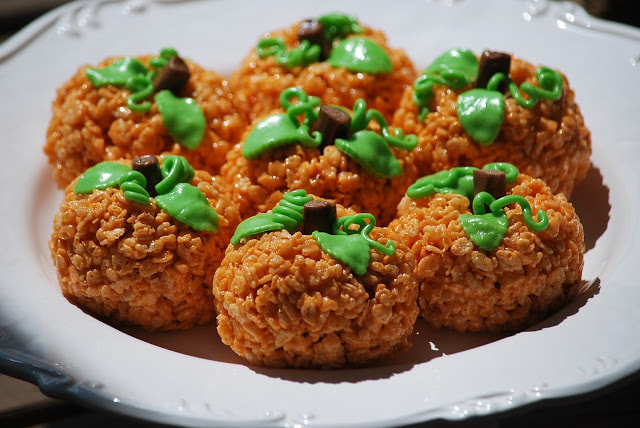
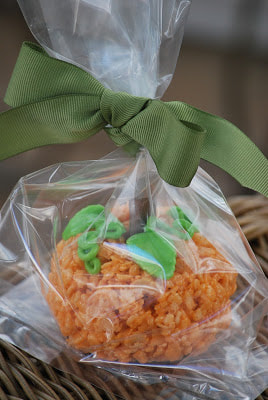
Ciao! 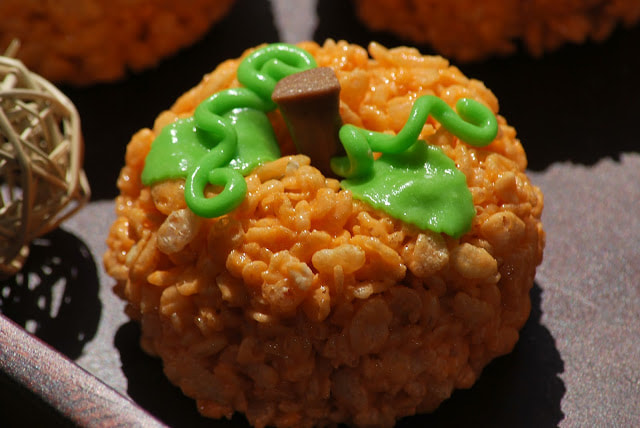 Rice Crispy Treats - yea! I've expressed my extreme love for Rice Crispy treats in previous blogs so there is no need to be redundant. Rice Crispy Treats are not only delicious, they're also one of my favorite mediums for dessert creativity. I've formed them into interesting shapes (remember the starfish?), cut them with cookie cutters and even colored them to fit the occasion. I don't consider myself and especially creative person. (My forte is borrowing someone else's great idea and running with it.) Pinterest is one of my new favorite places to get creative inspiration - to get my creative juices flowing. That is exactly where I found this idea for Rice Crispy Treat pumpkins. I saw a picture of a similar idea - I took the idea and made it my own. The result? Amy's Rice Crispy Treat pumpkins. These are my very simple instructions for these Fall inspired treats. 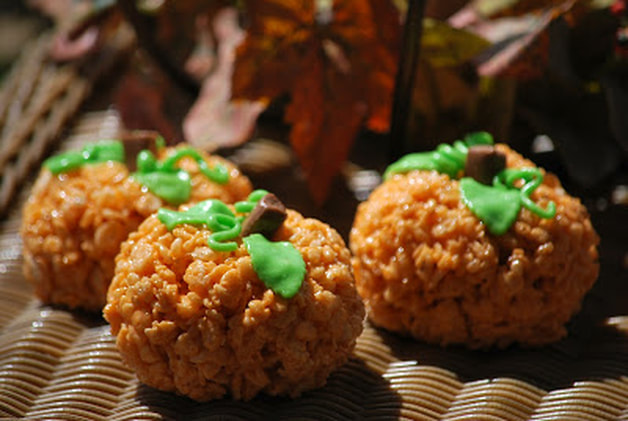 Rice Crispy Treats 1/4 cup butter 10 ounces mini marshmallows 5 cups Rice Crispy cereal Melt marshmallows, butter and orange food coloring in saucepan.
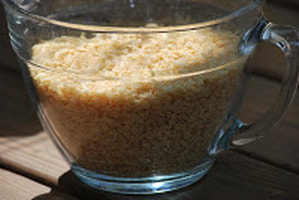
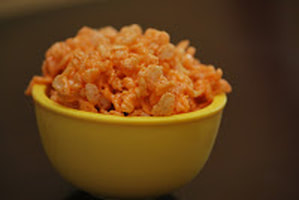
Stir in cereal.
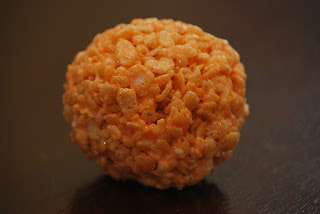
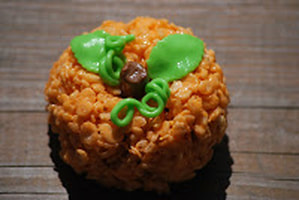
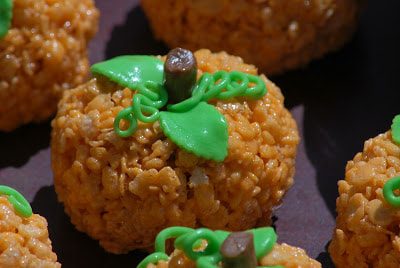
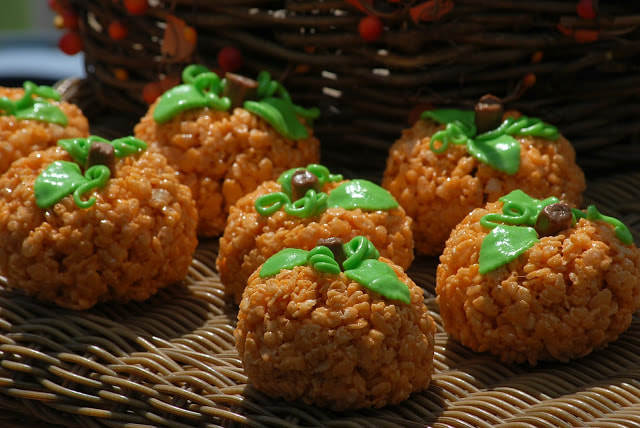
Shape into balls. (I used a small bowl to measure my cereal.)
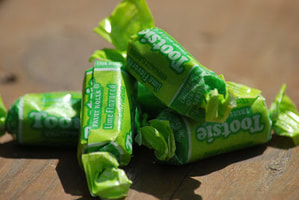
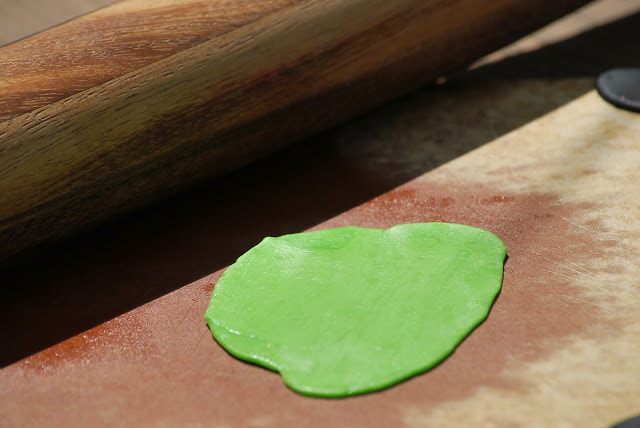
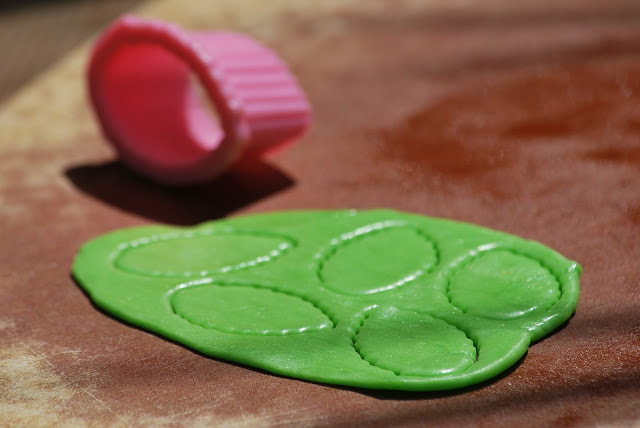
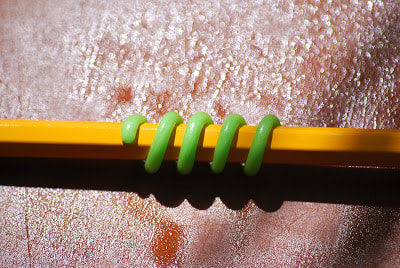
Press a tootsie roll into the center of each pumpkin to make a stem and then add leaves and tendrils. Place on waxed paper to cool. 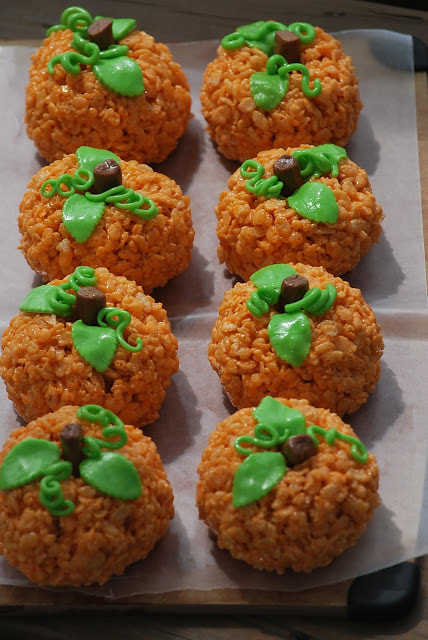
|