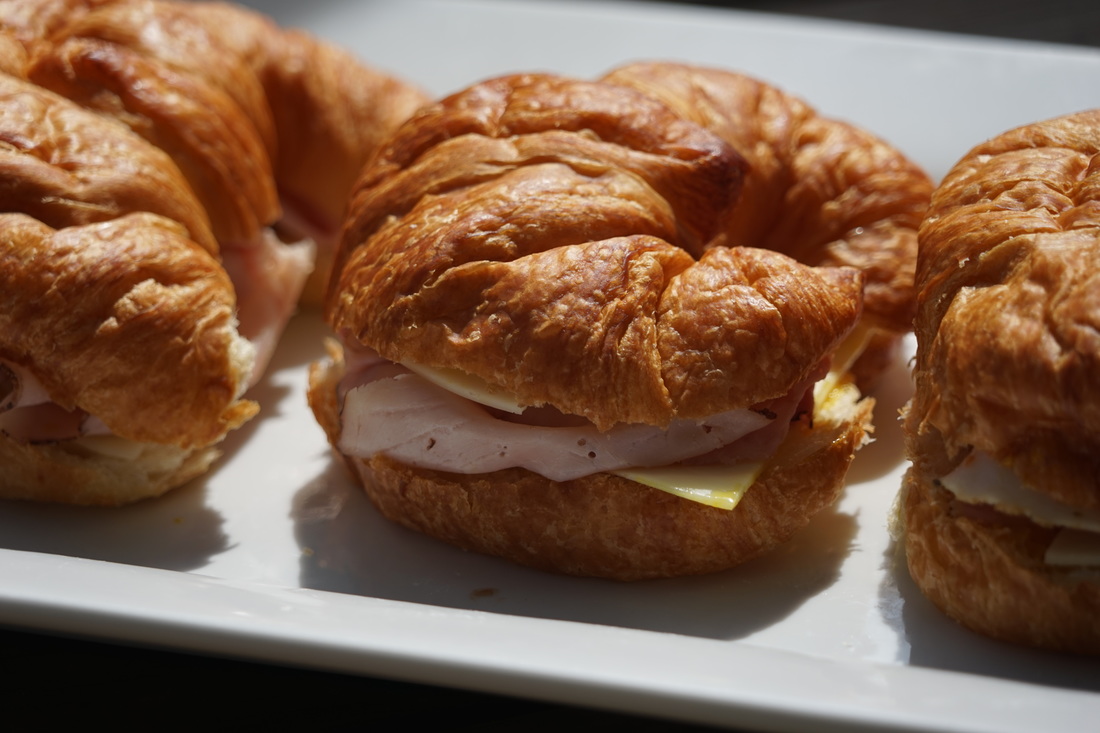
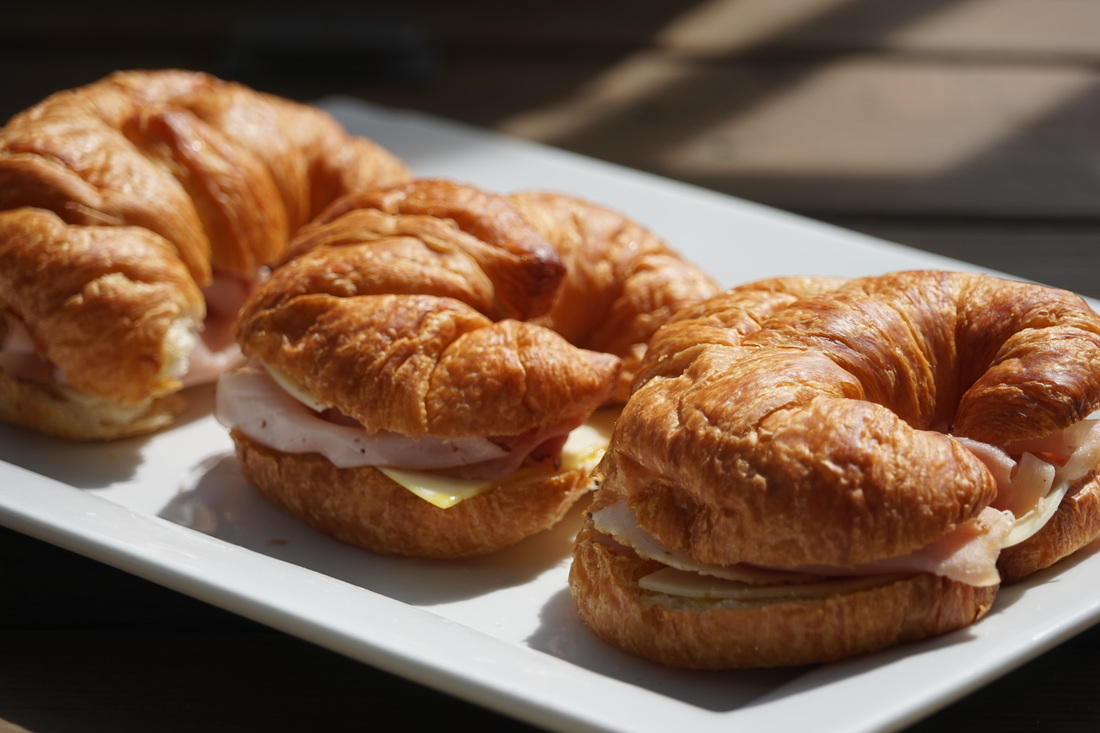
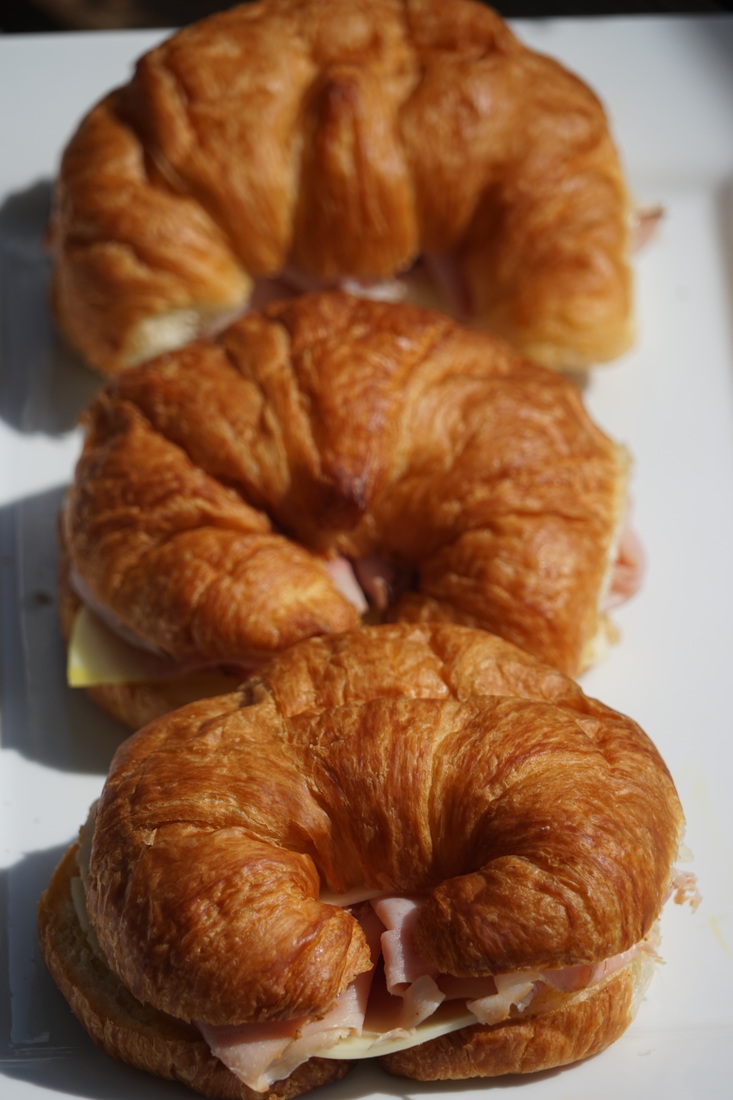
 It's soccer playoff season. Woohooo! I love watching my favorite high school team play their way to the championship. 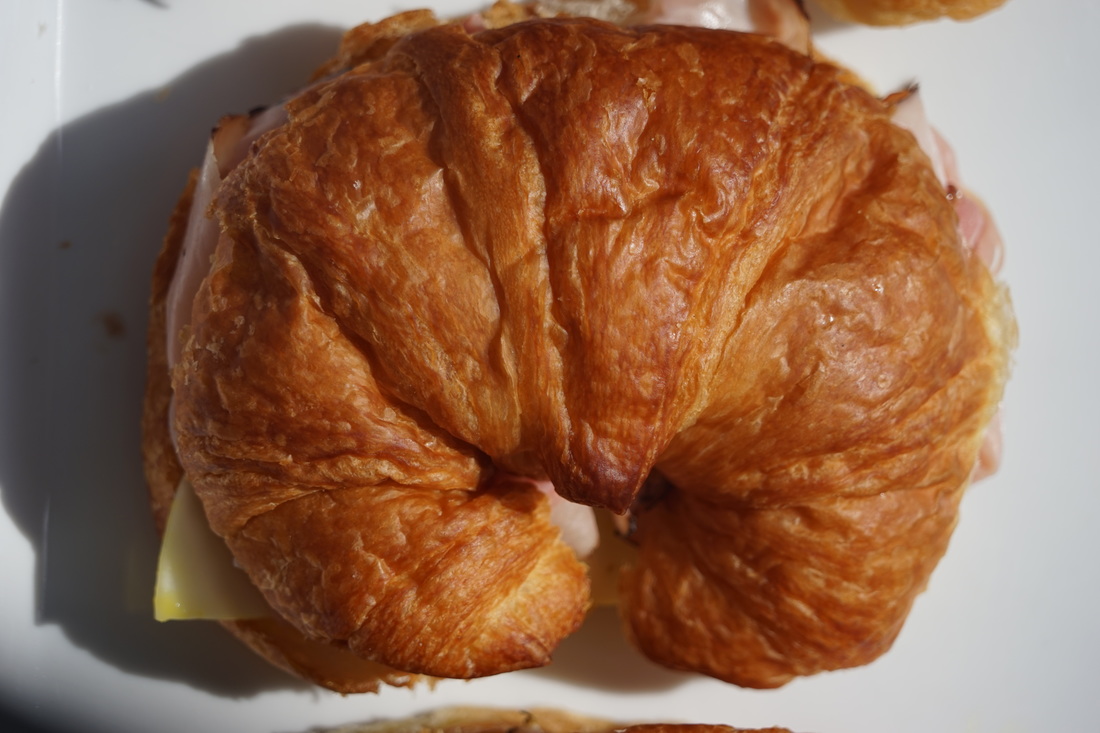 As much as I love playoff season - it does present some challenges like ... there is no way to predict where the next game will be played. We've been known to traverse the state of Georgia in previous years, in pursuit of soccer playoff games. (It's a good lesson in flexibility for this self-proclaimed over planner.)  Ham and cheese sandwiches are a family favorite so I gave mine a little boost and made them soccer playoff game worthy - and packable. Its amazing how you can boost the appeal of a simple ham and cheese sandwich by adding a flaky croissant and some honey mustard. Wrap these yummy sandwiches in a foil and take them to a game - soccer game food never tasted so good. 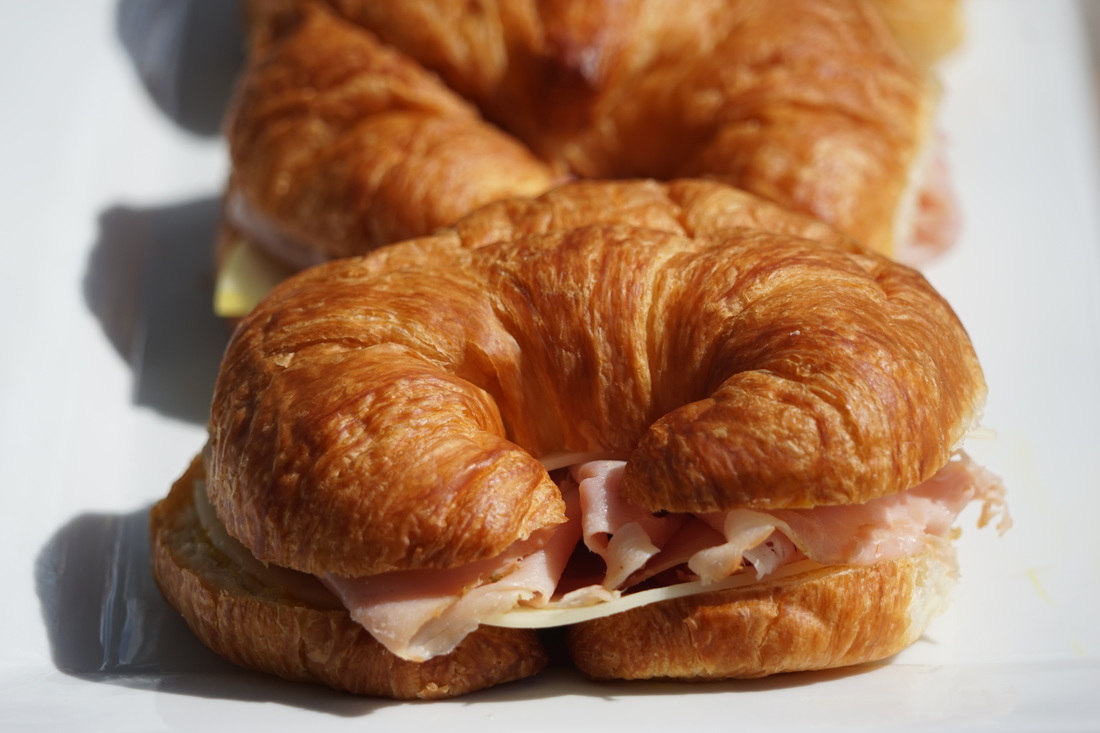 The ingredients for these sandwiches are simple - Croissants, Ham, Cheese and Honey Mustard. 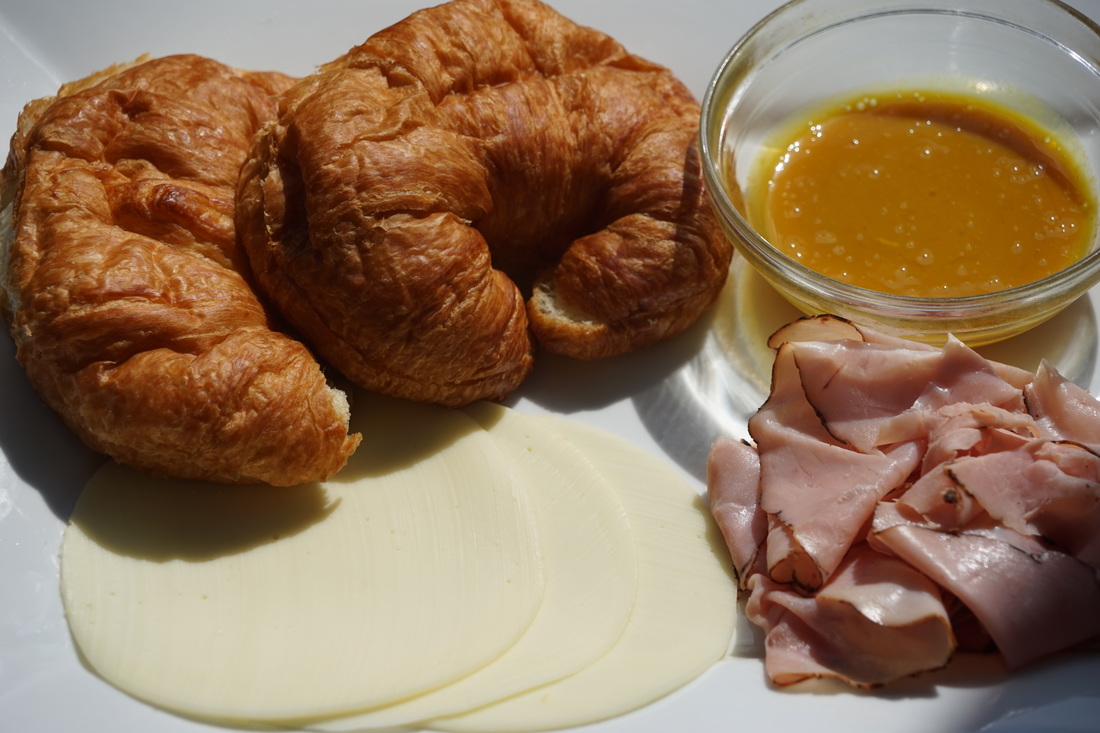 Cut croissants in half. Spread honey mustard on each half. 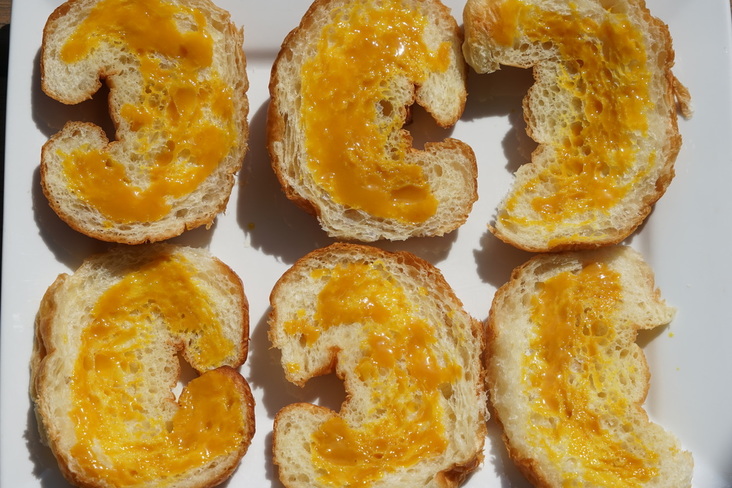 Add a slice of cheese to each half. 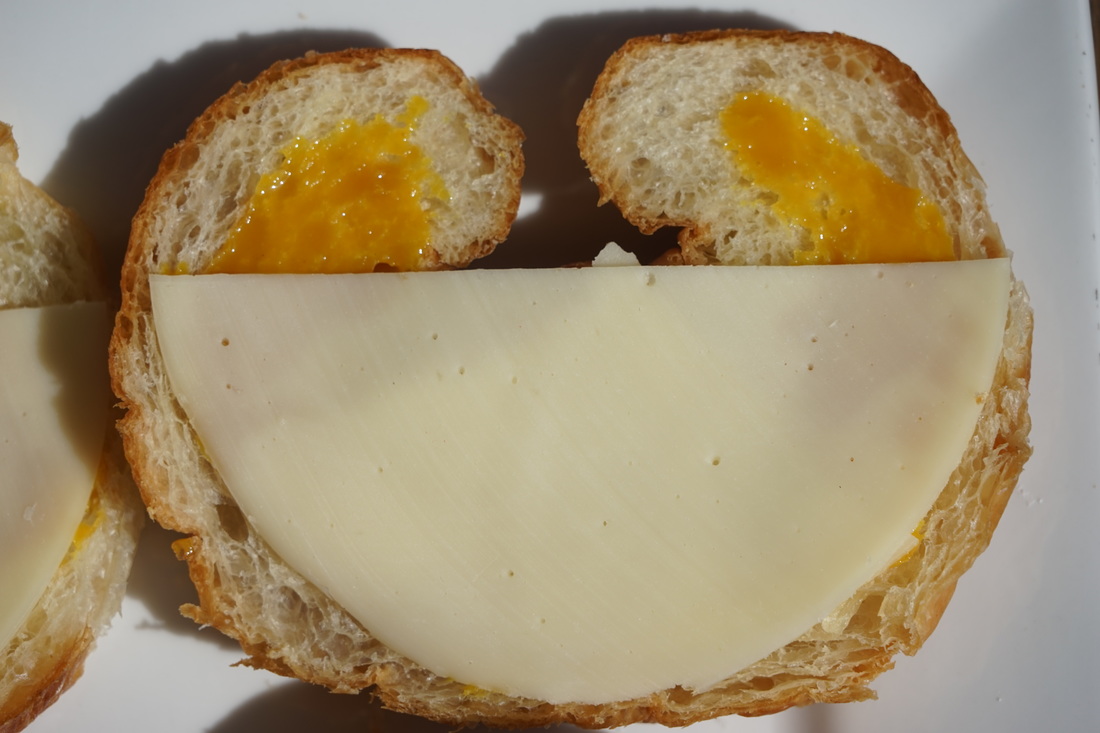 Place ham on top of cheese. 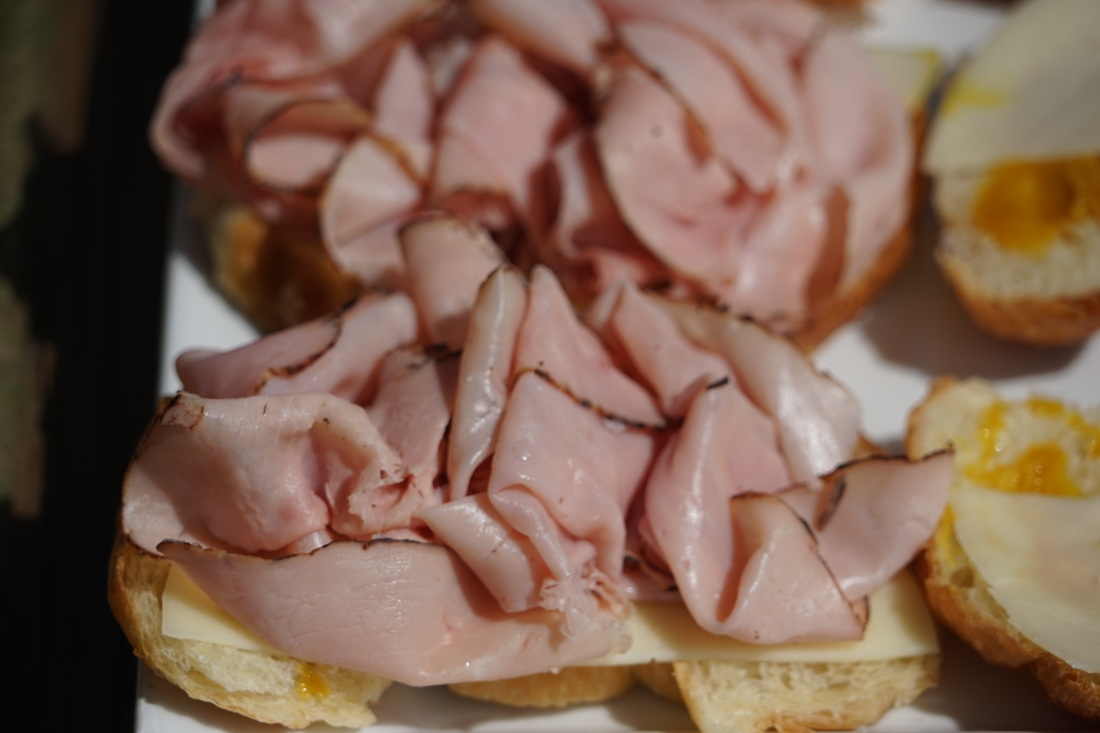
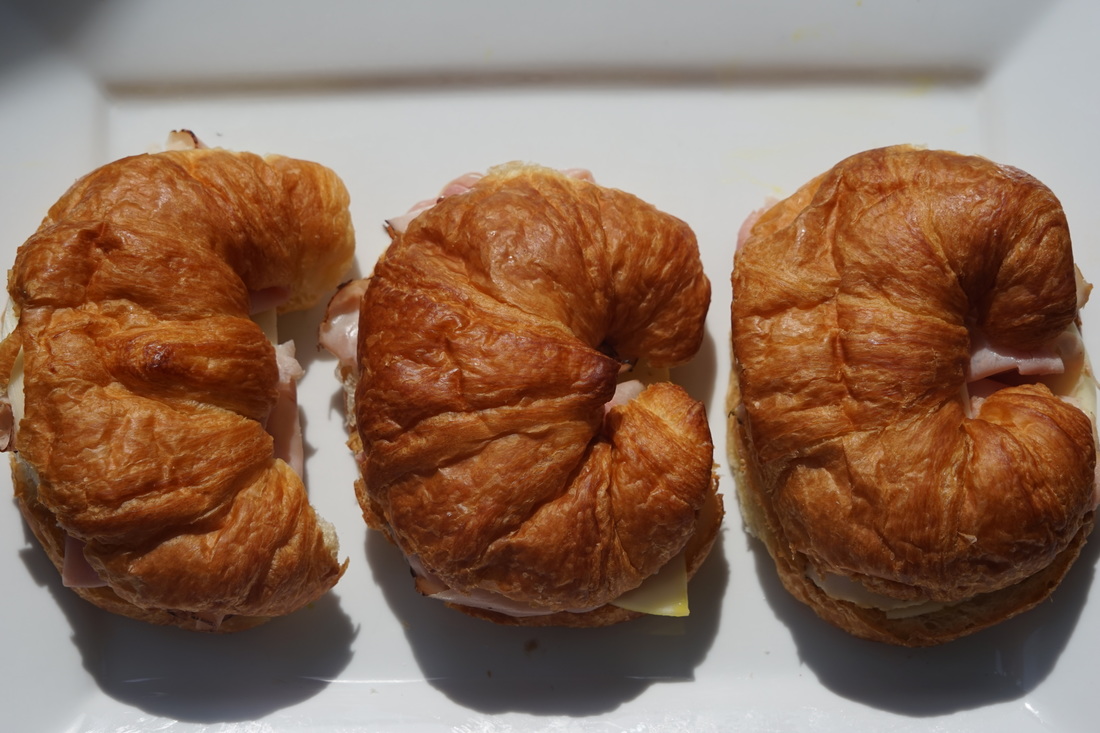 Wrap each sandwich in foil and bake 10 minutes in a 350 oven. 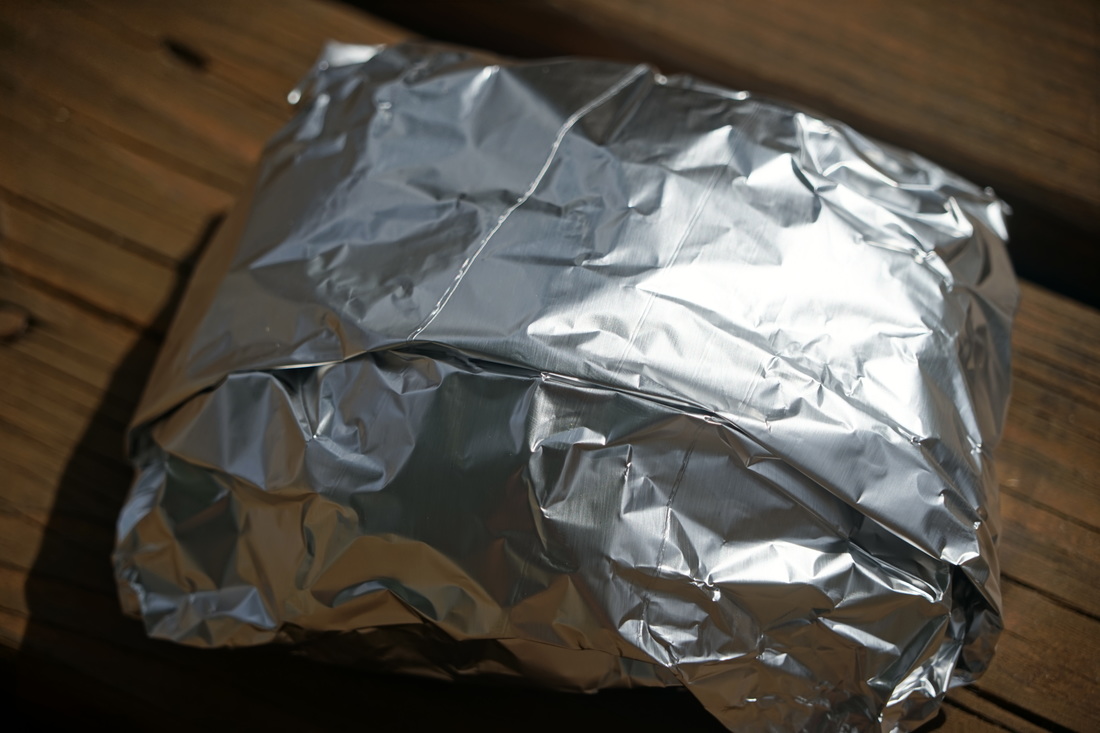 Take these to the soccer game - or eat them at home --- either way - these are delicious sandwiches.
 As for the soccer team - they are advancing to the sweet 16 next week!! Way to go girls.
Ciao!
1 Comment
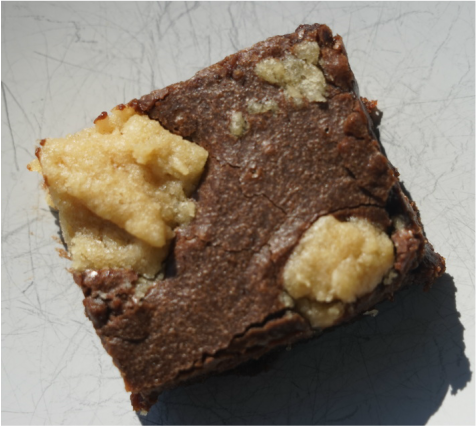
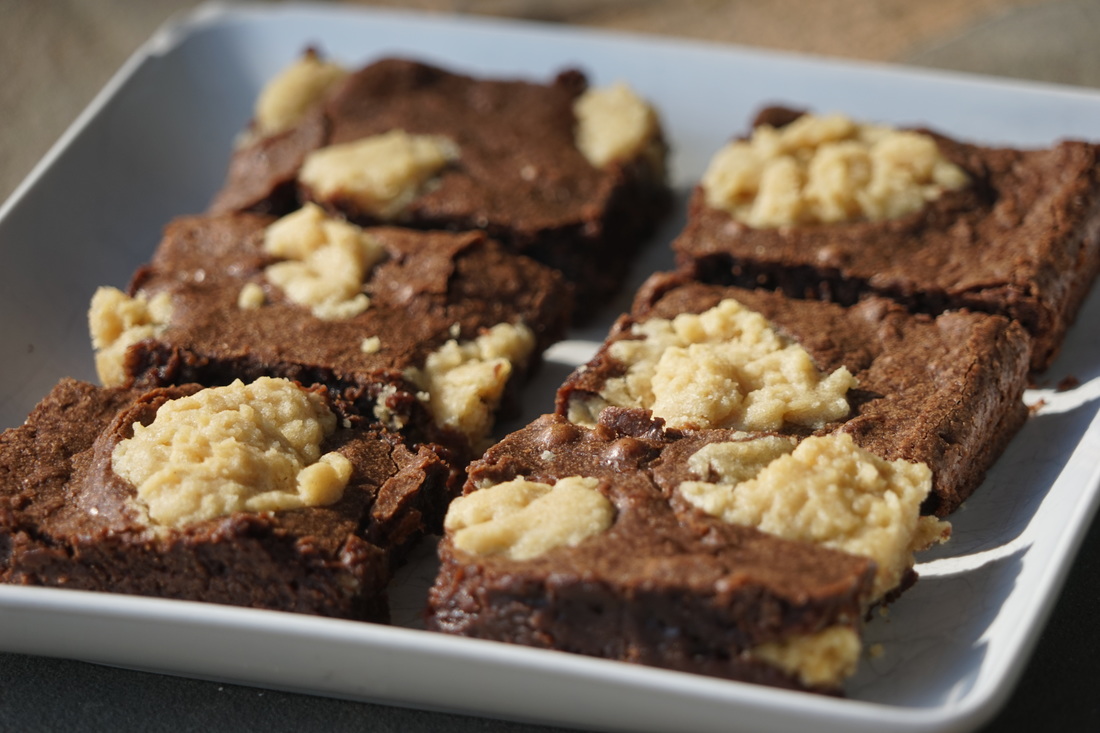
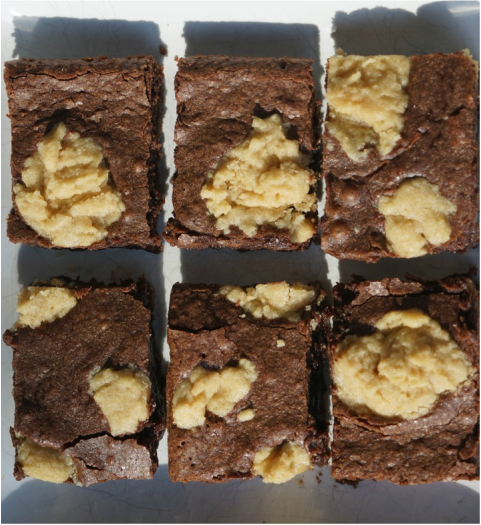
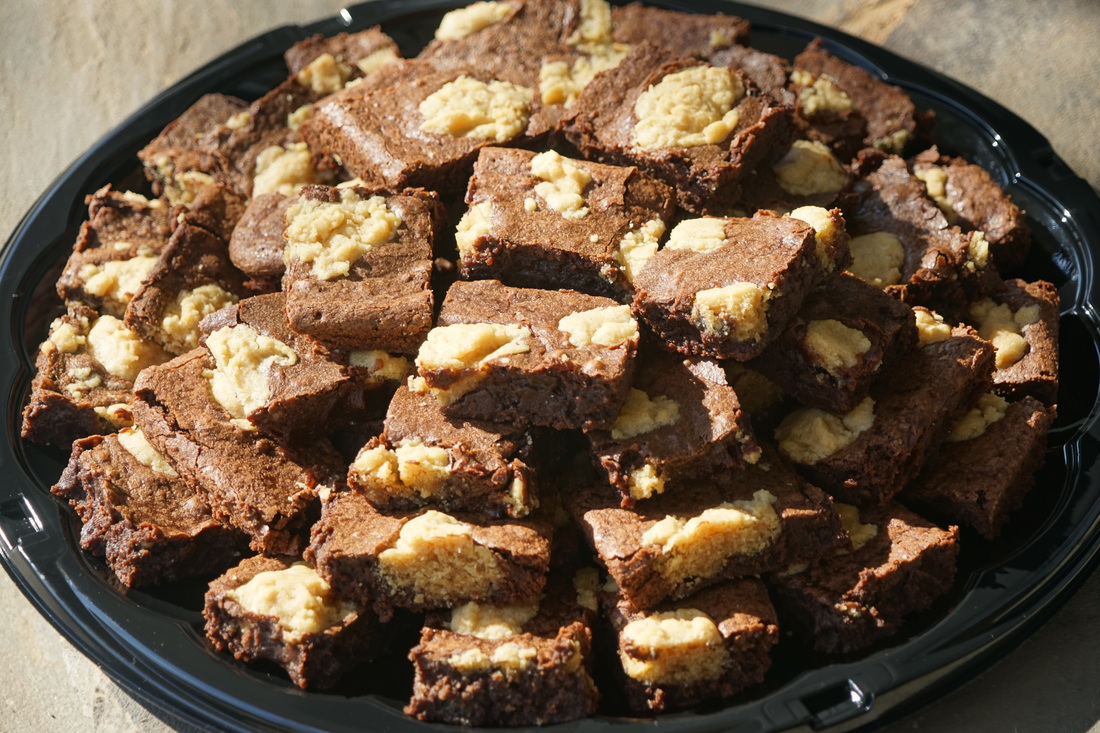 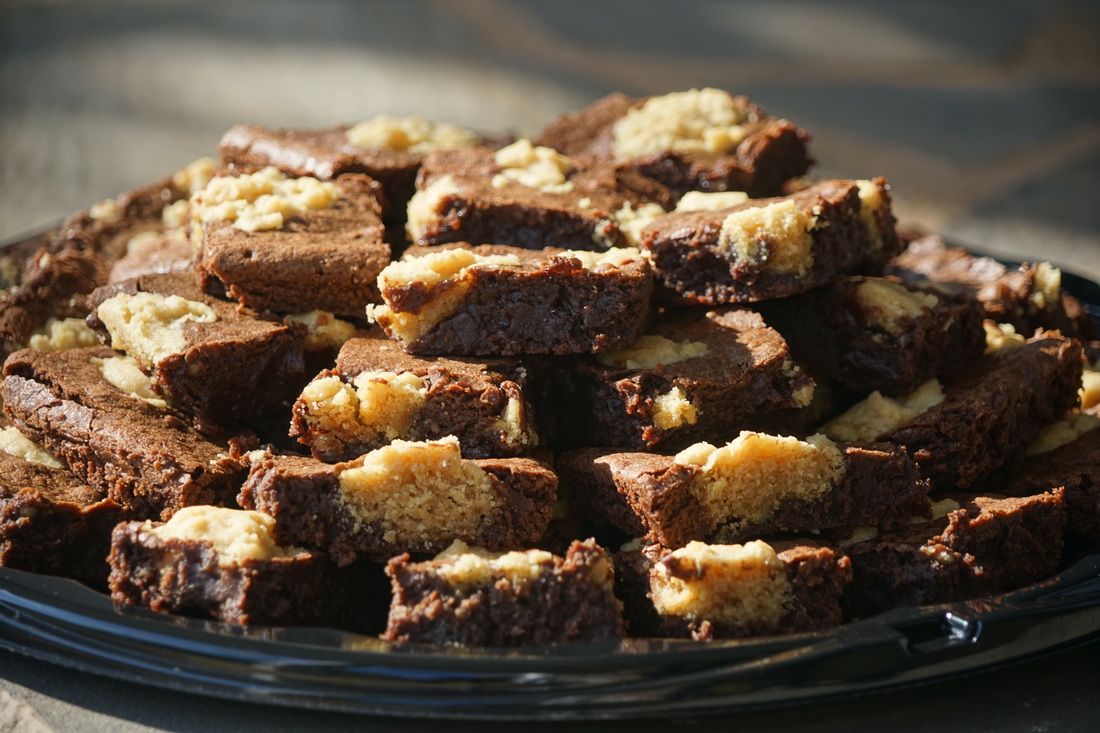 What do I make when I've got 75 hungry teenagers to bake for and very little extra time in my schedule? I bake brownies!!! Peanut butter brownies to be exact. (This was one of 2 giant brownie trays.) This delicious brownie recipe is baked in a full size baking sheet so depending on how you cut them - you can get 24-36 brownies out of every batch. I tripled the recipe and made 3 big trays of brownies last week because I knew they wouldn't last long around a crew of hungry teenagers.  I created this recipe using my traditional brownie recipe and adding a delicious peanut butter cookie batter. I never know how these little baking experiments are going to turn out and quite honestly - they fail more than they succeed. Fortunately, these brownies turned out fantastic. I love the chocolate and peanut butter combination and the kids loved them too. 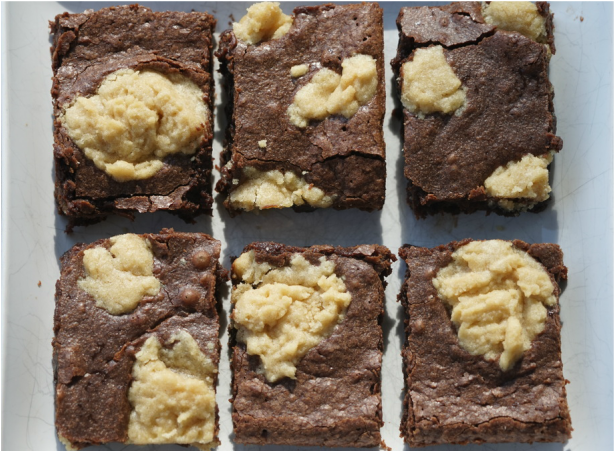 Peanut Butter Brownies Brownie Batter 2 cups butter (4 sticks) 8 ounces unsweetened chocolate 4 cups sugar 8 eggs 2 1/2 cups flour Peanut Butter Batter 1/4 cup oil 1/2 cup sugar 1 egg 1/2 teaspoon vanilla 14 cup peanut butter 1 cup flour 1/2 teaspoon baking soda 1/4 teaspoon salt Melt butter and unsweetened chocolate in microwave. 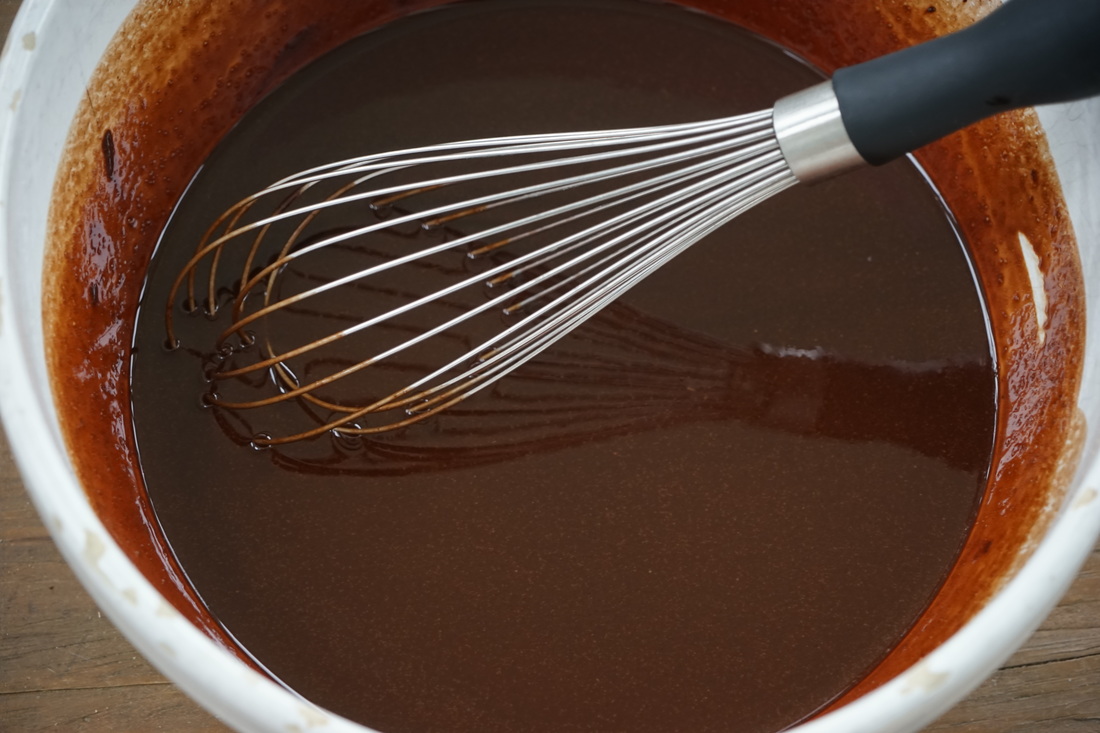 Whisk in eggs and sugar. 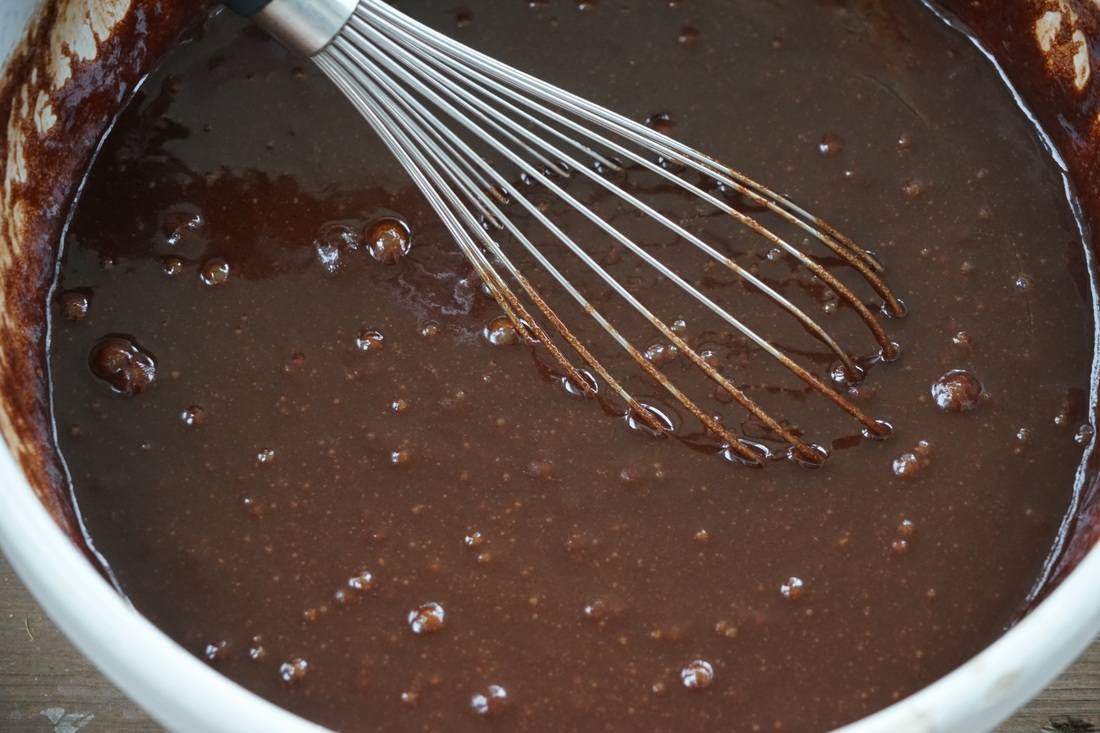 Fold in flour.  Scrape into an ungreased baking sheet. 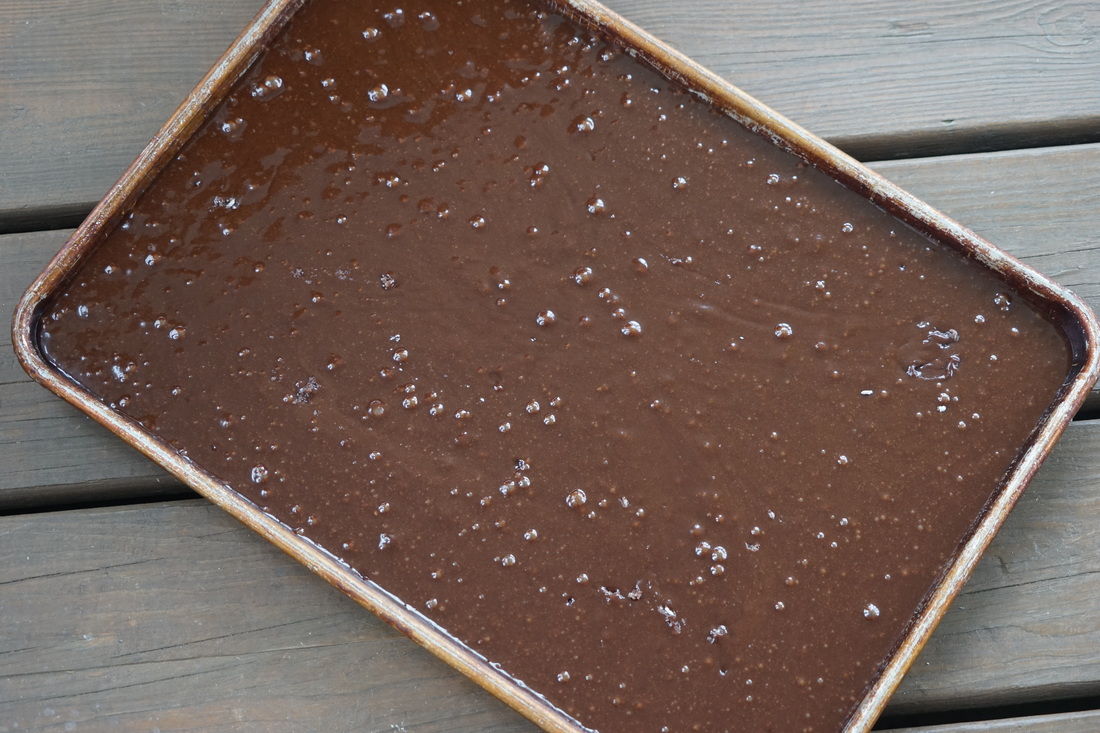 For peanut butter batter: whisk together sugar and oil. 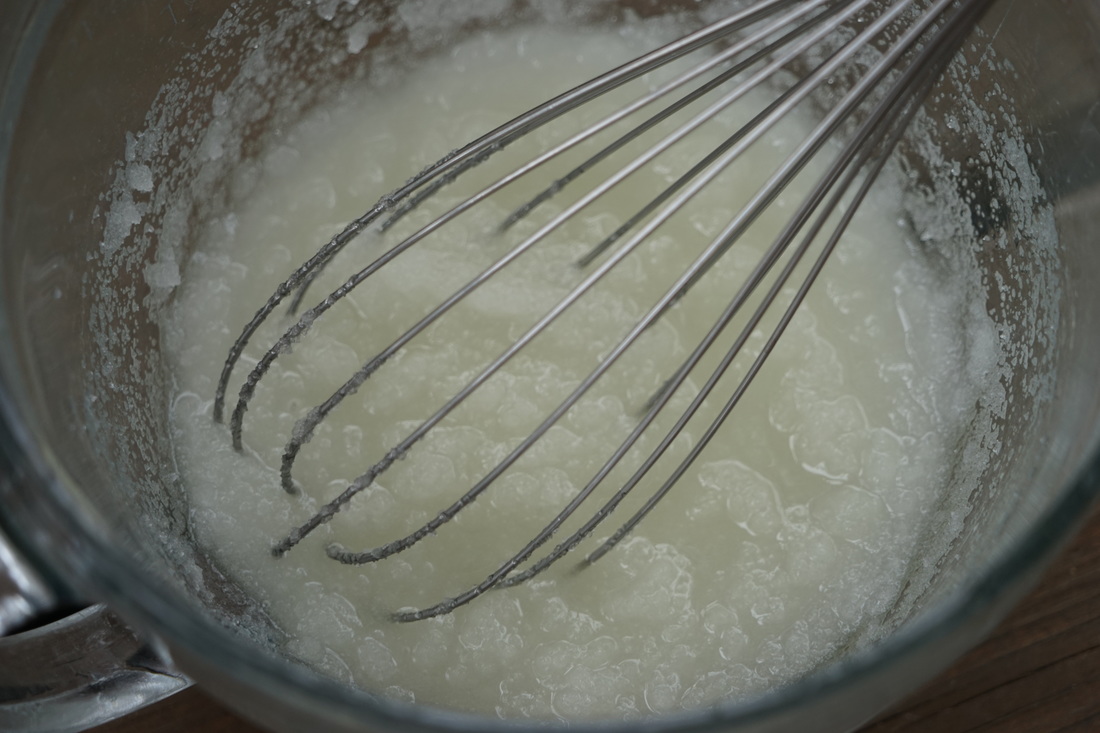 Whisk in egg, vanilla and peanut butter. 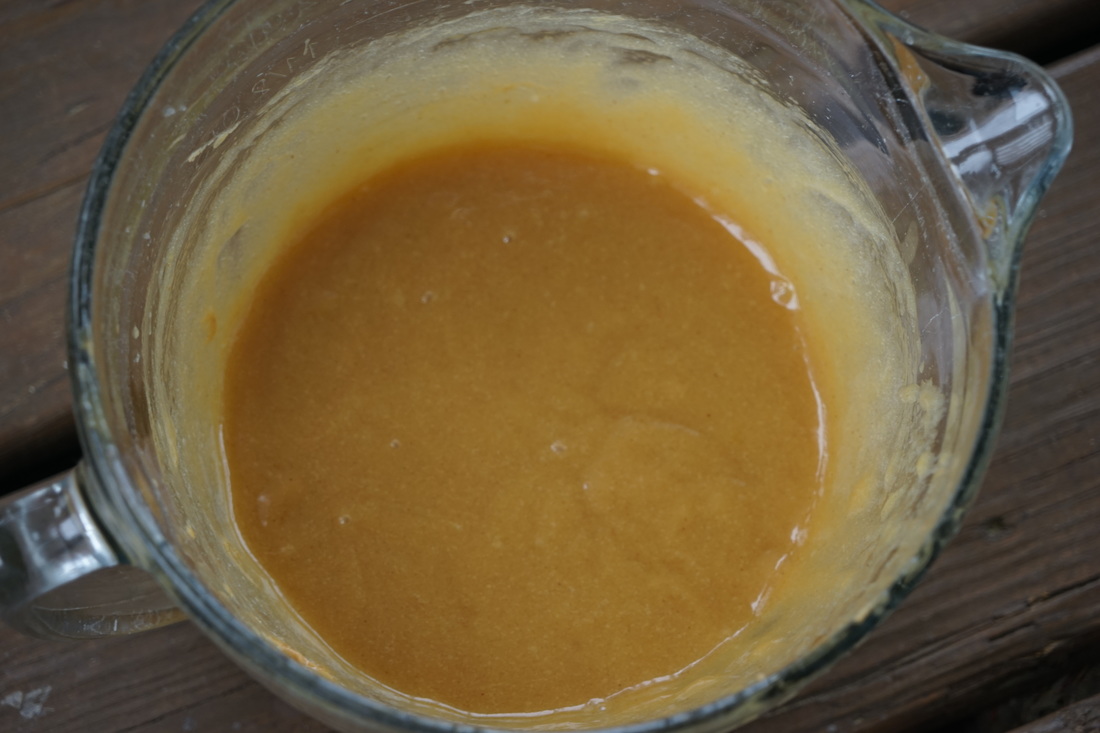 Fold in flour, baking soda and salt. 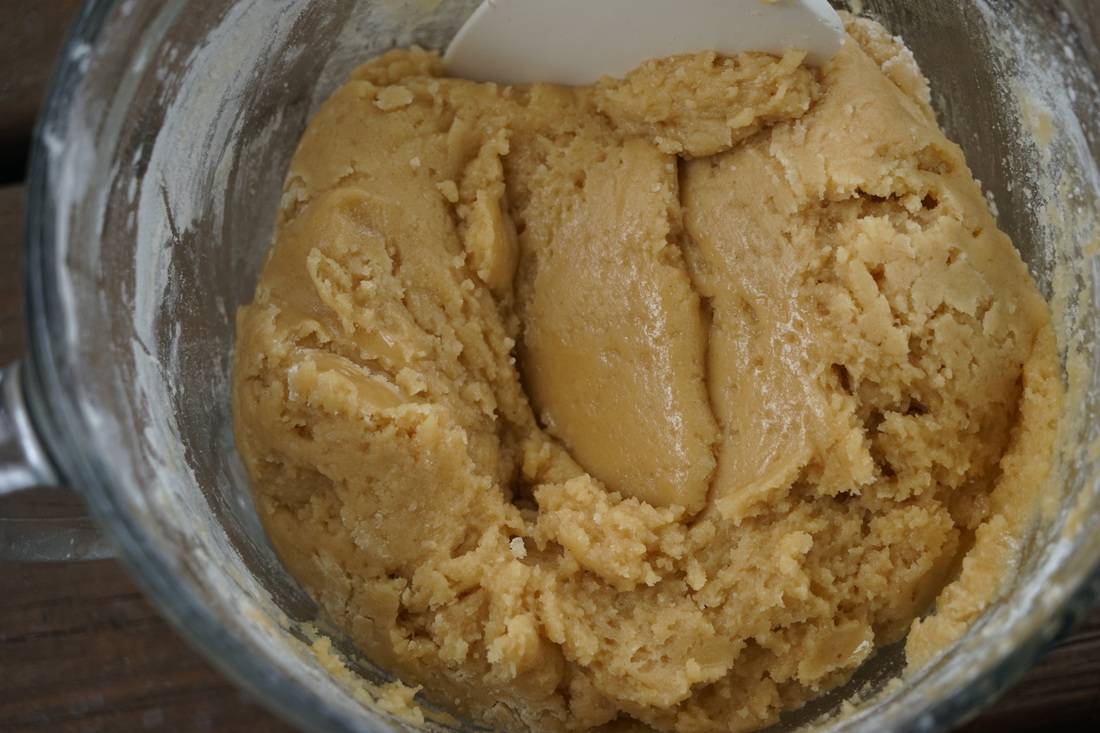 Scoop Tablespoons of peanut butter batter on top of chocolate batter. 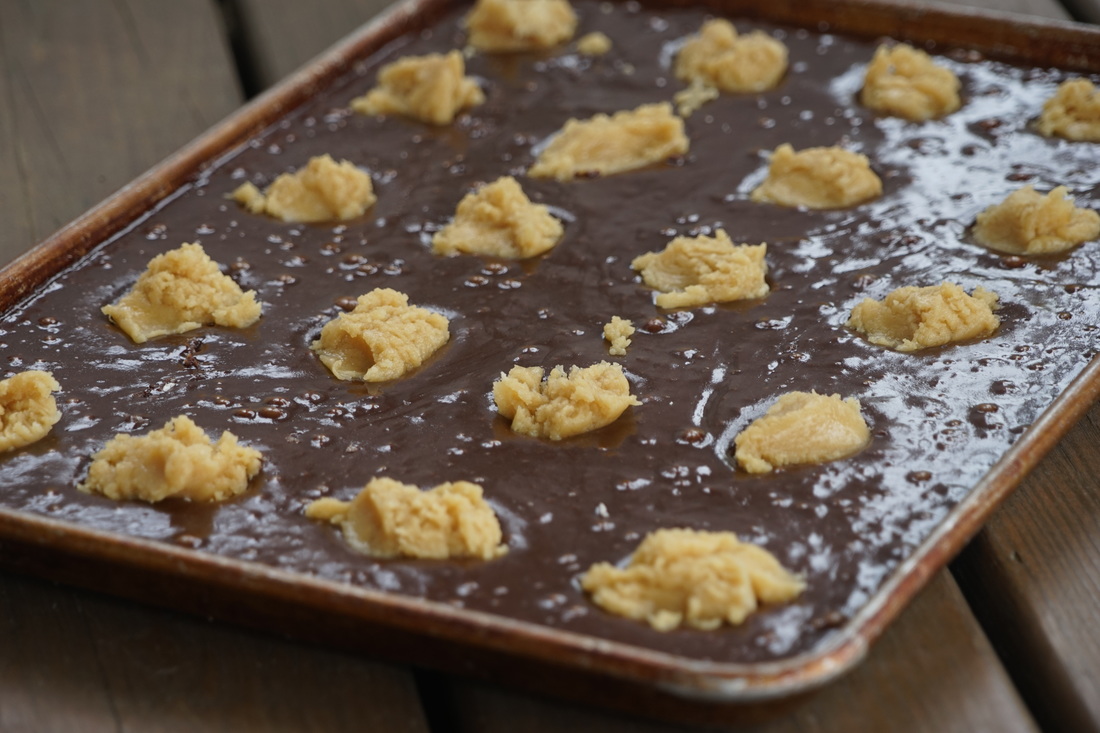 Put in a cold oven. Turn oven on to 300 and bake 40 minutes. 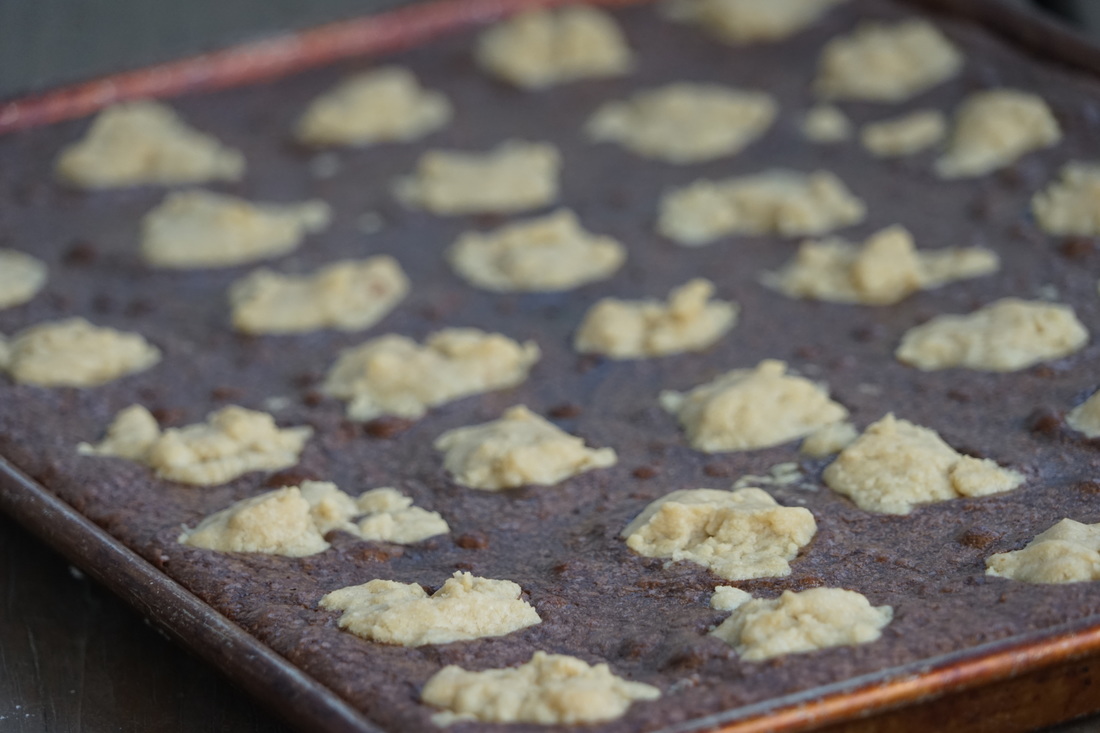 The best brownies are soft and gooey and --- messy. These peanut butter brownies are exactly that. These brownies are delicious but because of their moist nature - they're not very photogenic. It would be easier to cut nice clean squares if they were overbaked and cakey but I decided to sacrifice great pictures for moist, soft, chewy, gooey --- delicious --- brownies.
 These brownies were a big hit with the high school kids that I served them too. 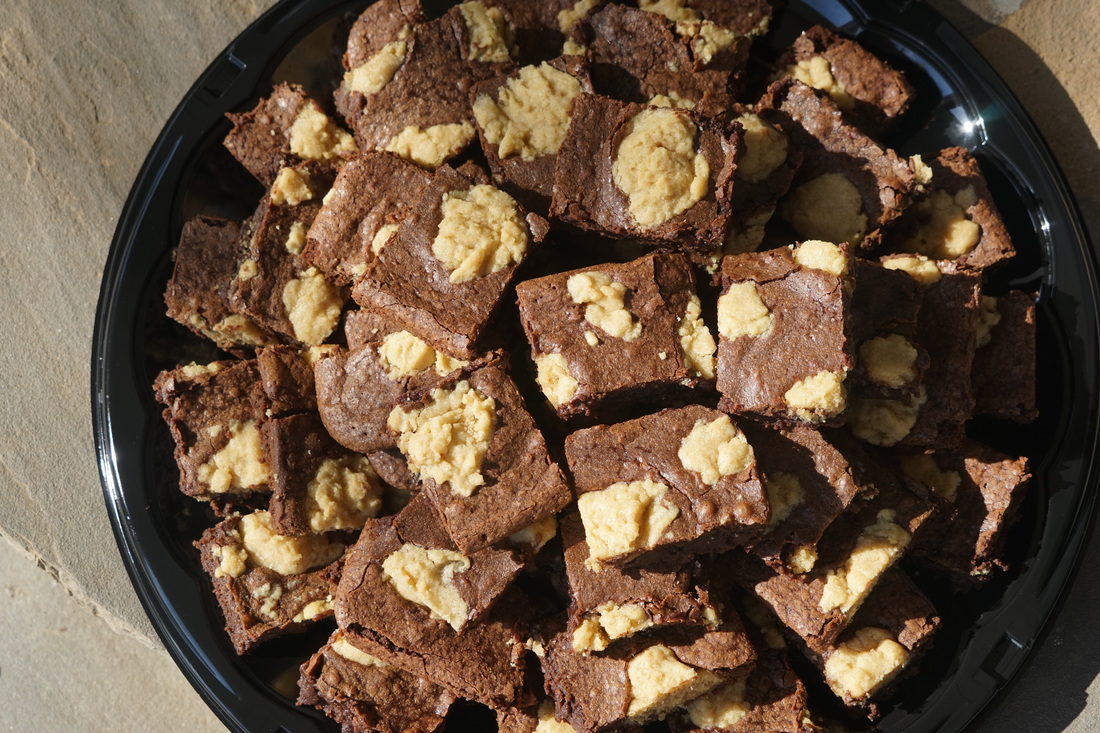 I was left with 2 empty platters of brownies at the end of the night. (All the evidence that I needed to let me know that these really were delicious brownies.) These brownies also freeze beautifully in ziploc bags so if you don't need a whole batch right away - tuck some away in the freezer and save them for another day.
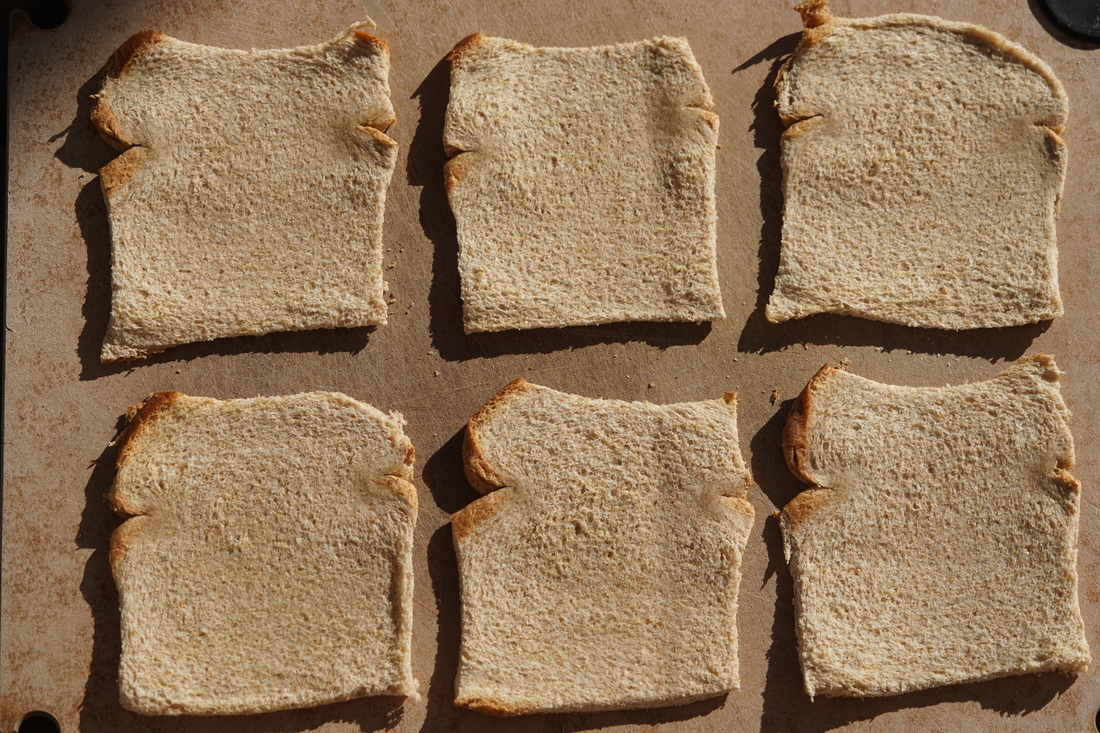
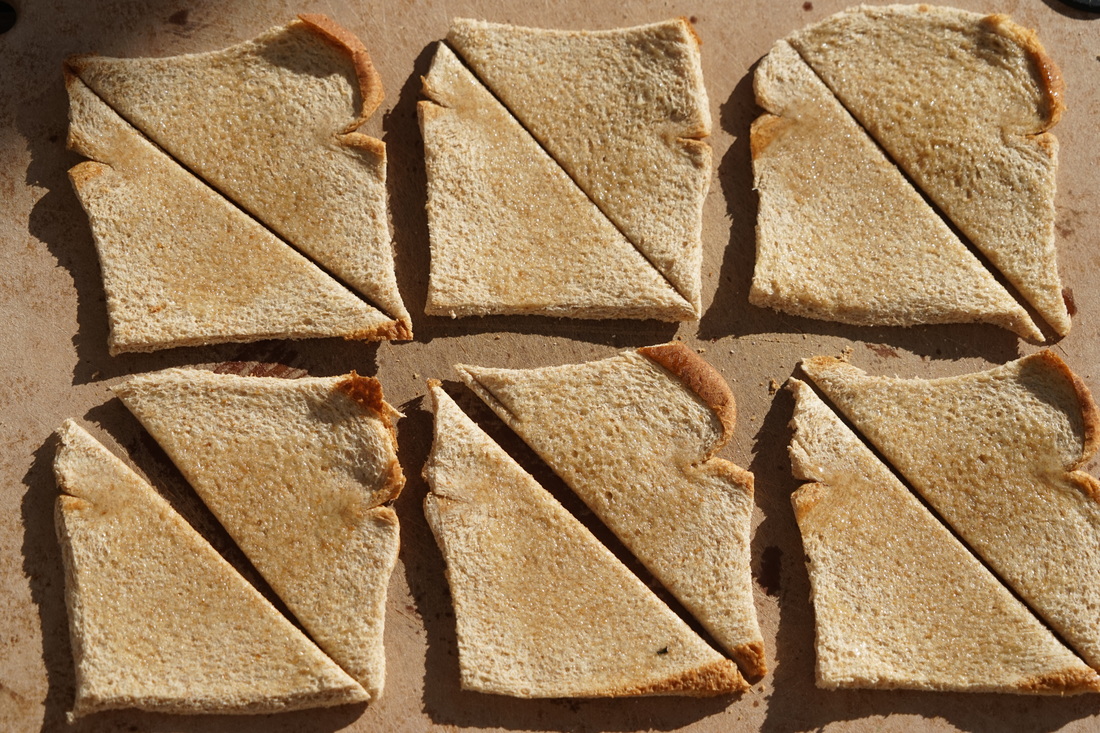
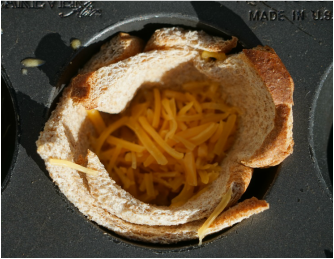
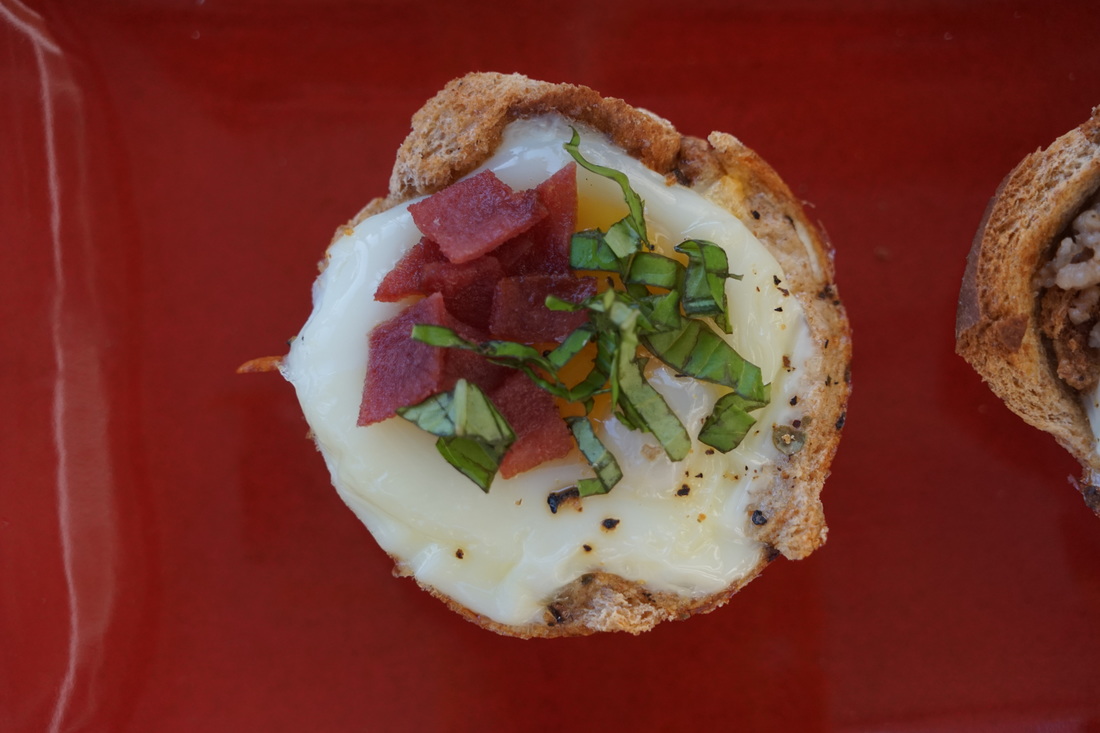
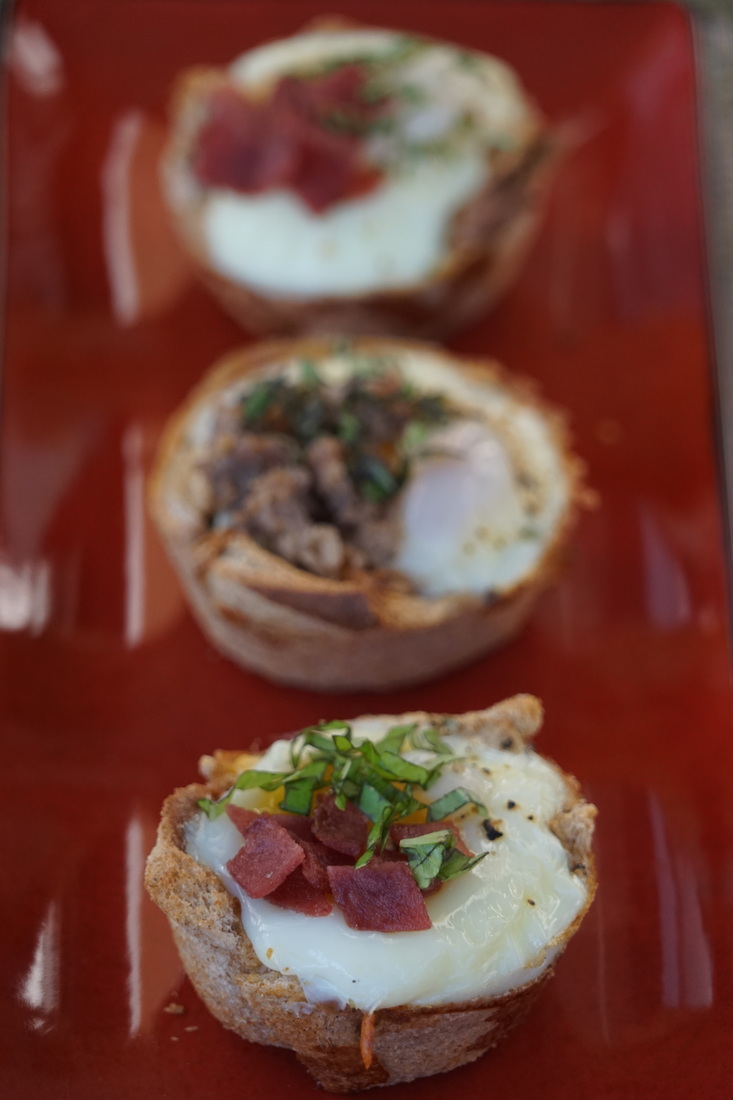
Ciao! 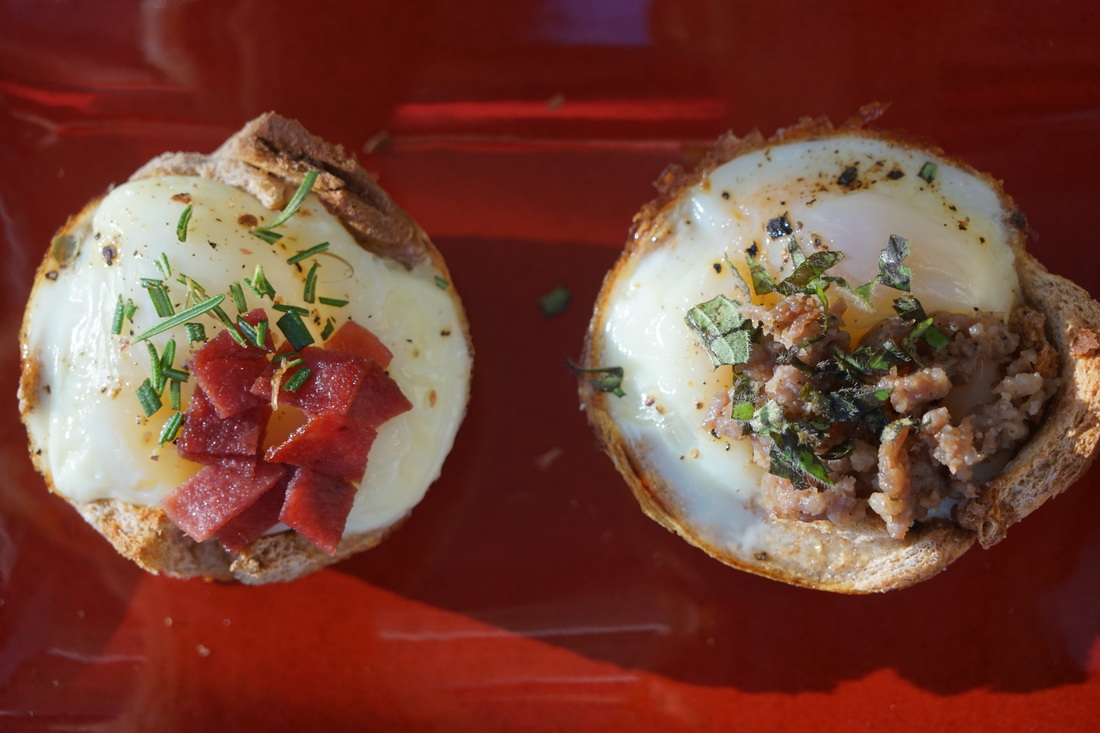 Sunday night breakfast for dinner is one of my most favorite meals that I cook all week. Weekday mornings are so rushed and everyone is usually in such a hurry to get out the door that our morning meals are less than extraordinary. BUT Sunday night is a different story. I normally have a little more time to invest in our final meal of the weekend. 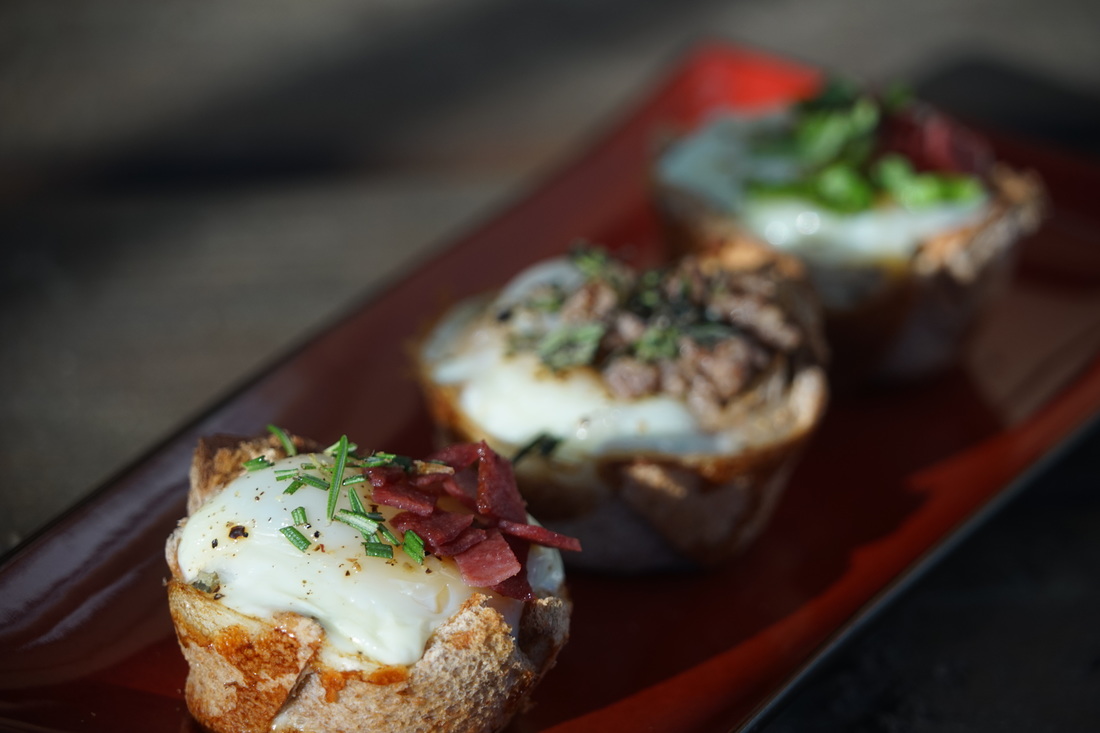 Last night I made Sunny Side Egg Cups for dinner and they were a big hit. Even though I had extra time, they only took about 20 minutes to make. Now that I know how easy they are to make - these could even make these for a quick weekday breakfast too. I decided to leave them plain and let everyone personalize their own egg with "toppings." (Sausage, turkey bacon and fresh herbs) We all agreed that these Sunny Side Egg Cups were so good that we need to have them again soon. 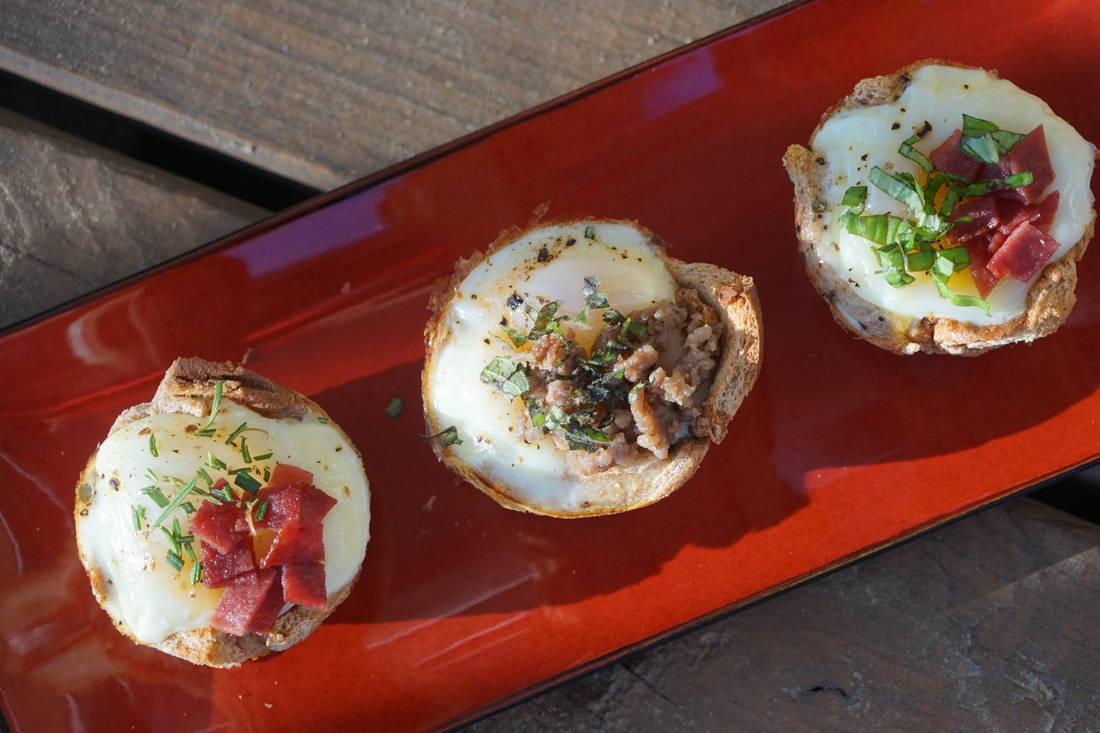 Sunny Side Egg Cups 6 slices bread 1 Tablespoon butter, melted 1 ounce cheddar, shredded 6 eggs 1/4 teaspoon salt 1/4 teaspoon pepper 2 sliced turkey bacon, cooked and diced 2 Tablespoons sausage, cooked fresh herbs, chopped (basil, oregano, thyme, rosemary)
With cut sides facing, place 2 bread halves in each of 6 greased muffin cups. Bake 5 minutes. 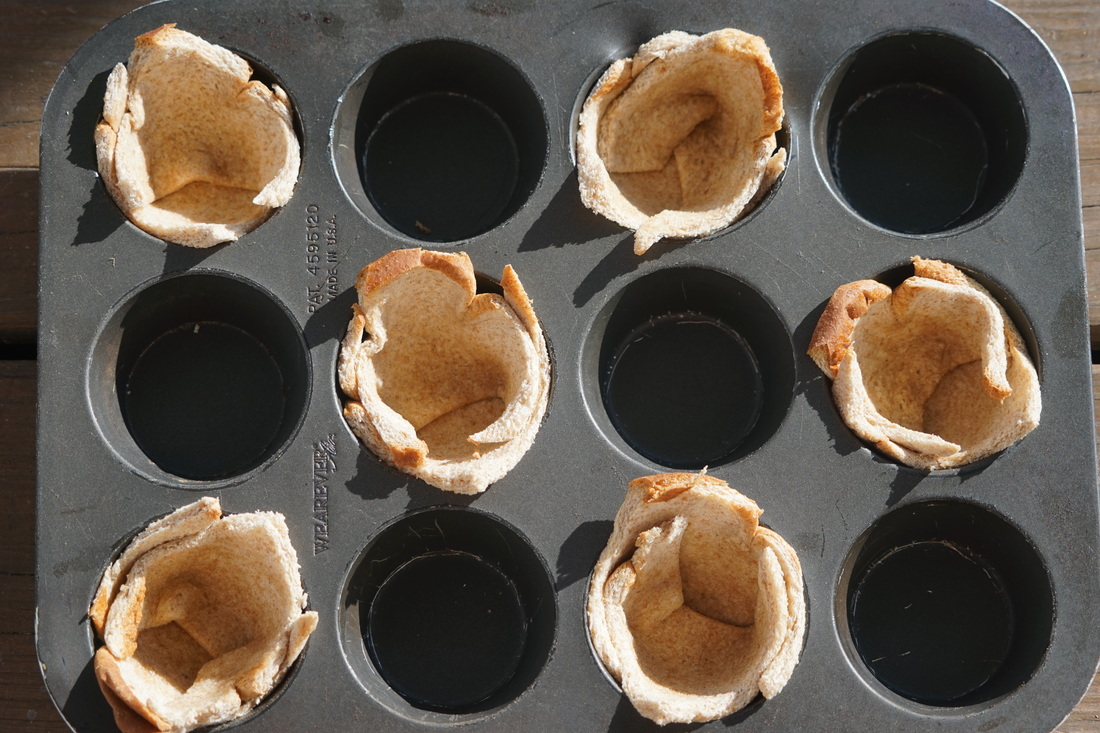
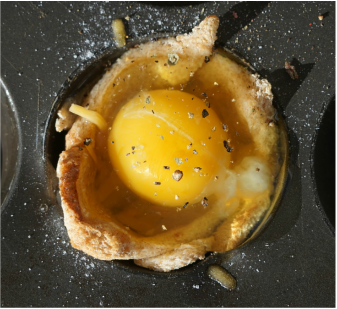
Bake 18 minutes at 37 or until desired doneness. While egg cooks, prepare toppings. I chose turkey bacon, sausage, fresh basil, rosemary and oregano as my "toppings". 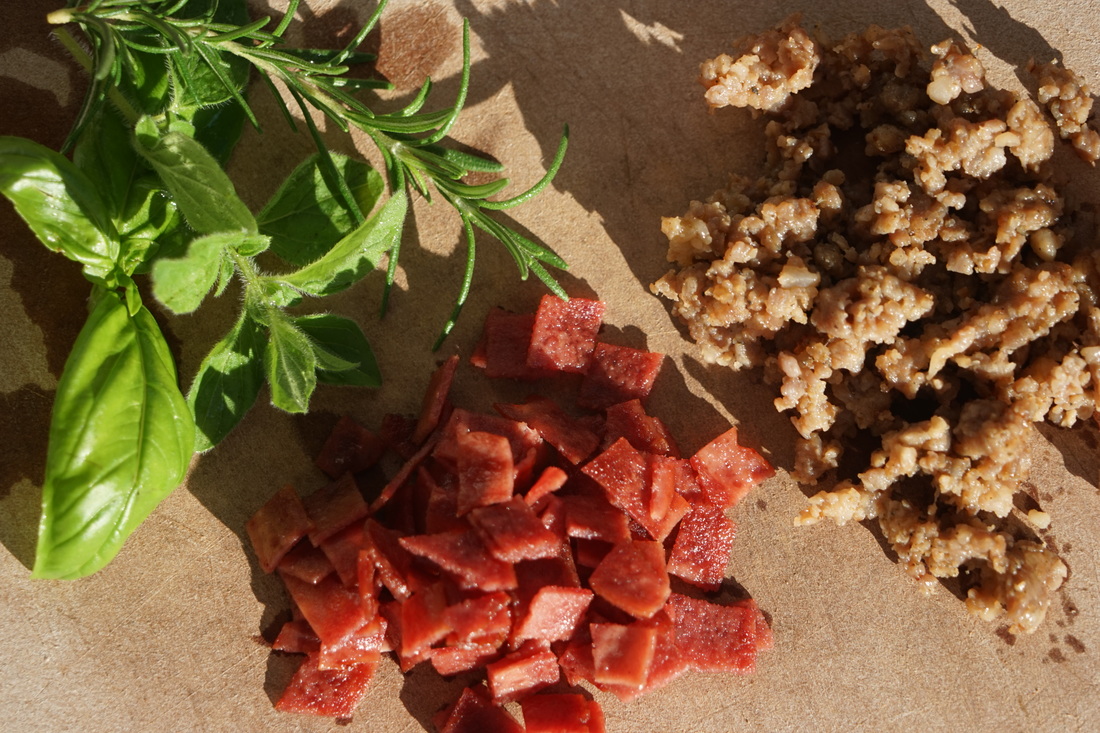
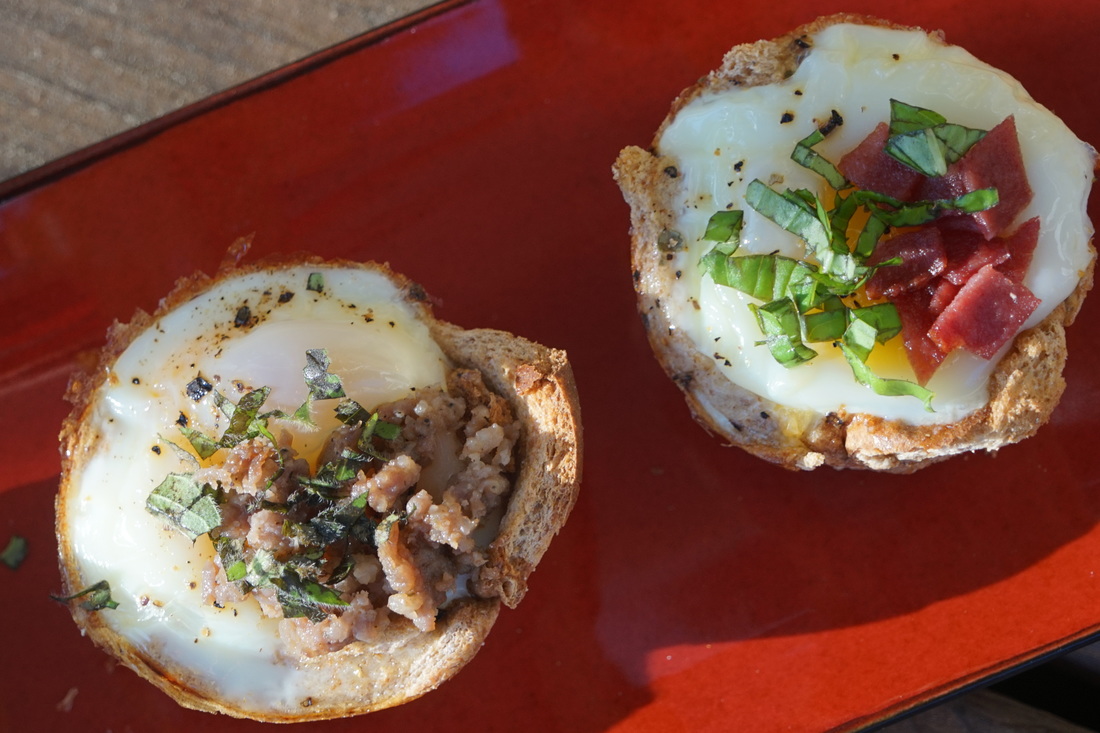
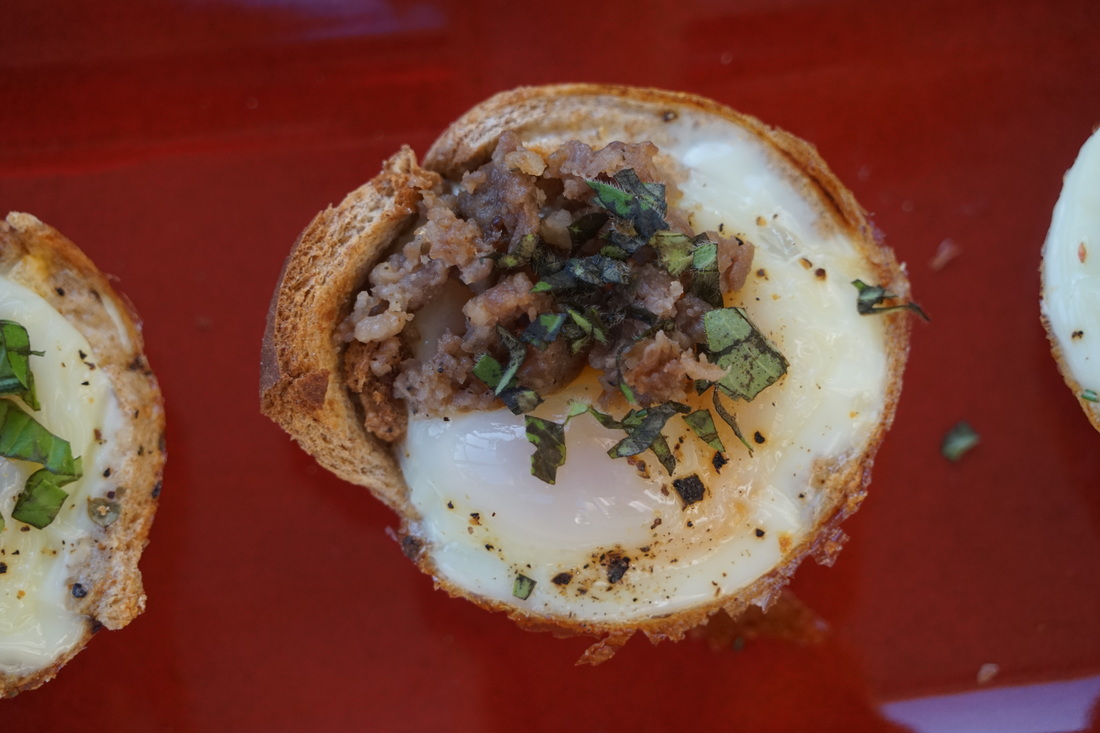
My other favorites were a sausage/oregano egg cup and a rosemary/turkey bacon egg cup.
The possibilities for these Sunny Side Egg Cups are endless. Tomatoes, hash browns, salsa, ooohhhh baby. We are going to have to have these again soon - just so that I can make a Mexican Sunny Side Egg Cup.
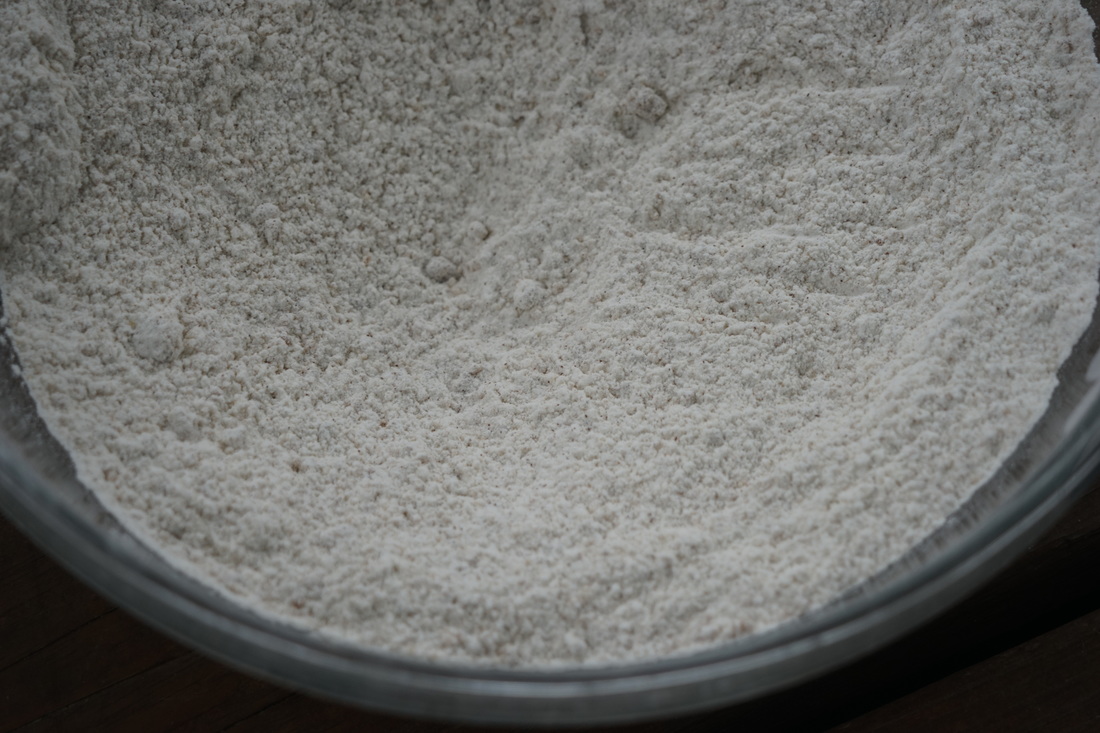
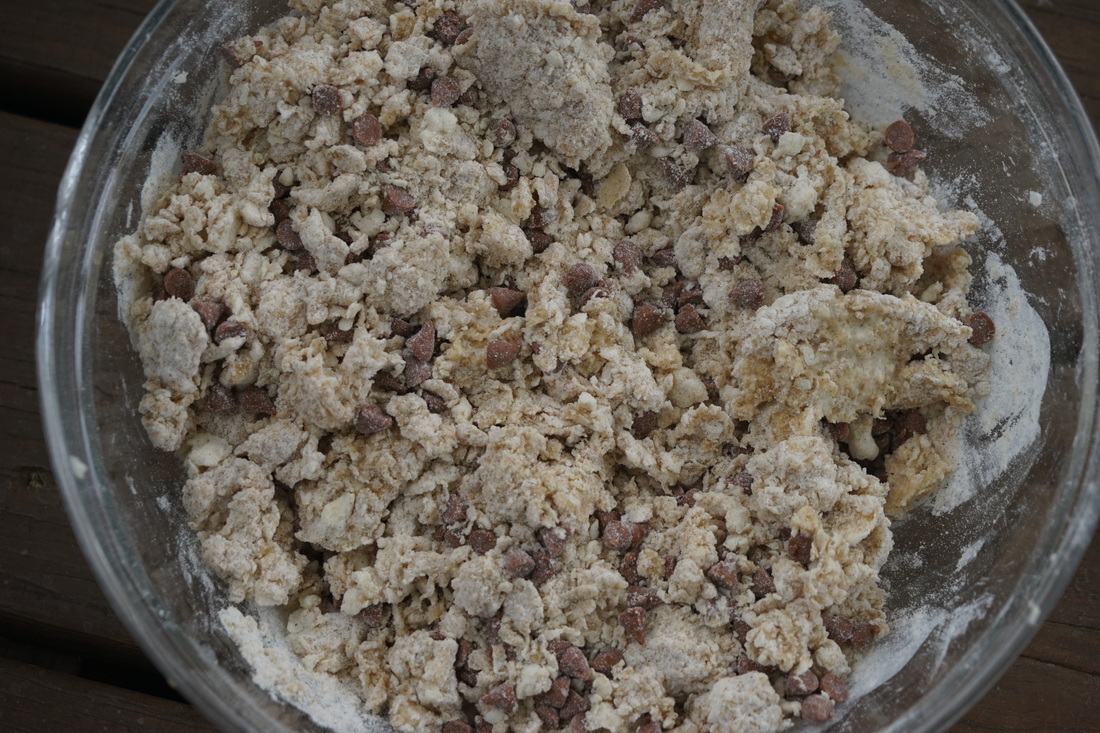
Ciao! 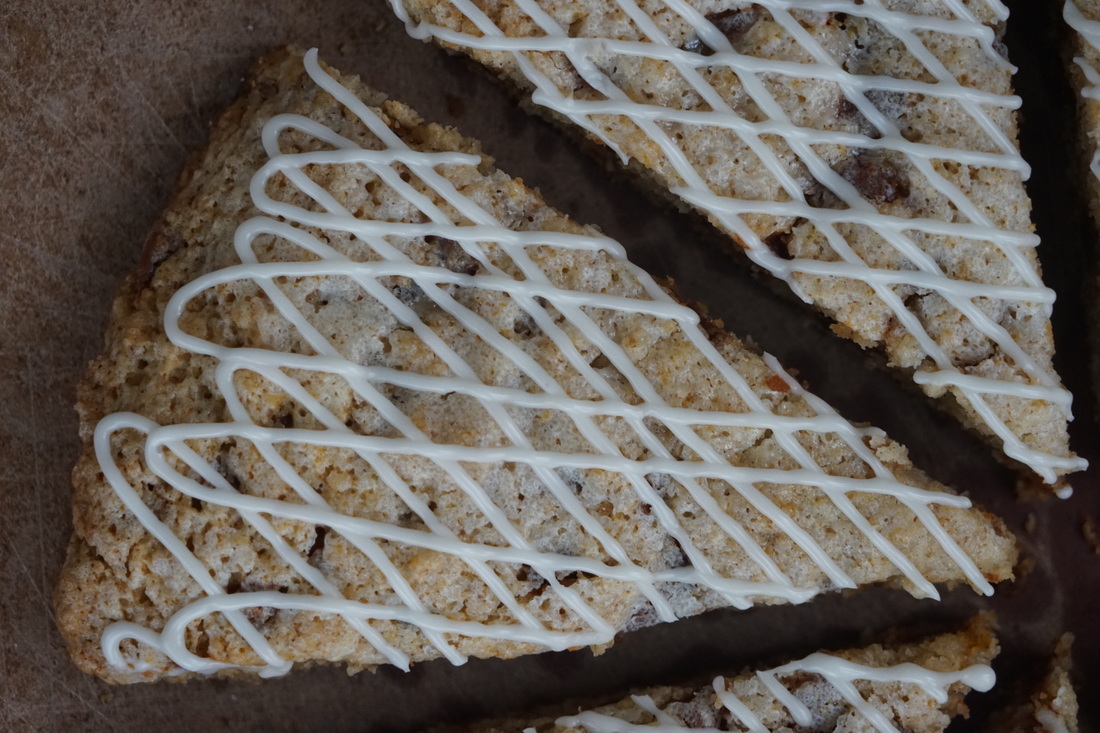 We stopped at a Panera Bread last weekend on our way home from a college visit to pick up a couple of bagels for our traditional Sunday night "breakfast-for-dinner". There I was standing in line - innocently waiting to order my 3 little bagels for dinner when BAM - I got blindsided. The cinnamon scones were staring me in the face! I have a serious weakness for cinnamon scones - but somehow I resisted the urge and managed to get out of the restaurant without the delicious scones in my bag. 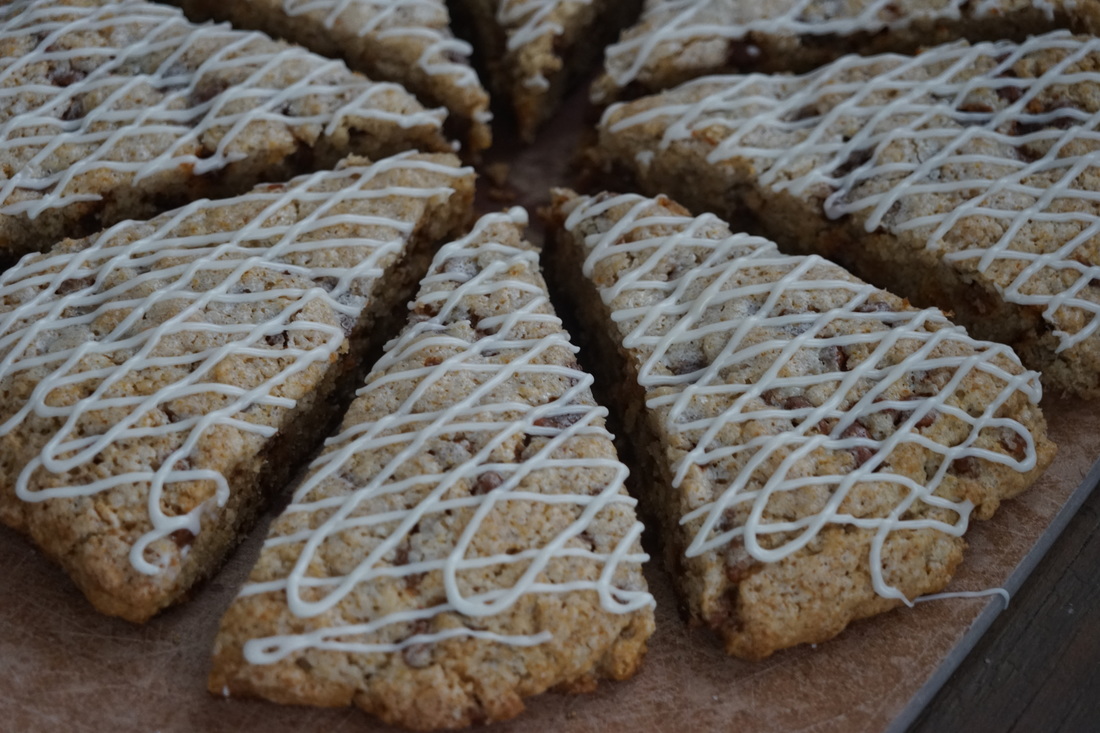 The problem is that even after I got home and devoured my super yummy bagel egg sandwich for dinner - I was STILL thinking about those crumbly little cinnamon scones. Fast forward to 24 hours later --- there I was in my kitchen making a batch of cinnamon scones for myself. 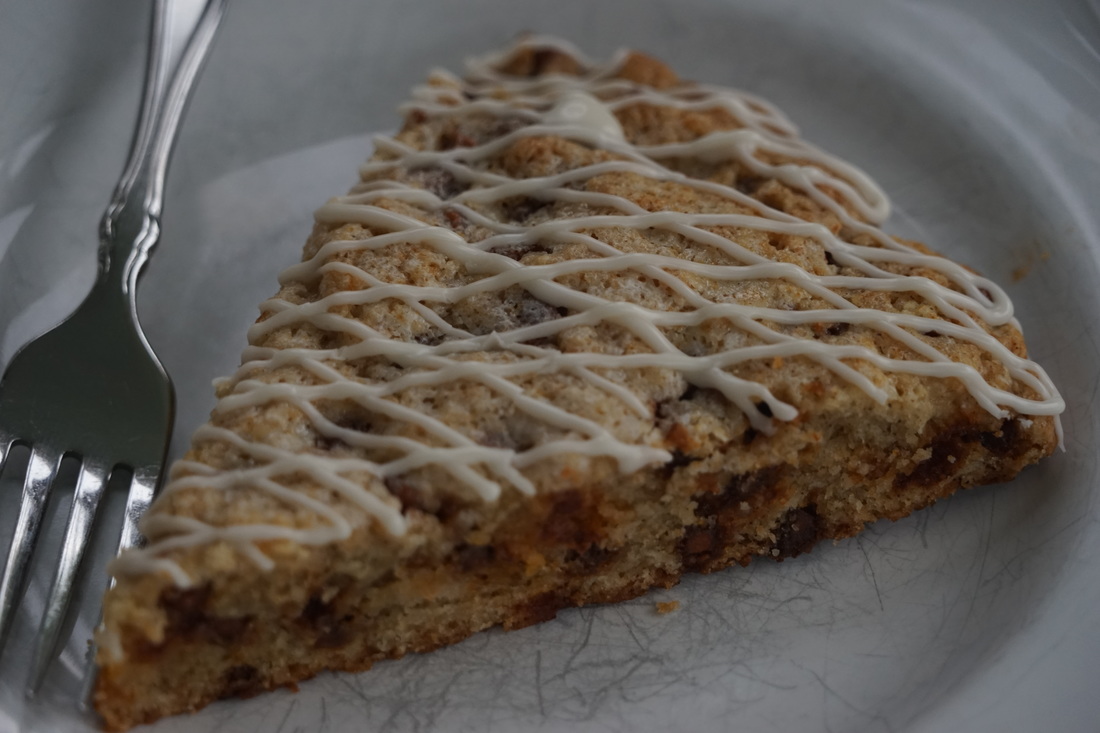 I have a serious addiction to these cinnamon chip packed treats. If you haven't tried them yet - you can run by Panera and pick one up OR you can make them for yourself in your own kitchen. They are easy to make and sooooo good. 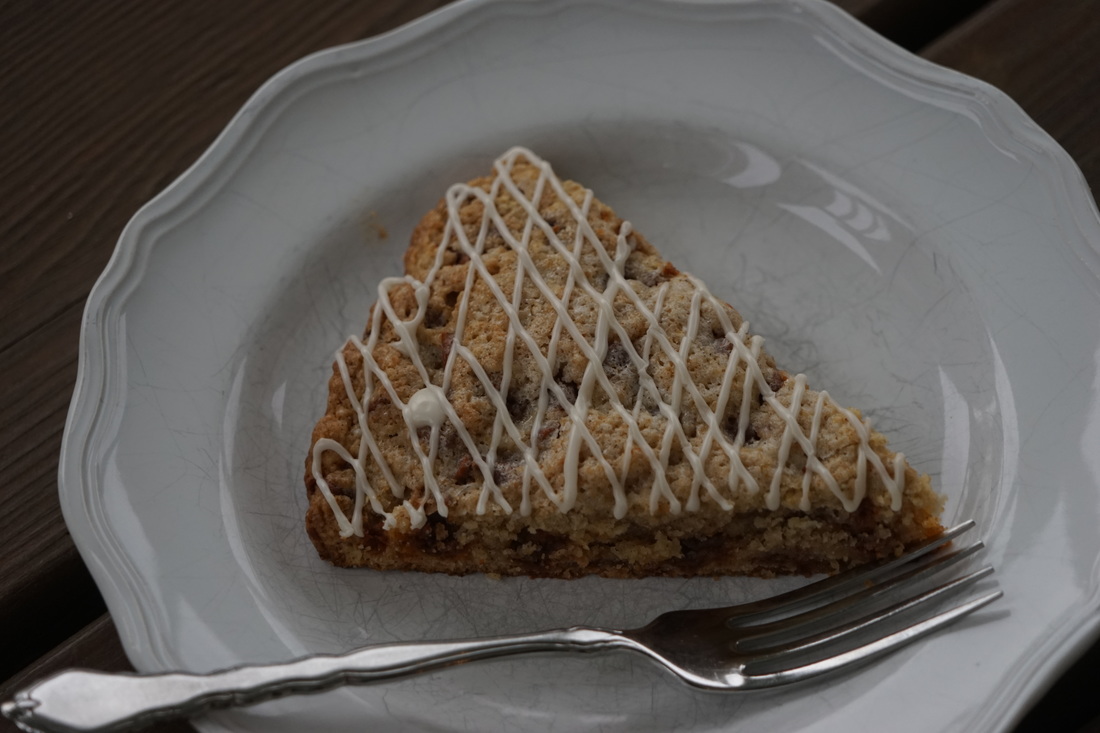 Cinnamon Scones
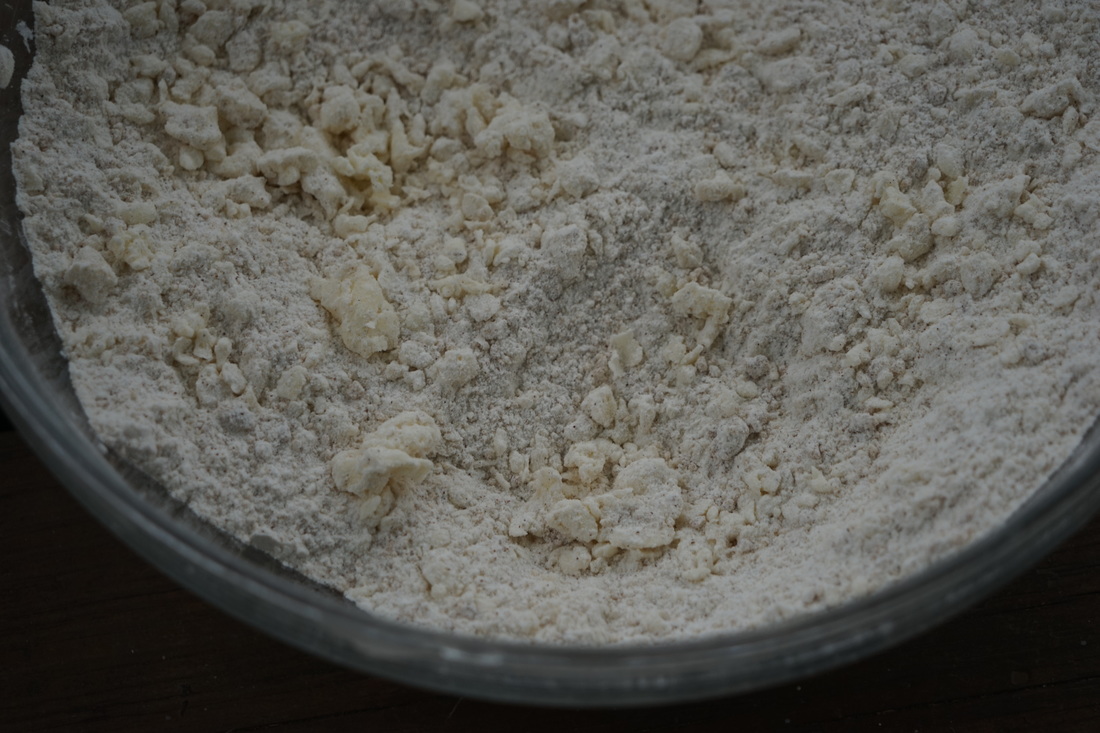
Freeze butter and grate into fine pieces. 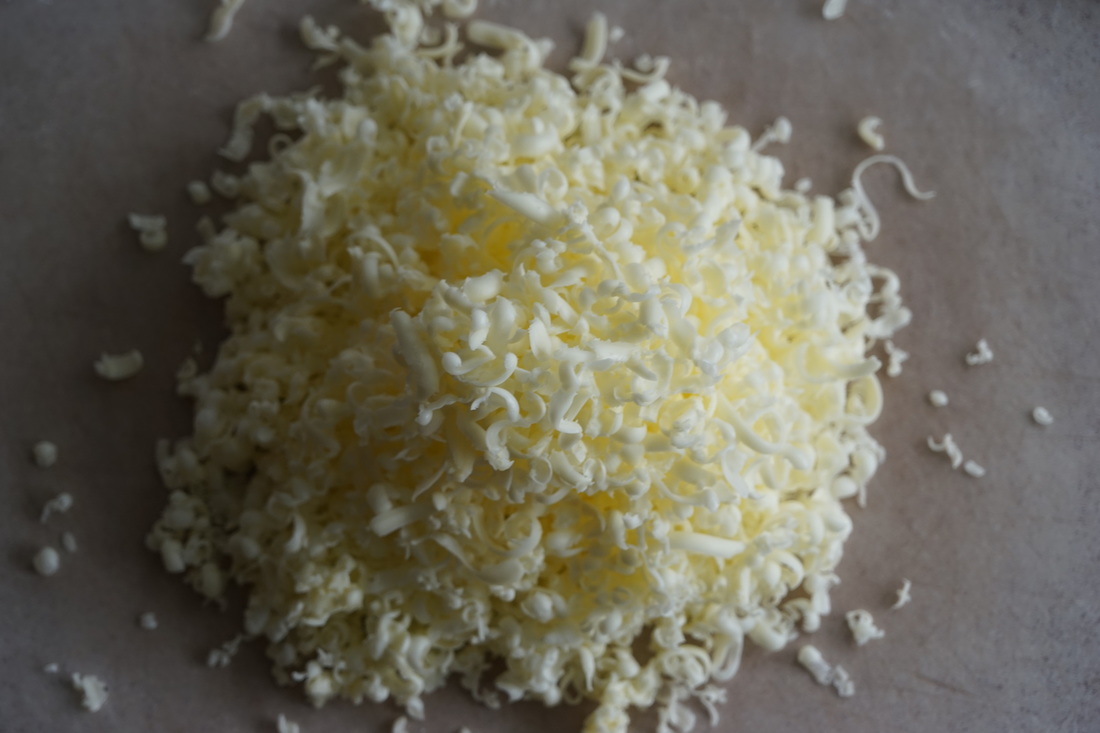
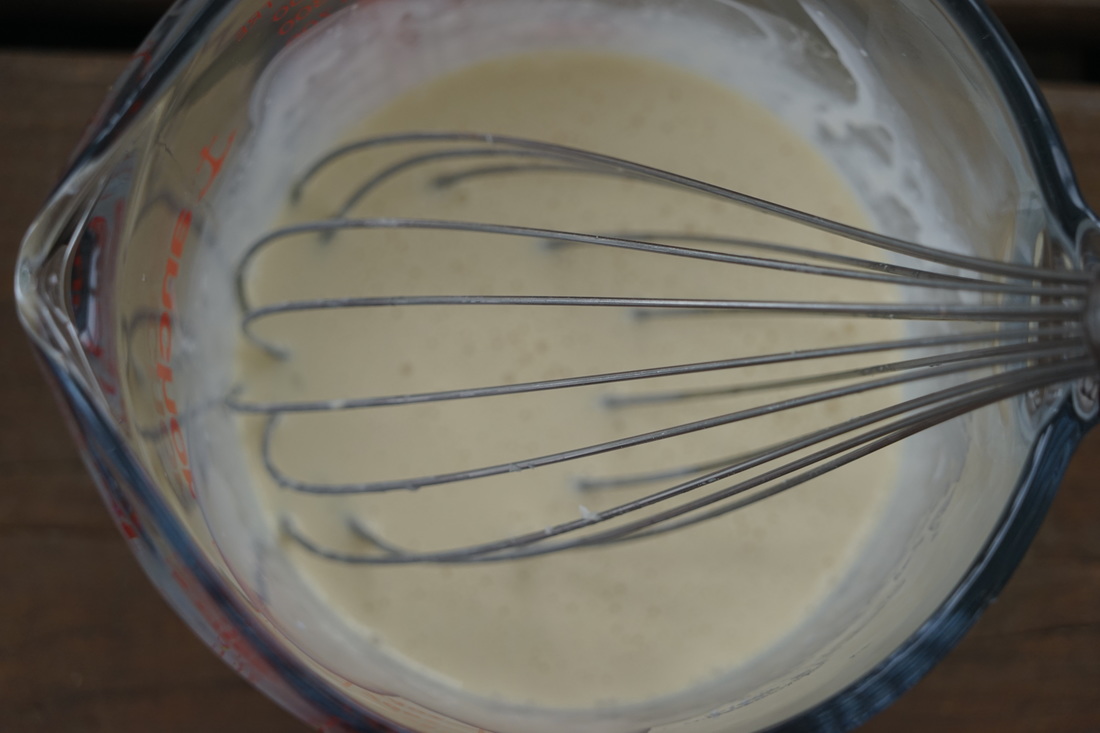
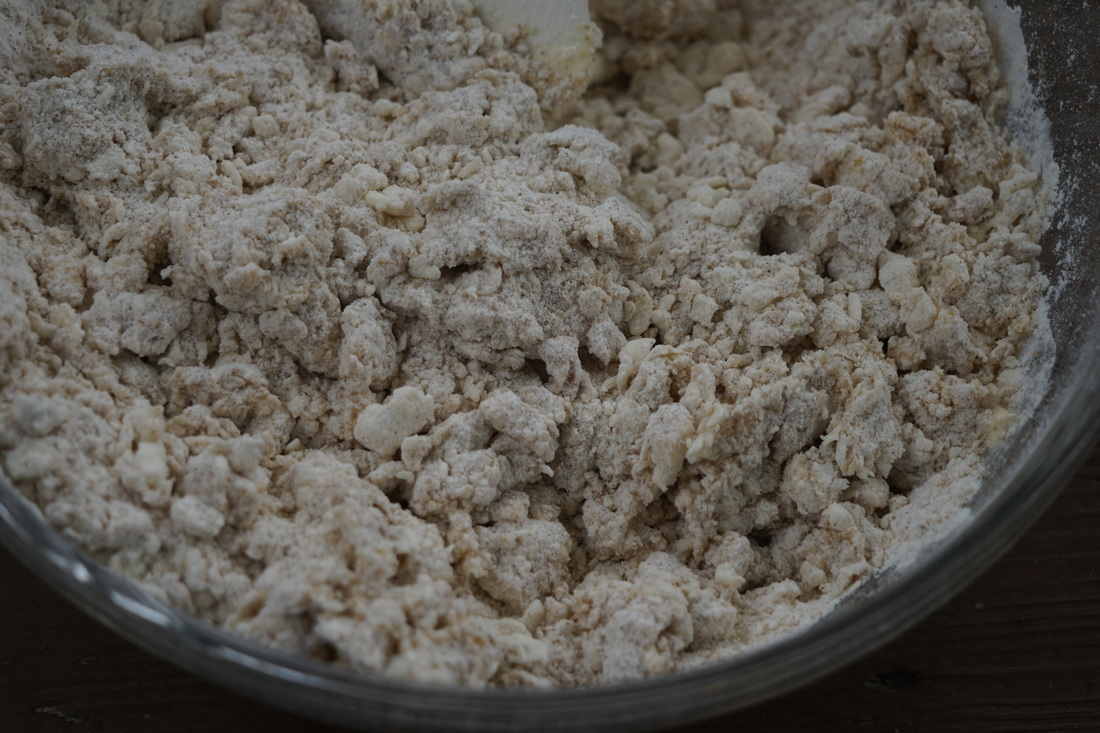
 Being careful not to overwork the dough - shape into a ball and then flatten into an 8 inch circle on a silpat lined baking sheet. Cut into 8 equal pieces. 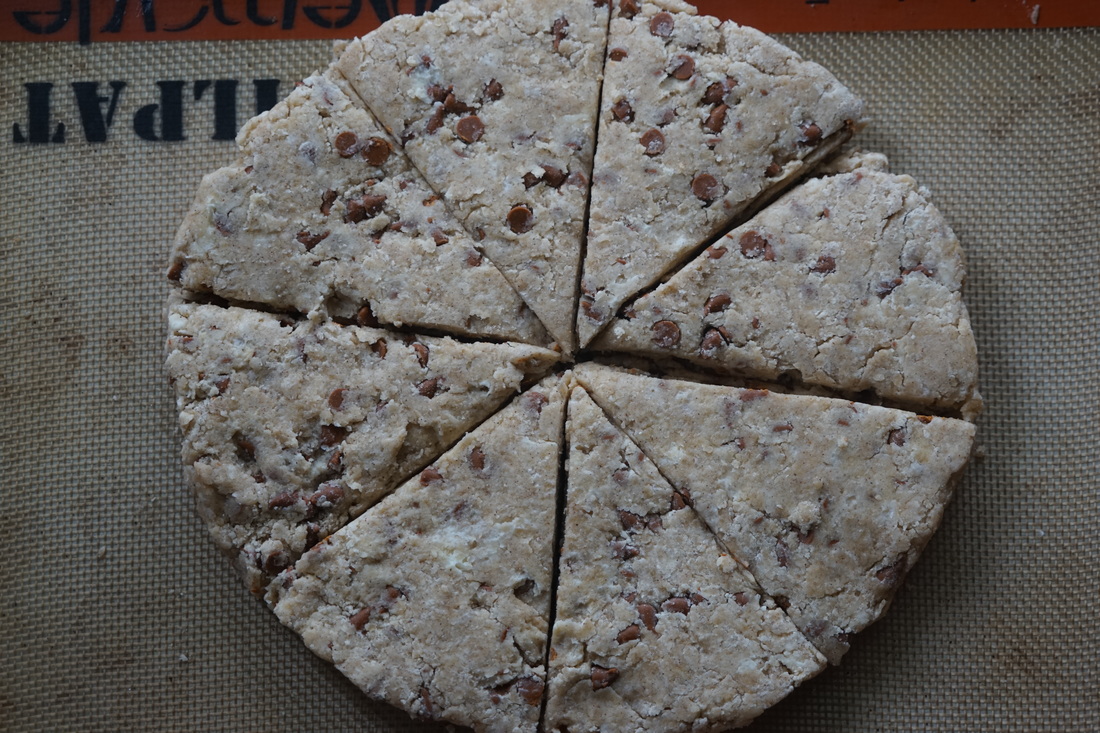  Brush the top of the scone with cream and sprinkle with sugar. 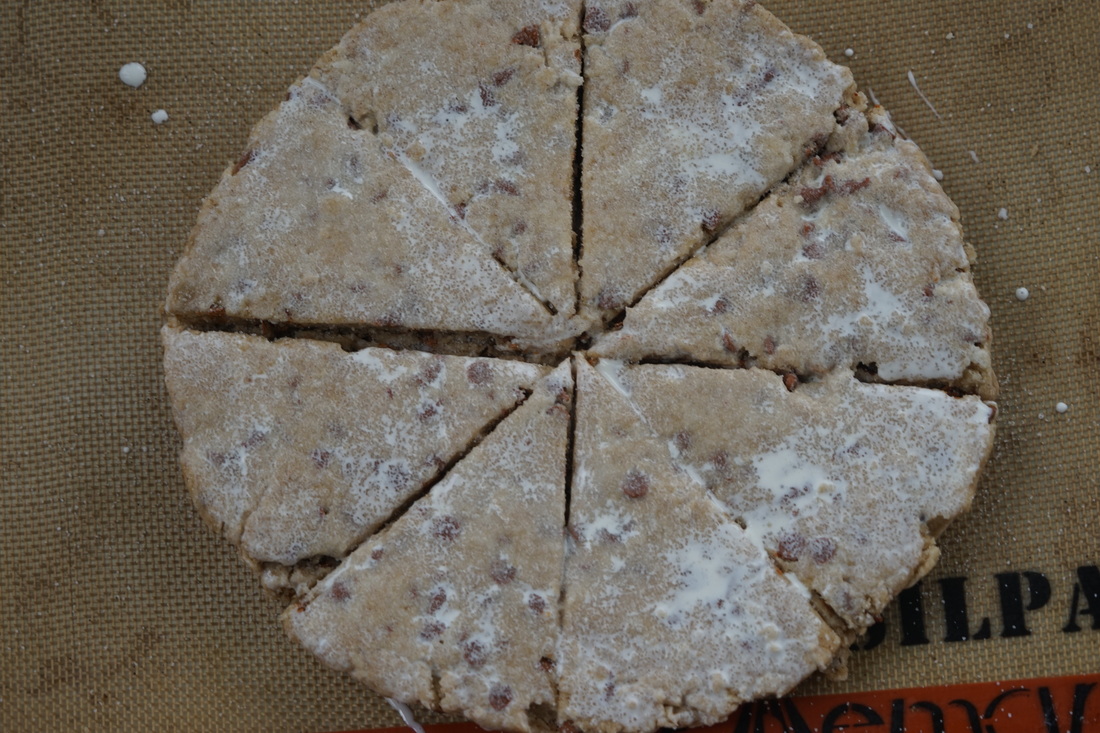  Bake 25 minutes at 400. 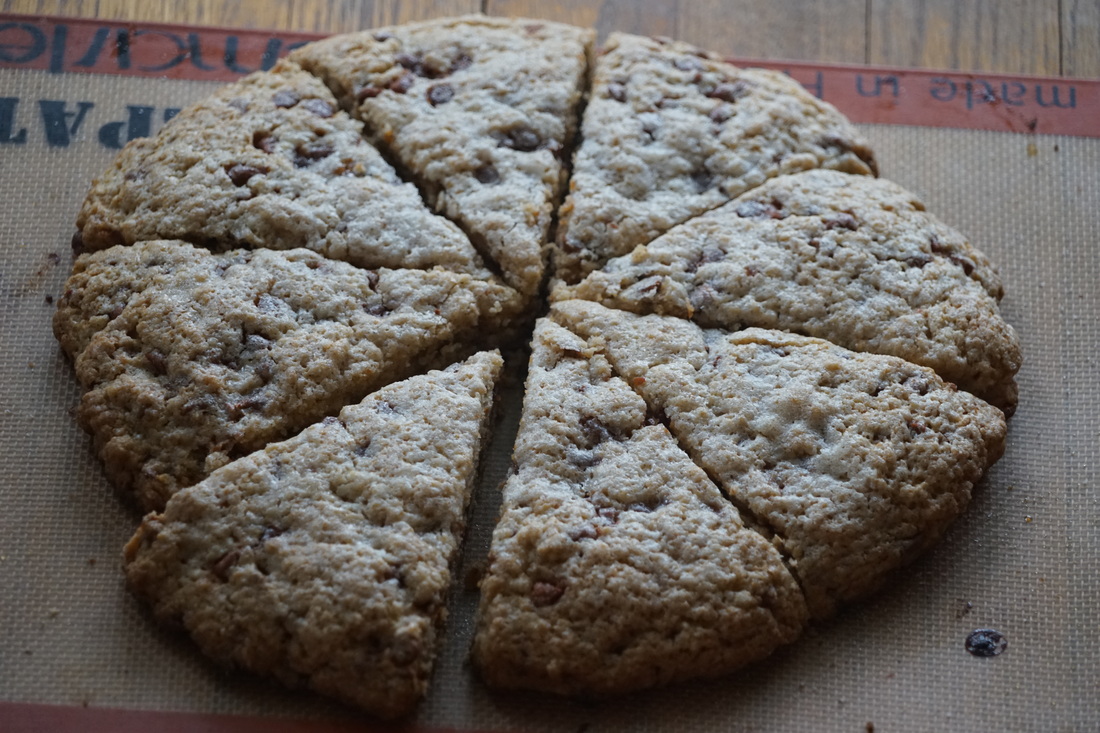 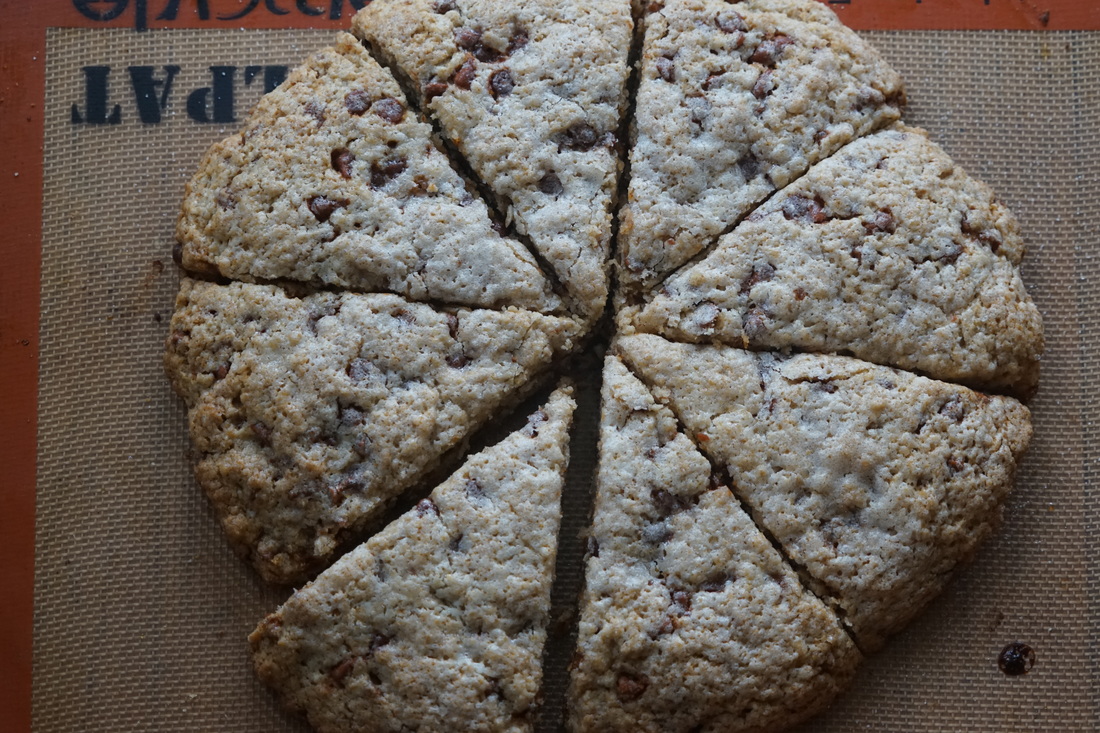 Combine glaze ingredients and drizzle over cooled scone. 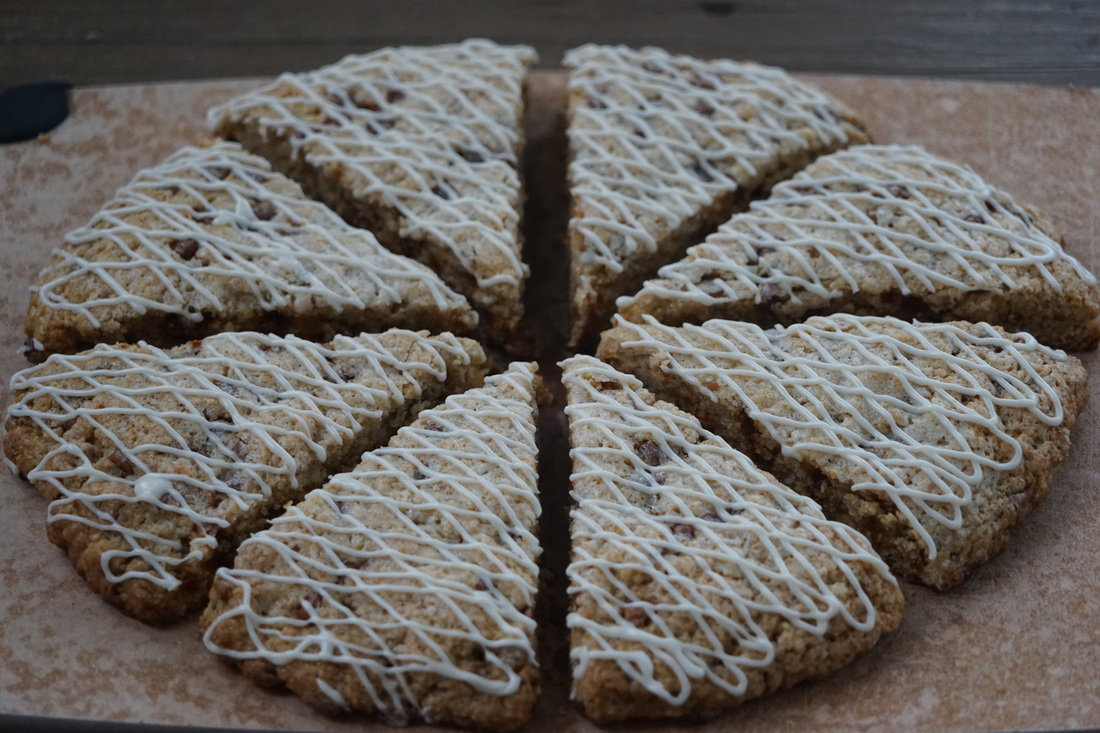 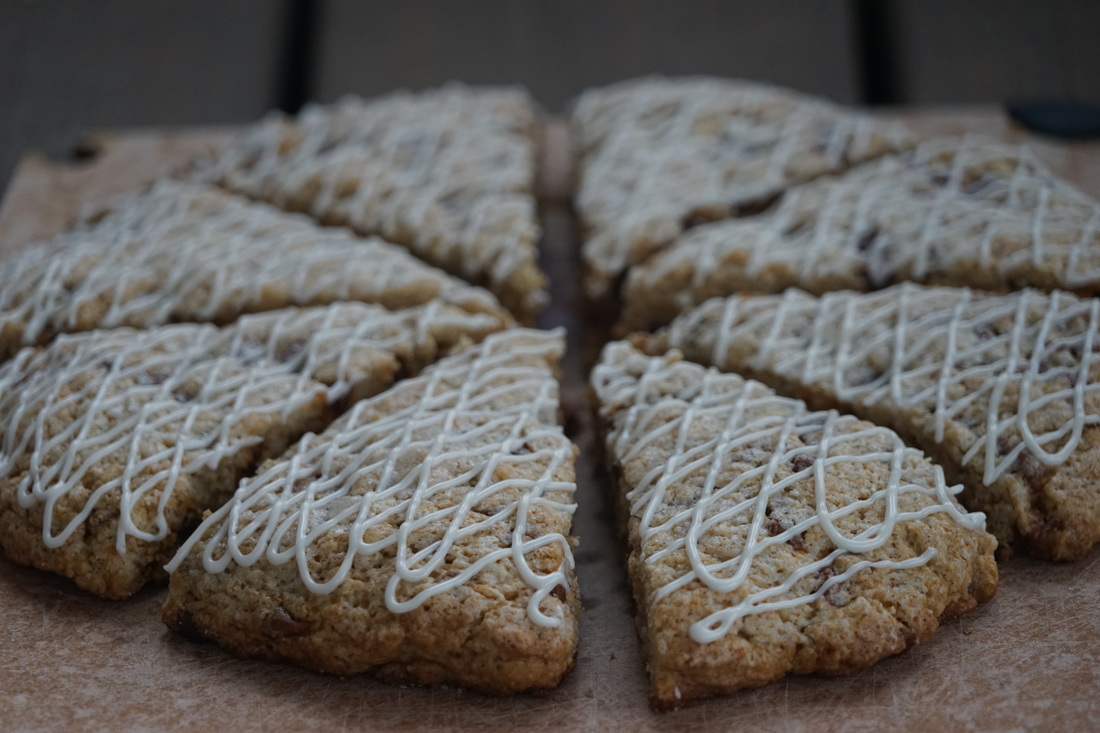 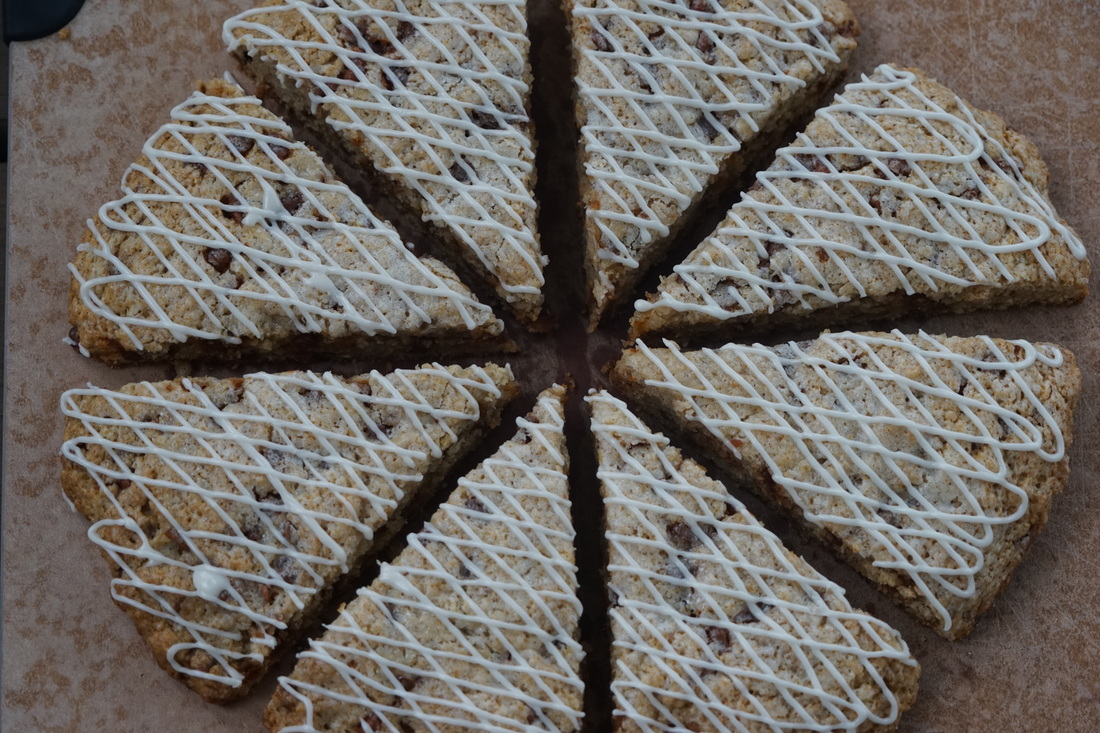 Just try and not eat one of these warm little scones - I dare you. 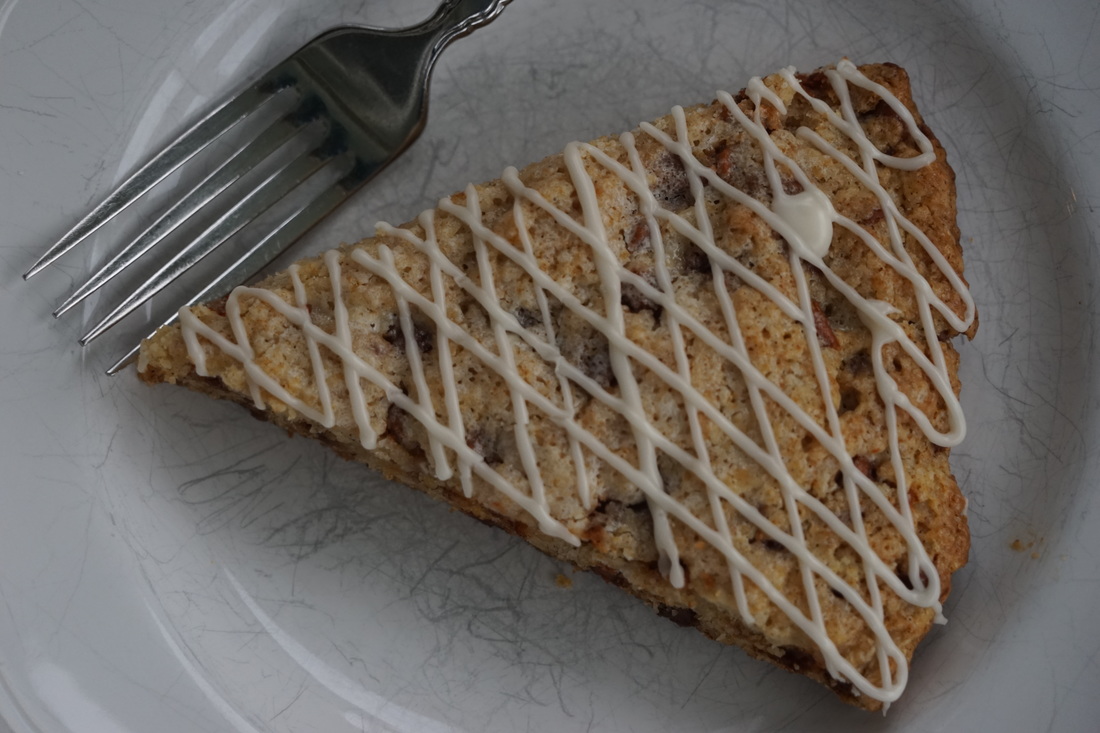 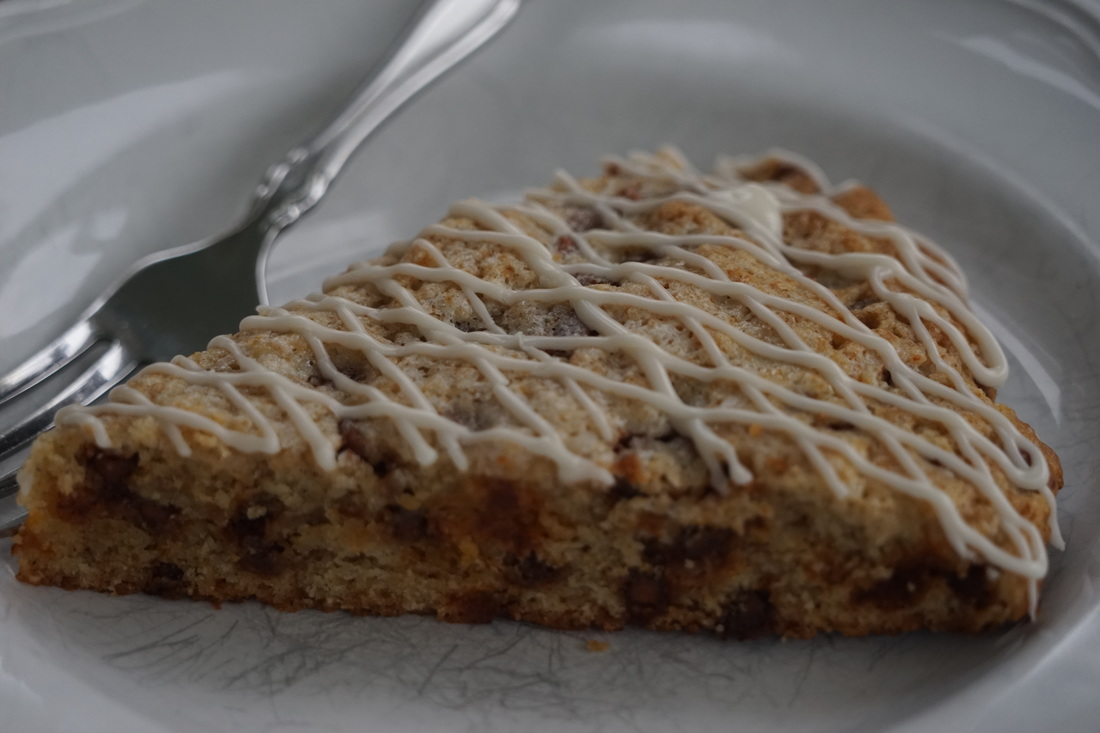 Oh my goodness - these scones are insanely good. I think I may even like my homemade version BETTER than the Panera version. I still hold them responsible for giving me cinnamon scone obsession disorder though.
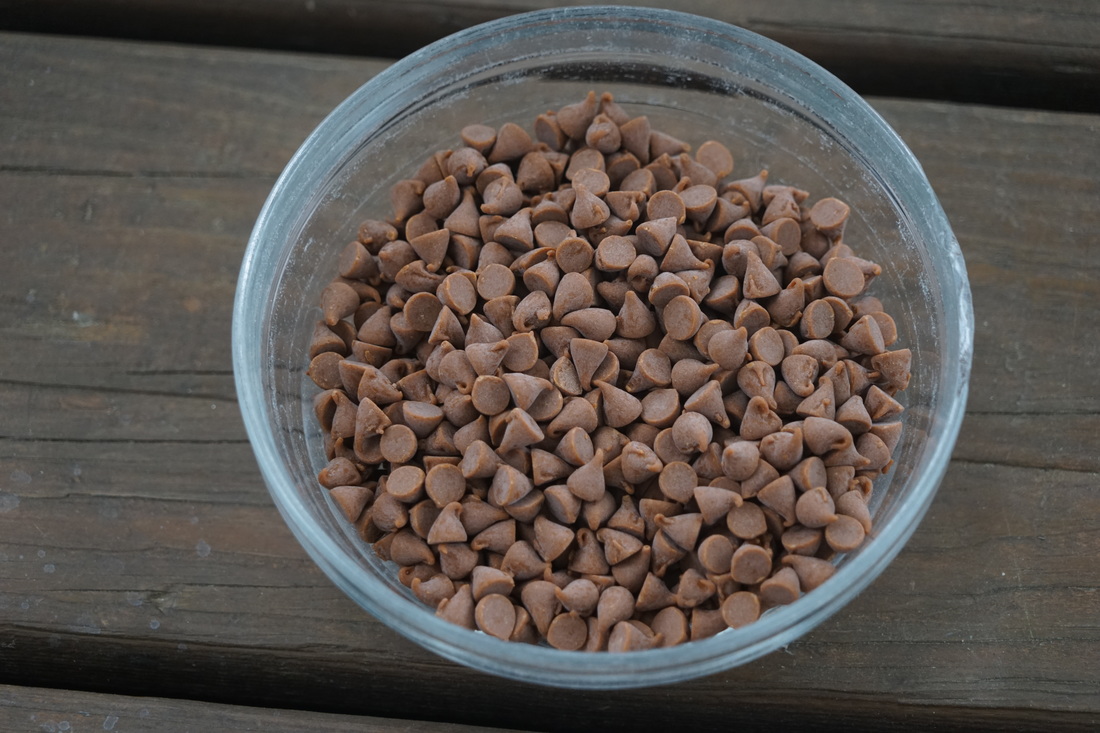
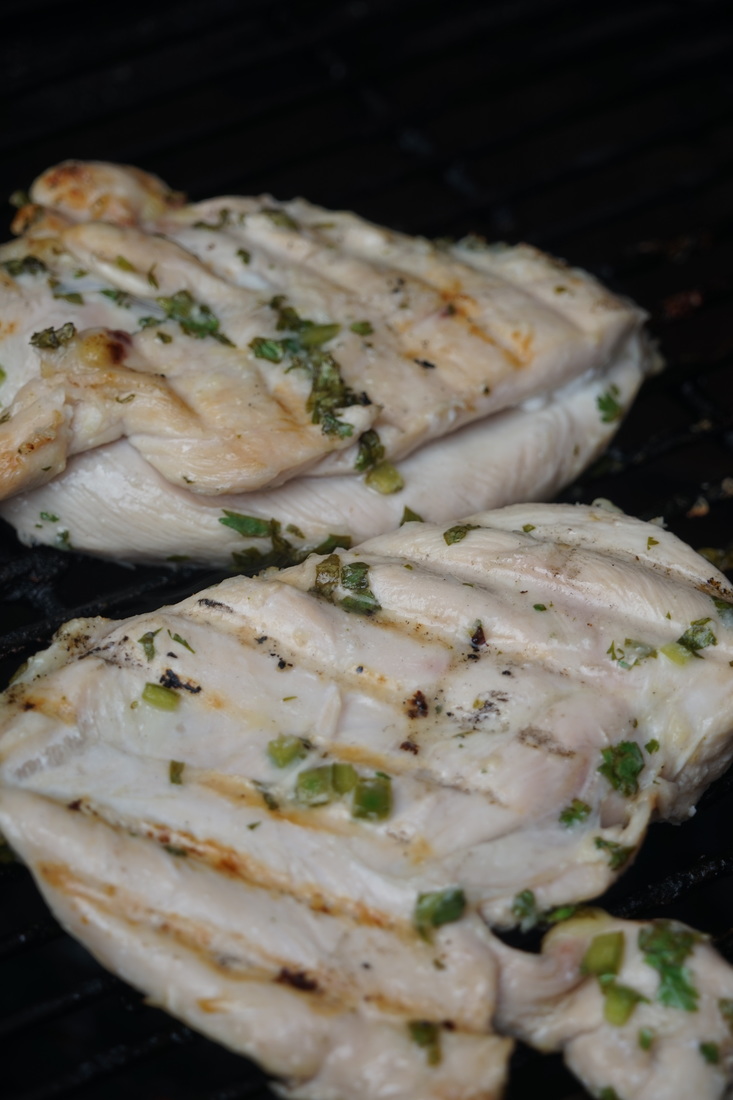
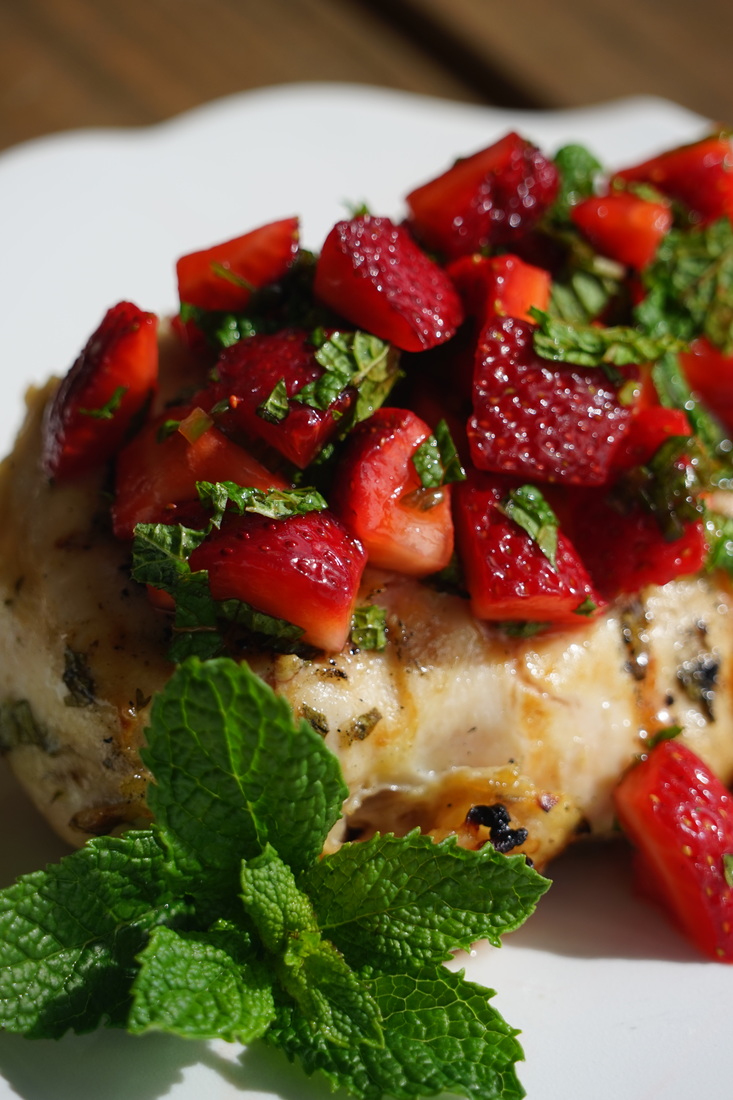
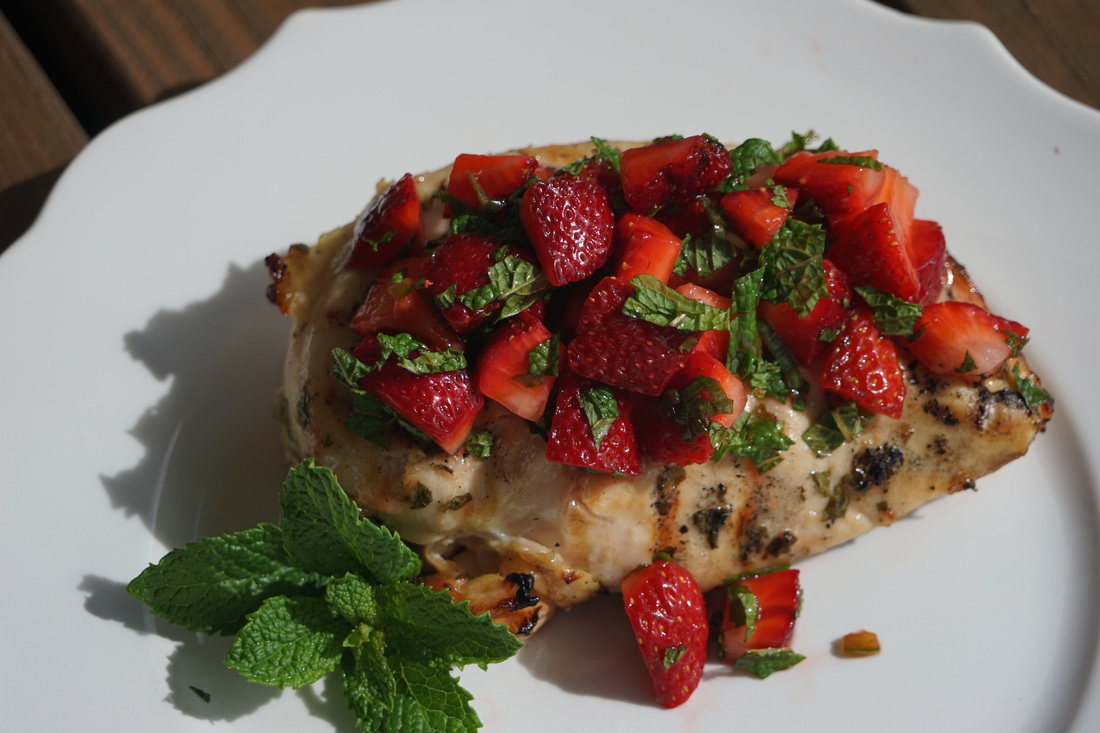
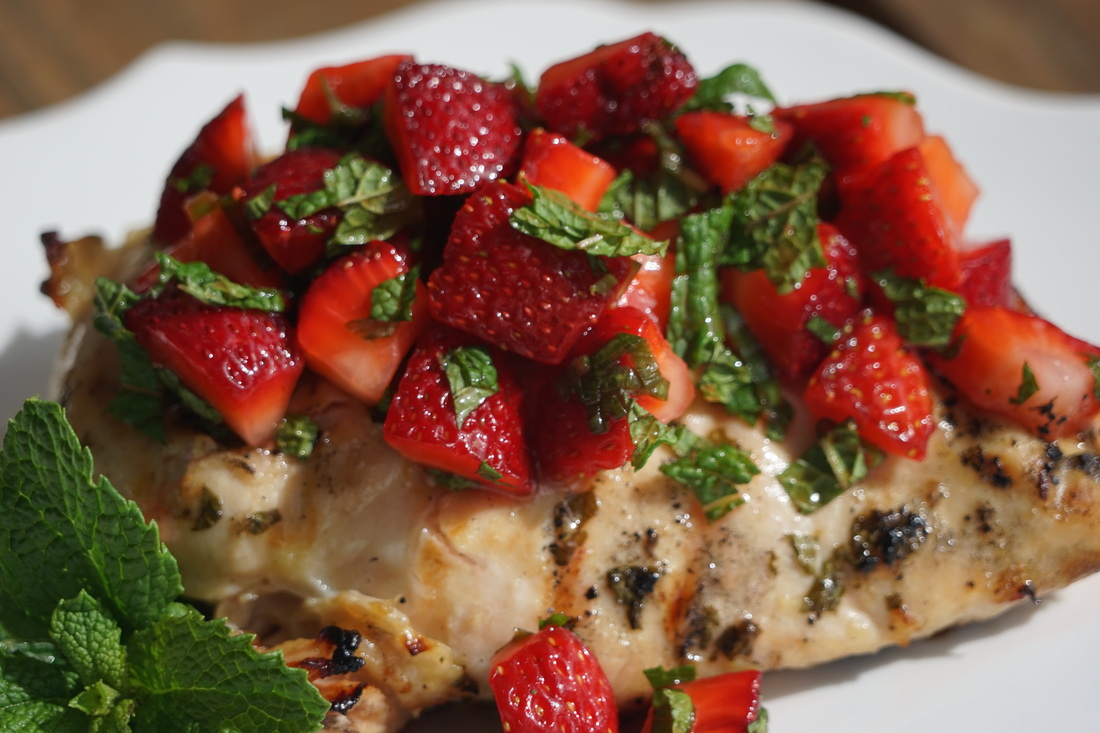
Ciao! 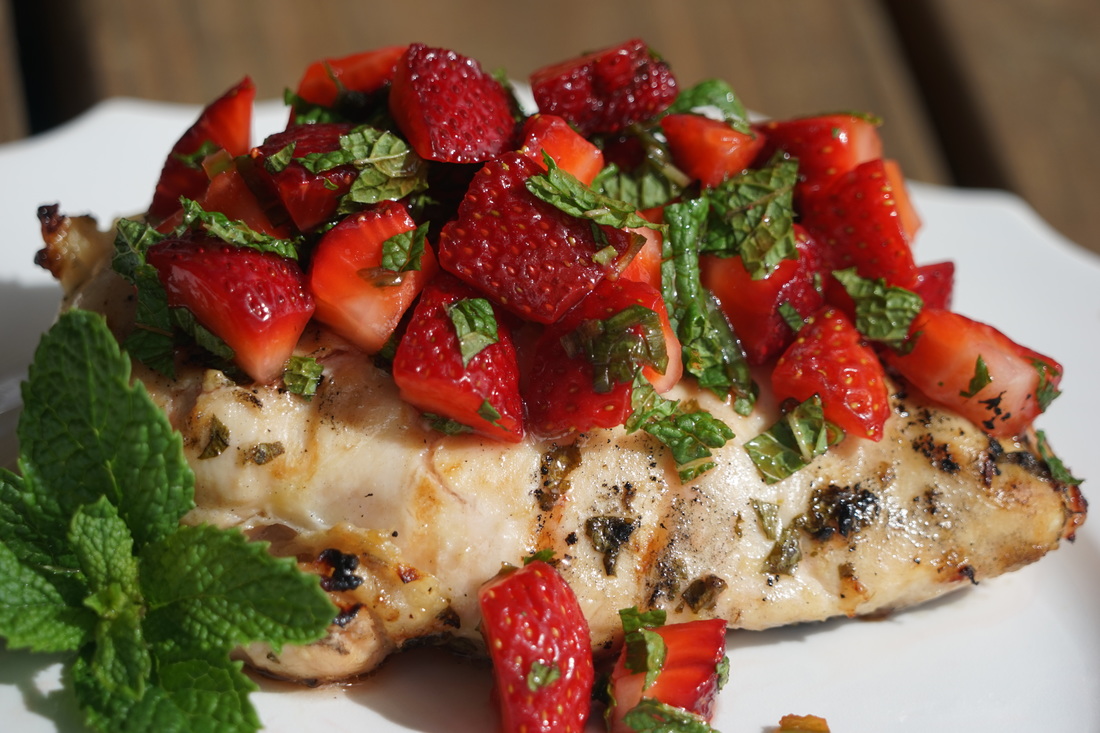 It's strawberry season in Georgia!!! I am so excited about this that I've already been to the strawberry field twice to pick berries. The three of us have consumed 3 entire buckets of fresh berries in a little over a week. 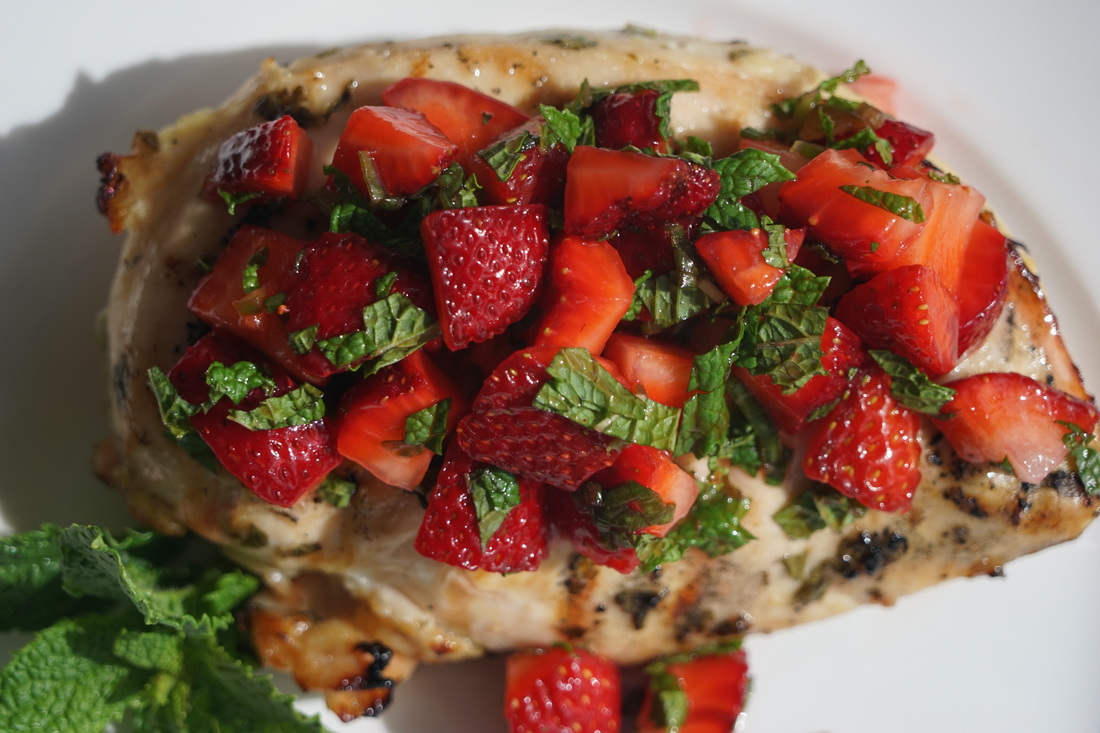 I had big plans of making a some strawberry ice cream and a strawberry shortcake and dipping some of our sweet berries in dark Cadbury chocolate but none of those things happened. They were so good and so sweet that we ate almost all of them without any adornment at all. There is no better test of a great strawberry than eating it plain - without sugar, whipped cream or chocolate. I did manage to salvage the last few berries in the bottom of the bucket though and I used them to make this yummy strawberry salsa. I'm normally not a fruit salsa kind of girl but this strawberry salsa looked so good - I couldn't resist. 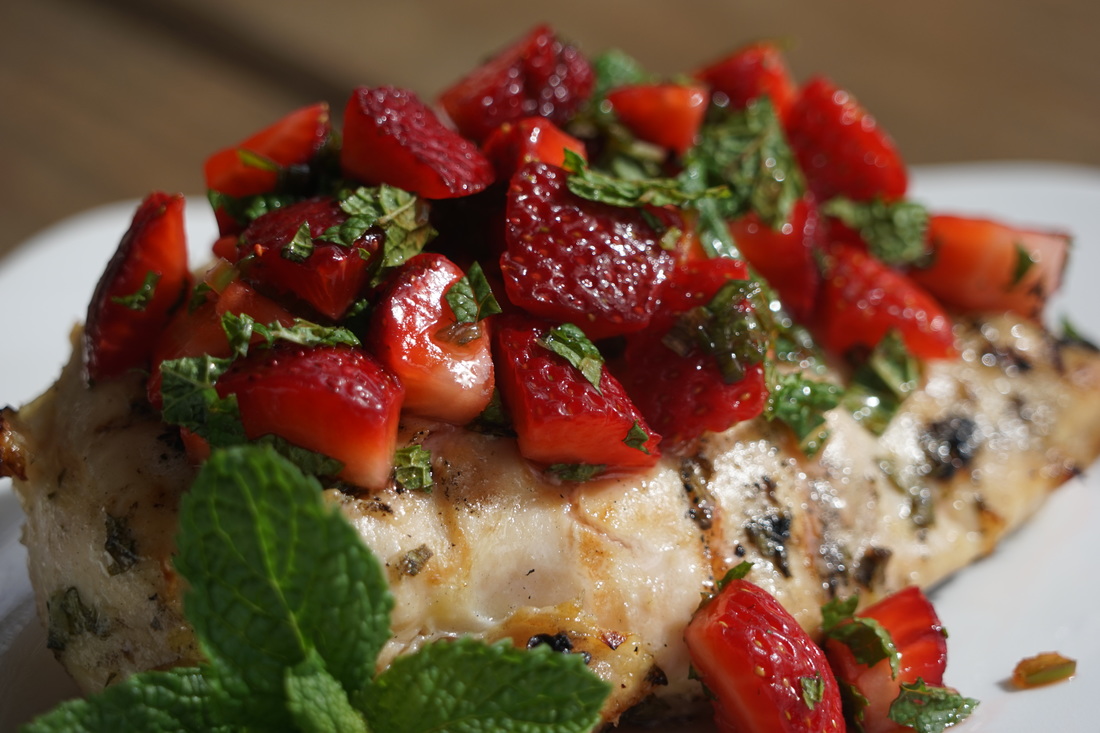 Cilantro Lime Grilled Chicken with Strawberry Salsa
Combine strawberries, green onions, 1/2 jalapeno, lime zest, 1/2 juice lime, 2 Tablespoons cilantro, salt, pepper and mint. 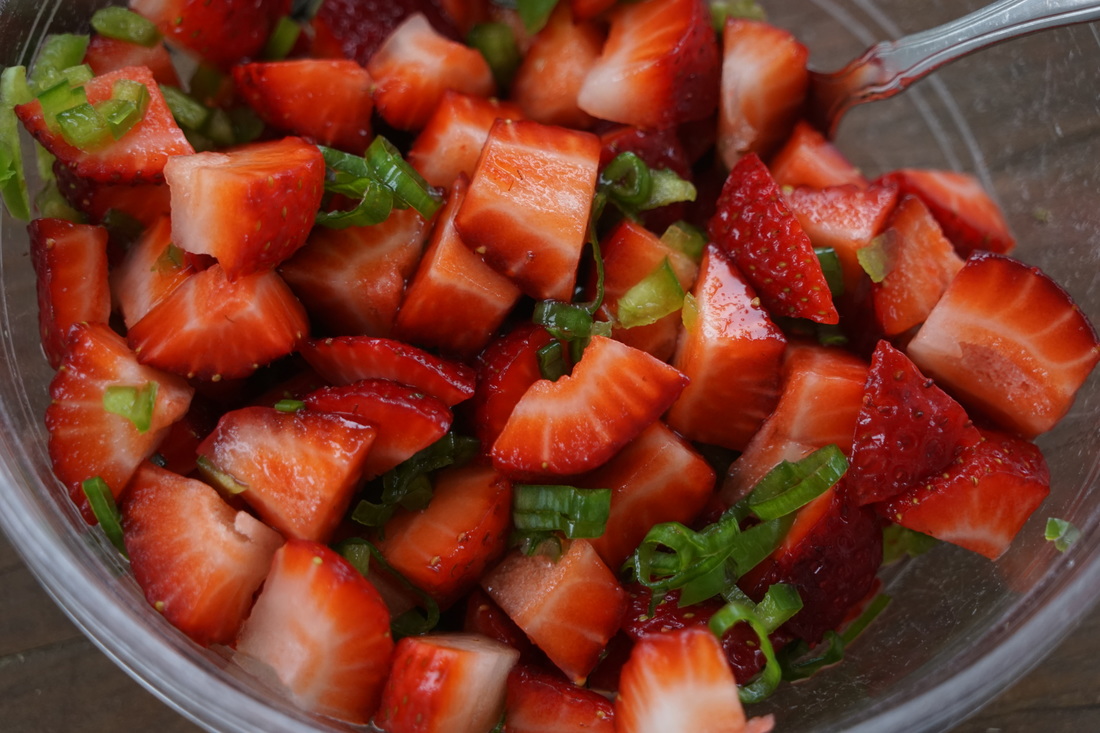 Combine oil, remaining jalapeno, 2 T. cilantro, garlic and 1 1/2 juiced limes. 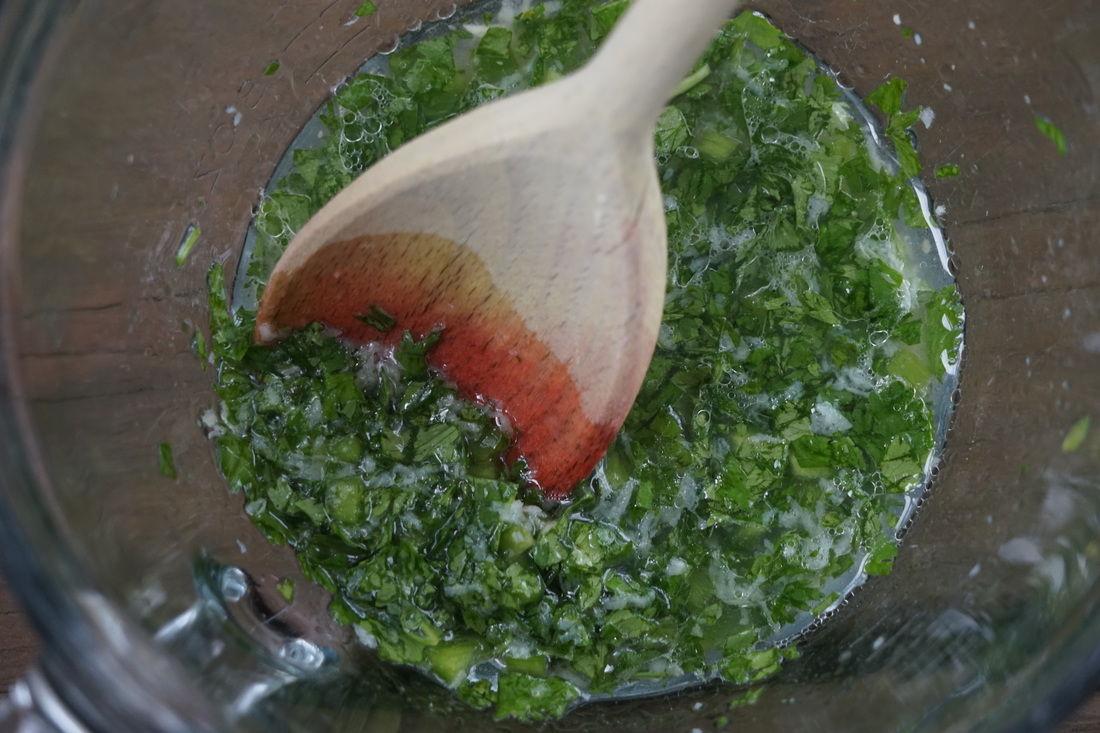 Pour into a ziploc bag. Add chicken. Let marinate in refrigerator 30 minutes. The lime juice will start to cook the chicken if left too long so be sure and marinate for just 30 minutes. 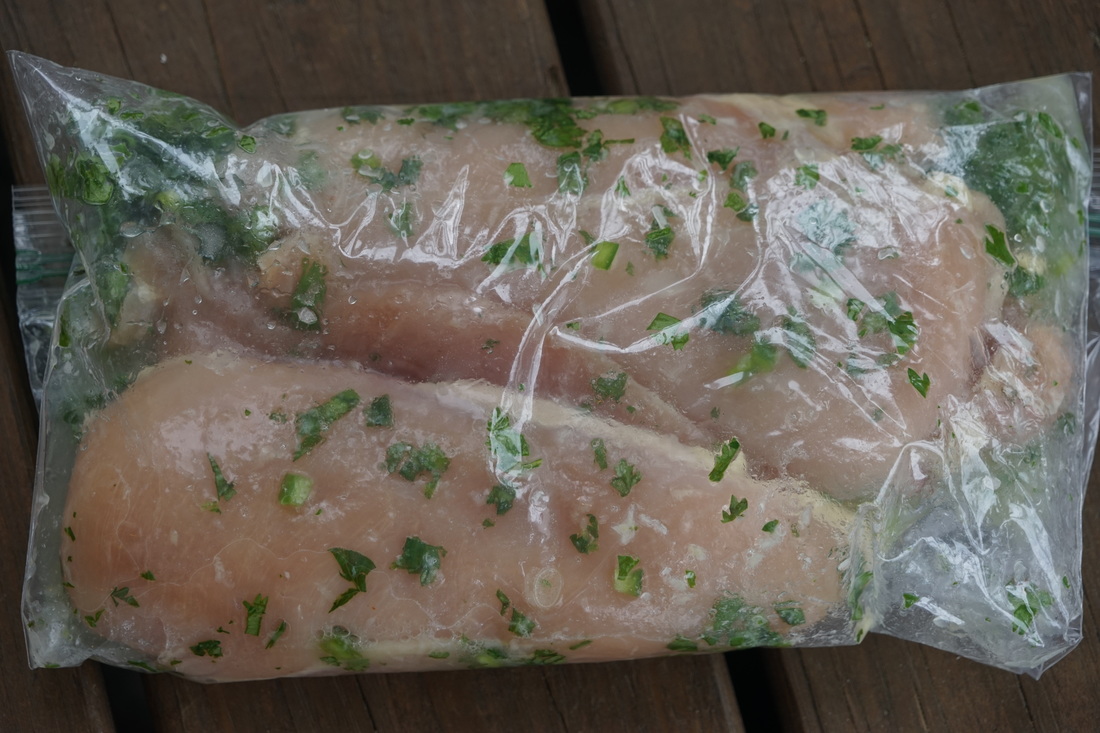
Remove chicken from grill and let rest. 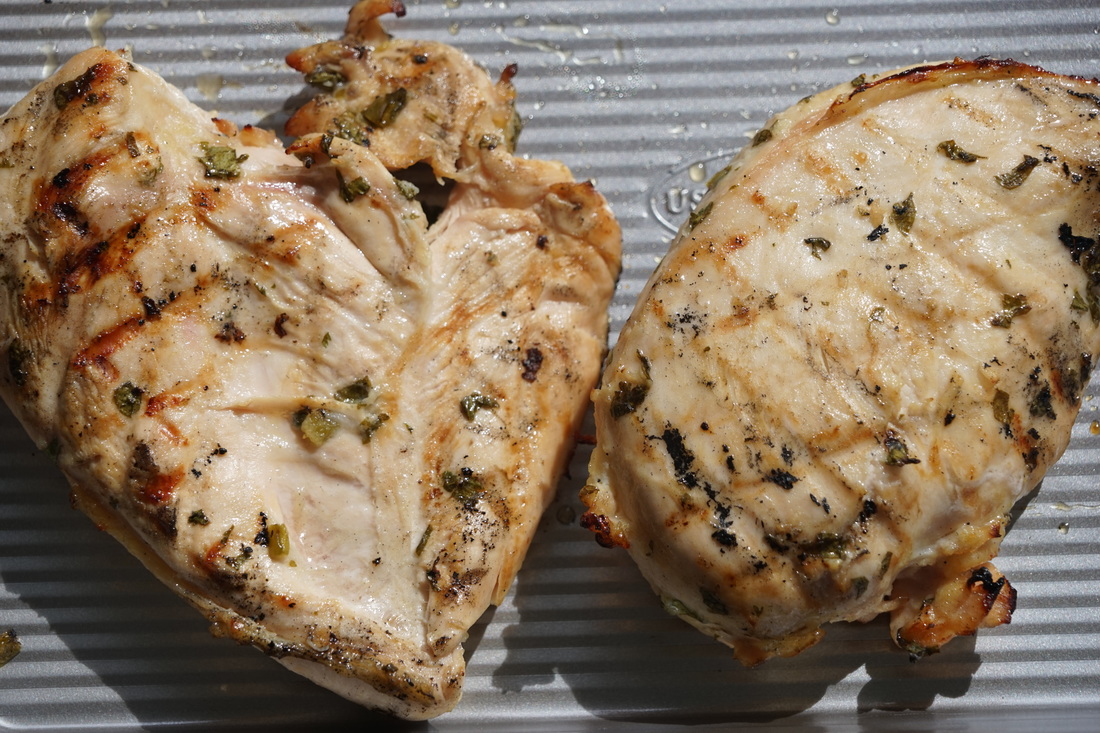 Top with strawberry salsa. 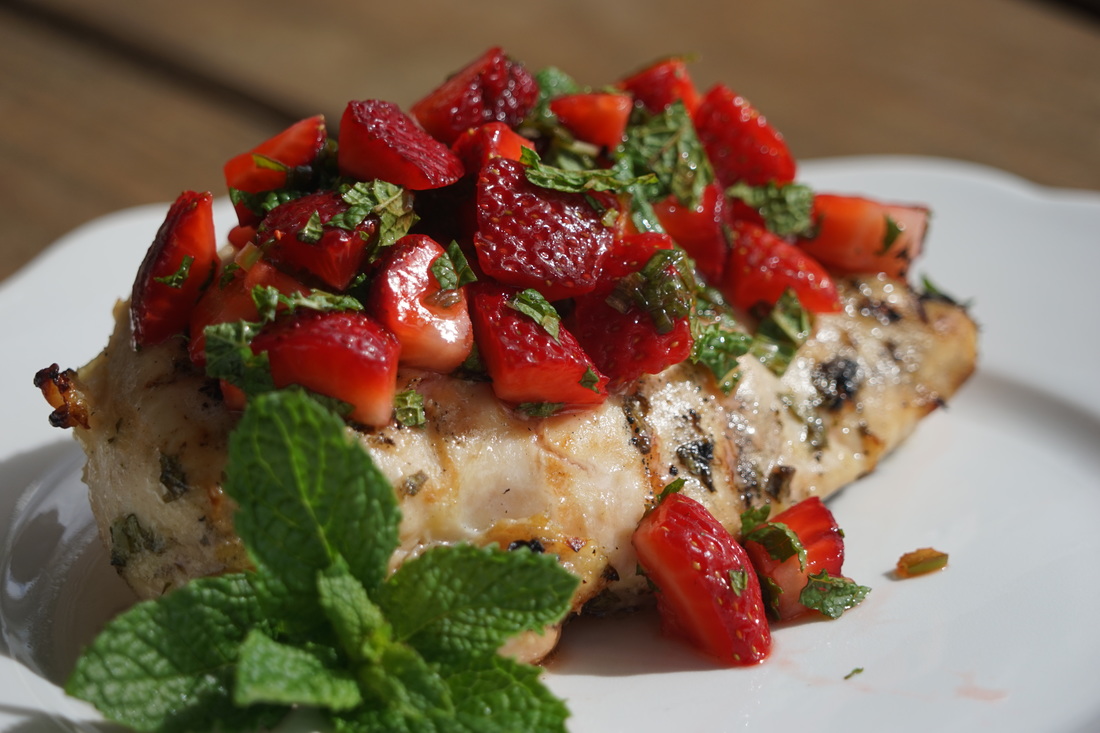
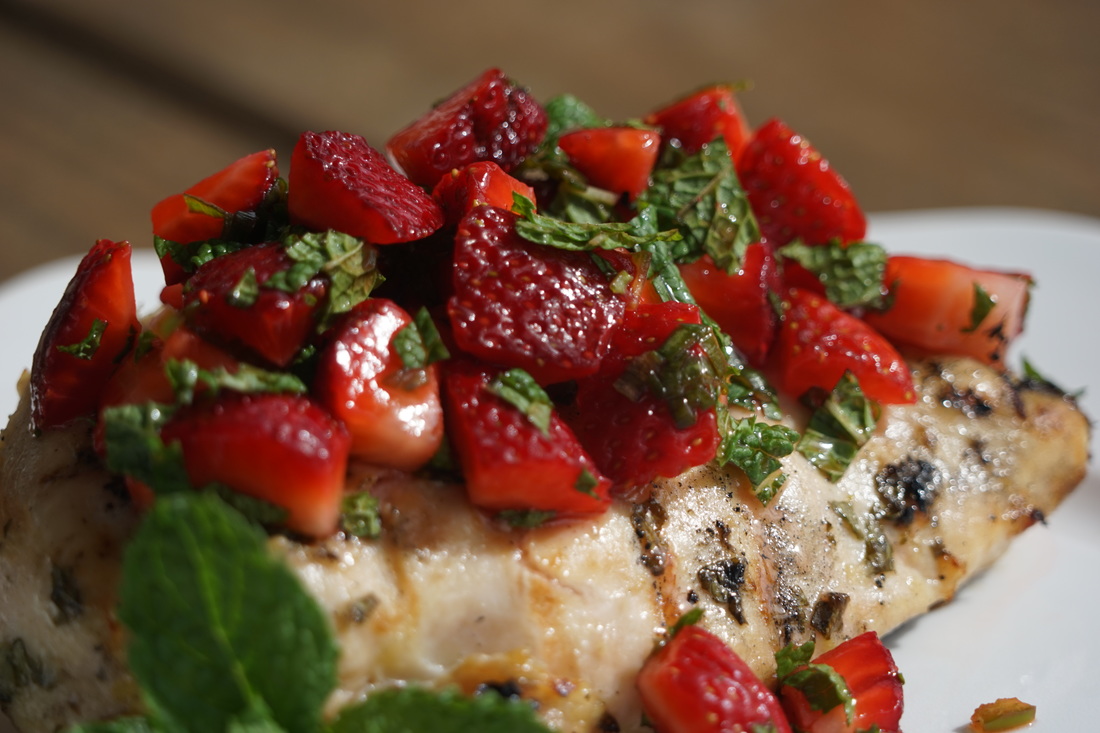 Strawberry season never tasted so good. This cilantro lime chicken is super good. Now if I can manage to save a few extra berries from our next bucket for some shortcake - I'll be all set.
Ciao! |