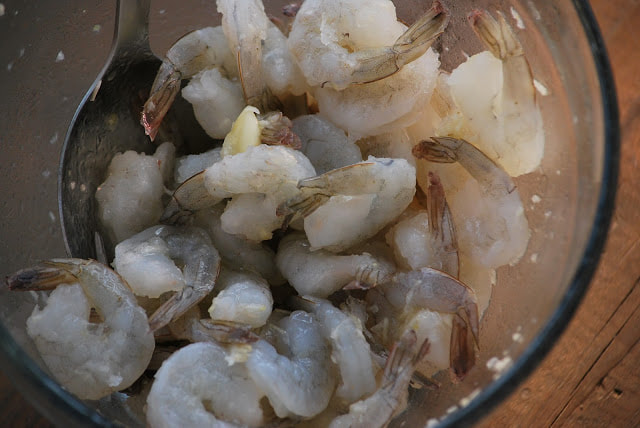
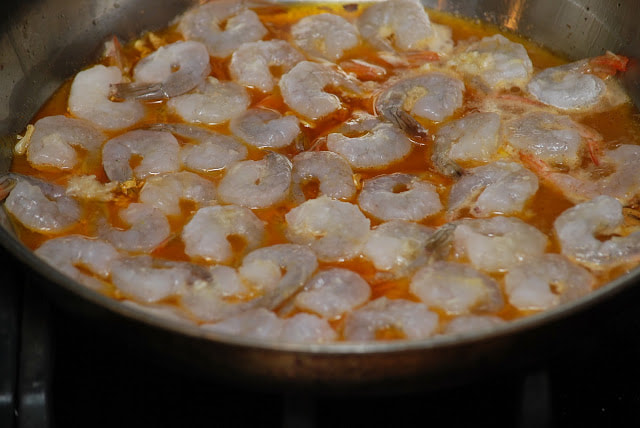
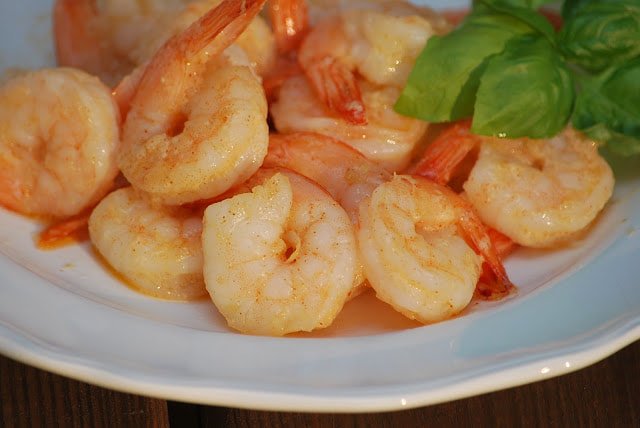
 If you are opposed to the smell of garlic - you need to steer clear of this recipe. On the other hand if you savor the smell and the flavor of roasted garlic - break out the crusty bread - this recipe is for you! I am a confirmed garlic lover so when I found this Cook's Illustrated recipe for Spanish Style garlic shrimp, I couldn't resist the urge to try it. Turns out - it was the perfect quick and easy Friday night meal. It was delicious and simple to make. 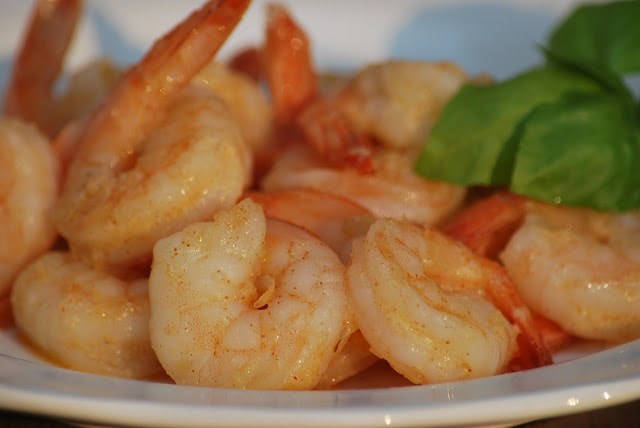 Garlic Shrimp 14 medium garlic cloves, peeled 1 pound large shrimp, peeled 8 Tablespoons olive oil 1/2 teaspoon salt 1 bay leaf 1/4 teaspoon paprika 2 teaspoons sherry 1 teaspoon vinegar
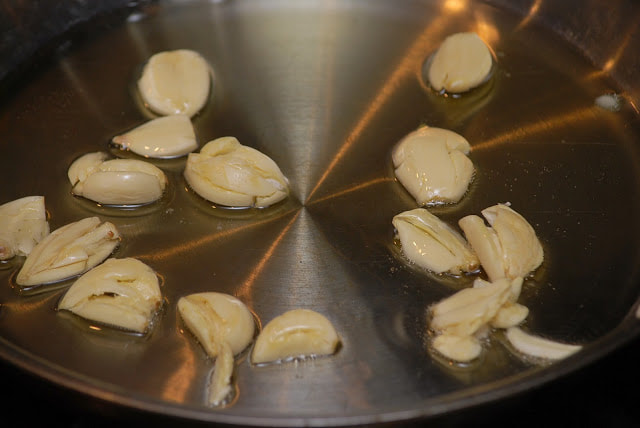
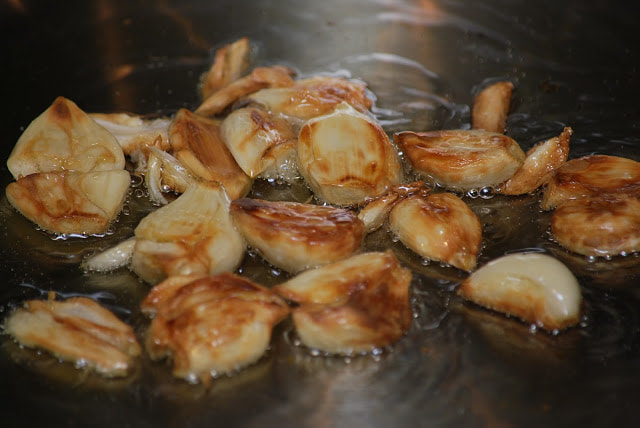
Smash 8 garlic cloves. Heat garlic and 6 Tablespoons oil in skillet 4-7 minutes.
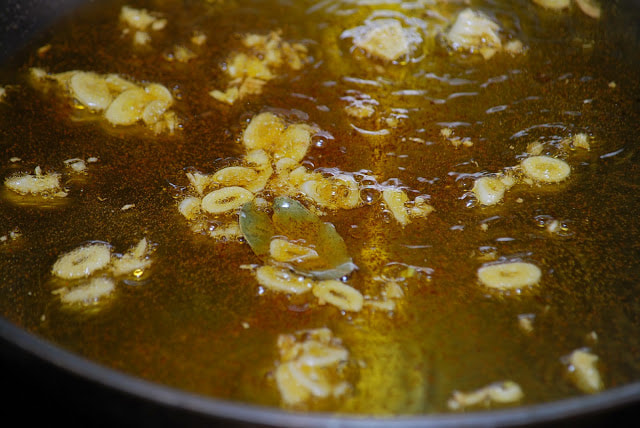
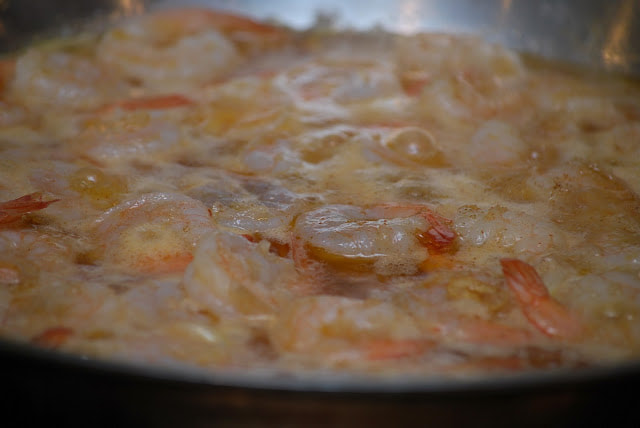
I spent the day at the pool with my kids so I didn't have a whole lot of energy left to cook dinner when we got home. Luckily for me, I had already planned to make this easy shrimp dish. It was exactly what we needed to refuel our tired bodies after an afternoon of swimming. This meal came together in under 20 minutes - my kind of summertime meal. My plan was to make a big salad and serve the garlic shrimp on top. Partly because the shrimp was so good and partly because I just didn't want to take the time, the salad never got made and I ate a plate full of this yummy shrimp by itself. 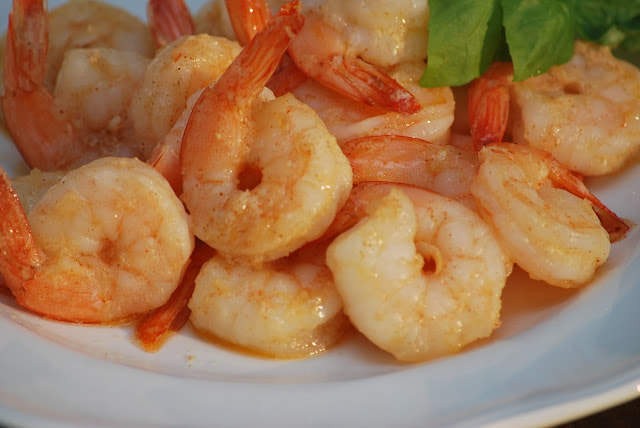 Even though the shrimp really takes the spotlight, the oil does not take the backseat here. The garlic flavored oil is just good as its shrimp counterpart. Make sure that you use a crusty bread to soak it all up so that it doesn't go to waste.
Ciao!
0 Comments
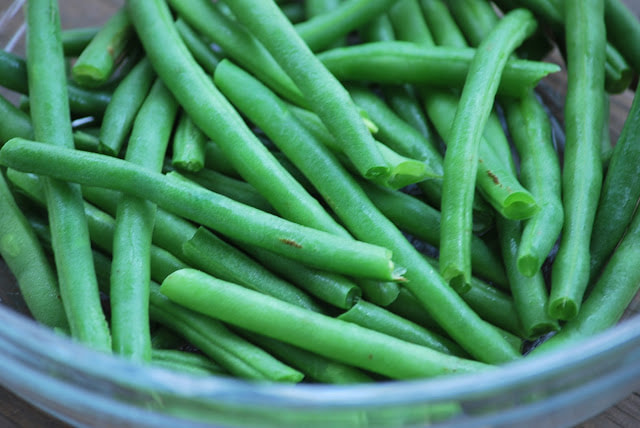
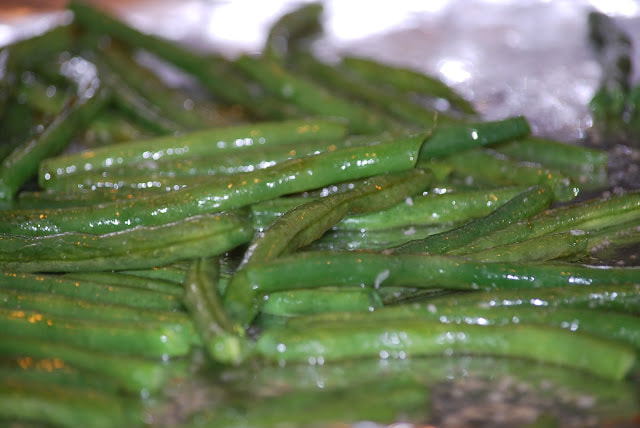
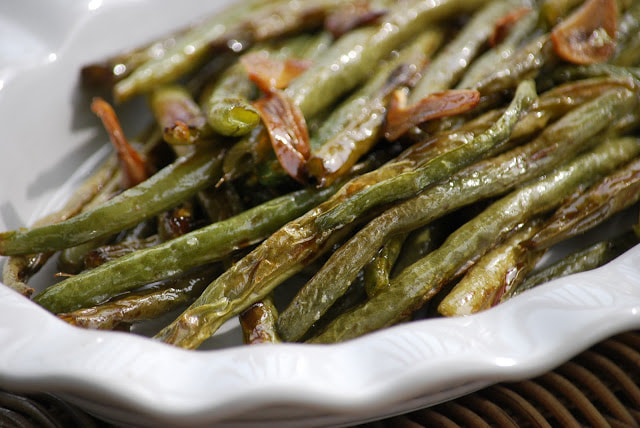 Wrinkles aren't all bad. Not on green beans anyway. A nicely shriveled green bean is a good indicator of a really flavorful roasted vegetable. Sometimes I am just at a loss at what to make for side dishes. I feel like I get into a rut of making the same old things over and over again. I found this recipe for Roasted Green Beans a Cook's Illustrated magazine from 2005 and I really wanted to give it a try. 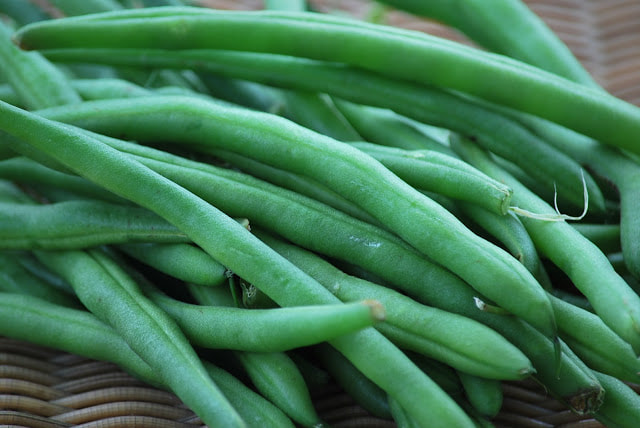 Roasted Green Beans 1 pound green beans 1 Tablespoon olive oil table salt 1 Tablespoon balsamic vinegar 1 teaspoon honey 1 teaspoon fresh thyme leaves 1 clove garlic, thinly sliced
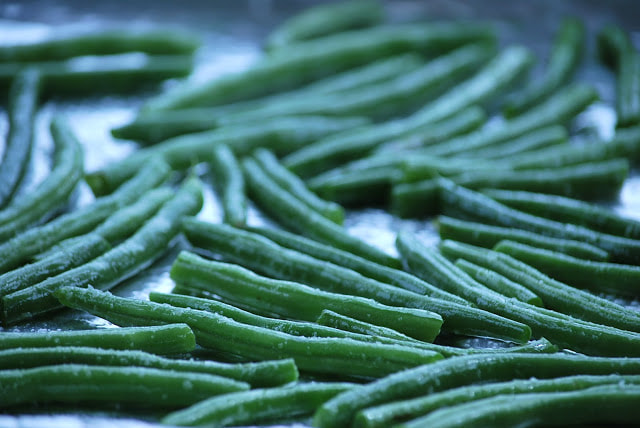
Coat beans with mixture and roast another 10 minutes. 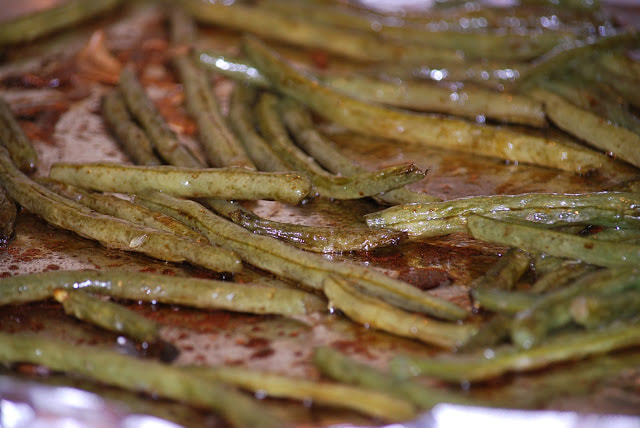 I didn't make nearly the pound of beans that the recipe called for but I had to scale back my portions to a more realistic serving of beans that my family I could consume in one meal. I thought they were great but the kids weren't all that impressed. (More for me I guess.) 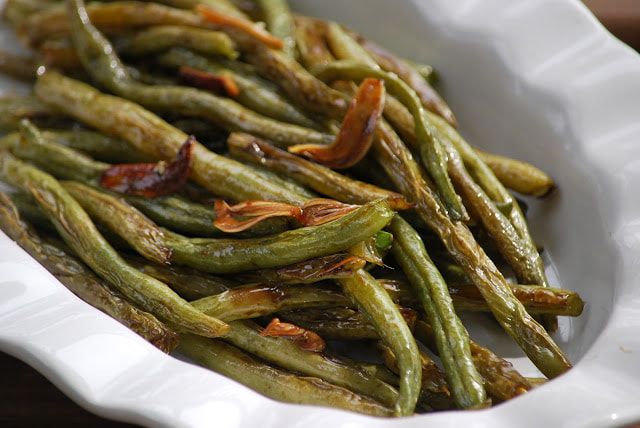 I love the slivers of roasted garlic and the sweet tangy balsamic and honey glaze. I will definitely make these beans again - even if it is, just for me.
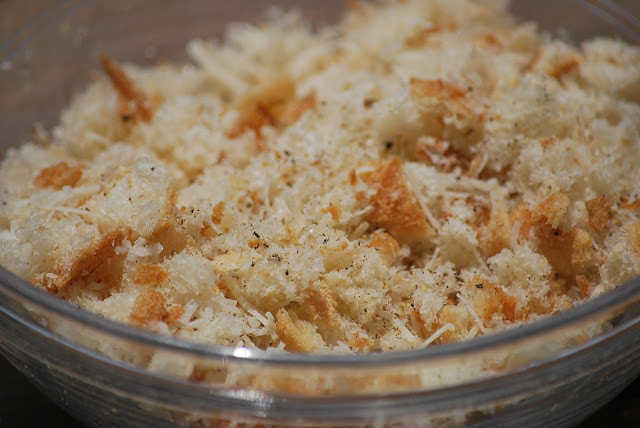
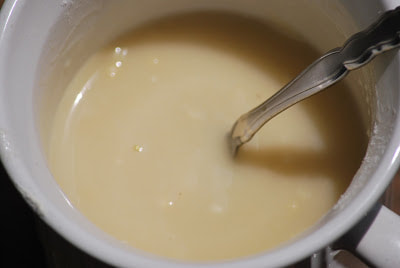
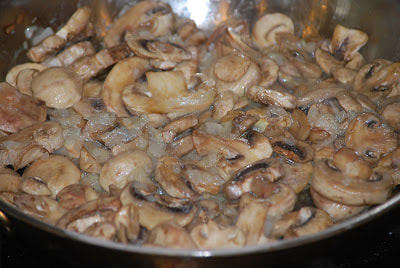
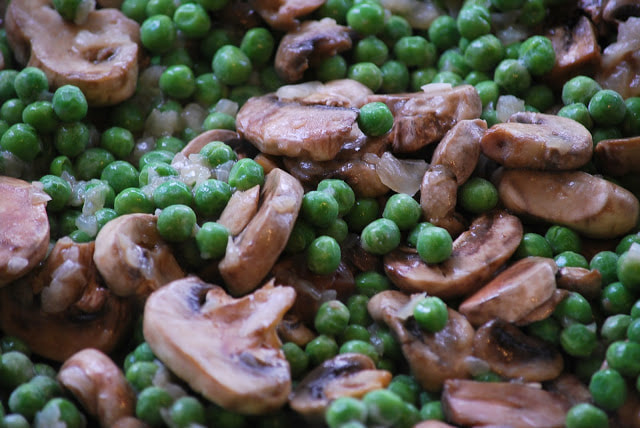
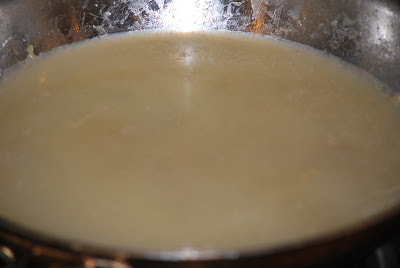
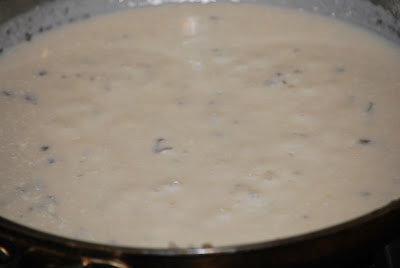
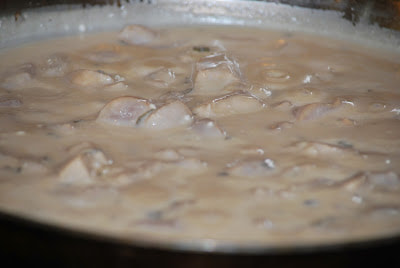
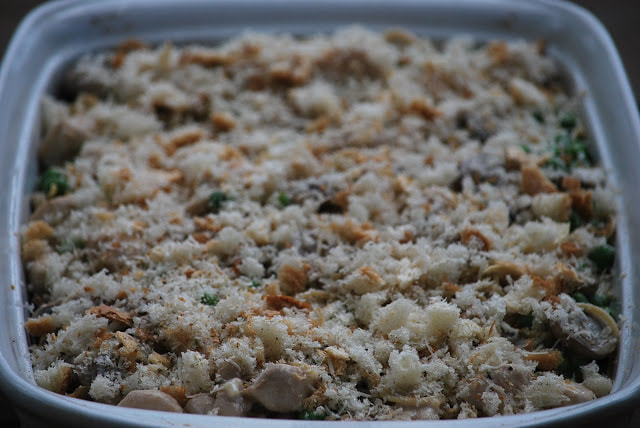
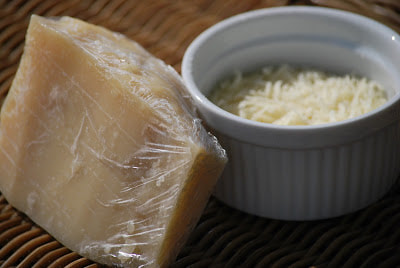
Ciao! 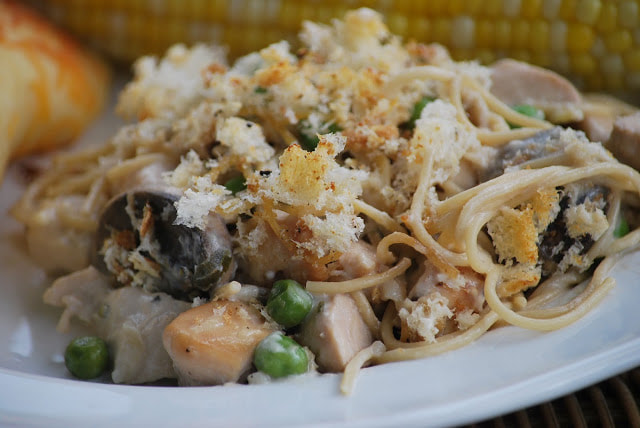 Turkey Tetrazzini has always been one of those meals that I reserve for the week after Thanksgiving when I'm trying to use up extra turkey. The only other time that I make it is when I need to deliver a meal to a family in need. It's easy to prepare in advance, I can make a lot at one time and I can freeze the leftovers. The only problem was that is, that it's not a very healthy meal to give to someone. Loaded with heavy cream and cheeses, my tetrazzini was delicious but certainly not healthy. I found a recipe for a reduced fat and calorie version of chicken tetrazzini in my Cook's Illustrated magazine that peaked my interest. I decided to give this recipe a try and see how it compared to my unhealthy version of turkey tetrazzini. 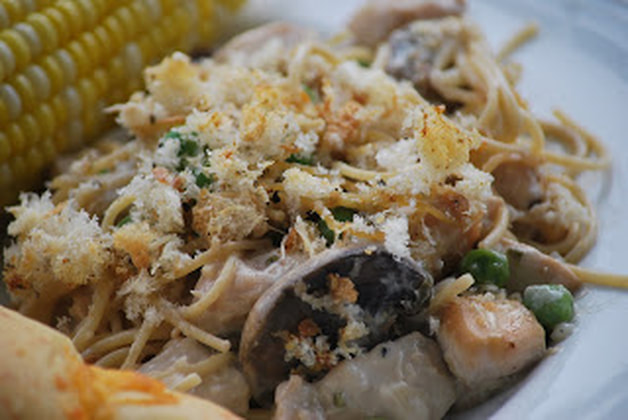 Chicken Tetrazzini 12 ounces boneless, skinless chicken breasts, cut into 3/4” pieces 2 Tablespoons soy sauce 1 slice hearty white bread 7 Tablespoons Parmesan cheese 2 1/4 teaspoons salt 3/4 teaspoons pepper 5 ounces spaghetti, broken in half 2 Tablespoons flour 1 Tablespoon butter 8 ounces mushrooms, sliced 1 onion, chopped fine 1 cup frozen peas 1 cup low sodium chicken broth 2 tablespoons dry sherry 3 ounces cream cheese
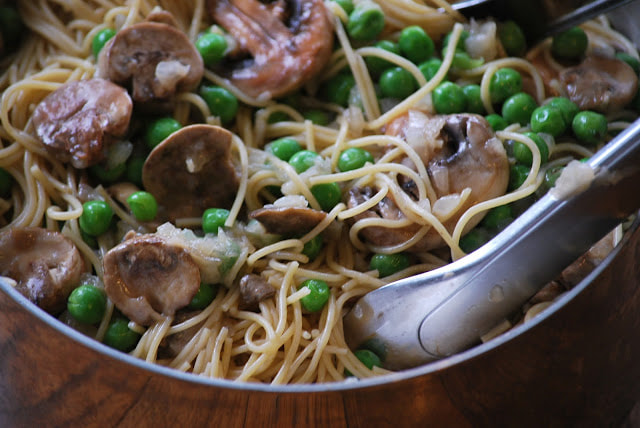
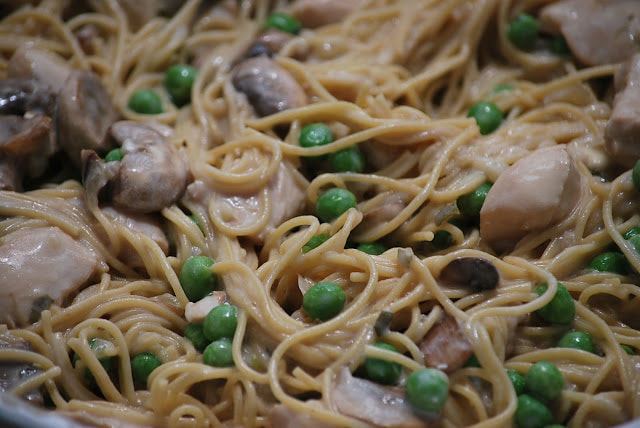
(If I were going to take this to another family, I would stop right there, wrap the dish in plastic wrap and deliver it along with baking instructions.) You could also freeze the casserole at this point. I wrap the dish in plastic wrap and then foil and I write the baking instructions on the top before I put it in the freezer. Bake 12-14 minutes. 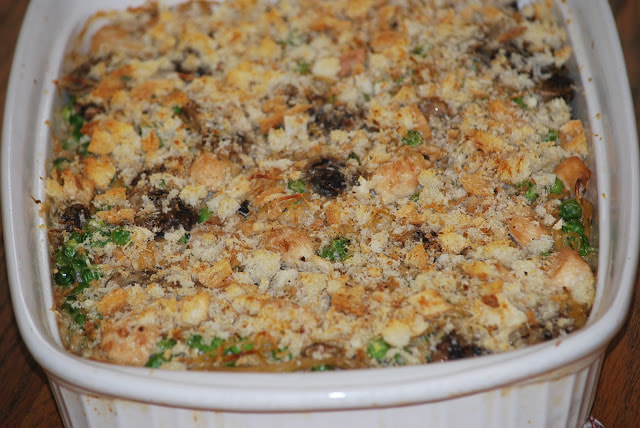 The chicken was really moist and tender compared to my version which used meat that was already cooked. Everyone really liked this chicken tetrazzini. The kids each left a little pile of peas and mushrooms on their plate but they ate LOTS of chicken and pasta. 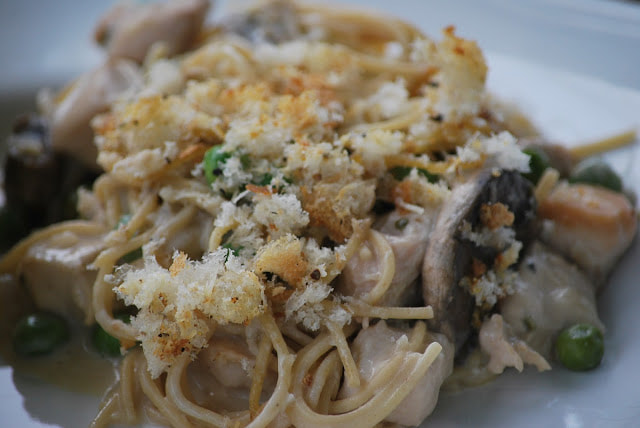 I may have to make a couple of Chicken Tetrazzini's to keep in my freezer. This was really delicious and good enough to have even before Thanksgiving.
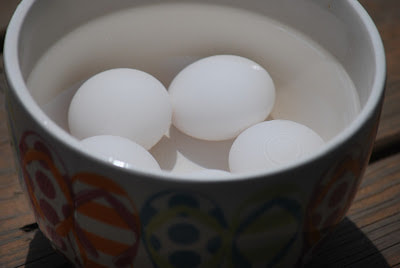
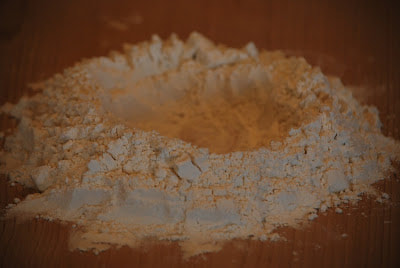
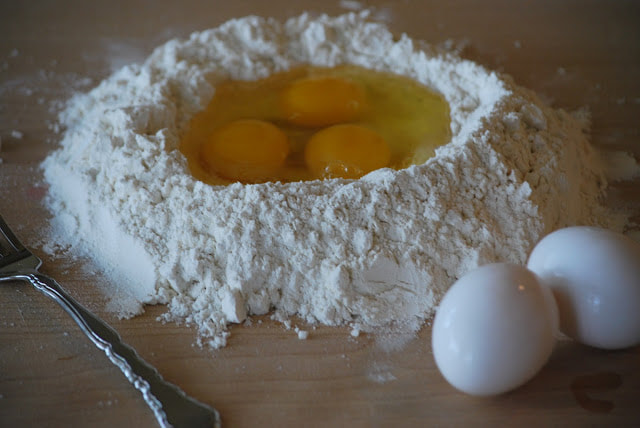
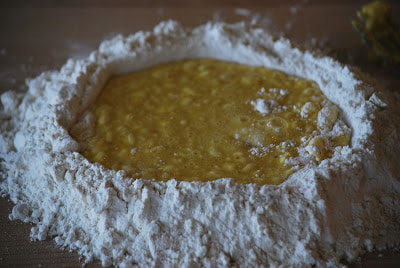
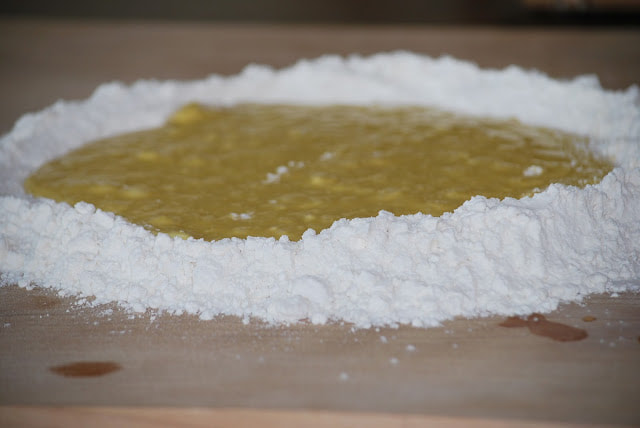
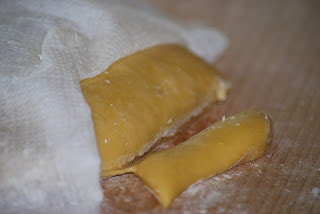
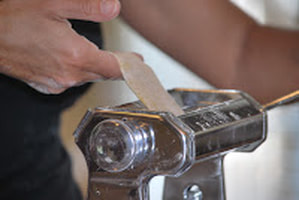
Ciao! 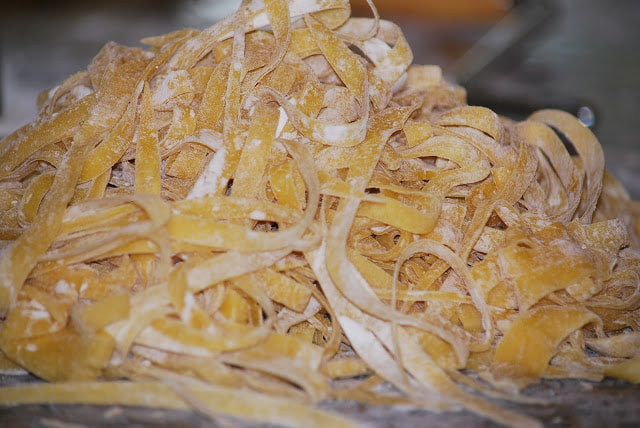 I celebrated a birthday a couple of weeks ago and for my birthday dinner I made homemade pasta. (Anyone who has tasted homemade pasta knows what a treat it is.) After a phone call to my brother to get some tips, I dove into the pasta making process. There are only 2 ingredients in my pasta dough: eggs and flour.
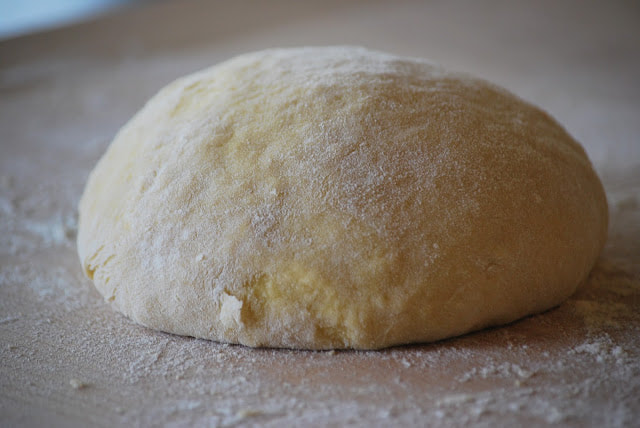
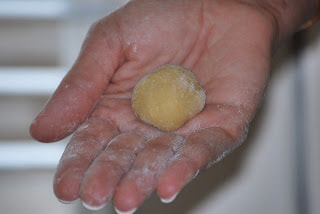
Cut off small portions of the dough to work with.
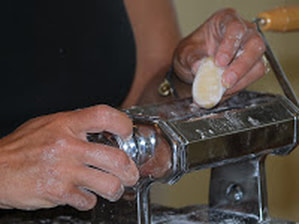
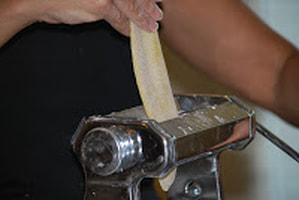
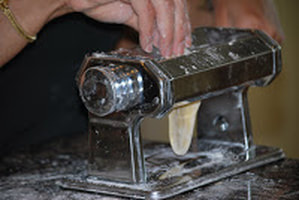
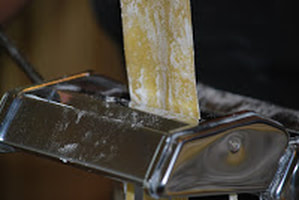
My pasta machine has a numbered dial on the side to adjust the width. I start with a #2 and I run the dough through the machine twice. I continue to feed the dough through the machine while adjusting the dial to gradually get thinner and thinner dough. I dust the dough quite often with flour to keep it from sticking to the machine and I end up with long strips of pasta dough.
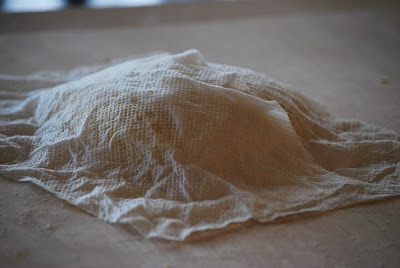
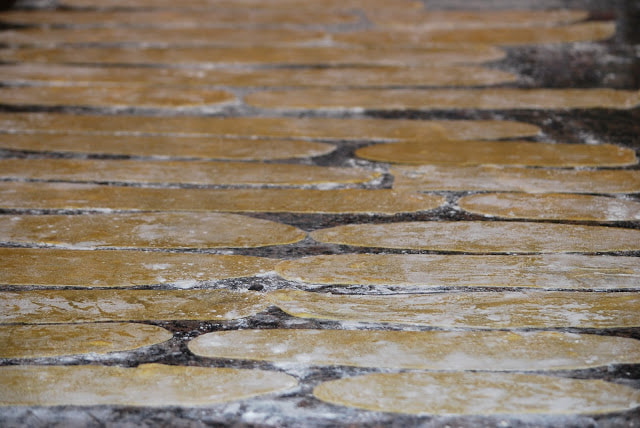
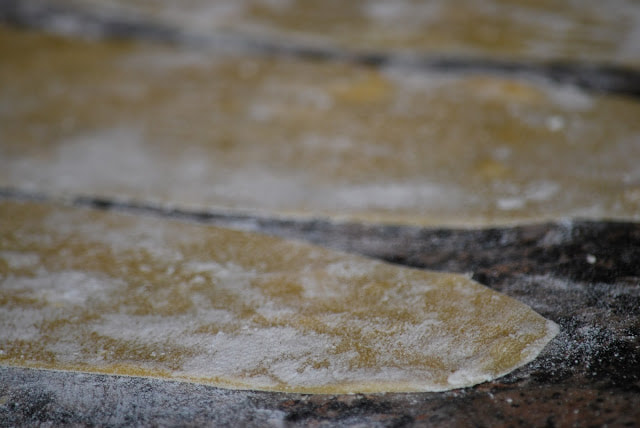
Lay the strips of dough on the counter to dry slightly. (I let mine dry about an hour.)
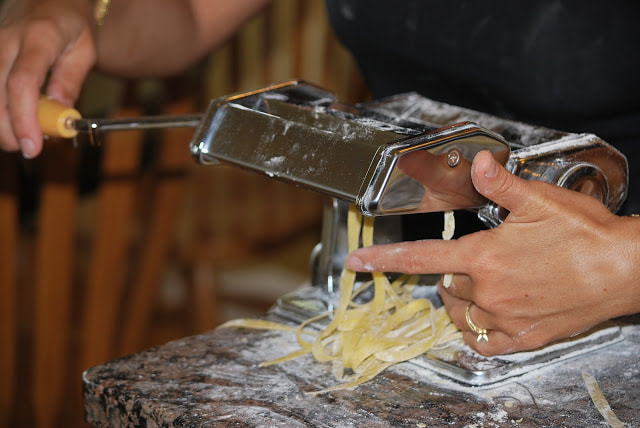
Attach the cutting blades to the top of the pasta machine. Feed the dough through either the thin or thicker setting depending on the type of pasta you prefer.
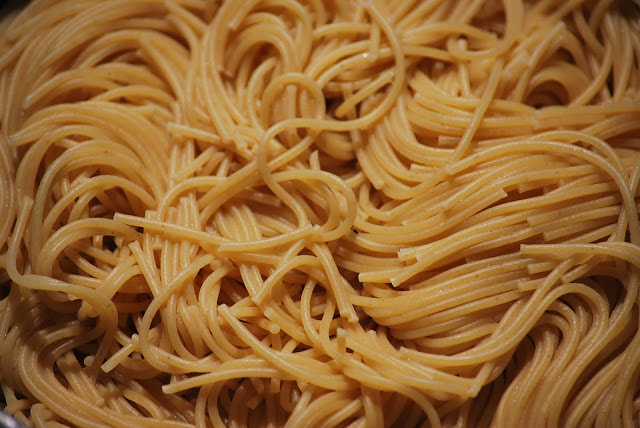
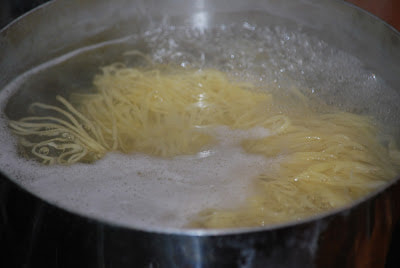
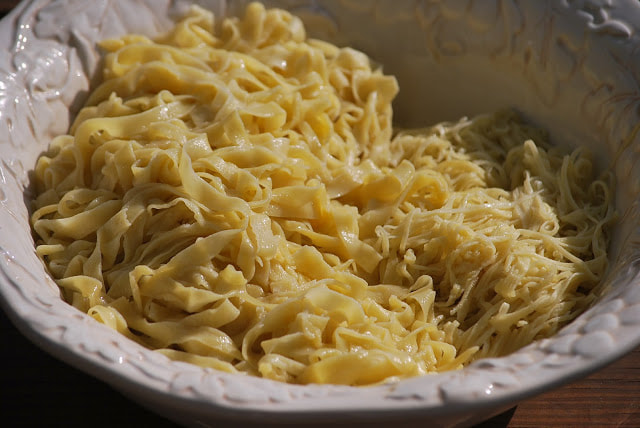
I ended up with a pile of spaghetti... 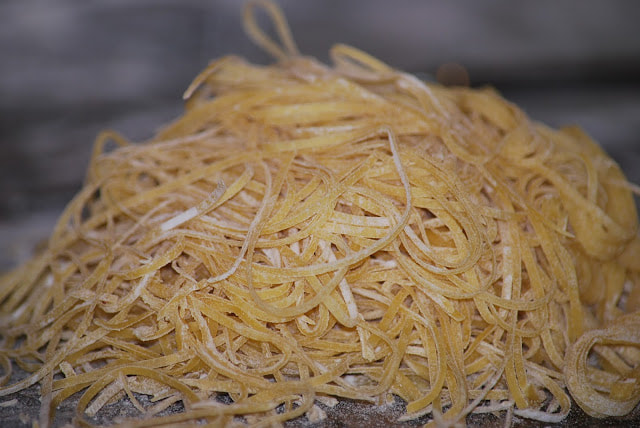 and a pile of linguini. 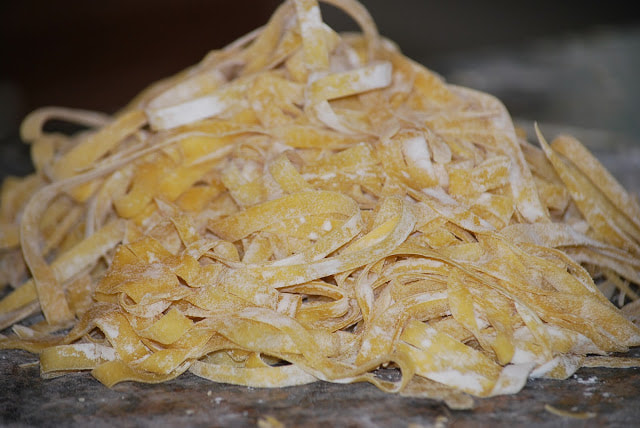 Once all the pasta is cut, it's time to cook. Bring a large pot of salted water to a boil and add pasta. Fresh pasta cooks in 3-4 minutes.
I topped my fresh pasta with some simple marinara that I had in the freezer and a served it with some homemade meatballs. 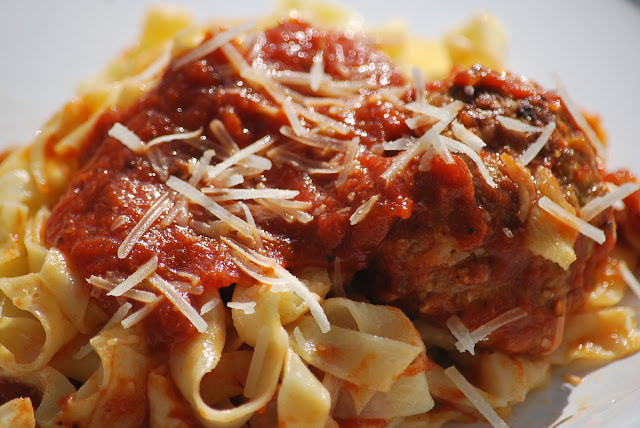
The pasta dinner took about 3 hours to prepare but it was really good. Fortunately, I'm getting more efficient with every pasta making experience - maybe I will shave a few more minutes off of my prep time by summer. Even though it took a long time to prepare, it was a delicious birthday dinner - well worth the effort.
Ciao! 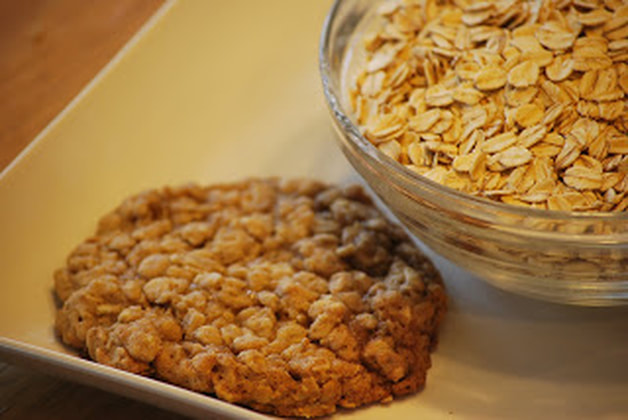 Yesterday was one of those days when I just couldn't seem to eat enough to satisfy my hunger. I think I could have eaten all day. What I was really craving was something sweet so I finally gave in to temptation and baked a batch of oatmeal cookies. Craving satisfied! The original recipe was for oatmeal raisin cookies but my kids are anti-raisin. I have learned that if I make the cookies with raisins, my husband and I end up eating the whole batch by ourselves. (Not something that is good for either one of us.) I usually scoop out 1/2 of the dough without raisins and then stir a 1/2 cup of raisins into the remaining dough. We're headed on a family mountain biking trip today so I will definitely pack a few of these cookies for energy on the trail.  Oatmeal Cookies 1 cup butter 1 cup brown sugar ½ cup sugar 2 eggs 1 teaspoon vanilla 1 1/3 cups flour 3 cups old fashioned oats (Don't use quick oats.) 1 teaspoon baking soda 1 teaspoon cinnamon 1/2 teaspoon salt Cream butter, sugars and vanilla in the bowl of a standing mixer. Beat in eggs. Combine dry ingredients and add to mixer. Drop onto silicone baking sheets and bake 15 minutes at 325.  I decided to repost this blog because my son felt strongly that these oatmeal cookies lacked one important component - cream filling. After lunch today, he took it upon himself to create his own version of an oatmeal cream pie. He divided a cookie in half put some mini marshmallows in between the halves and microwaved it until the marshmallow puffed. He decided that the marshmallow filling made the oatmeal cookies even better. Not so sure it is my cup of tea but I was impressed with his culinary creativity.
Ciao! |