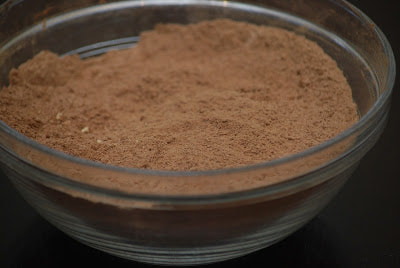
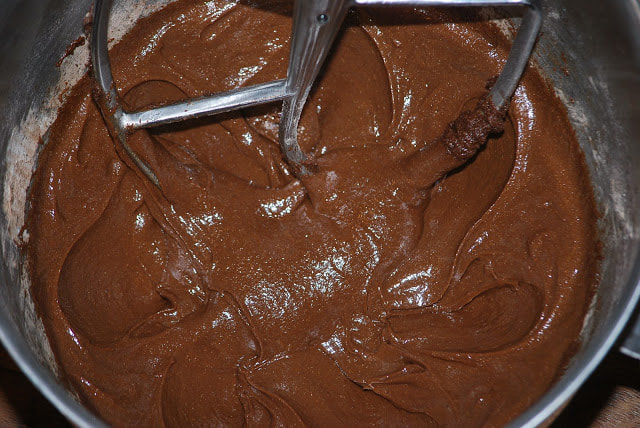
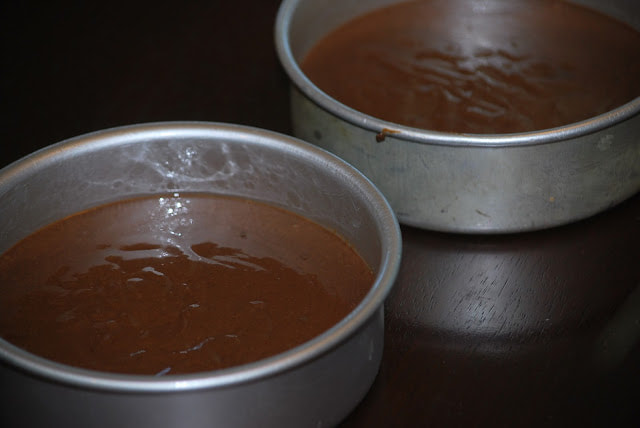
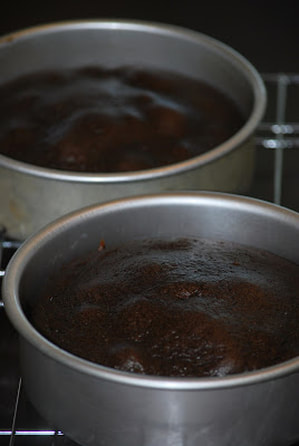
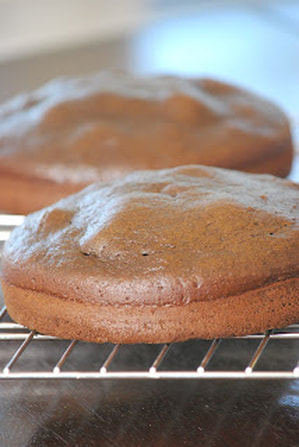
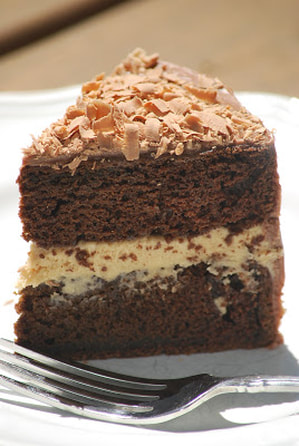
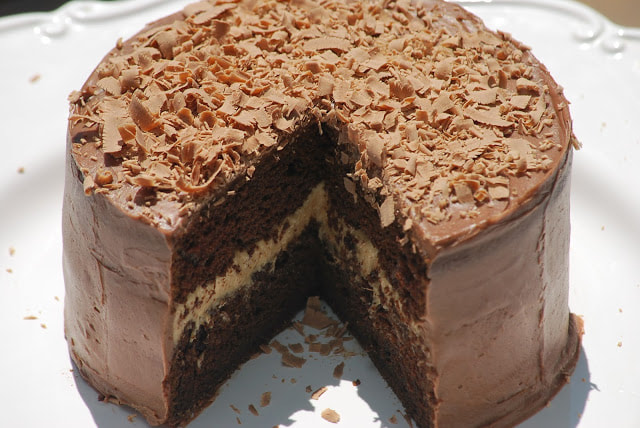
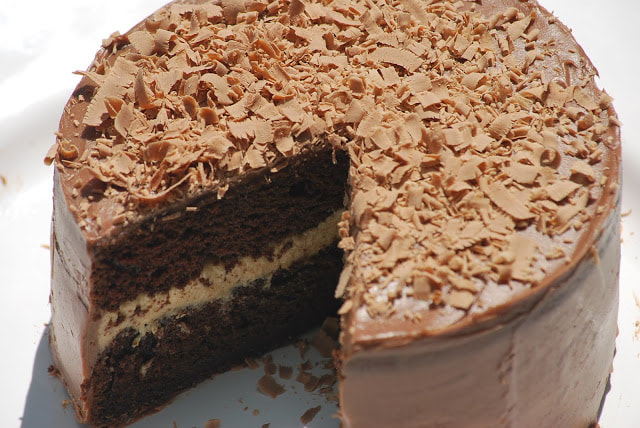
 Every good cook needs to have friends who will give honest feedback about their food. I realize that people have different palates and that taste varies widely from person to person so I usually try and give out samples of the new foods that I make to a wide variety of taste testers. I have found though that the most honest tasters - are kids. They are brutally honest about whether or not they like the things they eat. Luckily for me there is no shortage of kids passing through the house on any given day. (Something that I savor every single day.) I got an order for a gluten free cake last month and that was just the excuse that I had been waiting for to try a new gluten free chocolate cake recipe. I had been wanting to test out the claim that you can substitute Bob's Red Mill Gluten free All Purpose flour for white flour in any recipe. According to the packaging on the gluten free flour, you can use the substitute flour for regular flour and add a little xanthum gum and your recipes will taste exactly the same. Could this really be true? I put that theory to the test. I baked my Hershey's chocolate cake recipe using Bob's Red Mill Gluten Free All Purpose flour and xanthum gum in place of the all purpose flour. Since this was really just an experiment to see if it would work, I cut the recipe in half and made a mini version. I will give you my opinion of the gluten free cake first. The cake batter had a strange smell to it and to be honest, I considered throwing the whole batch away before I even baked it. I couldn't identify the weird smell but it was definitely the same smell that came from the bag of gluten free flour. Against my better judgement, I went ahead and baked the cake and much to my surprise, the smell was not nearly as strong after the cake had baked. I let it cool on a baking rack and then I sliced a thin piece to taste. I thought that the cake had a little bit of an aftertaste but then again, it could have been because I knew that it had a funny smell when I put it into the oven. I went ahead and filled the cake layers with peanut butter filling and frosted it with a chocolate cream cheese icing. It turned out to be a beautiful cake and since I tend to be ultra-critical of my own cooking, I decided to pass it out to as many people as I could so that I could get a range of opinions. The responses were unanimous - everyone liked the cake. (Personally, I think that the chocolate frosting and peanut butter filling masked the aftertaste of the gluten free flour.) My son and my husband really loved the cake. They were surprised to find out that it was a gluten free cake. My daughter didn't try the cake but her friend was willing to sample a piece and there were no complaints from her - just an empty plate. I gave a slice to a friend down the street and she enjoyed the cake as well. She did comment however, that the following day, she thought she tasted a slight aftertaste in the cake but that it didn't stop her from finishing her slice. (Maybe I wasn't crazy for tasting an aftertaste after all.) The results of this trial are not definitive enough for me. I am going to have to do some more research on the gluten free flour and try it in a couple more recipes to determine whether or not it really is a good substitute for all purpose flour. Looks like more test cakes are on the way. 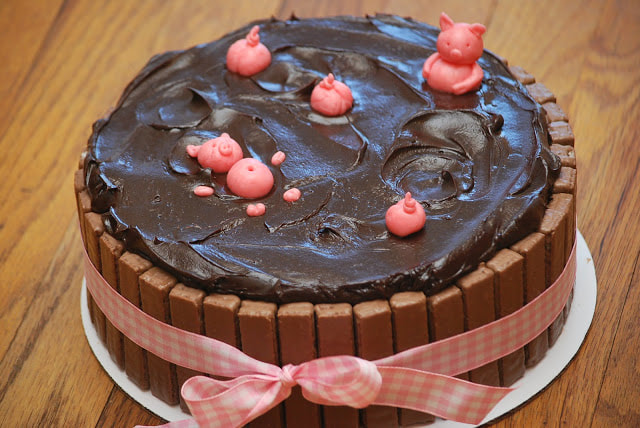 Gluten Free Chocolate Cake 2 cups sugar 1 3/4 cups Bob's Red Mill Gluten Free flour 3/4 cup cocoa 1 1/2 teaspoons baking powder 1 1/2 teaspoons baking soda 1 teaspoon salt 1 teaspoon xanthum gum 2 eggs 1 cup milk 1/2 cup oil 2 teaspoons vanilla 1 cup boiling water
Frost with buttercream and decorate with chocolate shavings. 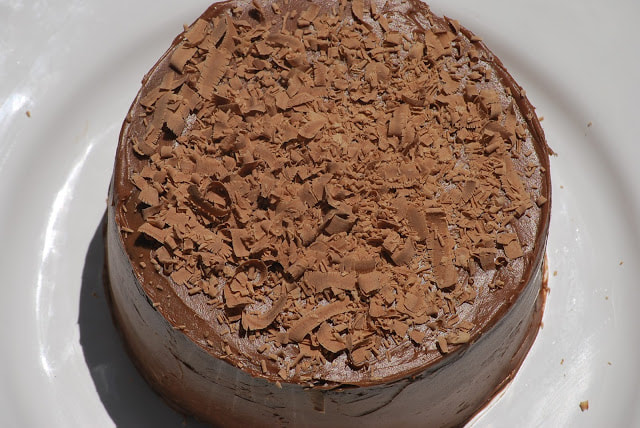
Once I got positive reviews from the test cake, I decided to go ahead and make the gluten free, chocolate birthday cake. Pigs in the Mud for this birthday girl. 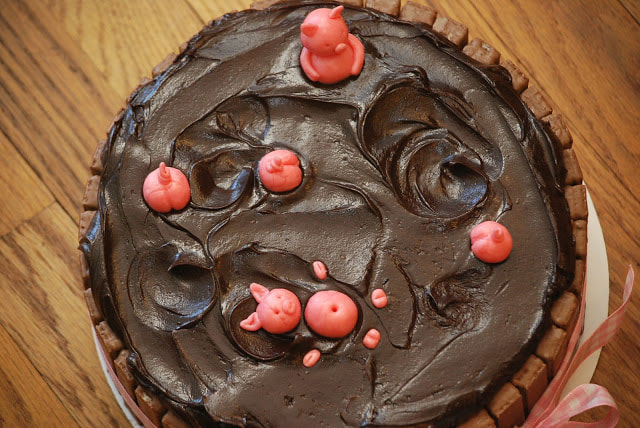 Got a gluten free cake recipe that you want me to try - send it to me.
Ciao!
0 Comments
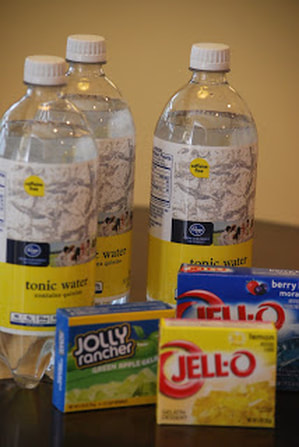
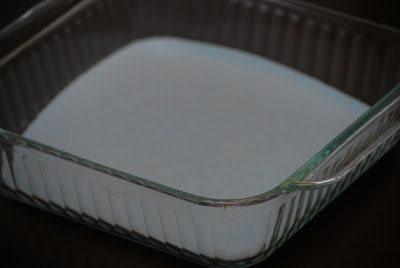
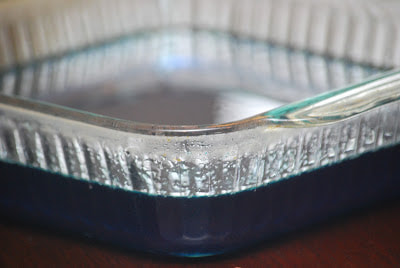
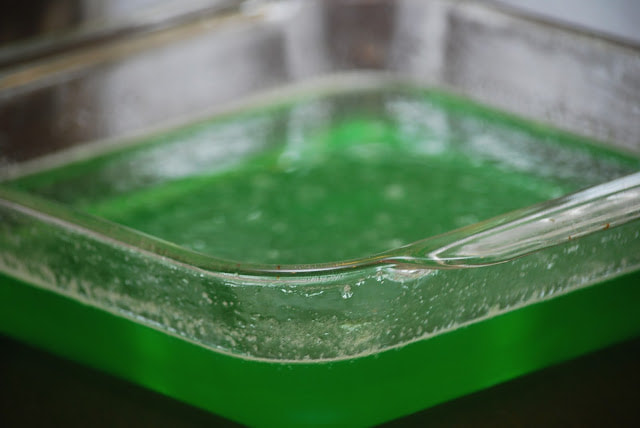
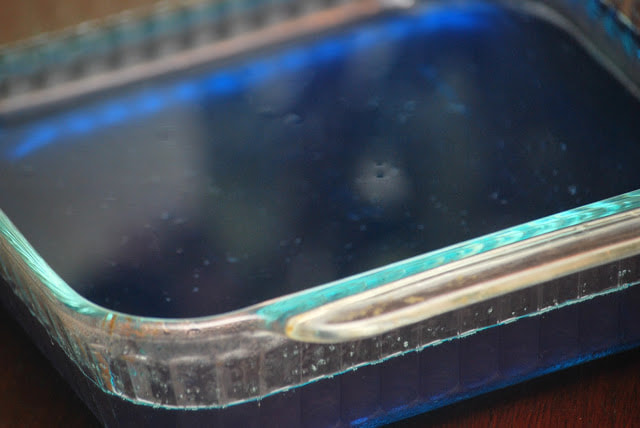
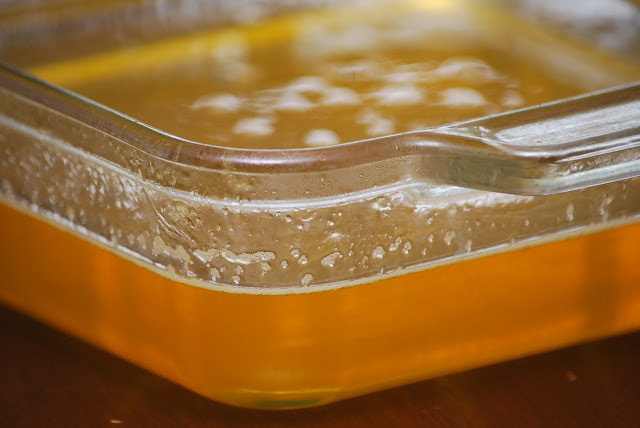
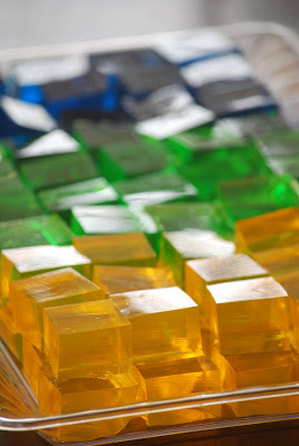
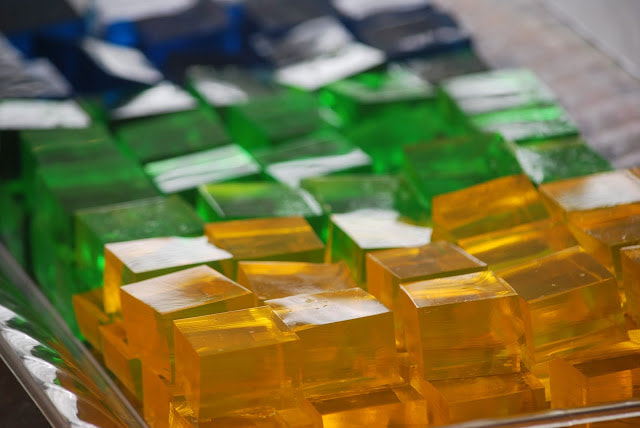
 I never knew just how many food you could make Glow in the Dark until I sat down to plan a menu for the 8th grade "Club Neon" dance. With lighting at the dance only coming from a disco ball and a few black lights, I needed to try and make the food table "glow". I did some research on the internet and I was actually quite surprised that I was not alone in my quest to create glow in the dark food. It turns out the secret to making food glow is quinine. (An ingredient found in tonic water.) I decided to put the quinine to the test and make some glow in the dark jello squares for the dance. I simply substituted tonic water for regular water and made them according to the package directions
Add a black light and voila - glowing jello!!!
Of all the food that was available for the kids to snack on during the 8th grade dance, the thing they liked the best was the glow in the dark jello. I'm not sure if they were fascinated by the fact that it glowed or they just liked jello but it disappeared quickly.
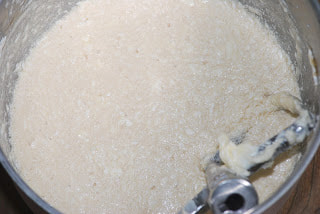
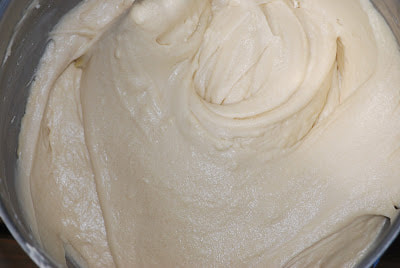
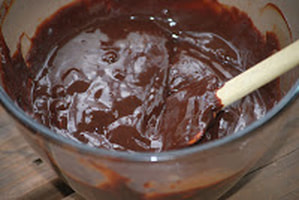
I am thinking that we're going to have to make this again this summer with the kids. Ciao!  On any given day, there are dozens of cakes, cupcakes and cookies scattered over every counter top in my kitchen - one of the hazards of being a personal chef. My kids are so accustomed to the overwhelming amount of sweet treats in the house that they generally walk right past them without as much as a second look. With that being said, I rarely buy bakery items for my kids from the store because I make so many sugary desserts at home. On the rare occasion that I do bring home a package of store bought cookies, they act as if they have been deprived of something fabulous. Walking through the door with a package of oreos or a bag of Milano cookies immediately launches my kids into serious negotiation over how they should be divided and shared. Homemade cookies can linger on the counter for several days but Milano cookies are eaten almost immediately. 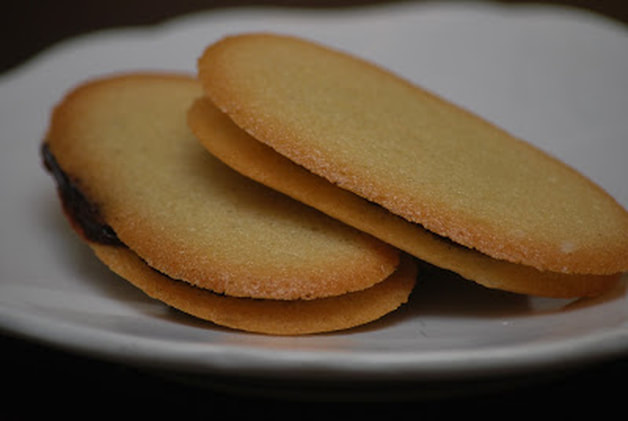 I wanted to recreate the Milano cookies so that I could determine once and for all if my kids really just preferred cookies out of a bag or if they really are better than a typical homemade cookie. 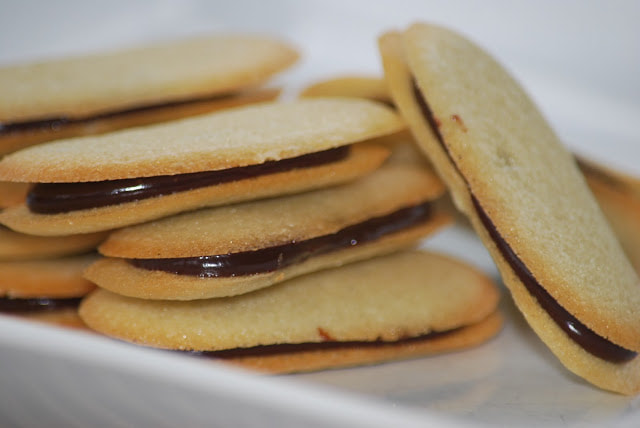 Homemade Milano Cookies - 12 tablespoons (170grams/ 6 oz) unsalted butter, softened - 2 1/2 cups (312.5 grams/ 11.02 oz) powdered sugar - 7/8 cup egg whites (from about 6 eggs) - 2 tablespoons vanilla extract - 1 1/2 cups (187.5grams/ 6.61 oz) all purpose flour Cookie filling: - 1/2 cup heavy cream - 8 ounces semisweet chocolate, chopped (I used dark chocolate)
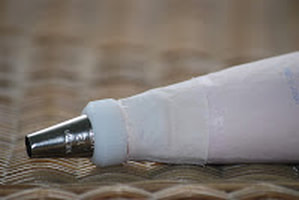
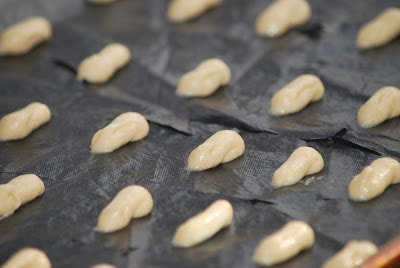
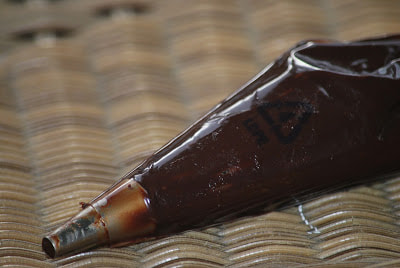
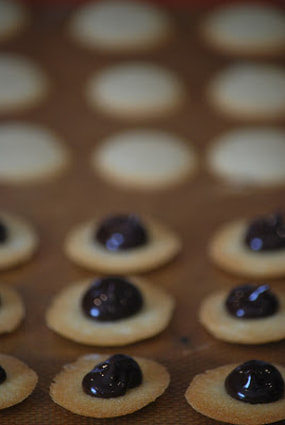
With a small (1/4-inch) plain tip, pipe 1-inch sections of batter onto a parchment-lined sheet pan, spacing them 2 inches apart as they spread.
Set aside to cool (the mixture will thicken as it cools). Spread a thin amount of the filling onto the flat side of a cookie while the filling is still soft and press the flat side of a second cookie on top.
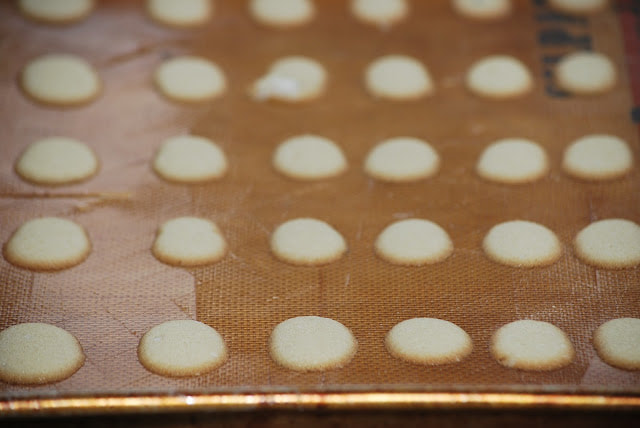
Repeat with the remainder of the cookies. 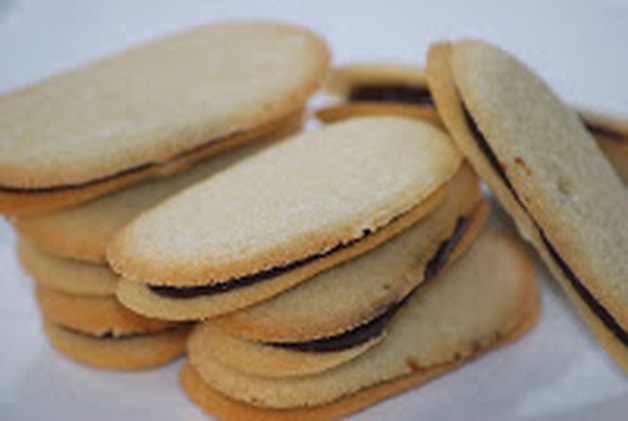 These cookies were extremely good. I thought they tasted a LOT like the original Milano. My kids scarfed them up almost as quickly as they do the Pepperidge Farm cookies that come in packed in fluted white liners. I have come to the conclusion that my kids really do like great cookies - not just because they're store bought but because they taste great.
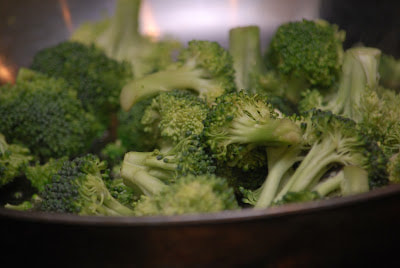
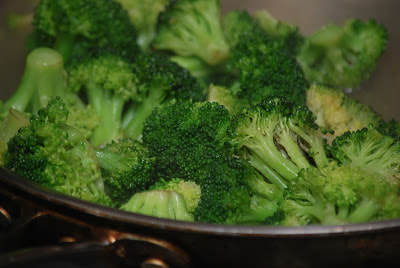
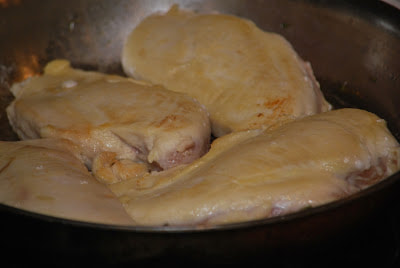
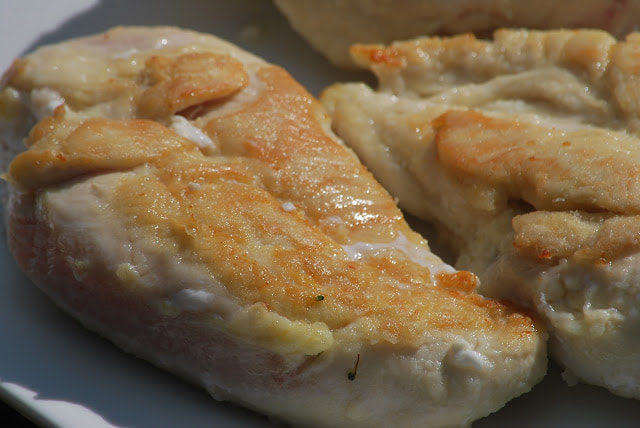
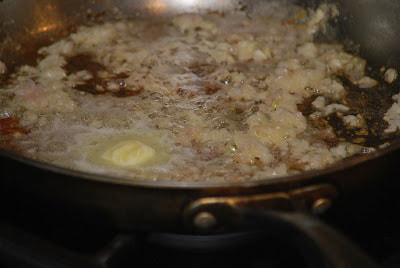
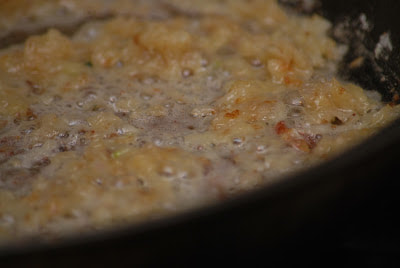
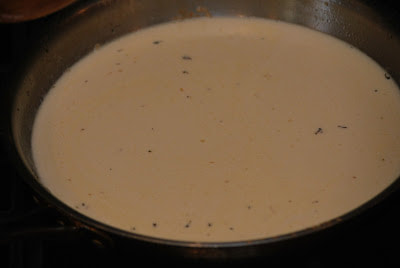
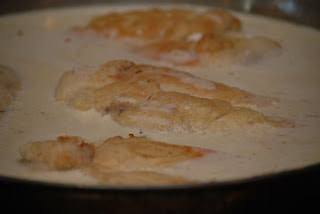
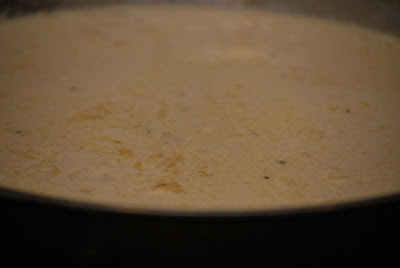
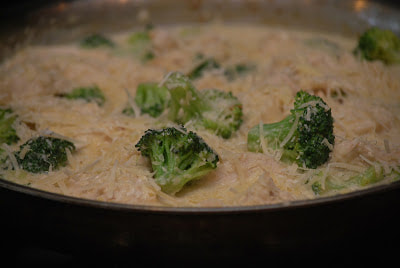
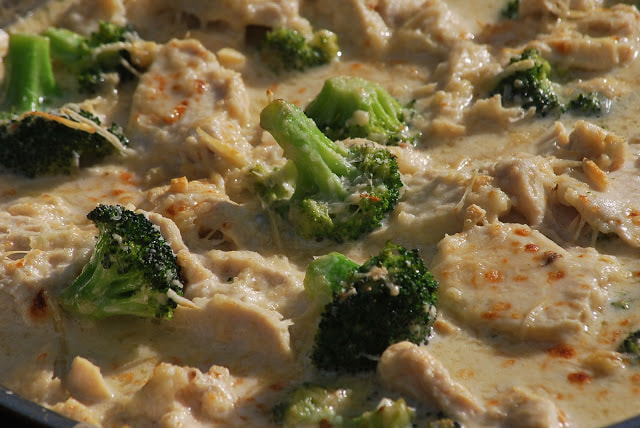
Ciao! 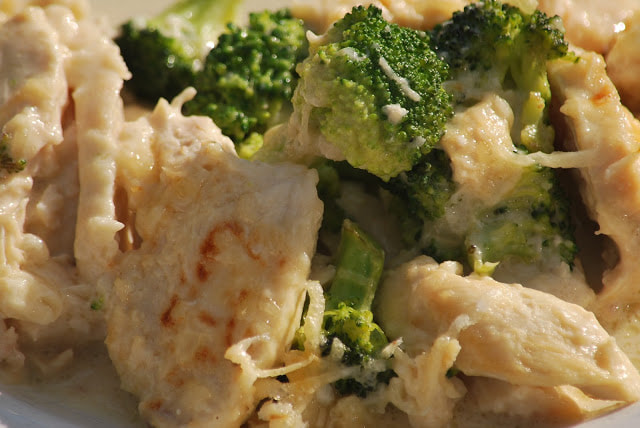 Does anyone else think that companies have gone way overboard when they write instruction manuals? I bought a new flash for my camera last year and along with it I got not one, but TWO 130 page instruction manuals that were far bigger than the flash itself. It was excessive. (I really didn't need to read the manual to figure out that I had to add batteries to the flash in order to make it work.) I've run across a lot of recipes lately that are written with almost as much excessive wording as a badly written manual. Recipes don't need to be overly complicated to be delicious. I found this recipe for chicken divan and it isn't wordy or printed in seventeen different languages but it is delicious.  Chicken Divan 5 teaspoons oil 12 ounces broccoli florets 1 1/4 cups chicken broth 2 Tablespoons + 2 teaspoons flour 2 chicken breasts 1 Tablespoon butter 1 shallot 1/2 cup heavy cream 1/4 cup sherry 1 teaspoon Worcestershire sauce 1 1/2 ounces parmesan 2 teaspoons lemon juice
A simple dinner with simple instructions. 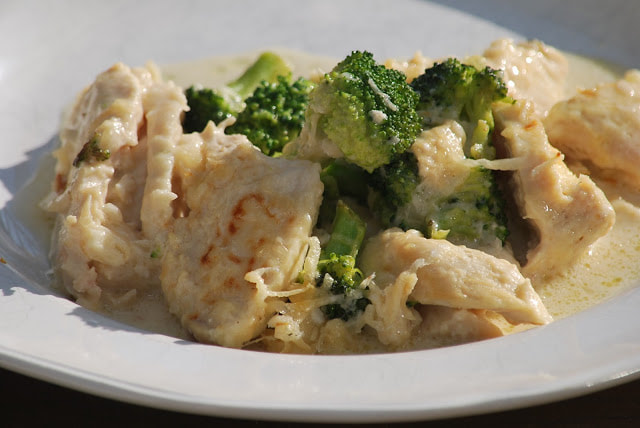 Ciao!
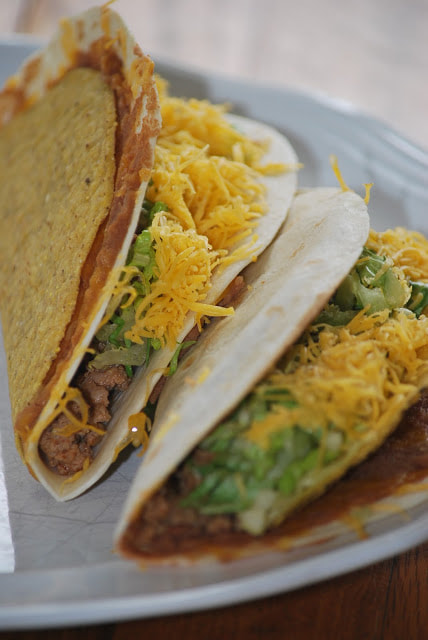
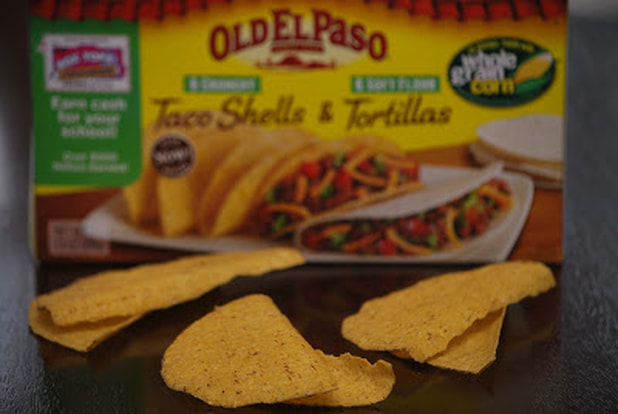
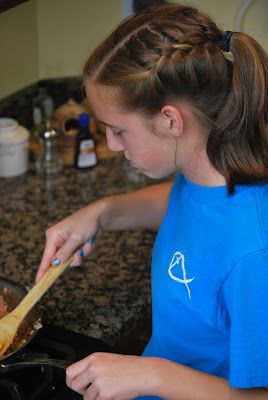
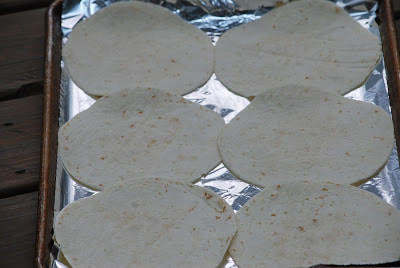
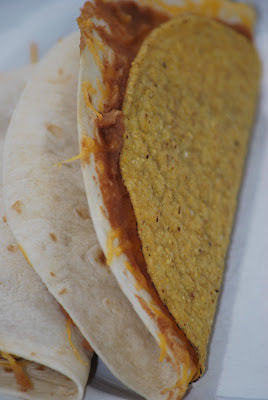
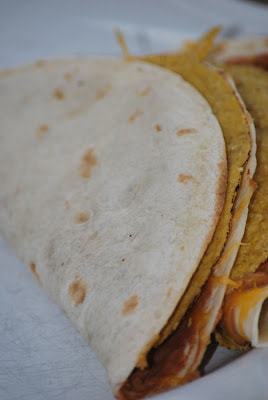
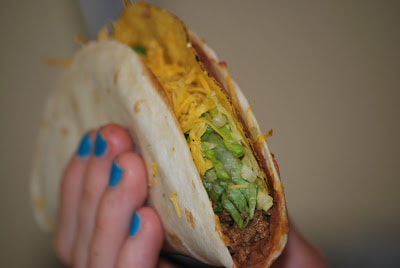
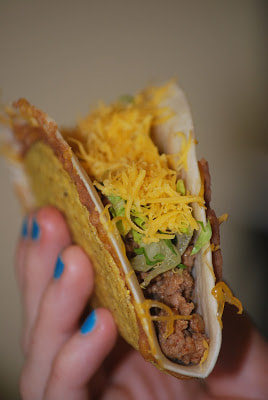
 Tacos are my quick and easy weeknight meal when I'm in a hurry and I don't have much time to fix dinner. Most of the time, I pull one of the kids into the kitchen with me on taco night to help get the tacos on the table even faster. I wanted to change up our usual taco menu slightly and I found a recipe for double layer beef tacos in the May issue of Cooking Light magazine. It was exactly what I need to shake up taco night in the Davis house. (I know what your thinking. - We're living on the edge over here.) What is a double layer taco - you ask? Essentially it's a soft tortilla taco and a hard shell taco combined into one. I didn't know this before I put this on our menu but Old El Paso actually sells a box of combined taco shells. (6 hard taco shells and 6 soft flour tortillas) 3 of my hard taco shells were broken when I opened the box but they were still usable.
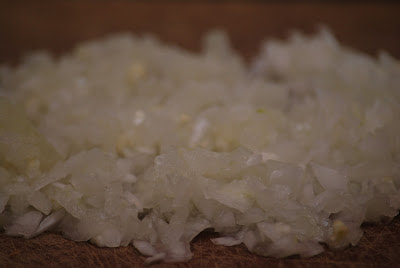
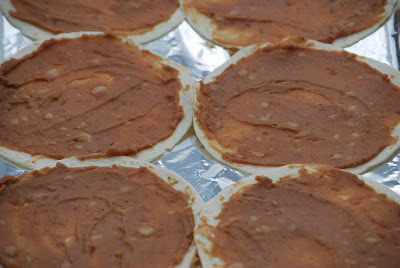
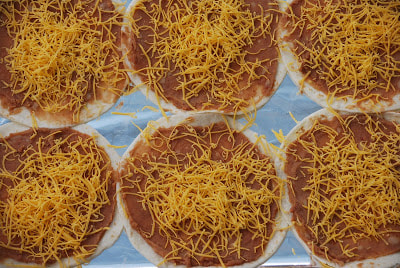
Double Layer Tacos 1 1/2 teaspoons olive oil 1/2 cup diced onion 1 clove garlic, minced 1 Tablespoon jalapeno, minced 1 1/2 teaspoons chili powder 3/4 teaspoon cumin 3/4 teaspoon coriander pinch salt pinch pepper 1 pound ground turkey 2 Tablespoons tomato sauce 1/2 cup re fried beans 6 flour tortillas 6 hard taco shells 1/2 cup shredded iceberg lettuce 2 ounces shredded cheese
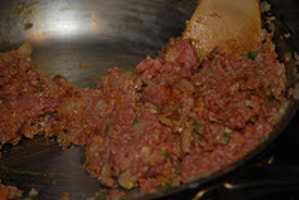
Add garlic, jalapeno, chili powder, cumin, coriander, salt and pepper. Add turkey and cook until no longer pink.
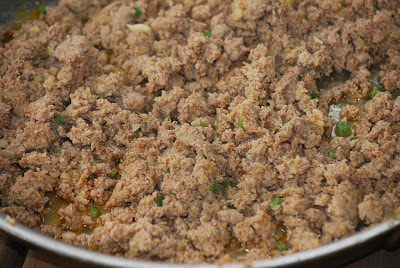
Add tomato sauce, cover and simmer 10 minutes.
Now it's decision time. You can wrap the tortilla around the hard taco shell or you can place it inside.
Fill with the turkey filling, top with lettuce and cheese and enjoy. 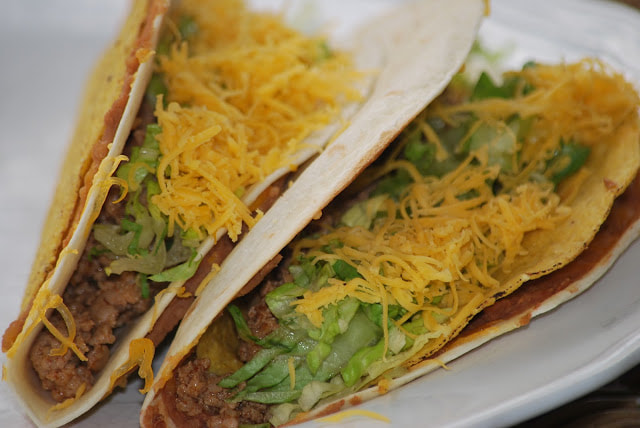
|