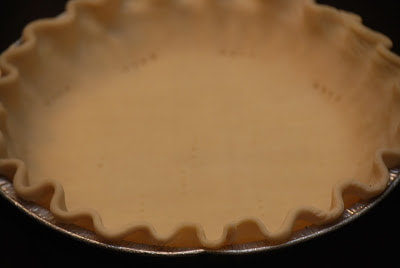
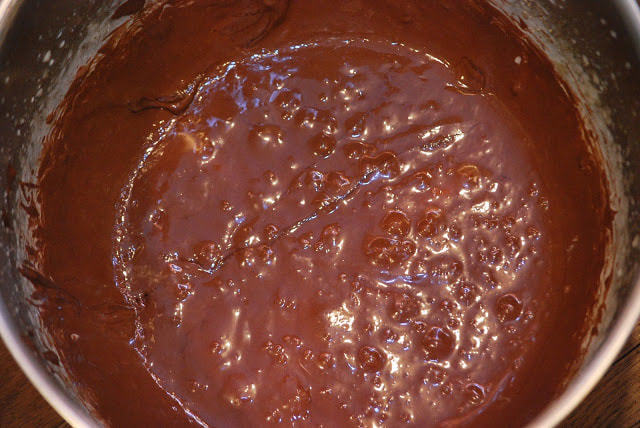
 I don't normally make a recipe over and over again simply because I enjoy the challenge of making new recipes. If I do make a recipe more than once, it's for one of two reasons: it's truly exceptional or because someone has specifically requested it. The very first time I made this pie, was for a friend's birthday in November. I liked it so well that I made two more to put in the freezer for Christmas. I wasn't sure how it would freeze but I pulled it out on Christmas Eve and served it after our Christmas dinner. It was just as outstanding. Believe it or not, I made THREE of these french silk pies and I don't have a single picture of a sliced pie! I love this pie so much that I get all caught up in the excitement about eating it that I forget all about taking pictures. Normally, I would cut a slice and take a photo of the beautiful chocolate pie but in this case, you are going to have to take my word for it - it's awesome.  Chocolate Pie 3 eggs 3/4 cup sugar 2 Tablespoons water 1 cup whipping cream 1 baked pie crust (either homemade or store bought) 8 ounces dark chocolate, melted and cooled 1 Tablespoon vanilla 8 Tablespoons butter
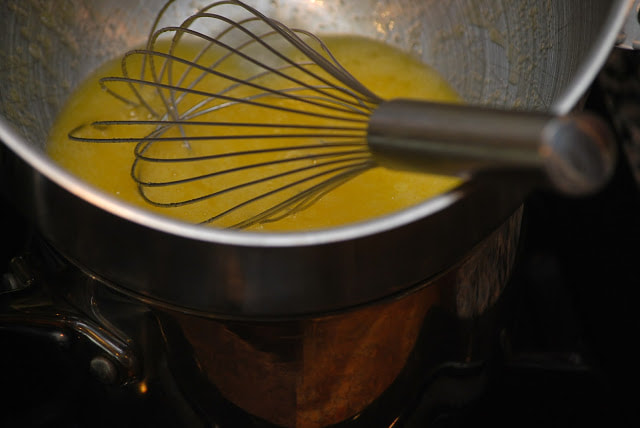
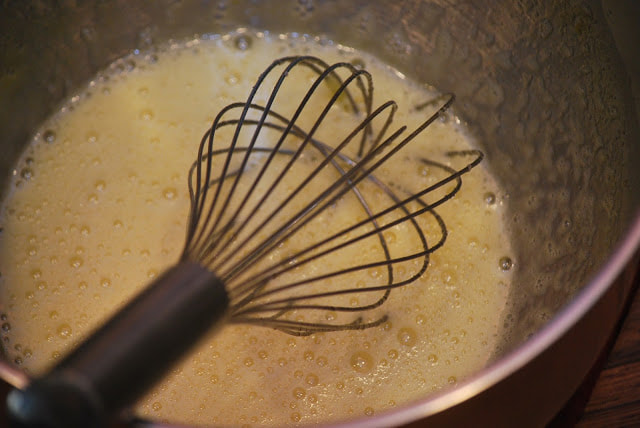
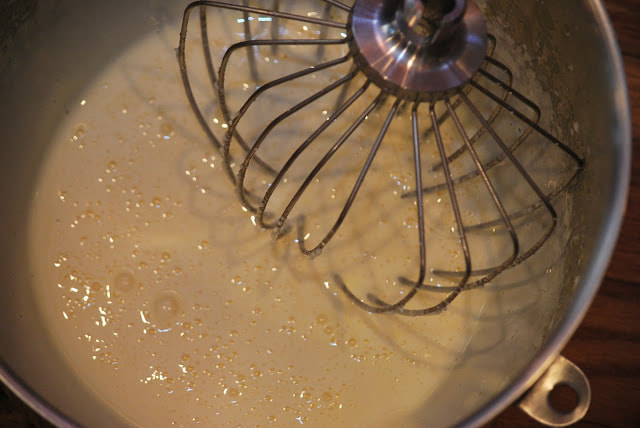
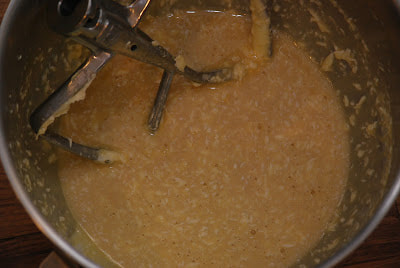
Combine eggs, sugar and water in bowl of mixer. Set over double boiler. Cook and whisk until temperature reaches 160.
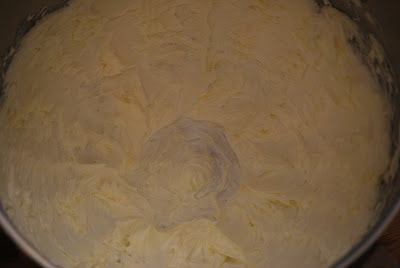
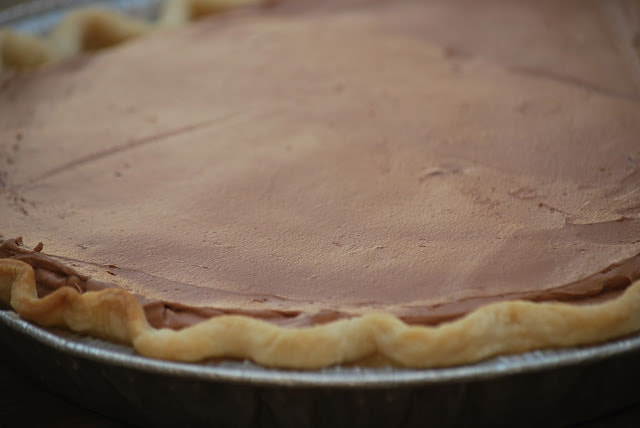
Spoon into pie shell. 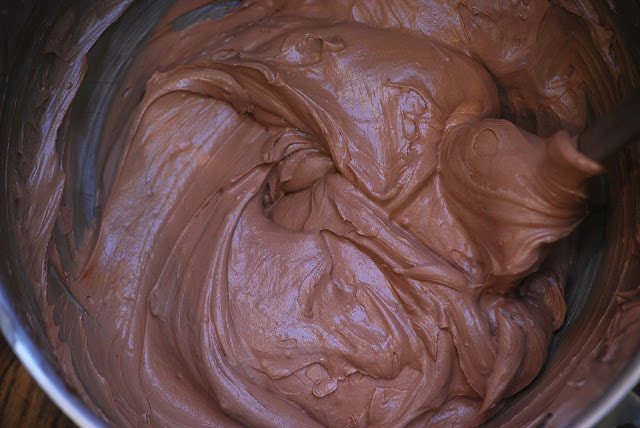 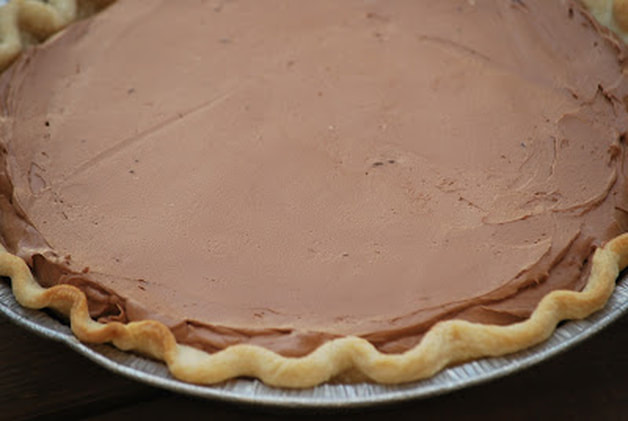 This is a delicious pie, no matter what the occasion. I think I may have to make another just so I can take more pictures of it. (Pretty poor excuse to eat pie - I know.)
Ciao!
0 Comments
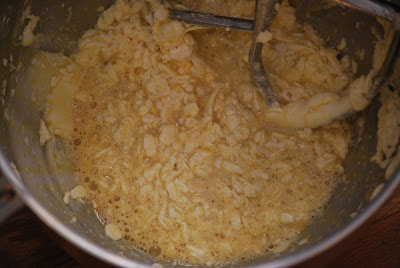
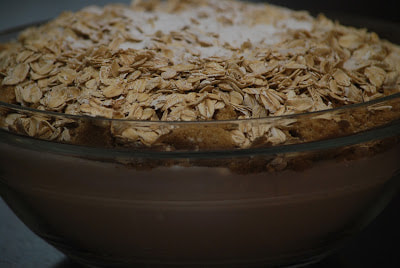
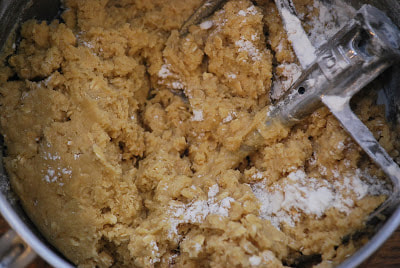
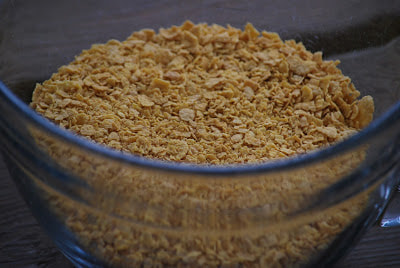
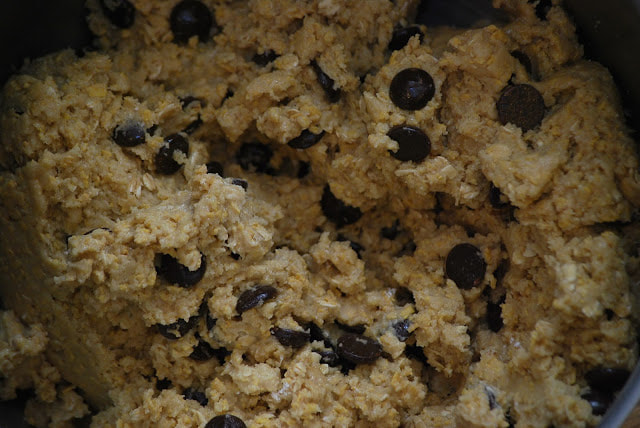
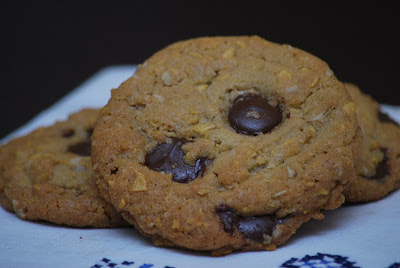
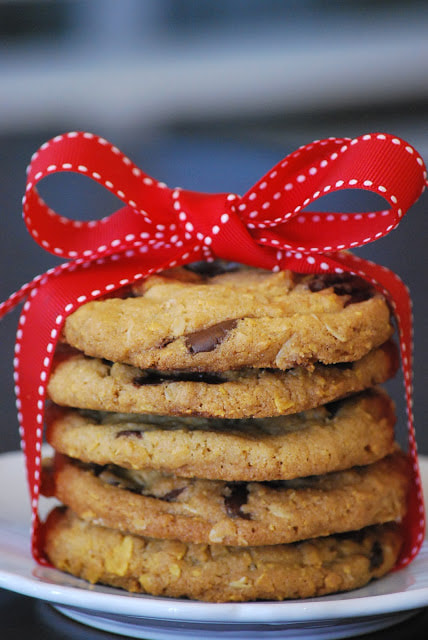 So ... my secret ingredient isn't so much of a secret anymore. Just in case you read right over the blog title without even noticing, these are cornflake chocolate chip cookies. Baking cereal right into the cookie really boosts the crunch factor. If you are a crunchy cookie fan - you need to make these. 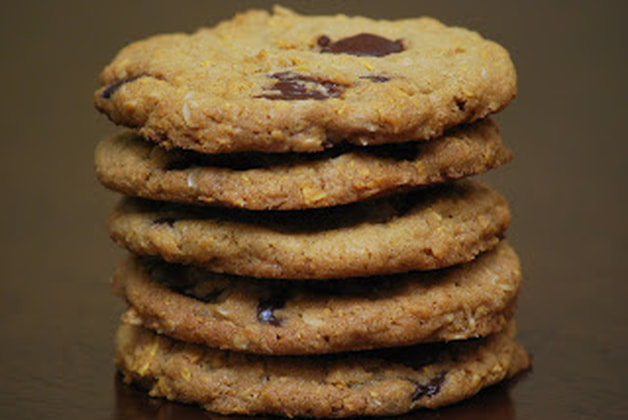 Cornflake Cookies 2 sticks butter 4 eggs 1 T. vanilla 1 cup veg. or canola oil 4 cups flour 2 cups white sugar 2 cups packed light brown sugar 2 1/4 cup old-fashioned rolled oats 2 t. coarse sea salt 2 t. baking soda 2 1/4 cups crushed corn flakes 3 cups chocolate chips
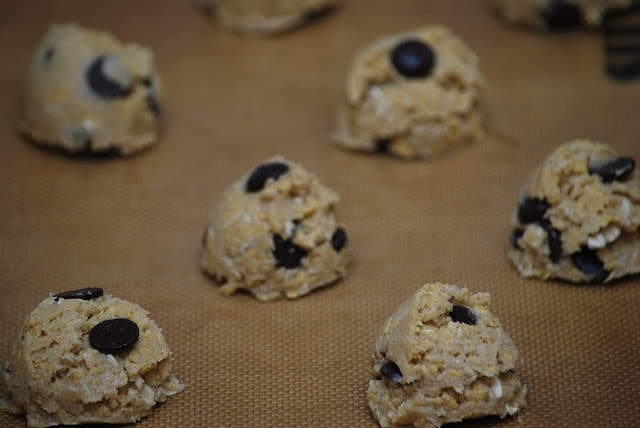
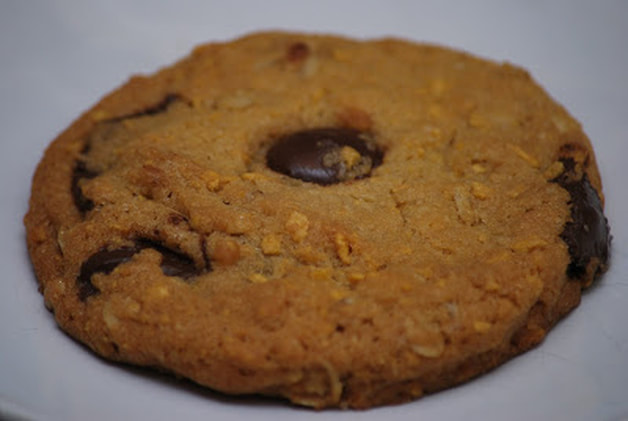
Flatten each cookie a little and bake for approximately 8 minutes until edges are golden. 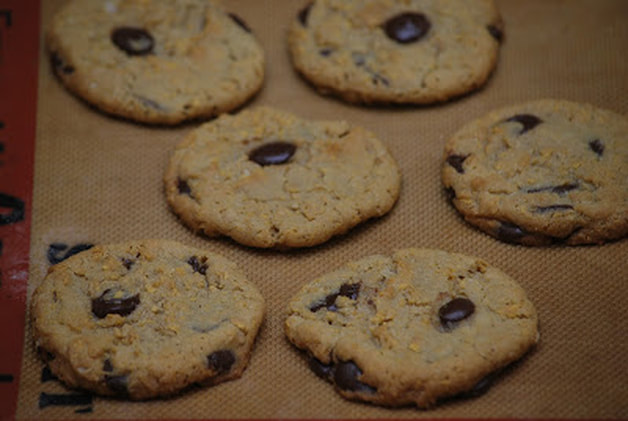 Let cookies cool completely on cooling rack. 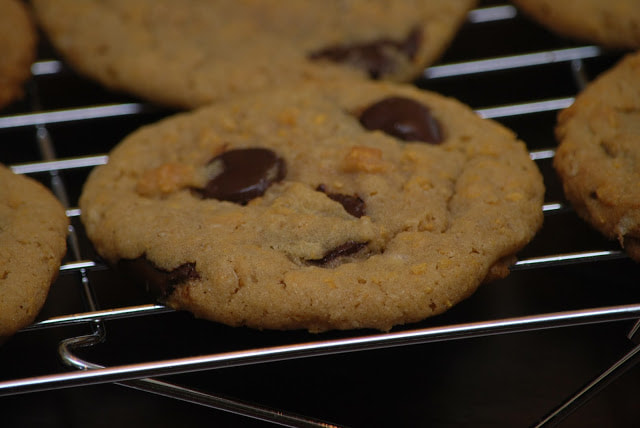 Cornflake cookies - I had never heard of them before but apparently they were popular in the 70s. Sometimes those long lost recipes are worth revisiting.
Ciao!
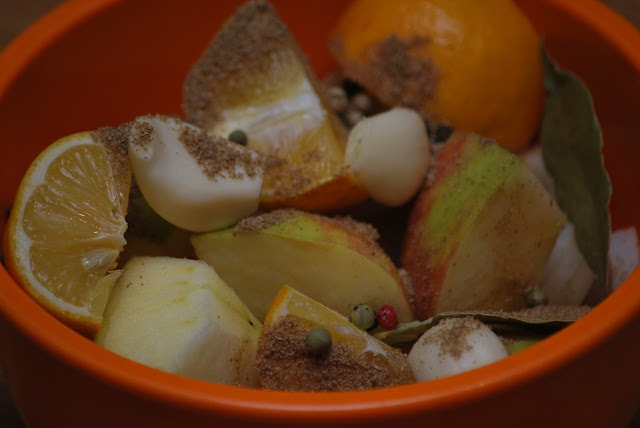
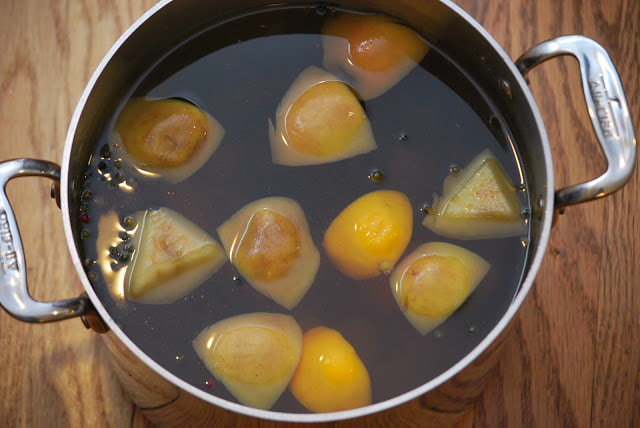
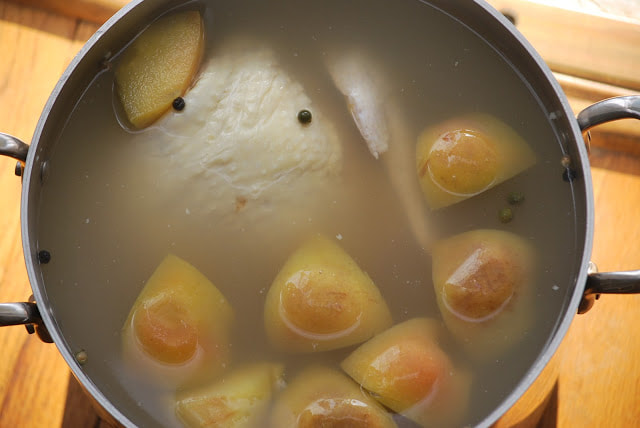
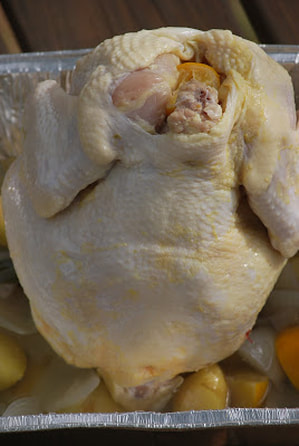
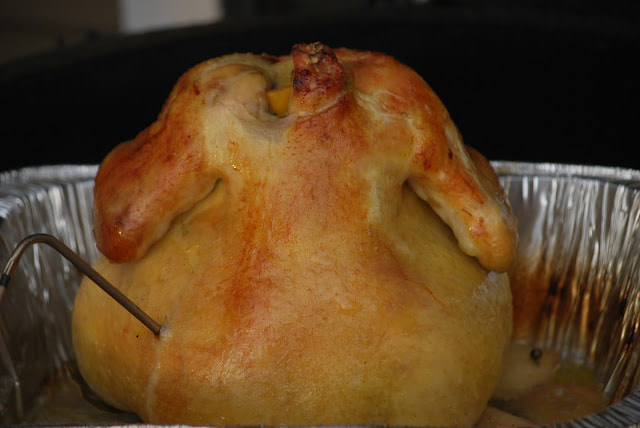 I hear from people all the time that they want to start eating healthier but they just don't know where to start. My answer to someone like that is almost always the same, "start small." One or two small changes in your diet can lead to great results. Tackling a total diet makeover all at once is not only dramatic but it can be hard to break old habits overnight. Choose one or two things that about your eating habits that you want to change: eat less sugar, eat more vegetables, eat more whole grains, include more protein in your meals, snack less, etc. If you're still at a loss and you still don't know where to begin a healthier eating plan, start with a chicken. Roasting a chicken on the weekends is something that I have done for a long time. We usually eat the chicken for dinner then I package up the leftovers for sandwiches, tacos, salads and casseroles that we eat throughout the week. Grilled chicken is such a great source of protein and if it's already cooked and in the refrigerator, it's a super easy weeknight meal. Smoked Bourbon Chicken 2 quarts water 9 Tablespoons bourbon 1/4 cup brown sugar 3 Tablespoons salt 2 quarts ice water 1 Tablespoon black peppercorns 3 bay leaves 3 garlic cloves 1 onion, quartered 1 apple, quartered 1 lemon, quartered 1 four pound chicken 1 Tablespoon butter Combine 2 quarts water, 1/2 bourbon, sugar and salt a large pot. Bring to a boil. Add ice water and stir until dissolved. Add next 7 ingredients.
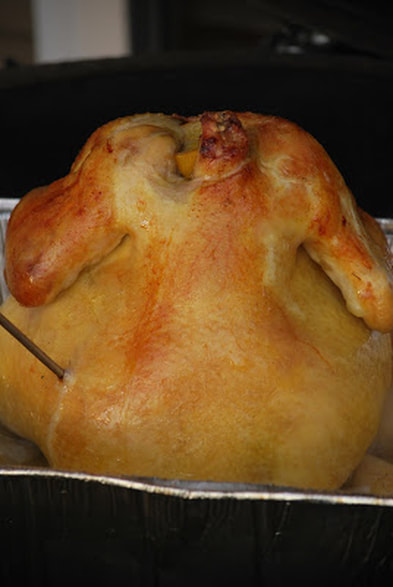 I would have liked to see the outside of the bird get a little darker but I was afraid of drying out the meat if I left it on the grill any longer. The chicken turned out really moist and flavorful. I couldn't taste the bourbon but other than that - a delicious chicken. 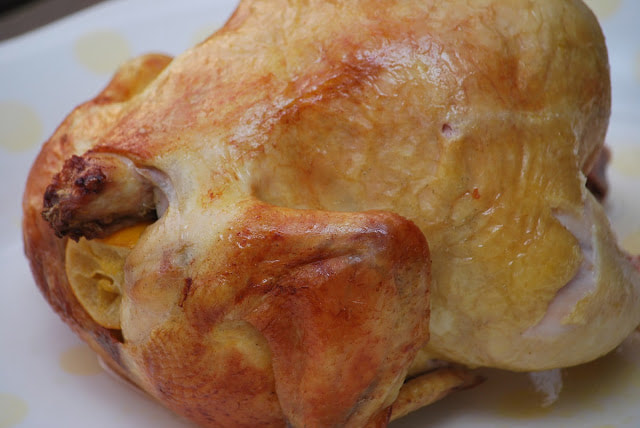 What healthy change are you going to make in your eating habits this week? Send me a comment and let me know.
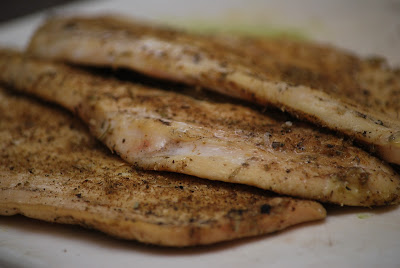
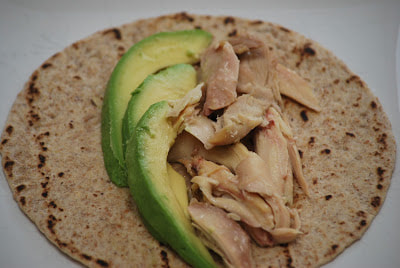
Ciao! 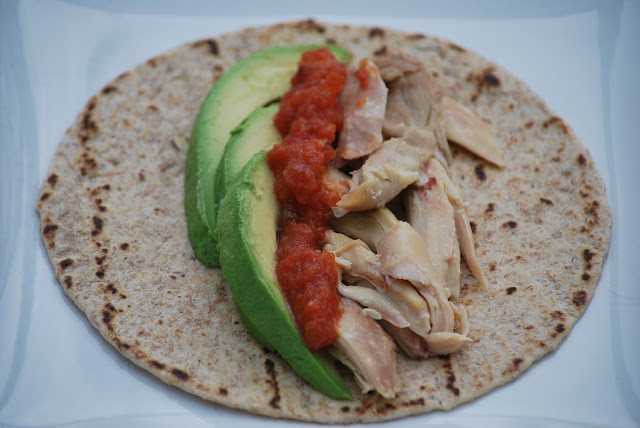 Springtime in Atlanta can be glorious. The warm, sunny 65 degree March days are when I love Atlanta the most. I also love that I can use my Big Green Egg all year round without having to brush off the snow first. I took full advantage of the warm afternoon we had a few weeks ago and fired up my BGE to grill some chicken for our taco dinner. It was a super simple dinner but super tasty. 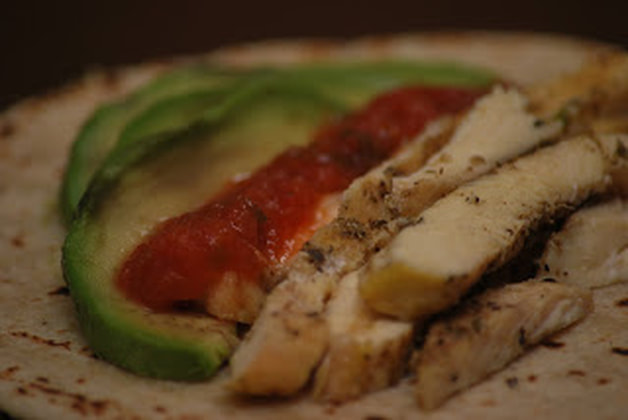
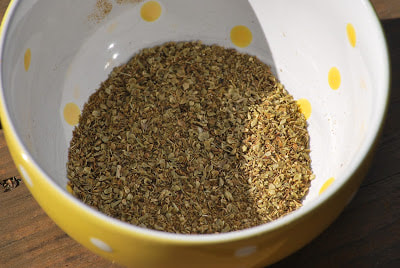
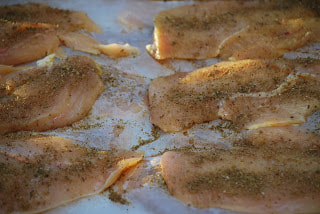
Sprinkle seasoning over chicken breasts. Grill.
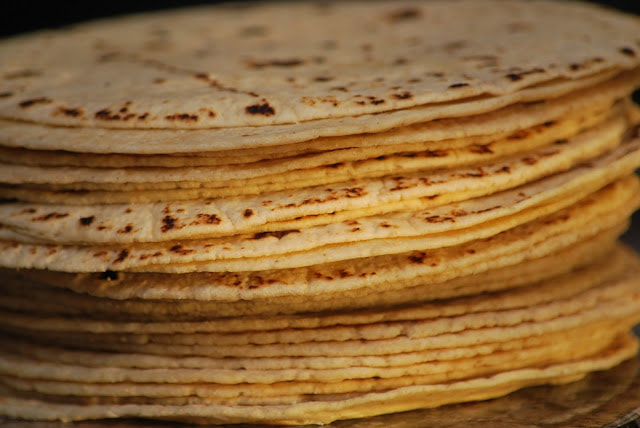
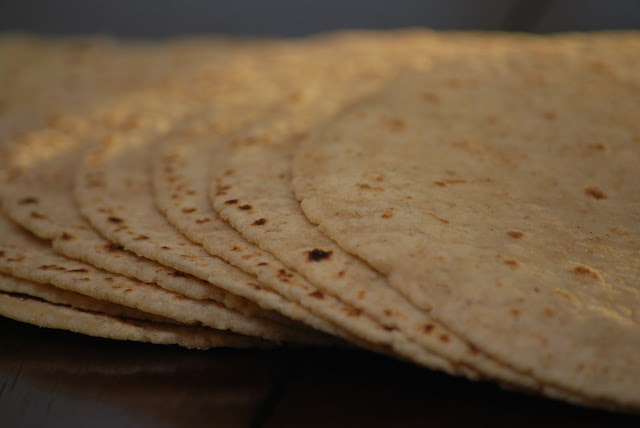
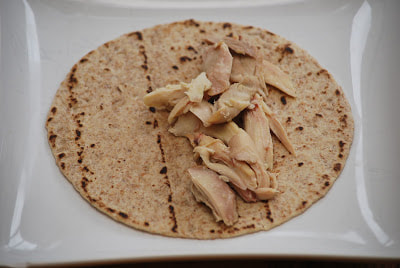
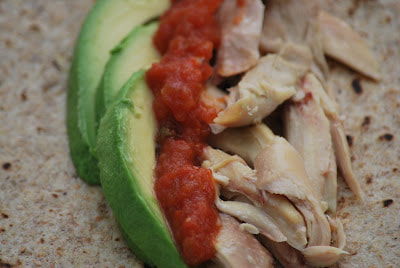
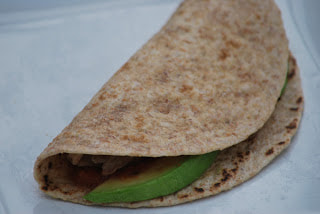
Slice chicken into thin strips for tacos. Wrap tortillas in foil and warm them on the grill for a few minutes.
How do you like to eat your tacos ... rolled or folded?
Ciao!
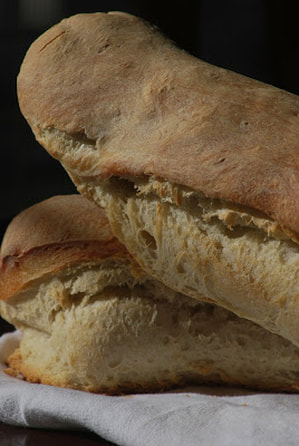
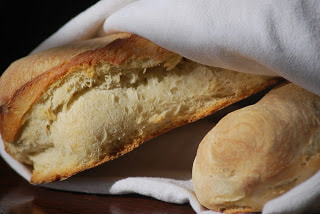
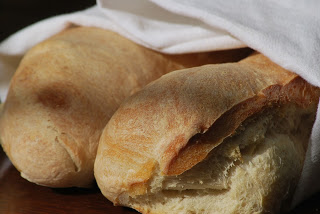
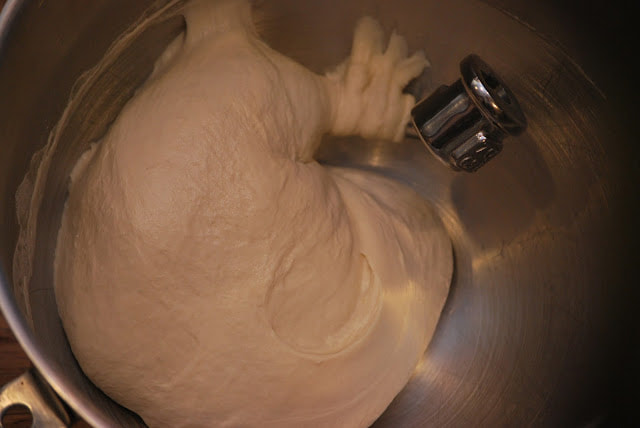
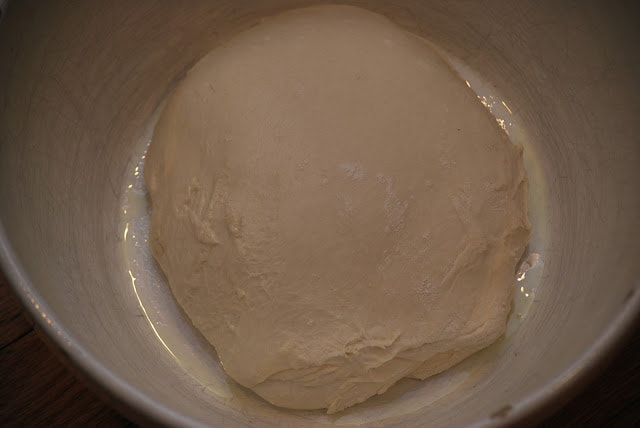
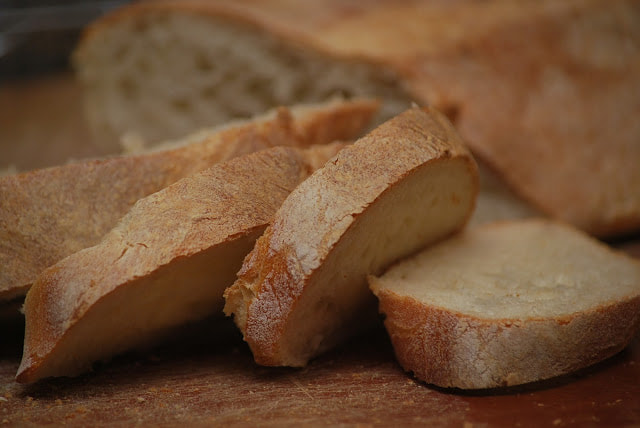 I think that I was born to be a bread maker. I love absolutely everything about bread making. I love the chemistry that takes place between the ingredients. I love the feel of the soft dough as I knead it with my hands. I love the pillowy rise that it gets while it rises on the countertop. I love the smell of baking bread lofting through the house. I love the feel of a warm loaf of bread just out of the oven. I love the sound of a serrated knife slicing through the buttery crust of a freshly baked loaf of bread. I love eating that first slice of a loaf of bread - without butter - just pure and simple. Have I mentioned just how much I love bread? 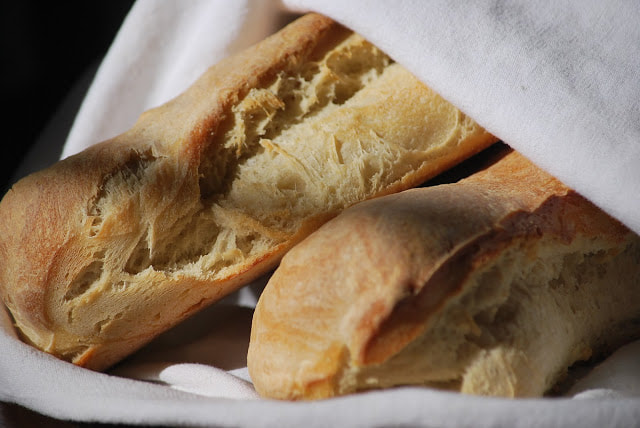 This recipe came from a great Thomas Keller cookbook. It is a fabulous cookbook with awesome pictures. Oh and one more thing that I love about bread - I love taking pictures of beautiful loaves of bread as well. (As you're about to see.)
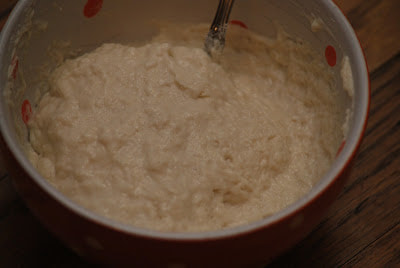
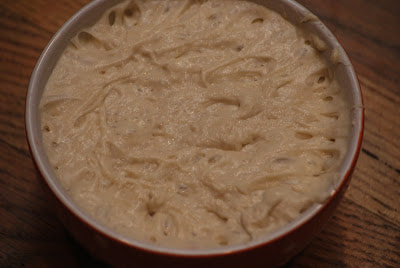
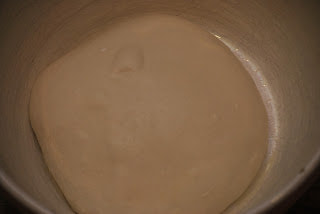
Batard Poolish 1 cup + 1 3/4 teaspoons flour 1/32 teaspoon instant yeast 1/2 cup + 1 Tablespoon + 2 1/2 teaspoons water (75 degrees)
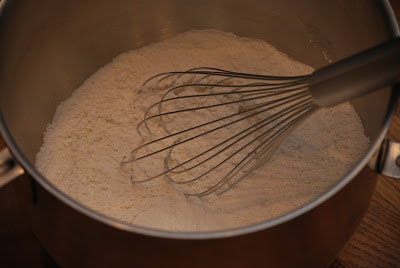
Dough 3 cups + 2 Tablespoons flour 1/4 teaspoon instant yeast 1 cup + 3 1/2 Tablespoons water (75 degrees) 2 teaspoons fine sea salt
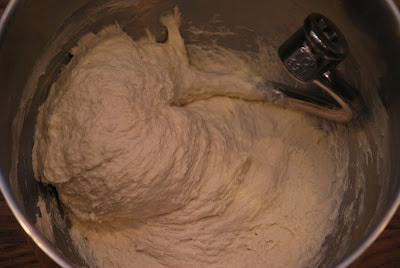
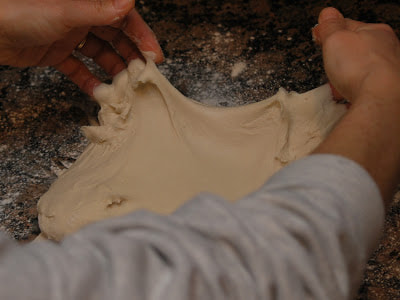
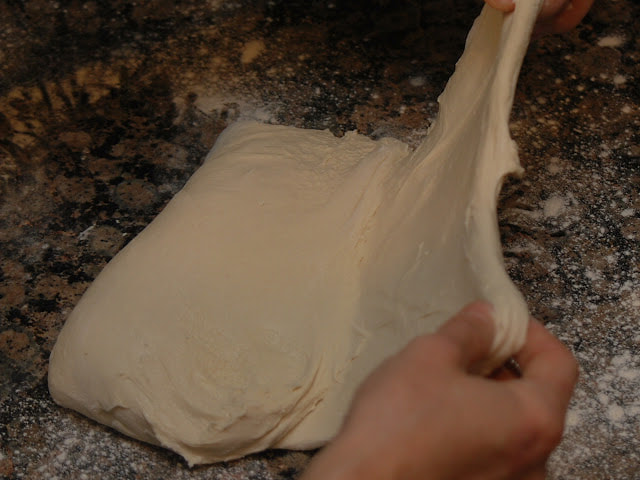
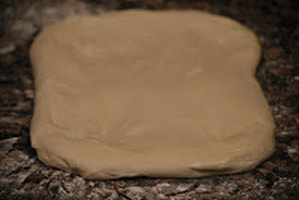
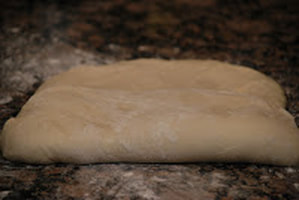
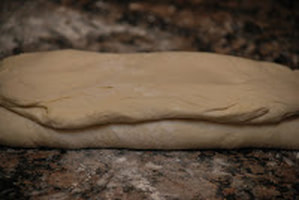
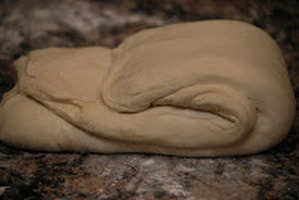
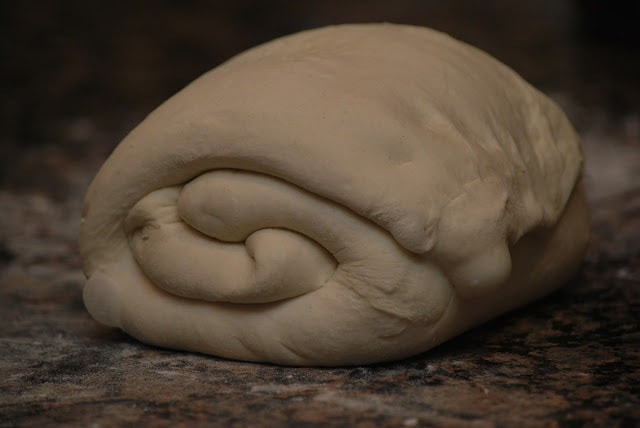
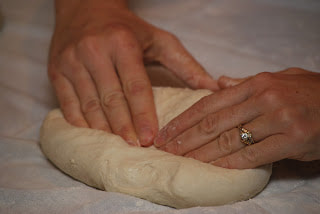
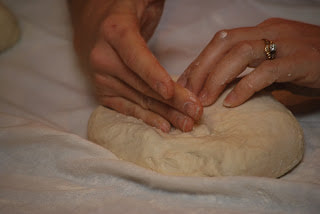
Stretch and fold the dough from the right side to the opposite side.
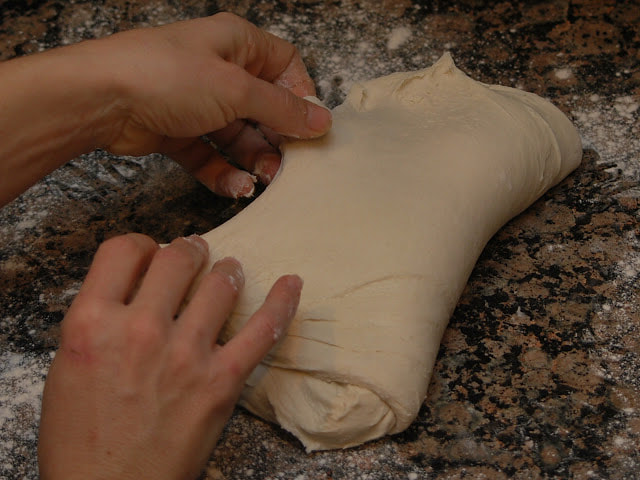
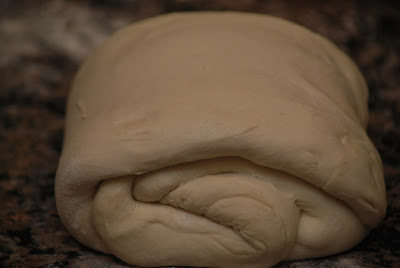
Repeat the process working from the bottom and then the top.
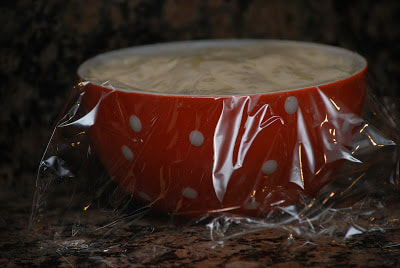
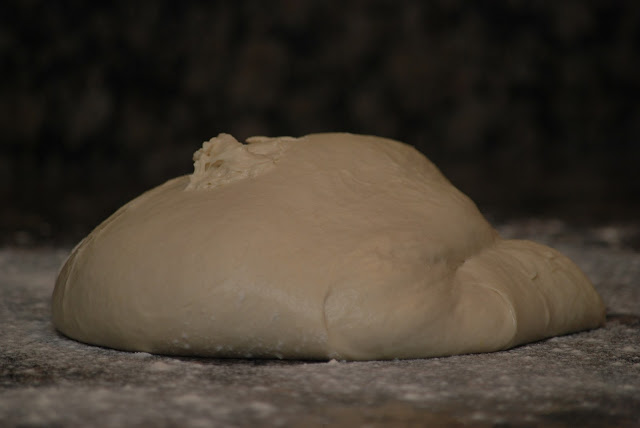
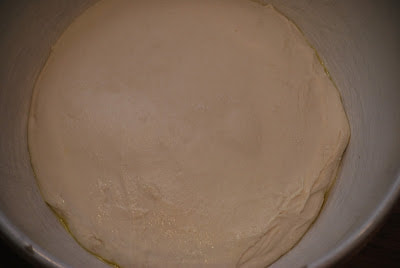
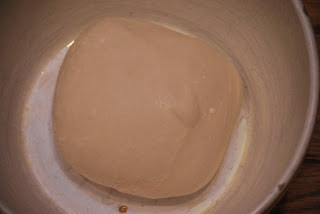
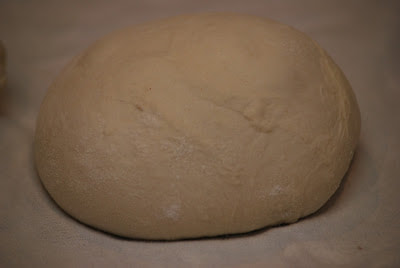
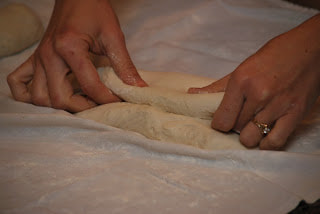
Lift the dough from the surface and place seam side down in a greased bowl.
Gently return it to the bowl, cover and let sit 1 hour longer.
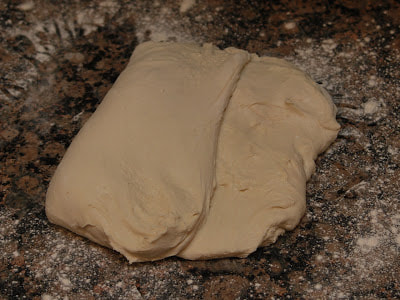
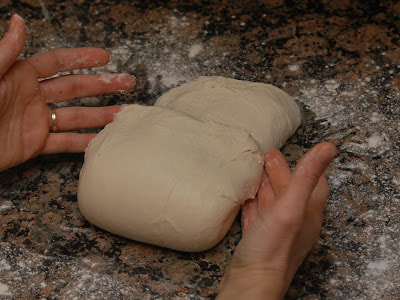
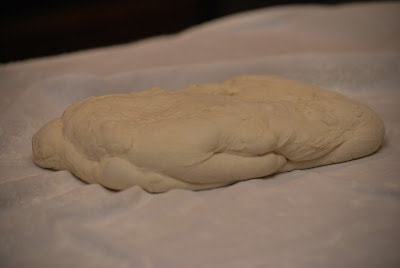
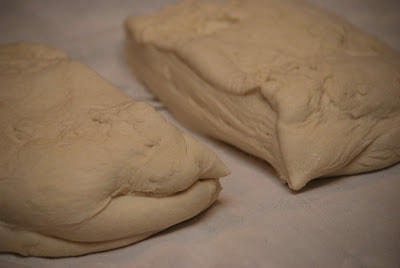
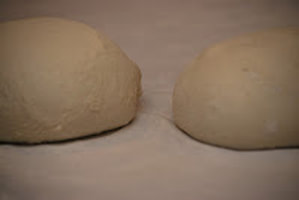
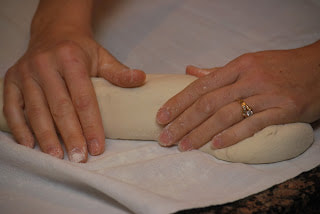
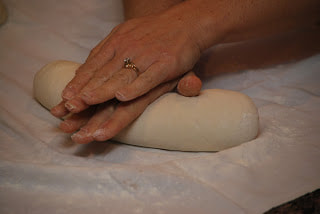
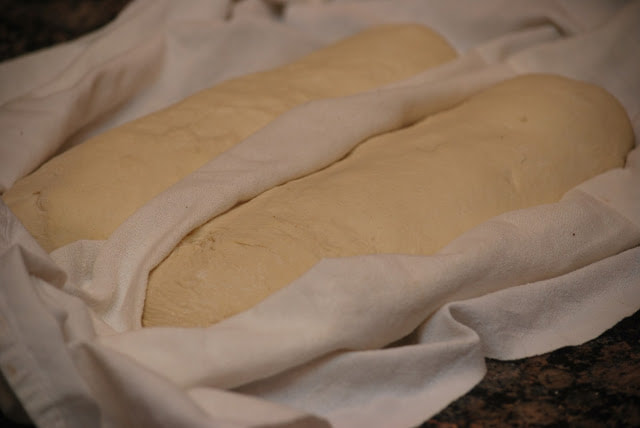
Gently fold the edges of each piece of dough in the center to form a ball. Turn seam side down on the board. Let rest for 15 minutes.
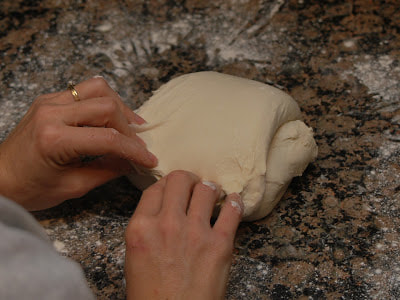
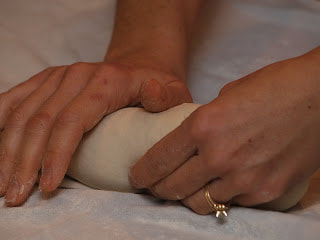
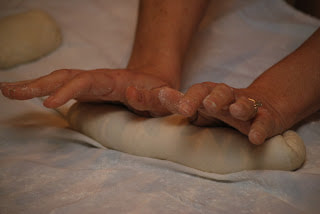
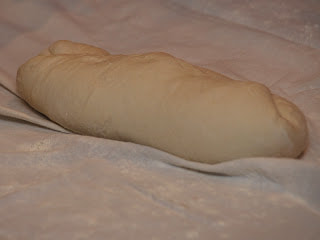
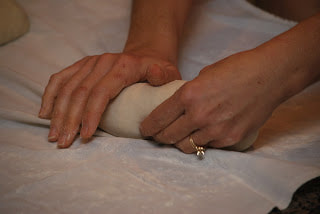
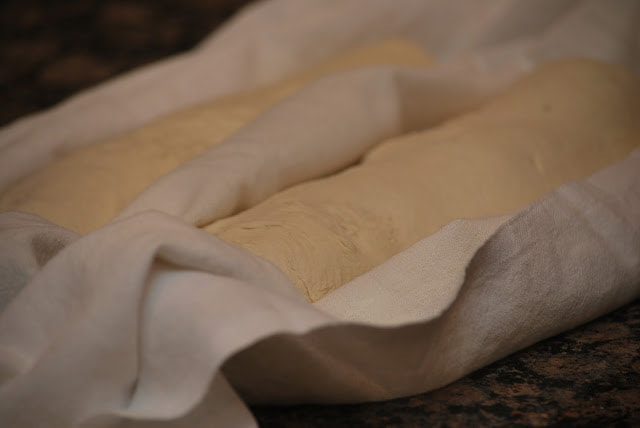
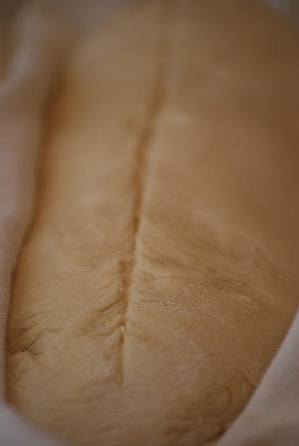
With your hands one of top and the other on the center of the dough, rock the dough back and forth applying gentle pressure while slowly moving moving your hands apart, until you reach the ends. As you roll the dough, it will increase in length and the structure will tighten. The finished diameter of the center of the batard should be 2 3/4 inches.
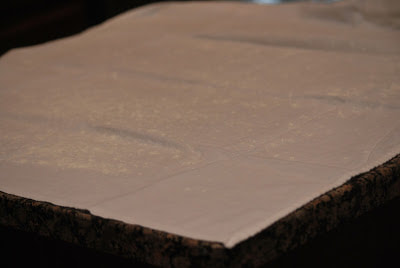
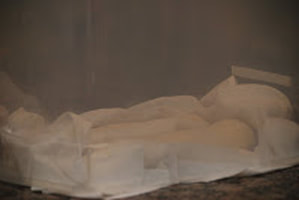
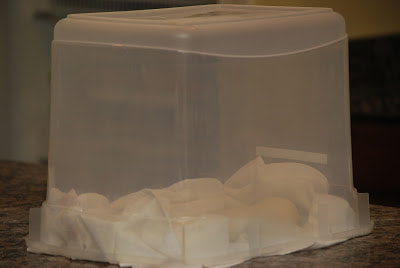
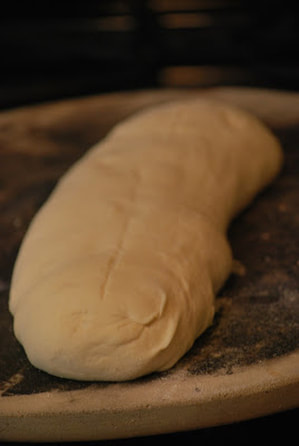
Cover the dough with a plastic tub and let proof for 1 hour. Preheat oven to 460 degrees.
Let cool completely on a cooling rack. 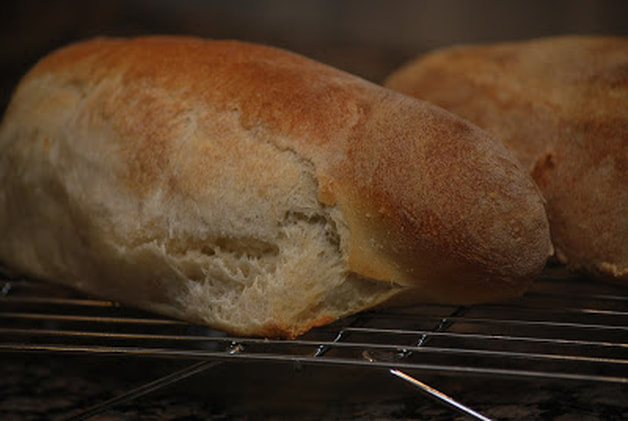 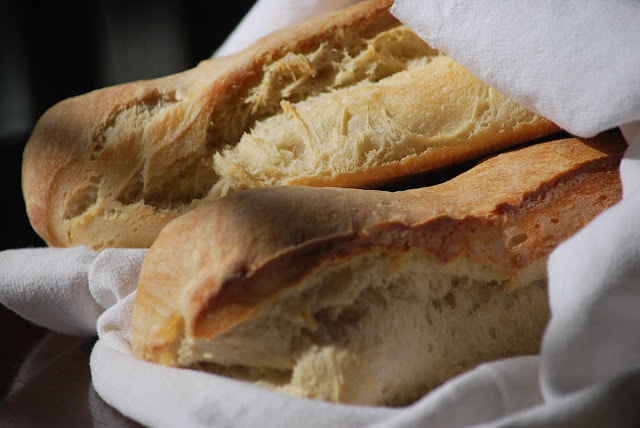  I realize the the length of this blog alone is intimidating to most people. I promise you that it really isn't that hard. I simply wanted to add enough pictures to give you a visual reference to follow when you make bread at home. If you have never tried to make your own bread, you really need to give it a try. It is incredibly rewarding. 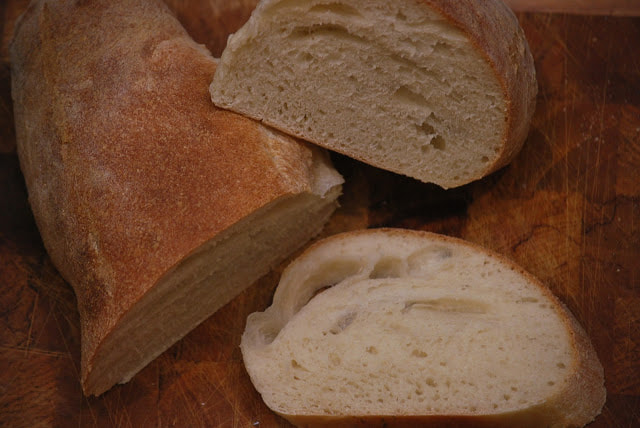 Ciao!
|