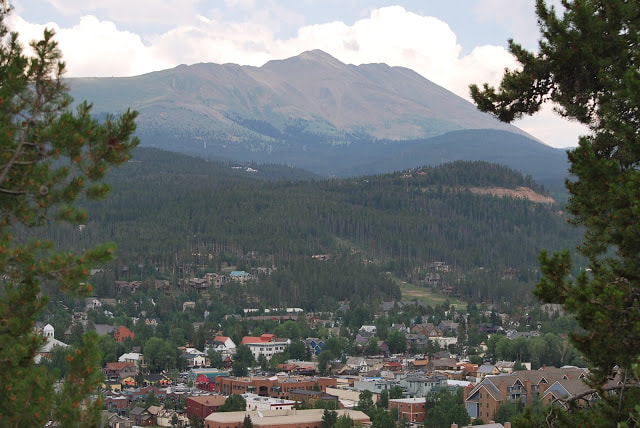
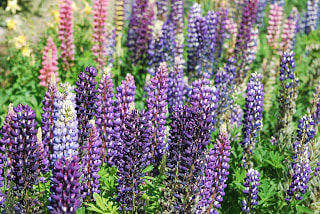
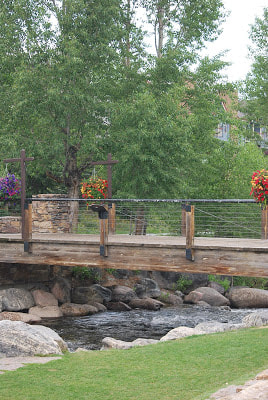
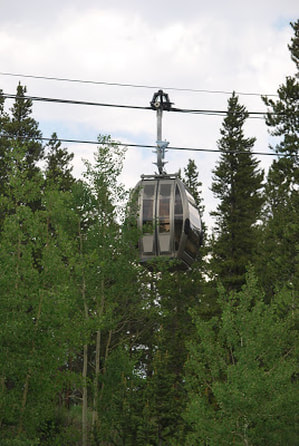
After spending a couple of days in Denver, we headed west to Breckenridge, Colorado. To say that it was breathtaking - is an understatement.
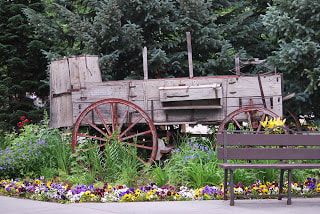
This is downtown Breckenridge...
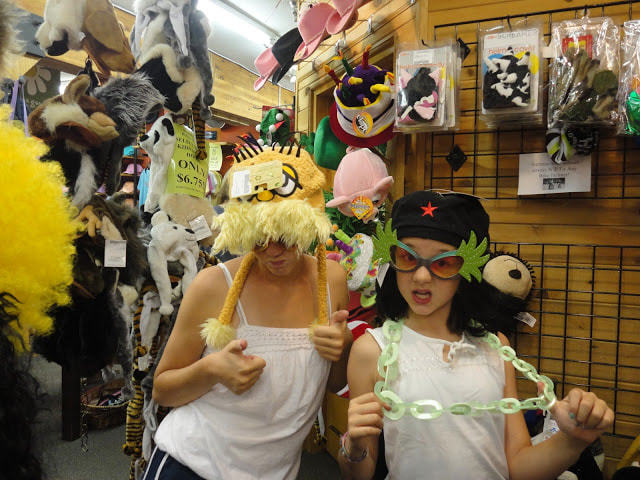
As you might expect, we did a little shopping in Breckenridge while we were there. The girls discovered one particular store that caught their fancy.
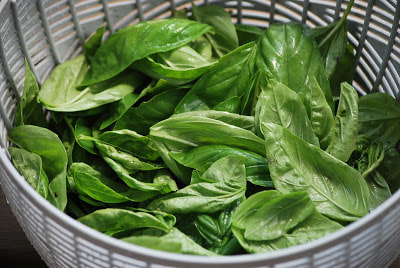
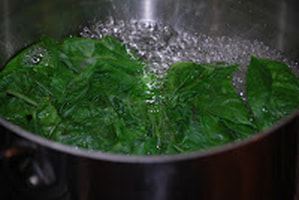
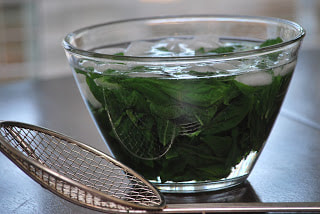
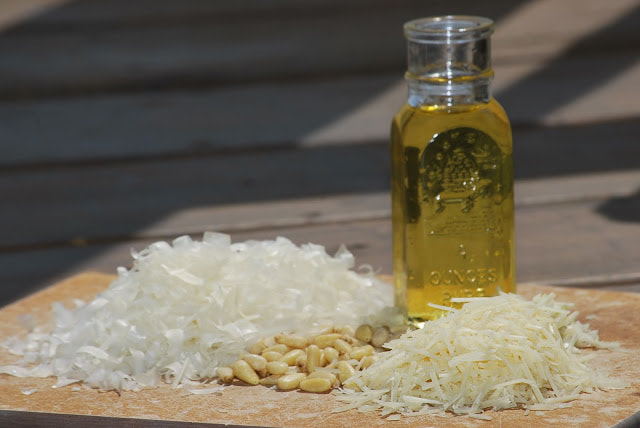
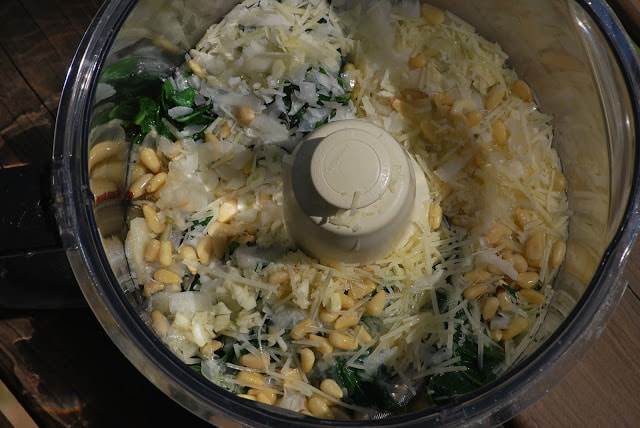
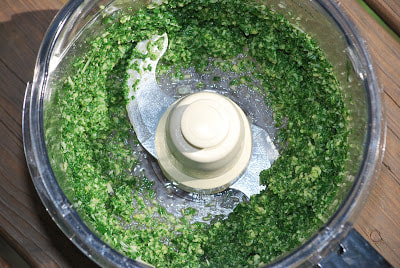
I think it rained in Georgia every day that we were on vacation. The good news is that my garden was looking better than ever when I returned. (I think my garden does better when I'm not at home - maybe I should go on vacation more often.) My basil was especially prolific so I decided to use it up and make some fresh pesto. 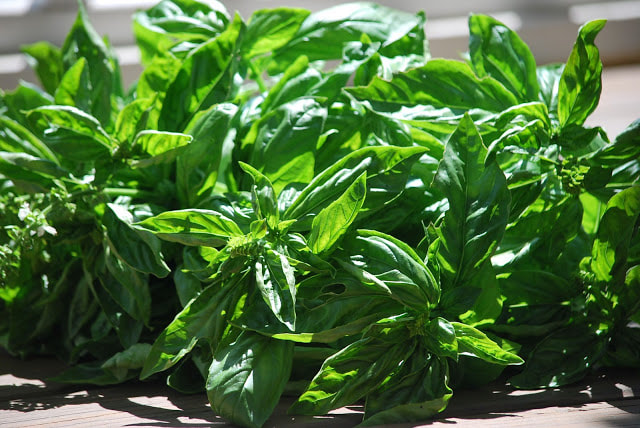 Basil Genovese 4 cups fresh basil 1/2 cup extra virgin olive oil 1/2 cup grated parmesan 1/4 cup pine nuts 3 Tablespoons pecorino cheese 2 cloves garlic, chopped Wash basil and blanch in boiling water for 1 minute.
Add to food processor along with remaining ingredients.
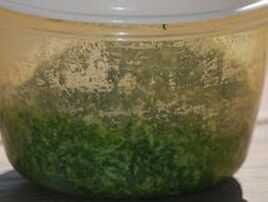
This pesto is great on pasta, sandwiches and even pizza. I will be posting my pesto pizza recipe soon so stay tuned for that. If you haven't liked my blog of facebook, make sure that you do so you don't miss out on any of my recipes. There are over 800 recipes on the blog - there's bound to be at least one that strikes your fancy.
Ciao!
0 Comments
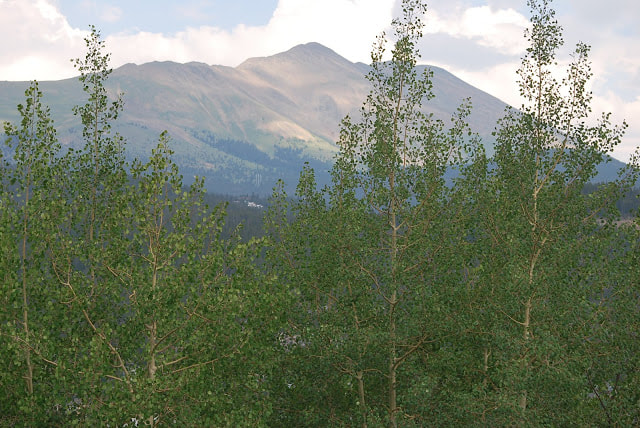
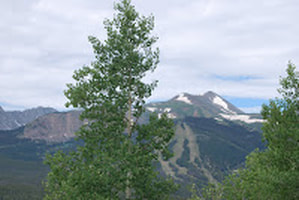
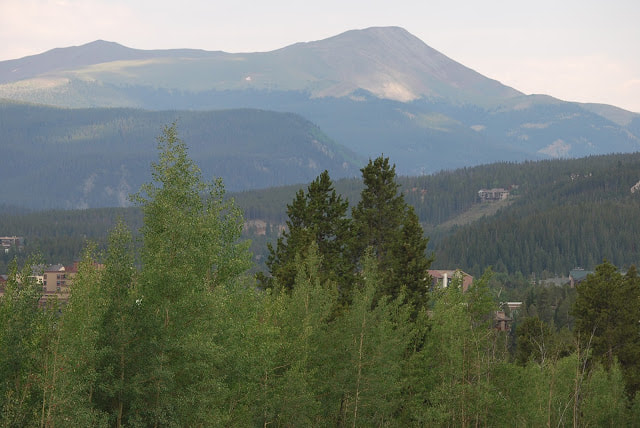
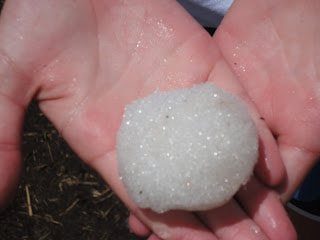
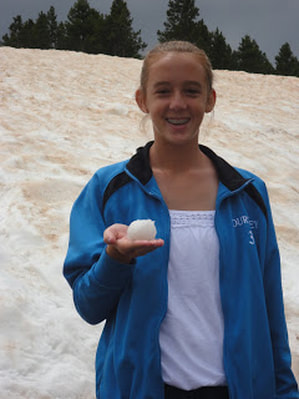
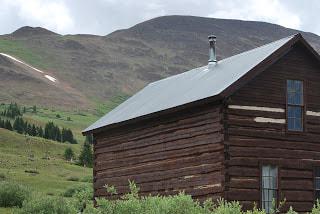
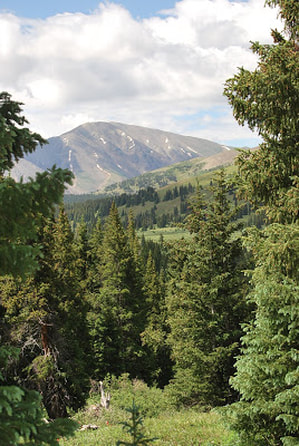
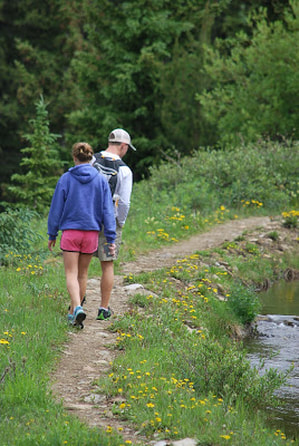
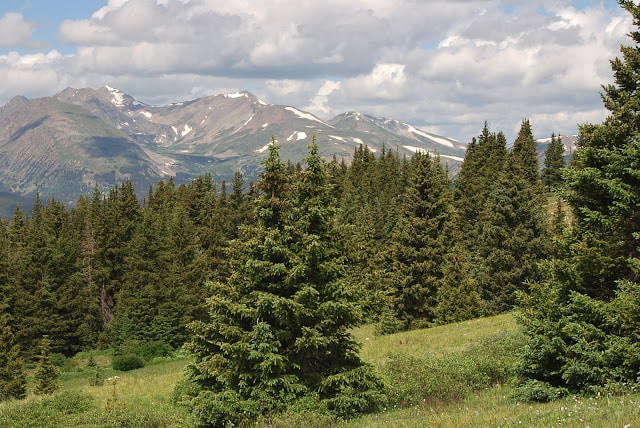
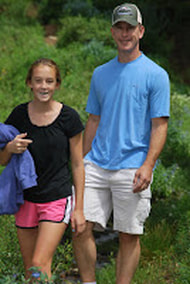
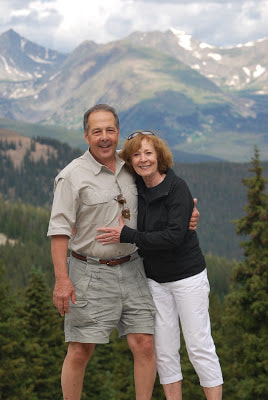
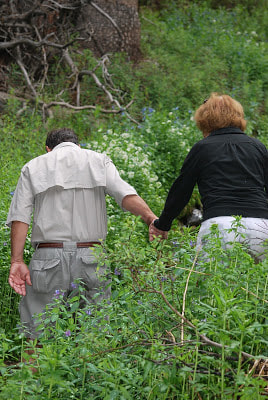
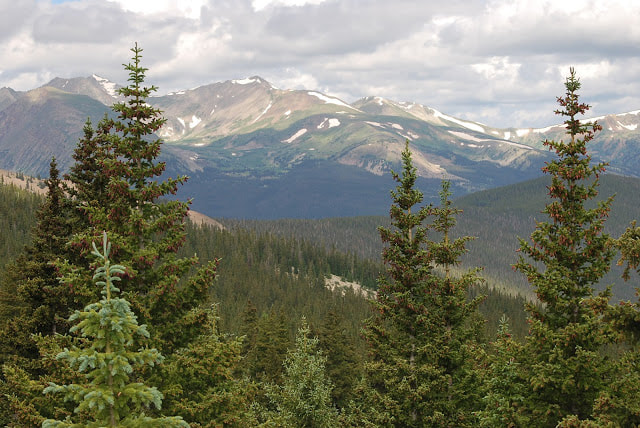 Not a day goes by that I don't stop to remind myself that I am one lucky girl. I have been blessed with so much that I couldn't even begin to list all of the blessings that I have received. Life is full ups and downs but in the end, we all receive way more than we deserve. Speaking of lucky, my family was given the opportunity to travel to Colorado last month to attend a wedding and a family reunion. It was an incredible trip. I came home with well over 500 pictures, documenting our adventures in Colorado. That seems a little excessive to add to one blog so I've decided to stretch them out over a week of blog posts instead. Everyday this week, I will add a new set of pictures, documenting some of our activities in Colorado. This first set of pictures was taken on the last day of our vacation. We drove up the Boreas Pass and hiked (some of the way) up the mountain. The views from the mountain were incredible and it was an amazing way to spend our final day in Colorado.
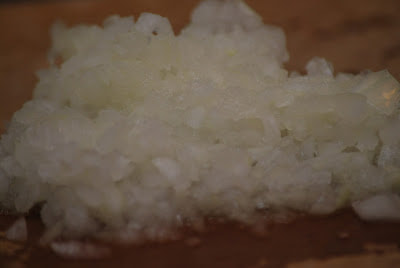
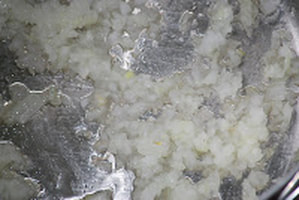
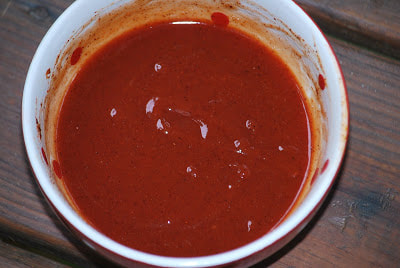
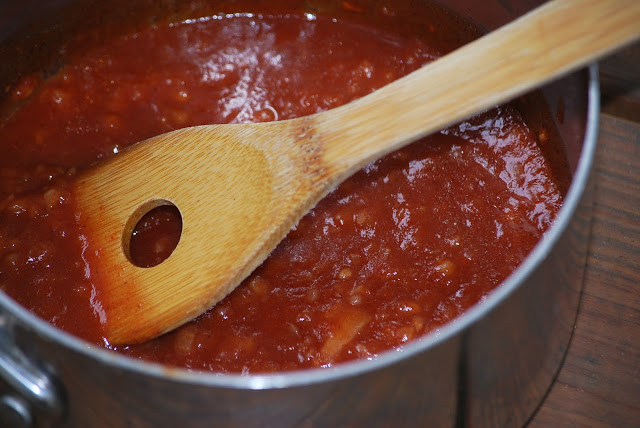
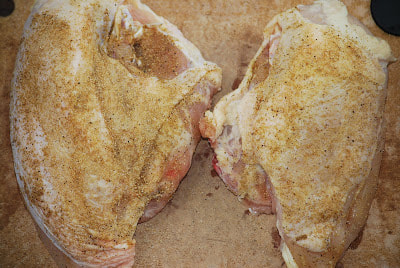
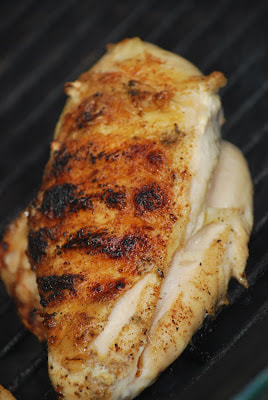
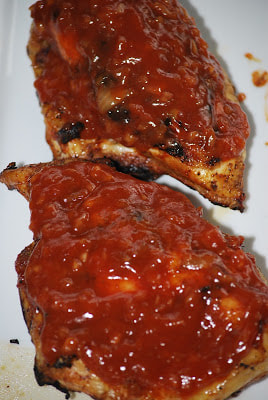
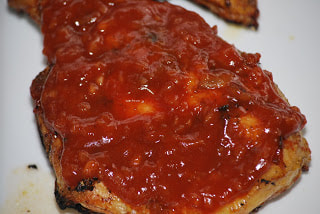
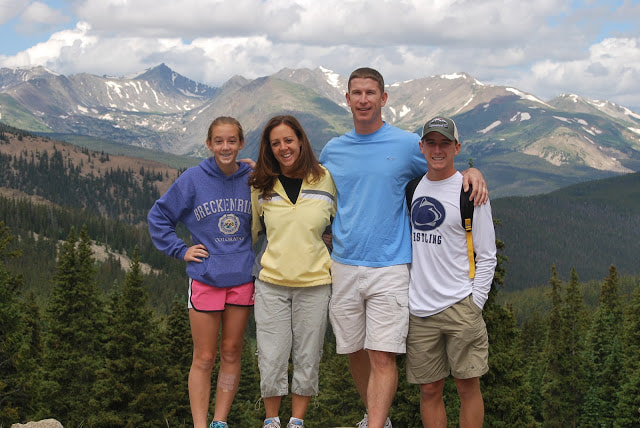 Who needs post cards? It would be nearly impossible to stand on this mountain and not be in awe of the amazing scenery and the one who created it all. It was not easy for any of us to leave the state of Colorado and head home. I spent most of the plane ride home formulating a grocery list to restock the empty refrigerator that awaited us. Heading to the grocery store was a priority once we landed in Georgia since we had no milk, bread or staples. The very first meal that I made, upon returning home from vacation was Grilled Chicken with Honey-Chipotle BBQ Sauce. I found this recipe in a Cooking Light magazine. (One of the many food magazines that I packed in my carry on luggage as reading material to pass the time on our plane ride.) 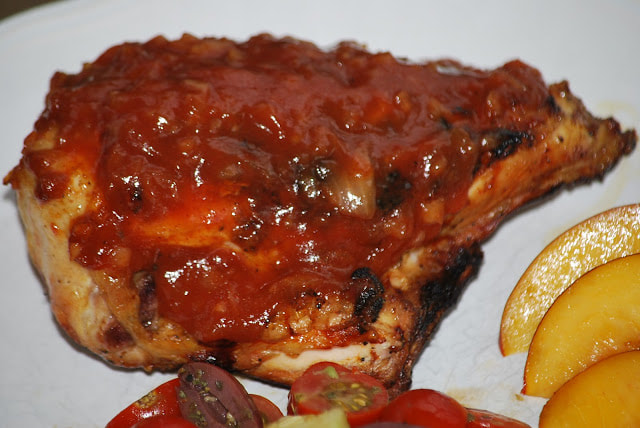 Grilled Chicken with Honey Chipotle BBQ Sauce 2 teaspoon olive oil 1/4 cup chopped shallots (I used a yellow onion instead) 1/2 cup ketchup 2 Tablespoons water 1 1/2 Tablespoons honey 2 teaspoons cider vinegar 1/2 teaspoon dry mustard 1/2 teaspoon chipotle chili powder 1/2 teaspoon salt 1/2 teaspoon garlic powder 1/2 teaspoon cumin 1/4 teaspoon black pepper 4 bone in chicken leg quarters (I used 2 large chicken breasts with ribs.) Heat oil in saucepan. Add shallots and cook 2 minutes until softened.
Combine 1/4 teaspoon salt, garlic powder, cumin and pepper. Sprinkle over chicken.
I served my BBQ chicken with a fresh tomato salad and nectarine slices. 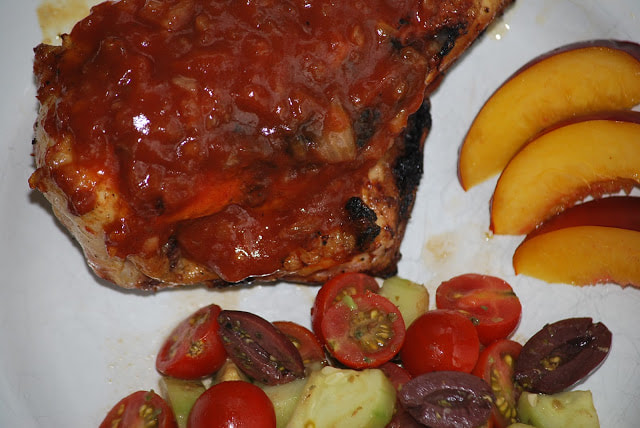 The honey-chipotle bbq sauce definitely had a little kick to it. It's easy to adjust the level of spice by adding a little more or less of the chipotle chili powder.
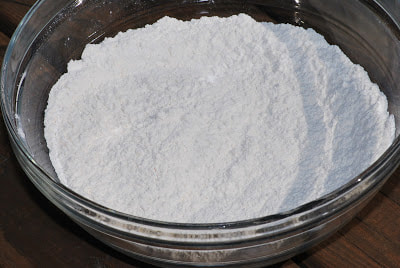
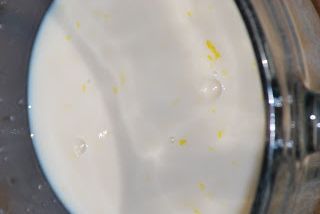
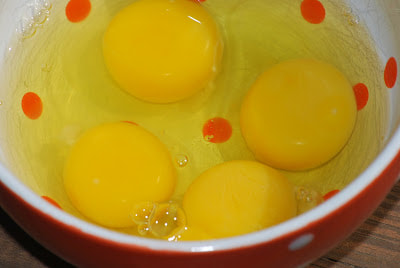
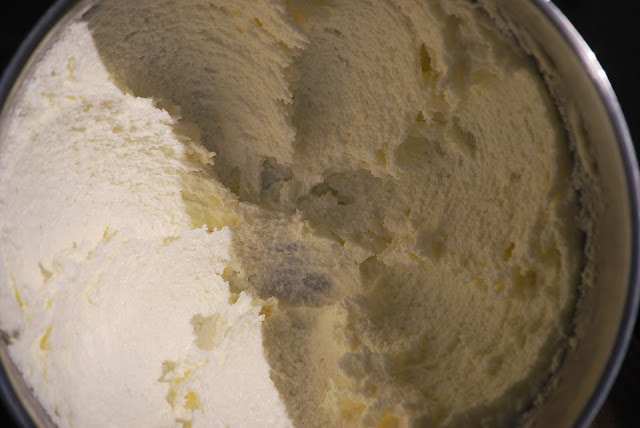
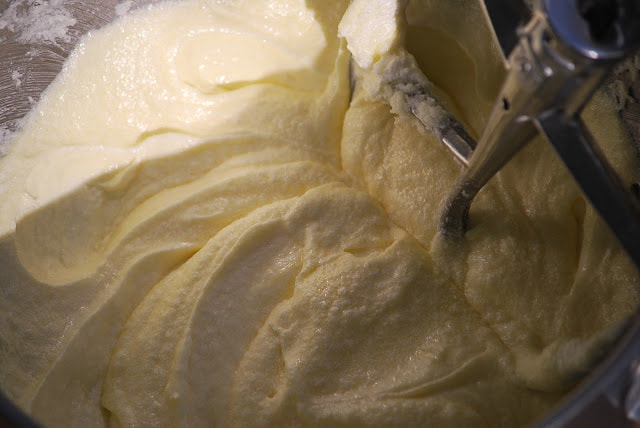
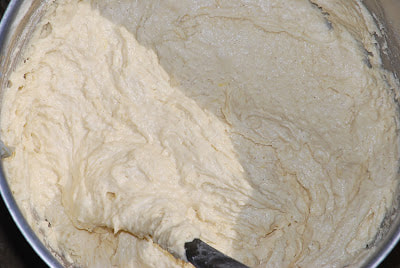
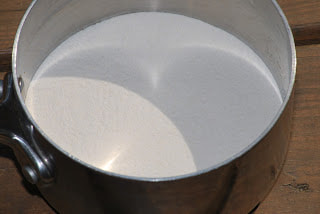
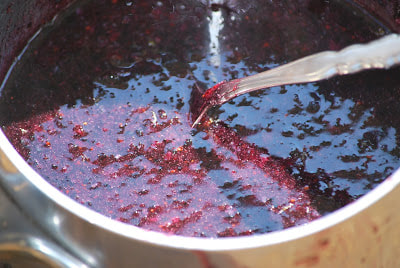
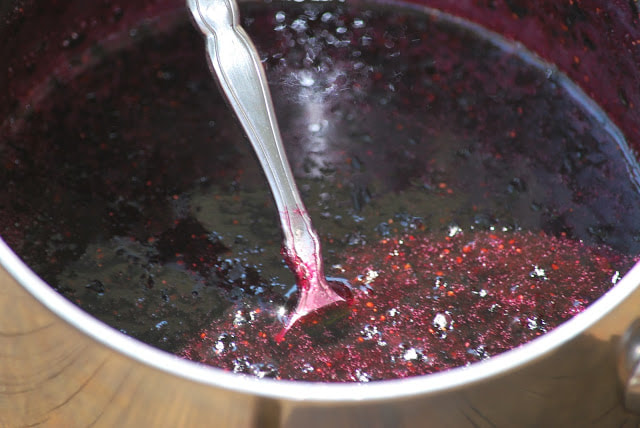
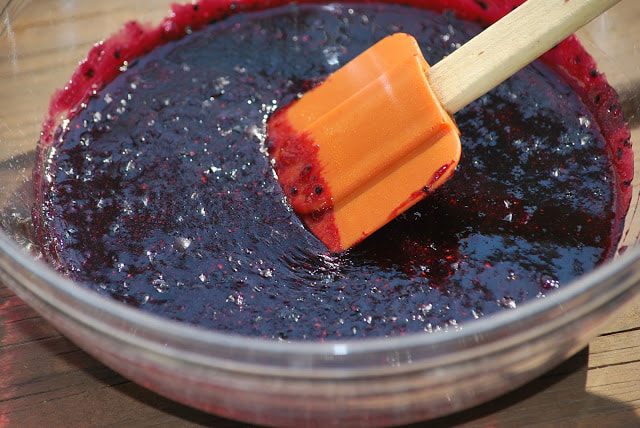
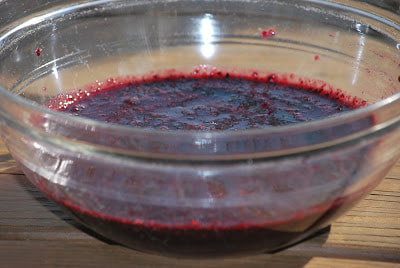
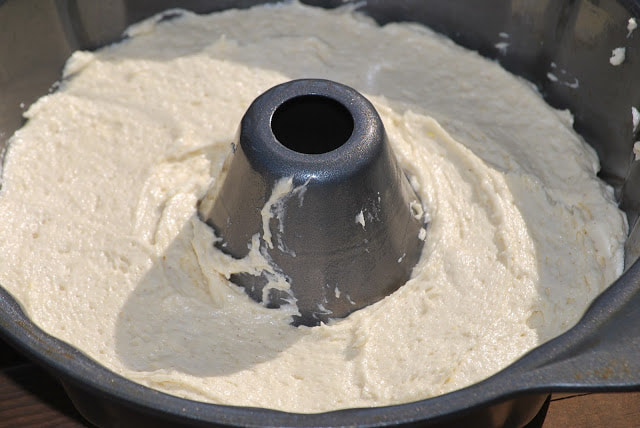
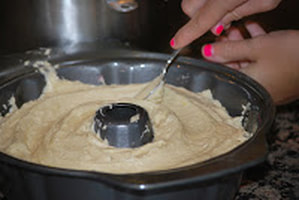
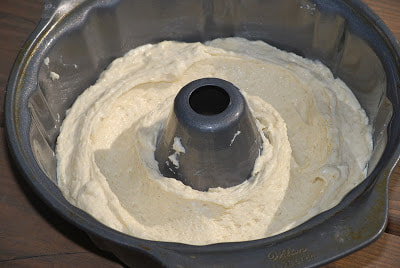
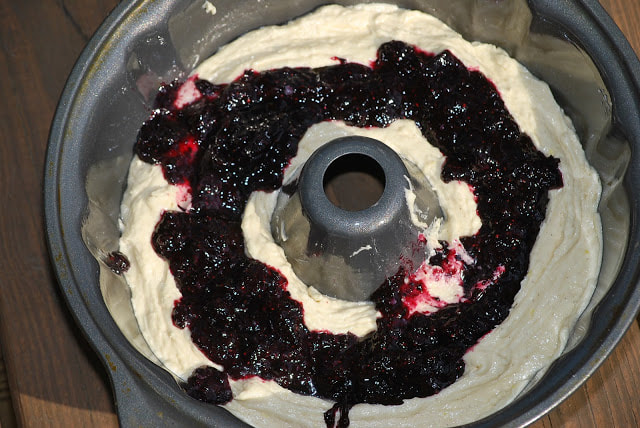
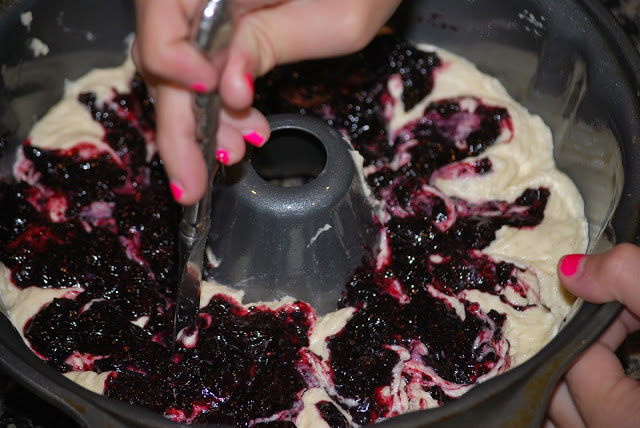
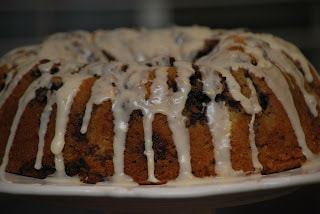
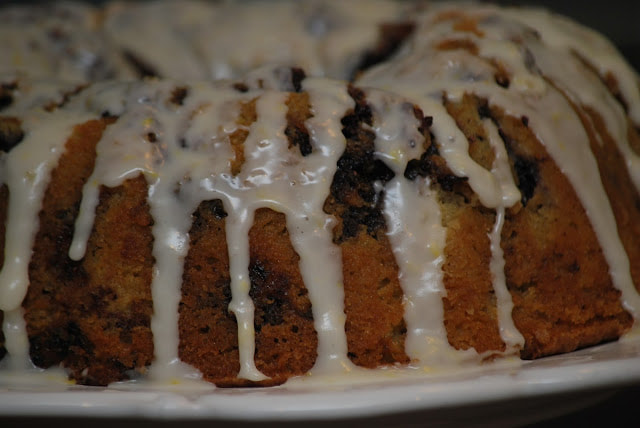
Ciao!  My daughter and I tackled a new cake to surprise my husband. He is a fan of everything blueberry so we took on the task of making the marbled blueberry bundt cake from the May/June 2013 issue of Cook's Illustrated. It was definitely a team effort - I worked on the filling while she handled the cake batter. (It still took us a good 45 minutes to get this cake ready to go into the oven.) OK, so maybe there was a little bit fooling around but we had a really good time while we baked. The cake turned out great but the memory of making it together - even better. 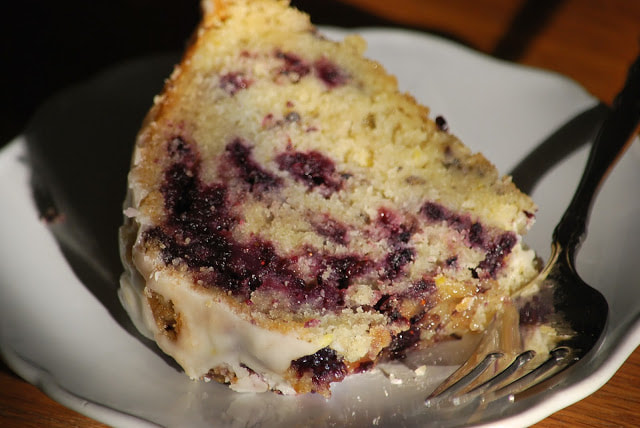 Marbled Blueberry Bundt Cake Cake 3 cups flour 1 1/2 teaspoons baking powder 3/4 teaspoon baking soda 1 teaspoons salt 1/2 teaspoon cinnamon 3/4 cup buttermilk 2 teaspoons lemon zest 3 Tablespoons lemon juice 2 teaspoons vanilla 3 eggs + 1 egg yolk 18 Tablespoons butter 2 cups sugar Filling 3/4 cup sugar 3 Tablespoons no sugar needed fruit pectin pinch salt 10 ounces frozen blueberries, thawed 1 teaspoon lemon zest 1 Tablespoon lemon juice
Using the back of a spoon, make a well in the center of the pan.
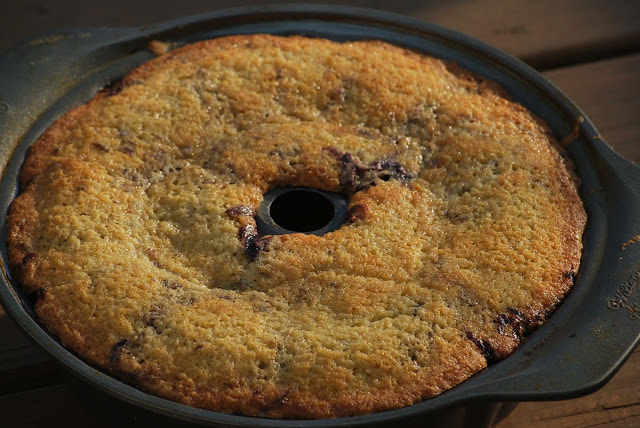
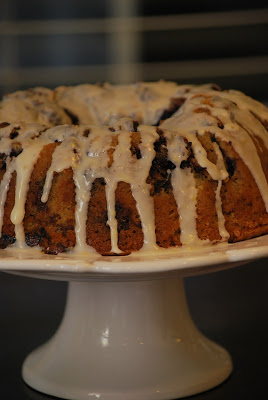
Cool 10 minutes. Invert onto wire rack and cool completely. Carefully remove pan. 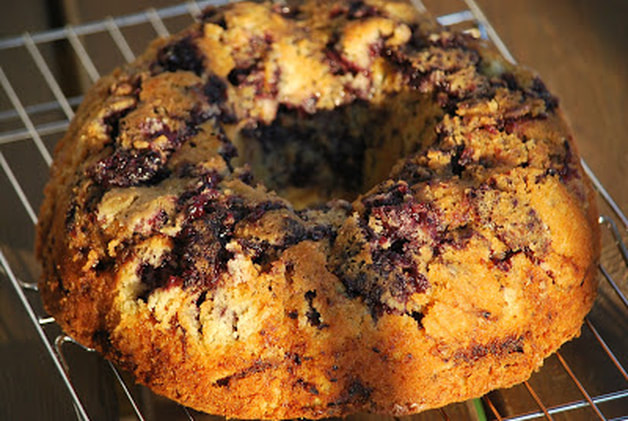 OK, my cake didn't come out of the pan so neatly. I had to do quite a bit of patching to get the top back on the cake. So what do I do to hide a messy looking cake? I drizzle a lemon glaze over the top.
The glaze hid most of the major flaws on top of the cake and it added a nice bright flavor. We sliced the cake and it was absolutely delicious! 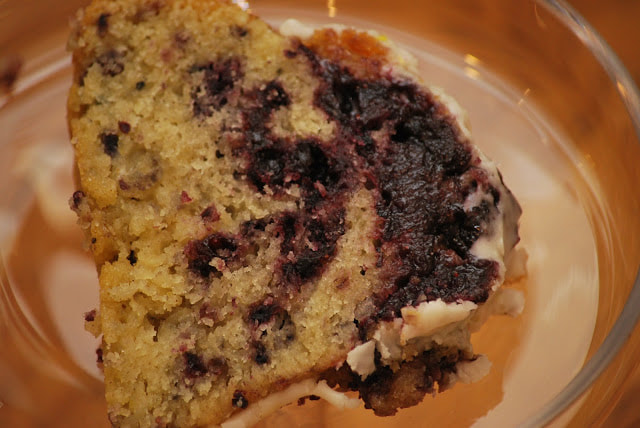 We ended up with a little too much blueberry at the top of the cake - which is probably why it didn't come out of the bundt pan cleanly - but other than that - it was awesome! 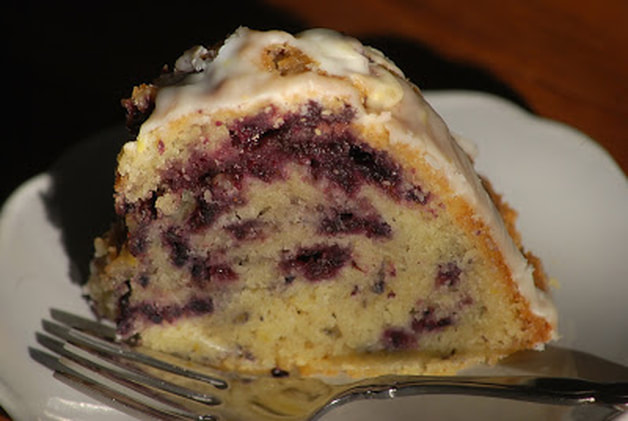 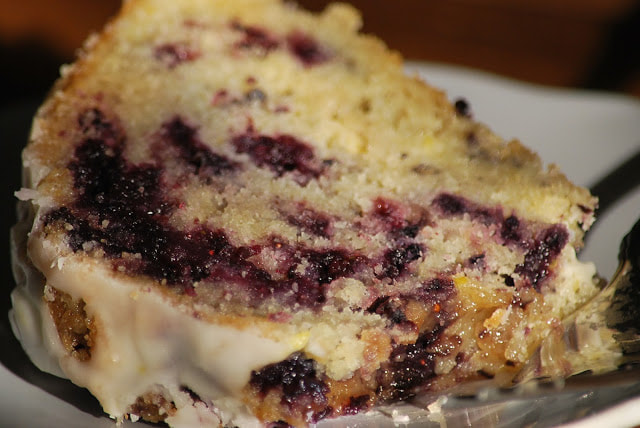 Ciao!
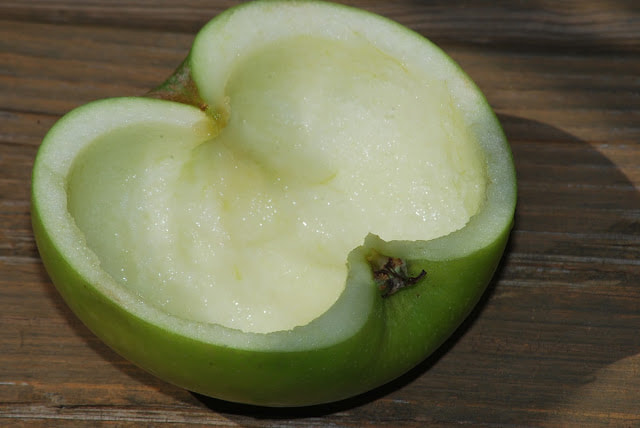
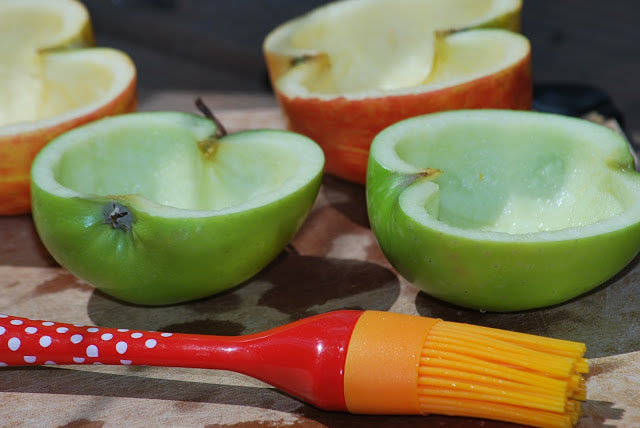
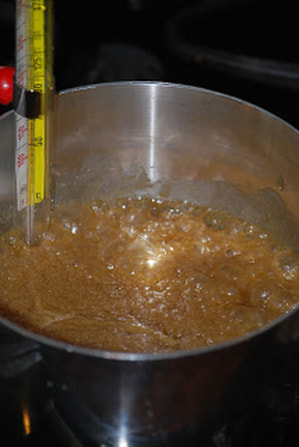
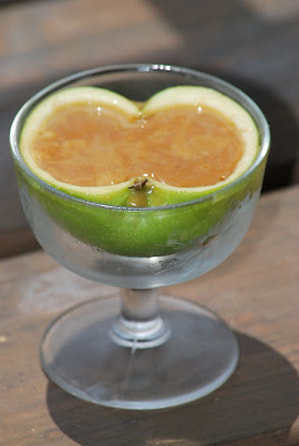
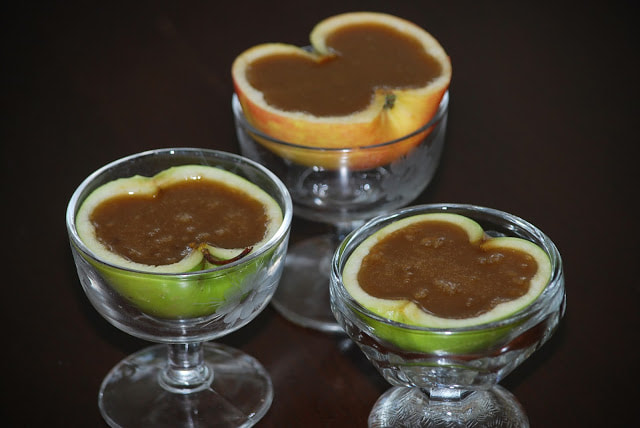
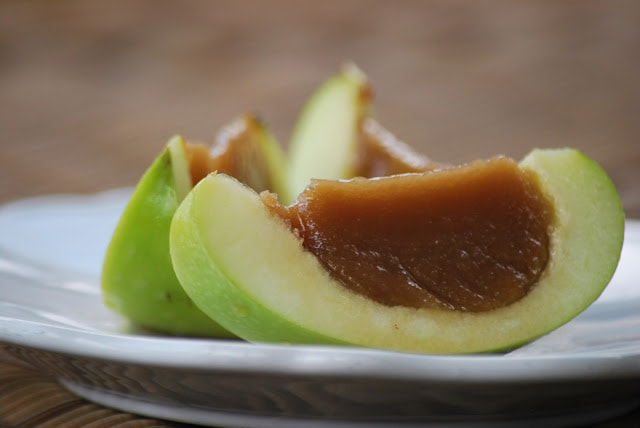
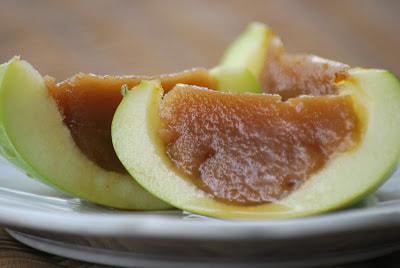
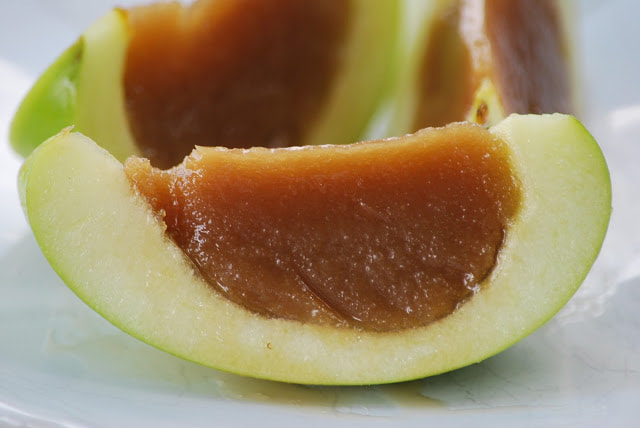 It's confession day on the blog. I am not a big fan of following directions and it is not uncommon for me to ignore them or even throw them away without even reading them first. (Stop shaking your head, Ben.) Do not let my blatant disregard for directions in any way indicate to you that I might have a better way to do something. Quite the contrary really. I usually ignore them simply because I am too impatient to take the time to sit down and read through them. (Imagine that.) 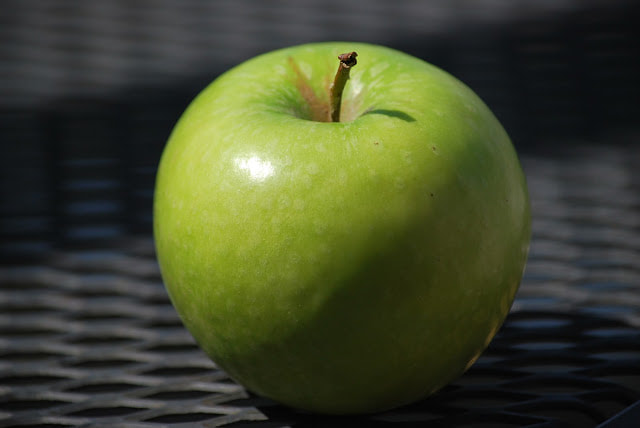 I found an idea for caramel apple bites on pinterst. The concept was simple: hollow out and apple, fill it with caramel and slice. Sooooo. .. I went for it. (Without reading through the directions of course.) To make a long story short - my attempt to recreate this cute little snack failed miserably and I had to go back and yes, read the directions. Turns out, there was a little more involved in making the caramel for these bites than I first thought. The whole process took at least twice as long as it should have because I had to scratch my first batch and remake them all again. Domesticfits.com actually had some really good tips for making these inside out caramel apples successfully.
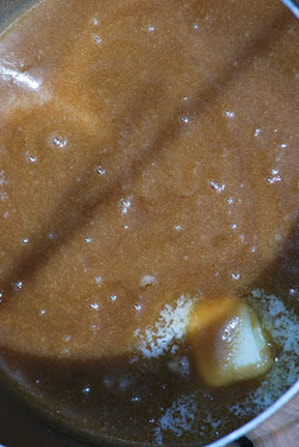
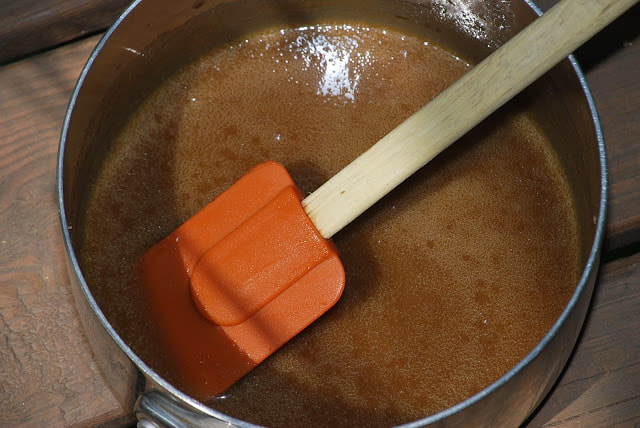
Caramel sauce 2 cups brown sugar 1/2 cup heavy cream 2 tbs butter 2 tbs light corn syrup 1 tsp vanilla extract
Let cool 10 - 15 minutes. Pat inside of apples dry with paper towels. Pour cooled caramel into shells. (I found these little ice cream dishes to work really well to keep the apple halves from tipping over in the frig. - A lesson I learned the hard way.)
Let chill in the refrigerator for at least 20 minutes. Slice.
This is a genius idea. (and believe me - I don't take any credit for it) Finally a caramel apple with a more appropriate caramel to apple ratio AND they are way easier to eat - especially for anyone who might be wearing braces.
This recipe still needs some perfecting though. My caramel wasn't quite as smooth as it should have been and even though I used a candy thermometer, I think I should have cooked it a little longer. After I sliced the apple, some of the caramel oozed out of the bottom. I also had a little trouble getting the caramel to stick to the inside of the apple. Maybe I will do a little more research on these little caramel apple bites and get a few more suggestions before I attempt them again. If you have an ideas for me, PLEASE send them to me. Ciao! |