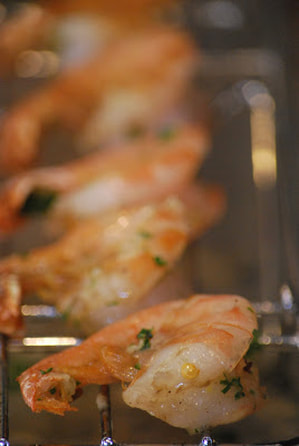
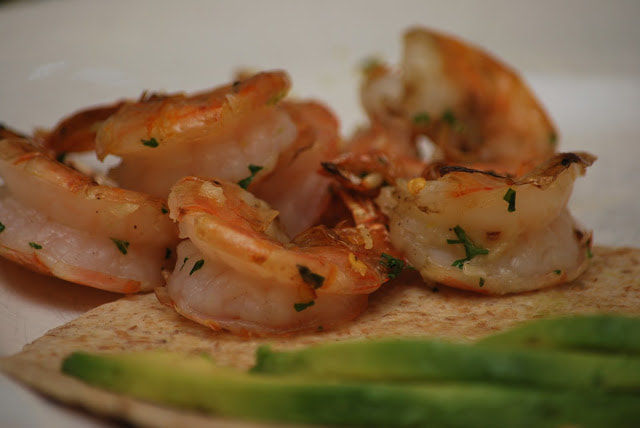
 I consider myself a pretty frugal grocery shopper. I am not an extreme couponer but I do pay attention to how much I spend on groceries. I save money by buying grocery store brand staples like cereals and granola bars but I spend a little more to get the freshest meats and seafood that I possibly can. It's all about figuring out what is most important to me and my family. When it comes to shrimp, I never buy the precooked, but I do look for shrimp that has already been deviened and butterflied. Deviening and butterflying shrimp can take up to 30 minutes which is precious time when I'm in a hurry to get dinner on the table. I adapted this recipe for Roasted Garlic Shrimp from the Jan/Feb 2013 Cook's Illustrated. As usual, I needed to get dinner on the table in a hurry so the few extra pennies that I paid for the shrimp that had already been deviened and butterflied was WELL worth it.
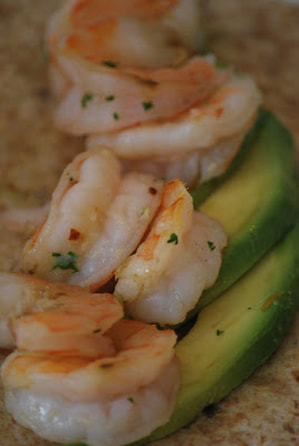
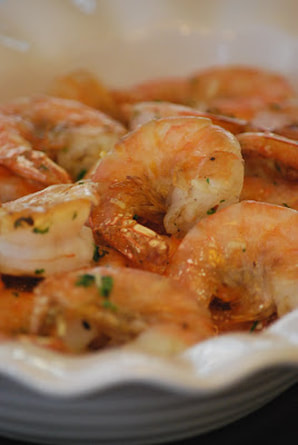
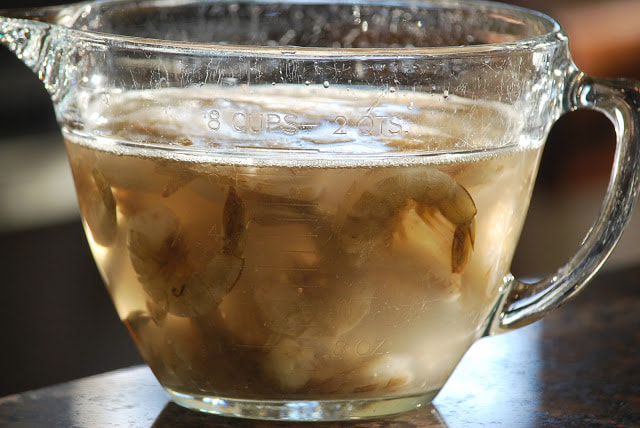
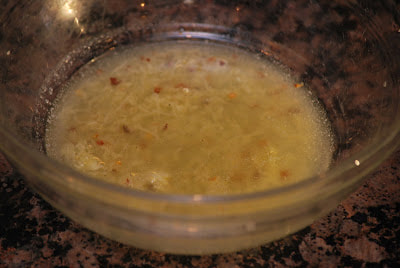
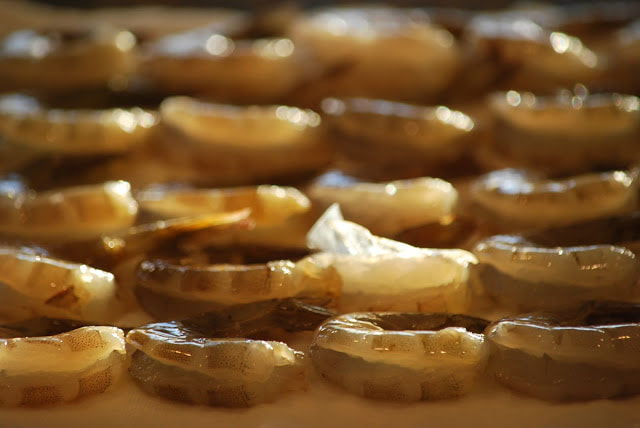
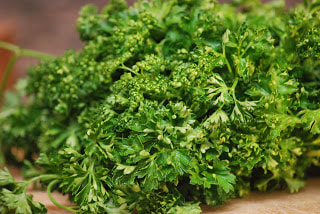
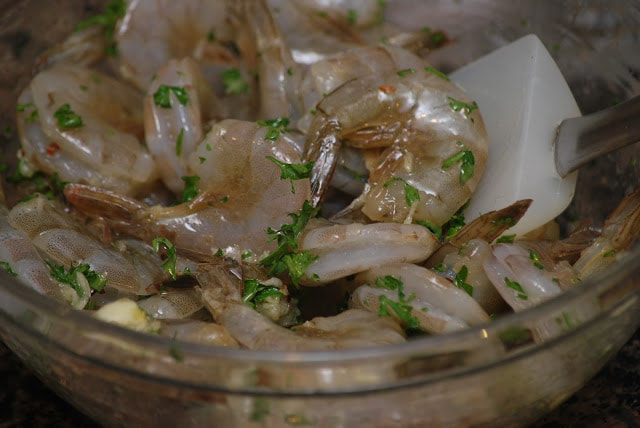
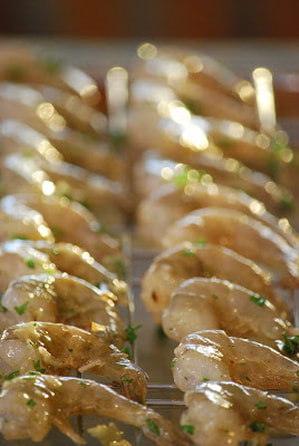
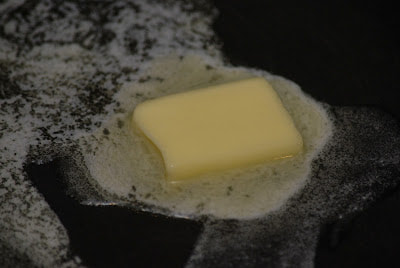
Roasted Garlic Shrimp 1/4 cup salt 1 quart water 2 pounds shell on shrimp, butterflied 4 Tablespoons butter 6 cloves garlic 1/2 teaspoon red pepper flakes 1/4 teaspoon pepper 2 Tablespoons fresh parsley, minced
Add shrimp to garlic butter sauce along with parsley.
Toss shrimp into a serving bowl. 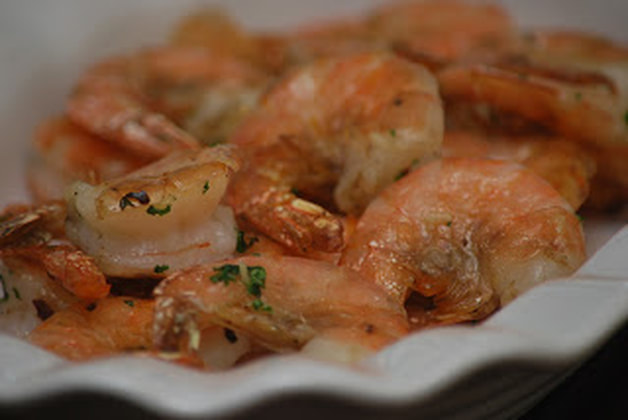
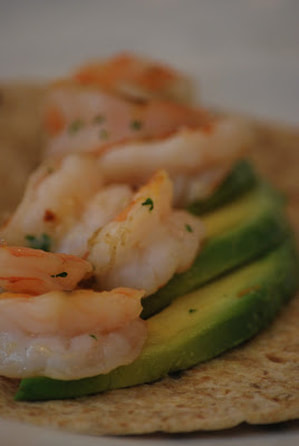
If you're craving a super simple shrimp dinner, give this broiled shrimp technique a try.
Ciao!
0 Comments
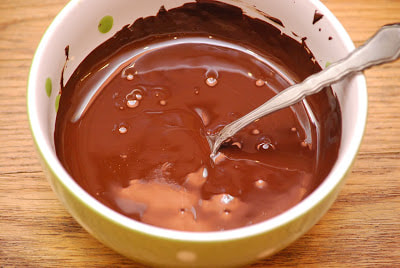
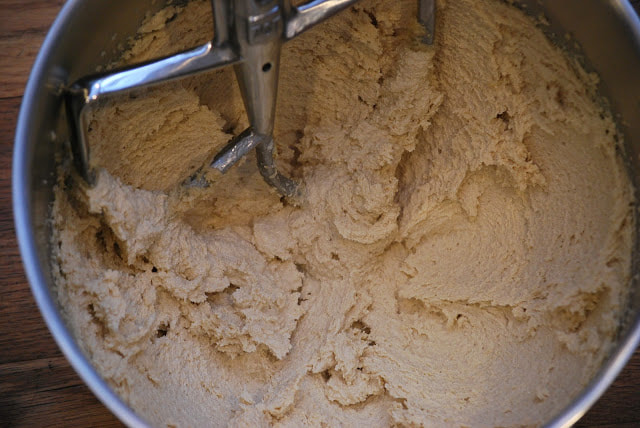
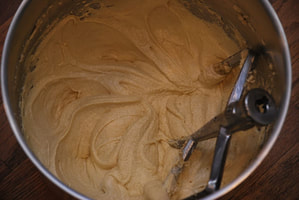
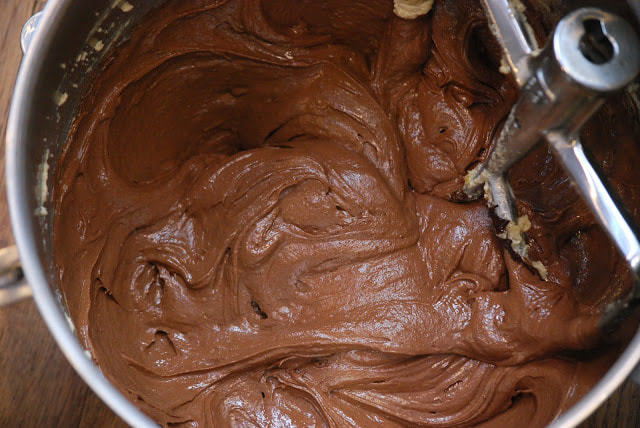
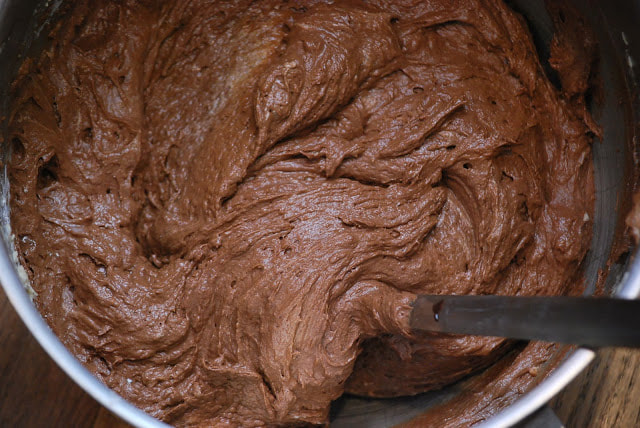
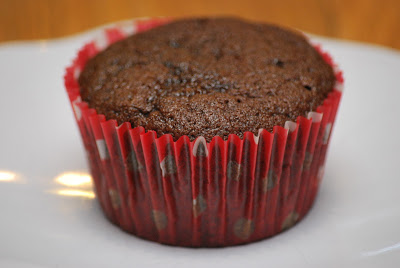
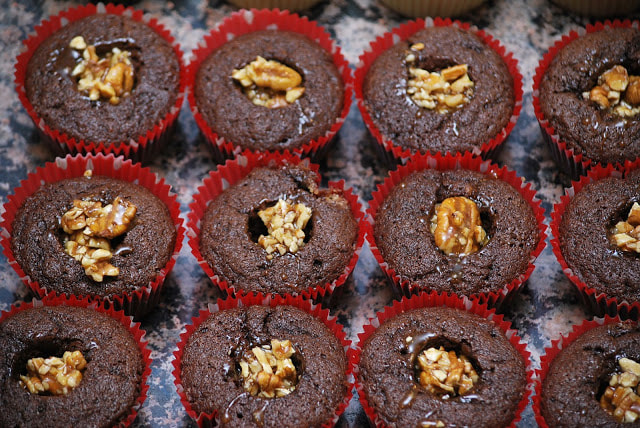
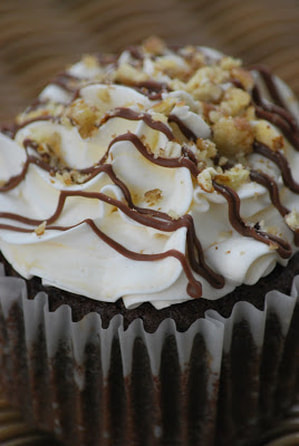
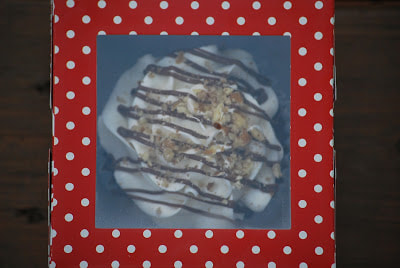
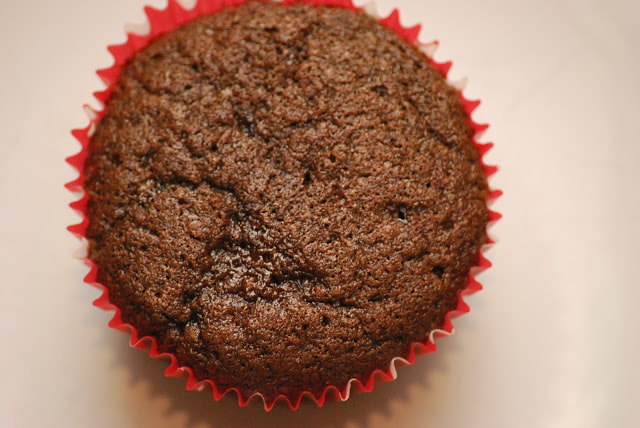
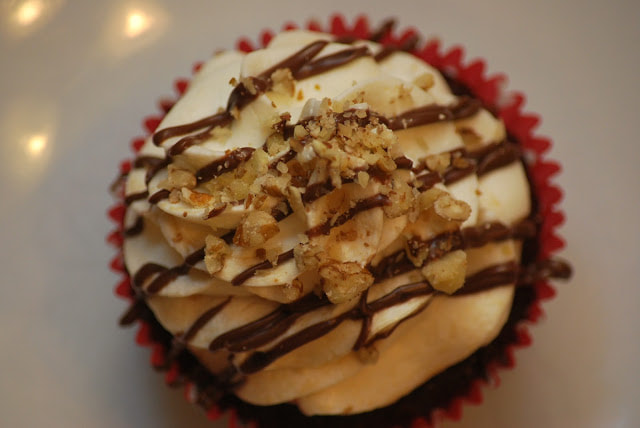 Rich, dark chocolate cupcake filled with gooey caramel-pecan filling topped with salted caramel buttercream, drizzled with chocolate and sprinkled with toasted pecans - What could possibly be better than that? Seriously? I can think of no other cupcake that I would rather have on a plate in front of me right now. This cupcake was one of the 12 cupcakes of Christmas and unfortunately, I do not have any left over. I'm not really sure how I am going to get through this blog post without one, but here goes... Turtle Cupcakes 2 cups flour 1 teaspoon baking soda 6 ounces unsweetened chocolate 1 cup butter 1 cup sugar 1 cup brown sugar 4 eggs 1 cup buttermilk 1 teaspoon vanilla Caramel Filling 3 sticks butter 3/4 teaspoon salt 3 cups brown sugar 3/4 cup milk 3 teaspoons vanilla 3/4 cup pecans, chopped Caramel Frosting 4 1/2 - 6 cups powdered sugar 1/4 cup pecans, chopped 1/4 cup milk chocolate chips
Sift together flour and baking soda. Cream butter and sugars in mixer for 3 minutes.
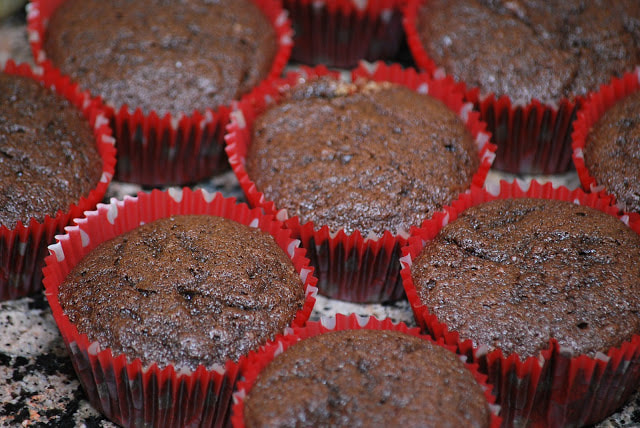
Divide batter among muffin cups and bake 20-25 minutes at 350.
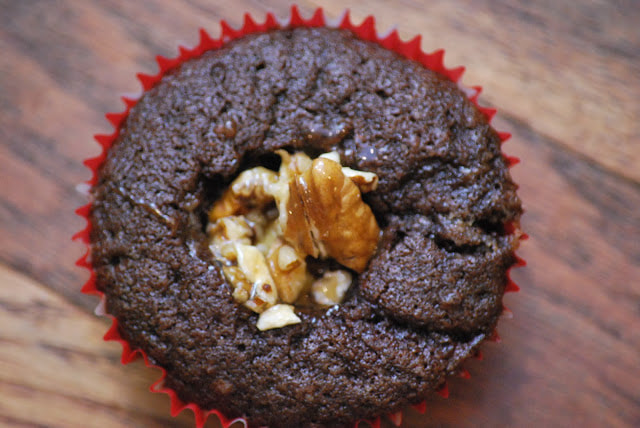
 Caramel Sauce Melt butter in saucepan. Stir in salt and brown sugar. Heat to boiling. Reduce heat to low and cook 2 minutes. Stir in milk and return to boiling. Remove from heat and stir in vanilla. Cool 30-40 minutes. Spread 1 cup pecans on a baking sheet and bake 5-7 minutes. Cut the center out of cooled cupcakes. Combine 3/4 cup pecans and 1/2 cup caramel sauce. Drop a spoonful into the center of each cupcake.
Reserve 3 Tablespoons of caramel sauce for drizzling over cupcakes.
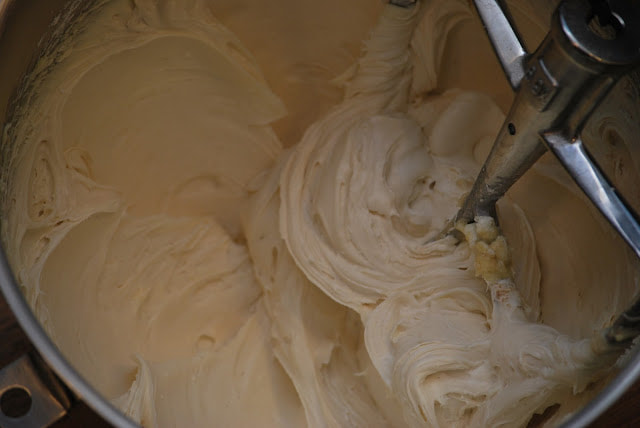
Melt chocolate chips in microwave safe bowl. Transfer frosting to a pastry bag. Pipe icing on cupcake. Drizzle with caramel sauce and melted chocolate and garnish with toasted pecans. Now I'm officially craving chocolate and pecans and caramel buttercream. I may just have to make another batch of these soon.
Ciao!
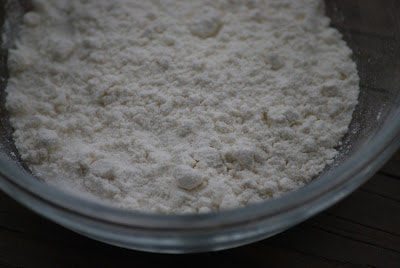
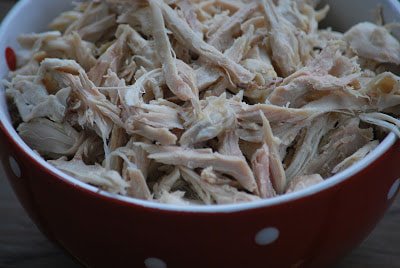
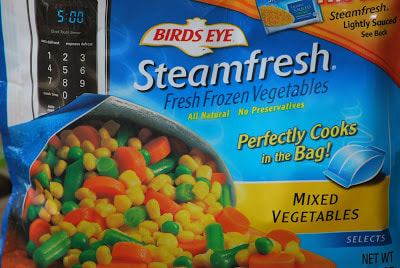
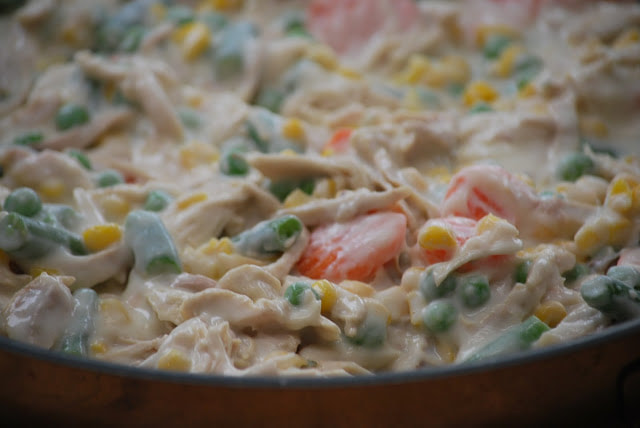
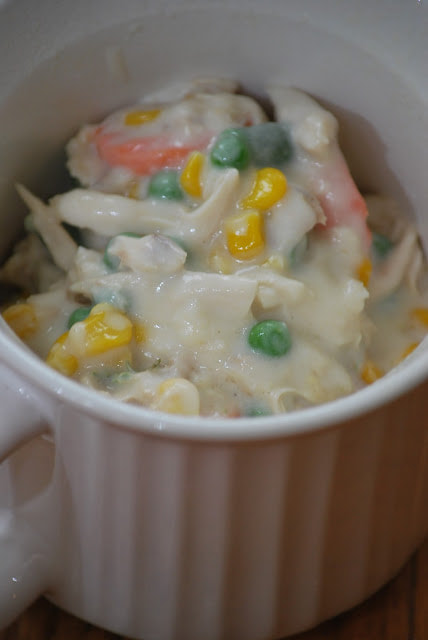
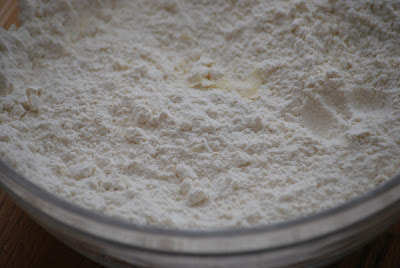
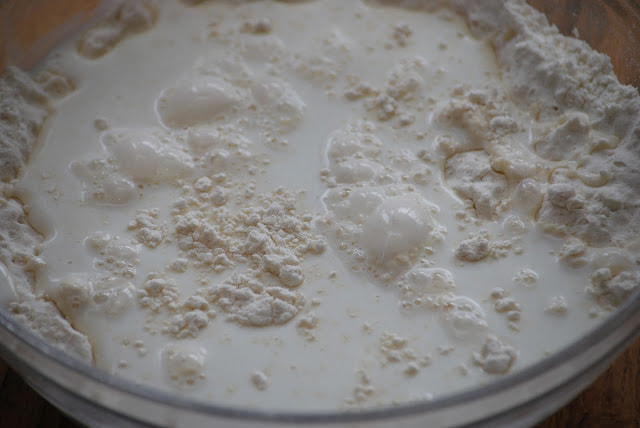
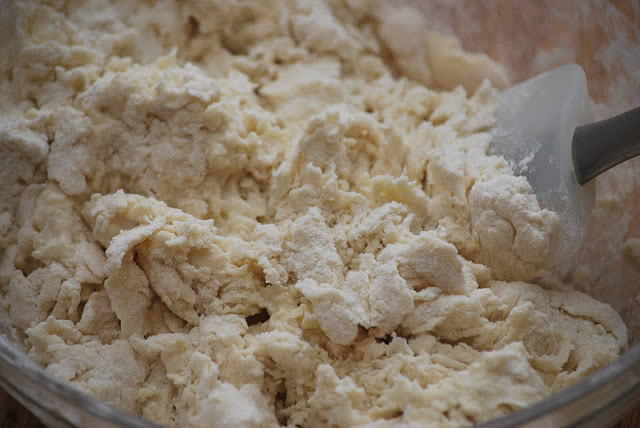
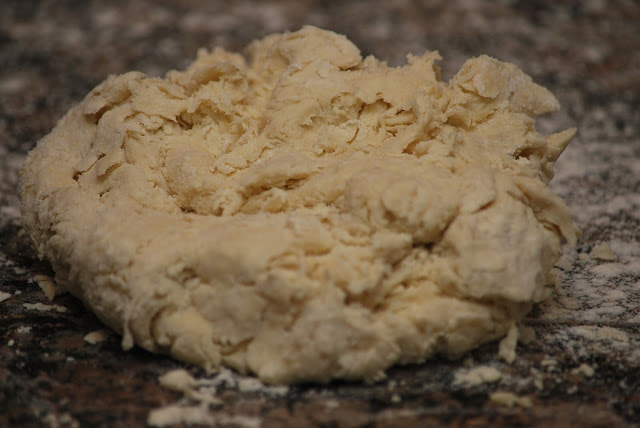
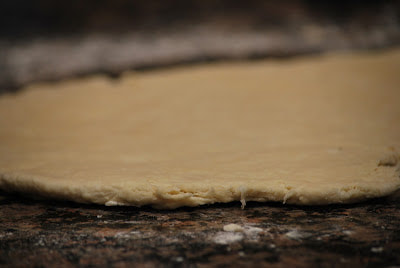
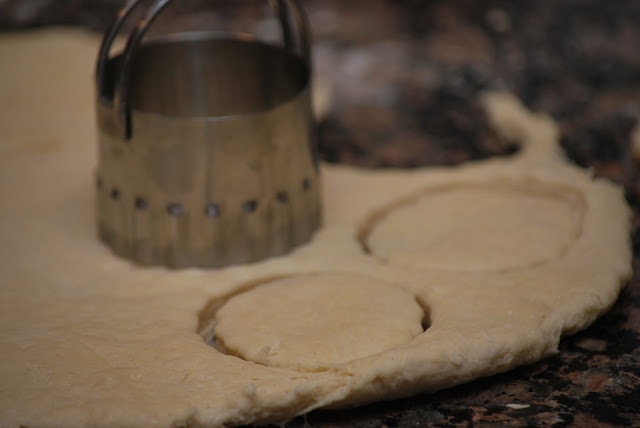
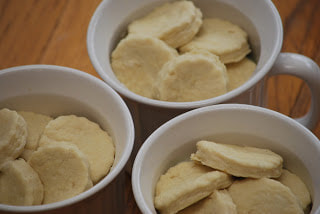
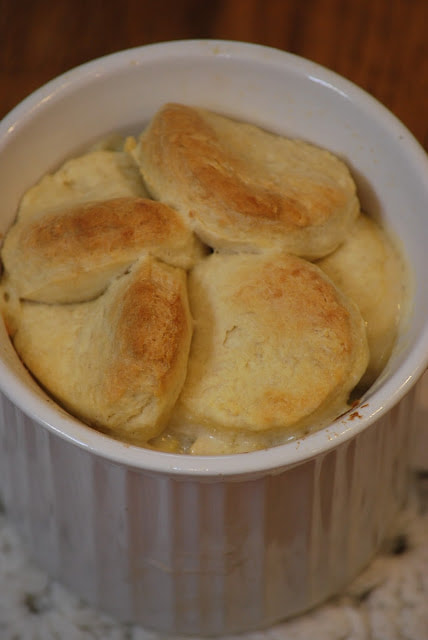
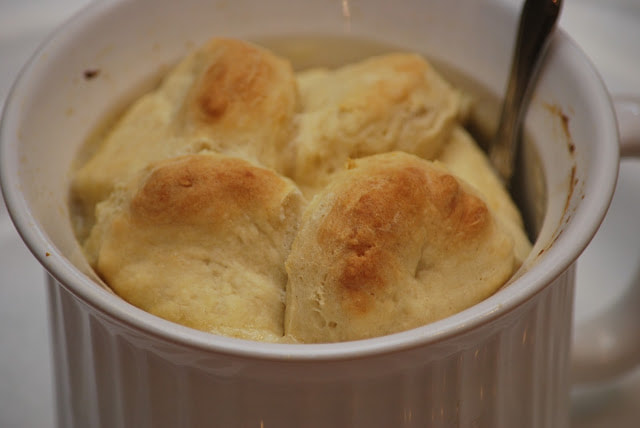 If chicken pot pie is your comfort food - this blog post is for you. These individually sized, biscuit topped pot pies are heavenly. They're warm and comforting and oozing with rich, hearty chicken flavor. You might just be surprised how simple they are to make too. 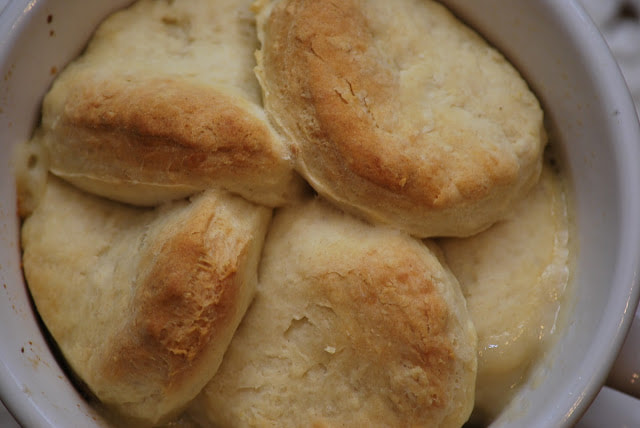 Chicken Pie with Biscuits Filling 3 cups cooked chicken 6 tablespoons (3 ounces) unsalted butter 6 tablespoons (1 1/2 ounces) King Arthur Unbleached All-Purpose Flour 1/2 teaspoon salt 2 1/2 cups (20 ounces) chicken broth (canned is fine, or make your own) 1 1/4 to 1 1/2 cups (10 to 12 ounces) milk or half and half; use the lesser amount for a thicker sauce 1 1/2 cups (8 ounces, half a 1-pound bag) frozen mixed vegetables, thawed 1/2 teaspoon salt, or to taste 1/4 teaspoon coarsely ground black pepper 1/4 teaspoon dried thyme 2 tablespoons dry sherry (optional) Biscuit Topping 4 cups (17 ounces) King Arthur Unbleached All-Purpose Flour 4 teaspoons baking powder 1 teaspoon salt 1/2 cup (1 stick, 4 ounces) unsalted butter 1 1/3 to 1 1/2 cups (10 3/8 to 12 ounces) cold milk or half and half
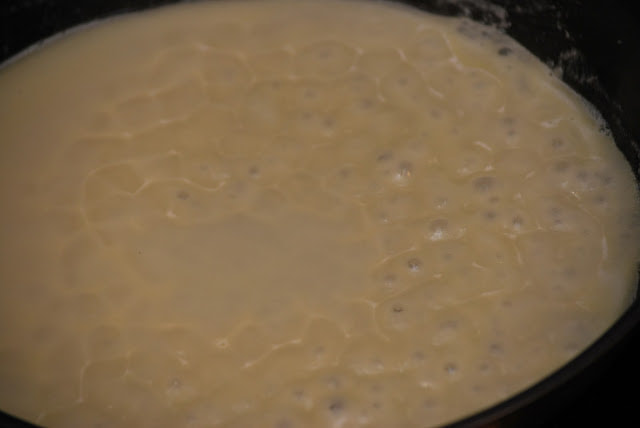
Gradually pour in the 2 1/2 cups broth, whisking constantly. Cook and stir the sauce over medium heat till it comes to a boil, then reduce the heat and simmer it for 5 minutes.
When the sauce is ready, add 1 1/4 cups of the milk or half and half, the chicken, vegetables, salt, pepper, thyme, and sherry. Stir to combine.
Add 1 1/3 cups of the milk all at once, stirring quickly to make a cohesive dough; if the dough seems too dry, add the remaining milk.
Bake the pie for 15 to 18 minutes, until the biscuits are golden brown and the filling is bubbly. 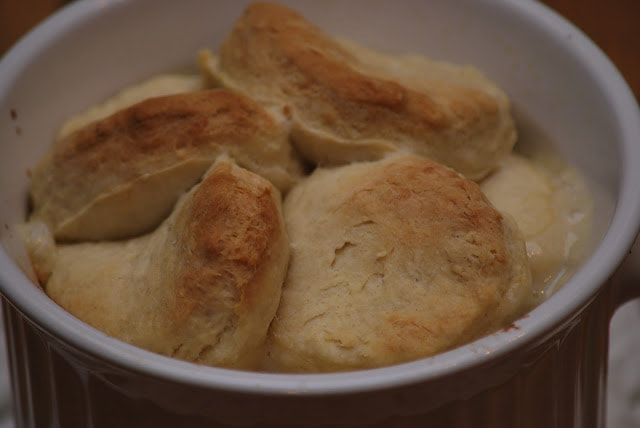
This recipe came from the King Arthur Flour website. (I love their flour and I love their recipes just as much.) I made my pot pies in the afternoon, covered them and put them in the frig until dinnertime.
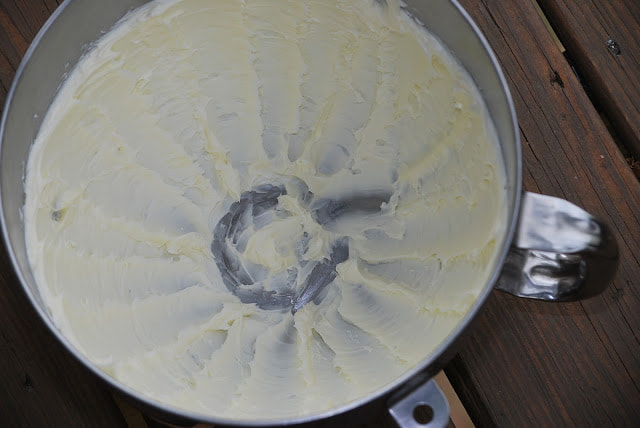
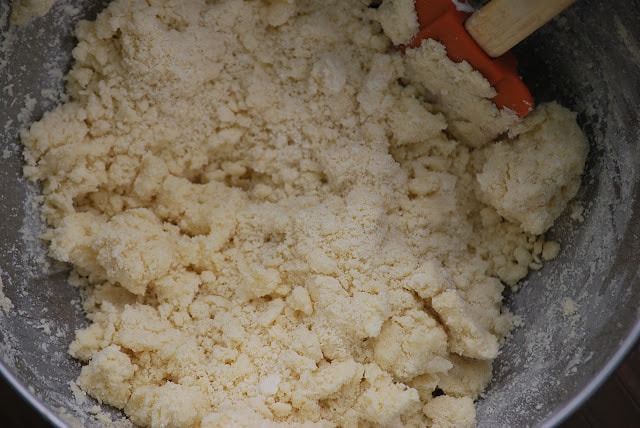
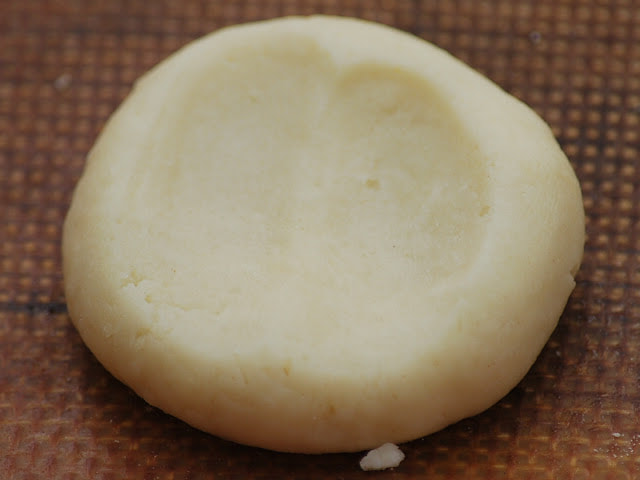
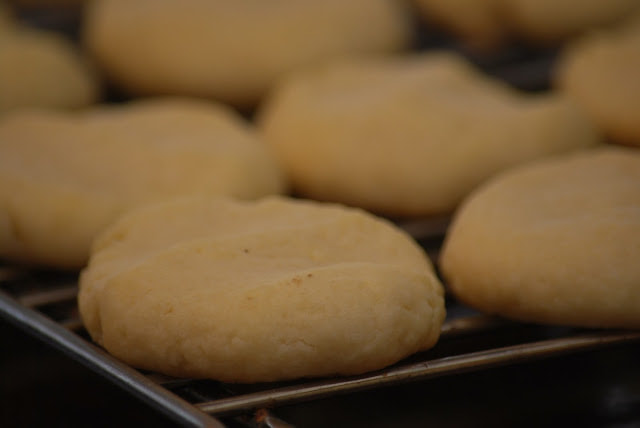
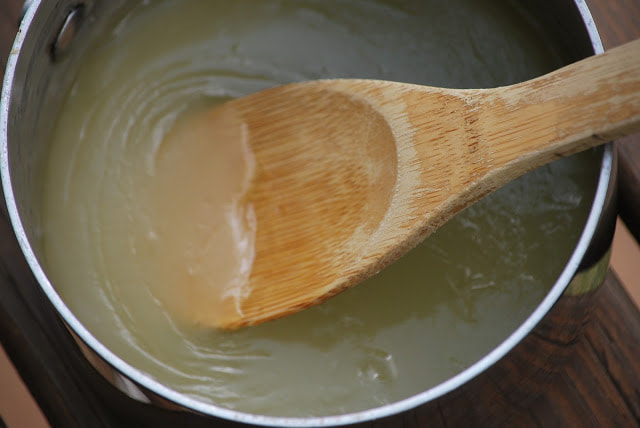
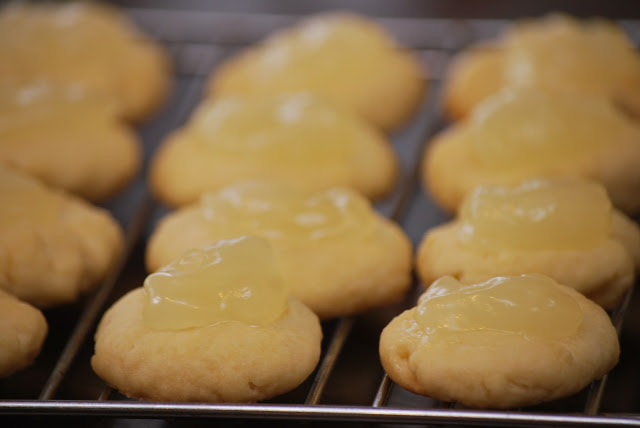
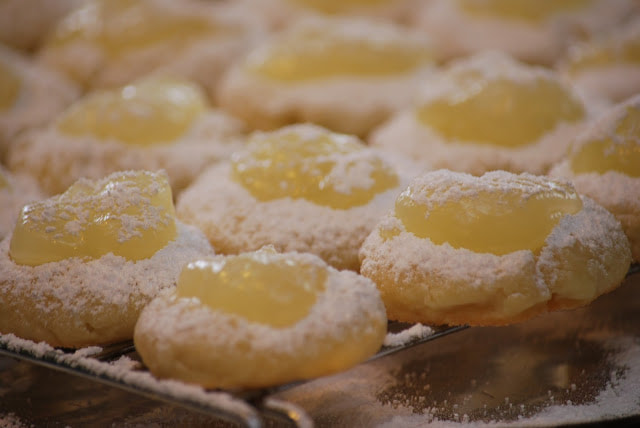
If chicken pot pie is not your comfort food yet - just wait until you try these. Ciao!  For those of you who do not know me personally, I will let you in on an interesting fact about myself - I grew up in Cleveland, Ohio. It goes without saying that I'm no stranger to cold weather or to snow. I spent many winters in Northeast Ohio which means that I am all too familiar with the term "lake effect snow." I rarely miss the weather in Cleveland but I do miss the snow. We tend to get more ice than actual snow in Georgia. Although in 2010, we had a record breaking snowstorm. The kids were so excited that they gathered up their friends and built a gigantic snowman in our front yard. (With the help of a couple of ambitious dads of course.) 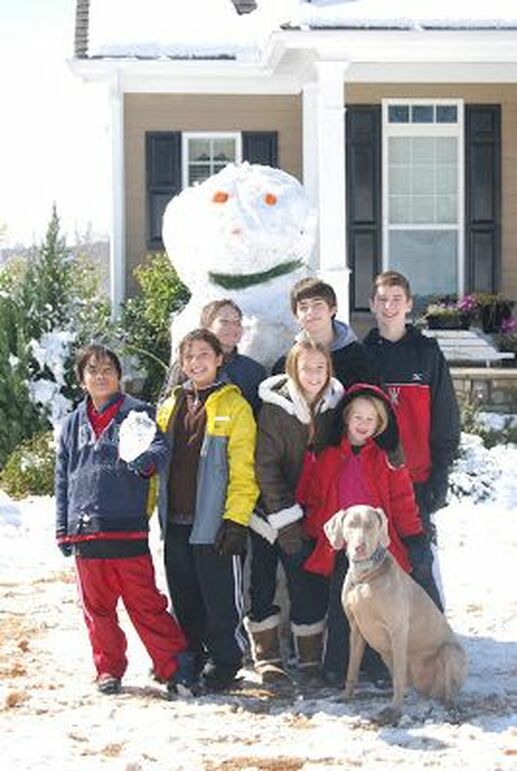 The kids still talk about that day and how much fun they had playing in the snow. I doesn't look like there is much snow in the forecast for Atlanta in the near future so I will have to make my own snow. (On my cookies of course.) Lemon snowdrop cookies are light and refreshing and blanketed with a light covering of powdered sugar "snow." 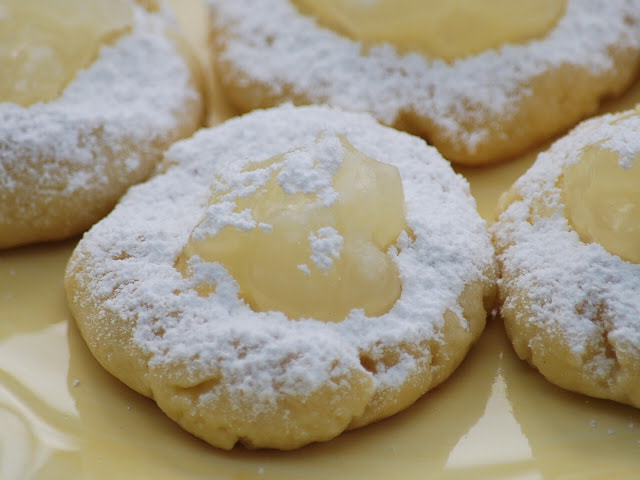 This is a Betty Crocker recipe that I found in a cookbook that I received as a wedding gift. It's an oldie but goodie.  Lemon Snowdrops 1 cup butter 1/2 cup powdered sugar 1 teaspoon fresh lemon juice 2 cups flour 1/4 teaspoon salt Filling 1/2 cup sugar 2 Tablespoons cornstarch 2 teaspoons lemon zest 3 Tablespoons fresh lemon juice
If there is no snow on the ground, make it snow on your dessert. And you don't have to shovel this kind of snow so that you can get out of your driveway in the morning or brush it of of your car! 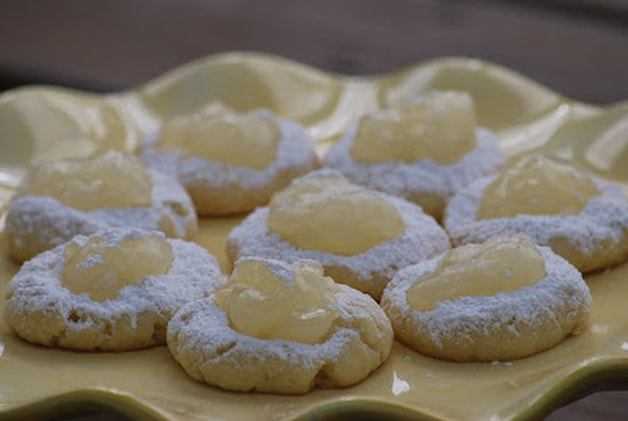 Ciao!
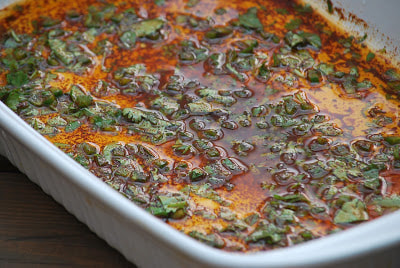
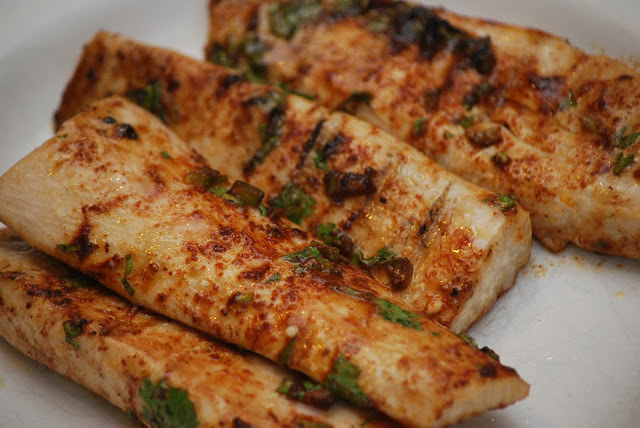
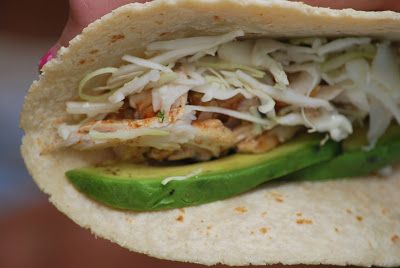
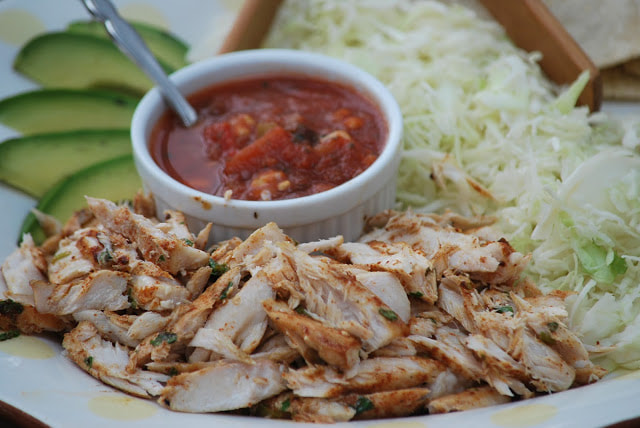 I've heard it said that "The only thing harder than being a wrestler, is being a wrestler's mom." Some days, I think that's true. The countless visits to the ENT to treat his cauliflower ear, the antibacterial wipes and soaps to prevent skin conditions and watching him get twisted into positions during a match that are completely unnatural. Not to mention the nearly impossible challenge of feeding this starving wrestler while he tries to maintain his weight. As any mom of a wrestler knows - it's no easy task. I've blogged about my fish tacos in the past but this is one of my go-to meals during wrestling season. It can fill up a hungry wrestler without adding too many calories or too much sodium to his diet. I don't add any extra sauce to the fish but we load our tacos up with veggies instead. (avocado, cabbage, salsa, onions) I adapted this recipe from a recipe that Bobby Flay posted on Food Network.com. 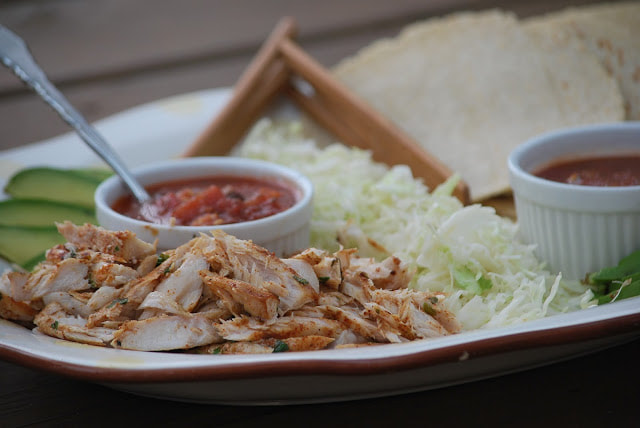 Fish Tacos Tacos: 1 pound white flaky fish, such as mahi mahi 1/4 cup canola oil 1 lime, juiced 1 Tablespoons ancho chili powder 1 jalapeno, coarsely chopped 1/4 cup chopped fresh cilantro leaves 8 whole wheat tortillas Garnish: Shredded white cabbage Hot sauce Thinly sliced red onion Thinly sliced green onion Chopped cilantro leaves Pureed Tomato Salsa
Let rest for 5 minutes then flake the fish with a fork. 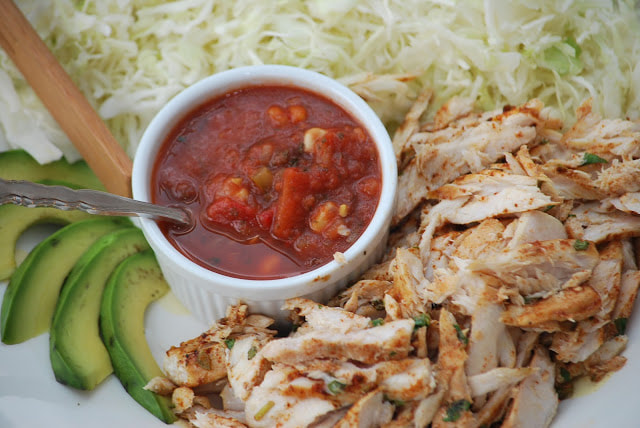 Place the tortillas on the grill and grill for 20 seconds. Divide the fish among the tortillas and garnish with any toppings that you like. 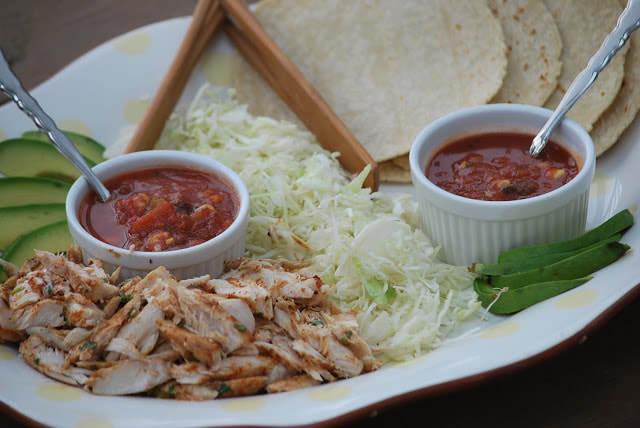
I've got a new homemade salsa recipe to post on the blog soon. It is REALLY good with these fish tacos so be sure and check back on the blog often so you don't miss that recipe.
Ciao! |