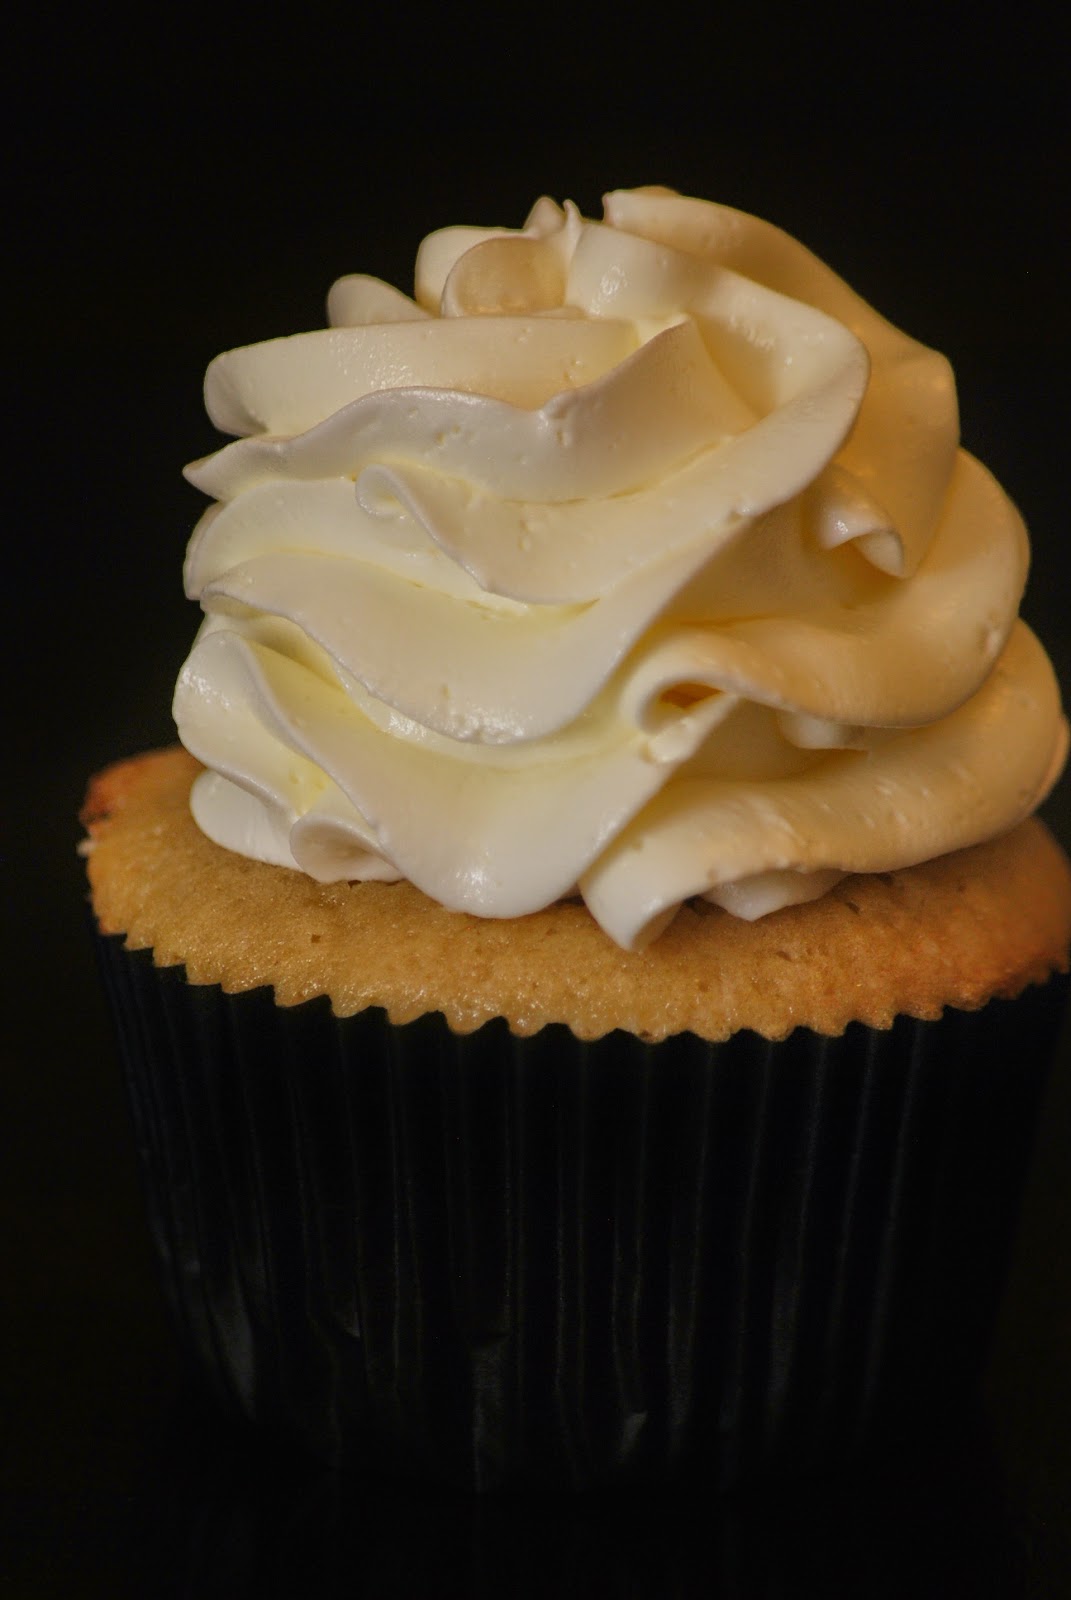
 Starbucks has mastered the art of creating irresistible drinks that appeal to a massive audience. Seriously, I can hardly go to a grocery store without seeing small children walking around with Starbucks cups overflowing with whipped cream, adults sipping on hot drinks as they shop and seniors meeting at small tables over Starbucks coffee drinks. I don't know of any other company has been able to market their products to - well, EVERYONE. 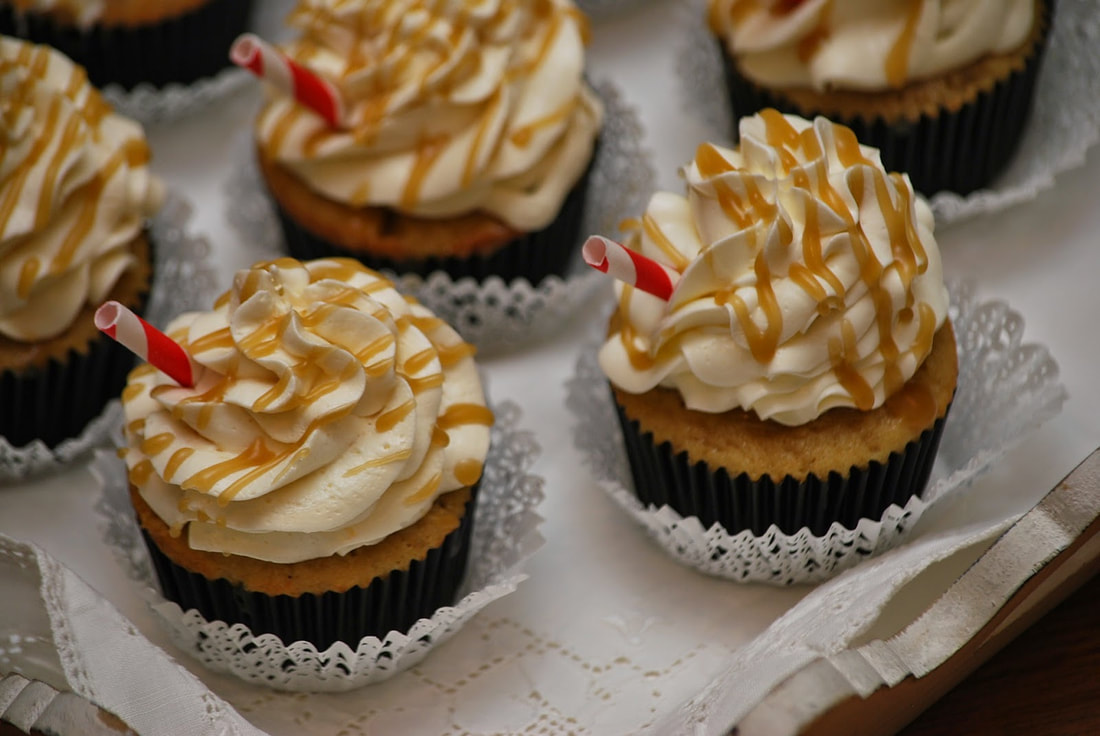 I also hold Starbucks personally responsible for introducing Americans to a whole new set of words too: Frappaccino, Macchiato, Expresso Con Panna, Dolce Latte, Americano. Is it just me or does anyone else get nervous in the line at Starbucks line because they don't know how to pronounce half of the words on the menu? 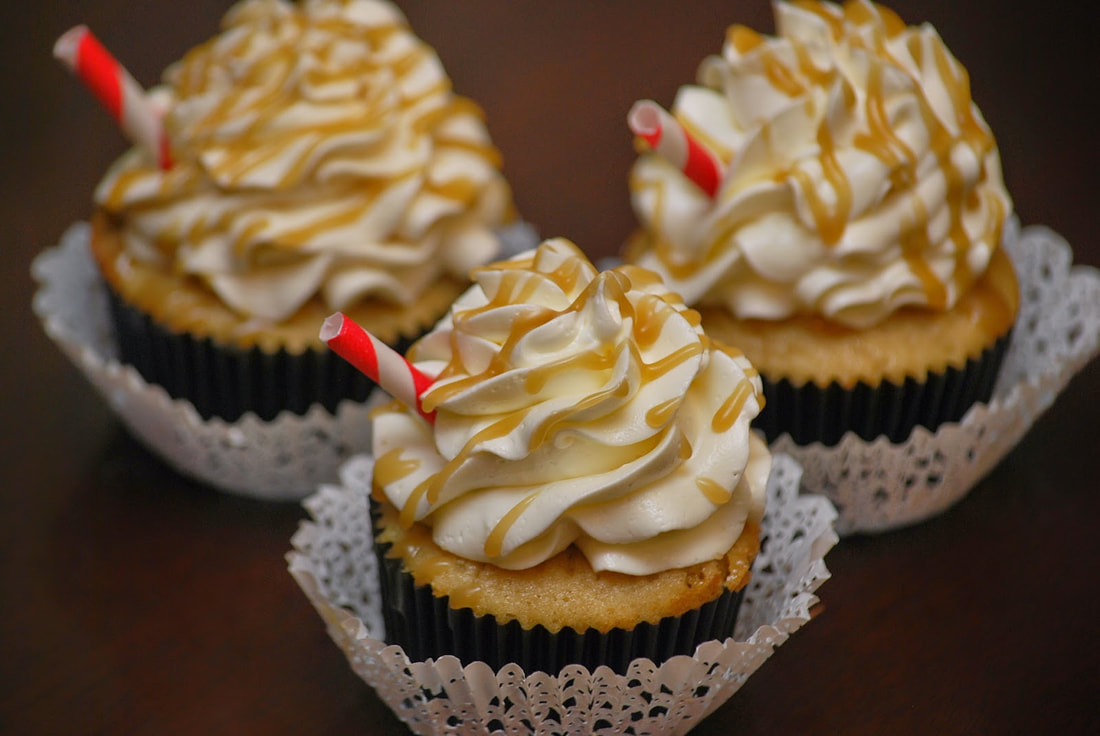 The last time that I was at Starbucks, I ordered a decaf coffee. A simple, small decaf coffee. (Which I was informed is referred to as a "tall".) The barista who took my order absolutely insisted that I change my order to a decaf cafe Americano instead. She claimed that it would be "INFINITELY" better than a plain old decaf coffee. (I think she really didn't want to brew a new pot of decaf for me because it was easier to make a decaf expresso, add hot water and call it a decaf Americano.)
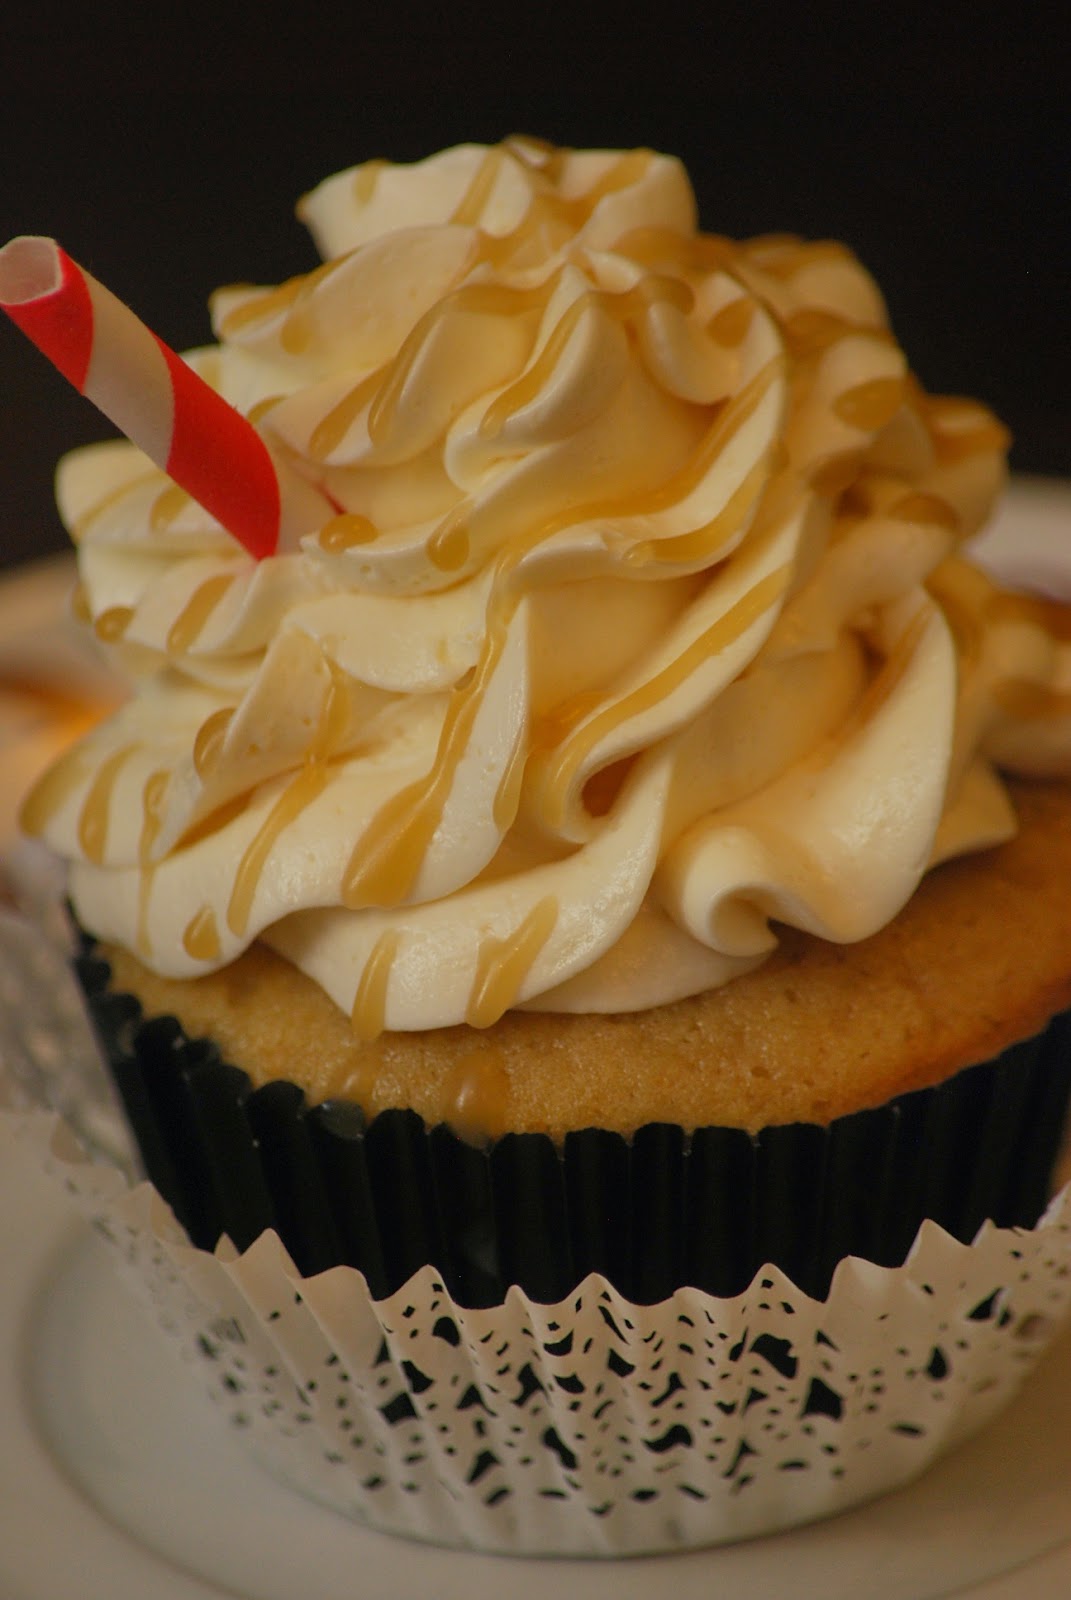
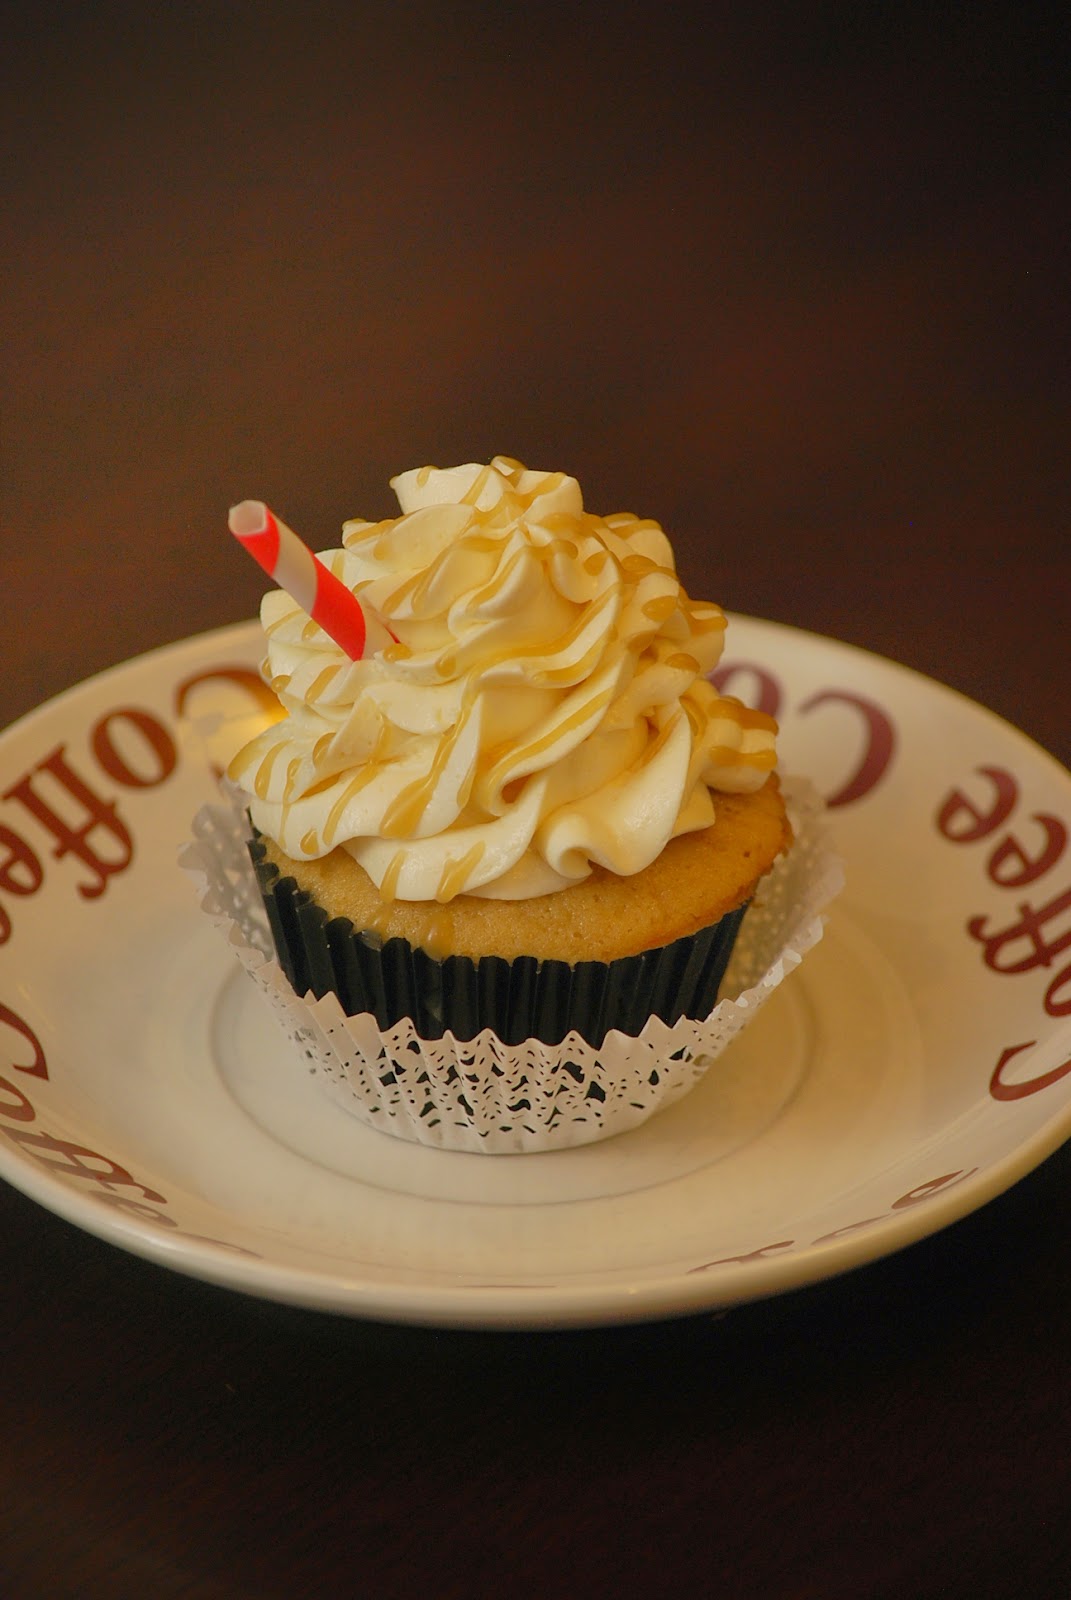
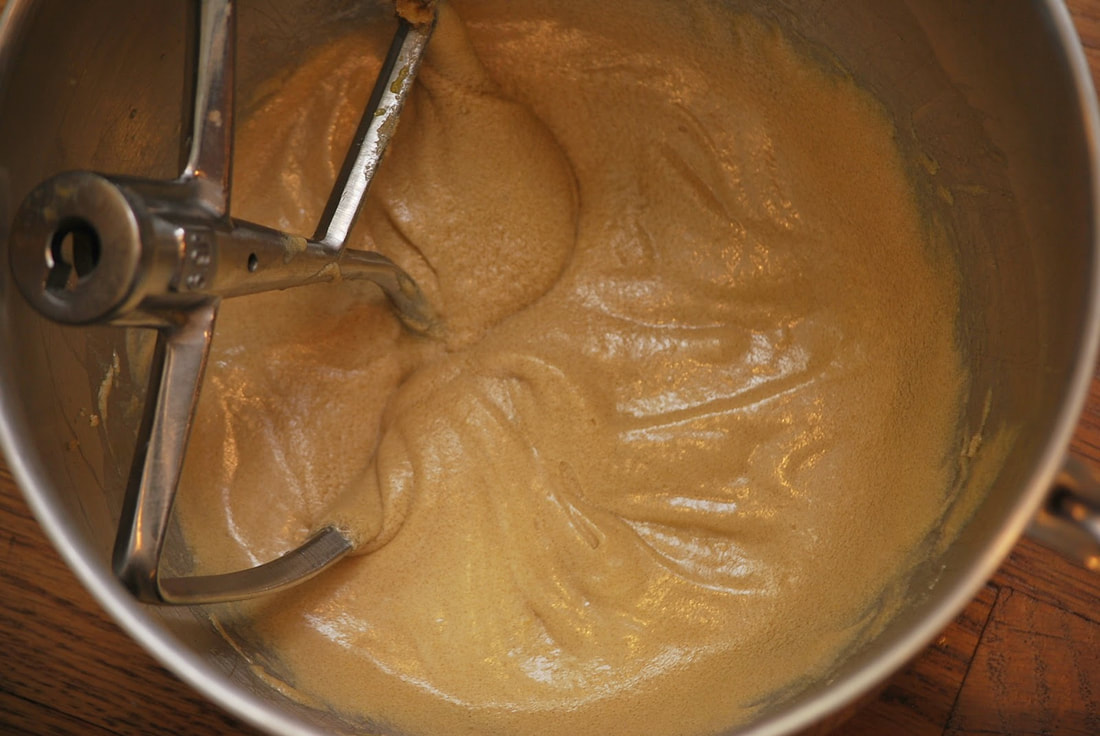
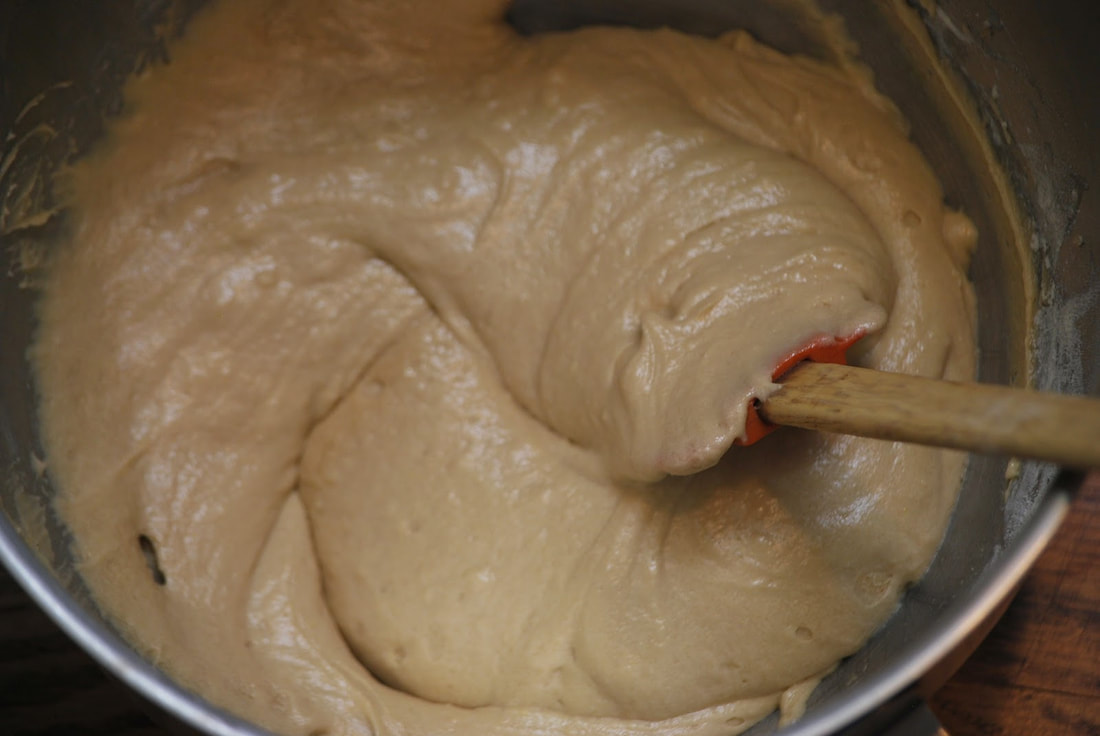
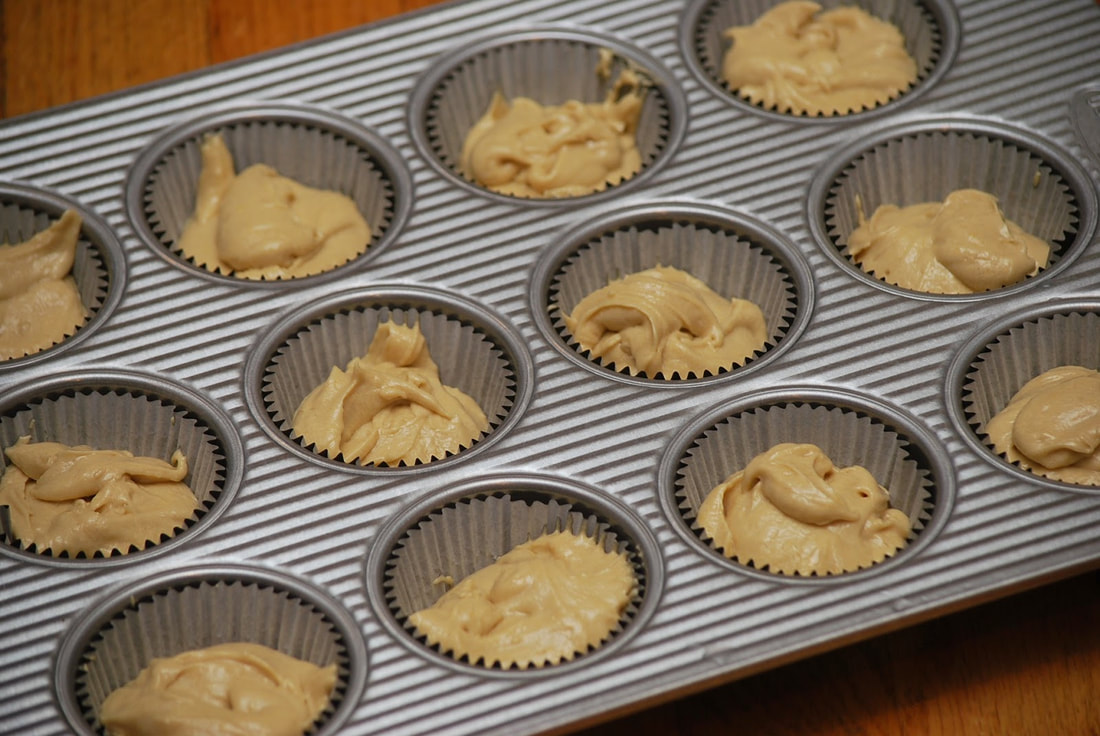
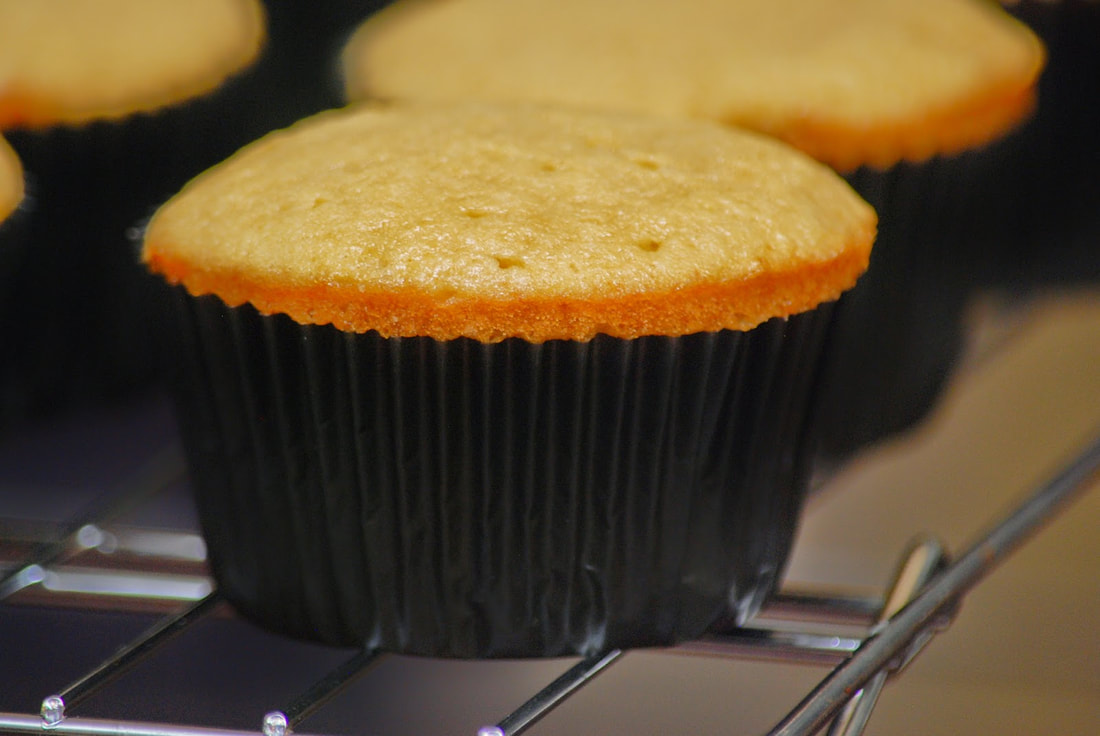
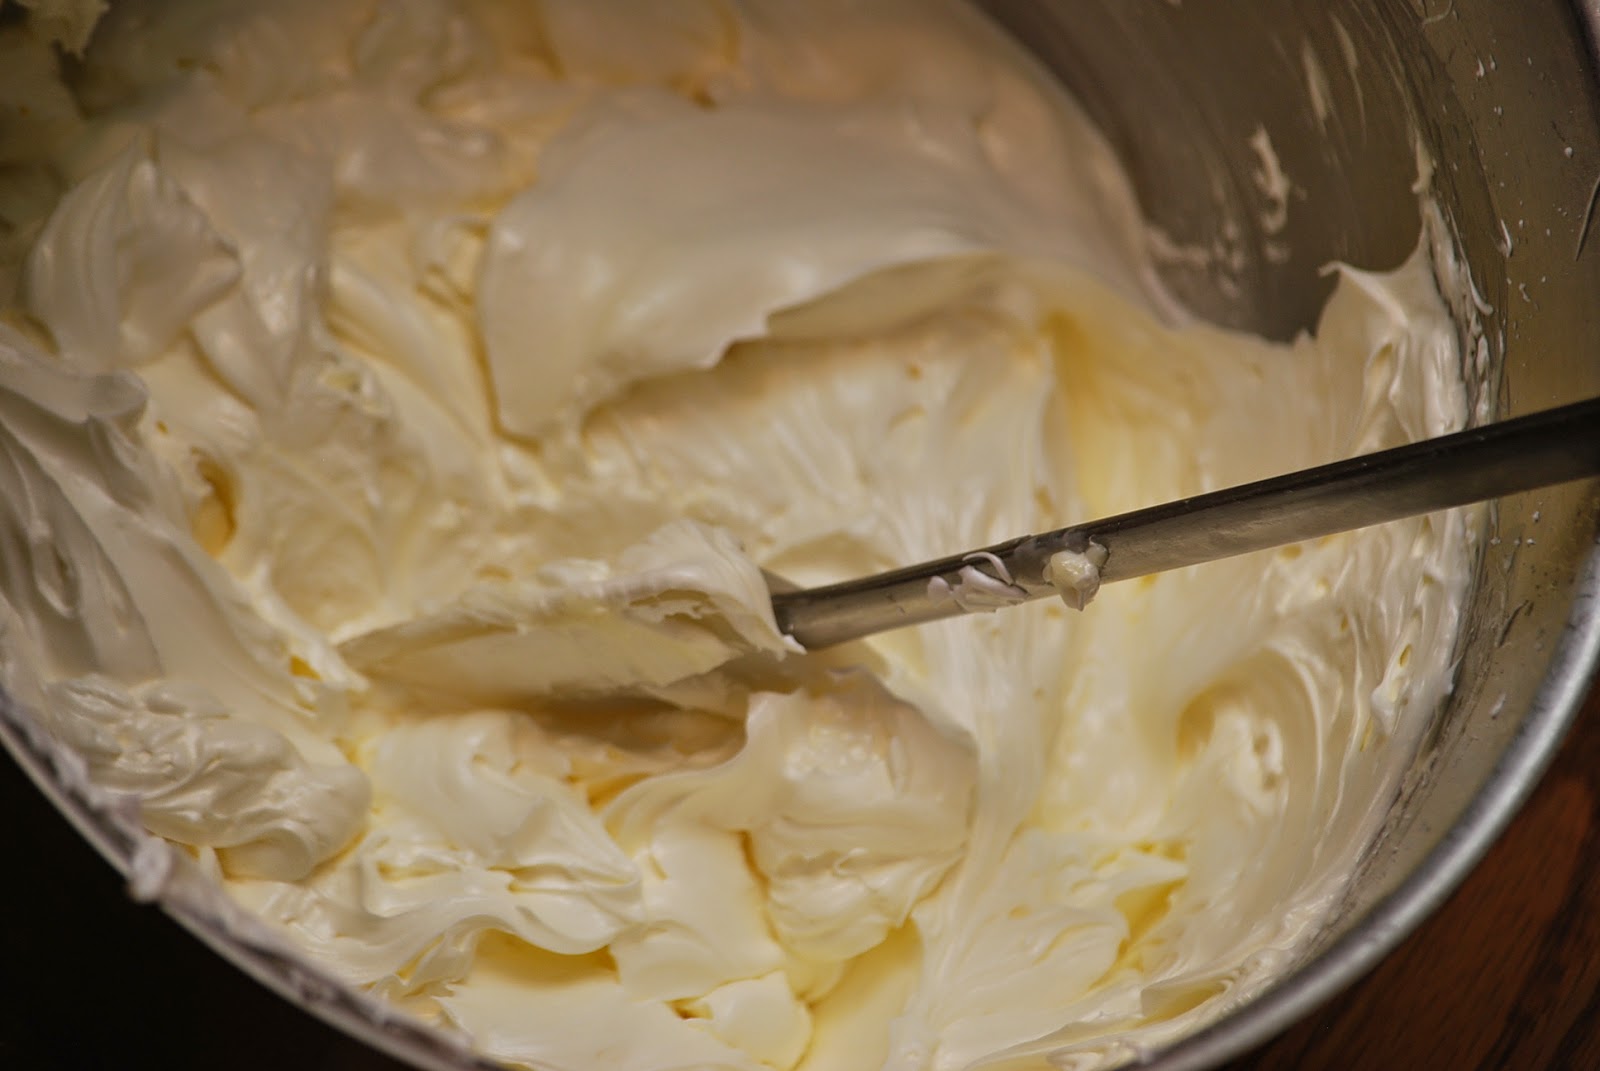
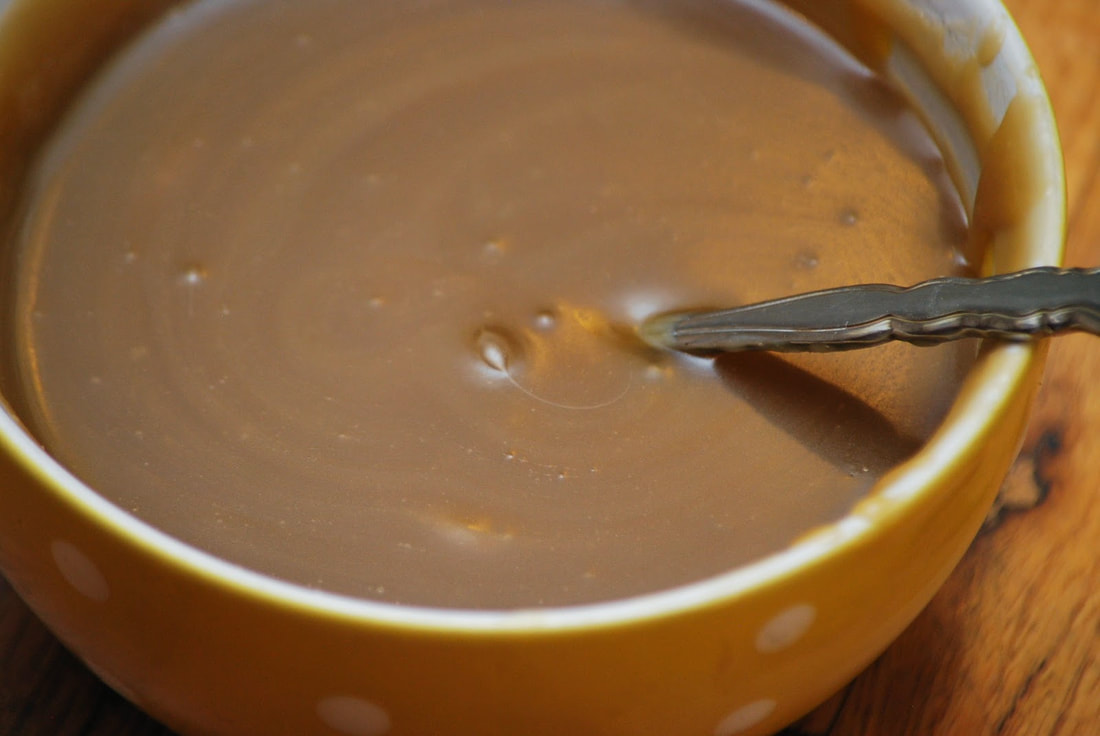
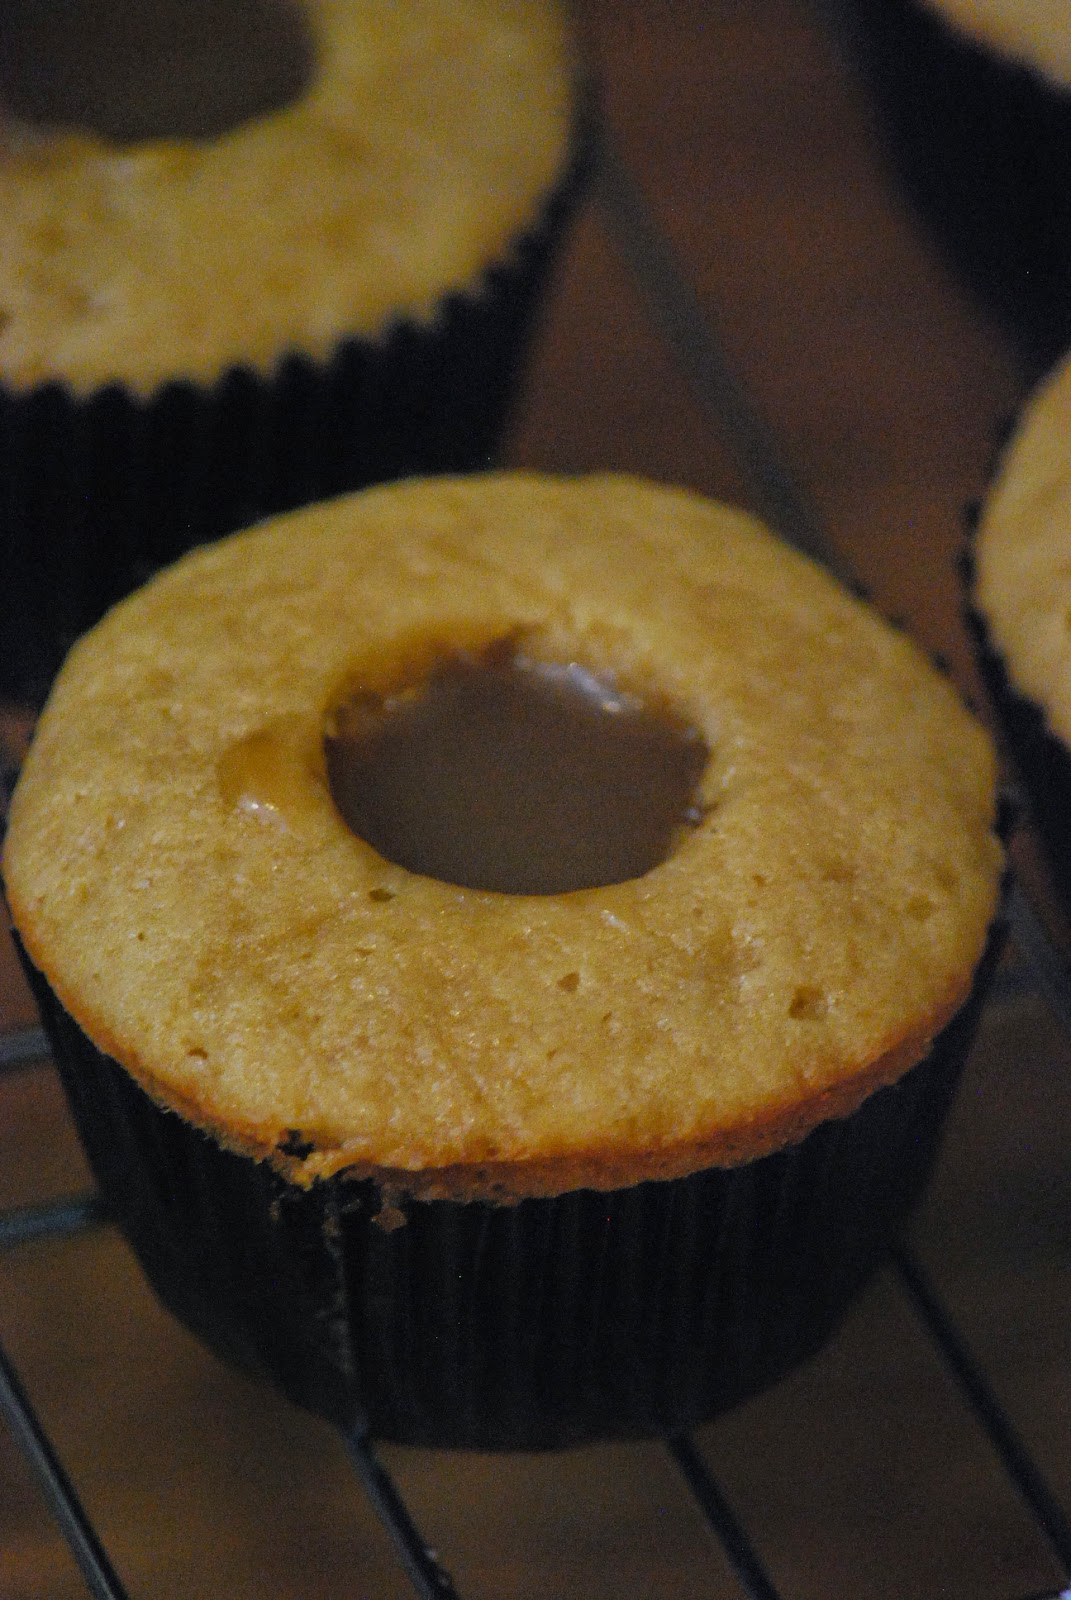
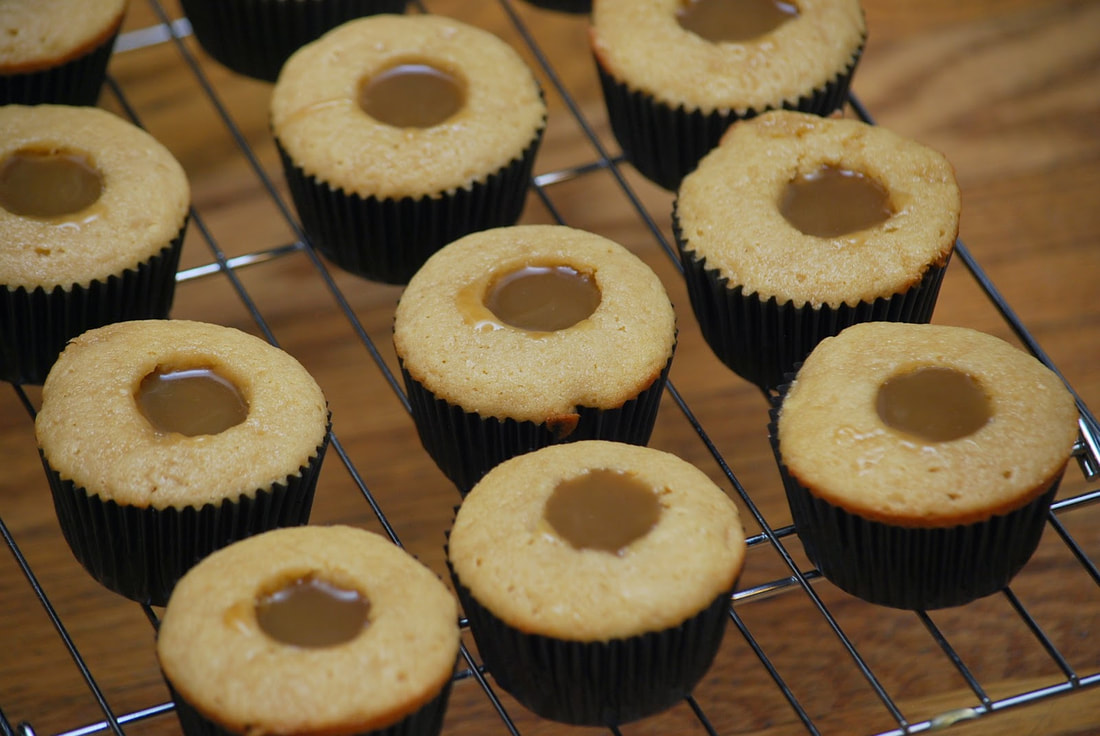
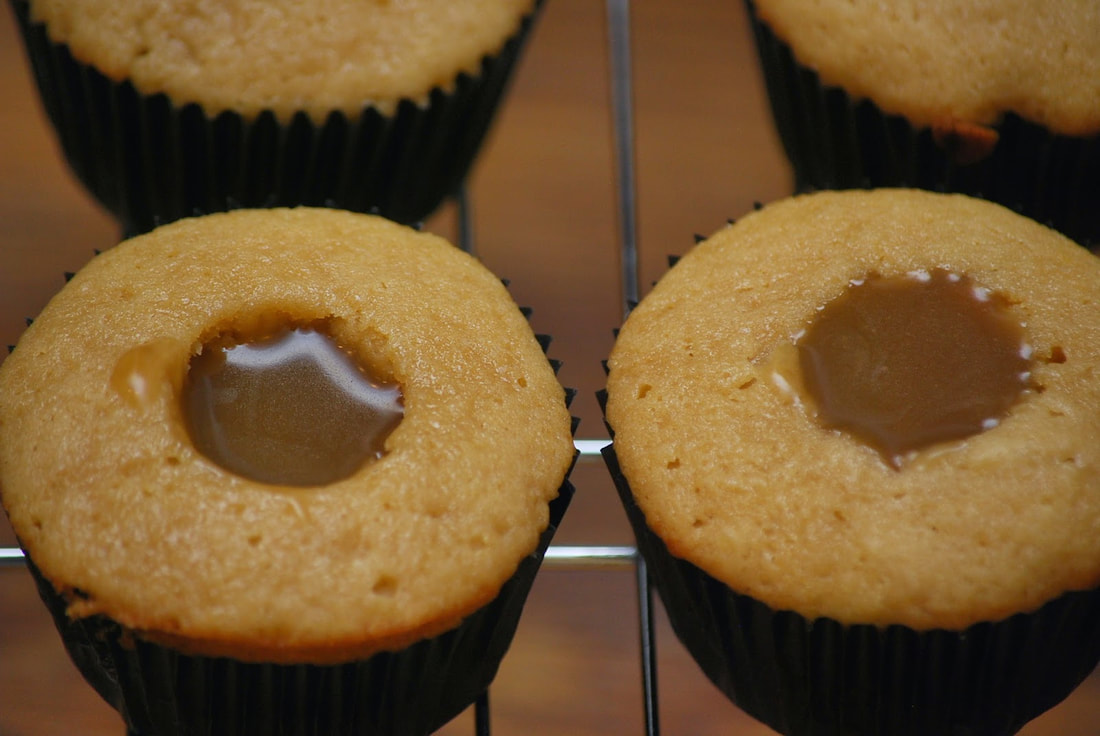
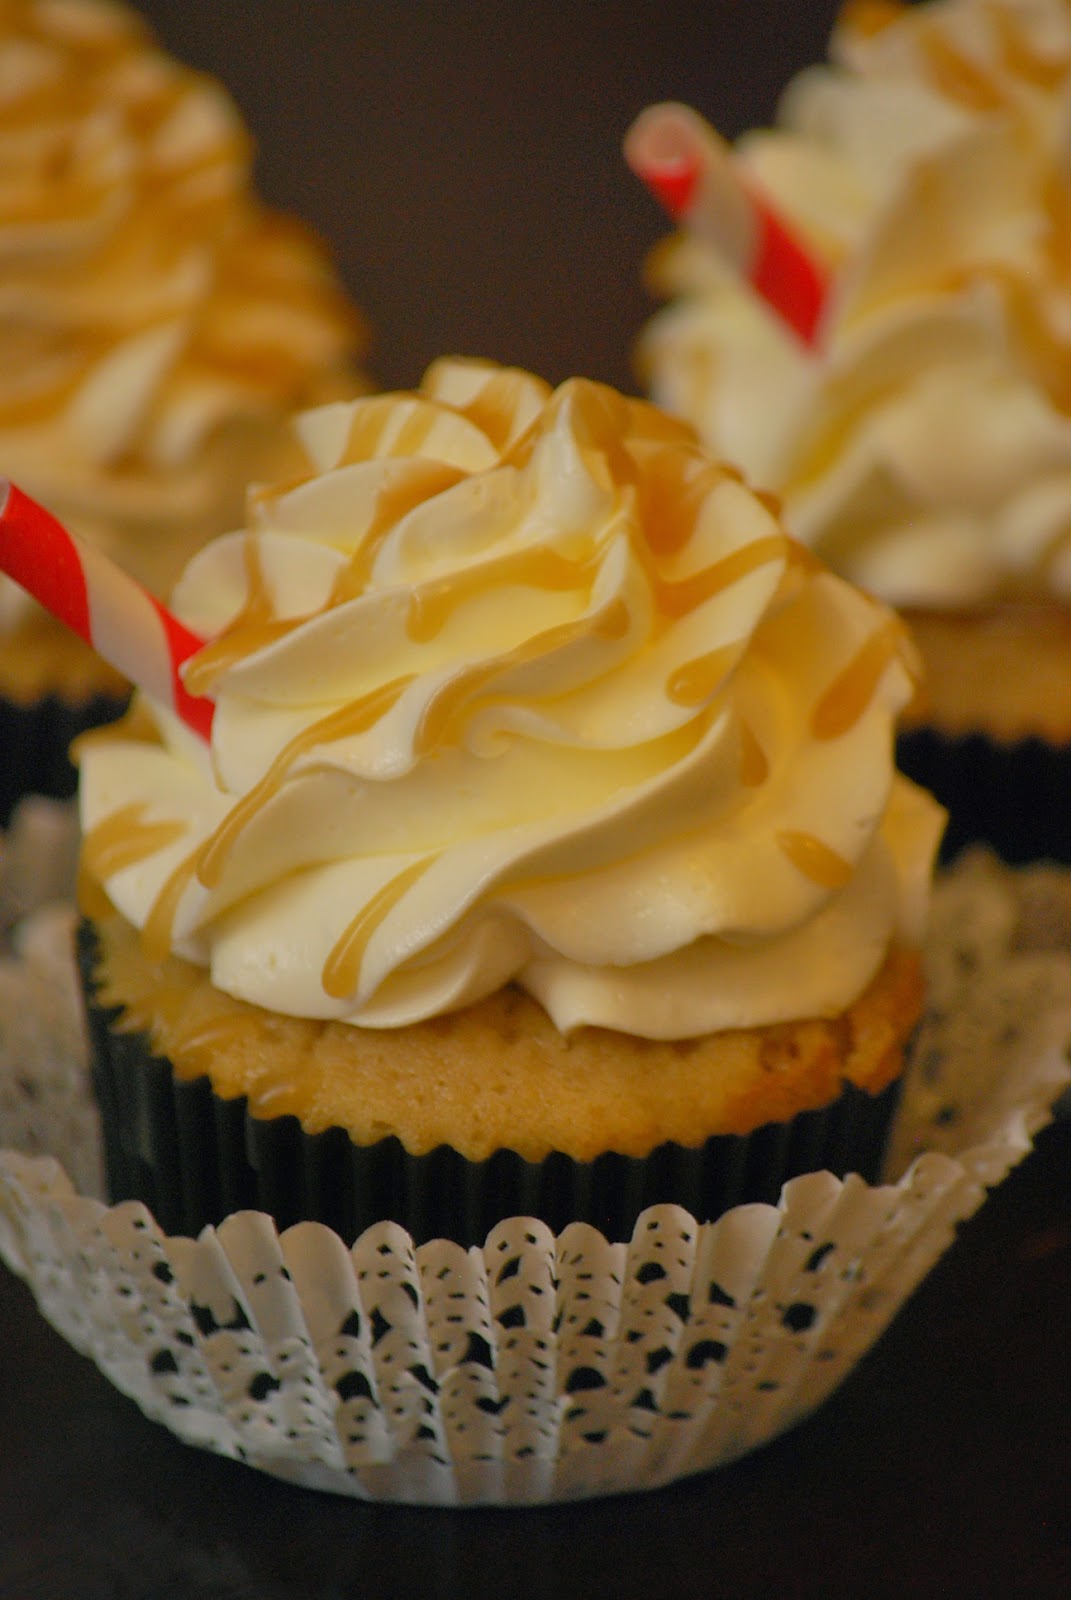
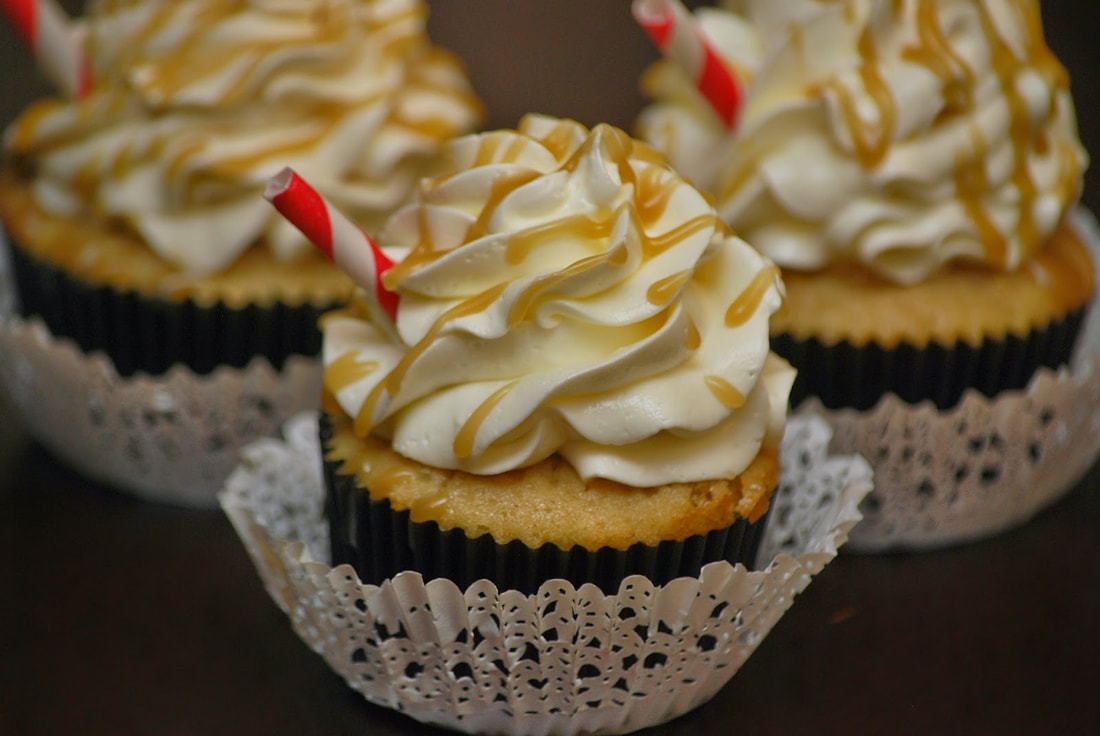
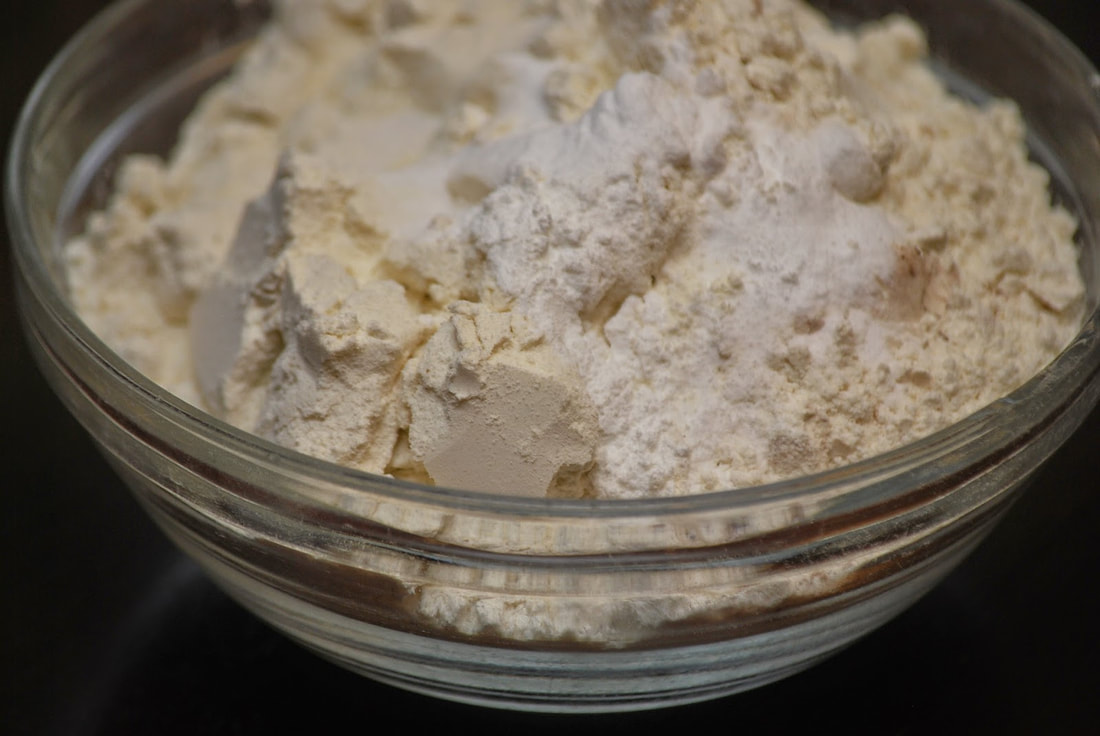
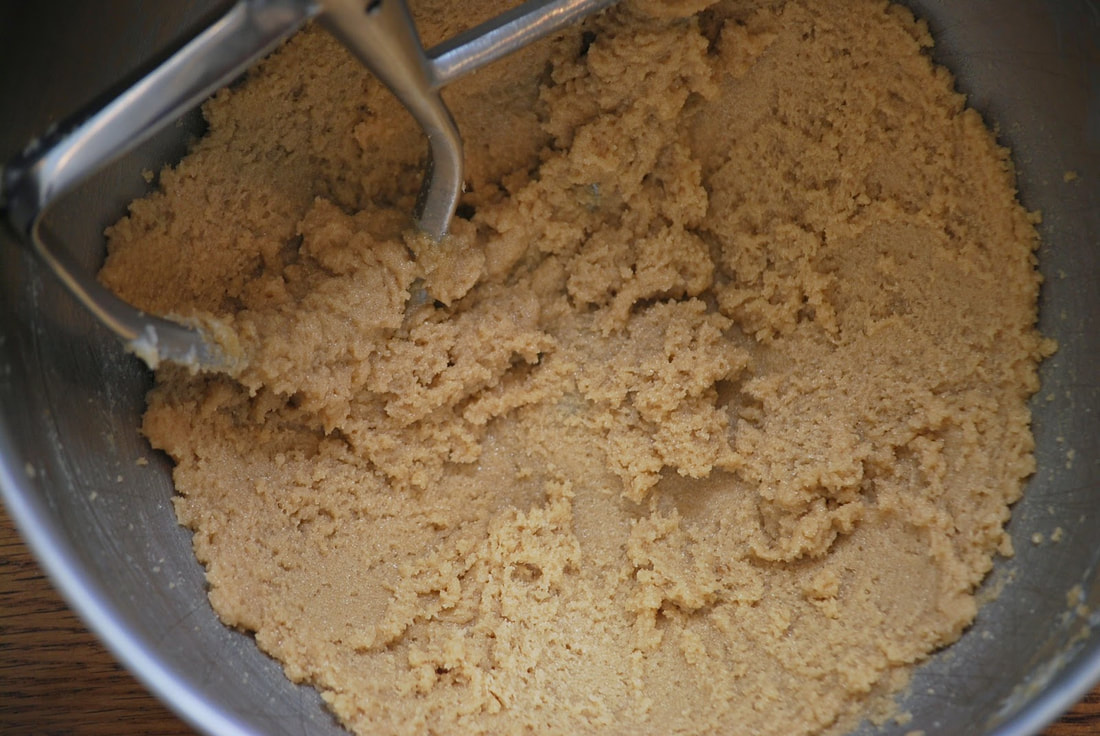
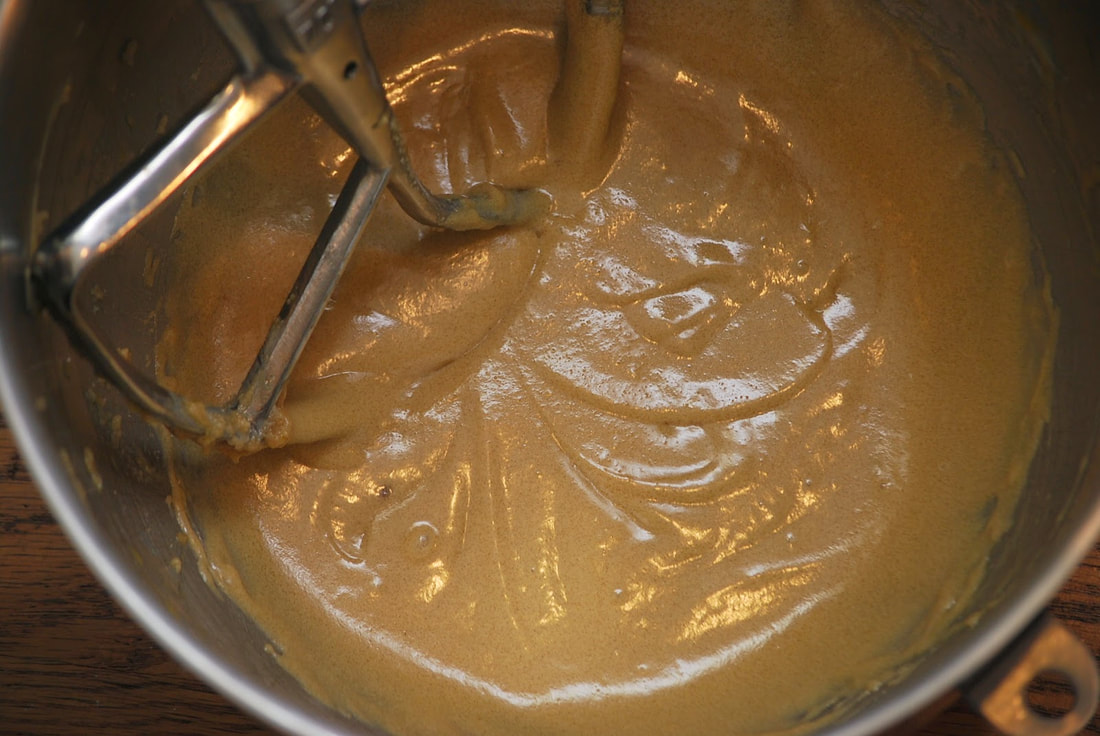
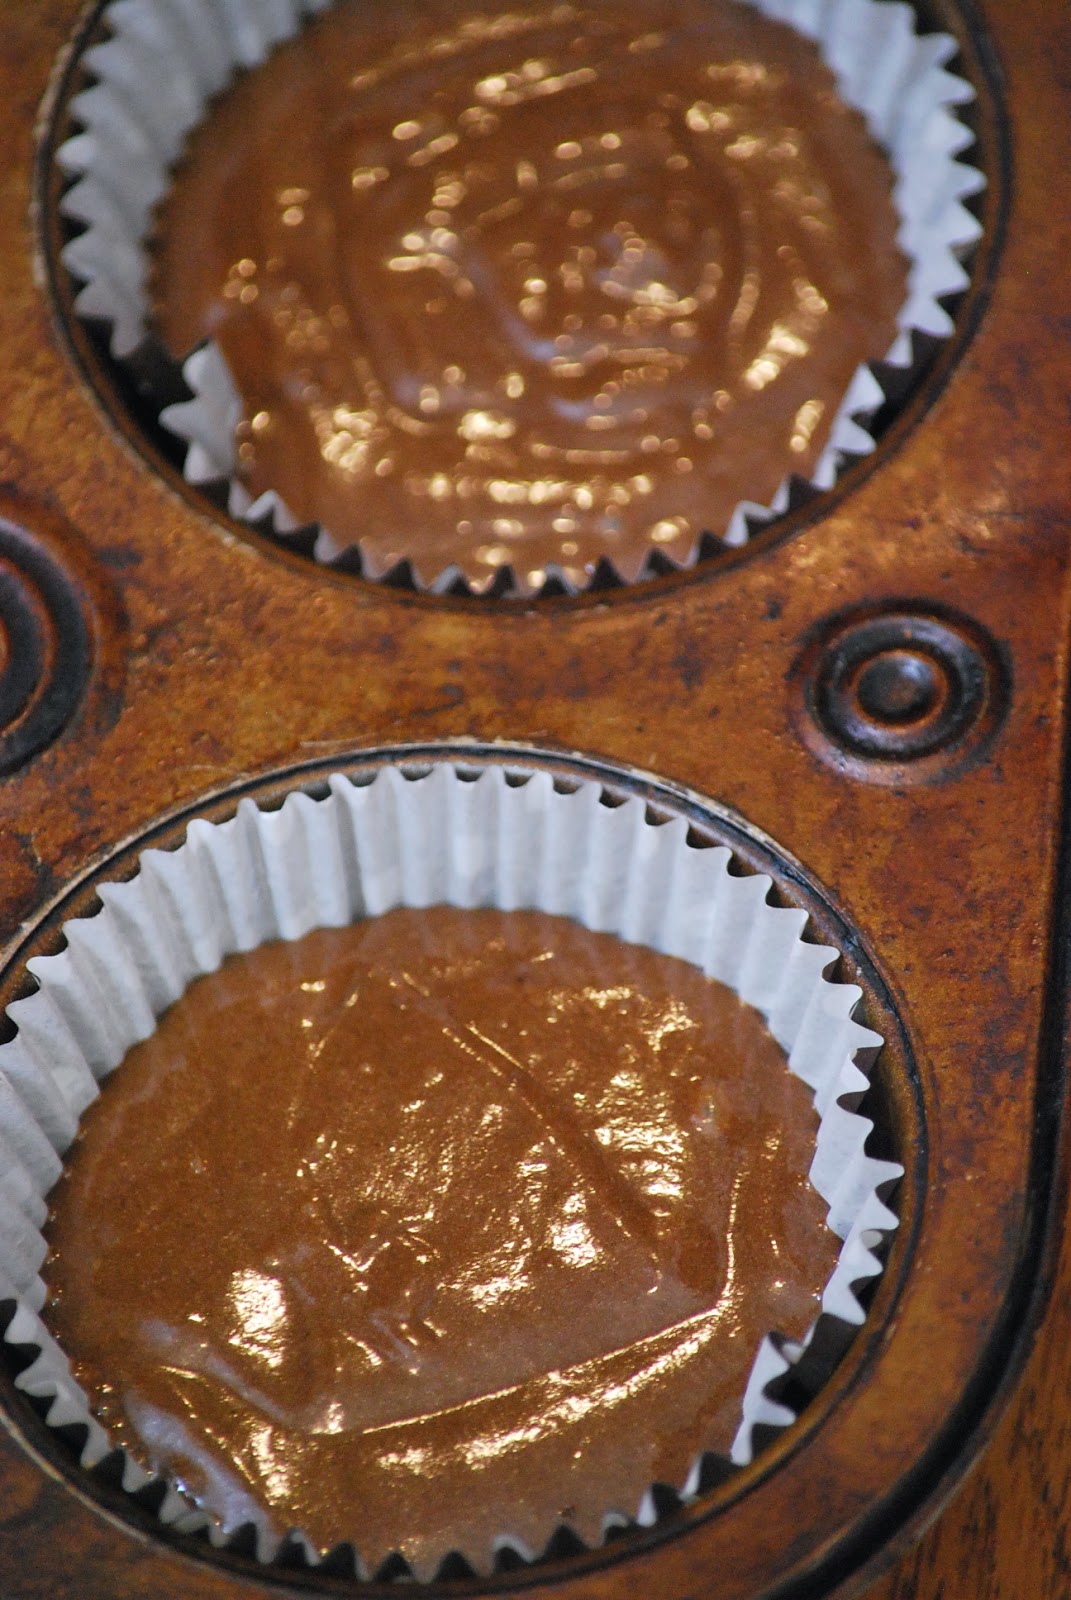
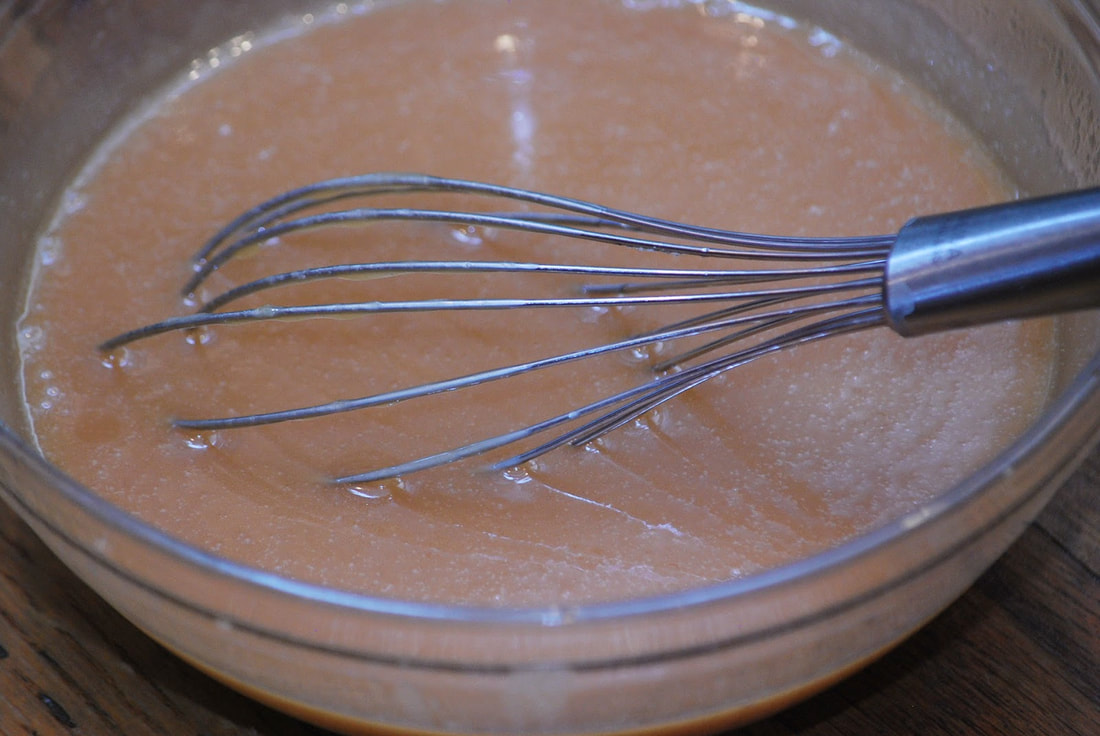
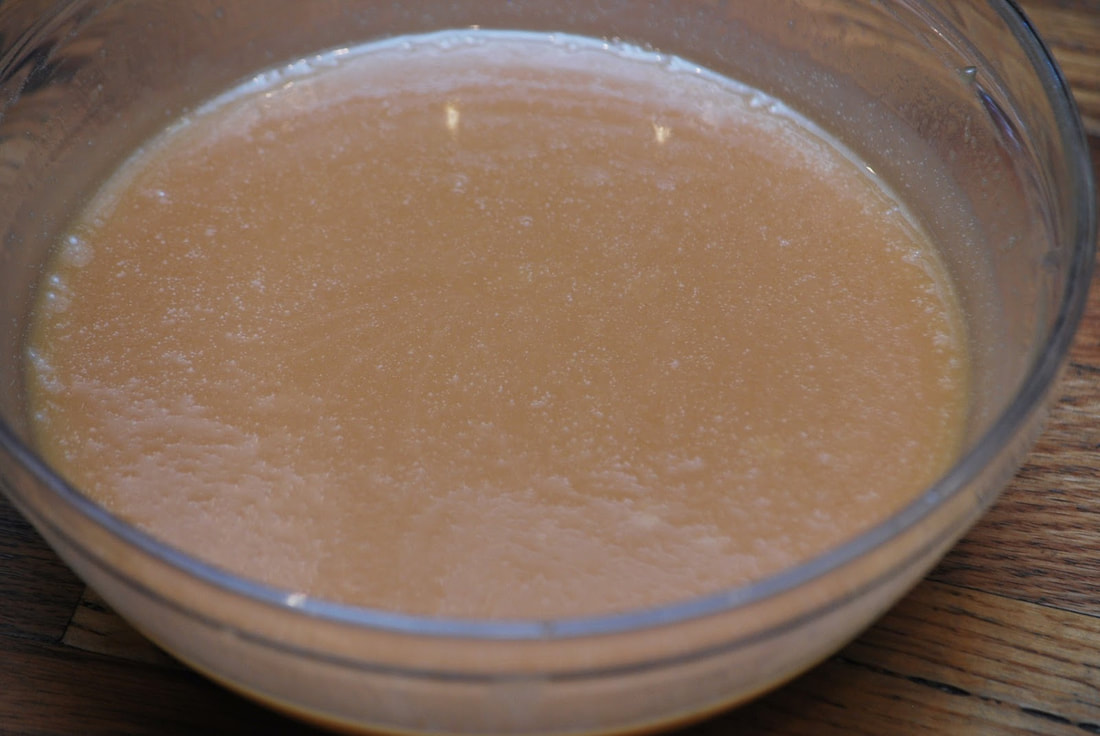
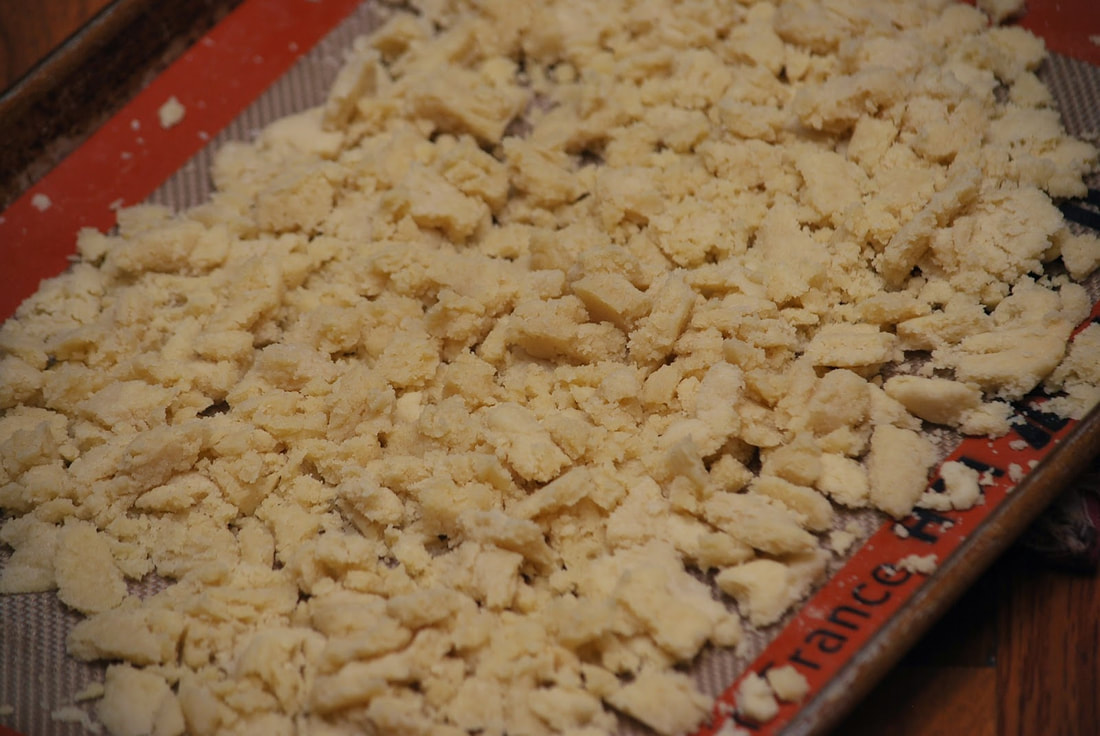
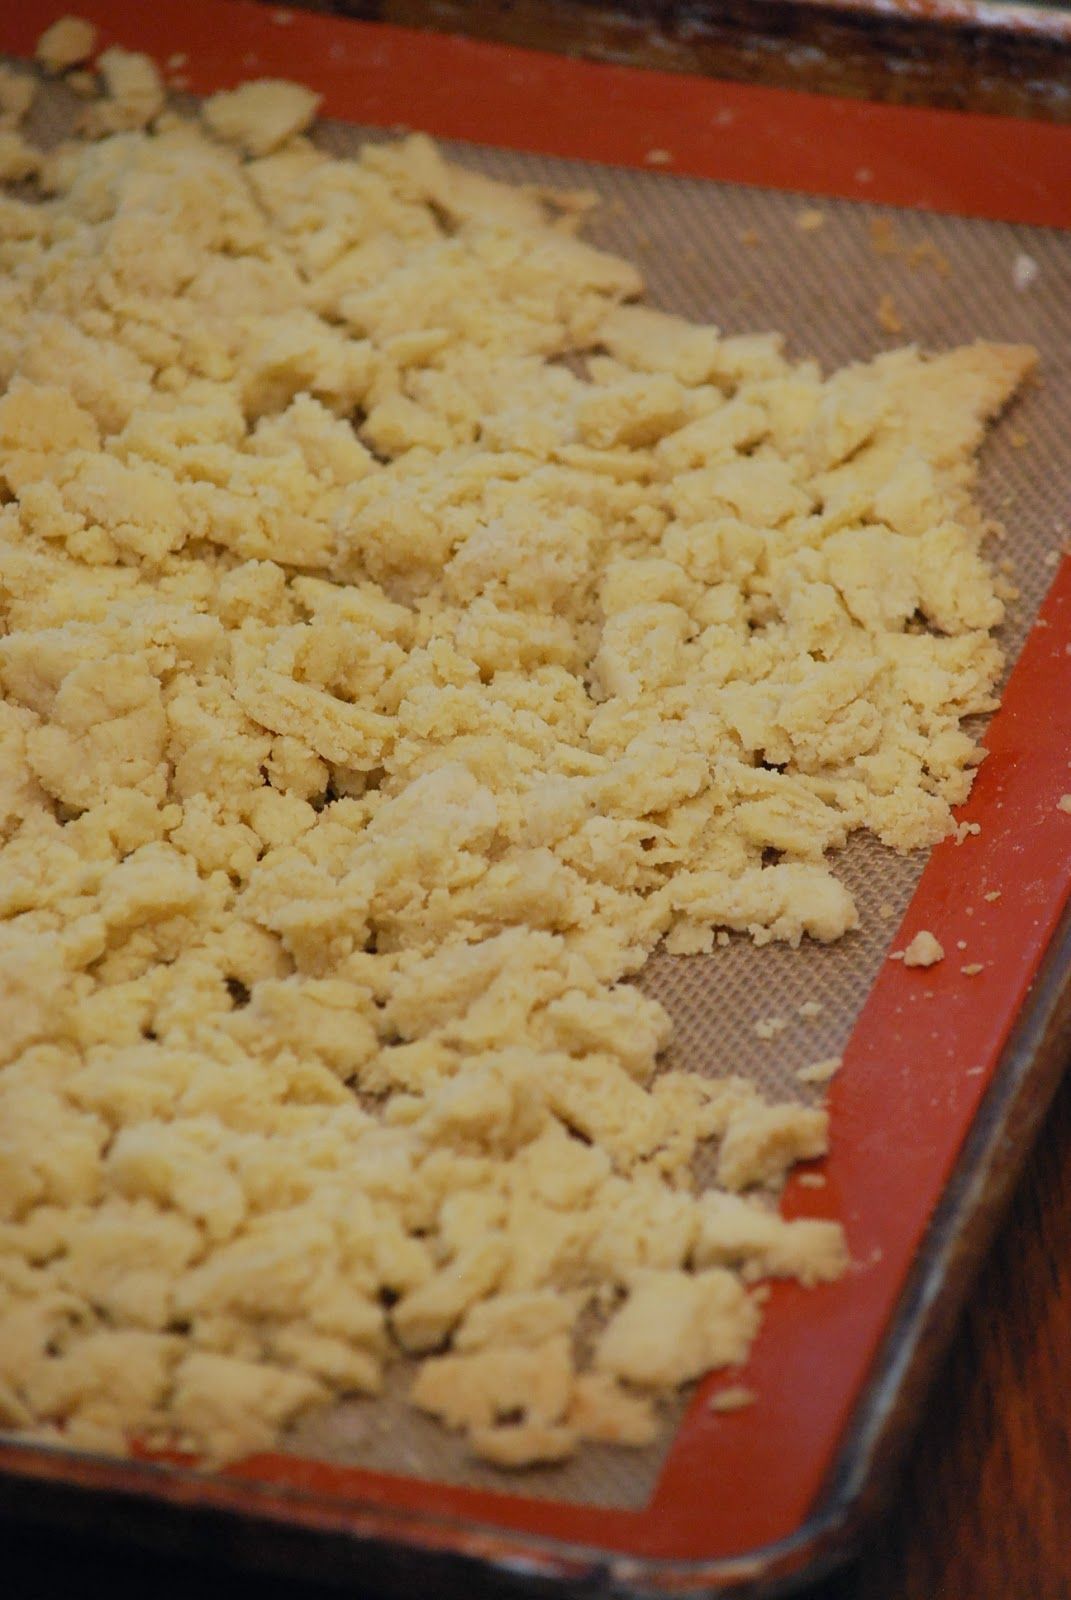
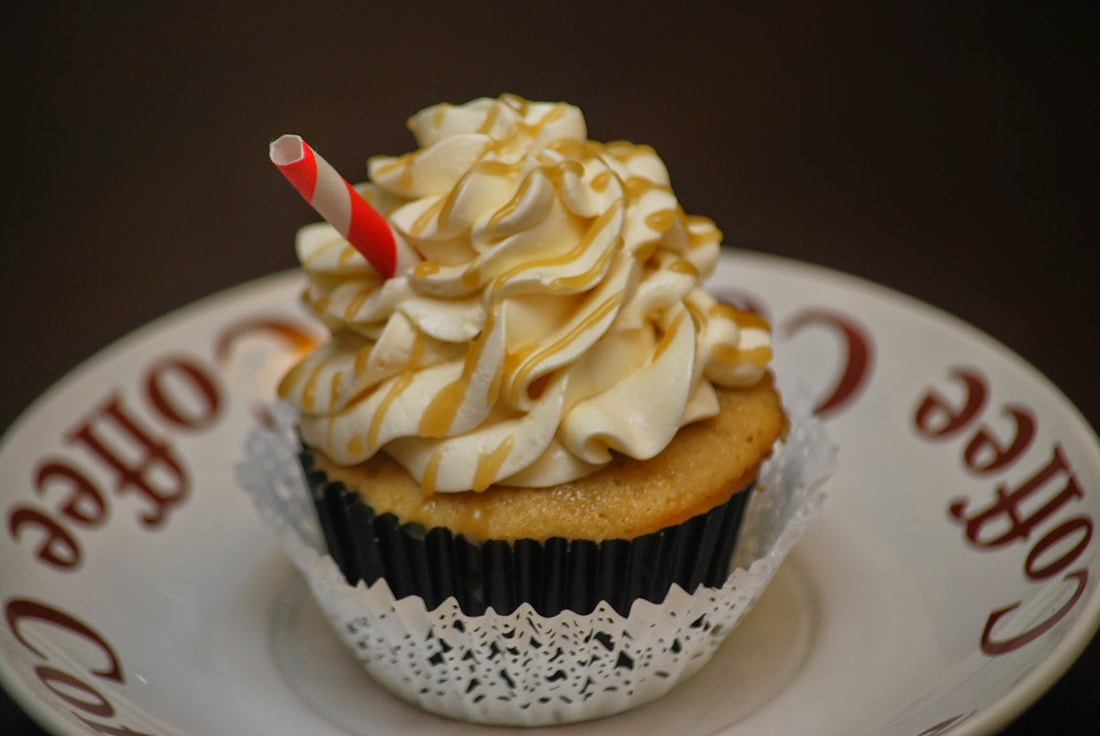
I think that part of my concern with the fancy coffee drinks is the calories and fat. A tall white chocolate mocha has a whopping 470 calories and 18 grams of fat! (Sorry if I just burst your bubble.) I would much rather EAT those calories than drink them. My solution - cupcake versions of the famous Starbucks coffee drinks. Apparently I am not the first person to come up with this idea because the internet is FULL of cupcake recipes that are a direct result Starbucks restaurant genius. I chose the Caramel Frappaccino Cupcakes from thequotablekitchen.com for my very first Starbucks cupcake. 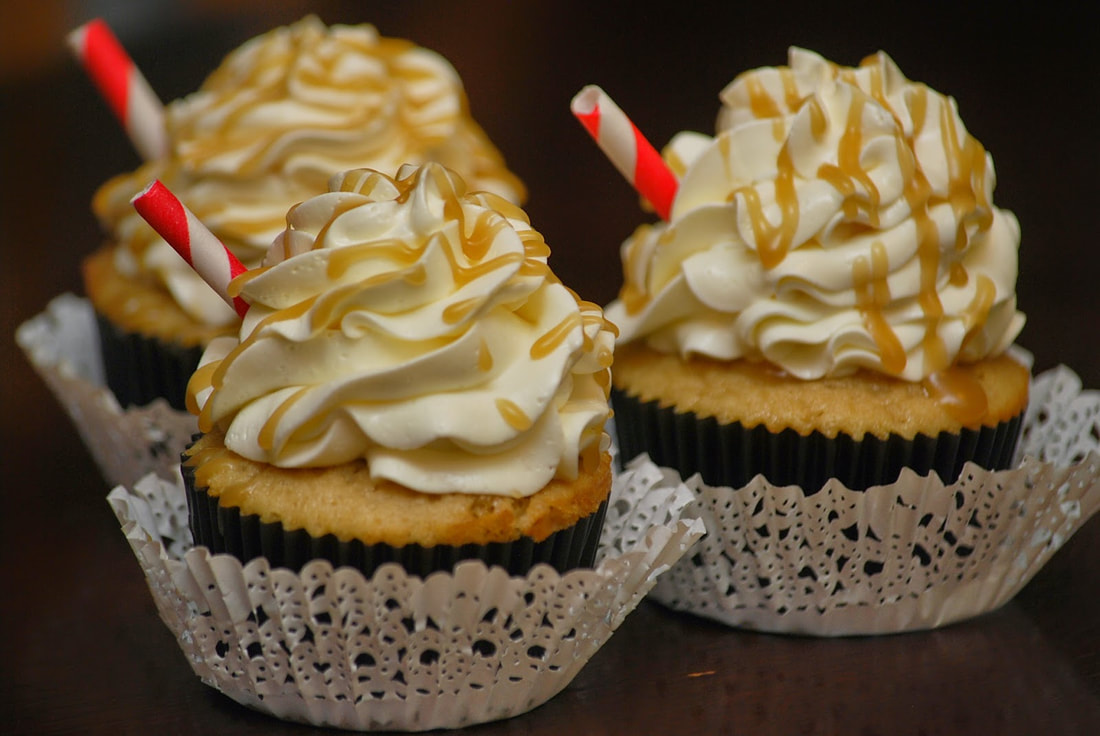 Caramel Frappaccino Cupcakes Yield:: 15 cupcakes Ingredients:: All-Purpose Flour - 1 & 1/2 cups Baking Powder - 1 teaspoon Sea Salt - 1/4 teaspoon Unsalted Butter, at room temperature - 1 stick Light Brown Sugar - 1 cup plus 2 tablespoons Eggs - 2 Vanilla Extract - 1 teaspoon Buttermilk - 1/2 cup plus 2 tablespoons Buttercream Frosting Caramel Sauce - 1/4 cup, plus more for drizzle
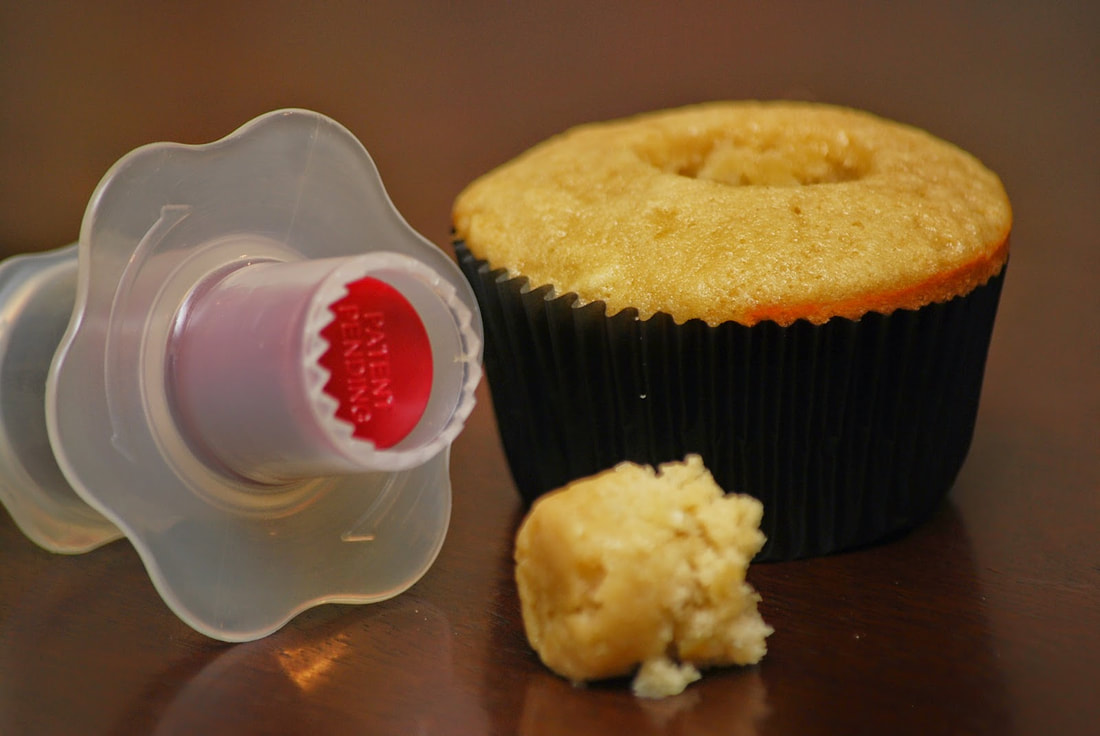
Put a spoonful of caramel in the center of each cupcake.
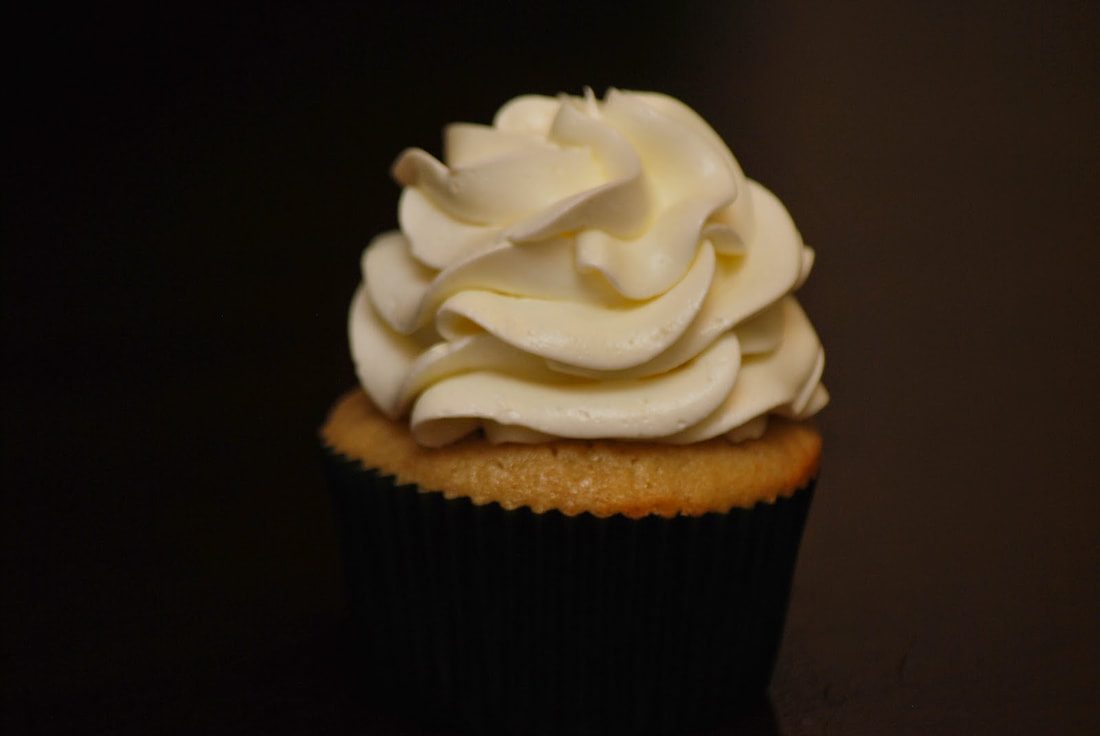
Drizzle with caramel sauce and insert a straw.
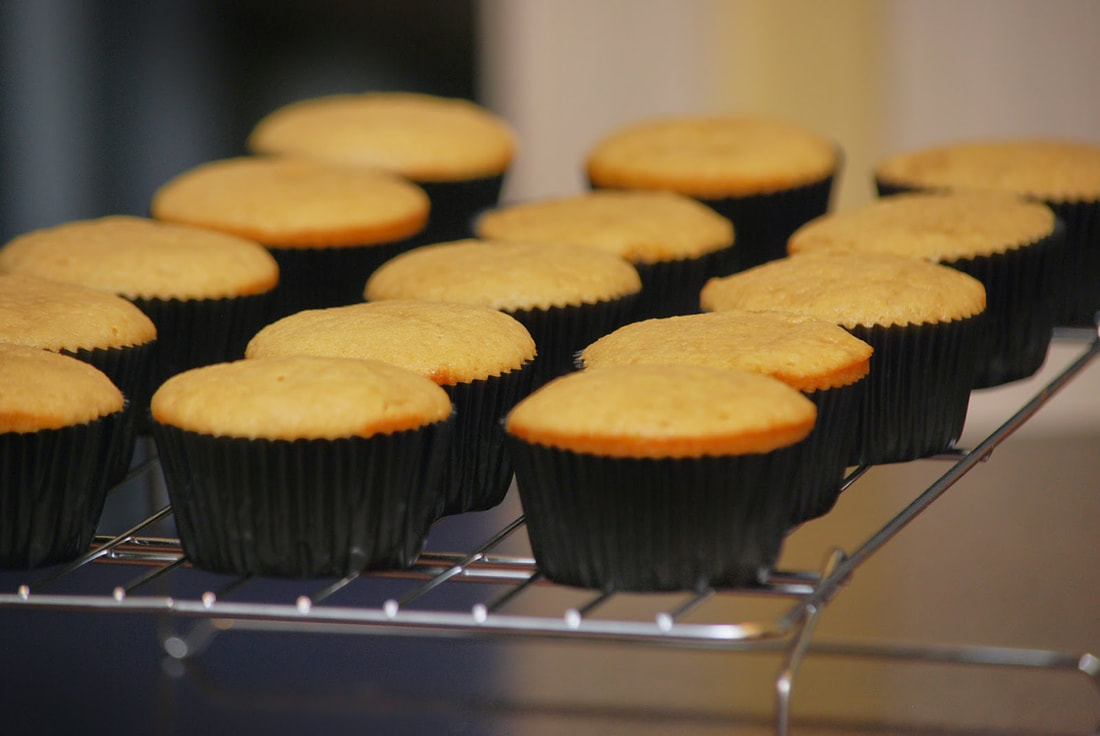
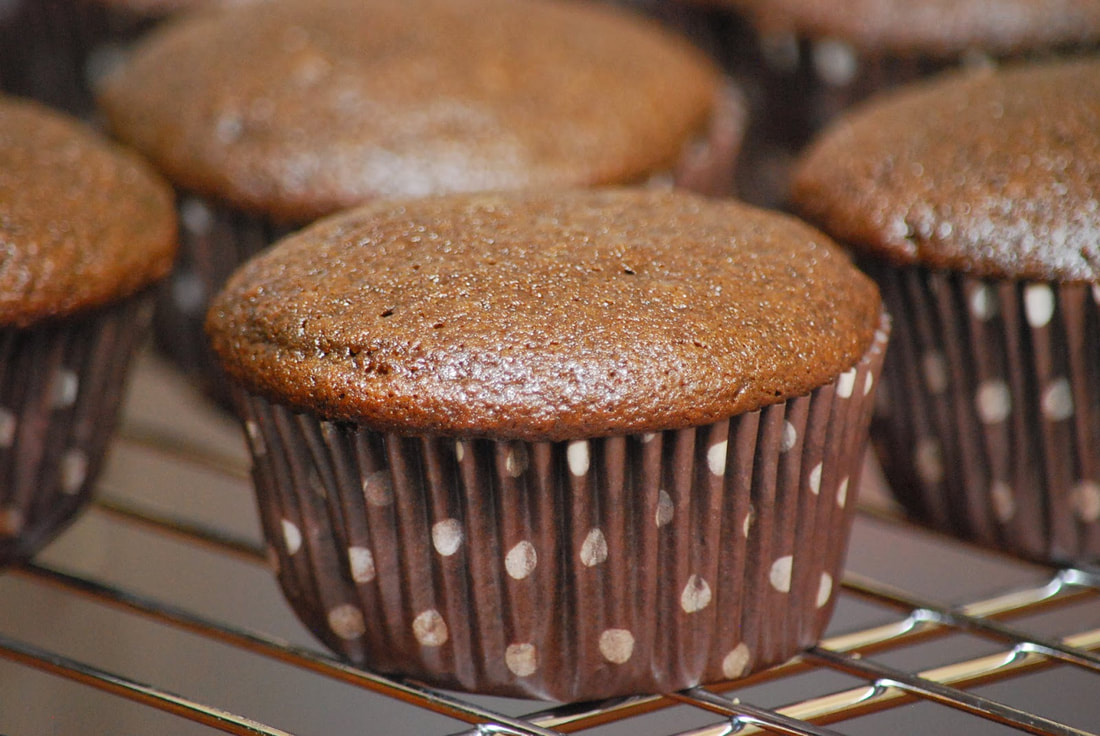
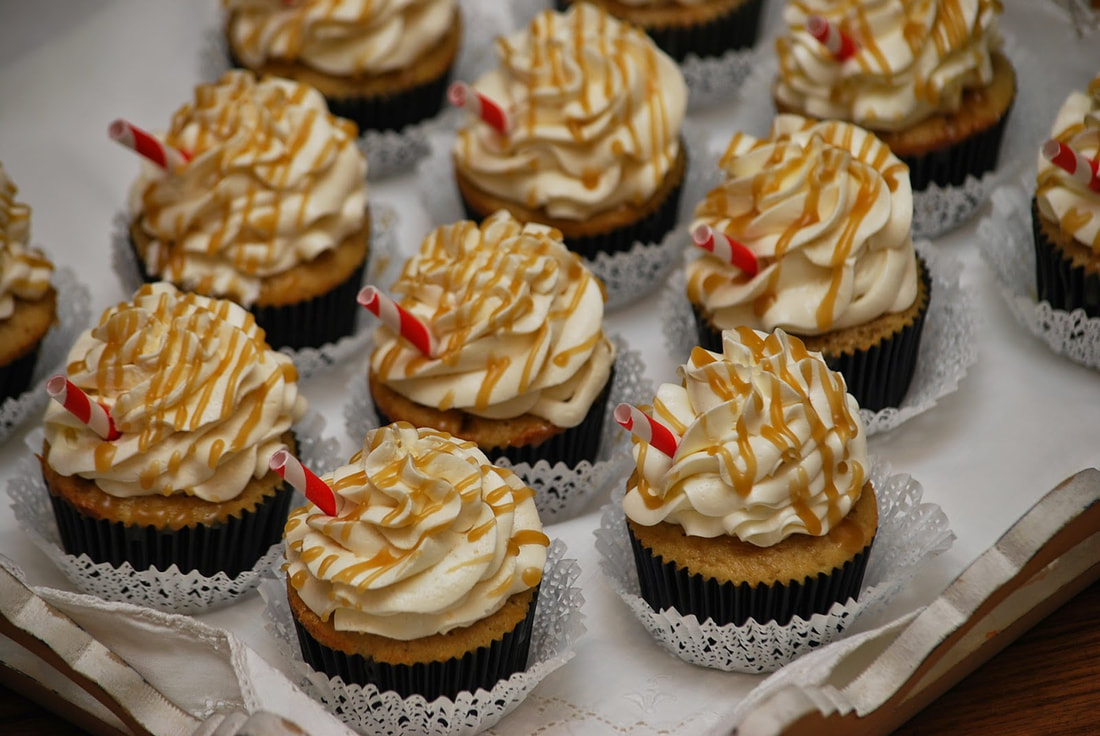 Viola. I've never tried a caramel frappaccino from Starbucks so I can't really tell you how it compares to the drinkable version but I can tell you that the cupcake version is pretty awesome. The homemade caramel filling and caramel drizzle just puts these cupcakes over the top.
Ciao!
0 Comments
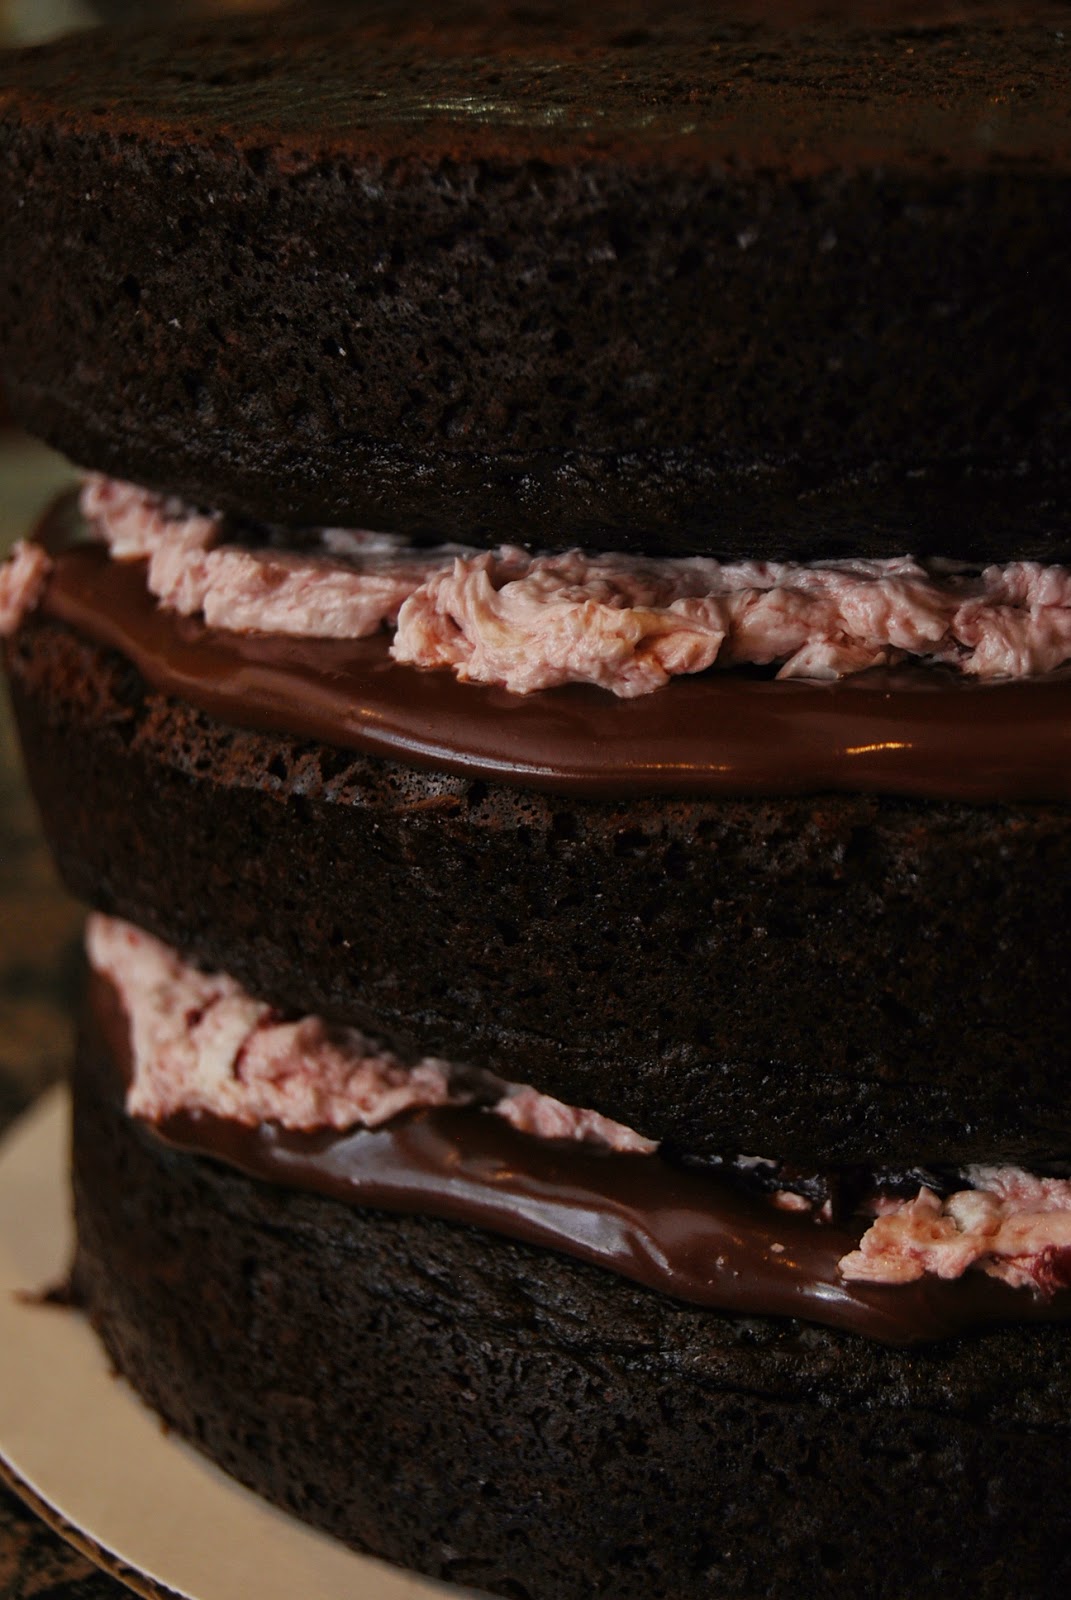
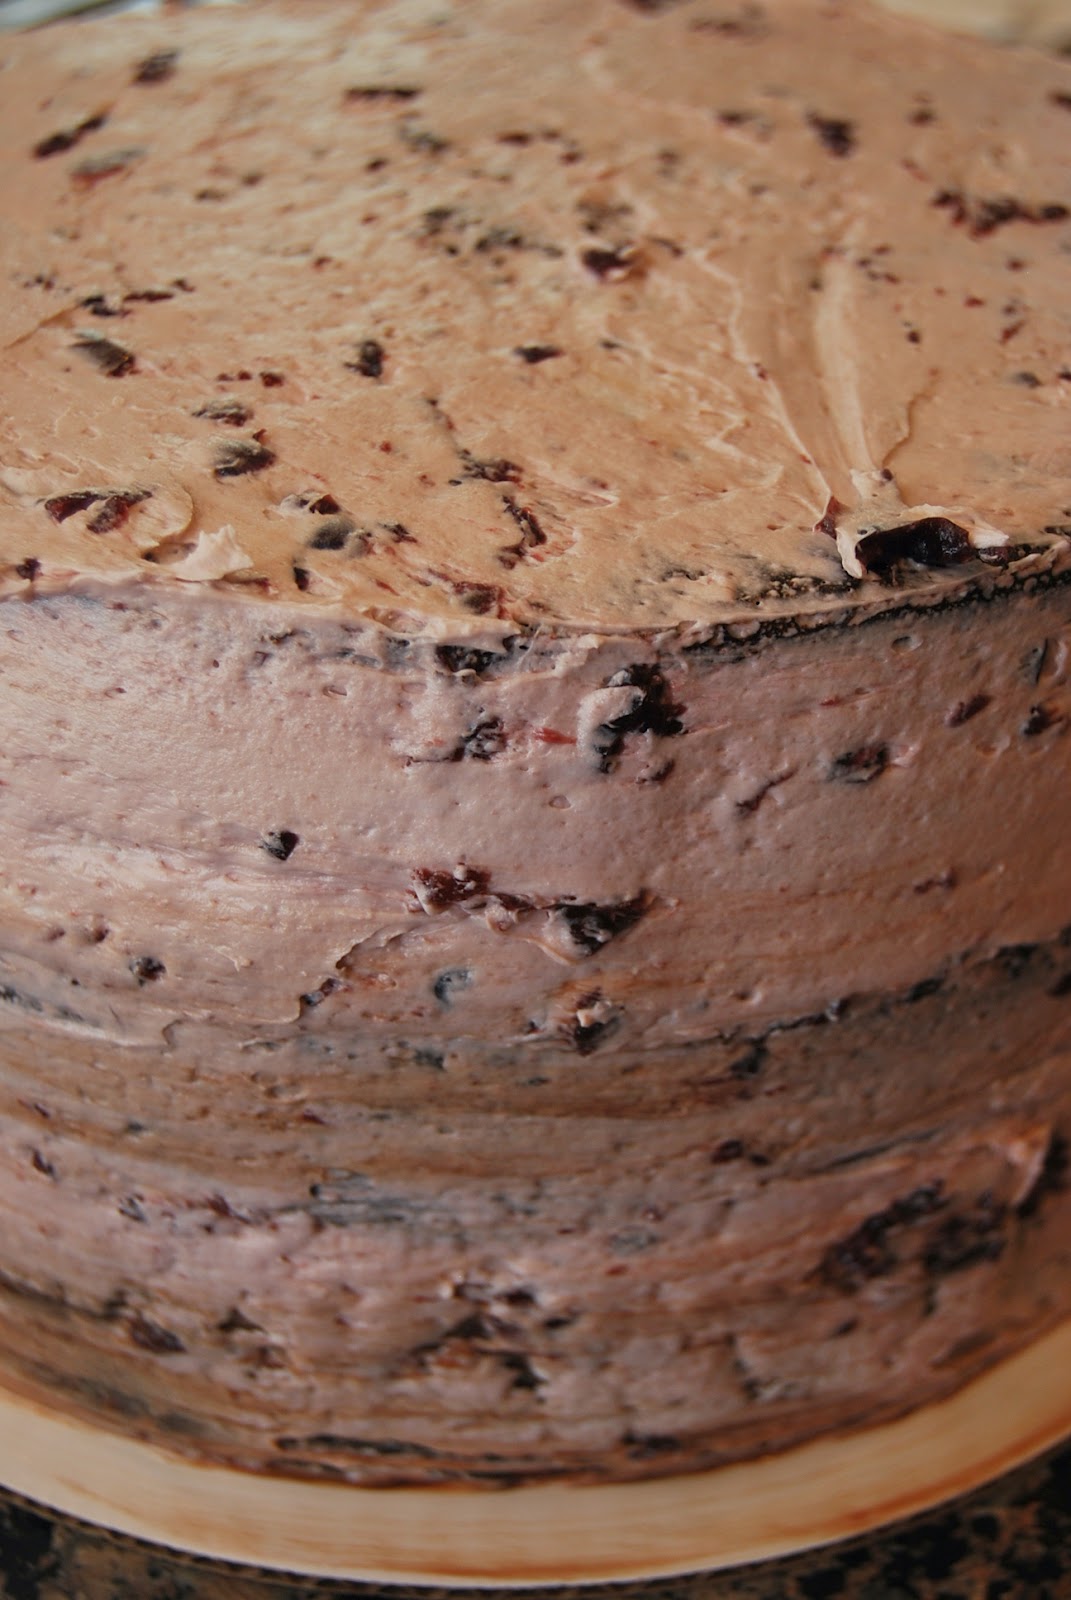
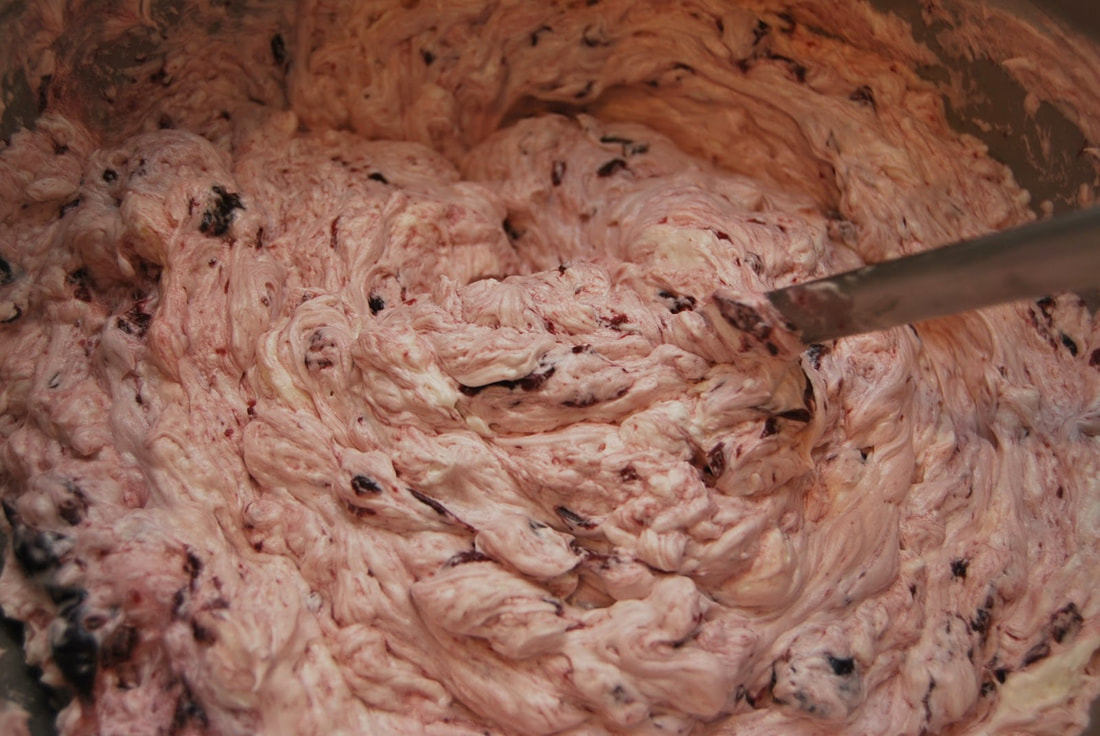
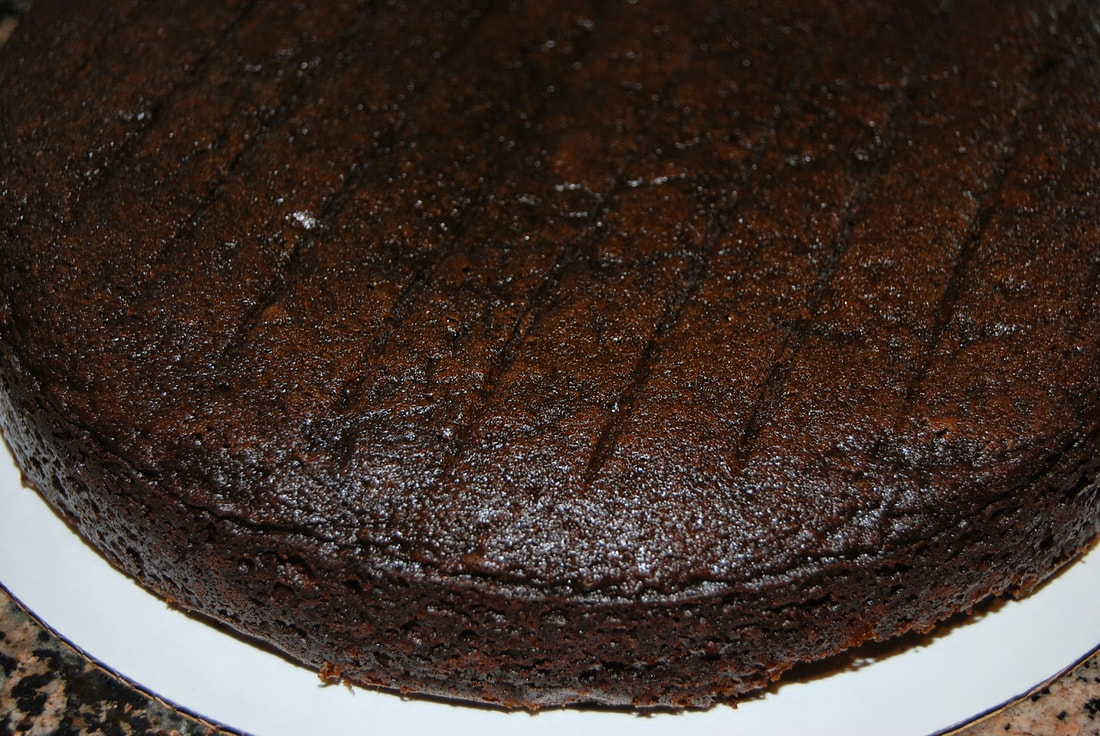
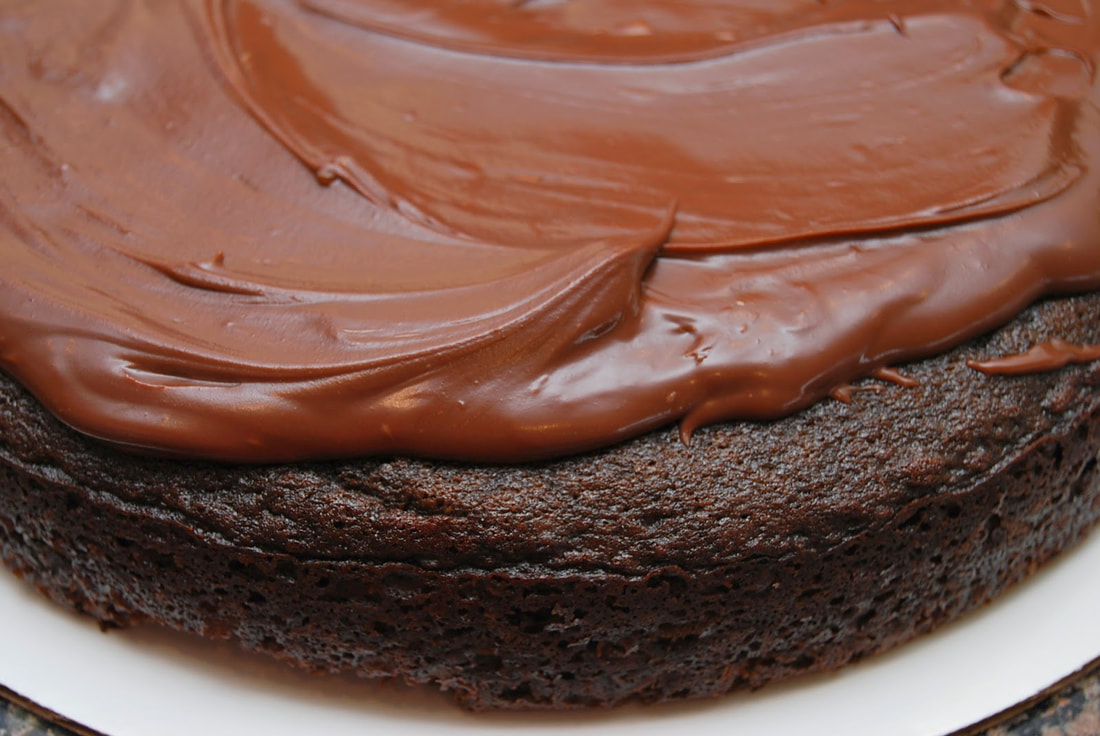
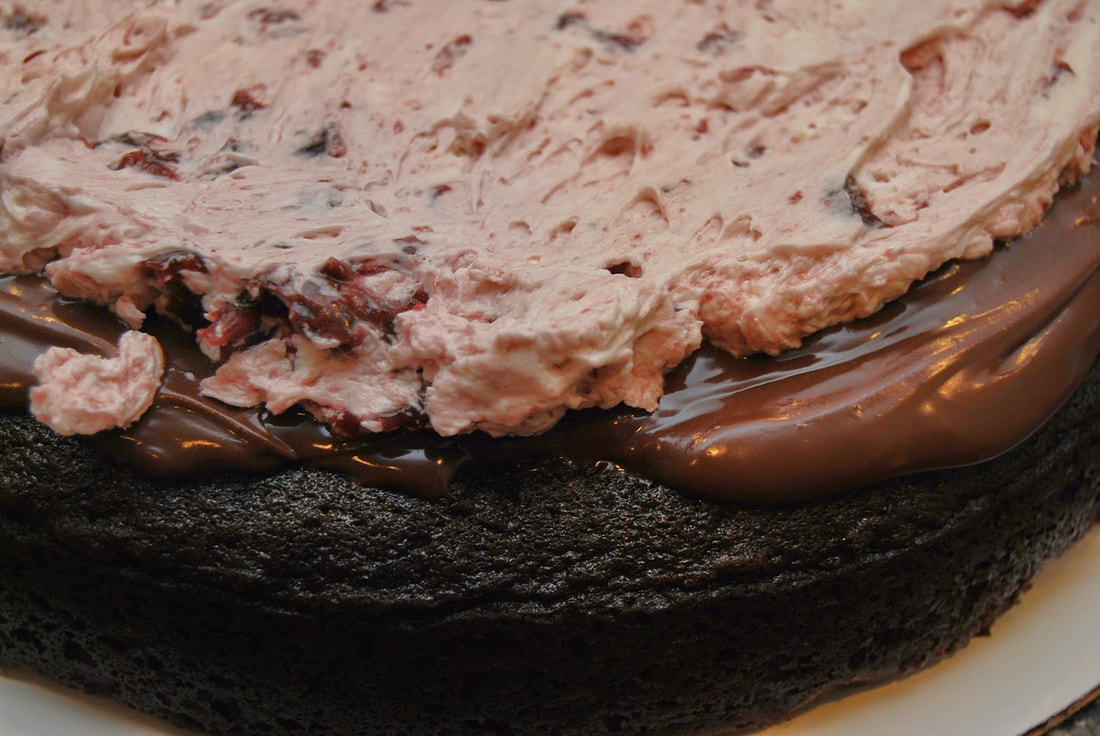
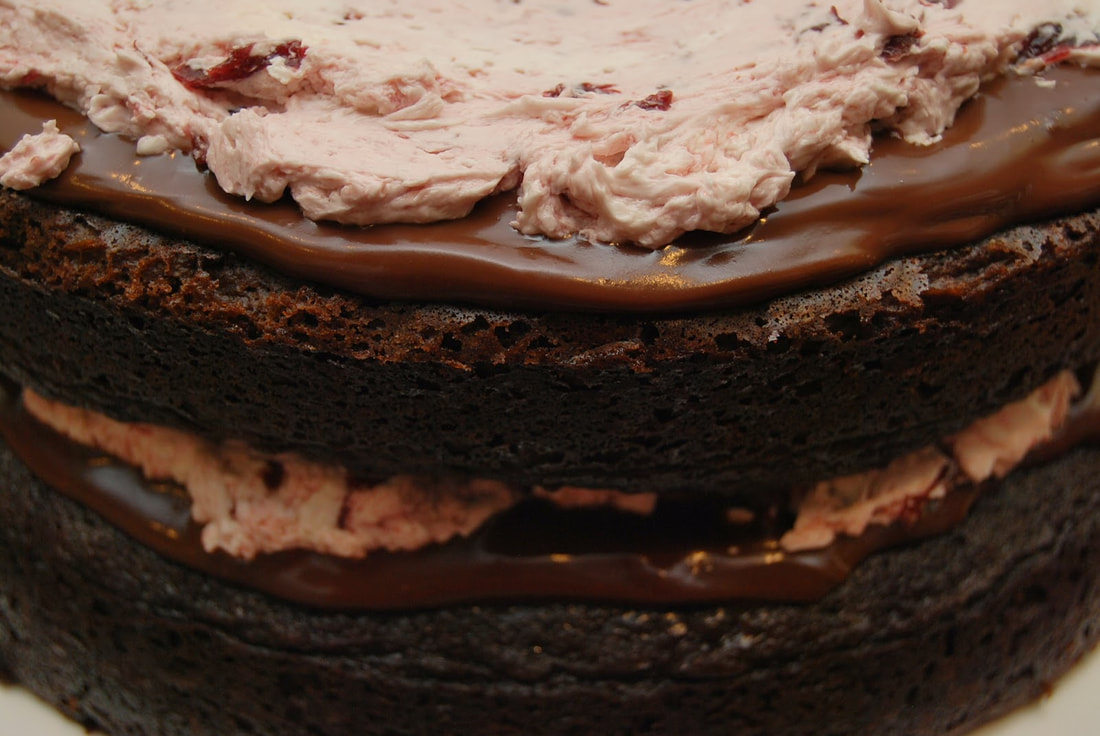
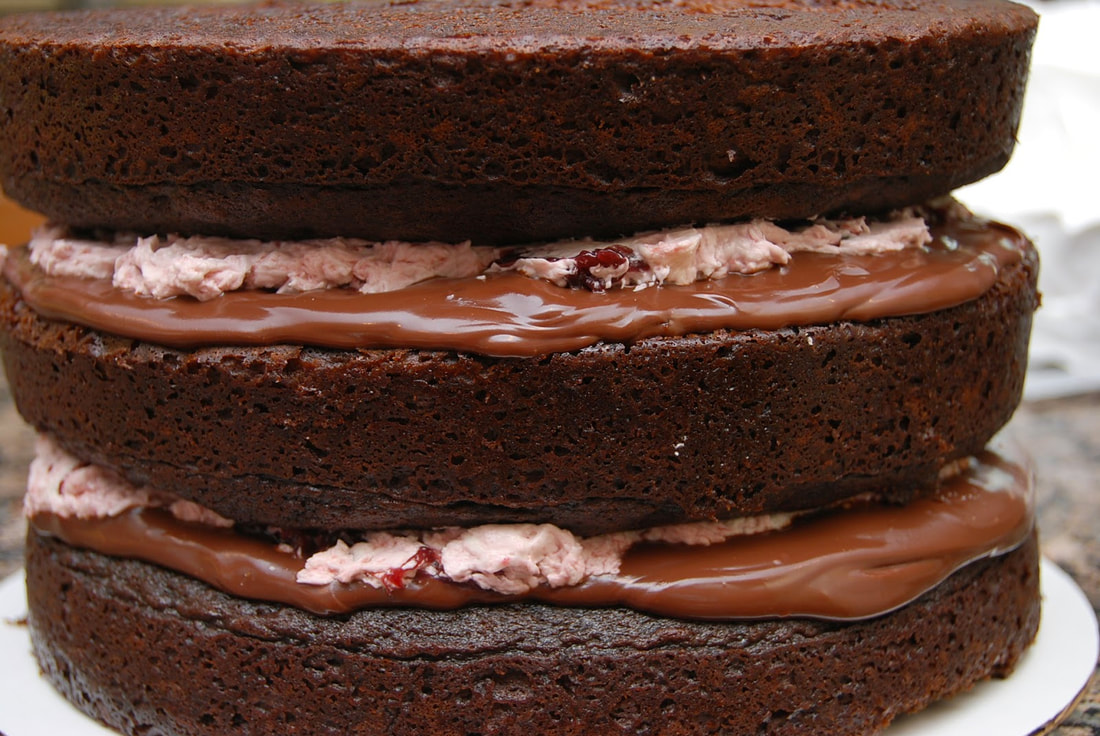
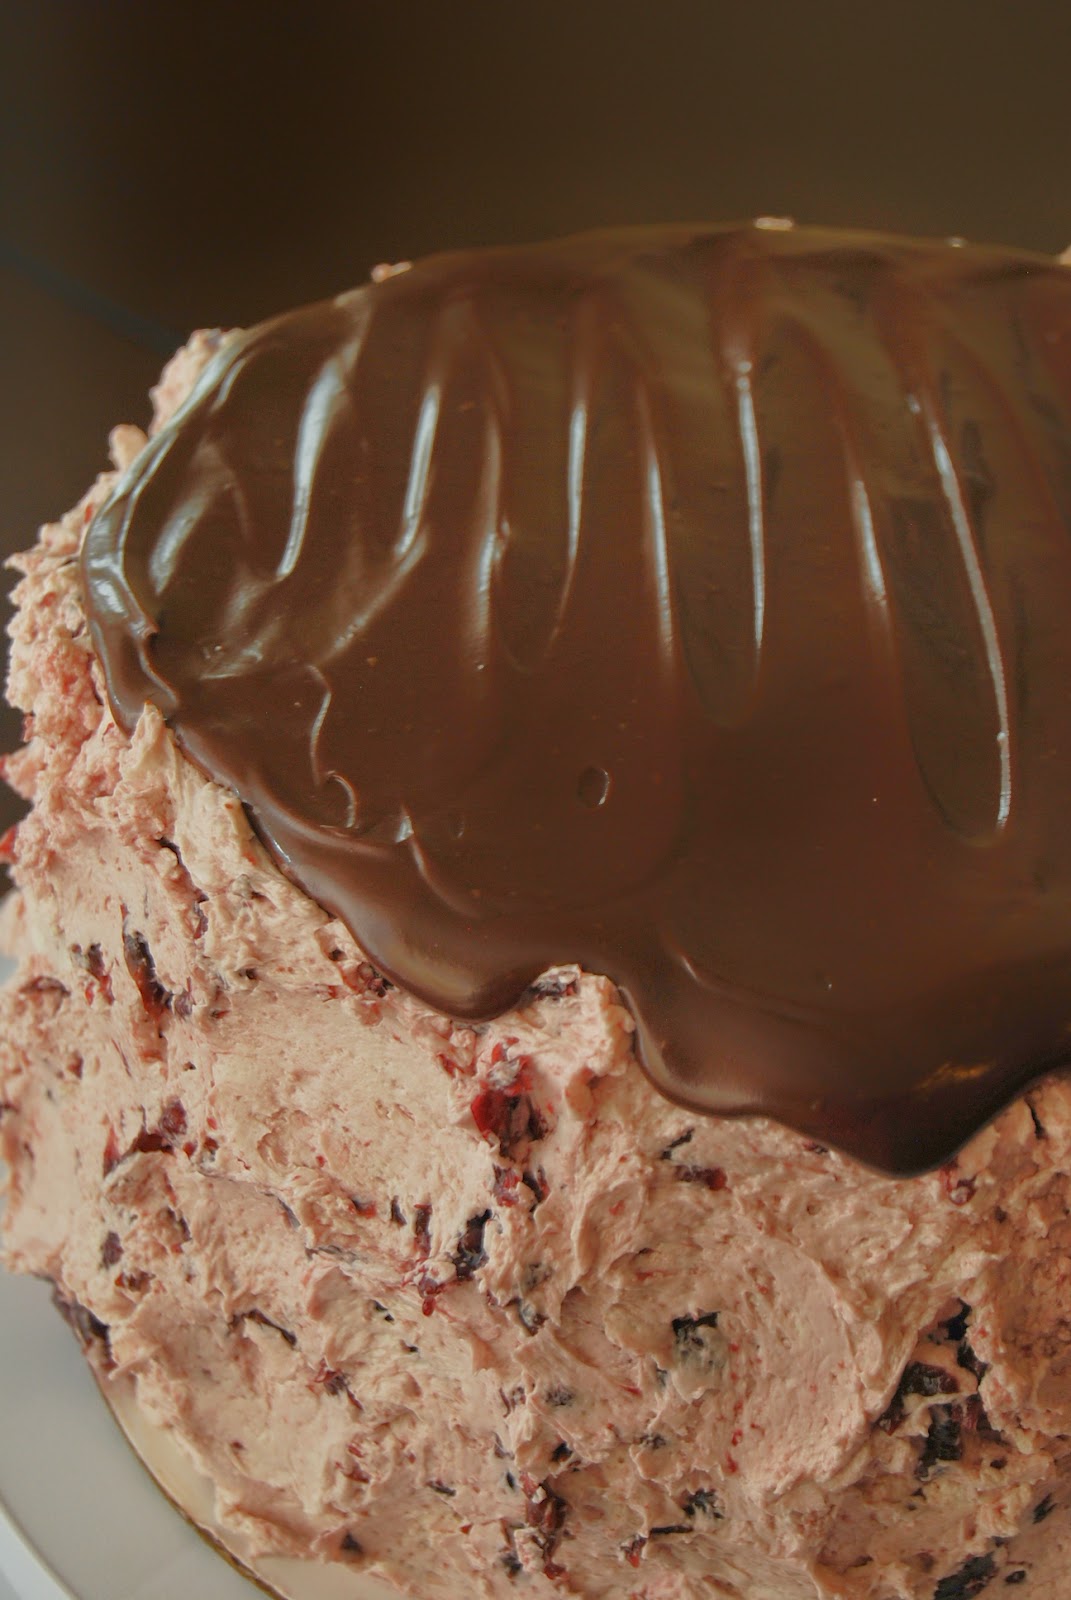
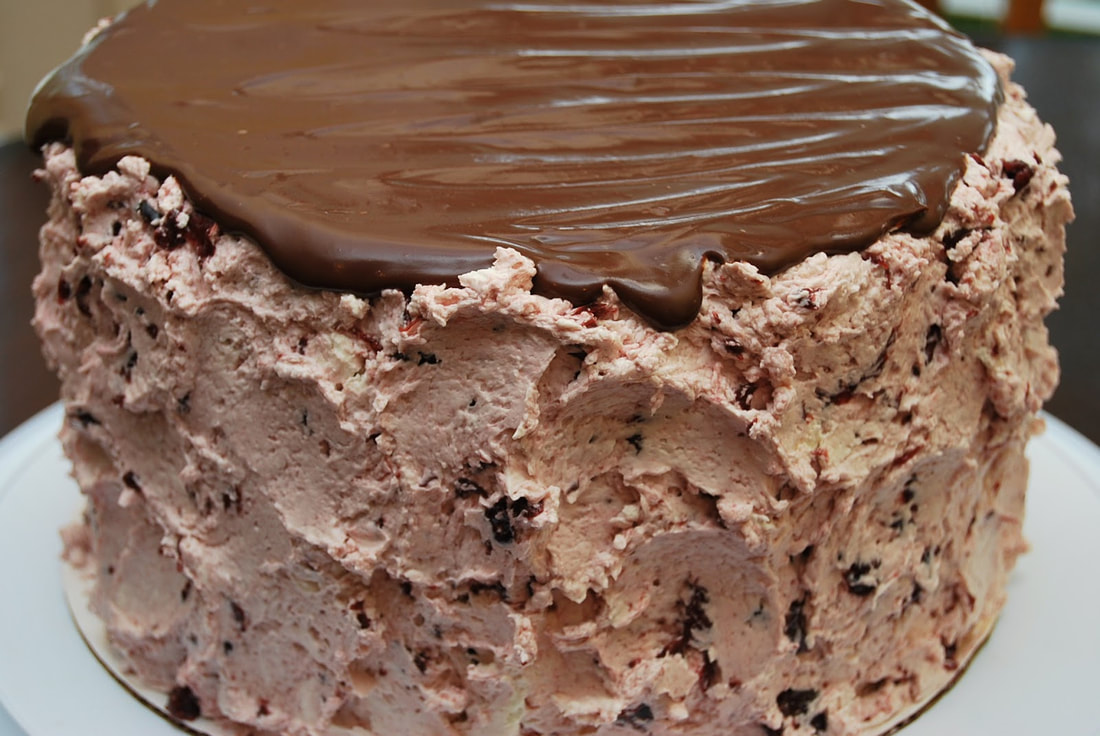
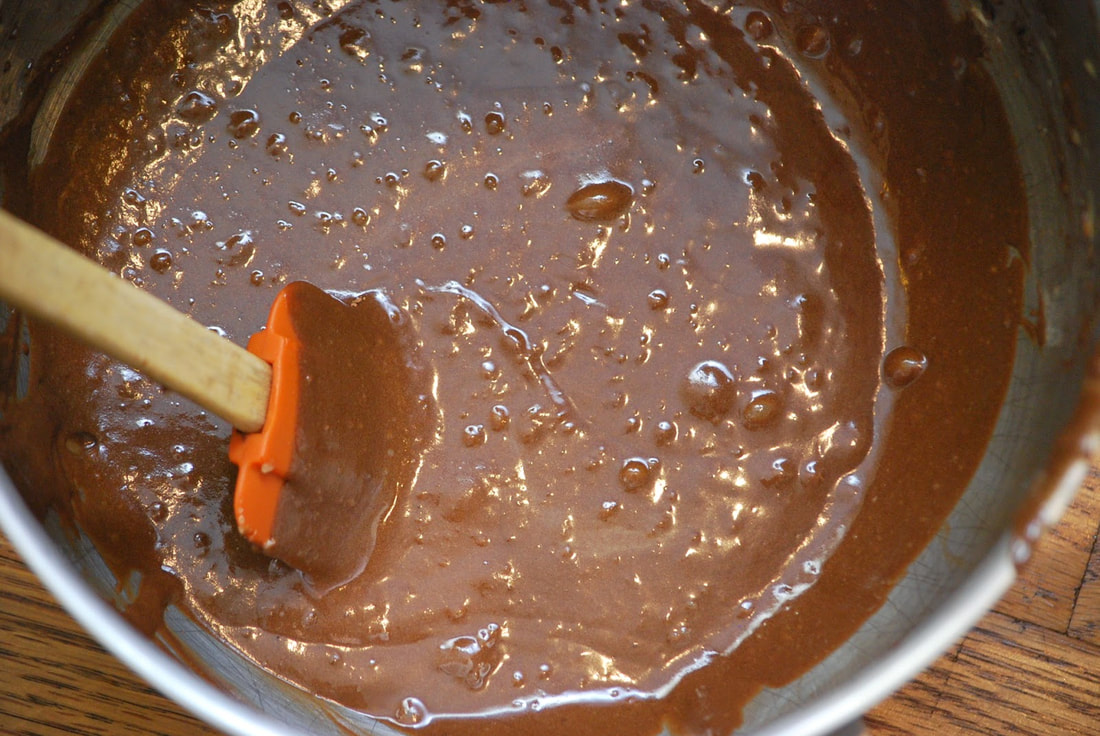
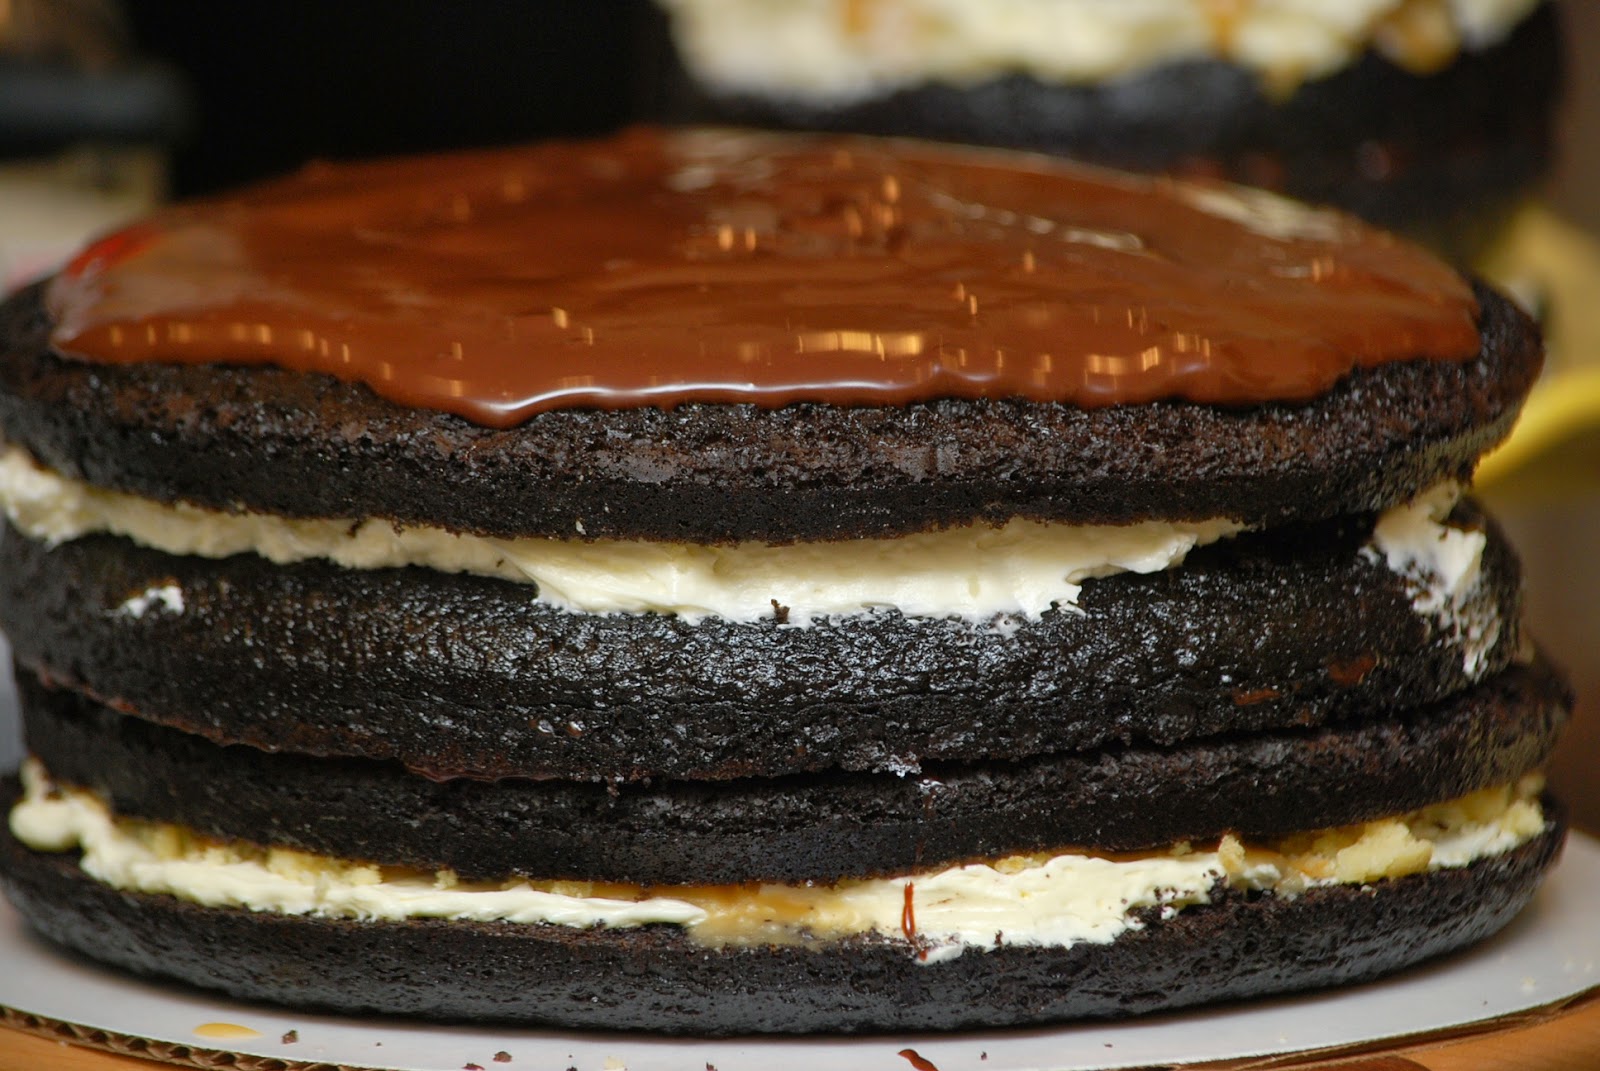
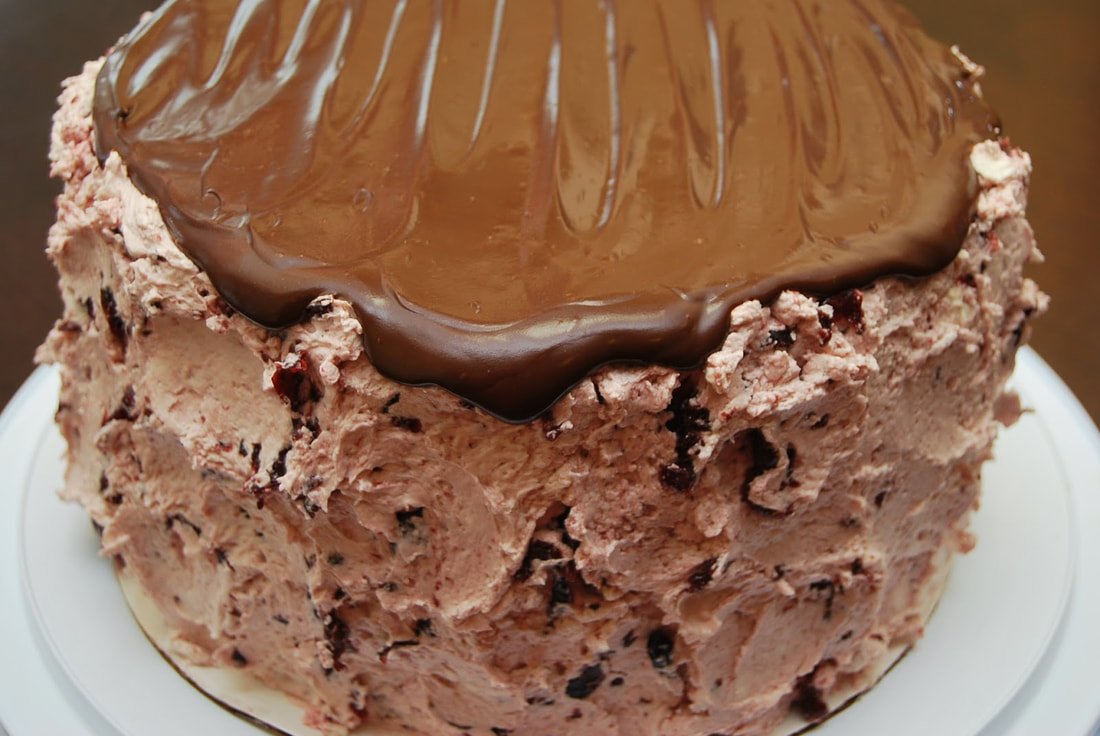 Anyone remember the cherry bomb cupcakes that I made a few years ago? 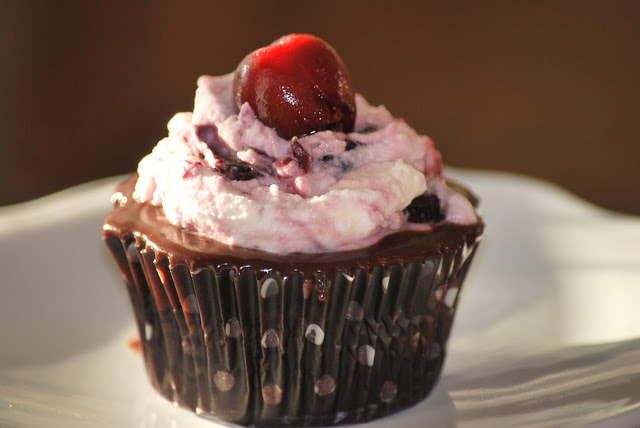 I wondered what it would look like if I took that same recipe and turned it into a bakery-worthy three layer black forest dream.  I had to make a few minor modifications to the recipe but in general, this cake turned out very similar to its cupcake inspiration. 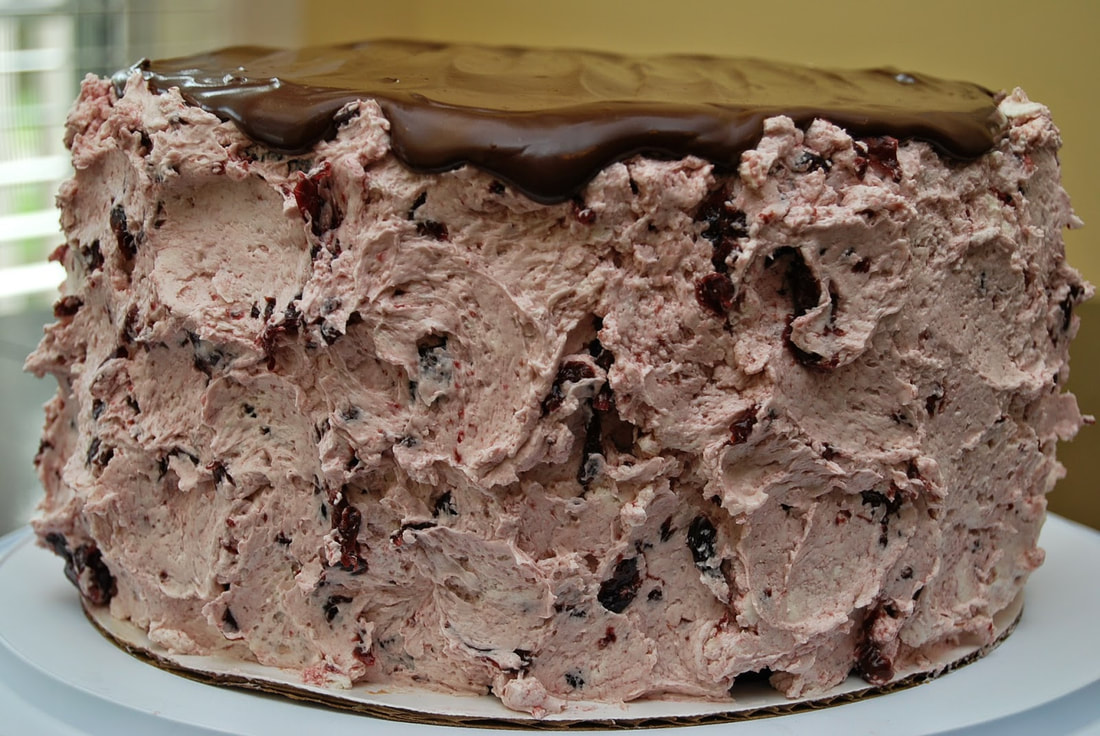 Layer of rich chocolate cake and dark chocolate ganache and cherry buttercream - nothing wrong with that. So here goes - my very basic recipe for black forest cake.
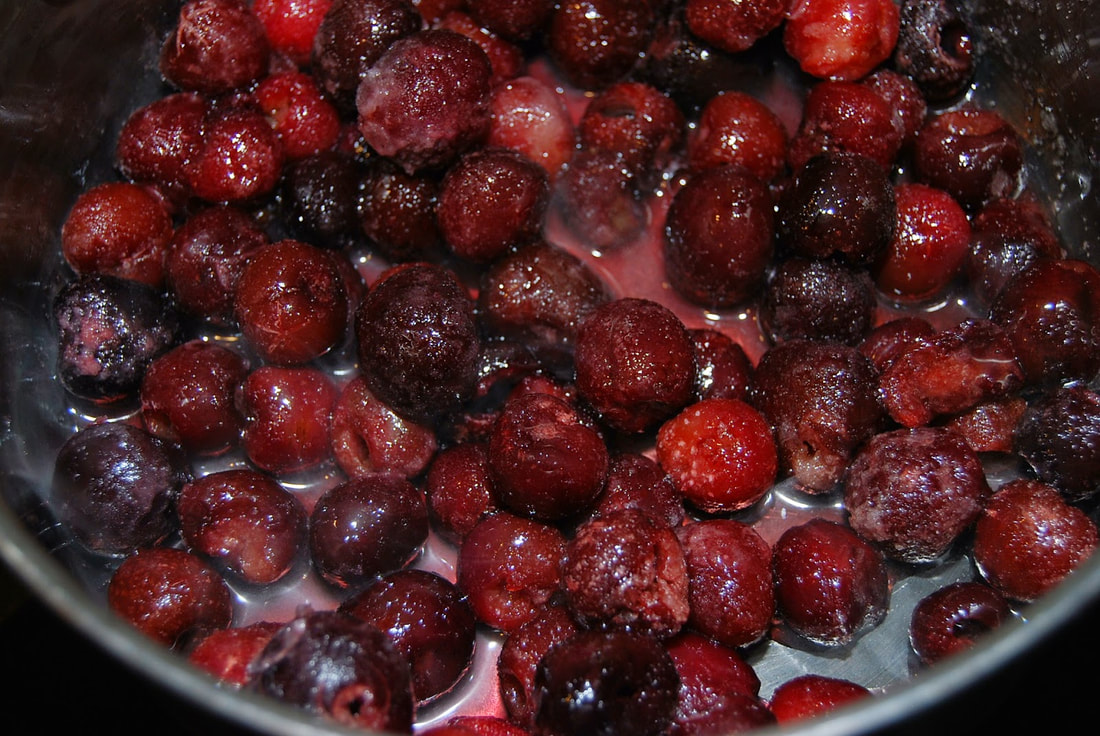
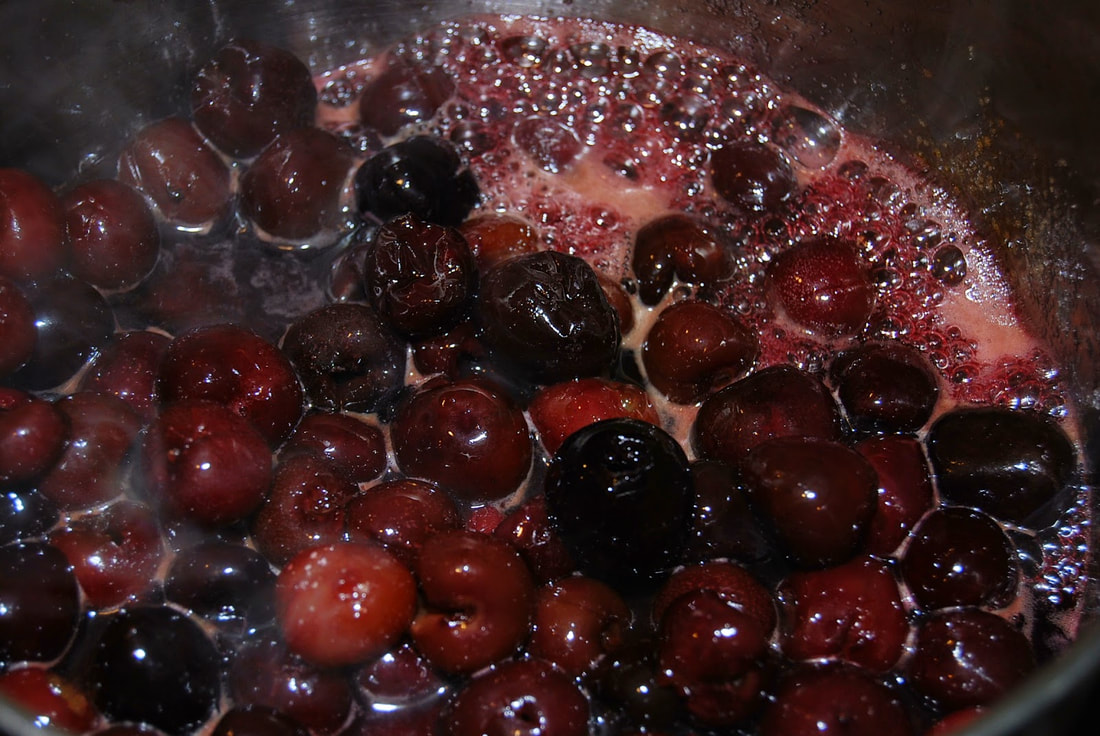
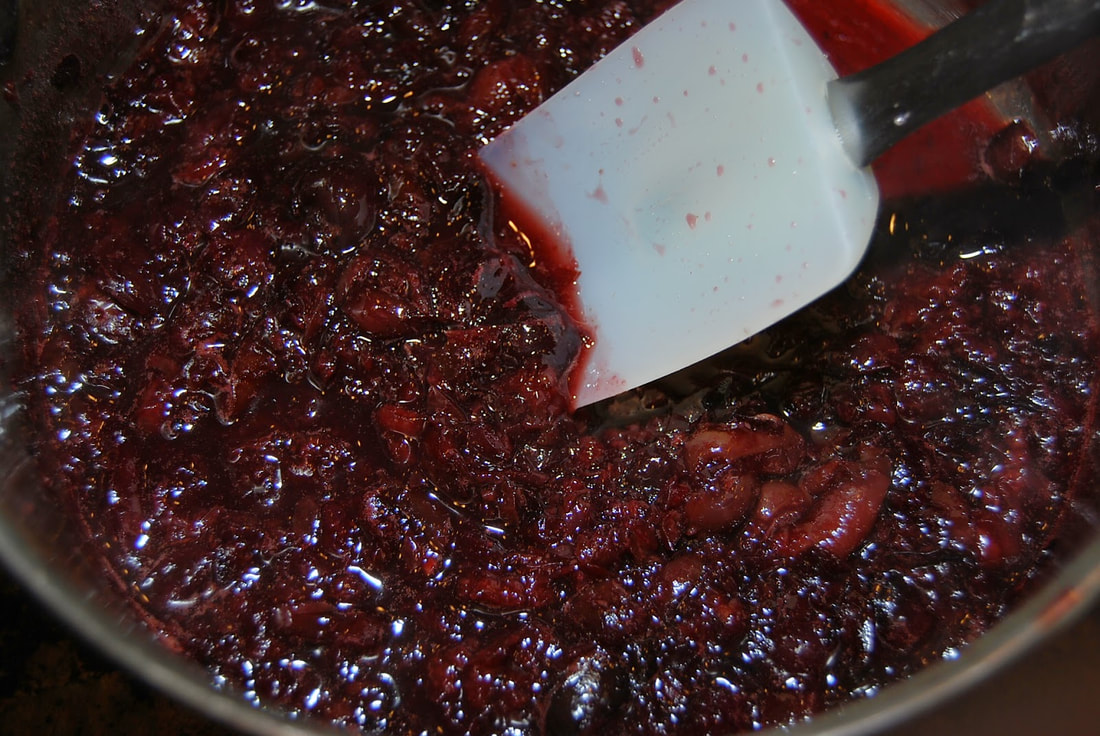
Black Forest Cake Mocha three layer cake (or three layers of your favorite chocolate cake) 1 cup heavy whipping cream 1 Tablespoon corn syrup pinch of salt 2 cups chocolate chips 6 Tablespoons butter 1 Tablespoon vanilla 3 cups frozen dark cherries 3 Tablespoons sugar 2 Tablespoons water 1 recipe of sweet vanilla buttercream
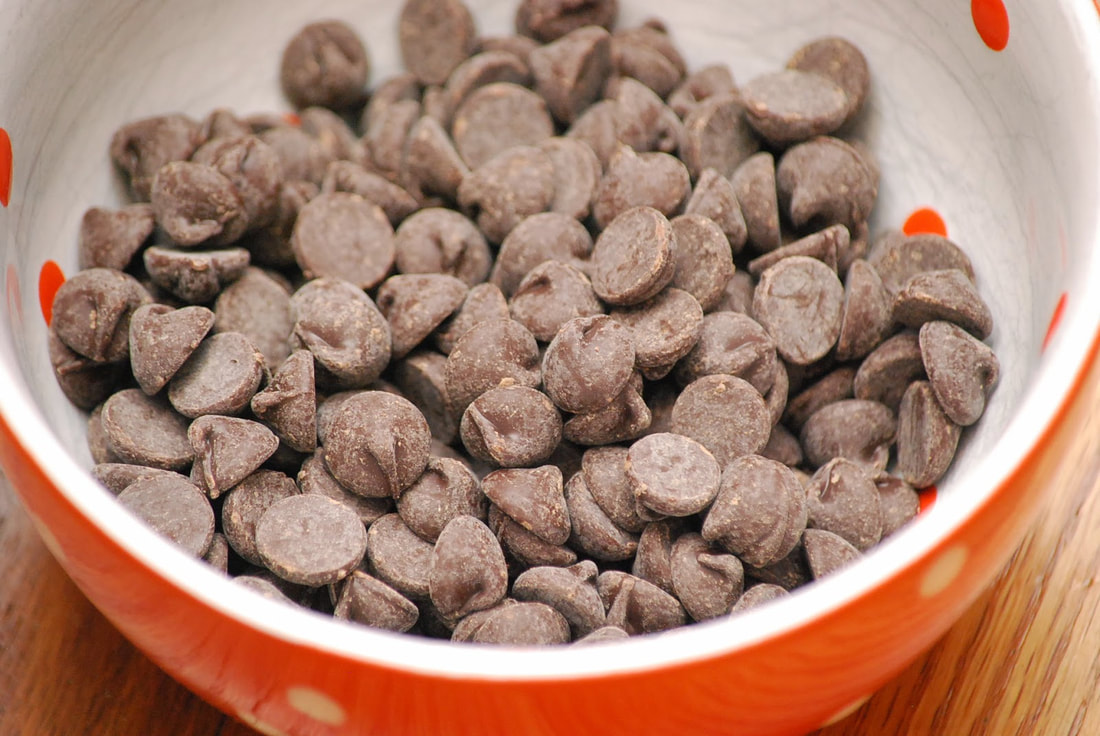
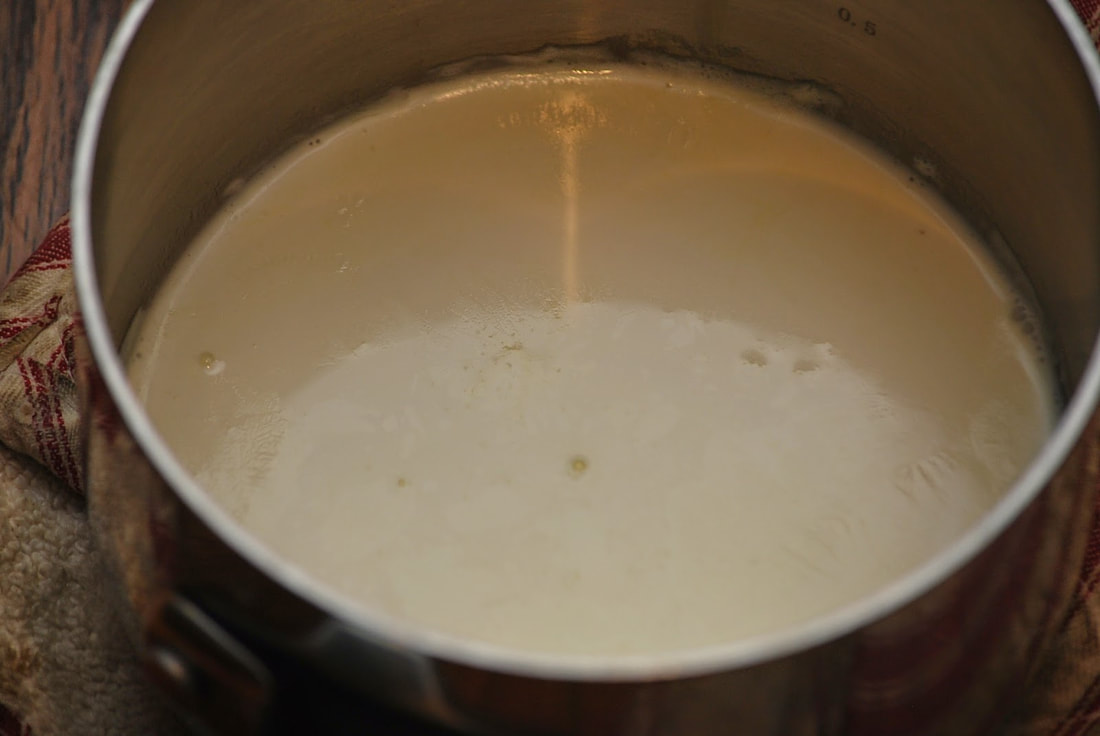
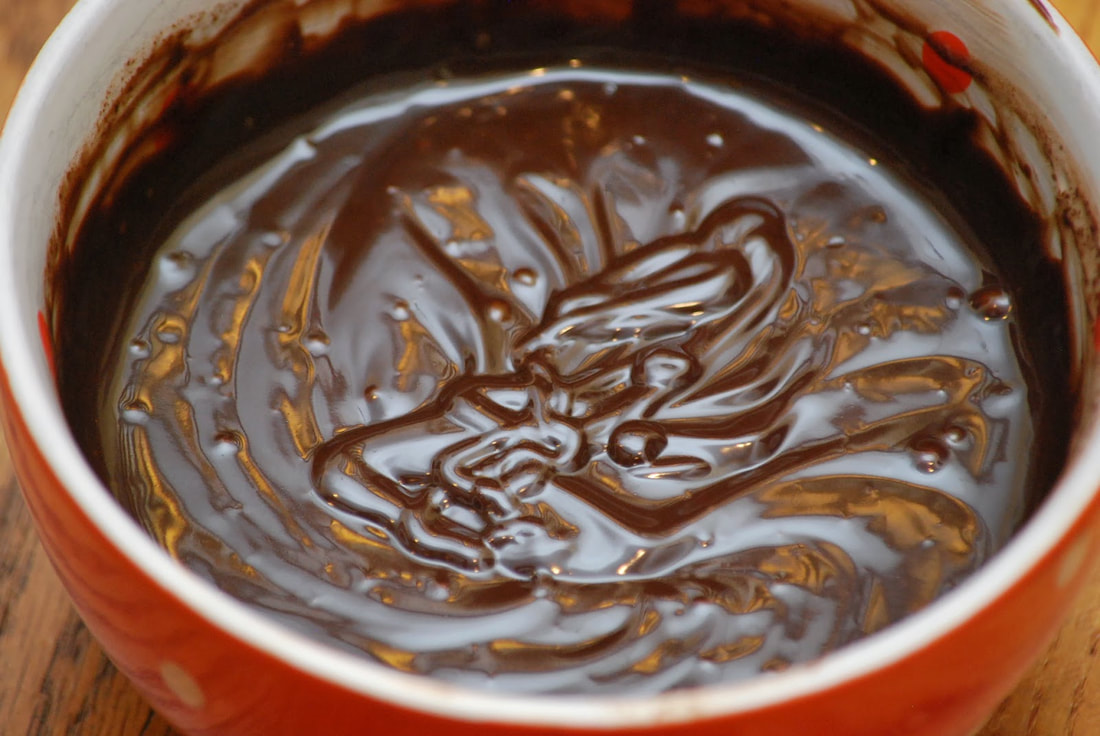
Pour over chocolate chips and let sit for 3 minutes.
To assemble the cake, start with a cake layer on the cake circle and then a layer of chocolate ganache.
Spread remaining buttercream on sides of cake and then spread a thick layer of chocolate ganache over the top.
This cake reminds me of the cherry bomb cupcakes because I would describe them both as a beautiful mess. I never claimed that this was a neat cake - just a good cake.
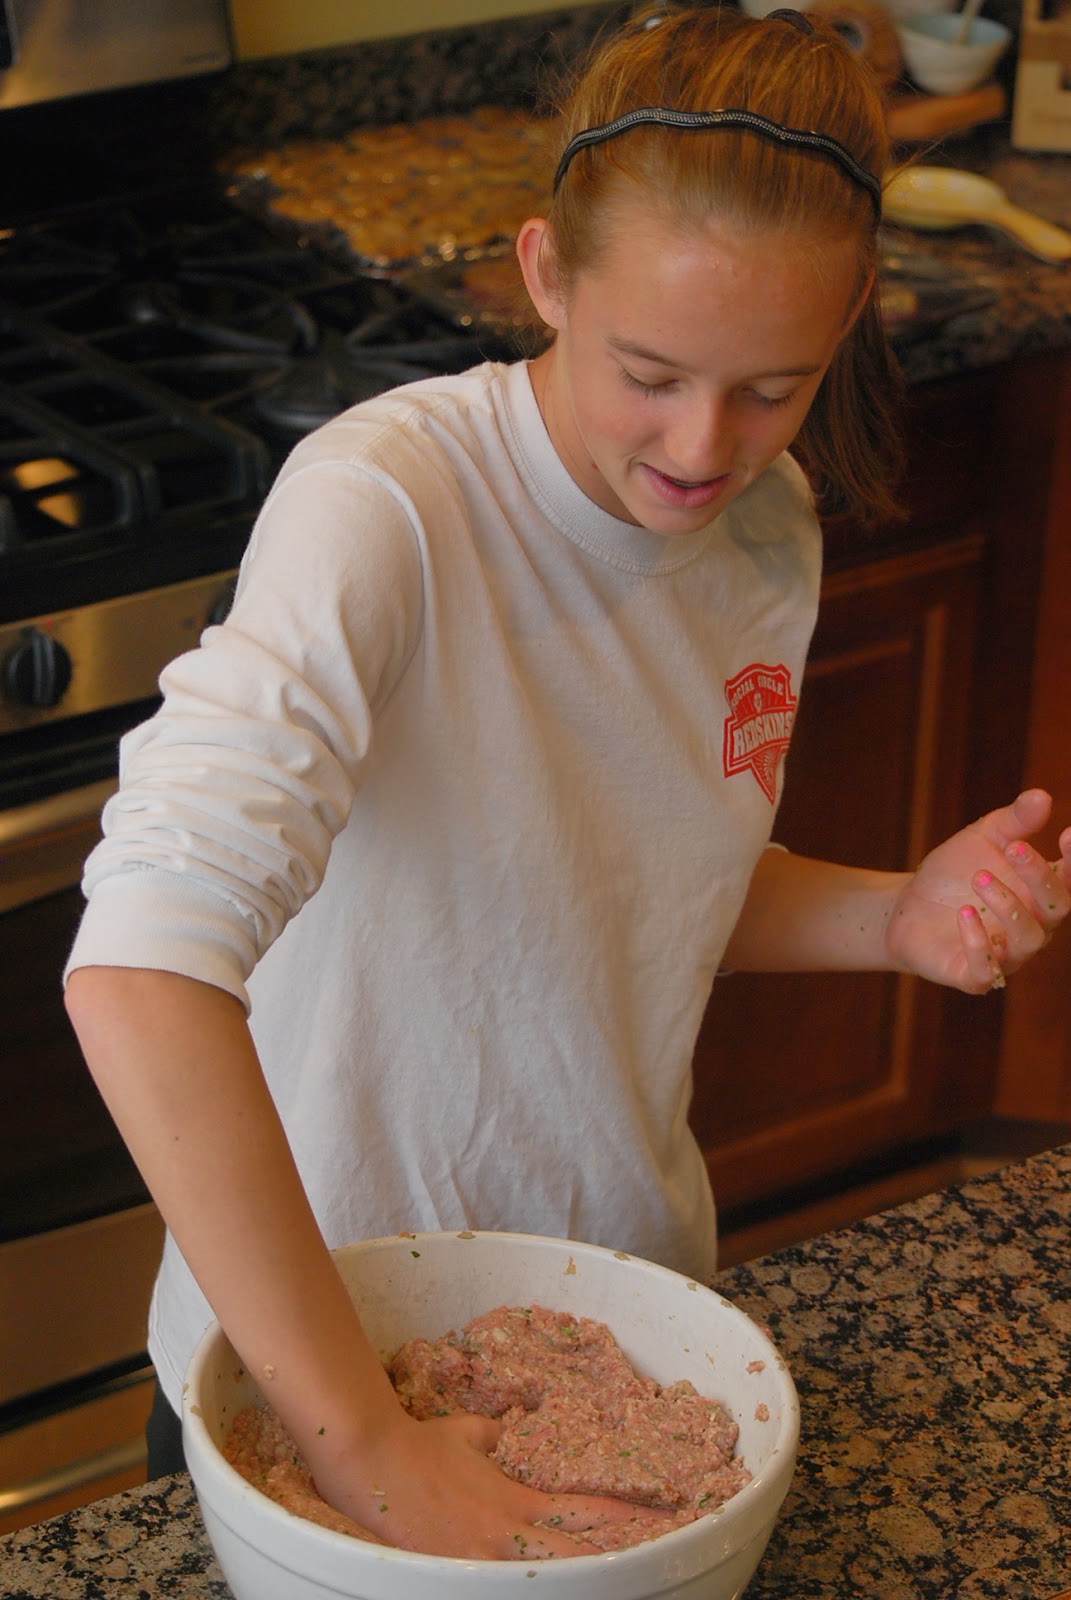
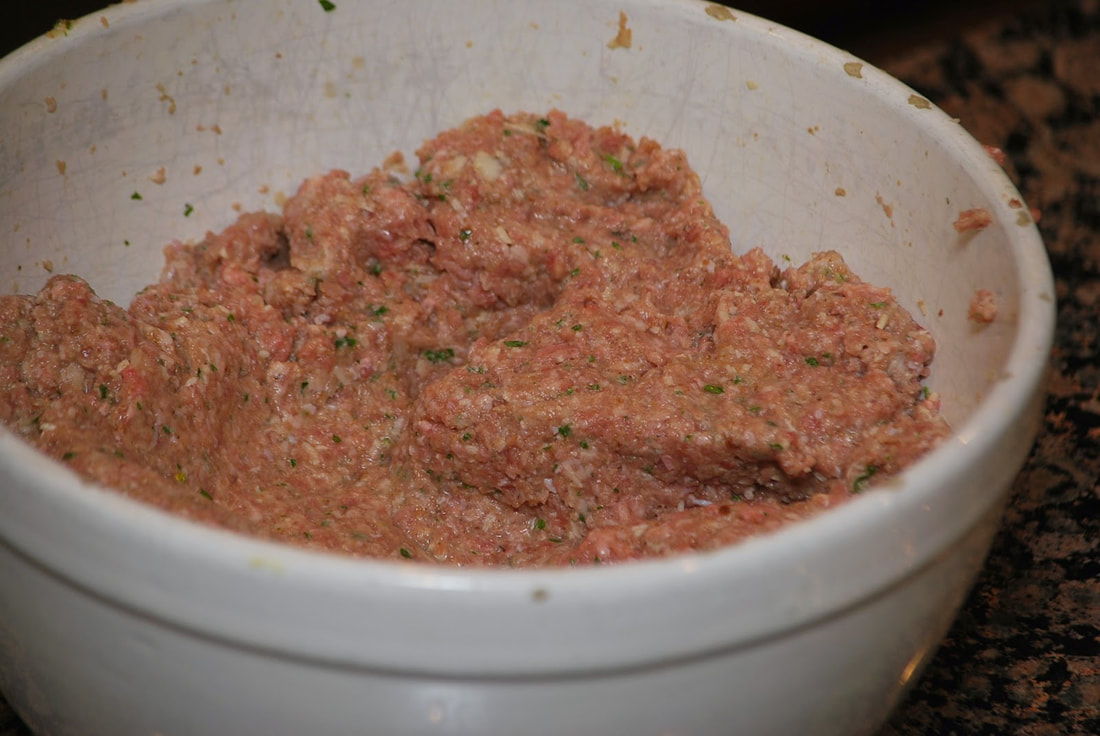
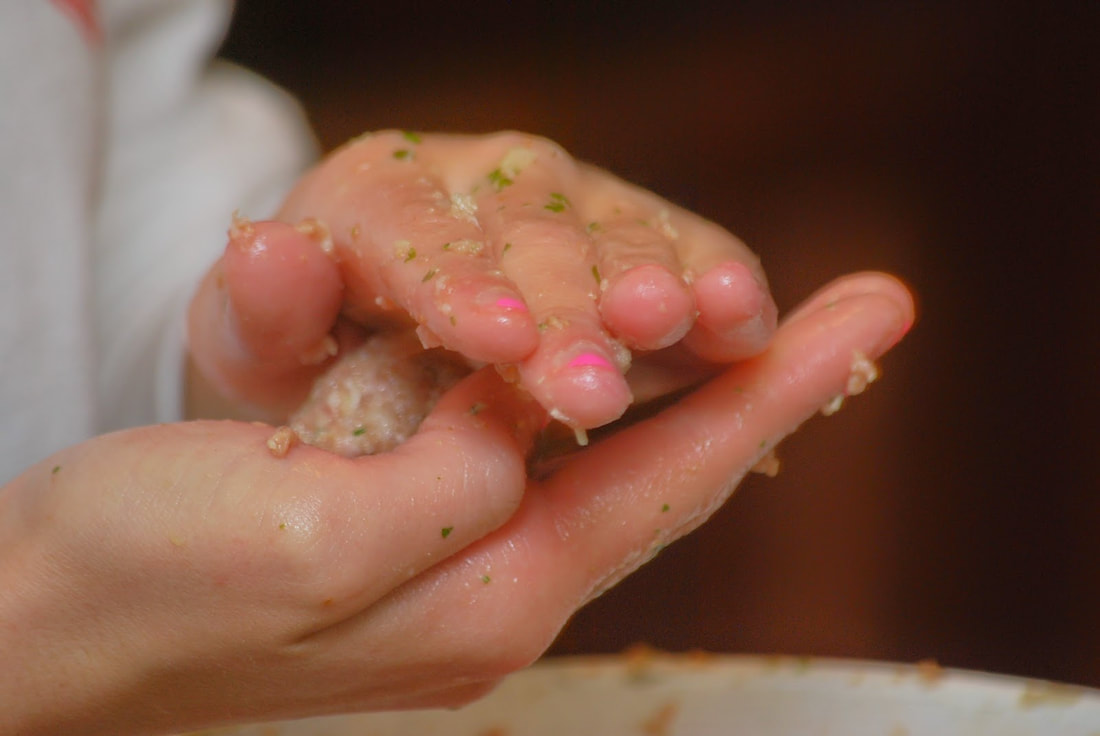
Ciao! 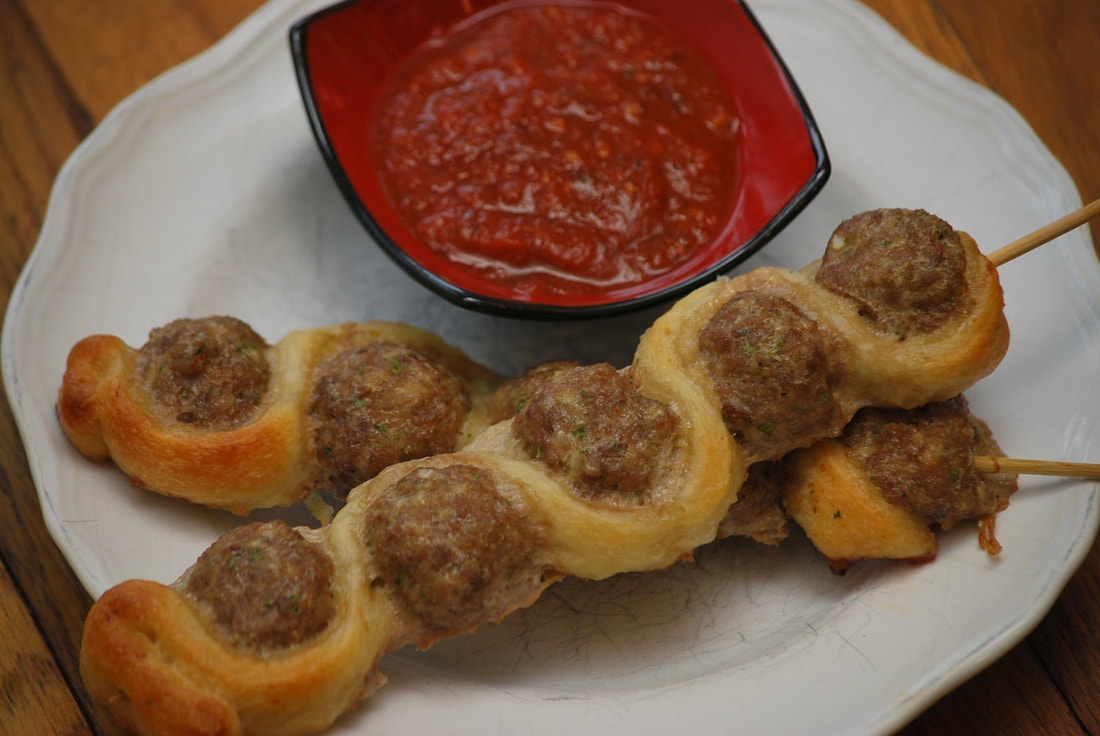 I love to have helpers in the kitchen and I'm always looking for new ways to entice the kids into helping me with dinner. It's never too hard to convince Courtney to come help me in the kitchen - especially when meatballs are involved. (I've never known any other kid who loves to play in raw meat like she does.)
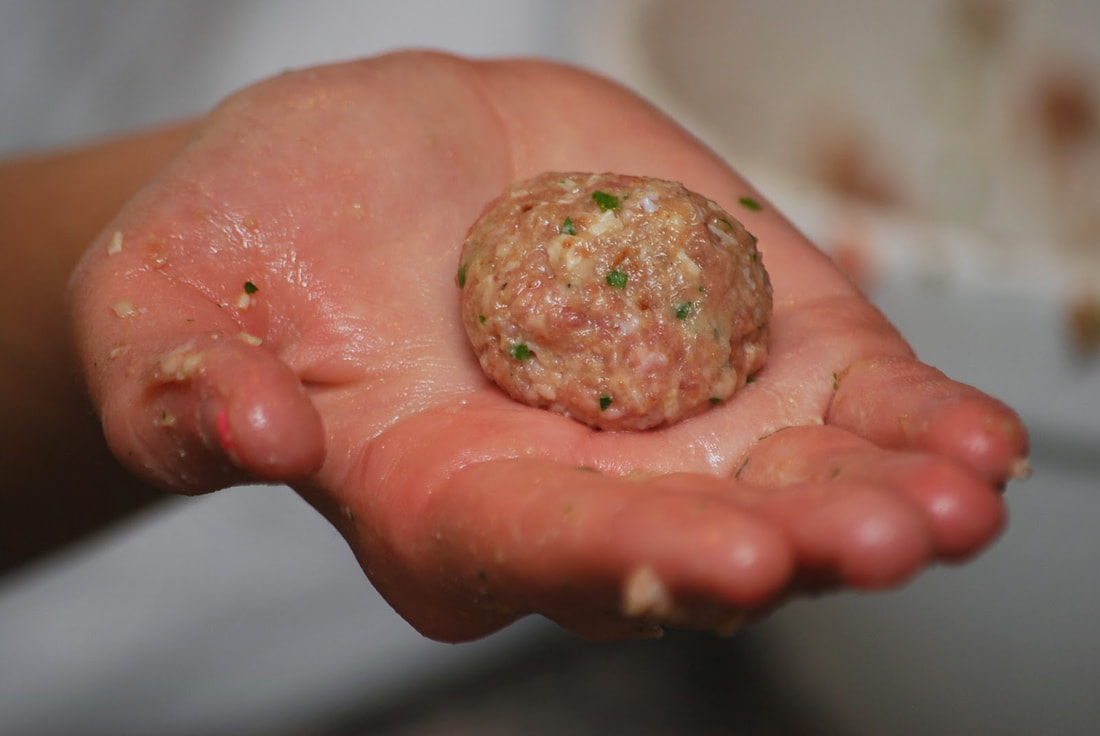
The girl seriously loves to get her hands into the meat mixture and I must say that she's learned to make some pretty awesome meatballs. I found a recipe for meatball subs on a stick from cookiesandcups.com and it was perfect for Courtney. I had to modify it slightly but it really turned out great.
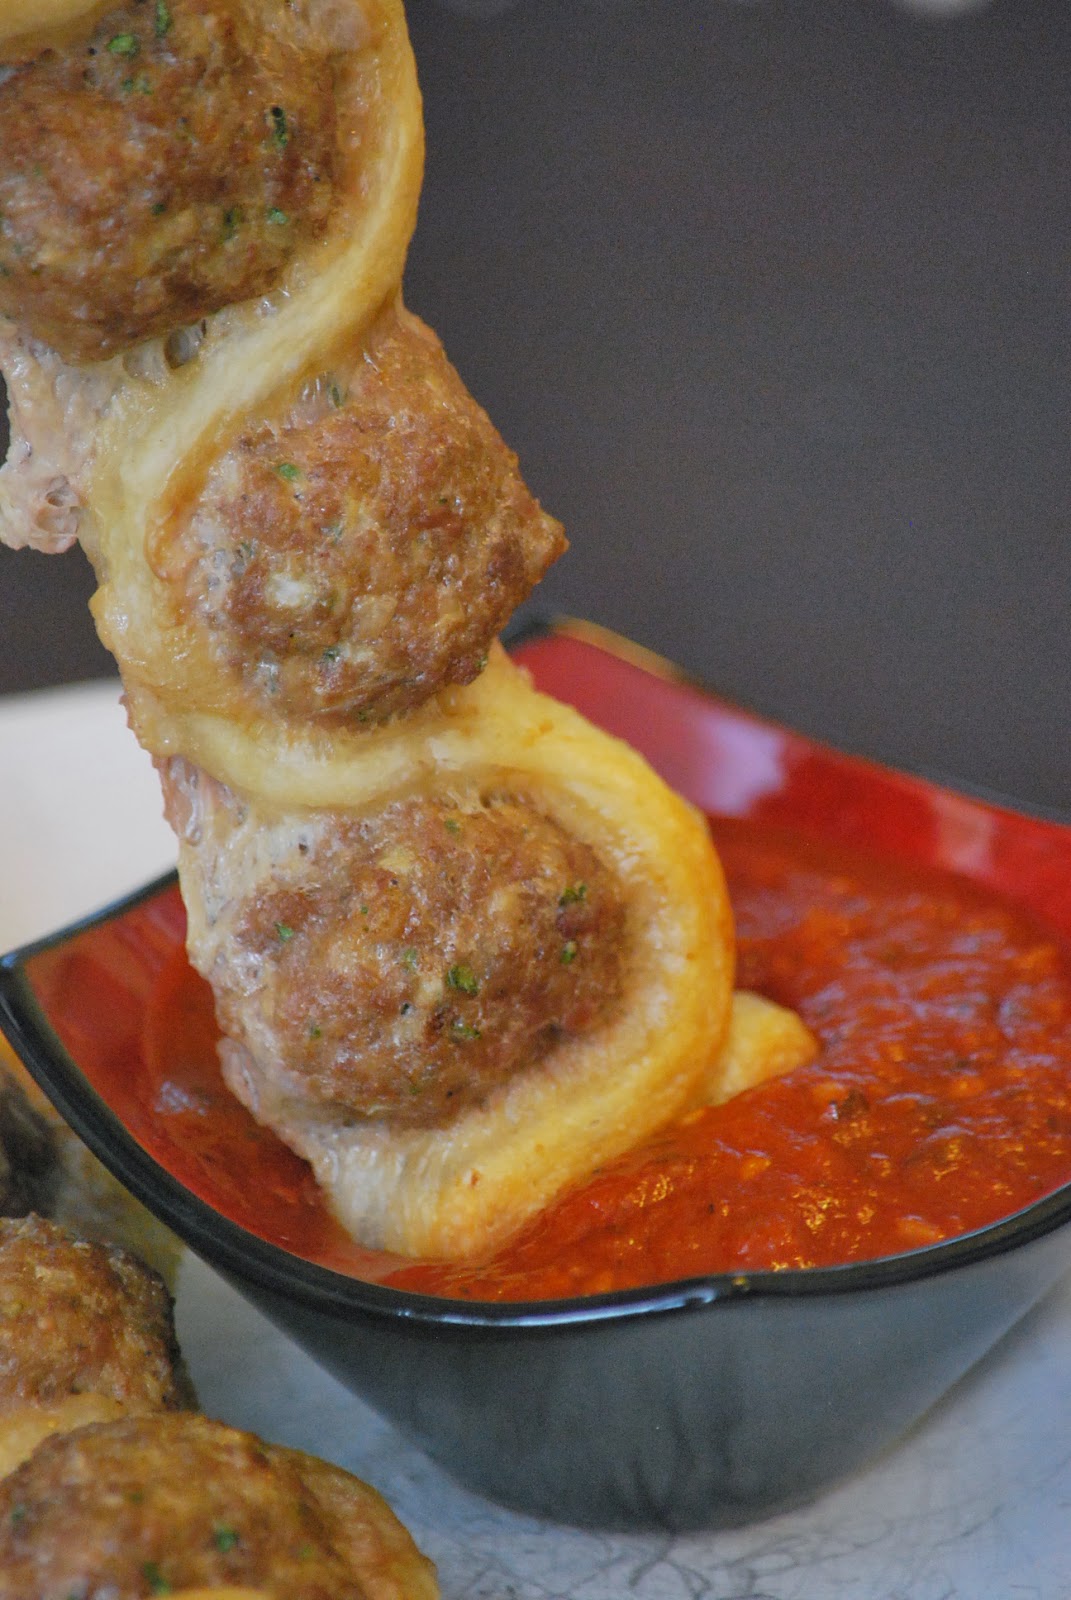
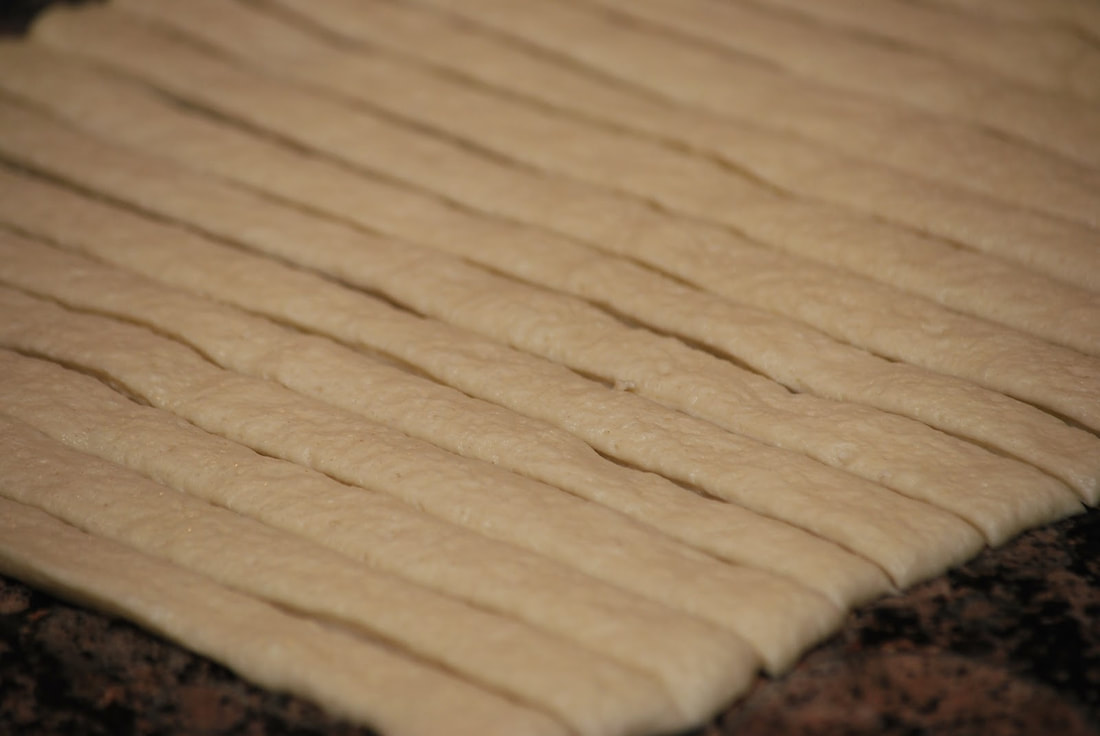
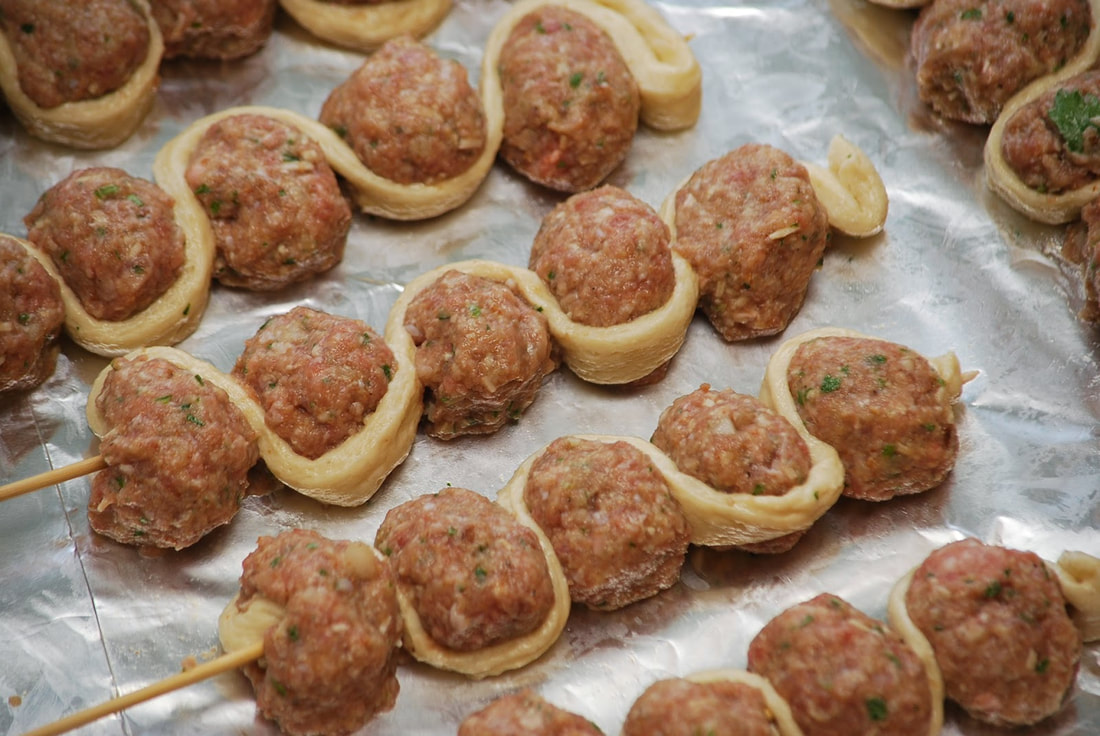
Meatball Subs on a Stick 1 lb lean ground turkey 1/2 cup Italian bread crumbs 1/2 cup grated Parmesan cheese 1 Tbsp dried Oregano 1 Tbsp dried Basil 1 Tbsp dried Parsley or 1/4 cup fresh chopped 1/2 tsp Crushed Red Pepper 2 cloves garlic, minced 1 can Pillsbury Original breadsticks 1 cup shredded mozzarella cheese 12 (10"-12") wooden skewers Marinara sauce for dipping
Spread dough onto counter and slice into strips. Alternate dough-meatball, ending with dough. Make sure to spread dough and meatballs away from each other by about 1/4", so the meatballs bake through and the dough has room to expand.
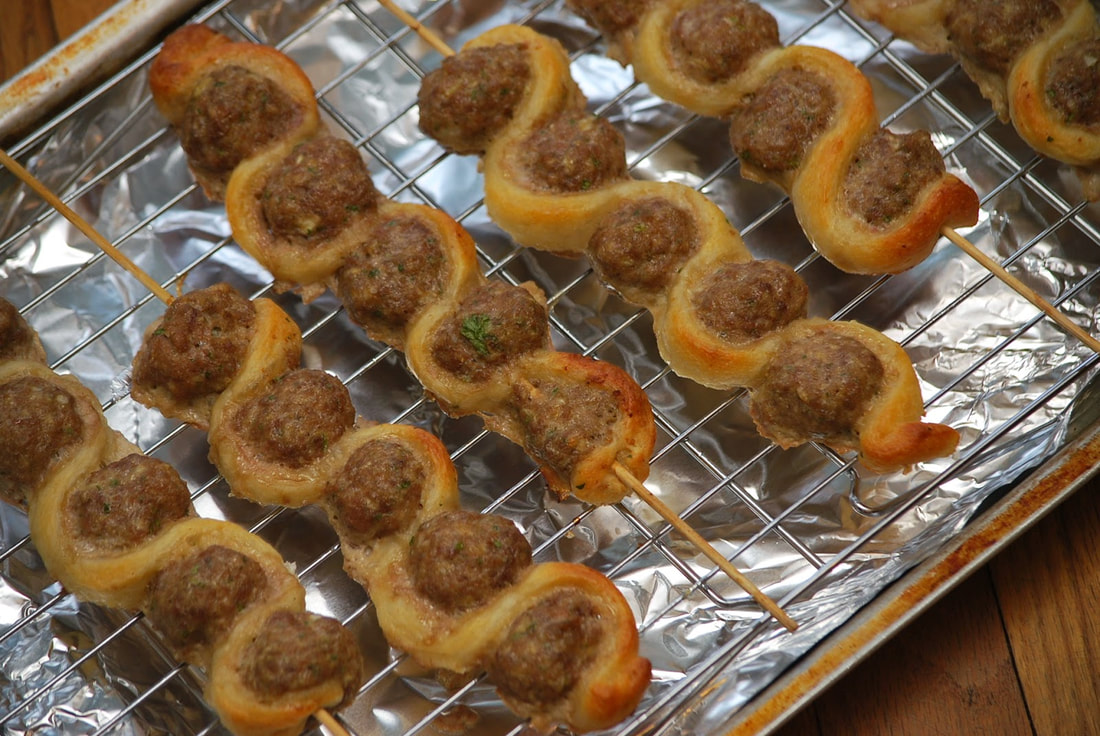
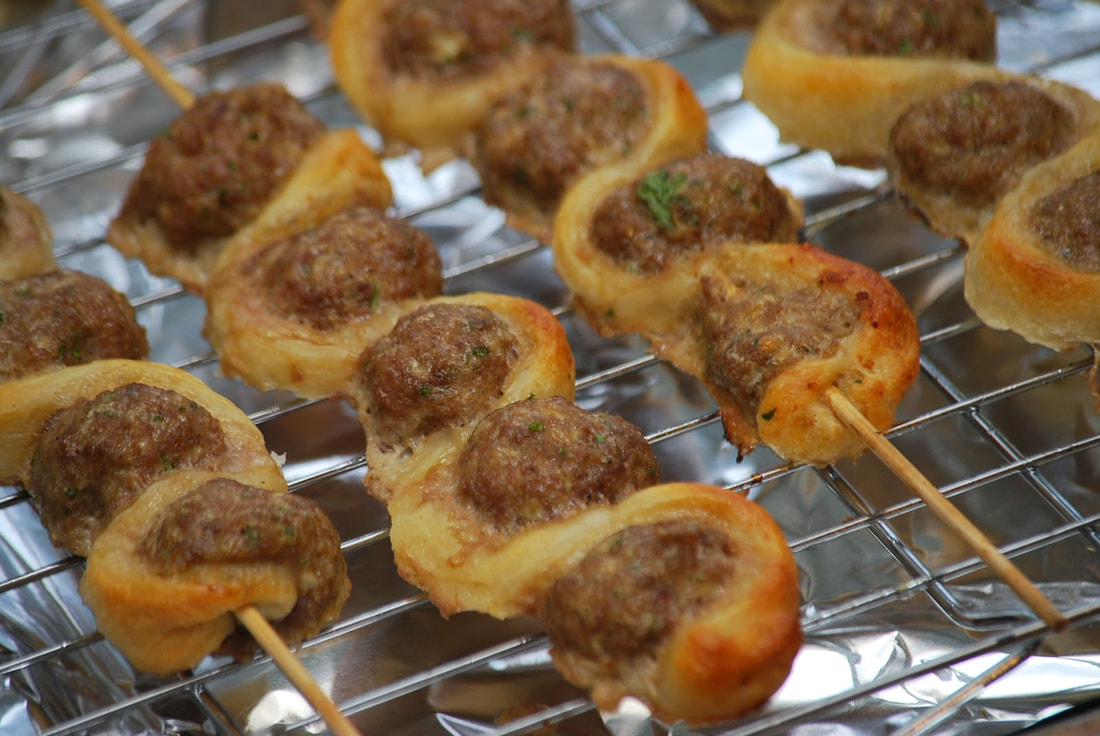
Bake for 20 minutes until the meatballs are cooked through. (I had better luck putting my skewers on a rack set over a baking sheet.)
Serve immediately with warm marinara sauce for sipping. 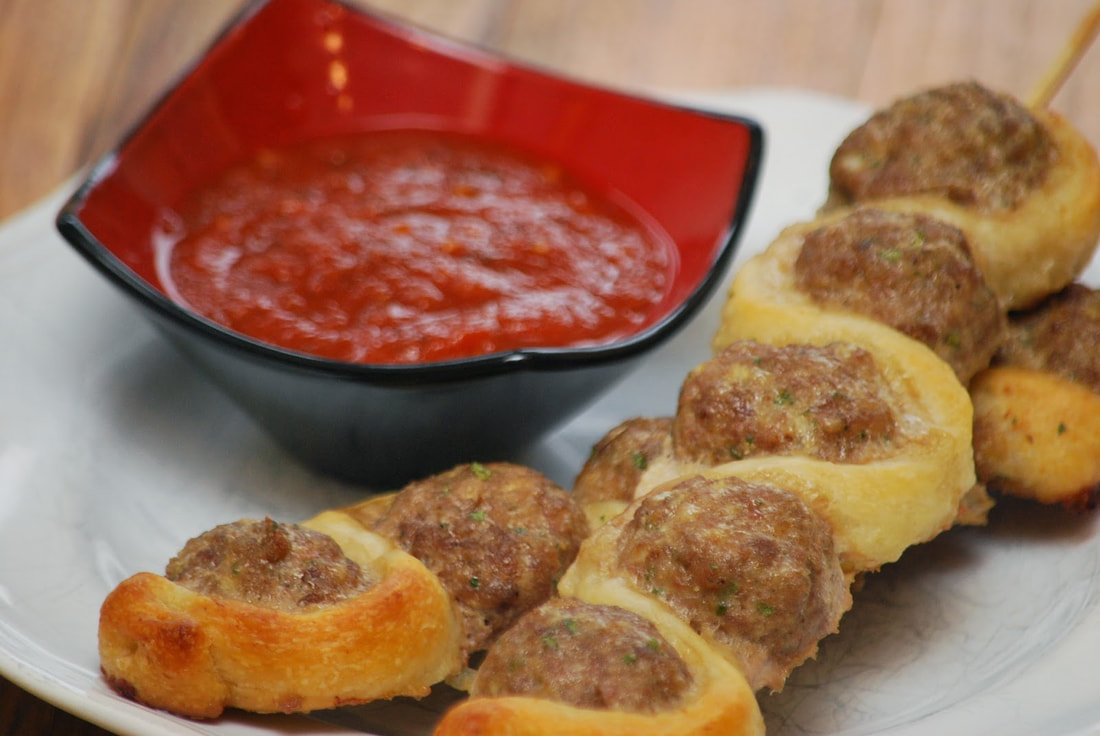 These meatball subs on a stick are perfect awesome. They are super easy - especially when you have your own meatball maker on hand - like Courtney.
Ciao! 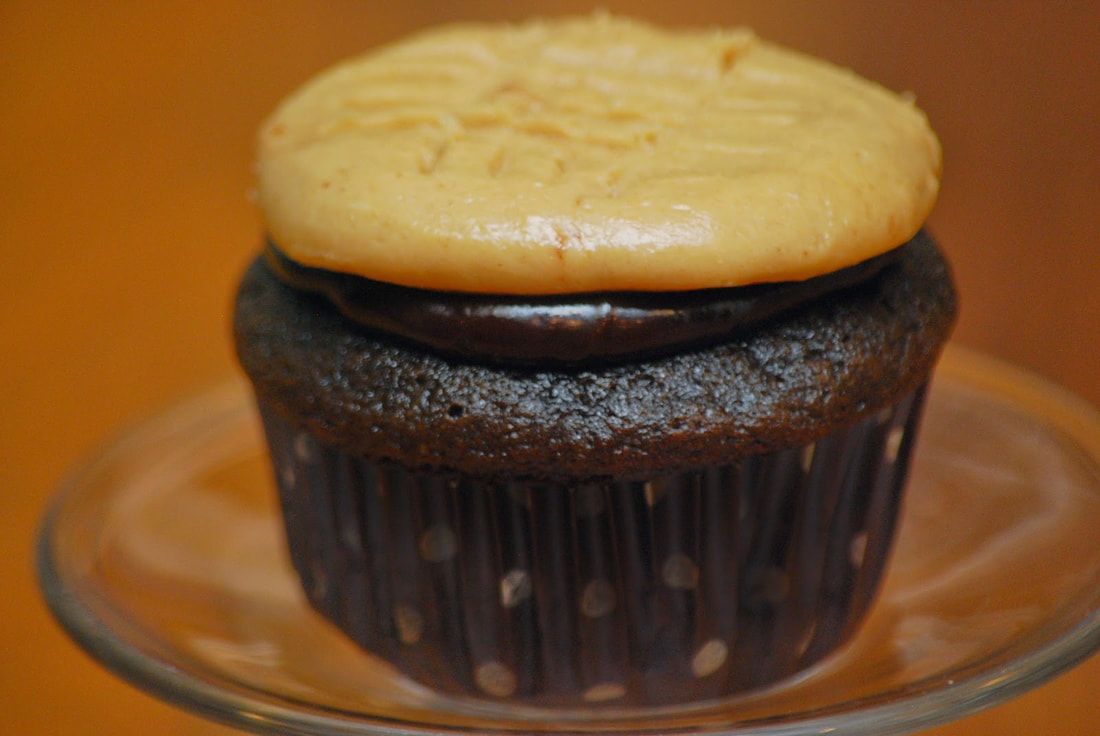
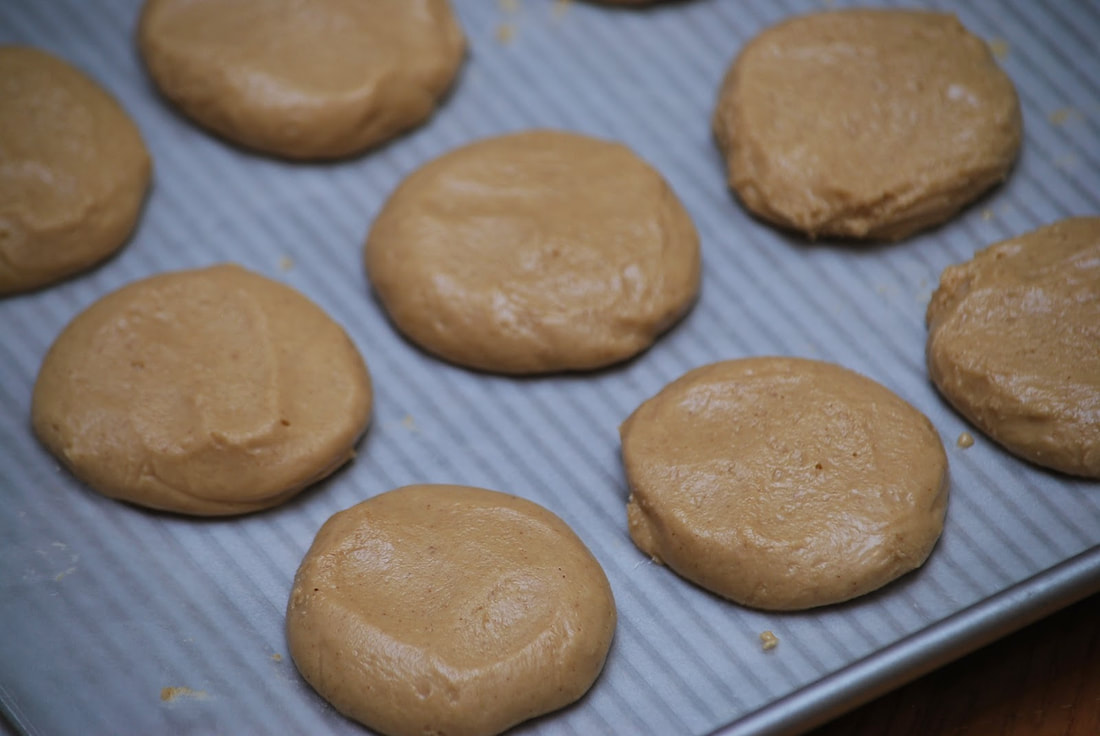
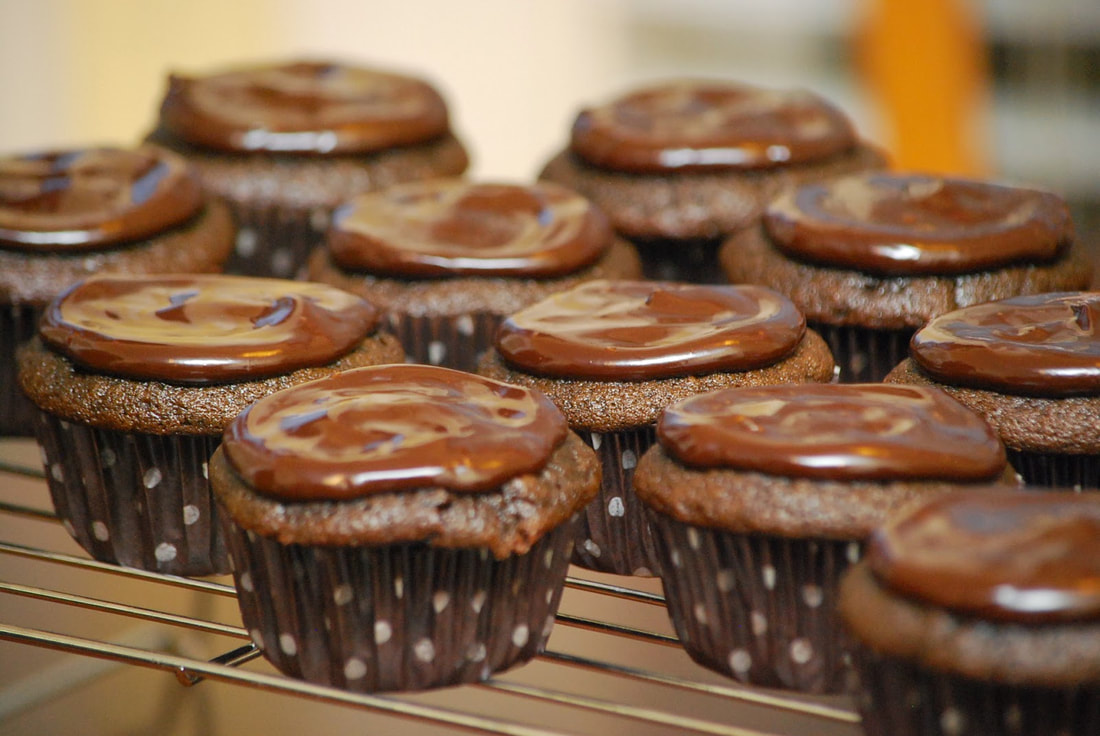
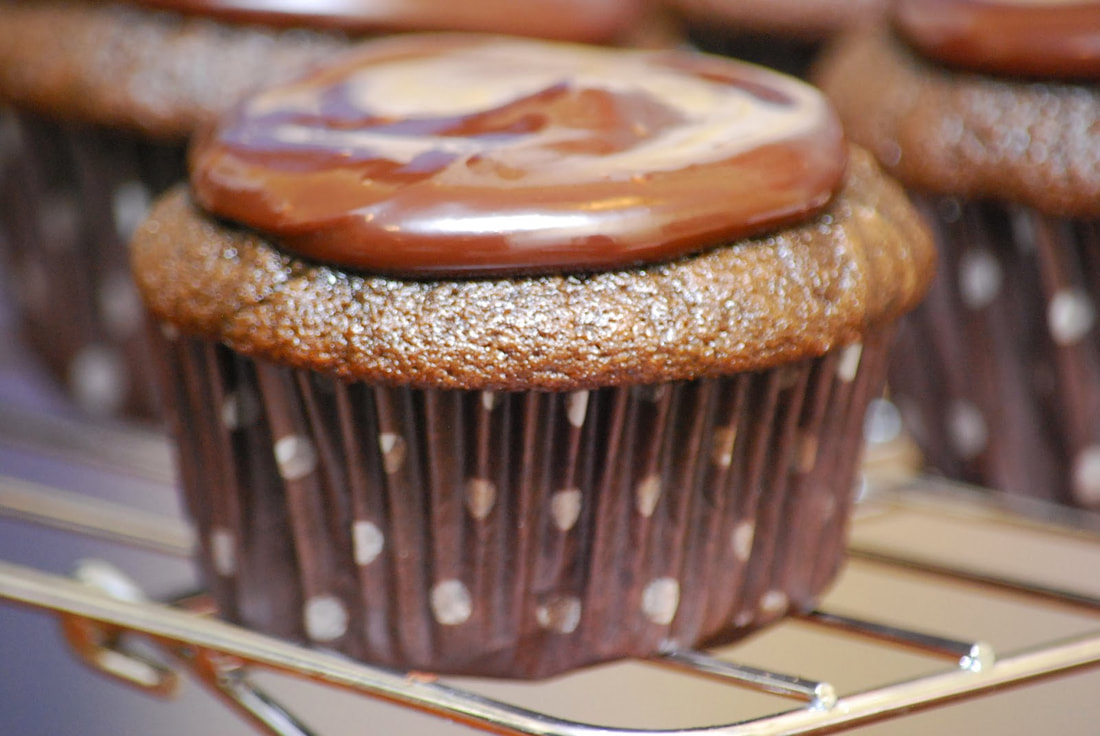
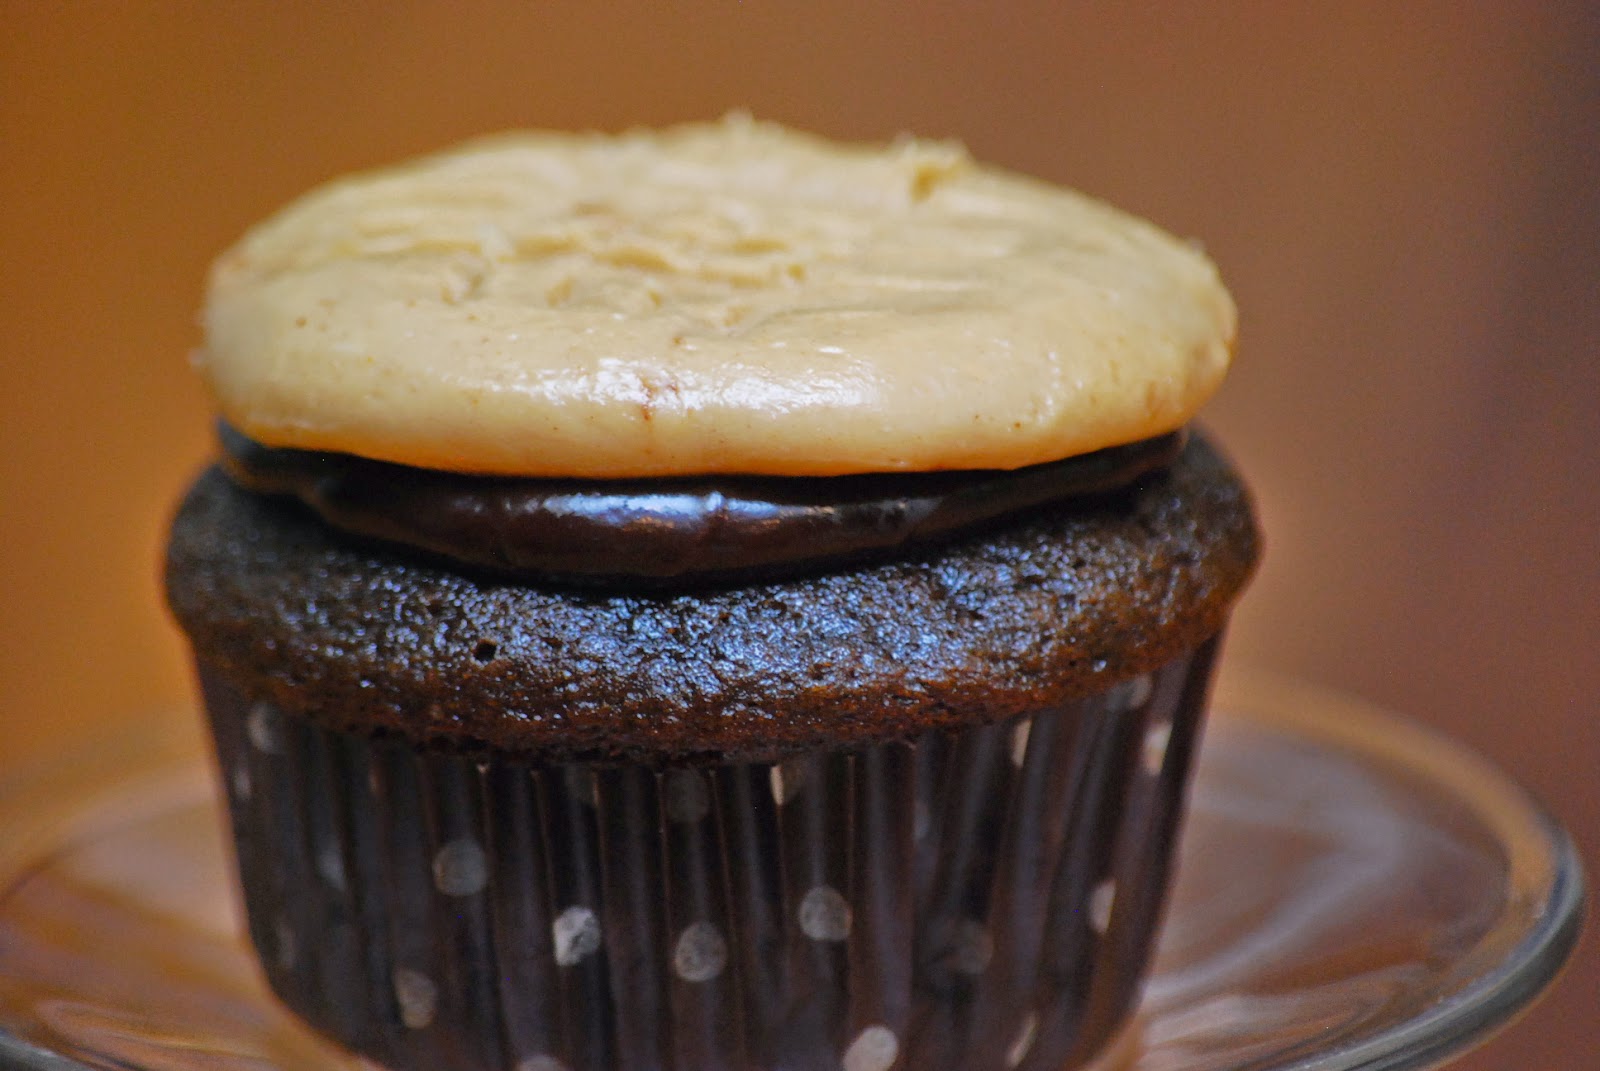
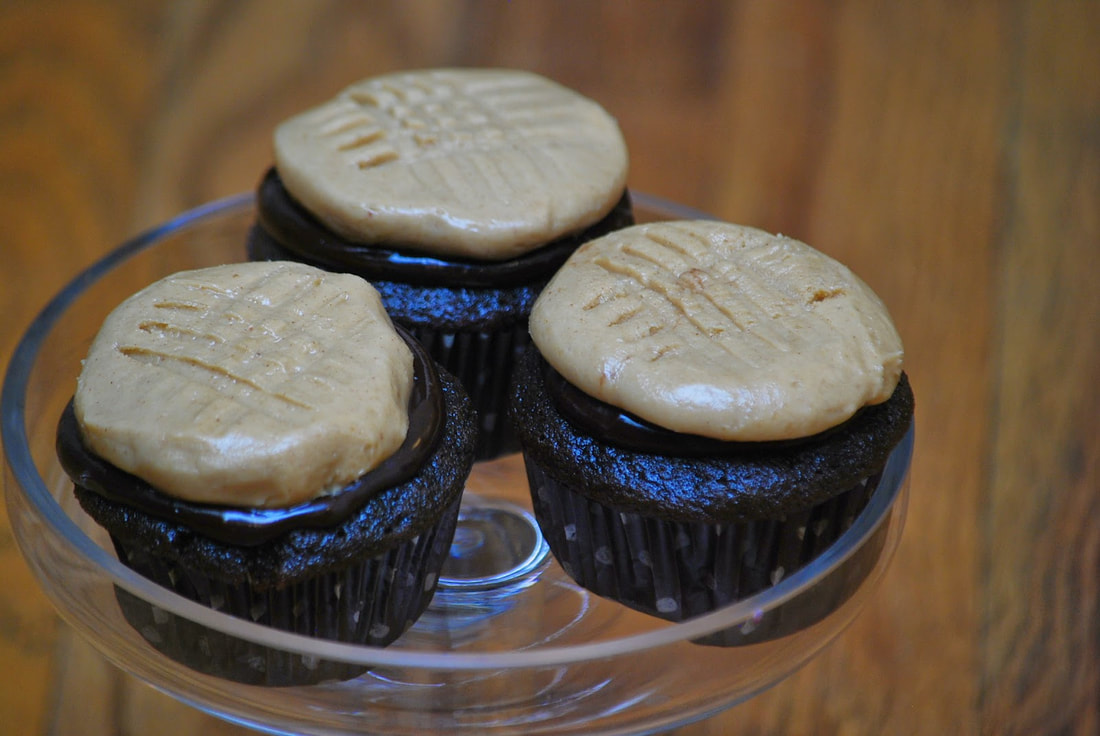
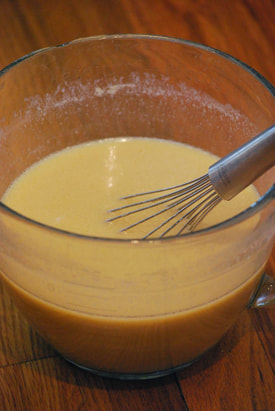
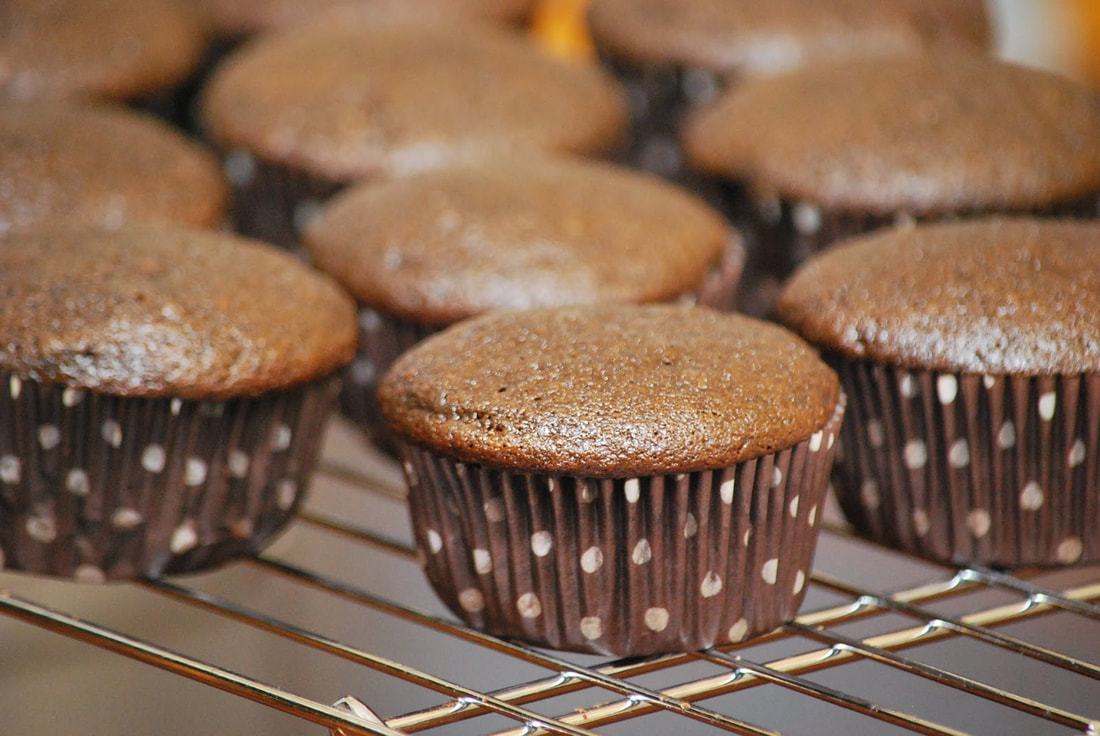
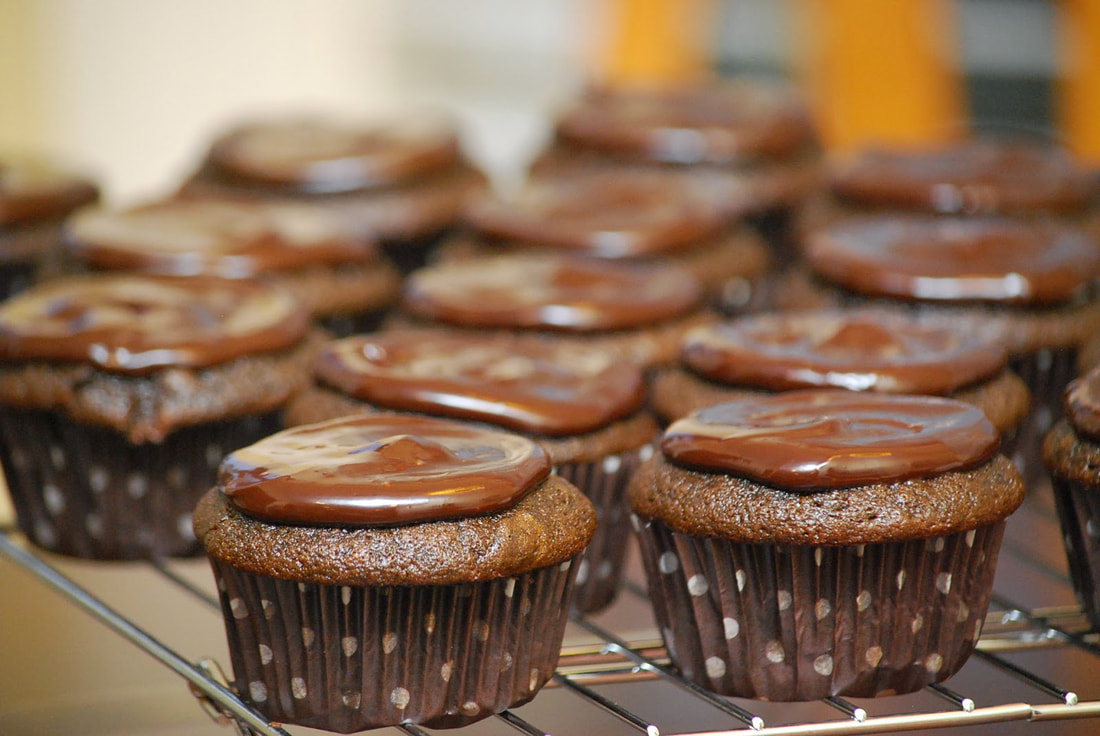
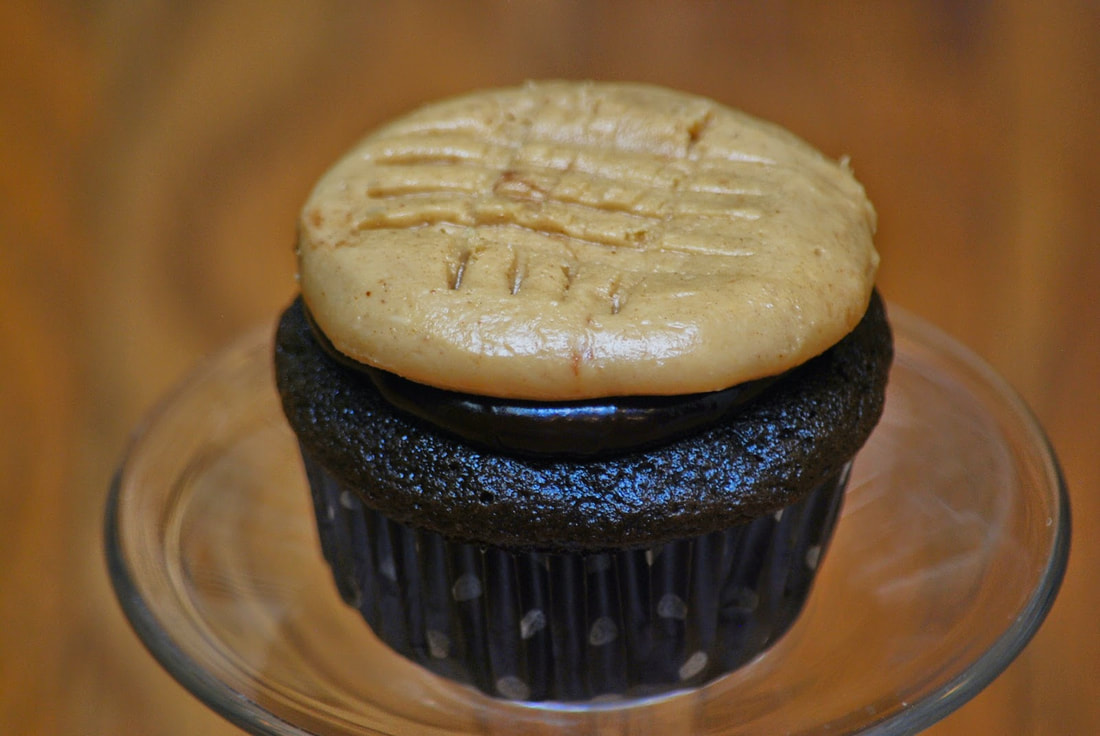
We should have at least one rainy day a week because it forces me to stay inside and that usually translates to cleaning. Rainy days = clean house! Some days, the rains has a reverse effect though, it simply makes we want to curl up with a good book, a cup of coffee and some chocolate. (Not a bad way to spend a rainy day either.) The next time that you're having a rainy day - and you don't feel like cleaning your house - whip up a batch of chocolate cupcakes with peanut butter cookie frosting from Annieeats.com. Brew yourself a pot of coffee and find a good reading spot. (You may even find yourself wishing for more rainy days.) 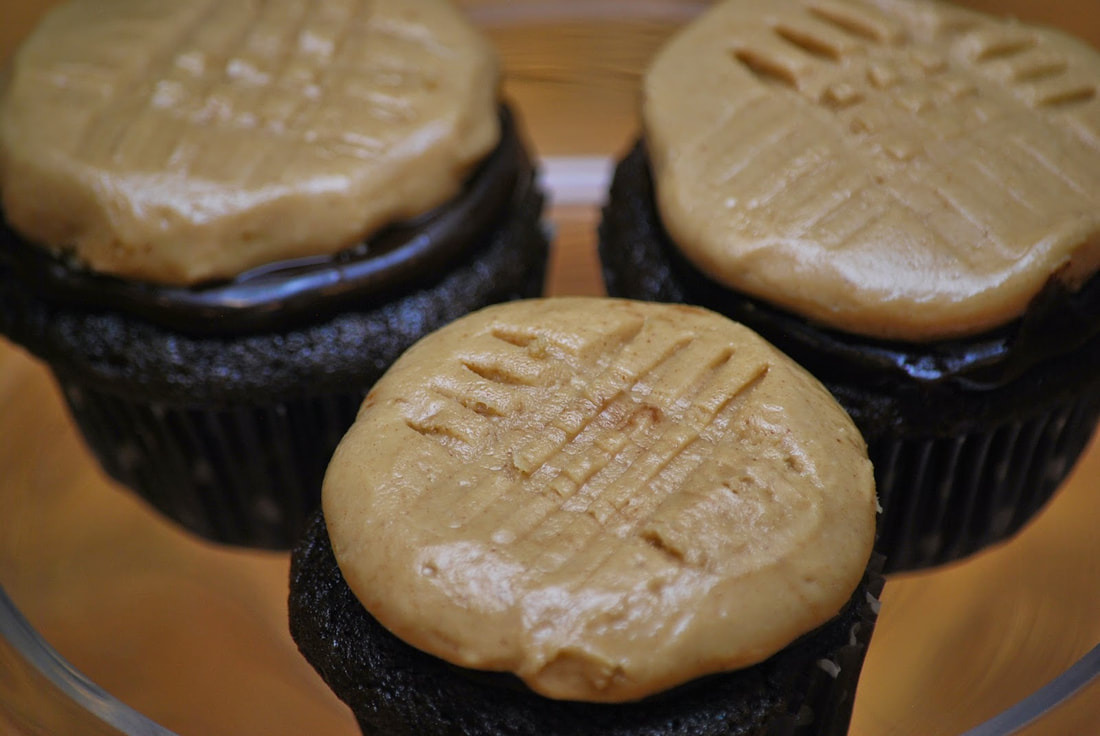 Chocolate Cupcakes with Peanut Butter "Cookie" Frosting For the cupcakes: 1½ cups hot brewed coffee ¾ cup unsweetened cocoa powder 2¼ cups all-purpose flour 1½ tsp. baking soda ¾ tsp. baking powder ½ tsp. salt 12 tbsp. (1½ sticks) unsalted butter, at room temperature 1½ cup packed brown sugar ¾ cup granulated sugar 3 large eggs 1 tbsp. vanilla extract For the ganache: 6 oz. bittersweet chocolate, finely chopped ½ cup heavy cream For the peanut butter cookie frosting: 9 tbsp. unsalted butter, at room temperature 1½ cups creamy peanut butter 3 cups confectioners’ sugar
Bake about 20 minutes or until a toothpick inserted in the center comes out clean. Let cool in the pans briefly, then transfer to a wire rack to cool completely.
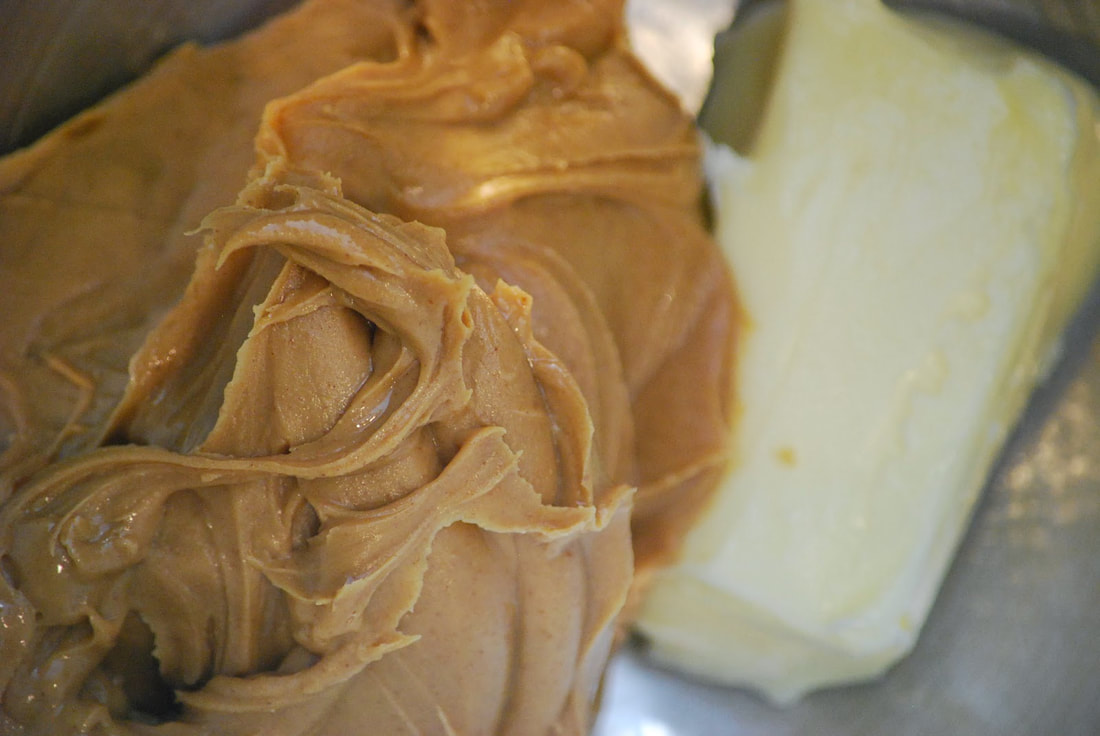
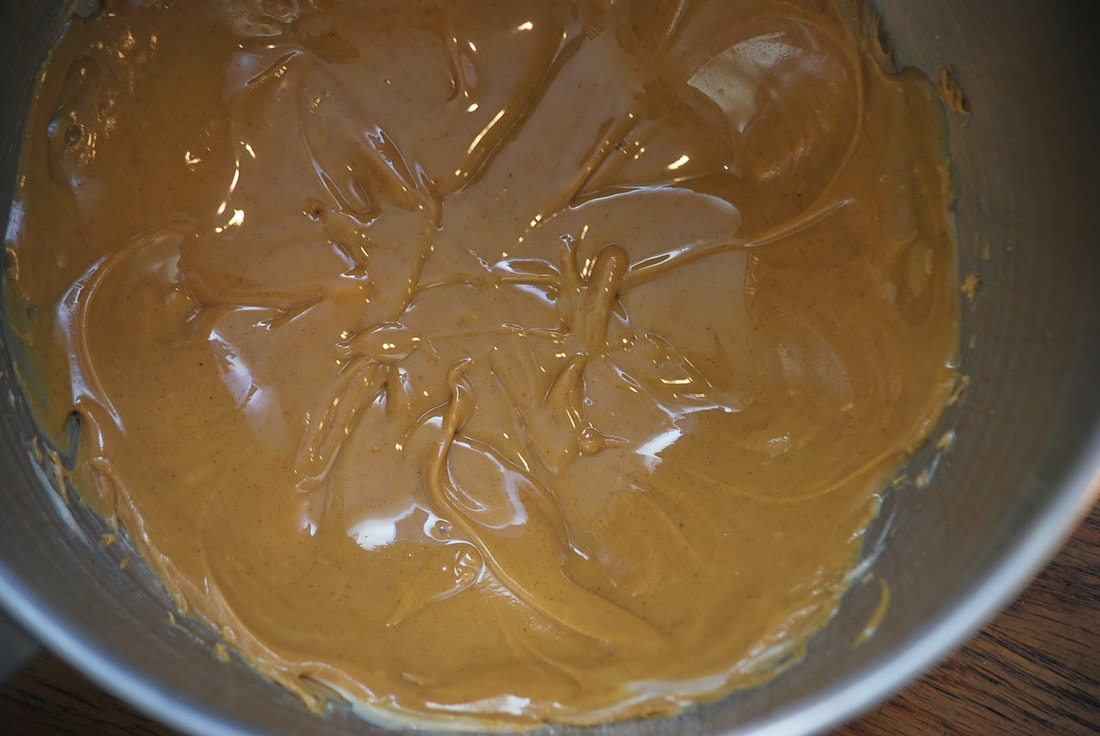
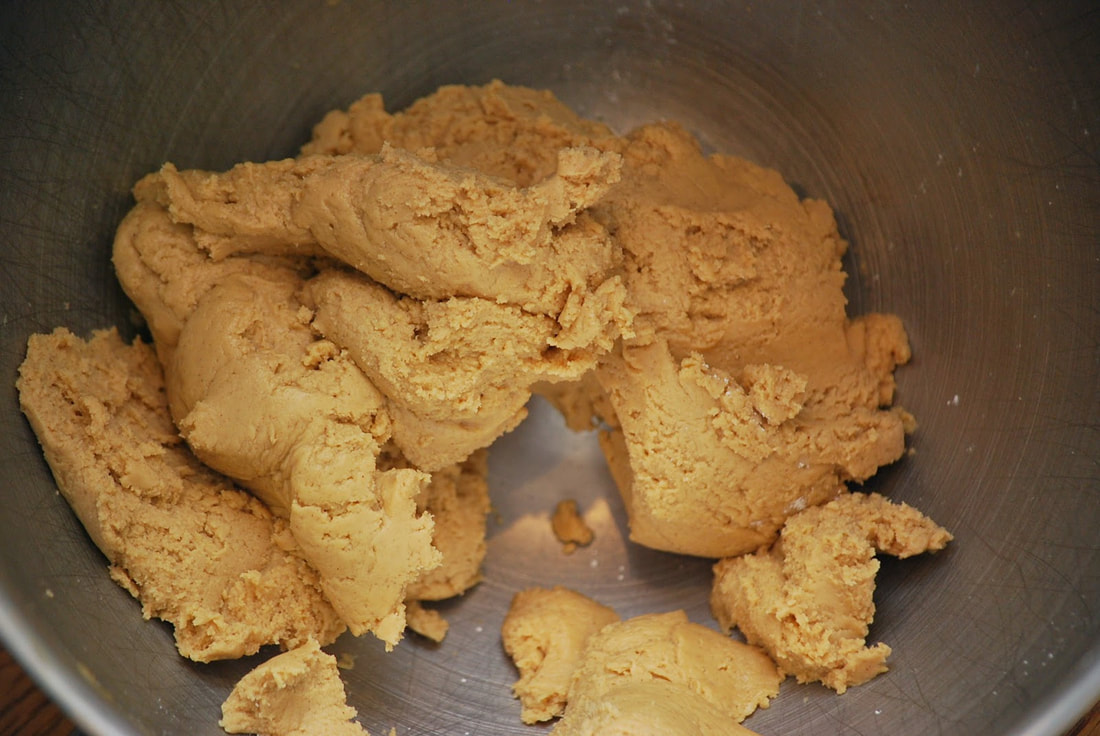
To make the peanut butter cookie frosting, combine the peanut butter and butter in the bowl of an electric mixer and beat on medium-high for 1 minute.
Spread 2 teaspoons of ganache on top of each cooled cupcake.
 Top each with a "cookie" patty.
 Bring on the rain - I've got my chocolate cupcakes ready!
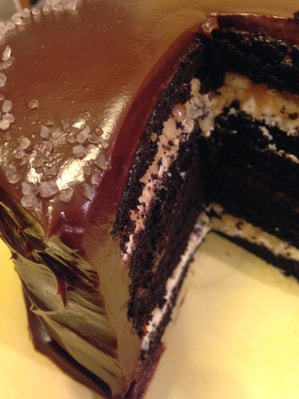
Ciao! 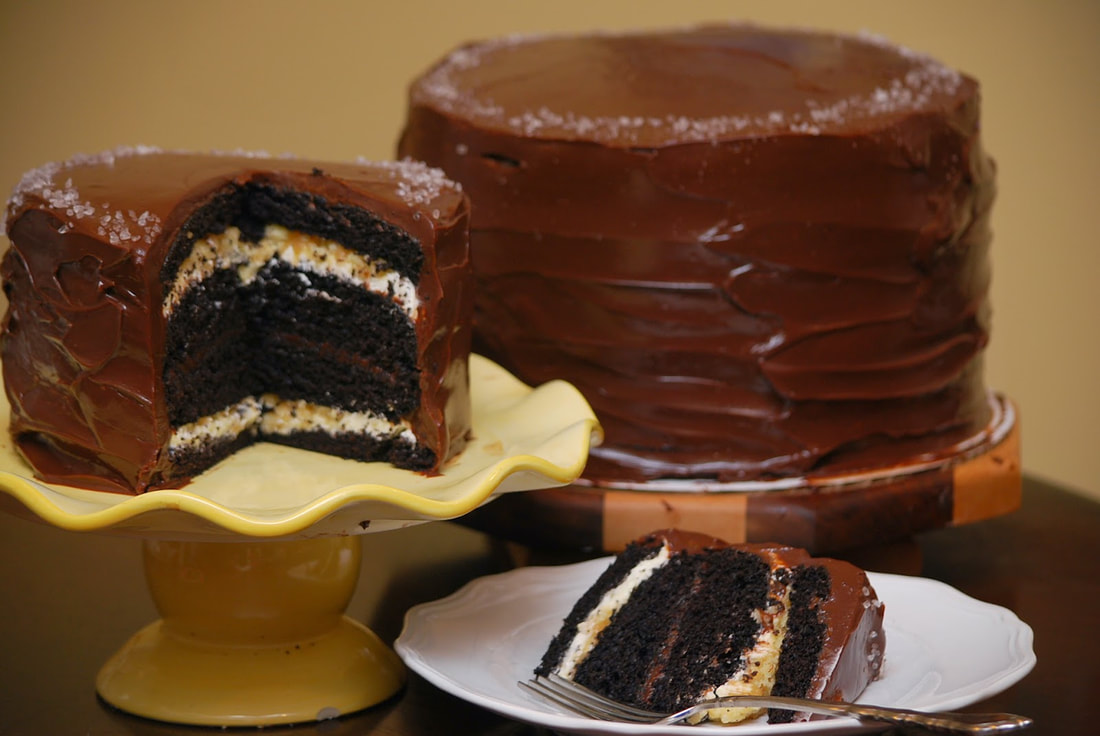 Chocolate cake to the extreme.
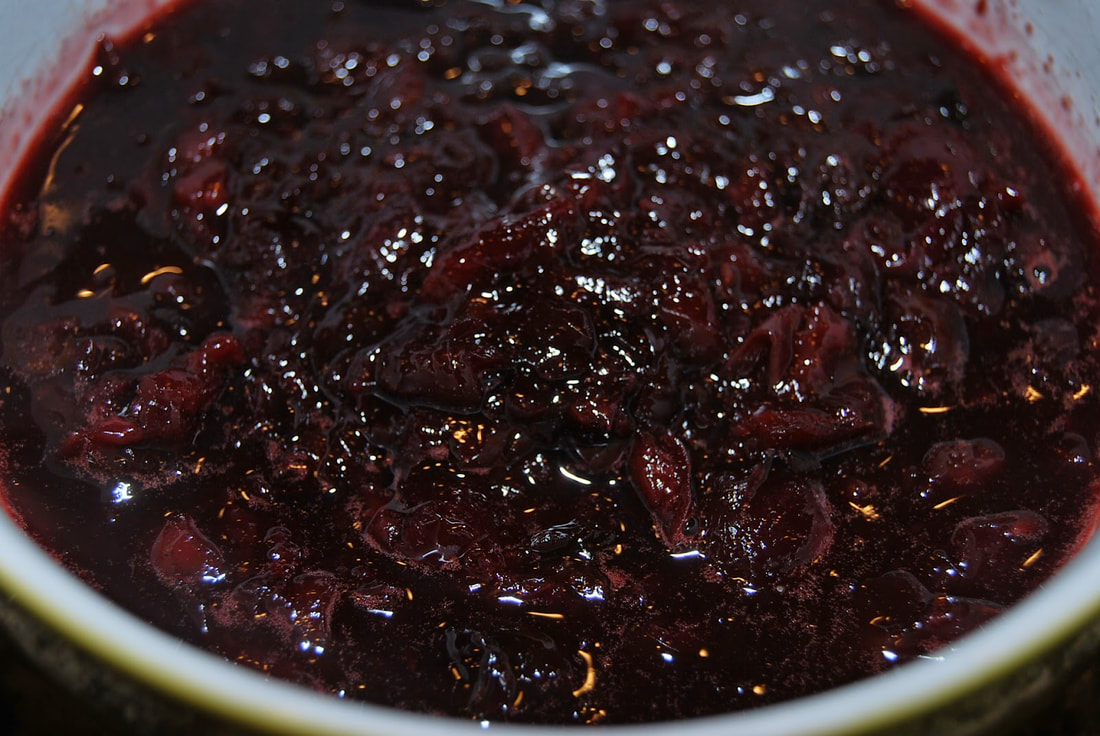
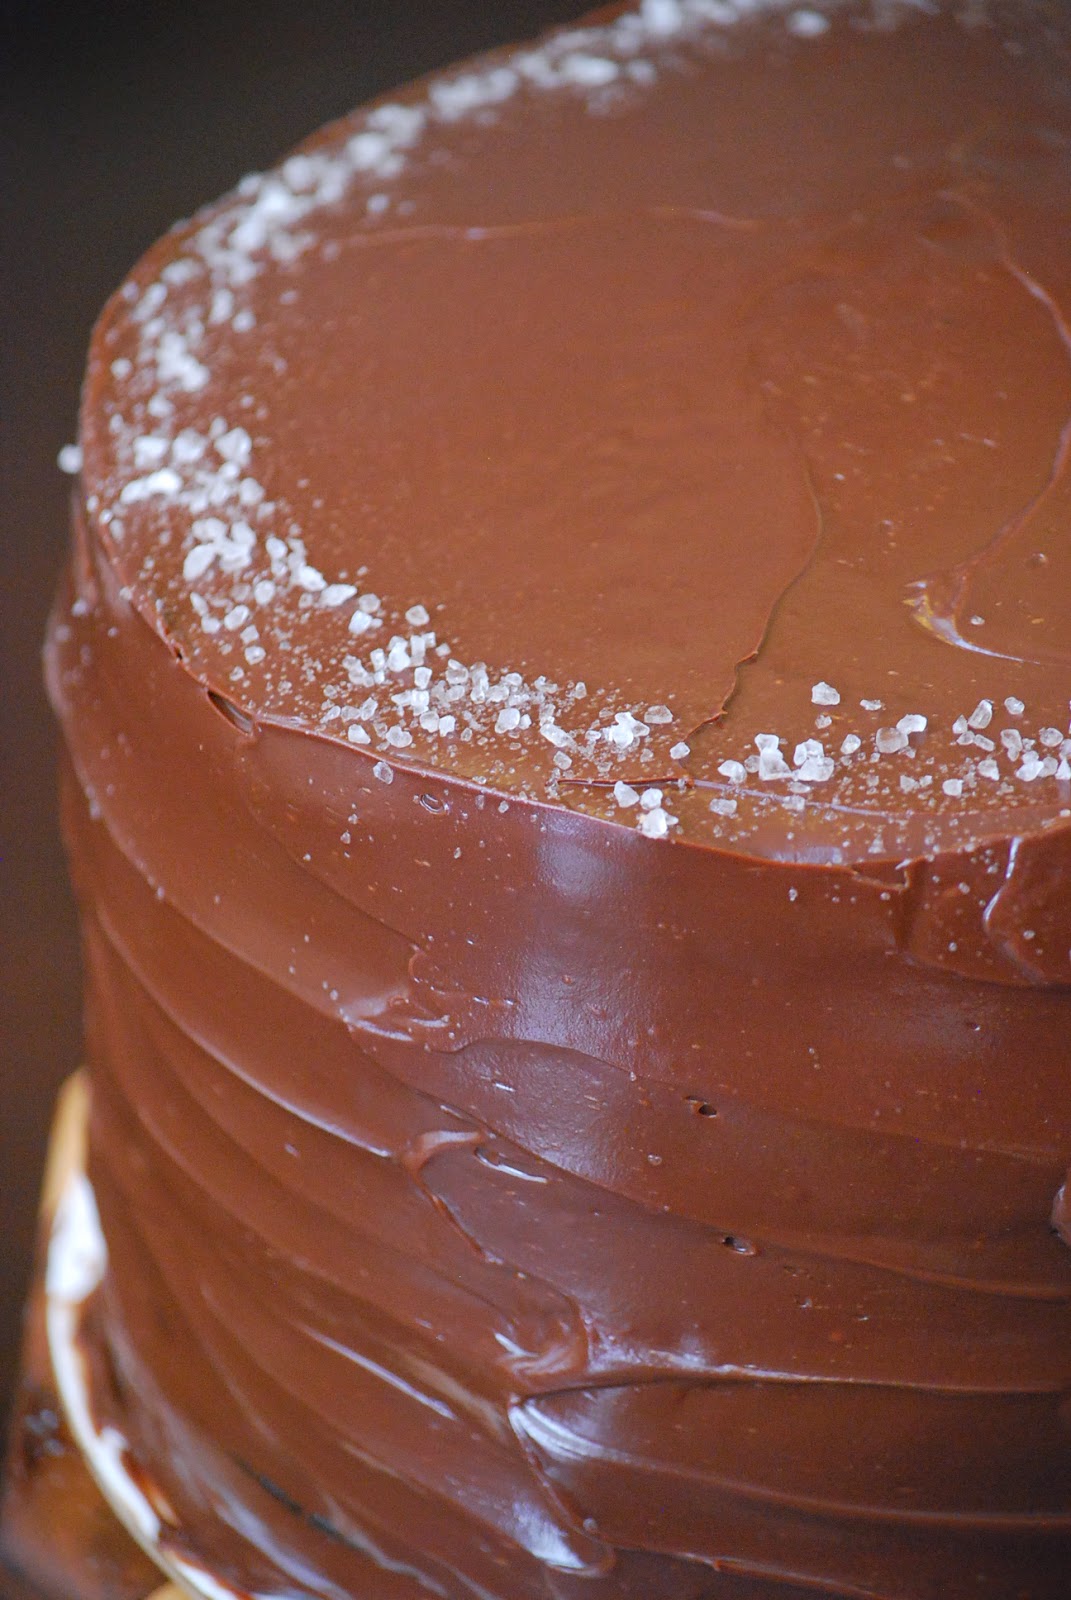
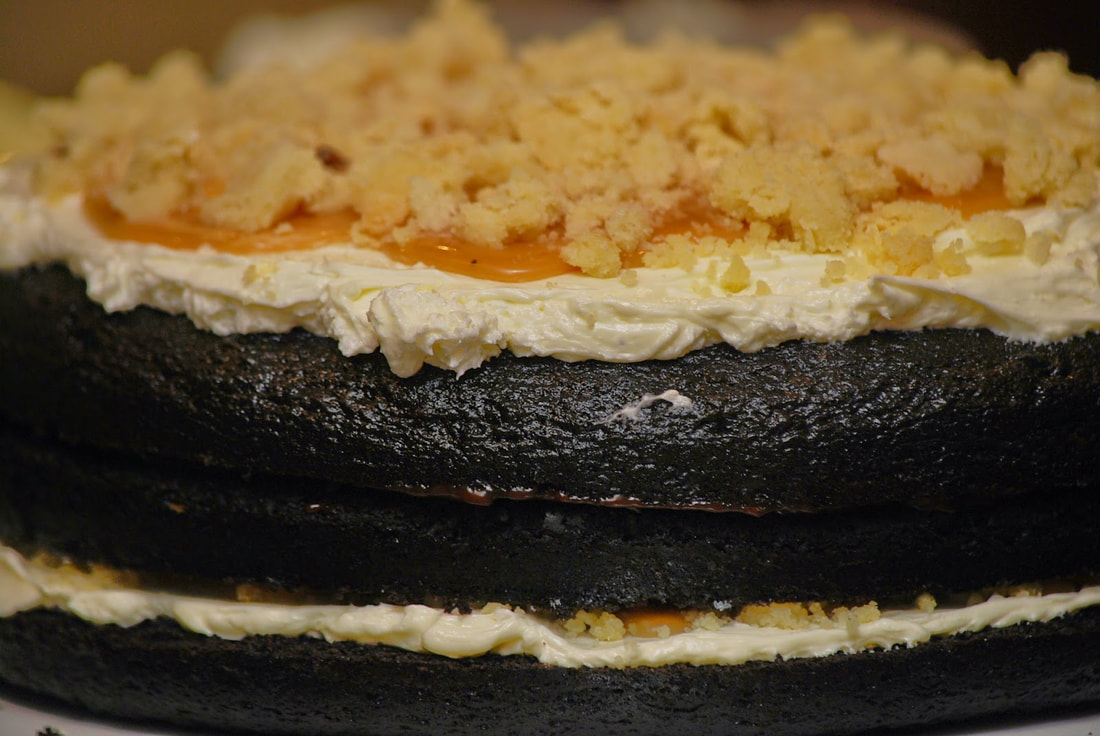
 With a sprinkling of sea salt.  And a layer of homemade salted caramel. 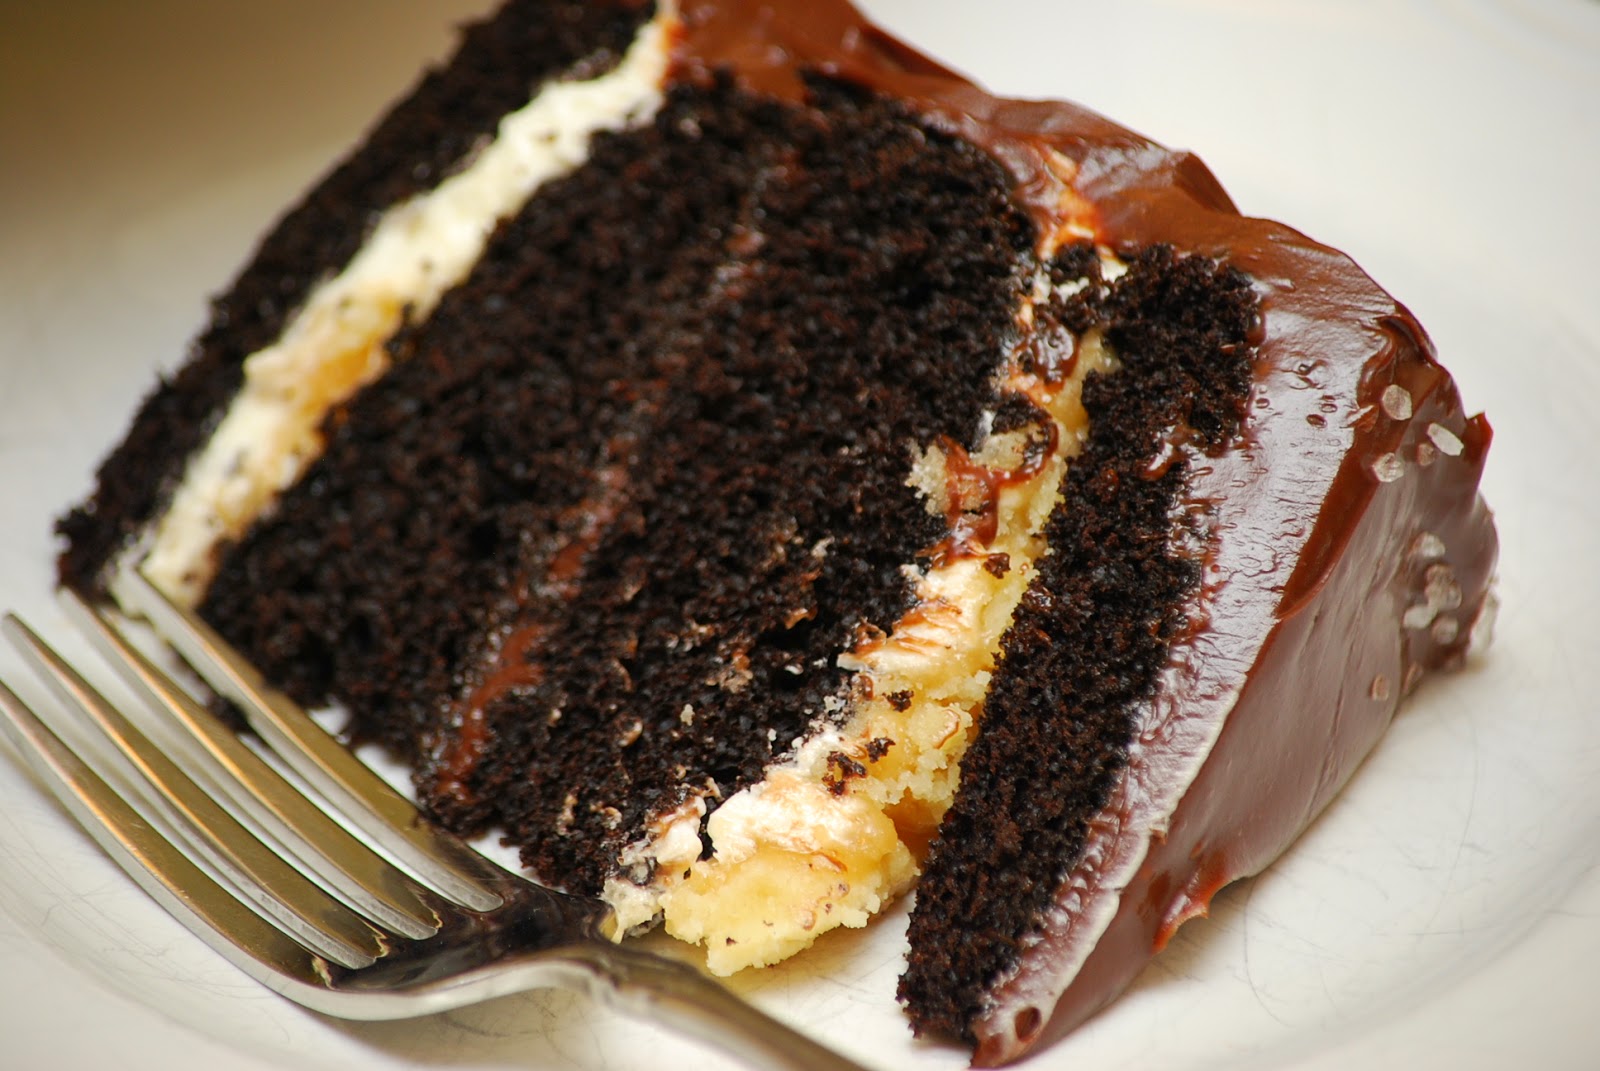 And a sprinkling of shortbread crumbles. 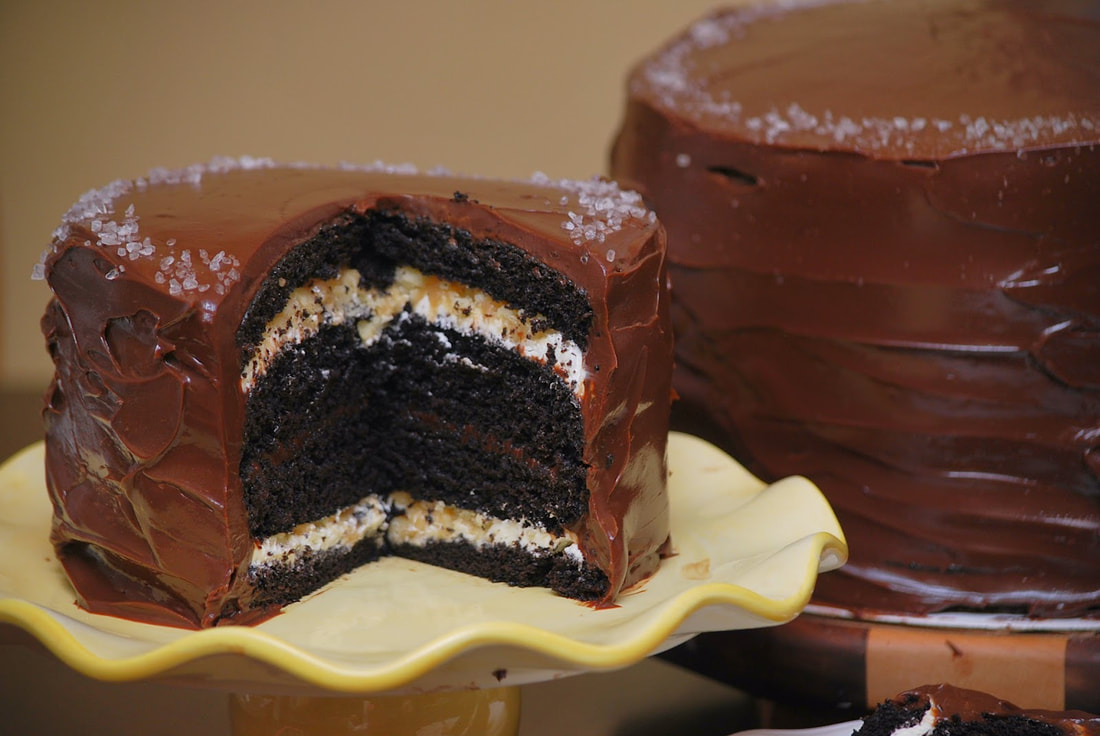
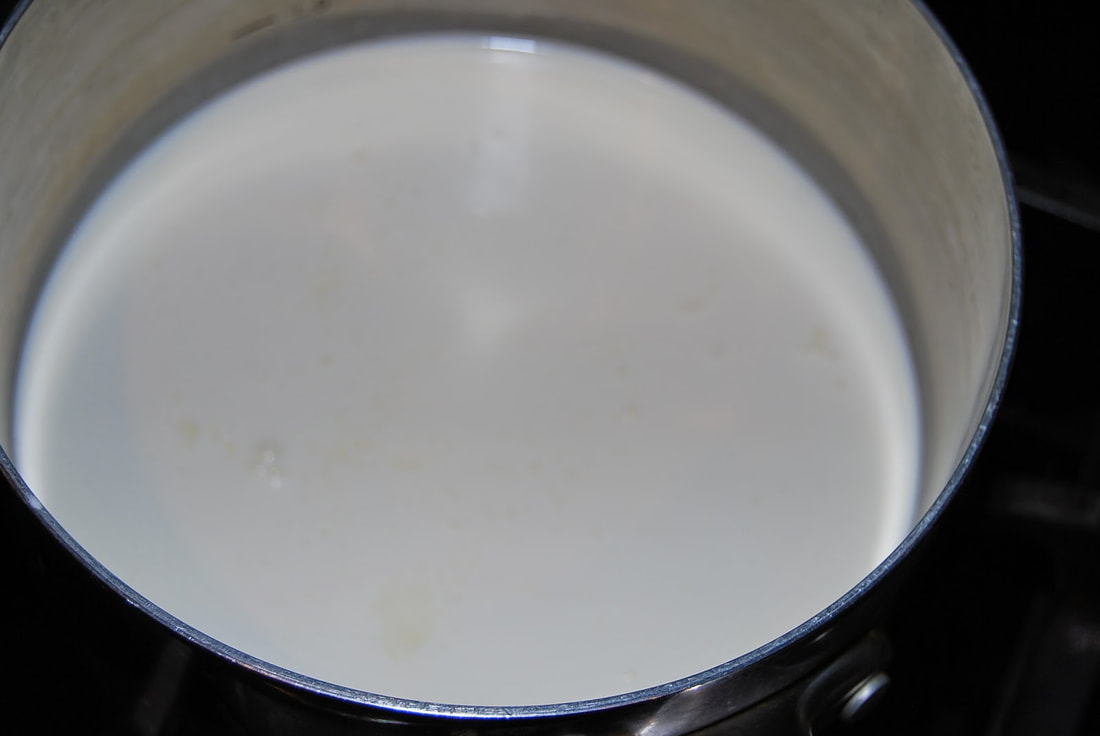
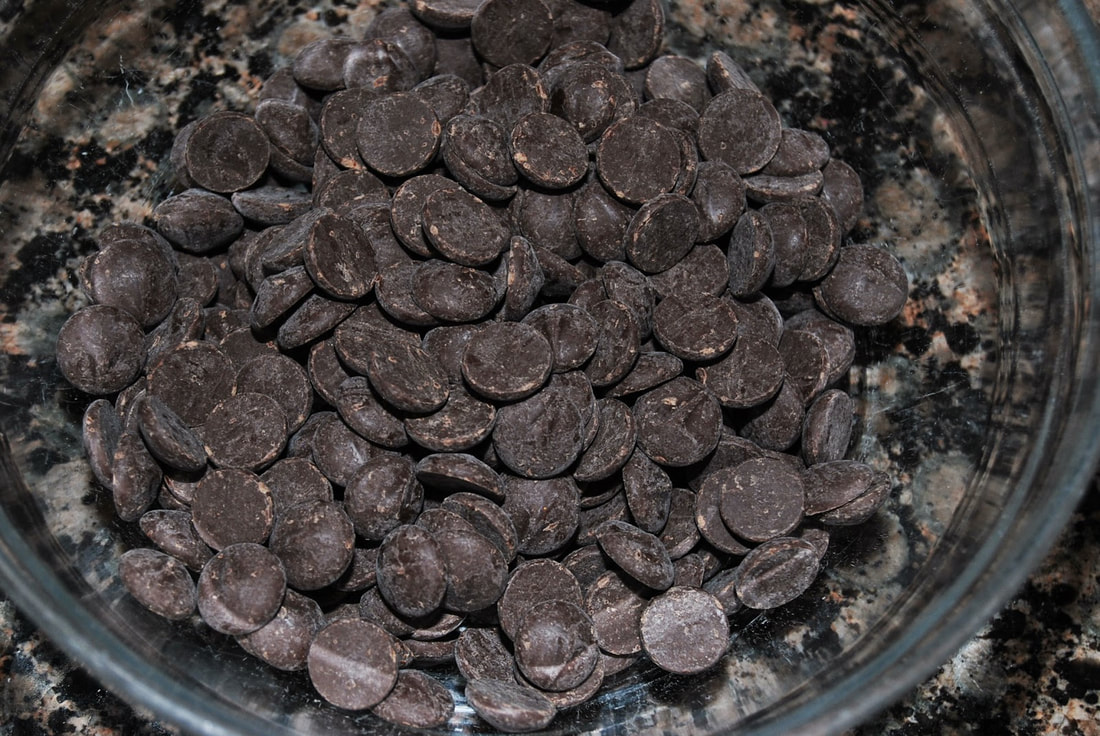
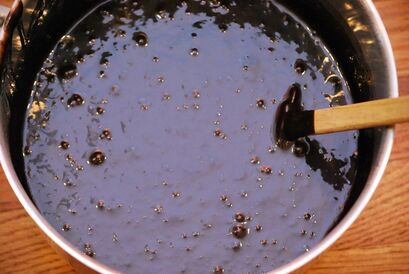
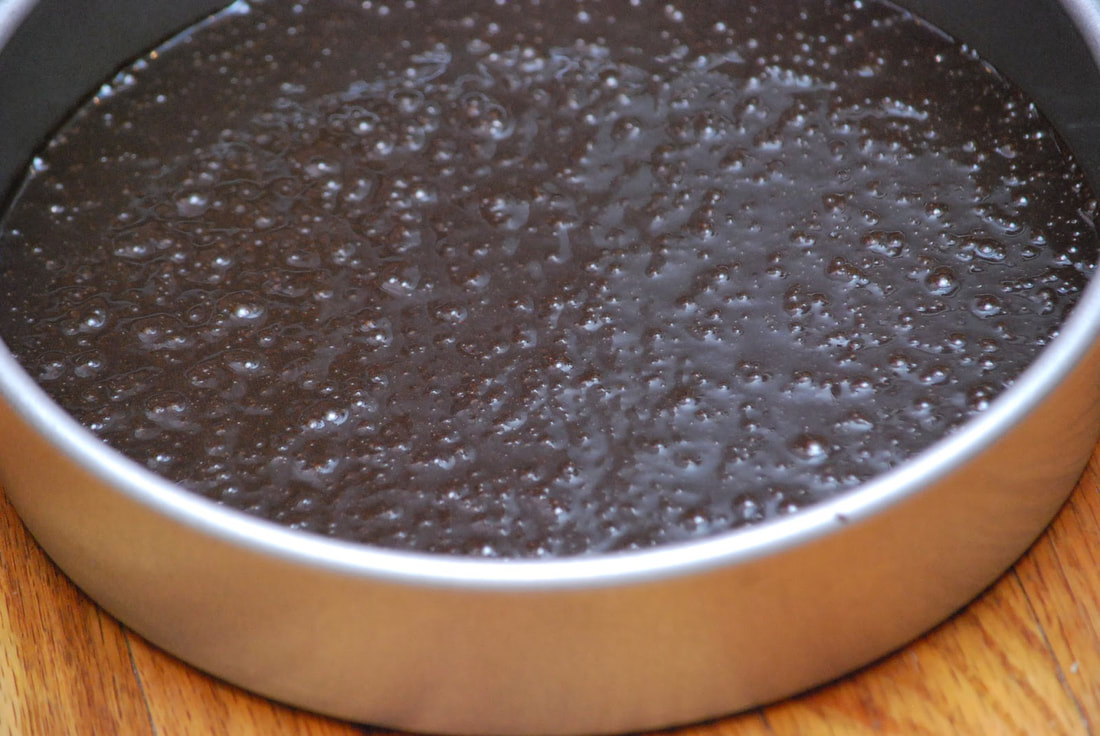
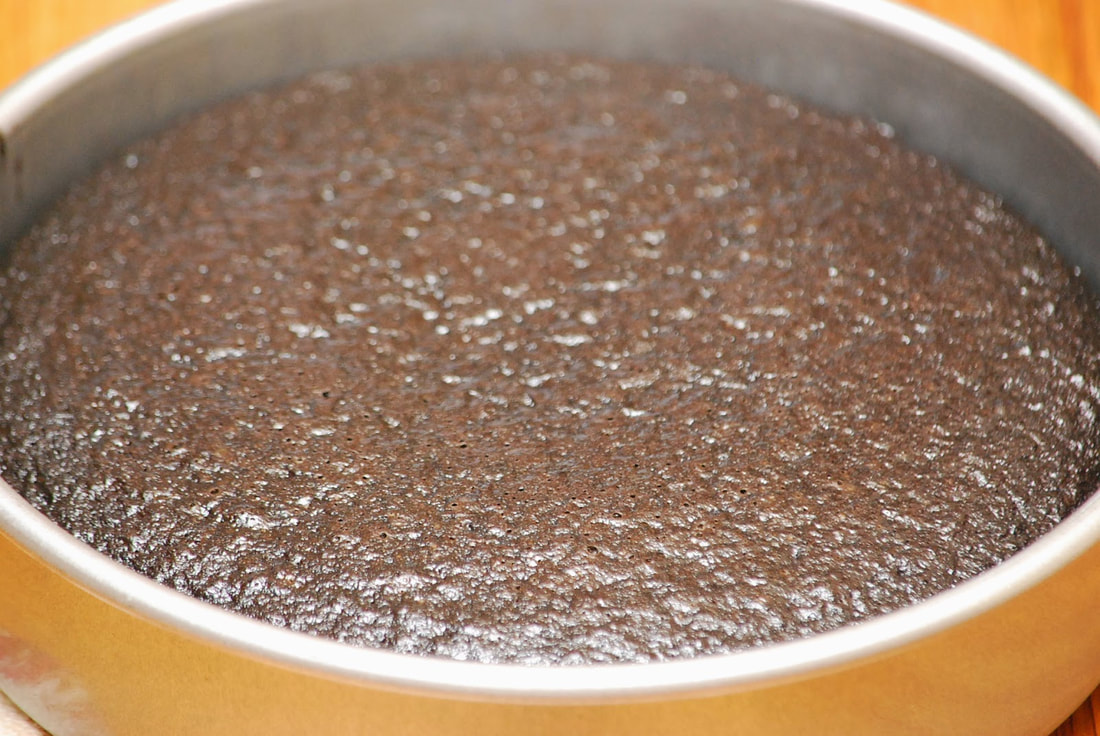
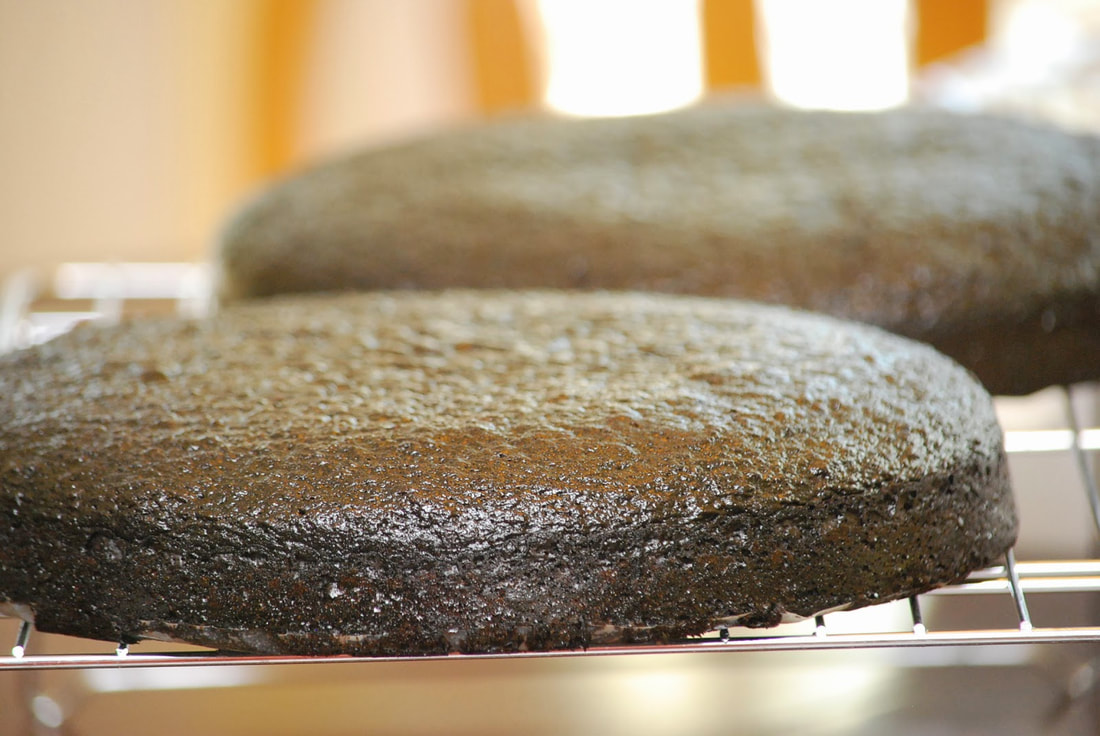
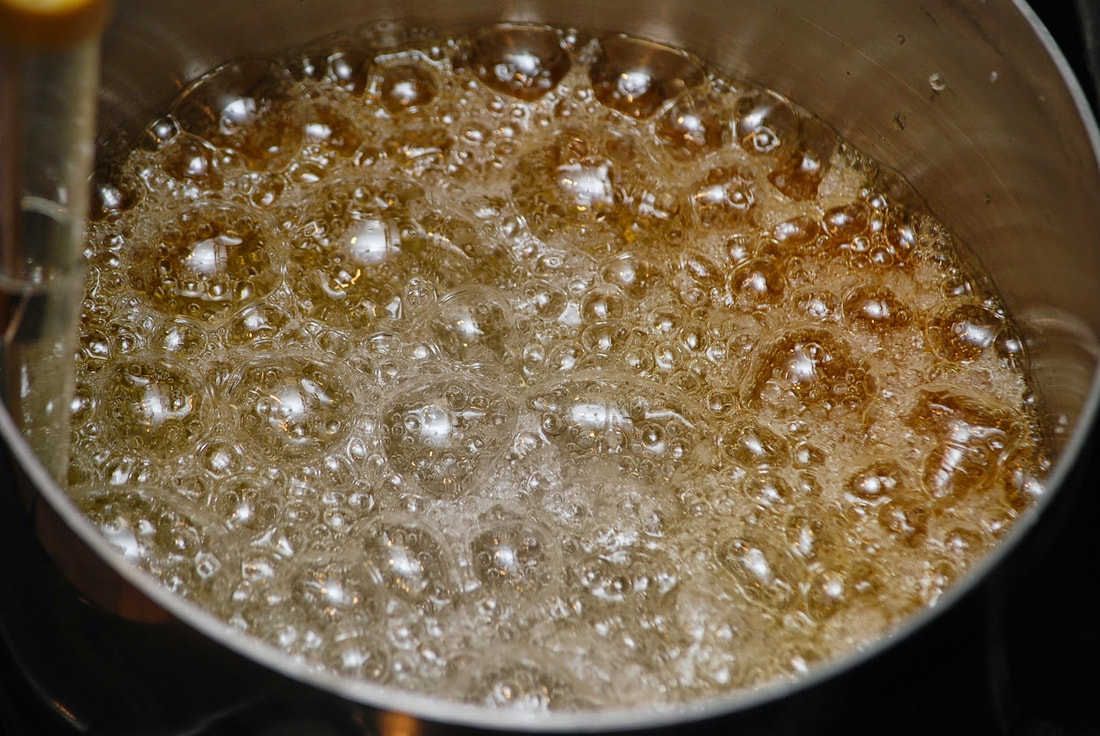
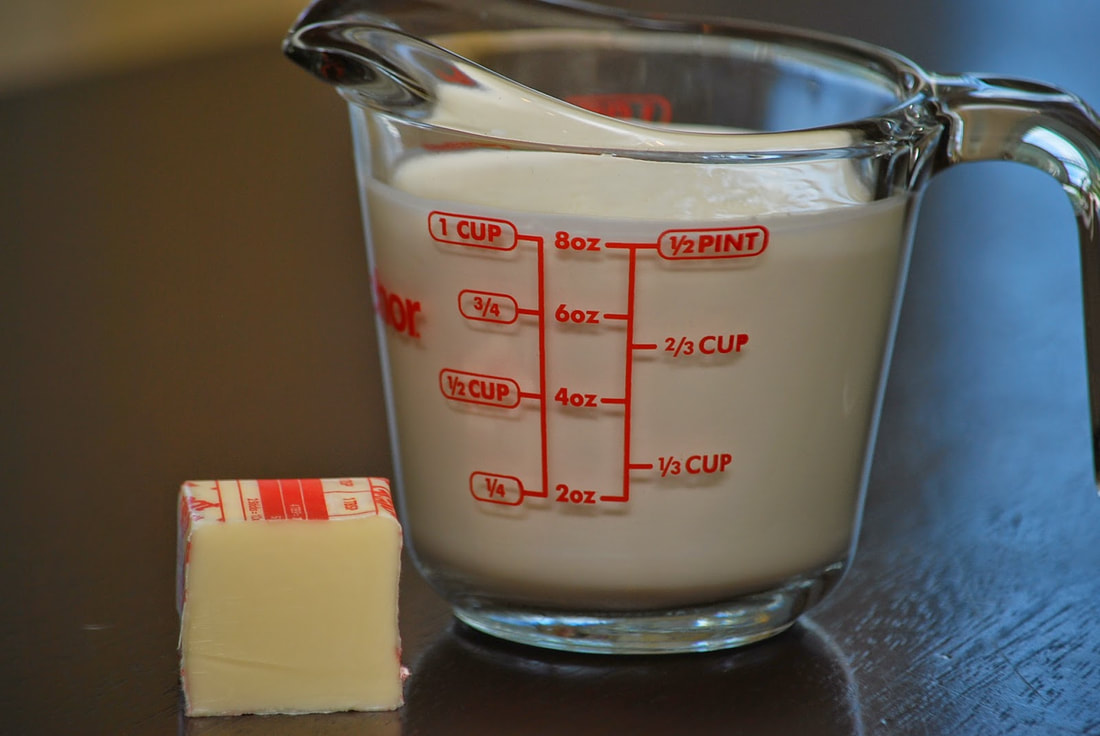
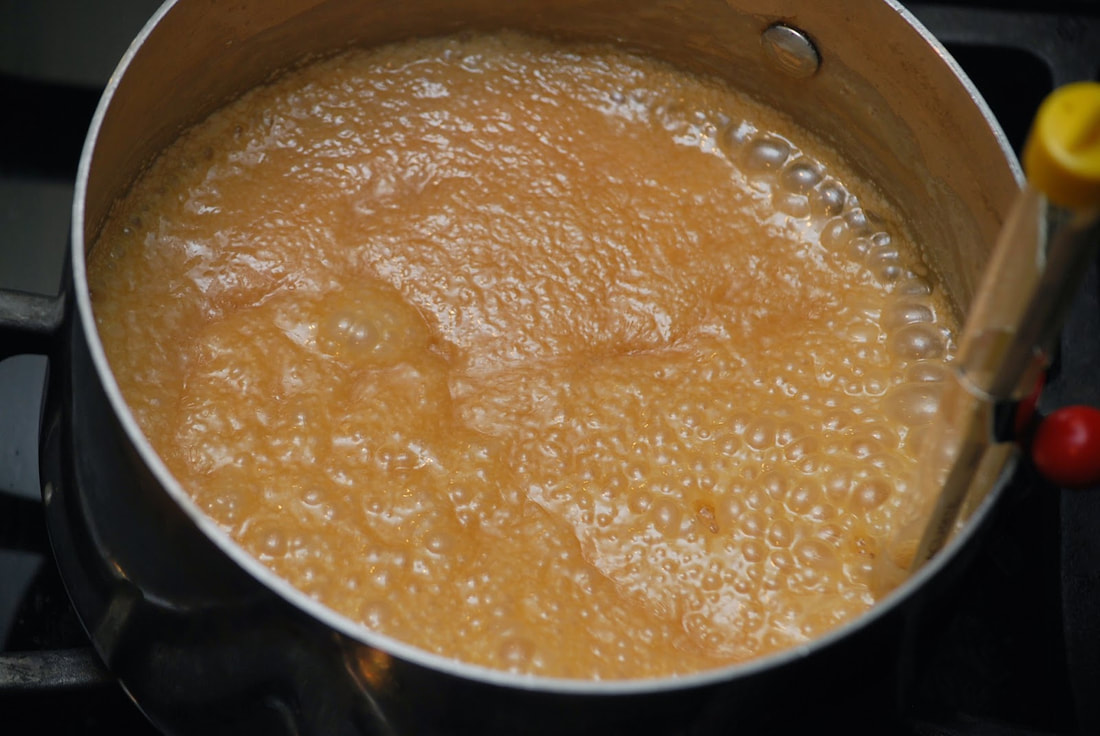
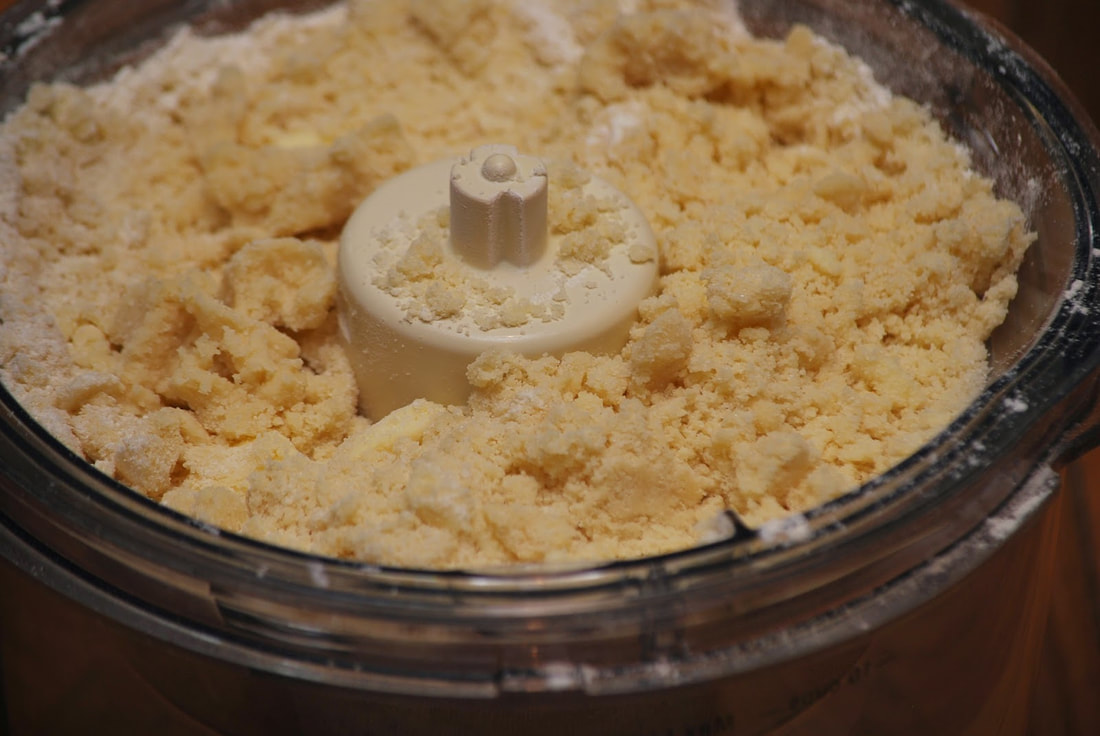
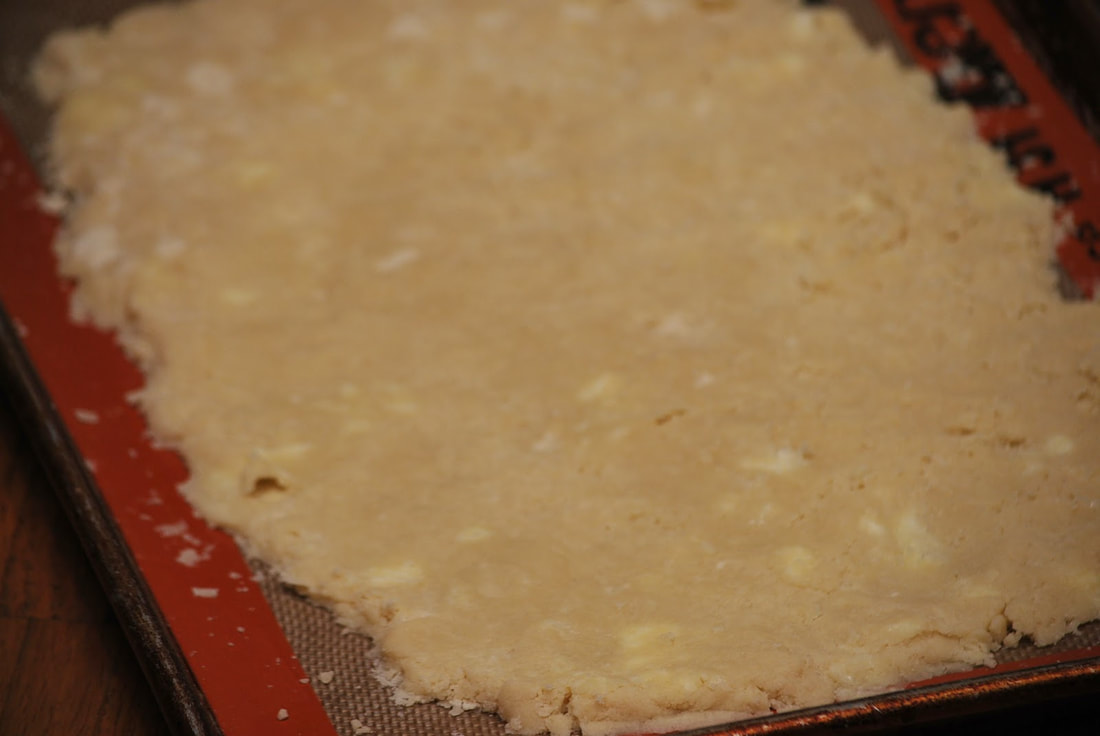
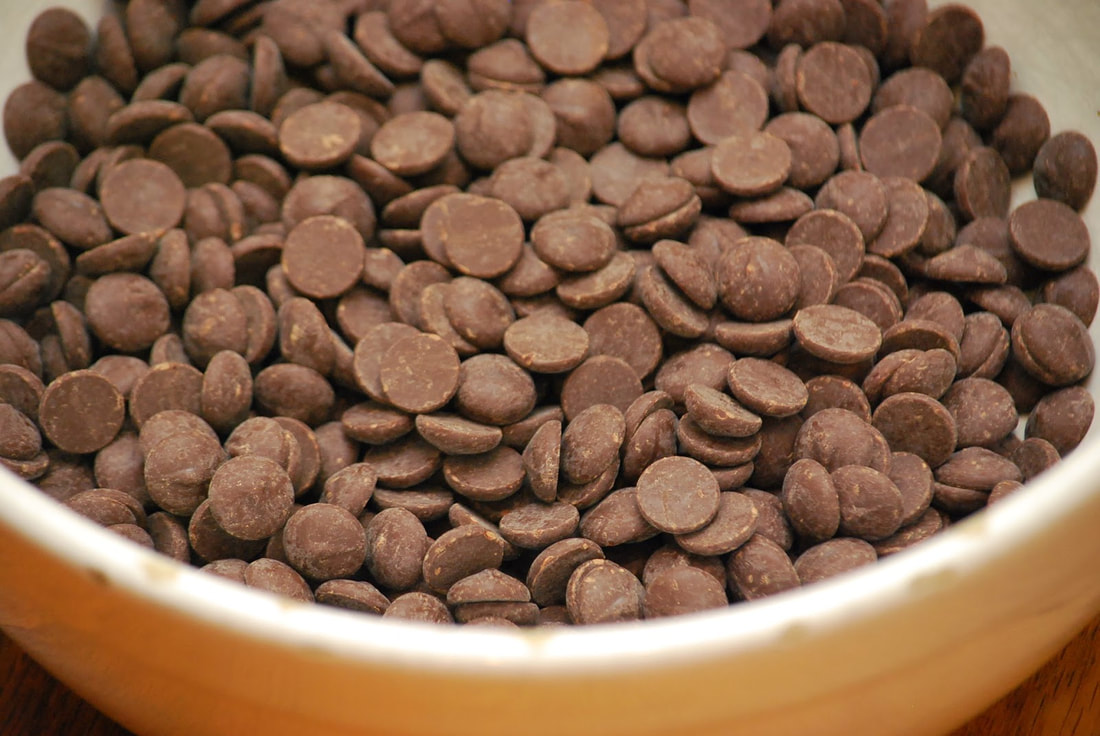
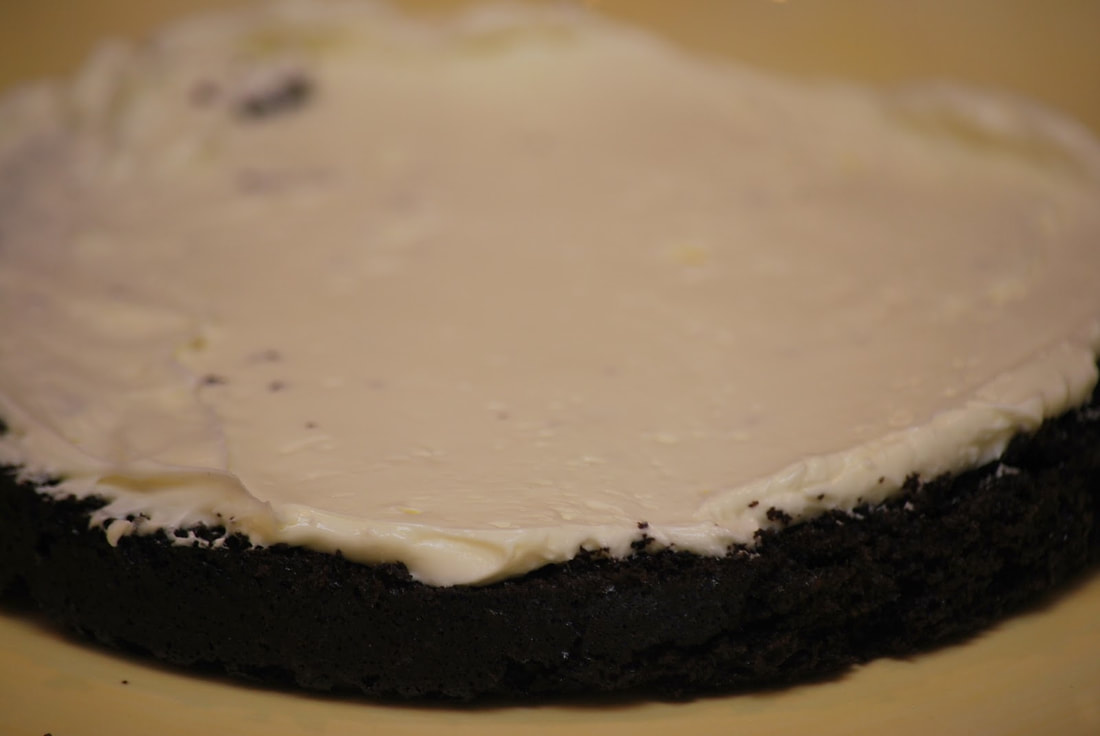
Have I convinced you that this is the best chocolate cake EVER? Millionaire’s Layer Cake Cake 2 1/4 cups (285 g) all-purpose flour 2 1/4 cups (450 g) superfine sugar 3/4 cup (90 g) dark Dutch-process cocoa powder (I use Cacao Barry Extra Brute) 2 1/4 teaspoons (10 g) baking soda 2 1/4 teaspoons (10 g) baking powder 1 teaspoon (8 g) salt 1 cup (240 mL) buttermilk 3/4 cup (180 mL) brewed coffee or espresso, hot 1/3 cup (80 ml) vegetable oil 3 eggs, room temperature 1 tablespoons (15 mL) pure vanilla extract Vanilla Swiss Meringue 6 egg whites 1 3/4 cups sugar 2 cups butter 1 teaspoon vanilla Pinch of salt Salted Caramel 2 cups (400 g) sugar 1/2 cup (120 ml) water 1 cup (240 ml) heavy cream (whipping cream) 2 tablespoons (30 g) unsalted butter 2 teaspoons pure vanilla extract or vanilla bean paste Generous pinch of sea salt Shortbread Crumbs 1 cup (125 g) all-purpose flour 1/4 cup (50 g) sugar 1/2 cup (115 g) unsalted butter, softened, cut into cubes Chocolate Ganache 1 pound plus 6 ounces (700 g) best-quality dark chocolate 2 cups (480 ml) heavy cream (whipping cream) 1/3 cup (110 g) corn syrup 1/4 teaspoon sea salt 8 tablespoons (120 g) unsalted butter, cut into cubes 1 tablespoon (15 ml) pure vanilla extract
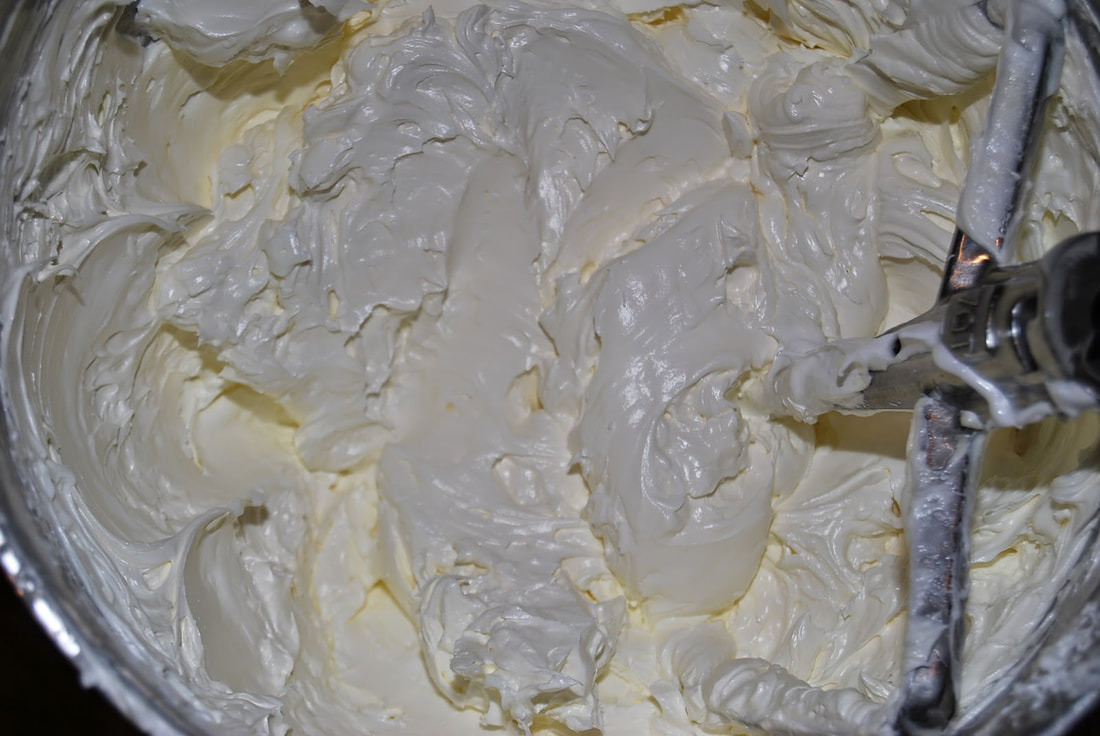
For meringue, combine egg whites and sugar in a bowl of standing mixer and place over a simmering pot of water. Cook and whisk occasionally until temperature reaches 130°F and the sugar has completely dissolved. (about 8-10 minutes) Transfer bowl to standing mixer and whisk until stiff peaks form. Switch to a flat beater and beat in butter, 1 Tablespoon at a time. Beat until smooth. Add vanilla and salt. (See buttercream blog for more details if needed.)
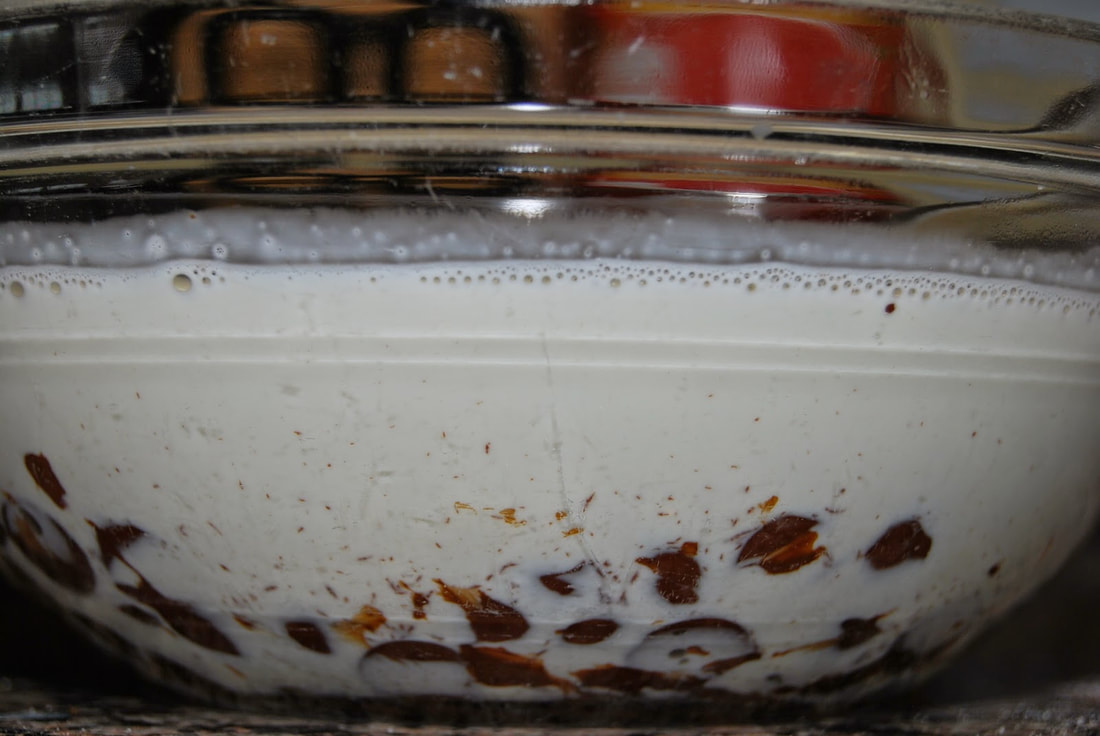
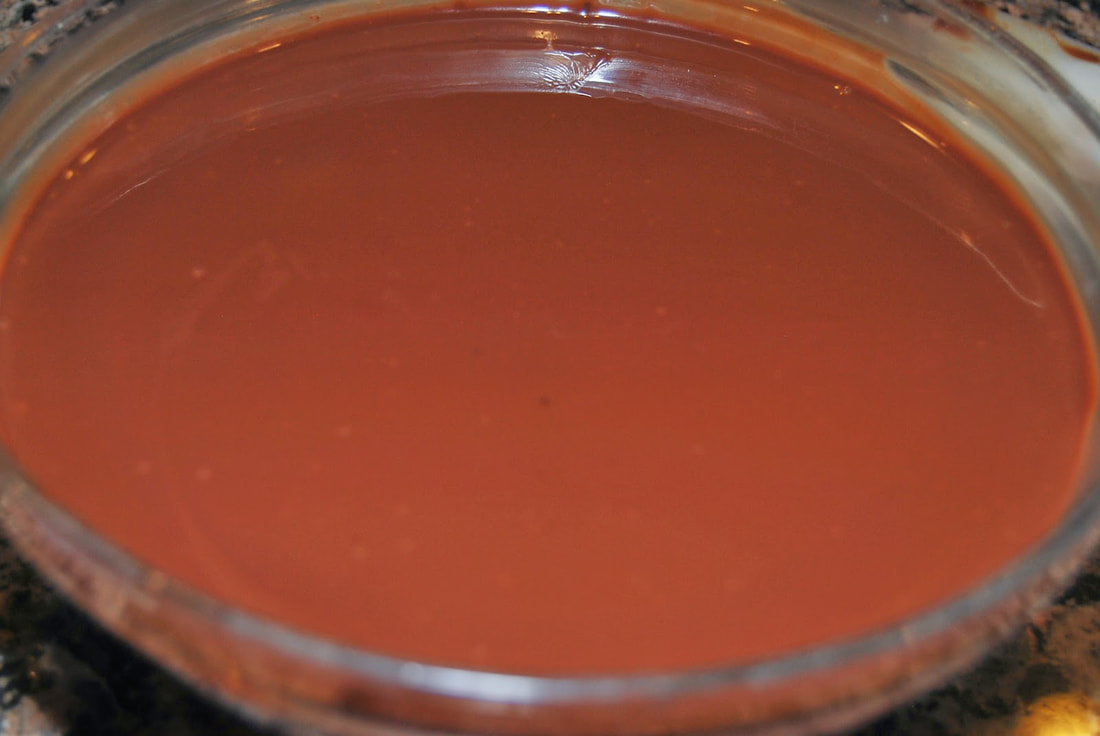
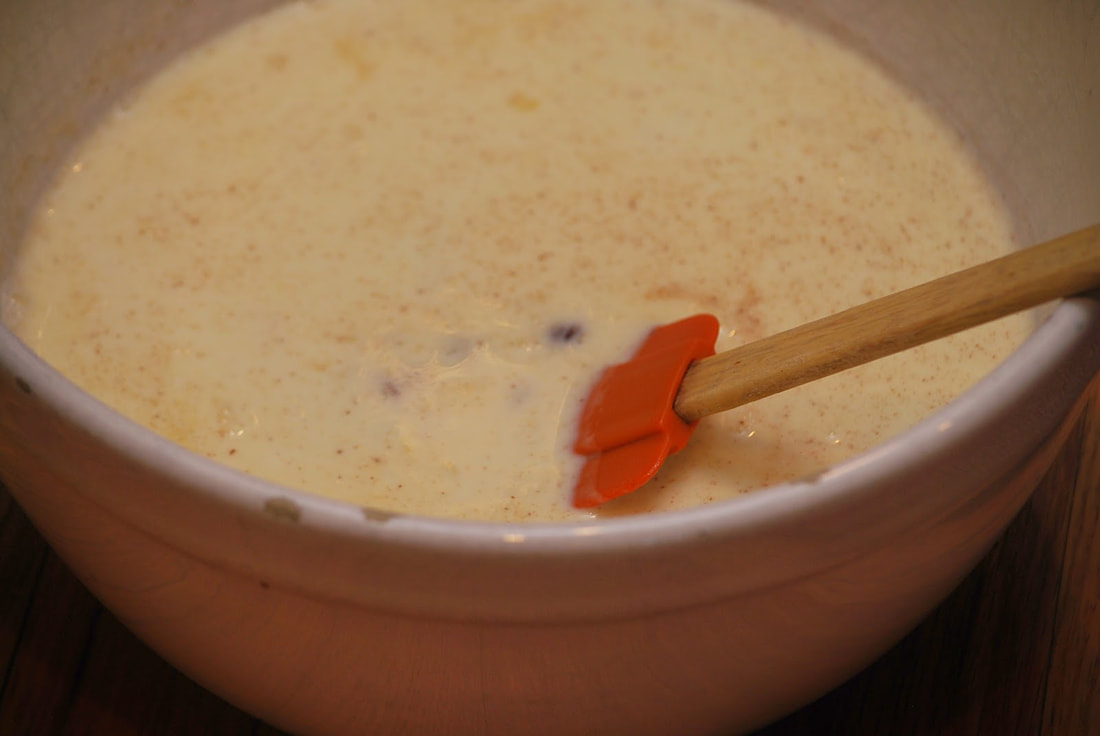
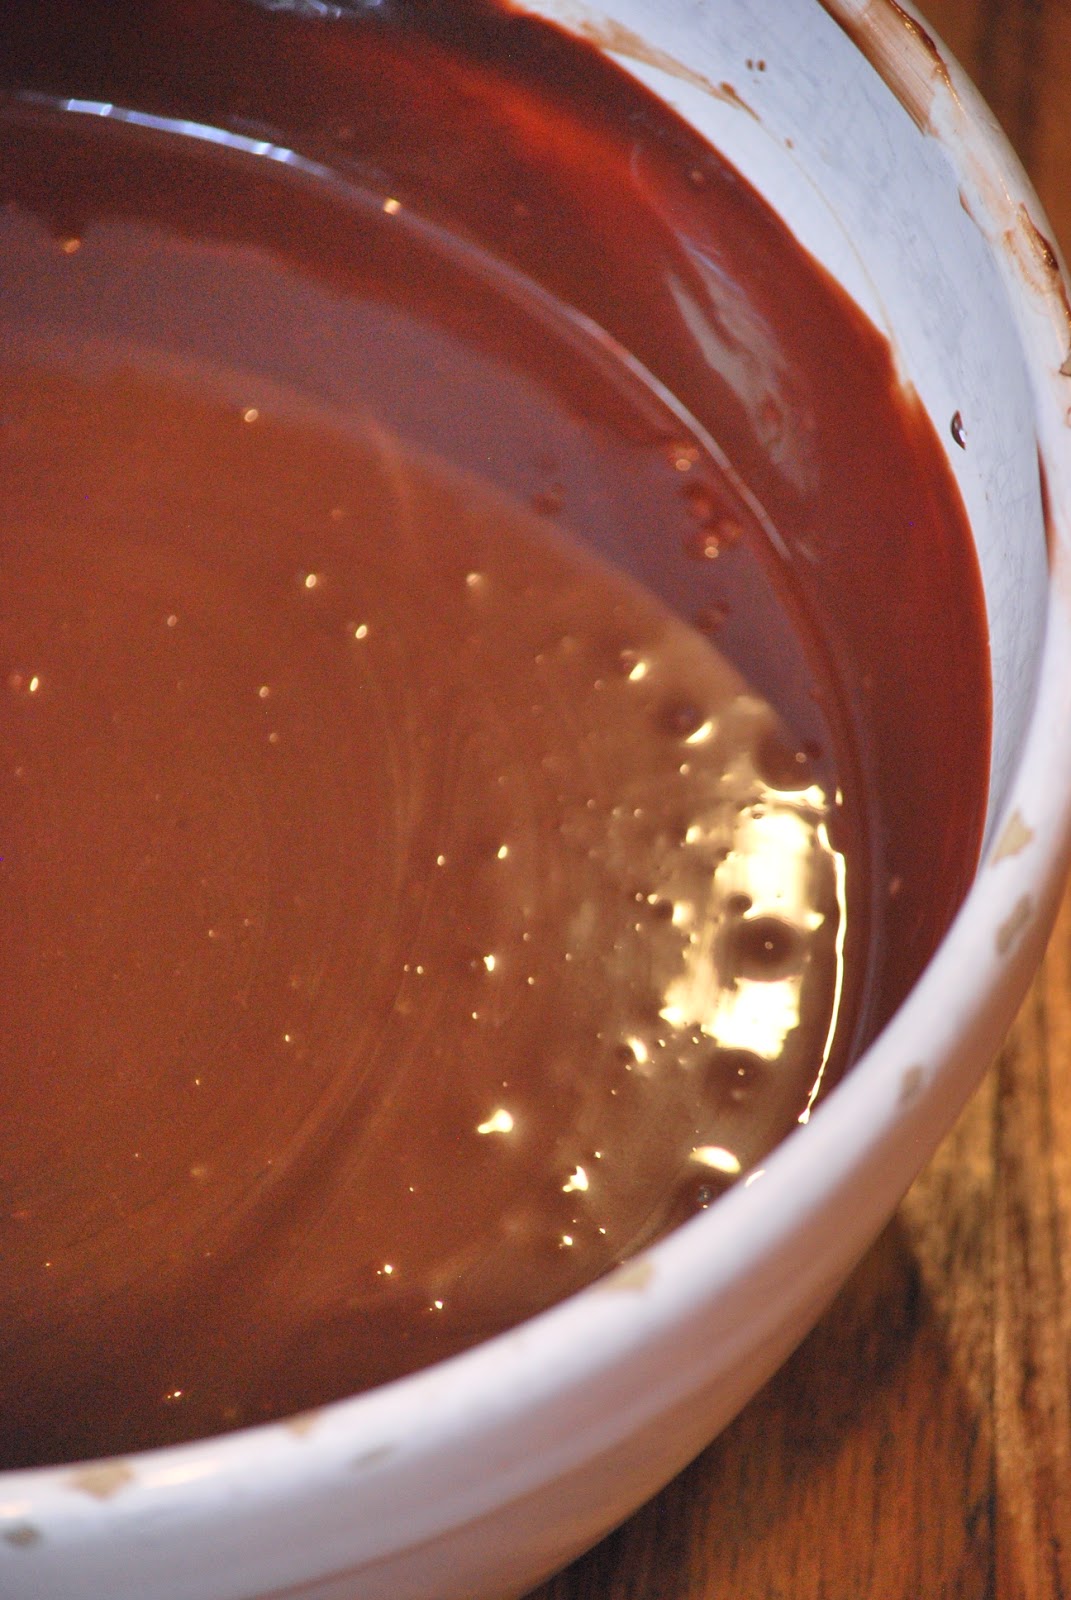
Promptly remove the saucepan from the heat and whisk in the heavy cream (be careful, as this will bubble and steam aggressively for a moment) until smooth, followed by the butter.
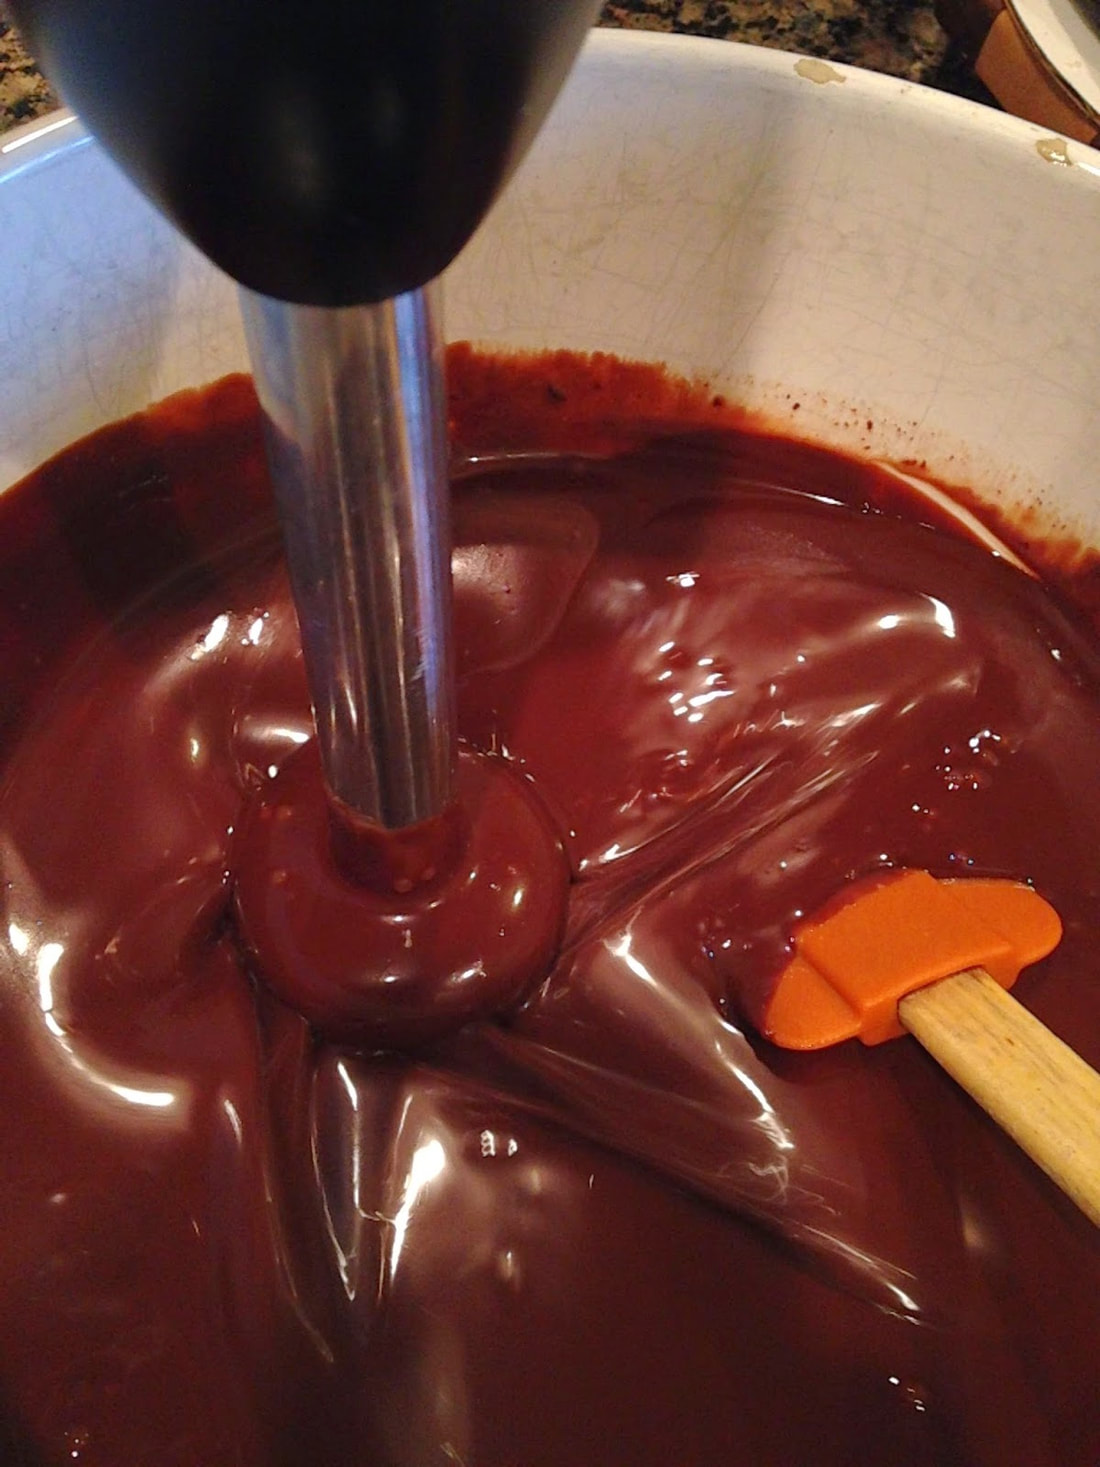
Using an immersion blender (or whisk, if necessary) combine the chocolate mixture until smooth. Add butter and vanilla and mix again until smooth.
Mixture with thicken to spreadable frosting consistency, and eventually become solid at room temperature. To soften, simply warm and bring to desired consistency.
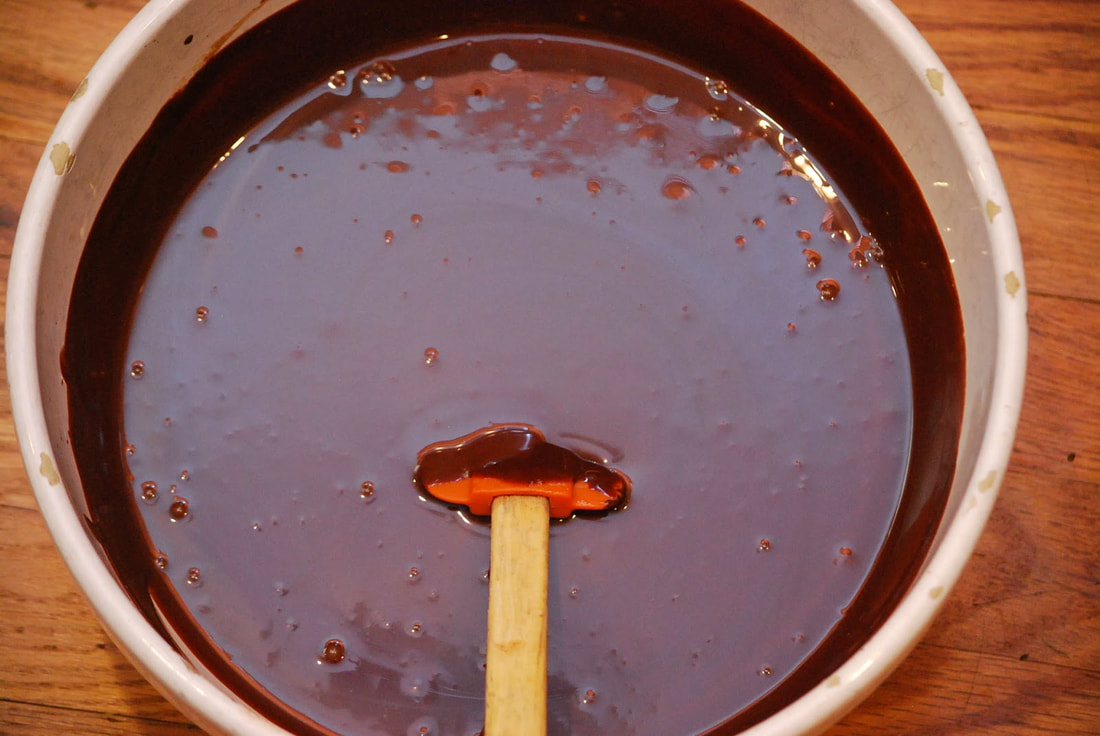
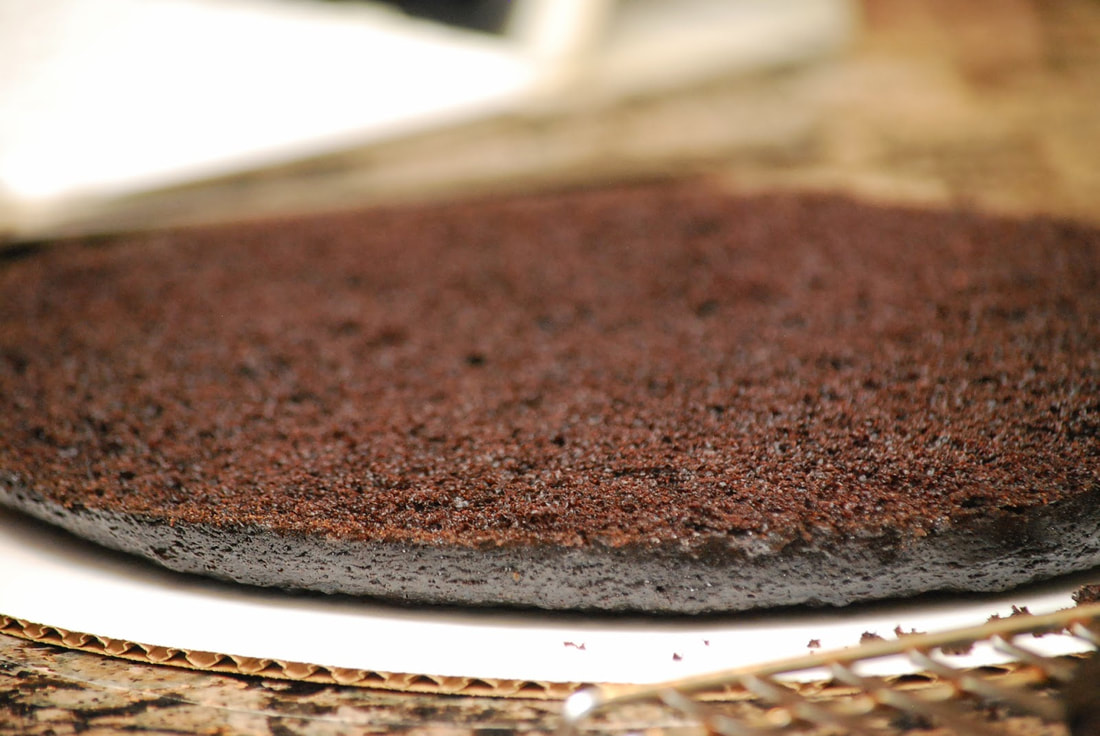
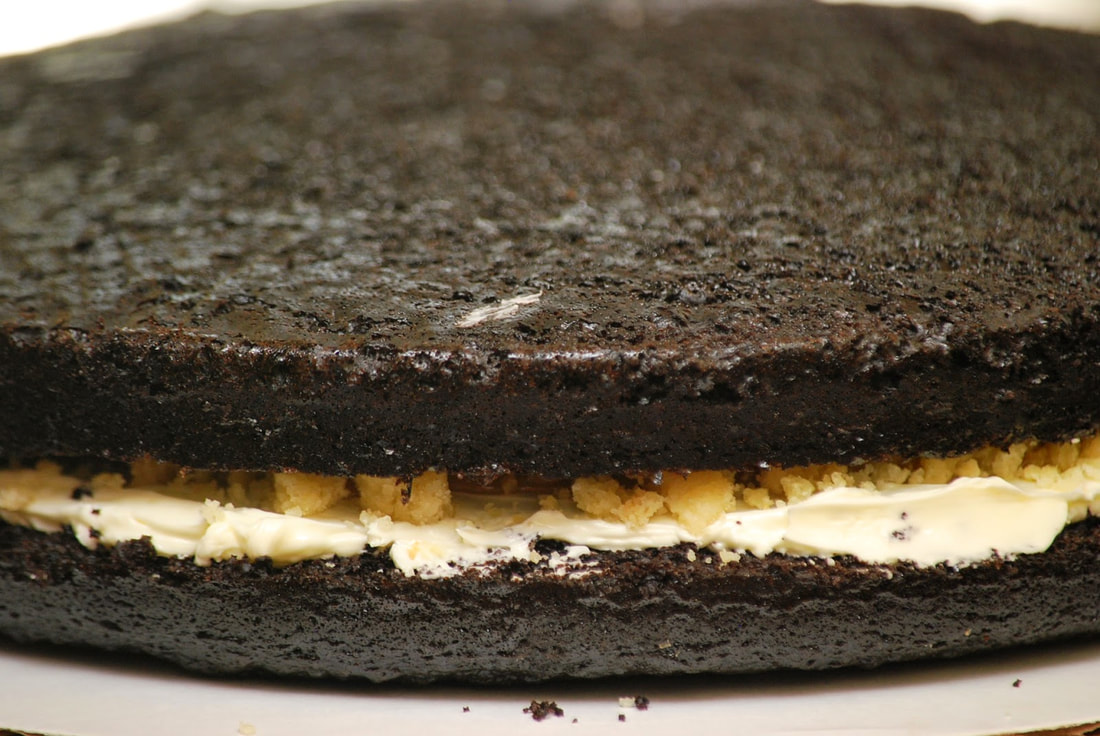
Prepare your fillings and frosting and ensure they are all at spreadable consistency. For the ganache, this will take about 15-30 minutes after making it, and about 30-60 minutes for the caramel. If you have made ahead, simply warm the ganache and let cool until spreadable, and do the same for the caramel. Slice all three cake layers in half horizontally, so you have a total of 6 cake layers. Smear a small dollop of the ganache frosting on a cake plate, pedestal or cake board, and place your first layer cut side up (so bottom of the cake layer is touching plate), and using a small offset palette knife, spread about 1 cup of buttercream on the layer leaving about 1-inch around the edge.
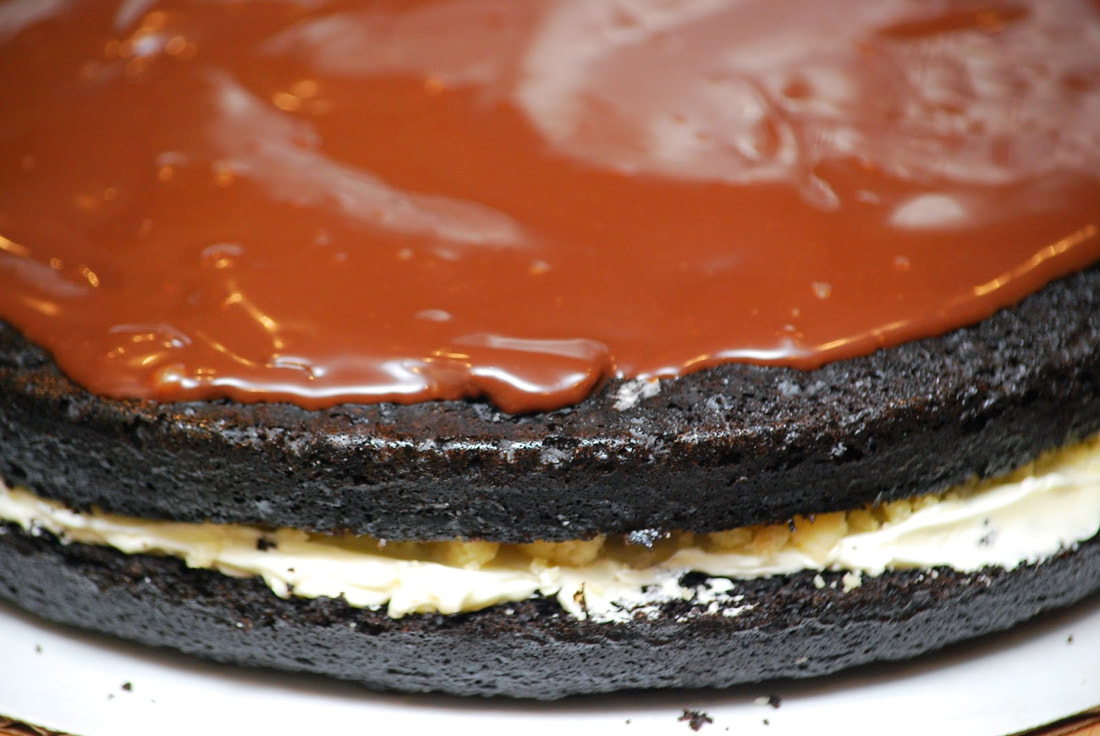
Spread one-third of the caramel and then a generous handful of shortbread crumble. 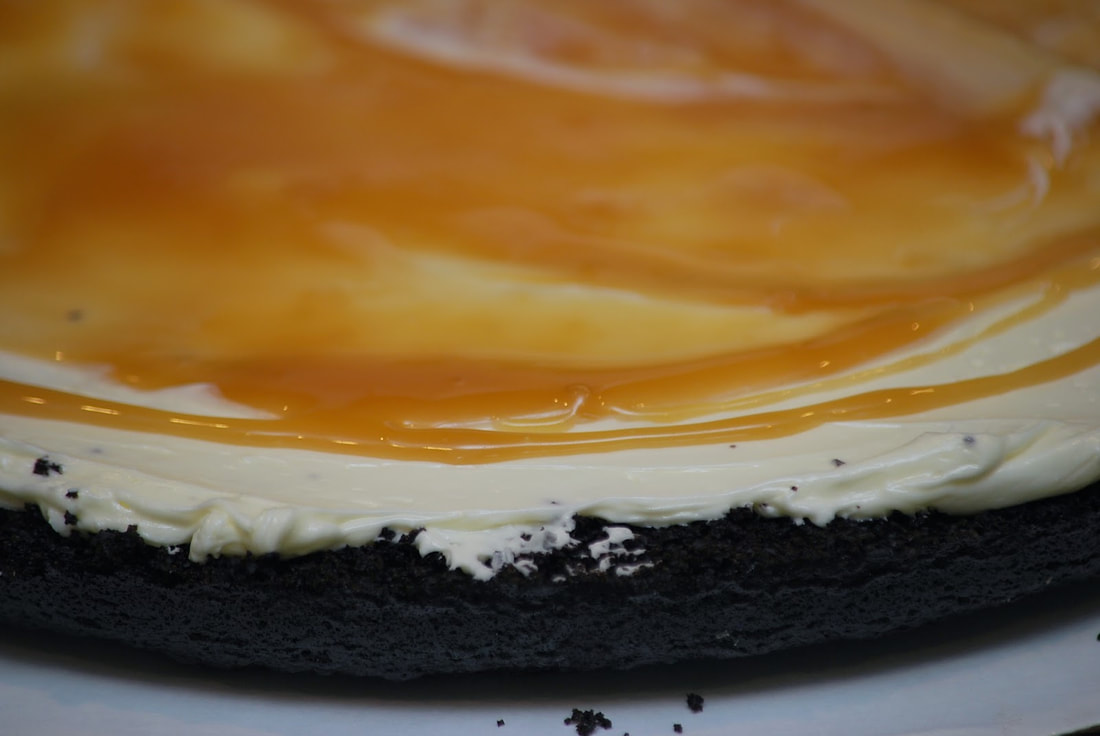 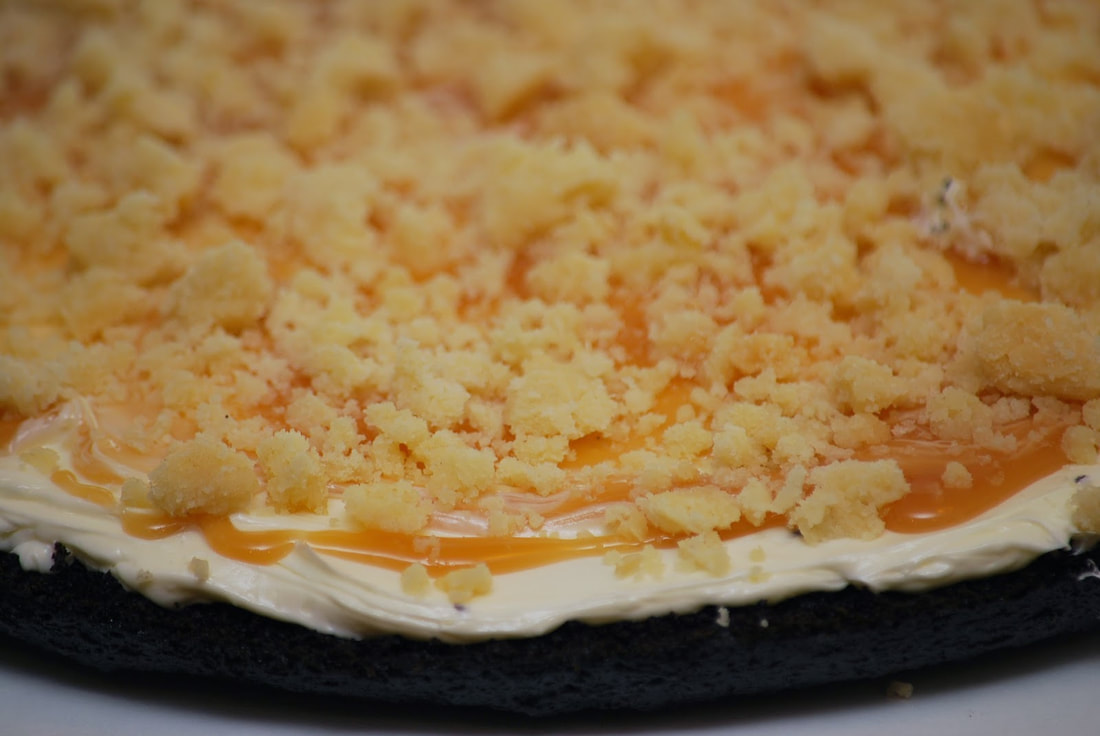 Place your next cake layer on top, and spread about 1 cup of the ganache frosting all the way to the edge.
Repeat previous step until you get to the final cake layer.
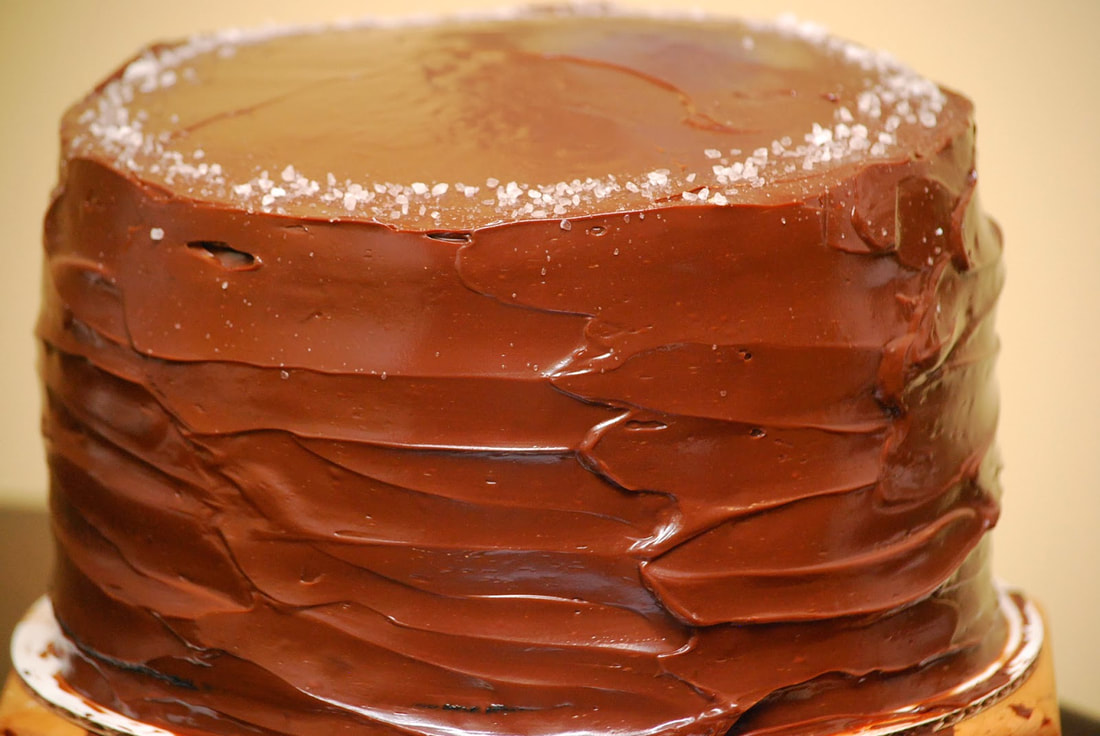
Place last layer face down (cut side down) and frost entire cake with the ganache frosting. Let sit for about 15 minutes. 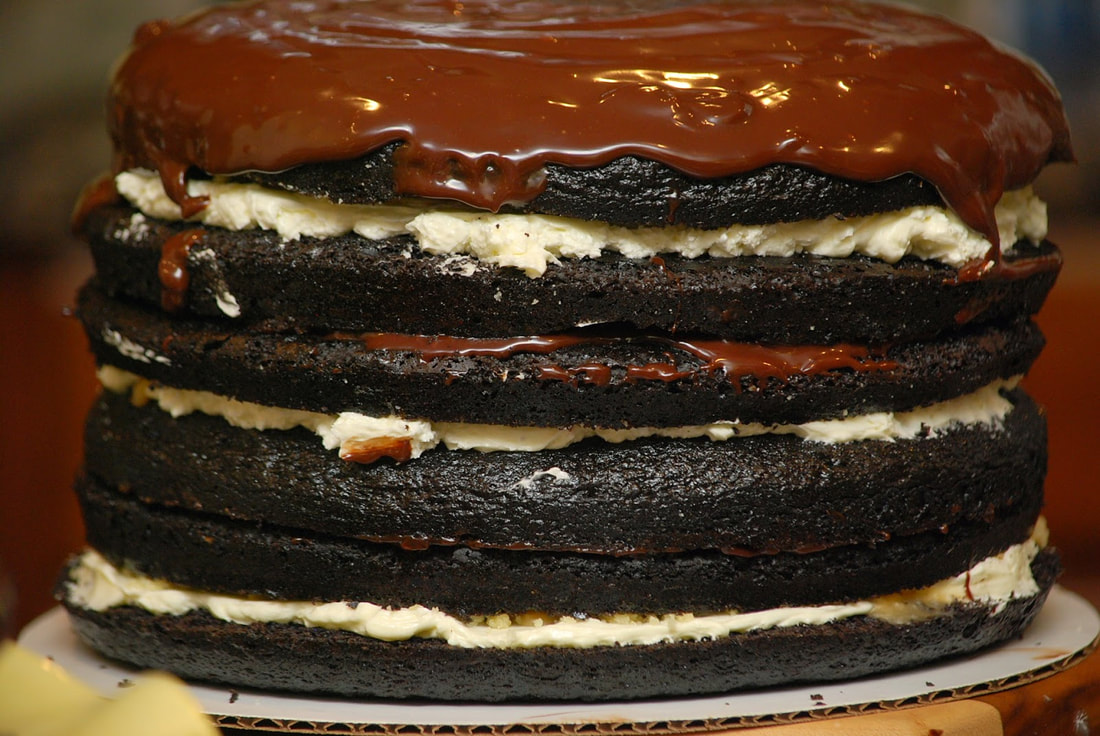 Use a turntable and palette knife to create texture (as in photo)--use one hand to turn the turntable and hold the palette knife in the other hand. Keep palette knife in place and let the turntable do the moving. Use a small offset palette knife to create texture on the top of the cake and sprinkle on some Fleur de Sel. 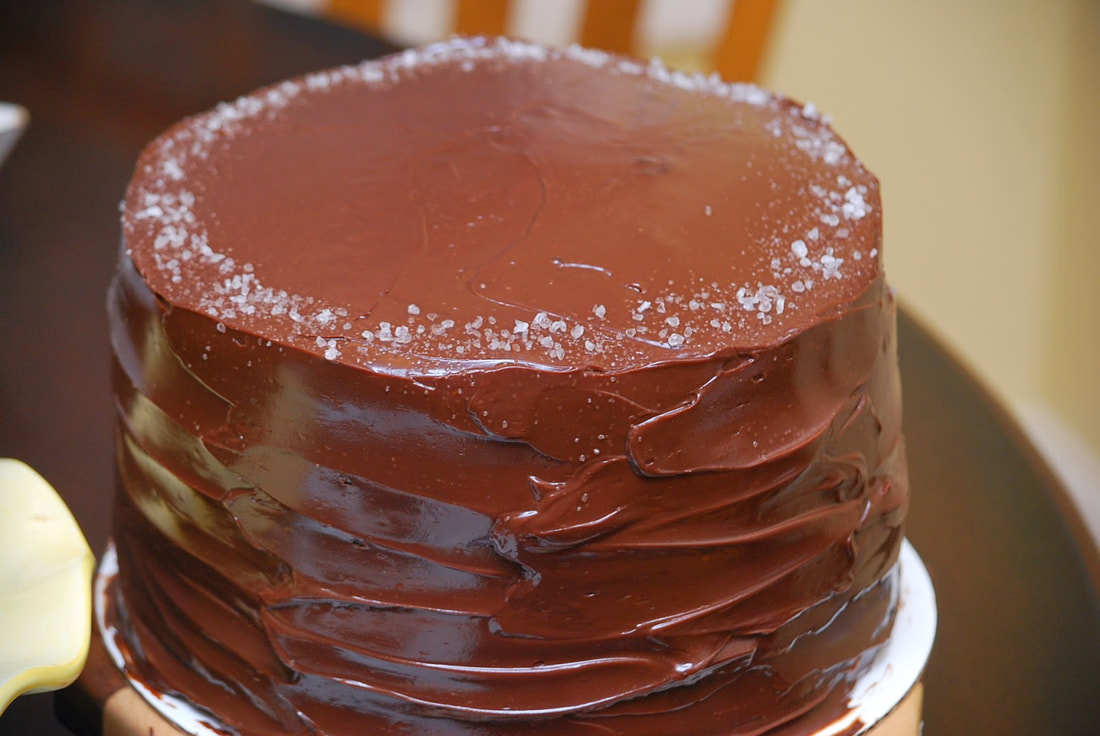 Finished cake can be kept at room temperature for up to 8 hours. Keep refrigerated if longer than 8 hours, but serve at room temperature. 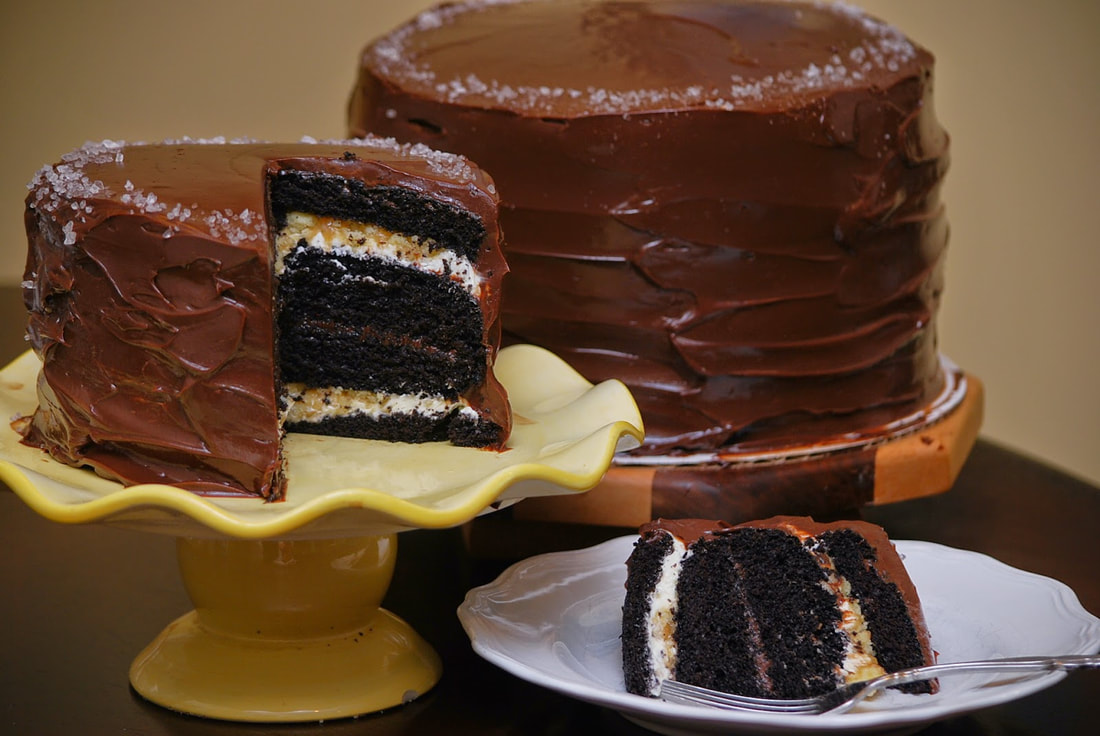 So there you have it - a KILLER chocolate cake recipe. This cake is not for the average chocolate cake fan - this one is for the really intense chocolate lover. Apparently - I fall into that second category.
Ciao! |