 It's been over a decade since I ran my one and only half marathon but I still remember it well. And I have a feeling that spending an afternoon with a room full of 5 year olds takes just about the same amount of energy that it took for me to run those 13 miles.🤣 Shout out to all of the Kindergarten teachers out there who have the endurance to keep up with the unbridled enthusiasm of five year olds on a daily basis. I don't know how you do it. After an hour of hanging out with 18 of my favorite Kindergarteners - I'm looking for a napping cot.🥱😅 The best part about having a daughter who teaches Kindergarten is the fact that I get to go in as a guest reader, from time to time. Sure, it's exhausting but it's the best kind of tired. It's a lever of exhaustion only achieved from giving countless hugs and high fives to a group of smiling, giggling and generally silliness Kindergartners. 😆
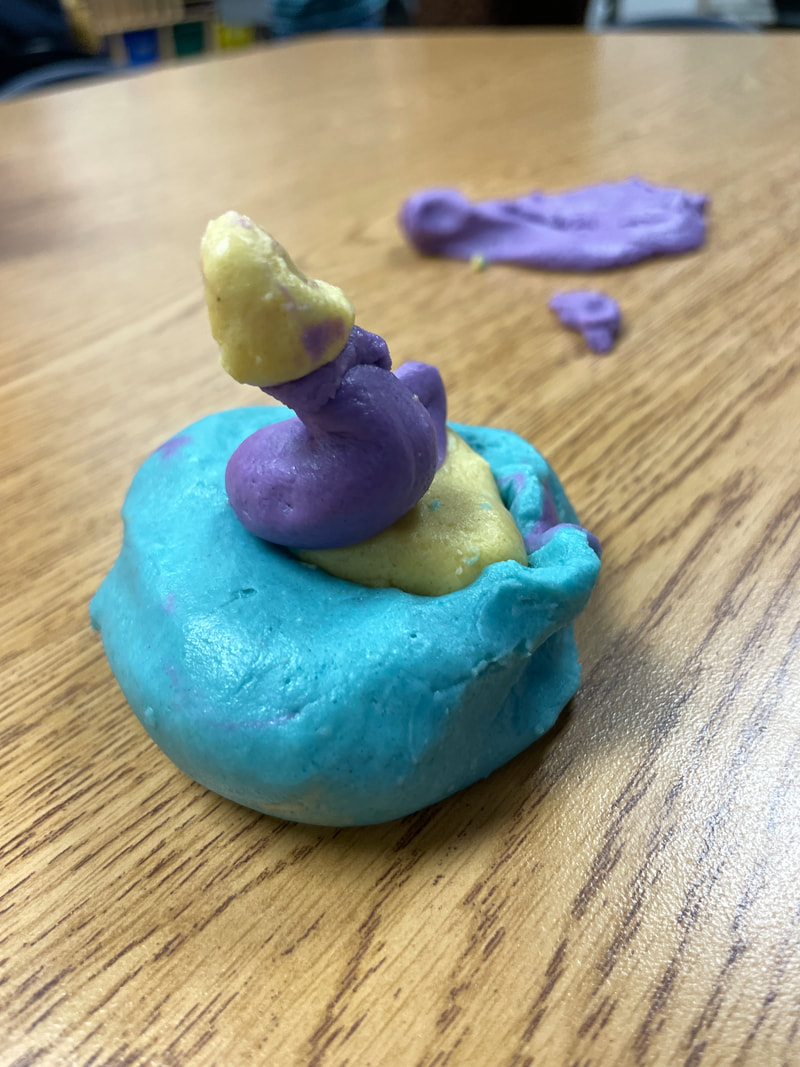
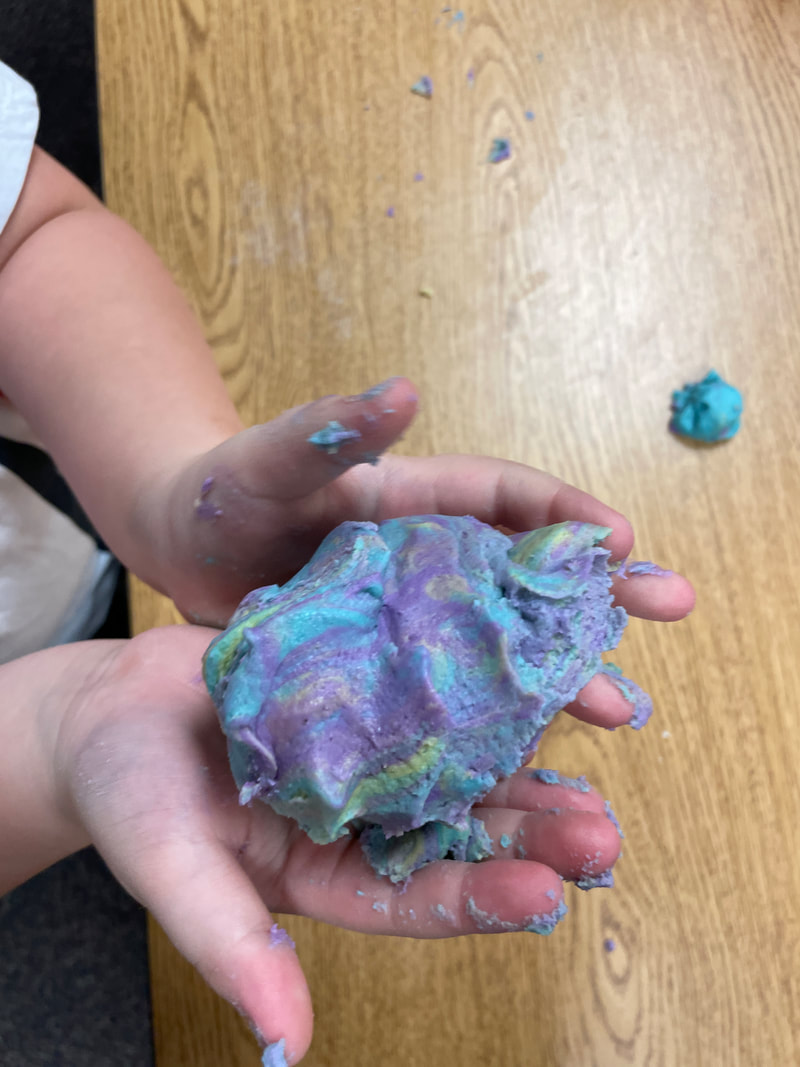
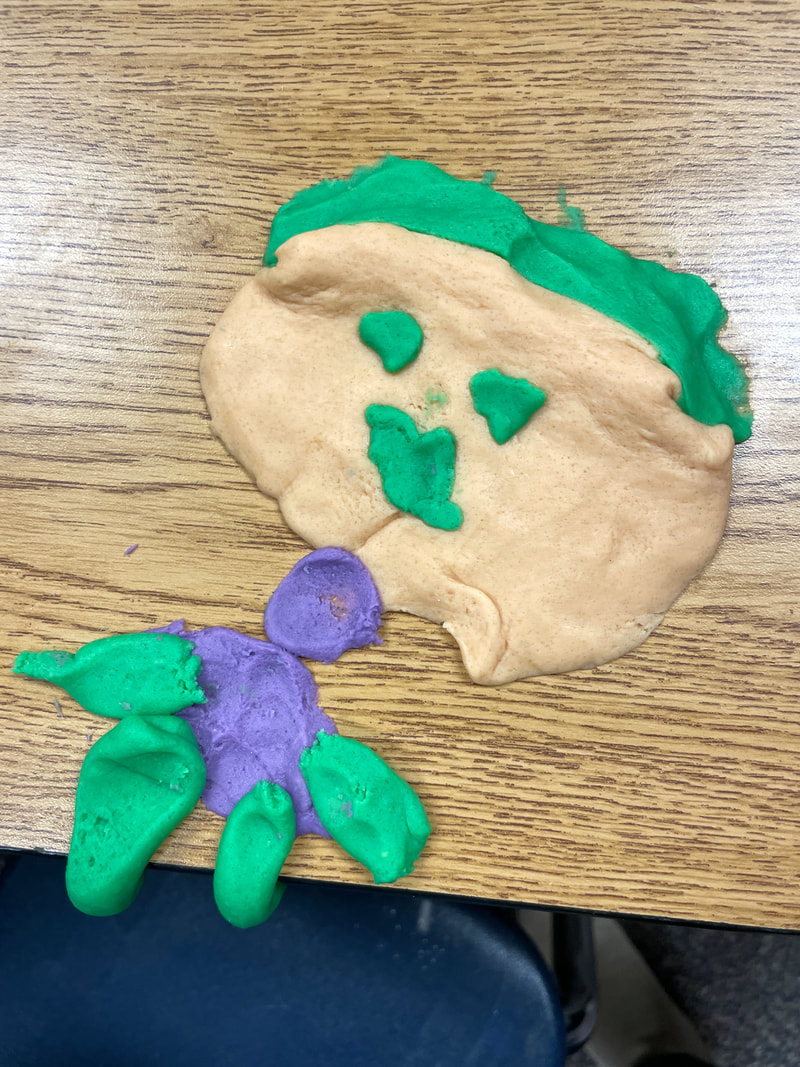
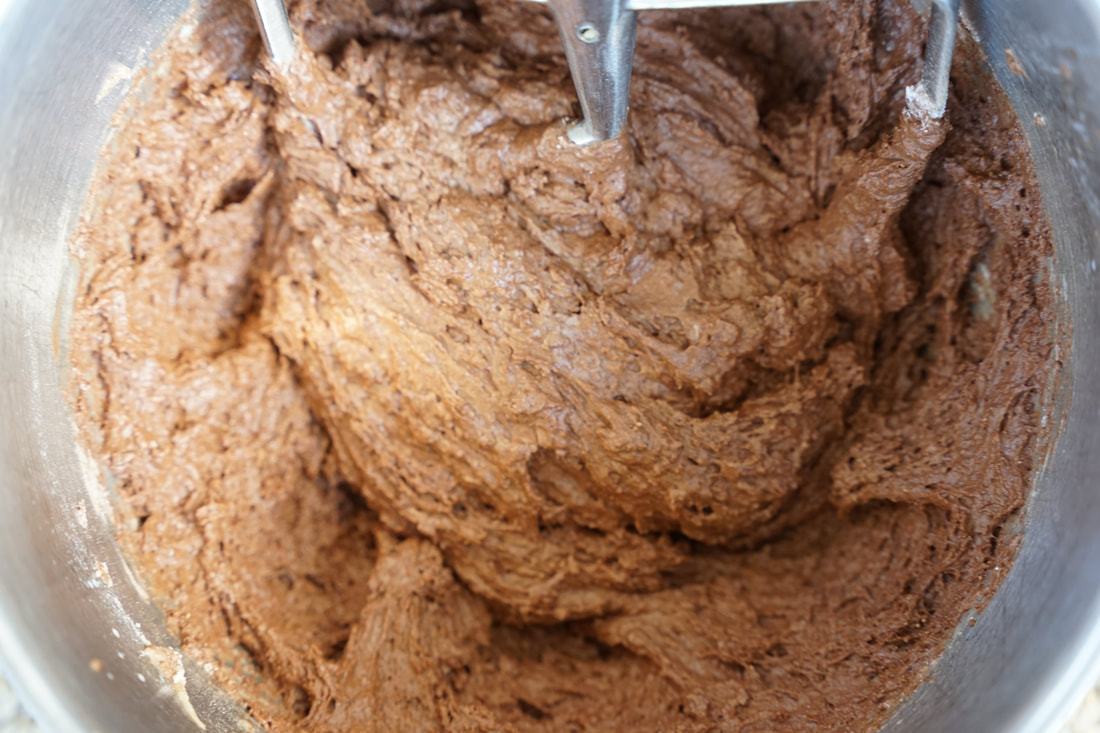
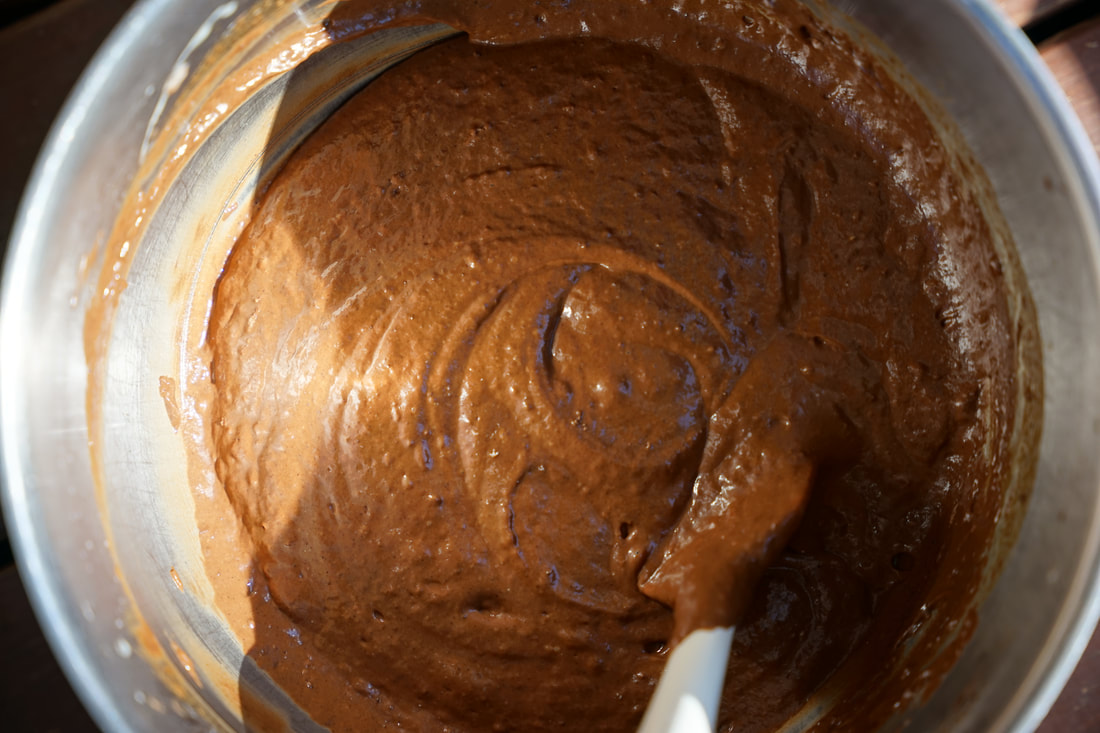
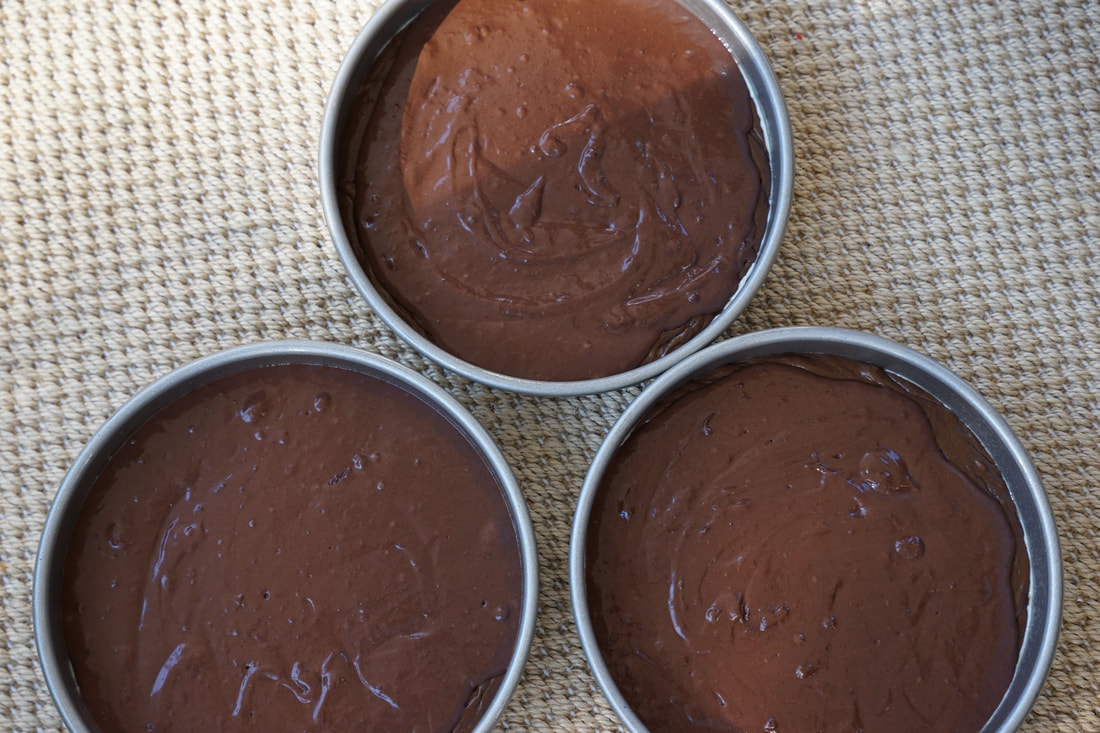
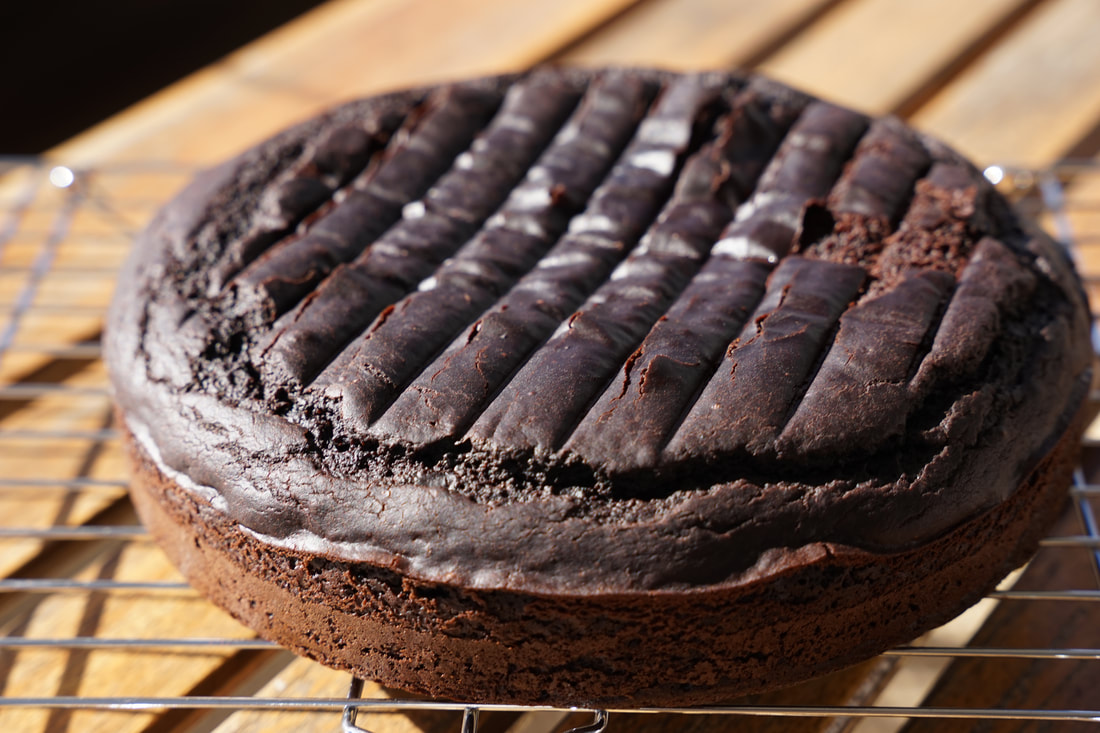
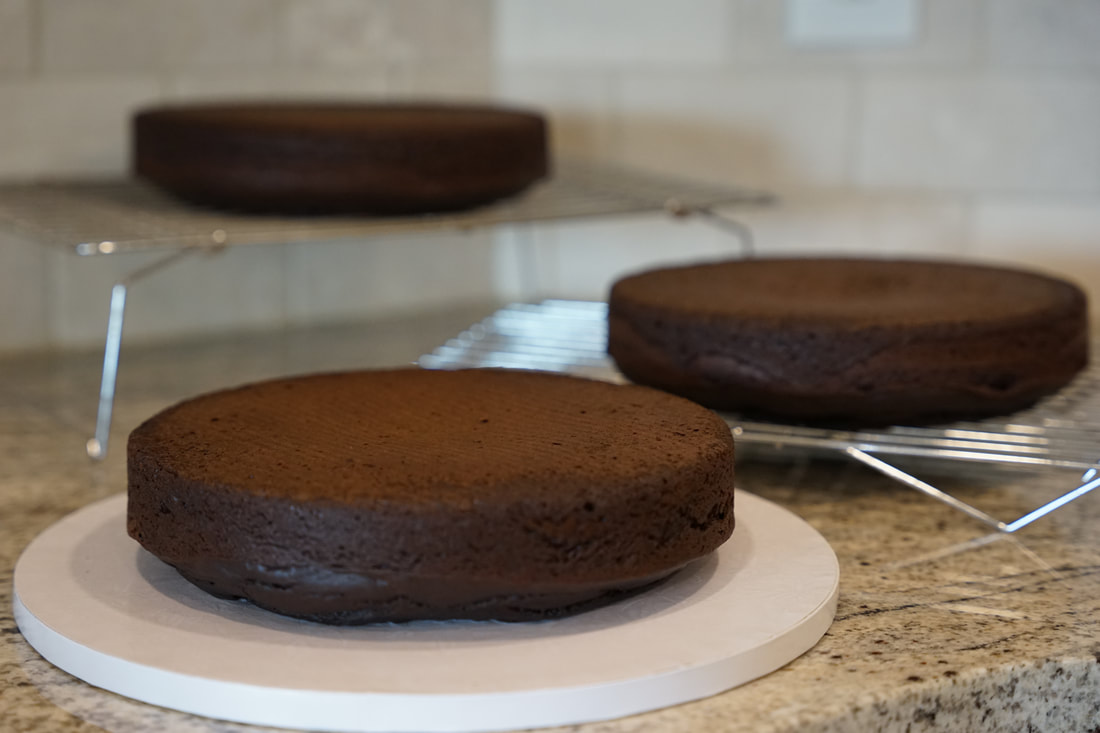
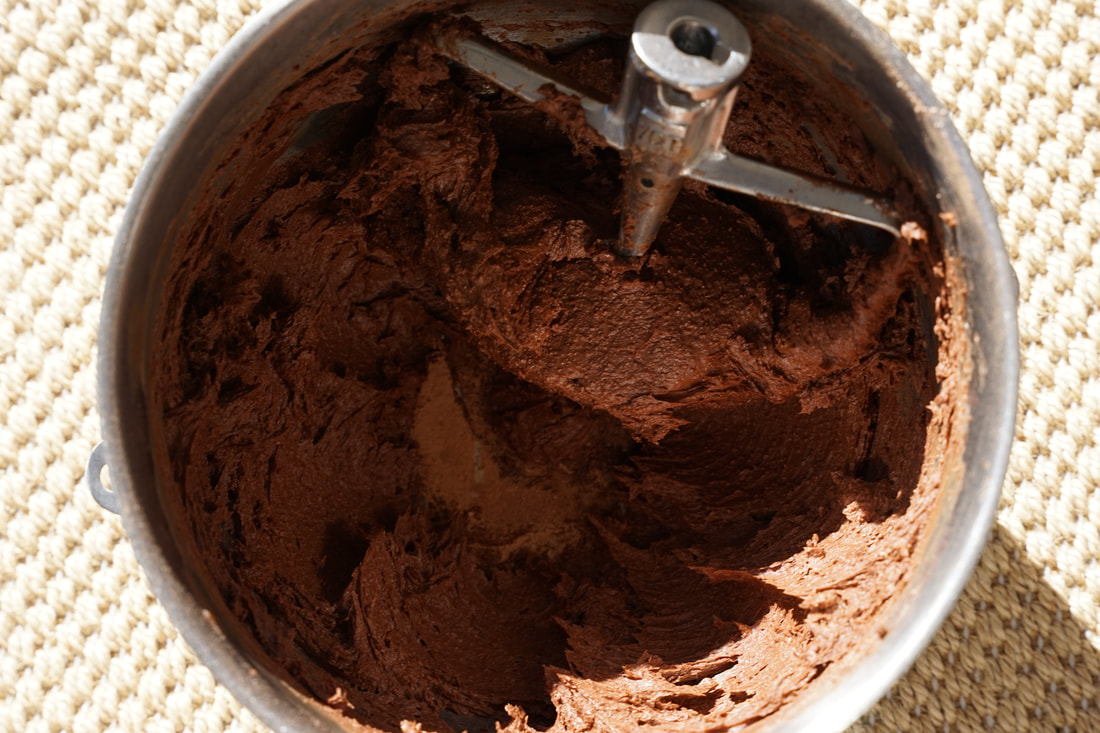
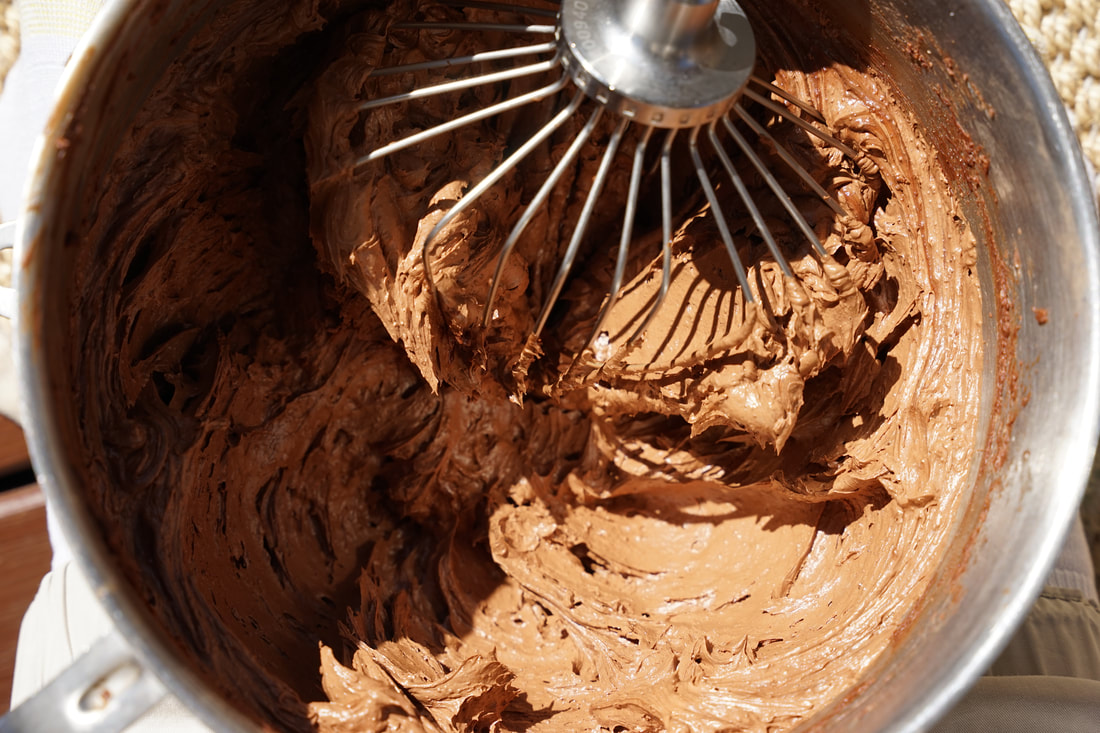
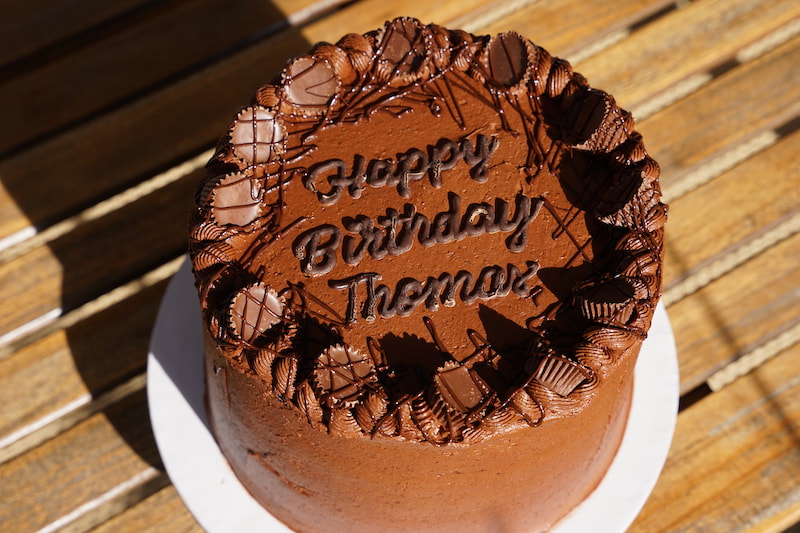
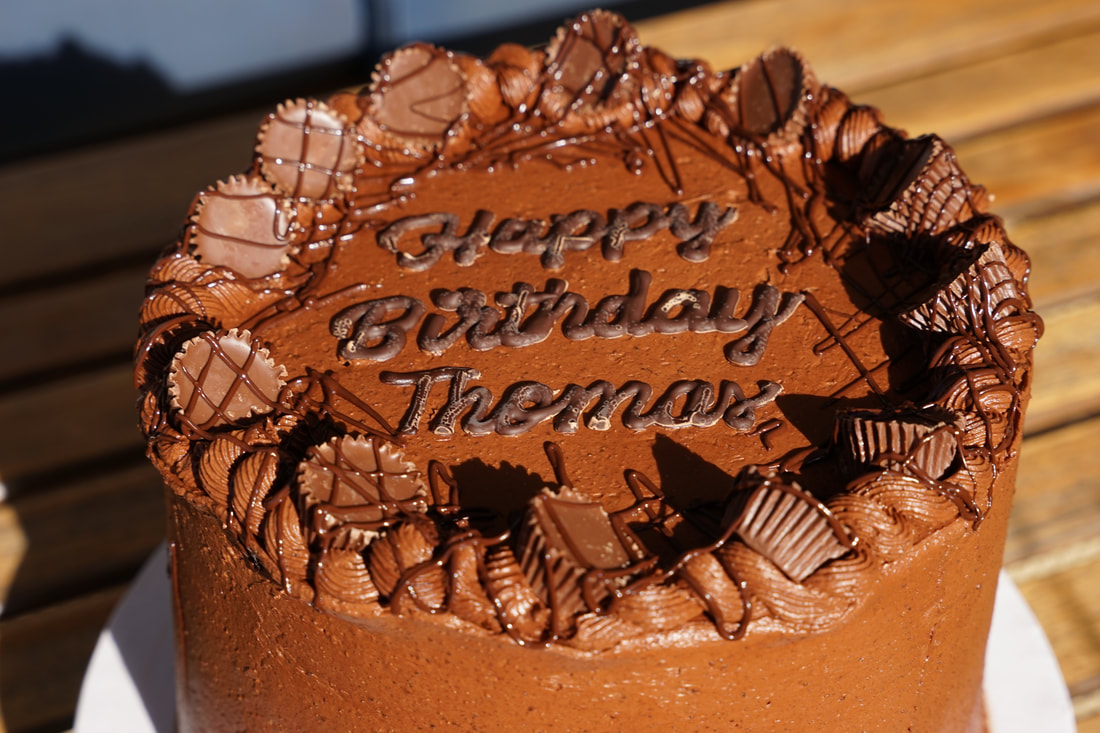
When I go to visit the Kindergarteners, I always take a book to read, an activity for the kids and most importantly, a snack.😂 On my most recent visit, I read "Froggy Bakes a Cake" to the kids and then we made a batch of homemade play dough. The kids used the play dough to make "cakes" and then we ate cake for snack.🍰 😅 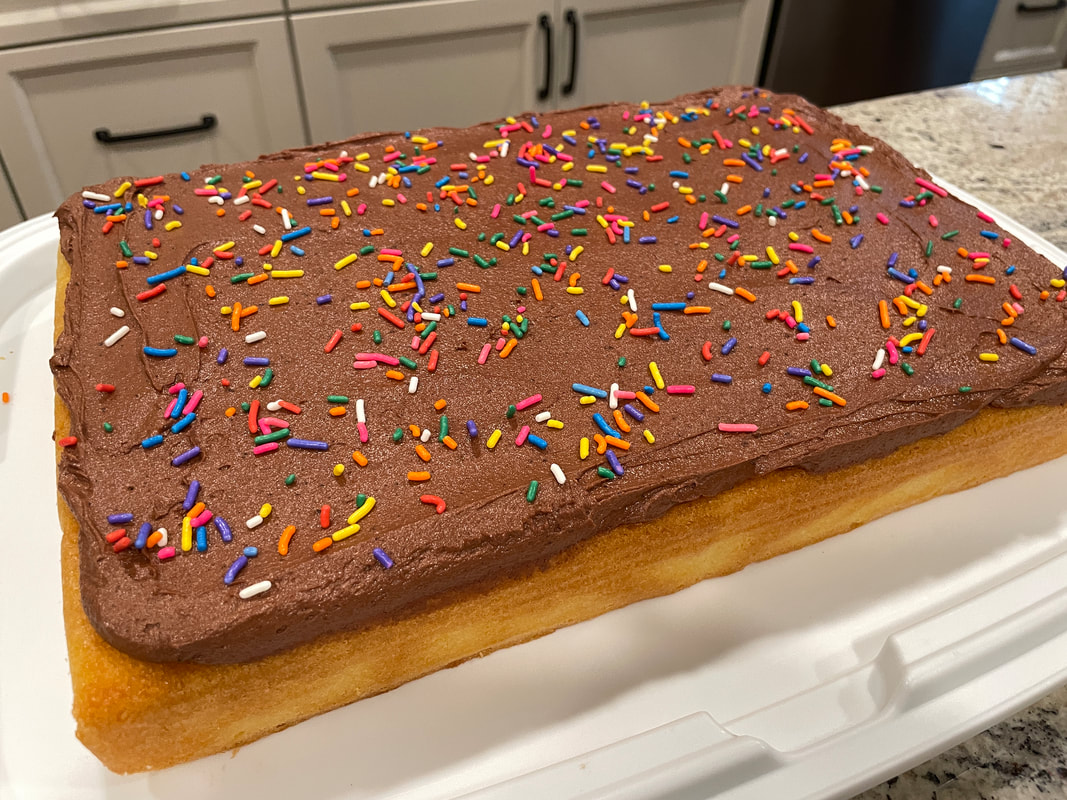 One of the fun parts about serving a snack to a group of 5 year olds is that they're always honest with their opinions. They have no reservations about telling me when I don't add enough sprinkles or I choose the wrong cupcake flavor.🧁 And a 5 grinning year old with frosting smeared all over his face, is the best compliment a baker can receive. 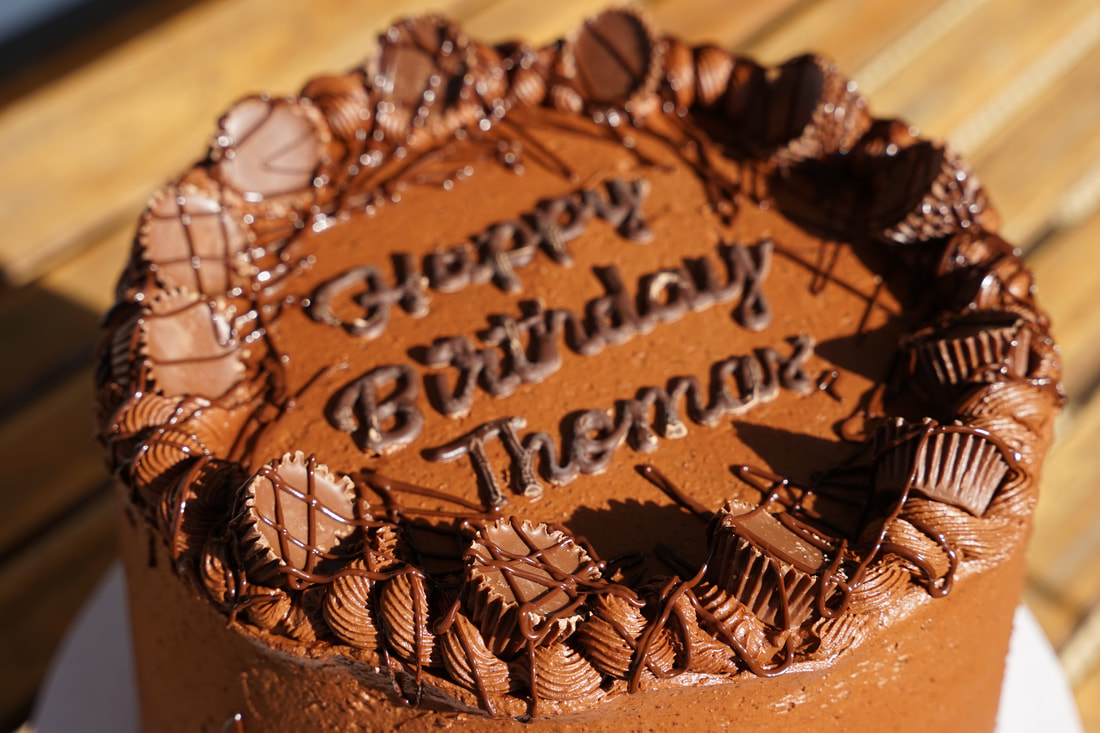 It's always fun to watch the Kindergarteners enjoy their snack because the nature of being a caterer is that I don't normally get to watch people's reactions when they eat my cakes. That's also the reason that I don't get pictures of the inside of every cake that I make. My family is pretty understanding when I cut a slice of cake to photograph but clients don't always appreciate it when I cut their beautiful anniversary cake and take a piece out. 😂🍰 This delicious looking chocolate cake looks just like any other - on the outside AND the inside. (You'll have to take my word for it.😅) The only difference is that this decadent cake can be eaten by diabetics. It's completely sugar free. (Including the Reese's Peanut Butter Cups that adorn the top of this masterpiece.) If you (or someone you know) are unable to eat sugar, but still crave chocolate cake - this recipe is for you. And if you make one for yourself - please take a picture of the inside and send it to me. Thanks. 🤣 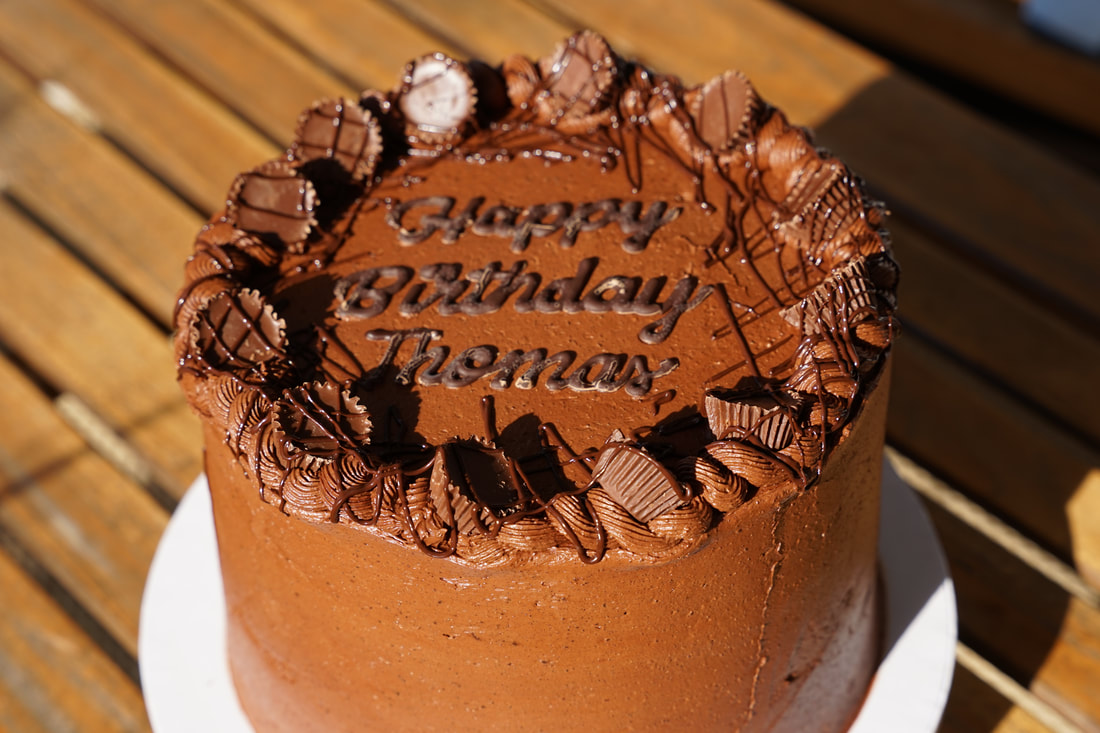 Sugar Free Chocolate Cake 2 2/3 cups flour 2 2/3 cups stevia sweetener 1 cup + 2 Tablespoons cocoa powder 1 1/2 teaspoons baking powder 3 teaspoons baking soda 1 1/2 teaspoons salt 1 1/2 cups buttermilk 3/4 cup canola oil 3 large eggs, room temperature 1 1/2 teaspoons vanilla 1 1/2 cups freshly brewed strong hot coffee Buttercream 12 ounces sugar free dark chocolate chips 4 sticks butter, softened 1 cup stevia 1 cup cocoa powder 1/4 teaspoon salt 1 teaspoon vanilla
 Frost cake.
Just a tip: Make sure that you use a 1 for 1 sugar substitute when baking this cake. Ciao!
0 Comments
 It's Basement Update Day! Last week we watched as some of the basement walls came down. It was super exciting to see the space open up but, scary at the same time.
In the span of just a few days, we went from one wall to three walls to no wall! Things certainly appeared (to me) to get worse before they got better.😅 I feel like the same principle applies to baking. I make a giant mess during the process but I end up with something even better than the ingredients that I start with.
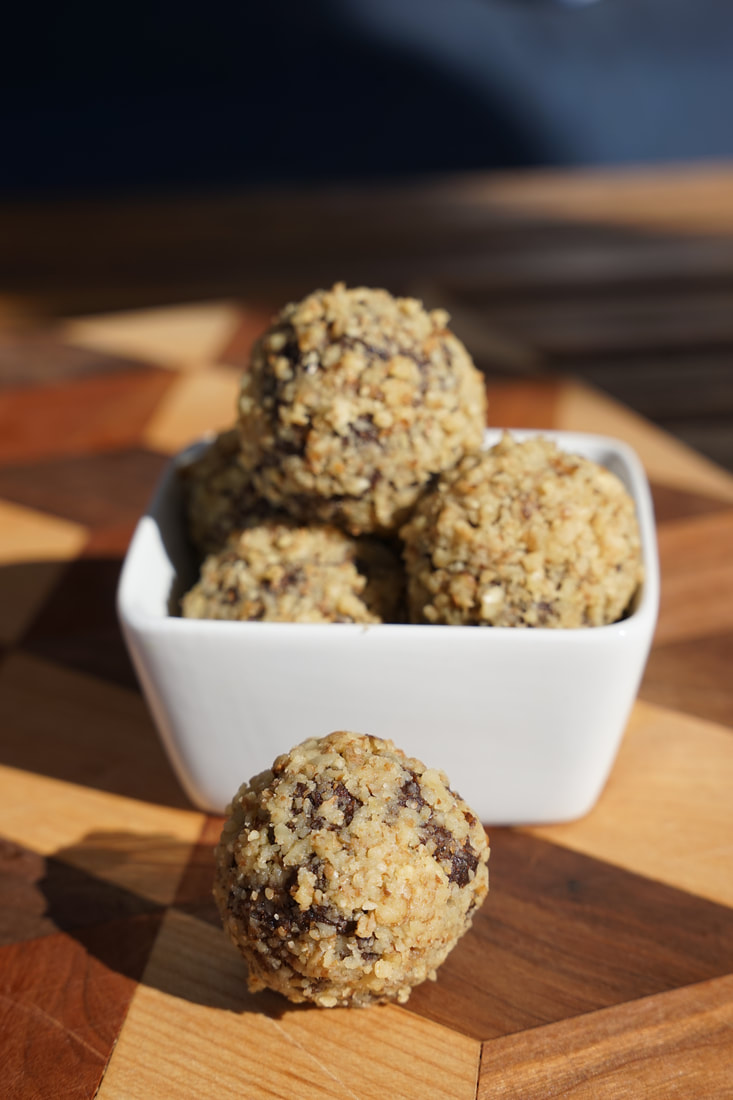
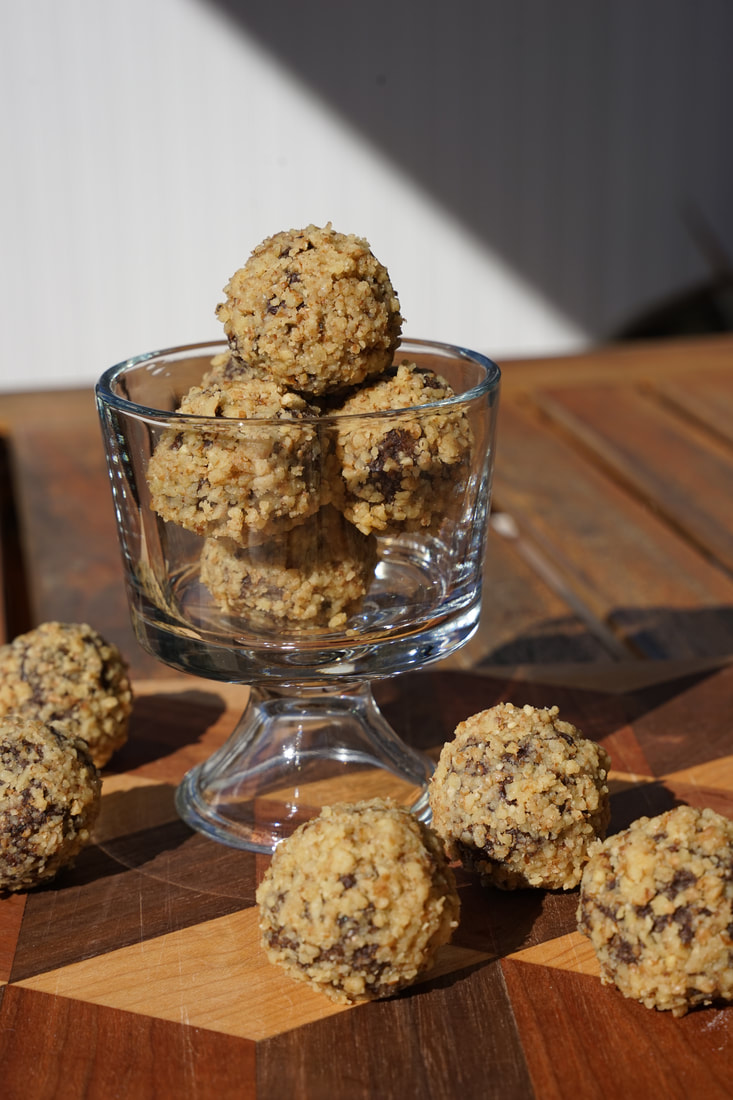
If you like to get in and get your hands dirty while you cook - this recipe is right up your alley. If you don't - I recommend that you enlist the help of your children, spouse or any other willing participant who can assist you with the messy parts of this recipe. Making Cinnamon Bun Energy Bites can be a messy process but they aren't hard to make. There are just 2 simple instructions. 1. Put the ingredients in a food process (or blender) and process until smooth. 2. Roll the mixture into balls with your hands and then in the chopped nuts. Sounds simple enough, right? The challenge for me is to not get Cinnamon Bun Energy Bites mixture on my cabinet drawers, my counter, the floor, all over the kitchen sink handle AND myself while I'm rolling. 🤦🏻♀️ 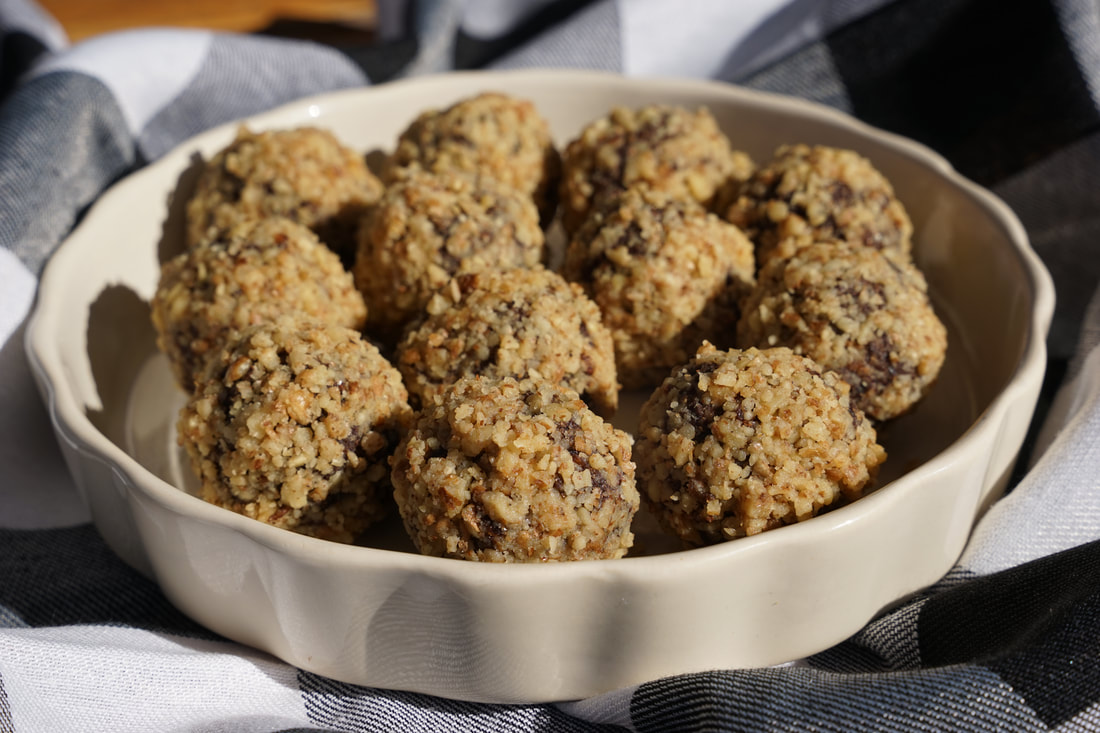 Cinnamon Bun Energy Bites ½ cup walnuts 5 Medjool dates, pitted 3 tablespoons ground cinnamon 1 teaspoon ground cardamom 1 tablespoon finely chopped walnuts 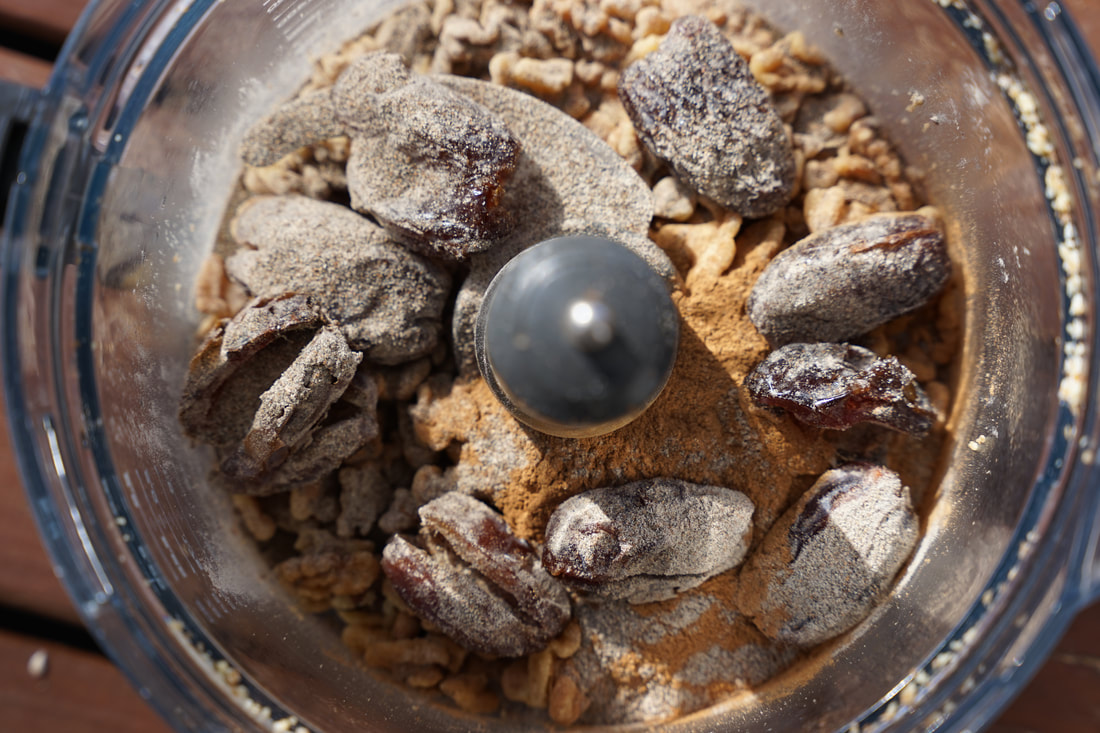 Combine 1/2 cup walnuts, dates, cinnamon, and cardamom together in a food processor. 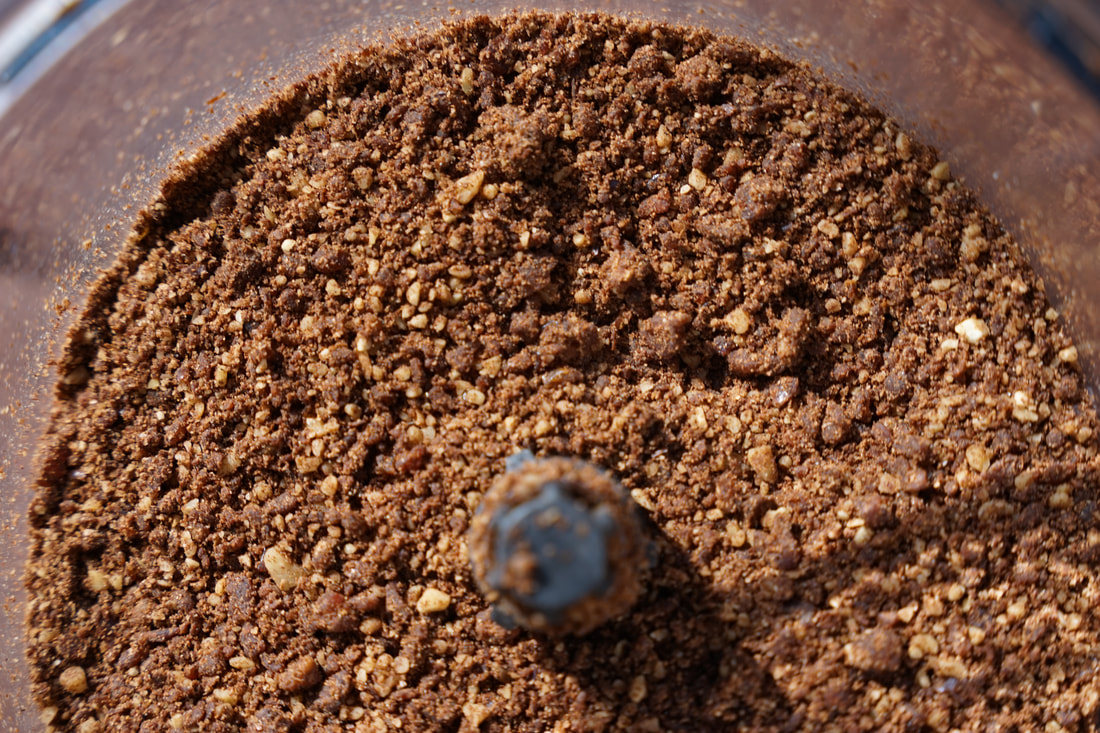 Blend until smooth. 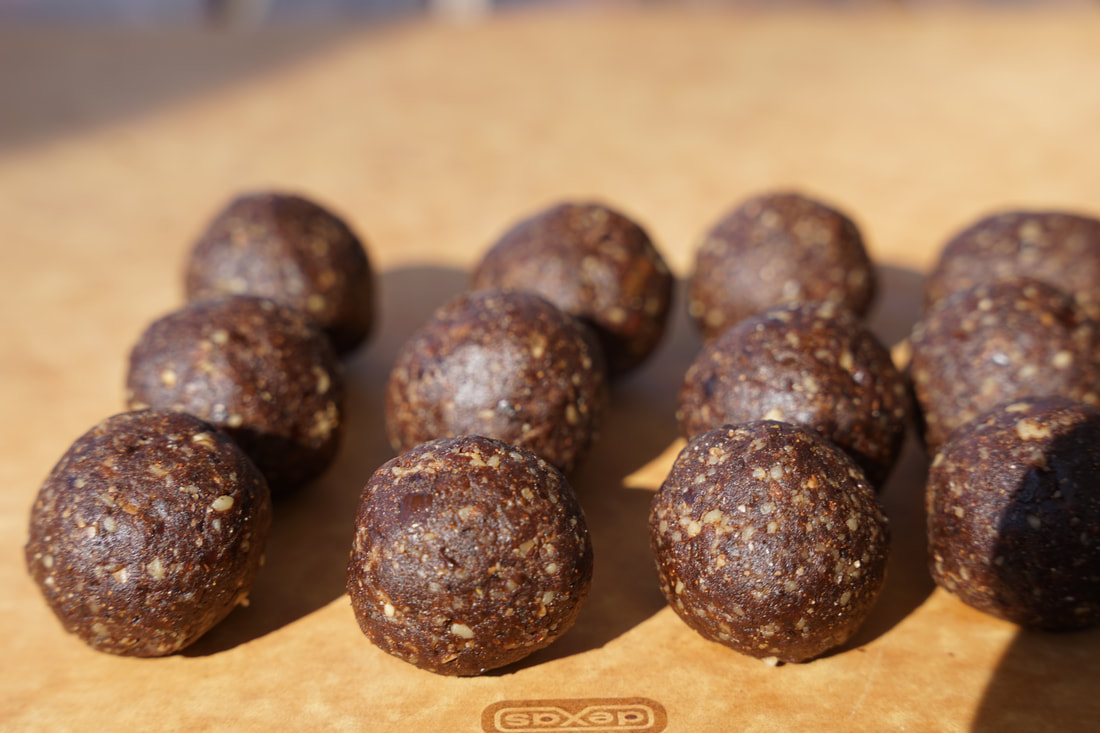 Roll mixture into balls.  Place finely chopped walnuts in a shallow bowl and roll balls in walnuts to coat. 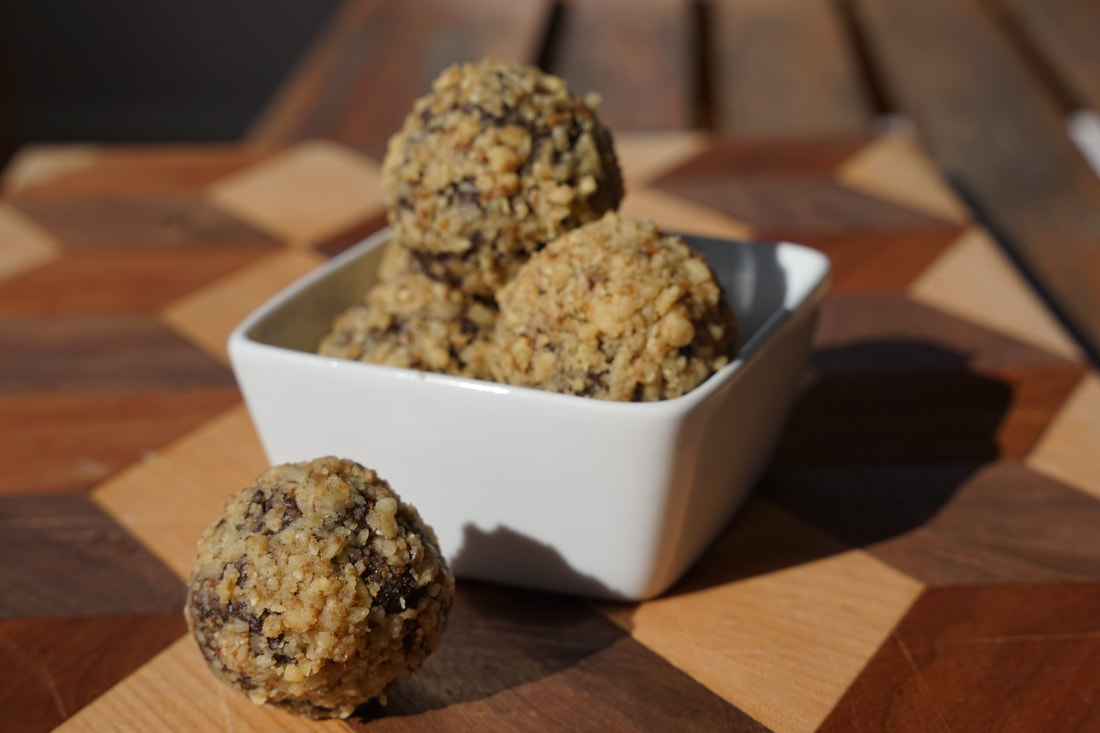 A sweet snack with 5 ingredients and 2 steps - that's my kind of snack. I store these date balls in my refrigerator so I can grab one when my sweet tooth screams for a treat. 🤣
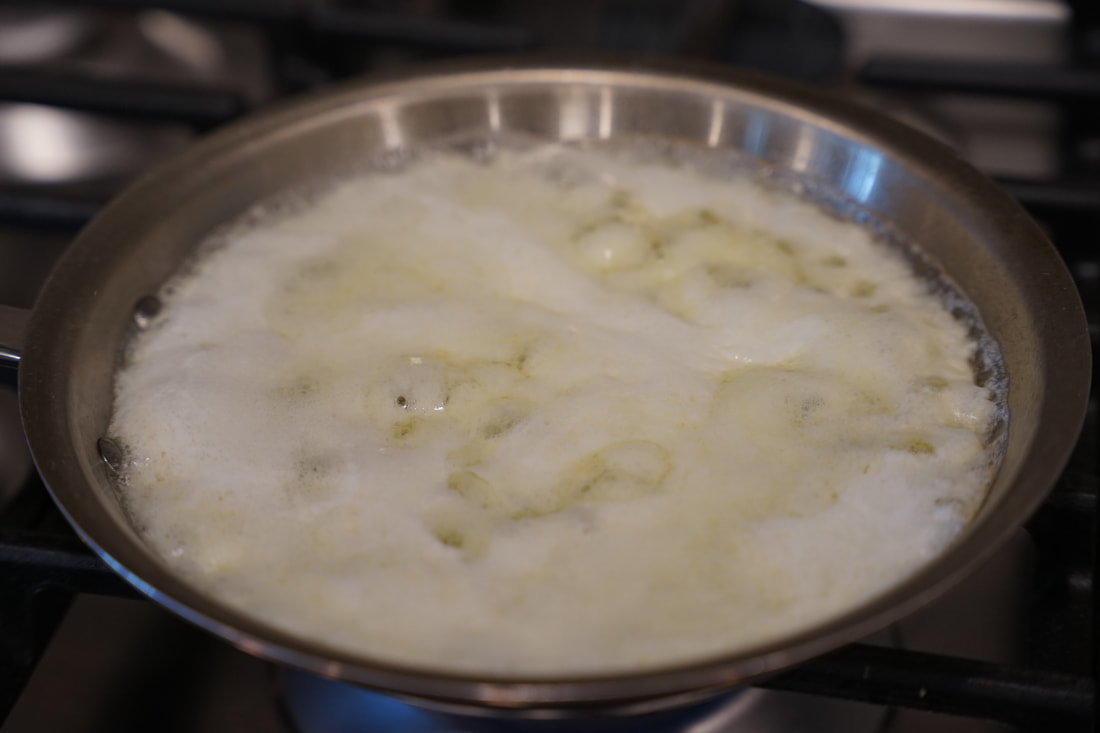
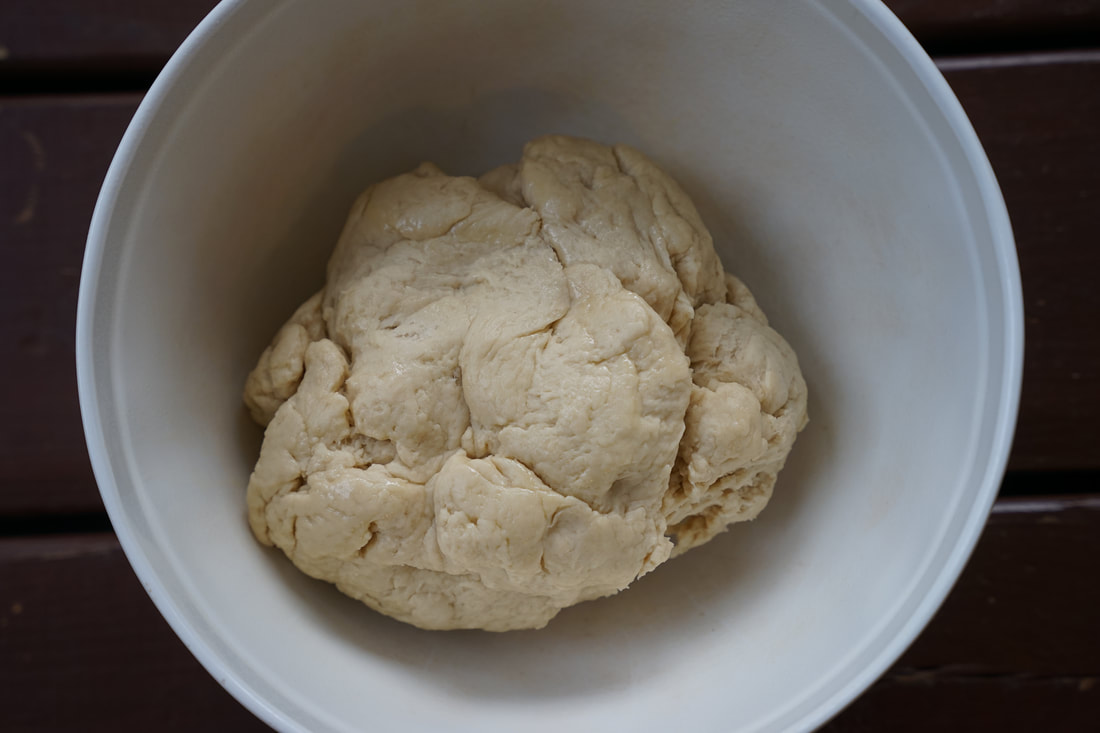
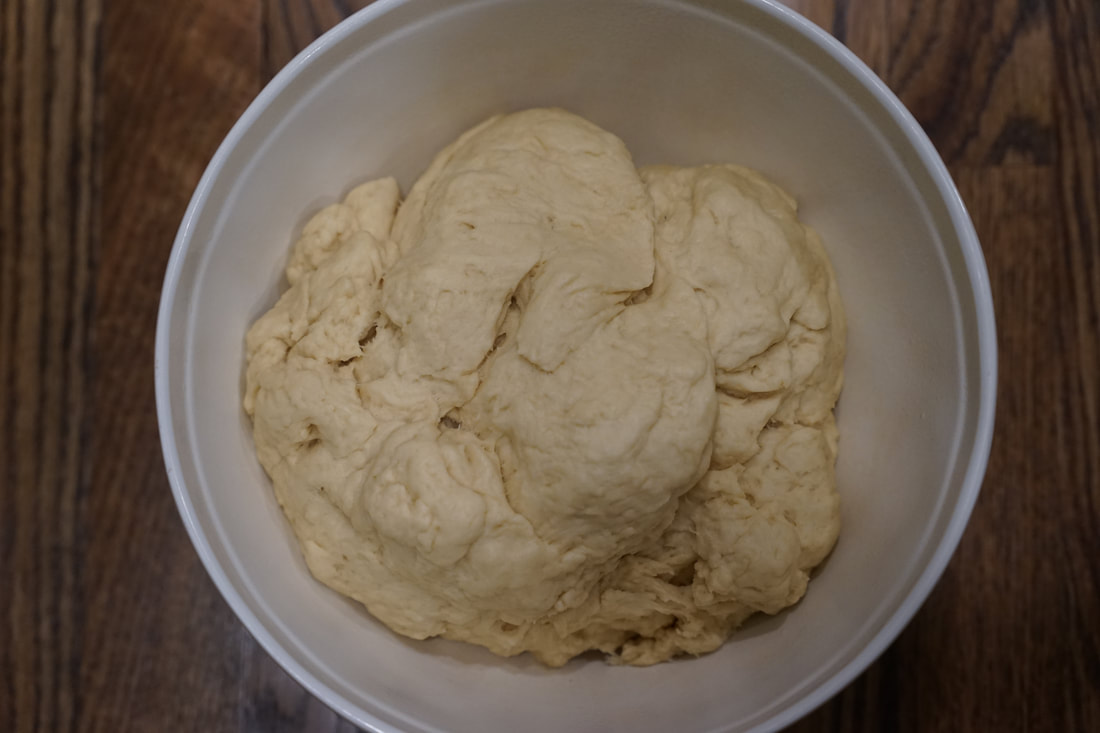
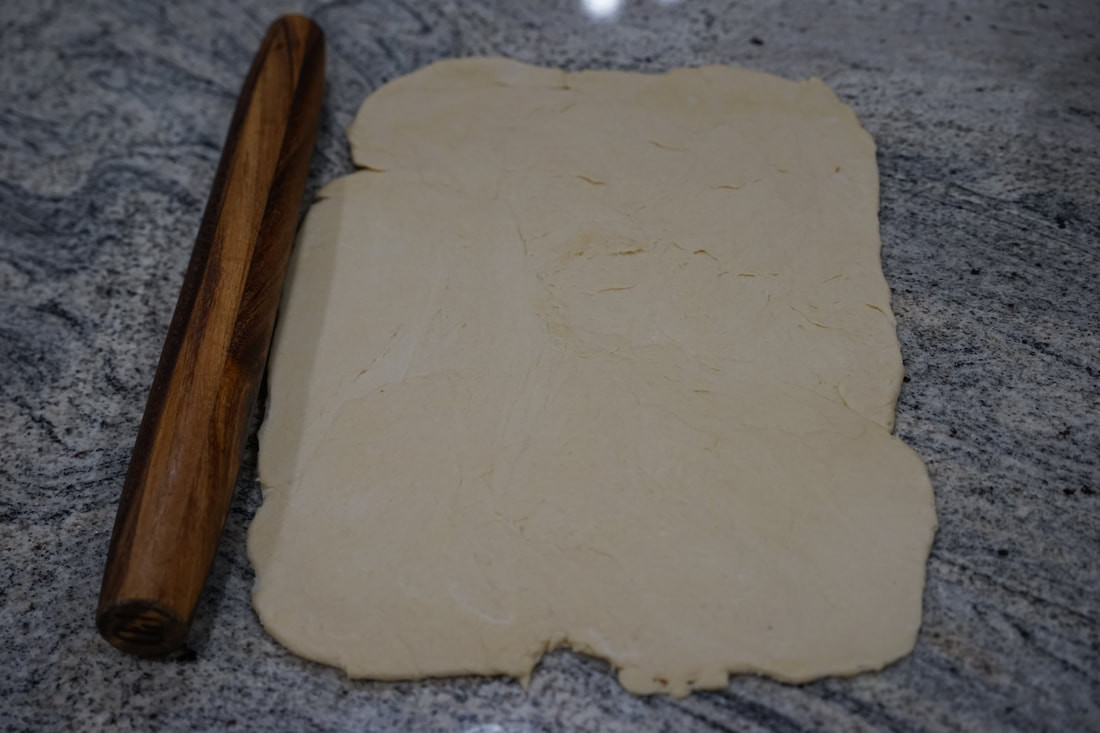
Ciao! 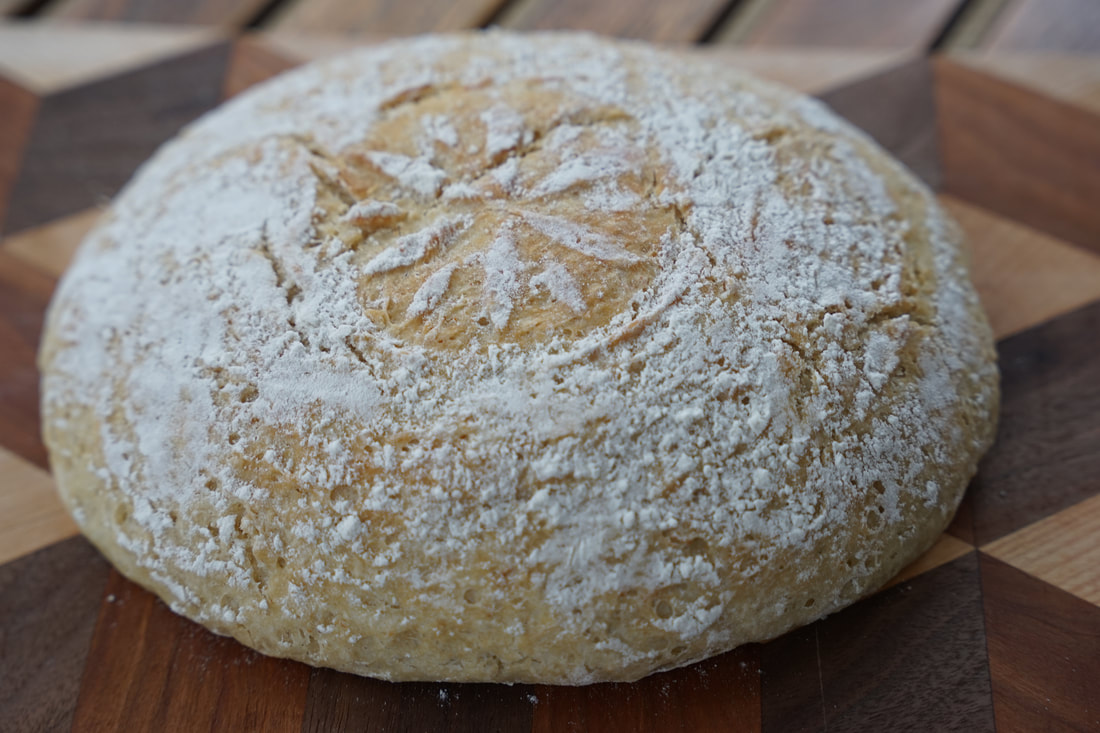 Hey Lexus - you haven't heard the last of me. Here's the abbreviated version of WHY I have a score to settle with Lexus.🚘 I took my one year old car to the service center at the dealership because I was getting showered with water through the sunroof whenever I took my car through a car wash.🧽 Not just a few drops of water either. 🤣 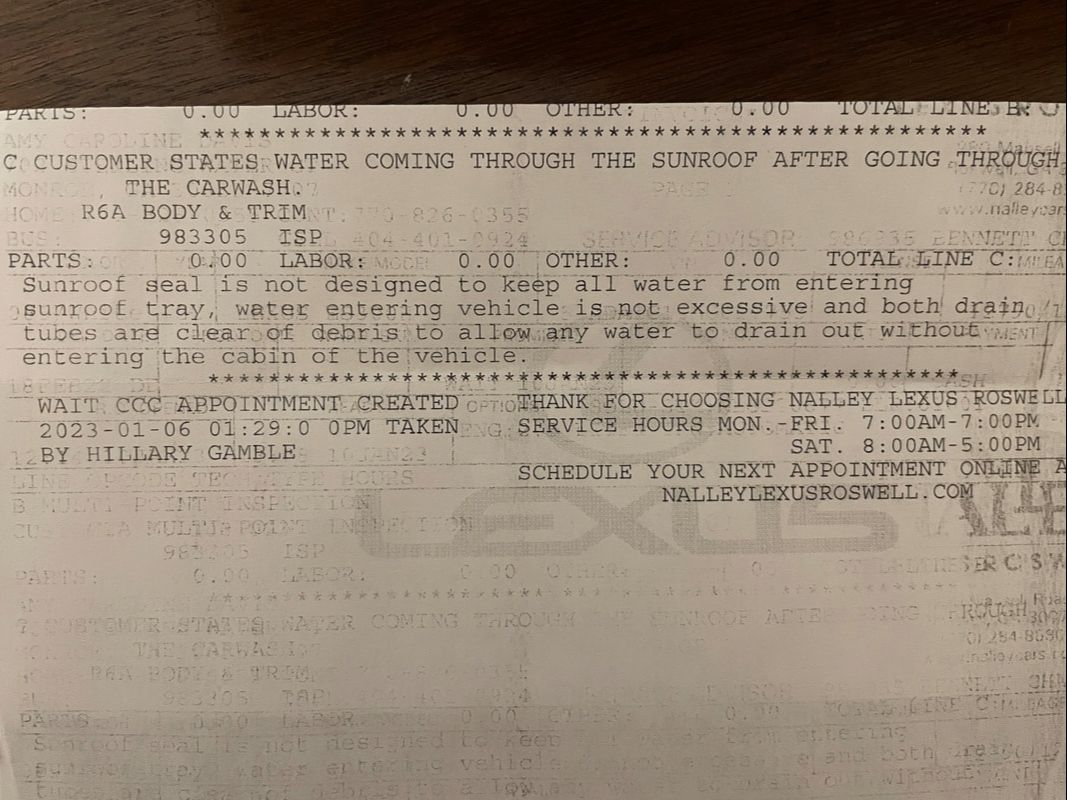 The official response that I got from the dealership was that the water that was entering the cabin of the car was "not excessive".🤷🏻♀️ After the service manager handed me this paperwork, he looked right at me (with a straight face) and said that the sunroof did in fact leak, when they ran it through their car wash but... it was an "acceptable" amount of water. 😳 WHAT?!? So Lexus, my question for you is: What is the "acceptable" amount of water to enter the cabin of a vehicle because my expectation was zero water leaking through the sunroof of my new car. 🤷🏻♀️ I've made my opinion known to Lexus through an email, a feedback survey and a phone call but as of today, there is still no plan of action to remedy the situation. I guess I'll just be wearing my rain coat through the car wash from now on. ☔️🤣 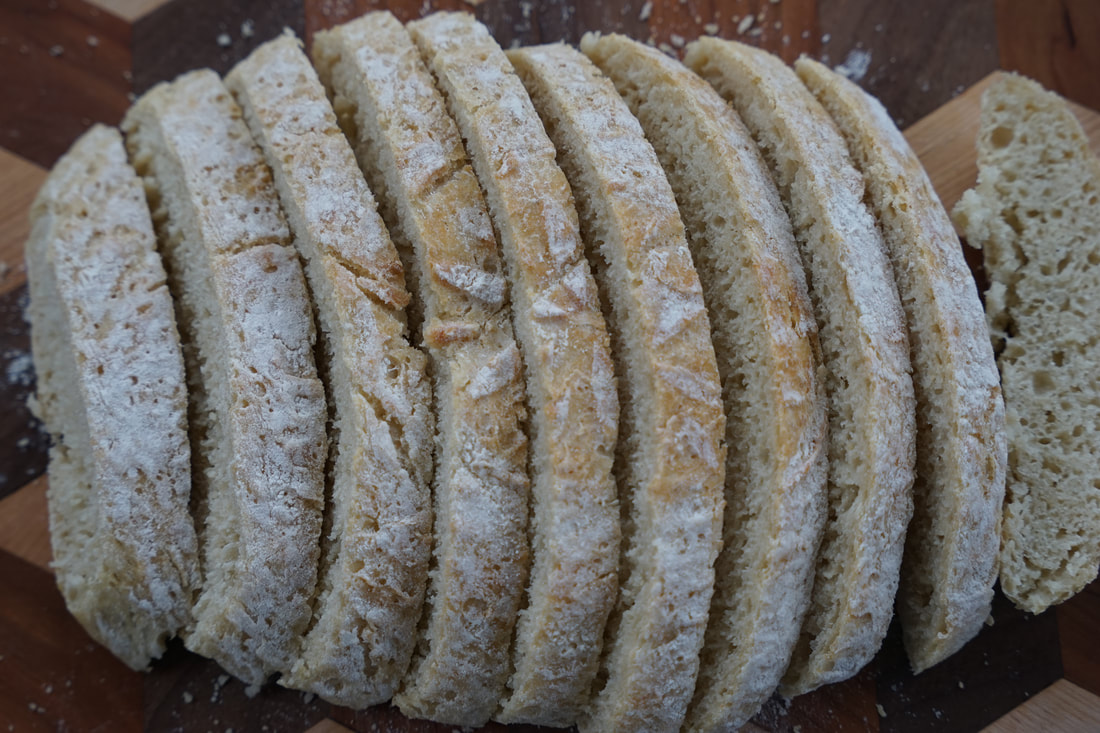 Just to be clear - I'm not opposed to getting wet.🤣 I actually enjoy a good spray of water --- in right circumstances.💦 Just not while I'm inside my car. 😅 There are days when I'm thankful to be a blogger so I can air all my grievances. I'm not sure food bloggers are supposed to share their car problems on a recipe blog but... oh well. 😂😂😂 On to the recipe of the day. Water is essential in the kitchen. It's one of only 4 ingredients in my Italian bread recipe and arguably, one of the most critical elements. Too hot and it kills the yeast. Too cold and it won't activate it. Too much water and the dough will be too sticky. Too little and it will be tough.🥖 Yeast breads can be tricky but if you can learn to get the water right - you'll have no problem. I've already worked out the water quantity for this Crusty Italian Bread so all you have to do is follow the recipe and make sure that your temperature is right. If you've got a thermometer - shoot for water between 120 and 130 degrees. 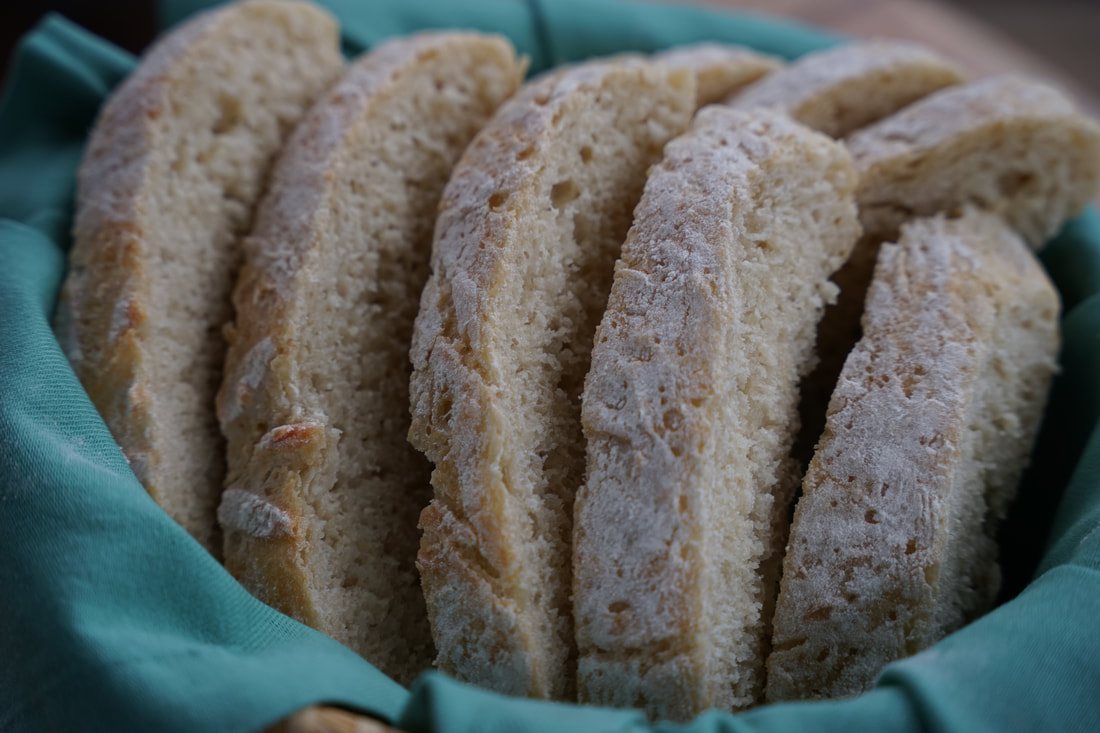 Crusty Italian Bread 3 ¼ cups all-purpose flour 1 teaspoon salt 2 teaspoons active dry yeast 1 ½ cups warm water 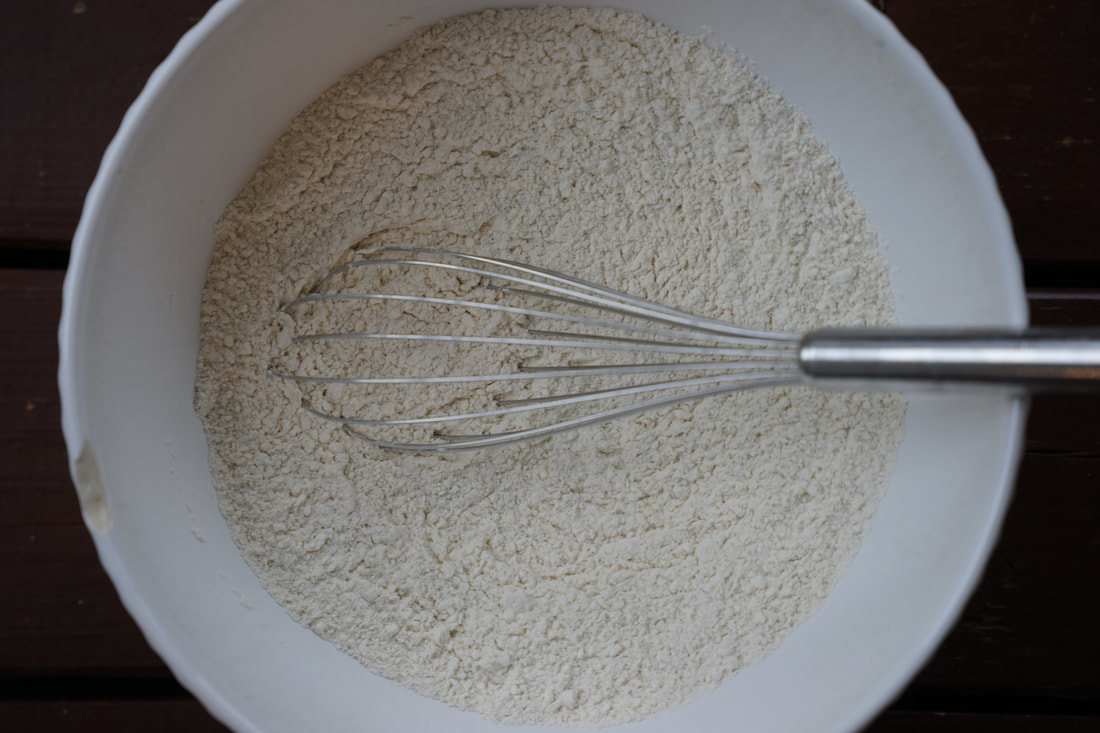 Combine flour, salt and yeast in a large bowl. 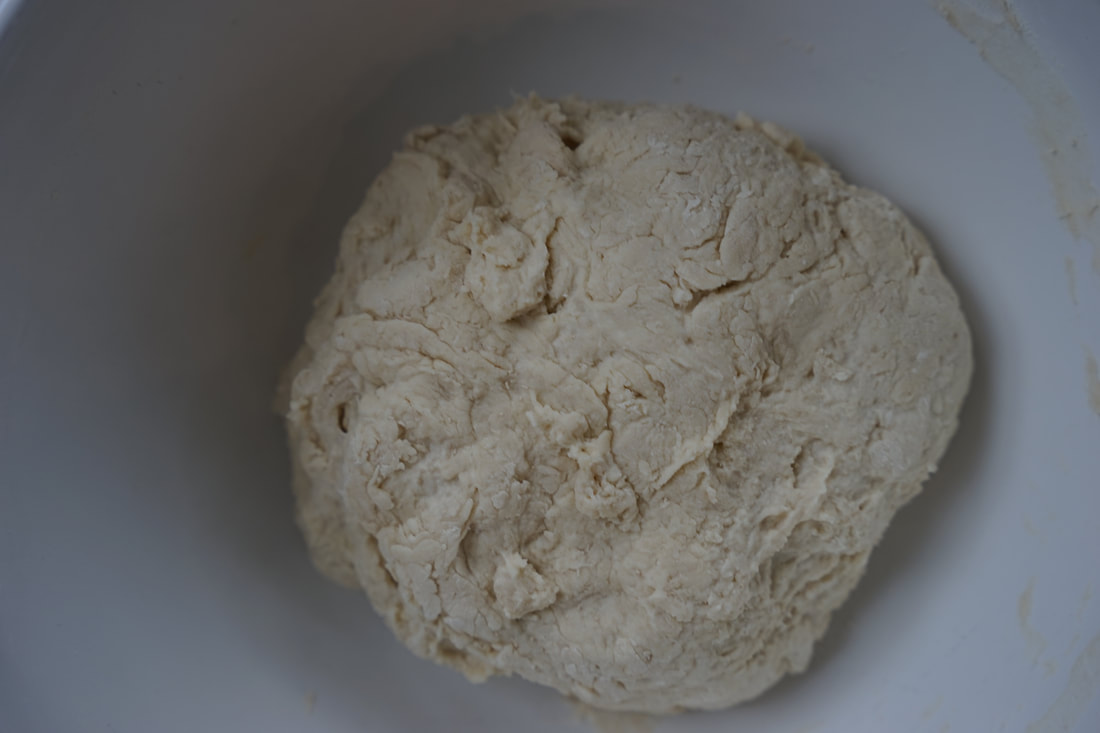 Add water and stir to combine. 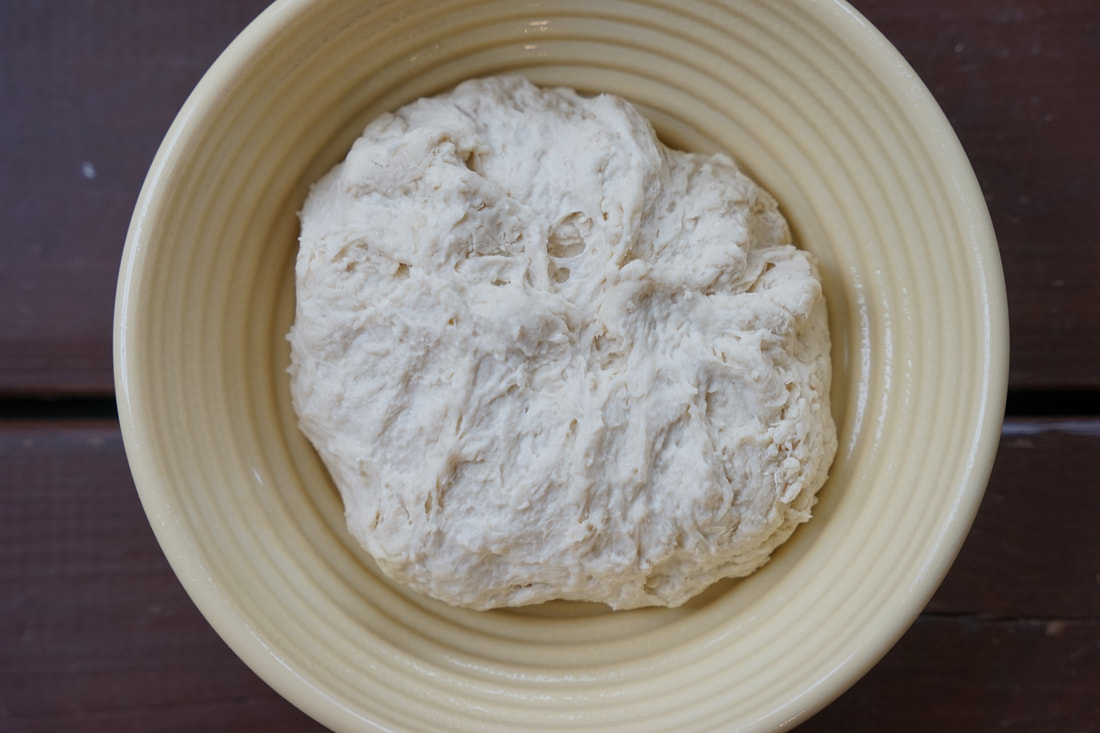 Transfer bowl to a greased, proofing bowl. 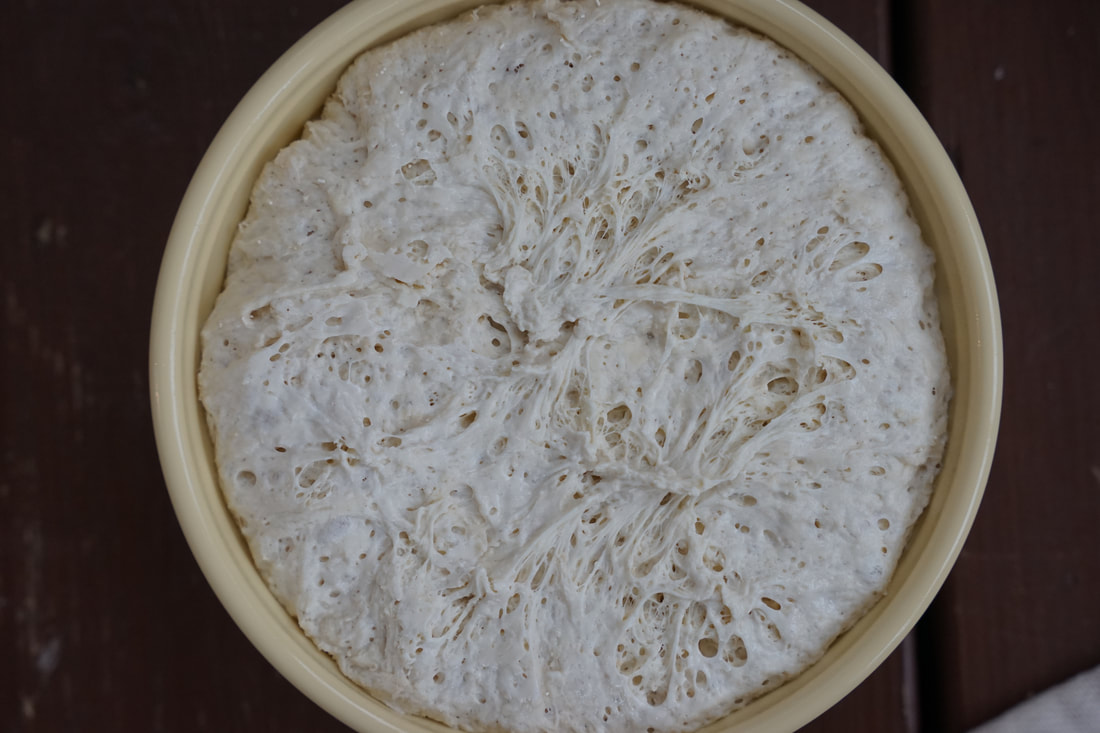 Cover bowl with plastic wrap and let rest for 3 hours. 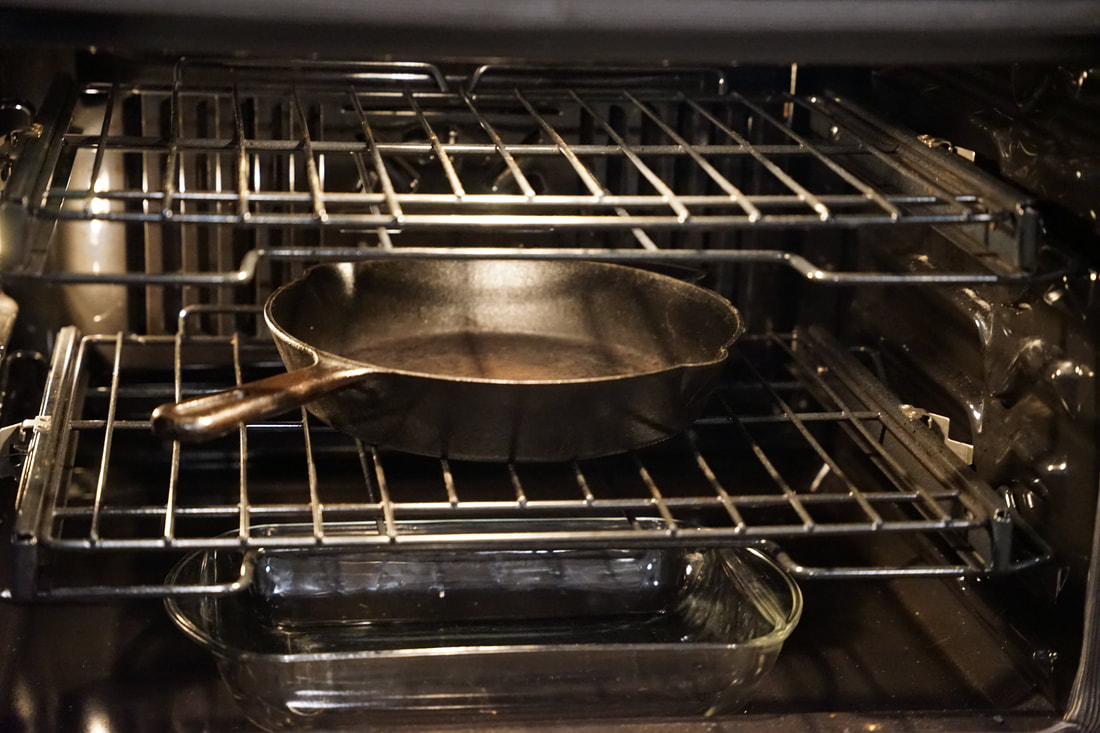 Place cast iron pan in oven and preheat to 425. Fill a glass dish with 2" water and place in the bottom of the oven while it heats. 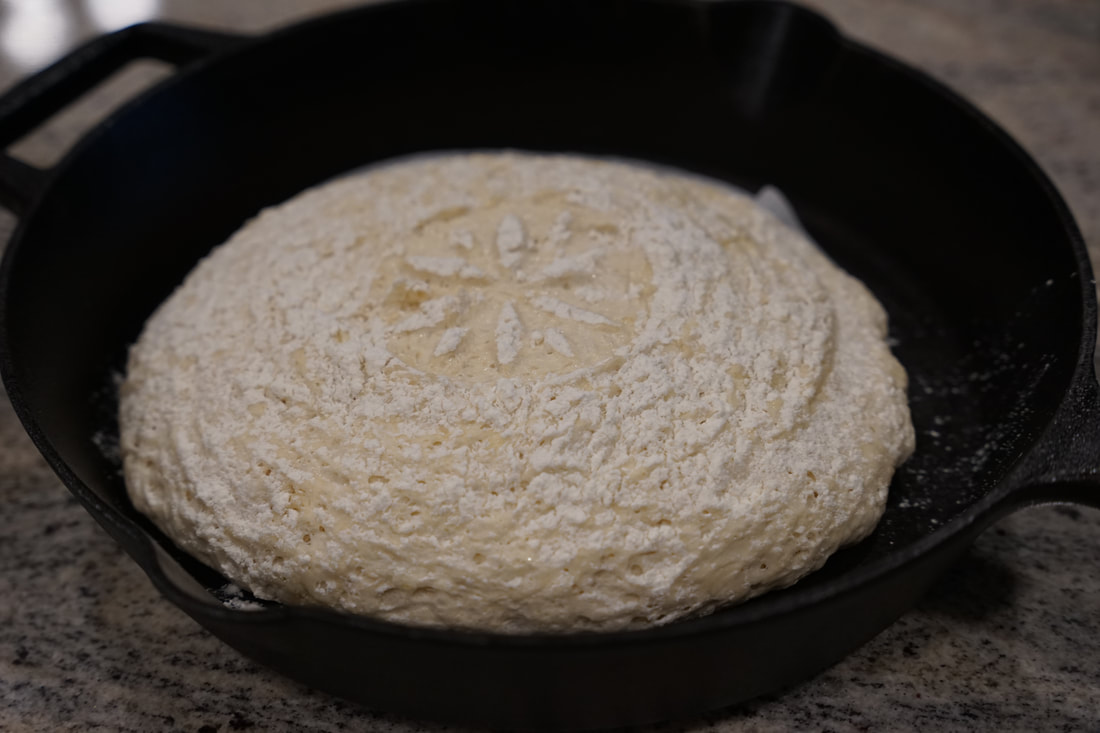 Gently turn dough out onto a parchment circle. Sprinkle the top with flour. Place dough into hot skillet. 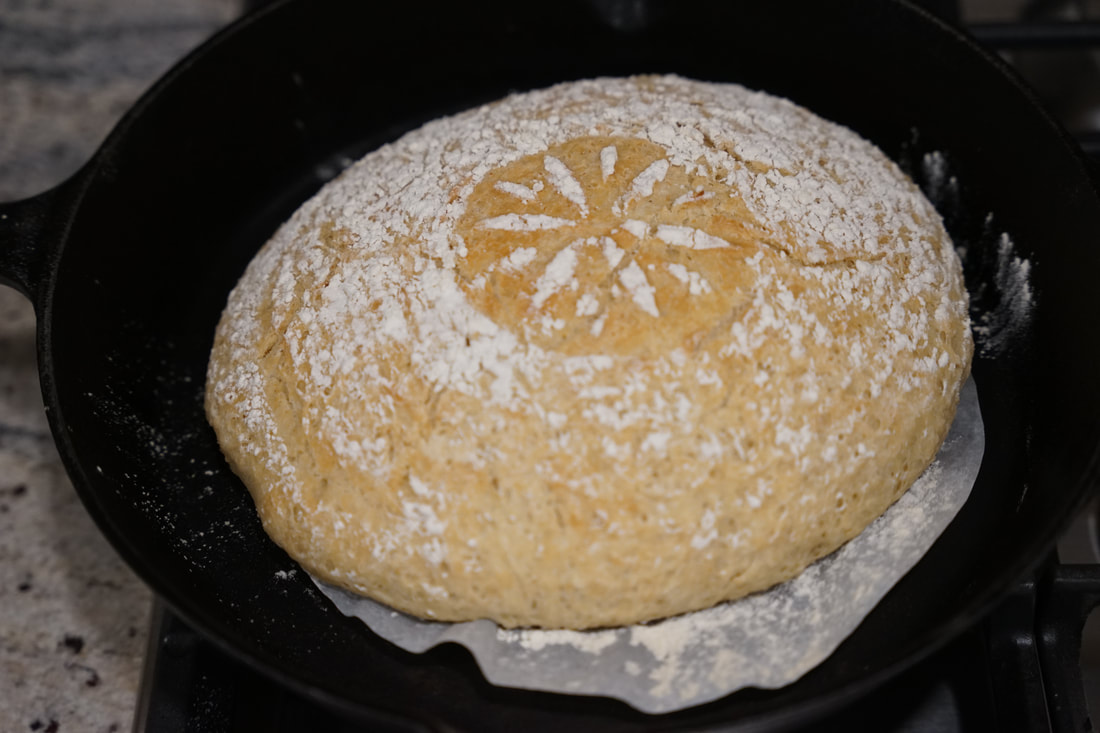 Bake 30-40 minutes. 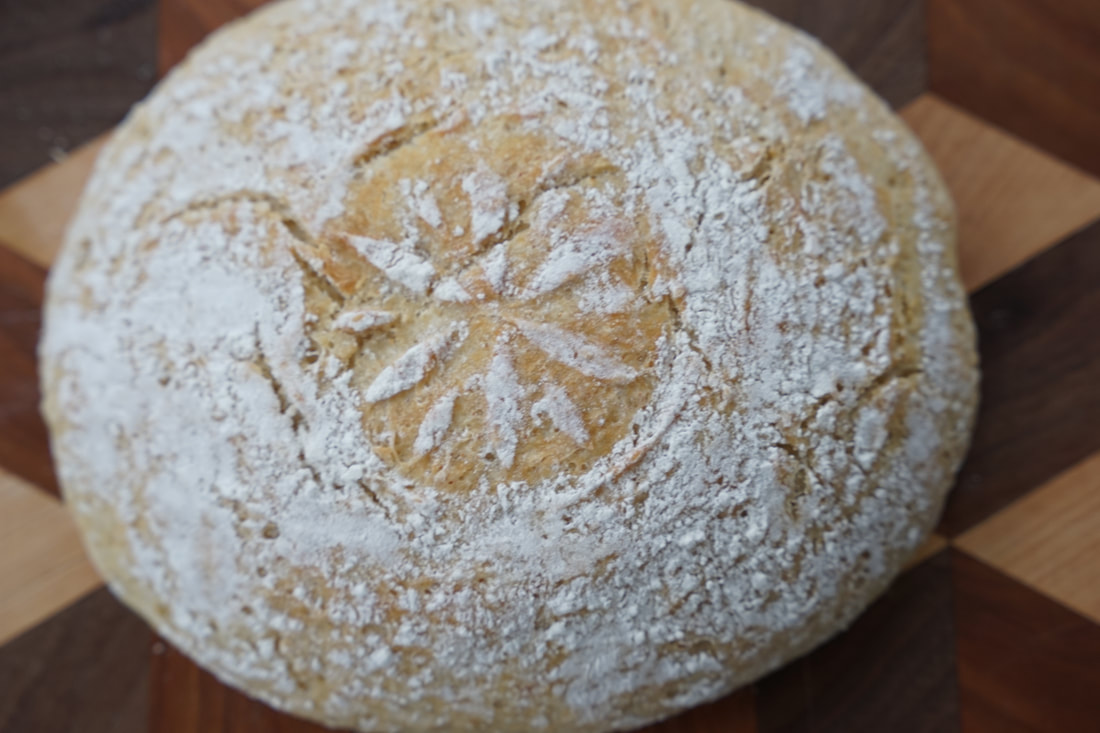 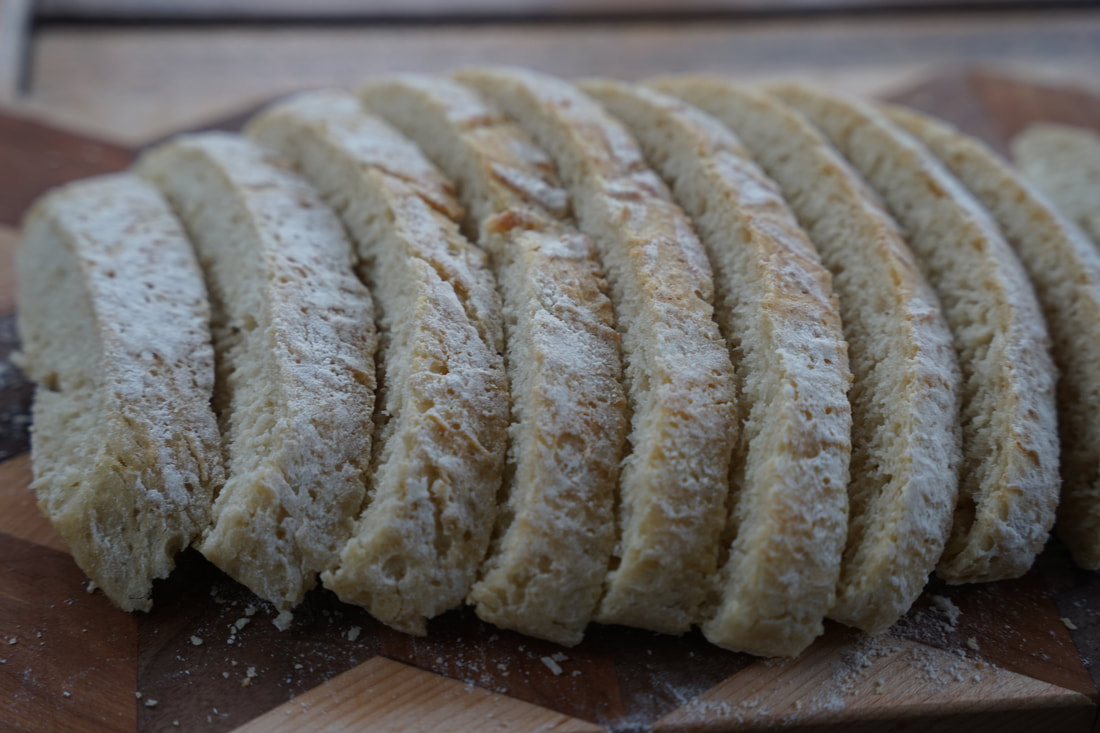 Slice.
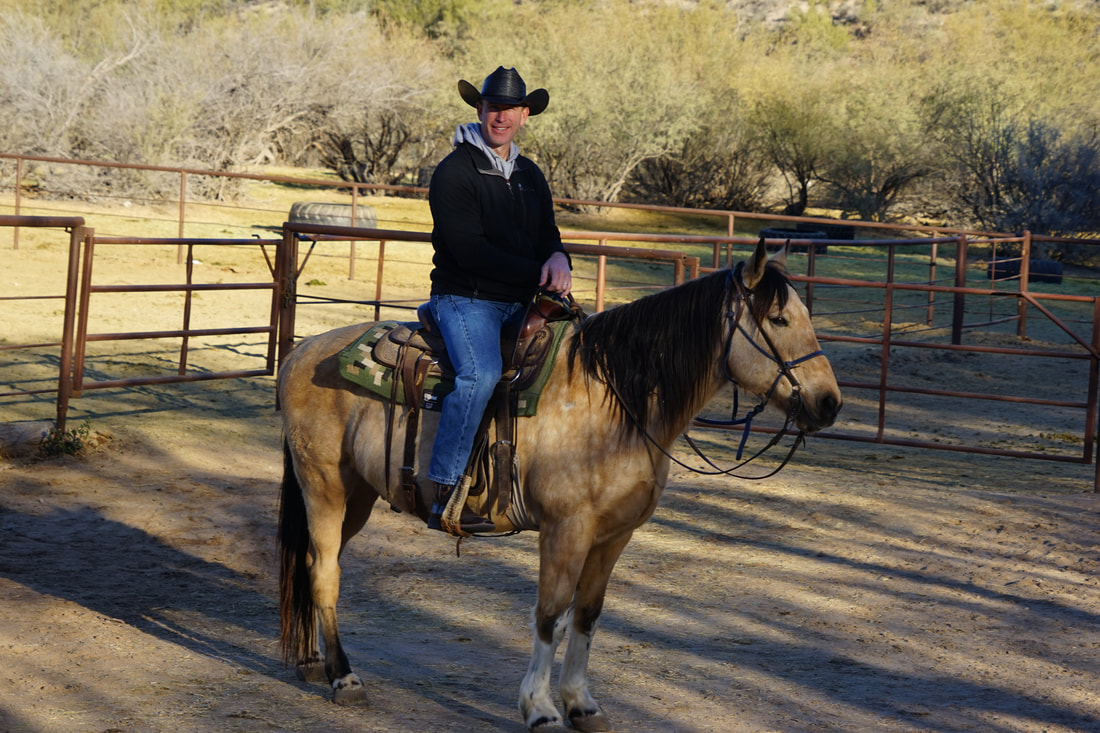
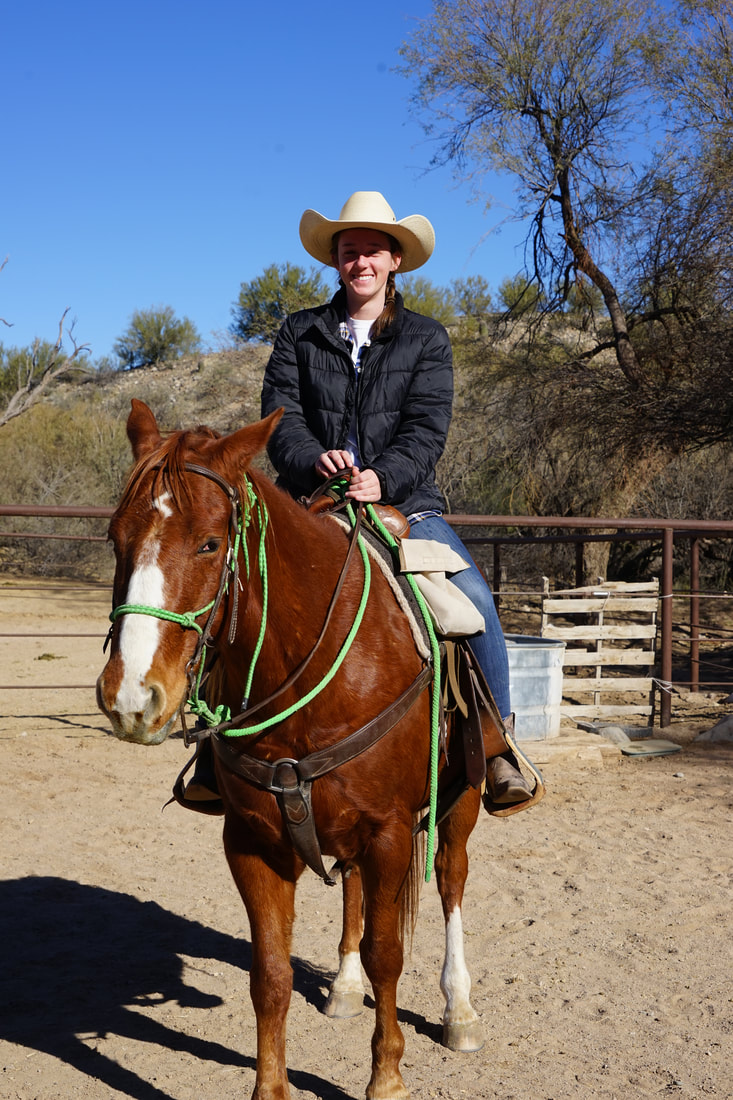
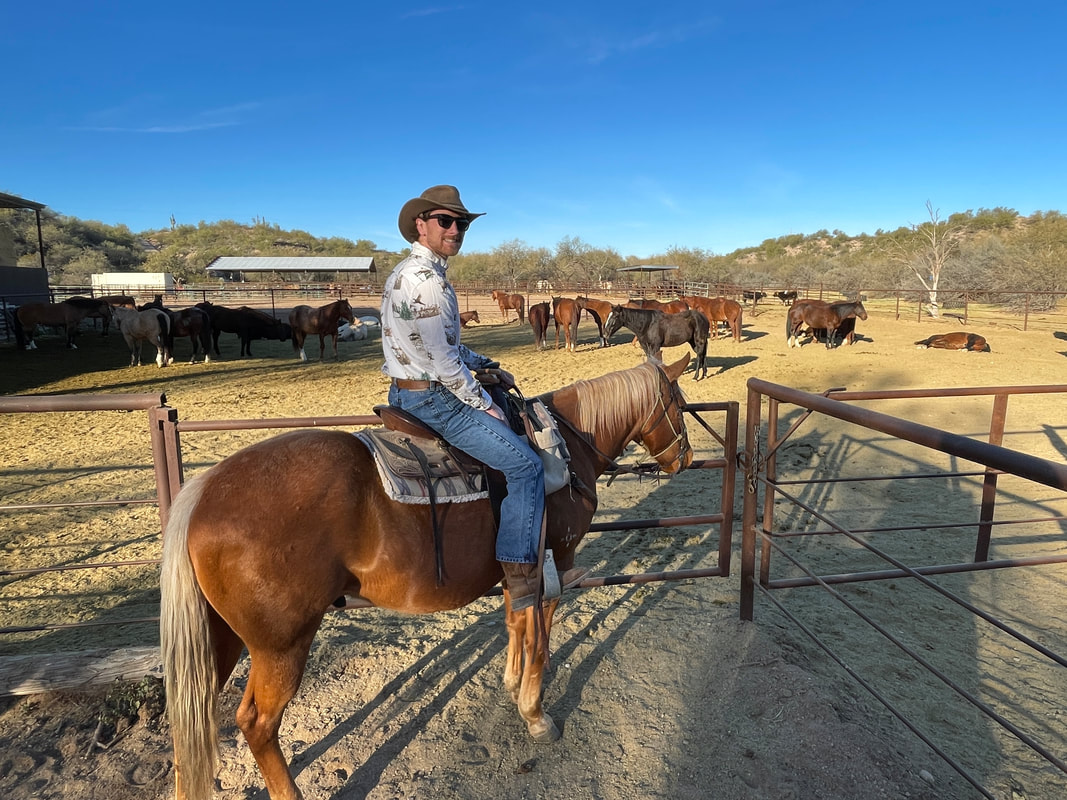
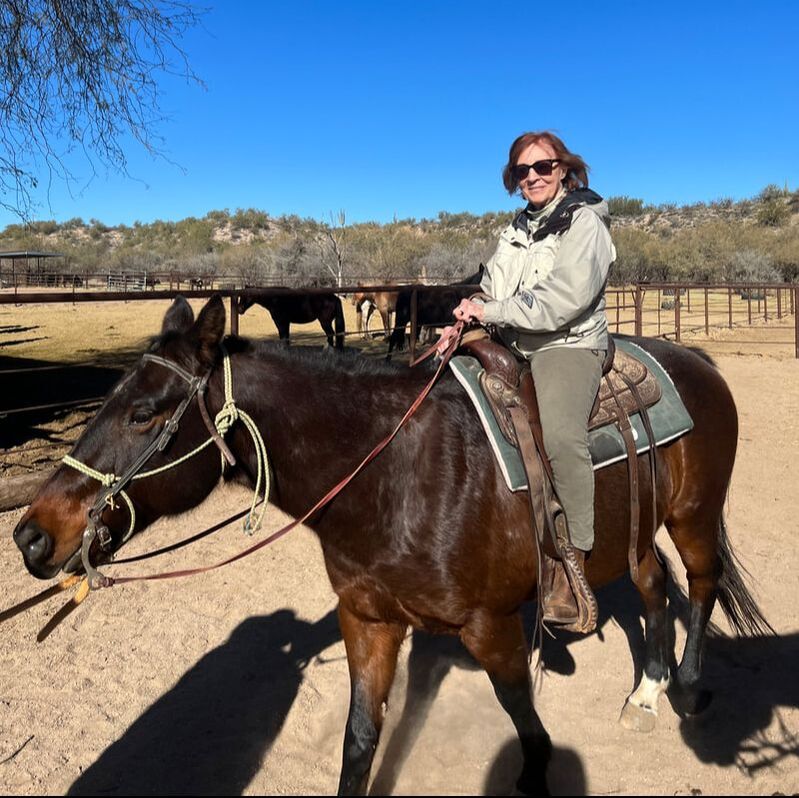
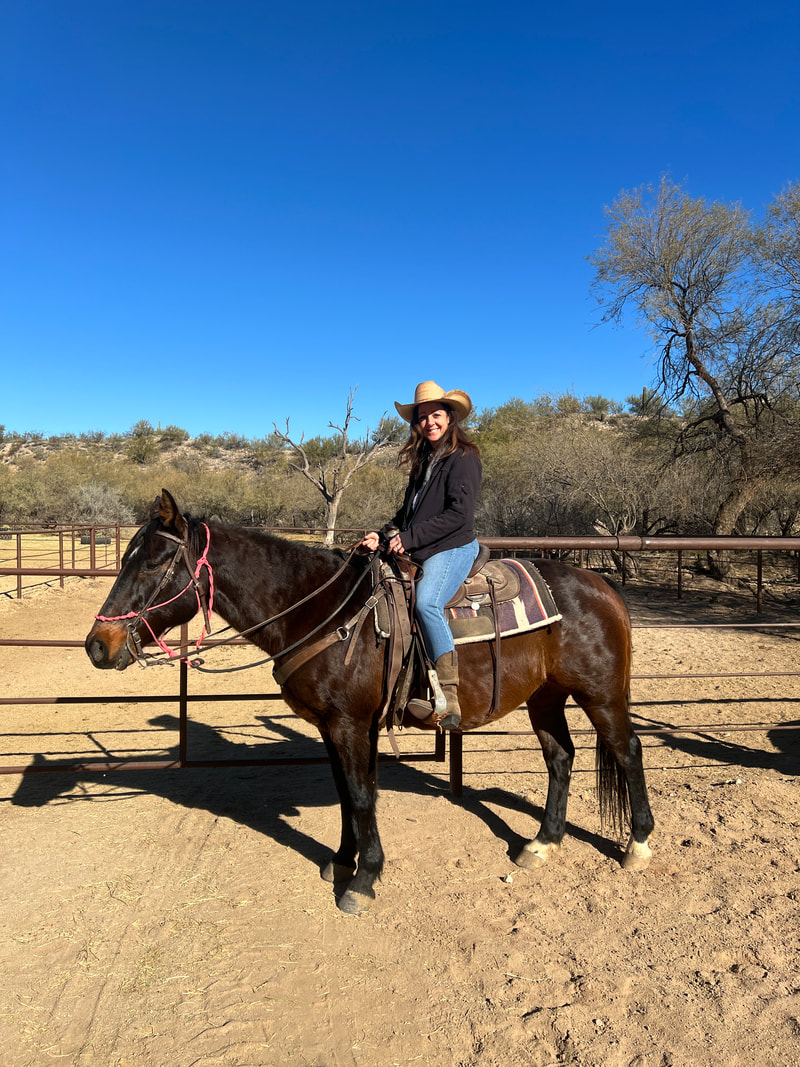
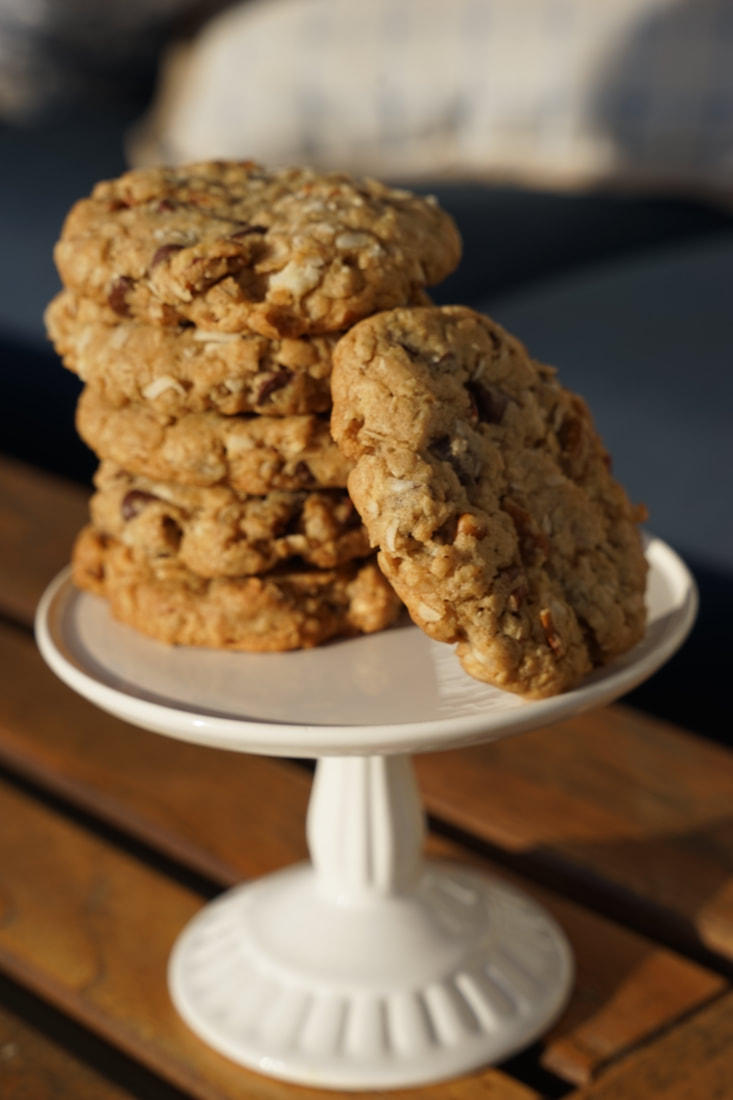
I made dozens of loaves of this scrumptious bread over the holidays and passed them out to friends and neighbors along with a bottle of olive oil. I figured it might be a nice change from all of the sweets that we eat around Christmas. I hope that you enjoy this as much as I do. Ciao! 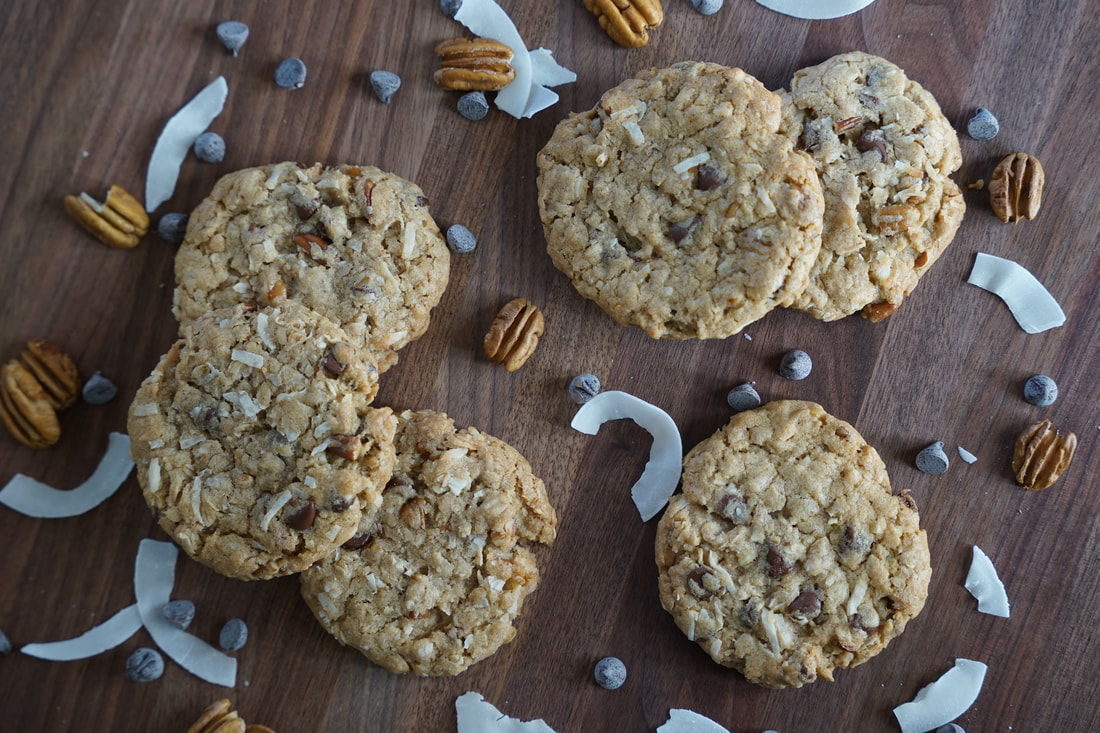 You didn't really think that I could visit a dude ranch and NOT post a cowboy cookie recipe, did you? 🤠 The blog practically writes itself. 😅 Have you ever seen more authentic looking cowboys and cowgirls? 😂🐎
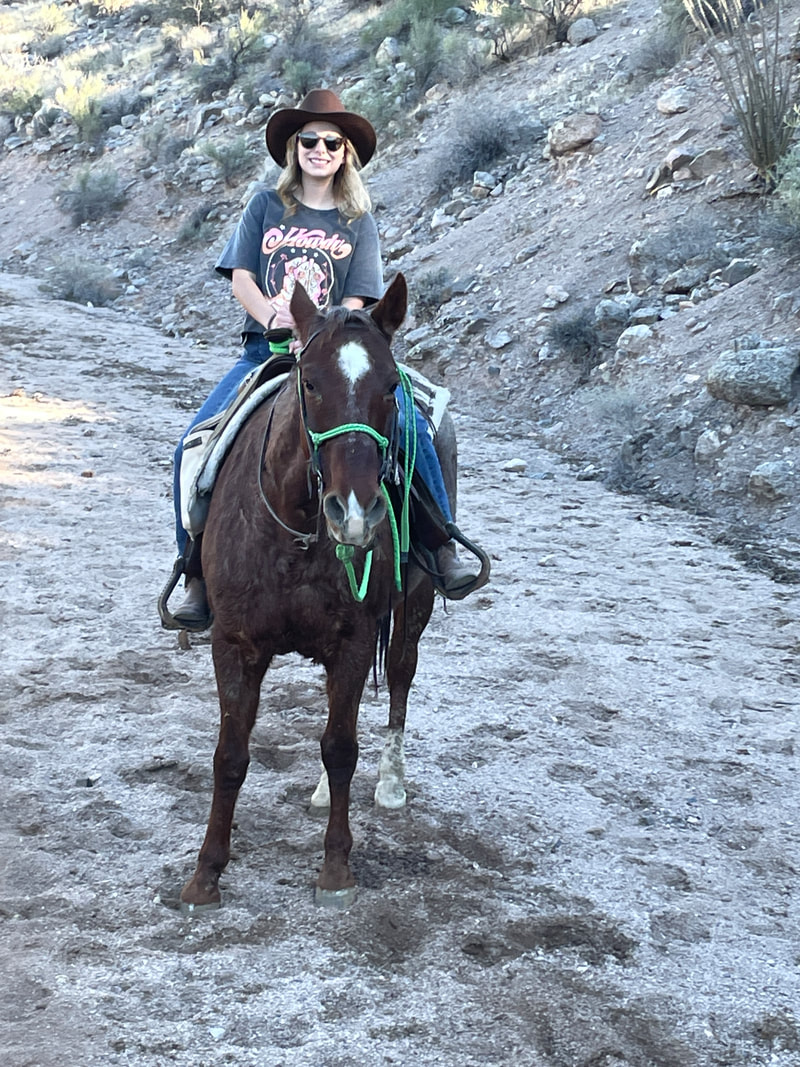
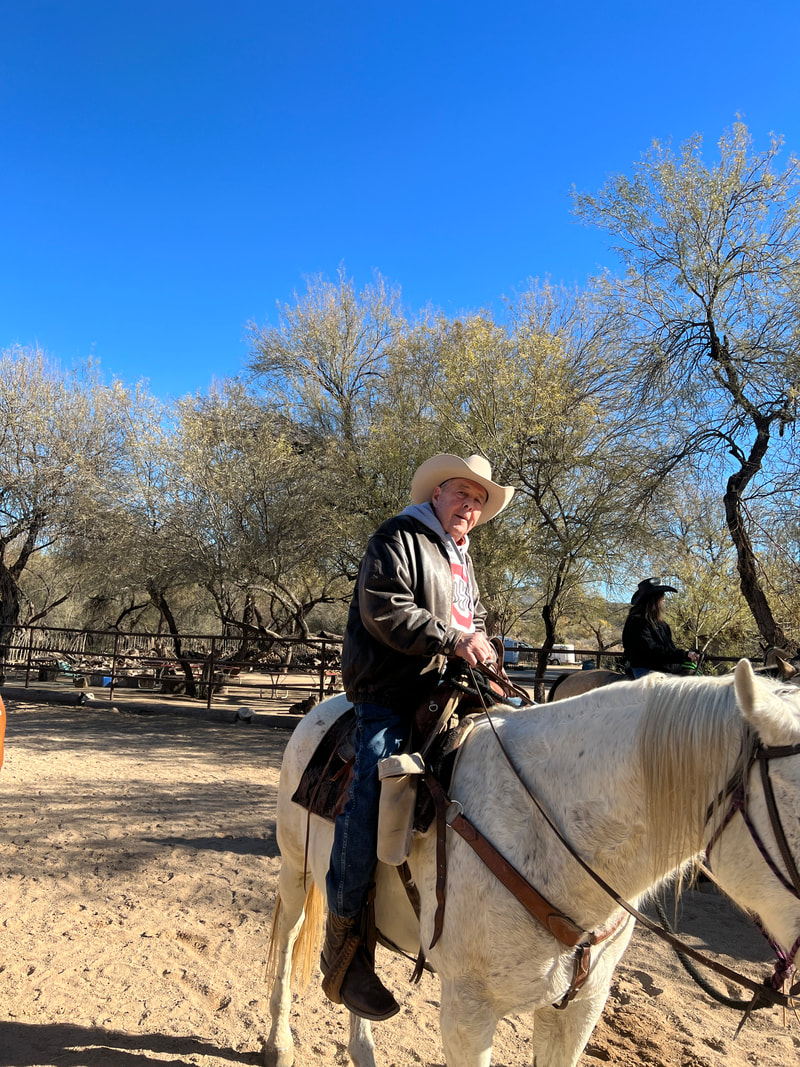
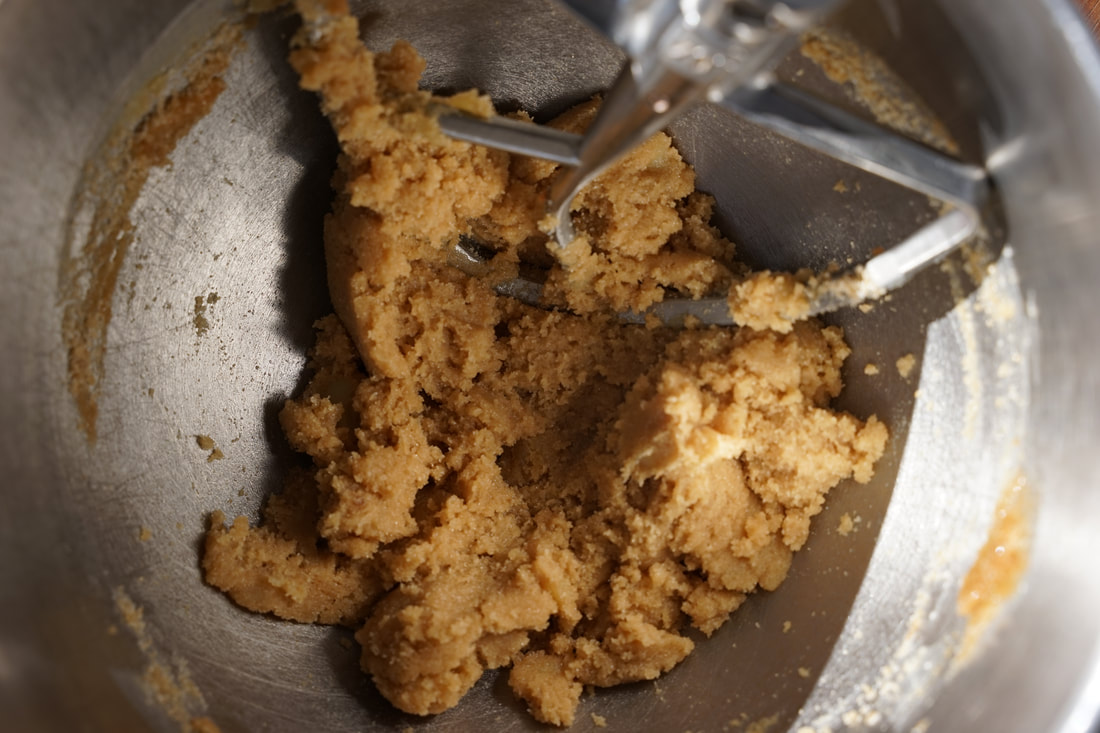
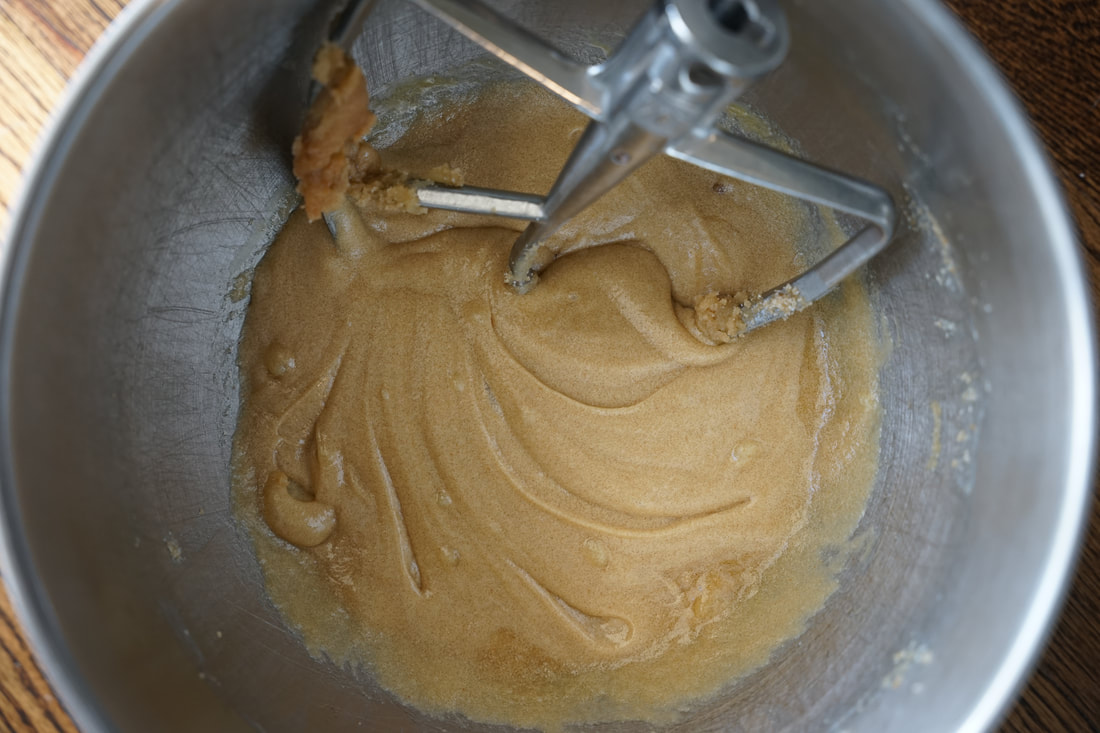
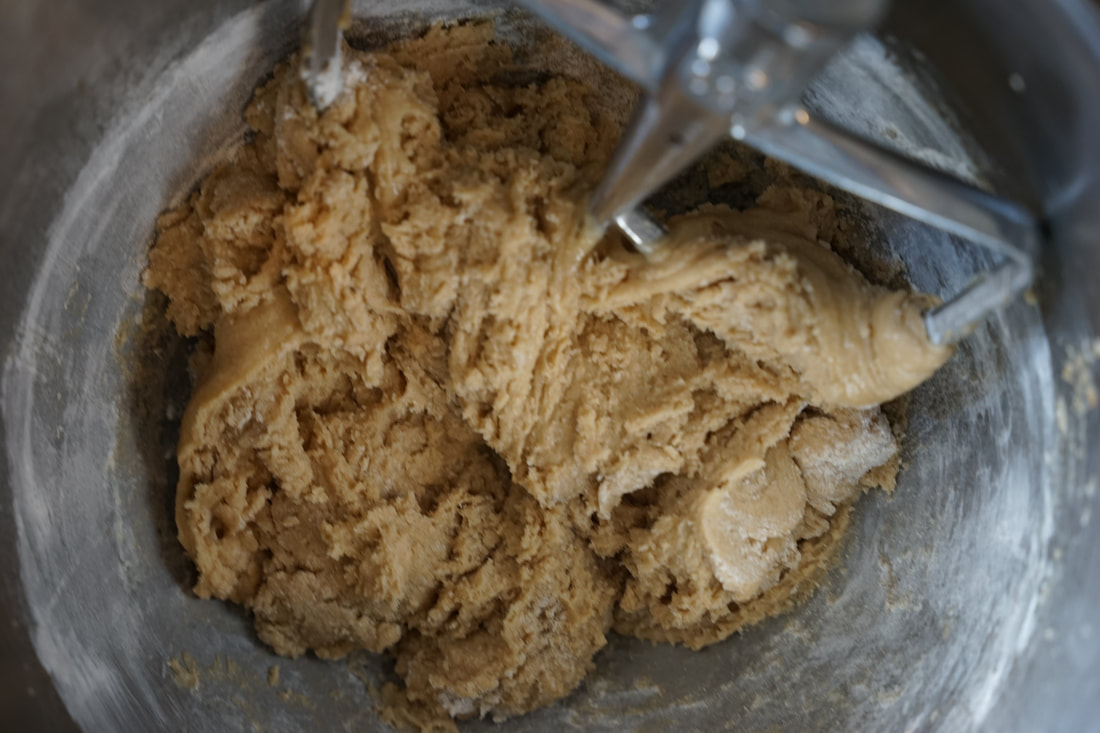
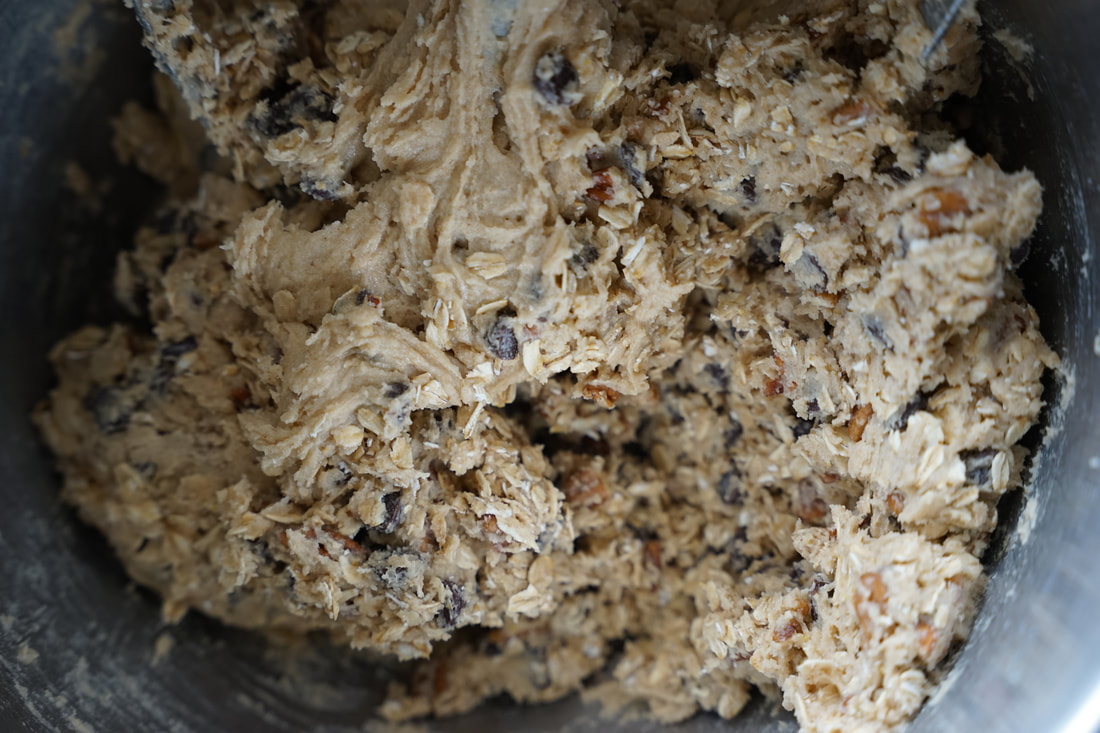
We dressed the part and we played the part of cowboys and cowgirls. And we had a blast! We weren't exactly living like true cowboys though. We feasted on 3 meals a day prepared by the ranch chef. And even though real cowboys may have had a cook, I'm fairly certain that there were no 5:00 appetizer hour with charcuterie boards and bacon wrapped shrimp. 😅 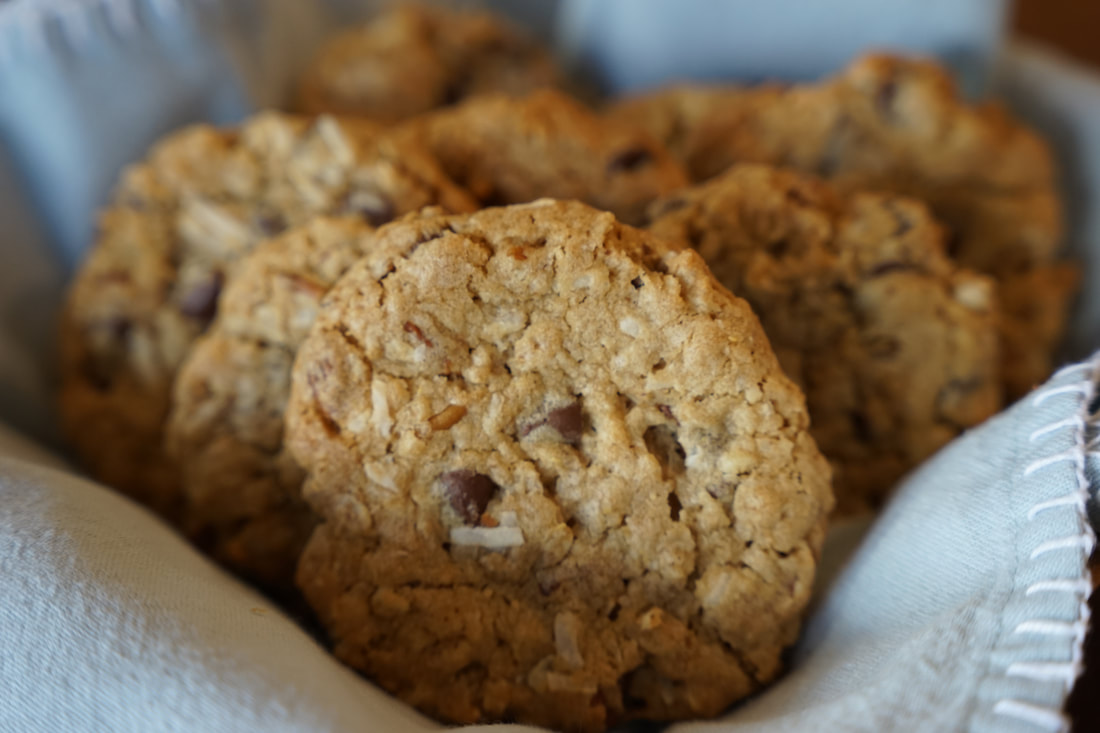 I didn't even mention the bottomless plate of freshly baked cookies that were available for us to snack on all afternoon. And it might surprise you to find out that the most common cookie on the ranch was a brown sugar blueberry cookie. Not sure if that's an authentic cowboy treat but boy, were they delicious. 🍪 And before you ask the question - I have no idea why they call chocolate, coconut, oat and pecan filled cookies - cowboy cookies.🤷🏻♀️ Maybe it's the foods that cowboys need for fuel for long cattle drives and penning practice.🐄 I didn't drive any cattle while I was on the ranch but, I did participate in some team penning so naturally, I felt fully qualified to eat cowboy cookies. 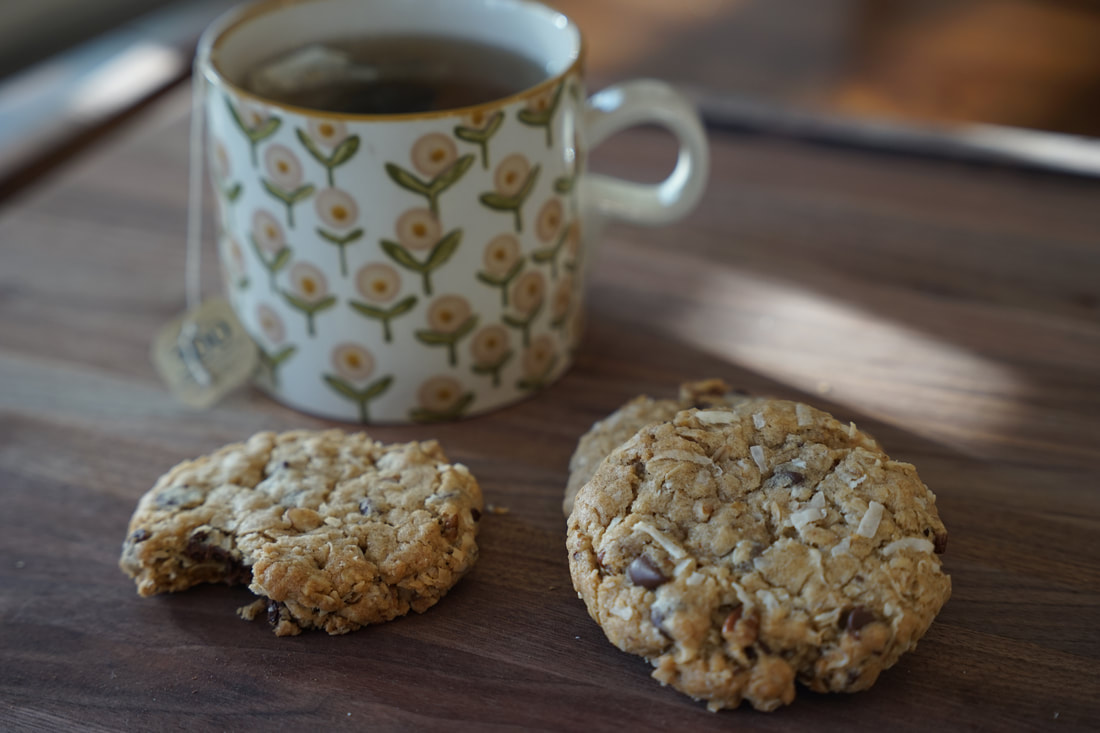 Cowboy Cookies 1 cup butter 1 3/4 cups flour 1 teaspoon baking soda 1 teaspoon sea salt 1/2 teaspoon cinnamon 1 cup brown sugar, packed 1/2 cup granulated sugar 2 large eggs 1 tablespoon vanilla 2 cups old fashioned rolled oats 1 cup toasted coconut 1 cup chopped pecans or candied pecans 1 1/4 cups chocolate chips
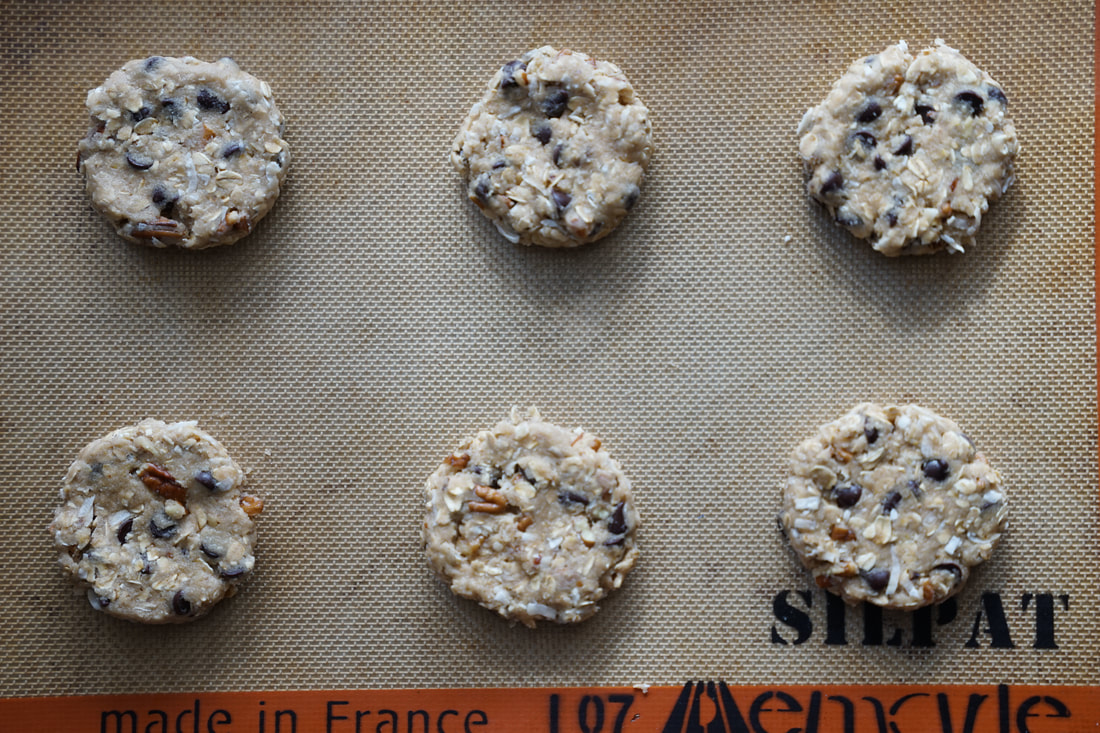
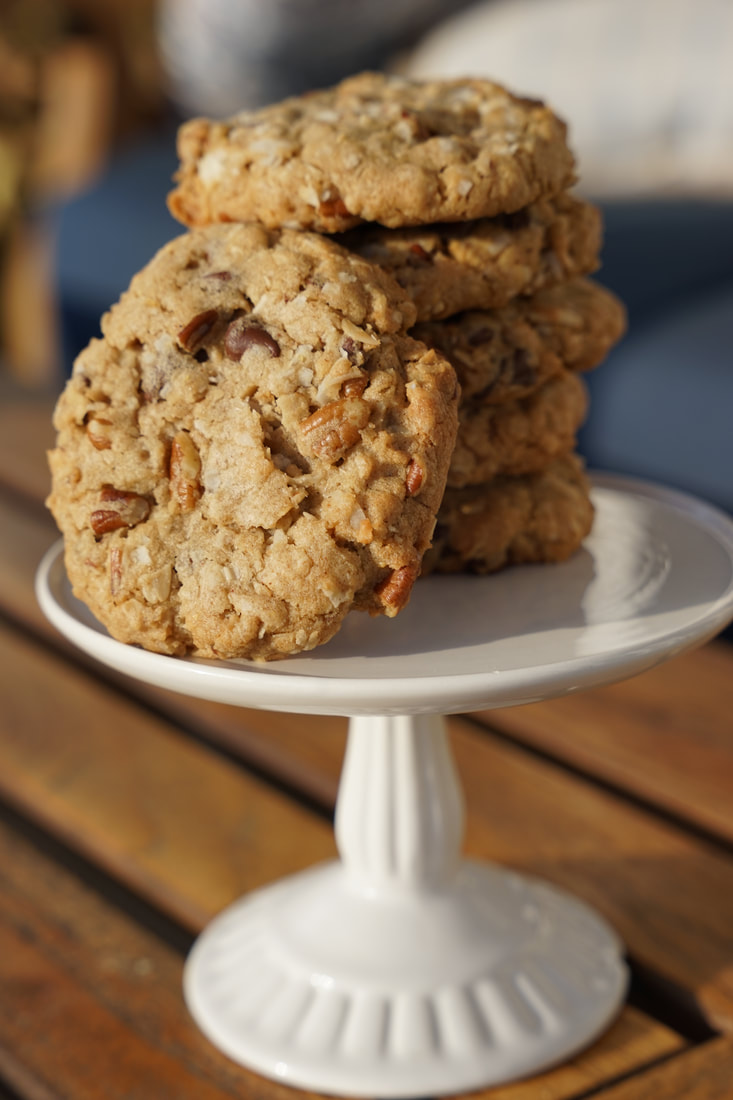
Bake for 10 to 14 minutes at 350 or until cookies are golden brown around the edges but still a little soft in the center.
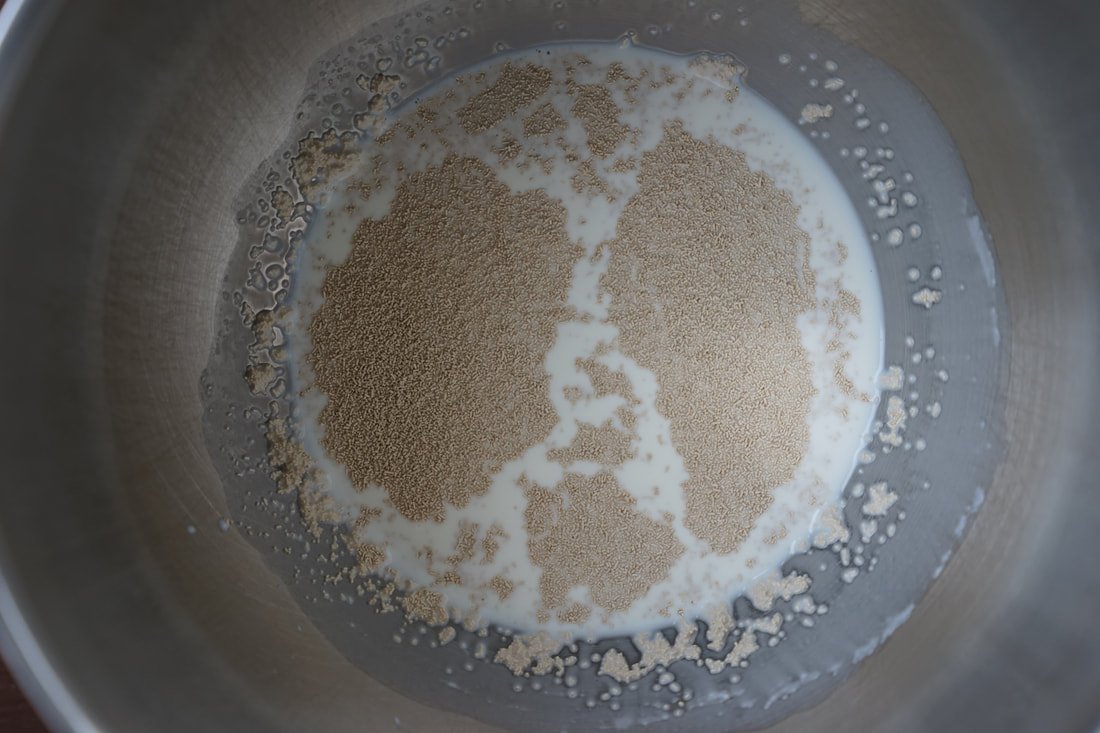
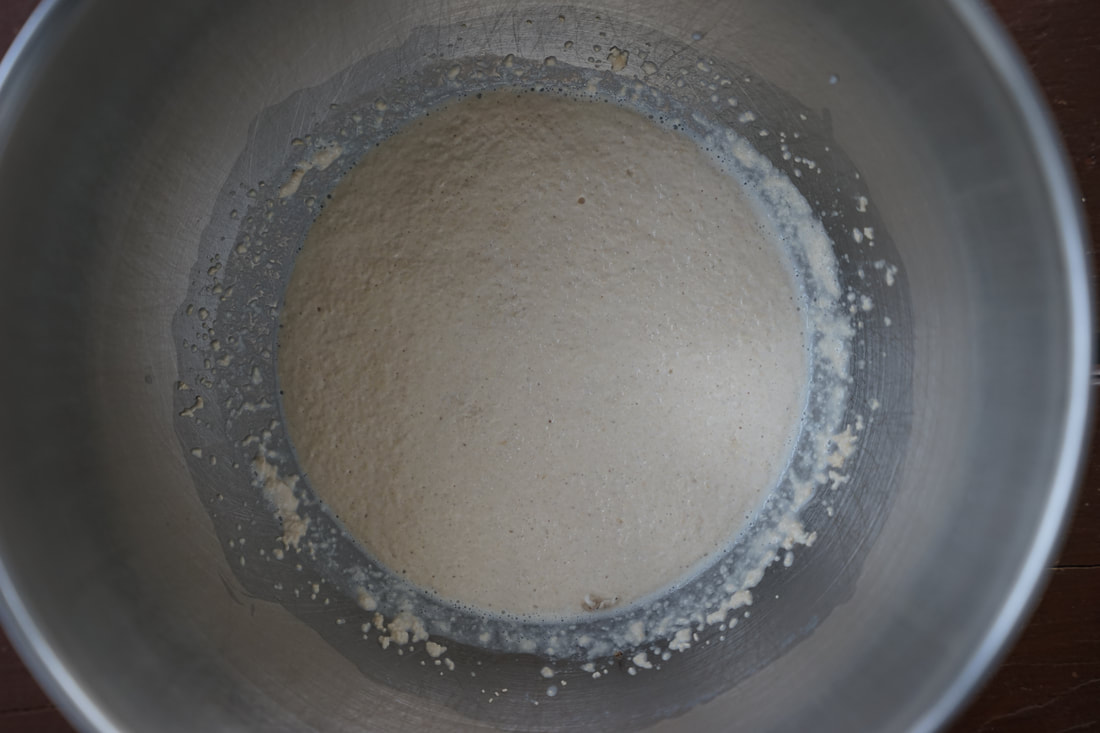
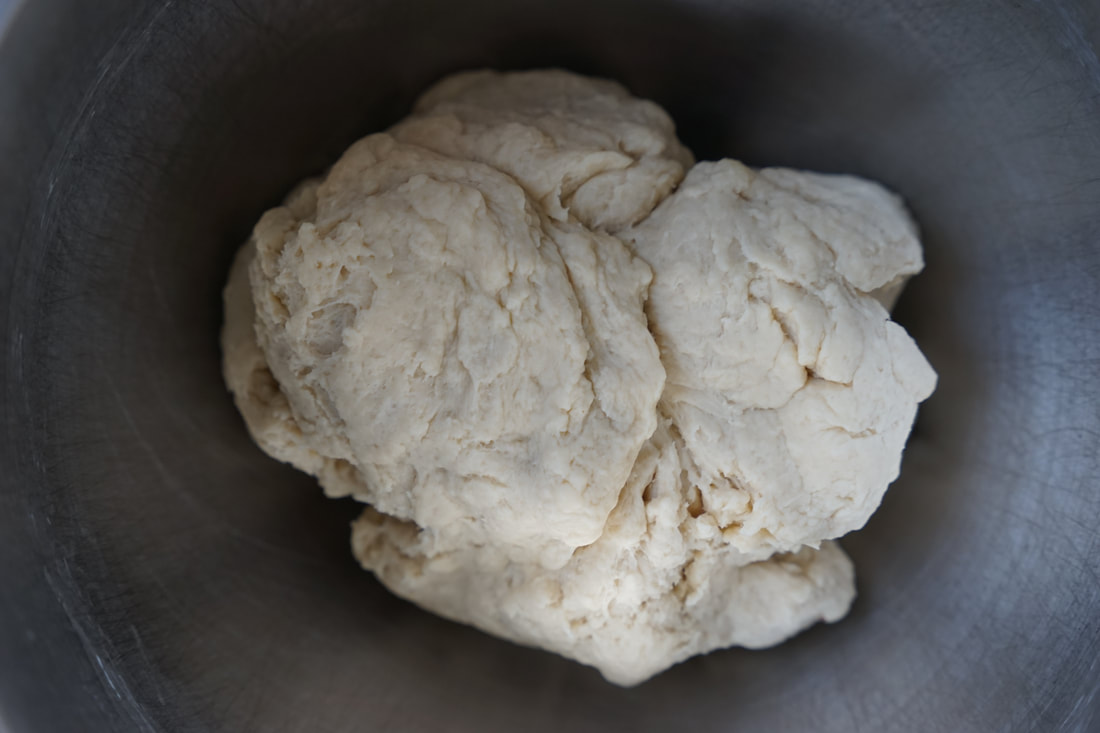
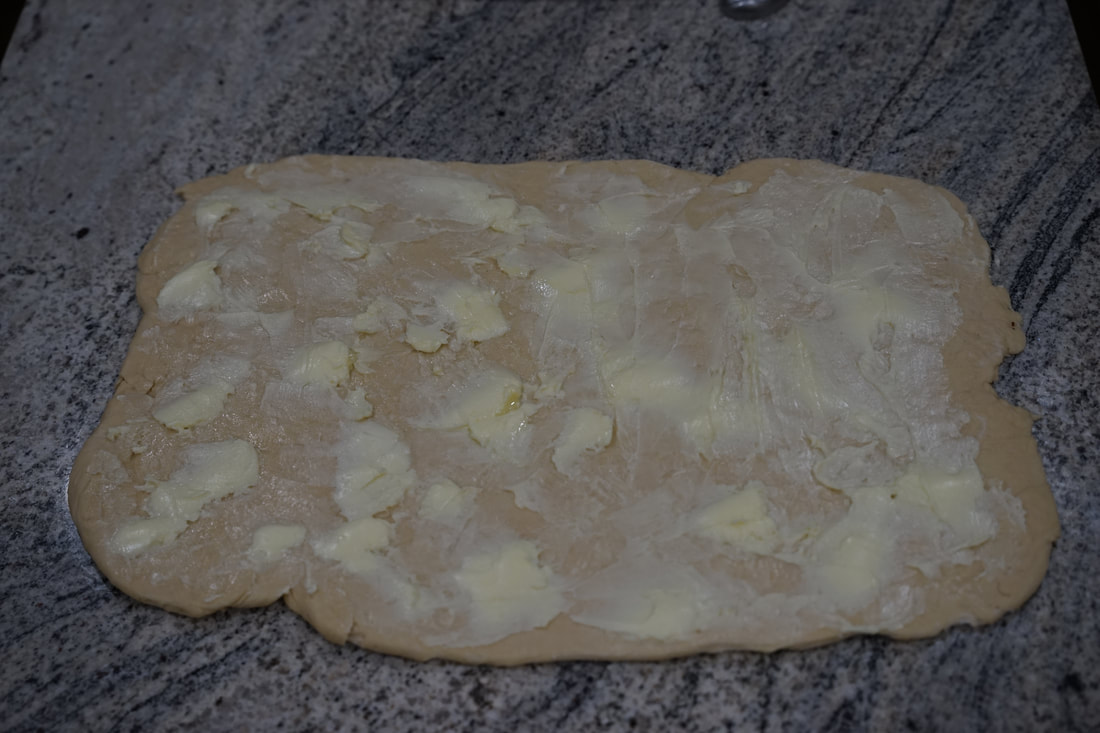
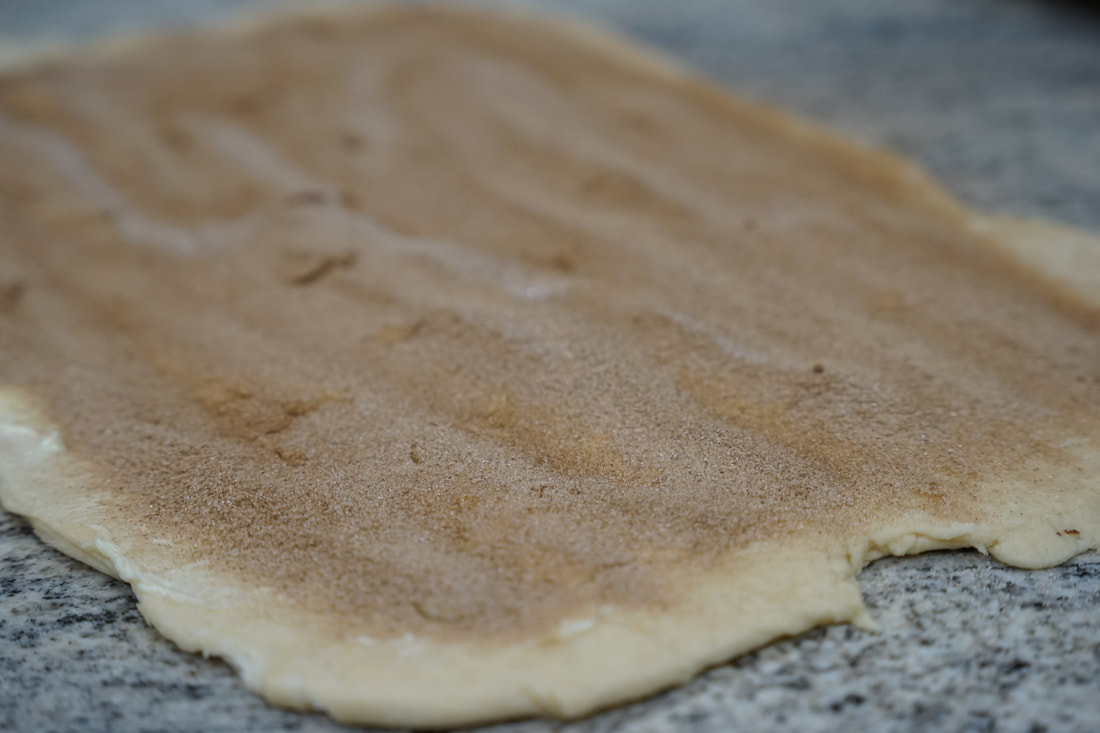
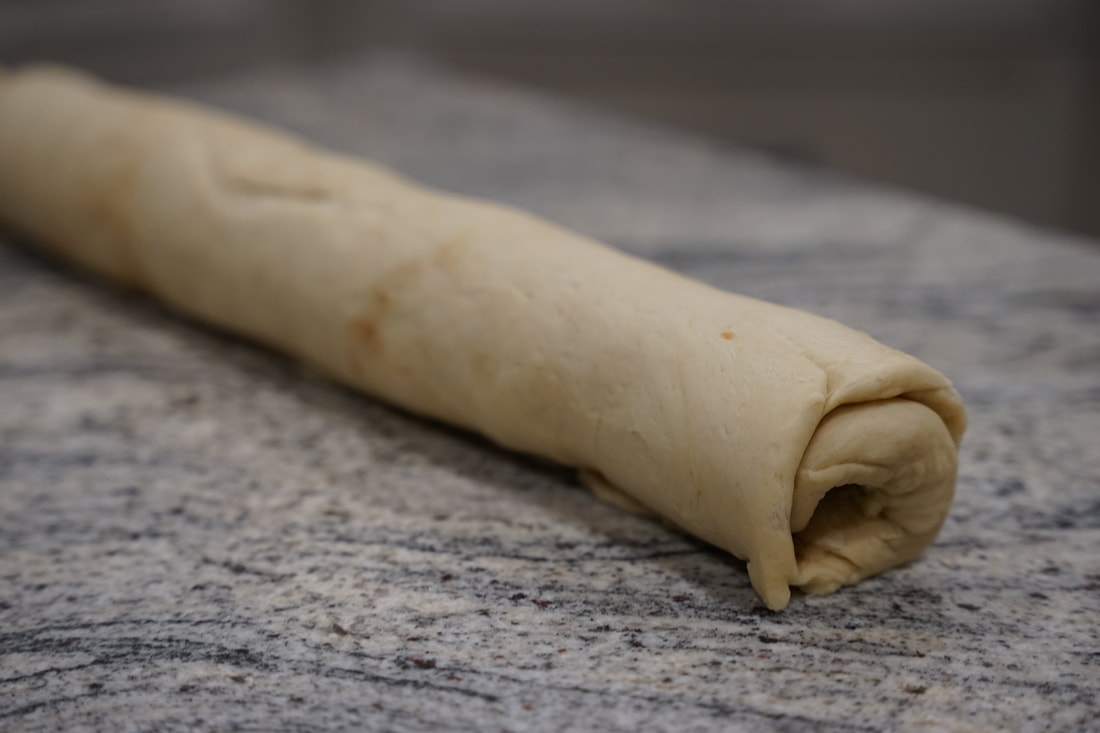
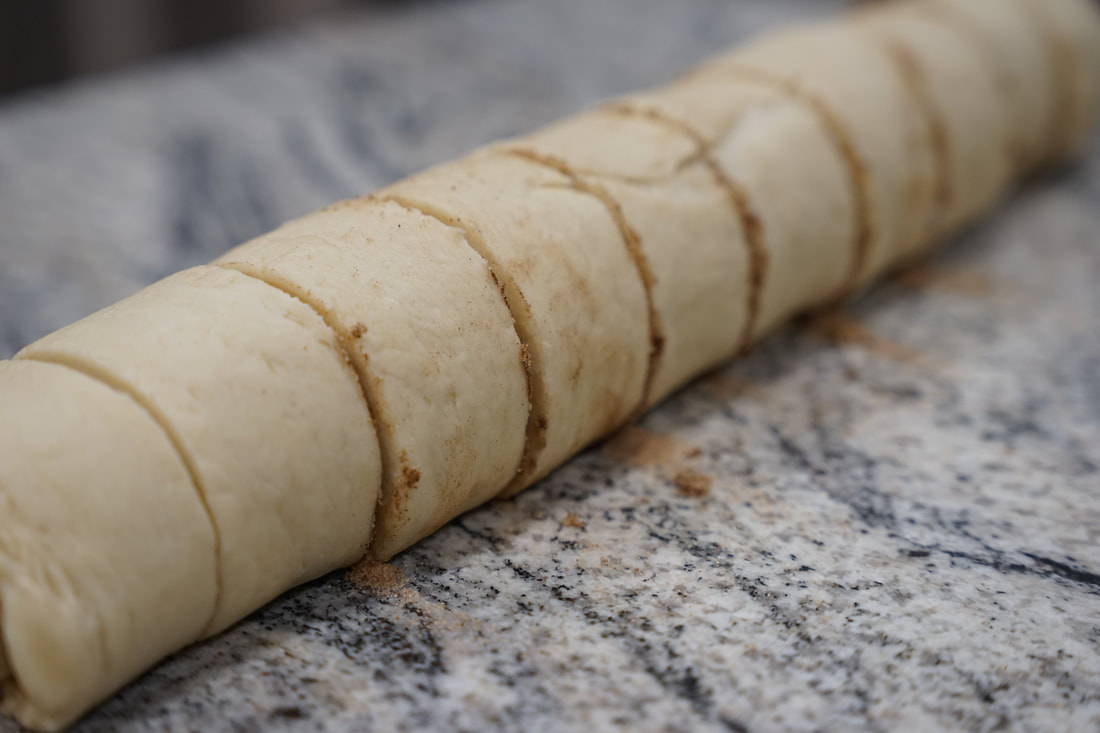
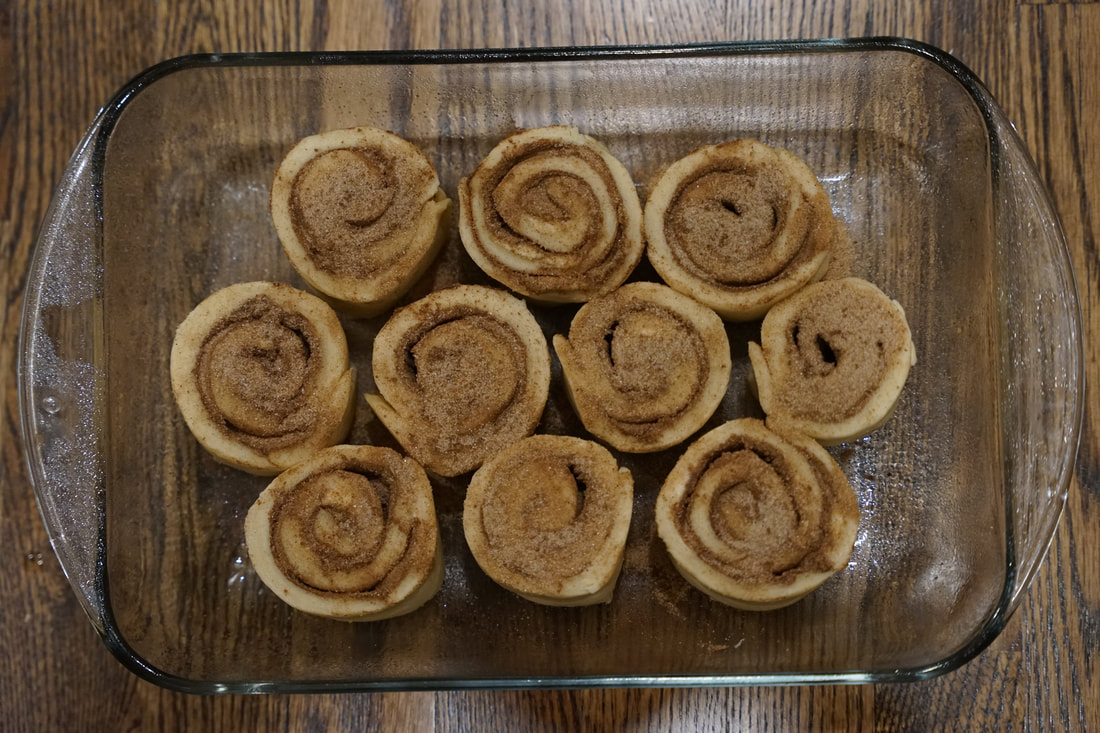
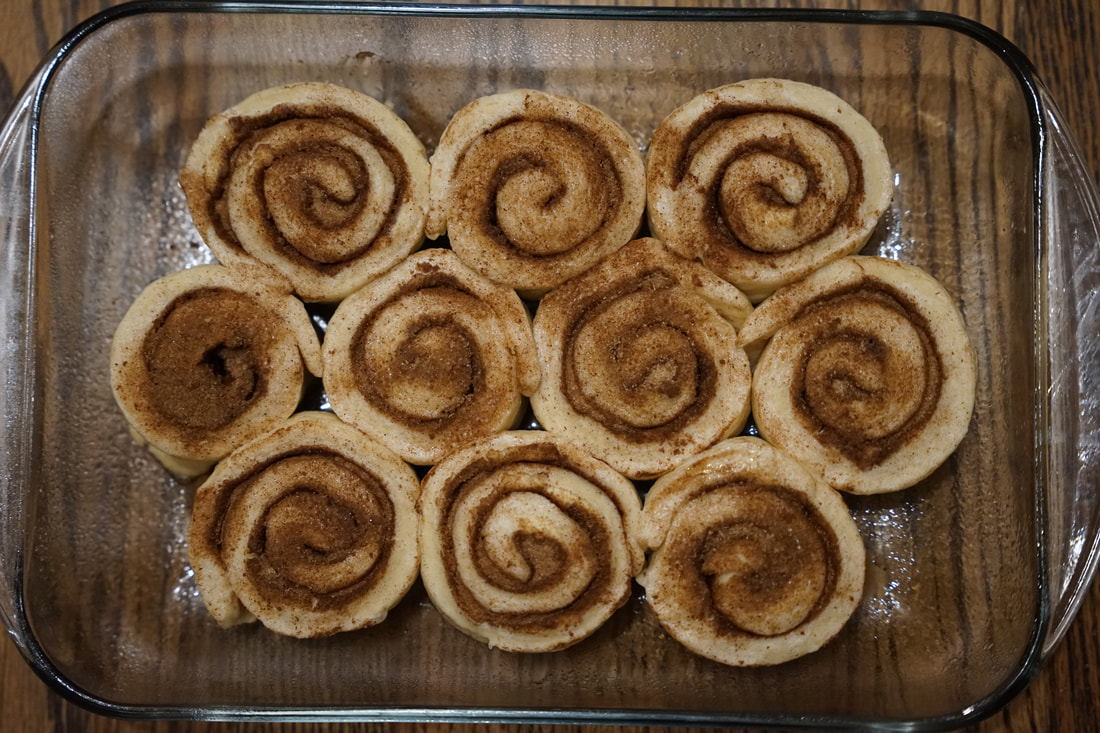
Cowboy cookies have oats which, of course, means that they're a perfectly acceptable breakfast treat.🤣 Ciao! 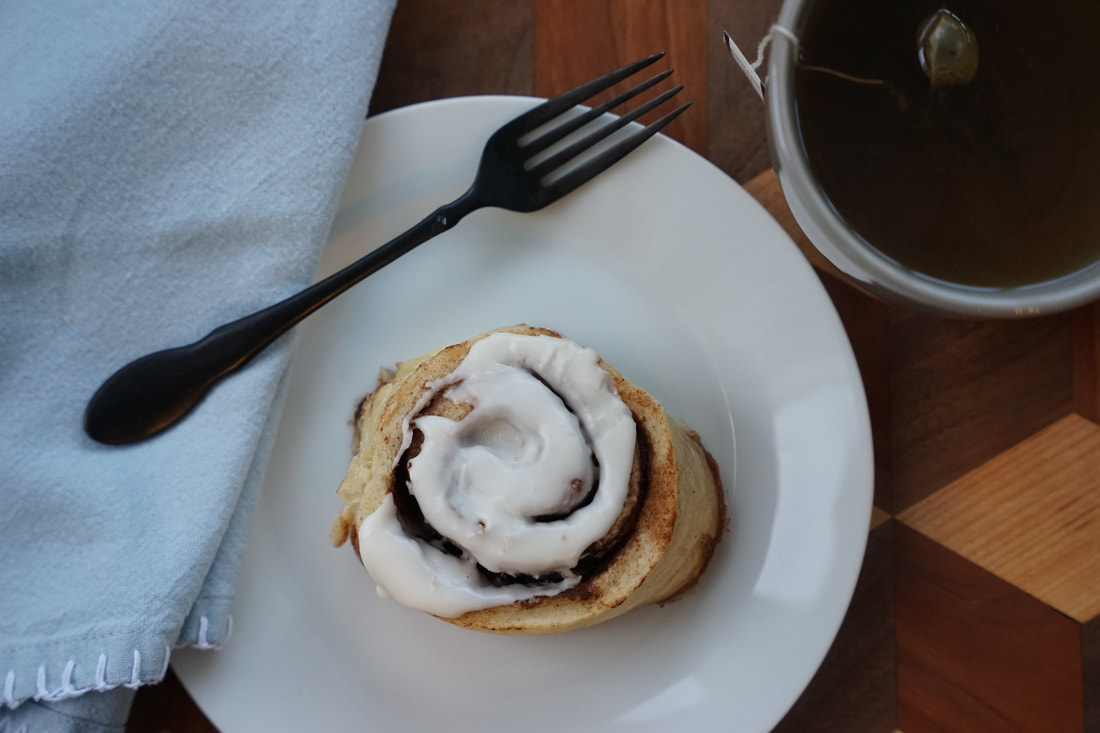 Well Weebly - you've won the battle.🏳😩 After months of finding my daughter's water skiing pictures on baked potato recipes and silly dog photos where chocolate chip biscotti pictures should have been displayed, I think I've finally found the source of the problem. I don't want to throw my website host under the bus but... they've been allowing pictures to be randomly swapped between my blog posts for a couple of years now. 🥺 I won't bore you with the details about how this happened but sufficed to say, I'm working to remedy the situation. I will admit that I was more than a little upset when I found out that the only way to restore the original photographs on my blog posts is to remake every single recipe and retake and upload all new pictures. 😩 We're talking hundreds of blog recipes! So, this year, I'll be systematically going through all of my recipes from the summer of 2020 to the end of 2022 to make sure that they all have pictures that match the recipe. This is a sloooooww process but bear with me, I'll get it done eventually. 📷 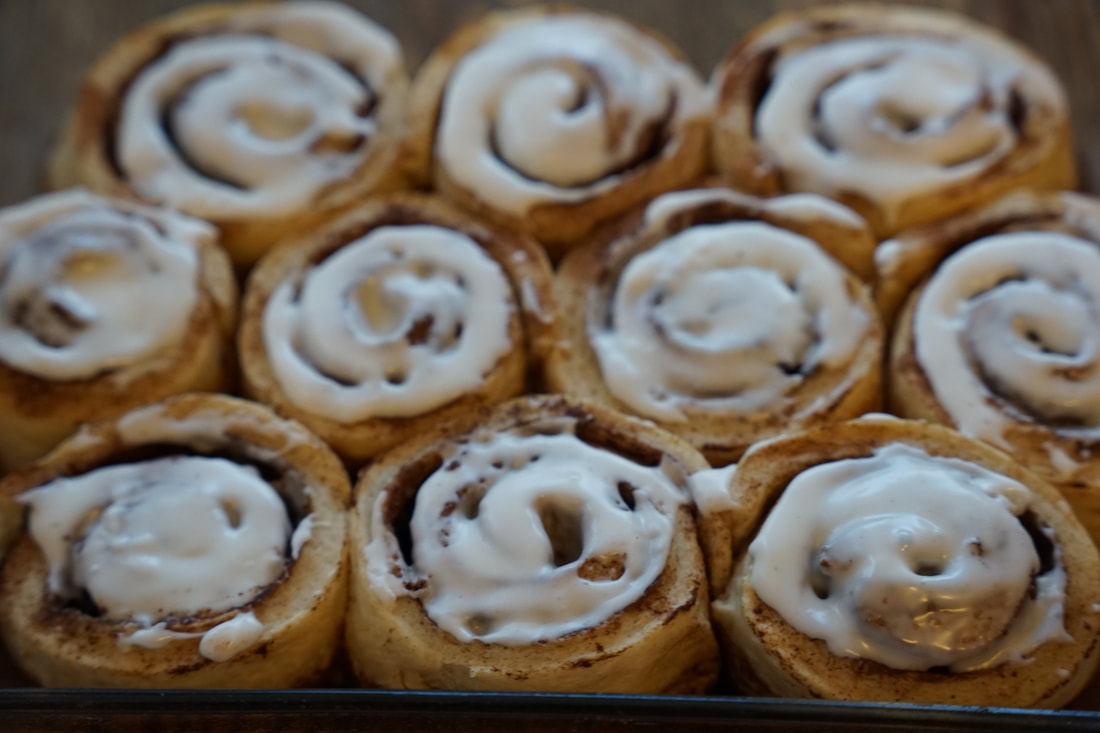 To all of you who have emailed, texted and called me about strange pictures on my blog - I've heard you and do appreciate you reaching out. The silver lining in the whole situation is that being forced to remake the recipes using my own blog gives me a chance to rereading the stories and reminisce about each blog post. Taking a deep dive into my recipe index also made me aware of just how many questionable food choices I've made over the years.🤣 I didn't realize that my raging sweet tooth was so obvious.😬 Why has it never occurred to me before that having 21 different cinnamon roll recipes in my repertoire, might be a little excessive? Too many?😅 Well, here's to contributing to my sugar addiction with one more cinnamon roll recipe. 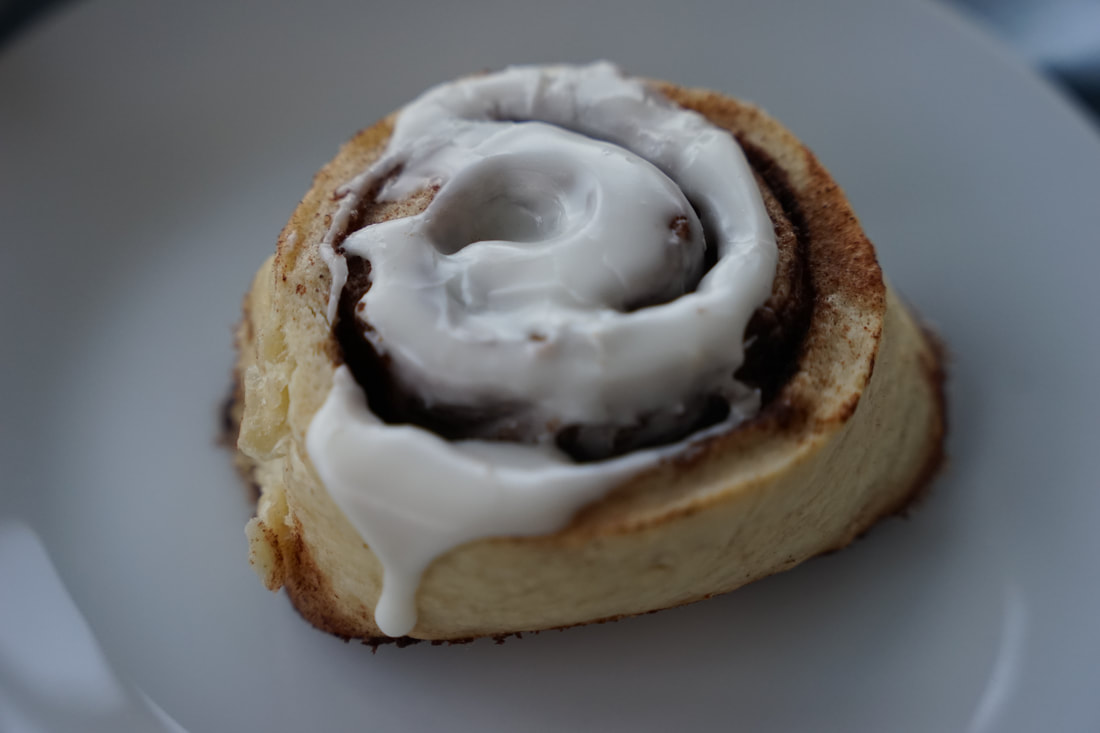 Cinnamon Rolls 1 cup warm milk 3 Tbsp. sugar 2 1/2 teaspoons active dry yeast 5 Tbsp. butter, softened 4 ¾ cups all-purpose flour, divided 1 egg 1 tsp. salt Filling ½ cup butter, softened ⅔ cup granulated sugar 2 Tbsp. cinnamon Glaze 2 ½ cups powdered sugar 2 Tbsp. milk 2 tsp. vanilla
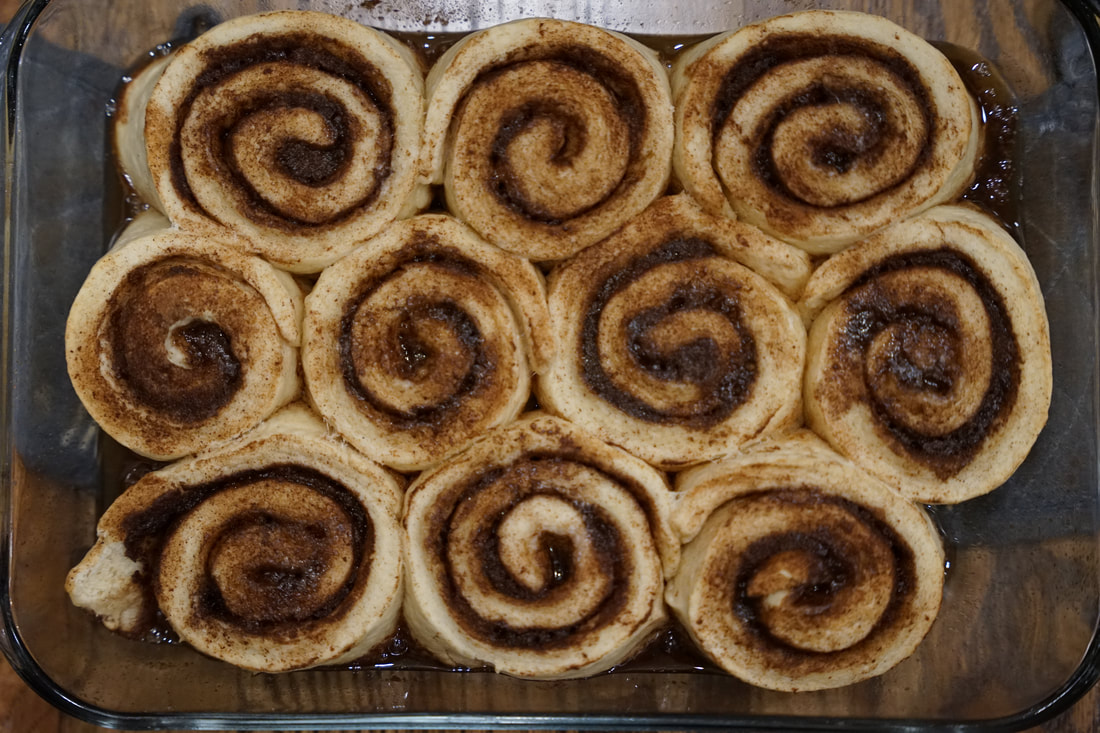
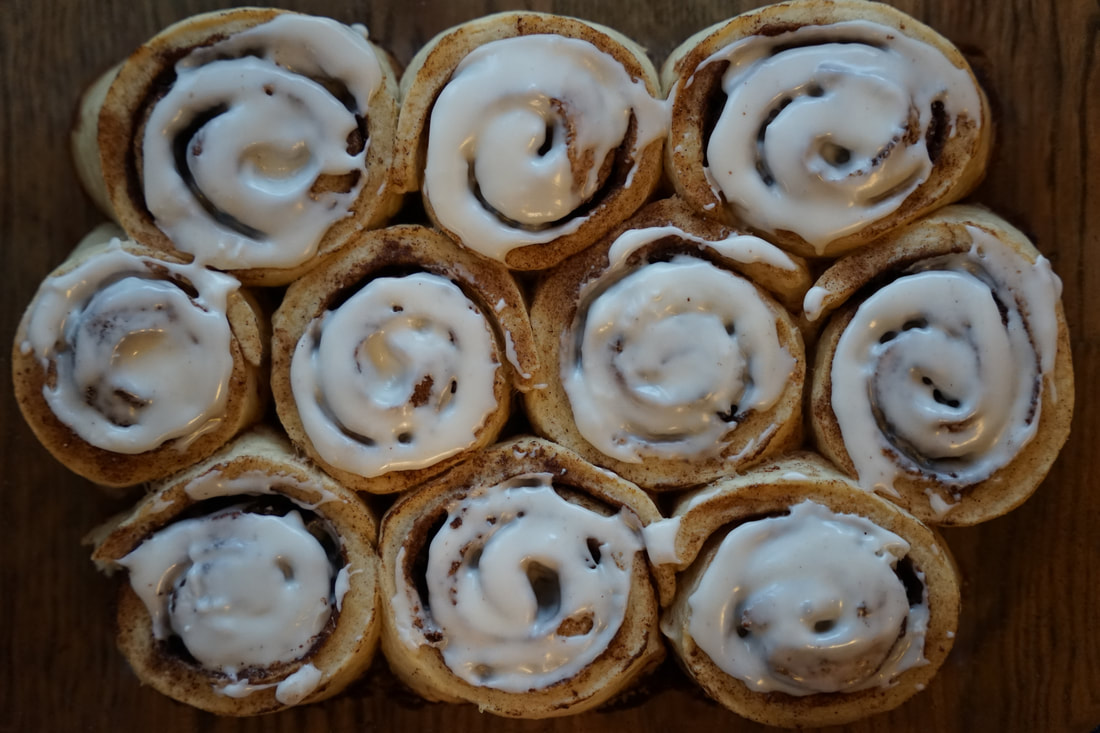 Whisk together glaze ingredients and drizzle over warm rolls. 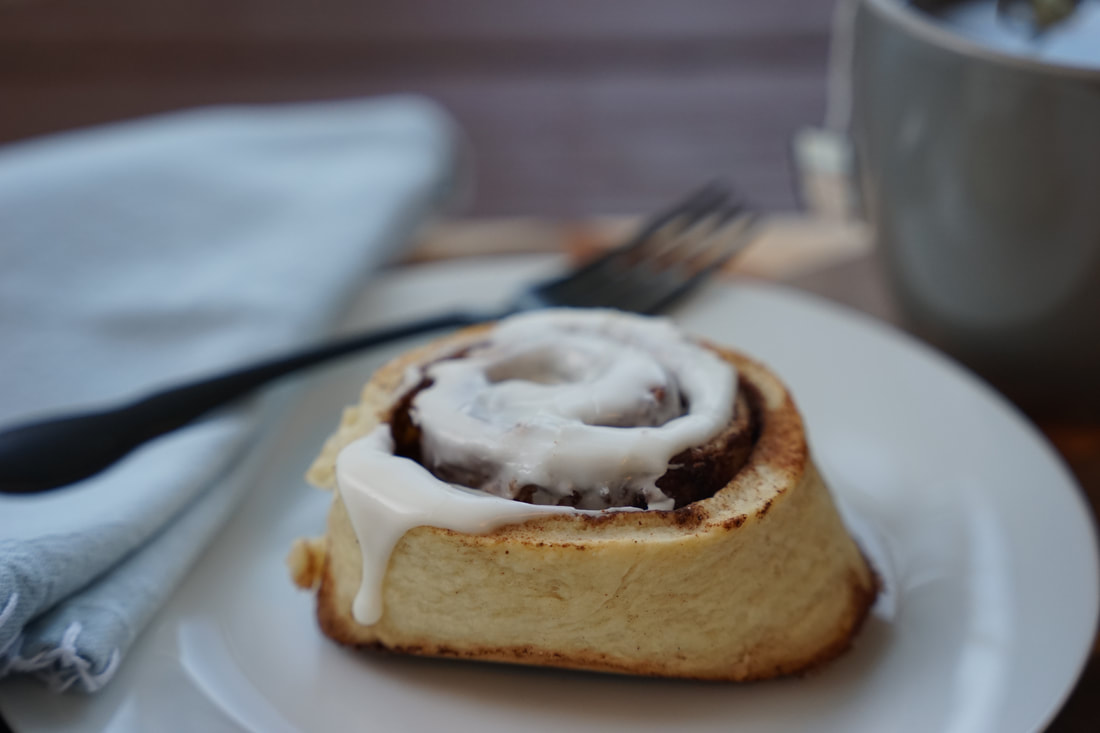 Here's to a year of revisiting blog recipes that I'd long forgotten about. In the meantime, if you happen to run across a post with pictures of me doing a handstand - feel free to reach out and let me know.🤪 I'm sure that there are more crazy pictures out there that I've missed.
Ciao! |