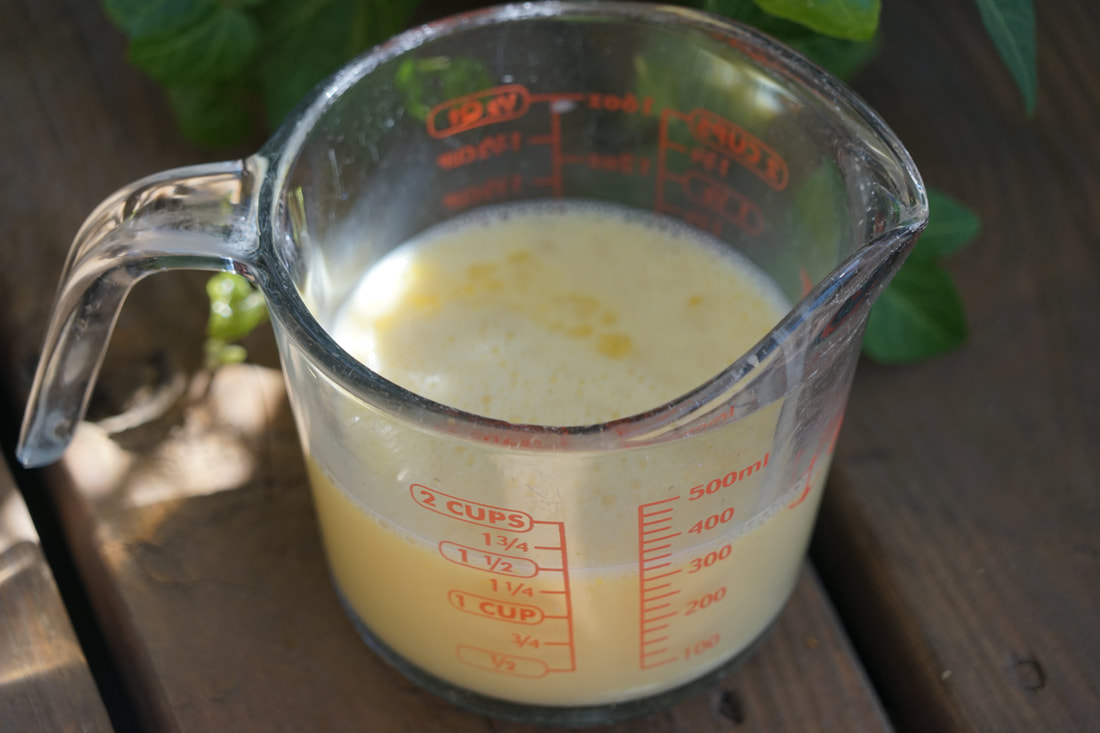
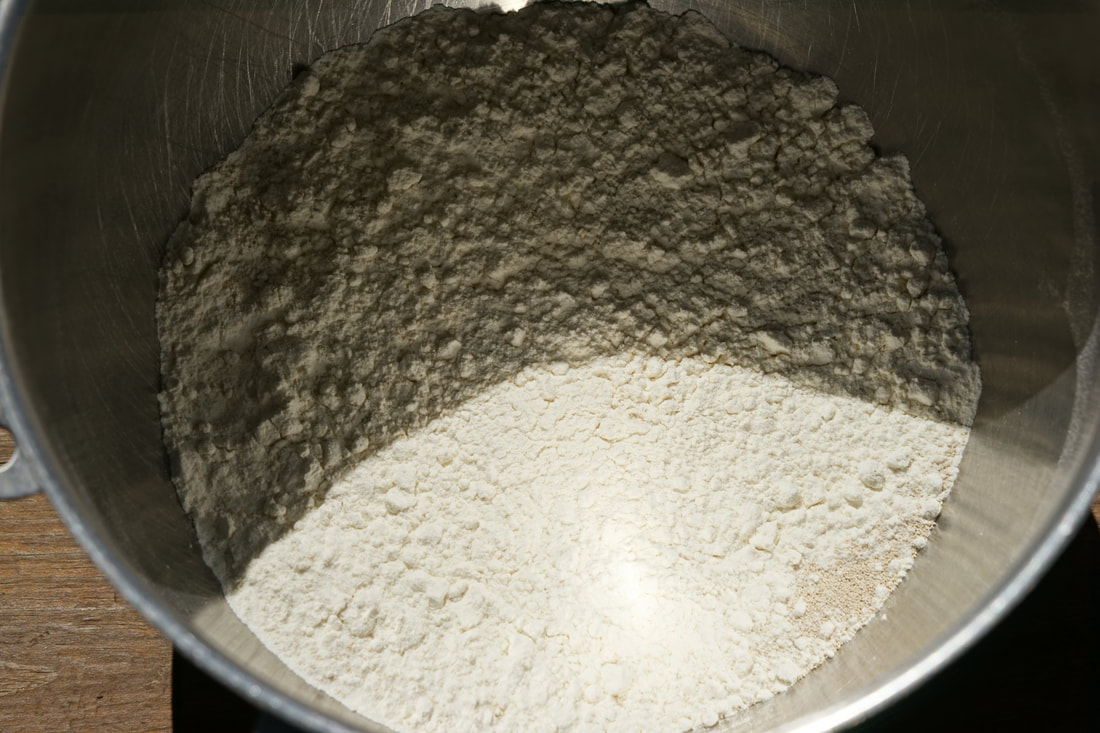
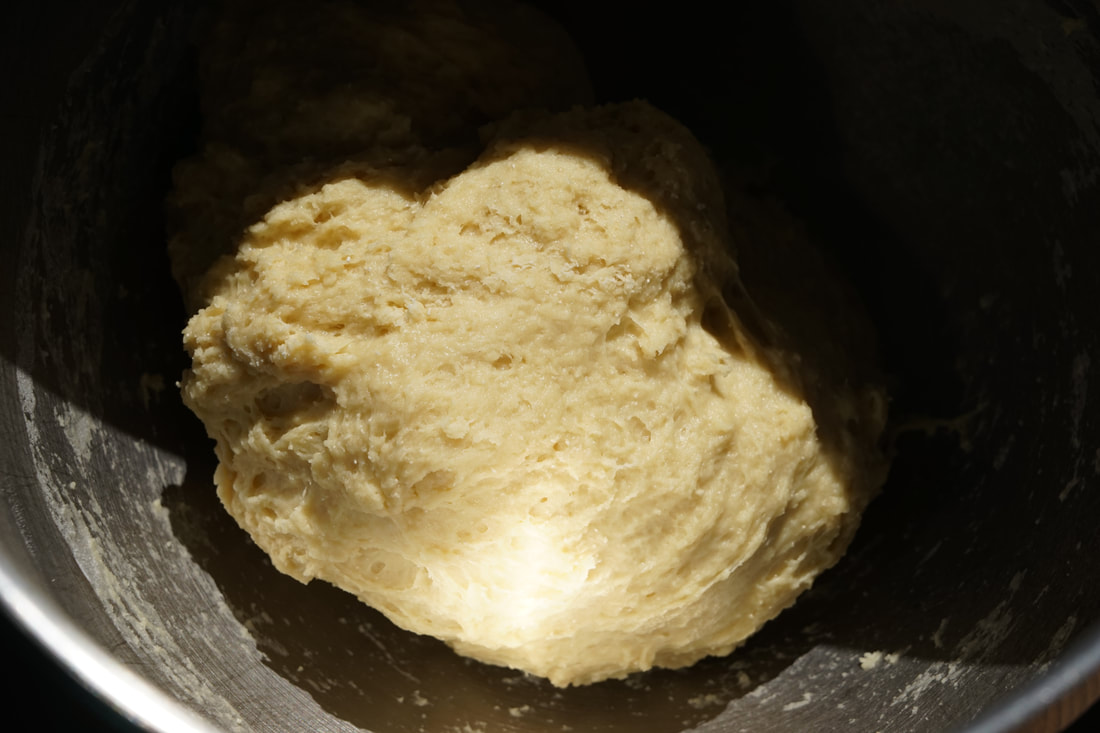
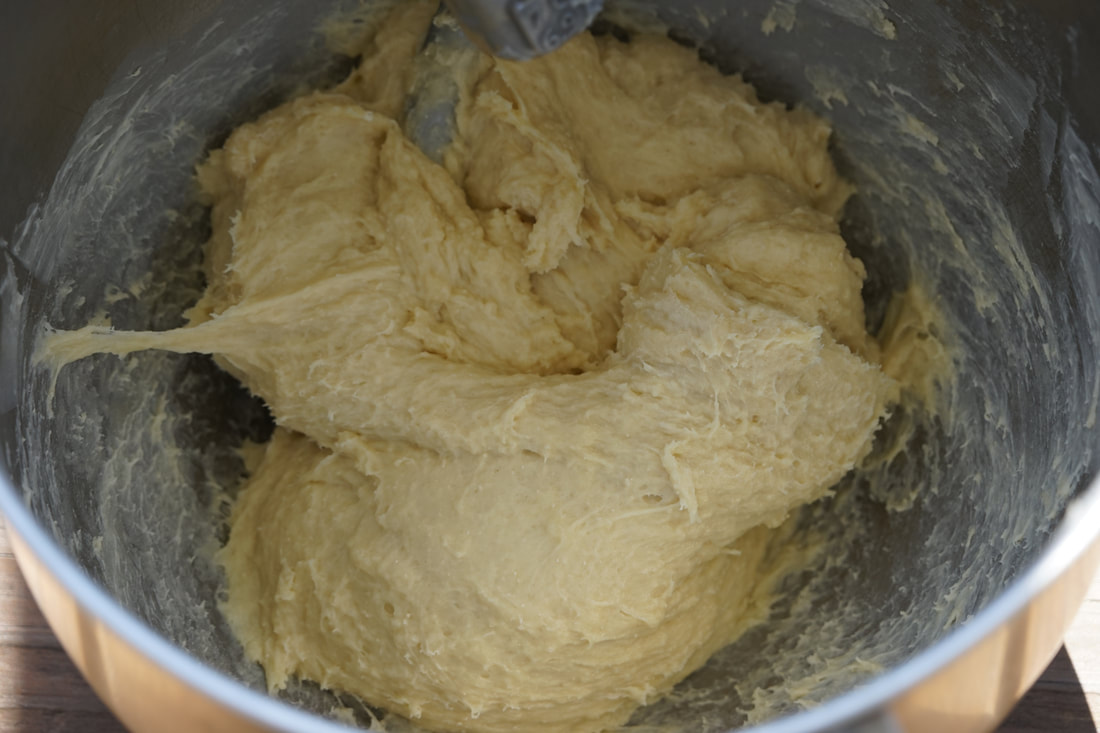
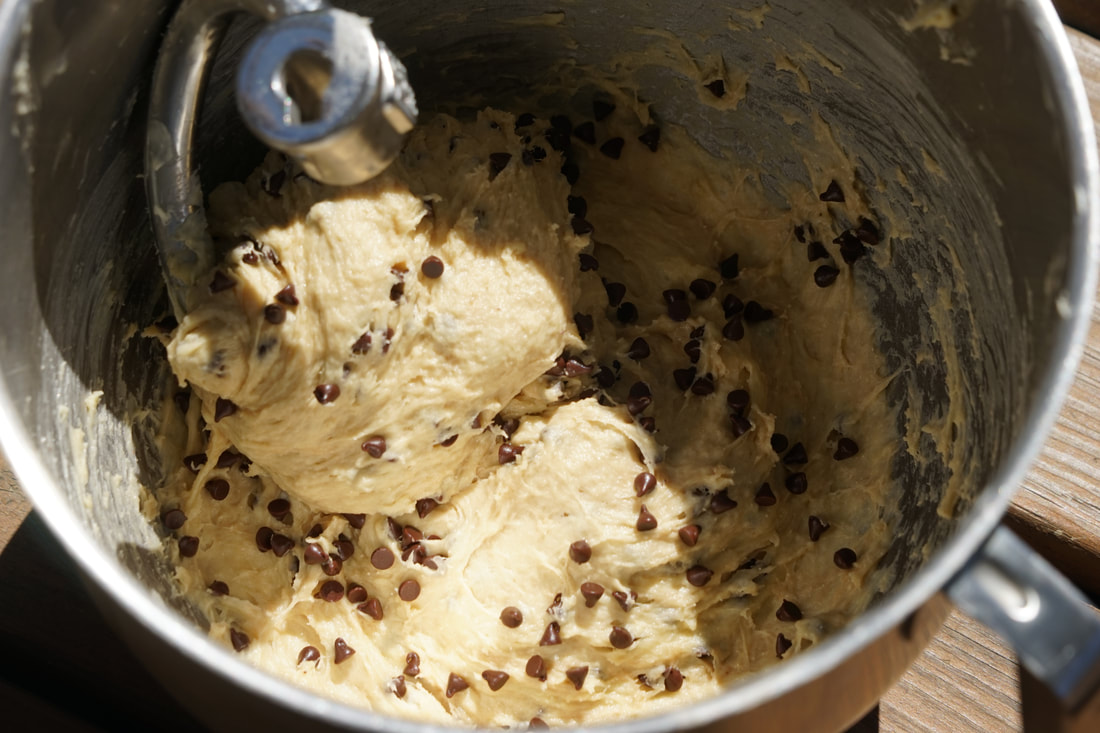
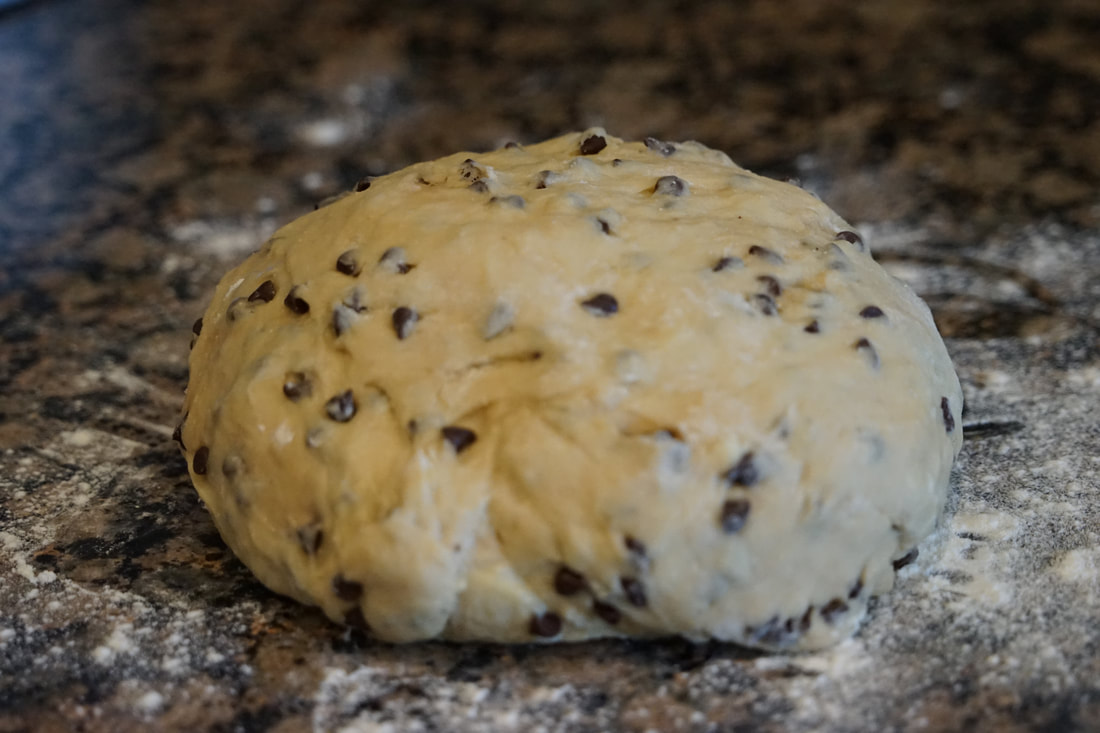
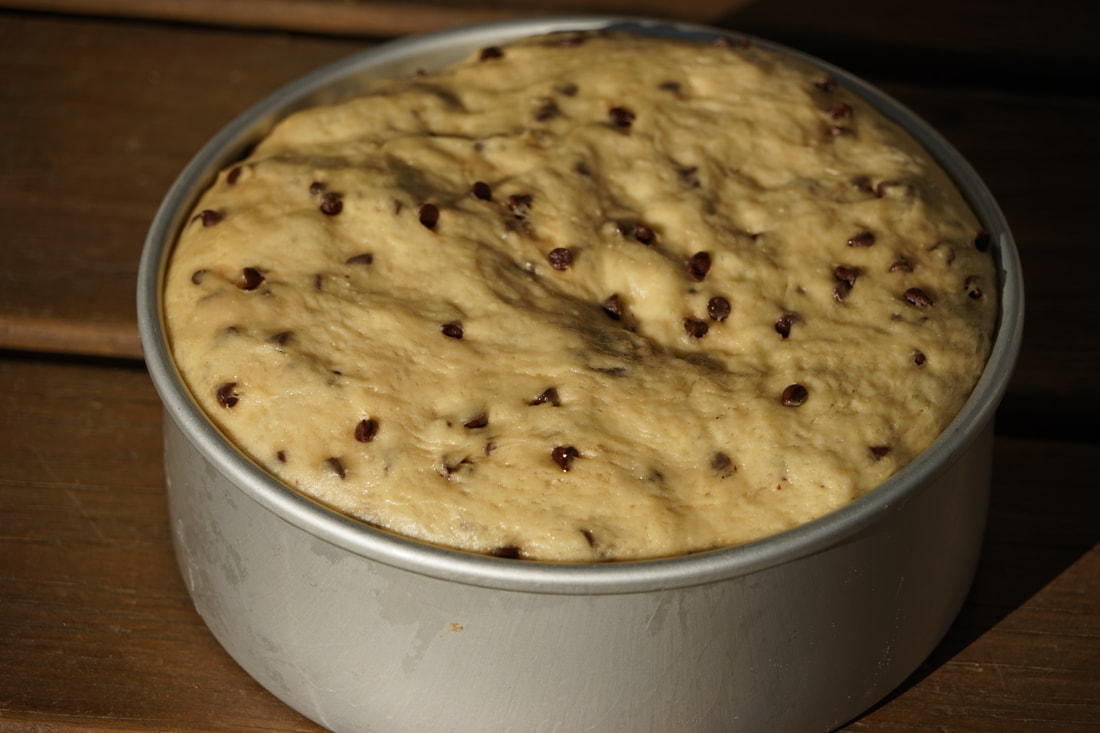
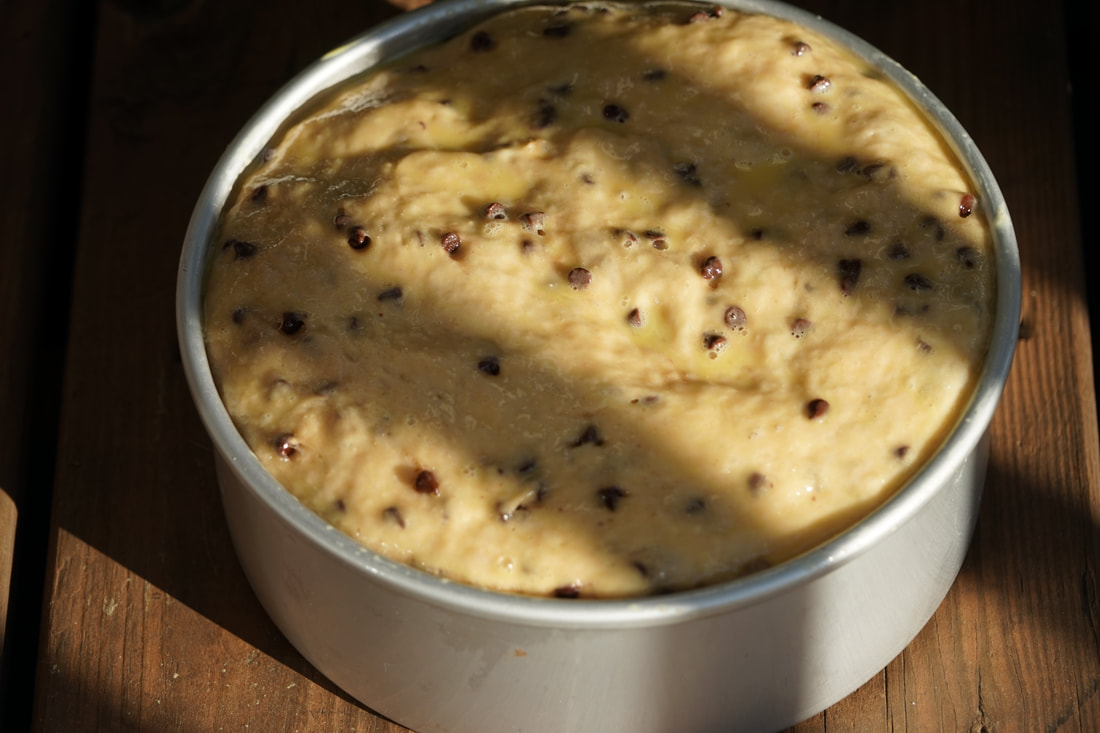
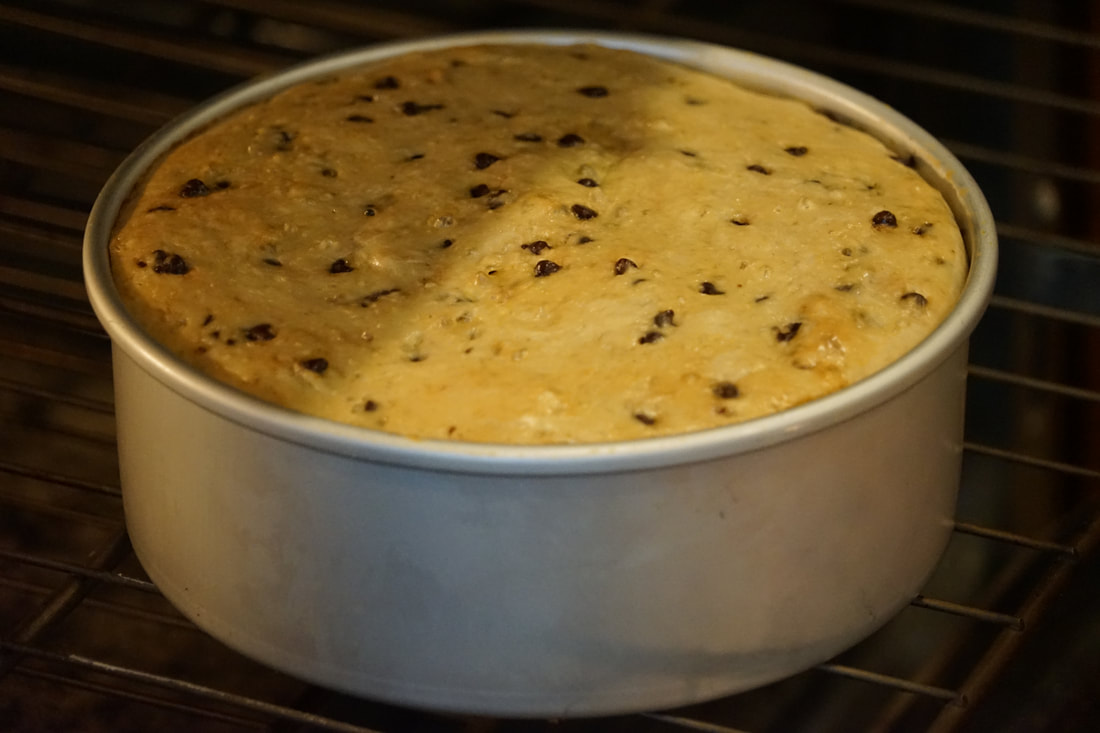
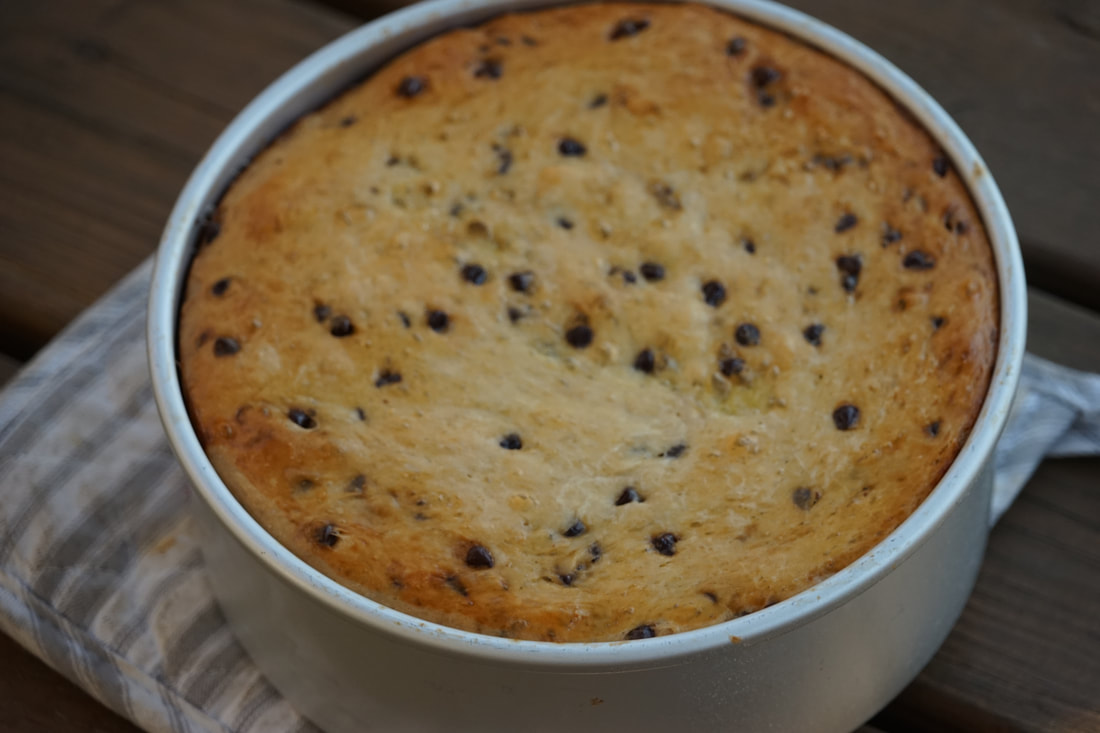
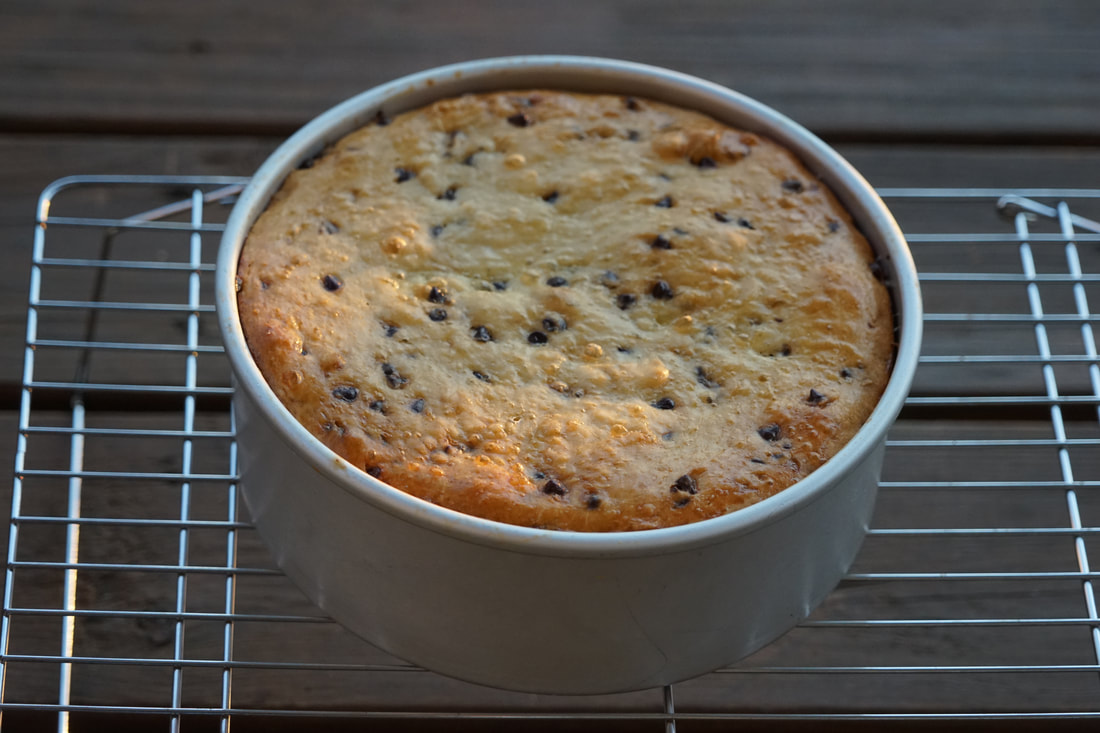
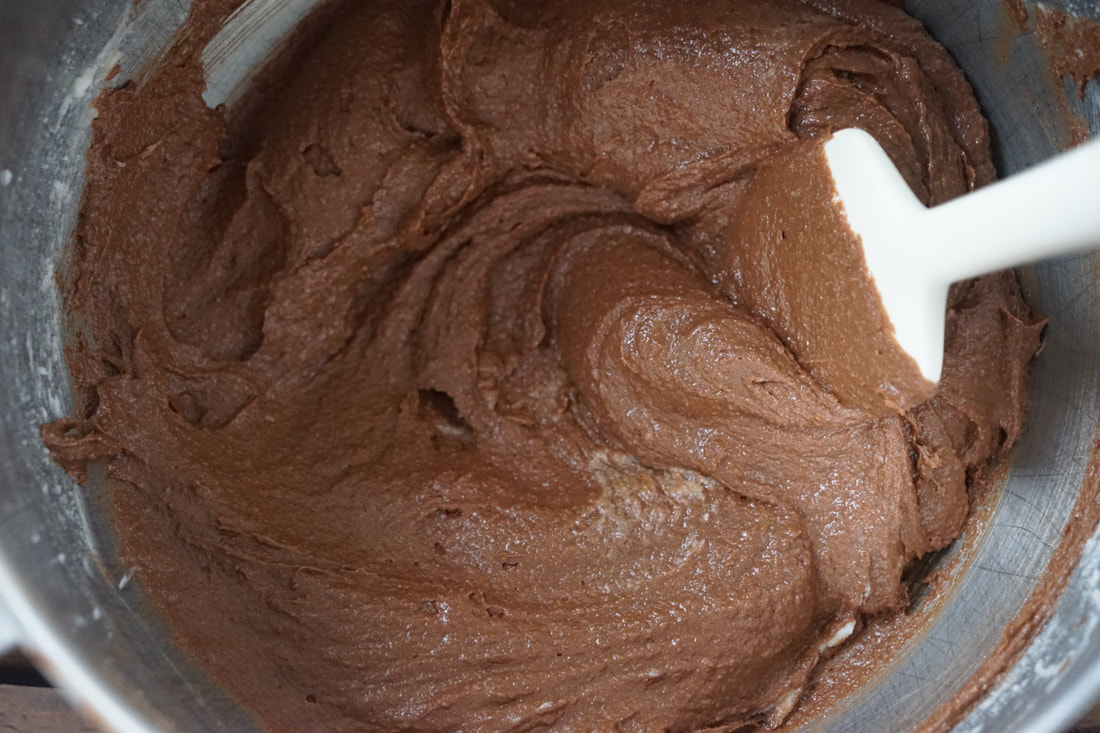
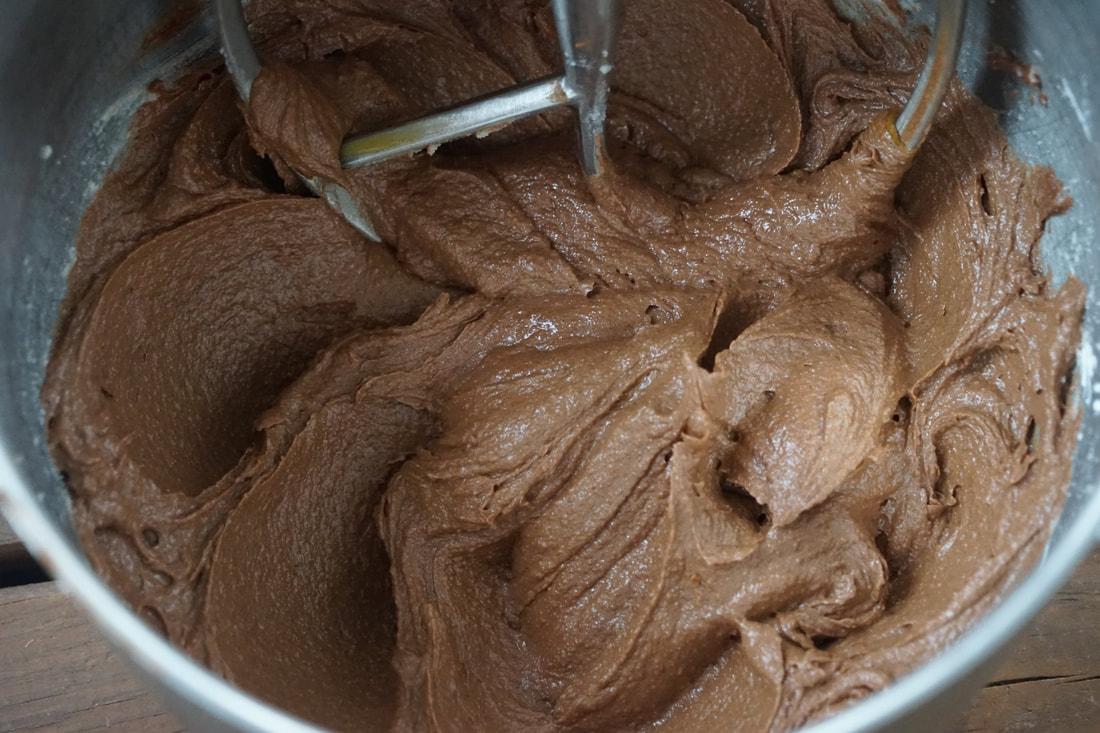
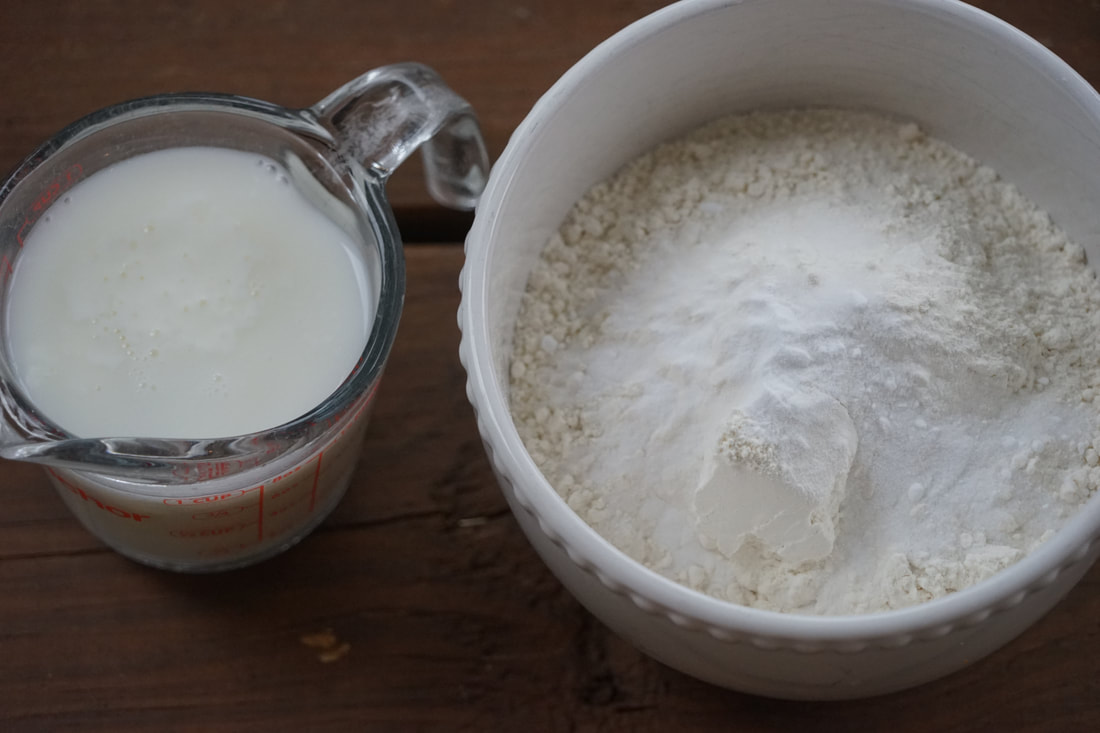
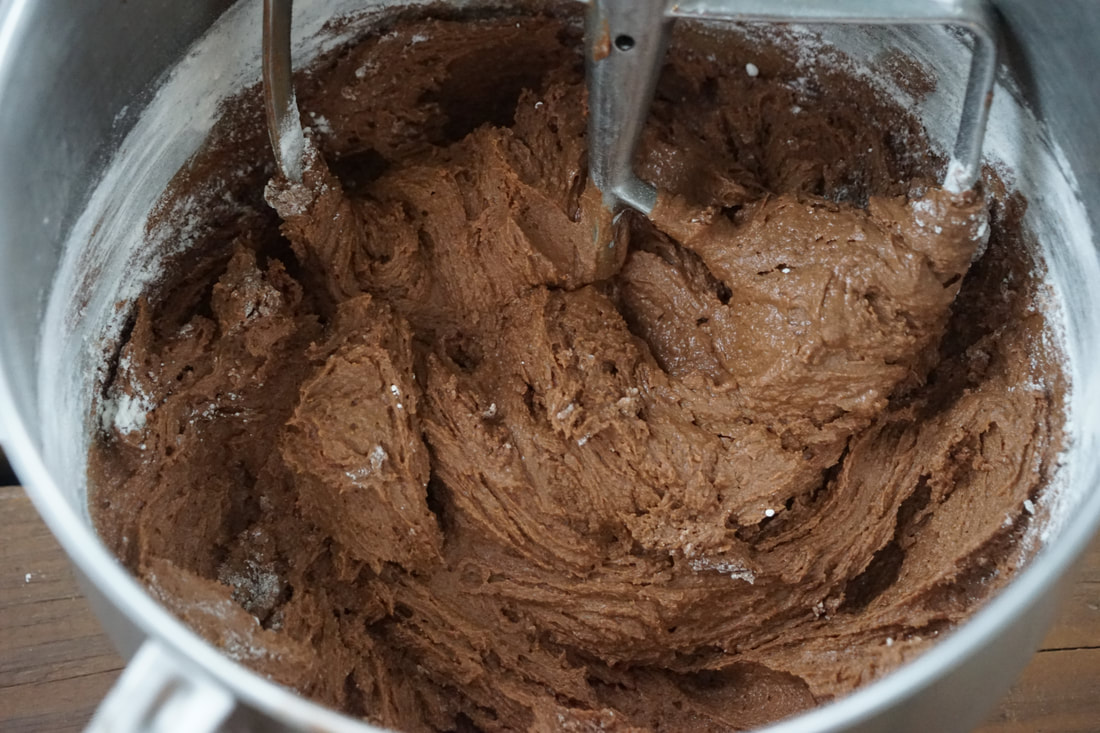
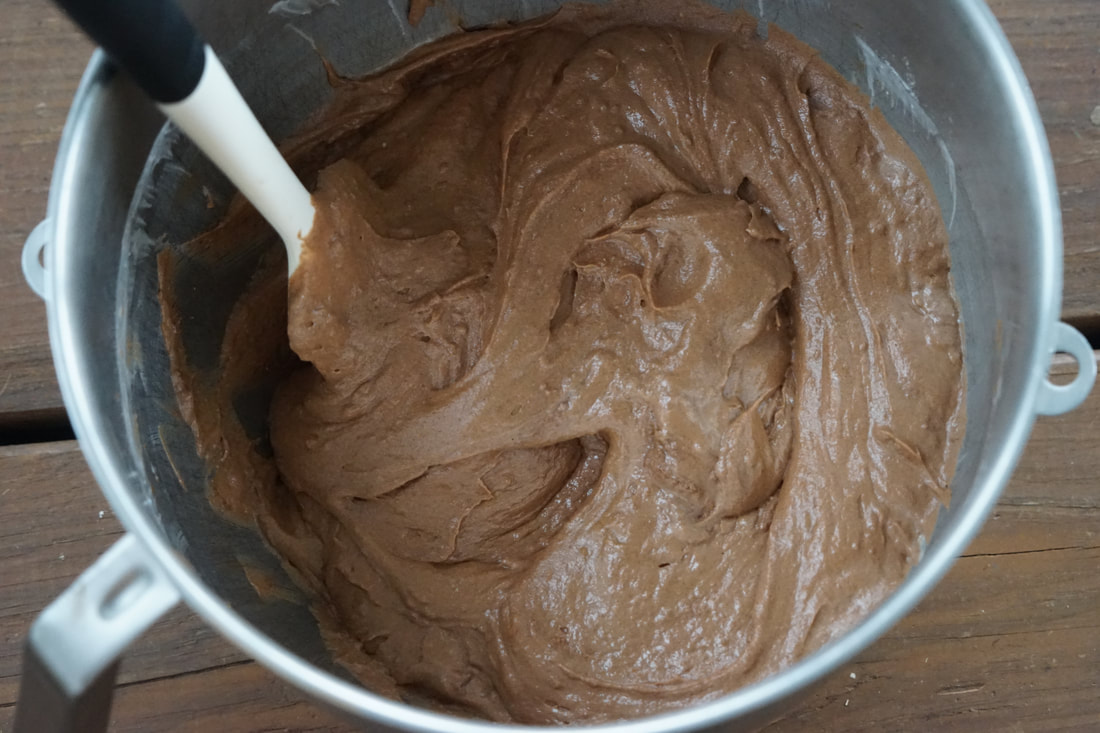
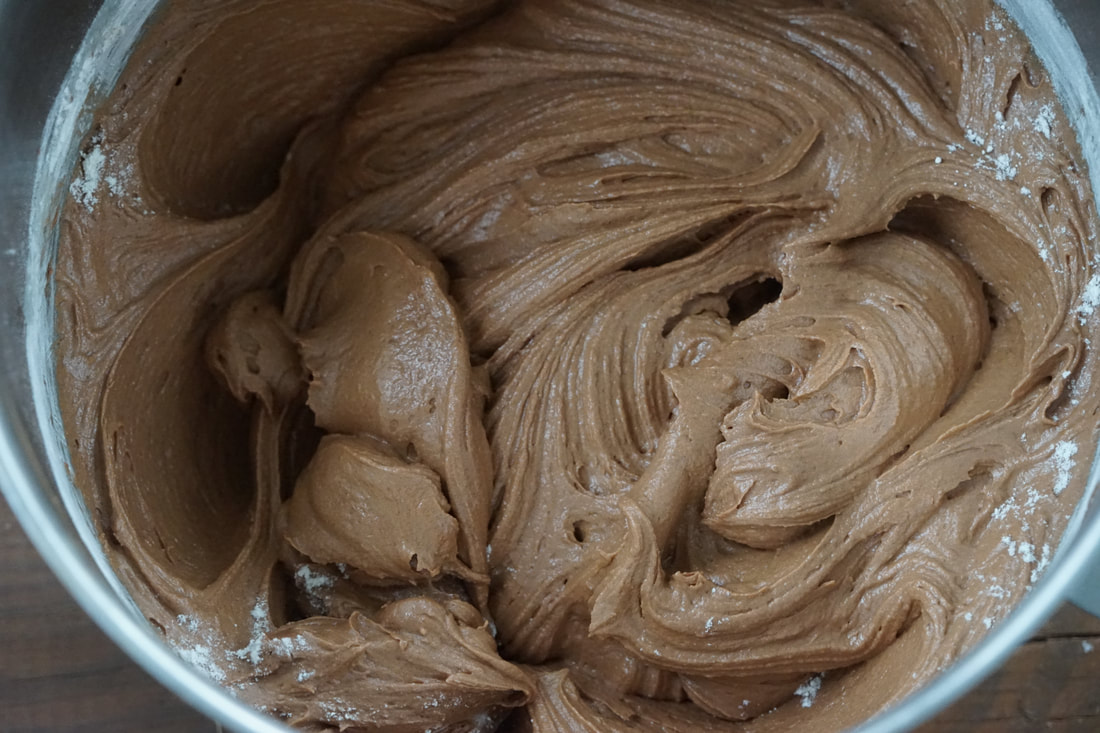
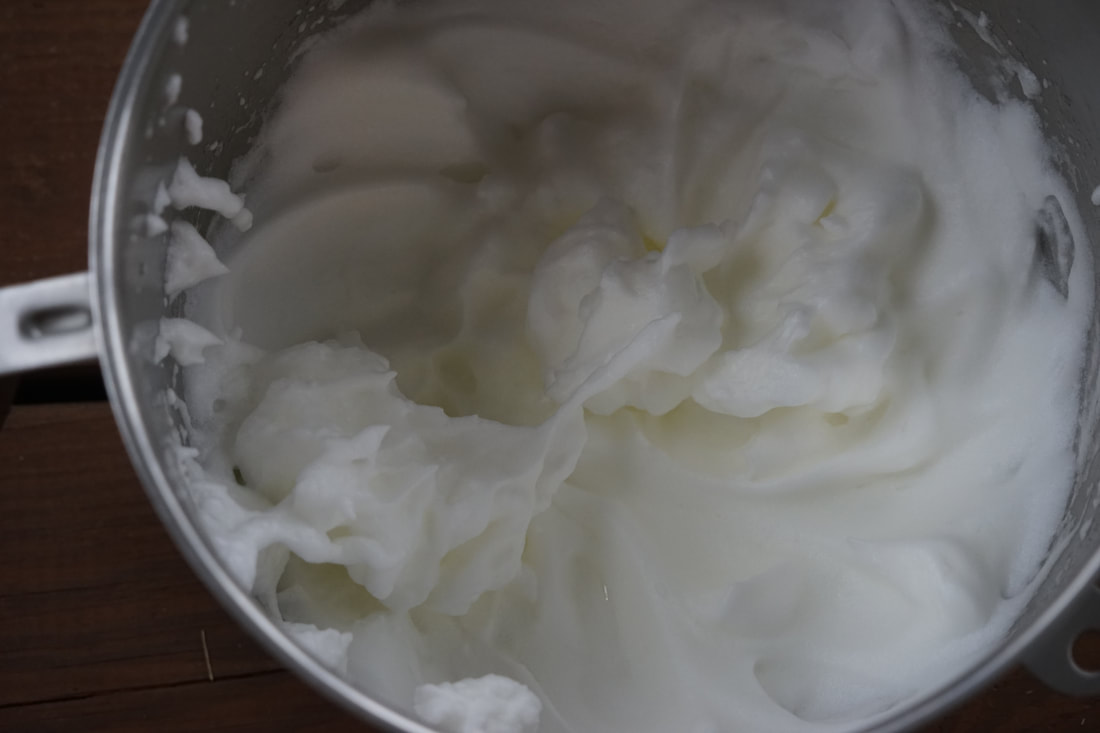
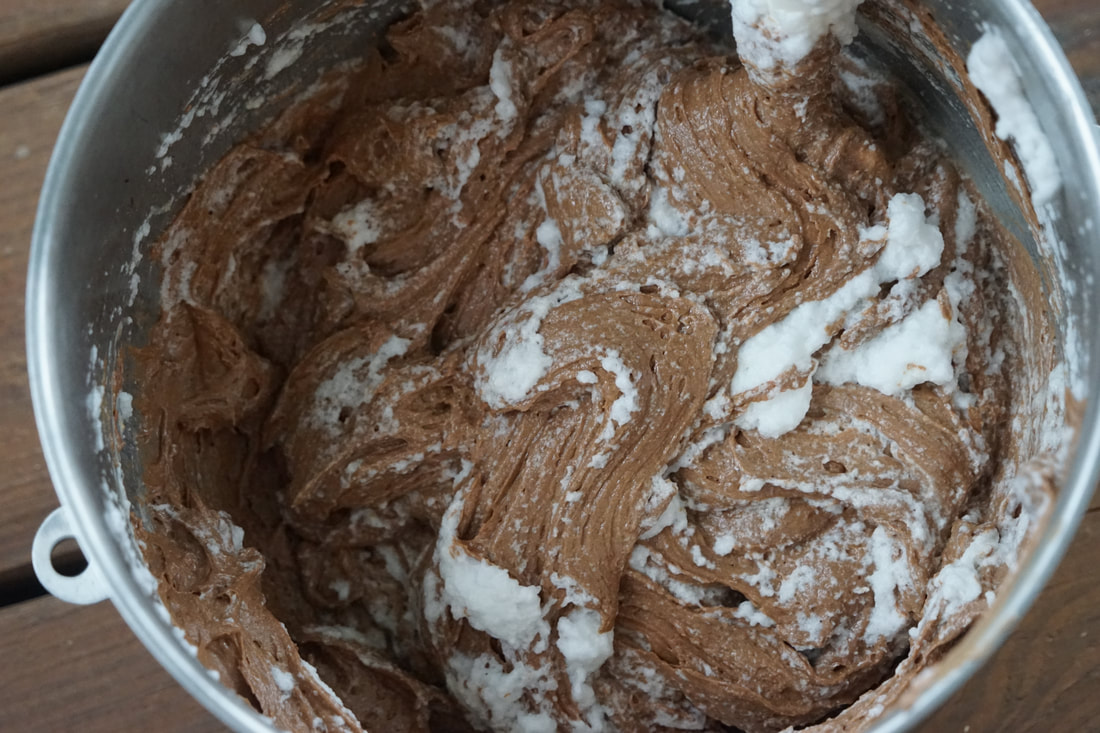
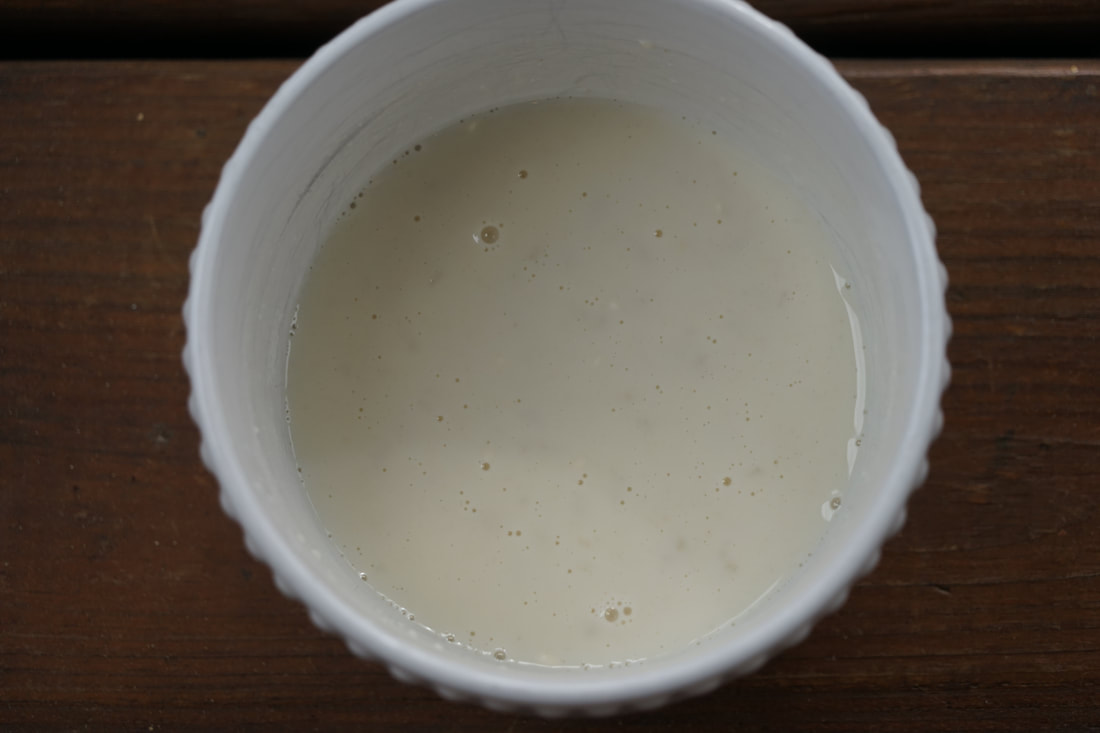
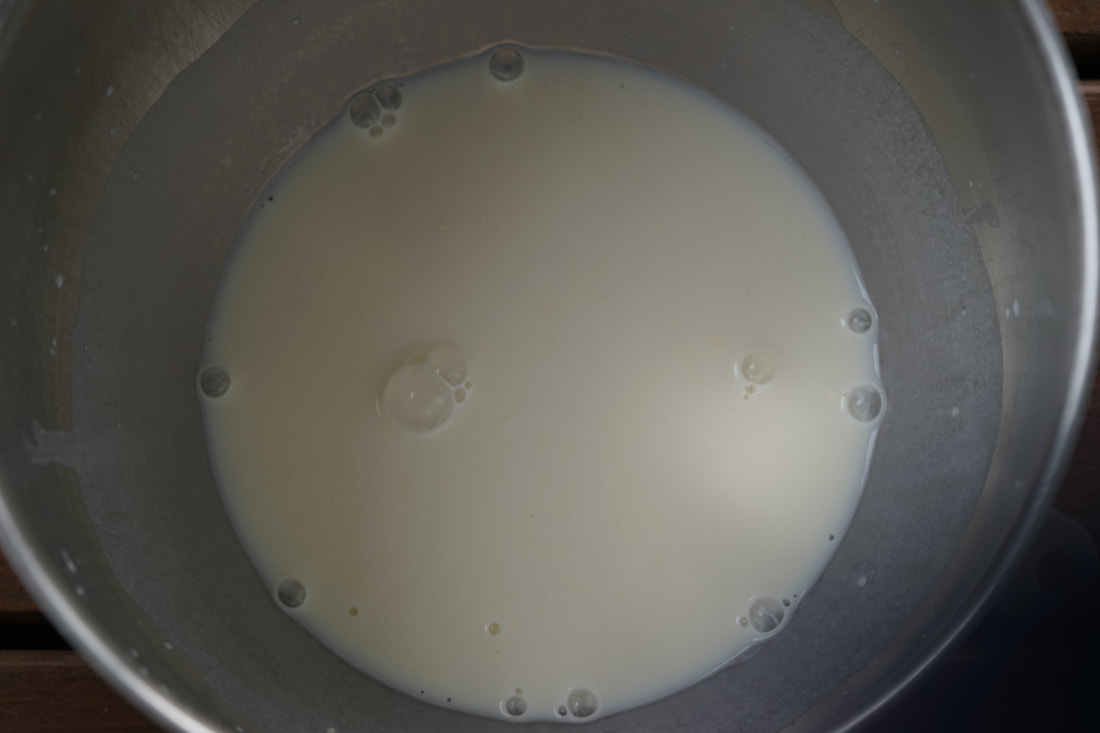
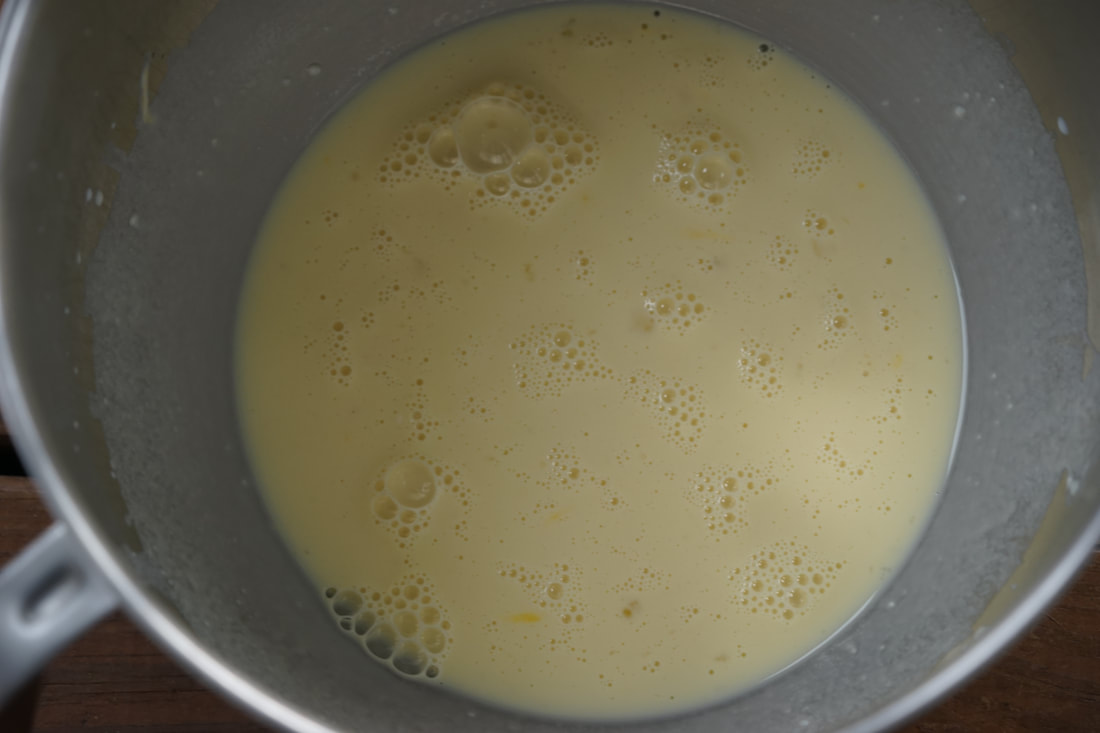
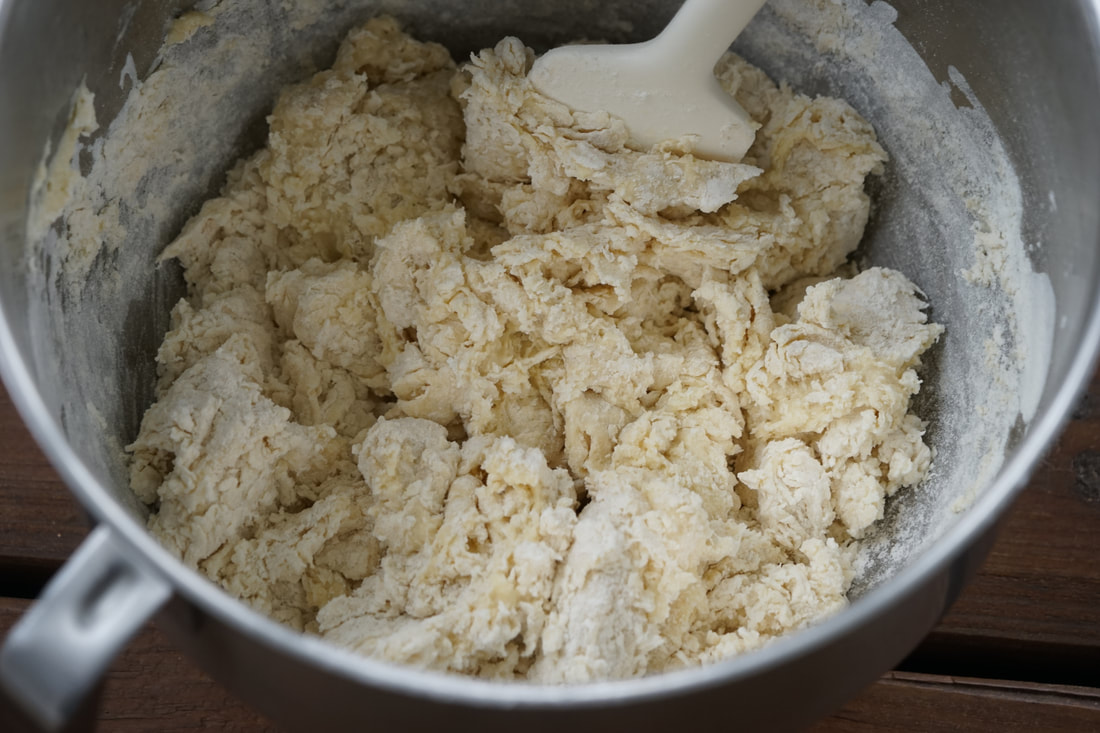
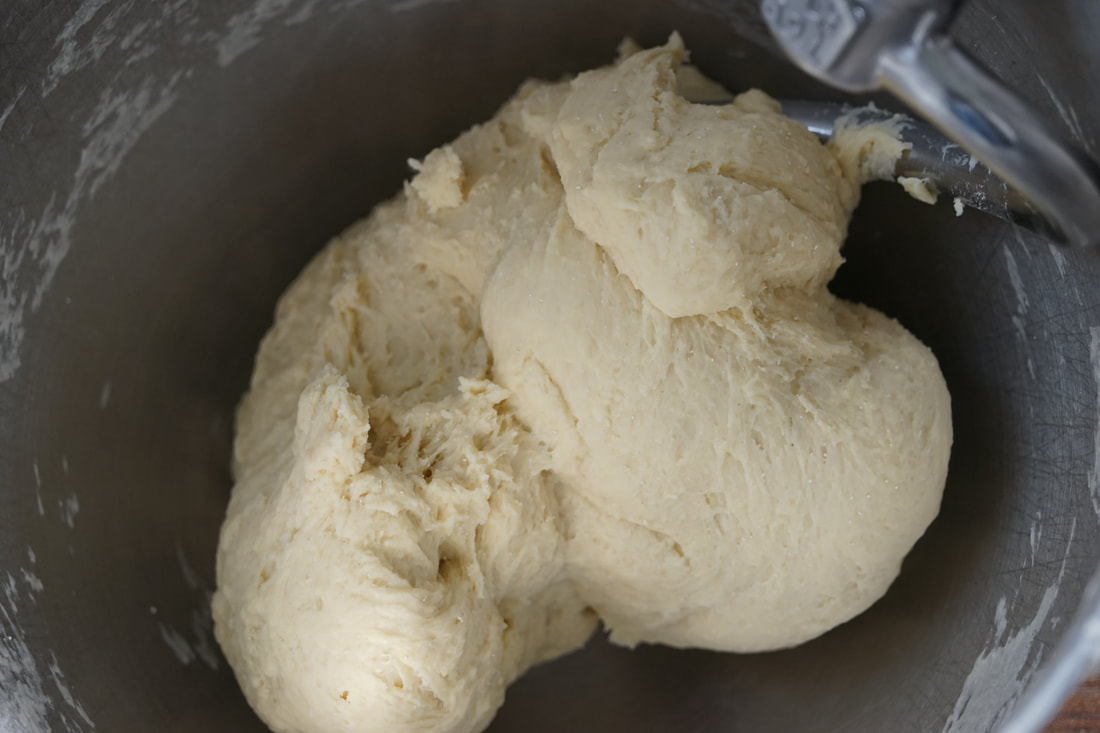
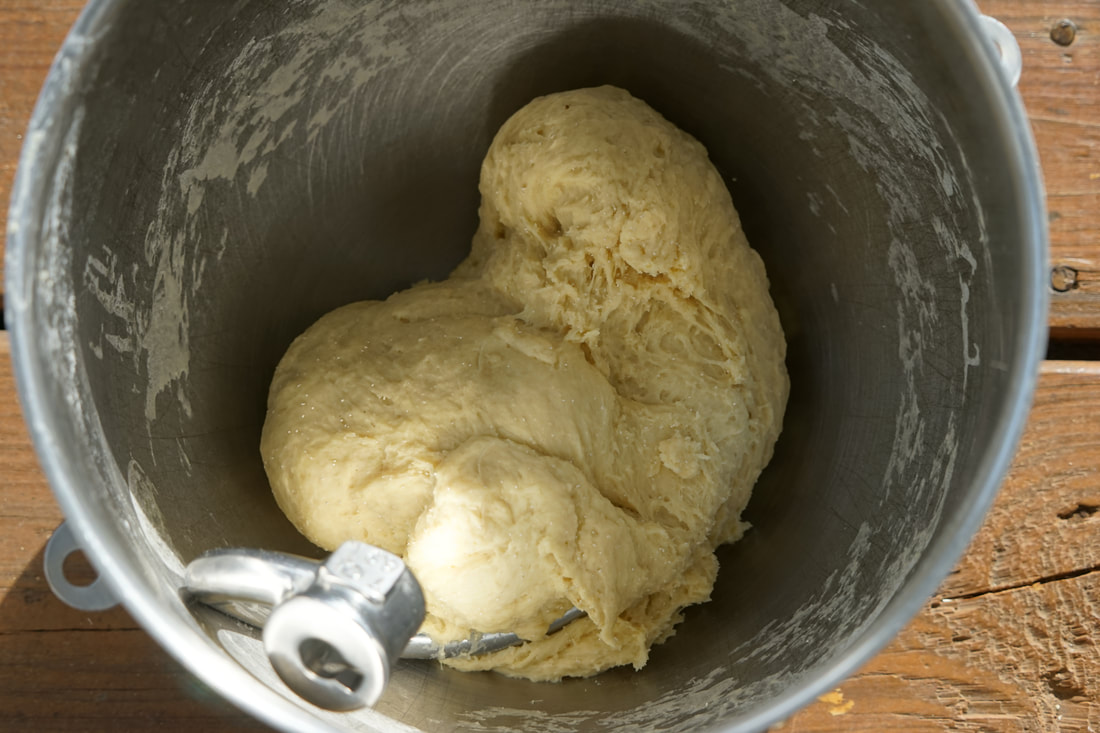
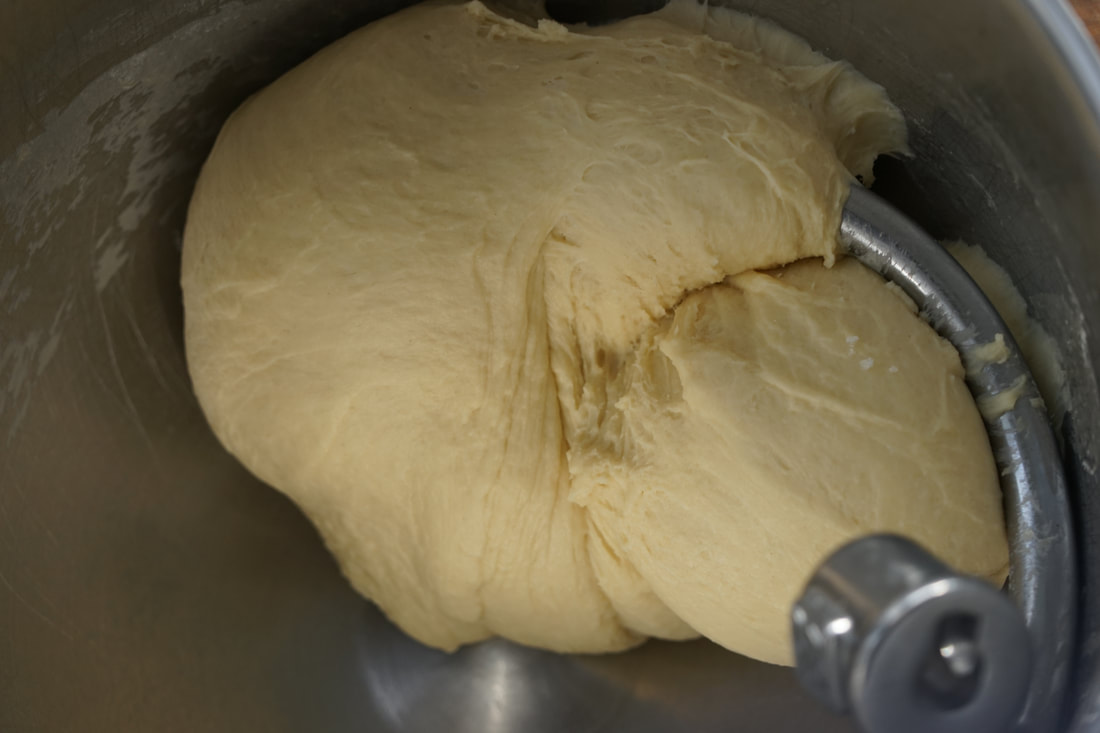
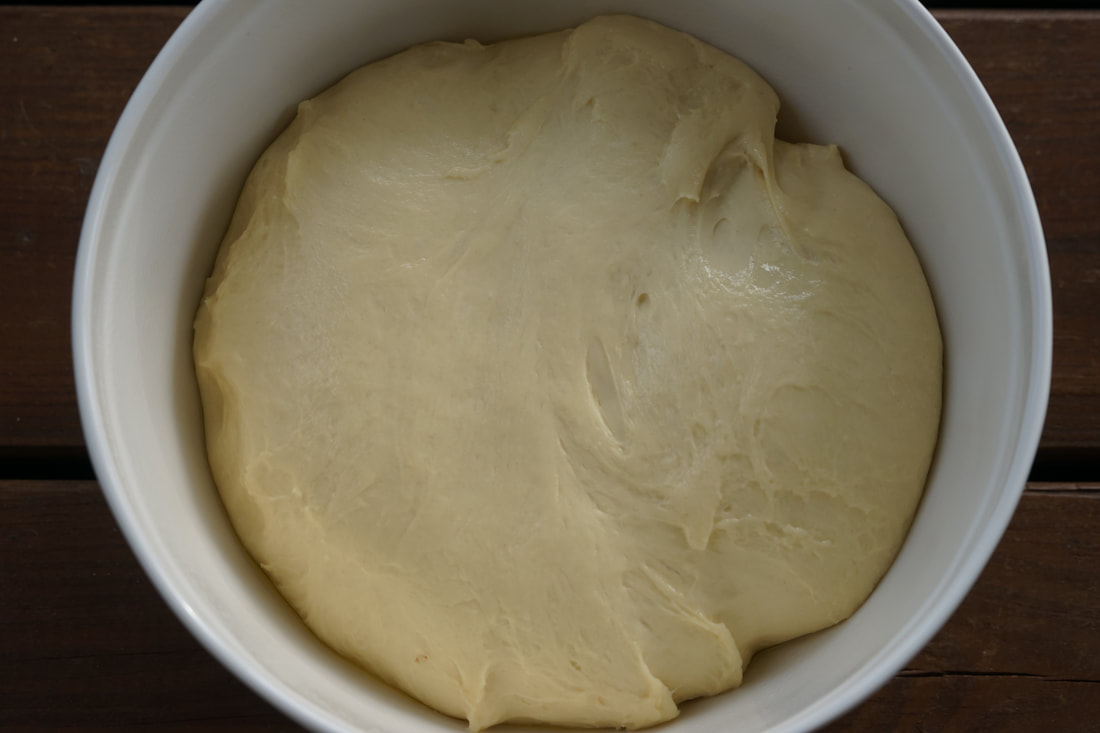
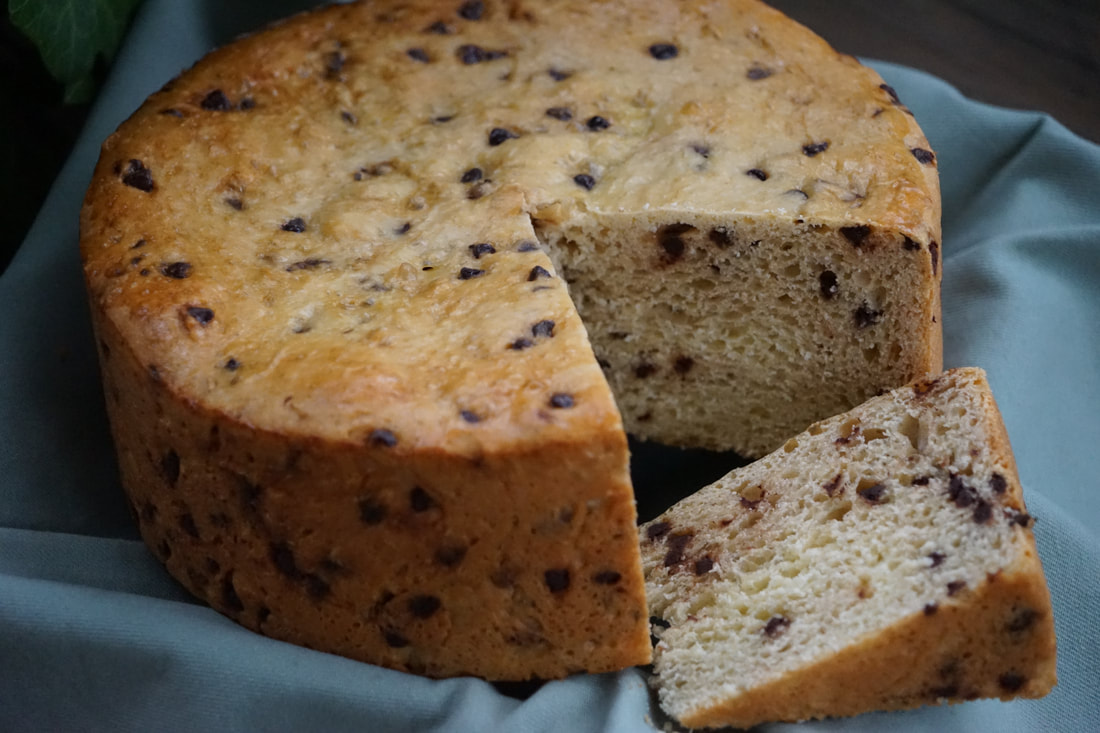
 Once upon a time, there was a girl who loved chocolate studded cake and sweet breads and she dreamed of what it would be like to create a chocolate chip cake/bread fusion. Little did she know that this amazing confection already existed. When I first discovered the chocolate chip panettone - I was blown away. This was the egg rich, chocolate chip loaded sweet bread with cake like qualities that I had been dreaming of. Traditionally, panettone is made with whisky soaked raisins but let's face it - no one dreams of breads studded with raisins. It's not that I'm opposed to fruit laden sweet breads but I would argue that chocolate chips just add more oompf to this delicious creation. 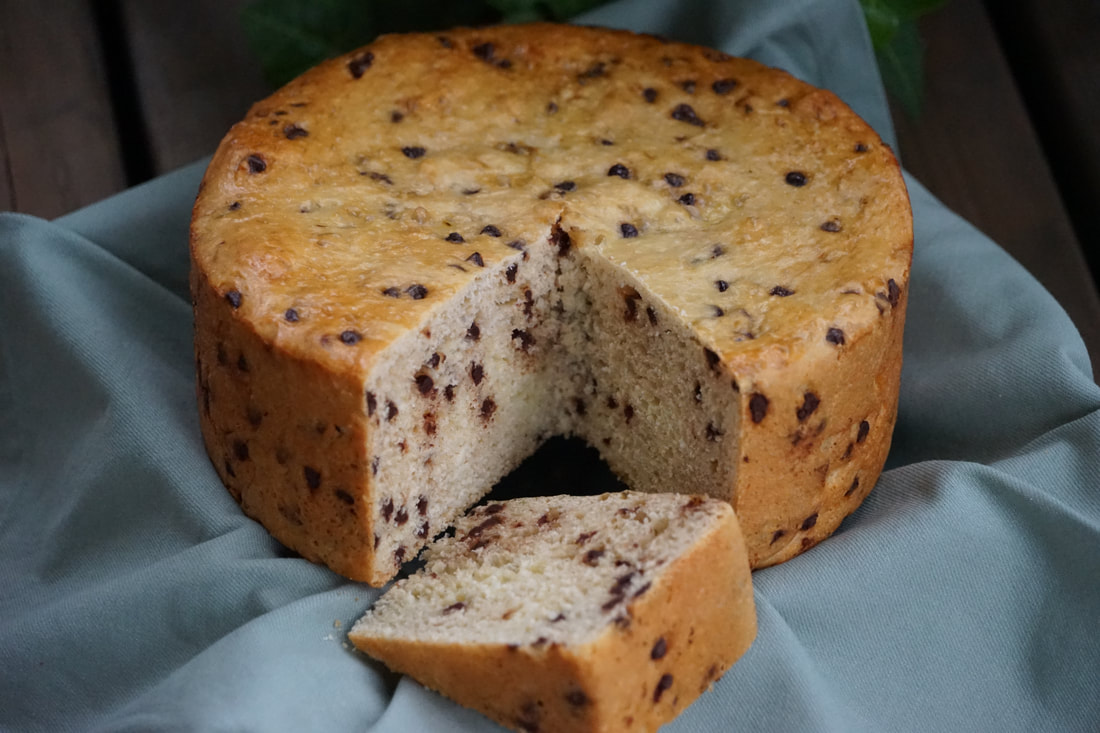 Chocolate chip panettone is one of the greatest breads ever. Want to know why? The first couple of days after the bread is baked, I slice off giant wedges and eat it for breakfast. If there is any panettone left after day two, the remainder gets toasted and enjoyed warm with a thin pat of butter. I have the best of intentions of turning the leftover sweet bread into french toast after day 4 but to be honest - our panettone has never lasted that long. 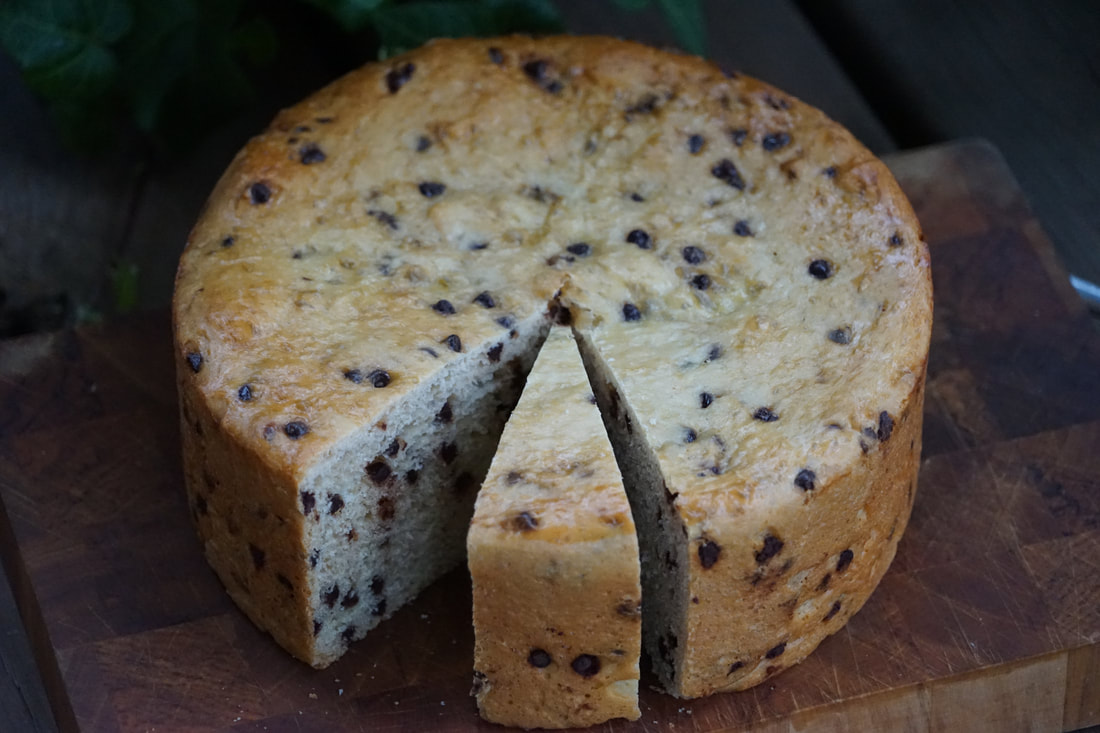 Chocolate Chip Panettone 3/4 cup warm milk 2 eggs + 2 egg yolks 3 Tablespoons light corn syrup 1 teaspoon vanilla extract 1/2 teaspoon almond extract 2 3/4 cups flour 2 1/4 teaspoons yeast 1 teaspoon salt 8 Tablespoons butter, softened 1 cup mini chocolate chips
Remove loaf from pan and let cool 3 hours. 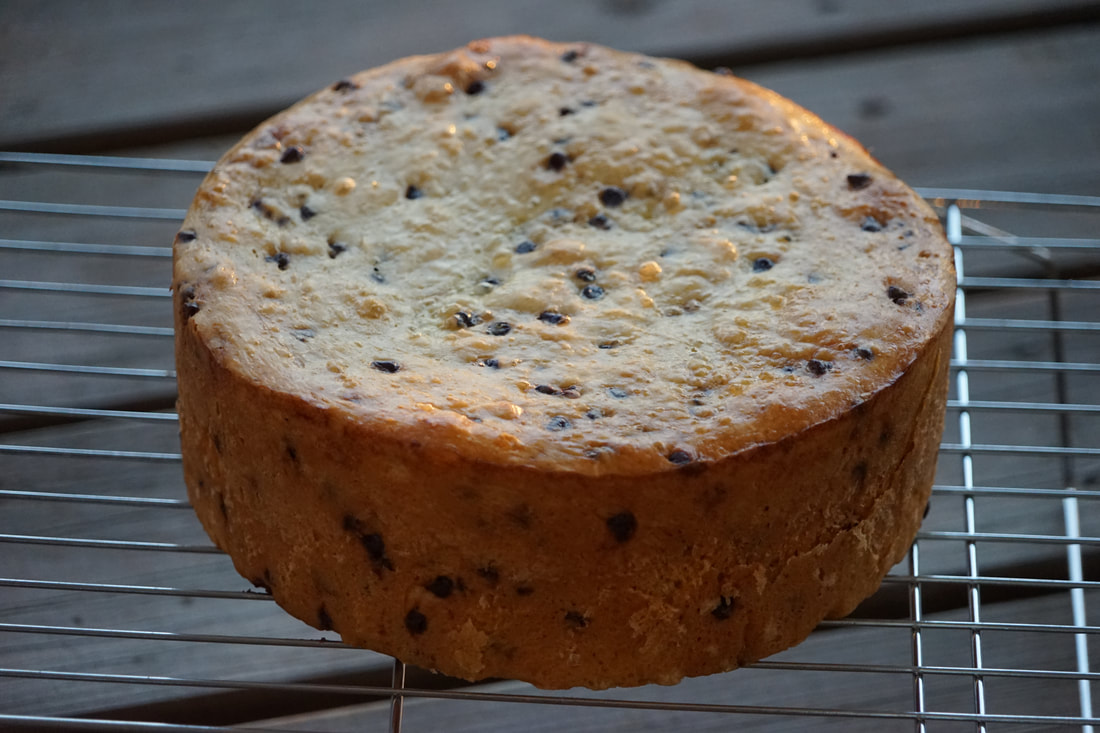 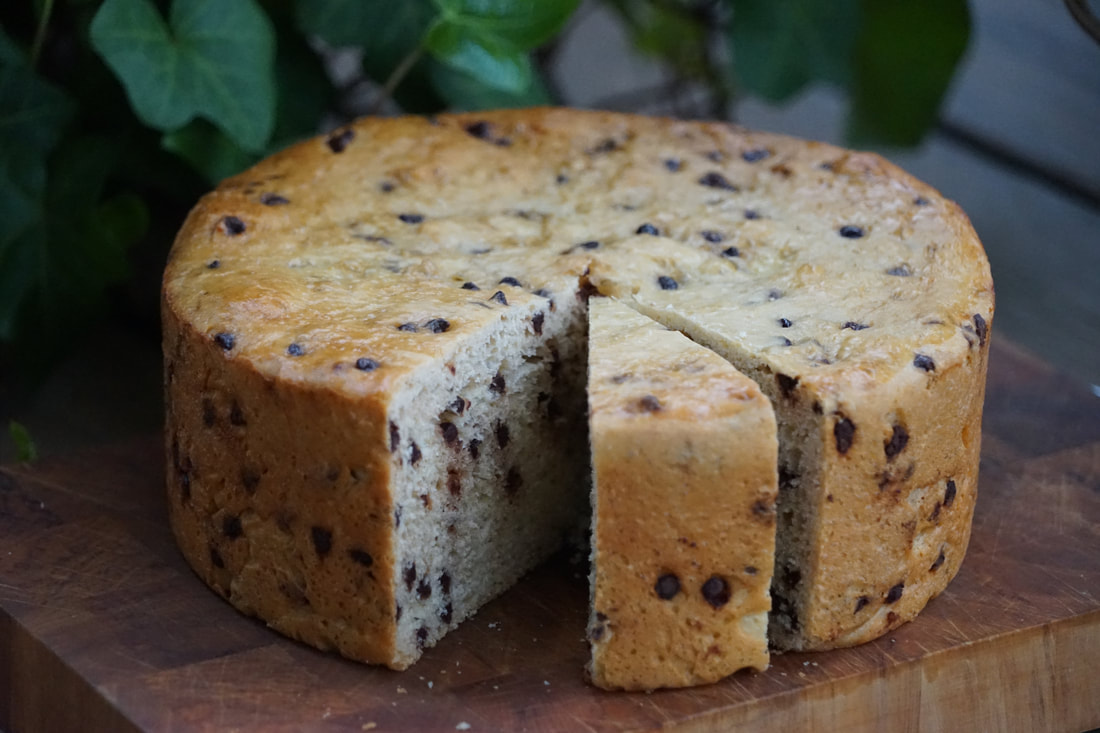 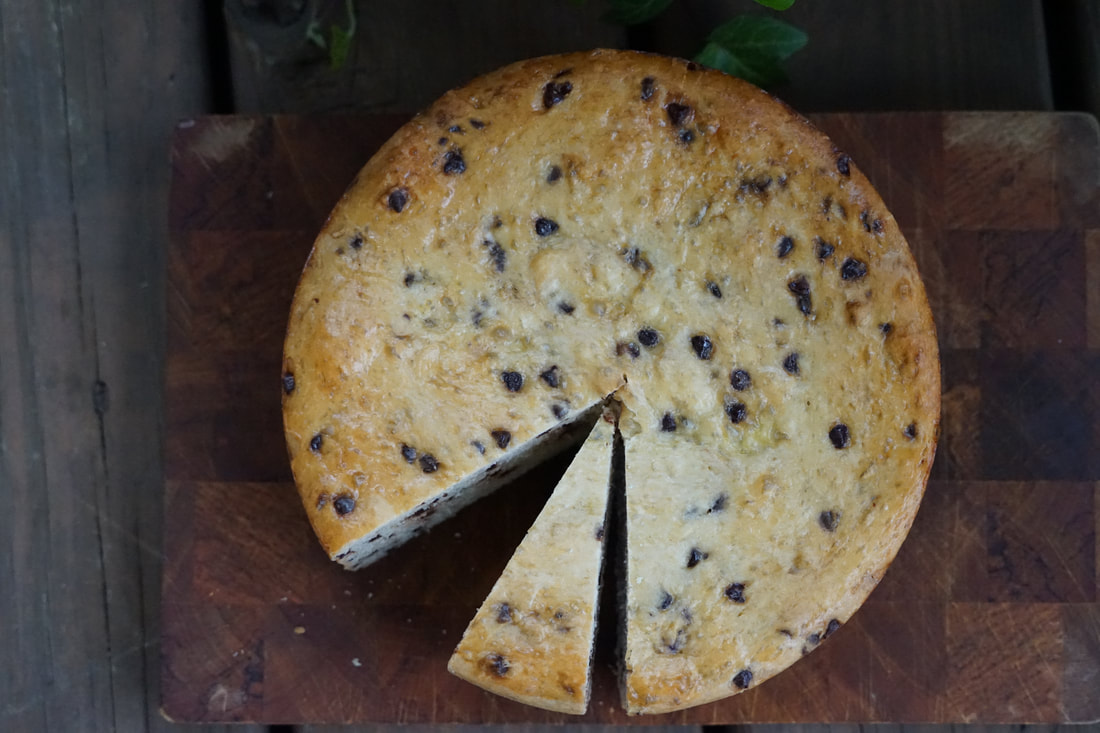 Panettone is an Italian sweet bread originally from Milan. I did a little research into the Panettone and discovered that it's name is believed to be loosely translated into "cake of luxury." I couldn't agree more.
Ciao!
0 Comments
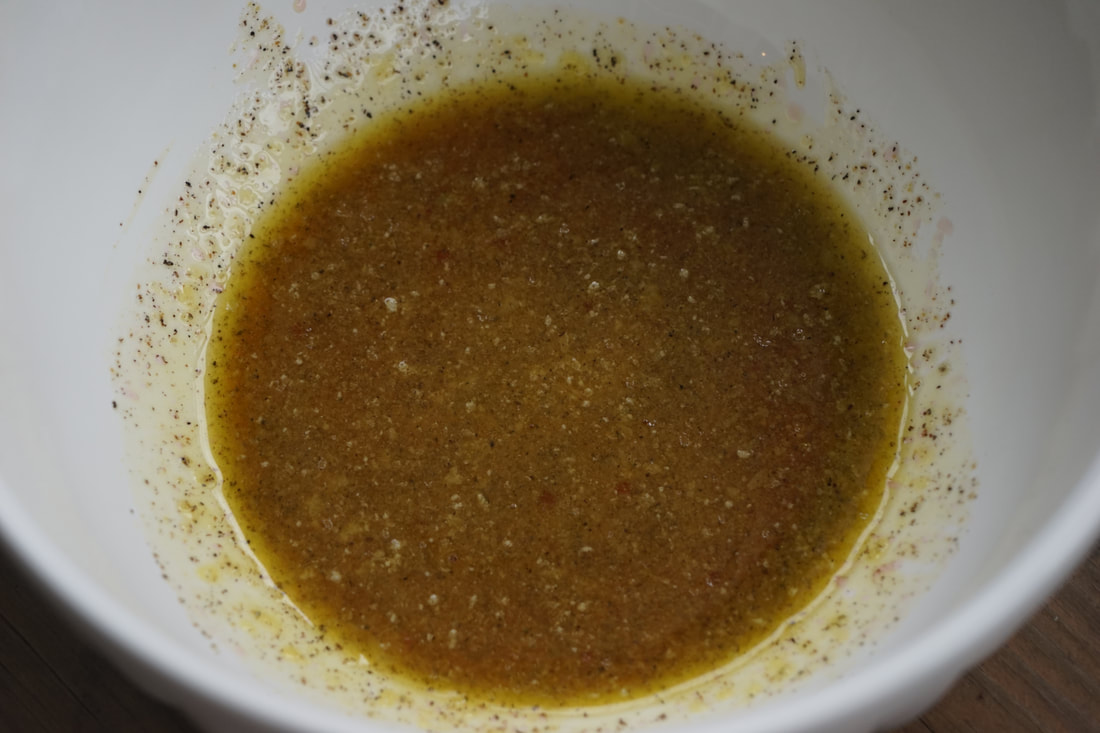
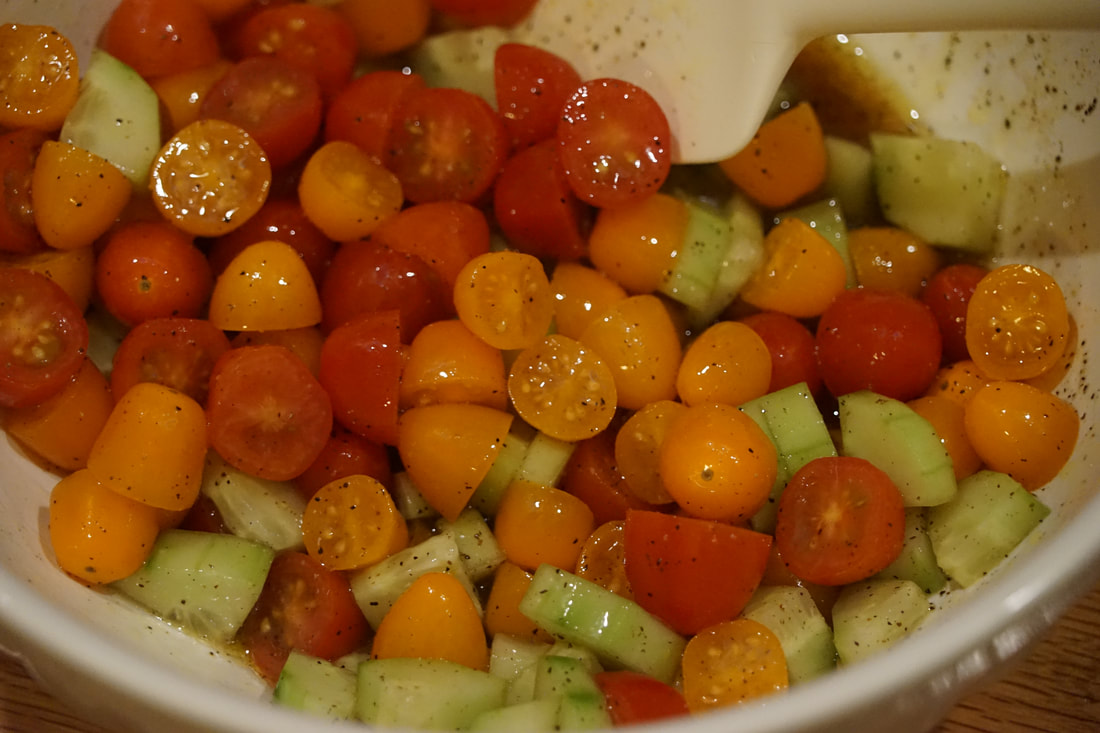
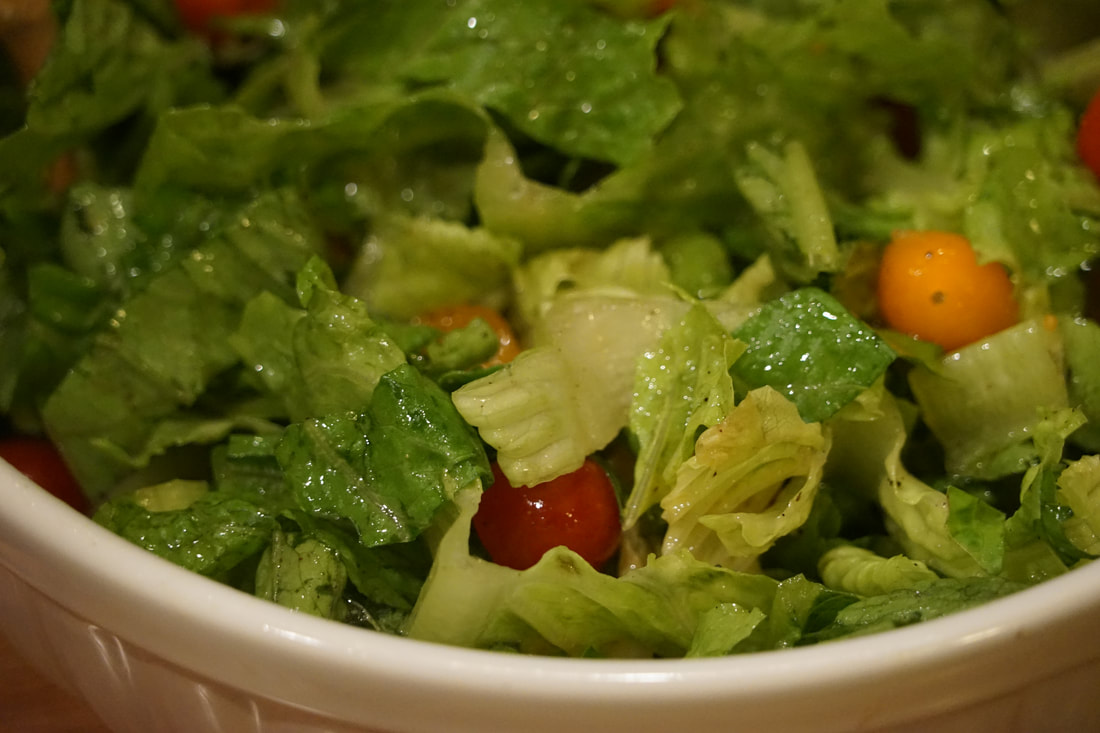
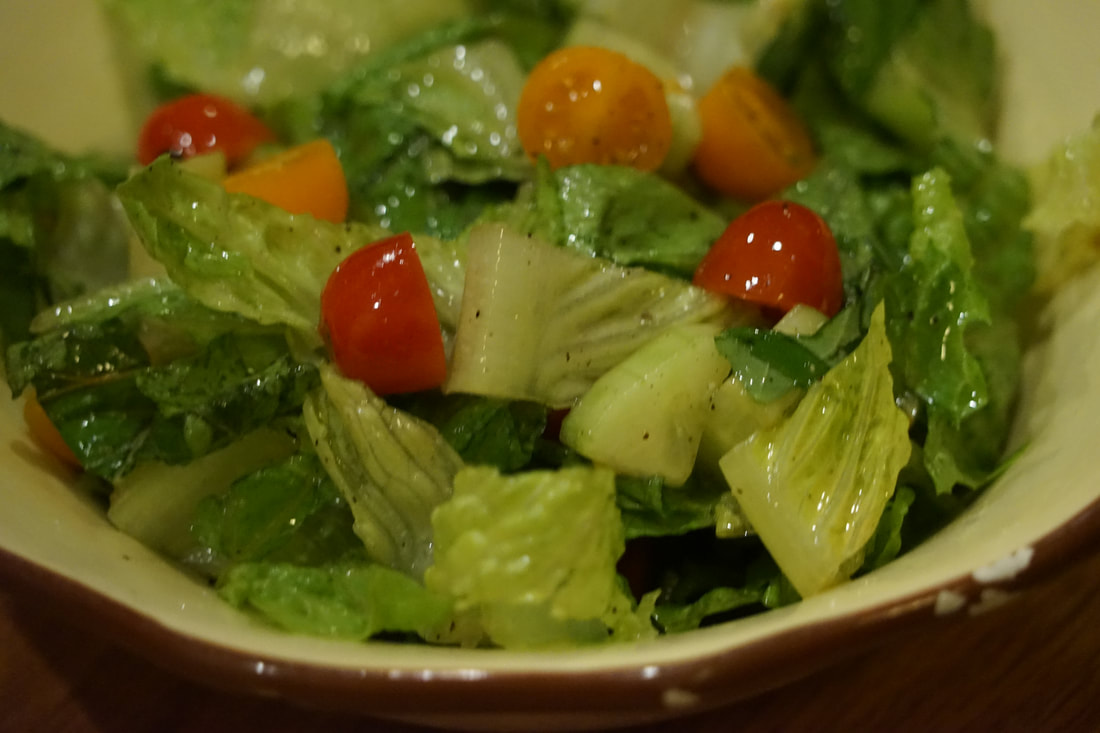
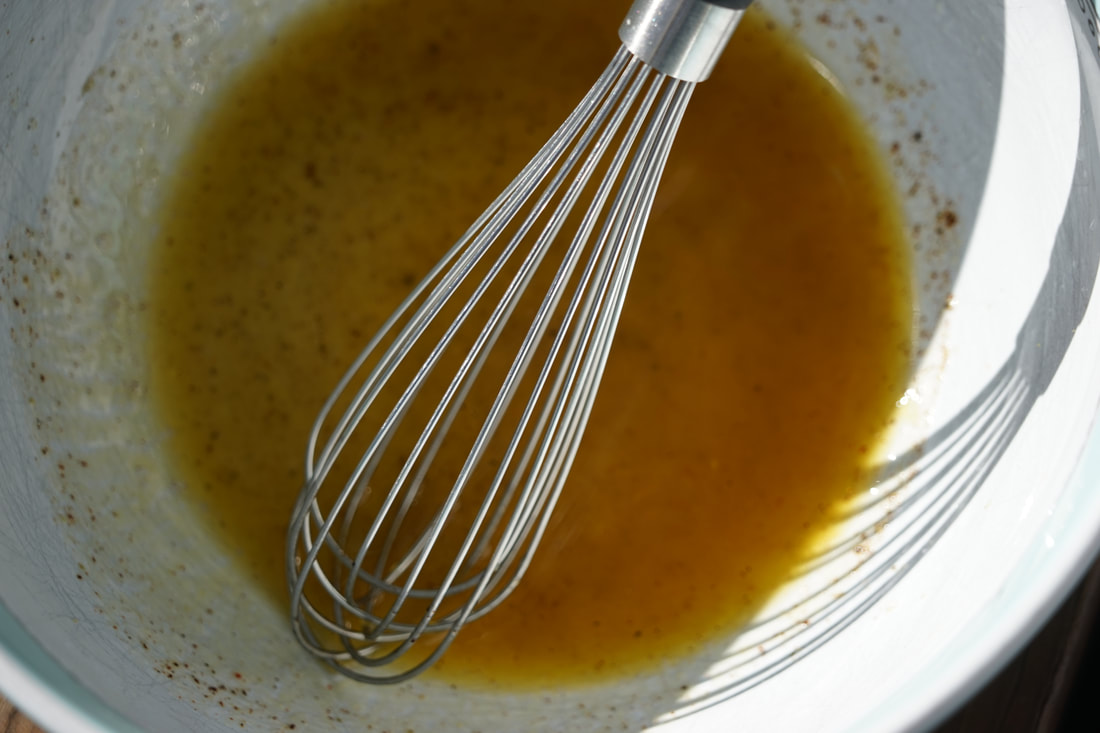
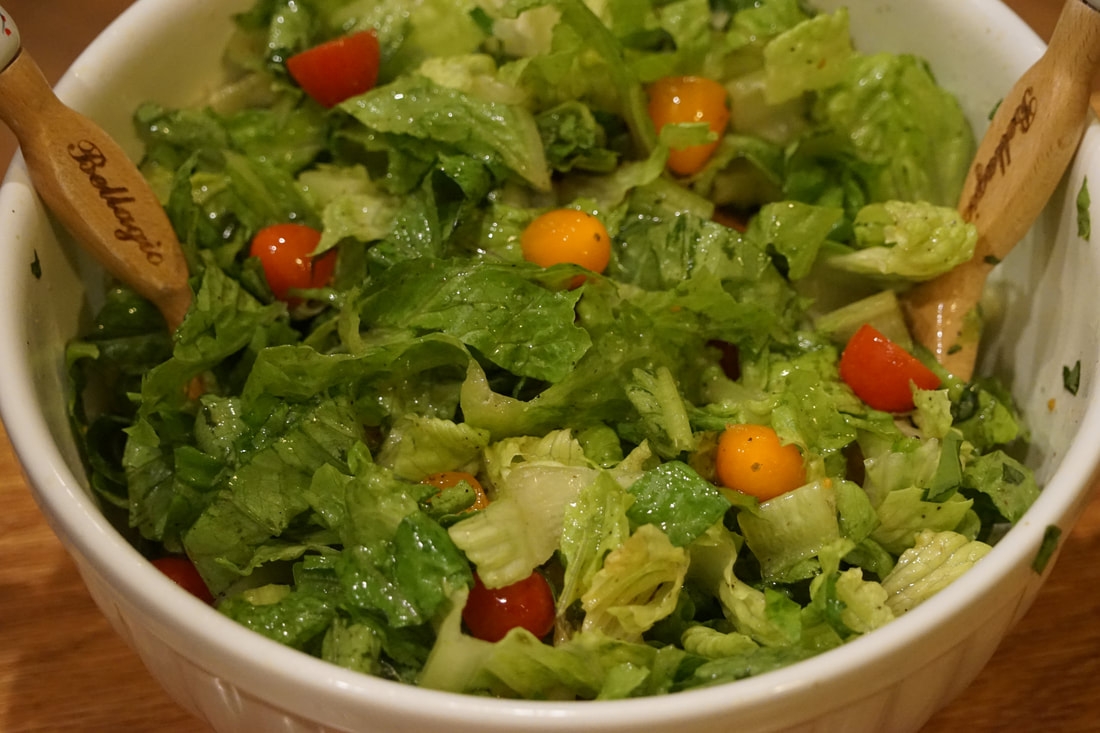 Tidying Up is one of the most popular series on Netflix right now so I can't possibly be the only person who's binge watched the show and jumped on the Marie Kondo bandwagon. (You should see my ultra organized sock drawer. 😂) For the few people who haven't seen the show - in a nutshell, Marie Kondo is a tiny Japanese tidying expert who helps people clean out clutter to find joy in their lives. In case you're wondering, I did NOT evoke Marie's method of piling every single item of clothing that I own on my bed and then systematically touching them one by one to discover which ones bring me "joy". I DID however, embrace some of her other tidying ideas. Watching Marie fold clothes with the precision of a surgeon is inspiring. I'm still not sure how she manages to involve her young children in the folding process and accept their imperfectly pleated t shirts without refolding them when they're not looking. I'm not nearly as particular as Marie Kondo is about folding but I'm too type A to put away crinkled clothes. 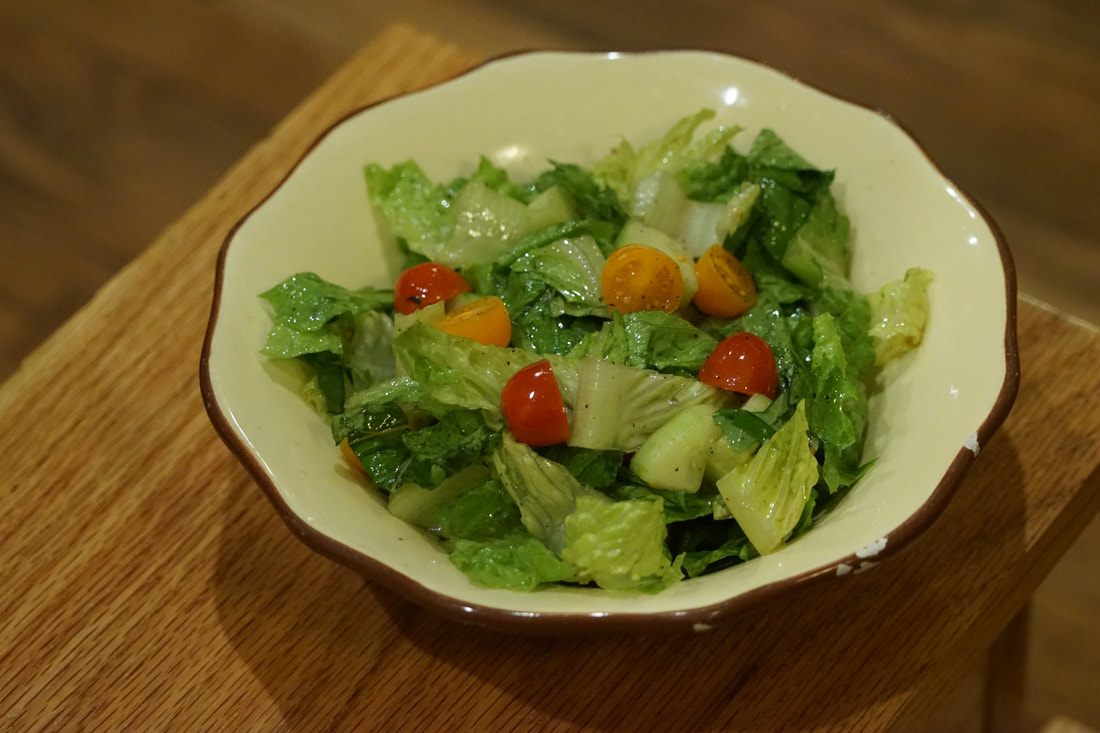 I don't feel like Marie's methods of organizing are really anything new or radical. She groups objects of similar function and size together into small, sleek containers. Sounds like an easy enough task but training everyone else in the house to comply with the organization is a whole different level of adversity. If I decide to change the location of the vegetable peeler, for example - I can expect at least 6 months of searching for misplaced a peeler in the kitchen. It will be hidden in random drawers and cabinets by my well intentioned family members. 😅 My kitchen organization is probably not Marie Kondo approved but it works for me. I have my most frequently used gadgets within arms reach and my grouping system works perfectly. I could never do what Marie Kondo does, it would be impossible for me to organize anyone else's kitchen without observing them in the kitchen over a long period of time. What equipment do they use the most? Which knives do they need to have within an arms reach? I believe that the best person to organize a kitchen is the person who USES the kitchen. 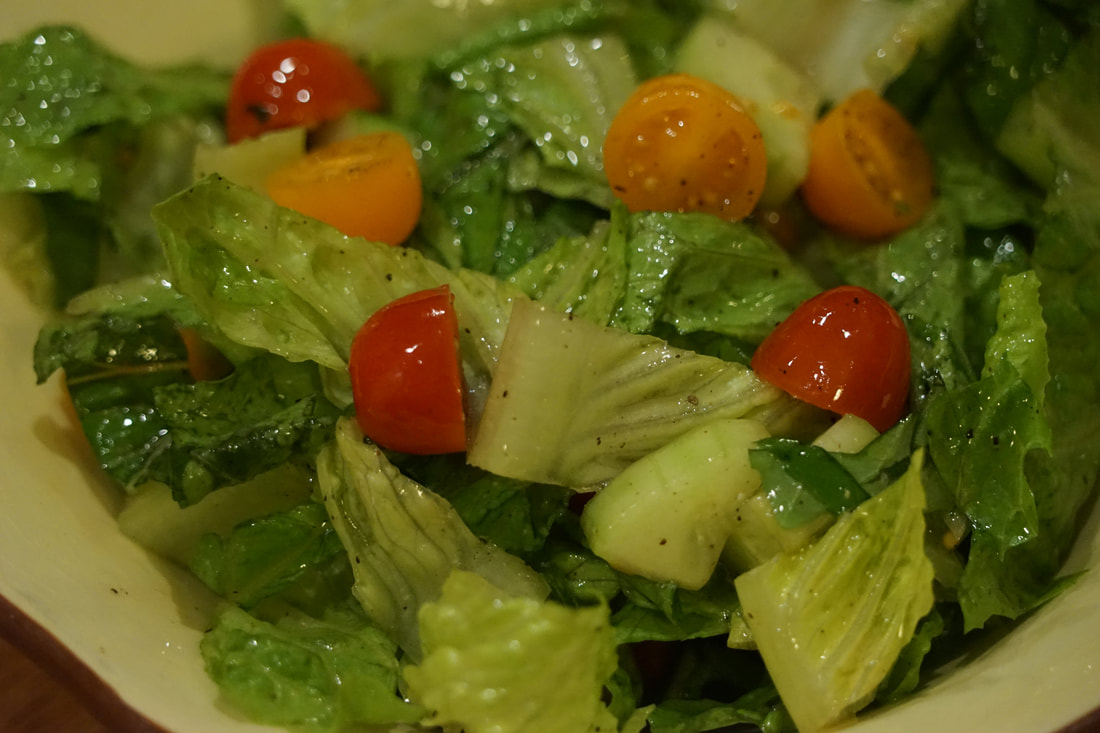 I love a great chopped salad but I don't make a whole lot of them at home because they always seemed too labor intensive. The key to a great chopped salad is getting everything cut into similar sized pieces and that takes a considerable amount of precision and time. (Very Marie Kondo like.) This simplified chopped salad, compliments of America's Test Kitchen, is easy to put together and it compliments just about any meal. Chopped Salad 1/4 cup olive oil 3 Tablespoons red wine vinegar 1 shallot, minced 8 ounces grape tomatoes, halved 1/2 English cucumber, cut into 1/2" pieces 2 Romaine lettuce hearts, cut into 1/2" pieces 4 ounces feta, crumbled 1/4 cup fresh basil leaves
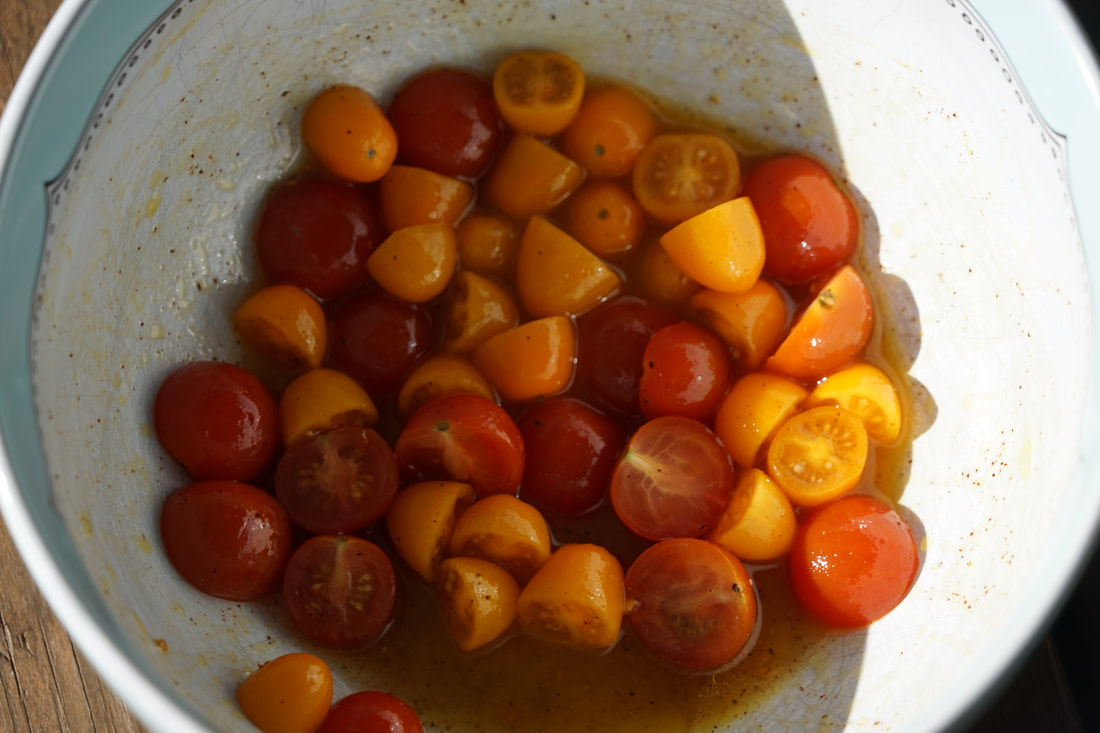
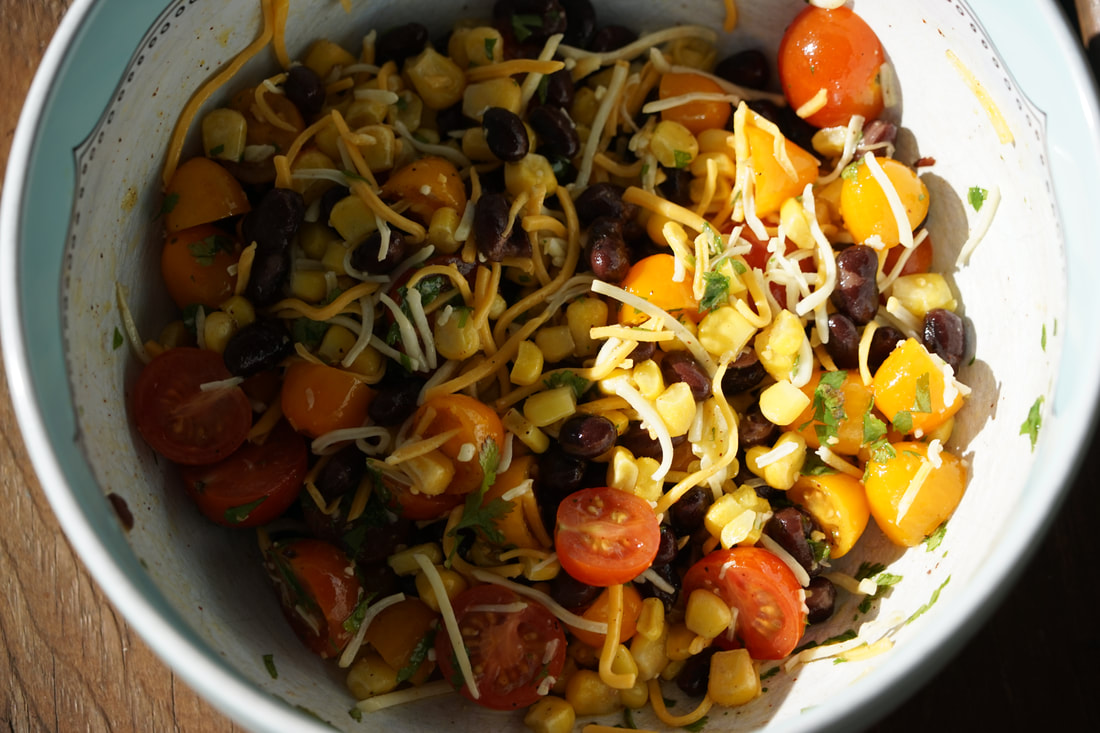
Surprise - I'm adding a bonus recipe to the blog today. It's a slightly different version of the chopped salad that's listed above. I love this salad and all of the different ways that you can modify it. 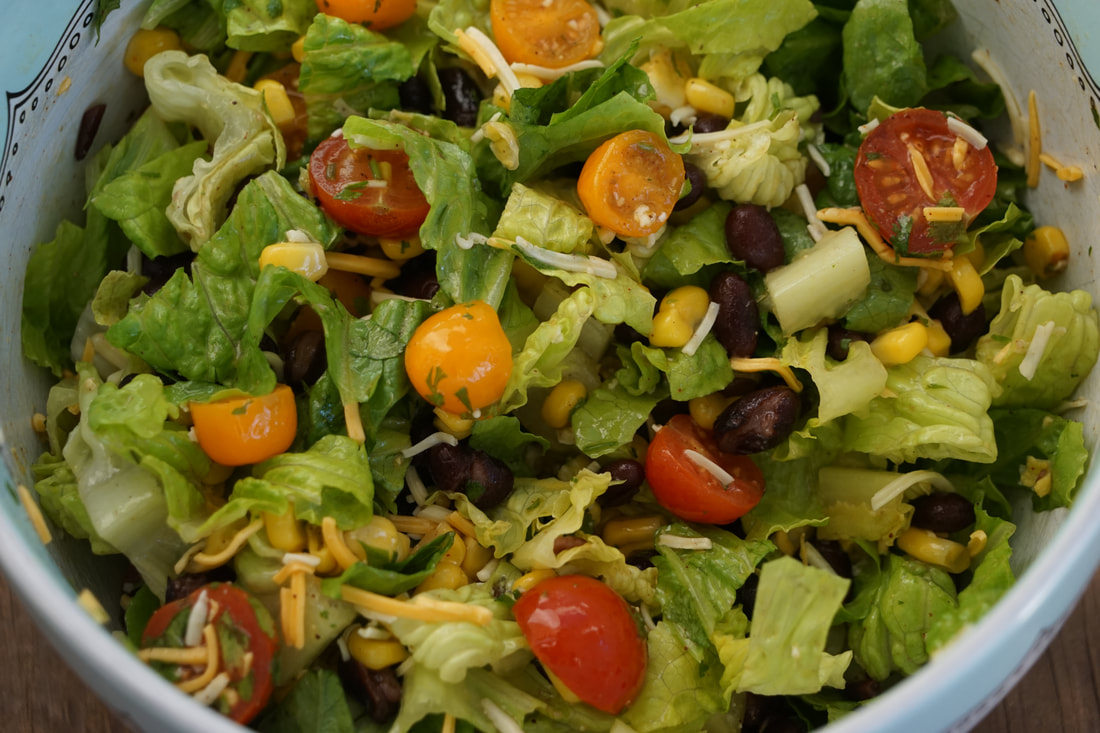 Southwest Chopped Salad 1/4 cup olive oil 3 Tablespoons lime juice 1 shallot, minced 8 ounces grape tomatoes, halved 15 ounce can black beans, rinsed 2 Romaine lettuce hearts, cut into 1/2" pieces 4 ounces Colby Jack cheese, shredded 1/4 cup fresh cilantro 1/2 teaspoon chili powder 1 cup corn 1 avocado, cut into 1/2" pieces
Top with avocado. 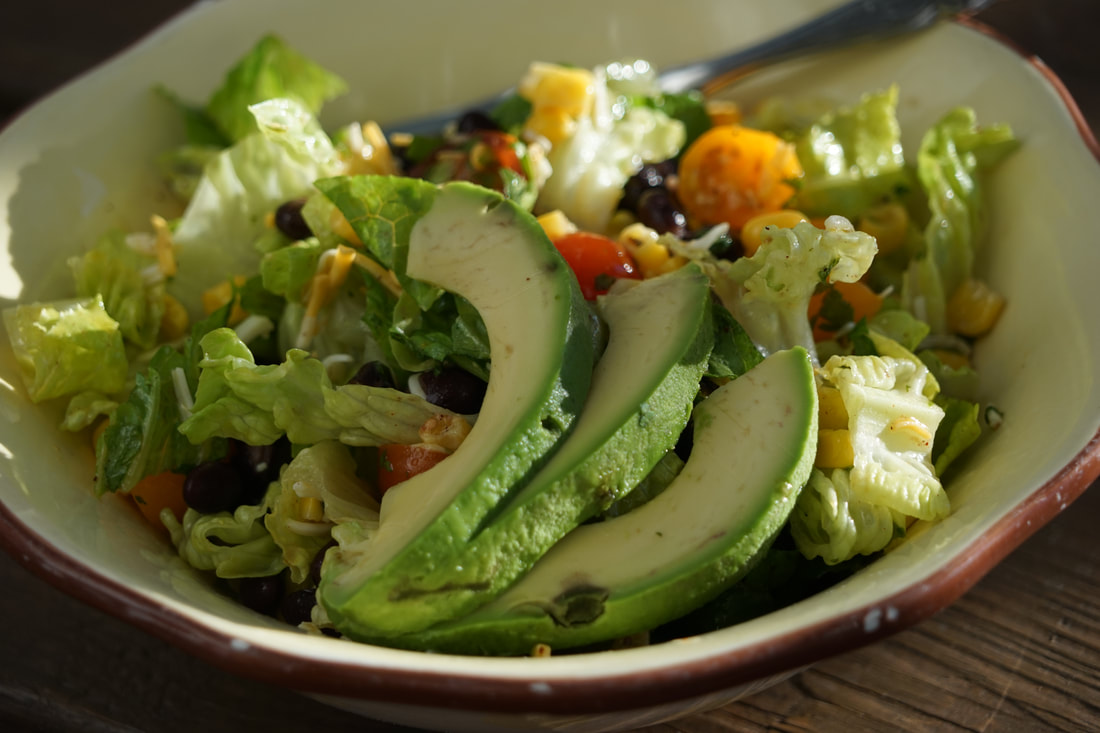 Two versions of one salad. Just think of all the other ways that you could adapt this scrumptious chopped salad to suit your needs. A Greek version? A tropical chopped salad? Or a chopped salad with crispy Chinese noodles? It's time to get choppin'.
Ciao! 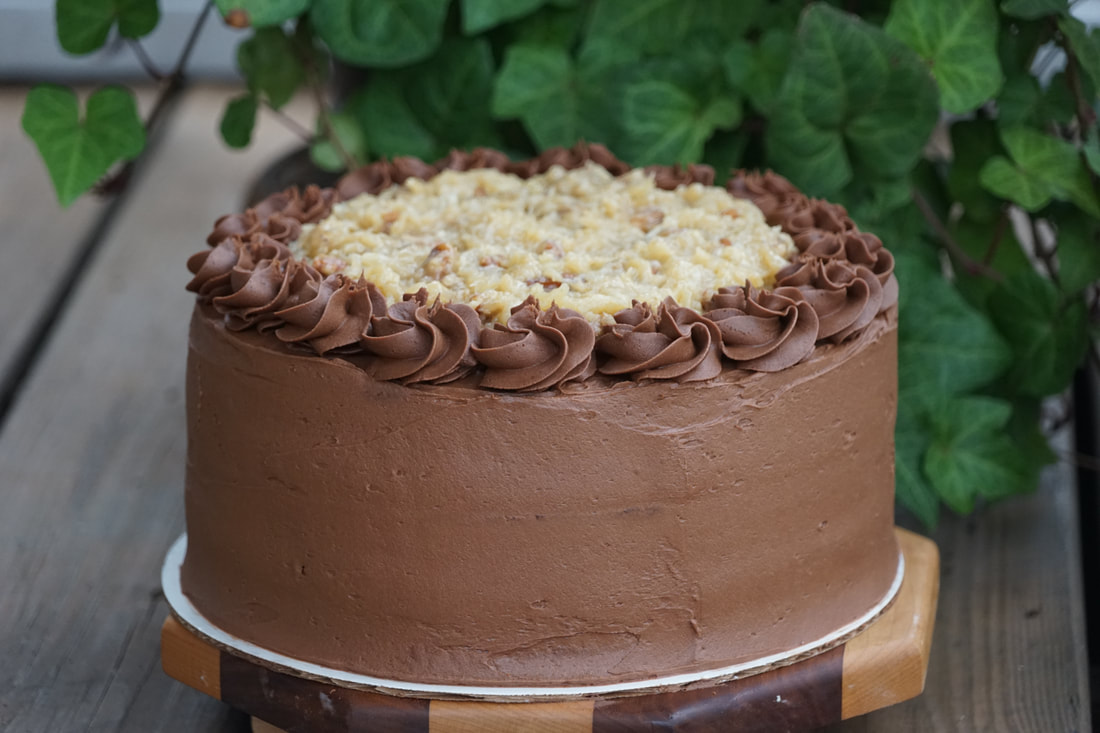 How do you feel about combined birthday celebrations? My birthday and my moms are only a day apart and over the years, we've had a lot of shared birthday festivities. As a child, I got so accustomed to celebrating our birthdays together that when I got married and moved away, it felt strange NOT to celebrate my birthday along with hers. My birthday is the day before my moms, and looking back, I can't help but wonder how many years she had candles stuck into my day old, half eaten cake for her birthday. As a child, all caught up in the afterglow of my birthday festivities, I honestly don't remember her birthday cakes except for the years that both of our names were on one cake. With the exception of the few years that I went rogue and requested donuts or pie instead of cake, I'm fairly certain of the fact that my mom never had a birthday cake that was entirely her own for the 18 years that we lived together. My mom and I live 750 miles apart now and we hardly ever get to celebrate our birthdays together. We have separate birthday cakes now and honestly - it's a little weird. Still to this day, I cut my cake on my birthday and on the next day, I eat another slice in honor of her birthday as well. 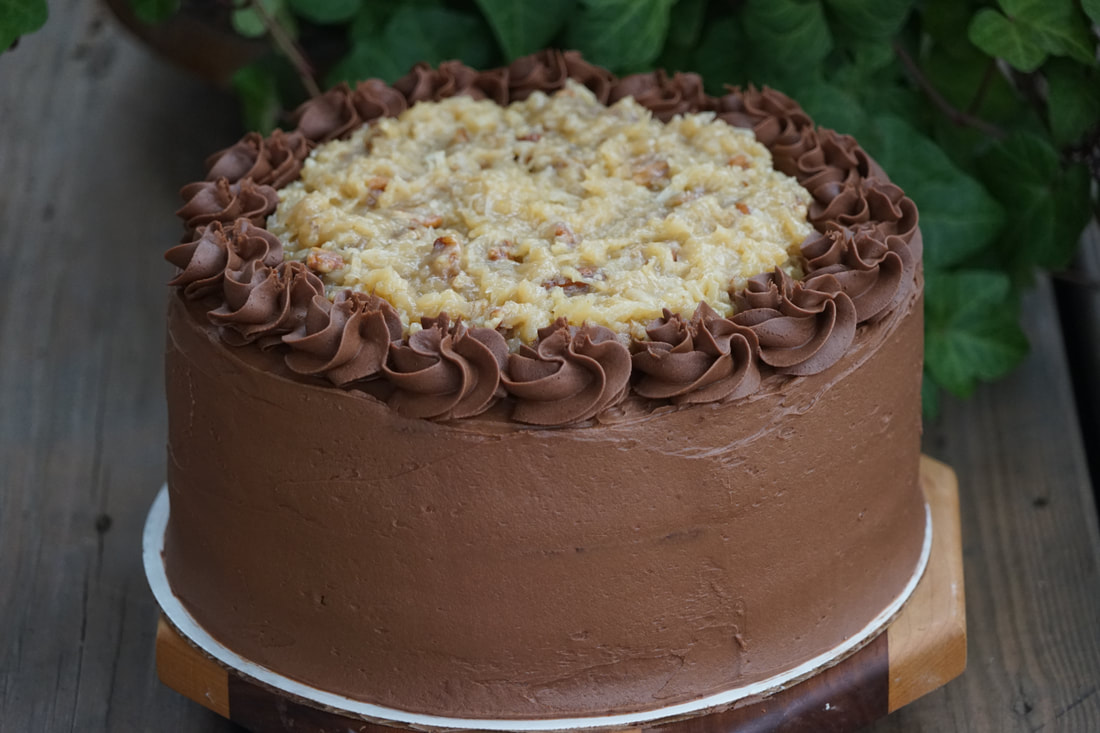
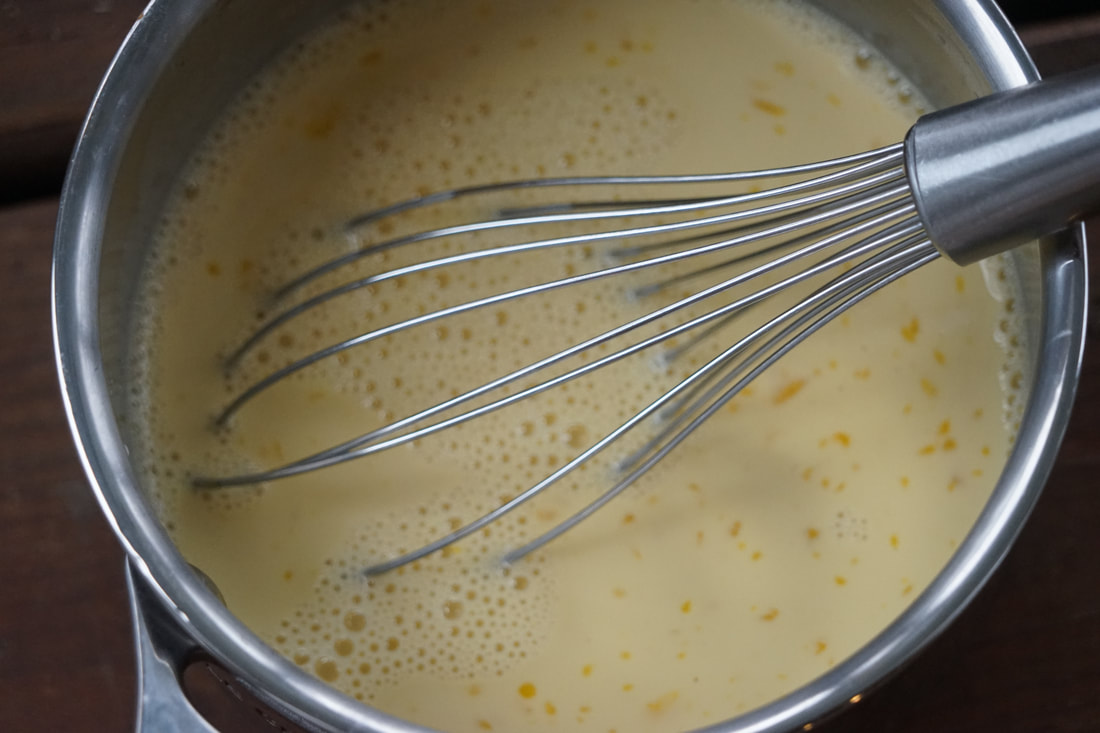
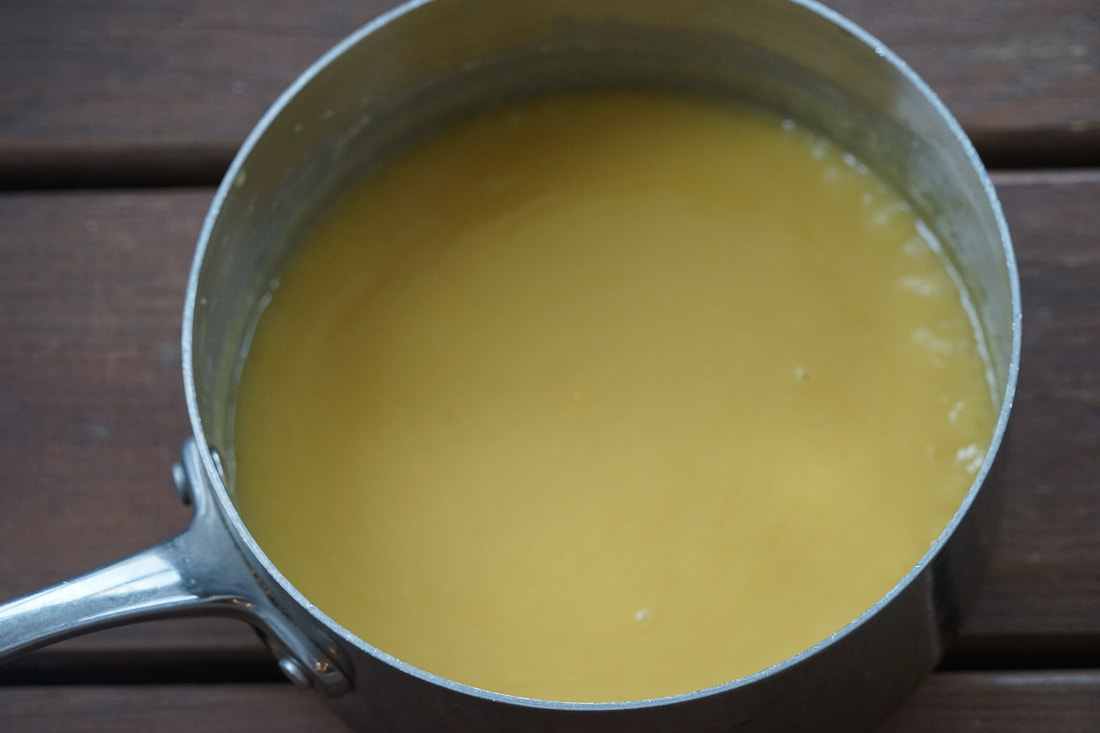
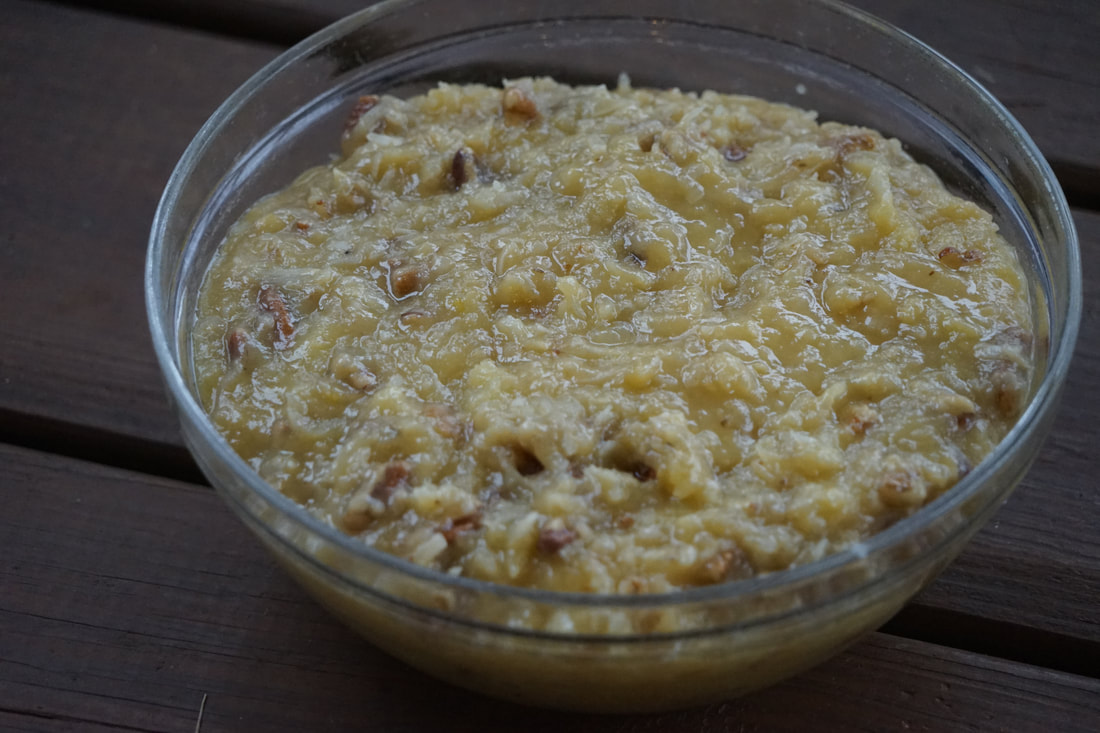
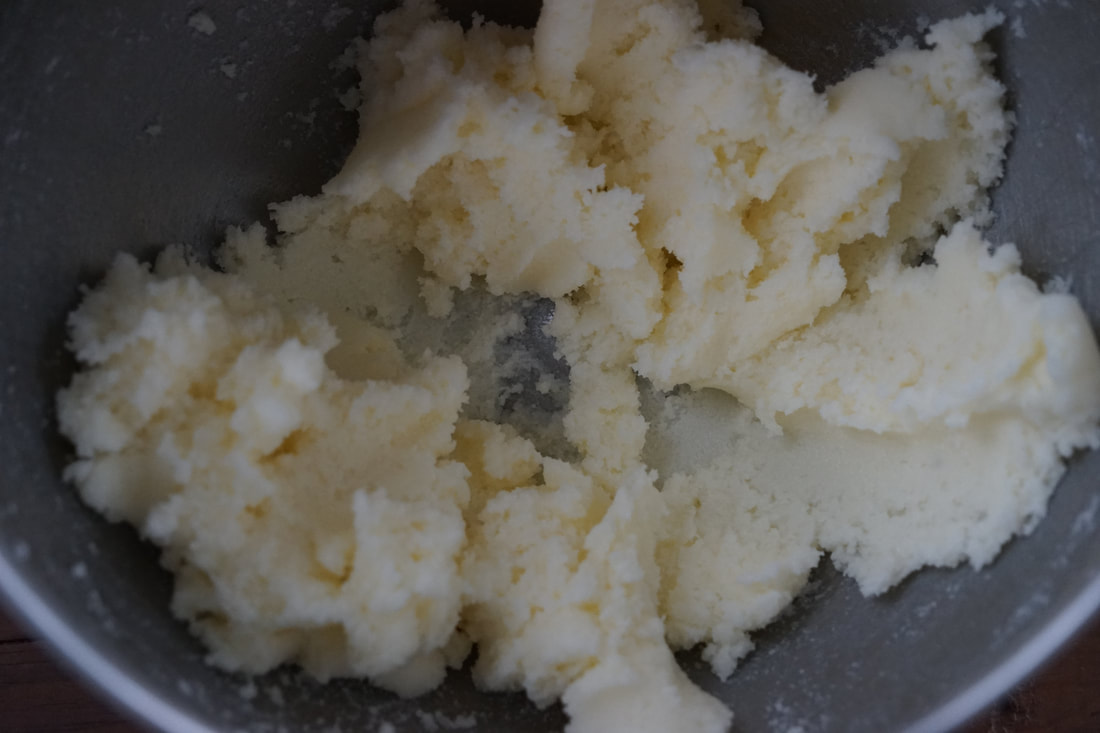
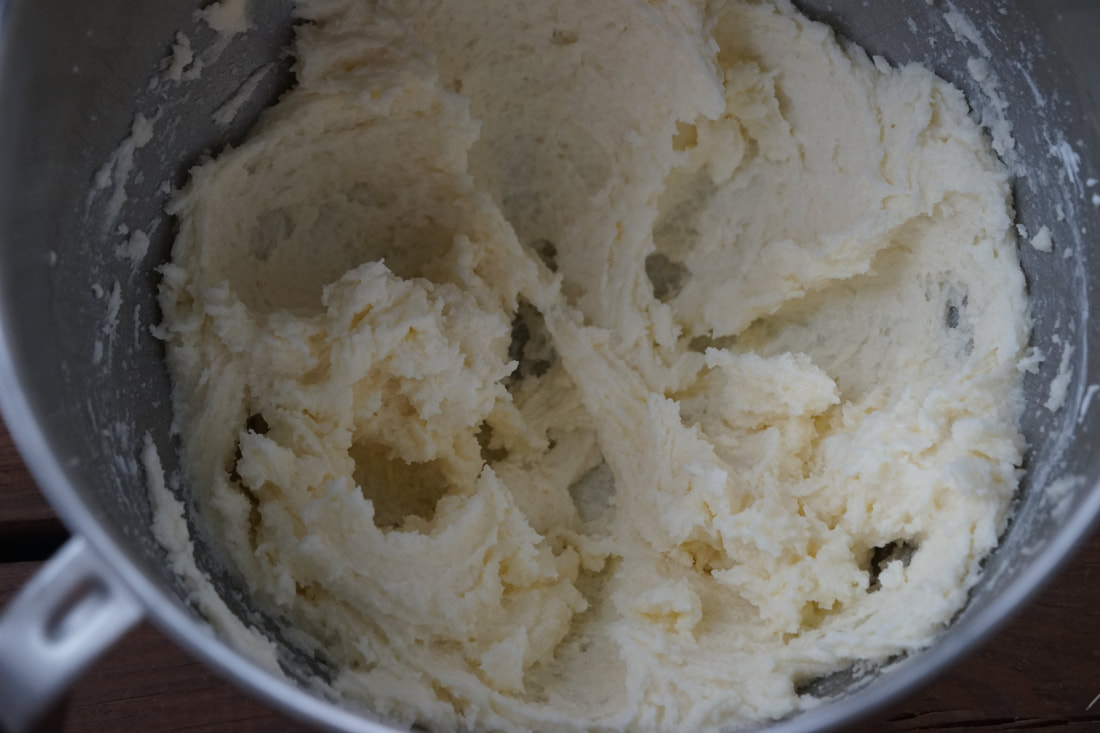
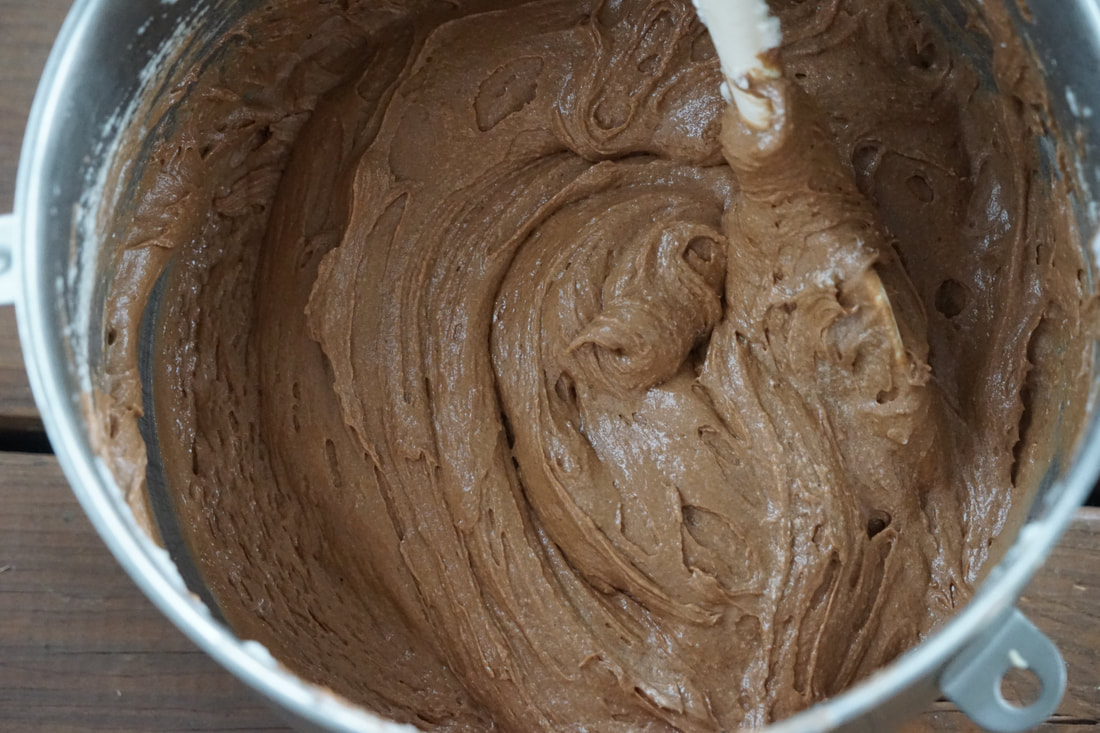
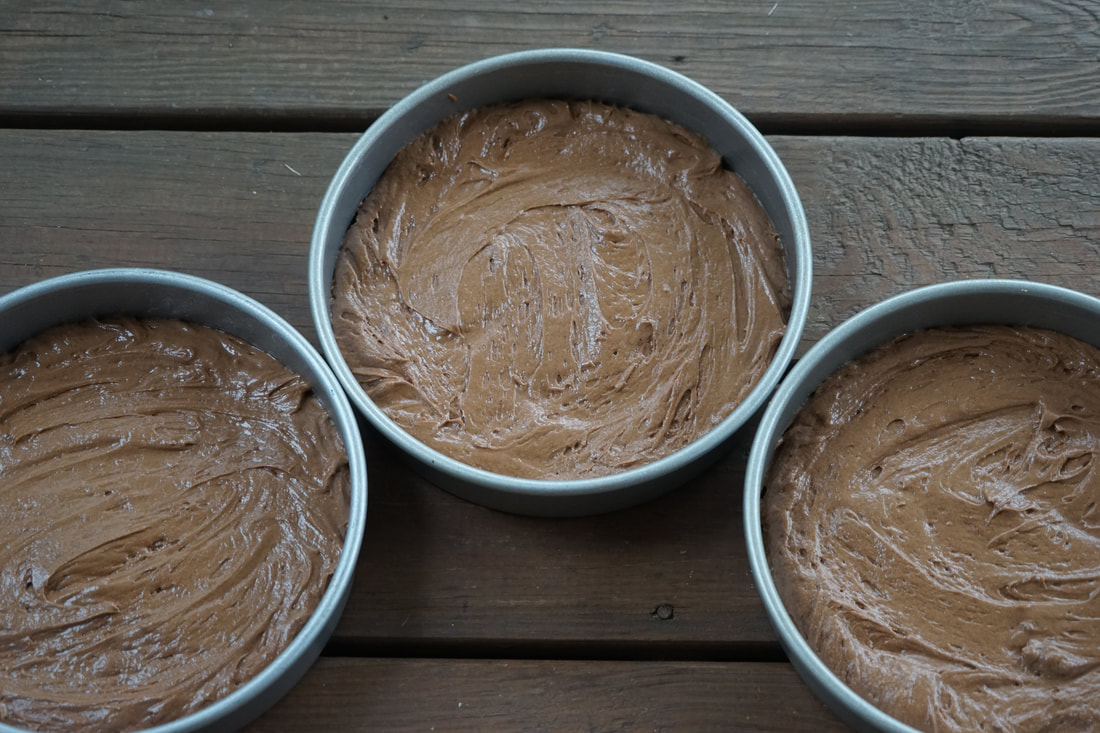
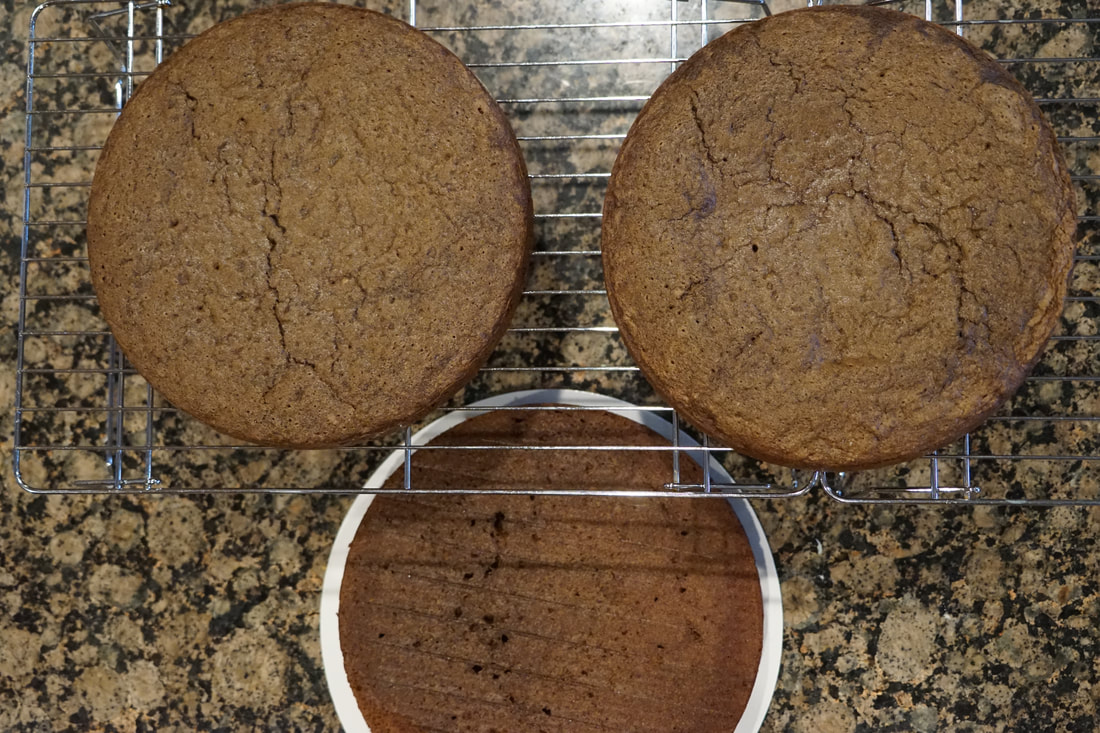
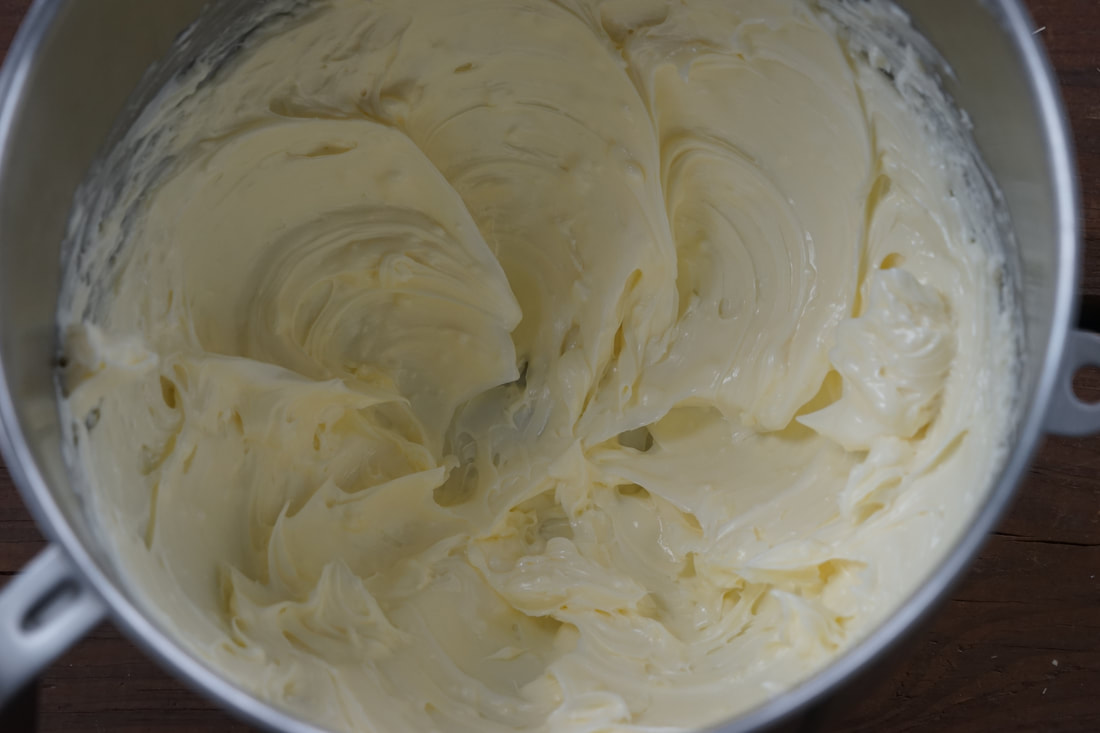
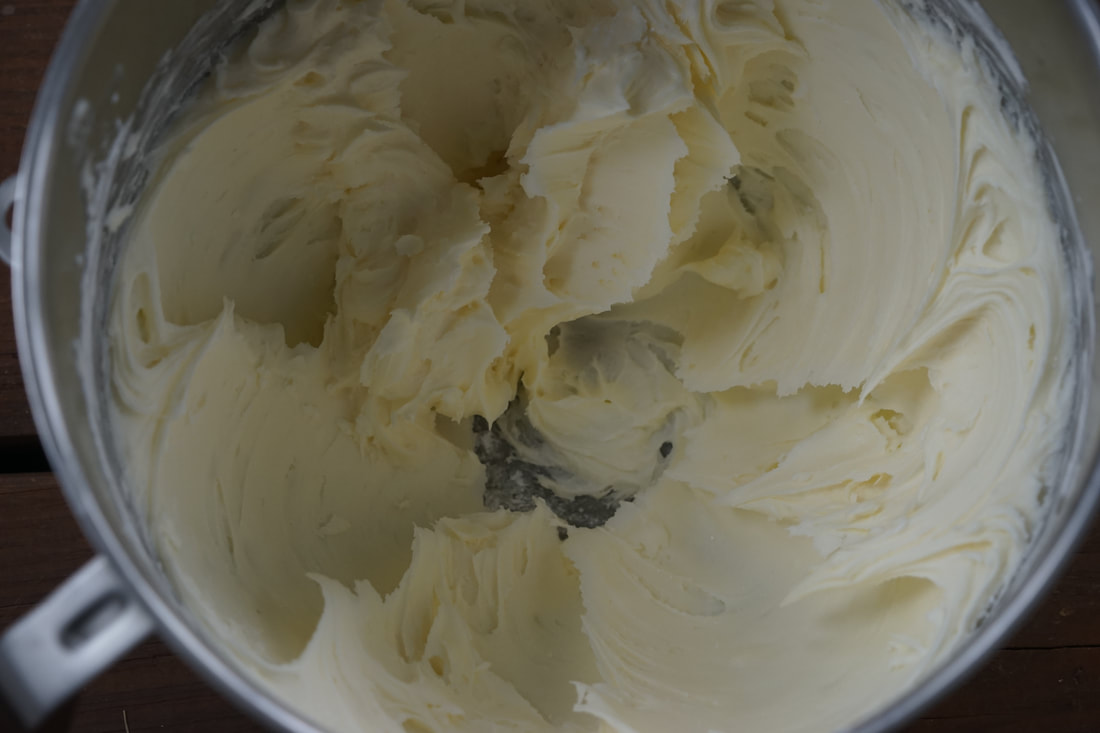
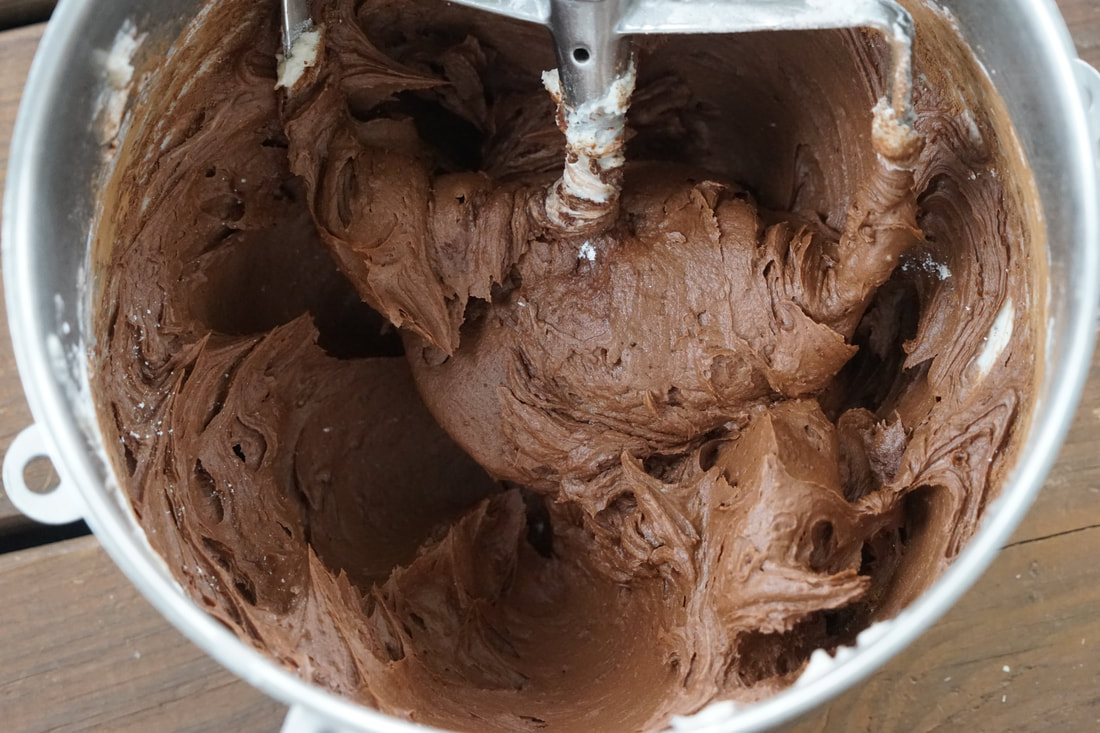
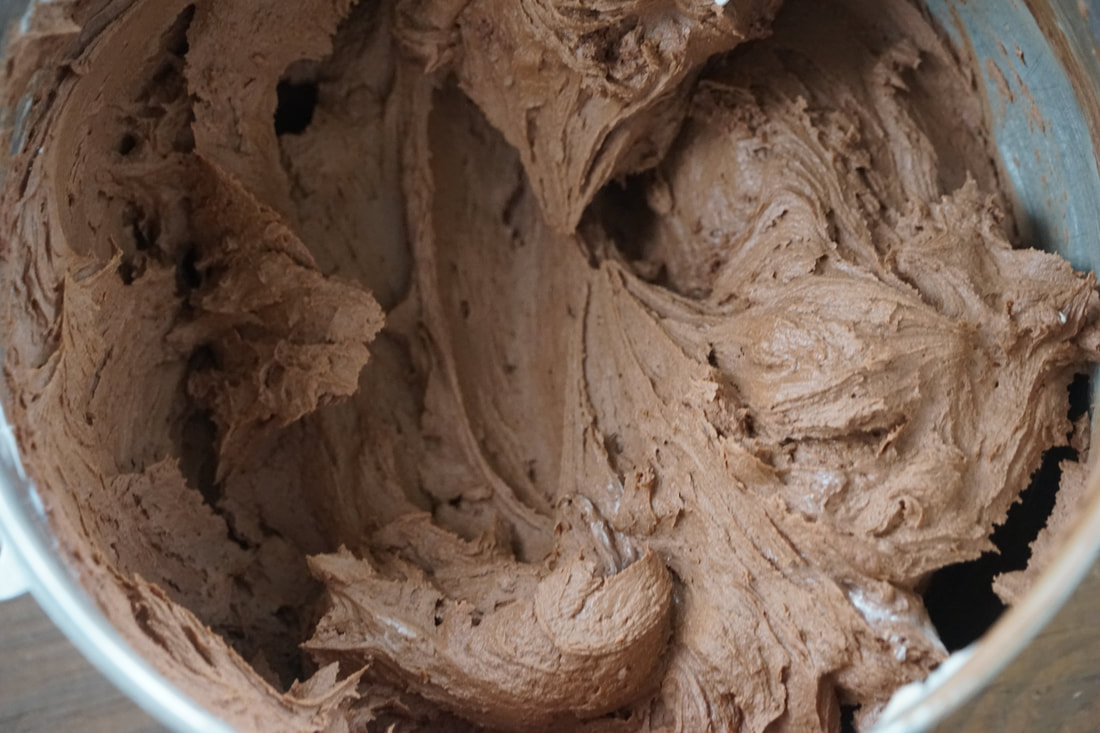
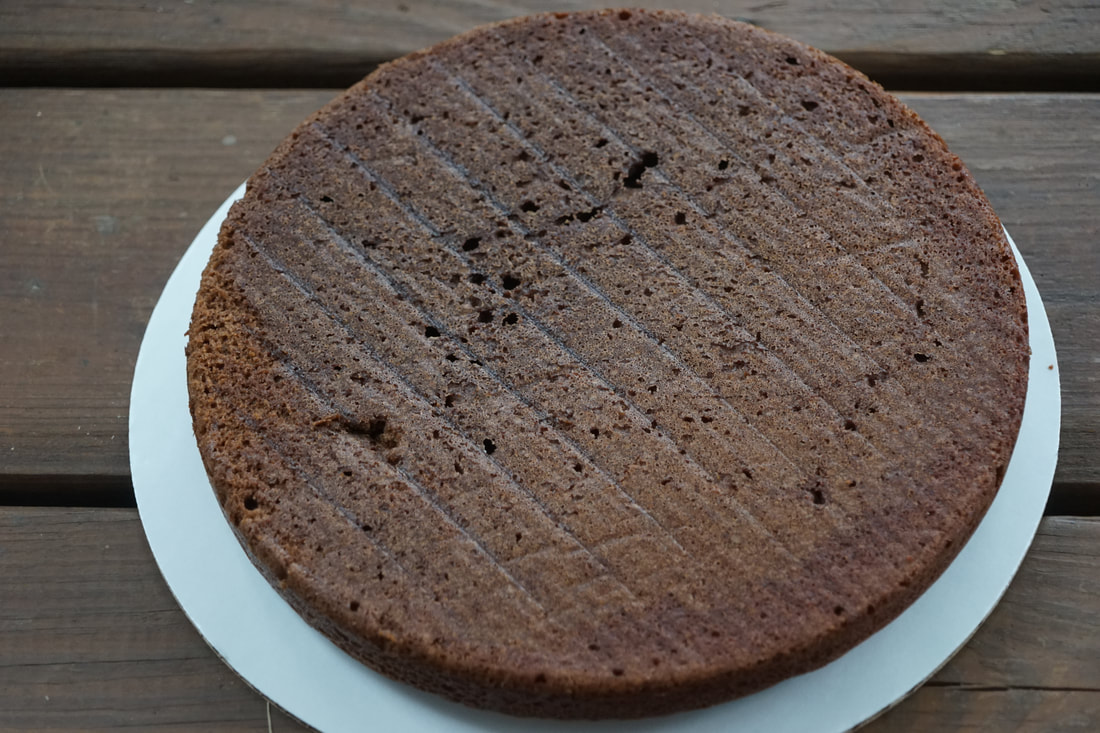
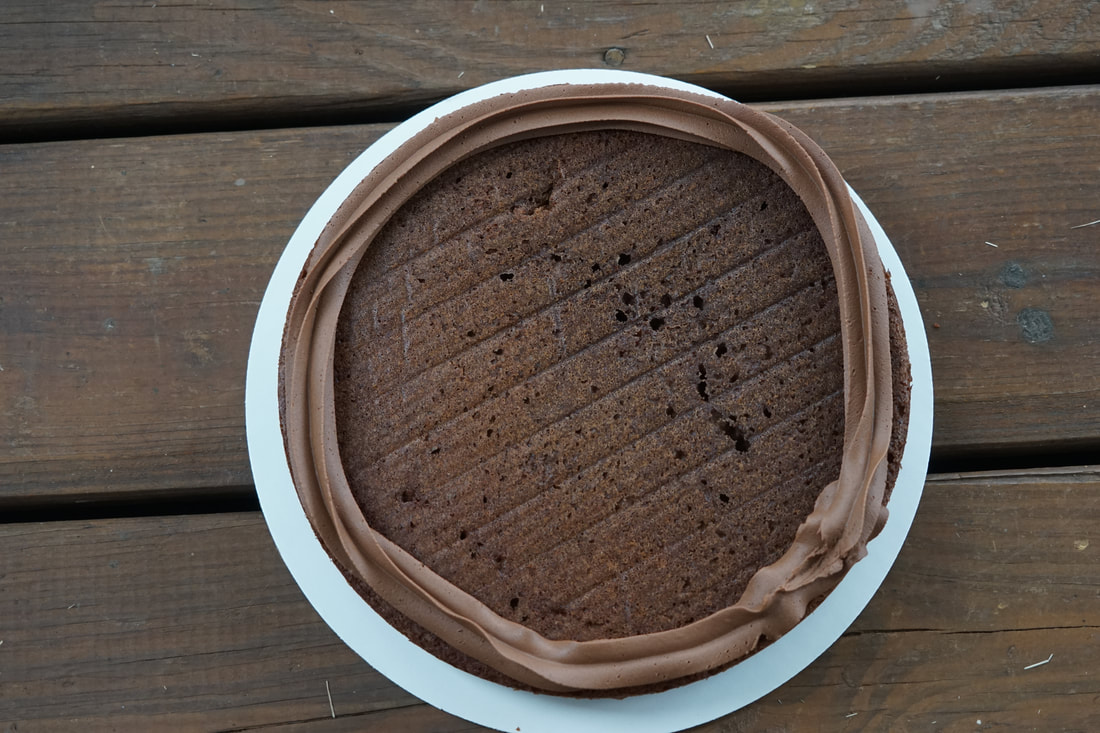
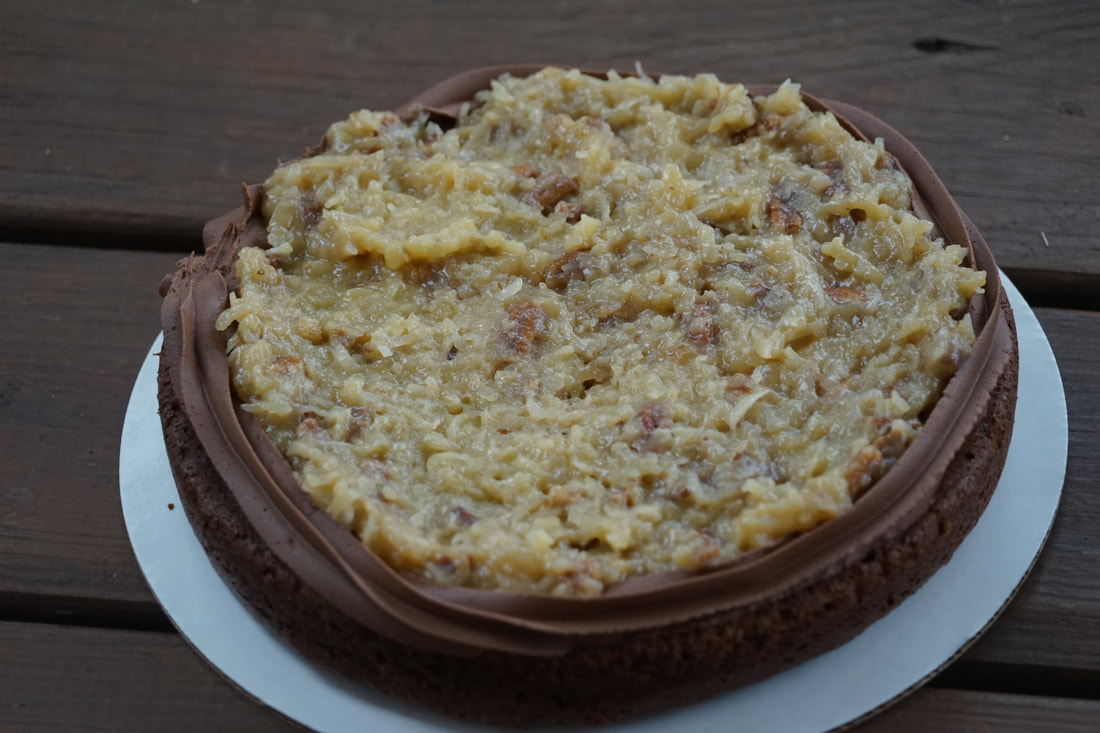
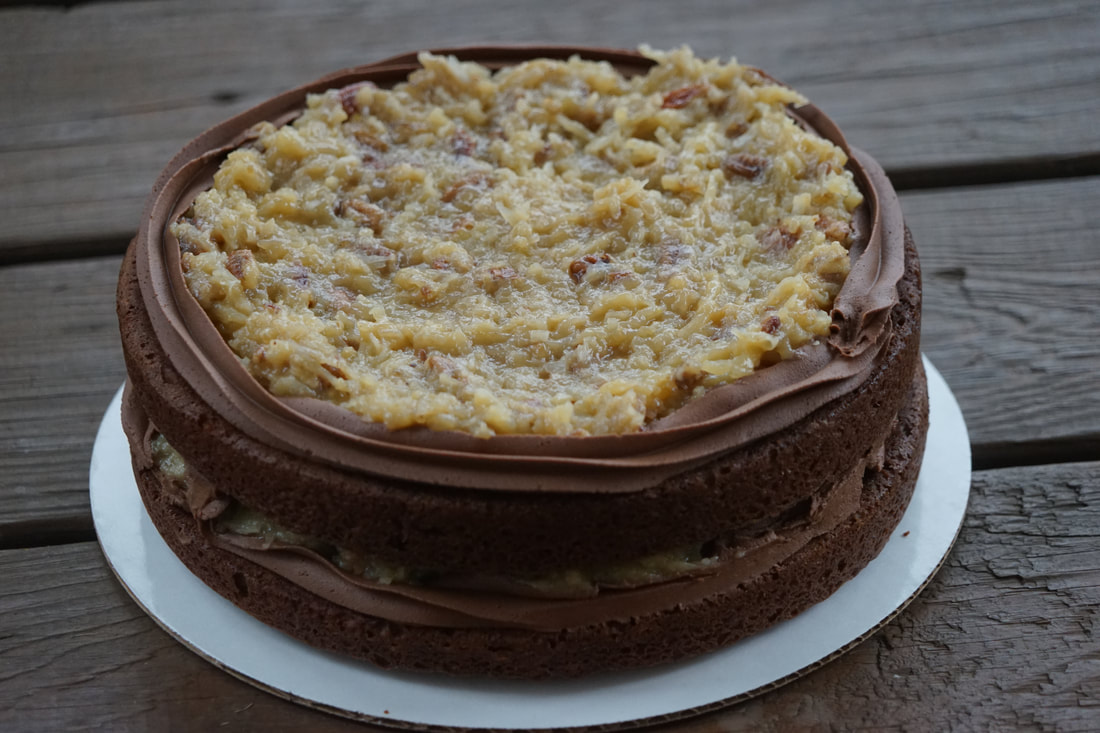
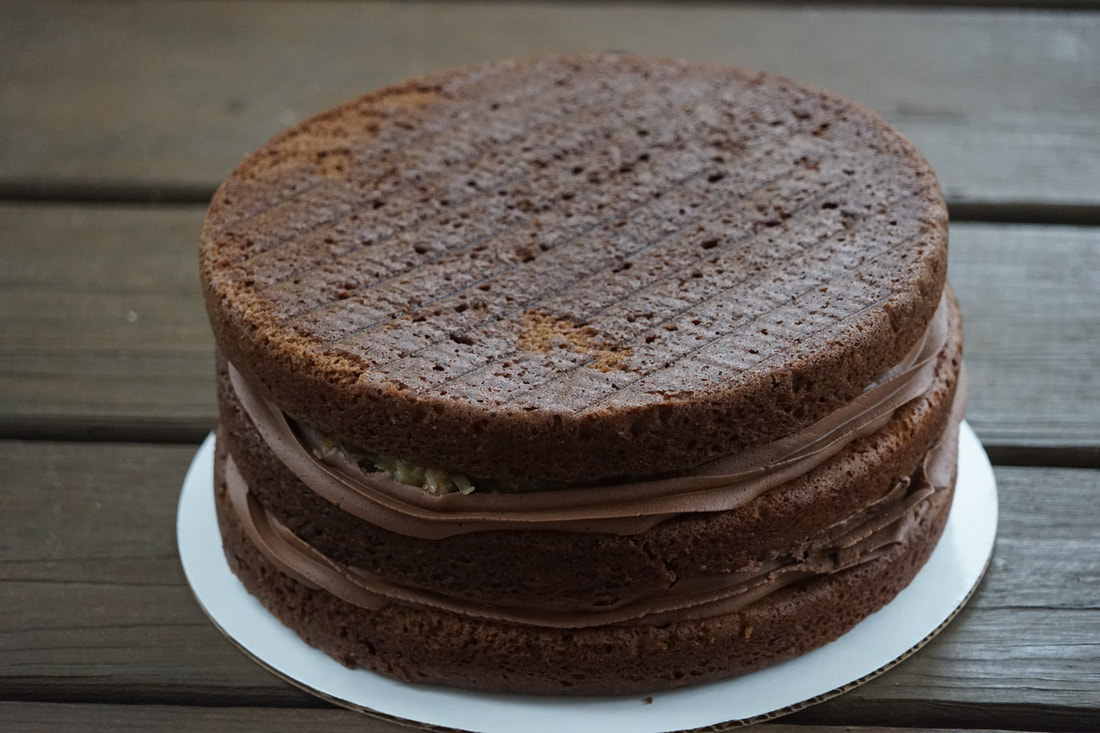
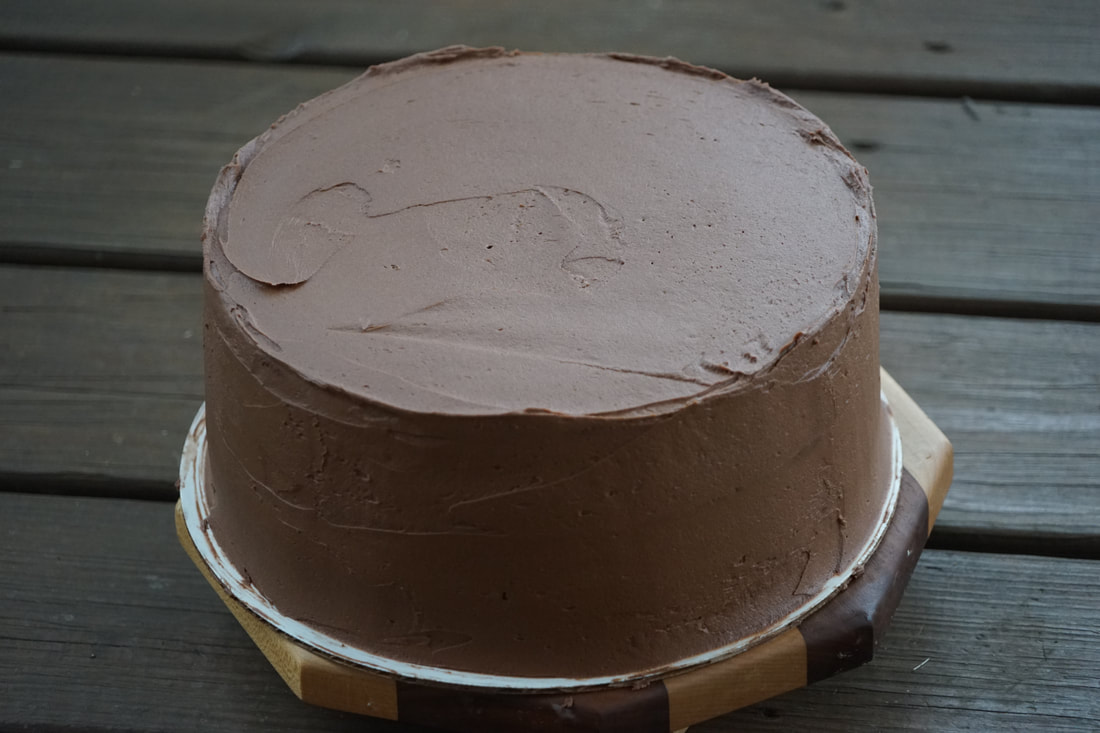
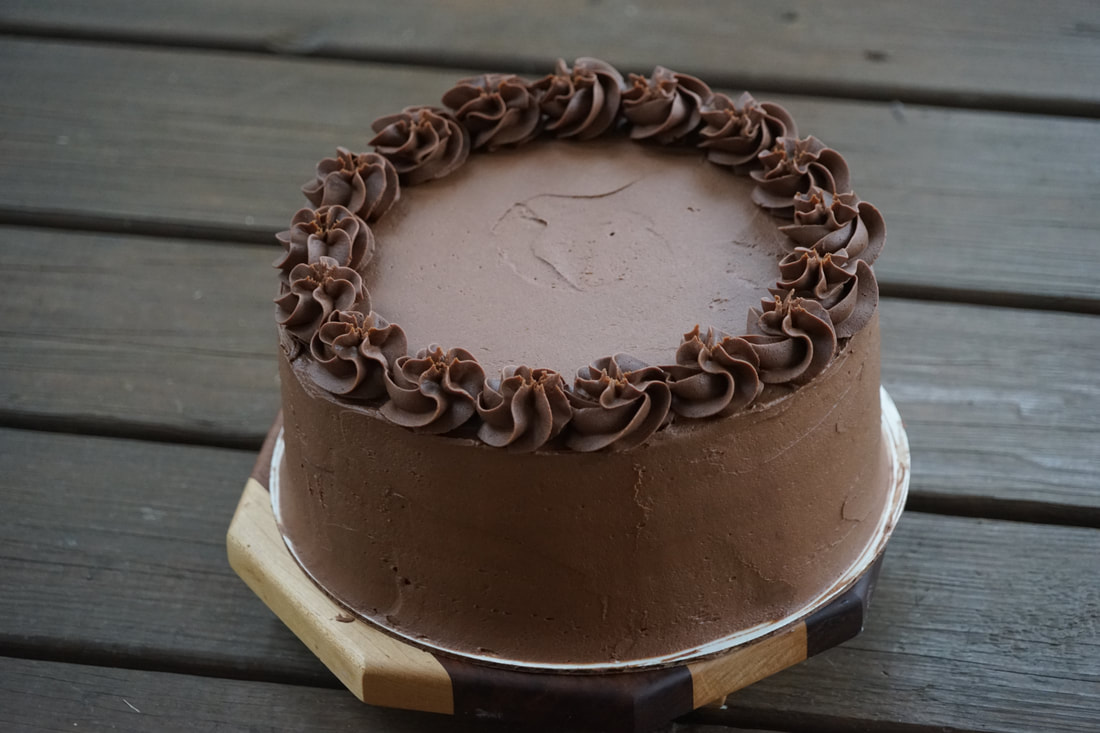
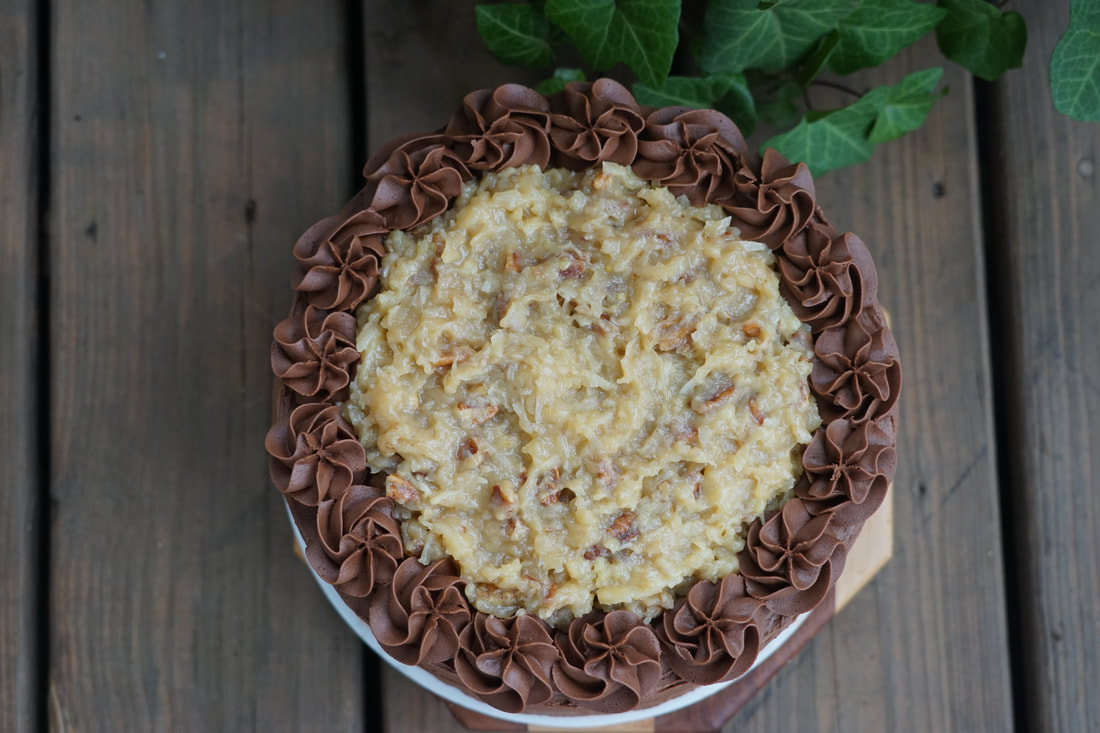
 German Chocolate Cake Coconut Pecan Filling 6 egg yolks 12 oz can evaporated milk 1 tsp vanilla extract 1 1/2 cups sugar 3/4 cup butter, cubed 3 cups sweetened shredded coconut 1 1/2 cups chopped toasted pecans Chocolate Cake 3/4 cup unsalted butter, room temperature 1 1/2 cups sugar 1/4 cup sour cream, room temperature 1 tsp vanilla extract 8 oz German chocolate, melted 4 large eggs, separated 2 1/2 cups all purpose flour 1 tsp baking soda 1/2 tsp salt 3/4 cup buttermilk, room temperature 1/4 cup water, room temperature Chocolate Frosting 1 1/2 cups butter 1 1/4 cups shortening 9 3/4 cups powdered sugar 2 tsp vanilla extract 1 1/4 cup natural unsweetened cocoa powder 6-7 tbsp milk
 I'm not sure how traditional German Chocolate Cake lovers will feel about chocolate fudge frosting on a German Chocolate cake and if I'm being completely honest - I was a bit skeptical as well. After one bite though, I was convinced that I'd never make another German Chocolate Cake without it again. Turns out - fudge frosting is the perfect compliment to the the creamy coconut pecan filling and moist cake. I have to give credit to America's Test Kitchen for the inspiration for this scrumptious creation. Once again - you've pushed the limits of my cake baking and I couldn't be happier.
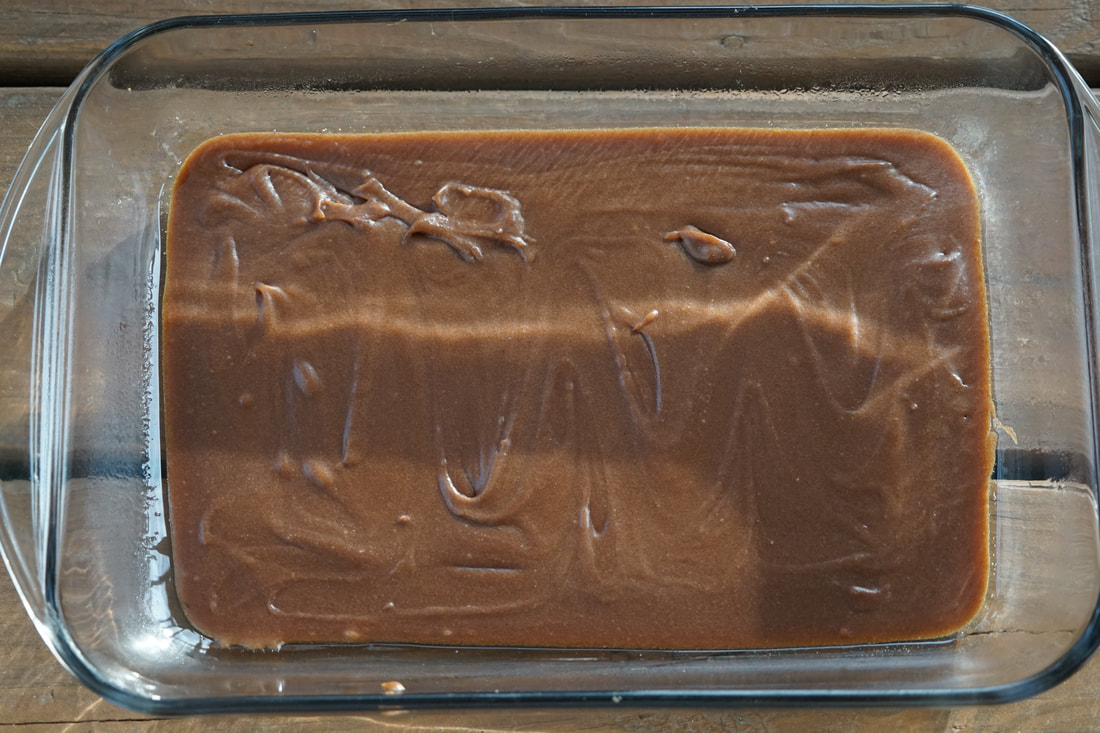
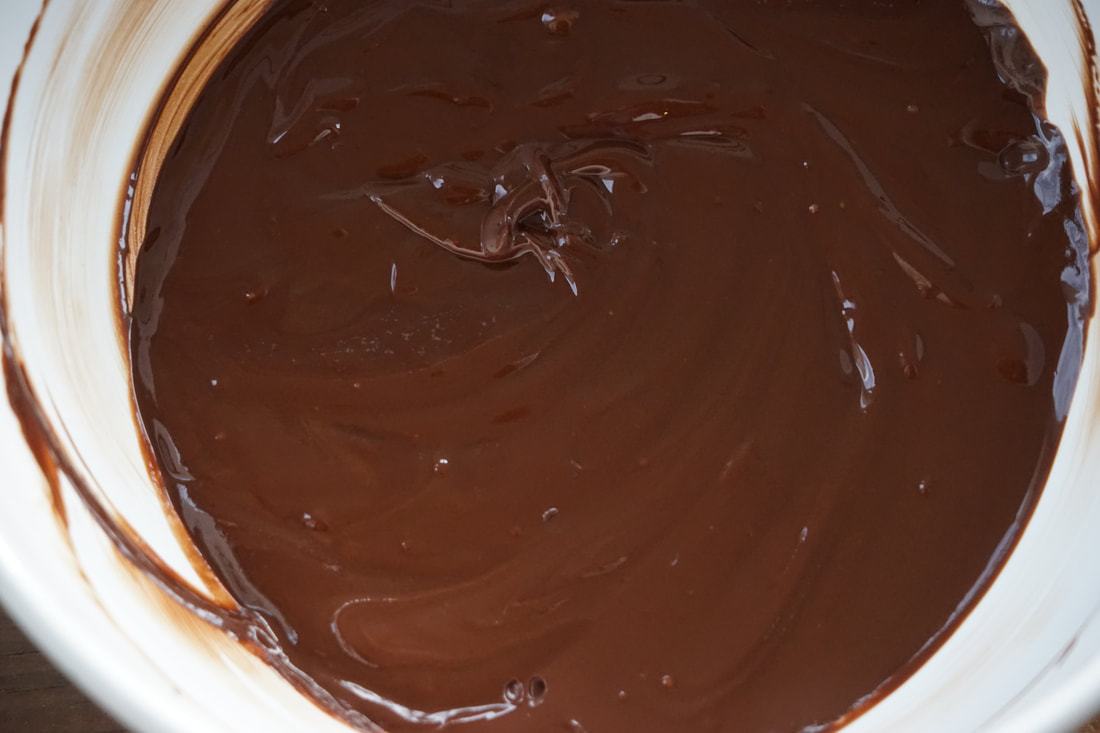
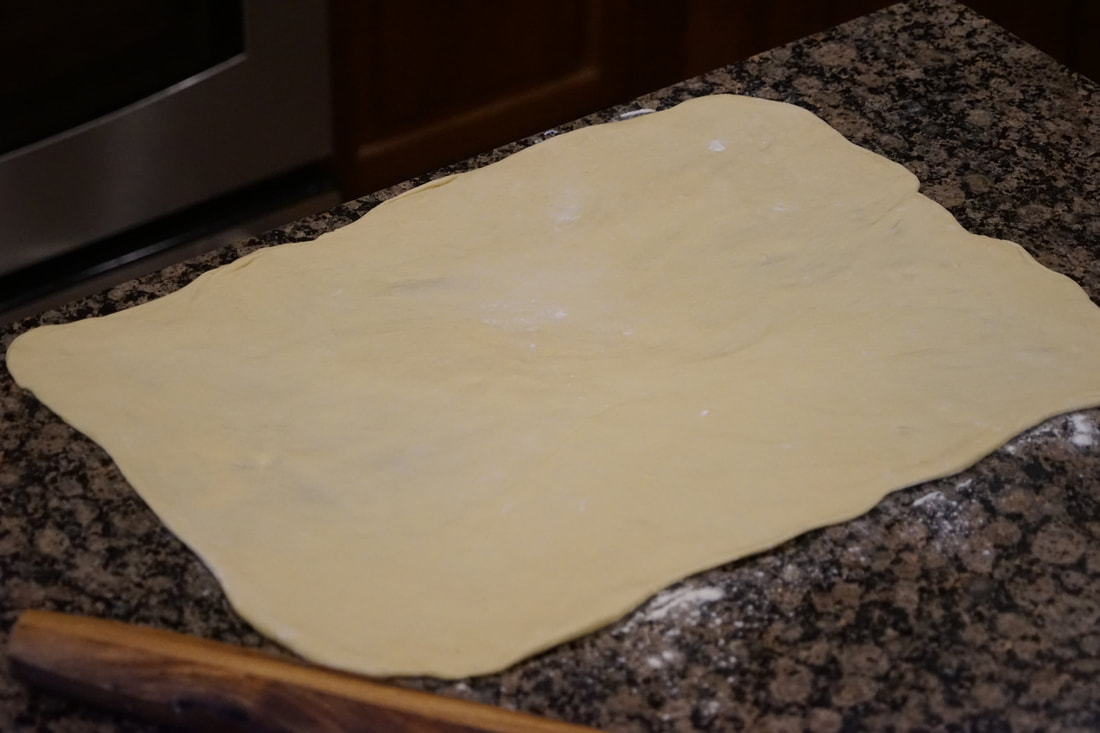
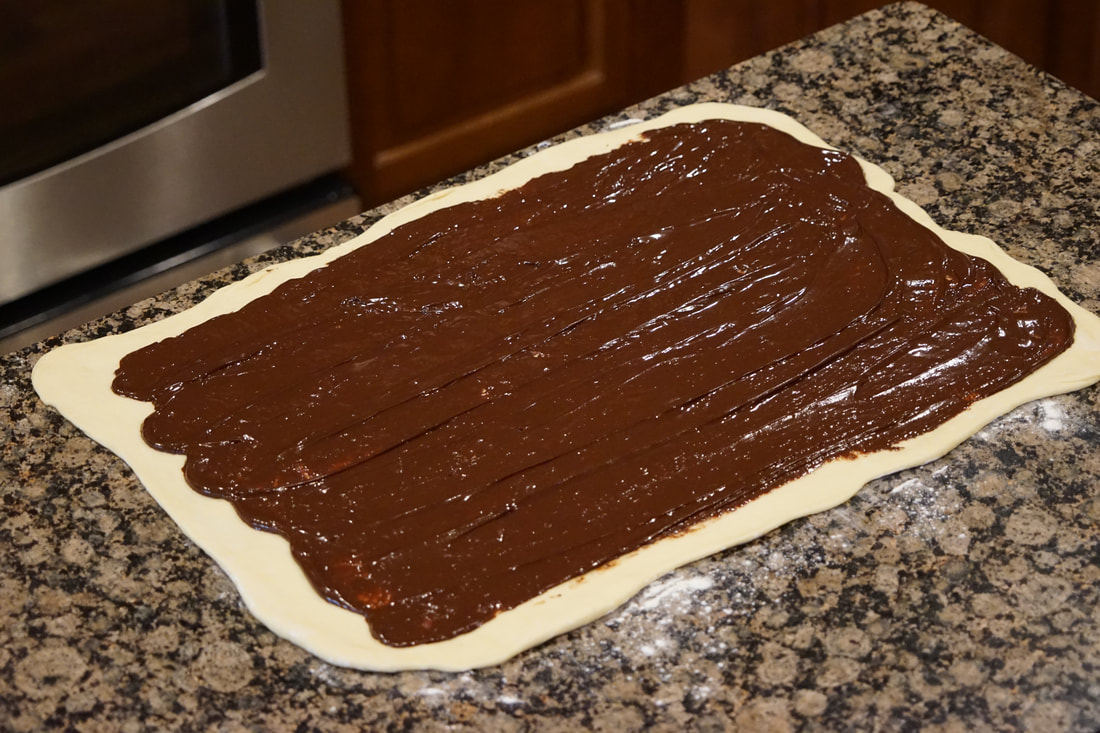
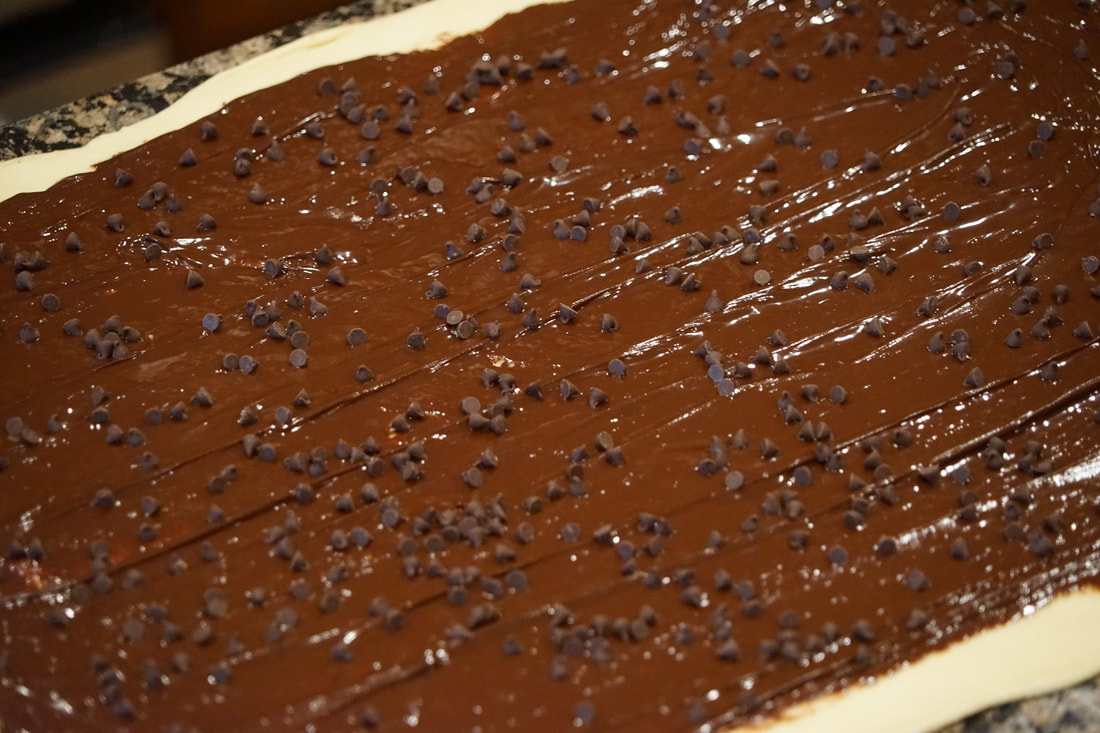
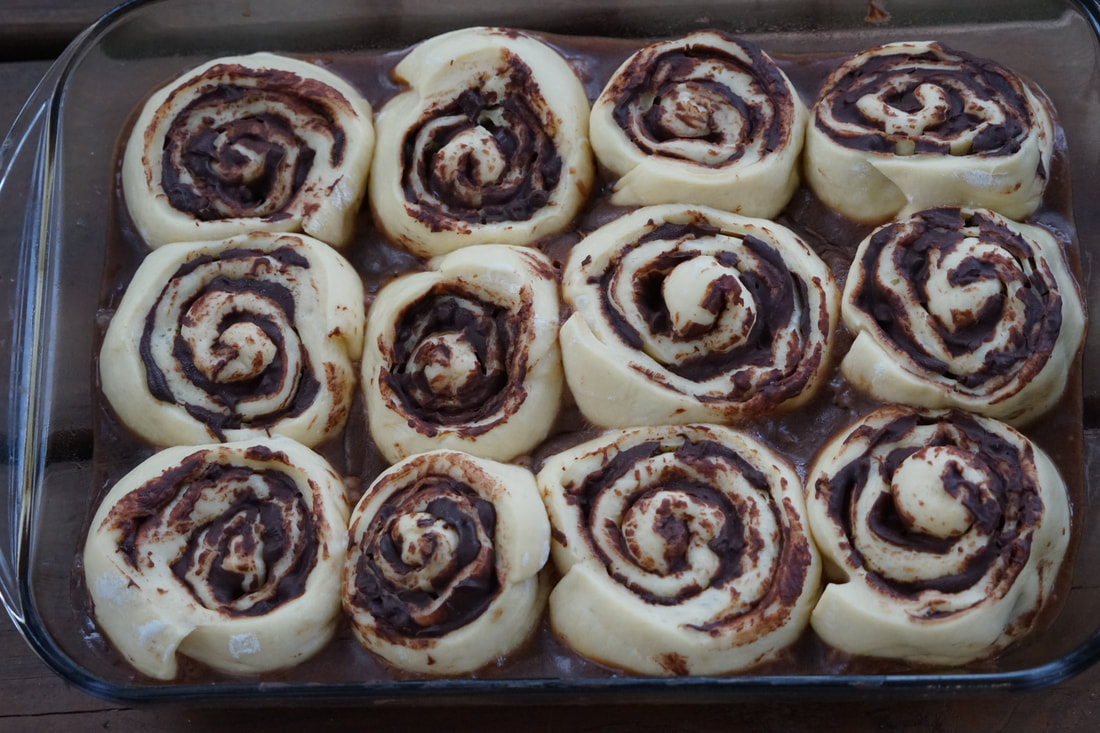
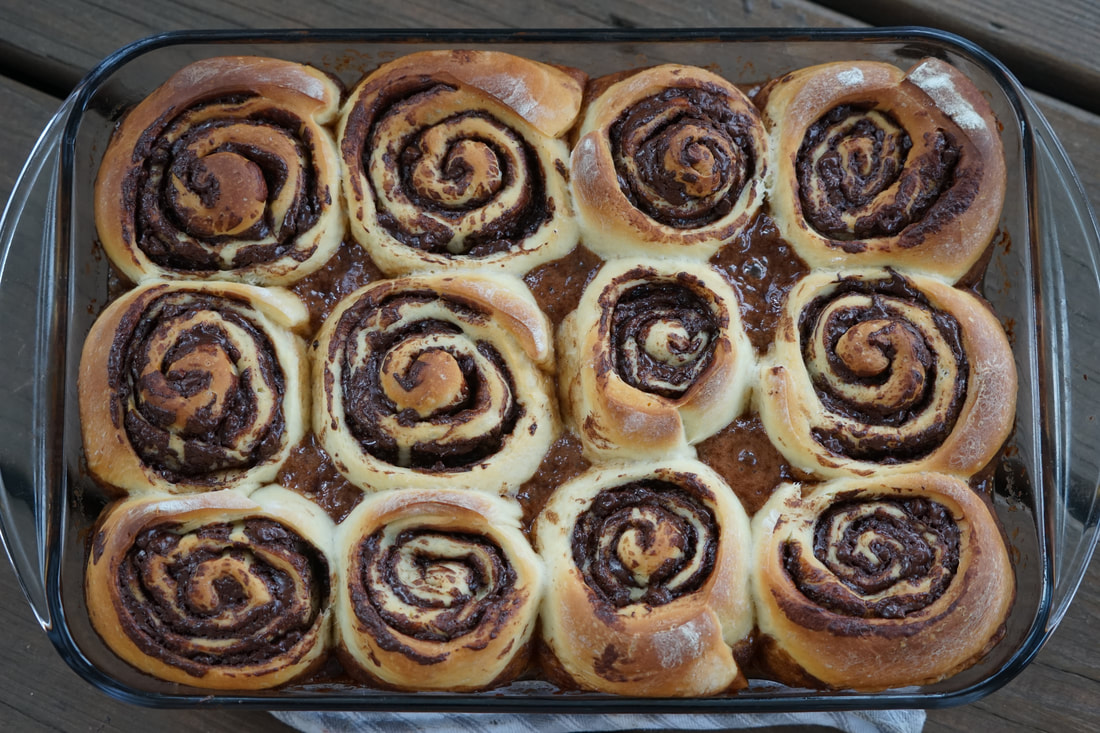
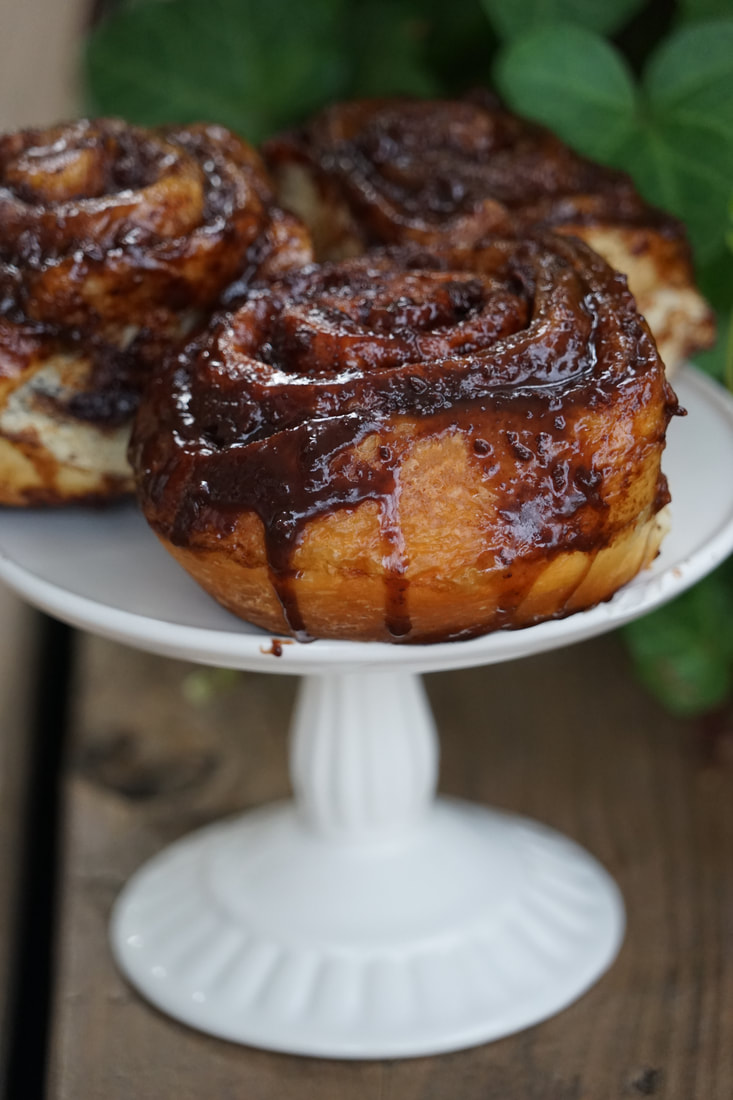
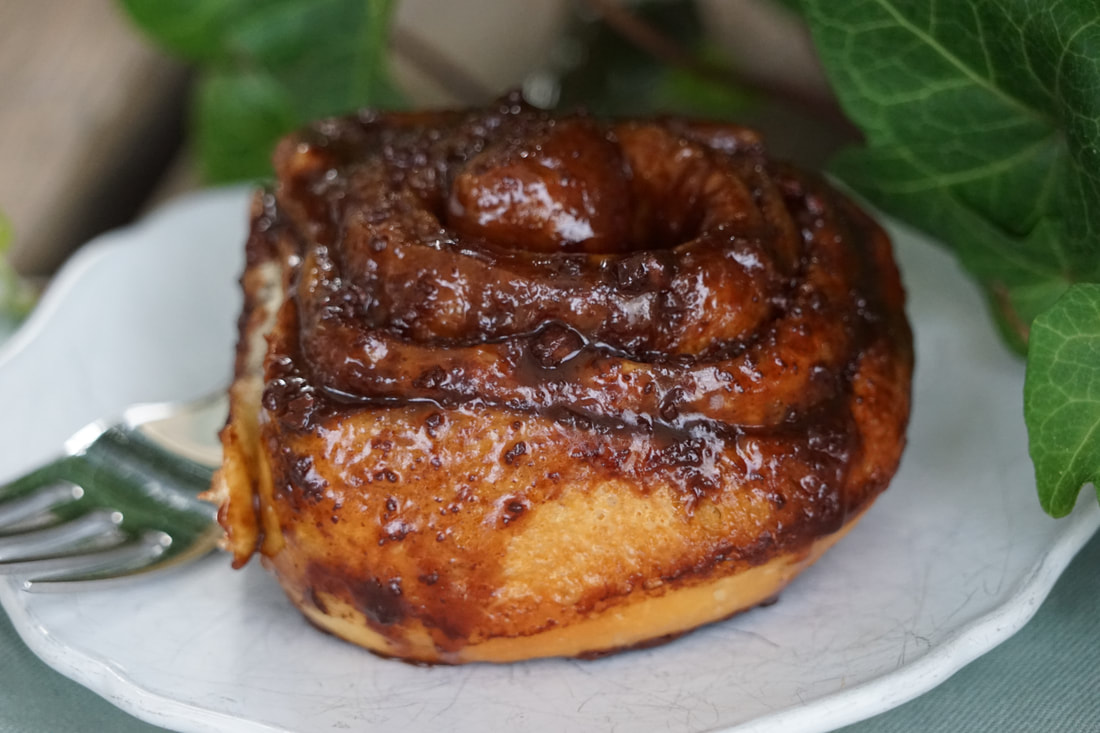
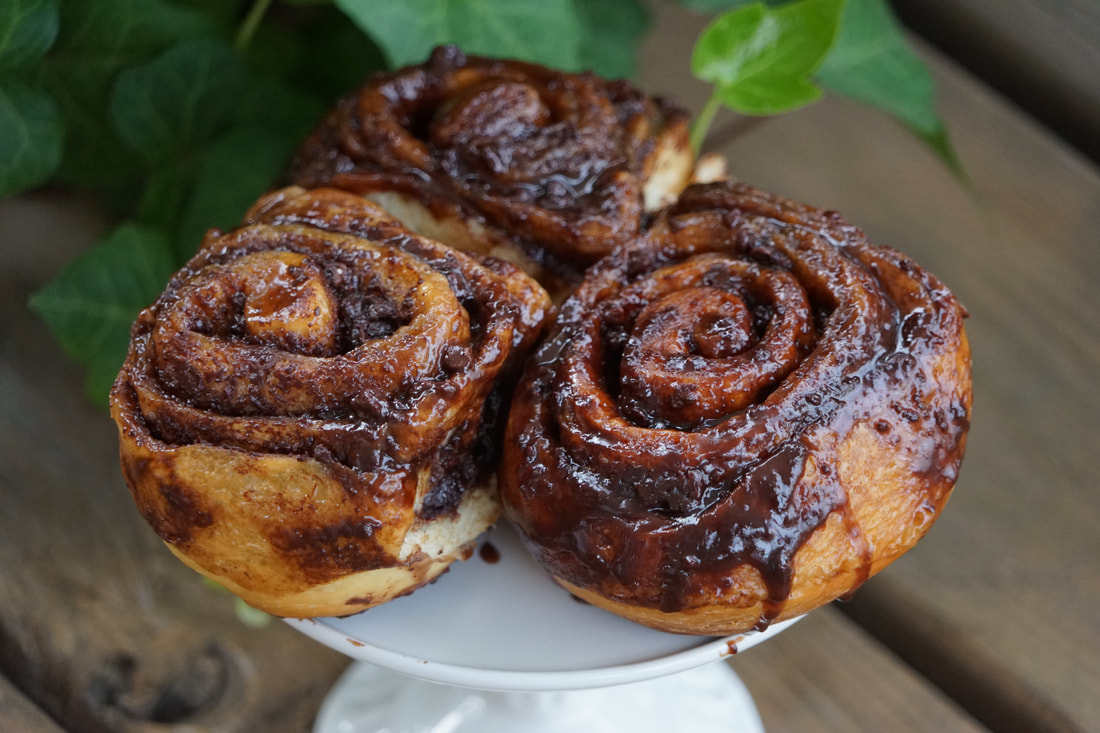
Ciao! 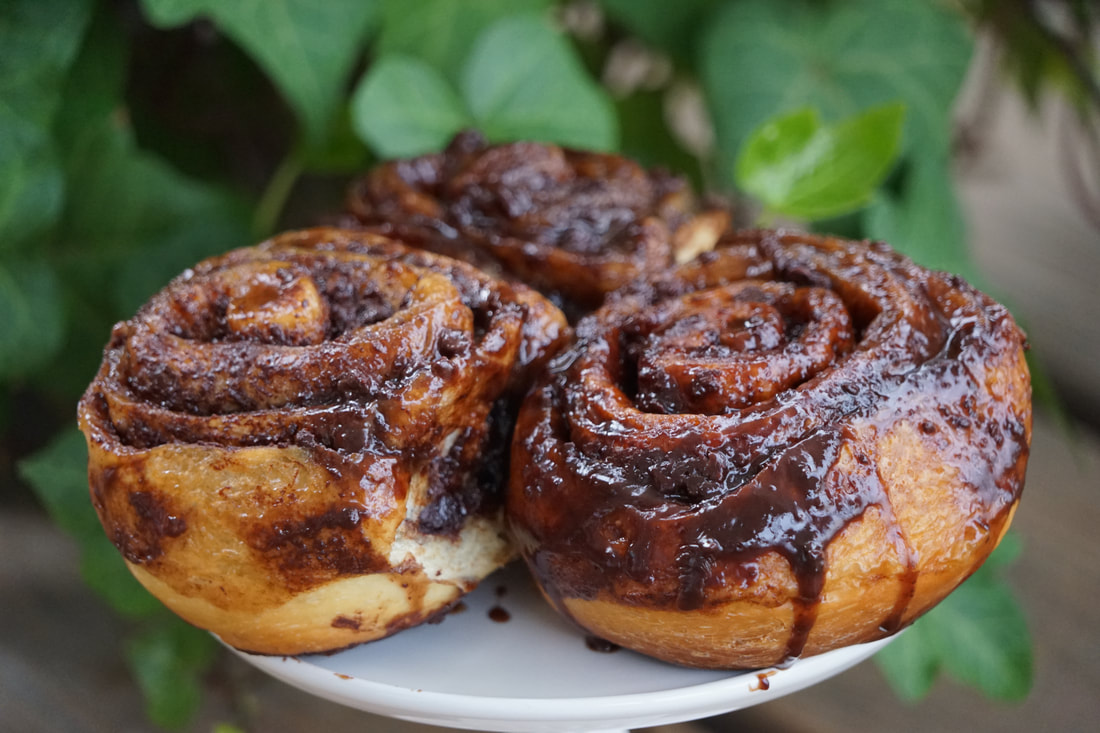 Wedding bells are ringing loud and clear over here. Three bridal showers in three weeks is enough to put anybody in the mood to celebrate love. I've also become adept at ordering from Bed, Bath and Beyond and a master at wrapping awkward gifts like spatulas and colanders. I loved celebrating these new marriages and I've got to say that the hostesses of these festive affairs, really out did themselves in the refreshment department. They created some of the most over top fabulous and delicious displays of nibbles for the bride and her guests. I'm talking about beef and chicken sliders, mini meatballs, turkey wraps, pimento cheese sandwiches, baskets of mini quiche and trays overflowing with fruit. It was all I could do to stop myself from filling TWO plates. 😂 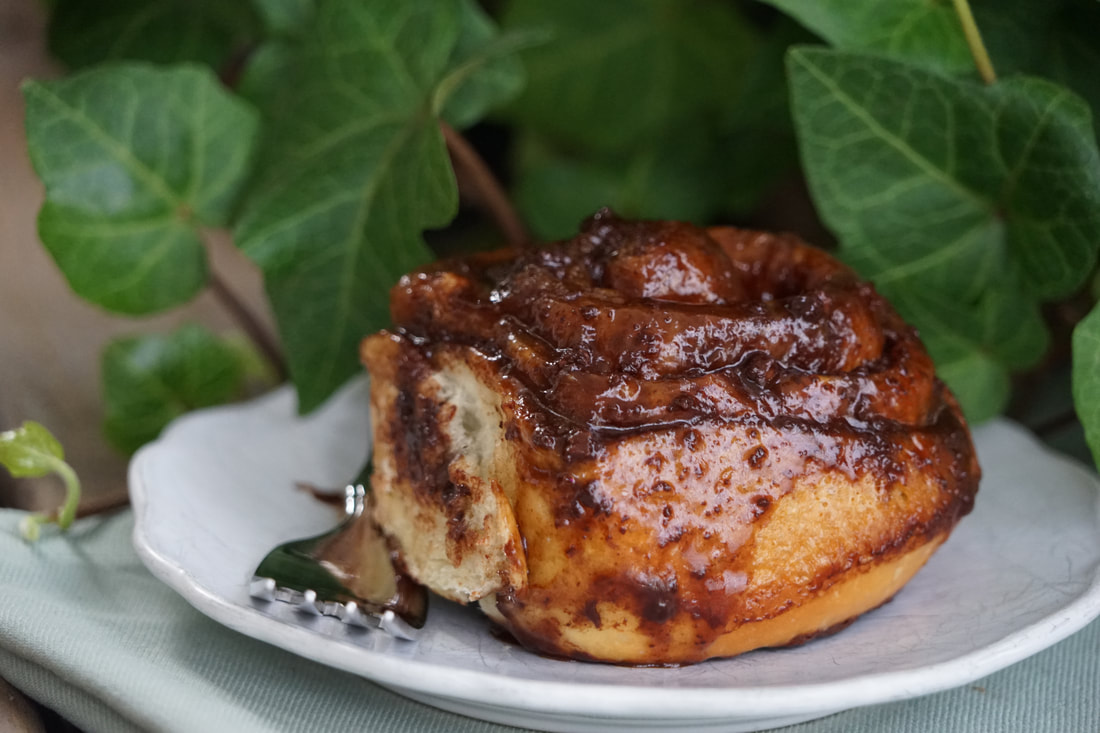 Now let me tell you about the exquisite displays of dessert at these bridal showers. Chocolate covered strawberries, bundtinis, strawberry shortcakes, chocolate mousse, petit fours, cupcakes and beautiful jars filled with chocolate kisses, gum balls and candy. These Willy Wonka worthy dessert bars were absolutely irresistible. I'm pretty sure that I tried one of everything. 🎂 There's no way that I could replicate bridal shower provisions on a weekly basis but after three straight weeks of showers, my body now craves Saturday afternoon sugar. 🤣 I feel like I need to fill the refreshment gap of my shower-less Saturday afternoons. But what could possibly satisfy my sugar cravings? Triple Chocolate Sticky Buns should do the trick. I can't think of anything more decadent than a TRIPLE CHOCOLATE STICKY BUN. 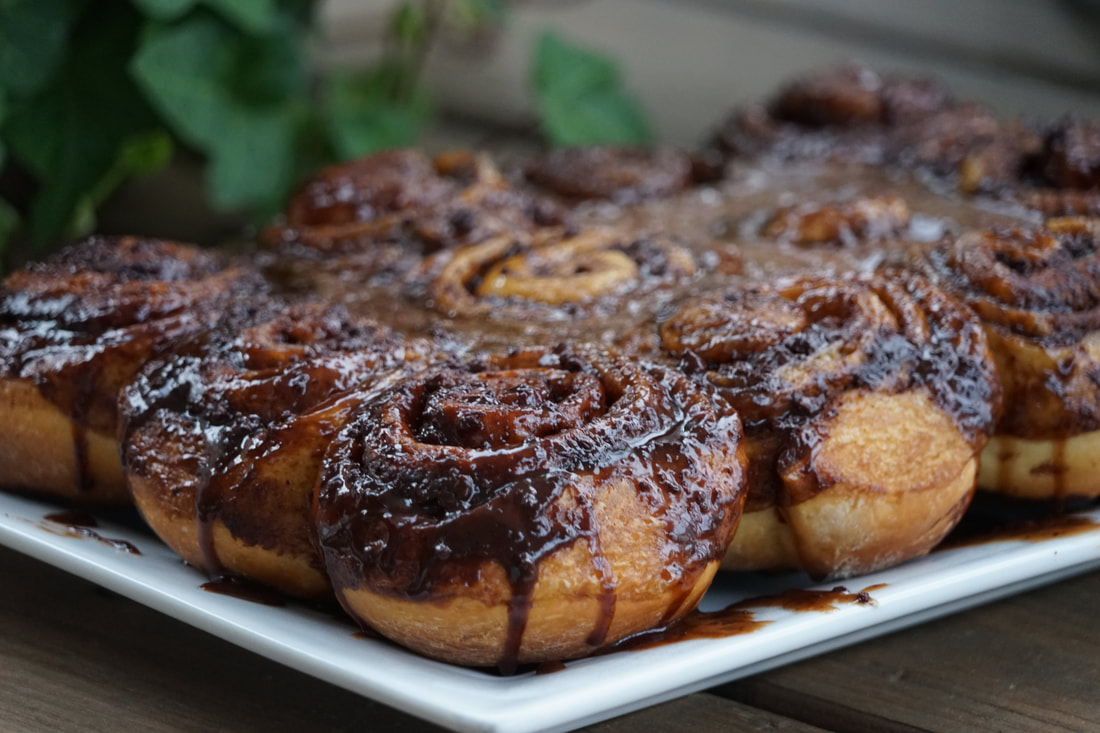 Triple Chocolate Sticky Buns Flour Paste 2/3 cup whole milk 1/4 cup flour Dough 2/3 cup whole milk 1 egg + 1 egg yolk 3 1/4 cups flour 2 1/4 teaspoons yeast 3 Tablespoons sugar 1 teaspoon salt 6 Tablespoons butter Topping 3/4 cup brown sugar 6 Tablespoons butter, melted 1/4 cup dark corn syrup 2 Tablespoons water 1 Tablespoon cocoa powder 1/4 teaspoon salt Filling 4 ounces bittersweet chocolate, chopped fine 4 Tablespoons butter 1 cup mini chocolate chips
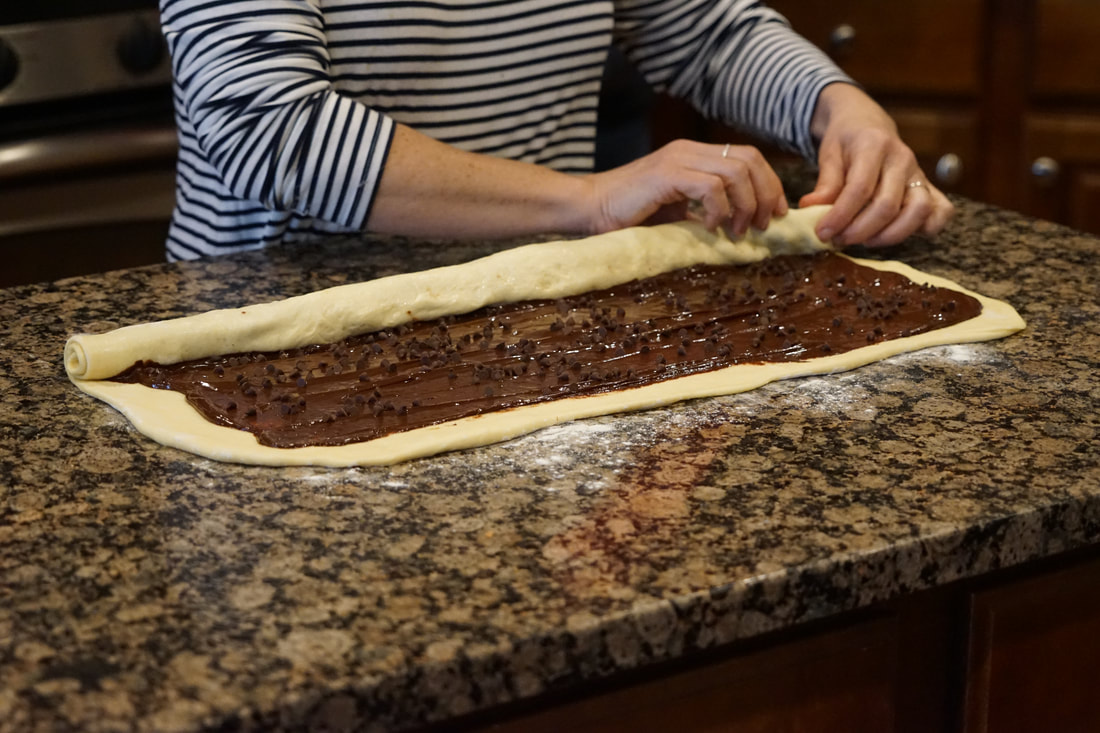
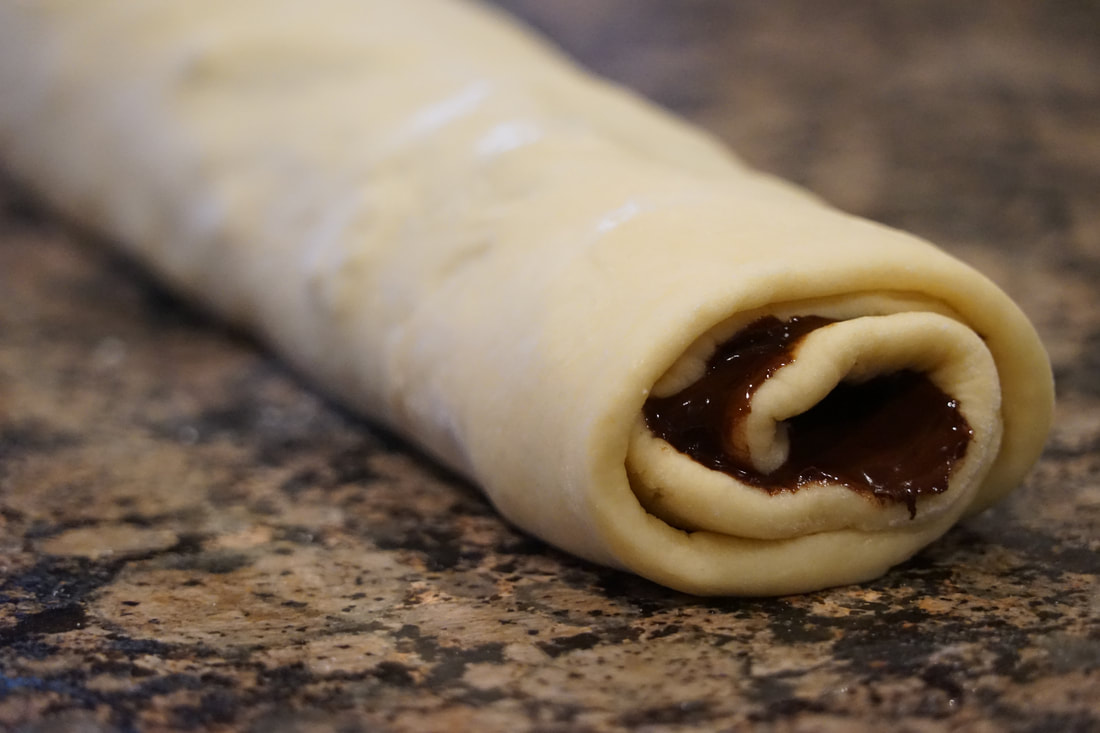
Beginning with long edge, loosely roll up into a log. Pinch seam to seal.
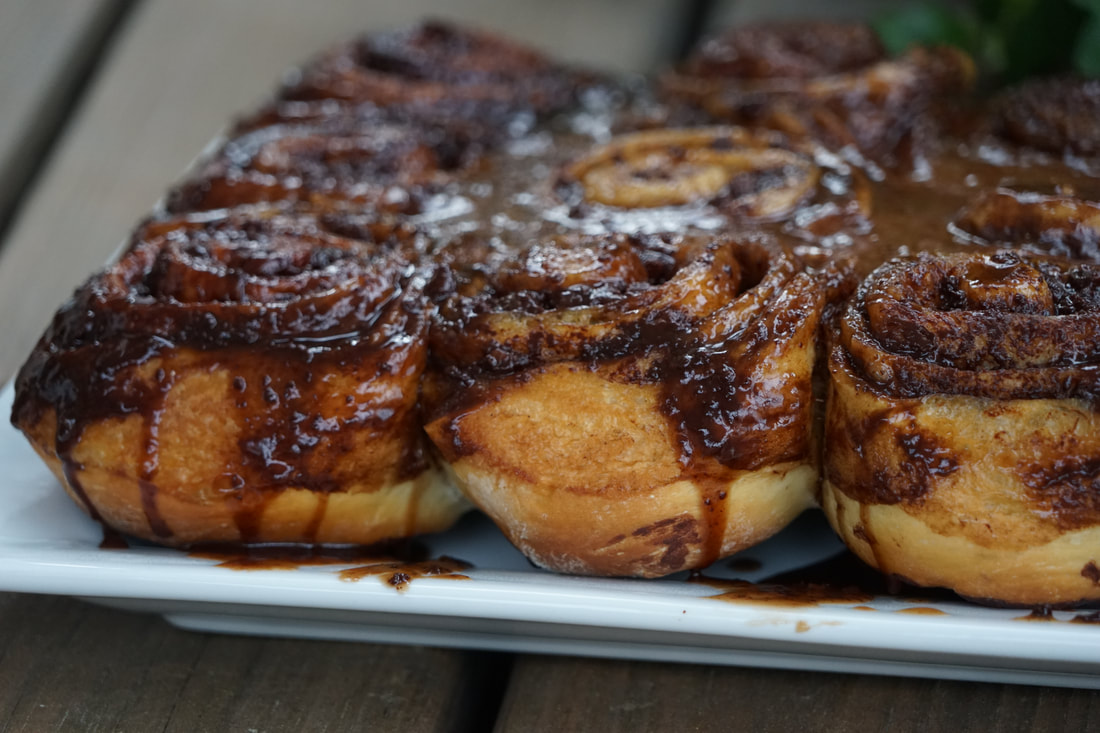 Invert buns onto a platter.
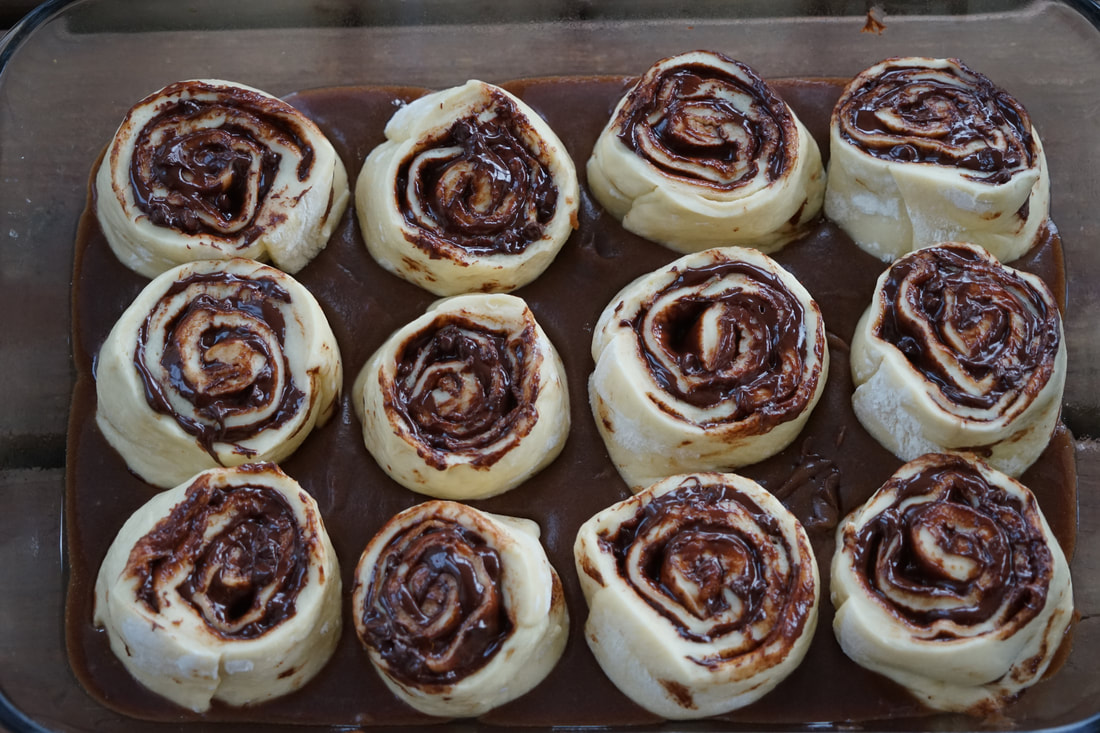
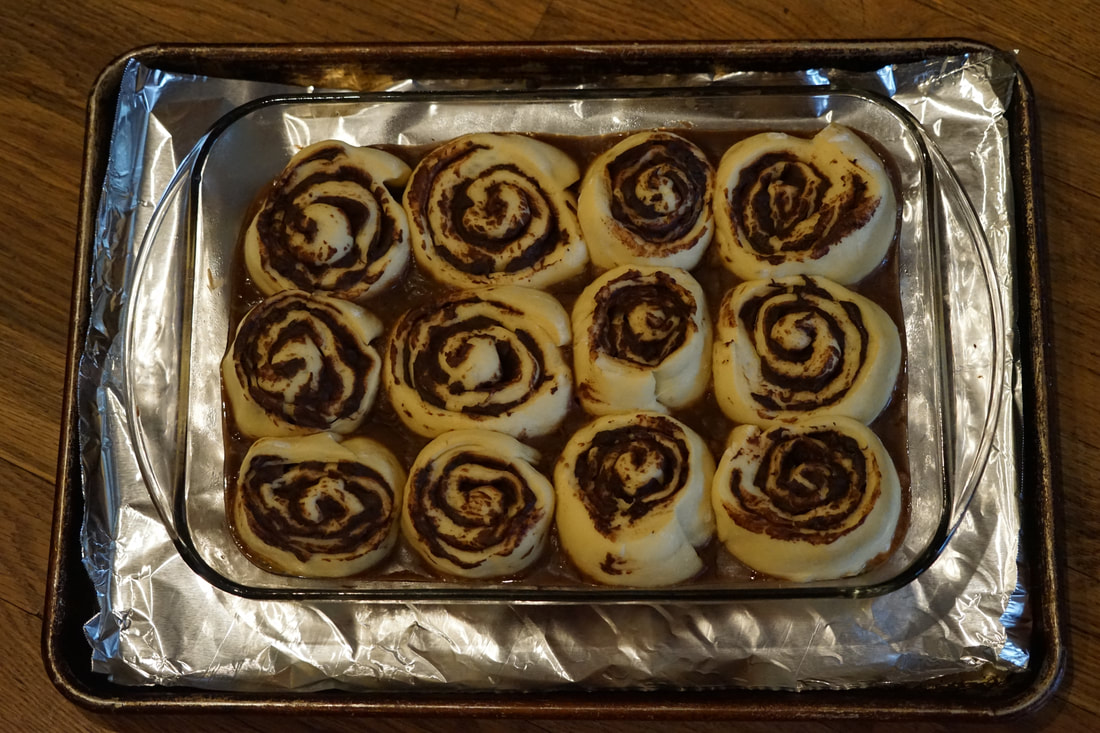
You know that I'm all about breakfast recipes that I can make ahead of time. These sticky buns are the perfect make ahead recipe. Take the unbaked sticky buns out of the frig, let them rise on the counter for an hour, bake and serve. Easy peasy.
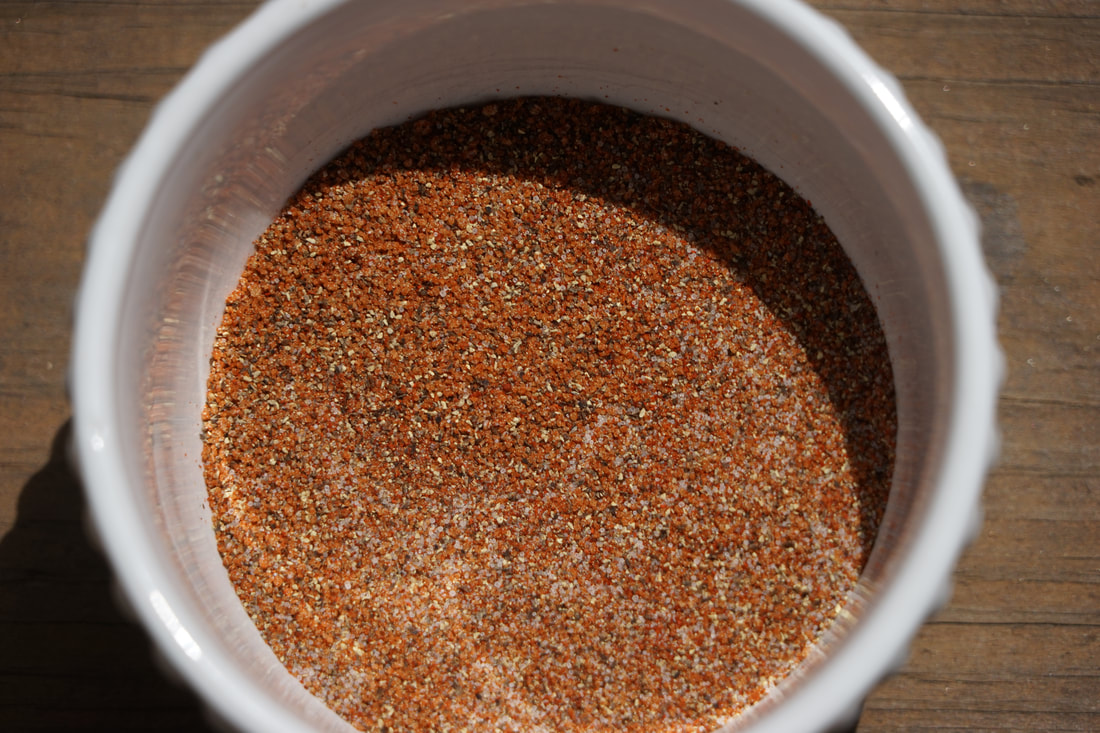
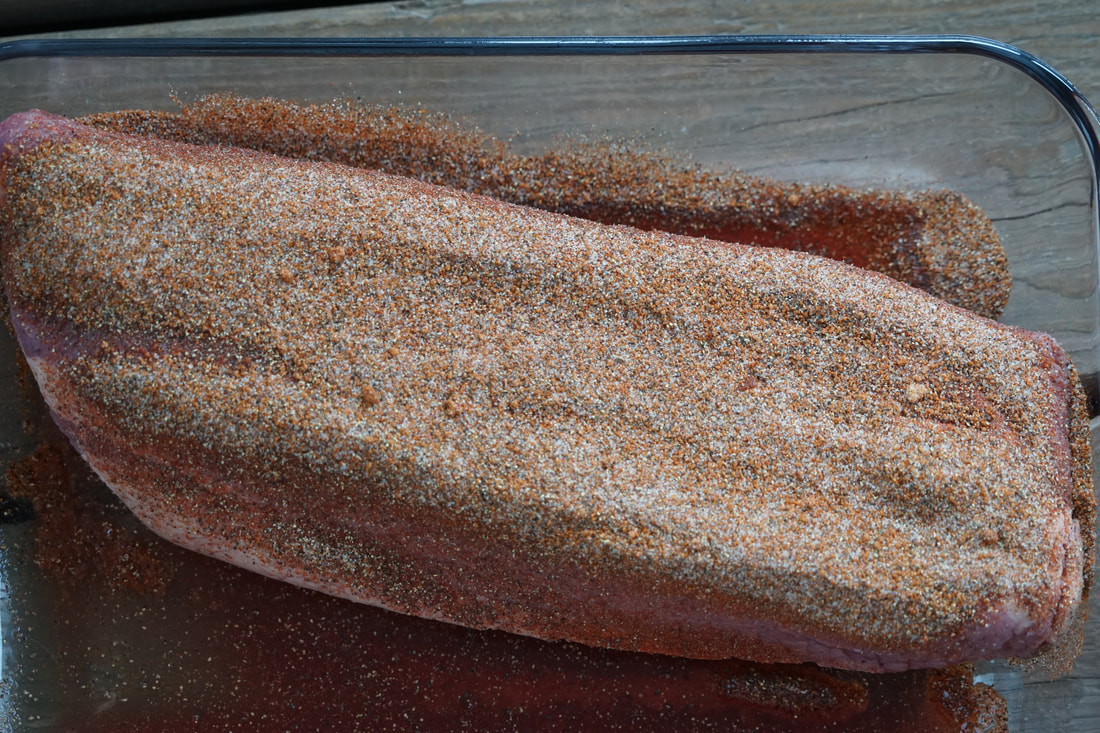
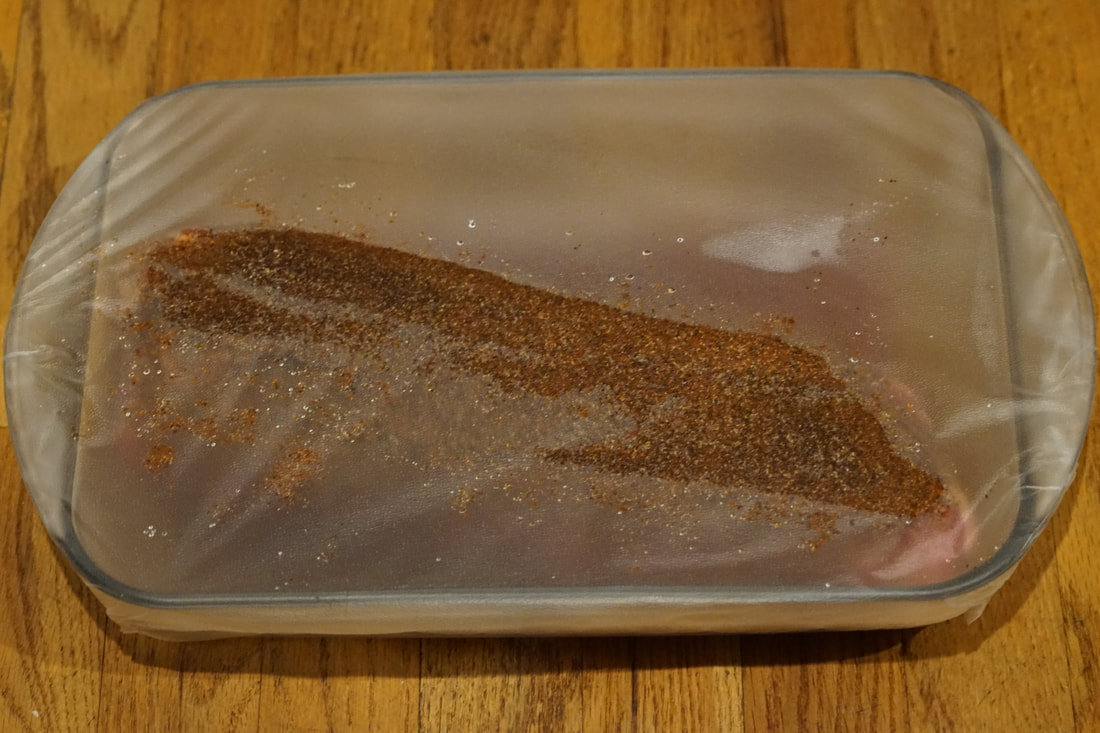
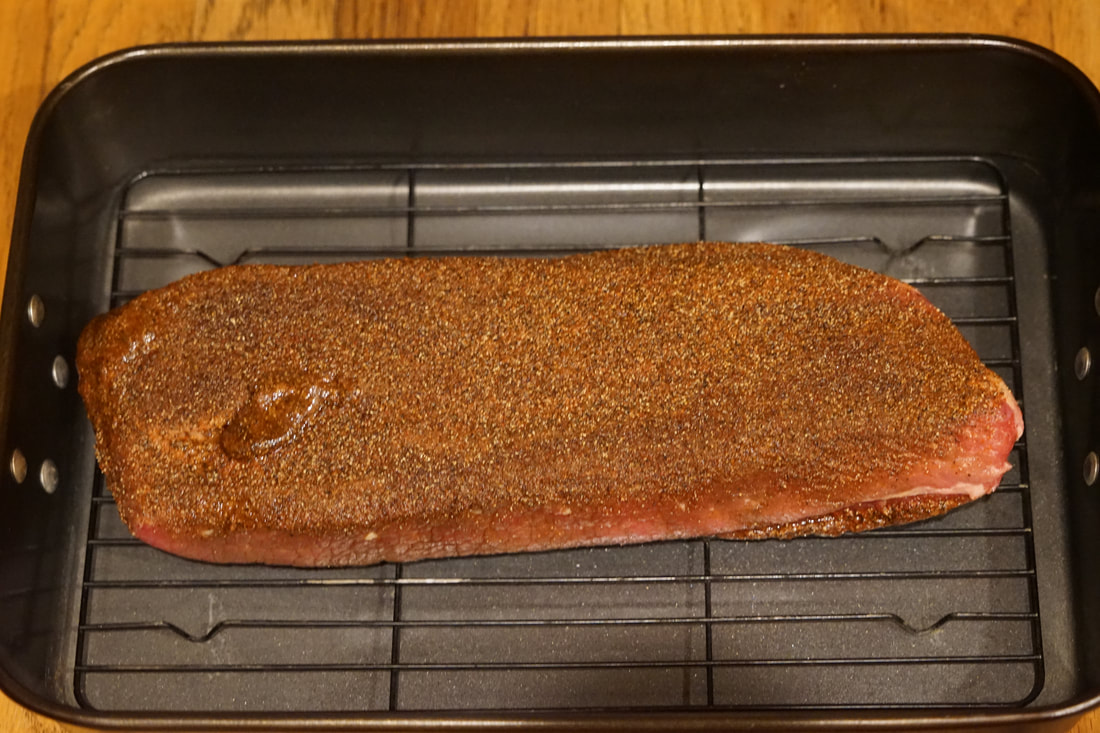
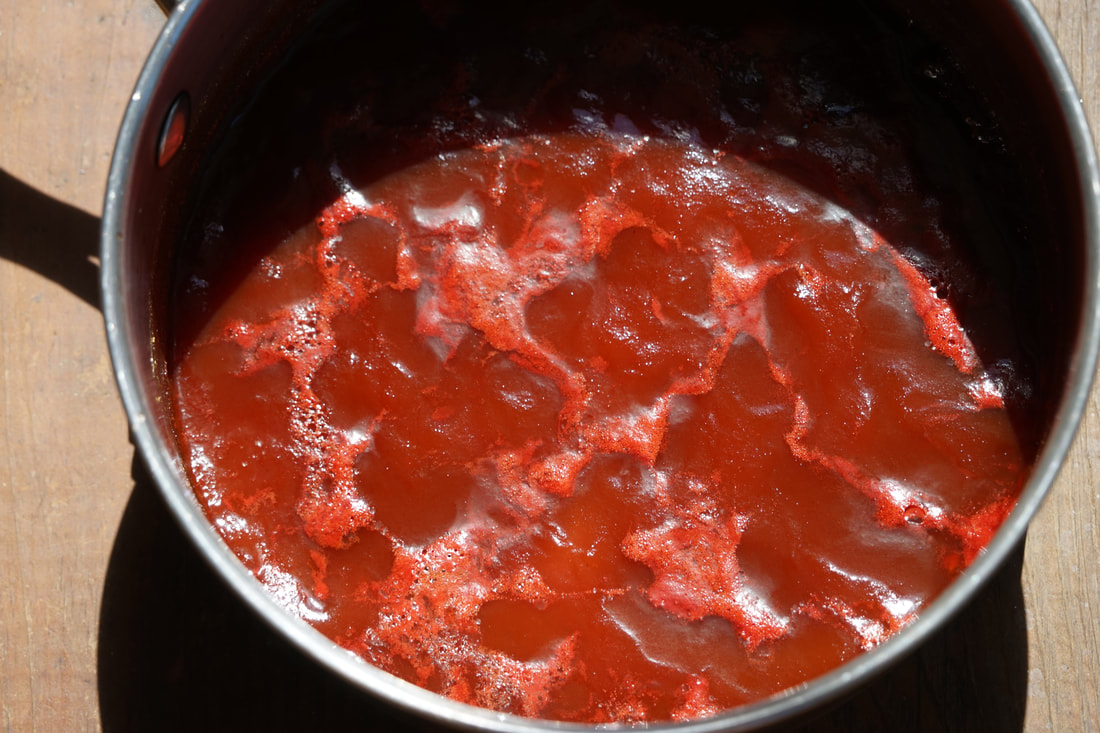
Ciao! 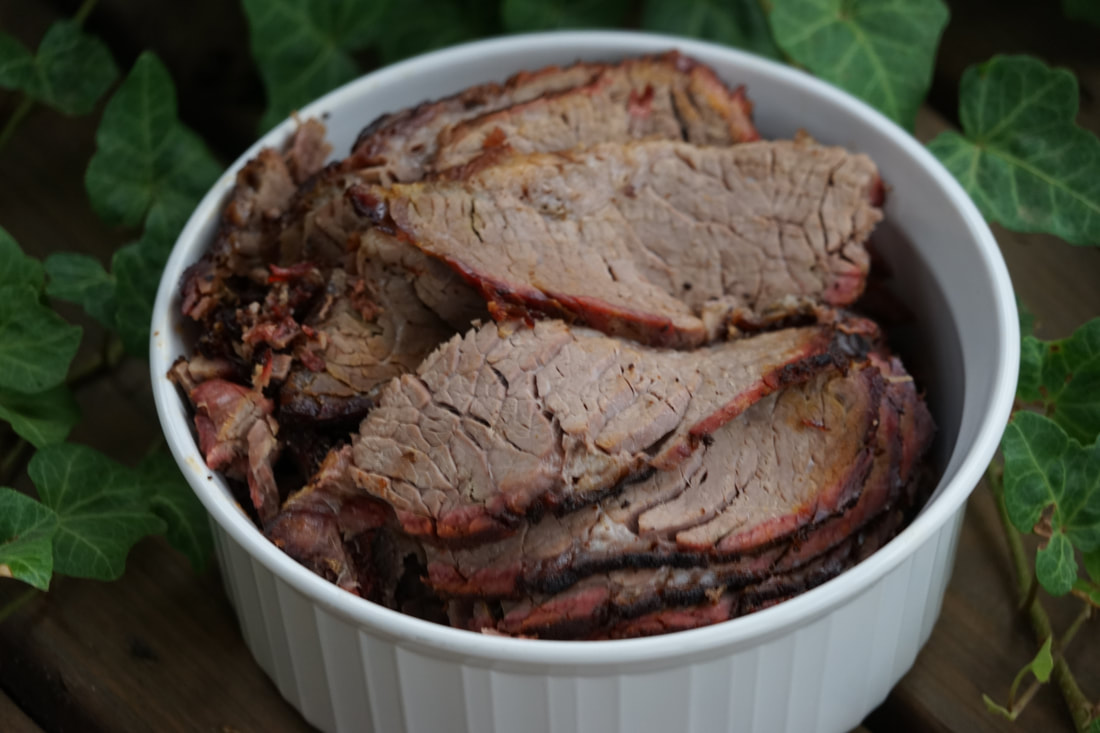 I'm calling all girls to the grill today. I can't even begin to count how many times I've heard grilling referred to as "a man's job." I'm here to tell you that grilling is not just for the boys anymore. I'm a girl who can grill with the best of 'em and I love it. I have a Big Green Egg and I'm not afraid to use it. 😆 My blog today is designed to empower women to become Girls Who Grill. There are great resources and websites available to educate women about buying grills, grill safety, grilling recipes and basic grilling techniques. There's really no excuse to be afraid of the grill anymore, girls. It's time for us to embrace the art of outdoor cooking. 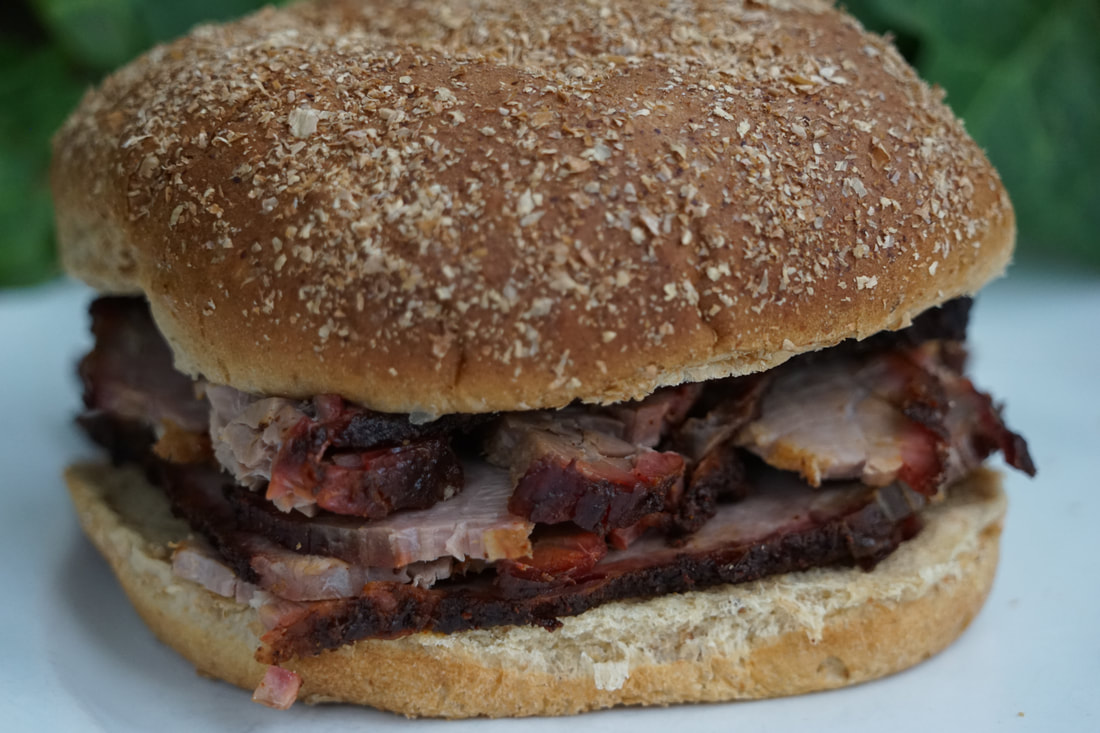 Whether you're passionate about smoked meat or giddy over grilled vegetables, there are grill recipes for everything. If you can eat it - it can be grilled. Meat, fish, vegetables, fruit, desserts - you can grill them all. Grilled pineapple drizzled with honey is one of my absolute favorites. This Smoked Brisket is a great place to start if you're new to grilling. It's simple and straightforward and the homemade sauce is RIDICULOUS. It can be spiced up for those of you who like things hot and toned down for those of you who like things on the sweeter side. 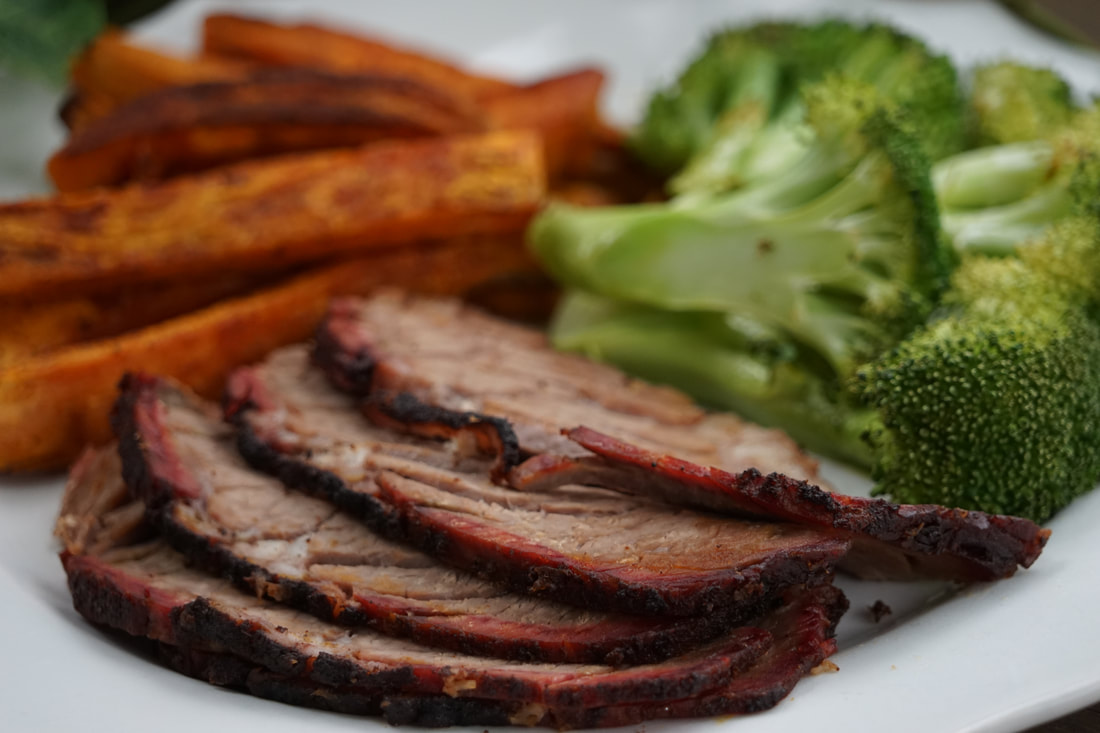 Smoked Brisket 1 Tablespoon paprika 1 Tablespoon brown sugar 2 Tablespoons kosher salt 2 Tablespoons pepper 4.5 - 5 pound brisket Sauce 1 cup apple cider vinegar 3/4 cup ketchup 1/4 cup brown sugar 1 teaspoon Worcestershire 1 teaspoon mild hot sauce 1 teaspoon paprika 1 teaspoon kosher salt
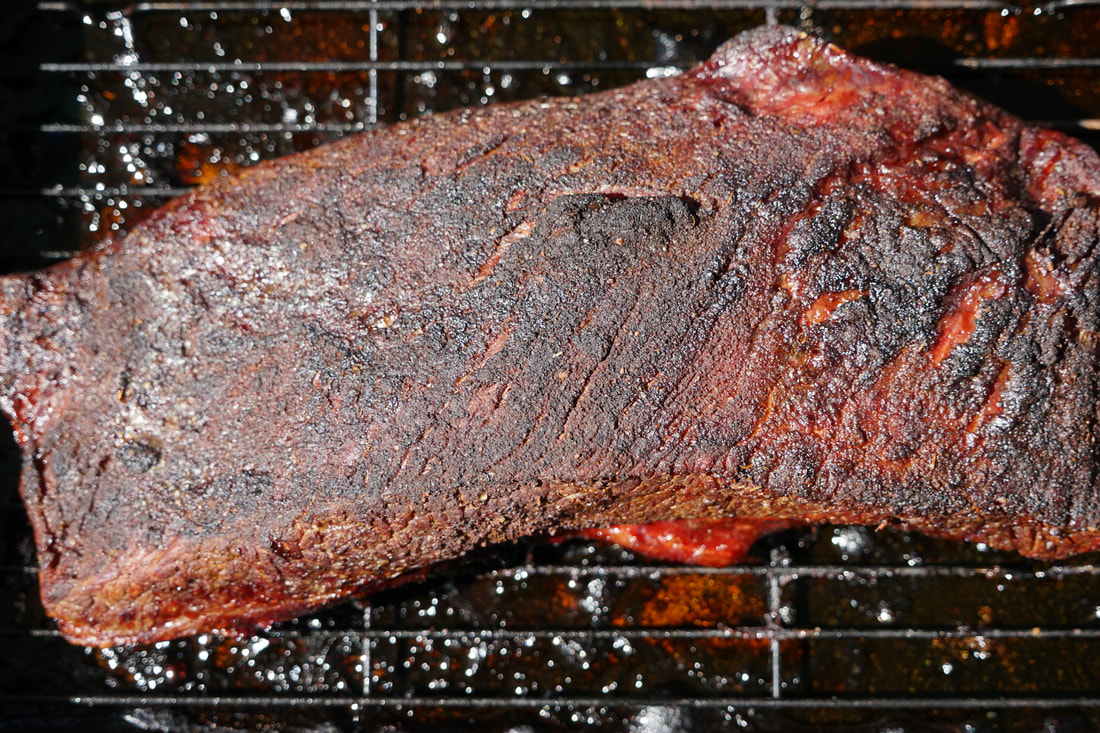
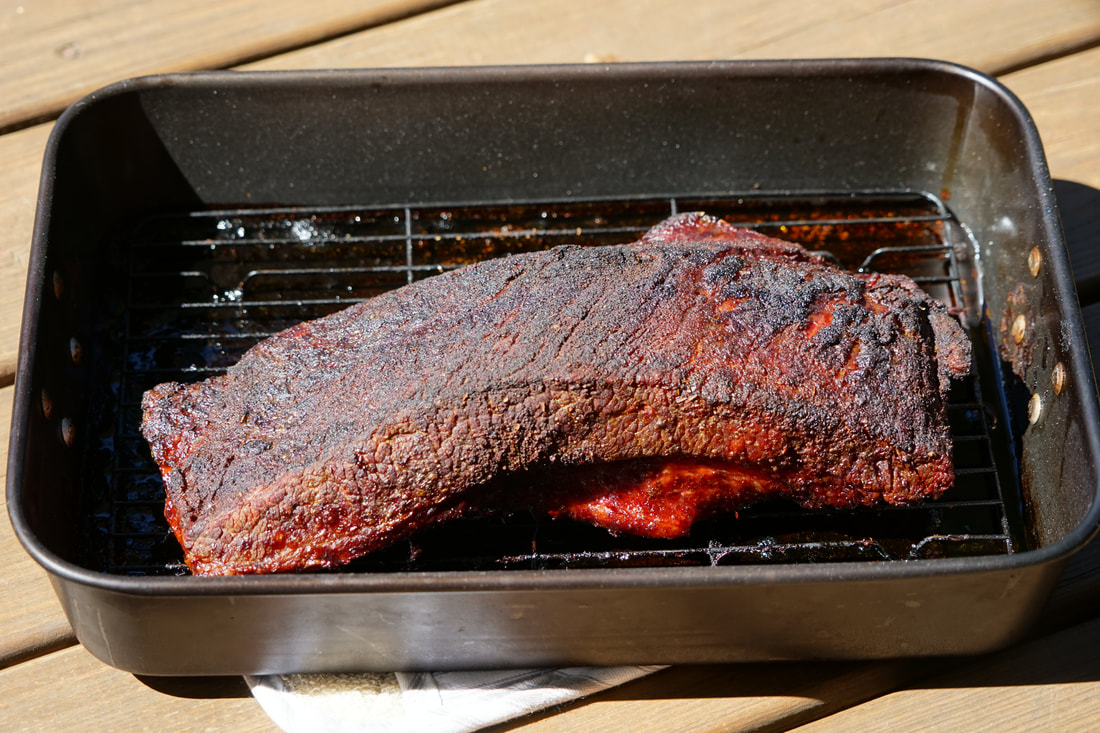
Cook brisket until temperature of brisket registers 185 - 200. (7.5-10 hours)
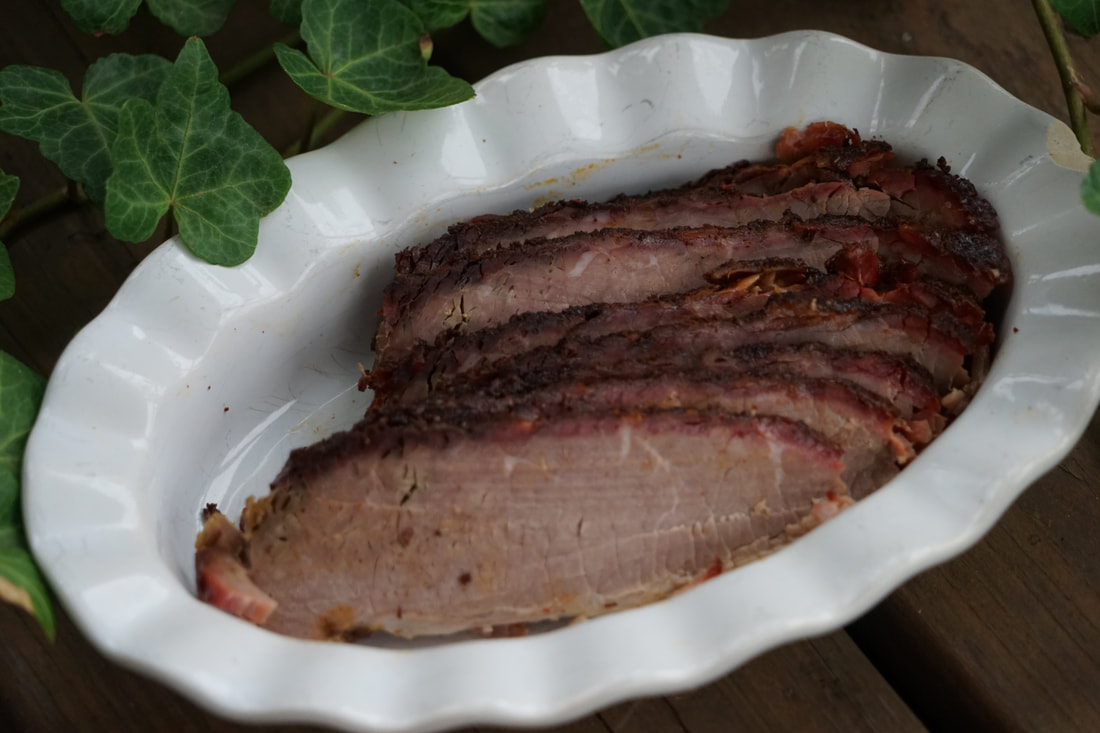
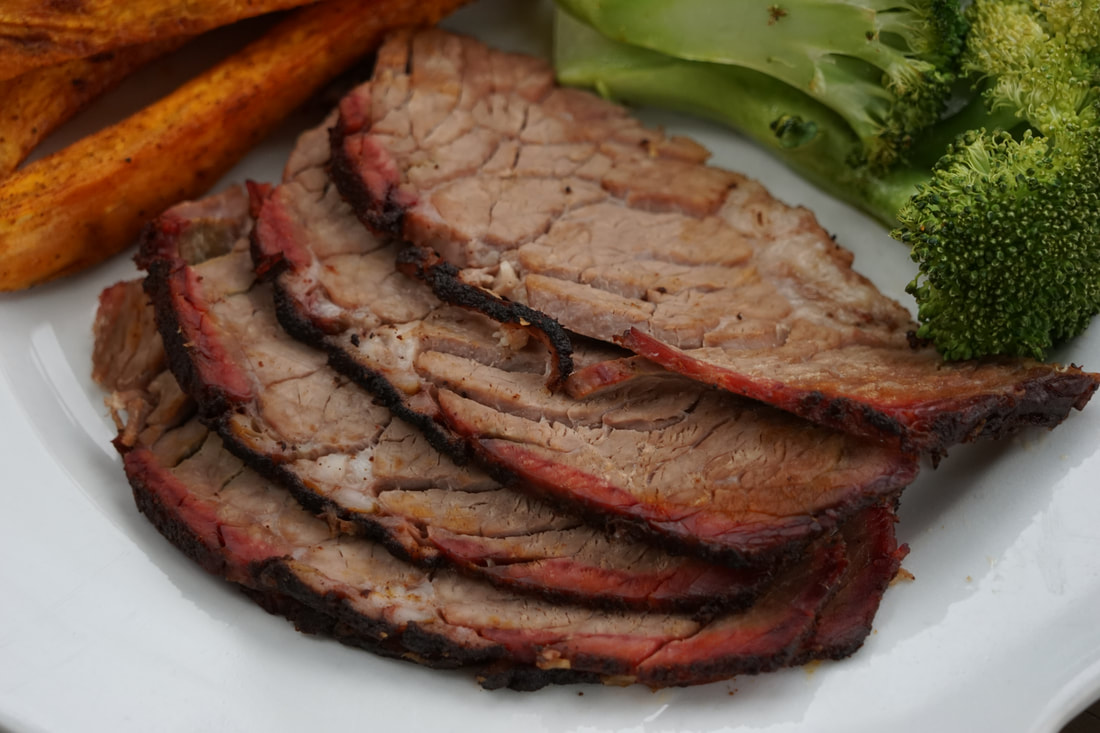
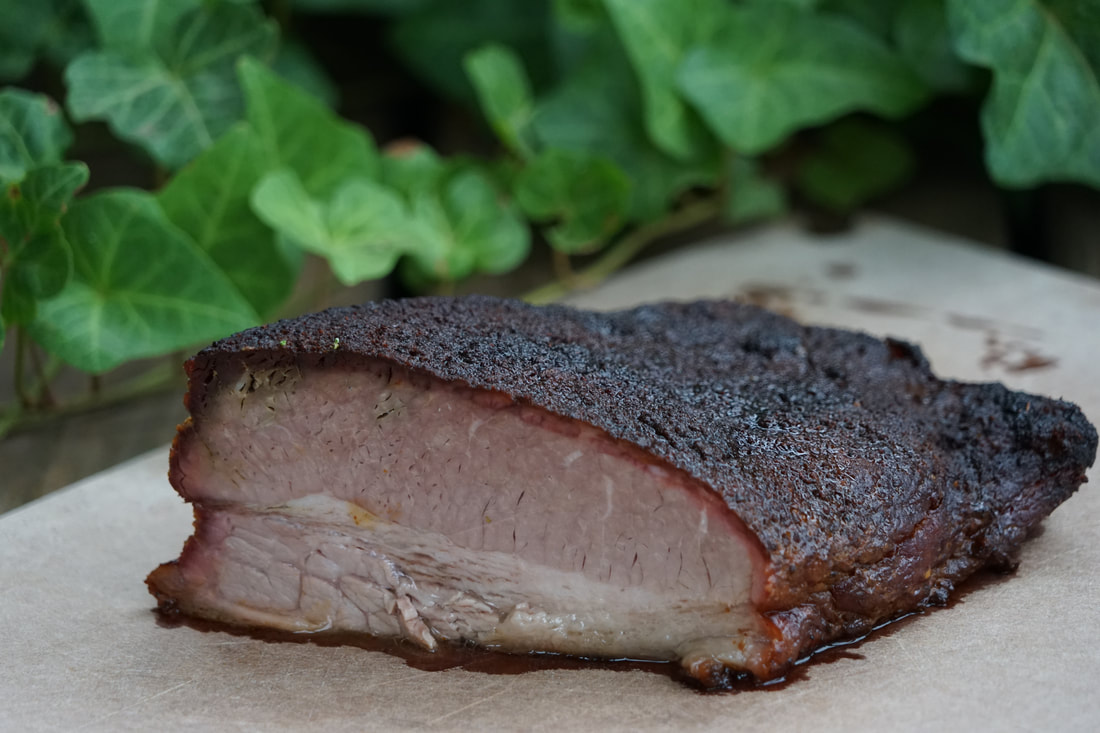 Slice brisket across the grain and serve with pan juices and sauce. 
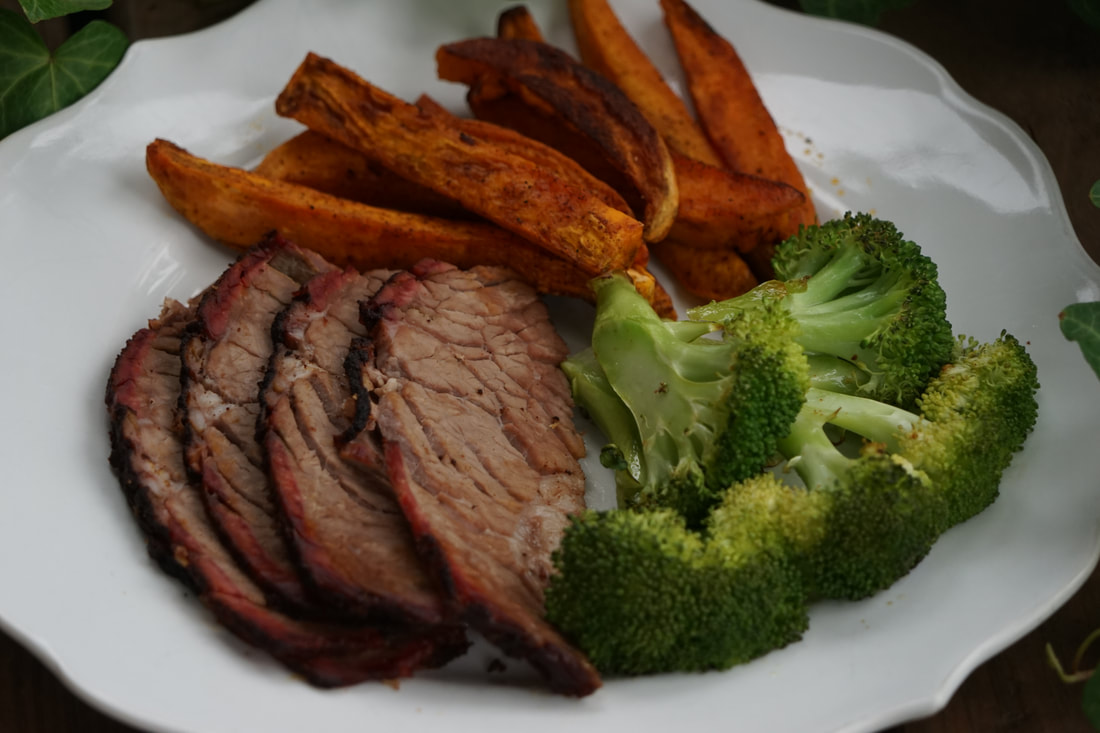 Serve as a sandwich. 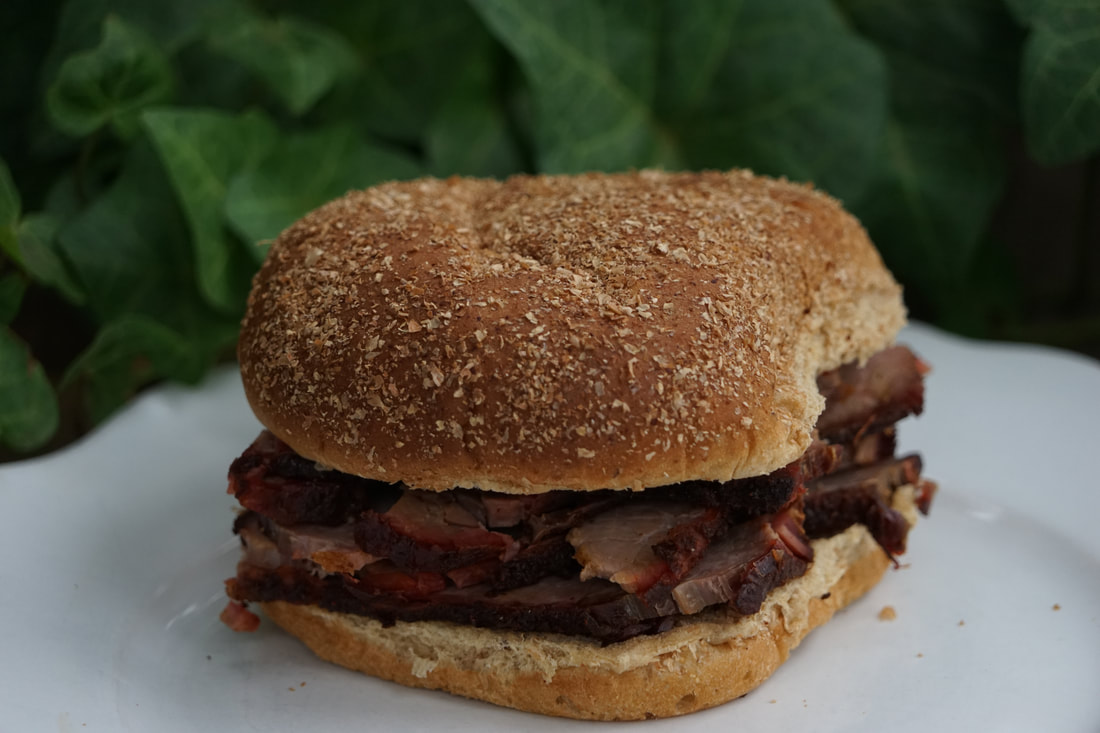 It looks like this is going to be a perfect weekend for grilling. So if you live in the South, and you can tolerate the pine pollen 😷 - fire up your grills. And if be sure and tag me in your photos or send me a comment if you make my brisket recipe. I'd love to see your results.
Ciao! |