 For those of you who may be new to my blog - allow me to introduce myself. I'm a food blogger and caterer with a major sweet tooth. Most days you'll find me in my happy place: the kitchen. On the rare occasion that I'm not baking up something sweet, you'll probably find me outside with my camera in my hand, taking pictures of food. 📷😂 That about sums up my food centered life. My days are spent shopping for it, preparing it, photographing it, delivering it, storing it and consuming it. I invest a lot of time into creating new recipes and menus because, no one wants to eat the same thing over and over again - especially me.
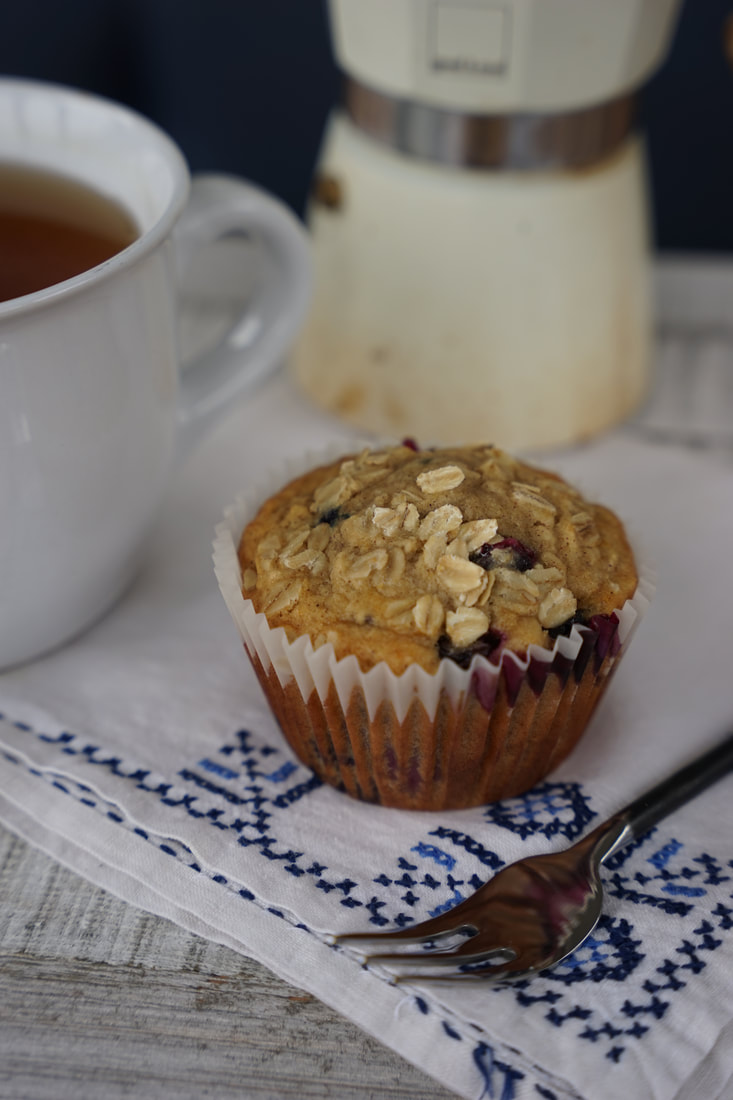
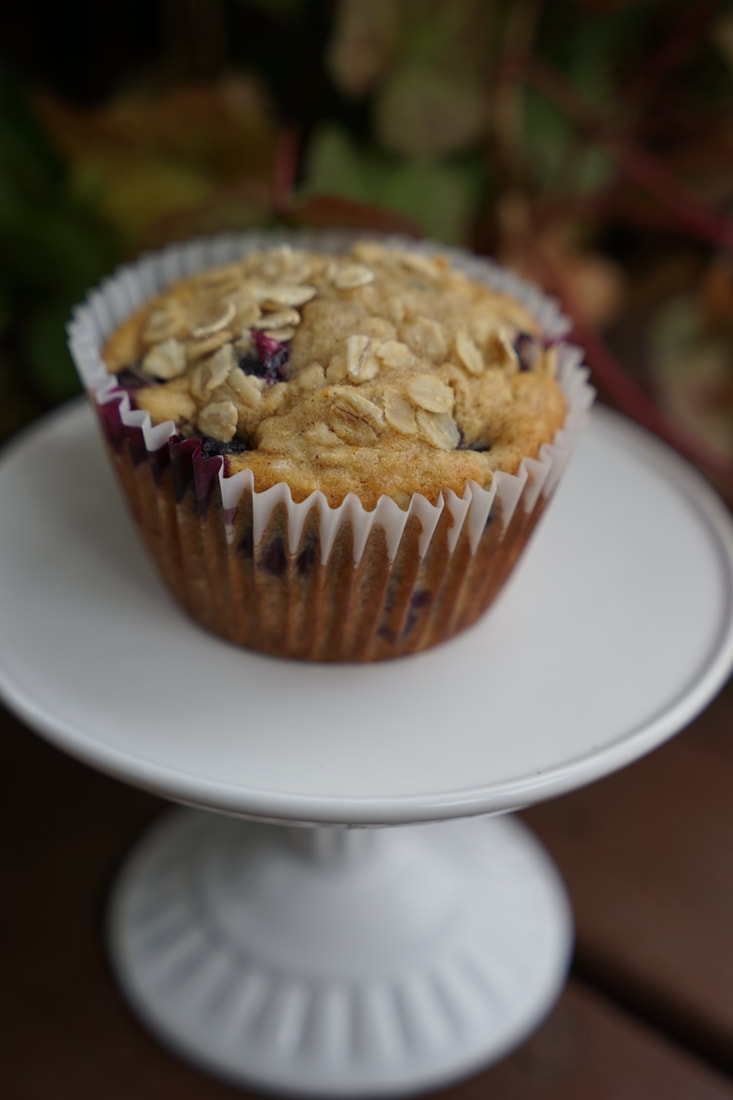
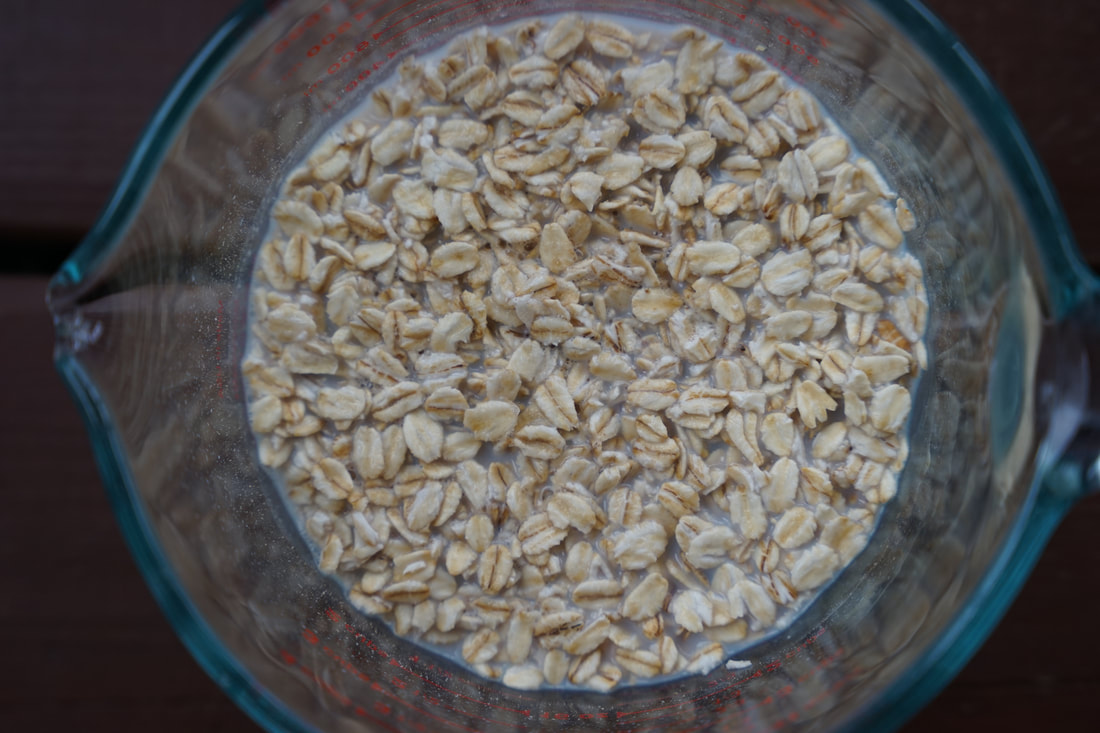
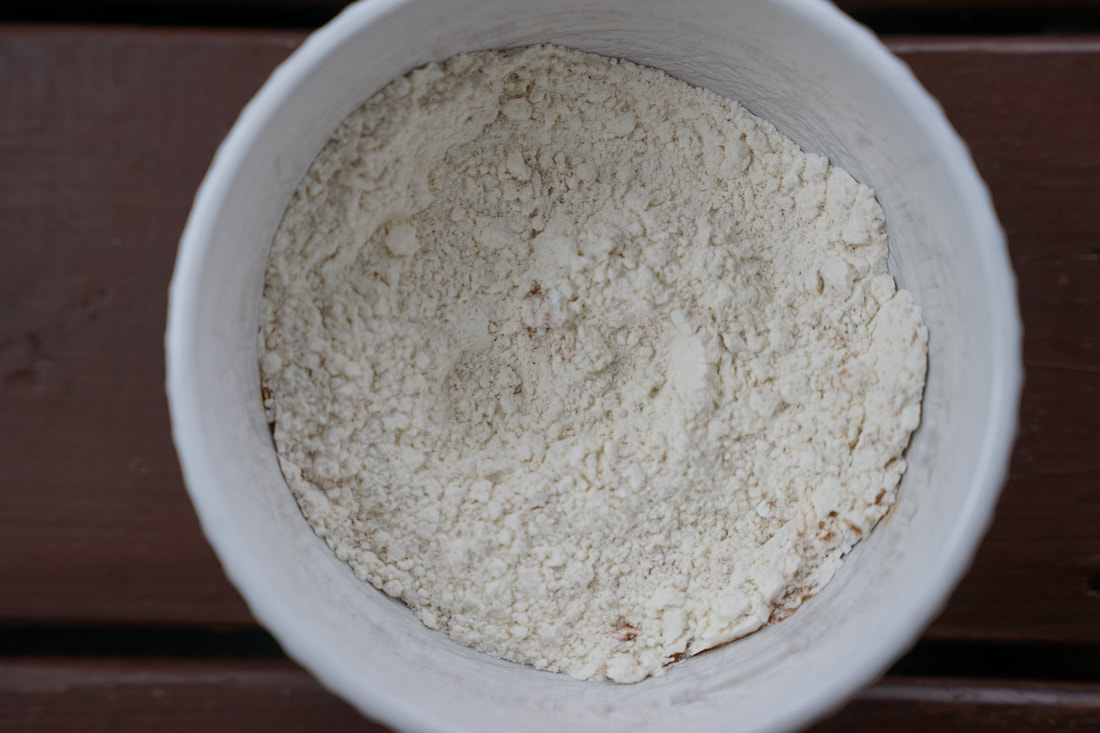
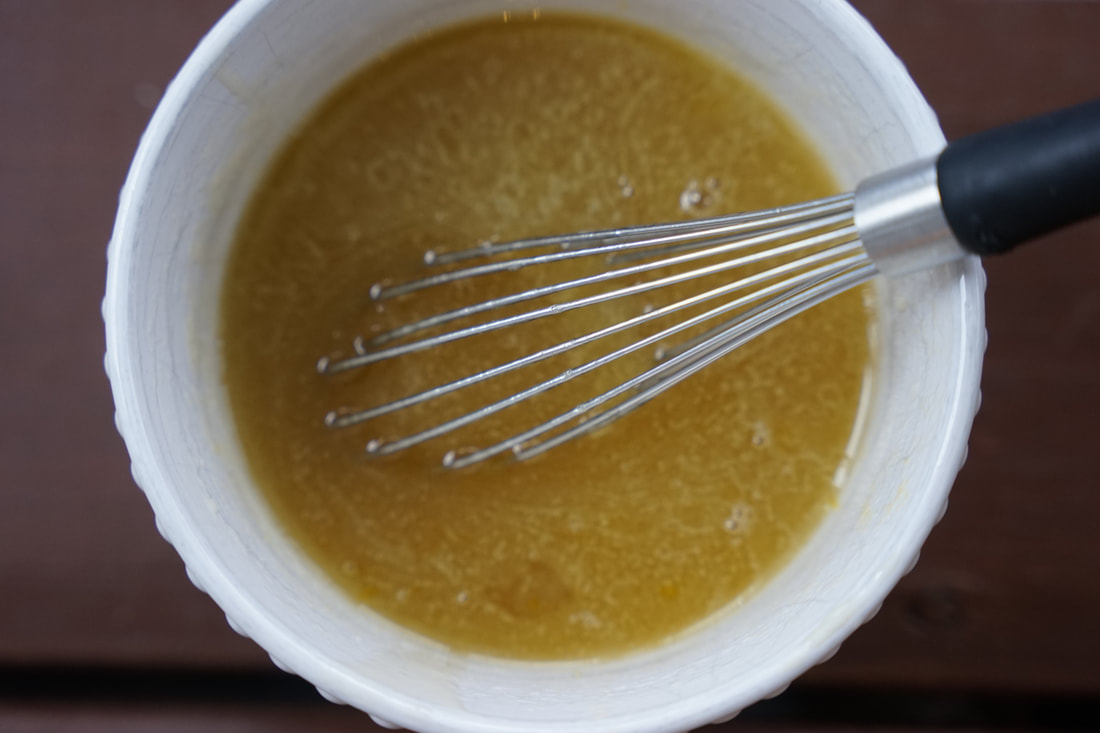
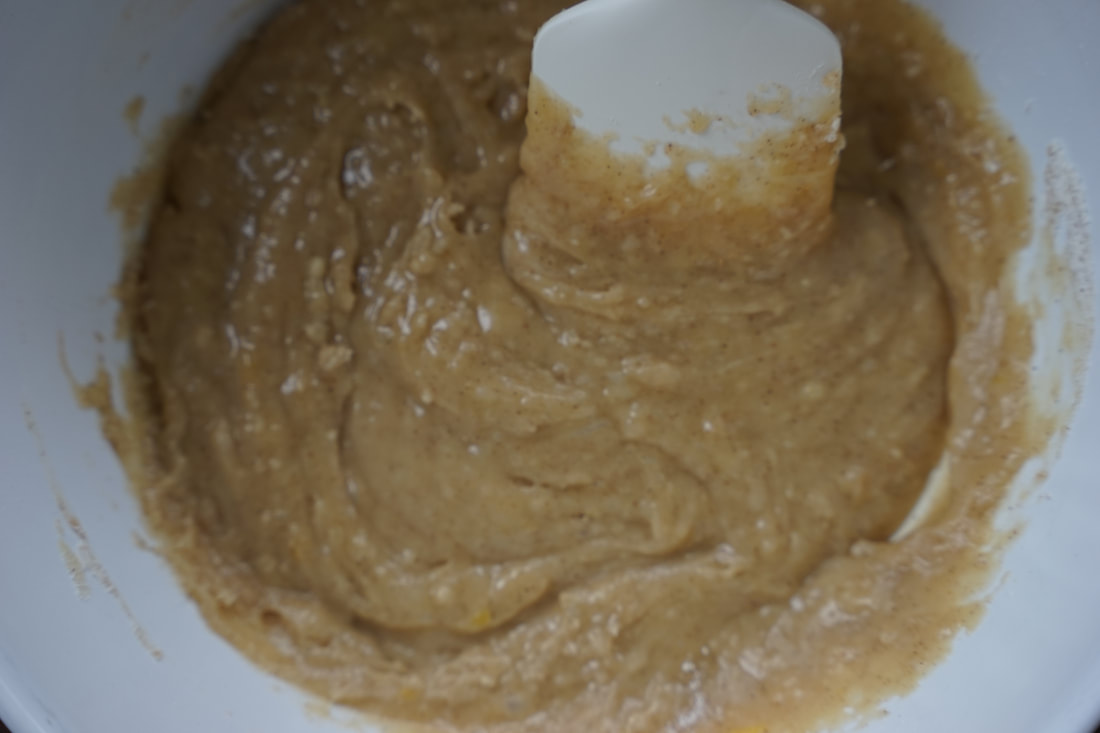
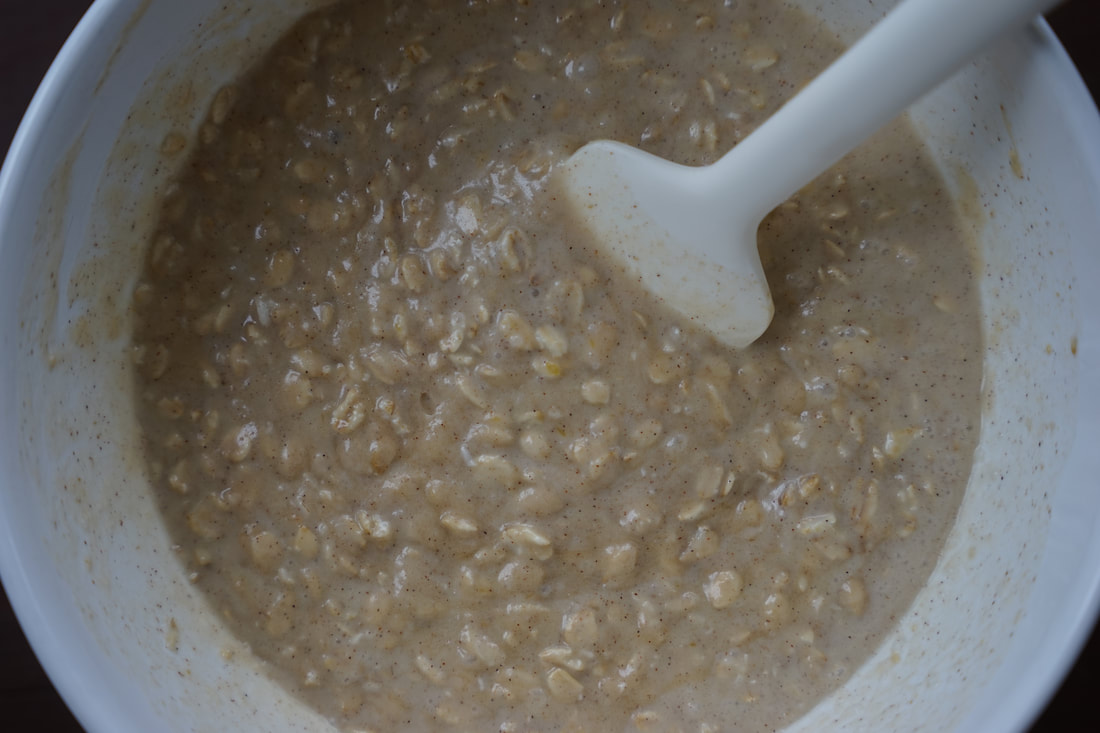
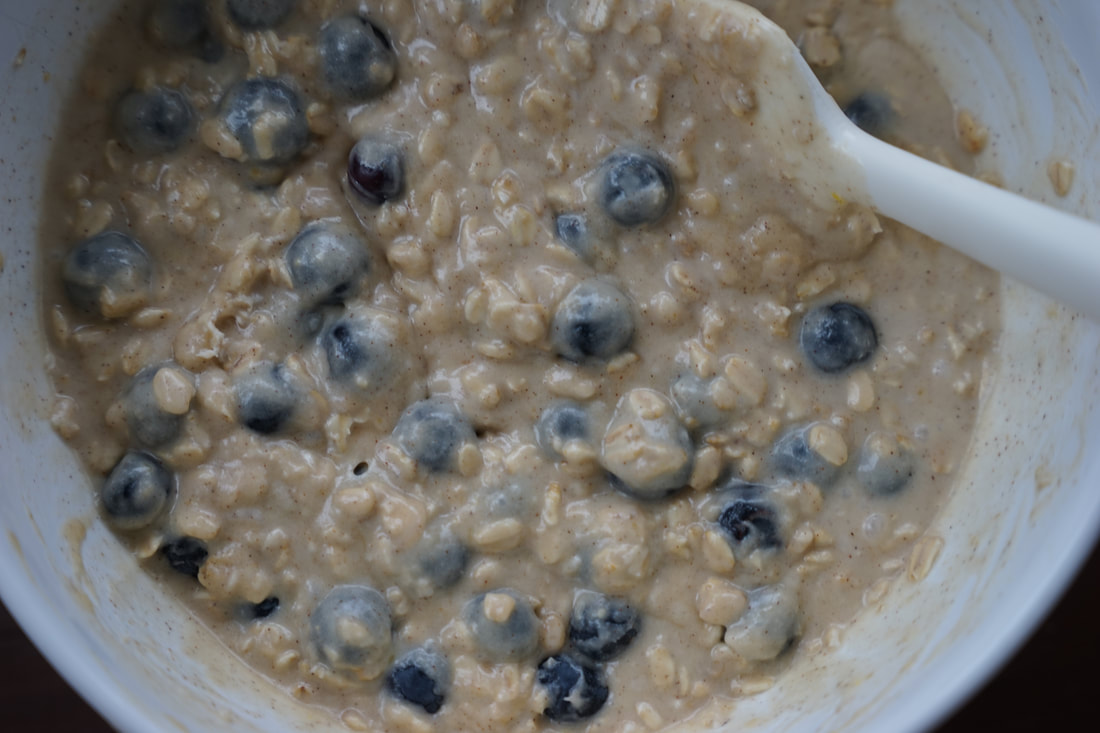
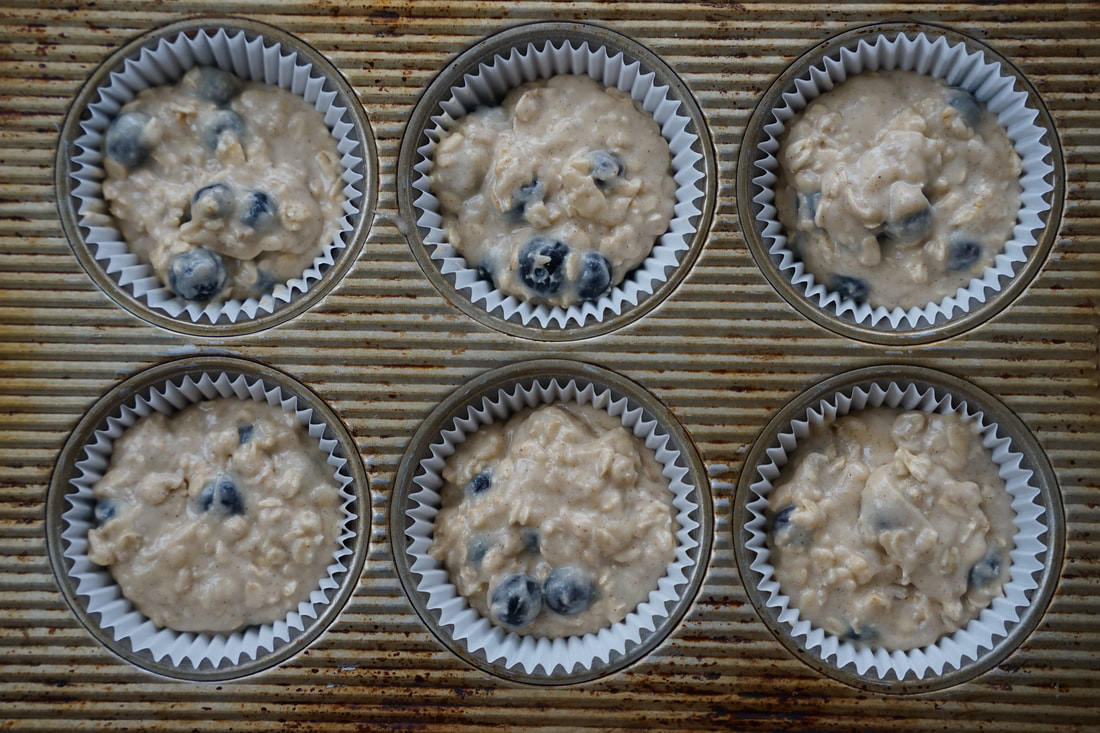
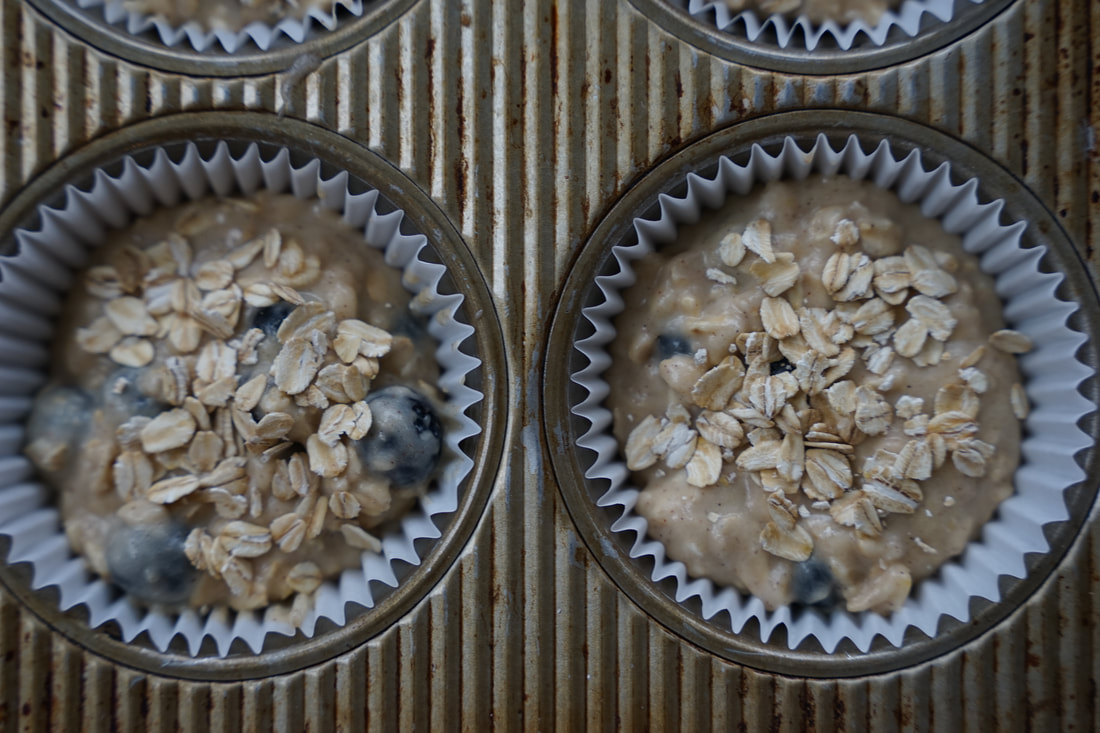
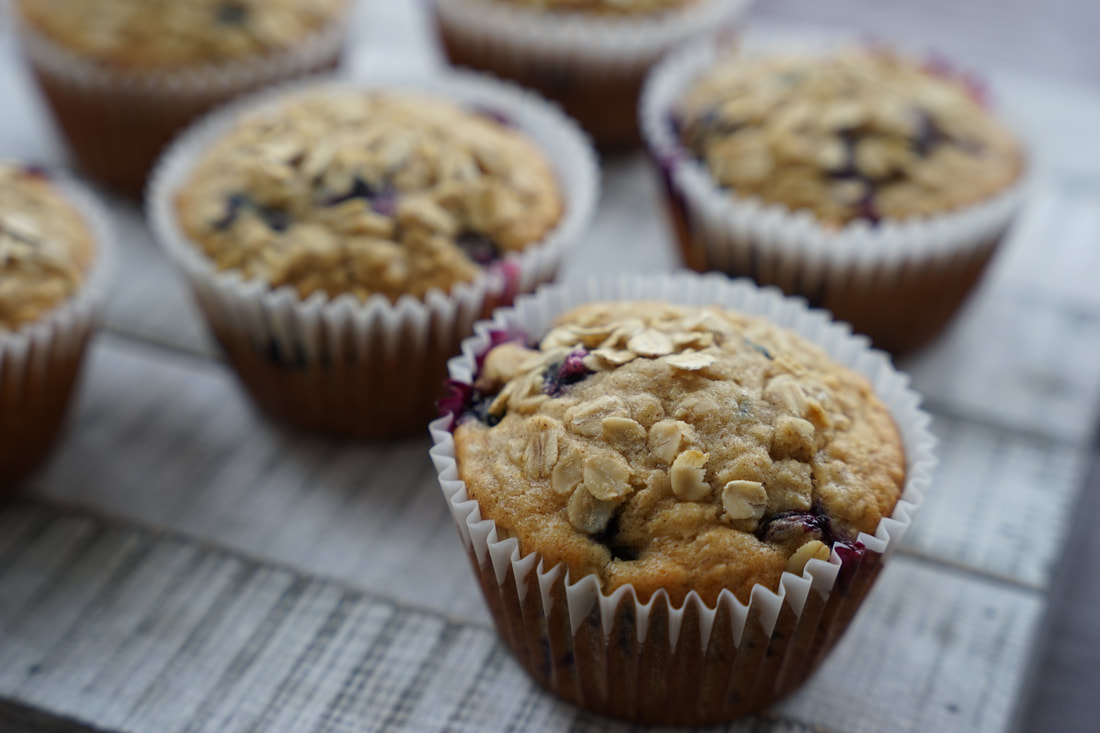
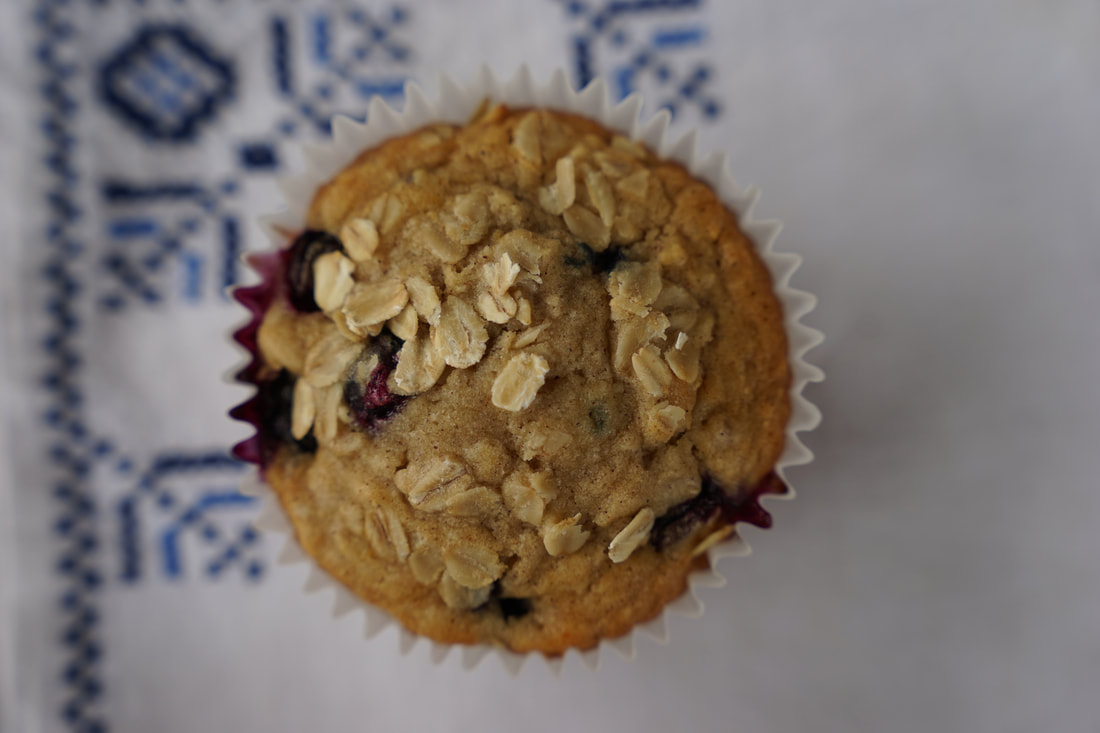
Creating new recipes isn't just good for counteracting my food monotony - it's also proven to be a great incentive to get me out of bed in the morning. You'd be surprised how quickly I can pop out of bed in the morning when there's a blueberry muffin waiting for me to taste test. 😅 I don't make a habit of eating muffins for breakfast but when I bake a recipe for the first time - I HAVE to try it. Right? It's hard to believe that with as many different types of muffins that I've baked and blogged over the years - I've never explored the blueberry and oatmeal combination. It seems like a logical merger. I love blueberries and I love oatmeal. 💁🏻♀️ Blueberry muffins are a favorite in this house and I was curious to see how this new blueberry hybrid muffin would be received. I took it as a good sign when I couldn't get anyone to give me feedback about the muffins because their mouths were too full. This plate of muffins disappeared in record time so I guess I can assume that these were a hit. 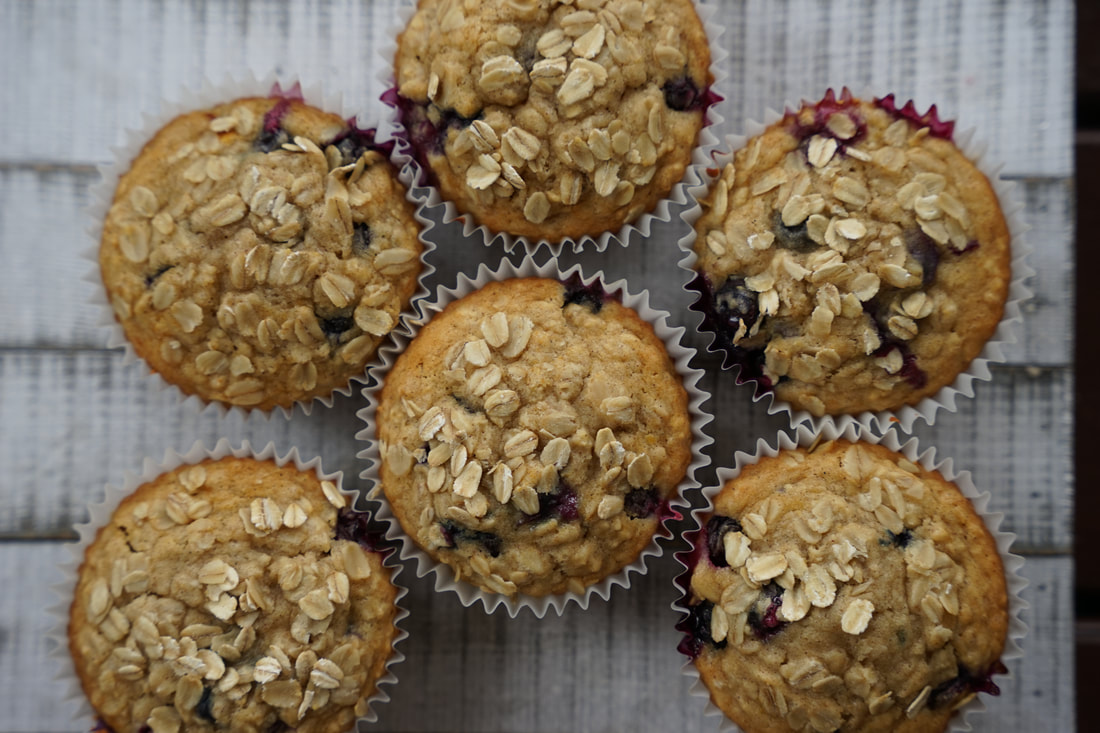 Blueberry Oatmeal Muffins 1 cup milk 1 cup old-fashioned whole rolled oats 1 and 1/4 cups flour 1 teaspoon baking powder 1/2 teaspoon baking soda 1/2 teaspoon ground cinnamon 1/2 teaspoon salt 1/2 cup butter, melted and slightly cooled 1/2 cup honey 1 large egg, at room temperature 1 teaspoon pure vanilla extract 1 cup fresh or frozen blueberries
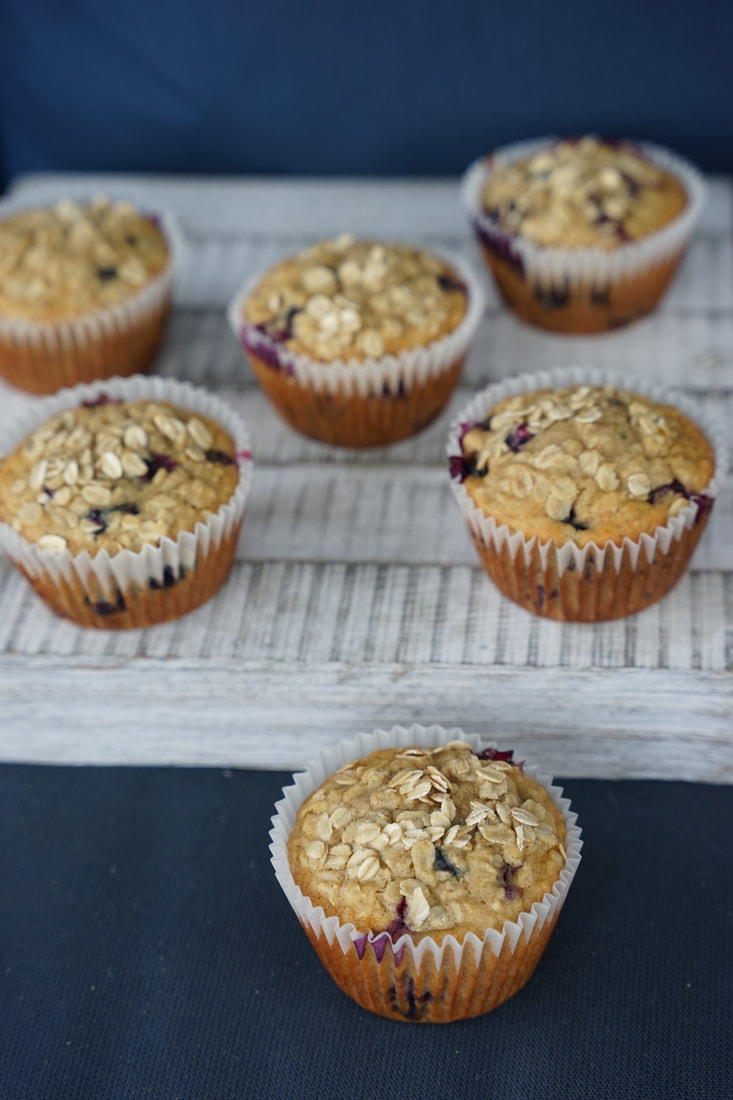
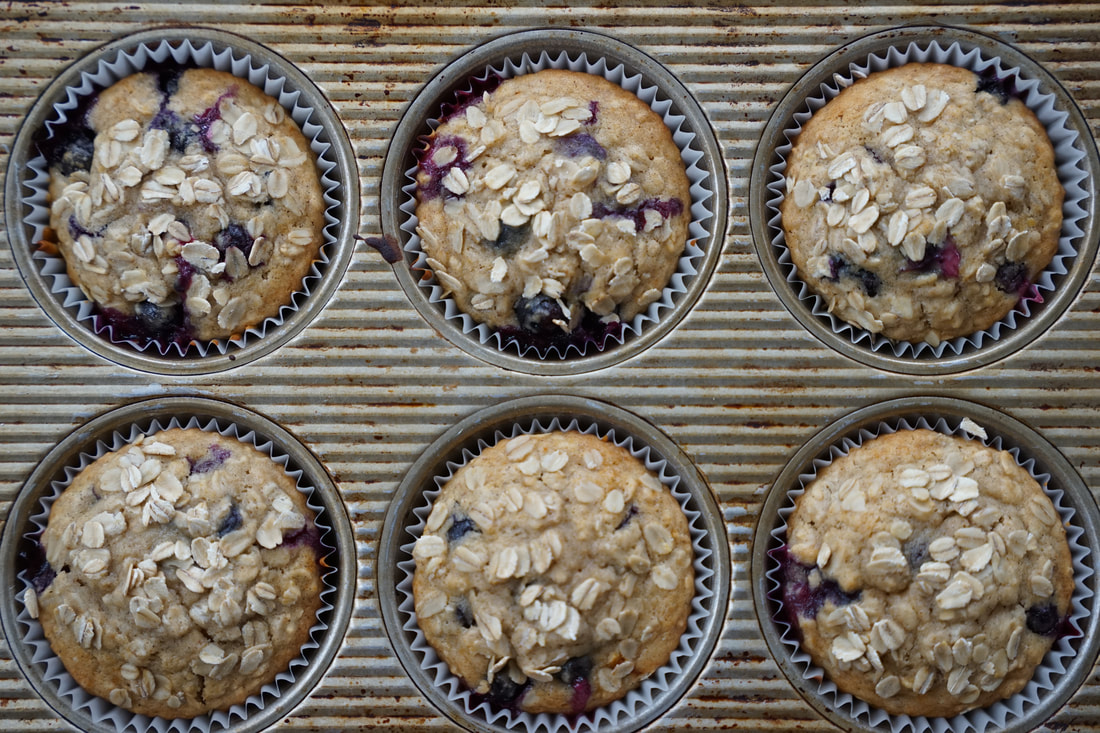 Bake 5 minutes at 425. Reduce oven temperature to 350 and bake another 16 minutes. (8 minutes at 425 and 20 minutes at 350 for jumbo muffins) 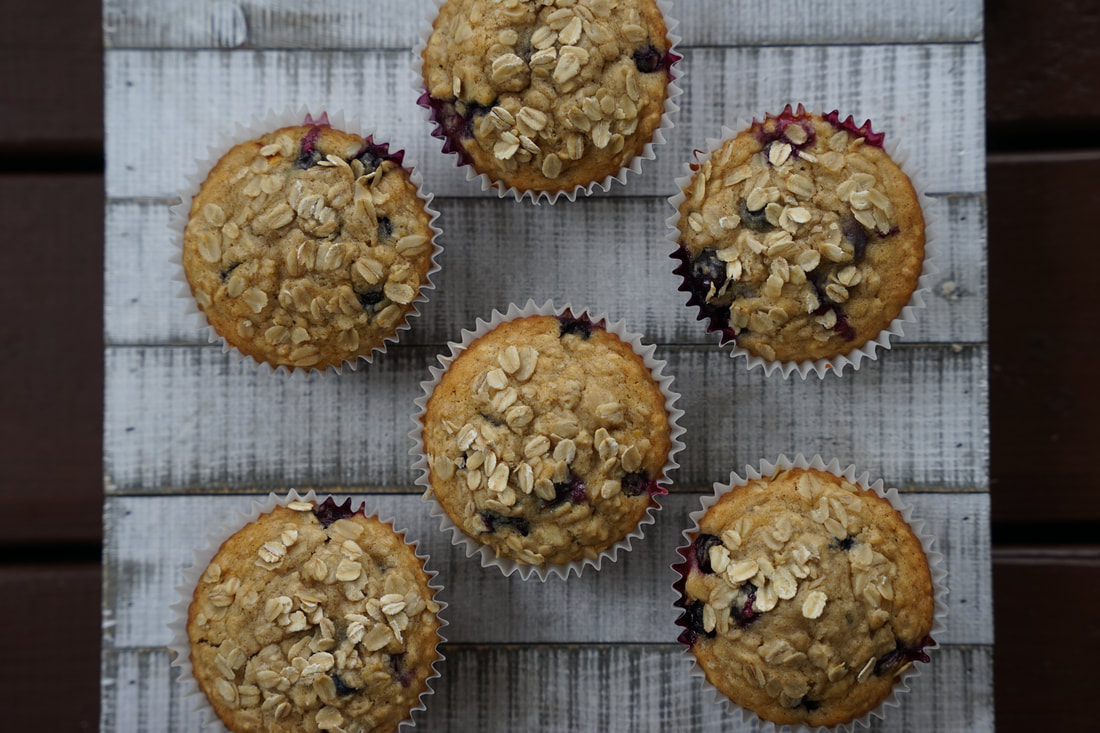
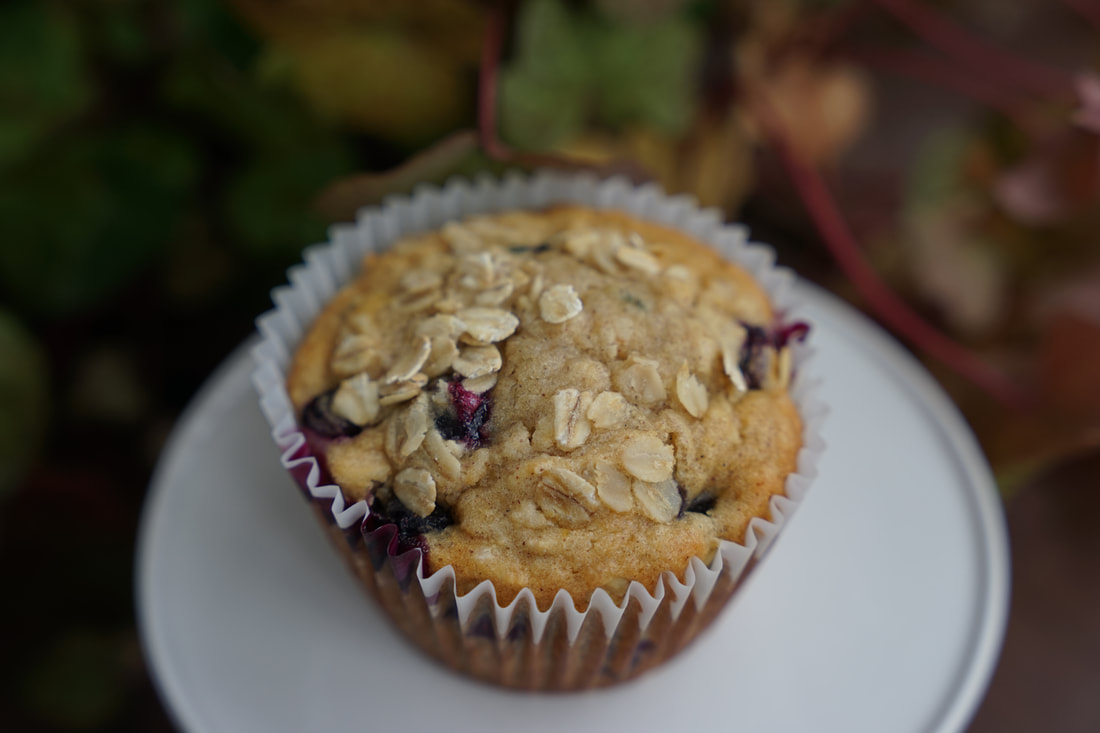
If you're a fan of blueberry muffins, I recommend that you give these a try. They have a little more "chew" to them than my regular blueberry muffins and I really enjoyed them. I used fresh blueberries in these muffins but you could certainly swap out the fresh for frozen berries if that is what's available. Hope you enjoy!
Ciao!
0 Comments
 Remember last Spring when we were all dreading the thought of working from home for three months? 😬Fortunately, there's a light at the end of this pandemic tunnel. 😷Working from home wasn't a new thing for me - working from home while other people were in my space - took some getting used to. 😅 Yard work is my therapy these days and spending more time at home means that I have more time to work in my yard. This week, I witnessed the first signs of Spring. Tulips, daffodils and hyacinth leaves with buds ready to burst into bloom! 🌷
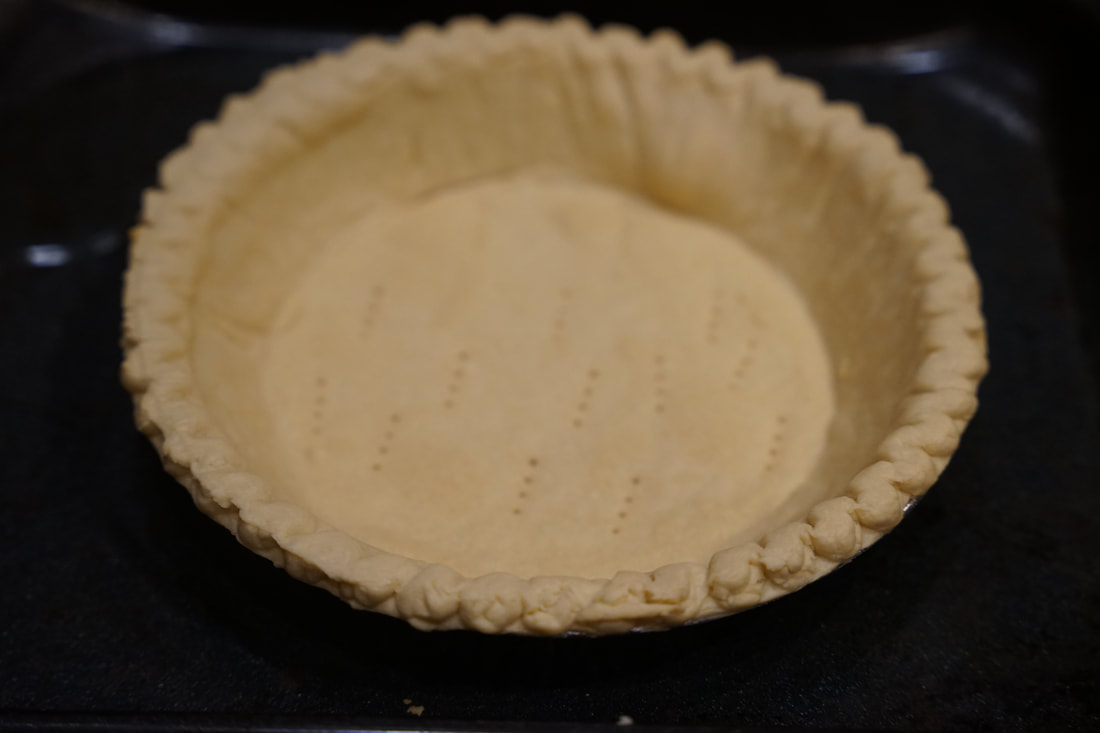
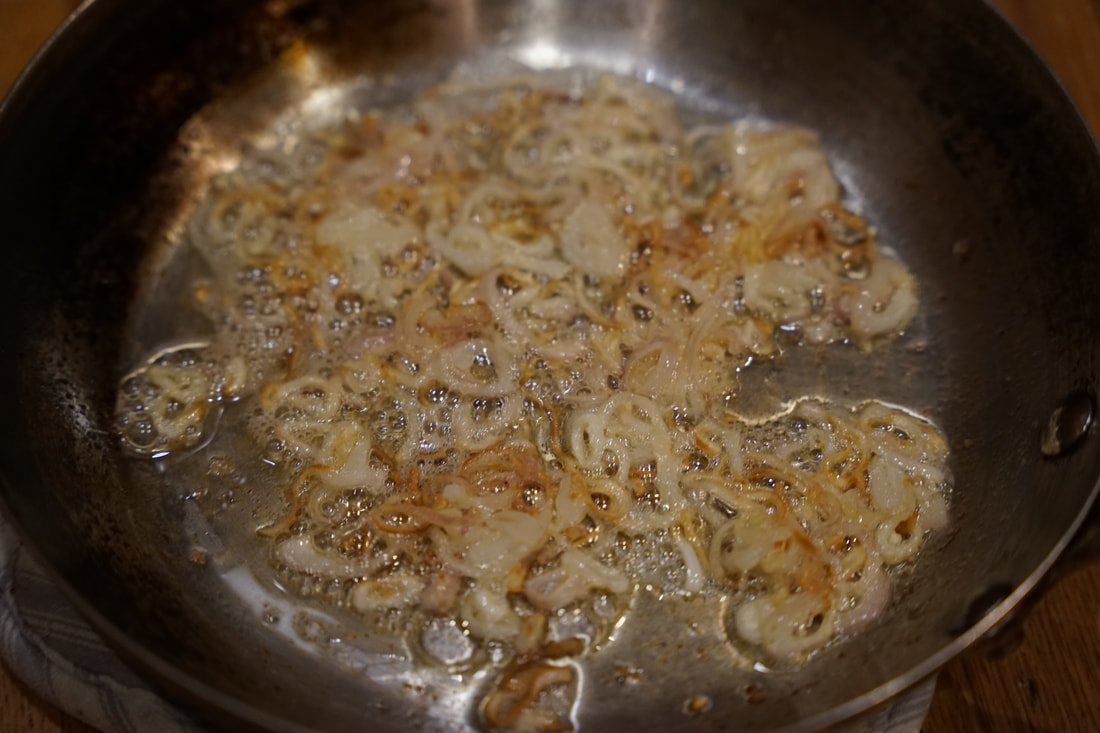
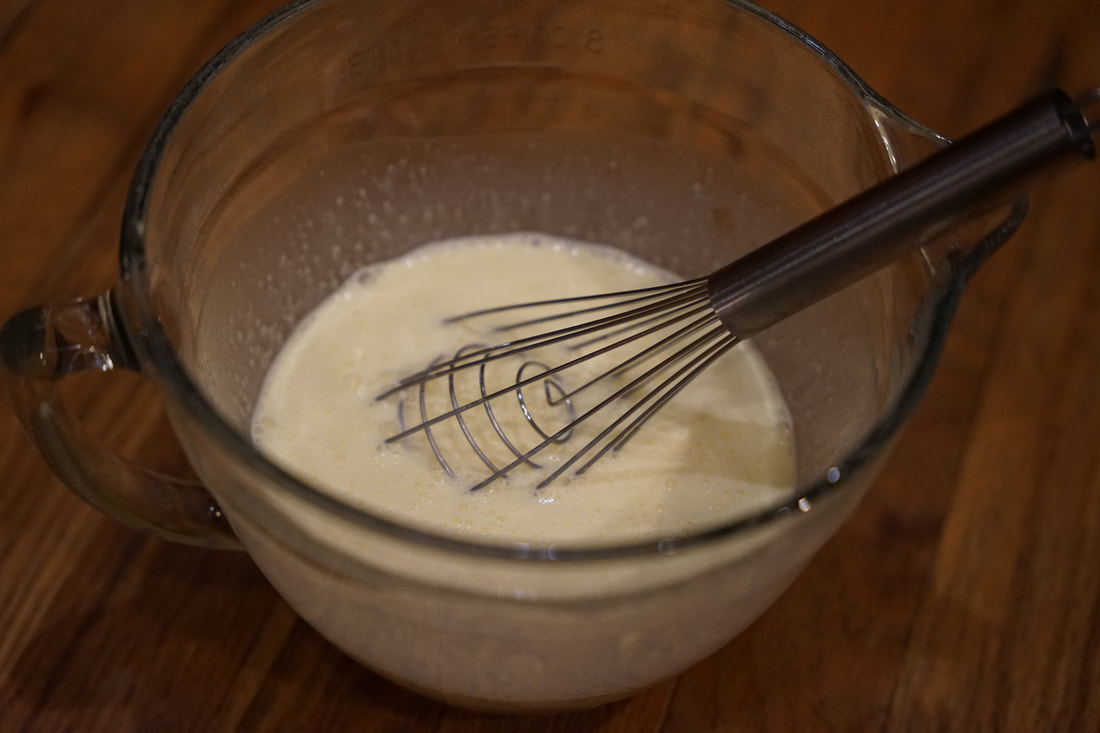
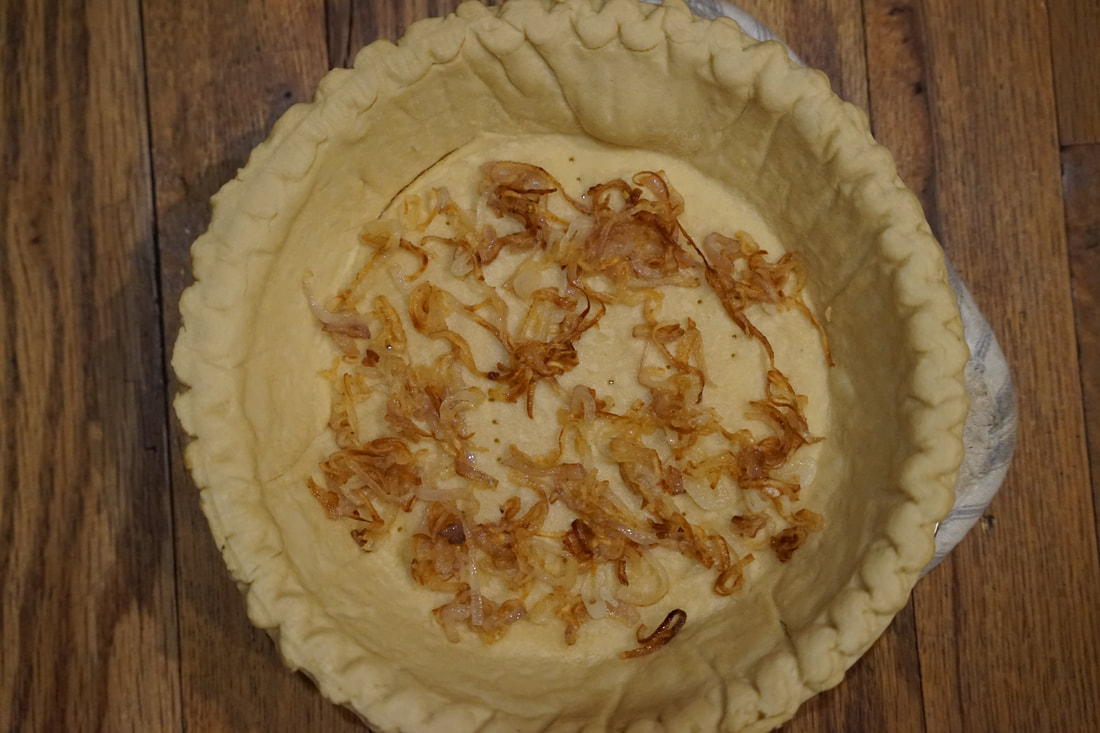
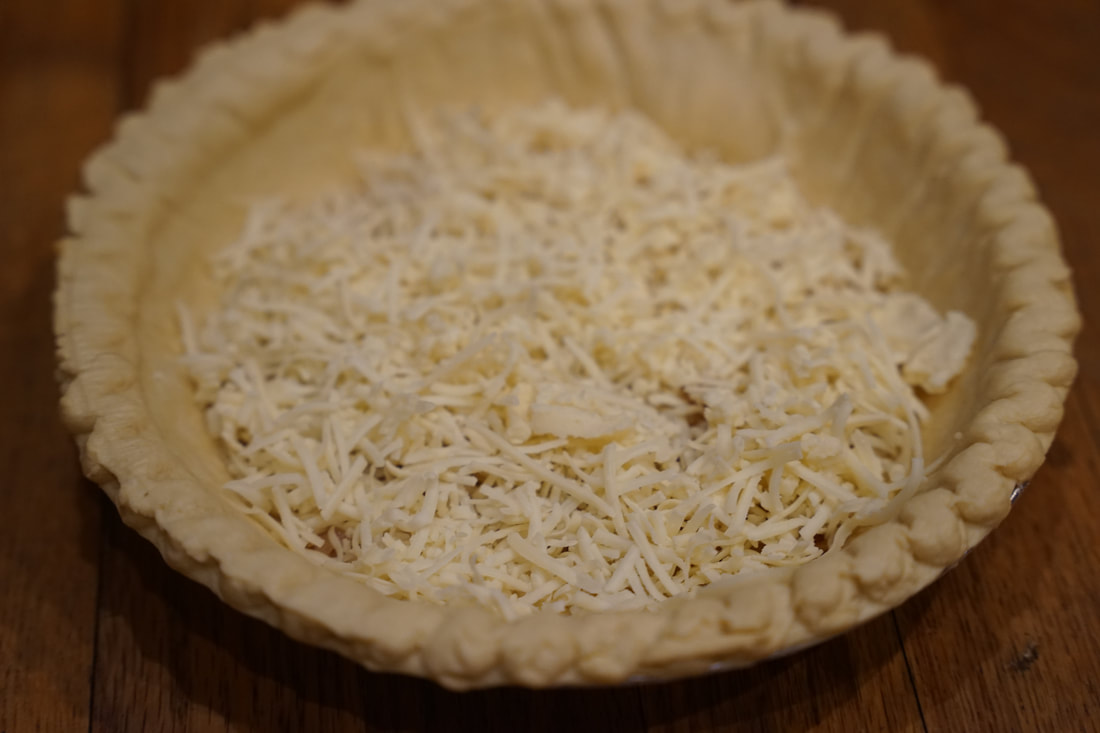
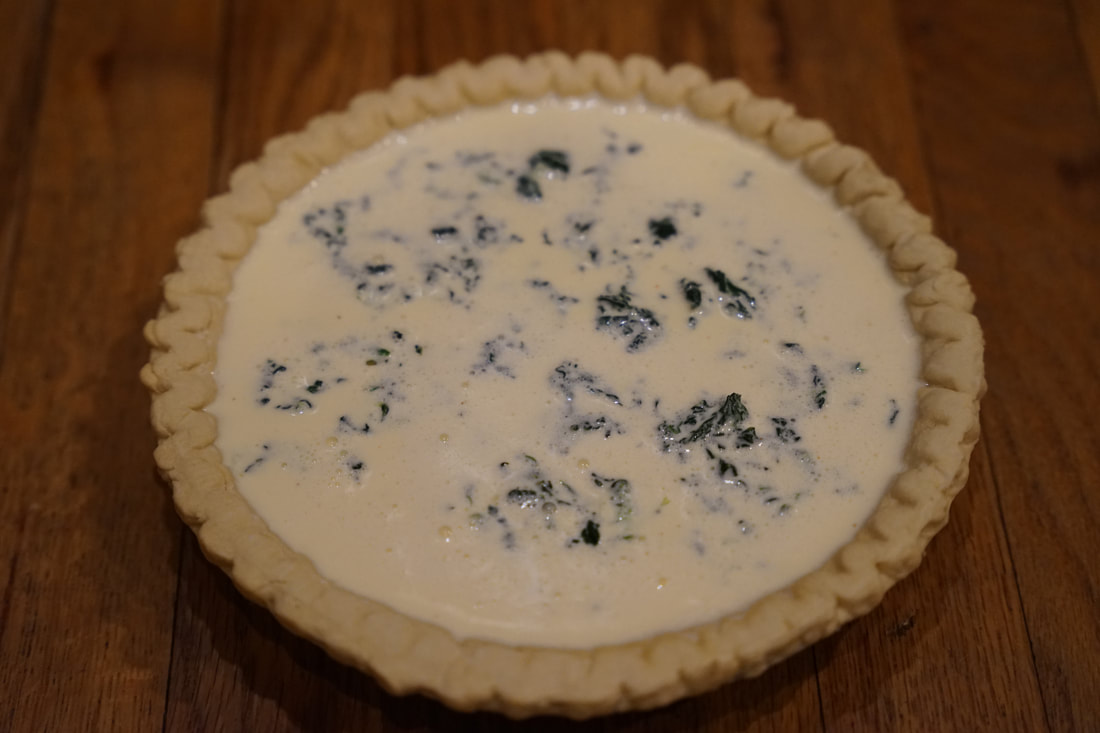
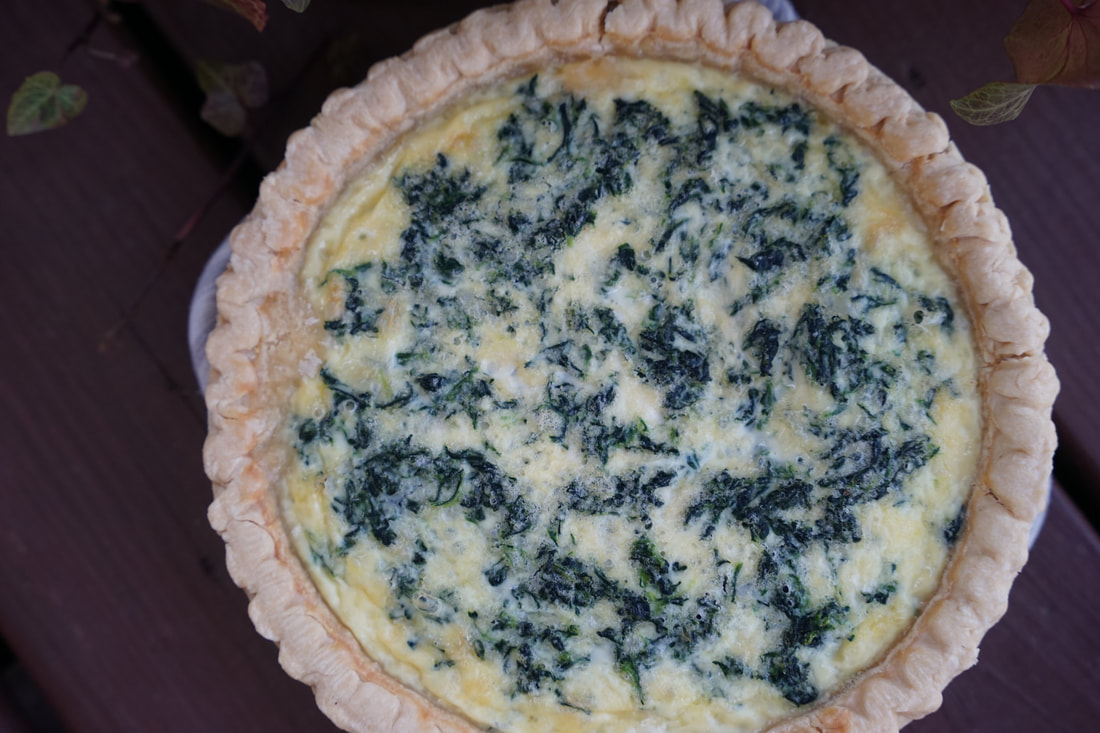
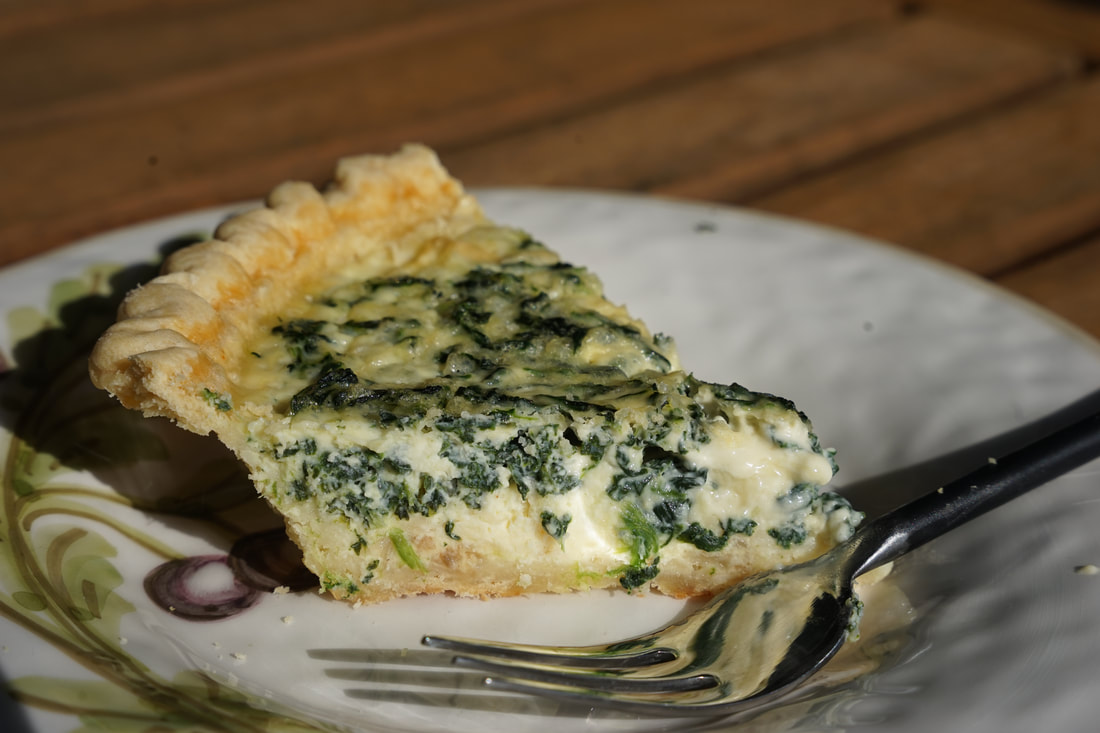
Warm, sunny afternoons inspire me to get outside and work in my yard. Unfortunately, February brings super erratic weather patterns to Georgia. A sunny, 70 degree day can easily be followed up by a cloudy and windy day with a high of 30. The drastic swings in temperature are unpredictable which means that my yard work is also inconsistent. I guess that explains why I still have piles of dead leaves blanketing my lawn. 💁🏻♀️#Iblametheweather 😅 I like to spend warm days outside but cold February days, you'll most likely find me in my kitchen - cooking up something warm and hearty. 🍲One of my favorite things to make when the weather starts to get warmer is quiche. For reasons that I cannot explain - Spring and quiche go hand in hand in my world. 🤷🏻♀️Maybe if I cook my Spring favorites - I can will the beautiful Spring weather into coming to stay. 🌤 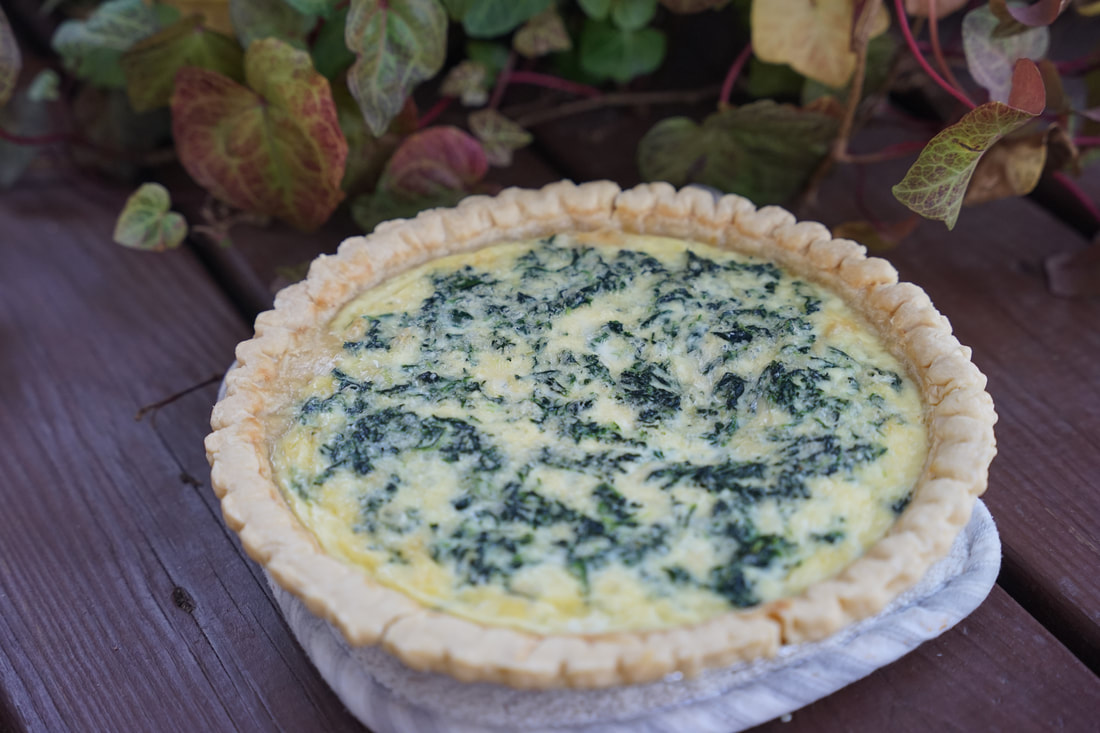 There are so many varieties of quiche. This recipe is very basic and uses the simple flavors of Gruyere and spinach but you can swap those out for your favorite quiche flavors. I normally like to use up ingredients that I have on hand when I make a quiche but these are my absolute favorite quiche ingredients: * turkey bacon * asparagus * goat cheese * sun dried tomatoes * mushrooms * spinach 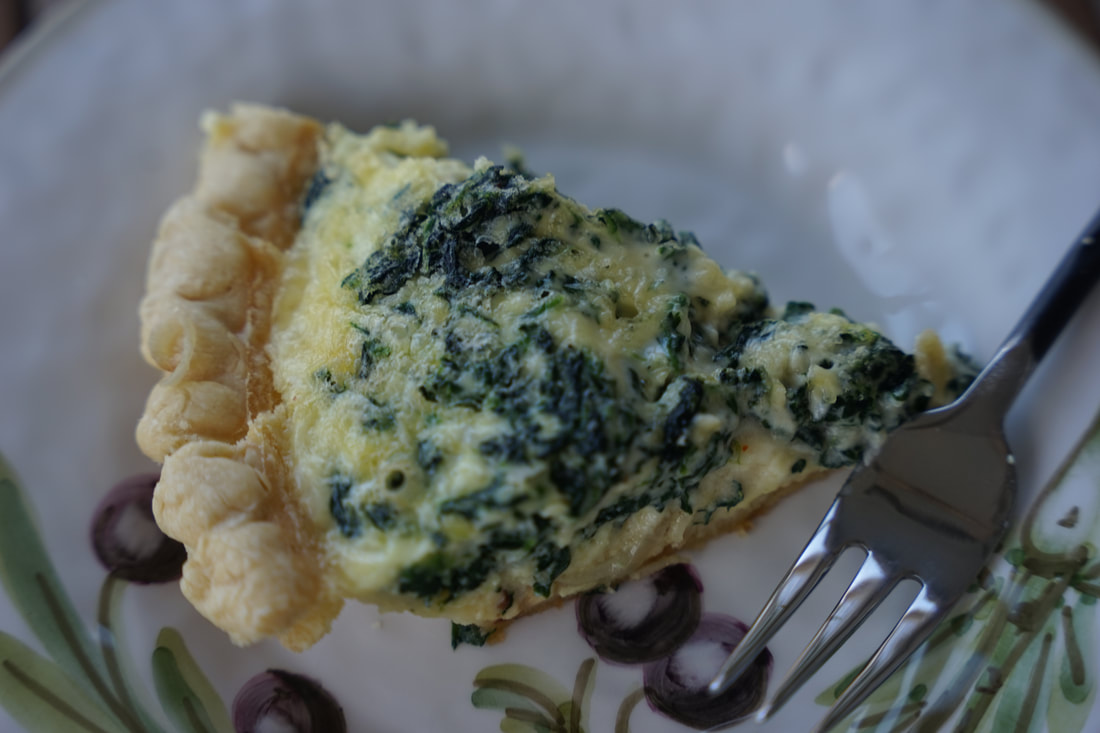 Spinach Quiche 1 deep dish pie crust 2 Tablespoon butter 1/4 cup thinly sliced shallots 4 eggs 1 1/2 cups heavy cream 3/4 teaspoon salt 1/8 teaspoon cayenne pepper 1 cup grated Gruyere cheese (or cheese of your choice) 10 ounce package frozen spinach, defrosted and squeezed dry
  This is your chance to get creative and create something completely new and exciting. If you've got a secret quiche ingredient that you want to share - I'd love to know what it is. I'm always looking for new ideas.
Ciao! 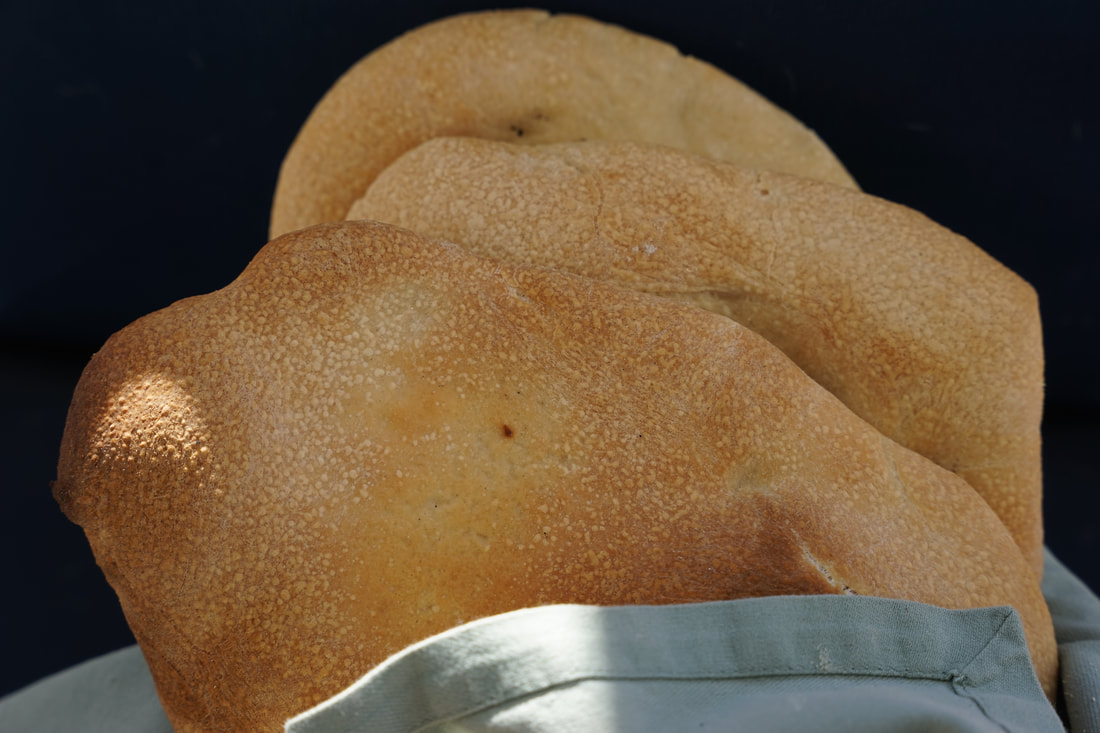 I don't know about yours, but our Valentine's day was HOT! 🔥We spent the afternoon standing in front of a 2000 degree kiln! 😂😉 It was an afternoon of melting, pulling, twisting, shaping, rolling and smooshing ... glass. If you ever get the chance to take a lesson in glass blowing - I highly recommend it. It was fascinating.
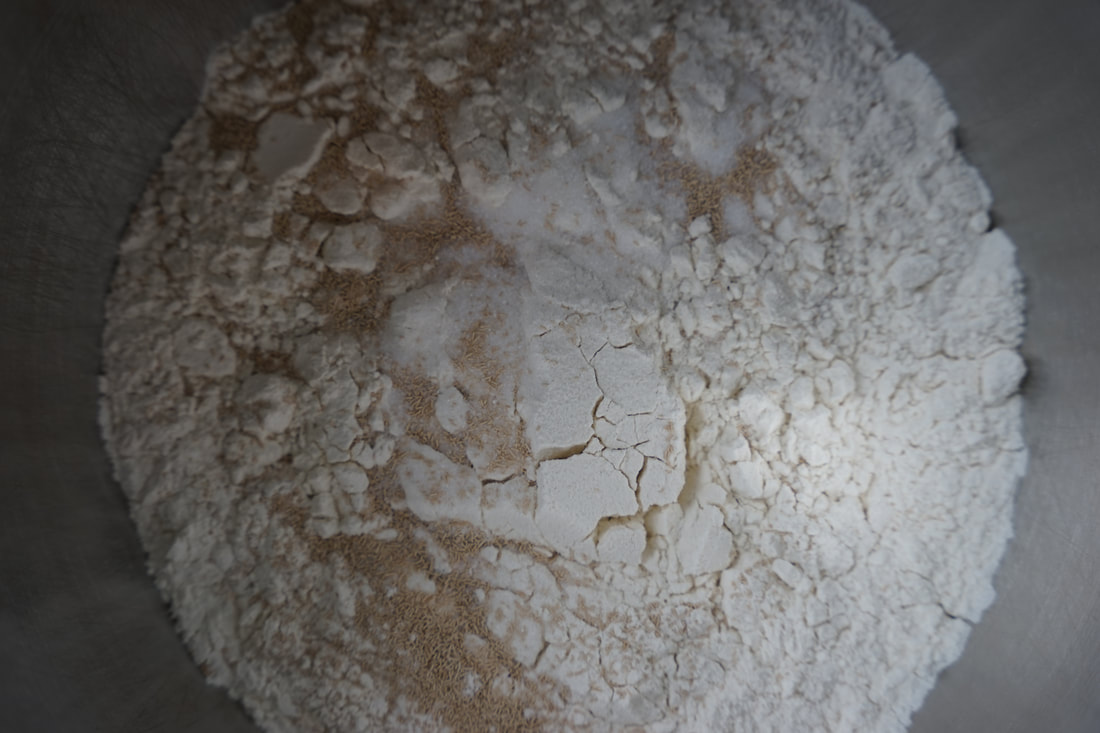
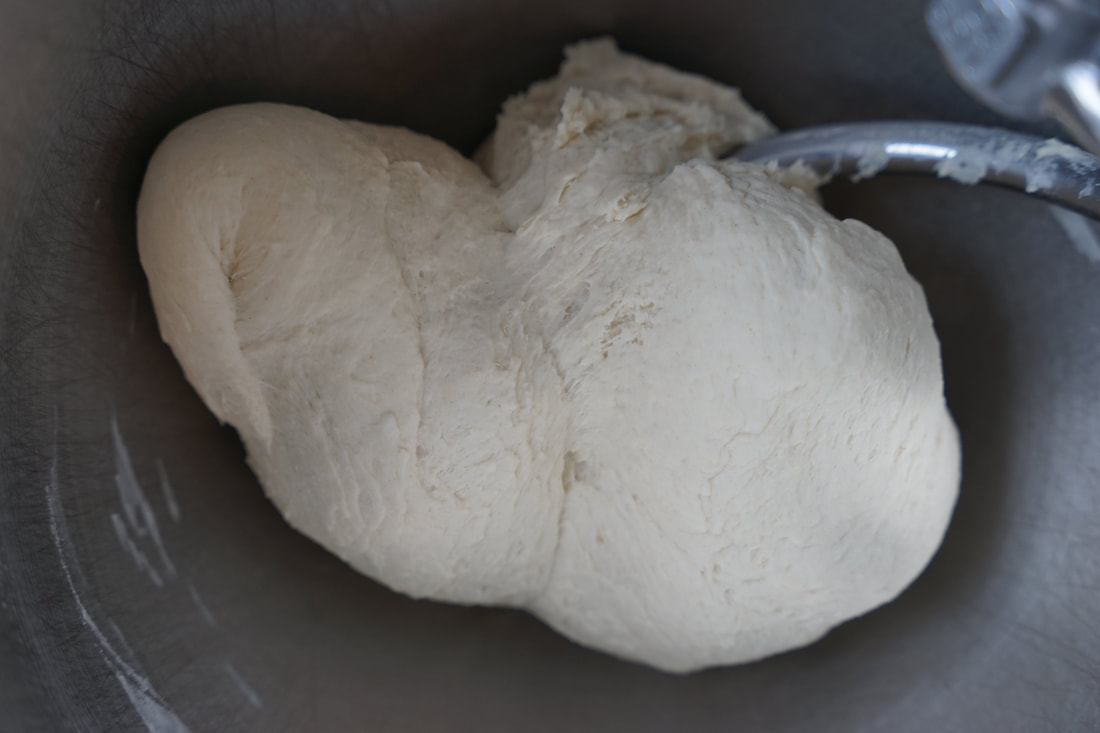
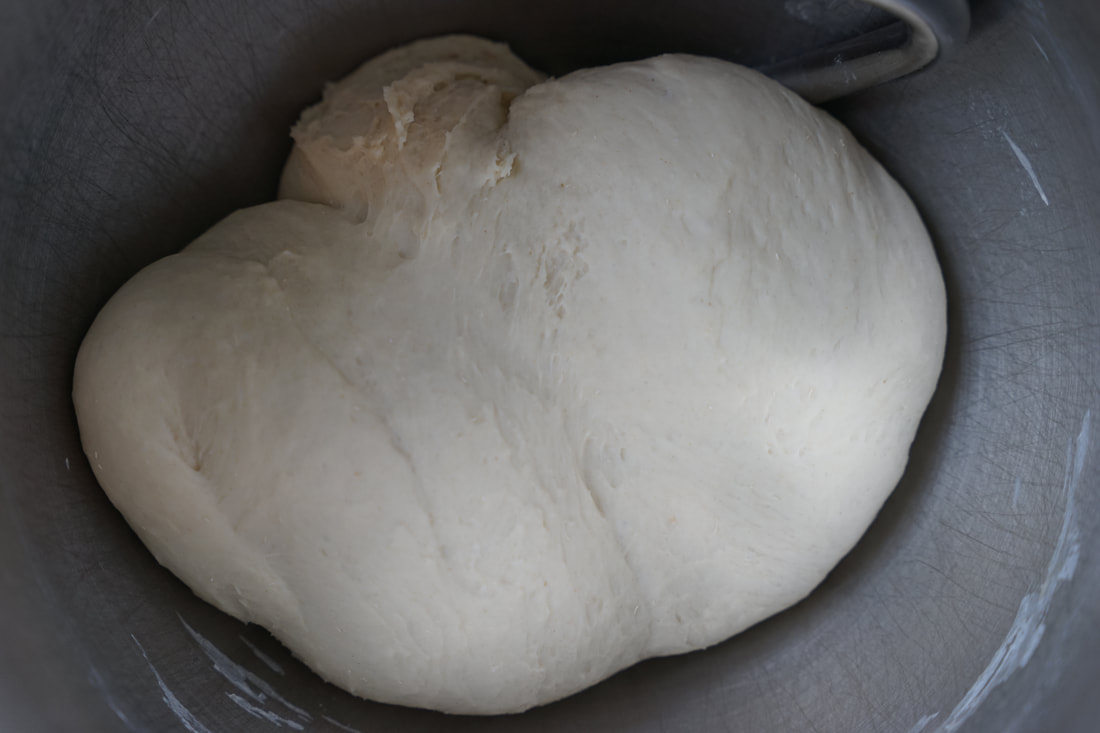
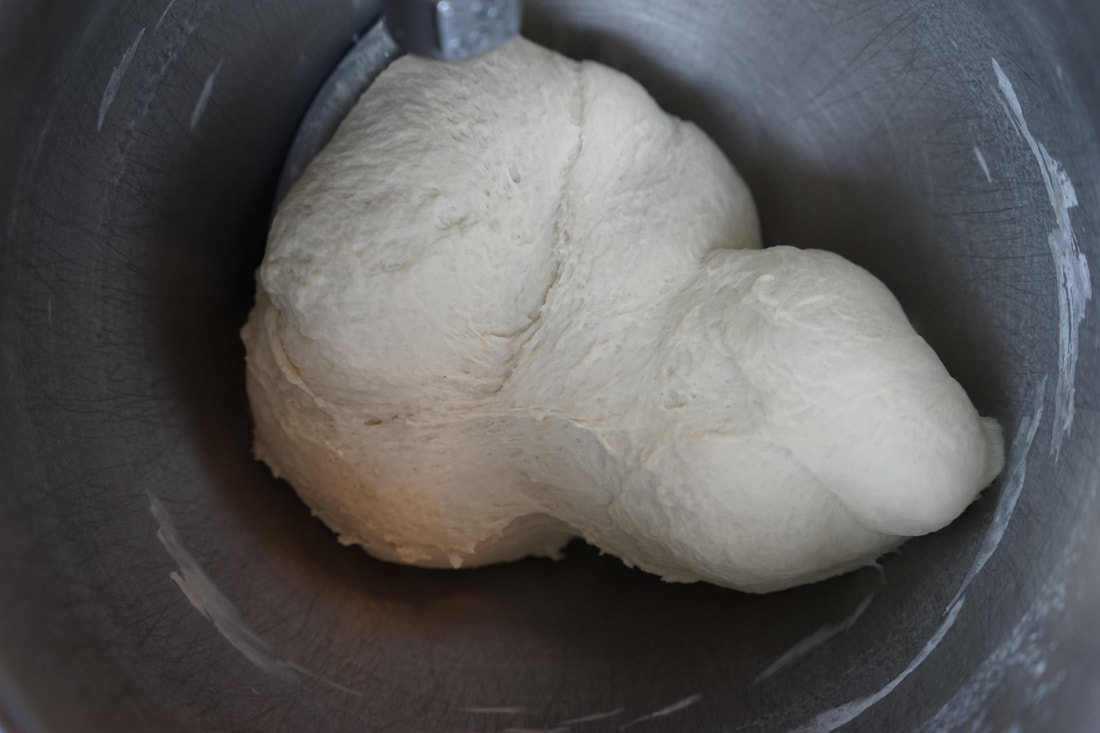
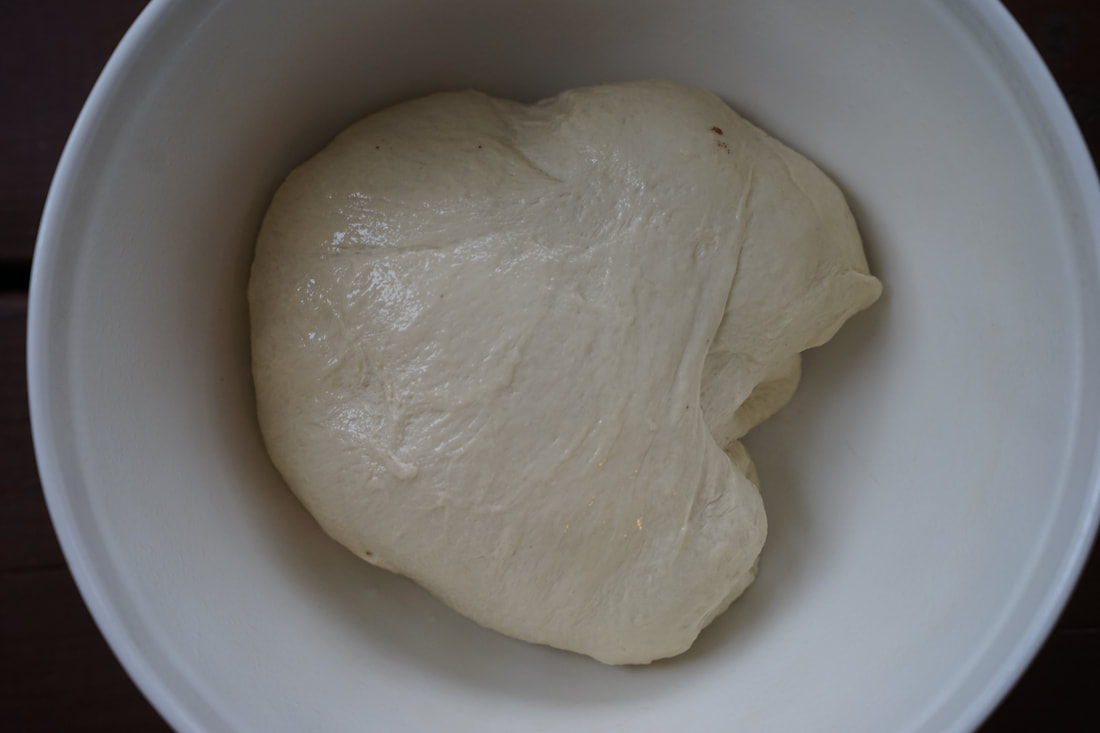
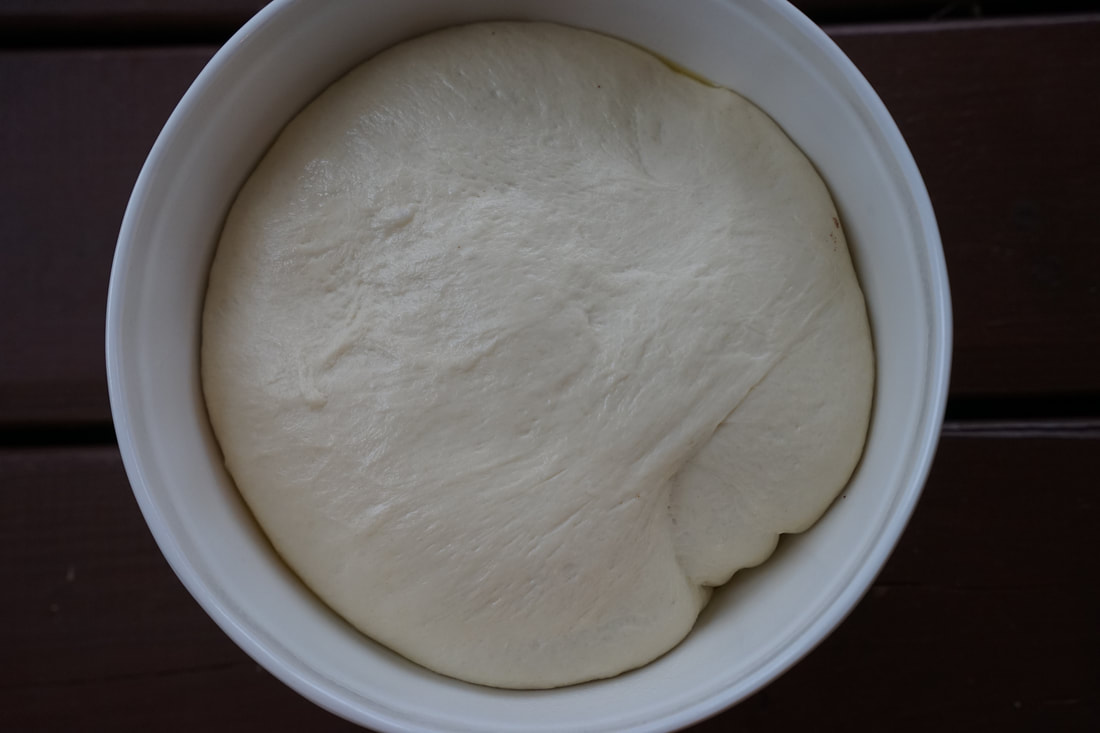
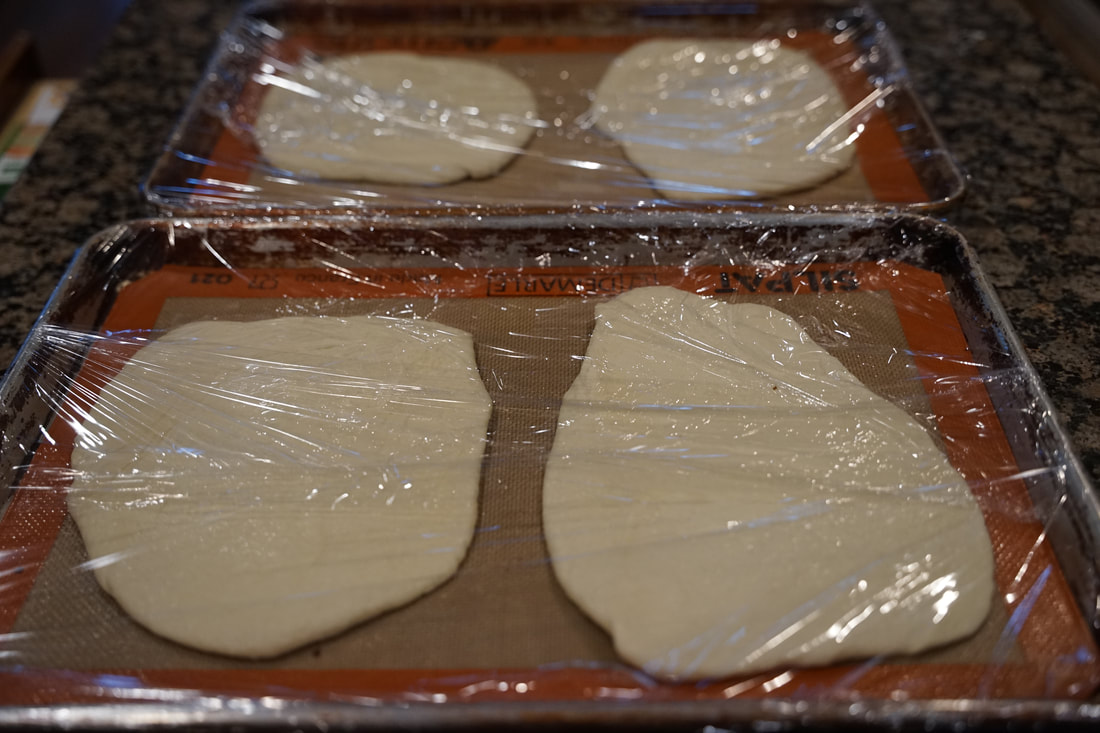
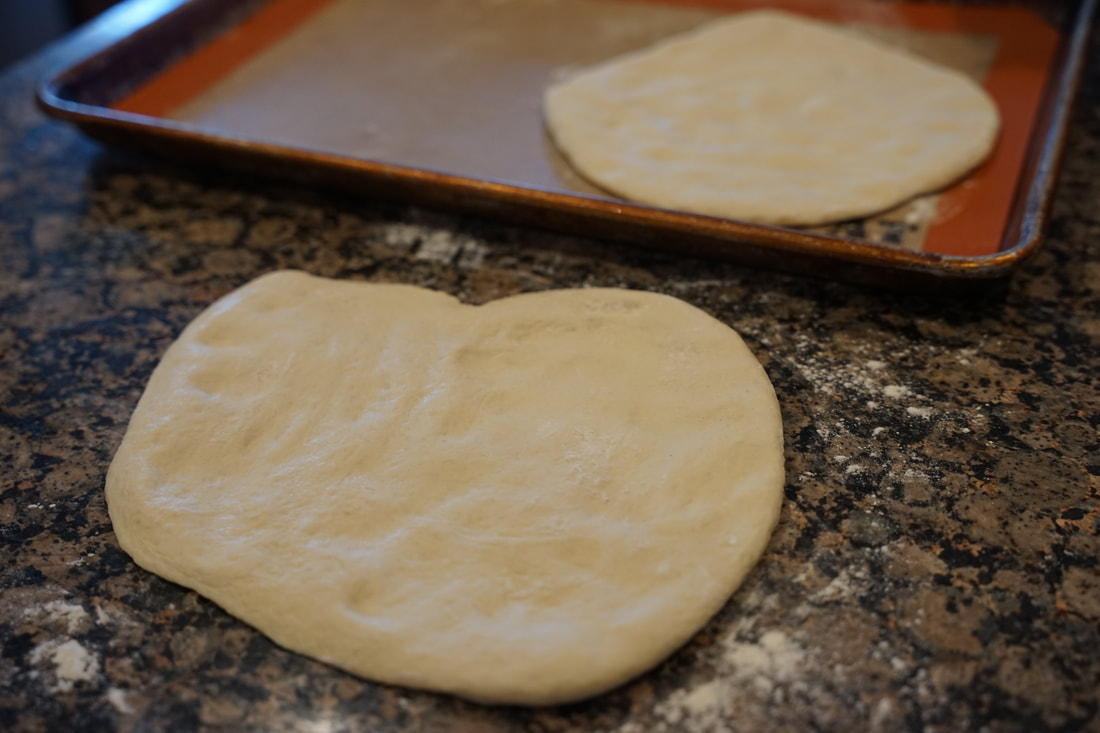
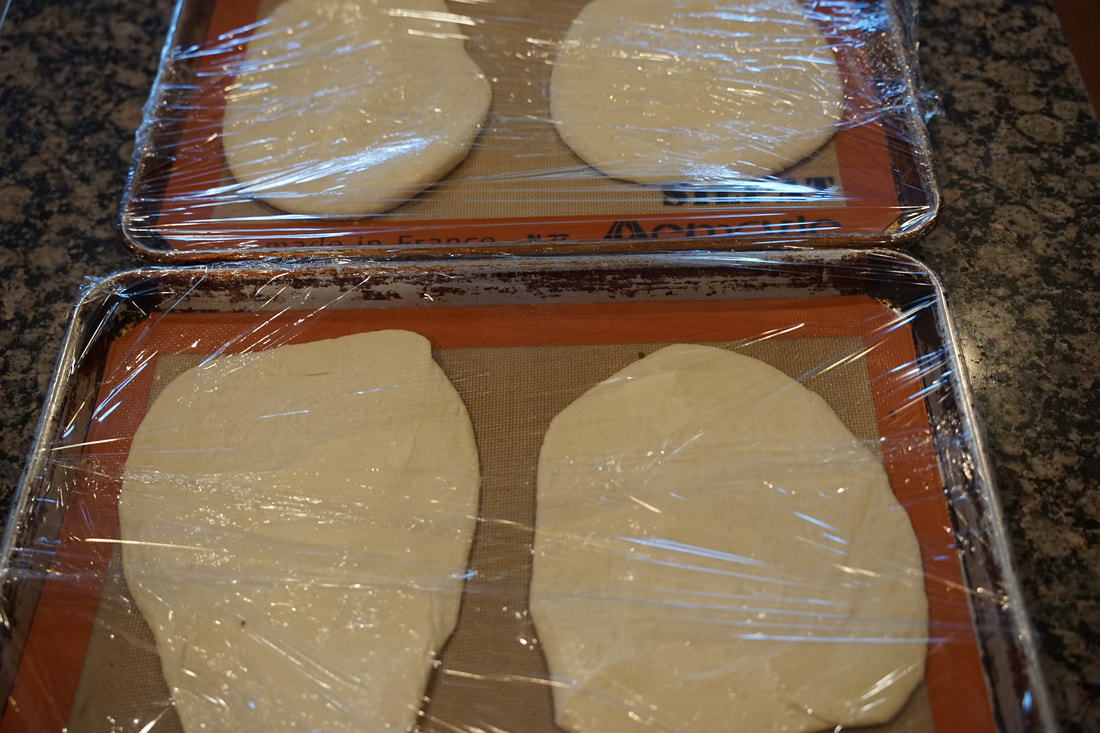
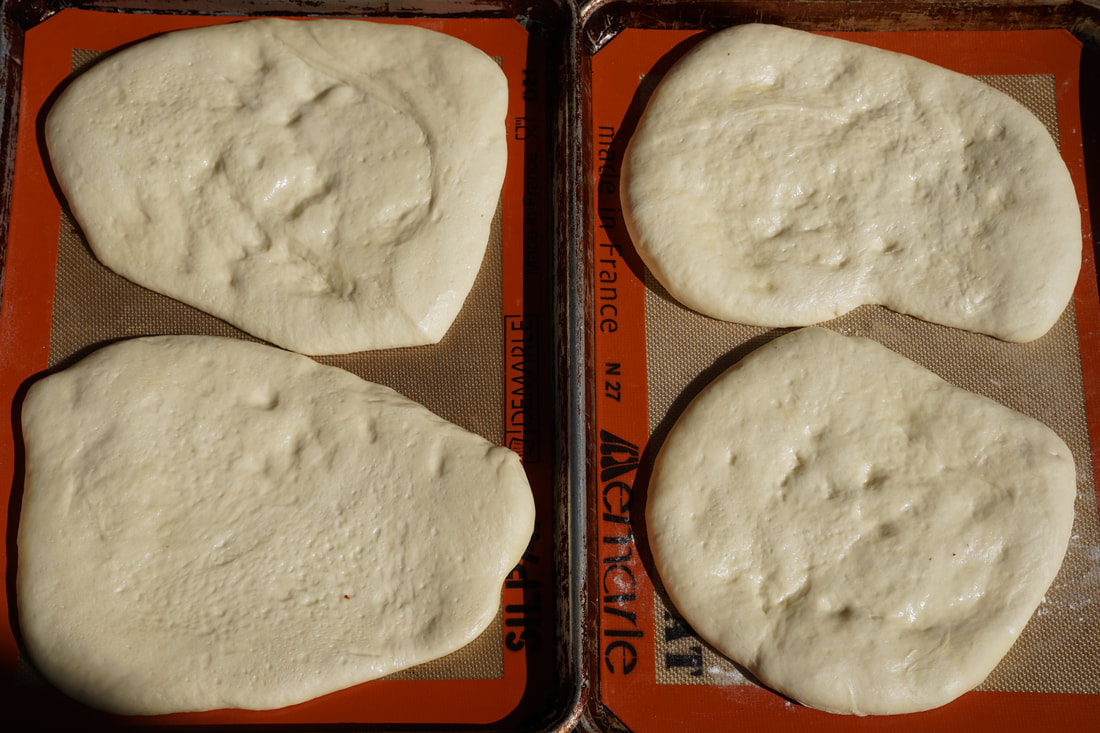
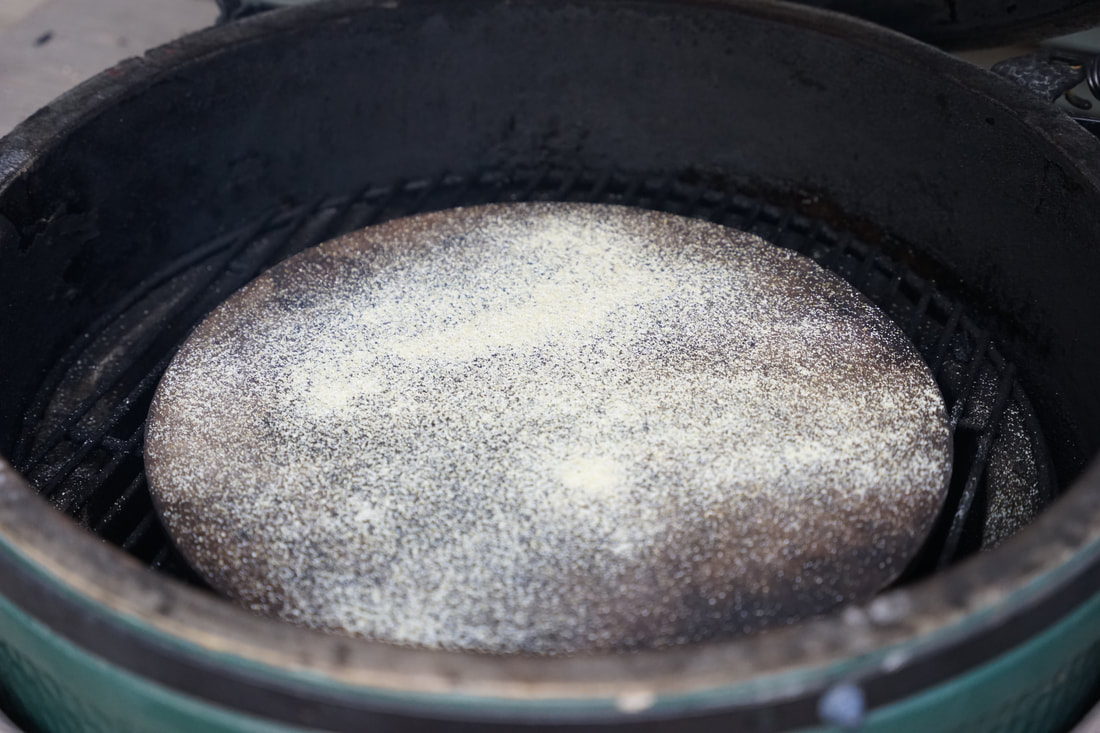
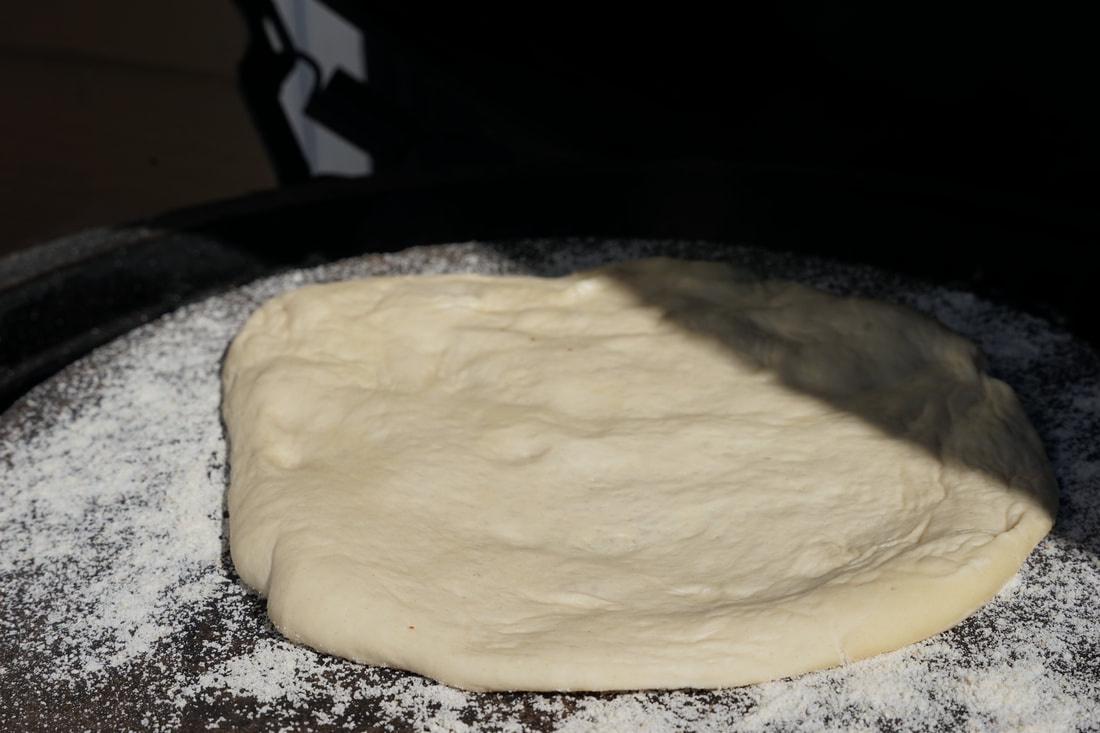
 Before the class, I was apprehensive about my ability to working with molten hot glass, but I found the glass blowing process to be oddly therapeutic. It's definitely more of an artistic outlet for creativity than baking. I can see why people really enjoy working with glass and I developed a real appreciation for it after giving it a try for myself. The Valentine glass hearts that we made last Sunday turned out perfectly imperfect. I know, it's an oxymoron but it accurately describes our creations. Kind of like the oxymoron - puffy flatbread. What's the point of making a flatbread if it's going to be puffy? 😅 Maybe I should rename it, puffy bread. 💁🏻♀️ Anyway, this flatbread is puffy, light, bubbly and super delicious. 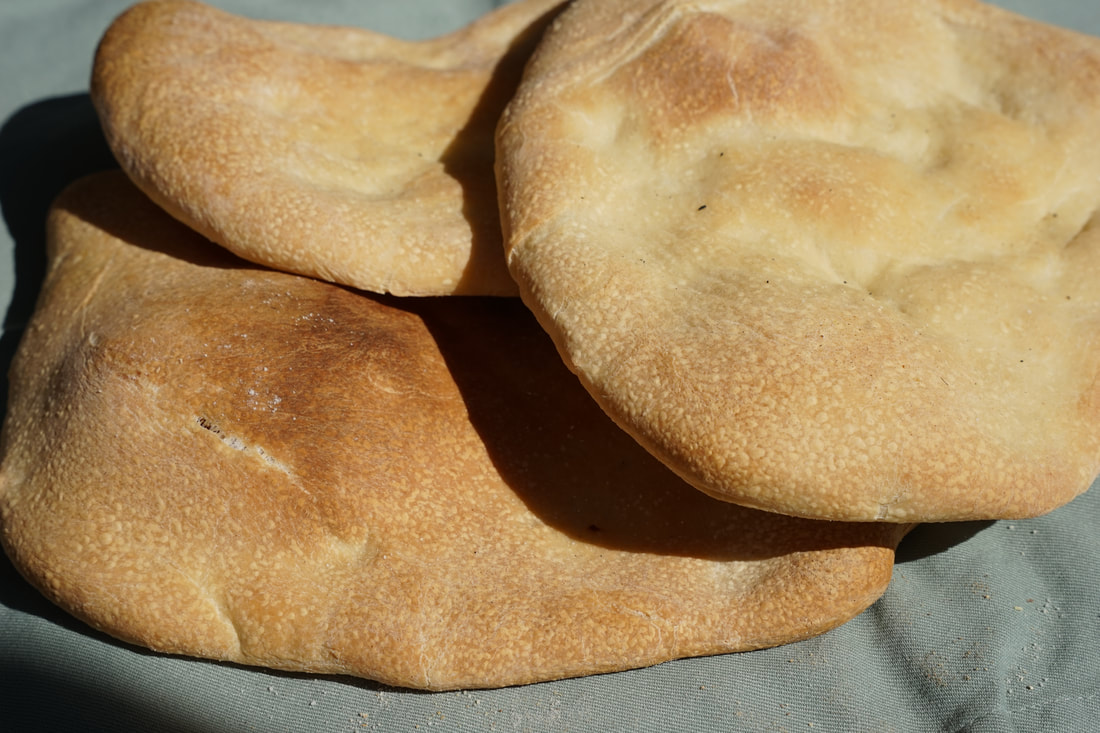 Puffy Flatbread 4 cups bread flour 1 Tablespoon sugar 2 teaspoons instant yeast 1 1/2 cups room temperature water 3 Tablespoons olive oil 1 teaspoon salt
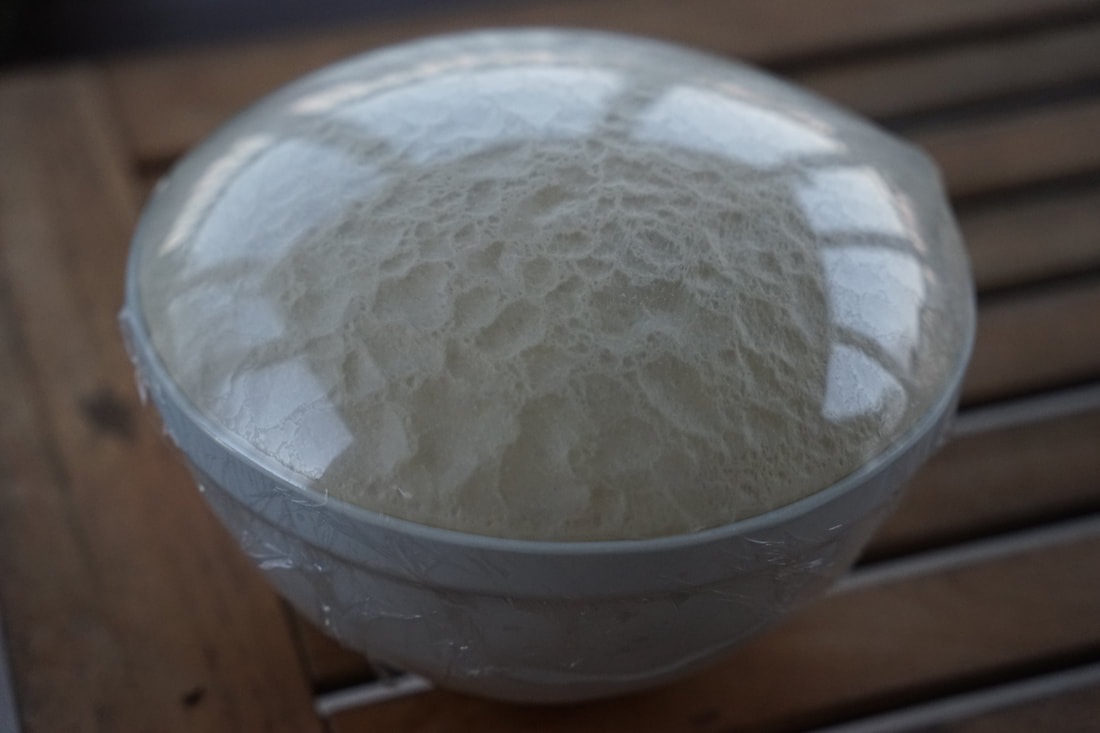
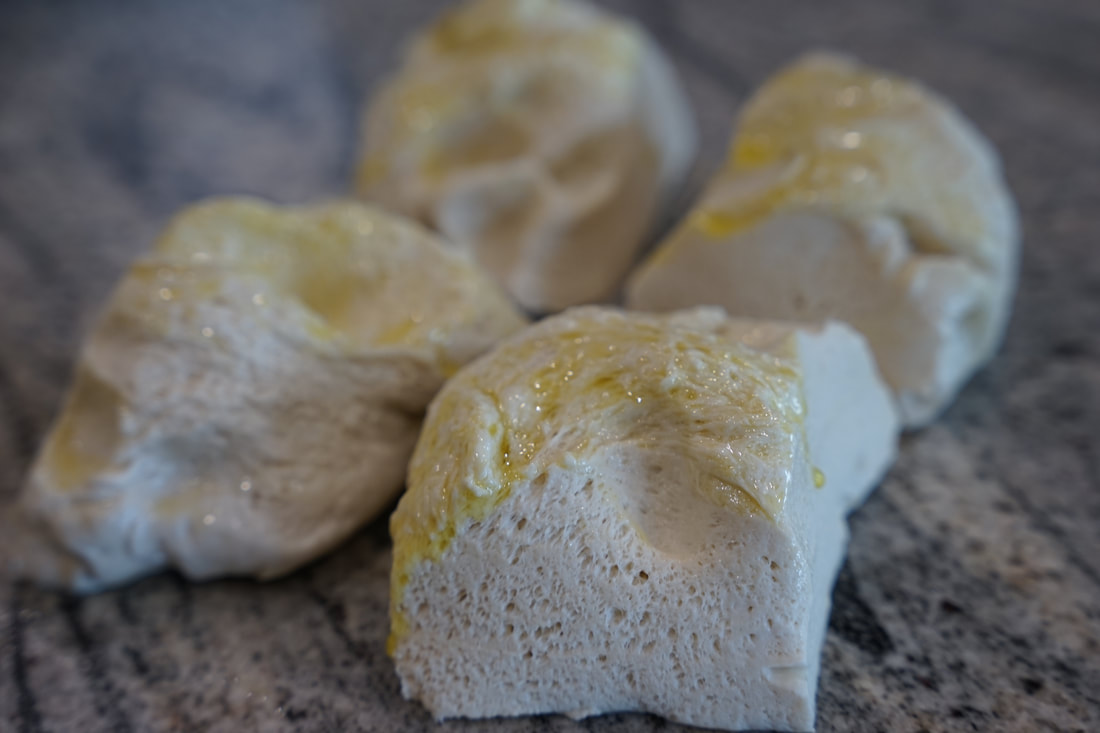
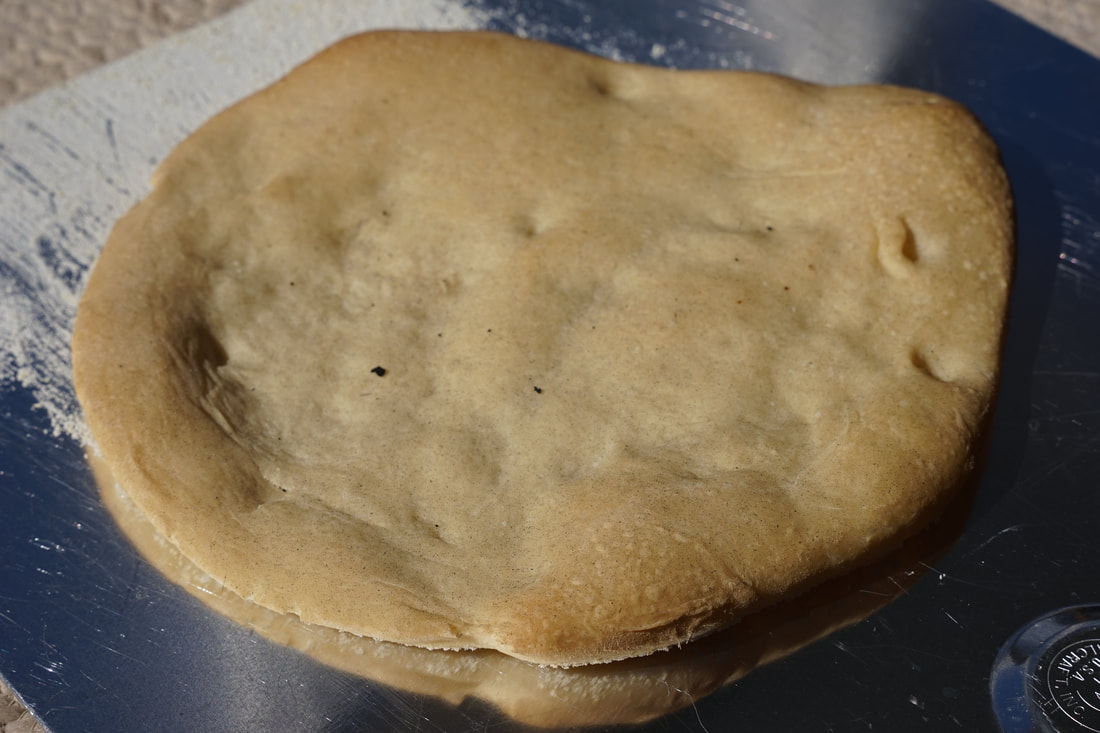 Lightly brush the tops of the bread with oil if you like. 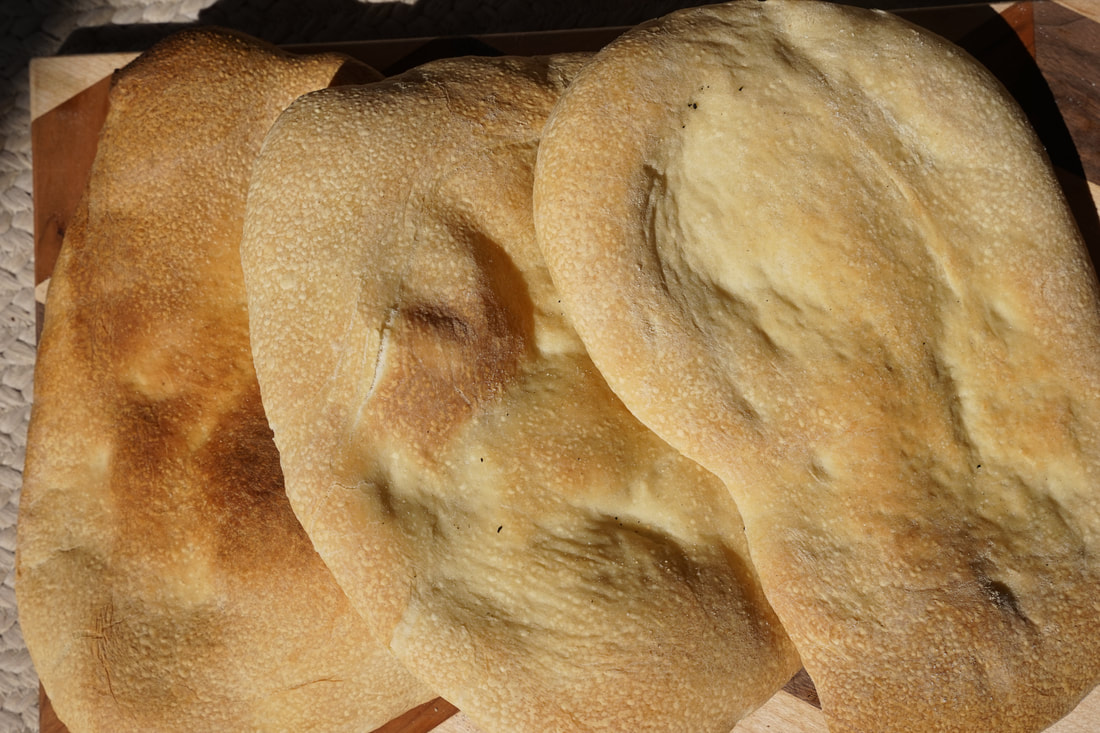 I cooked my puffy bread on a pizza stone in my Big Green Egg but you could easily do it in your oven too. 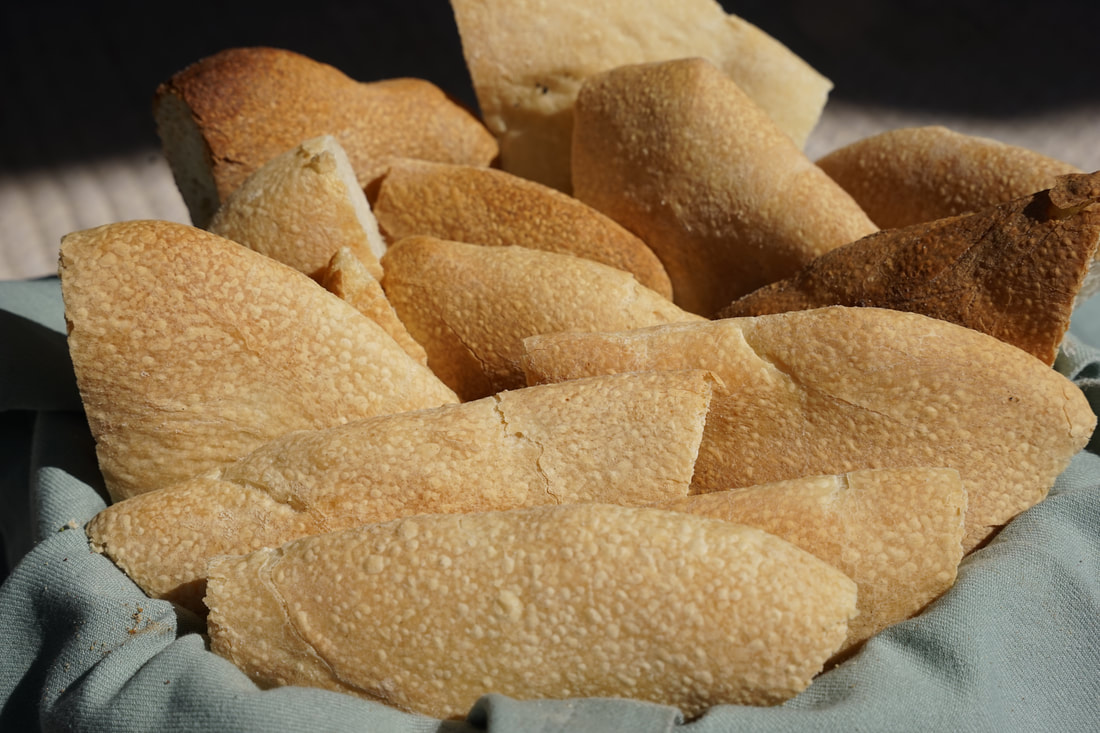 Obviously, you have to plan ahead when you make this recipe. It doesn't require a lot of "hands on" time, but you'll have to factor in at least 30 hours to get the right amount of air into this dough to make it "puffy". I think that you'll agree that it's worth the time.
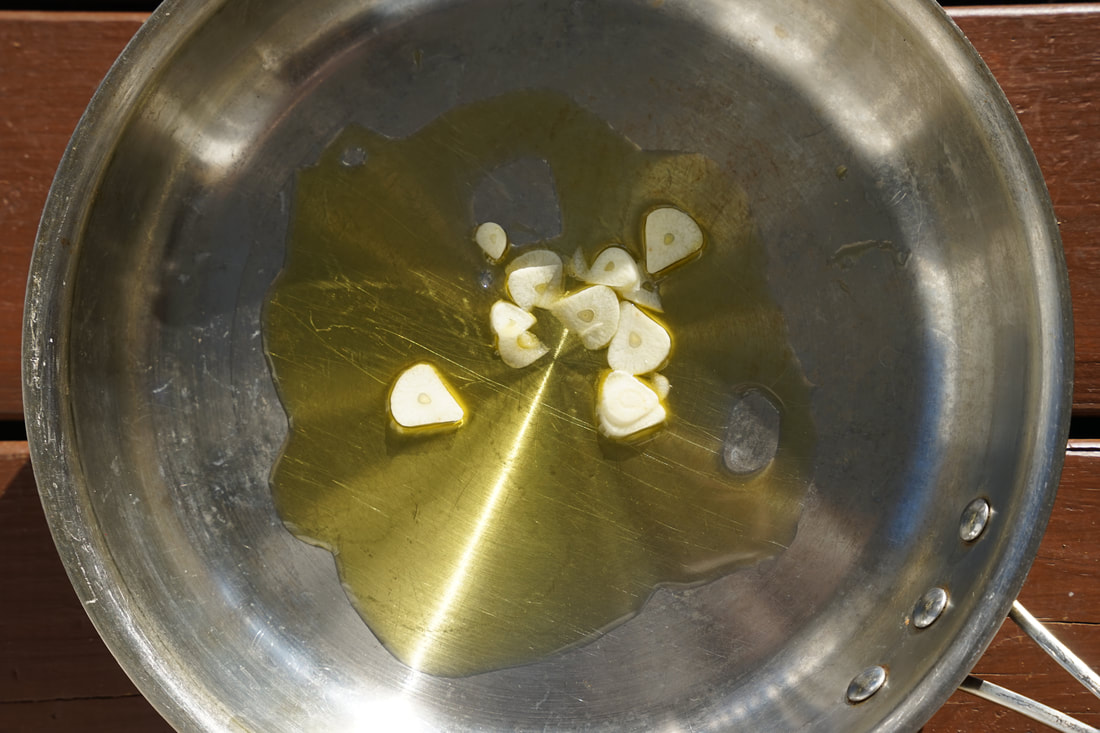
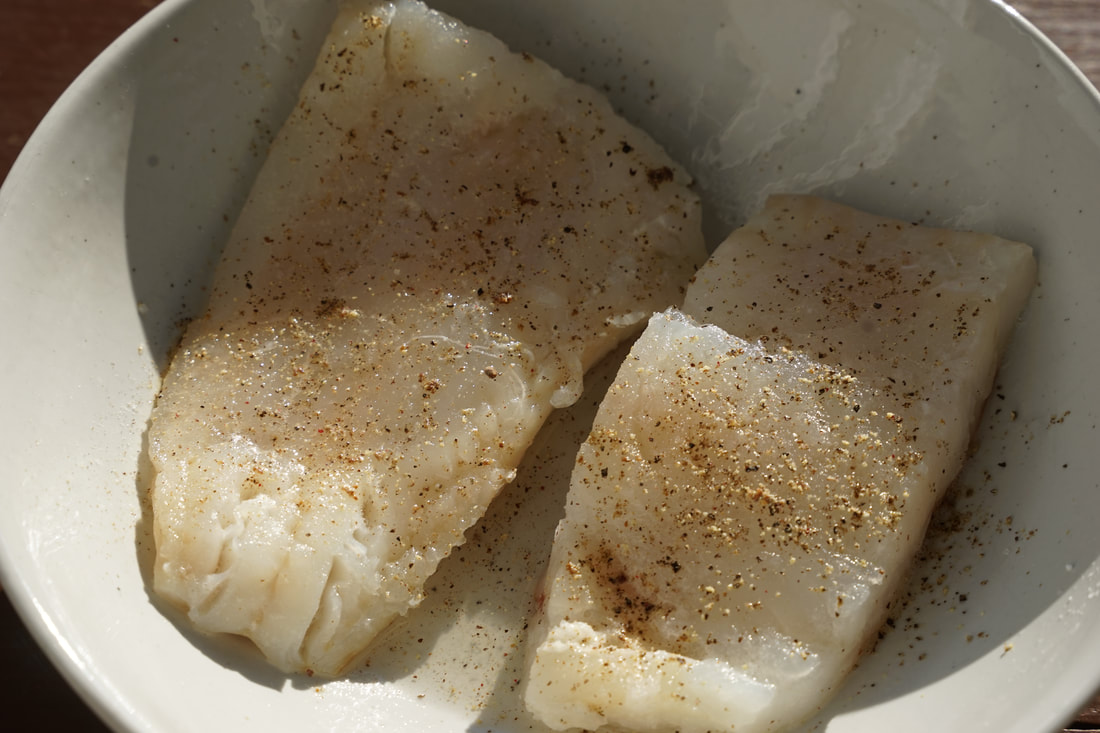
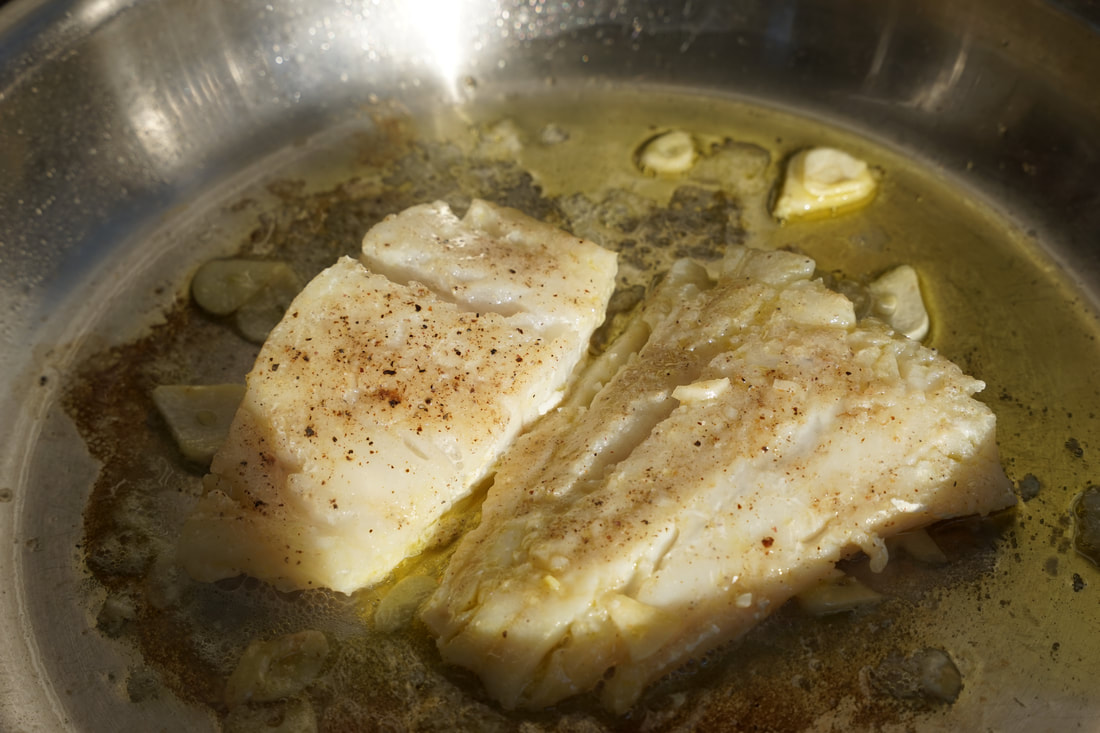
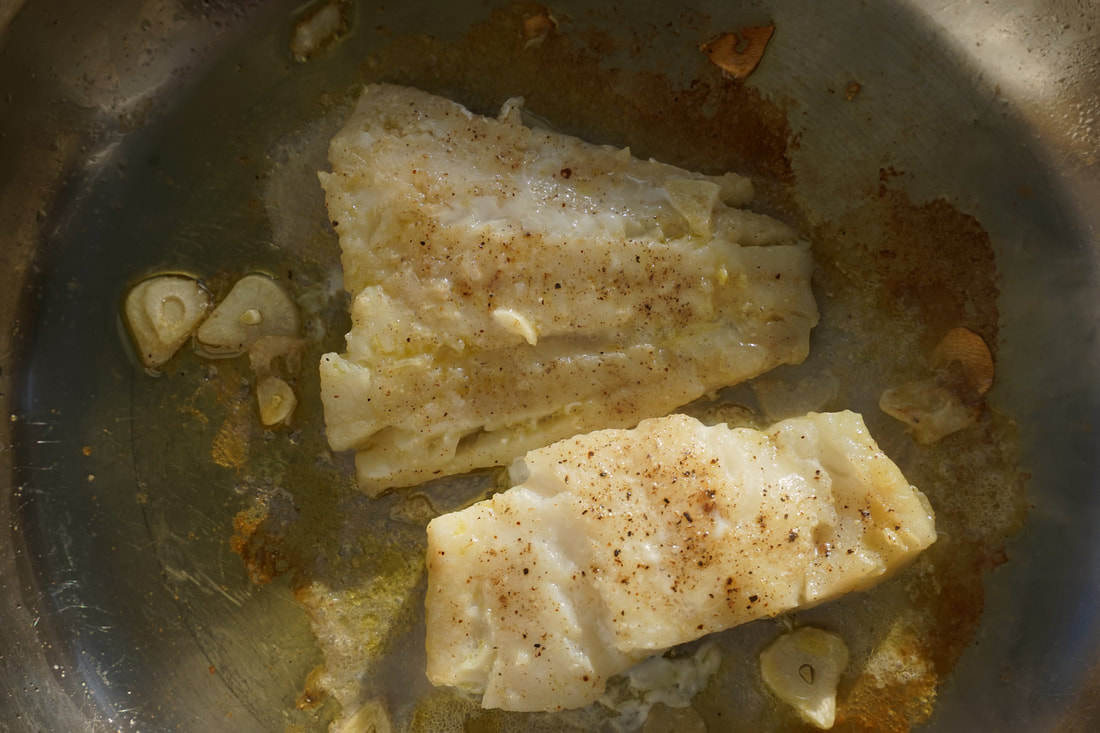
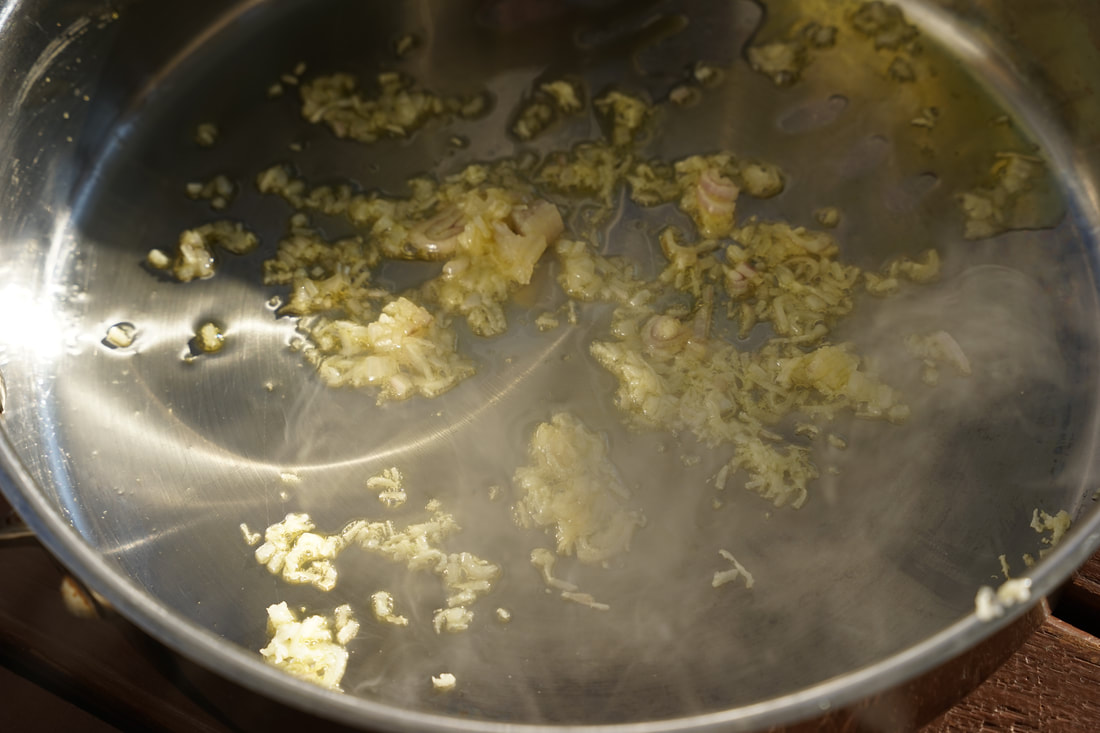
Ciao!  After a week of indulging in tacos, guacamole, chips, cocktails and dessert - I decided that my hubby and I needed to eat a healthy, nutritious meal at home. I determined that the best way to launch us back into a healthy diet was to replace our usual pasta dinner with zoodles. Yup, you read that right - zoodles. Otherwise known as spiral sliced zucchini noodles. 😳 Before you judge me - I'm not the only zoodle maker apparently. Did you know that you can buy spiral sliced zucchini from the grocery store? Maybe I'm just late to the zoodle game but I found it in the freezer section at Wal Mart. The bag of zoodles was right next to the frozen spiral sliced squash (soodles?, squoodles?), so I picked up a bag of each. 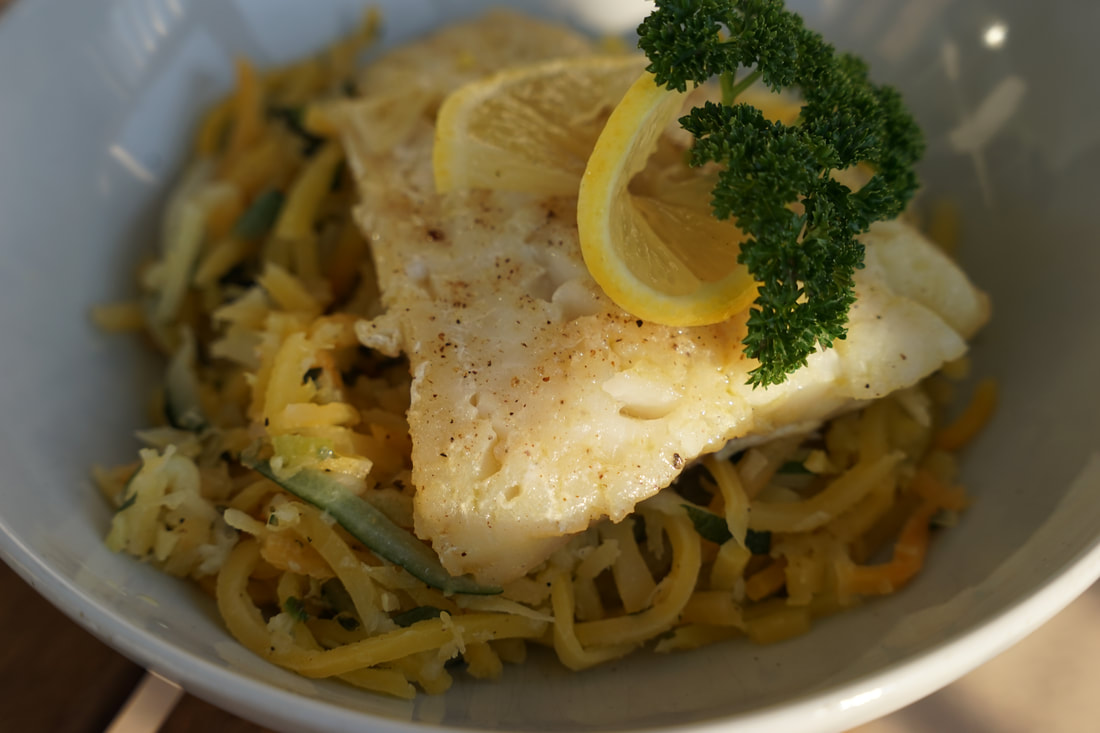 My twenty-two year old child gave the best response when I announced that I was preparing a dinner was consisting of fish and zoodles for her dad and I. She immediately launched into a series of questions starting with "Why would you do that" and ending with "Can I call dad and warn him before he gets home?" 🤣 I have to say that I was a little surprised that the man that I've been cooking dinner for, for the last 28 years didn't even bat an eye when he walked into the house after a long day of work and spotted a bowl of Zoodles sitting on the table. Experts say that we choose spouses that are opposites in many ways. Well, I certainly married my polar opposite. My hubby is super easy going and let's just say I'm ... not. 😅 He was actually super enthusiastic about tasting this new, healthy, pasta substitute. (Or a really good actor.) 🤣 And as fate would have it - he actually liked it. And I'm pretty sure that he wasn't just saying it to make me feel better either, because his bowl was completely empty at the end of the meal. 😳 I feel like his opinion of the zoodles is far more credible than mine because I like all things vegetable.  Pan Seared Cod with Zoodles 2 cod filets 2 garlic clove, minced 2 Tablespoons olive oil salt and pepper 1 shallot, chopped zucchini and squash zoodles (I bough them in the freezer section) 2 teaspoons lemon zest 1/4 cup fresh basil 2 Tablespoons fresh lemon juice
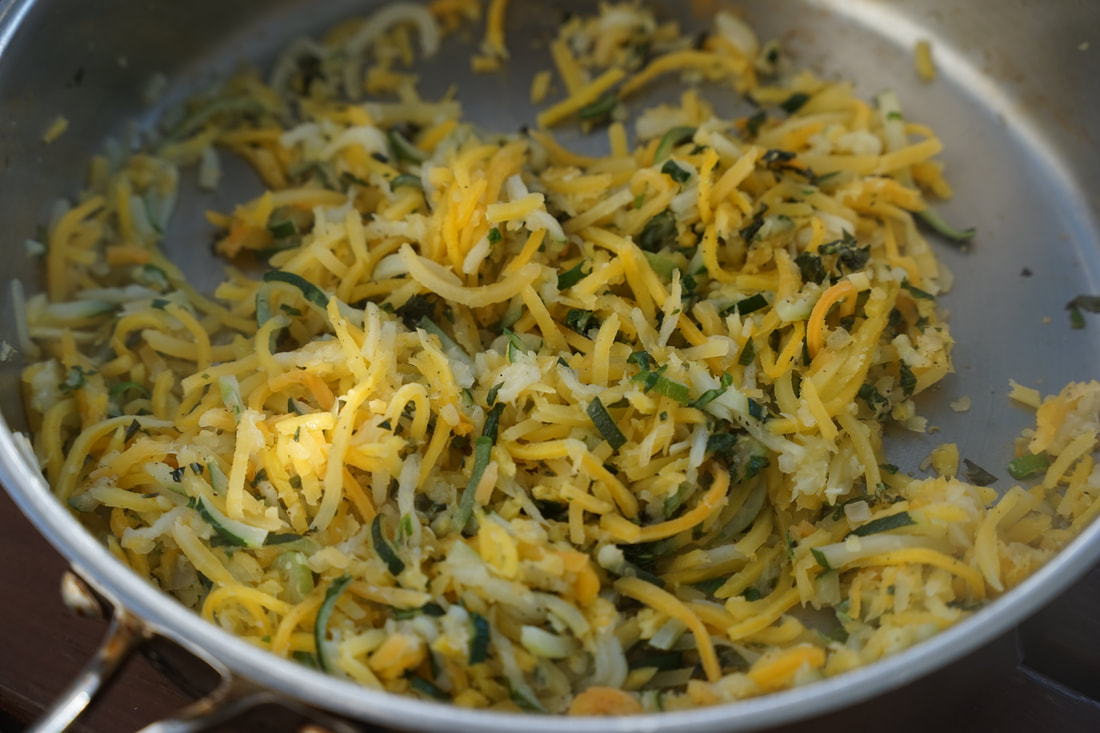
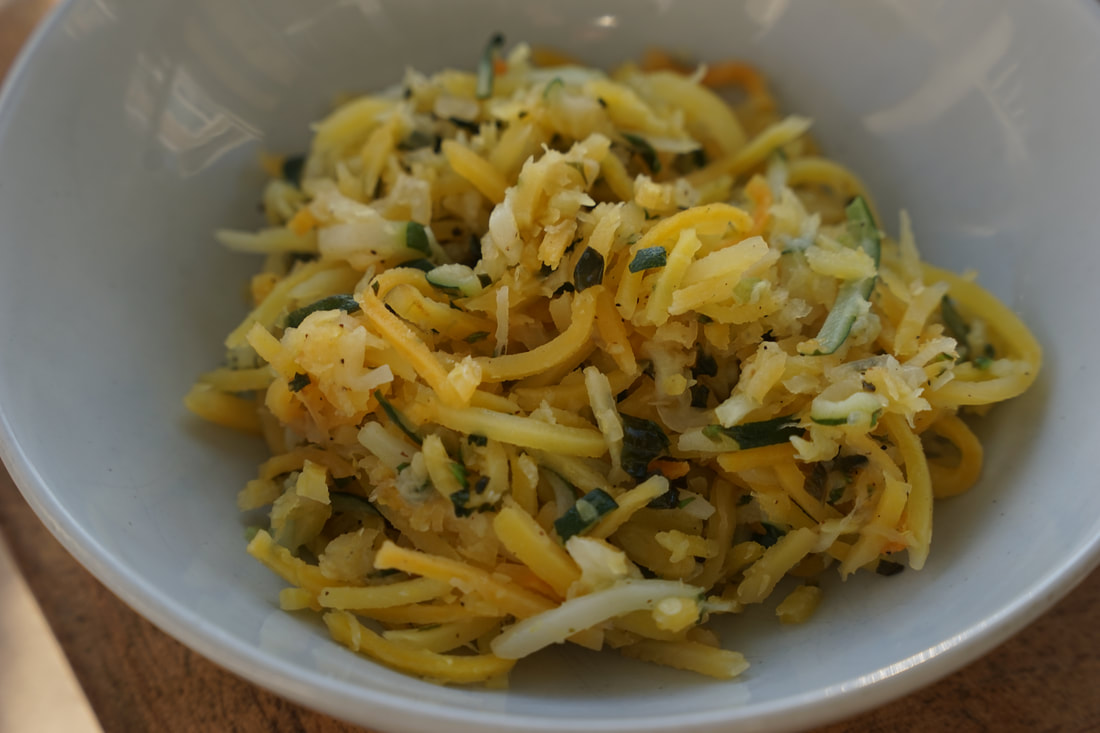 Toss with fresh basil, lemon juice and zest. Season with salt and pepper. 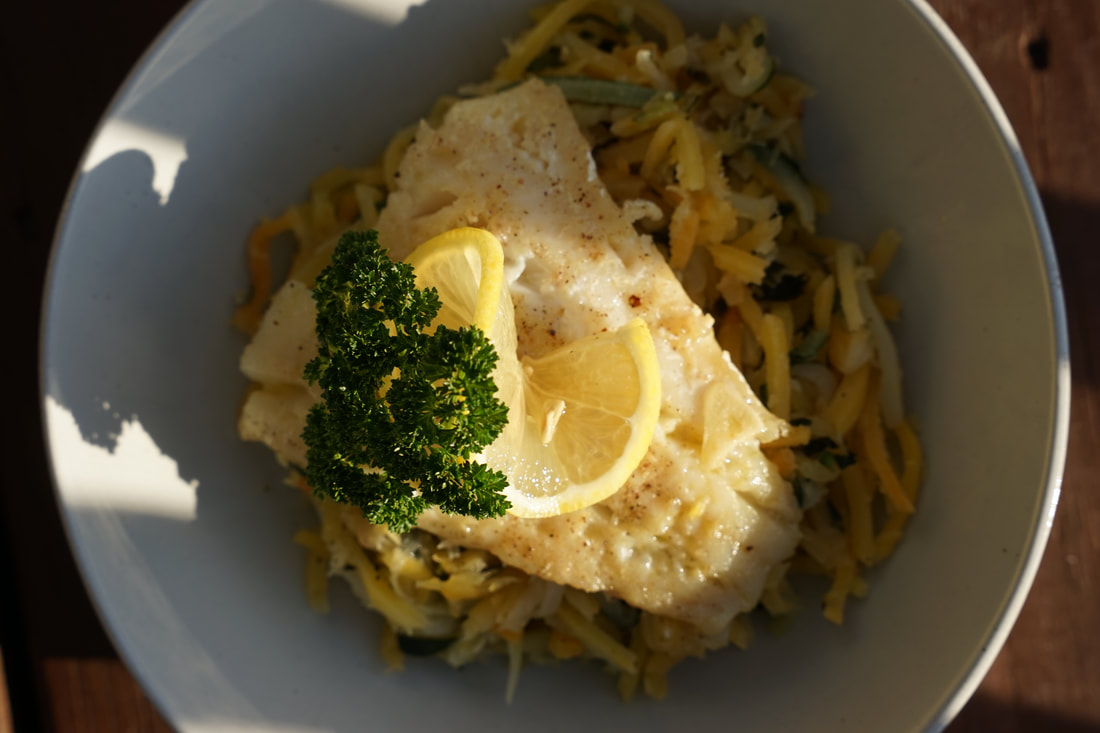 Divide among 2 plates or bowls and top with fish. My goal for 2021 is to get my whole family (22 year old included) on the zoodles bandwagon. You just cant deny the fact that when tossed in the light lemon basil sauce, they're the perfect compliment to any fish.
Ciao! 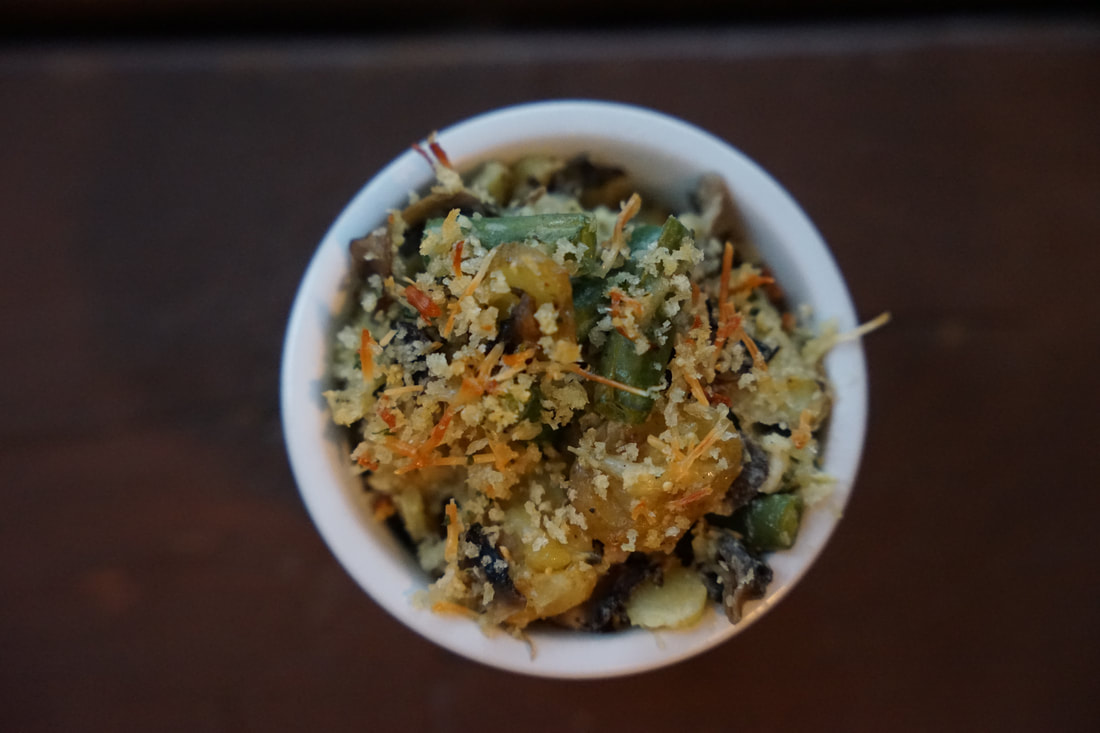 The girls and I went on a gnome hunt a couple of weeks ago in our little downtown. This unique little scavenger hunt was organized by the uber-creative minds that make up our local Art Guild. We hunted for glass balls that were hidden in plants, window boxes and flower beds along the main street, each one containing a ticket. Even though we were novice gnome hunters, I'm happy to report that our inaugural hunt was a success. 😂 Just like Charlie Bucket, we each found a glass ball with a gnome ticket and when we turned them into the Art Guild, we were presented with the cutest little ceramic gnomes I've ever seen. Seriously - the cutest.
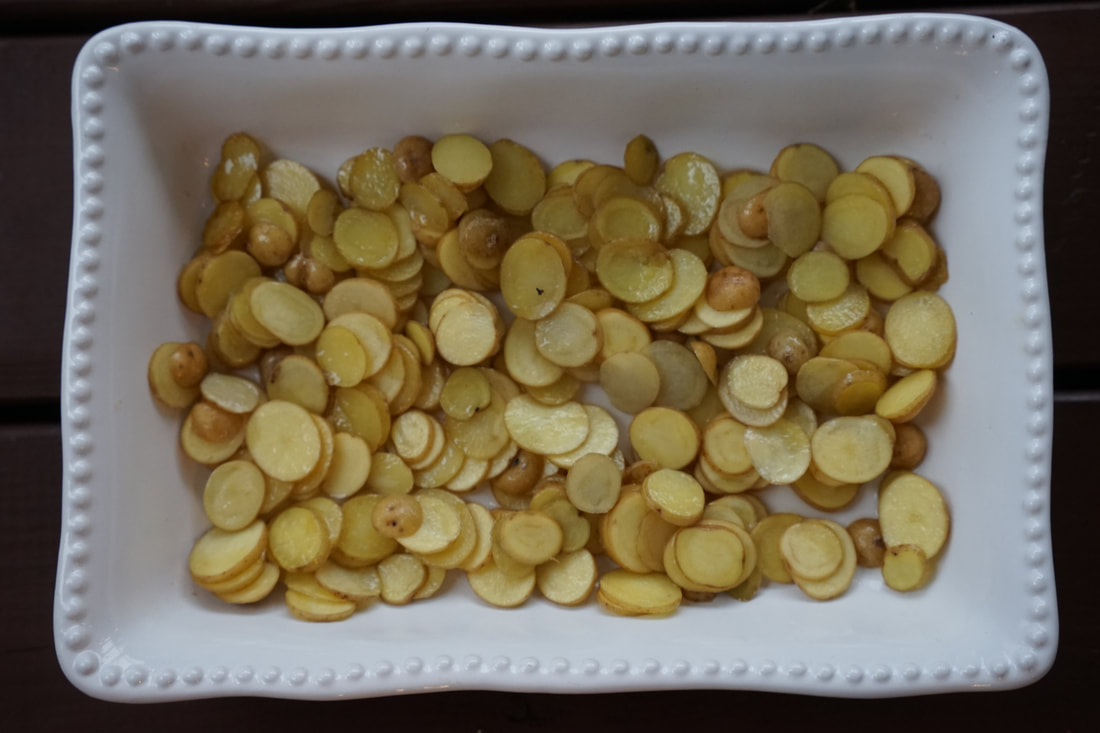
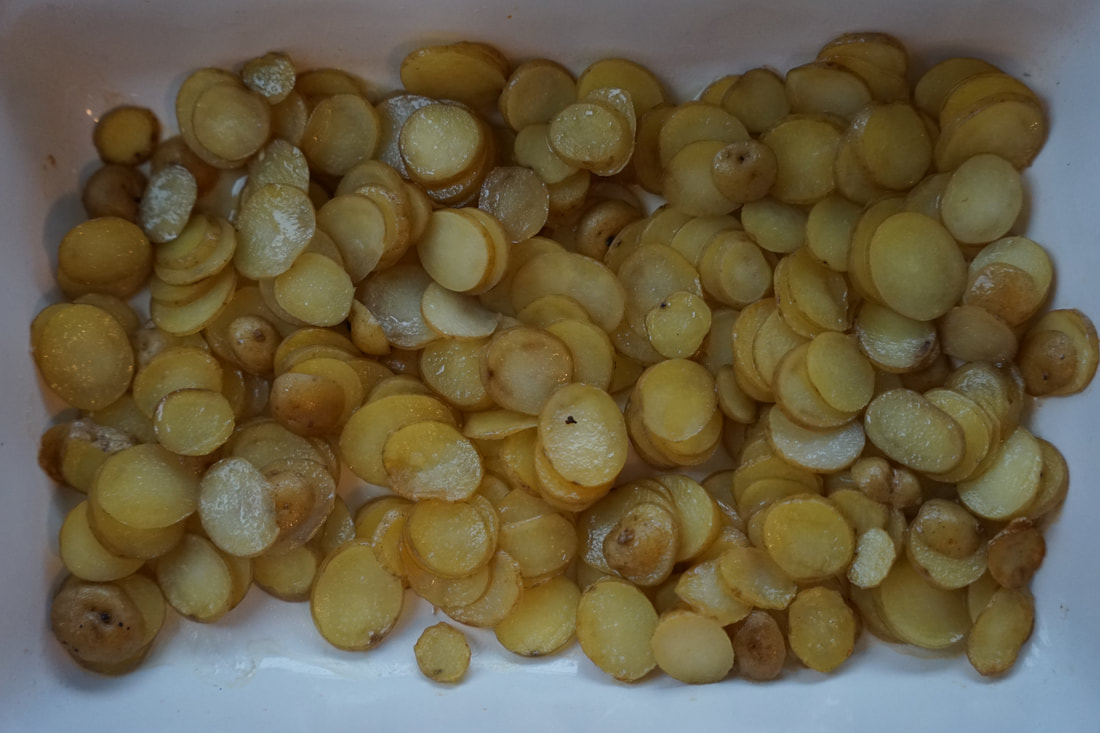
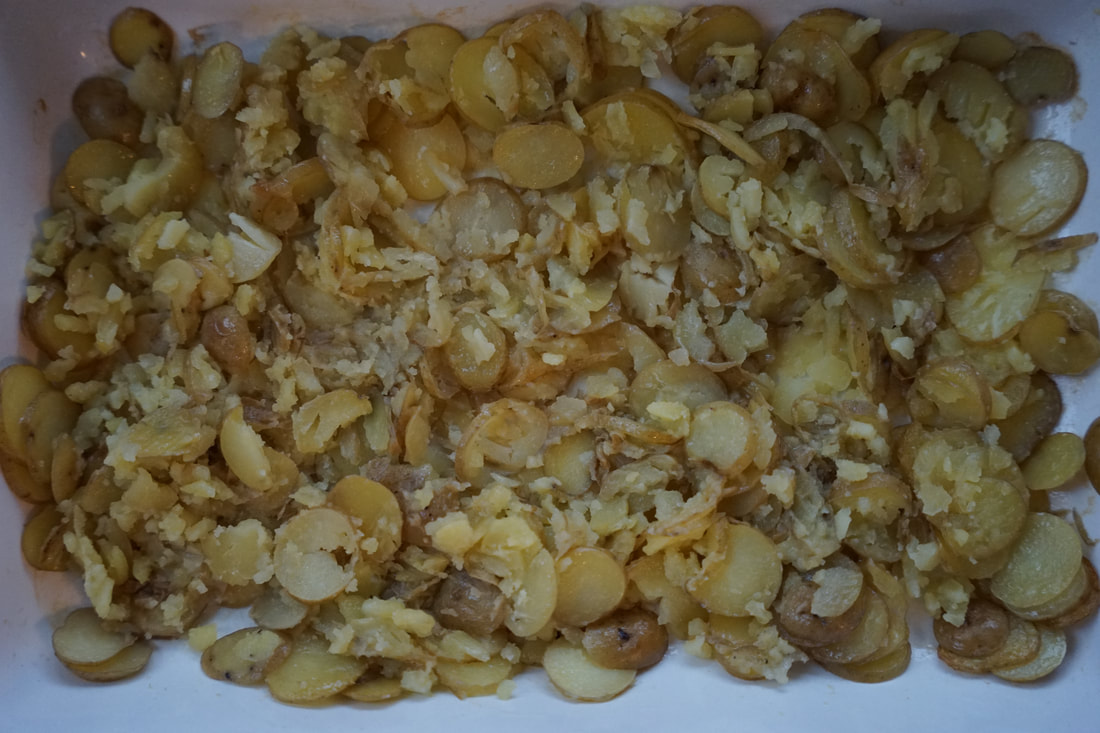
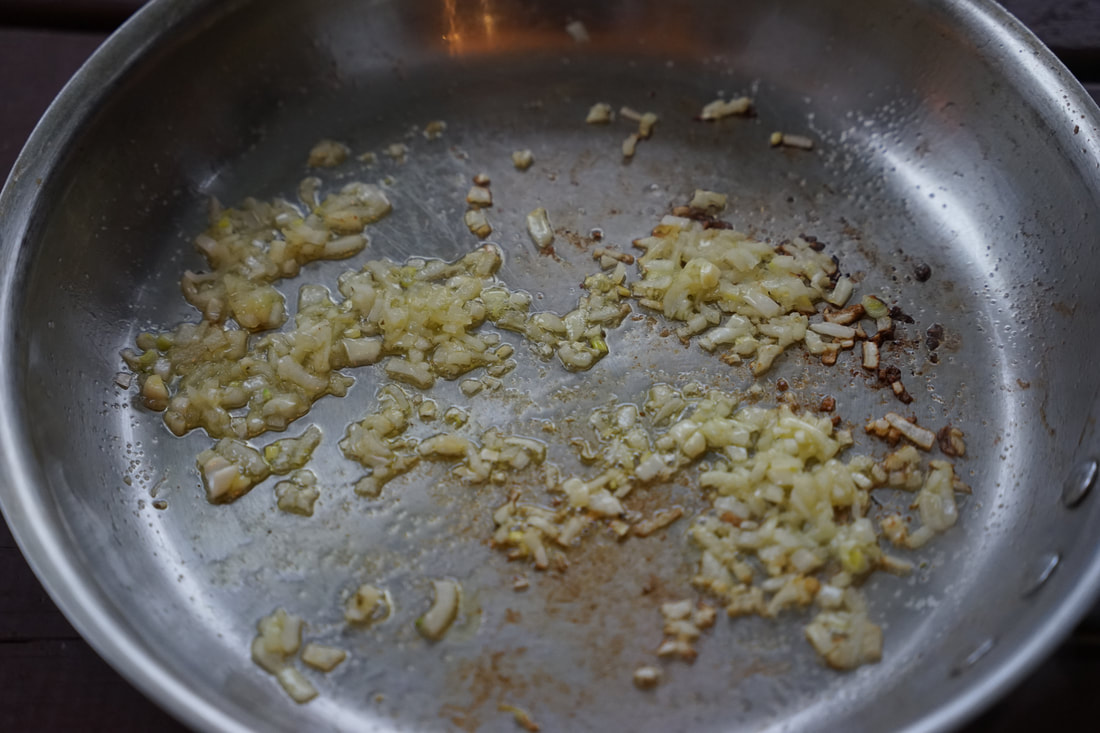
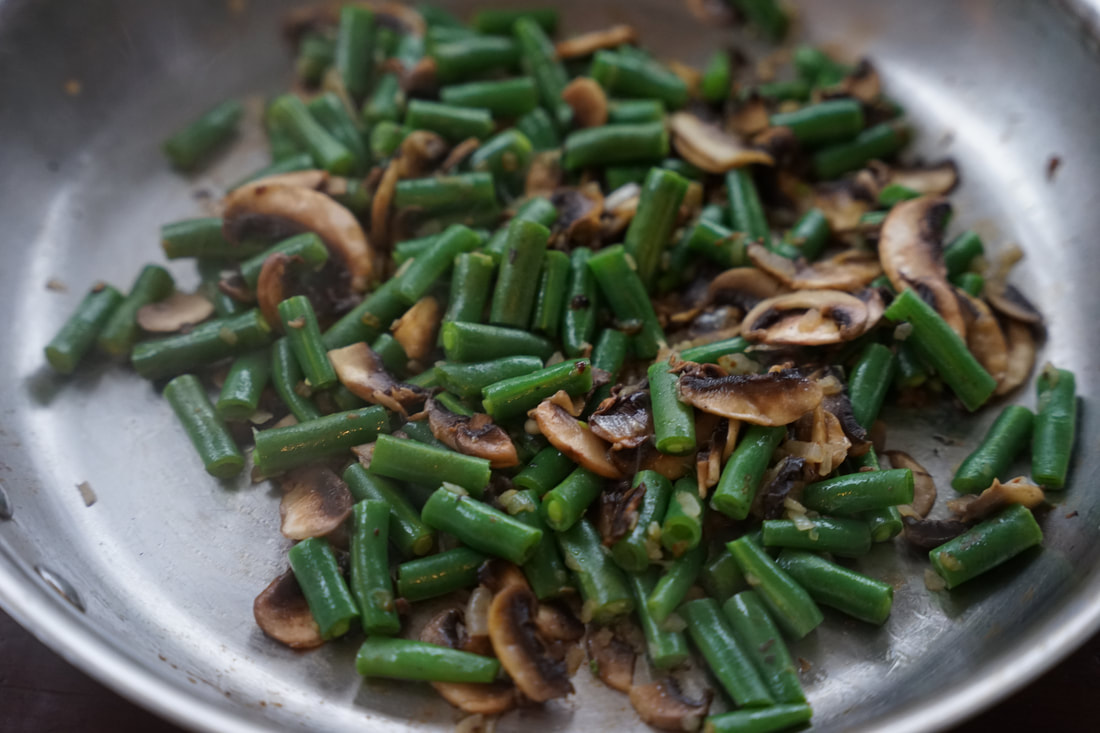
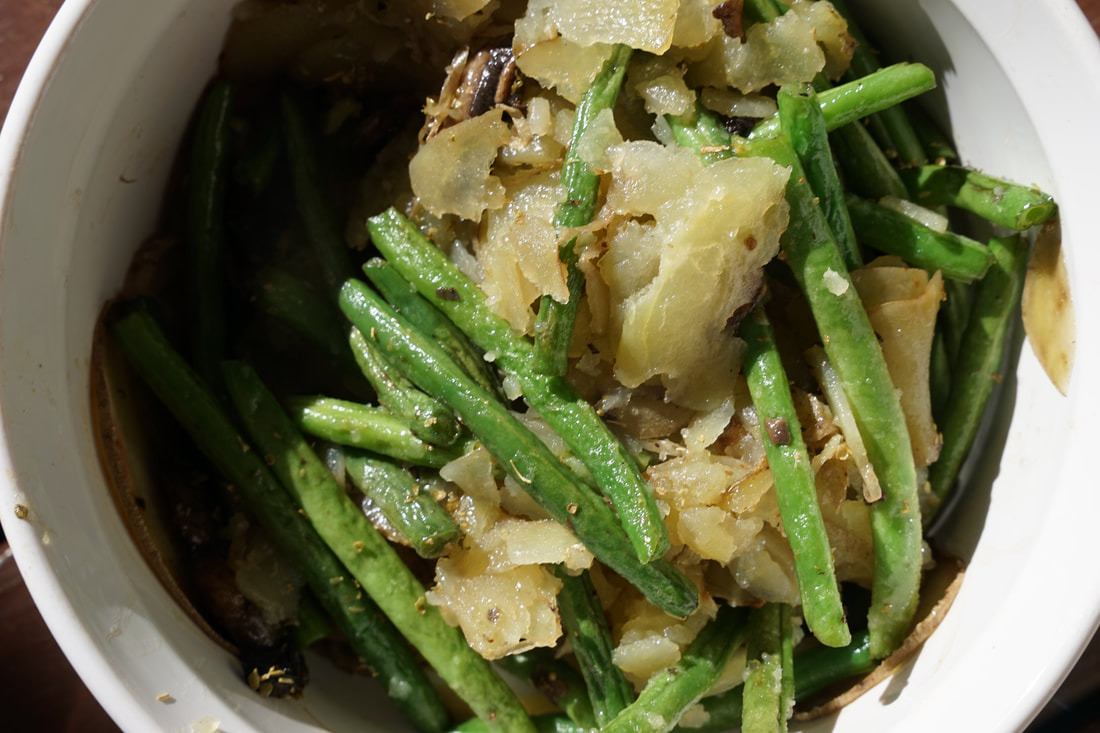
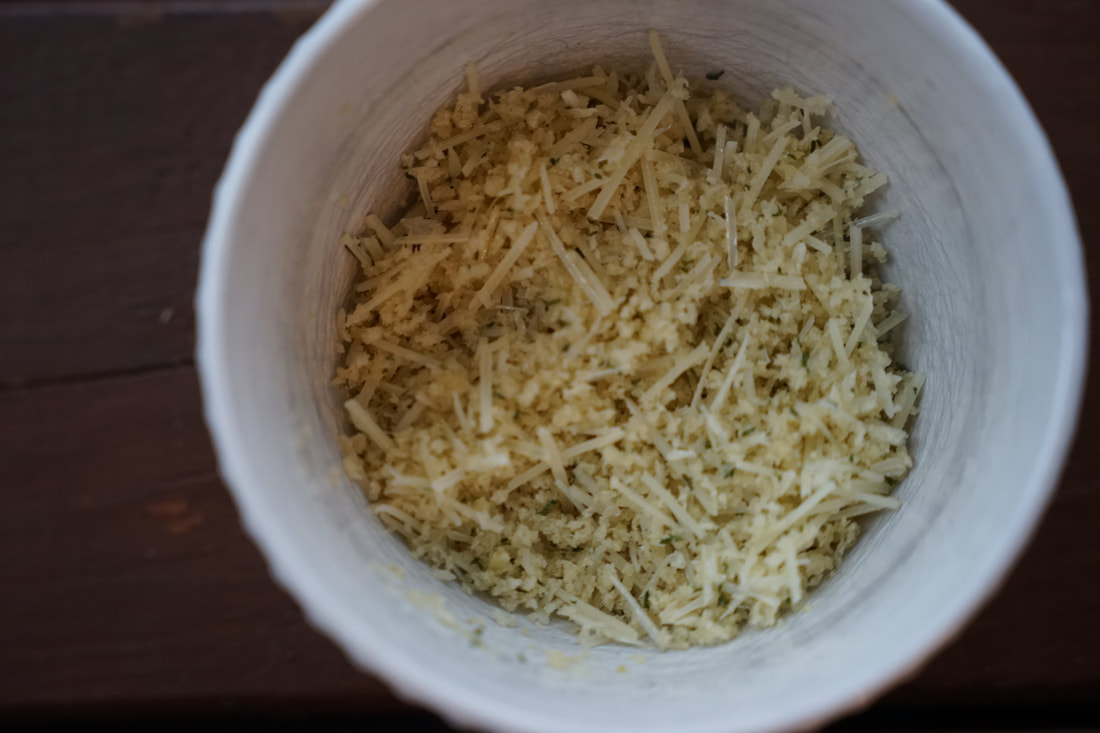
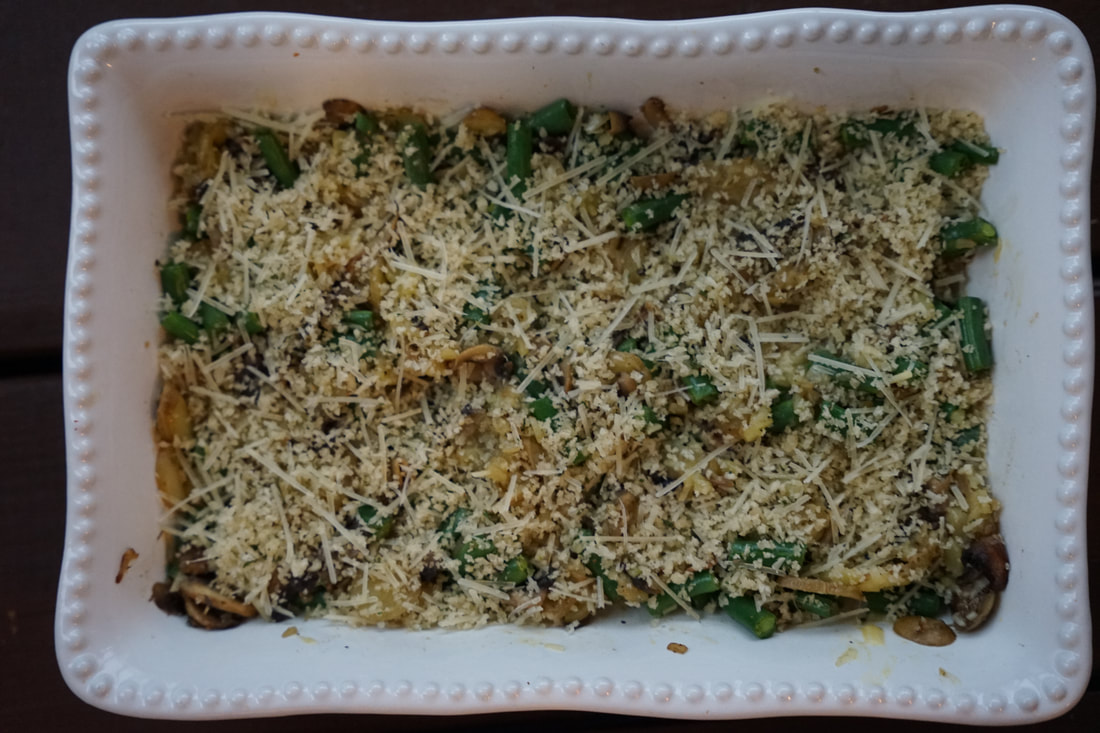
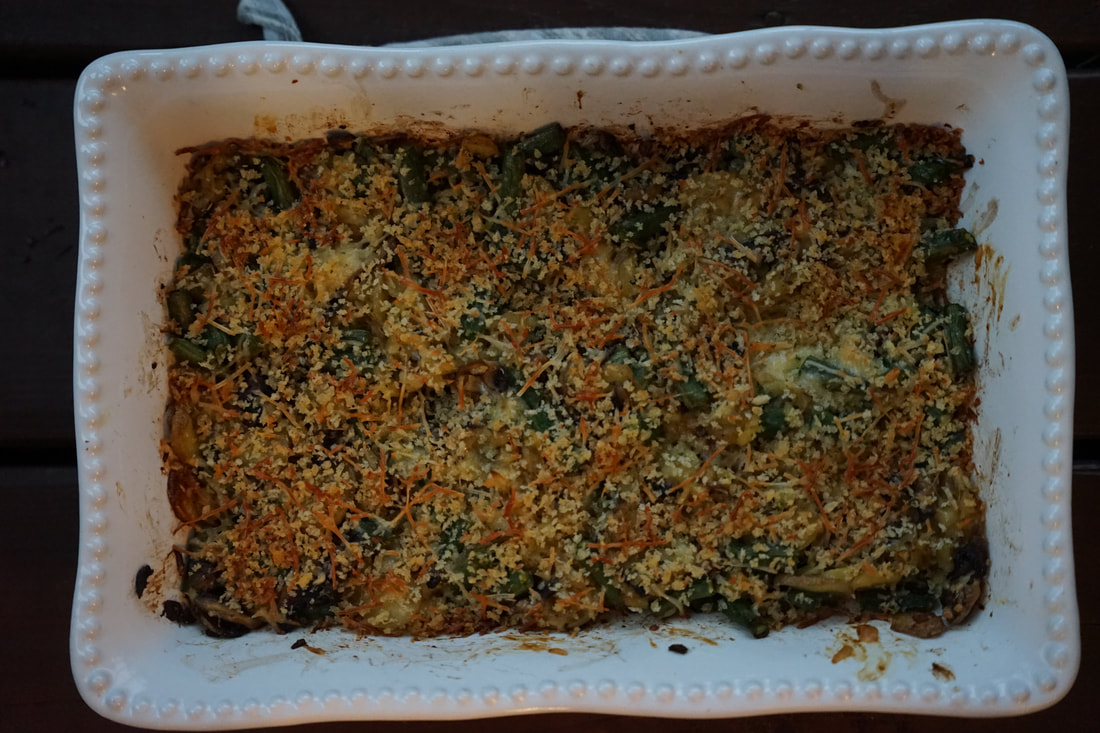
What better way is there to spend a chilly Saturday morning than strolling down main street with a cup of coffee, looking for glass balls? I love the out of the box thinking that it took to devise such a fun way to bring more visitors to our little downtown. The creativity of our Art Guild is inspiring. It inspired me to look for out of the box recipes too. Like this new and interesting take on a traditional green bean casserole. If you're on the lookout for a new and DELICIOUS side dish for your next meal - you NEED to check this out. 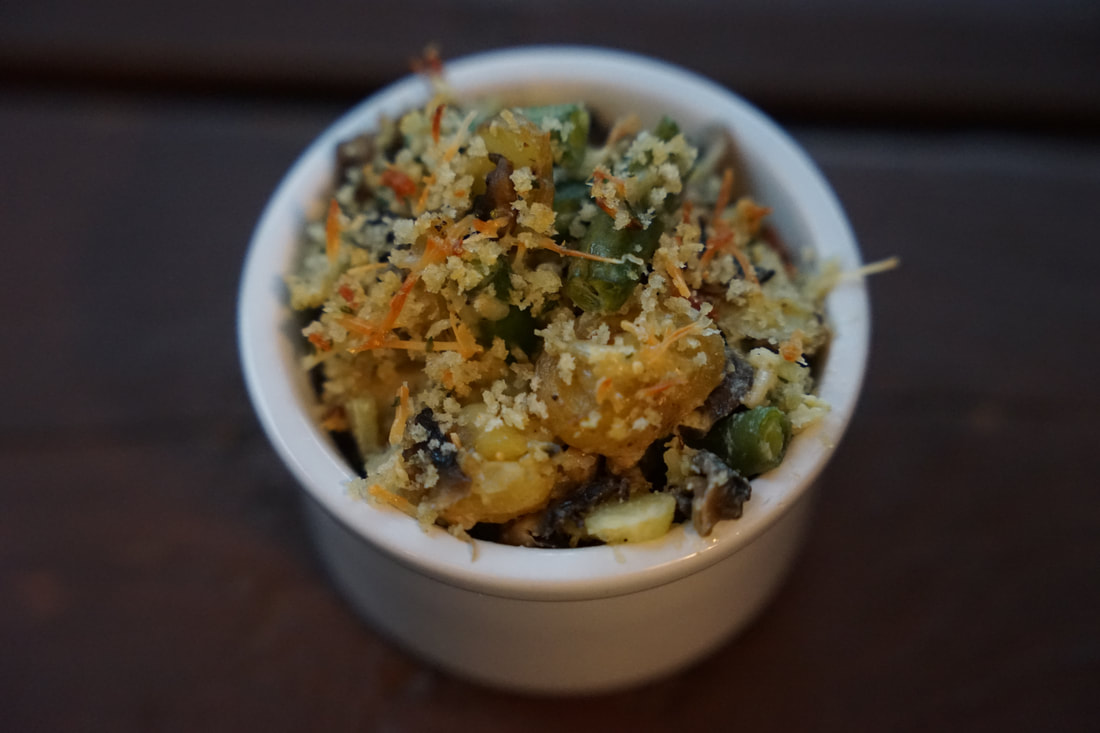 Potato, Green Bean and Mushroom Gratin 6 Tablespoons butter 1 pound yukon gold potatoes, peeled and sliced 1/4" thick (I used baby potatoes) 3 Tablespoons olive oil 2 shallots, finely chopped 1 pound green beans, cut into 1/4" pieces 8 ounces cremini mushrooms, sliced 1/4" thick 1 Tablespoon oregano 2 eggs 1 1/2 cups Parmesan cheese, grated 1/2 cup panko
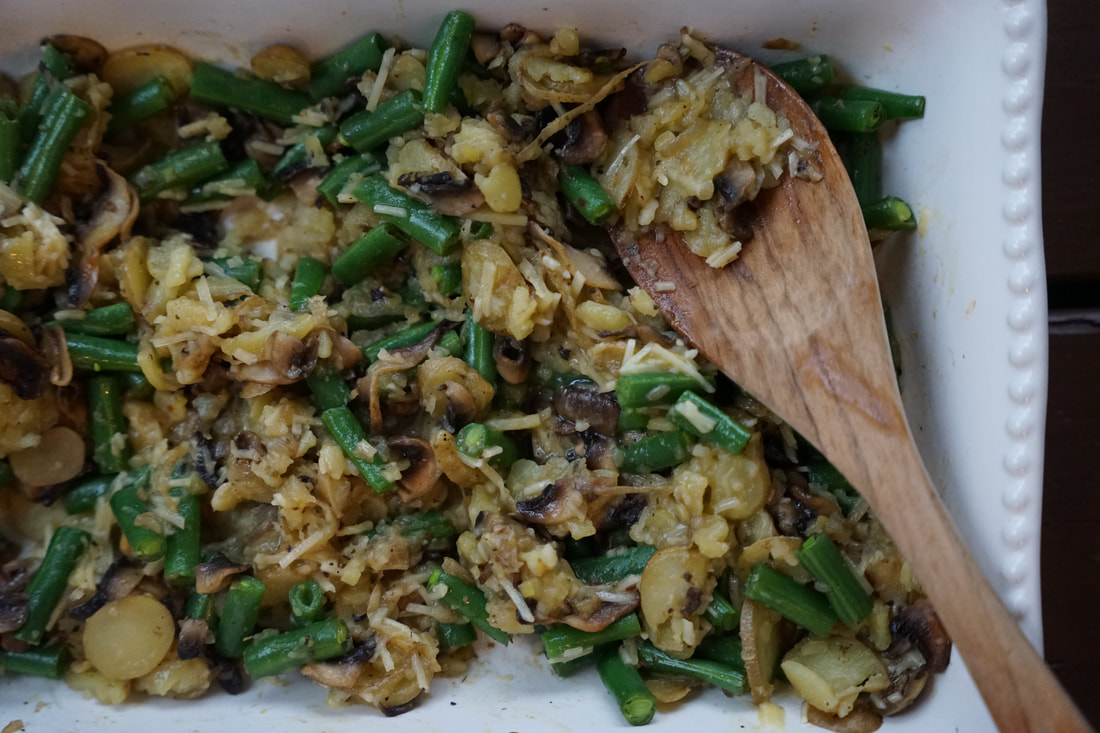
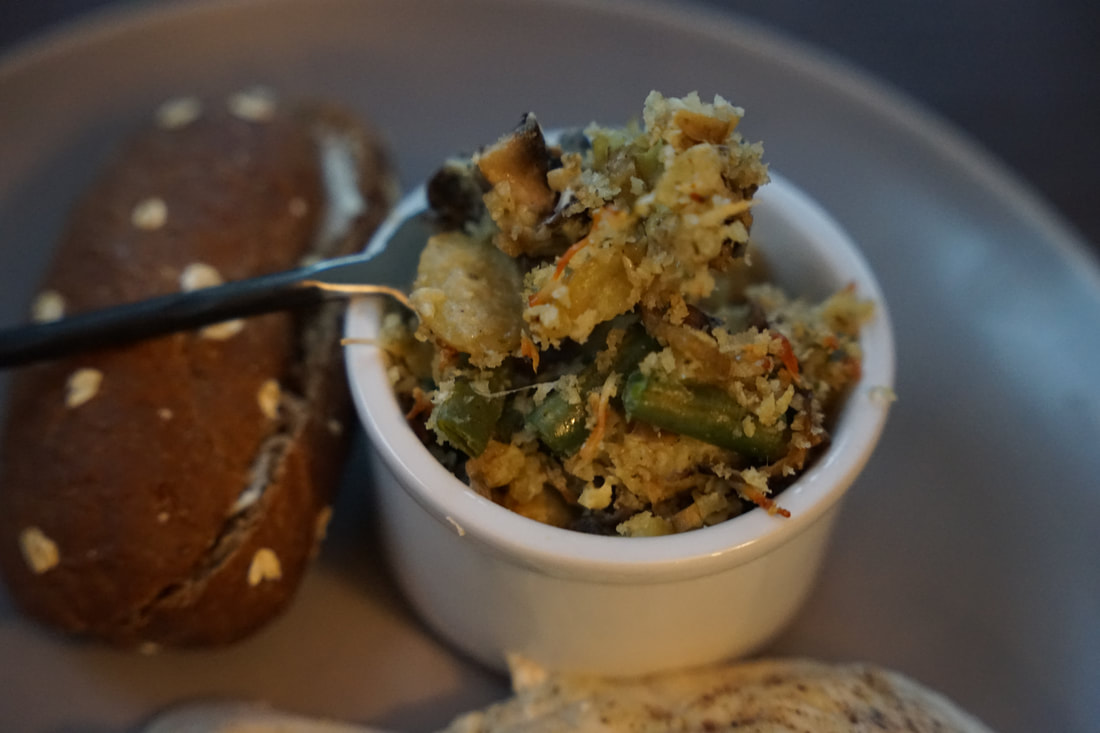 This casserole was so good - we were arguing over who would get to eat the last little bits left in the dish. 😅 Is it too early to start planning my side dishes for Easter dinner?
Ciao! |