After the game, we headed to downtown Savannah and River Street. We walked up and down the historic cobblestone street, popping in and out of interesting shops as we went along.
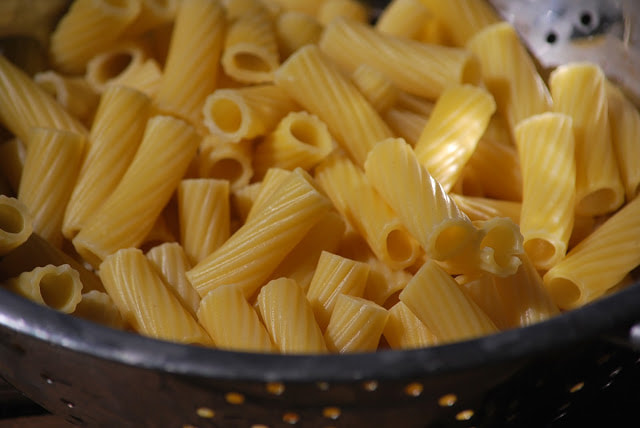
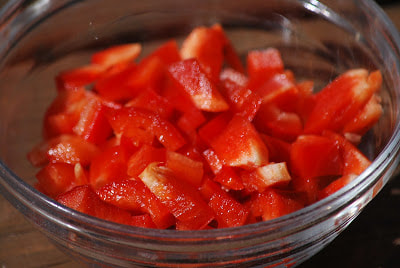
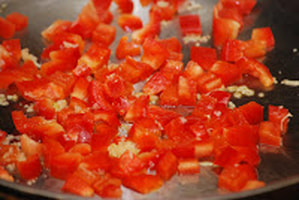
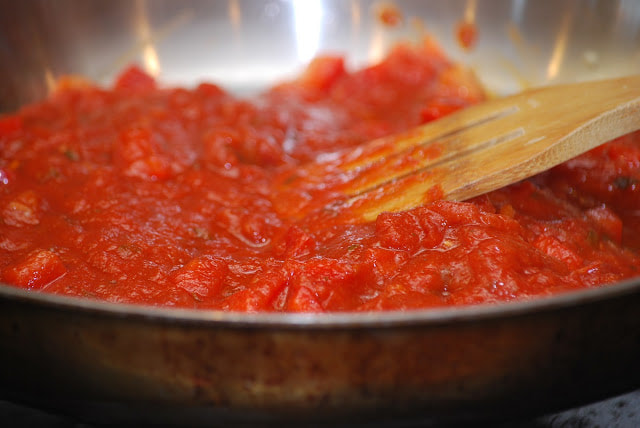
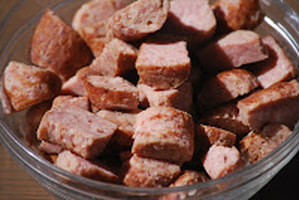
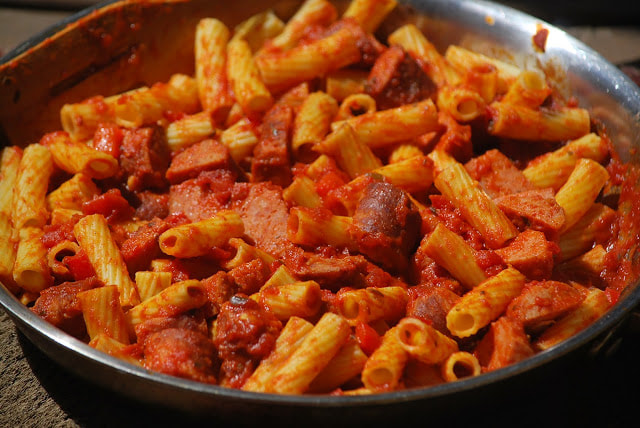
Before we left Savannah, we stopped by the Crab Shack on Tybee Island for a much needed dinner. We ordered the sampler platter for four - shrimp, dungess crab, snow crab, crawfish, mussels, corn, potatoes and sausage. It was HUGE. 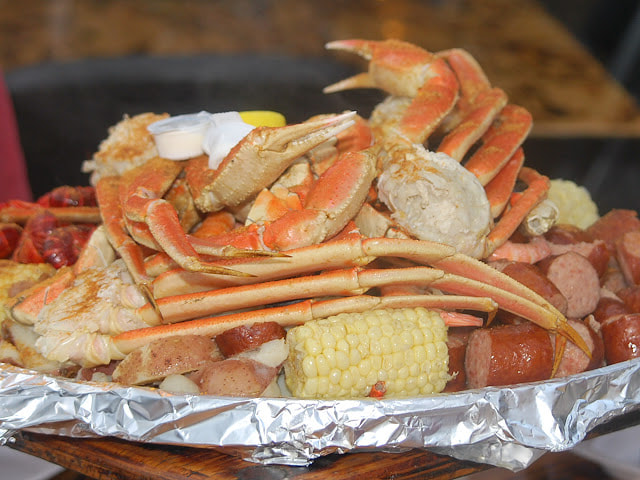 The highlight of the meal? - a hole in the middle of the table with a garbage can underneath to catch all of the trash. (A concept that the kids thought we should institute at home.) We ate a lot of the platter but we had quite a bit of the sausage left and being one who never wants to waste food, I packed it up and brought it home with us. My daughter was especially fond of the sausage so I came up with a recipe with her in mind that was loosely based on a Johnsonville Italian Sausage Rigatoni recipe from an ad in my Taste of Home magazine.  Sausage Rigatoni 1 pound Mild Sausage, cooked 8 ounces rigatoni pasta 1/2 large red pepper, diced 1 Tablespoon parsley 1 Tablespoon oil 1 clove garlic, minced 1 26 ounce jar pasta sauce
Heat olive oil in skillet. Add garlic and cook 1 minute.
Add red pepper and cook until softened.
Remove casing from sausage and add to sauce along with noodles.
Serve in pasta bowls. Sprinkle with fresh parsley. 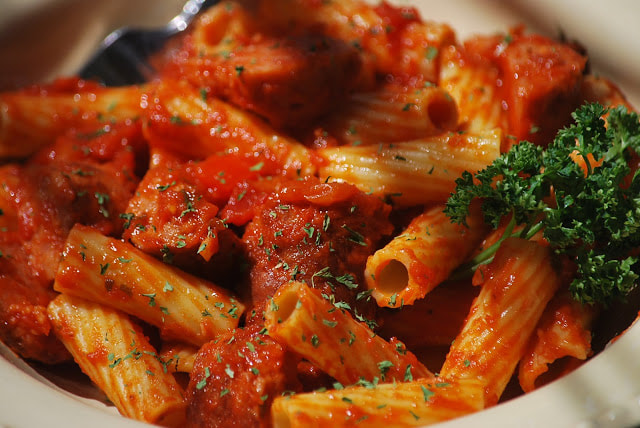 I made this pasta dish at 2:30 in the afternoon. (Doesn't everyone cook dinner in the middle of the day?) I put it in the refrigerator and we each pulled out our portion and heated it up during our various dinner shifts. It was really good and nobody even noticed that it was leftovers!
Ciao!
0 Comments
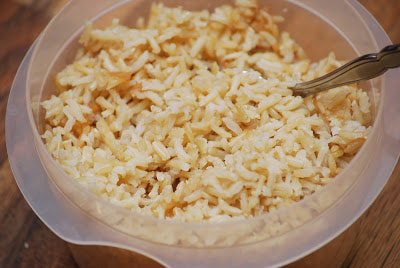
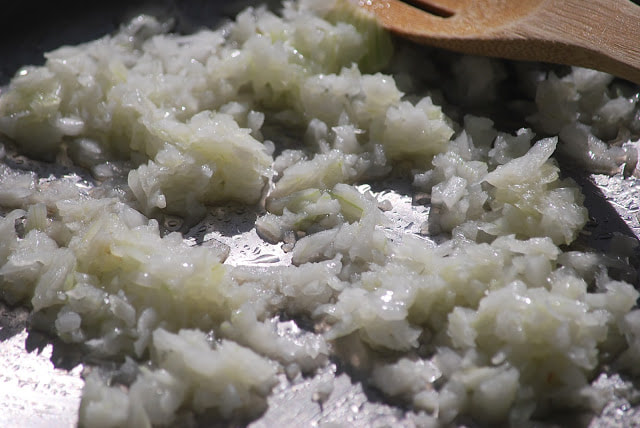
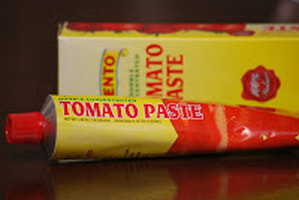
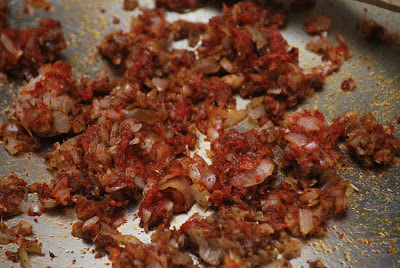
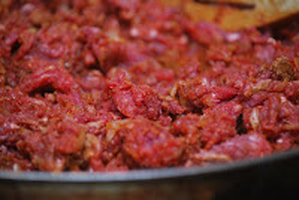
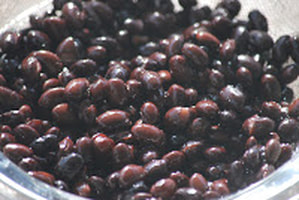
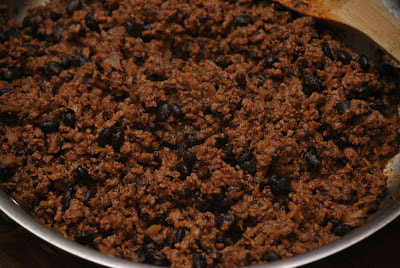
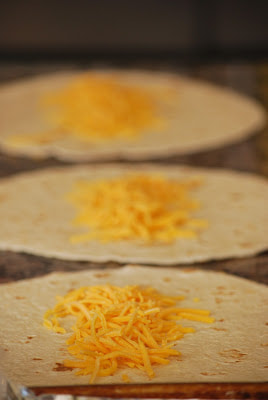
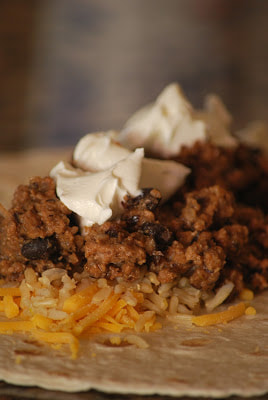
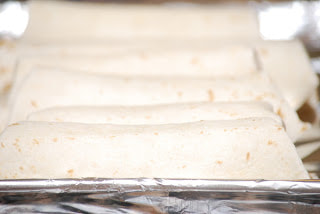
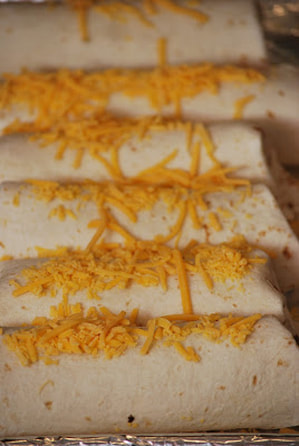
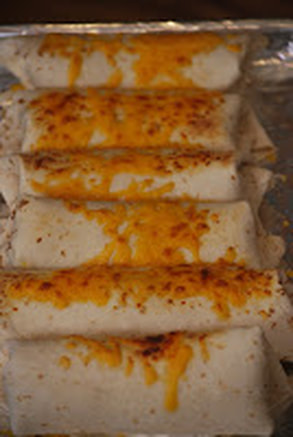
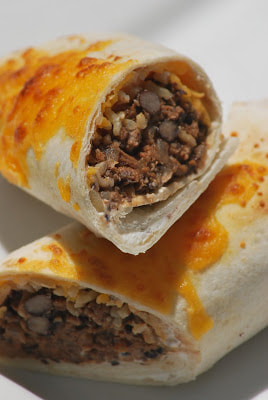
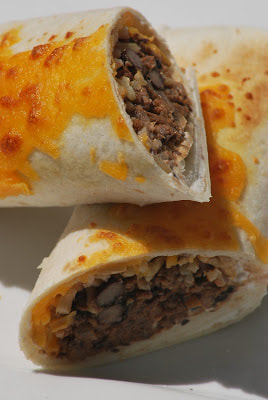
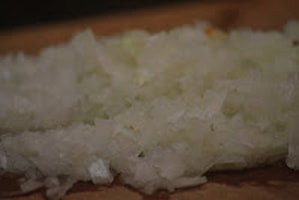
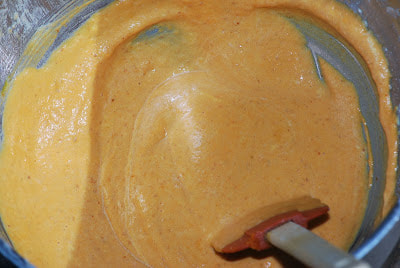
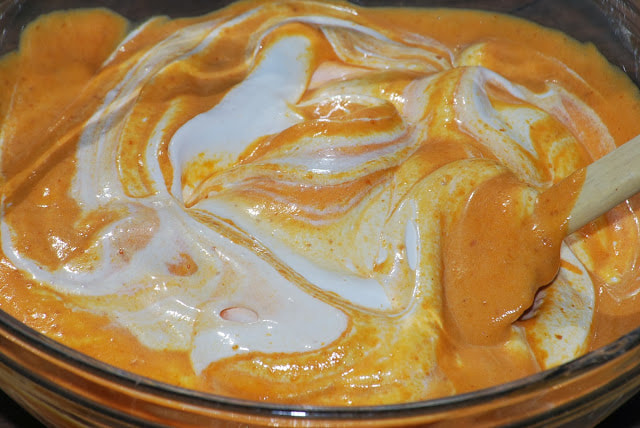
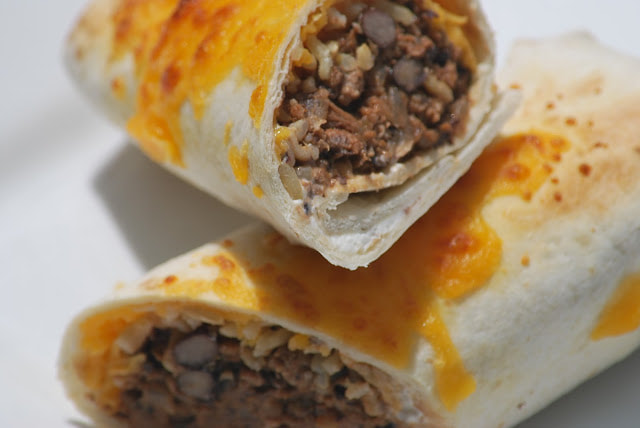 I don't know if this is true for your family, but I can tell you that my family comes home from church on Sunday afternoon - absolutely STARVING. Until recently, we were commuting about 45 minutes to get and from church every week. For years, we made the drive home on Sunday afternoons, blissfully unaware that we were driving right past the most delightful doughnut shop that ever existed. Once we were introduced to this doughnut mecca, it got harder and harder for us to drive by each week without stopping in for a quick bite. (I'm not sure what they put into those doughnuts but they are seriously addicting.) We would make up any excuse that we could think of to celebrate with doughnuts. The doughnuts were crazy good but they were not so good for my eating plan. Now we attend a different church and we don't pass a single doughnut shop on the way. (Merely a coincidence? or God's provision?) Our drive home from church is only about 12 minutes but we're all still starving when we got home. I don't know what it is about being in church that makes us so hungry but I can never seem to get lunch on the table fast enough on Sunday afternoons. I found this recipe for beef and bean burritos in my Cook's Country magazine and it had a make ahead option that sounded perfect for a Sunday afternoon lunch. Cook's Country recipes never disappoint so I jumped right in. I'll give you my slightly modified version of the original recipe.  Beef and Bean Burritos Rice 1 1/2 cups chicken broth 3/4 cup brown rice 3 cloves garlic 1/2 teaspoon salt Filling 1/2 cup chicken broth 15 ounce can black beans 1 Tablespoon olive oil 1 onion, chopped fine 3 Tablespoons tomato paste 1 Tablespoon cumin 1 teaspoon oregano 1 teaspoon chipotle chili powder 12 ounces lean ground beef 1 Tablespoon lime juice pinch salt 6 flour tortillas 10 ounces mild cheddar cheese, shredded 6 Tablespoons sour cream
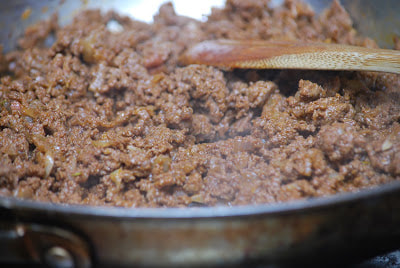
Stir in tomato paste, cumin, oregano and chili powder. Cook 1 minute.
Stir in ground beef. Cook until no longer pink.
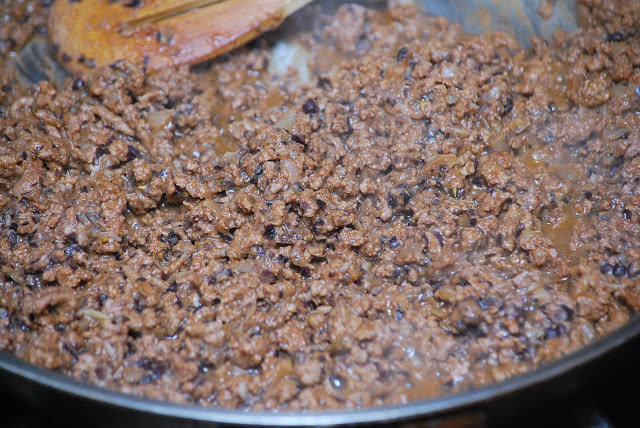
Stir in remaining beans, lime juice and salt.
Cool and store in a tupperware container in the refrigerator. Fast forward to Sunday afternoon... Reheat the rice and the filling in the microwave. Line a baking sheet with aluminum foil. Arrange tortillas on the counter. Divide rice, beef and bean filling and 1 1/2 cups cheddar cheese among tortillas. Dollop each with a tablespoon of sour cream.
Ok so it can't compete with a chocolate eclair from Donut King but my family really did like these burritos. Best of all, they didn't take much time at all to put together on Sunday afternoon.
Ciao!
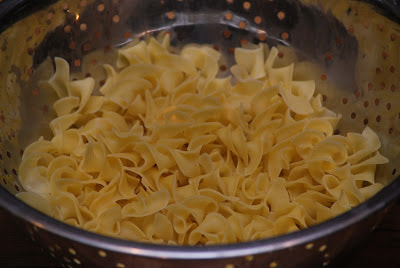
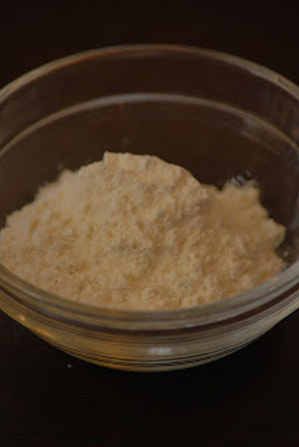
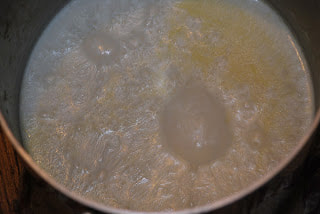
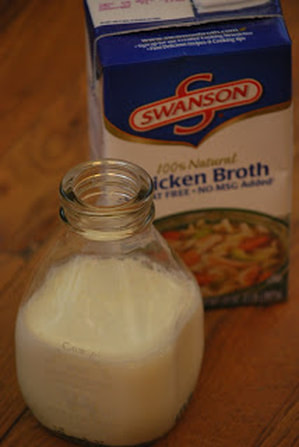
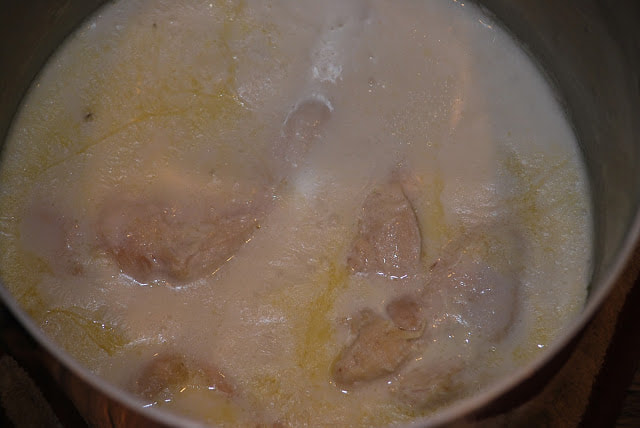
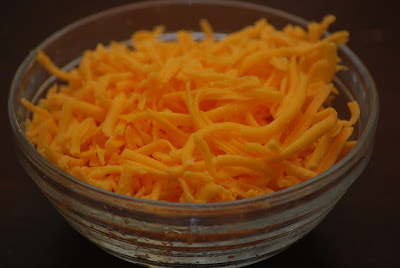
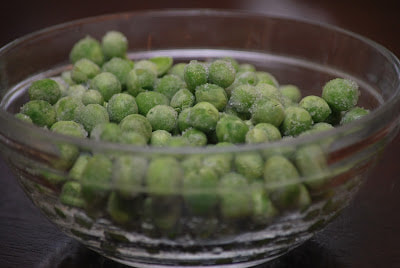
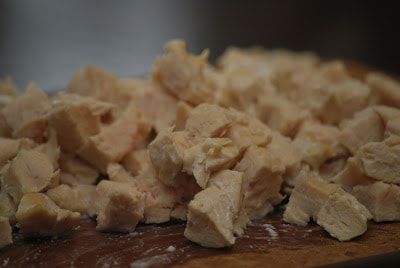
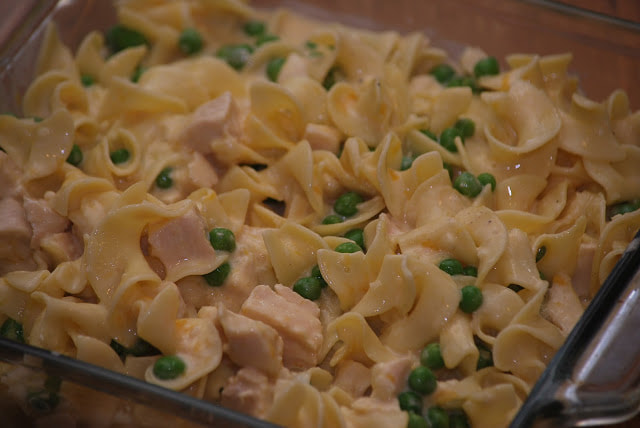
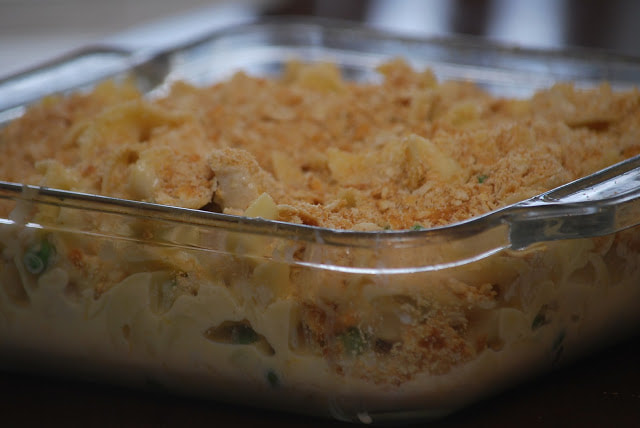
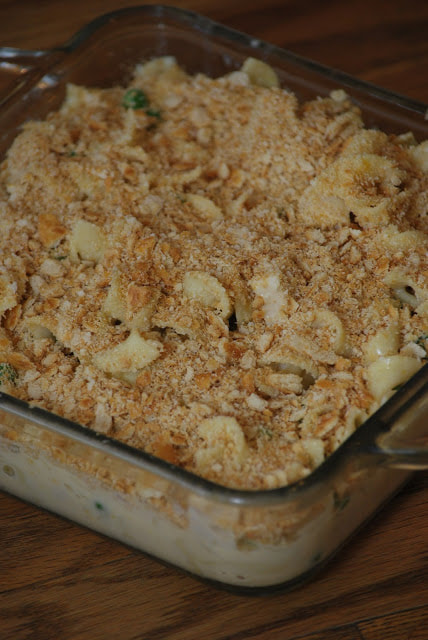
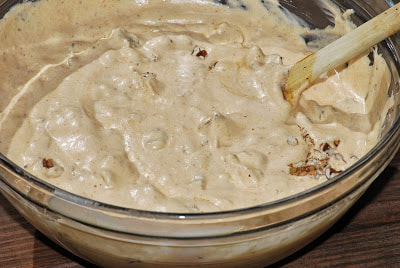
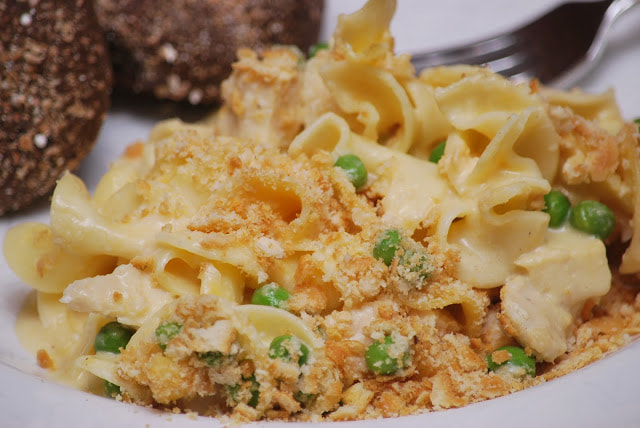 I get at least 2 new cooking magazines a month and typically, I am the only person in the house who reads through them. On one of our recent car trips, my daughter was looking particularly bored so I handed her one of my Cook's Country magazines to help kill some time. I really didn't expect her to give it too much more than a glance through but much to my surprise, she really spent some time reading through the recipes. (Long car trips will make any reading material seem more interesting.) After about 15 minutes of browsing through recipes, she pointed out one in particular that she thought looked really good - Chicken Noodle Casserole. I added that recipe to our menu for the very next week and it turns out - she has a knack for choosing great recipes. This one's a keeper. Chicken Noodle Casserole 12 ounces wide egg noddles 3 Tablespoons butter 1 onion, chopped 3 Tablespoons flour 2 1/2 cups chicken broth 2 1/2 cups half and half 1 pound boneless chicken breasts 2 cups shredded cheddar cheese 1 1/2 cups frozen peas 1 sleeve Ritz crackers, crushed
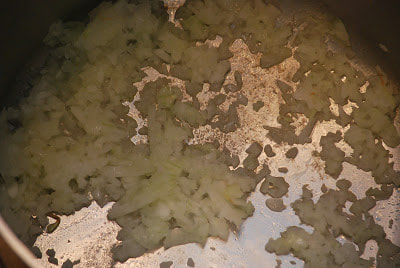
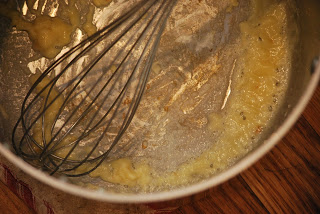
Melt 1 Tablespoon butter in empty pot. Add onion and saute until softened.
Bake 15 minutes at 425. 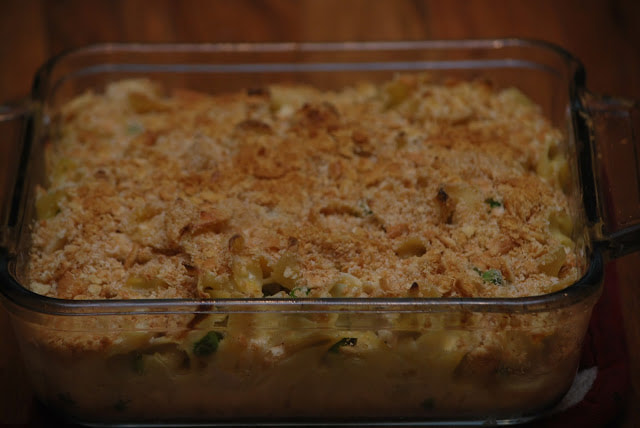 Ciao!
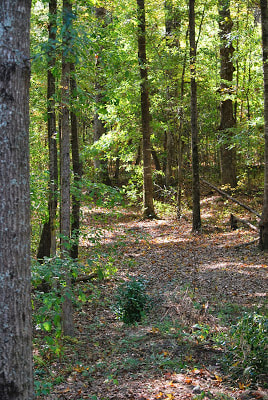
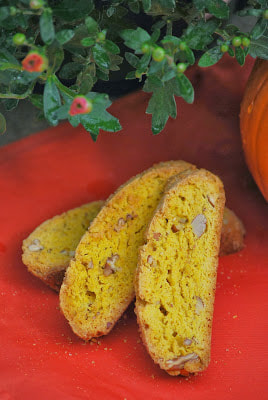
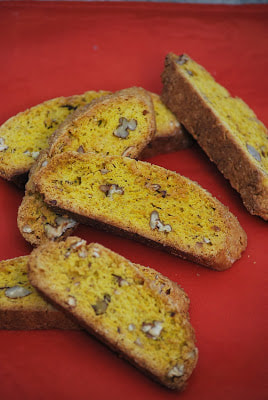
 My morning workout has become as routine as brushing my teeth in the morning. I guess after so many years, it's become a habit for me to wake up, eat breakfast, send everyone off to school and work and then head to the basement and pop in a workout video. I spend a lot of time working out in my basement but when the weather starts to turn cooler, I would much prefer to get my exercise outside. Every Fall I get the bug to start running again. I used to love running on a cool, crisp Fall morning. The beautiful leaves proved to be a great distraction from weary muscles on a long run. I loved listening to the birds singing to me as I passed under their perch in a majestic tree. Those are sensory experiences that I just can't duplicate in my basement workout room. Even though I can't run, I still get out and enjoy the Fall weather. I've been taking Mia on long walks at the park and one advantage to NOT running is that I can carry my camera. I snapped a few pictures of yesterday's trip to the park.
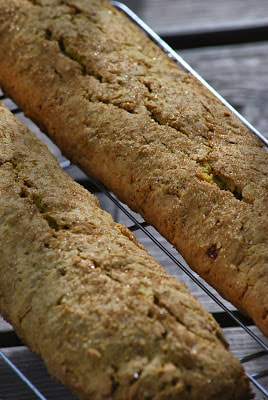
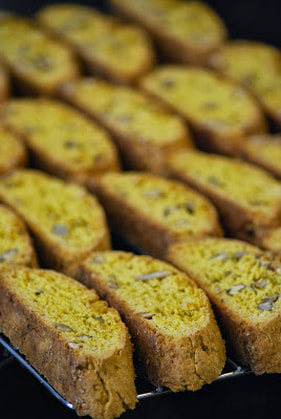
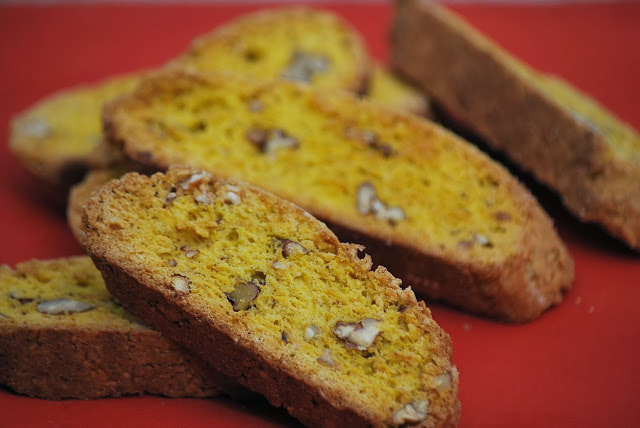
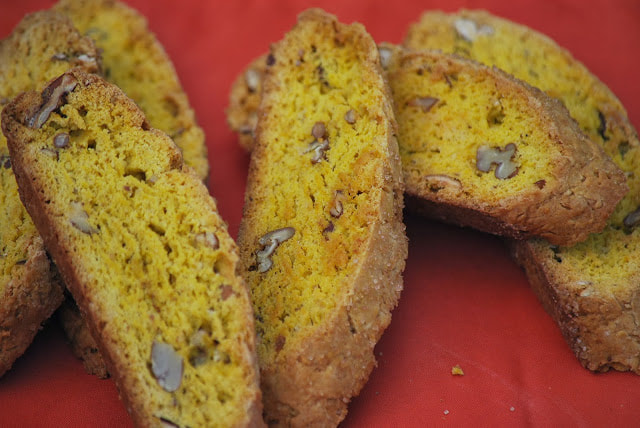
Want to know the best part about taking the dog for a walk through the leaves? Coming home to a cup of tea and a crispy pumpkin biscotti.
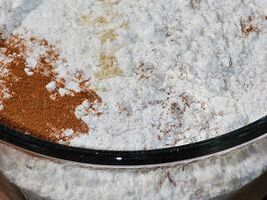
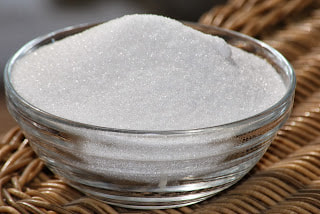
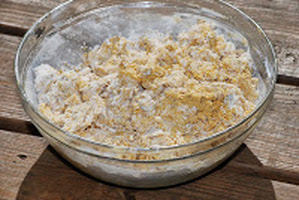
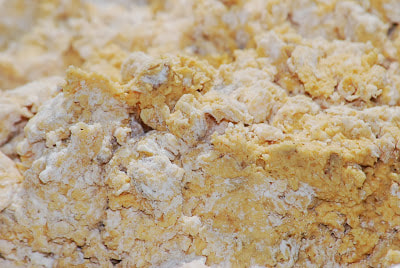
Pumpkin Biscotti 4 1/2 cups flour (495g) 1/2 cup (1 stick) butter, melted and cooled to room temperature (120g) 3 large eggs, at room temperature, separated 1 1/3 cups granulated sugar (230g) 3/4 cup pumpkin puree, packed tightly (183g) 1/4 teaspoon vanilla extract 3/4 teaspoon cinnamon 1/8 teaspoon ground cloves 1/4 teaspoon ground ginger 1 teaspoon baking powder 1/8 teaspoon salt 1 cup pecans, lightly toasted and chopped (150g) 4 tbsp of turbinado sugar
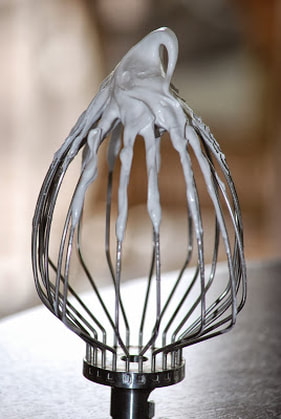
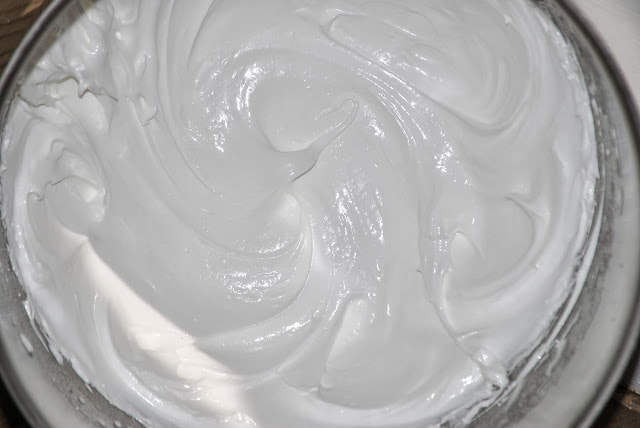
In the bowl of a stand mixer, beat the egg whites on high speed until they form stiff peaks. With the mixer still on high, beat in about half the sugar until the egg whites are glossy. Transfer them to another bowl.
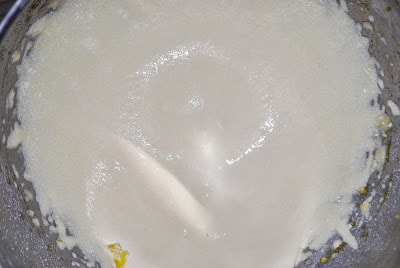
Gradually stir in the dry ingredients into the wet ingredients until the dough comes together into a sticky ball.
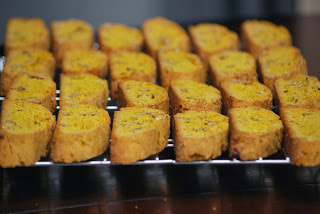
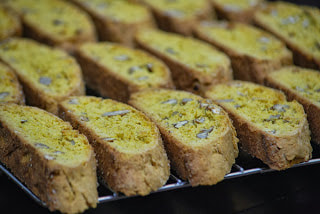
Place the logs on a cutting board and cut into 1/2 inch slices with a long and sharp serrated knife. Do not use a sawing motion, but make decisive downward strokes. Line the slices on the baking sheet. 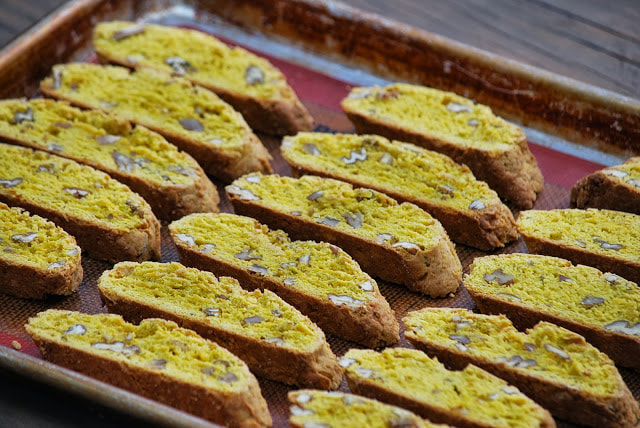 Bake for another 25-30 minutes, until they are crisp and golden brown throughout.
 Mom and dad - I'm doing my best to not eat the entire batch before your visit but you better hurry.
Ciao! 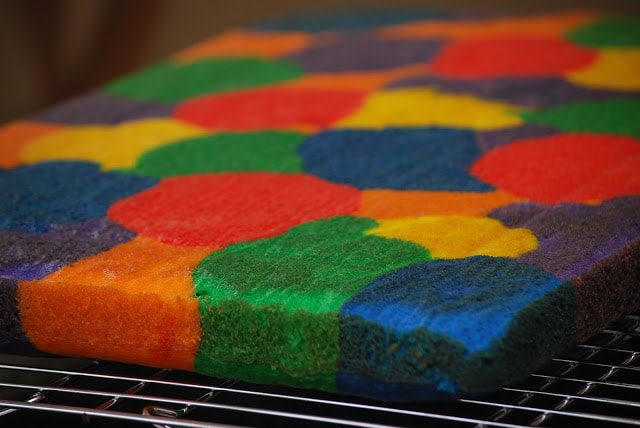
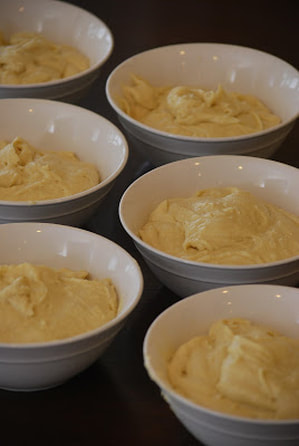
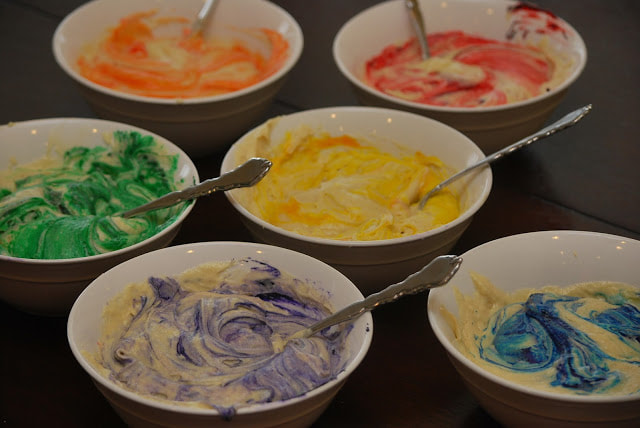
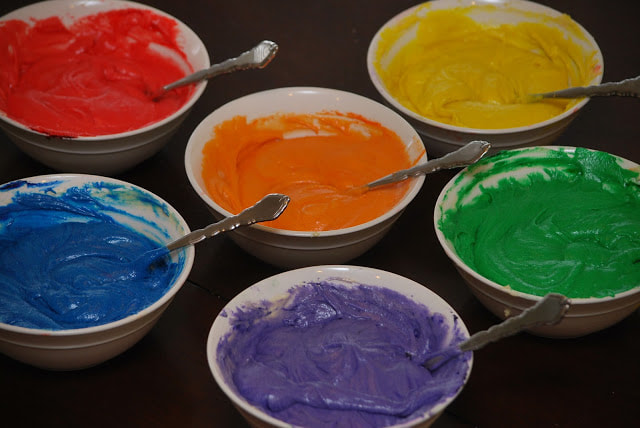
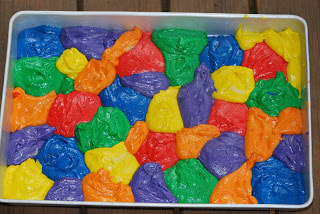
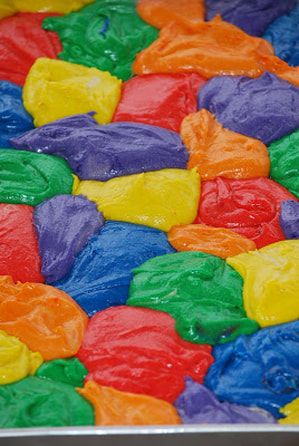
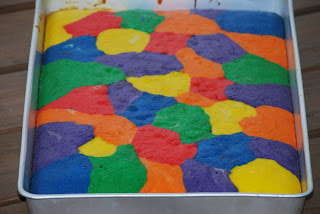
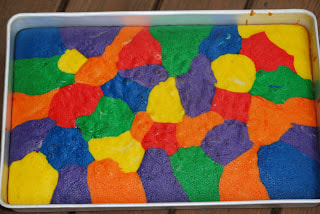
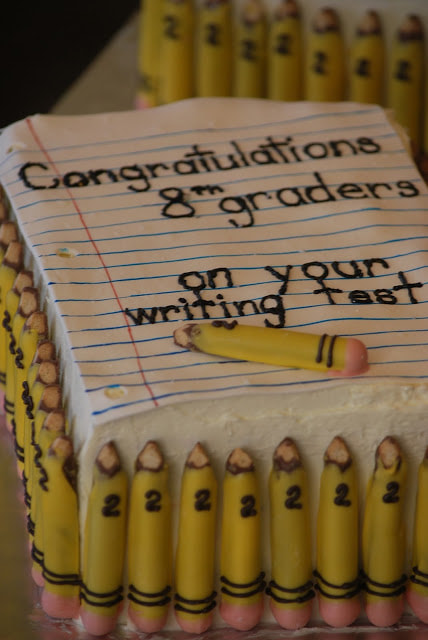
One of my teacher friends called me last month to ask me to make a cake for her 8th grade students. She was so proud of these children for passing their writing test that she wanted to celebrate their achievements with cake. She asked me for a vanilla cake with vanilla frosting. Sounds easy enough. When I started to think about how much effort these students had to put into this test, it just didn't seem fitting to make a plain old vanilla cake. An extraordinary accomplishment deserves an extraordinary cake. I wanted to stick with the vanilla flavor but I added a little "flair" to the cake with lots of bright colors. This was my first rainbow cake and I am just thrilled with how it turned out. I started with a simple yellow cake recipe.
Color each bowl of batter a different color.
Bake 30 minutes at 350.
Cool 10 minutes in pan and then invert onto a cooling rack. 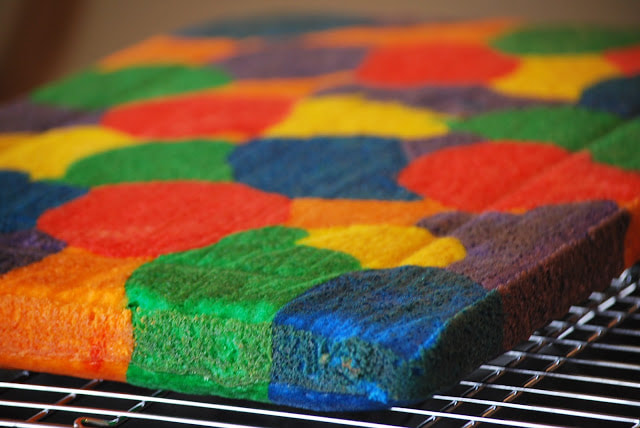 Fill and frost cake. 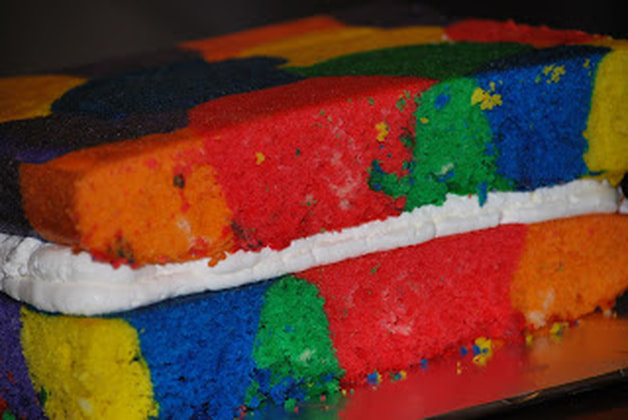 After the cake was filled and frosted, I added some extra special touches. I made a piece of notebook paper out of fondant to lay across the top of the cake and I made some pencils out of cadbury chocolate fingers to go around the outside of the cake.
What a fun way to celebrate a great accomplishment.
Ciao! |