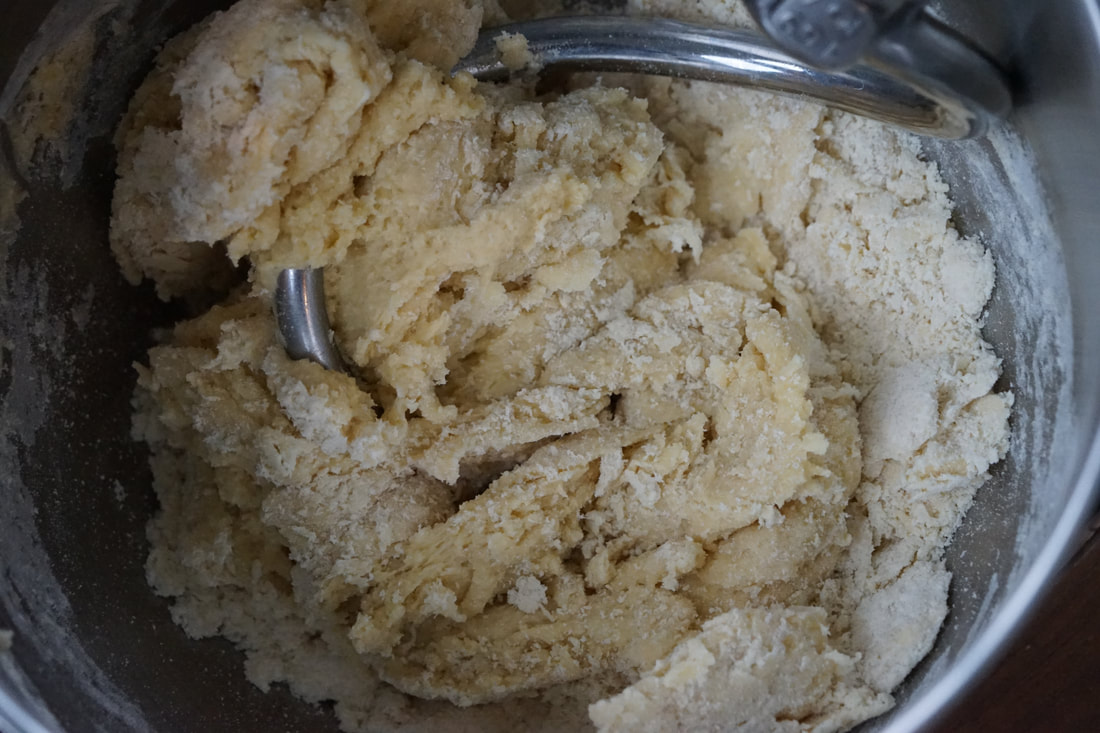
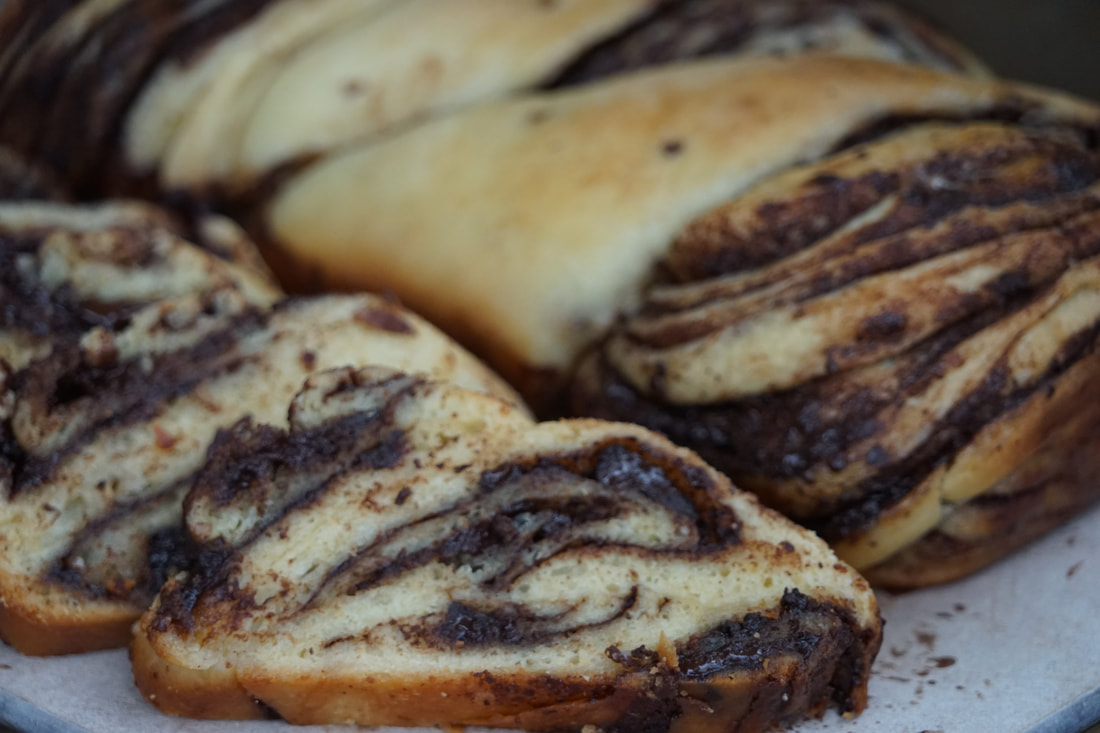
Christmas was 2 days ago and I feel like I've got a holiday hangover. (The exhaustion is real.) We had such a great time celebrating with our family and I'm so thankful that we had the opportunity to spend time with the people that we love. It's always hard to say goodbye and to go our separate ways but there's something about the emotions of Christmas that makes it even harder to leave the ones we love. Last week we met my parents and my brother in New York City for some long overdue family time. It was the first time that my kids had been to NYC so we took in as many of the sites as we possibly could in the 3 days that we were there. Musicals, broadway shows, empire state building, statue of liberty, ellis island, Rockefeller center, concert at Lincoln center, central park, museums, Brooklyn bridge, 911 memorial, Chelsea pier, Chinatown, Little Italy and Times Square. Needless to say, it was amazing - and exhausting. You can check out the highlights of our trip on the slideshow below if you're interested. New York City in December is amazing but family time in December is even better. It was so great to get away and spend some time with my family and it was a very unusual December for me. While most people are busy shopping and wrapping, most of MY December days are spent baking, icing, sprinkling and decorating. Leaving for a vacation in the middle of this busy catering season just felt weird but I've got to say - I never appreciated a break more. 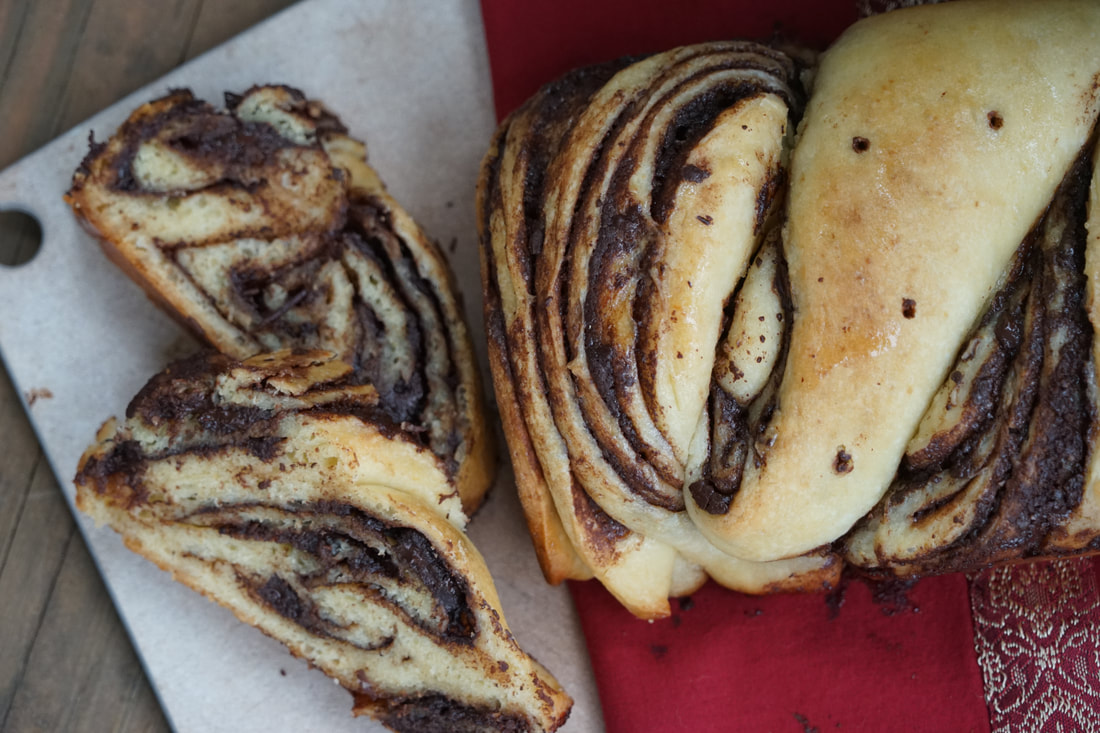 Starting our Christmas vacation early meant that I had to start my holiday baking early as well. I feel like I started making cookies, cakes and holiday breads as soon as the Thanksgiving turkey cooled. I didn't have time to make ALL of my usual Christmas treats this year but I definitely made time to bake a couple of Chocolate Babka loaves. This bread is soooo good and 1 recipe makes 2 loaves - One for us and one to give away.
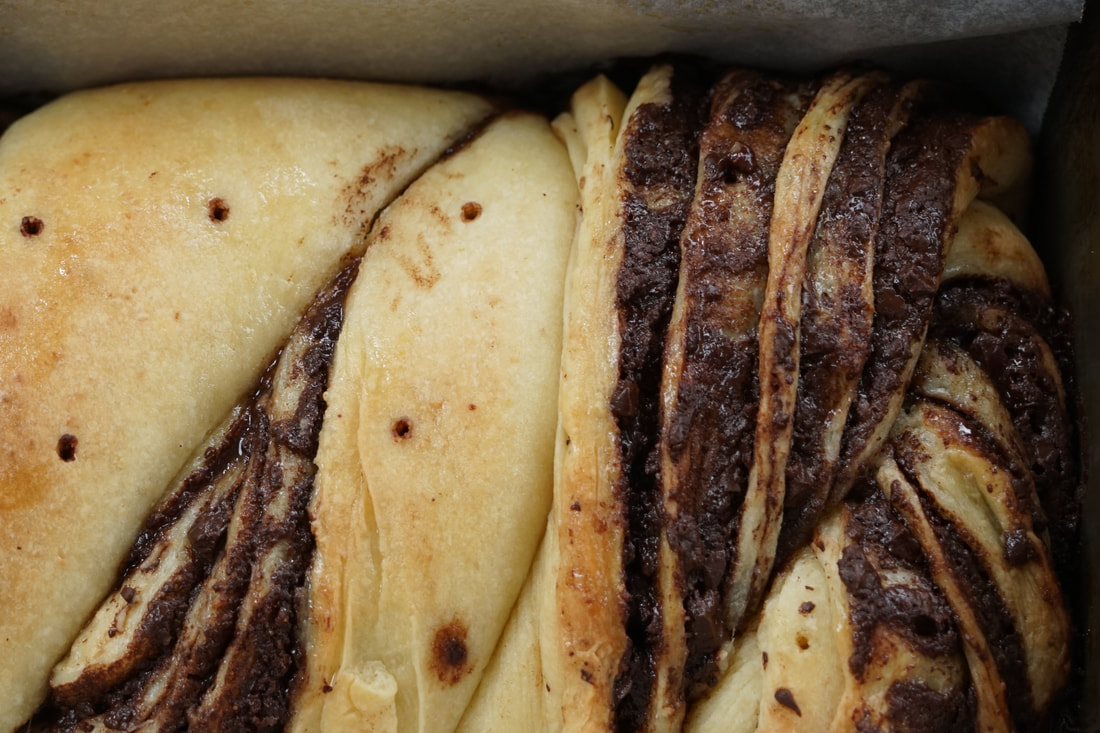
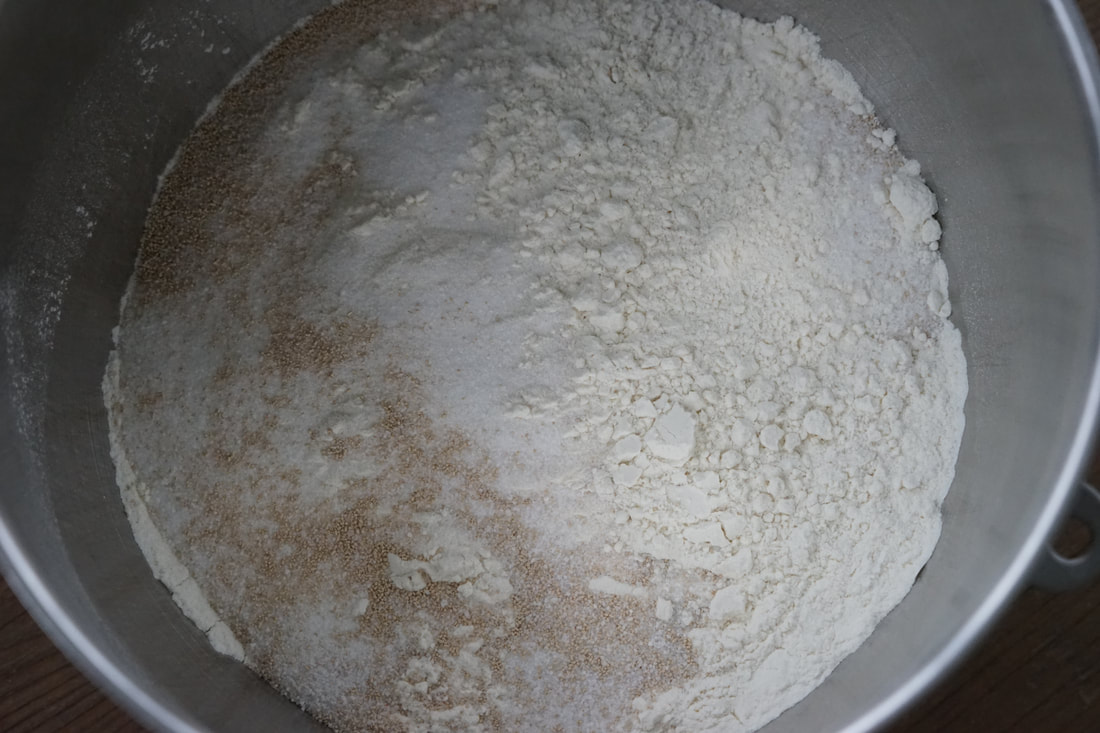
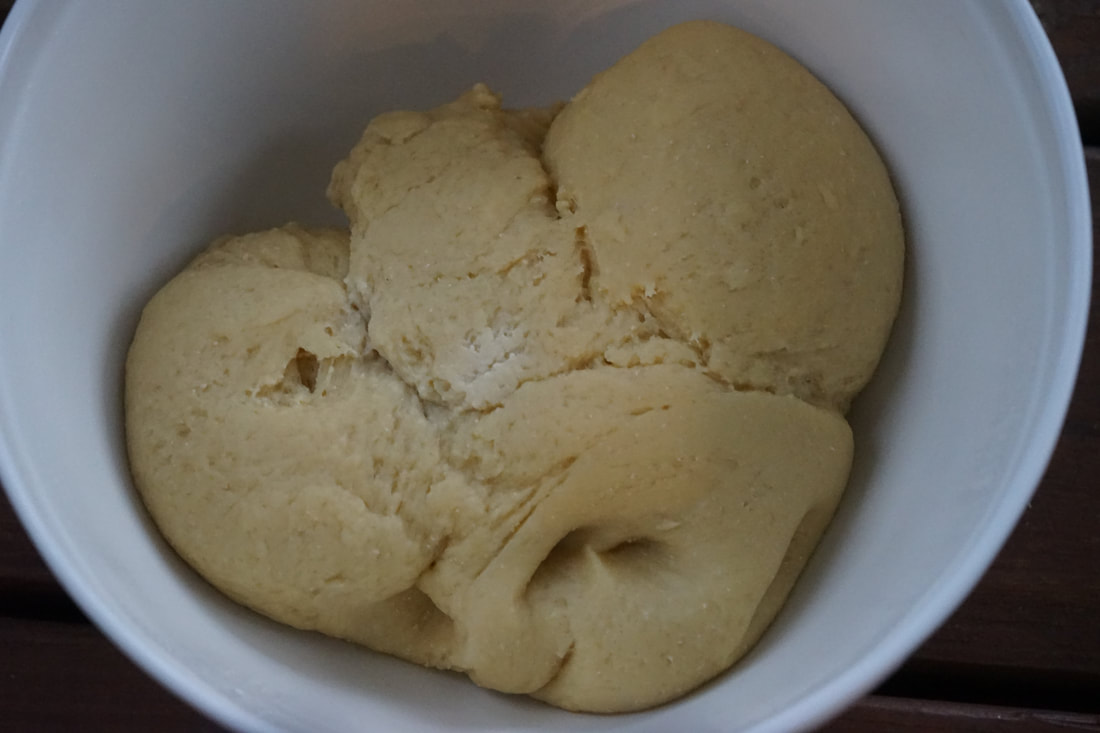
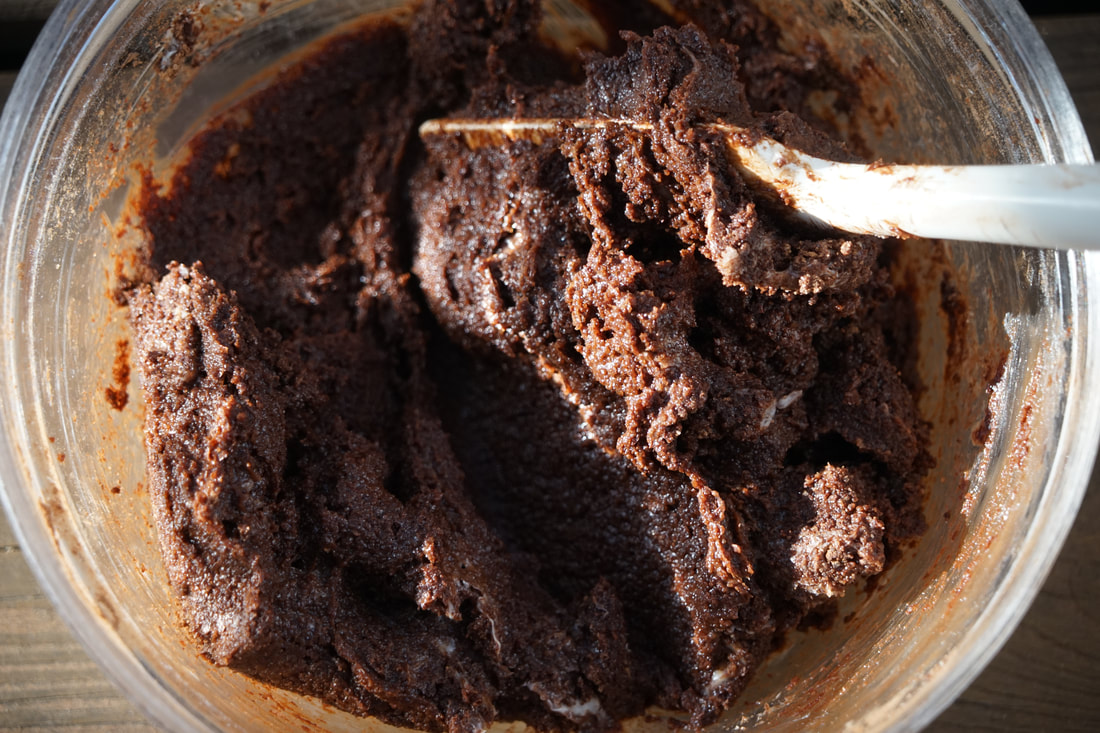
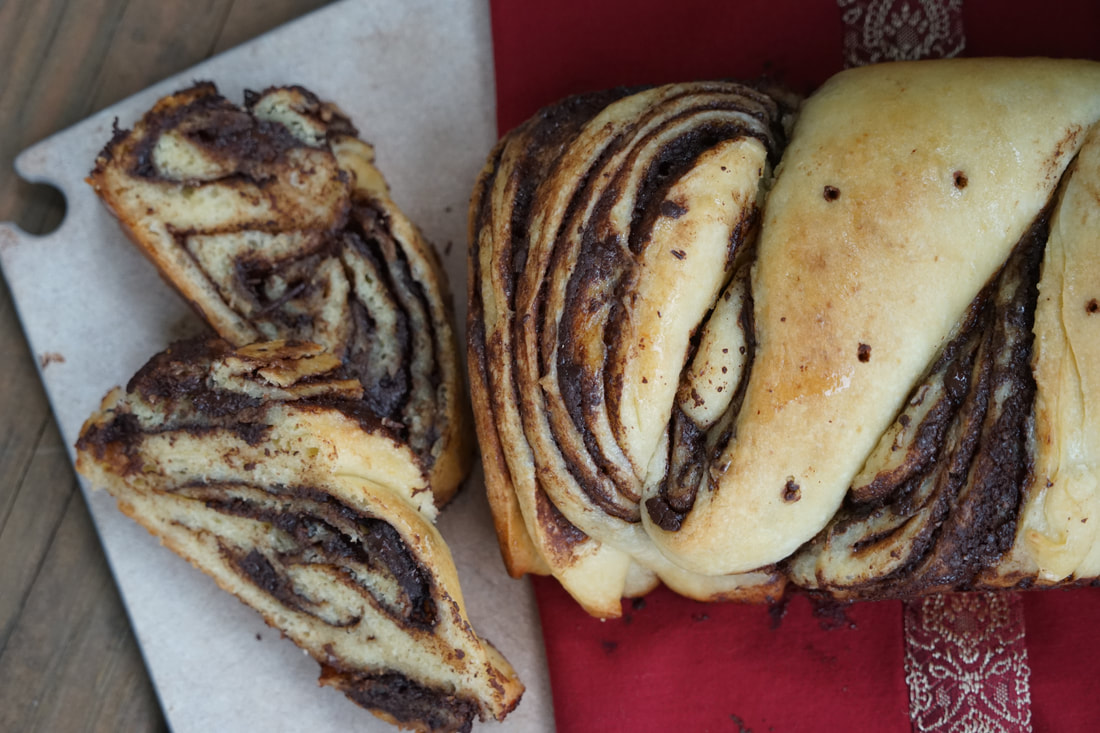
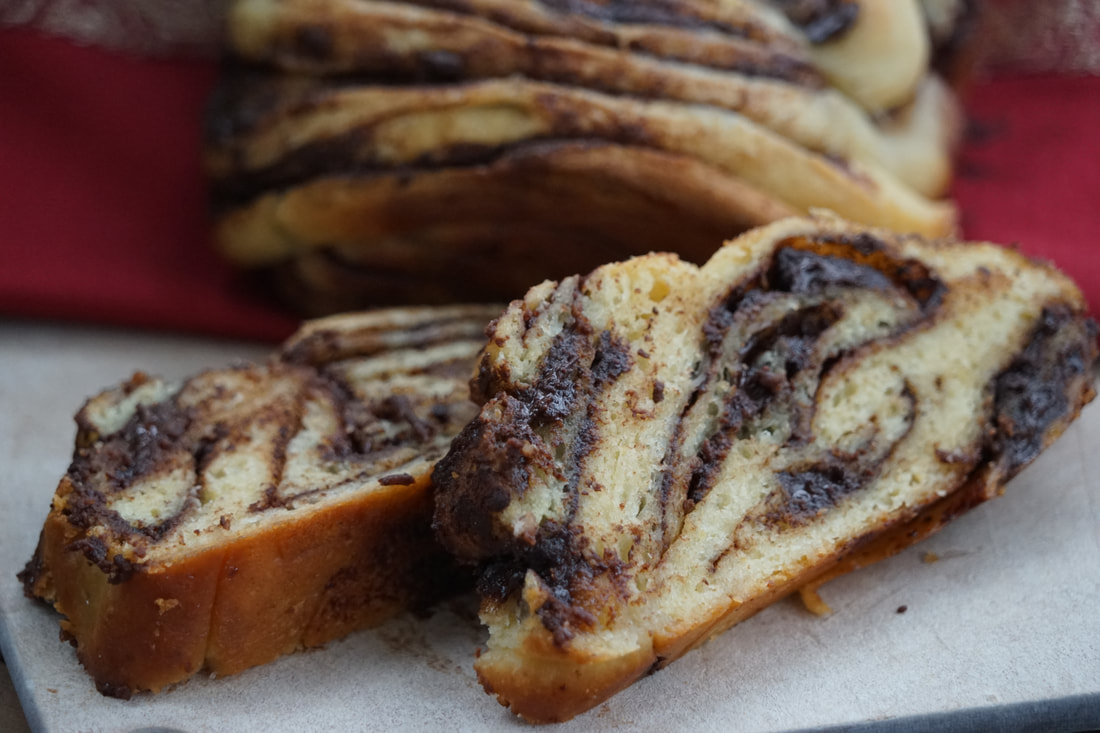
Chocolate Babka
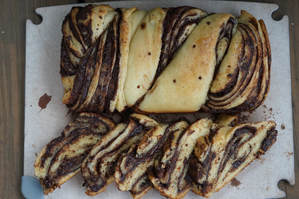
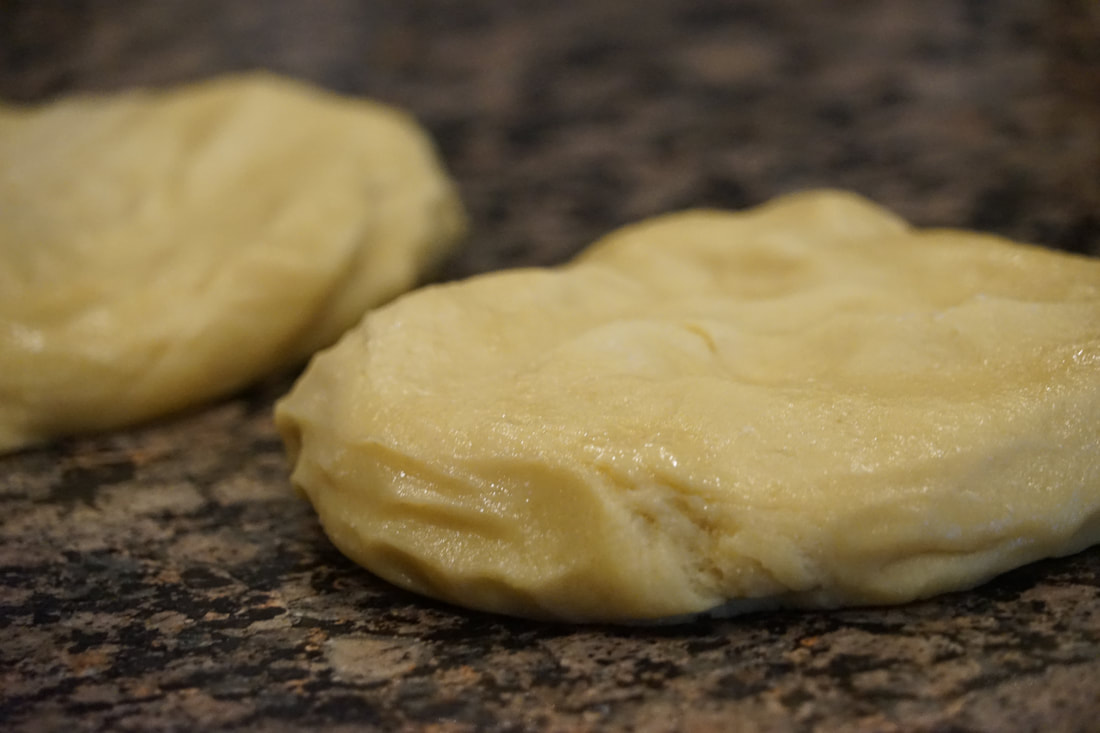
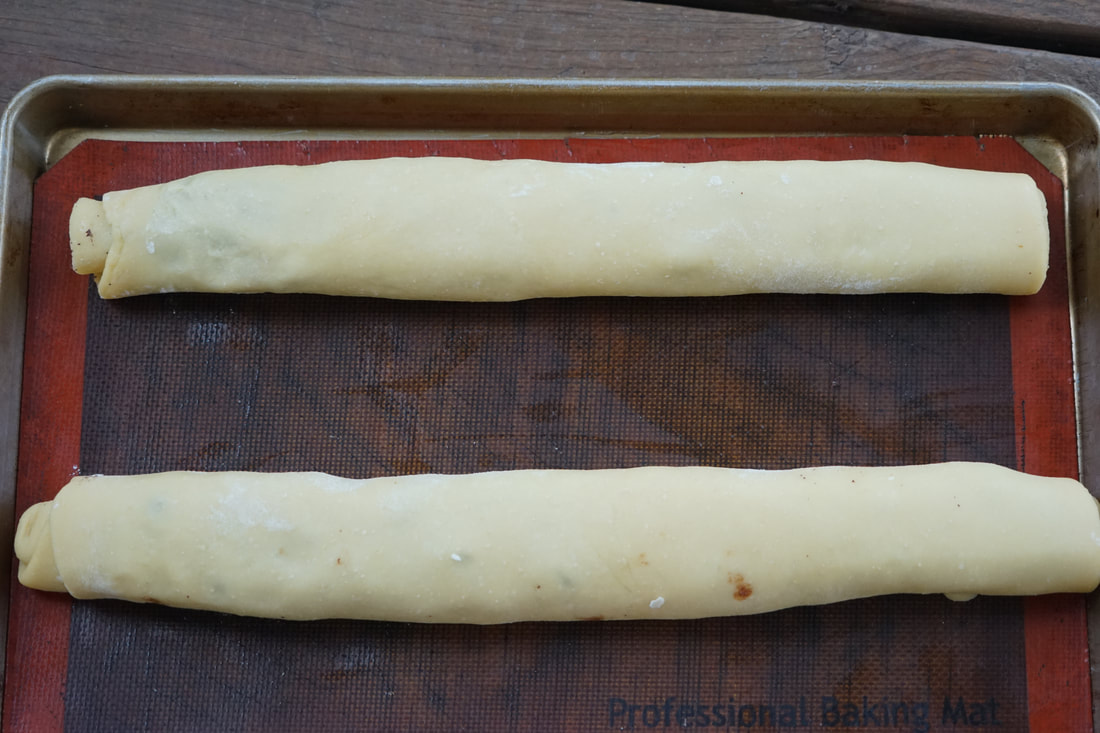
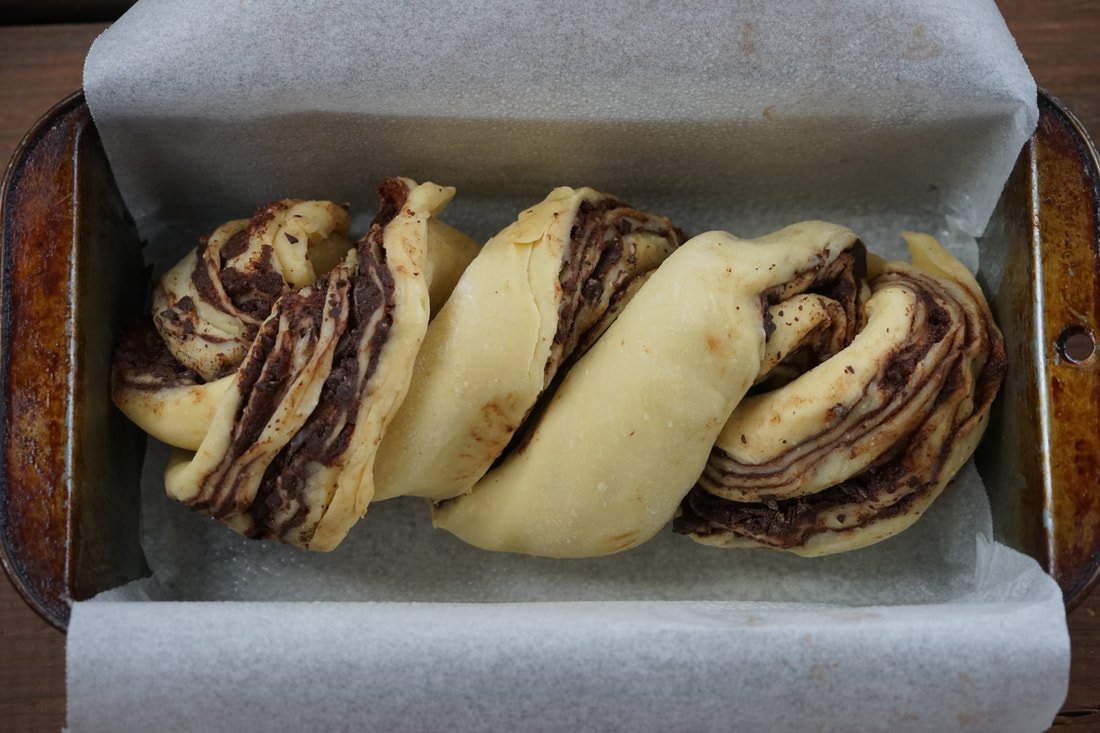
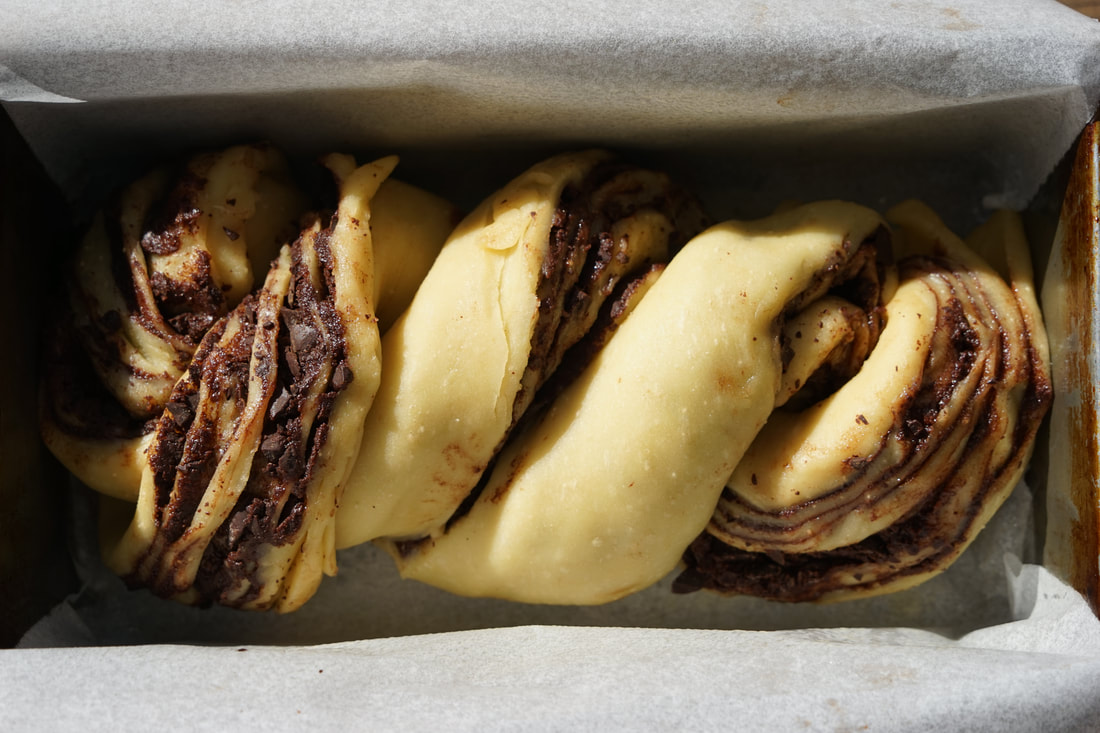
Use scissors to cut each roll, lengthwise down the center. Twist each roll then braid together. Pinch ends together. 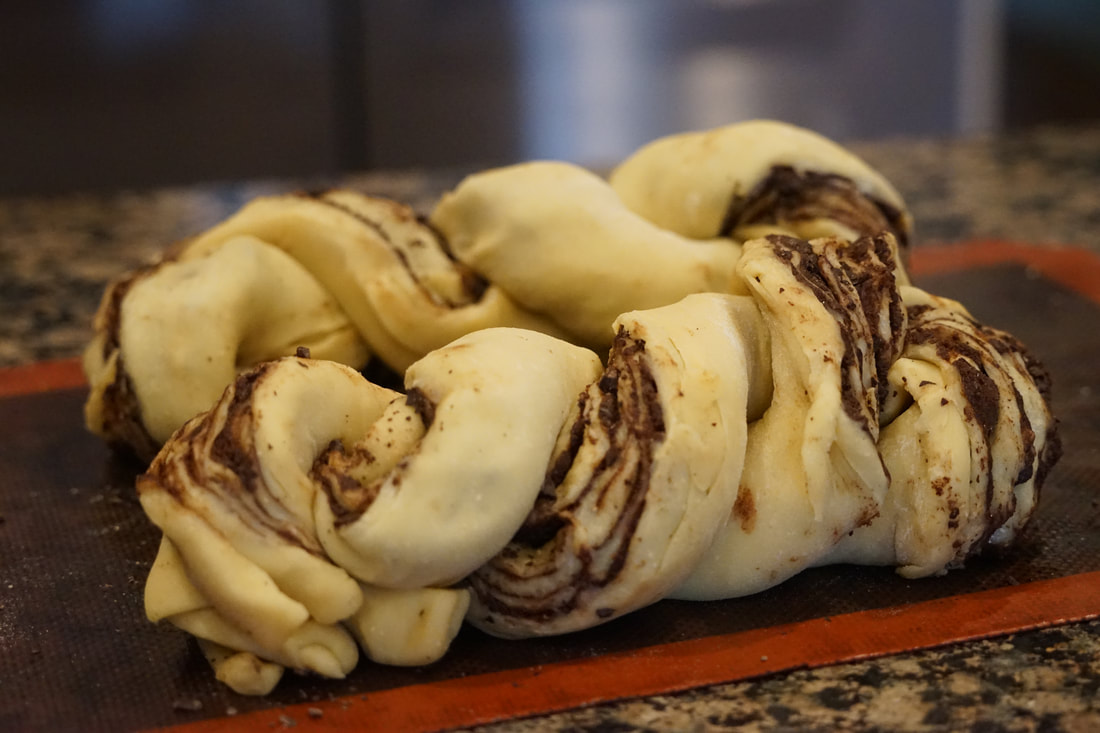
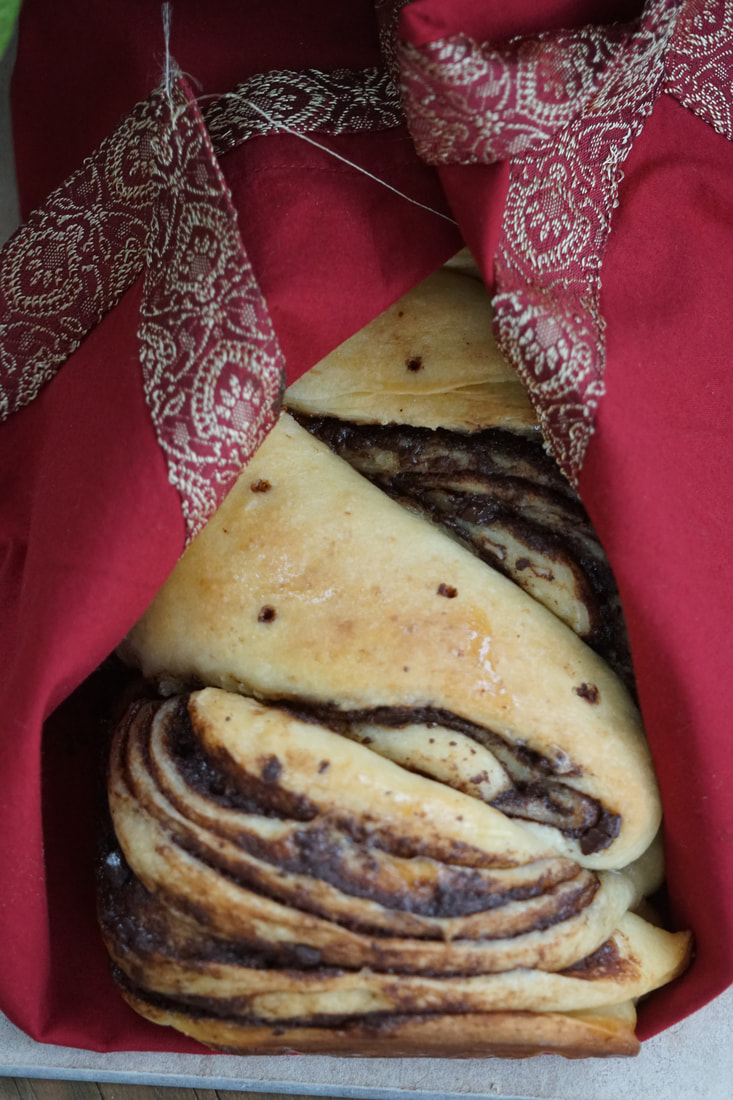
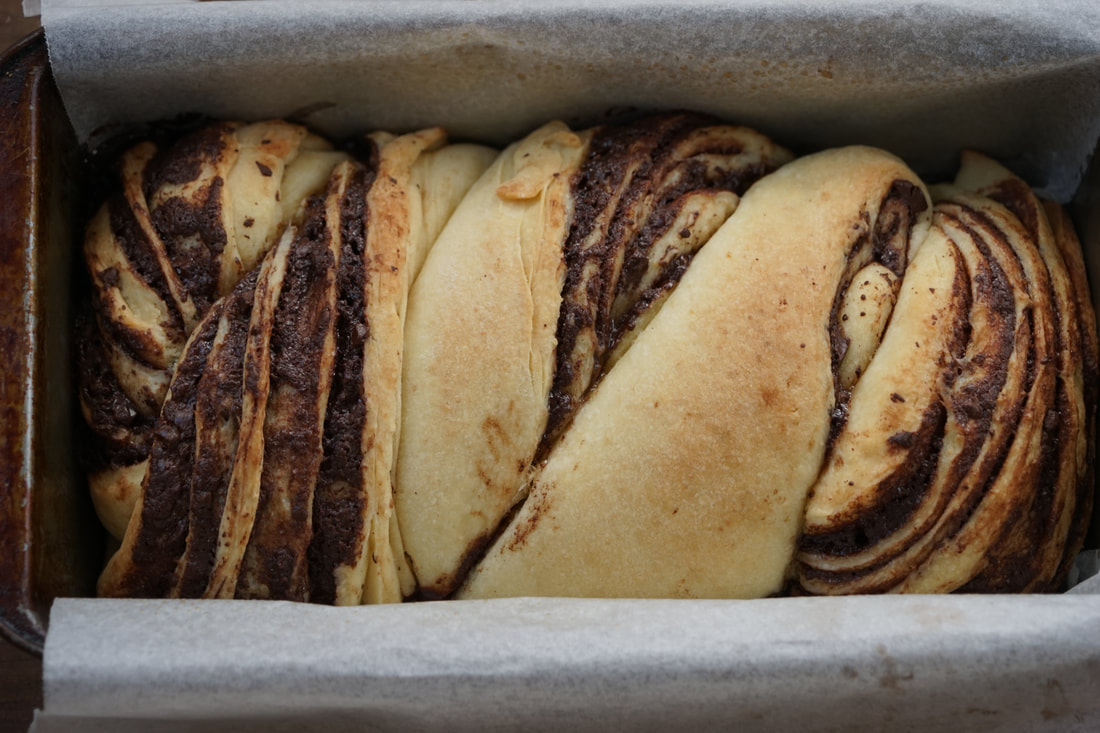
Poke warm bread with a skewer and pour syrup over loaves. 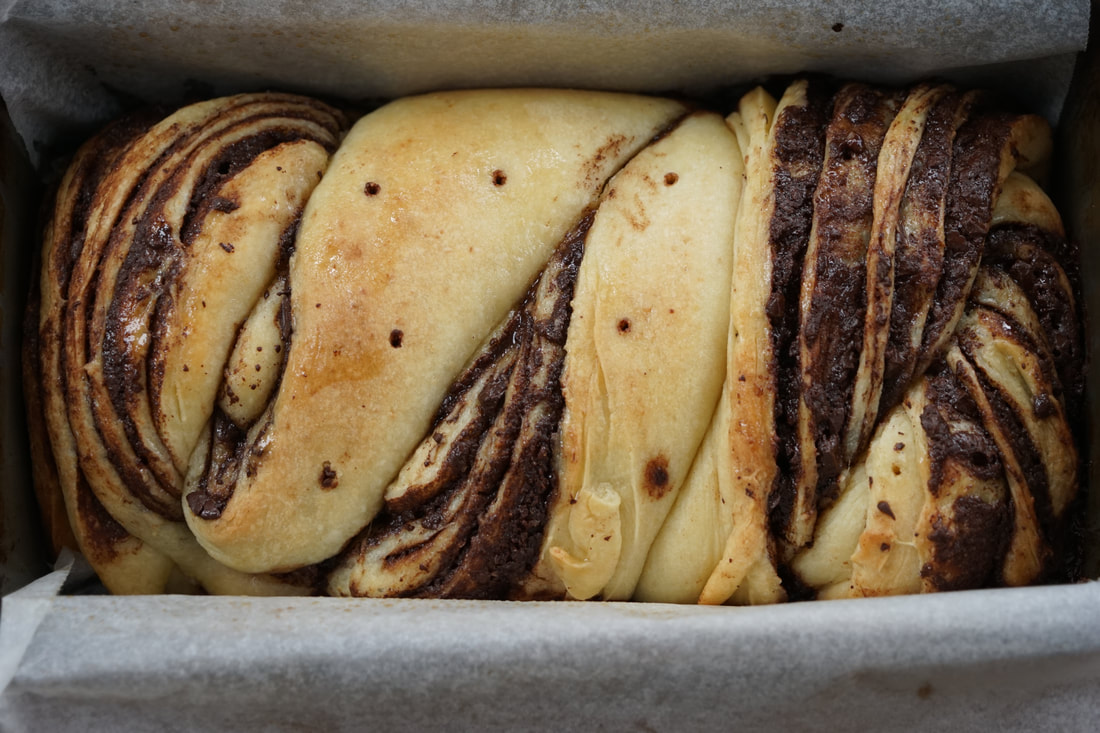 Let cool 40 minutes in pan before removing. 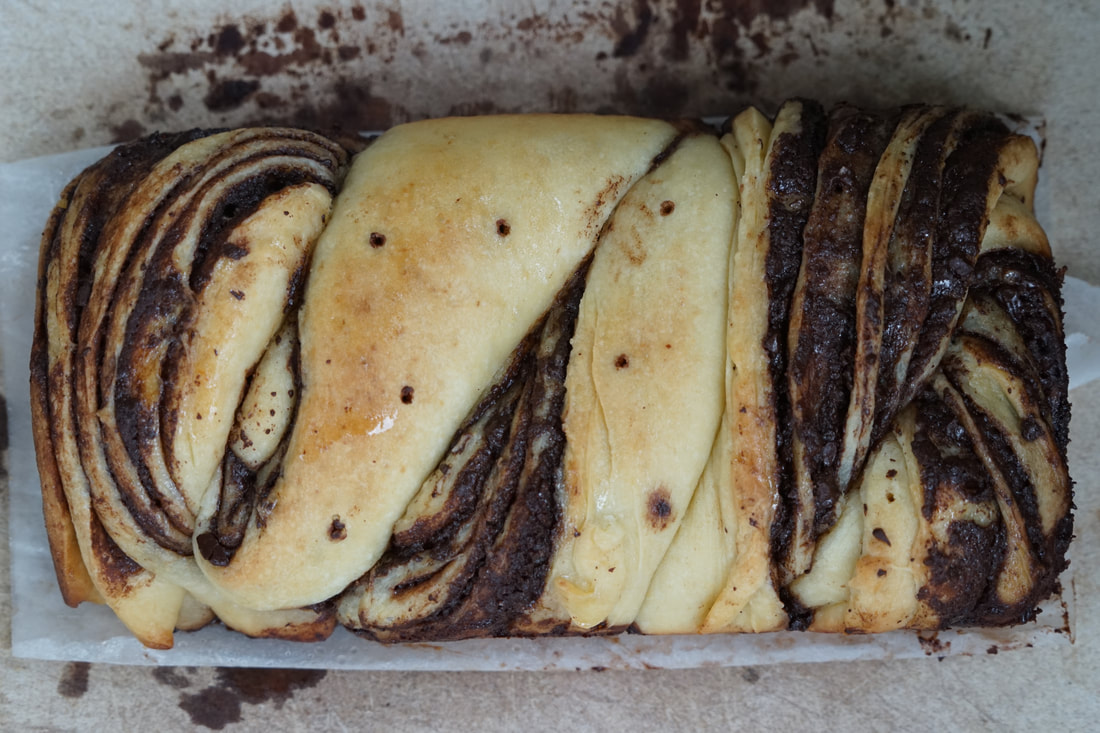 Obviously, I missed my window of opportunity to get this amazing Chocolate Babka recipe posted before Christmas but it really is a great bread to enjoy anytime. If you're a fan of chocolate and homemade bread - you've GOT to try this. Just remember to start the dough the day before you want to make it.
 If you only had time to bake one holiday treat this year, what would it be? Send me a comment and let me know. I want to know if you've got a favorite cookie or cake or savory treat that you just can't live without during this Christmas season.
Ciao!
1 Comment
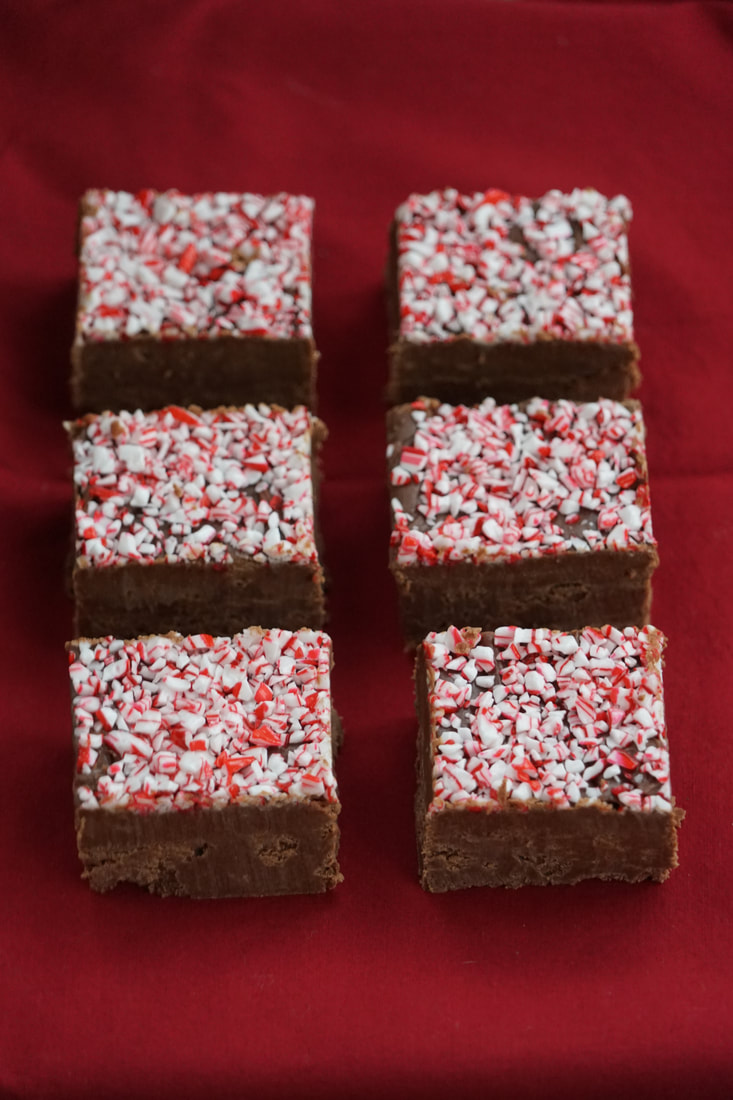
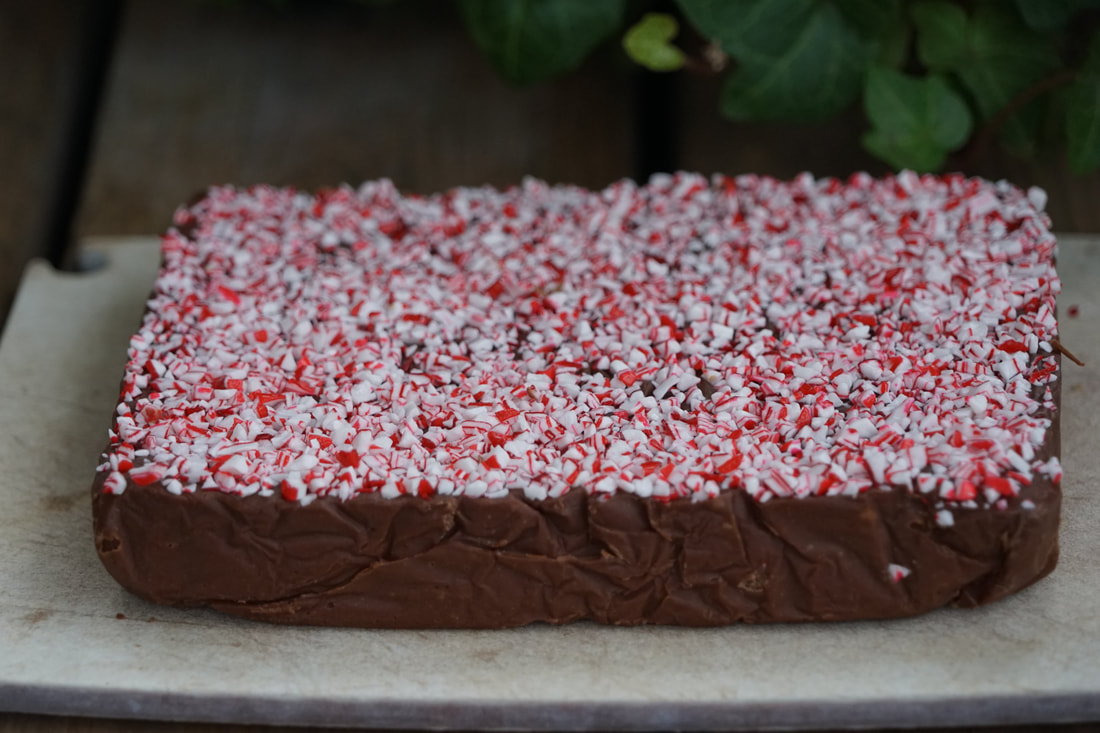
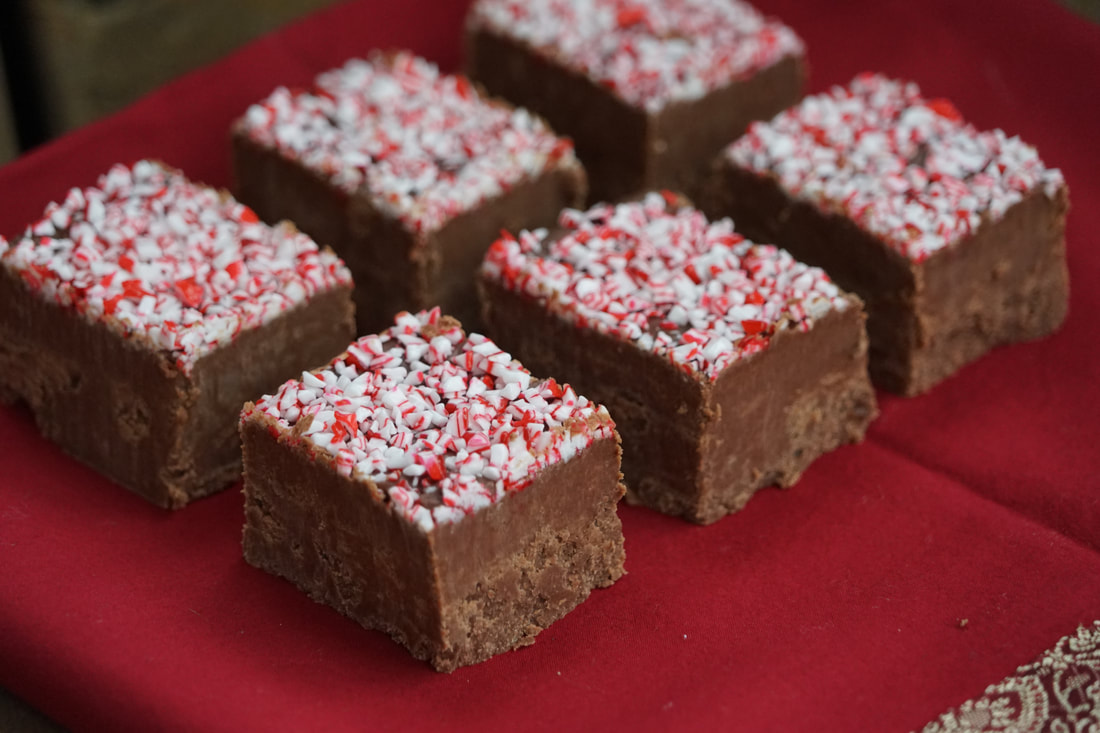
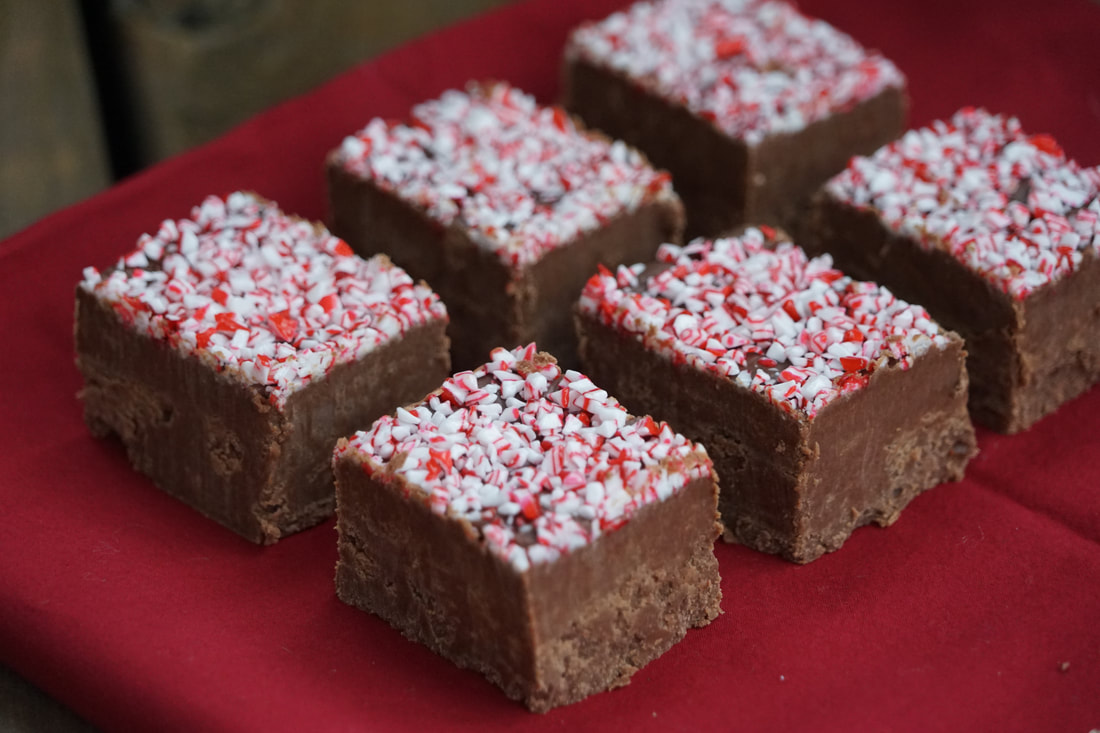 I feel like I am running on sugar. I couldn't even begin to add up the pounds of sugar that I use in a week. I CAN tell you that a 10 pound bag of sugar only lasts a couple of days in my house. Soooooo much sugar. Granulated sugar, powdered sugar, raw sugar and brown sugar not to mention the sugar in liquid forms like honey, molasses, maple and corn syrup. Sometimes, I feel like I live in a real life version of Candy Land. At the end of every day, my kitchen floor is paved with sprinkles and my counter tops are lined with cookies and cakes. Don't get me wrong - this is not a complaint - merely an observation. I'm not a caffeine drinker but I do thrive on the sugar that gets pumped through my kitchen in December. My kids call me a sugar dealer and I’ve got to admit - there might be some truth to that. I don't set out to put anyone into diabetic shock but why in the world would God have given me this ability to create sugar filled desserts if He didn’t want me to share it with the world? Maybe I should attach a disclaimer to all of the sweets that are leaving my kitchen like “enjoy responsibly” or “these foods may cause a sugar addiction.” 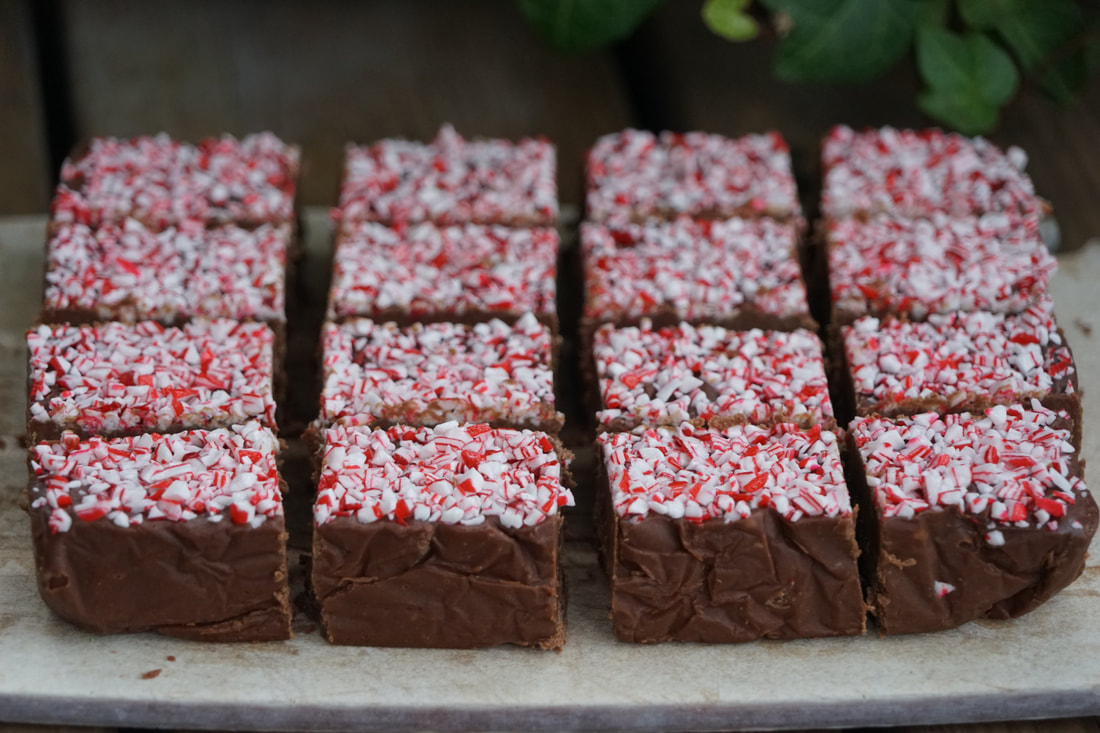 Sugar - it’s the stuff that holidays are made of. I don’t even need to eat it - I think I’ve developed the ability to absorb it through my skin. Is it crazy that I think I gain weight just from being around so much sugar? My sugar of choice this month - candy canes and chocolate. Peppermint fudge is just about the perfect way to enjoy both of these flavors together. And talk about a sugar bomb - chocolate, brown sugar, marshmallows and crushed candy canes - I’m not sure you could pack any more sugar into a single dessert. Per square inch - this fudge might just have the most sugar of any other holiday dessert that I make. Like I said - perfection.
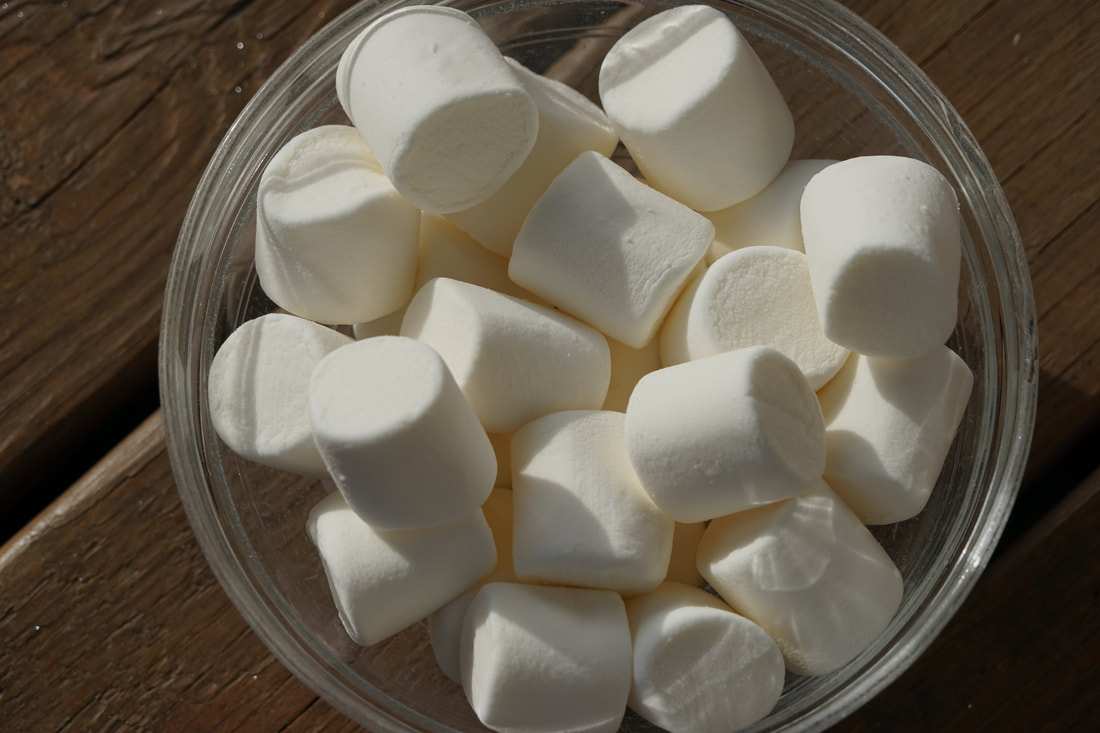
Chocolate Peppermint Fudge 3 cups light brown sugar 12 Tablespoons butter 2/3 cup evaporated milk 1/2 teaspoon salt 12 ounces bittersweet chocolate, chopped 3 cups large marshmallows 1 teaspoon peppermint extract 1/4 cup soft crushed peppermint candies
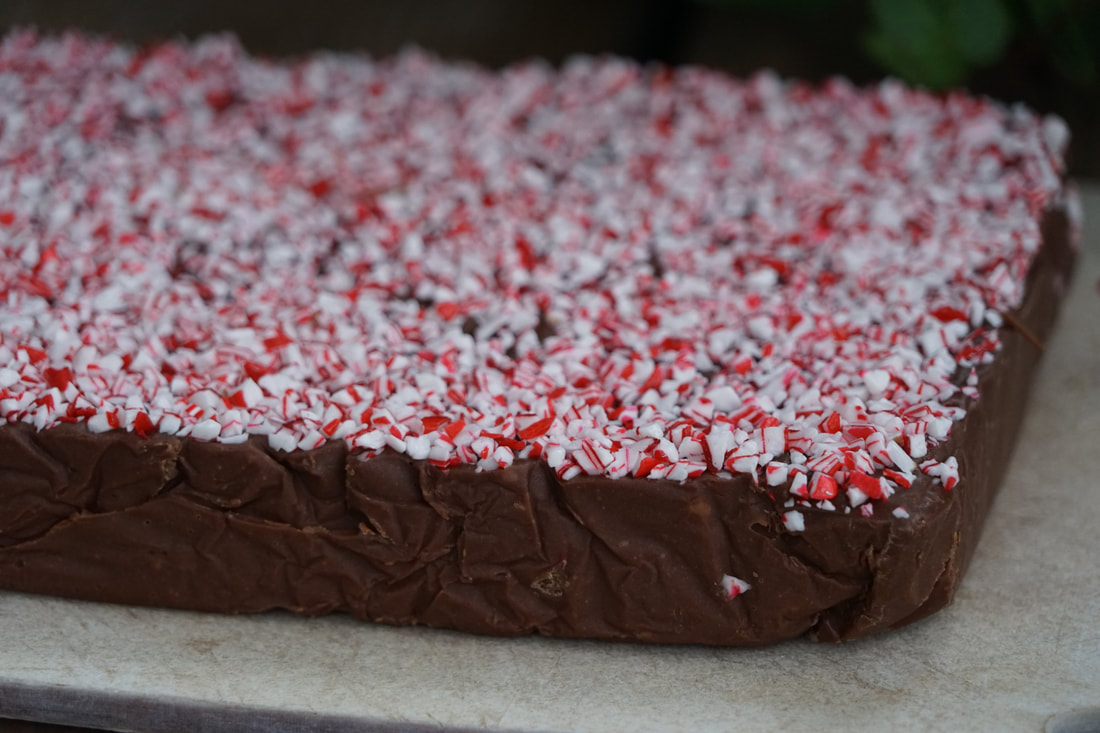
Transfer mixture to prepared pan and sprinkle with peppermint. Cover and refrigerate 2 more hours. Lift fudge out of pan using sling.
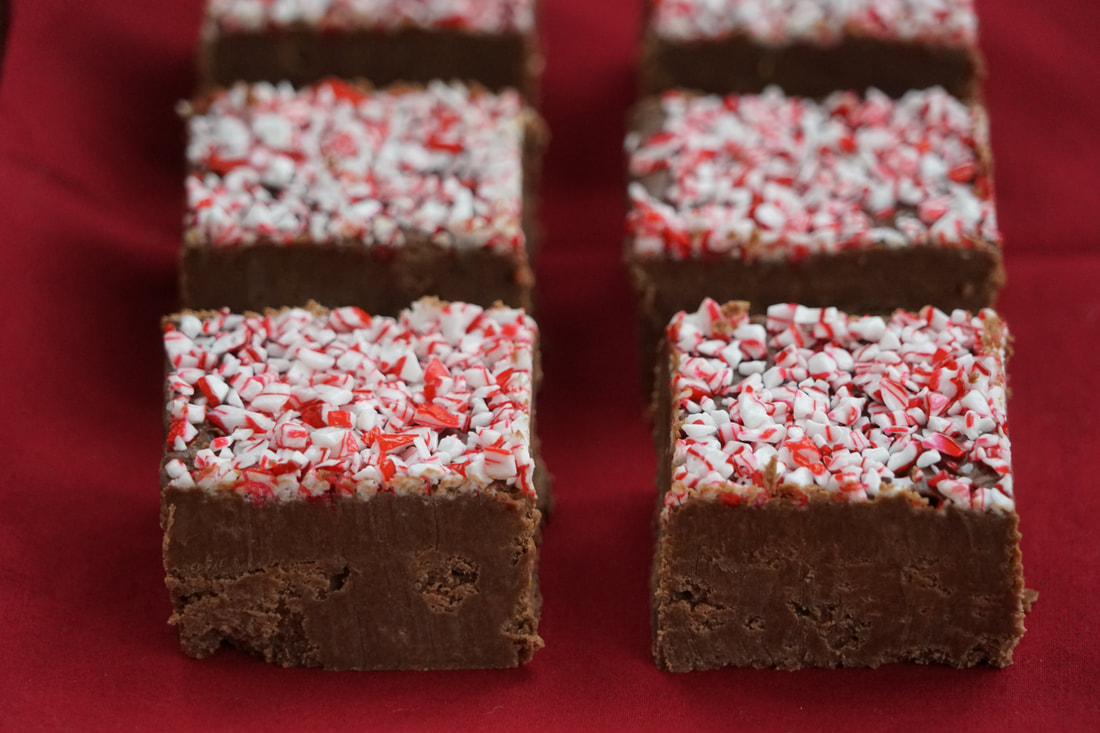
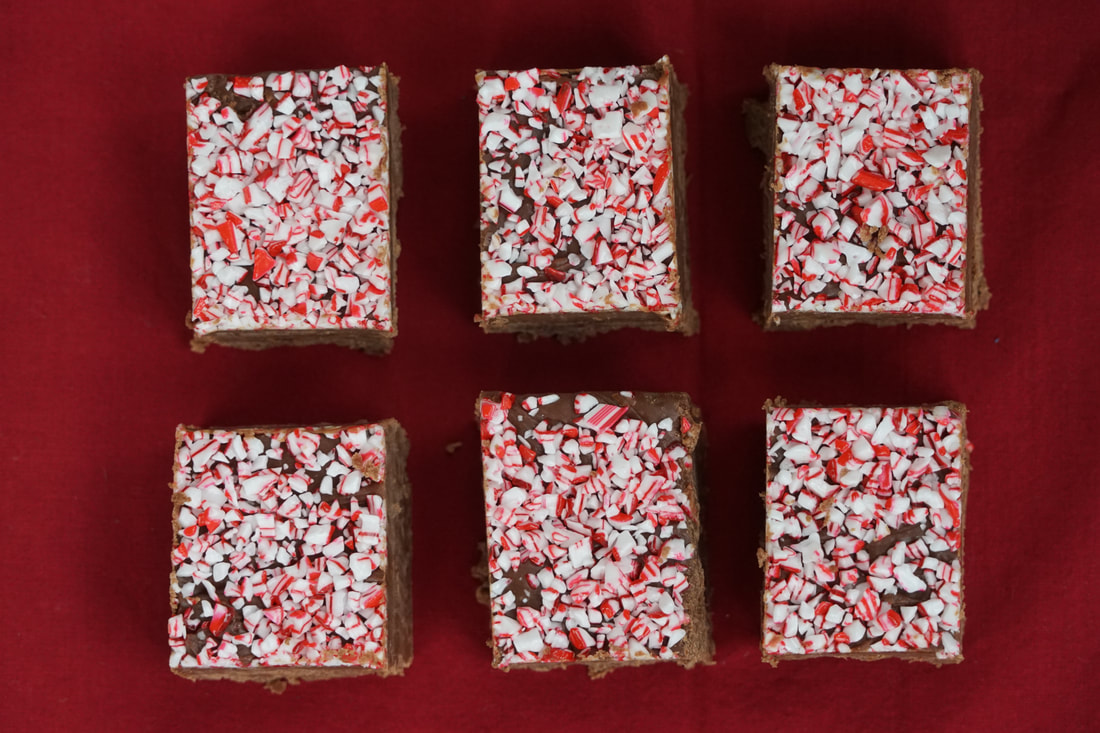
Cut into 1 inch squares. 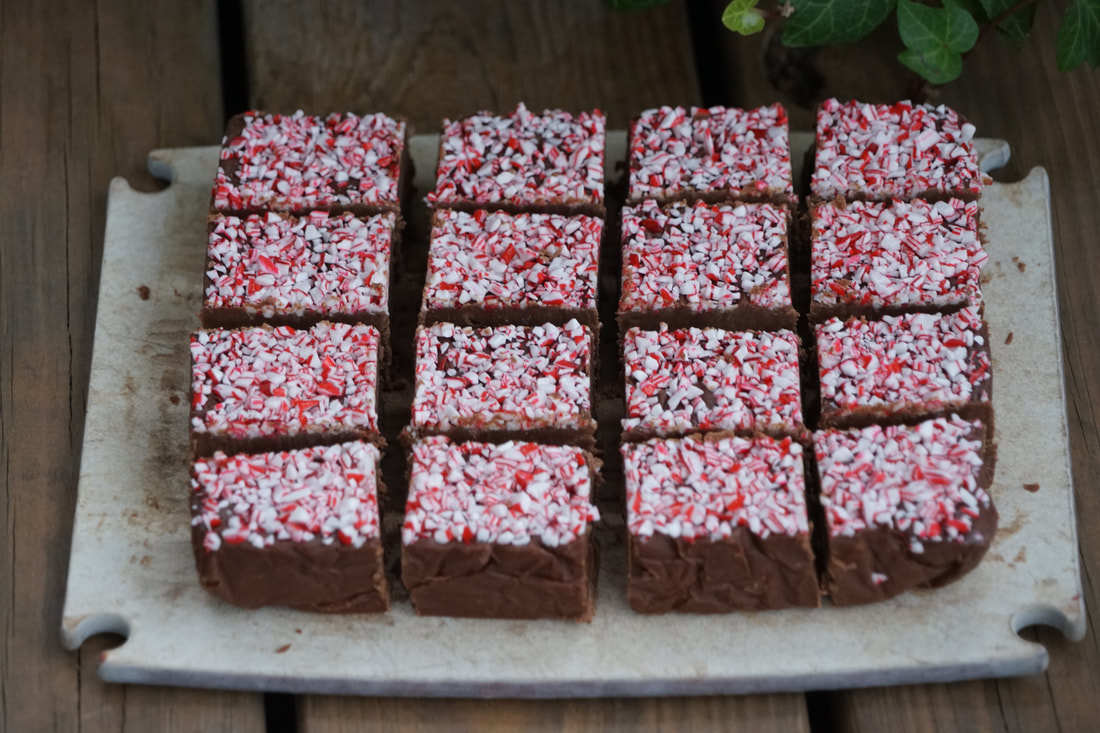 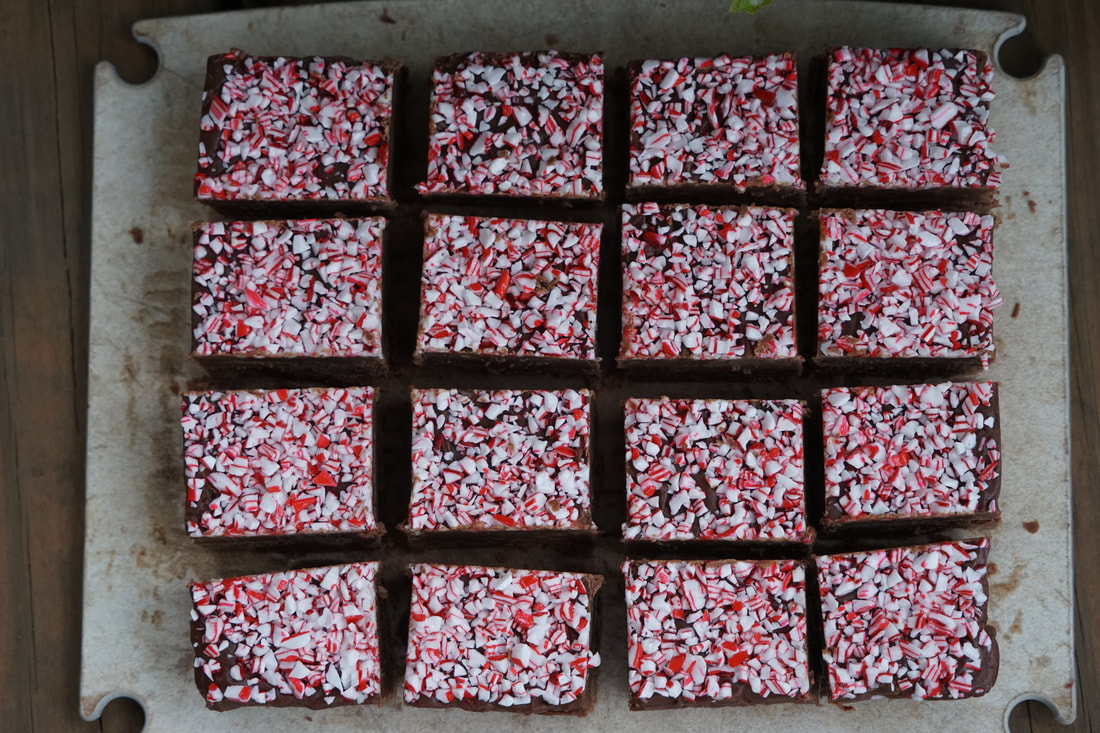 Store fudge at room temperature in an airtight container for 2 weeks.
 If you're looking for a gift for friends or teachers this season - keep this recipe in mind. It's really quick to put together and makes a really pretty little homemade gift for anyone on your Christmas list. Enjoy!
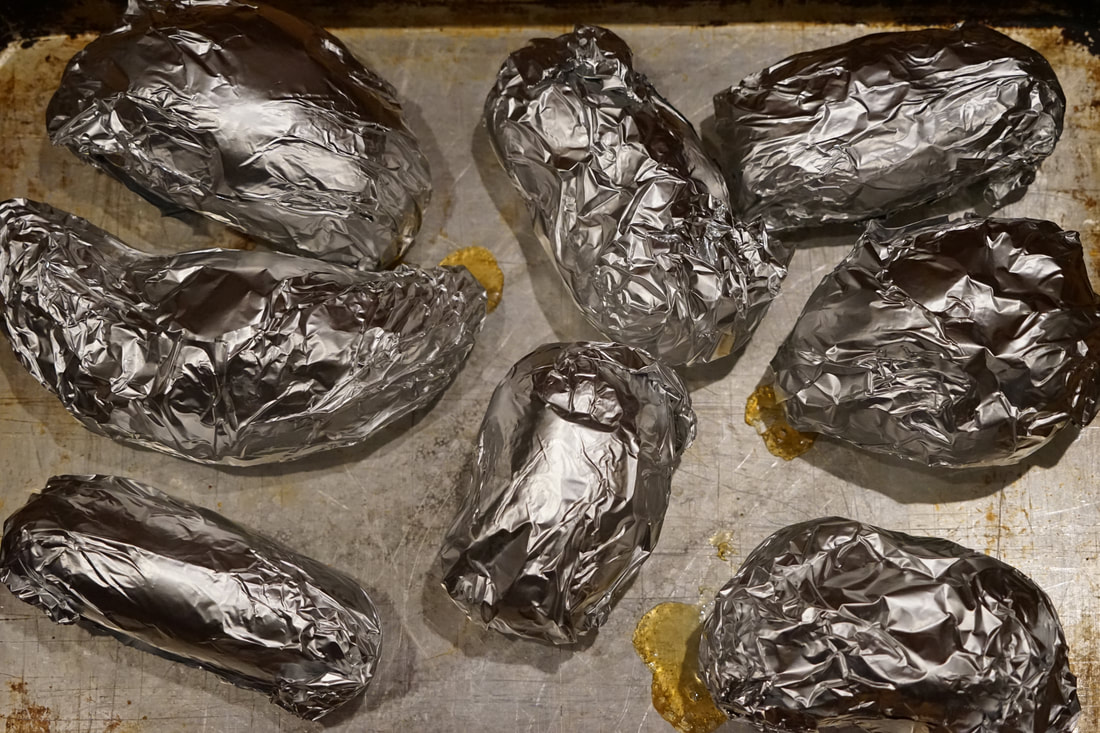
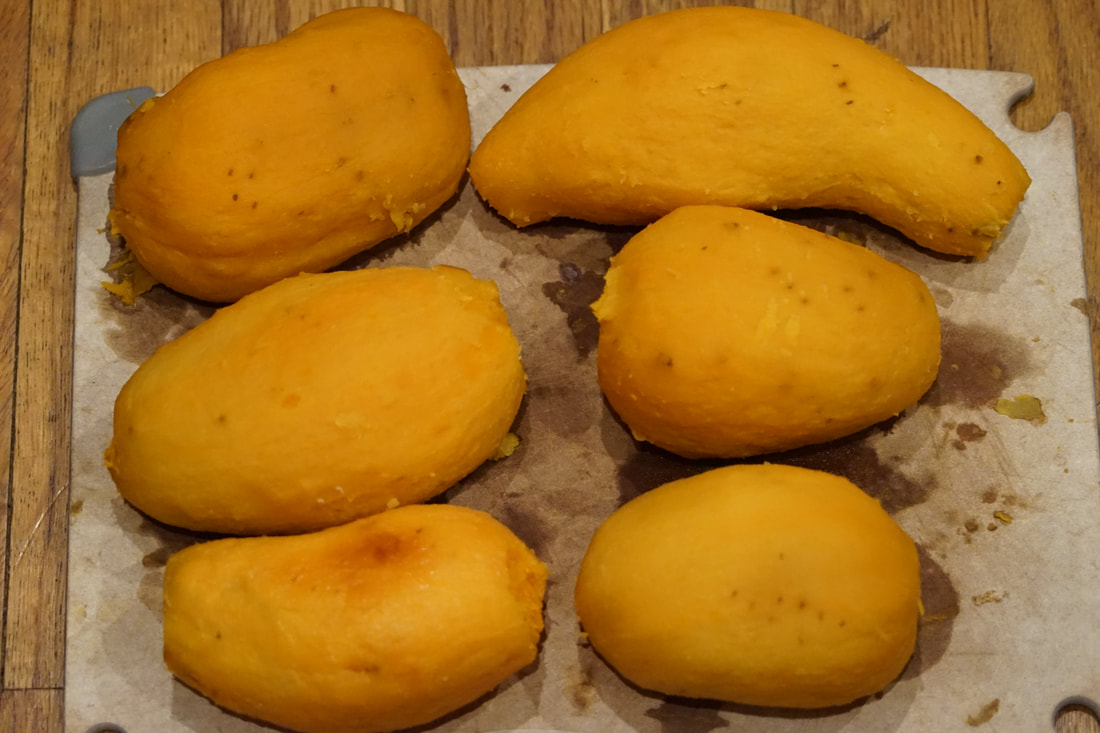
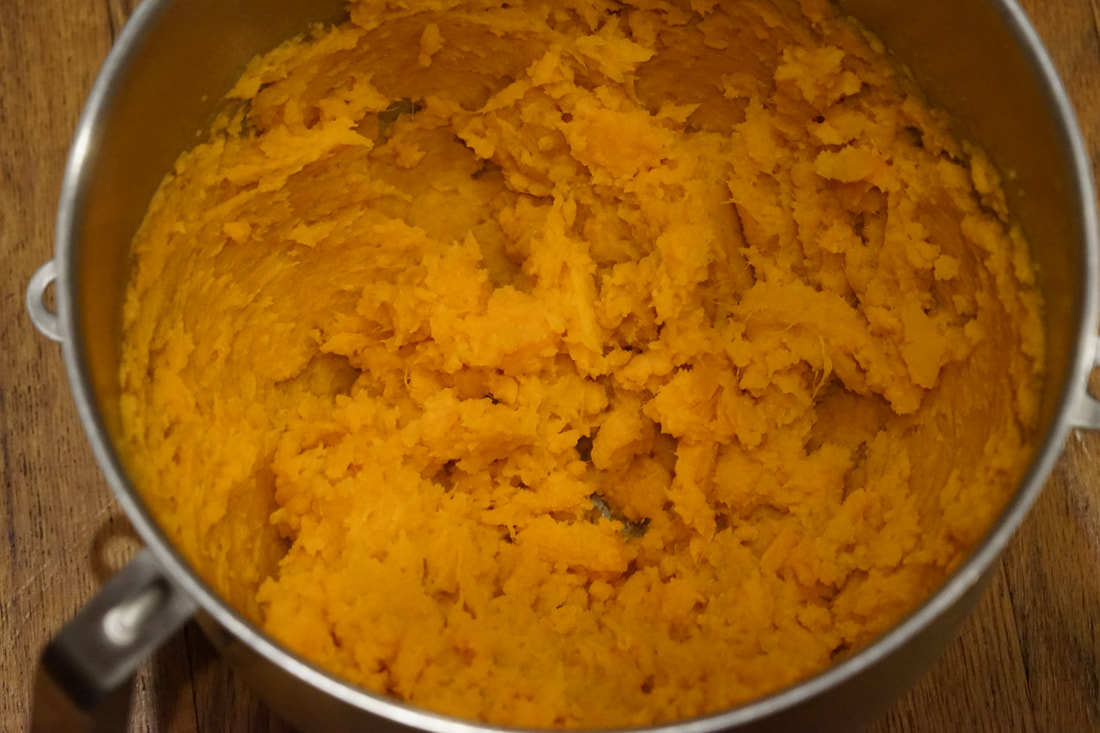
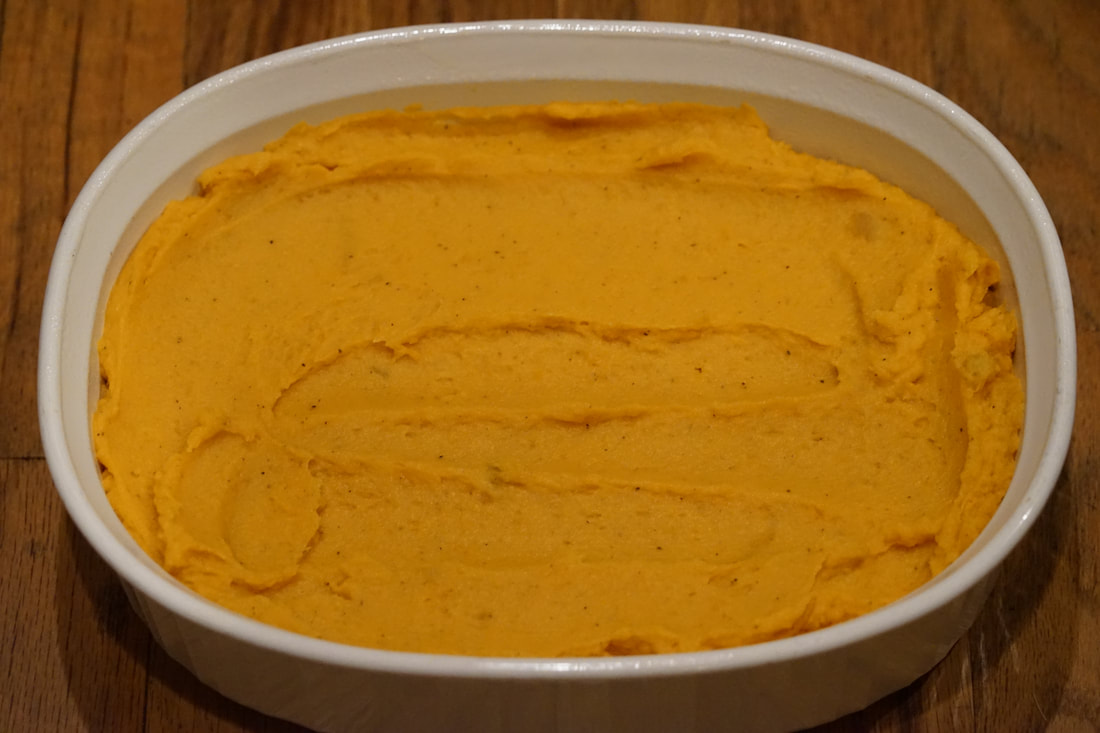
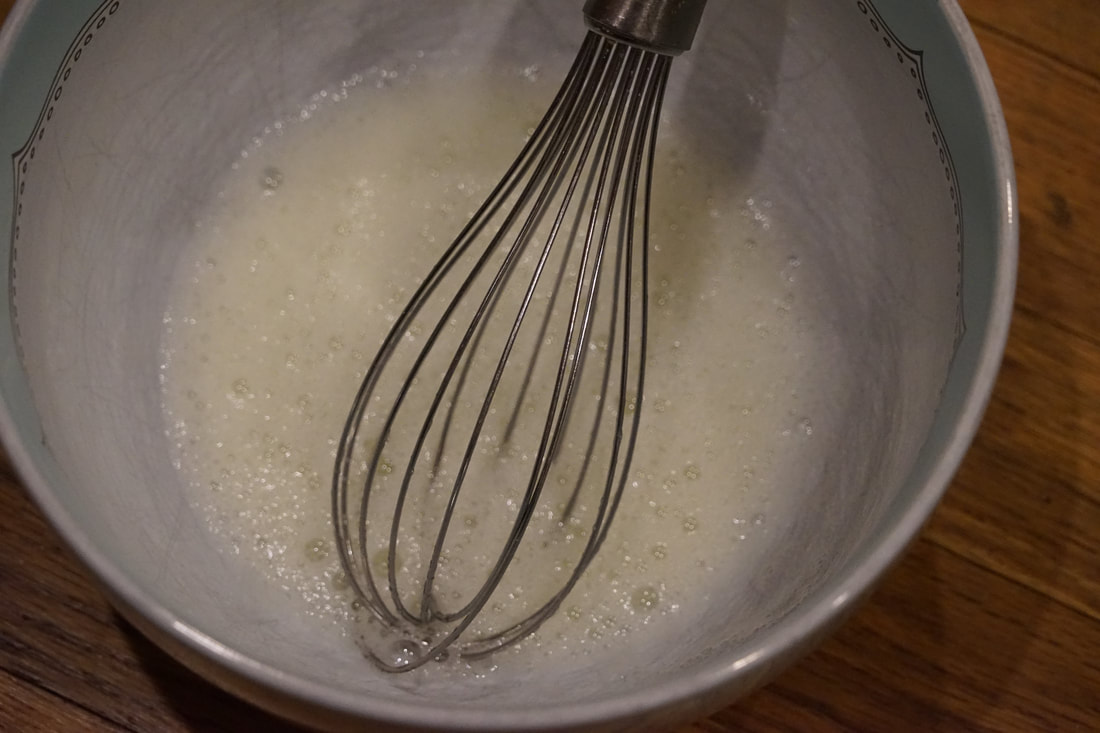
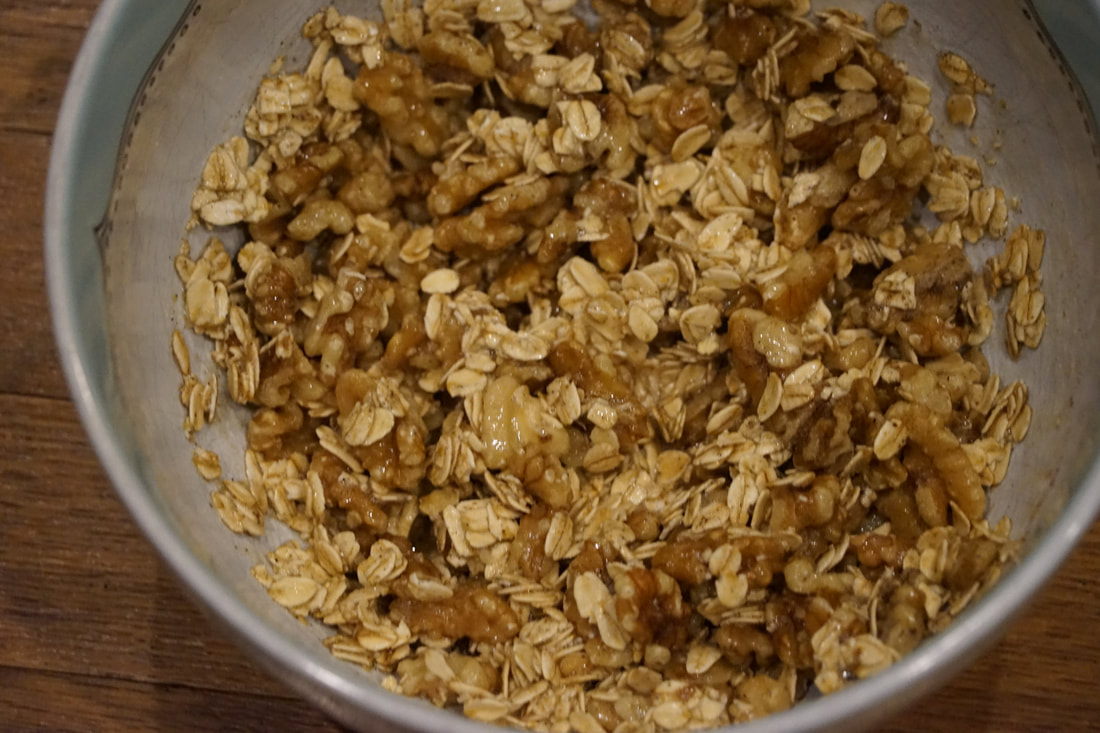
Ciao! 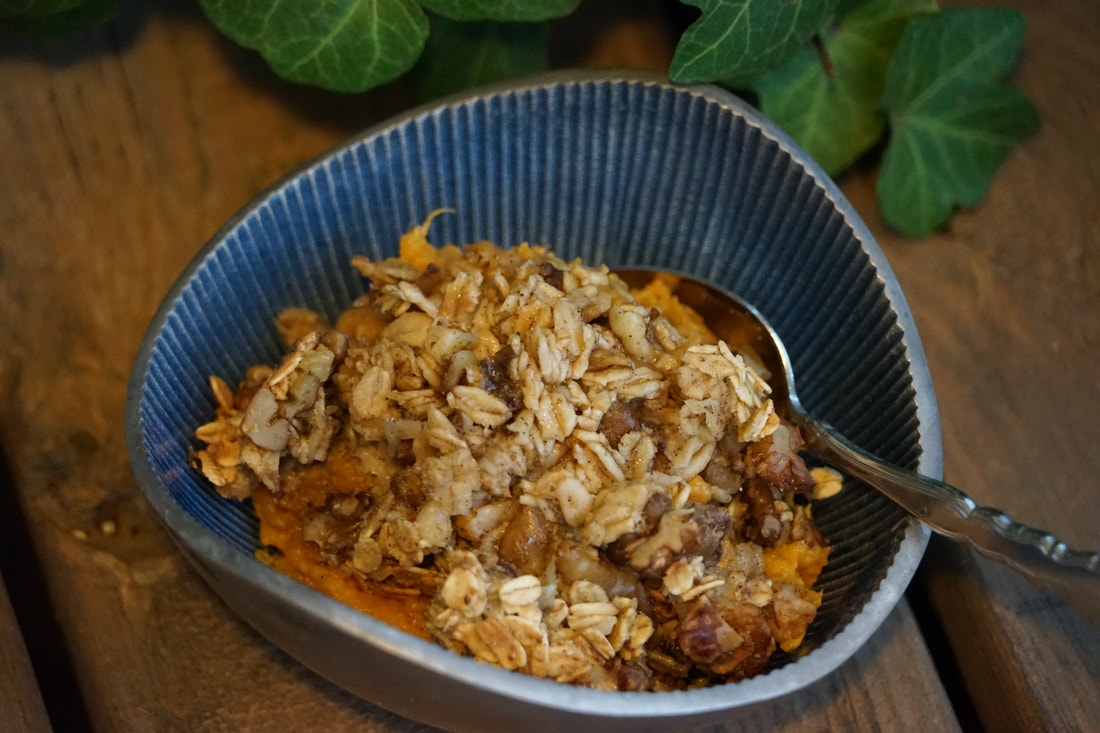 I feel like I am living in this weird place of transition. I'm no longer the mom of littles, I've retired from my roles as team mom, room parent and Halloween costume maker. Sure they still "need" my wonderfully articulate and insightful mom advice from time to time but they don't rely on me for daily food and transportation anymore. If I'm being honest, most of the time they get my advice even when they DON'T ask for it. For so long, I've operated under the titles of Ryan's mom, Courtney's mom and Ben's wife. I love being ALL of those things but I feel like there's been a swing in the pendulum. I am no longer referred to as someones mom anymore. So who am I now? 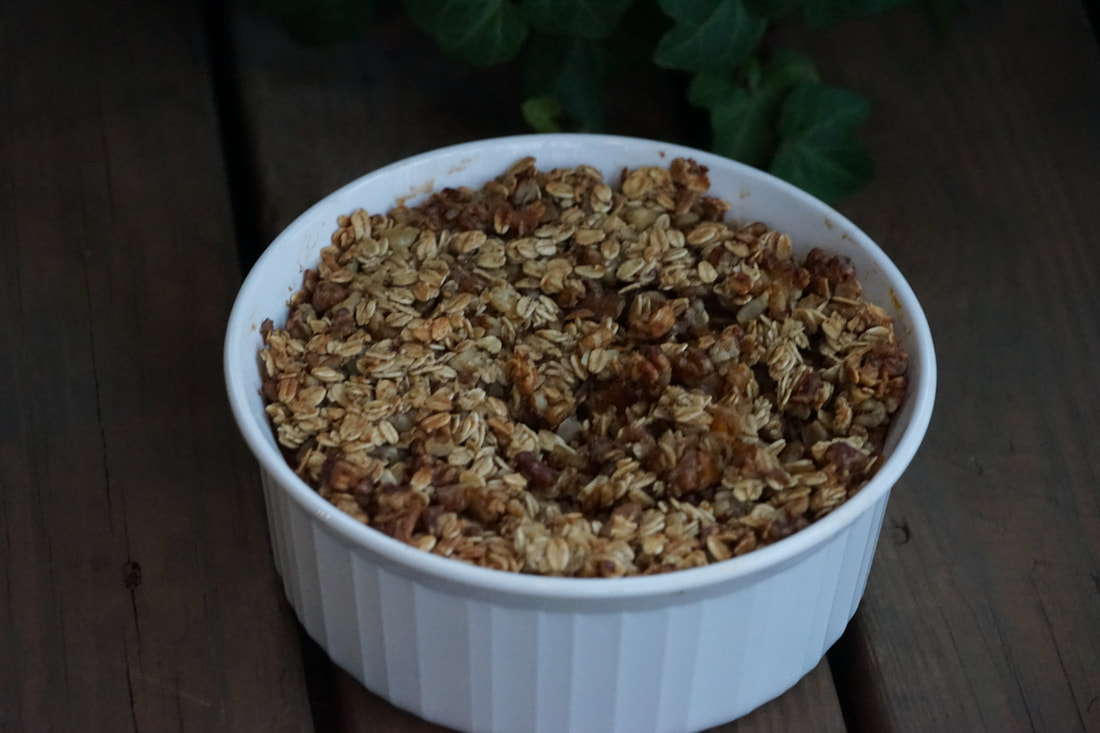 This identity crisis first occurred to me when I was handed a stack of forms to fill out at my last doctors appointment. That little box that wanted me to list my occupation had me stumped. I stared at it for a long time while I debated what to put in that empty space. My kids don't live at home anymore but I'm still a mom. I have a personal chef license - does that make me a chef? I own a little baking business but I don't think of myself as a businesswoman. And after 8 years, I'm guess I'm sticking with this food blogging thing so I technically I could have listed blogger as my occupation. But, since I don't receive any compensation for my blog anymore, I feel like it's more of a hobby than an occupation. 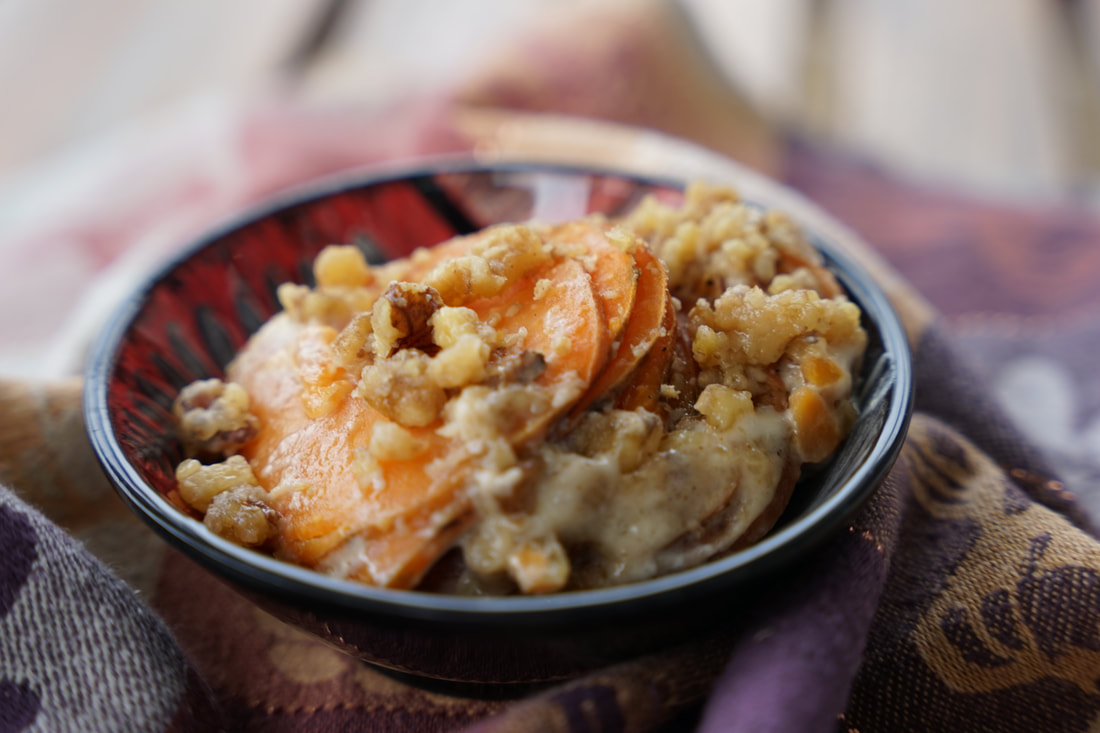 So how did I fill out that empty space on my form? After much deliberation I finally decided to leave it completely blank. I could have written baker, chef, caterer, business owner or food blogger but I don't feel like any one of those accurately describes my occupation. The problem wasn't that I didn't have an occupation to claim. The problem was that I have too many jobs to fit on that little one inch line. I may not consider myself to be a professional anything but I have a LOT of occupations. So here I am, mother of two, wife of one and owner of a little baking business who loves to blog. (Too bad there isn't enough room to write all of that little line on the form.) My love of cooking permeates through most of my occupations. I spend a lot of time cooking for blog posts, for catering jobs and for my own family. One of my latest creations was this reduced sugar Sweet Potato Casserole. 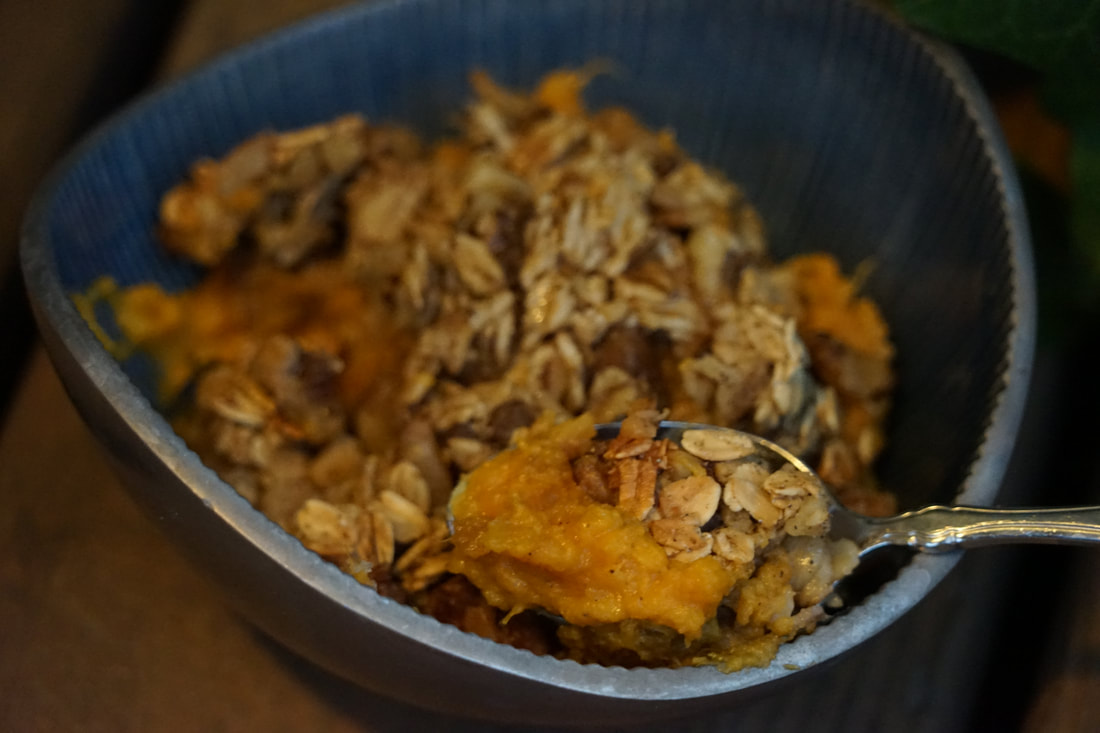 Sweet Potato Casserole 3 pounds sweet potatoes 1/2 cup evaporated milk 2 Tablespoons butter, melted 2 teaspoons vanilla 1 1/2 teaspoons salt 1 teaspoon pepper 2 eggs, separated 3/4 cup walnuts 3/4 cup rolled oats 2 Tablespoons brown sugar 1/2 teaspoon cardamom
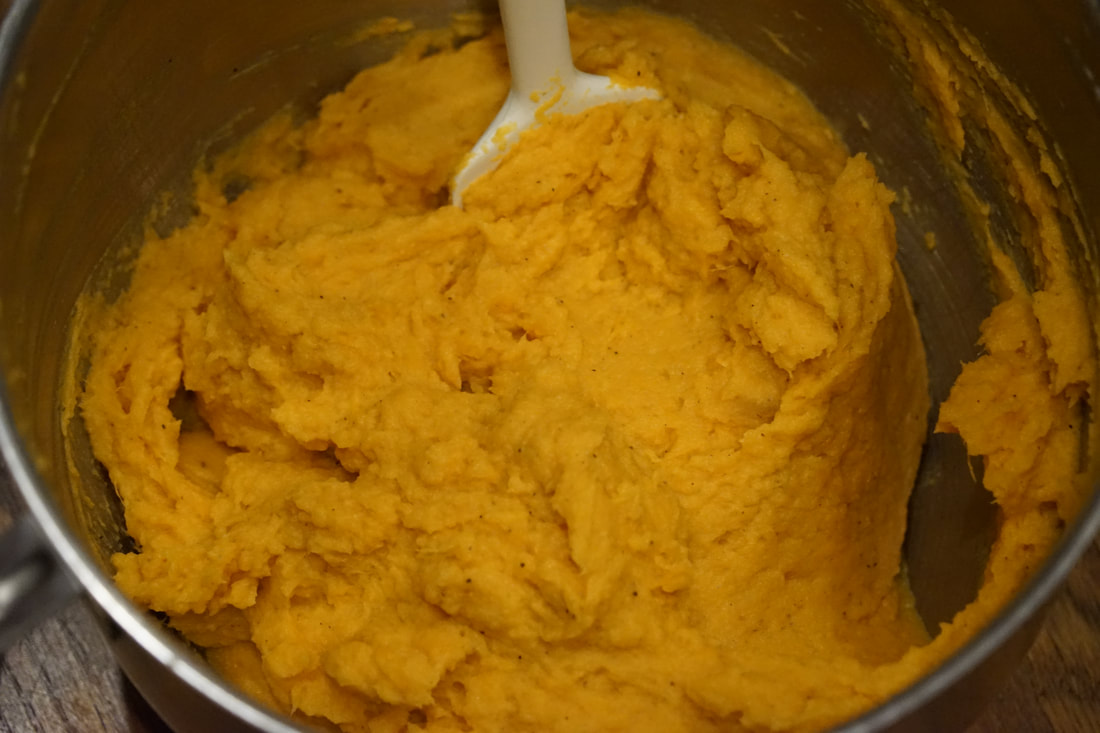
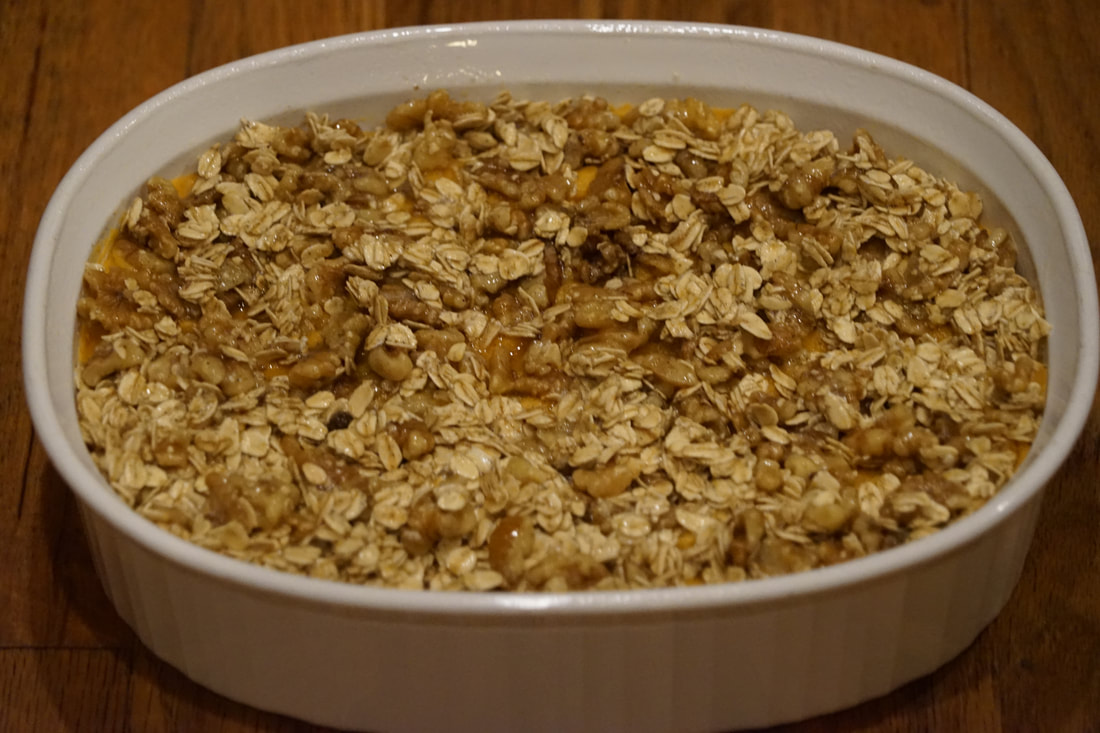
Bake 40-50 minutes at 350. 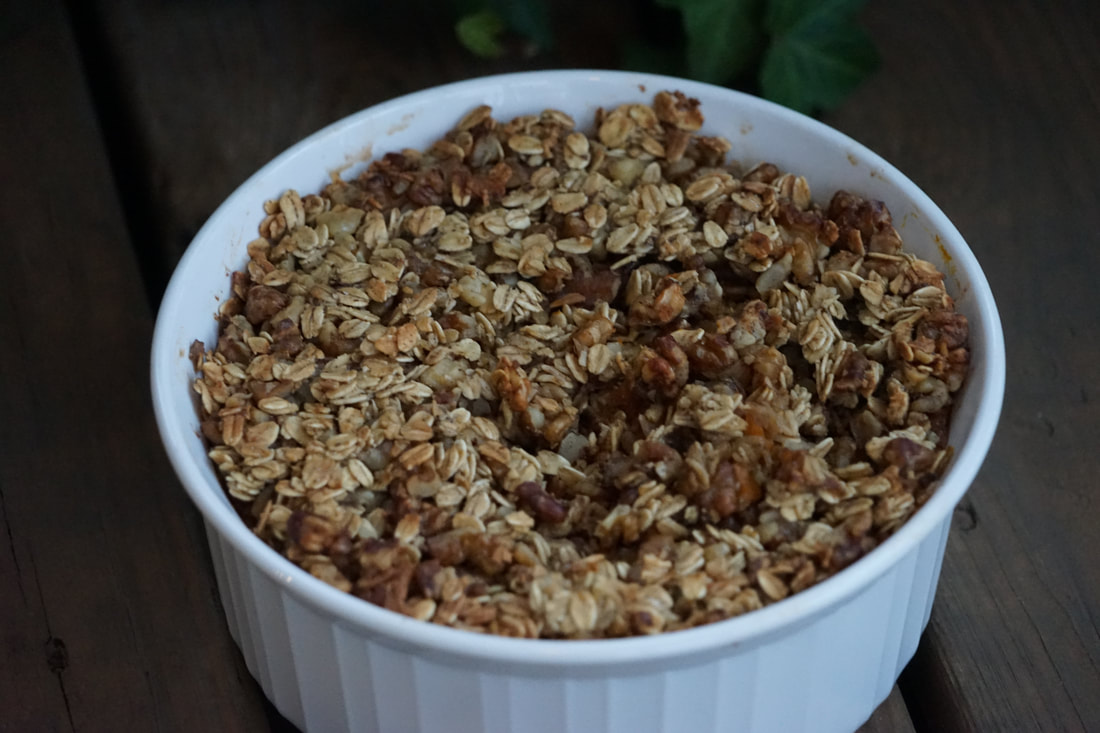 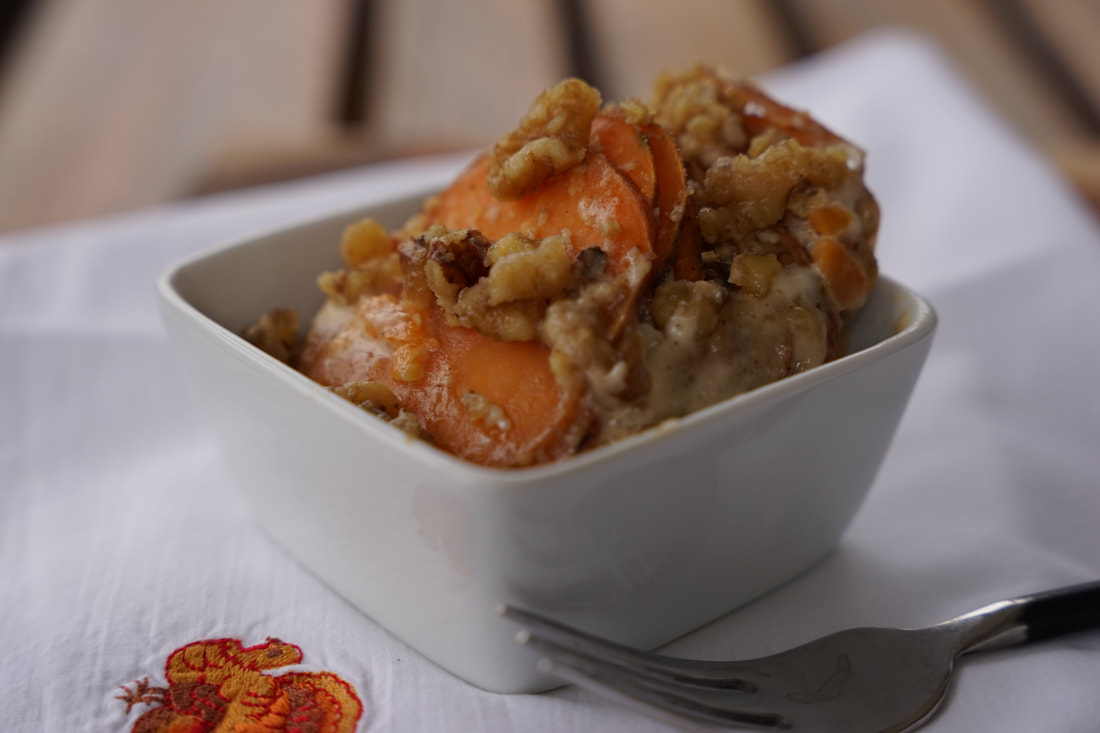 I made this sweet potato casserole in October and I put it in the freezer for a couple of weeks so that I could save it for Thanksgiving. I pulled it out of the freezer and transferred it to the refrigerator on the Monday before Thanksgiving so that it would defrost and then I baked it on Thanksgiving morning. It was really, really good and not overly sweet like some other sweet potato casseroles that I've tried in the past.
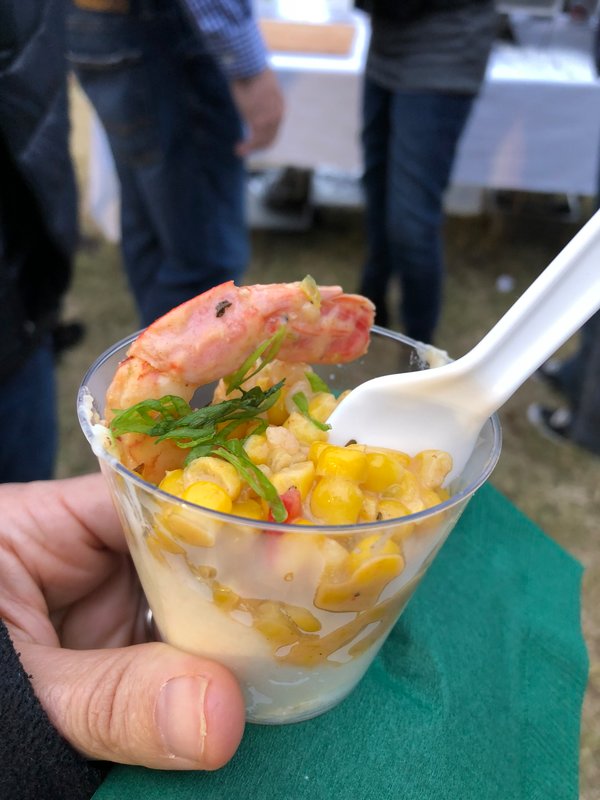
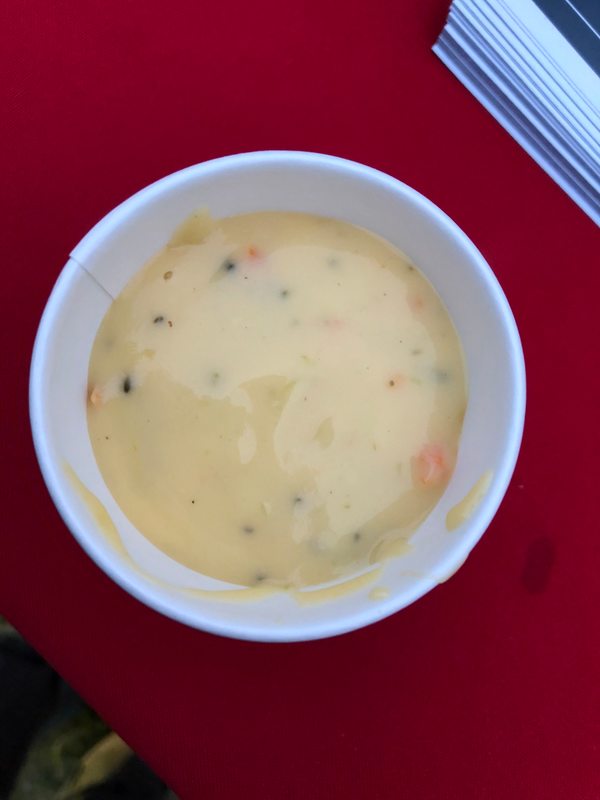
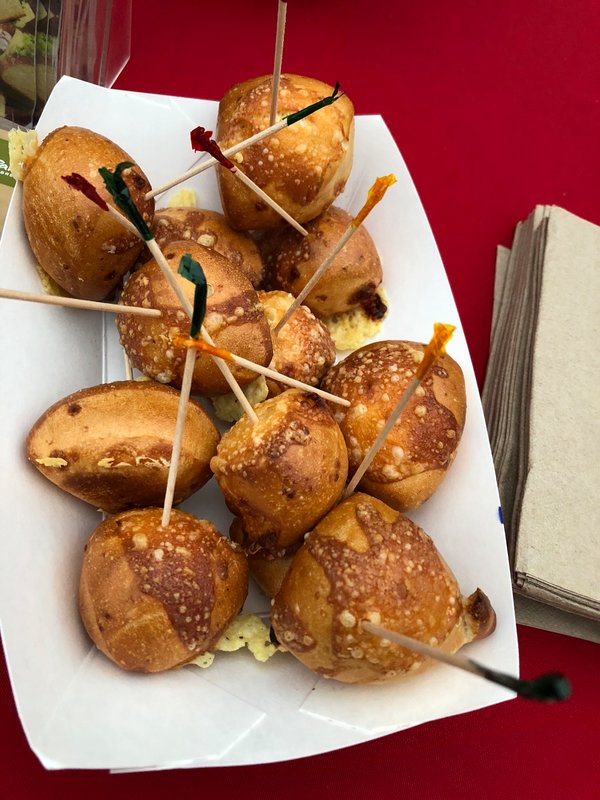
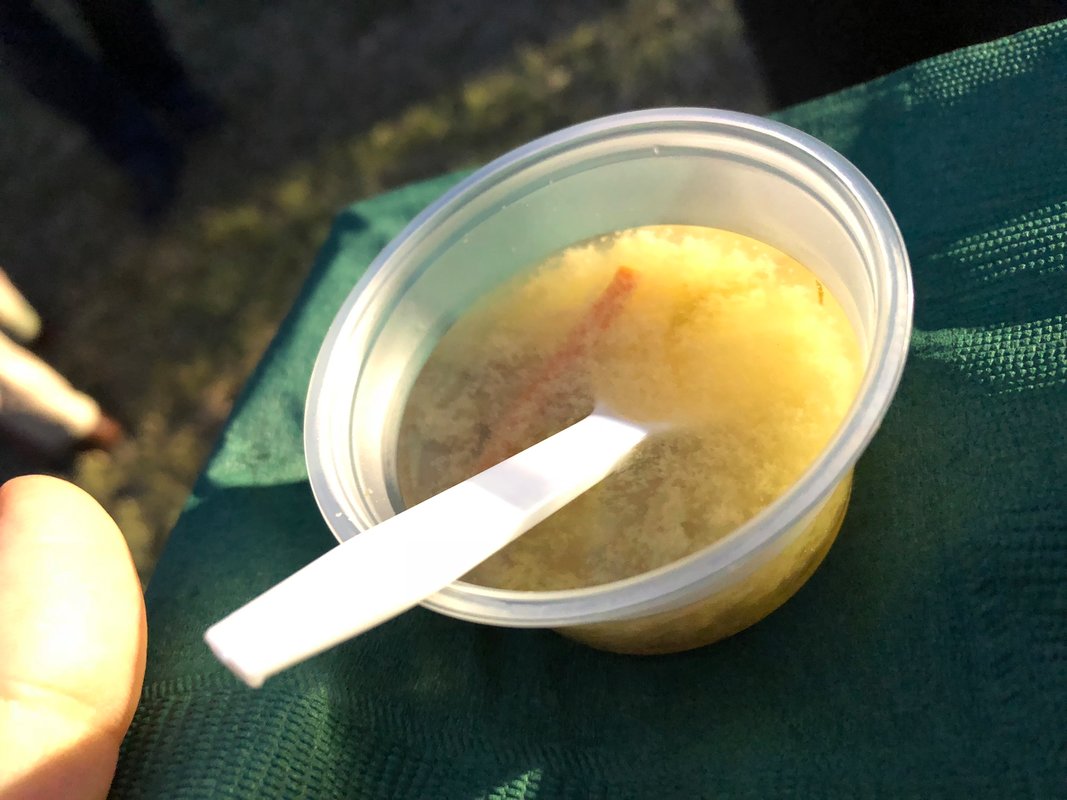
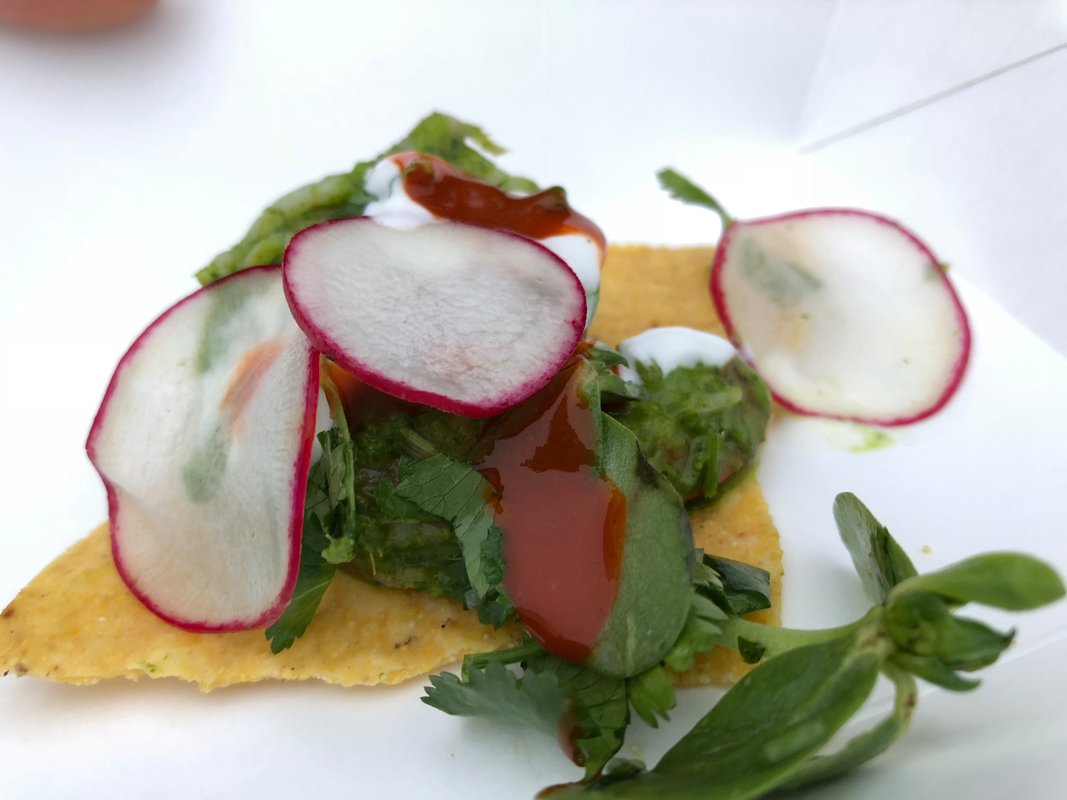
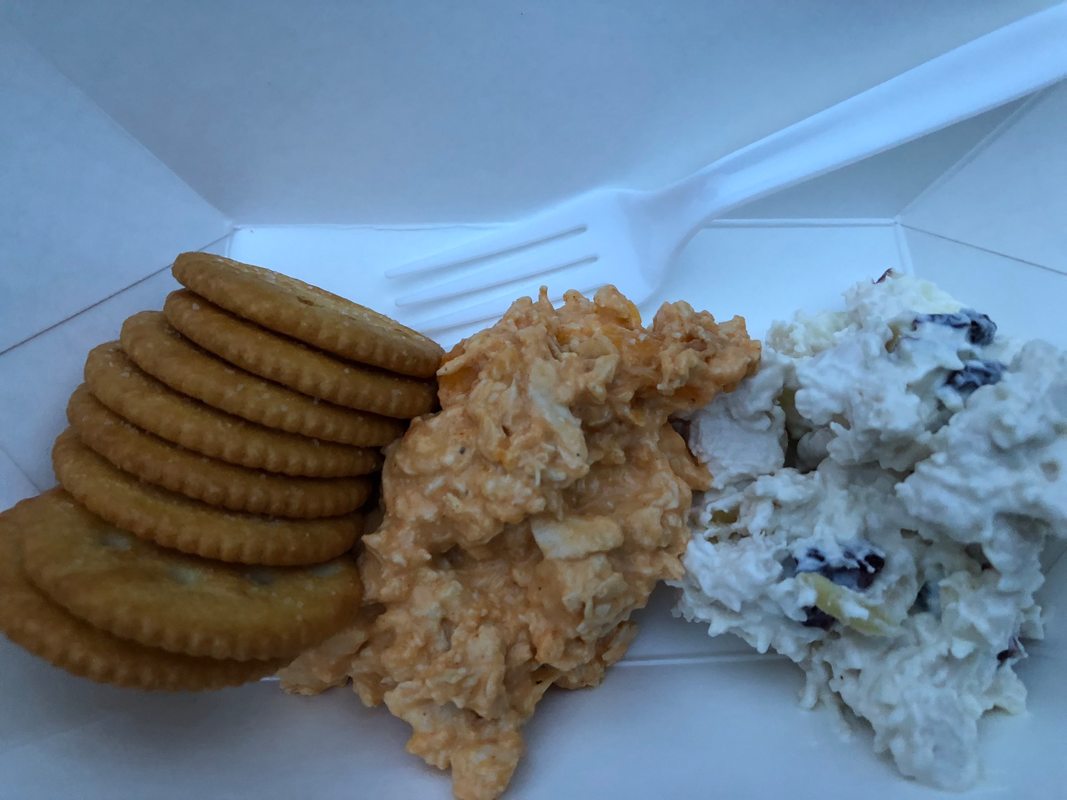
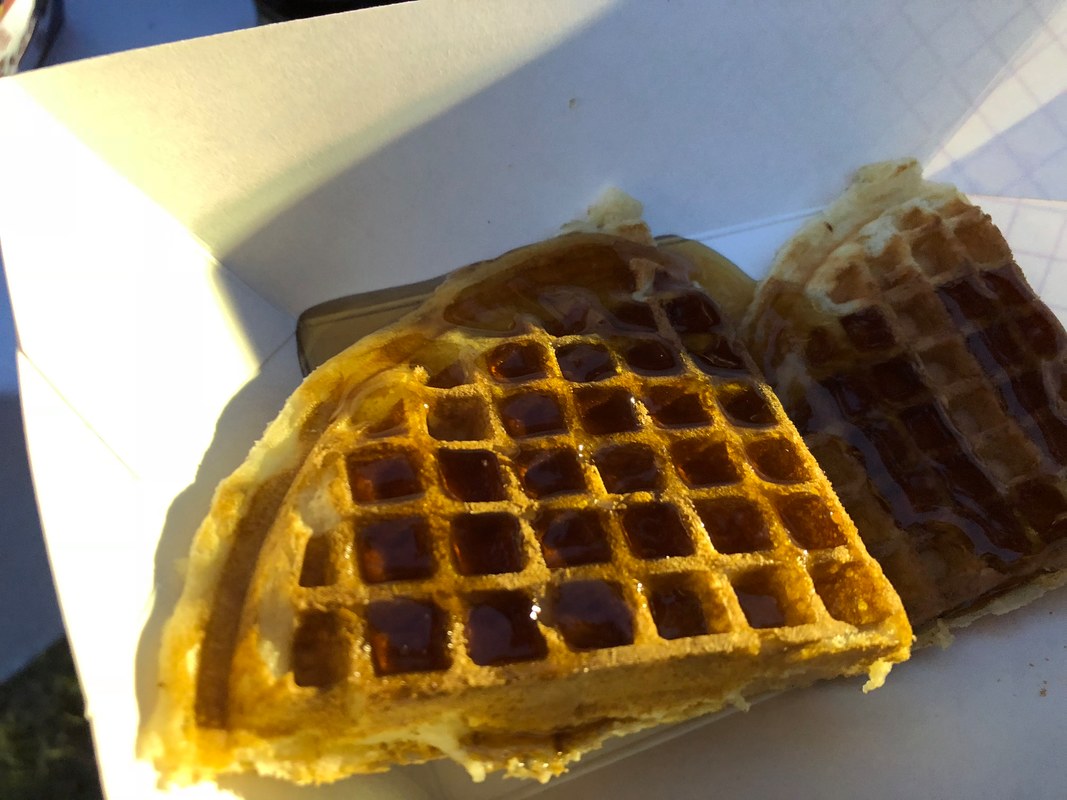
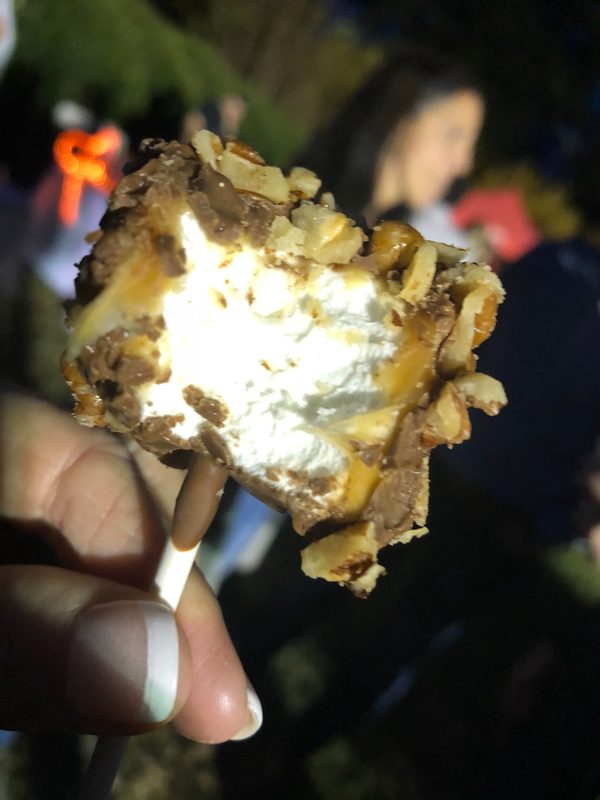
Ciao! 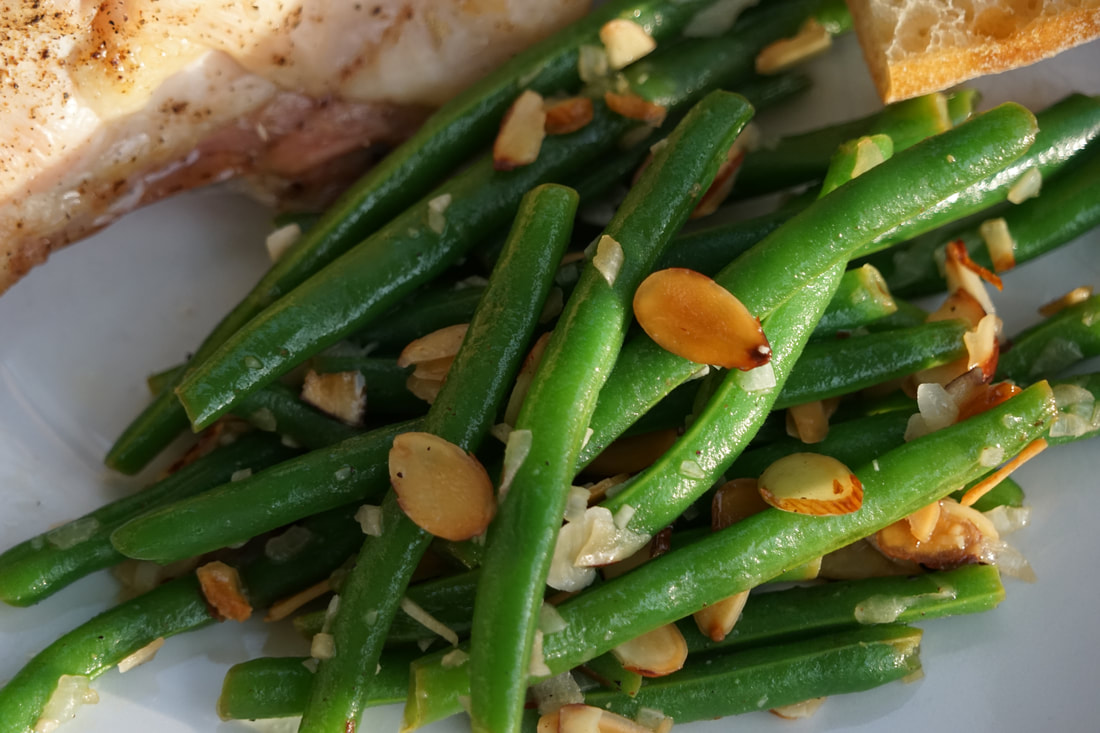 Just imagine gathering up all of your favorite local restaurants in one place where you could sample all of their best dishes. That would be incredible, right? Well last month, my dream came true. I first heard about this amazing event called the "Taste of Monroe" on Facebook and I bought tickets immediately. All of my favorite local restaurants (and future restaurants) were represented -- and they all brought samples!!! Our ticket price covered all of the tastings. There was everything from beer and wine samples to honey fried chicken with collards to waffle house waffles. And yes, I sampled it all. You didn't think that I would pass up a hot fudge sundae from Scoops, did you? From top to bottom and left to right Shrimp and Grits from South on Broad Mr. Jones Burger from LR Burger Broccoli and Cheddar Soup from Panera Asiago Cheese Bagel Bites from Panera Bok Choy Broth from Bruce's Sweet Shop Barbecued Chicken from Shanes Rib Shack Honey Fried Chicken and Collards over Cornbread from The Monroe Country Club Pesto Shrimp Chip from Silver Queen Honey Hot Boneless Chicken Wing from Amicis Buffalo Chicken Dip and Chicken Salad from the Cotton Cafe Waffles from Waffle House Hot Fudge Sundae from Scoops Toffee Marshmallow from Scoops Vanilla Cupcake with Chocolate Buttercream from Bruce's Sweet Shop Cupcake Display from Posh Cupcakery
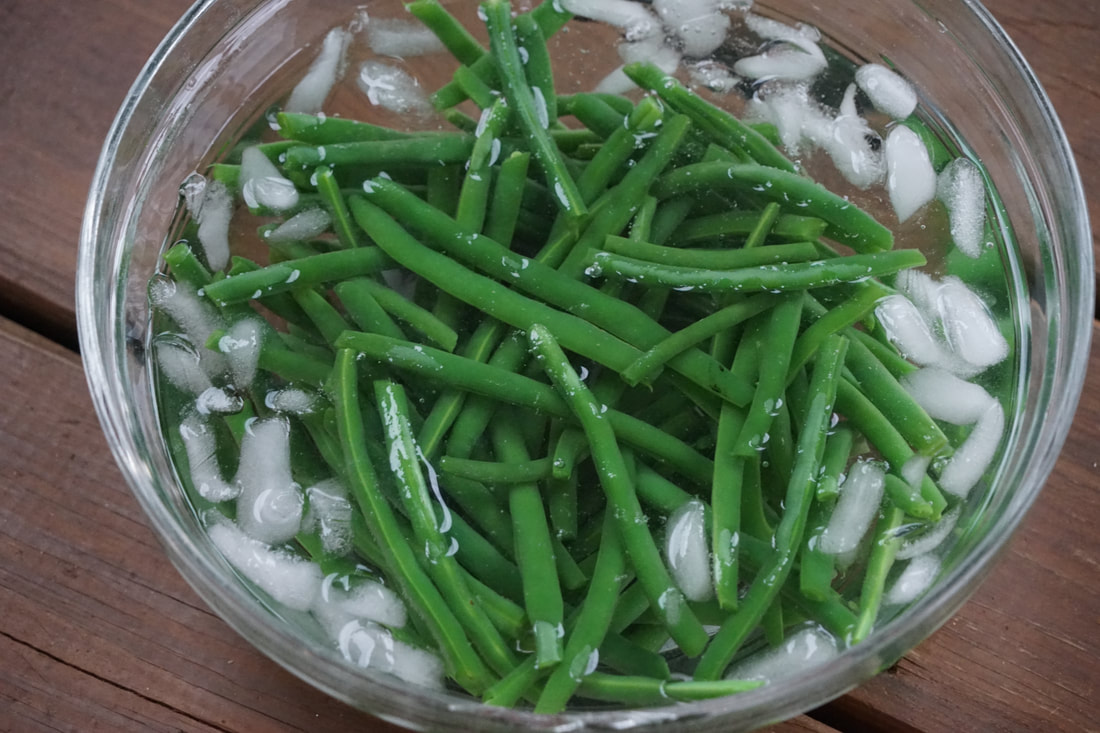
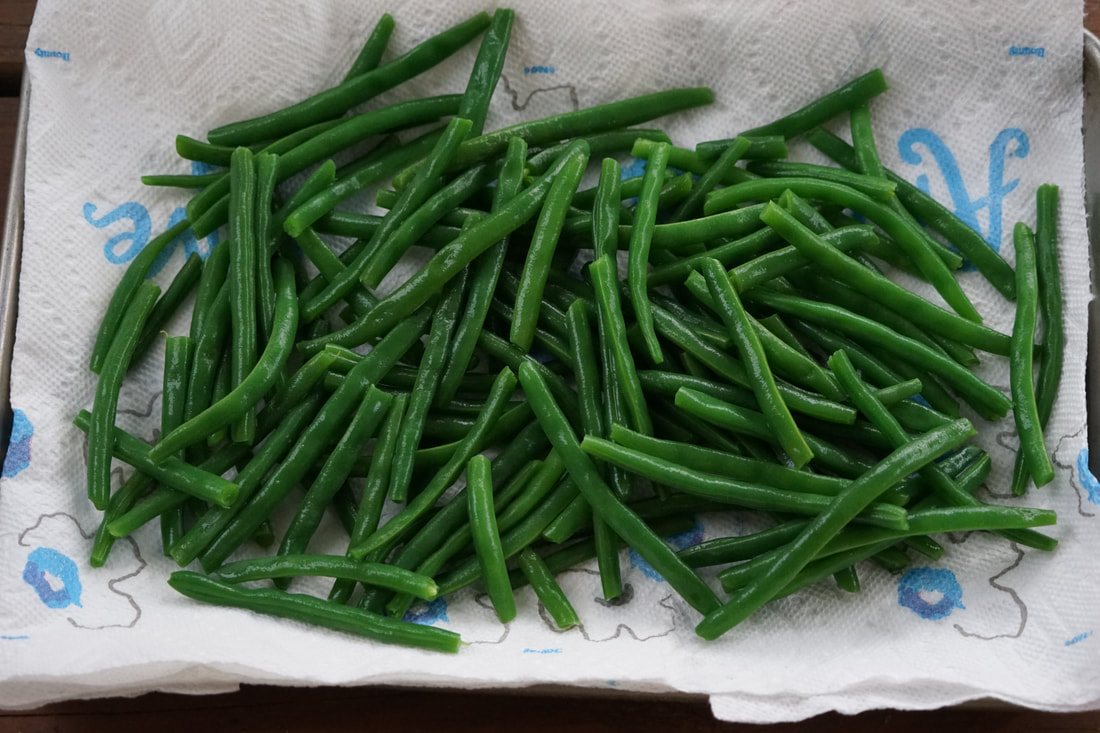
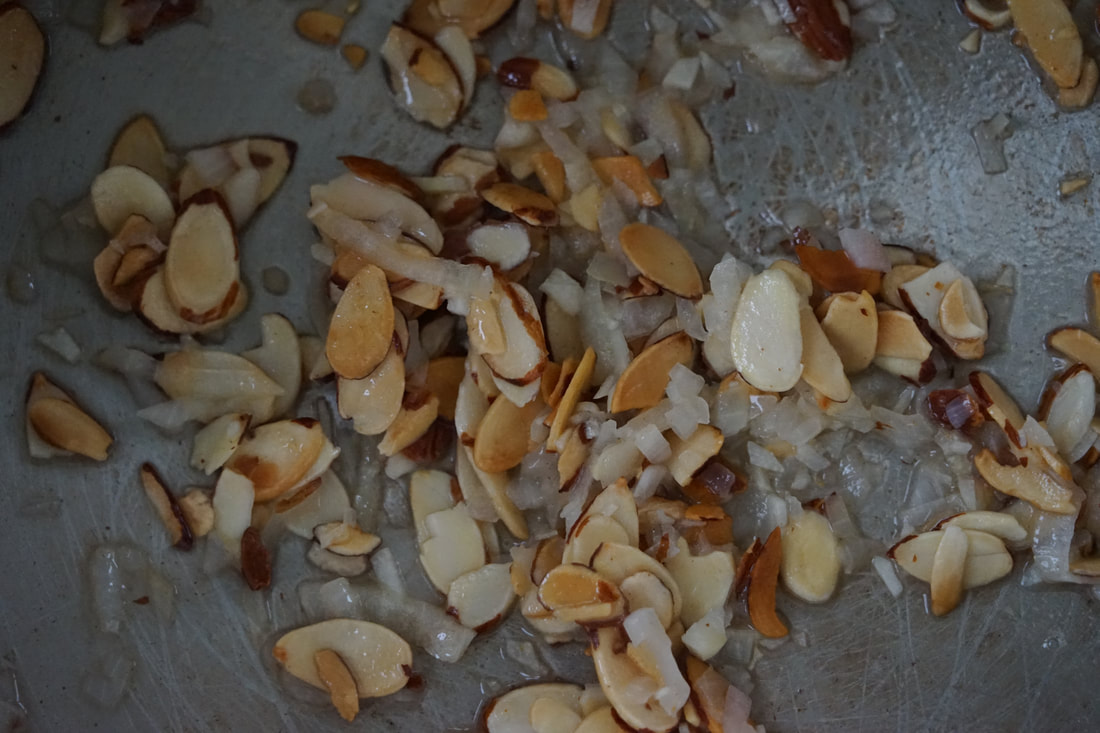
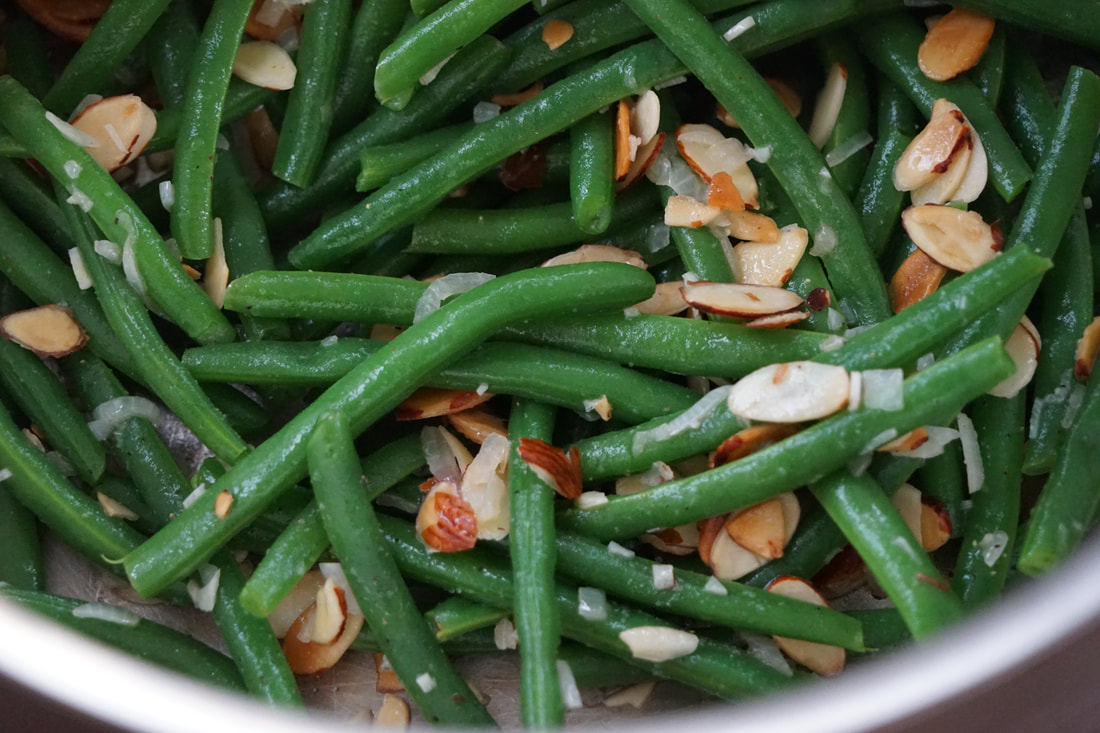
My personal favorite was the Shrimp and Grits from South on Broad. I didn't think that I was a grits fan but this was so good that I found myself desperately trying to scrape the last of the grits out of the bottom of my cup with my empty shrimp tail. It was THAT good. It was really interesting to see what each restaurant chose to offer as their "taste" at the event. Just imagine that you could only offer someone one taste from the repertoire of things that you make in your own kitchen. What would it be? 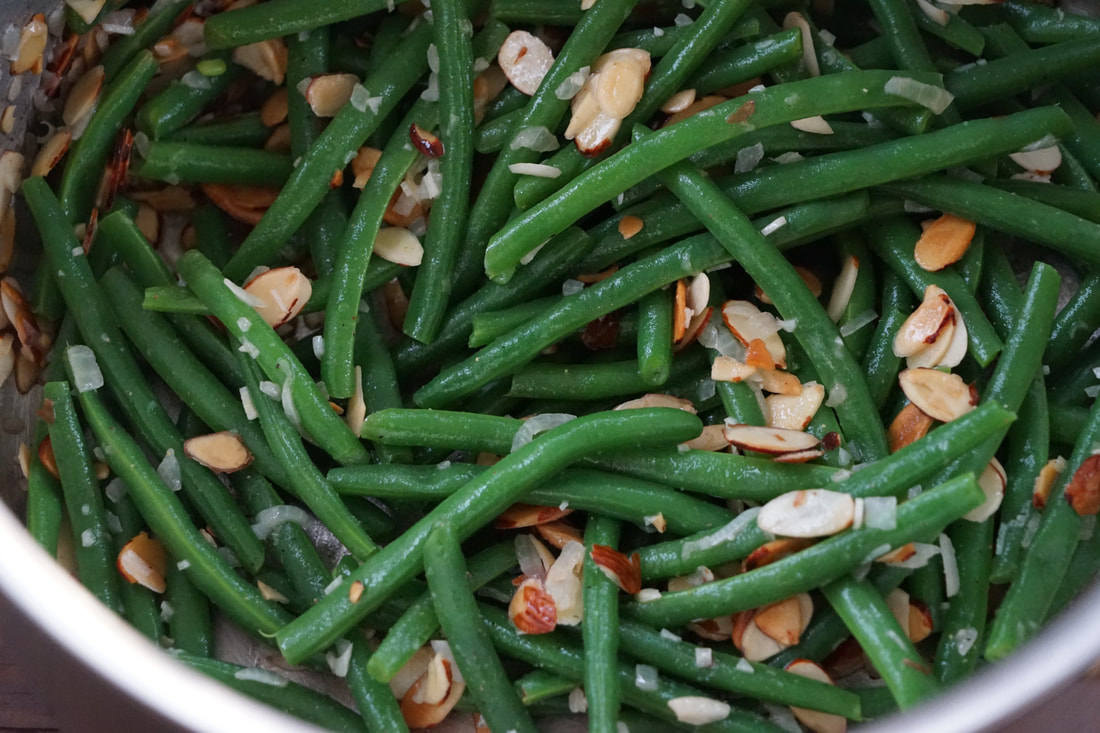 Thanksgiving dinner at the Davis house this year was a compilation of talents. I asked each guest to contribute their best dish to the meal. Roll baking duty always goes to my mom because - well, we can all agree that she's the roll master. My MIL brought stuffing and cranberries. And, after I passed out all of the cooking assignments for the dinner - there really wasn't much left for me to make. Thanks to a willing sister in law - I didn't even have to make the green beans for Thanksgiving this year. I actually like to make green beans but blogging a new recipe with a house full of dinner guests while entertaining on Thanksgiving is a recipe for disaster - trust me. I made these beans for Ben and I a couple of weeks after Thanksgiving and we really enjoyed them. I am especially thankful for everyone who contributed to our Thanksgiving meal this year. Pulling together our best dishes is a great way to put on a great meal. 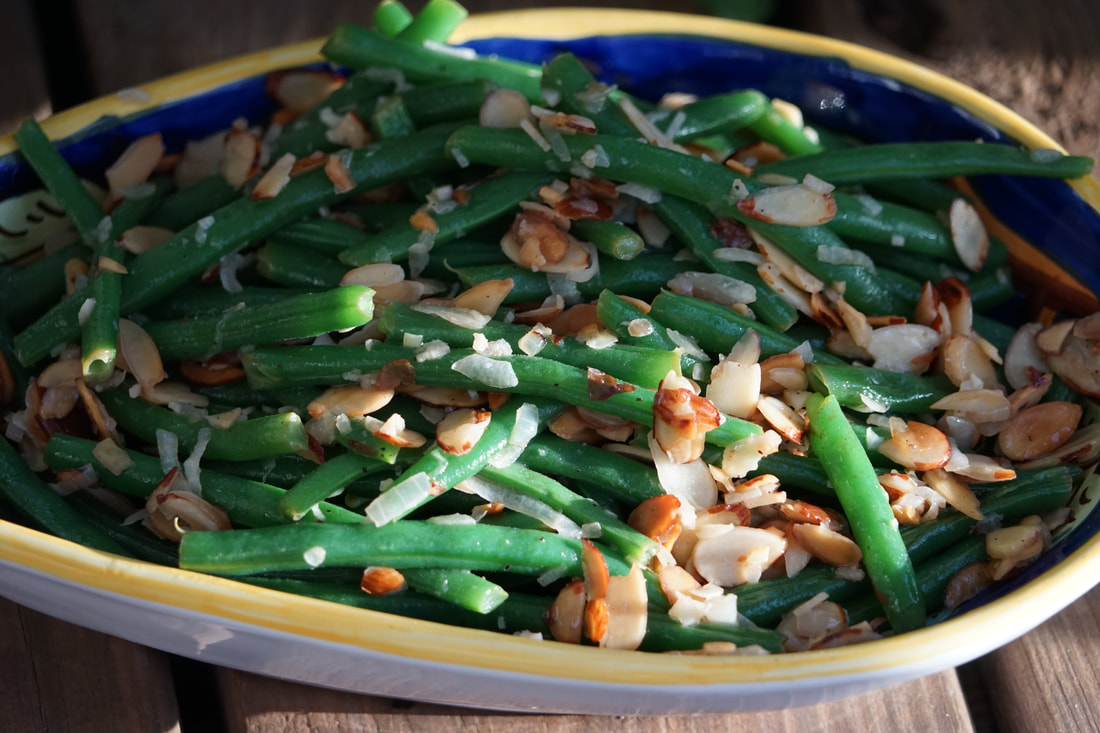 Green Beans Amandine 8 ounces haricots verts 2 Tablespoons butter 1 Tablespoons olive oil 1/2 cup sliced almonds 2 Tablespoons water 1/4 cup thinly sliced shallot 1 clove garlic, minced 2 Tablespoons lemon juice 1 teaspoon salt 1/4 teaspoon pepper
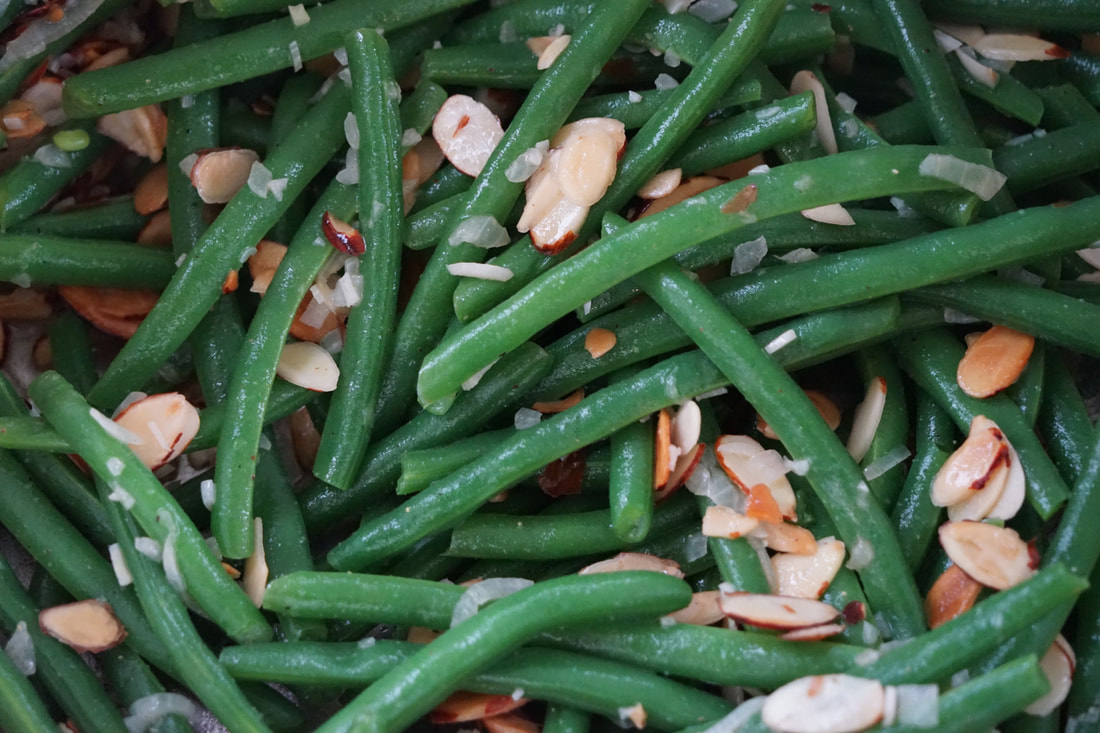
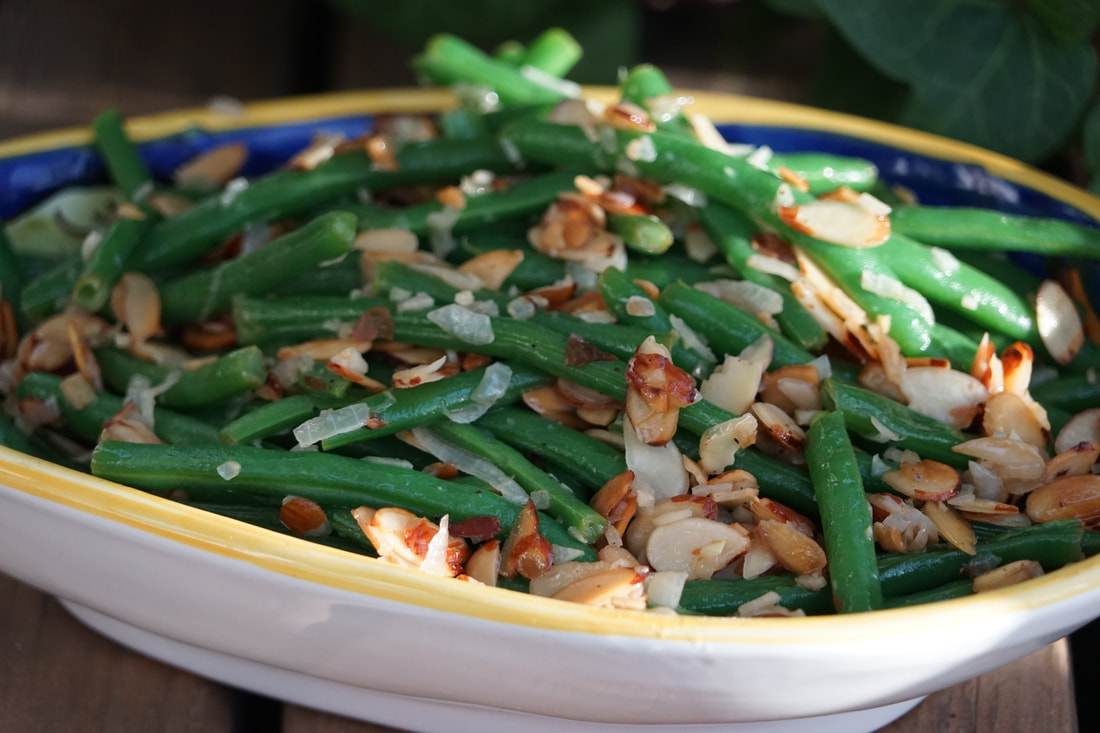
Serve.
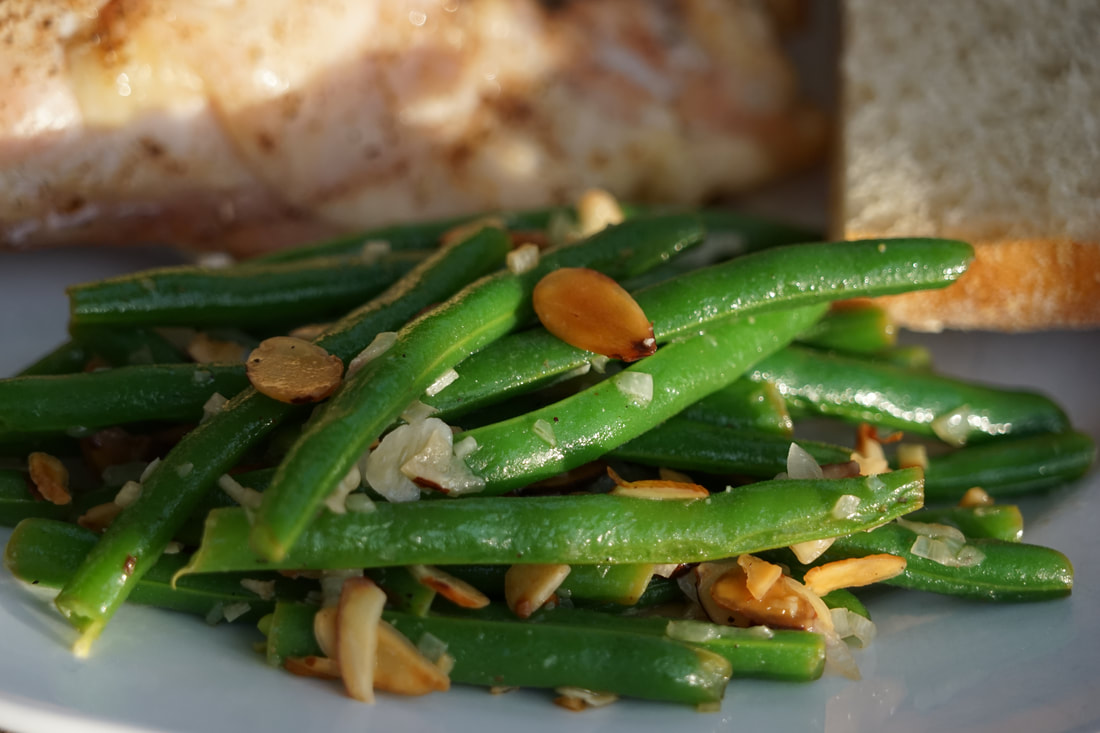 Did anyone else mistakenly refer to these green beans as "almondine"? I've made other versions of this recipe for years and I've always referred to them as green beans almondine. My bad. It does make me wonder though, how many of my other recipes I've been pronouncing incorrectly.
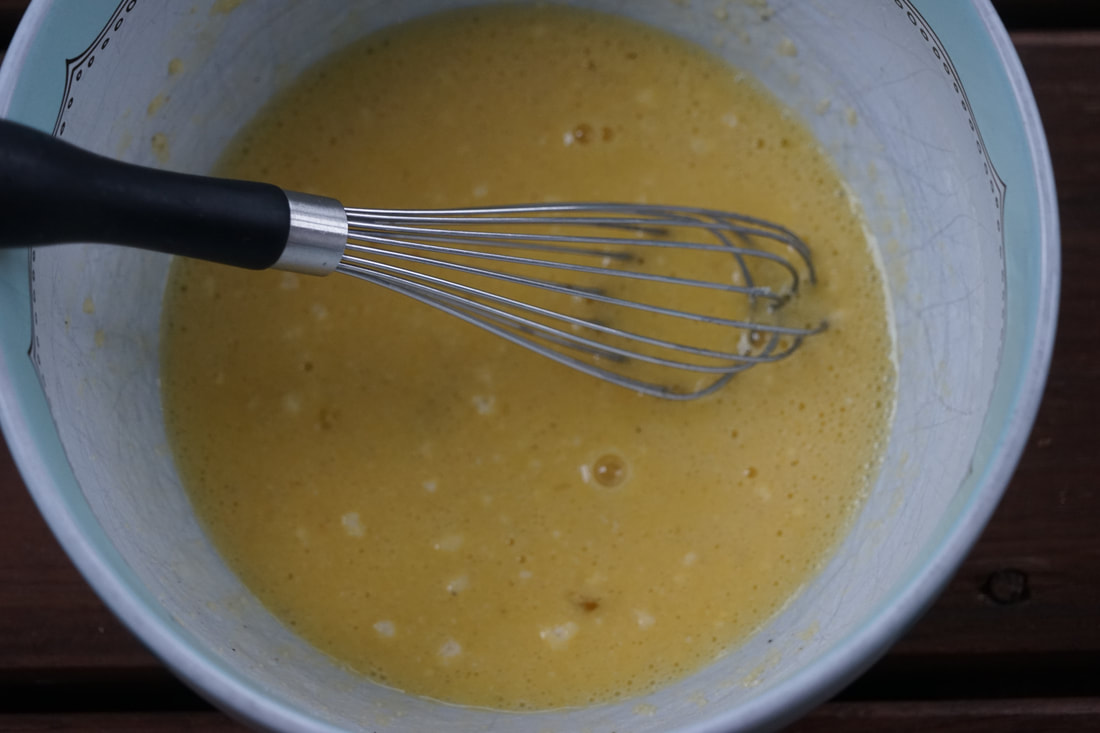
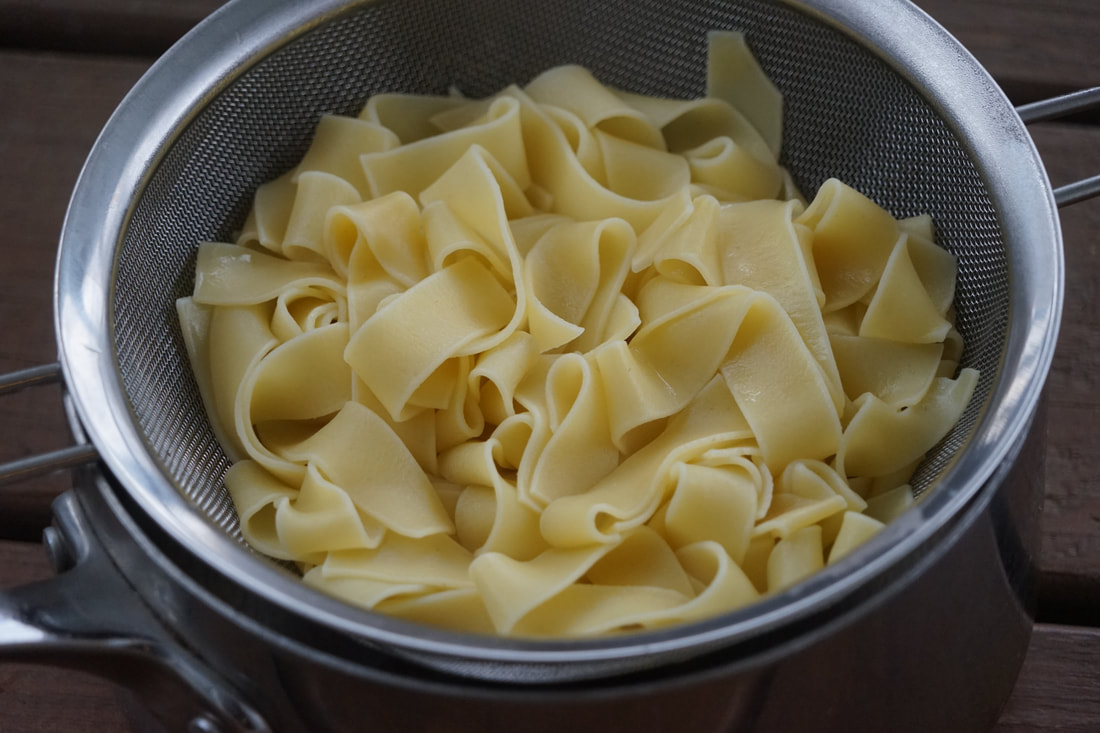
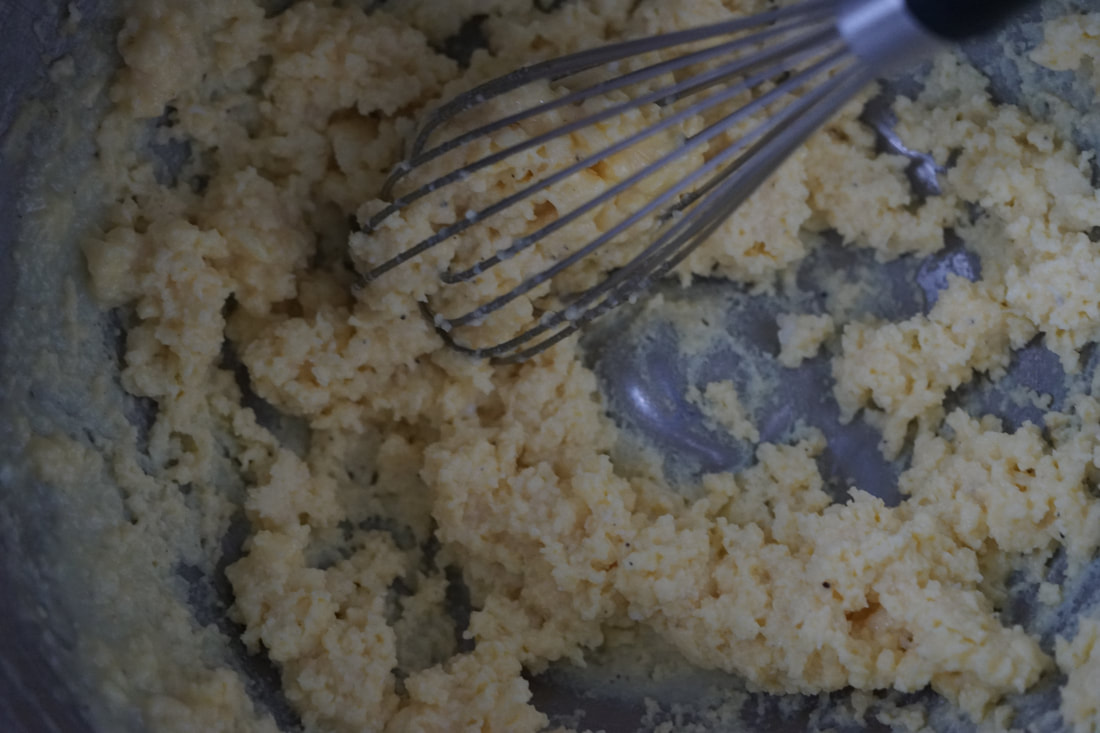
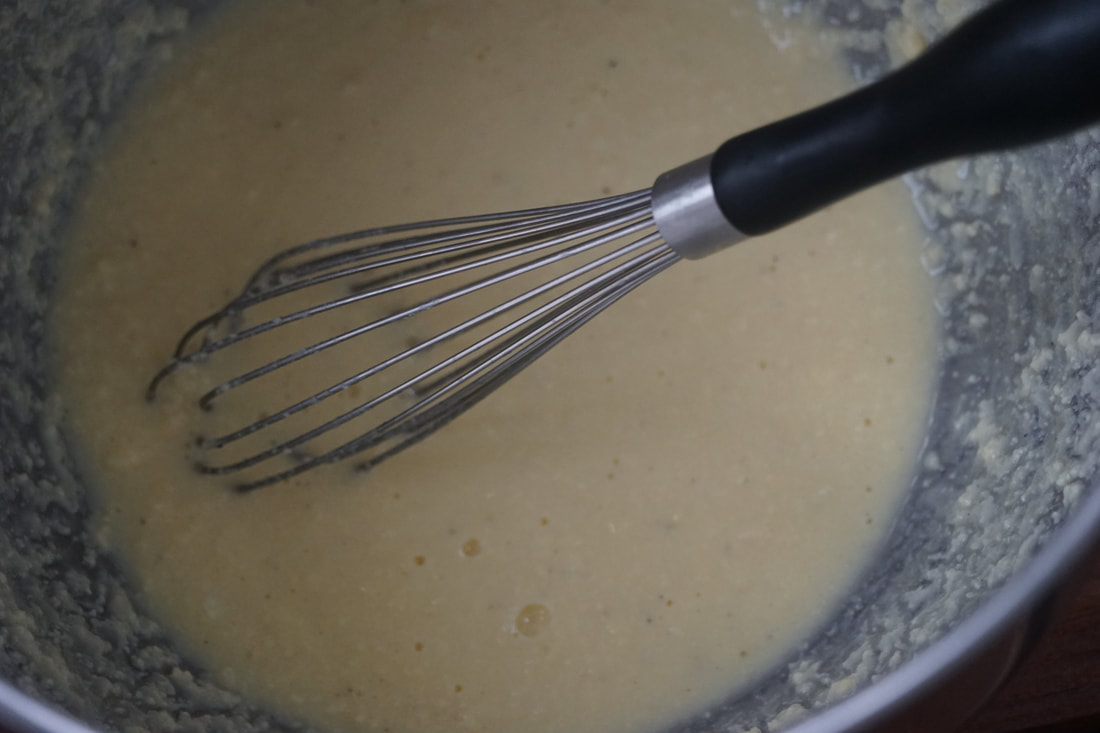
Ciao! 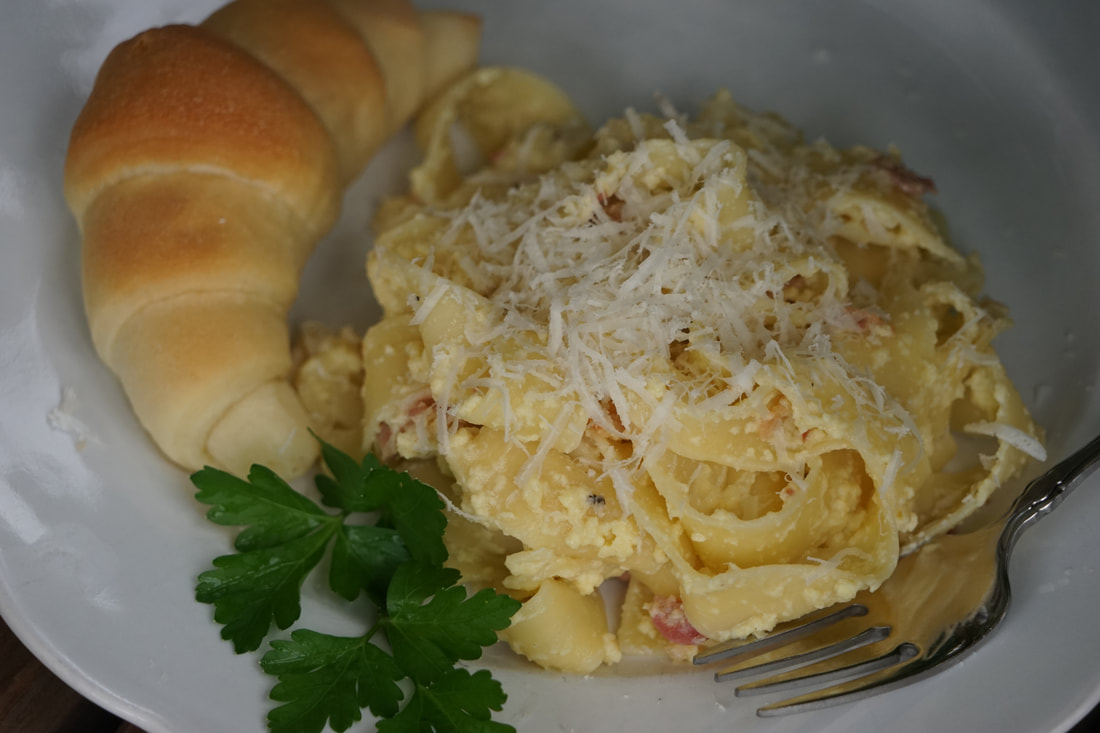 2018 was a year of repair and replacement for us. Let me just run down the list really quickly for you of the things we repaired and replaced this year: 1 Hot water tank 1 septic system 1 septic alarm - TWICE (don't ask) 1 irrigation system sod around 3/4 of the house Most of the plants (and trees) around our house 2 Refrigerators (One replaced and one repaired) air conditioner in one vehicle 2 Dryers (plural - we bought one and replaced another) Tires on 3 vehicles 1 Laptop Since we own 4 vehicles, we actually expect that at least one of them will be at the repair shop at all times. What we didn't plan for is our thirteen year old house to actually starting implode this year. From what people tell me, it's not unusual for a home to have a midlife crisis around this age. Maybe houses age quicker than humans - like in dog years. If that's the case, it's no wonder that our 91 year old home needed some extra care and love this year. Suffice it to say that this was an expensive year for us. Did I mention that we also had two kids in college in 2018? BUT, despite our catastrophic house failures, I feel like we are entering 2019 with a home that's even better and stronger than before.     We weren't always the picture of positivity when we had to face these epic house projects but we did our best to make lemonade out of our lemons. (And trust me when I tell you that most days, it felt like we lived in a lemon.) Thanks to the bulldozers that tore up most of our yard during the installation of our brand spanking new septic system, we were able to rework a lot of our landscaping into something that was more manageable. It took four months of living in a field of mud but now that our grass is in with our new and upgraded sprinkler system - we couldn't be happier. One thing that we did learn this year was to appreciate the simple things about our house. Hot showers, cold food, clean laundry. I was forced take an involuntary sabbatical from my dishwasher and washing machine for 6 weeks which meant a LOT of hours spent at the laundromat. You've never seen anyone so happy about doing laundry than the day I finally got to use my washing machine at home again. We ate a lot of simple meals while we were on water restriction too. You know - hand washing dishes and all. This creamy carbonara is one of our favorite simple meals - even when we're NOT on water restriction. 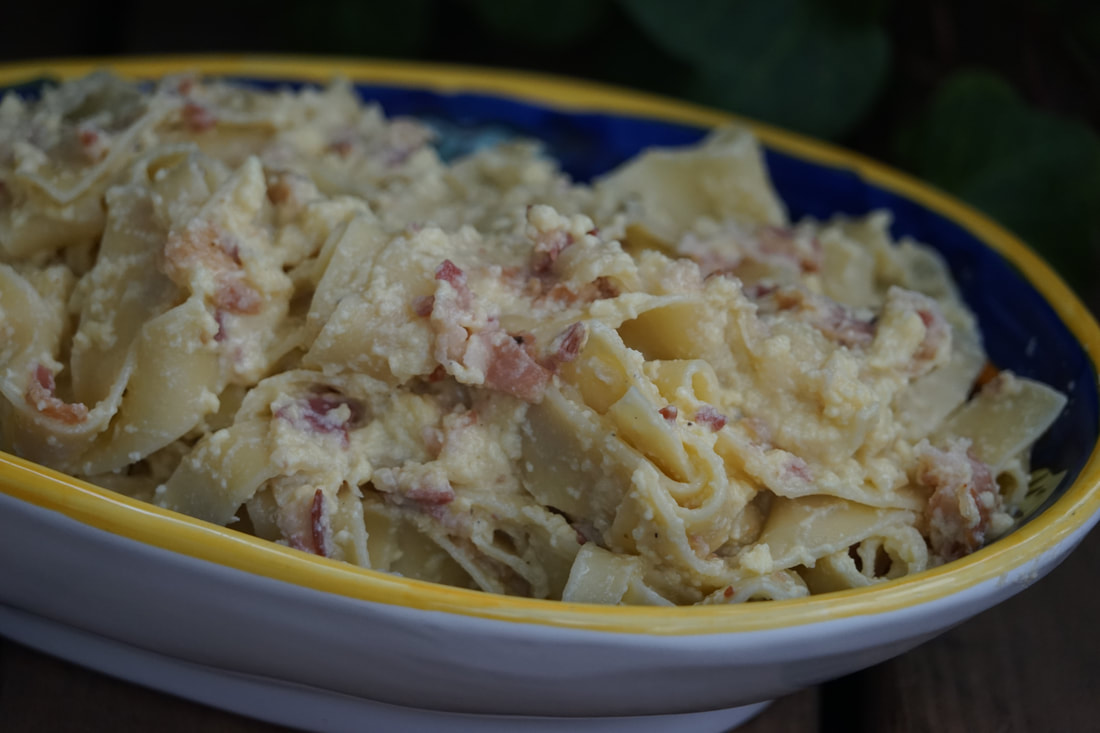 Creamy Carbonara 3 eggs, beaten 1/3 cup pecorino Romano cheese 1/4 teaspoon salt 1/8 teaspoon pepper 8 ounces 1/4 cup diced pancetta (or bacon)
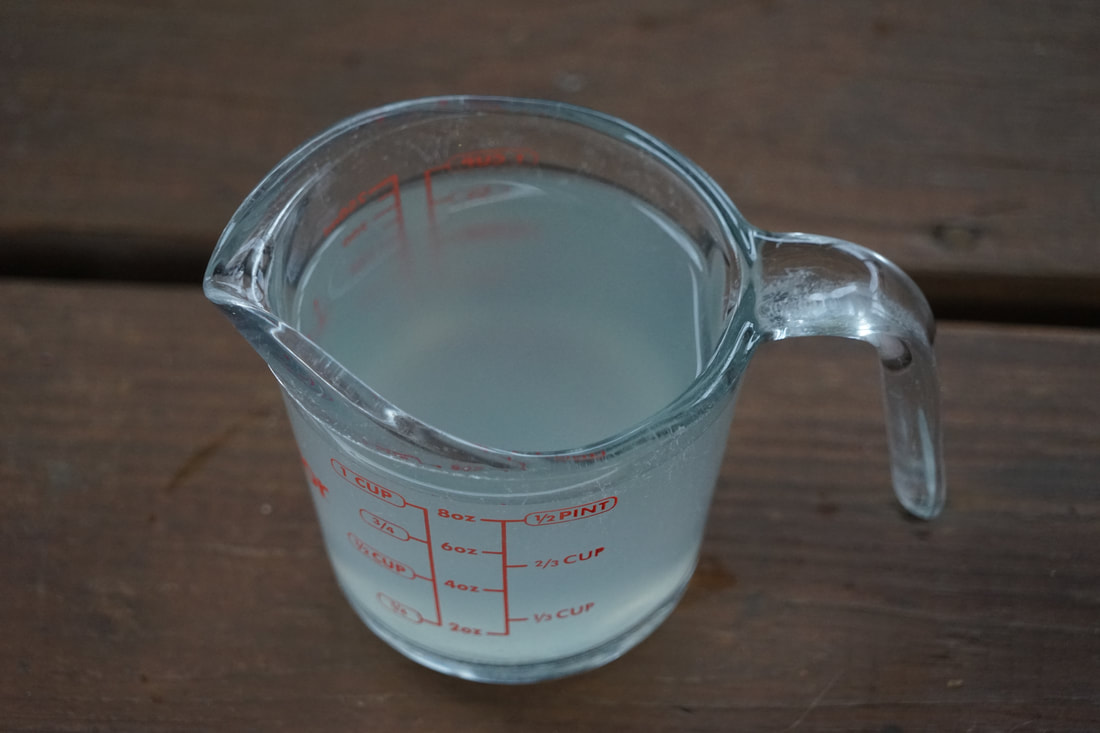
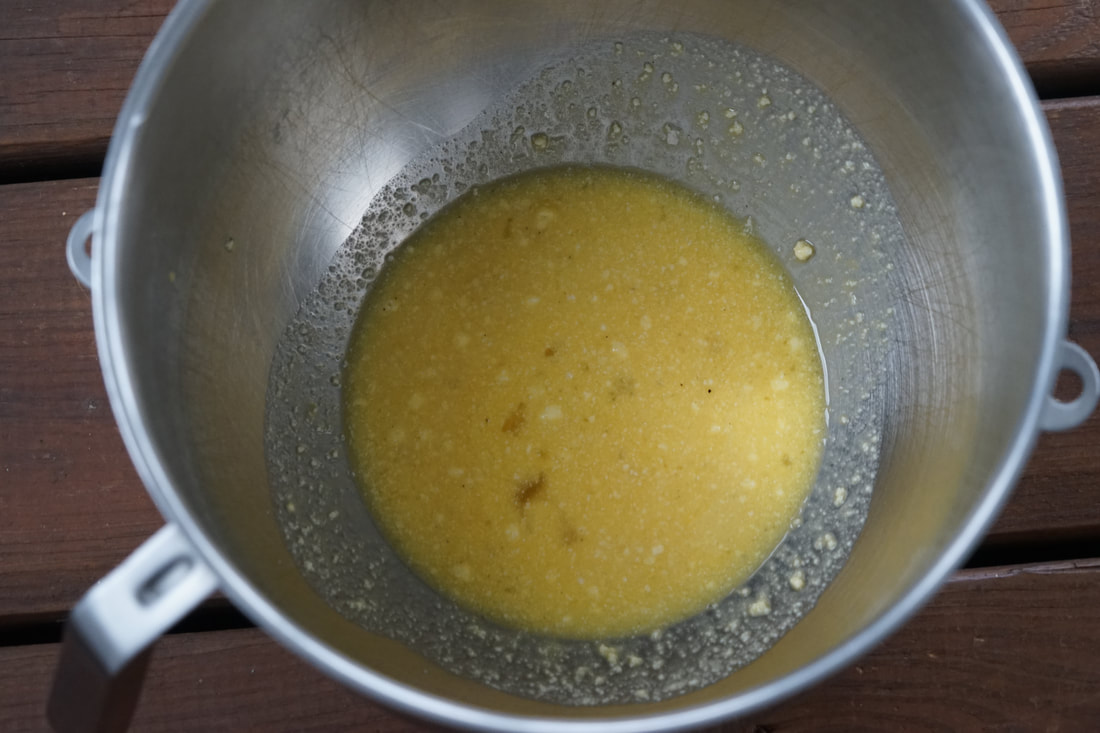
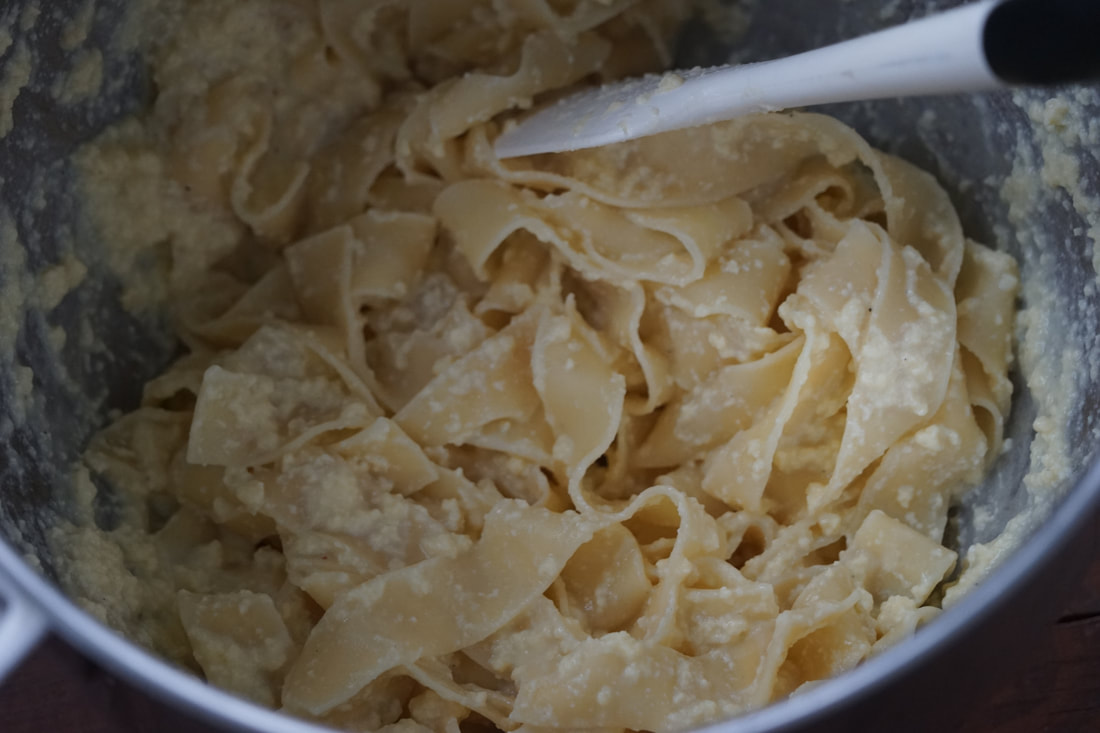
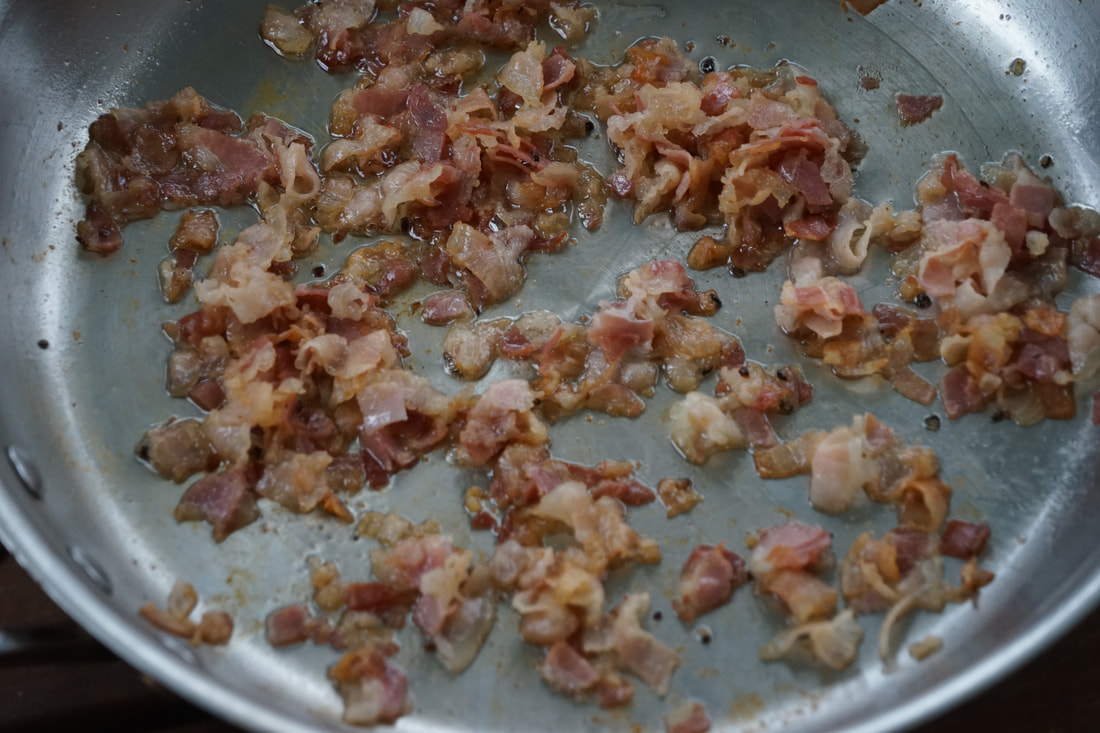
Remove pancetta with a slotted spoon. Stir drippings into pasta mixture. 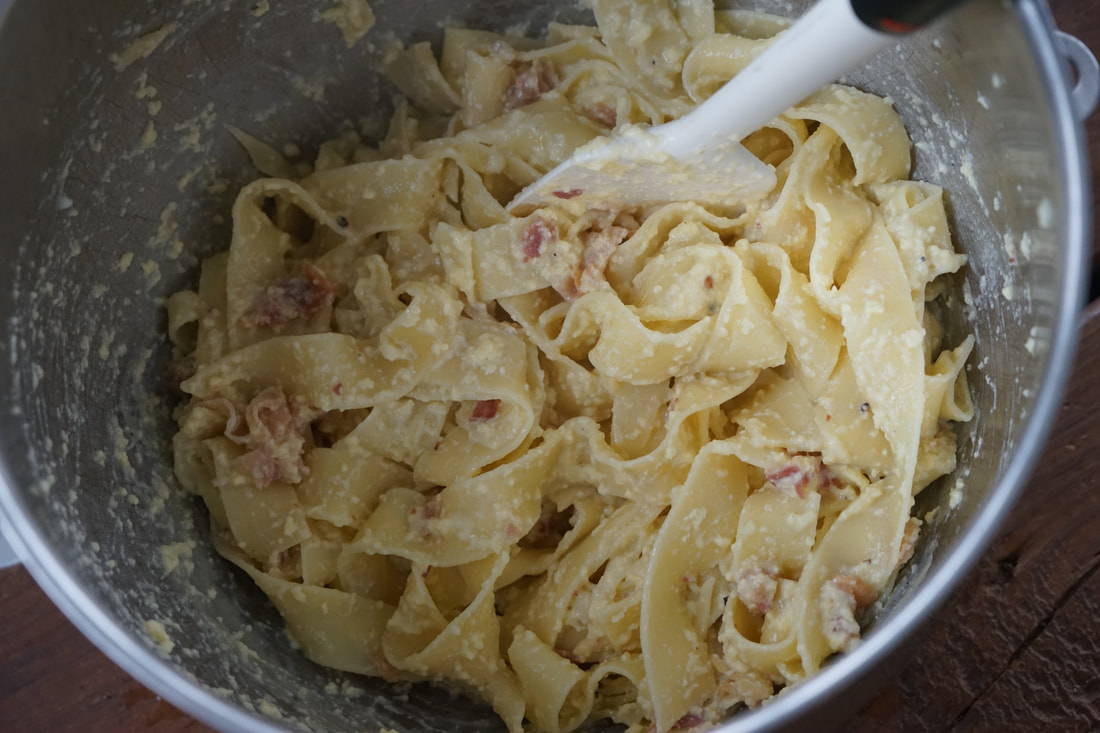 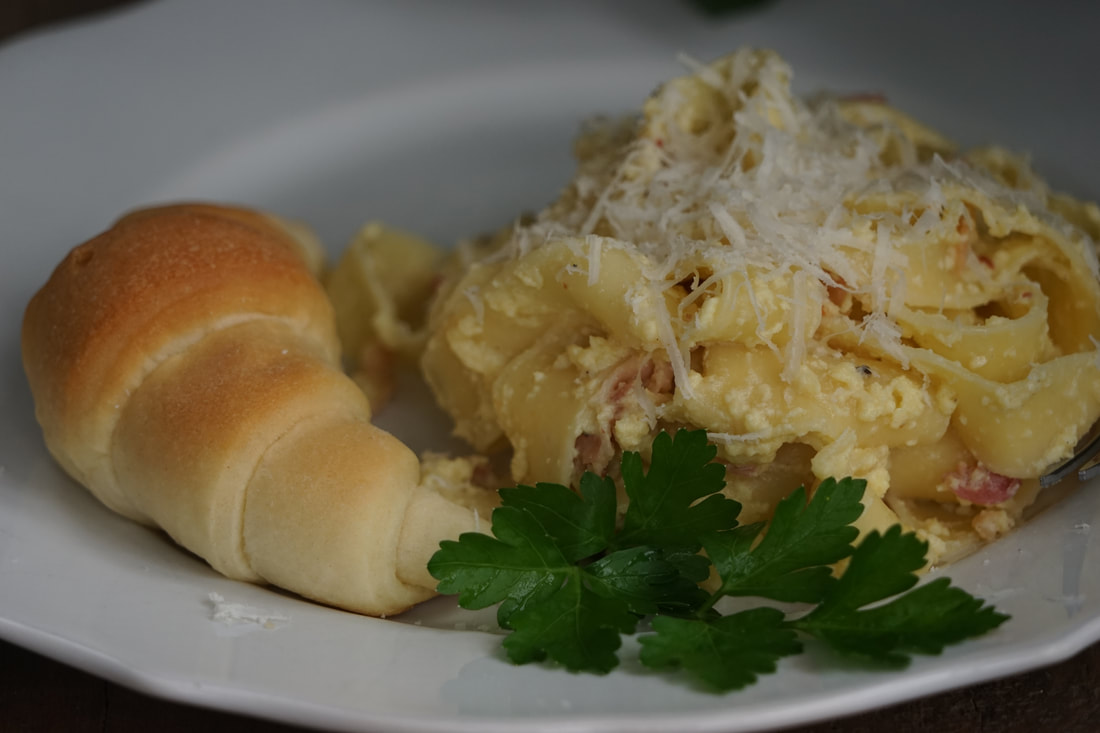 Before you start to jump all over my case - I know that I messed up this recipe - in a big, big way. I scrambled the eggs!!! Rookie mistake. I also know what I did wrong. I should have lowered the temperature of the water under the eggs and added the reserved pasta water to prevent this from happening. I also should have added the pasta to the egg/water mixture initially instead of waiting to stir it in until the end. So to all of you who actually read through my blogs to the very end - congrats - these are the real keys to NOT scrambling the eggs in your carbonara like I did. You're welcome.
Ciao! |