|
I look forward to blueberry season all year. It comes early in Georgia and the first few years that I lived here, I missed it completely. The pick- your-own blueberry farm that I like to visit usually opens at the end of July and stays open for about 3-4 weeks. Unfortunately, we were so busy this summer that I never made it out my favorite blueberry farm to pick berries this summer. I was bummed when I found out that they closed the farm before I had a chance to get there. Fortunately for me, there was another local farm that still had berries available for picking. I was so excited that I didn't care that it was 98 degrees outside. Courtney and I gathered up our buckets and headed out to the blueberry farm. When we got to the farm, we discovered that they also had pic-you- own blackberries. BONUS! Ben and Ryan gobbled up the blackberries within 2 days. They were the biggest blackberries that I had ever seen. Courtney and I ate lots of the blueberries and I froze what we didn't eat within 2 days. Do you know what I love about frozen blueberries? Blueberry desserts. These mini blueberry galettes are the perfect way to enjoy fresh blueberries even when it's not blueberry season. They're super easy to put together, they're really tasty and they are the reason that I look forward to stocking my freezer with blueberries - all year. Mini Blueberry Galettes 1 package Pie Crust (2 Rounds Of Dough) 2 cups Blueberries (generous) 1/4 cup Sugar, Plus Extra For Sprinkling 2 Tablespoons Cornstarch 1 whole Lemon 1 teaspoon Vanilla Extract Pinch Of Salt 1 whole Egg 1 Tablespoon Water Whipped Cream or Ice Cream, For Serving
Gently fold the over the edges of each crust, folding the dough in on itself to create a small rim of crust. Make an egg wash by beating together the egg and water. Brush edges of each pie with the egg wash and sprinkle the crust with sugar. Remove to a platter and allow to cool. Serve with whipped cream, Or ice cream. Blueberry season may be over for 2014 but I've still got a few in my freezer for this winter.
Ciao!
0 Comments
What could possibly be better than a homemade chocolate chip cookie Oh yea. That just happened. I had been avoiding these cupcakes for a couple of reasons. The first is obvious - they are amazing and I would eat them ALL. Secondly, most of the recipes that I've seen stuff these decadent cupcakes with raw cookie dough. I just didn't feel comfortable eating (or serving) anything with raw eggs. (I have way too much knowledge about food borne illnesses.) That solves that problem, but now I have to figure out how to stop myself from eating the entire batch. Chocolate Chip Cookie Dough Cupcakes Cupcakes 3 sticks butter 1 1/2 cups brown sugar 4 eggs 2 2/3 cups flour 1 teaspoon baking powder 1 teaspoon baking soda 1/4 teaspoon salt 1 cup milk 2 teaspoons vanilla 1 cup mini chocolate chips Filling 4 Tablespoons butter 6 Tablespoons brown sugar 1 cup + 2 Tablespoons flour 7 ounces sweetened condensed milk 1/2 teaspoon vanilla 1/4 cup mini chocolate chips Vanilla Buttercream Frosting Mini Chocolate Chip Cookies Mini Chocolate Chips for decoration
Add dry ingredients alternating with milk. Bake 20 minutes at 350. Once cool, cut a hole in the center of each cupcake. Want to know the best part about making filled cupcakes? Eating the holes!!! Roll small portions of the filling into a little cylinders and fill each hole with cookie dough filling. Frost with buttercream. Decorate with a mini chocolate chip cookie and a sprinkling of mini chocolate chips. So you get the idea. These cupcakes are amazing. Bake with caution though - you will not be able to stop yourself from eating them.
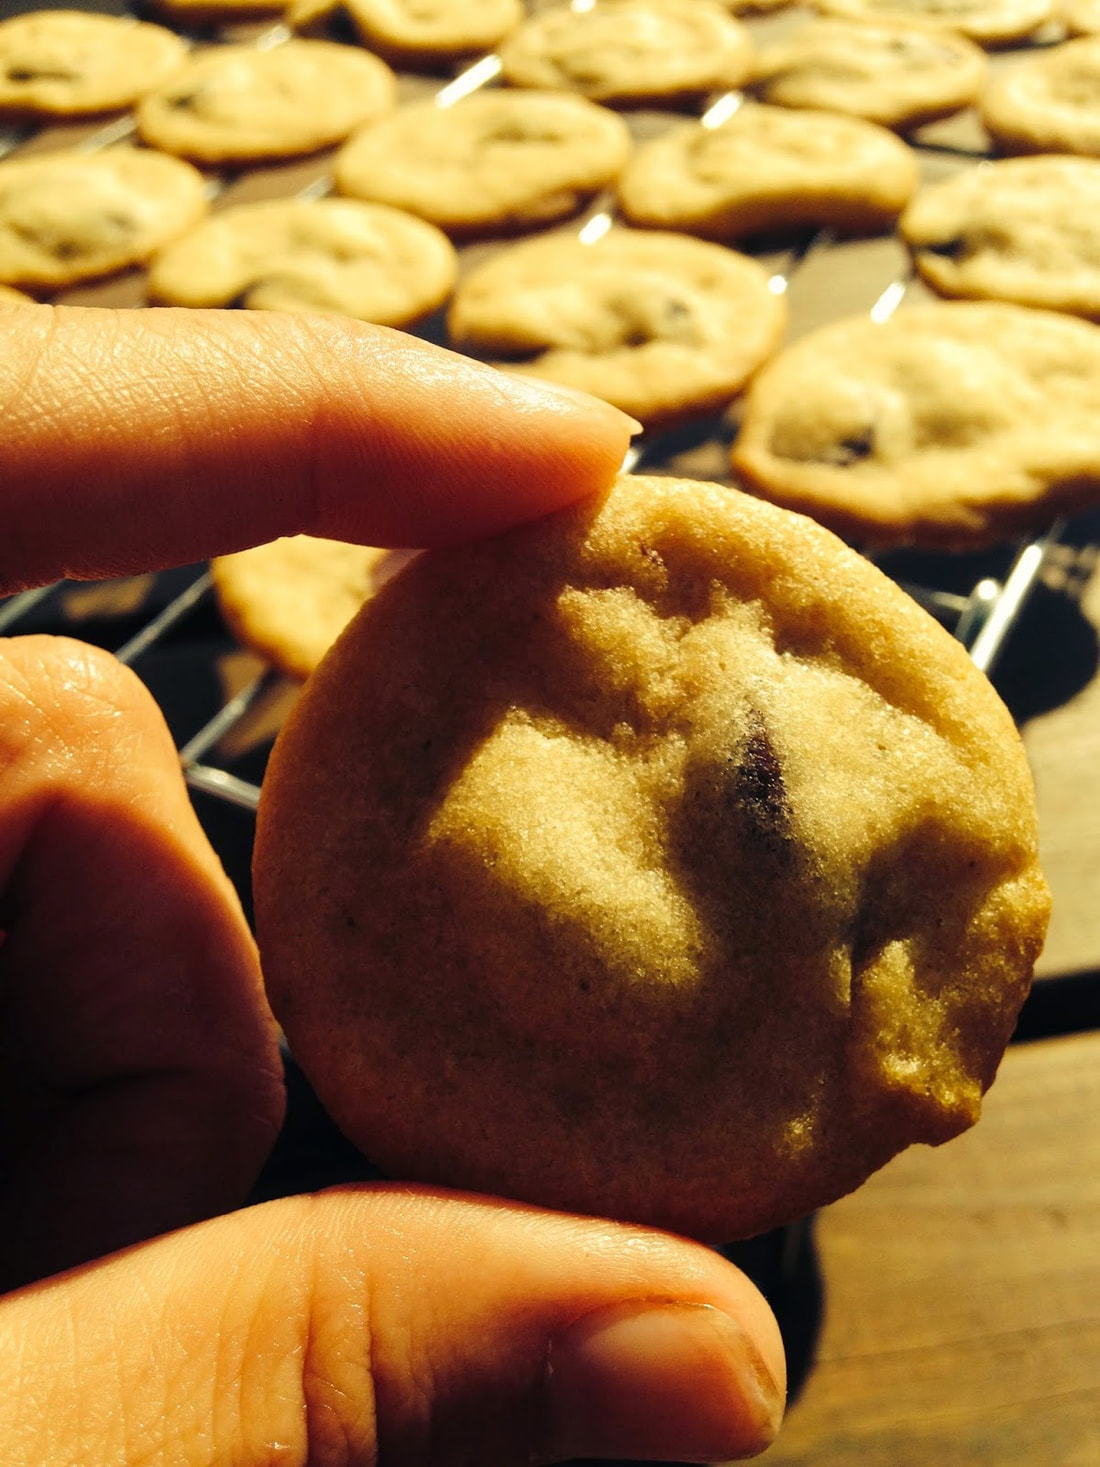
Ciao! Has anyone else noticed all of the new varieties of chocolate chips in the supermarket baking isle lately. It could be that they are only going to be seasonally available but I am loving all the new flavors. NESTLÉ® TOLL HOUSE® DelightFulls™ Caramel Filled Morsels NESTLÉ® TOLL HOUSE® DelightFulls™ Cherry Flavored Filled Morsels NESTLÉ® TOLL HOUSE® DelightFulls™ Mint Filled Morsels NESTLÉ® TOLL HOUSE® DelightFulls™ Peanut Butter Filled Morsels NESTLÉ® TOLL HOUSE® Halloween Morsels NESTLÉ® TOLL HOUSE® Pumpkin Spice Morsels Pumpkin Spice Morsels??? What??? The thought of pumpkin spice morsels makes my brain spin. Oh, the possibilities. Would it be inappropriate to buy bags of pumpkin spice morsels by the dozens? (Fairly certain that is going to be a seasonal item that is only going to be available for a very a short time.) As for now, I am baking cookies with an old favorite - butterscotch chips. Butterscotch Oatmeal Cookies 1 1/2 cups flour 1 teaspoon baking soda 1 teaspoon cinnamon 1/2 teaspoon salt 12 Tablespoons butter 1 cup brown sugar 1/2 cup sugar 2 eggs 1 teaspoon vanilla 3 cups oats 1 cup butterscotch chips 1/2 cup toffee bits
Stir in dry ingredients. Stir in oats.
It's only a matter of time before I bake another batch of these little goodies with some of the new Fall inspired morsels from Nestle. Crispy oatmeal cookies dotted with rich butterscotch morsels are incredibly delicious - and Fall-like. Ciao!
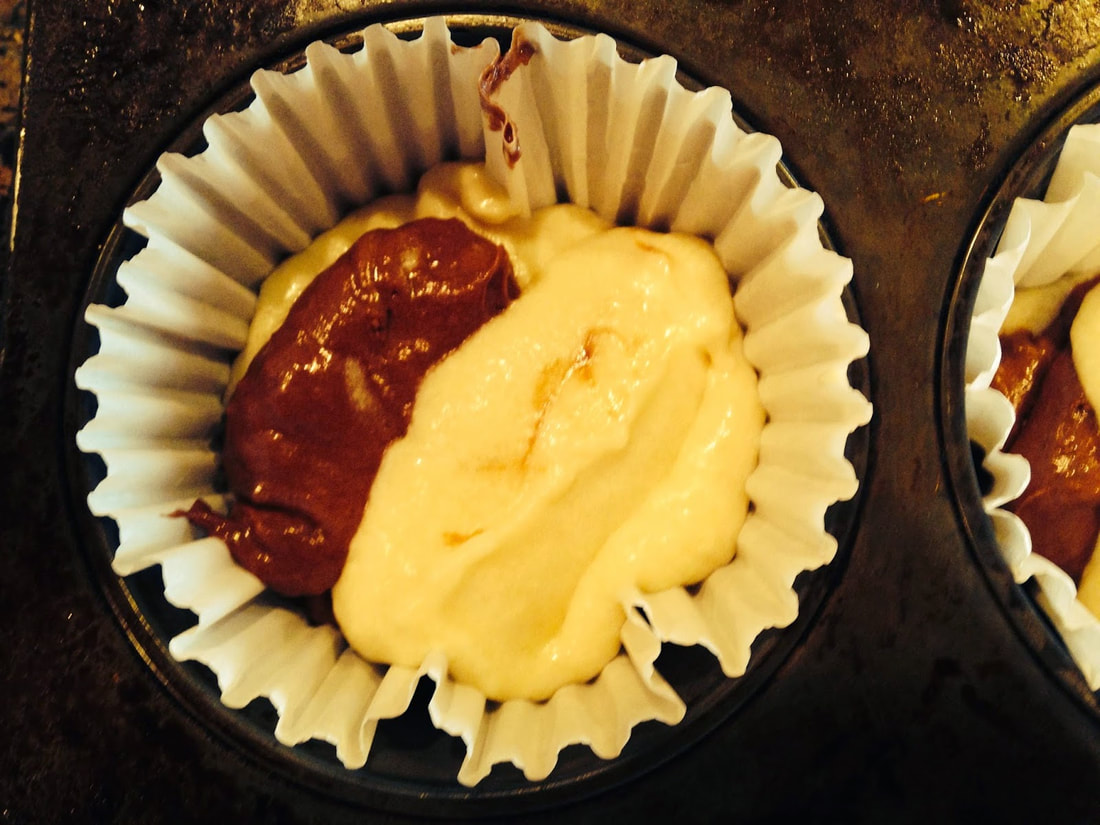
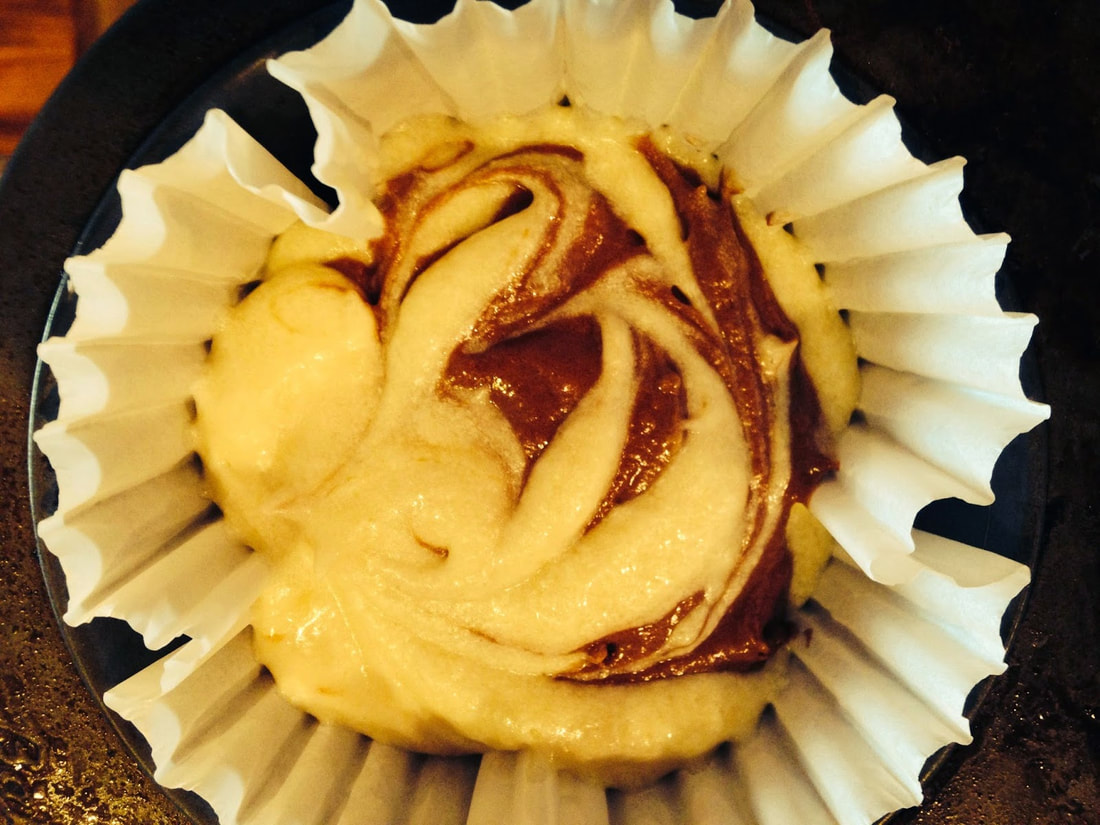
I'm all about experimenting with new, unique and exotic cupcake flavors but sometimes it's a simple and classic cupcake that I crave. The best part about this classic marble cupcake is that you don't have to choose between chocolate and vanilla. Thier swirled together into this one masterful classic cupcake. These marble cupcakes would be perfect for so many occasions. Does that Swiss meringue buttercream remind anyone else of a soft serve twist cone? Ultimate Marble Cupcakes Cupcakes 3 cups all-purpose flour 3/4 teaspoon baking powder 1/2 teaspoon baking soda 3/4 teaspoon salt 12 Tablespoons unsalted butter 1 1/2 cups granulated sugar 2 large eggs, room temperature 1/3 cup sour cream 1 1/4 cups milk 3 teaspoons vanilla extract 1/3 cup unsweetened cocoa power
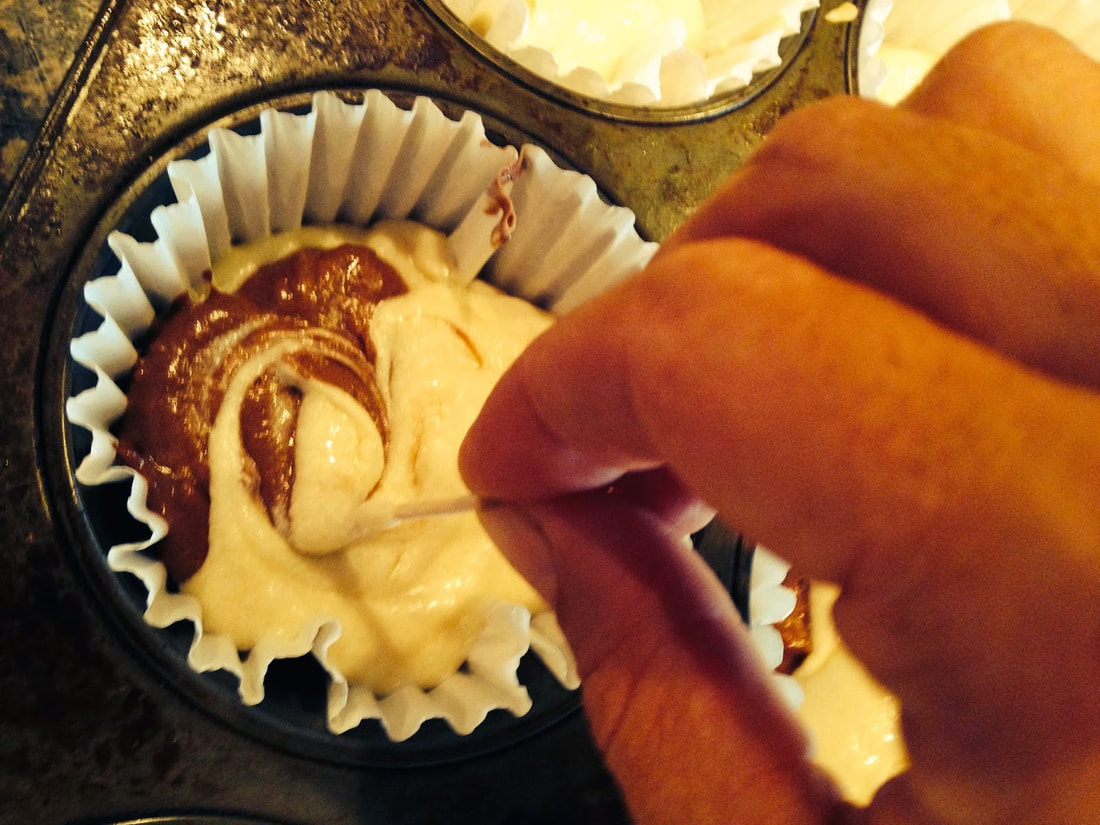
Swirl together with a toothpick. Bake the cupcakes for 20-24 minutes at 350. Prepare a batch of vanilla buttercream and a batch of chocolate buttercream. Fill a pastry bag (fitted with a 1M tip) with half vanilla and half chocolate buttercream to create the swirled frosting. With the classic and simple theme in mind, I'm not going to over complicate this post with a lot of writing, I'll just let you enjoy the pictures. (and drool) Now, I need a cupcake. (or two)
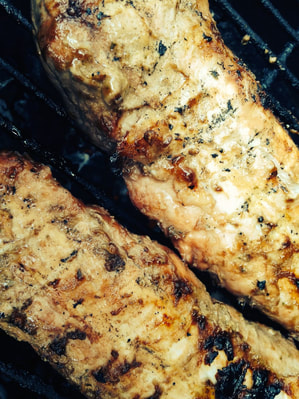
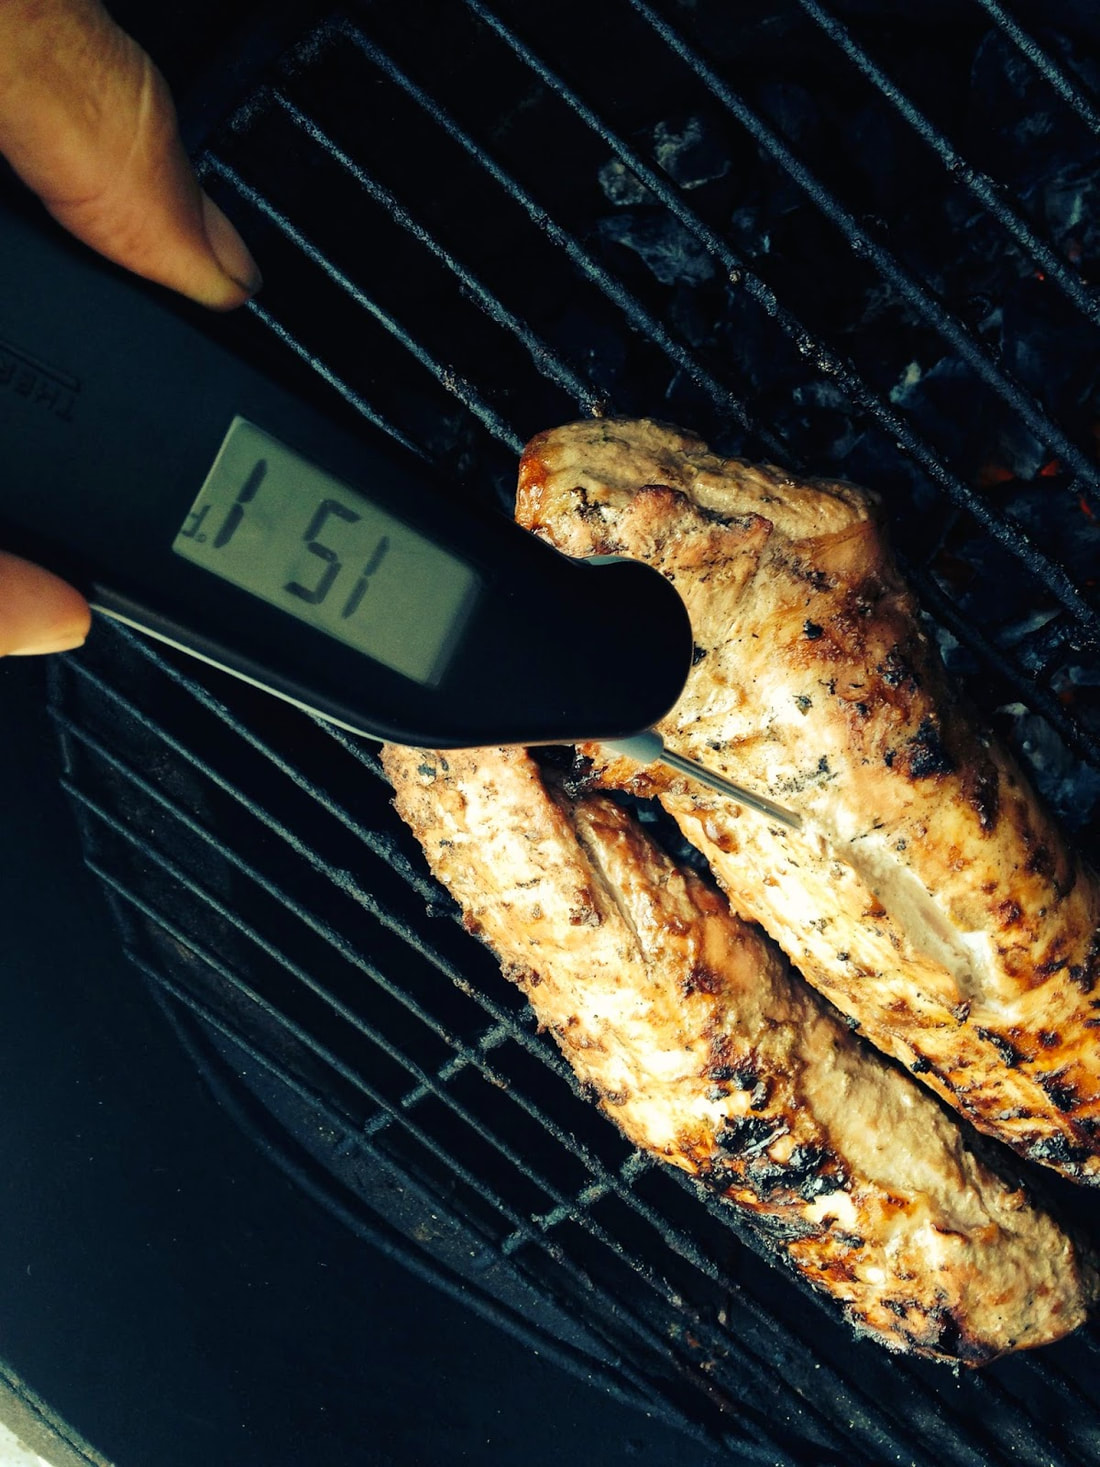
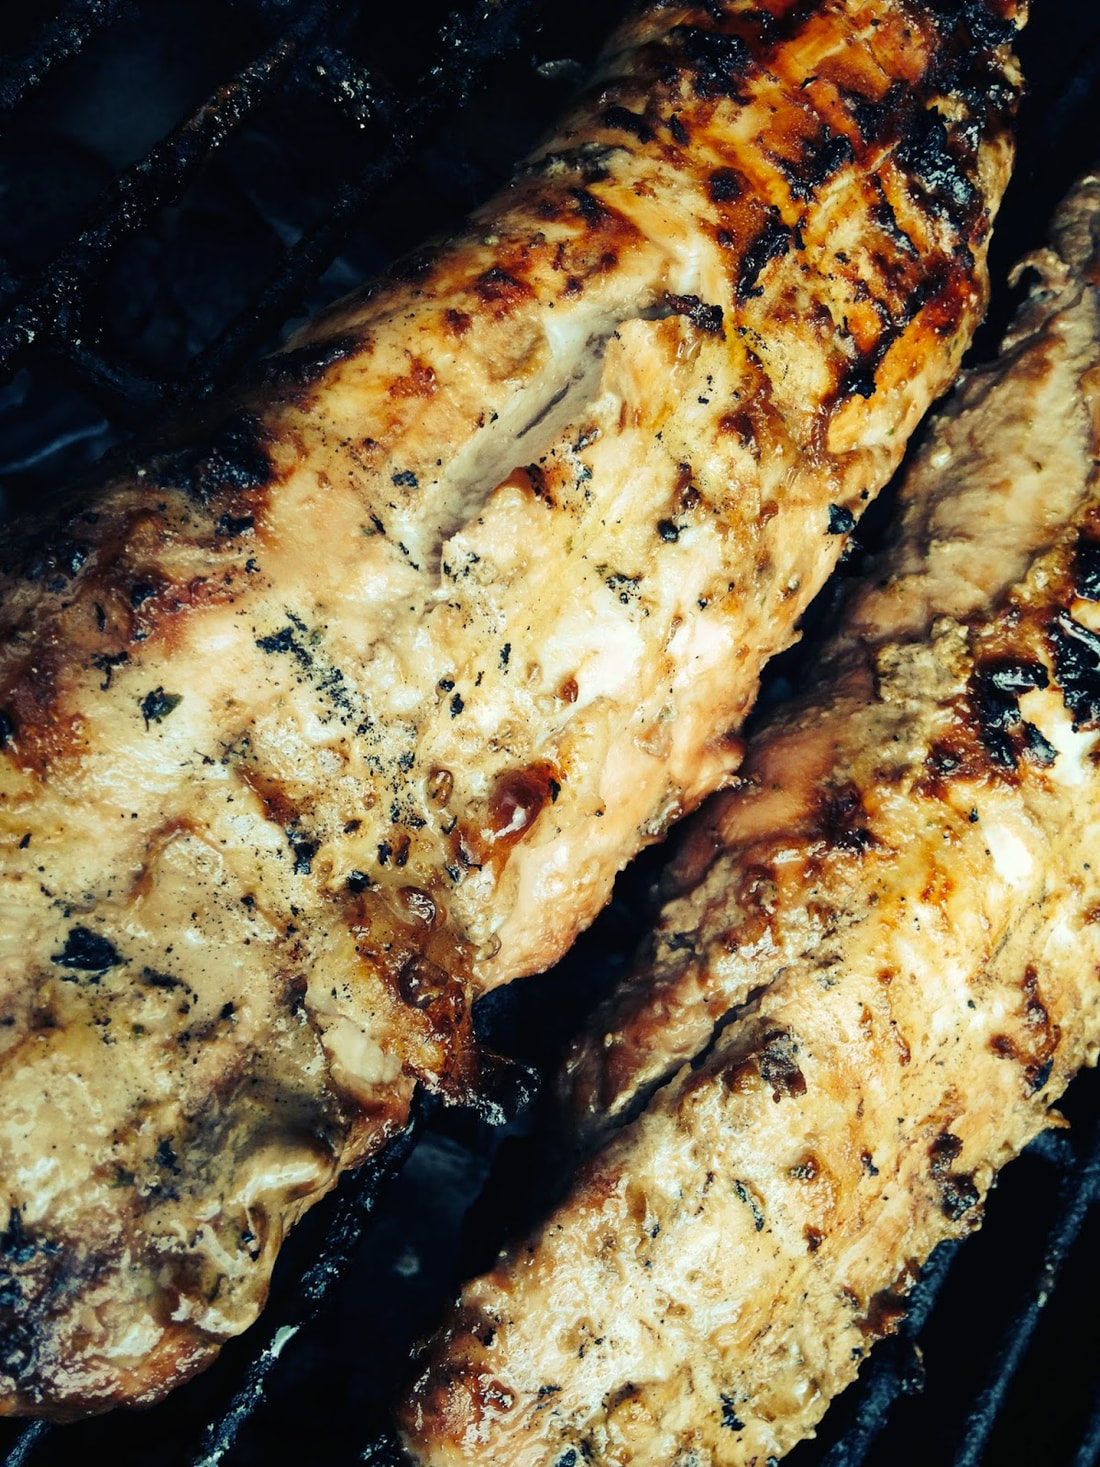
Ciao! I am loving these cooler Fall-like temperatures. (Just to be clear - when you live in Atlanta, anything below 85 qualifies as a fall-like temperature.) I've been taking some nice, long walks through the neighborhood with Mia to take full advantage of the cooler weather. It's not always easy to squeeze a walk into my busy schedule but it really does both of us good to get outside and get some fresh air. And believe me, she lets me know when I've been ignoring her too long. I get so caught up in my baking that I can forget to give poor Mia any attention at all. Most people think that since I'm in the kitchen all day, that I would always have dinner prepped and ready to go too. (Soooo not true.) There are a lot of days, when I've been so wrapped up in baking that dinner is the farthest thing from my mind. Some days it's easier for me to prep dinner before I start baking. I love dinner recipes that I can prep early so when dinnertime rolls around, everything is ready to cook and go. This one is super easy to prep early and its delicious. To make the marinade, in a food processor, combine the vinegar, olive oil, soy sauce, brown sugar, rosemary, garlic and pepper and pulse until blended. Prepare a charcoal or gas grill for direct grilling over medium-high heat. Remove the tenderloins from the marinade. Grill the meat over the hottest part of a charcoal fire or directly over the heat elements of a gas grill. Turn the meat every 4 to 5 minutes and baste with the marinade for up to 5 minutes before the meat is done until cooked to your liking, about 20 minutes total for medium (slightly pink at the center and juicy). Move tenderloins to a platter. Cover and let rest 10 minutes. Slice against the grain and serve. Ciao!
|
Like my page on facebook.
Follow me on Instagram
Categories
All
Archives
June 2024
|
