|
It was an absolutely gorgeous weekend in Georgia. We spent as much time as we could outside - enjoying the beautiful Fall weather. I snapped a few pictures of some of our weekend activities to share with all of you.
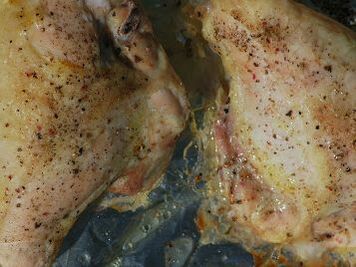
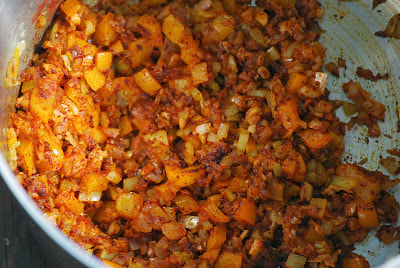
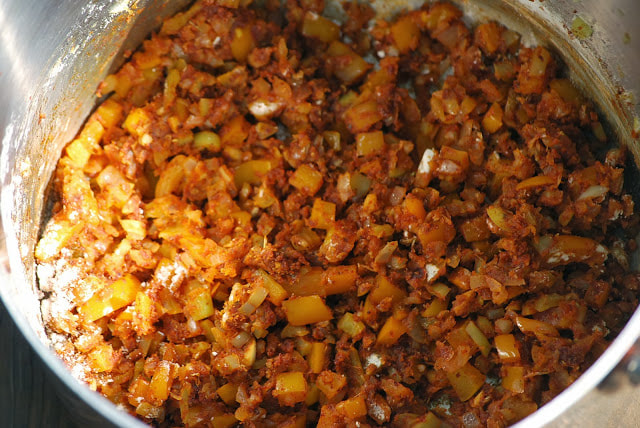
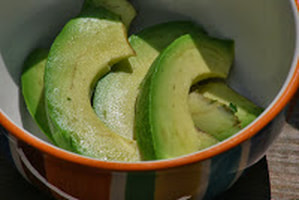
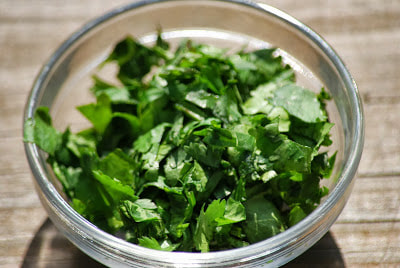
Can you tell that I had a great weekend? I am loving this September weather. As soon as the cooler weather moves in, I start craving warm, hearty soup. Last week I had a craving for tortilla soup. I did some internet searching for a new tortilla soup recipe. I was looking for a recipe that was loaded with vegetables and didn't have cream. (It was harder to find than you might think.) I finally found a recipe on sunflowersupperclub.blogspot.com and even though it was called Creamy Chicken Tortilla Soup and contained cream - I decided to go ahead and make it anyway and just leave out the cream.  Ben brought some banana peppers home from a friend at work this week and I wanted to use those in my soup so I swapped them for the jalapeno. (My family isn't too fond of spicy food anyway.) I made a few other changes to the recipe so I am going to give you my - modified - version of the recipe.  Chicken Tortilla Soup 1 pound boneless skinless chicken breast, cooked and shredded 2 tablespoons olive oil 1 small onion chopped 1 small orange bell pepper, diced 3 banana peppers 4 cloves garlic, minced 2 tablespoons chili powder 1 teaspoon cumin 1 teaspoon oregano 1/2 teaspoon salt 1/4 cup flour 3 cups chicken broth 1 can (15 ounce) diced tomatoes, undrained 1 can (4 ounce) diced green chilies 1 can (15 ounce) sweet corn, drained 1 can (15 ounce) black beans, rinsed and drained 1/2 lime, juiced Garnish: Colby-Jack Cheese Fresh Cilantro, minced Avocado, diced Corn Tortilla Strips
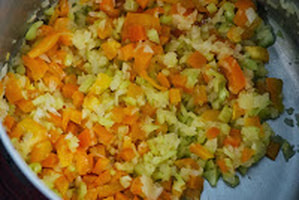
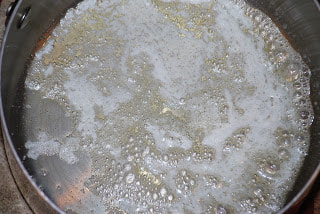
Heat oil over medium heat in a large Dutch Oven or soup pot. Add the onion, red bell pepper and banana peppers and saute for 3-4 minutes until soft.
Ladle soup into bowls.  I like to put my toppings in separate bowls on the table because not everyone in the family likes the same things in their soup.
Serve.  Craving satisfied - deliciously! This soup definitely hit the spot on a cool Fall evening. And now, I have lunch for the rest of the week - bonus!
Ciao!
0 Comments
 Did you know that it is highly frowned up to take pictures in a grocery store? Probably not because normal people don't walk through grocery stores with their camera in their hand. Well, food bloggers do that on a regular basis but I had no idea that grocery store owners didn't exactly welcome photography in their stores. Let's just say that I have been asked to leave more than one grocery store establishment for pulling out my camera during a shopping trip. The first time it happened, I was innocently snapping pictures of an unusually creative produce display when I was told that I had to get approval from a manager before I could take any more pictures. After asking to speak to the manager and waiting for a full 20 minutes, I was told that the manager was unavailable. In lieu of a manager, the community relations director for the store came out to talk to me. (I didn't even know grocery stores hired "community relations directors".) After explaining my perfectly innocent intentions to her she willingly granted me permission to photograph the rest of the store.  I assumed that my experience at that particular store was not typical but since then, I've found out (the hard way) that MOST grocery stores are not in favor of shoppers taking pictures. I guess store owners are afraid of competitors coming in and photographing their displays. I would have assumed that the competition would be a lot more subtle about their undercover surveillance than walking around the store with a Nikon D60 around their neck. For the most part, I have stopped taking pictures at the grocery store. If there is really something that I can't pass up the opportunity to photograph, then I pull out my phone and snap a picture with that. (Apparently phone photography is perfectly acceptable because I've never been asked to stop taking pictures on my phone.)
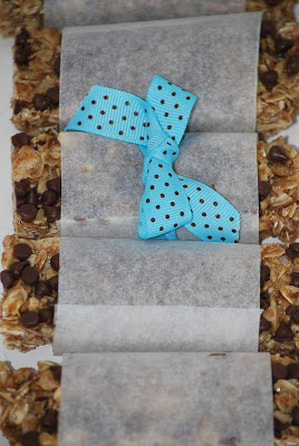
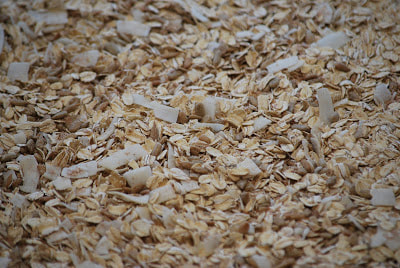
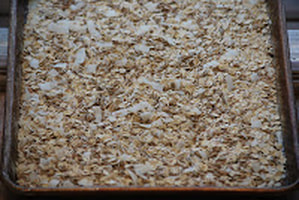
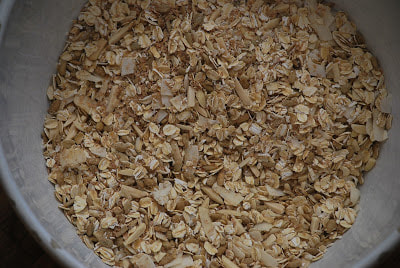
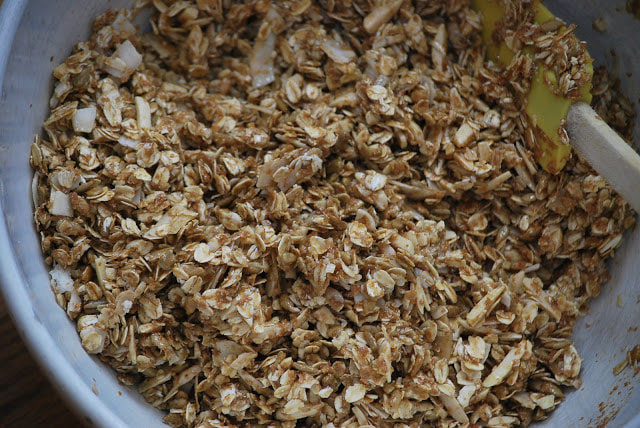
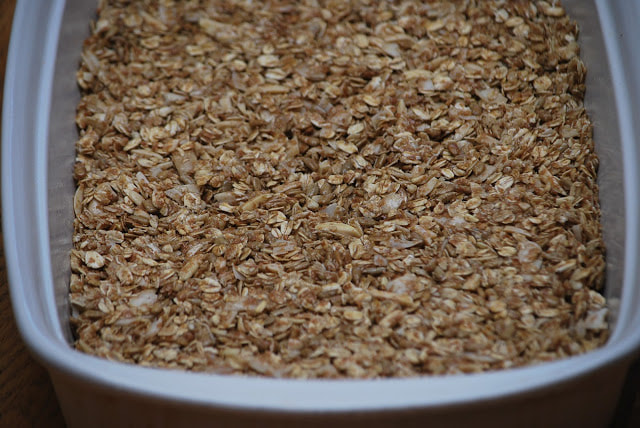
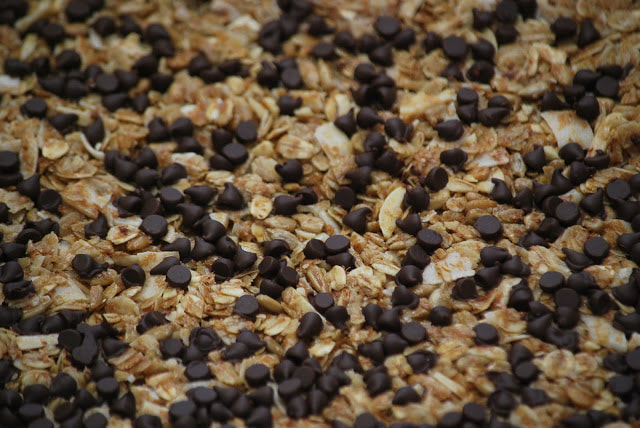
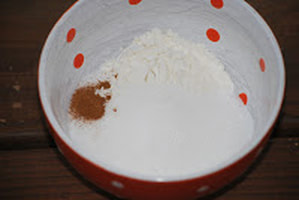
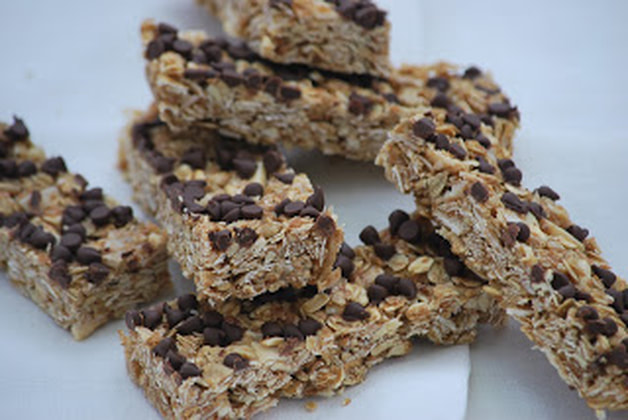
You will be happy to hear that I did my grocery shopping this week without a camera. I even resisted the temptation to pull out my phone for a picture of a very large eggplant. (Mostly because I was short on time.) I gathered up all of the groceries that I needed and headed home to whip up a quick snack. I found this recipe for homemade granola bars on cozycottagecute.com. It combined so many of my favorite snacks: almonds, coconut, chocolate and oats. Throw in some honey and butter and brown sugar and forget about it - how could I resist? 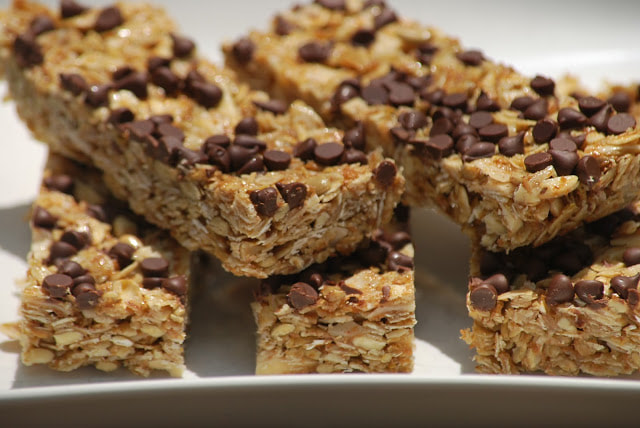 Coconut Granola Bars 2½ cups rolled oats (old-fashioned or instant) 1 cup shredded coconut 1/2 cup sunflower seeds 1/4 cup sesame seeds 1/2 cup wheat germ (I used wheat bran because I was all out of wheat germ.) 1/2 cup slivered almonds 4 tablespoons butter or margarine 1/4 cup brown sugar 1/2 cup honey 2 teaspoons vanilla extract 2 tbsp mini chocolate chips Preheat oven to 300°F, spread the oats, coconut, sunflower seeds, sesame seeds, wheat germ and almonds evenly on a 9" x 12" baking sheet.
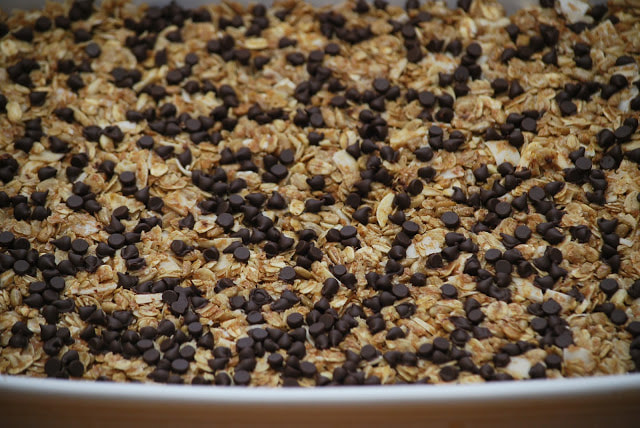
Sprinkle 1-2 tablespoons of mini chocolate chips over top. Press the granola firmly into the bottom of the pan.
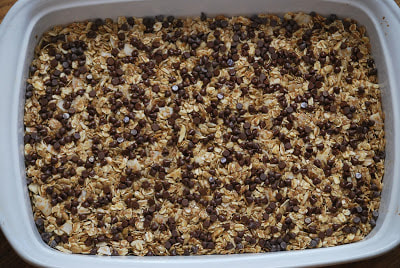
Tip: Place a piece of wax paper over the granola mixture and use another pan of the same size to press down and evenly flatten the granola mixture.
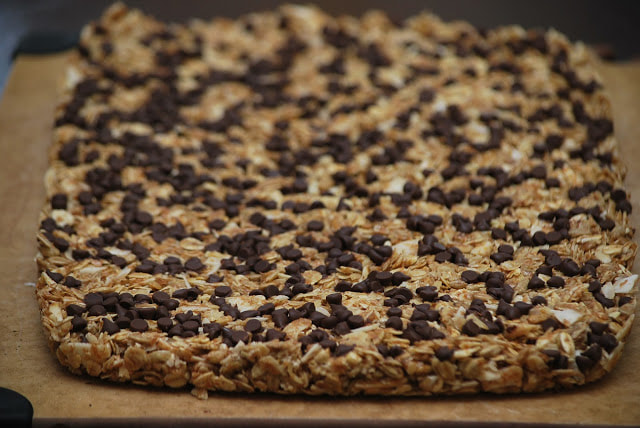
Here they are - super yummy - and chocolaty - granola bars. 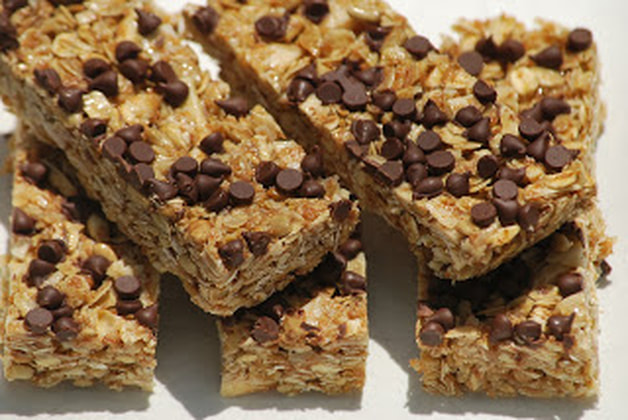 I have no trouble taking pictures of the beautiful granola bars at home, do I? Enjoy.
Ciao! 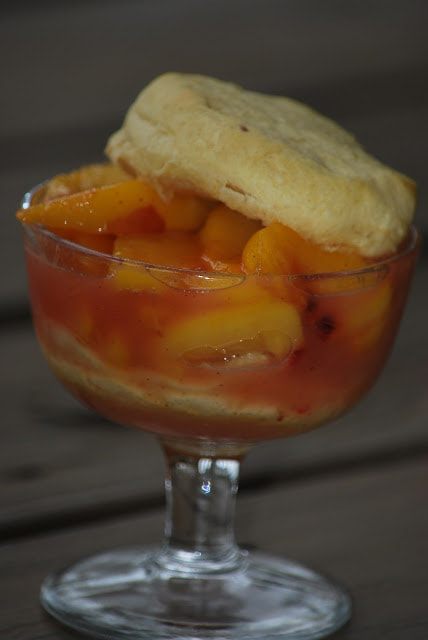 Alright dog owners, I need some advice. I have a Weimaraner with a really strange addiction - Rocks! I don't just mean that she likes rocks - she LOVES rocks. She likes to dig for them, she likes to chase them, she likes to roll on them and she especially likes to eat them. No kidding!
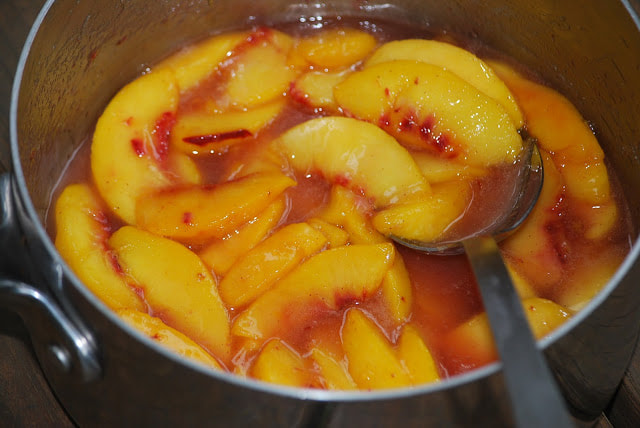
She cannot possibly be the only compulsive rock hunting dog in the world. Anyone have any suggestions about how I can help her overcome her obsession with rocks? She is starting to wear down her teeth from her obsessive rock chewing habit. Not to mention the fact that she also sneaks them into the house and leaves them all over the floor. (And let's face it, we get some really strange looks from the neighbors when we're out in the front yard playing fetch with a rock.) So that has absolutely nothing to do with the recipe of the day. (Just a random burning question that was on my mind that I was hoping someone out there could help.) Now onto the recipe of the day - easy peach cobbler from Southern Living. I messed up this recipe even before I started because instead of buying pie crust, I bought refrigerated biscuits. I went ahead and used the biscuits anyway but I want to try the recipe again - the way that it was intended.  Peach Cobbler 1/4 cup butter 7 fresh peaches, peeled and sliced (about 7 cups, 3 lb.) 1 cup sugar 2 tablespoons all-purpose flour 2 tablespoons fresh lemon juice 1/4 teaspoon ground cinnamon 1 can of mini buttermilk biscuits (5) 1 egg white, lightly beaten 1 tablespoon sugar
I would definitely agree that these were SUPER easy and super yummy. I liked the biscuits but I think I would have liked the pie crust even better. (I love pie crust.) Which one do you think you would like better?
Ciao!
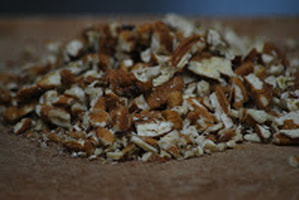
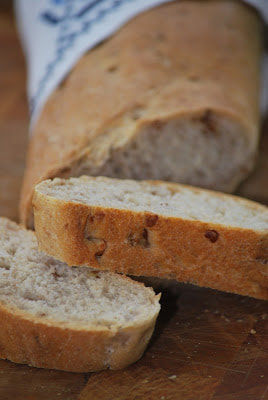
I love pecans and I am lucky enough to have my very own pecan supplier. A pecan supplier? - sounds like I have a serious pecan addiction problem doesn't it? Actually I have some really good friends who just happen to live in a pecan grove. The trees are absolutely beautiful but they tell me that living amongst a grove of pecan tress does create a lot of extra work. The nuts fall from the trees and cover the ground for much of the Fall. Then there is the cracking and the removing of the meat - tasks that require a great deal of patience when you're working with such a large quantity.
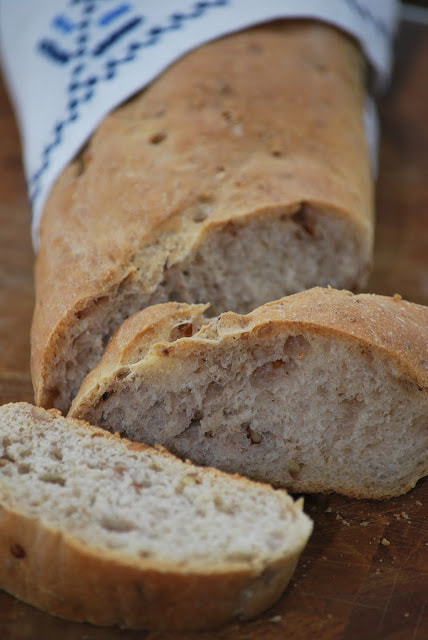
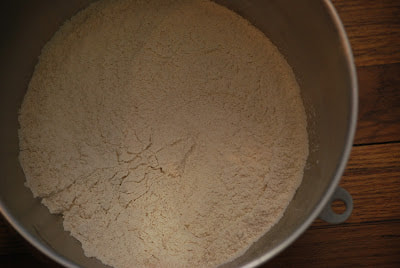
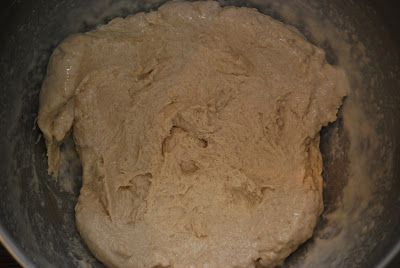
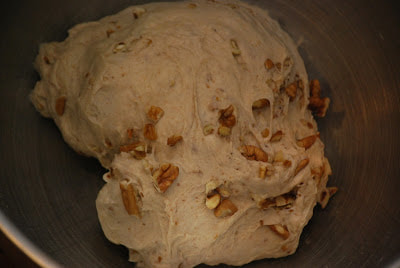
For Christmas last year, my sweet friends gave me a bag of these precious pecans. I was so excited that I marked that bag specifically before I stored them in the freezer. I've used them sparingly - only finding them worthy to go into certain recipes. What better way to use these valuable pecans than in a whole wheat baguette? I found this recipe in my Tomas Keller cookbook. I had to do some modifications to the recipe because I don't work in a commercial kitchen but the results were still extraordinary. 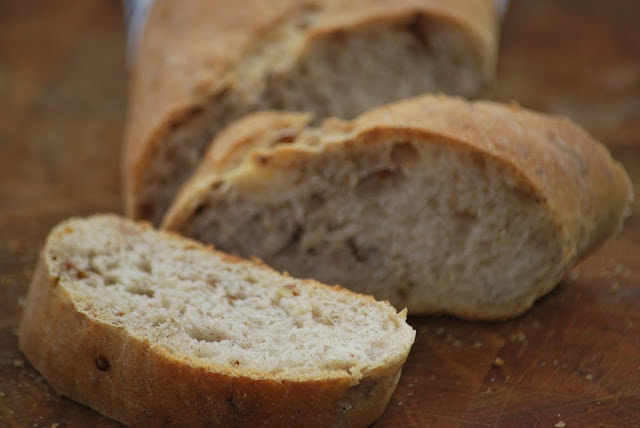 Whole Wheat-Pecan Demi Baguette 2 1/4 cups flour 1/4 cup whole wheat flour 1 1/2 Tablespoons brown sugar 1/2 teaspoon yeast 1 1/2 Tablespoons browned butter 3/4 cup + 2 Tablespoons ice water 1 teaspoon sea salt 1/2 cup + 2 Tablespoons chopped pecans
Add pecans and mix until just incorporated.
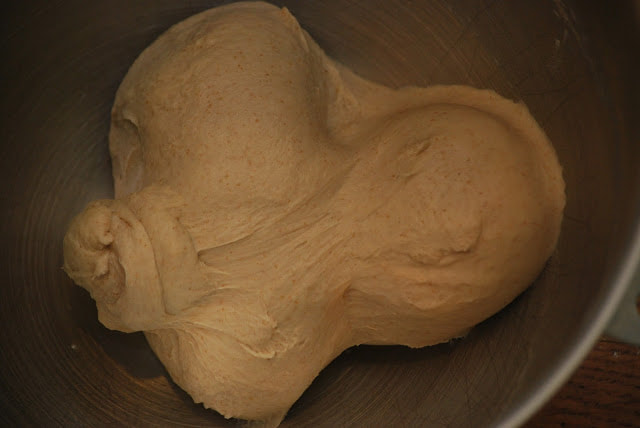
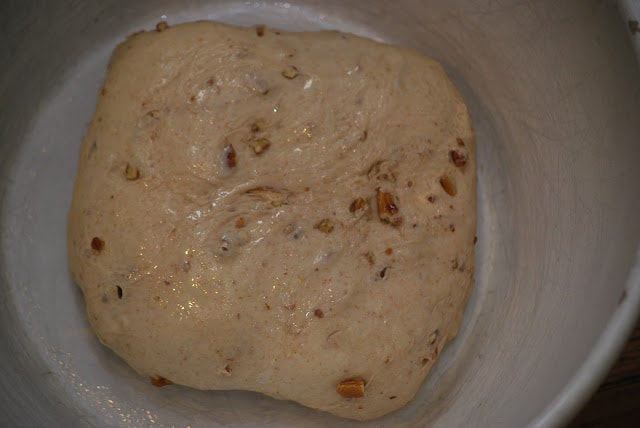
Place in a greased bowl and let rise. (My dough rose for 2 1/2 hours while I went grocery shopping.)
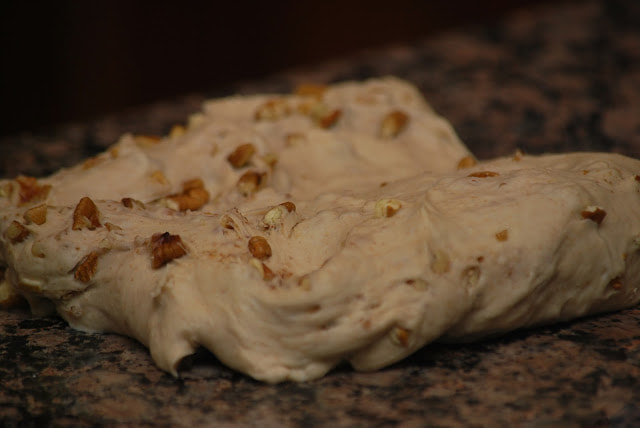
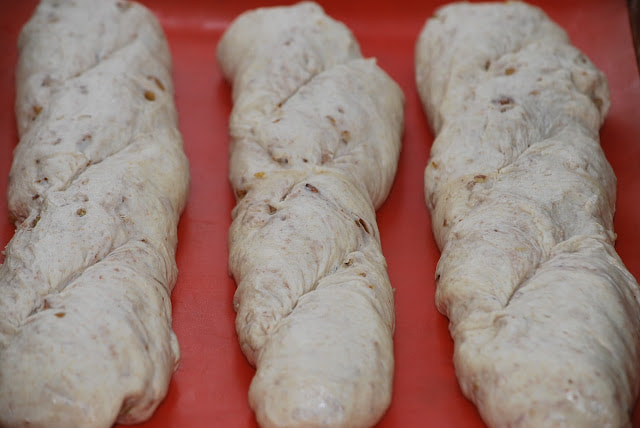
Punch down and divide into 3 pieces. Shape each piece into a long log. Let rise on a silpat lined cookie sheet for 1 1/2 hours.
Bake 35 minutes at 375. (As usual, I went waaaay overboard on the bread pictures.) 
 And last but not least .... the butter shot. 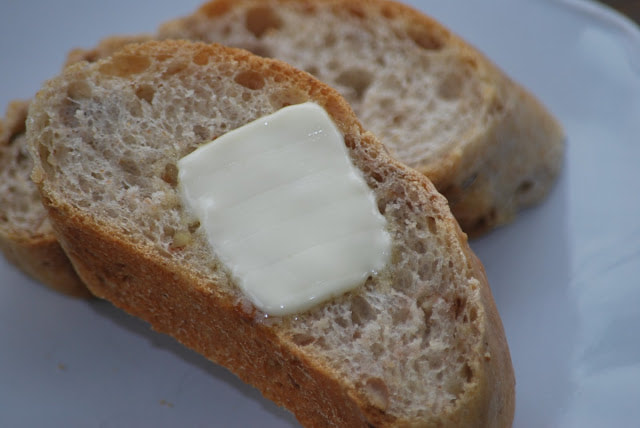 Now that you've seen the results, I will break it to you that I started this bread at 10:00 in the morning and it wasn't ready to bake until 4:00 in the afternoon. I did leave it in the fermentation stage and go and meet Ben for lunch. It's not all hands on time, but this bread definitely takes some time extra time to proof. If you are a bread lover like me though, I think you'll agree that it's totally worth it. This bread is fantastic.
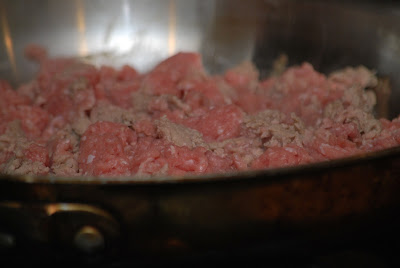
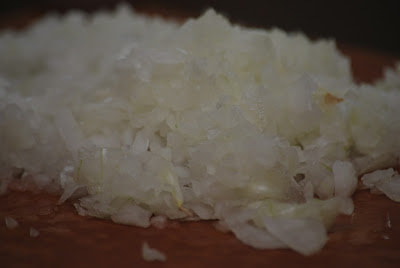
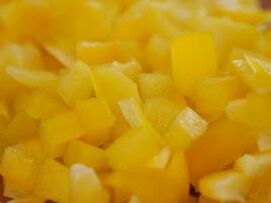
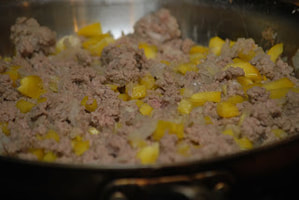
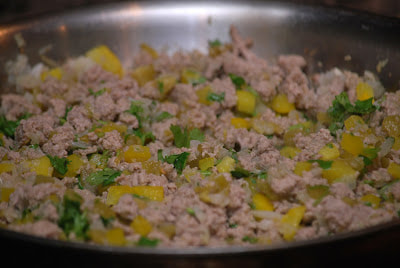
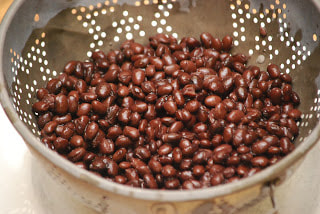
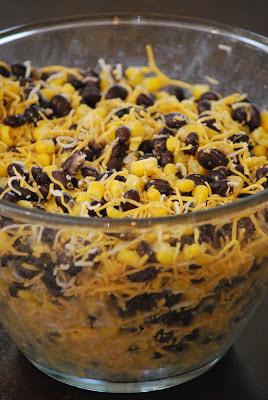
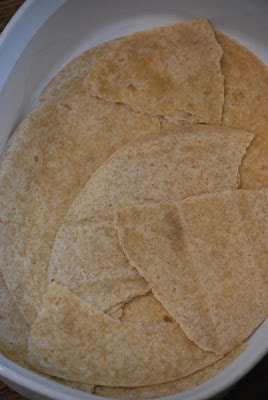
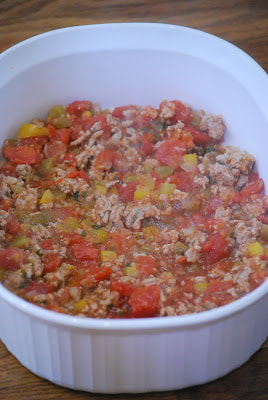
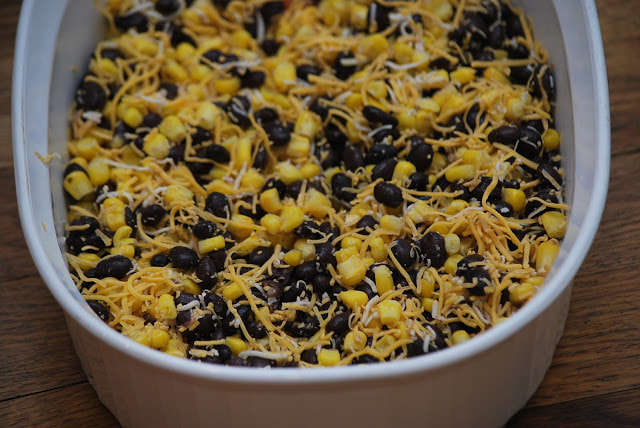
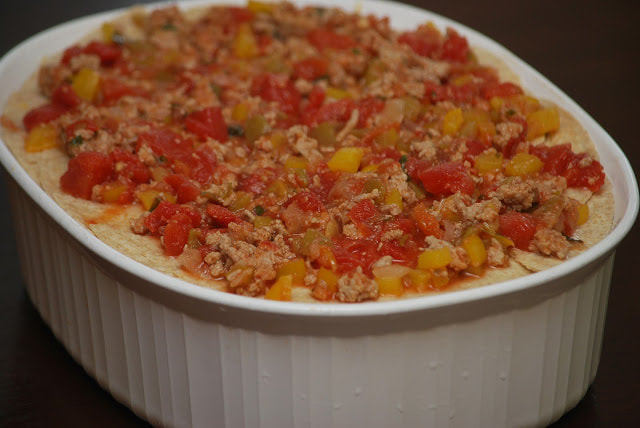
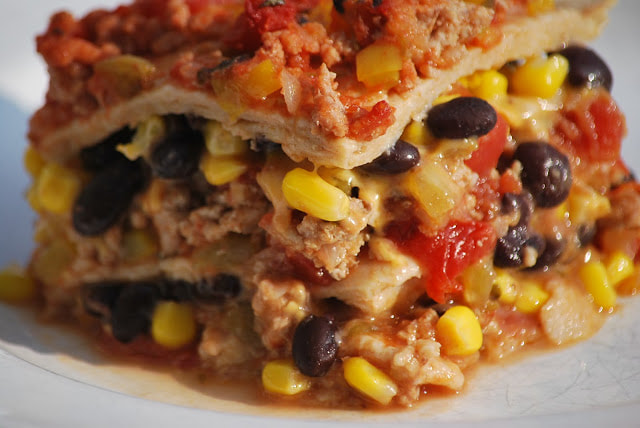
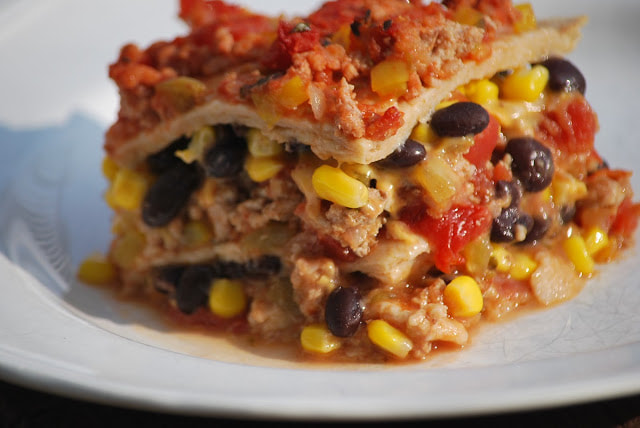
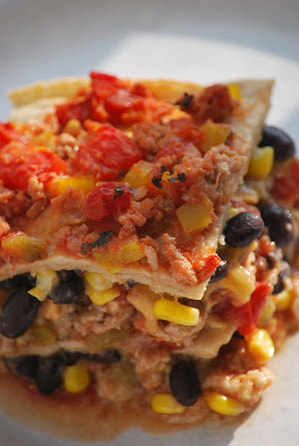
Ciao!  Tomorrow, Ben and I will celebrate our 20th anniversary. (It's hard for me to believe but it's true.) We started dating when we were in high school and after graduation we ended up going to separate colleges. Ben really wanted to study aeronautics and pursue his Air Force career at Miami and I was headed to Kent as an Interior Design major. (It didn't even take a whole semester before I changed majors.) While we were living at school, we didn't see a whole lot of each other so we spent endless hours on the phone and wrote good old fashioned love letters.  No long distance relationship is easy but we made it work. Ben learned first hand, the joys of the Greyhound bus. I caught a ride to Miami for the weekend with a friend a couple times and we would meet at home over long holidays and of course, we would spend as much time together as we could over the summer vacation. My very first trip to see Ben at college was not long after we had gotten settled into our campus' as college freshman. Ben's parents were heading down to Miami for parent's weekend and offered to take me along. Of course, I jumped at the chance to see Ben. (Check out those groovy hairdos.) I don't remember too much about the weekend except that we all went out for Mexican just before we left Ben on campus and started our 5 hour journey home. Apparently, I ate A LOT of food because Ben's dad STILL talks about how much food I consumed that night. He was in total shock that such a tiny girl could eat that amount of food. (hehe) Maybe I was drowning my sorrows over having to say goodbye to Ben - maybe I was just a really hungry college girl, or maybe the food was just really, really good, either way - my father in law as astounded. I don't really remember much about that dinner and the only reason that I know that I ate a lot that night is because my father in law still talks about it. (I must have been quite the little piggy.) Anyway, I've always loved Mexican so I'm just going to assume that I ate a ton because it was delicious. I found this recipe for Mexican Lasagne off of Nigella's Kitchen. I changed up her recipe slightly to make the dish a little more kid friendly but I think your going to like it. Even though it's delicious, I will try and not overeat - at least when my father in law is around, that is. 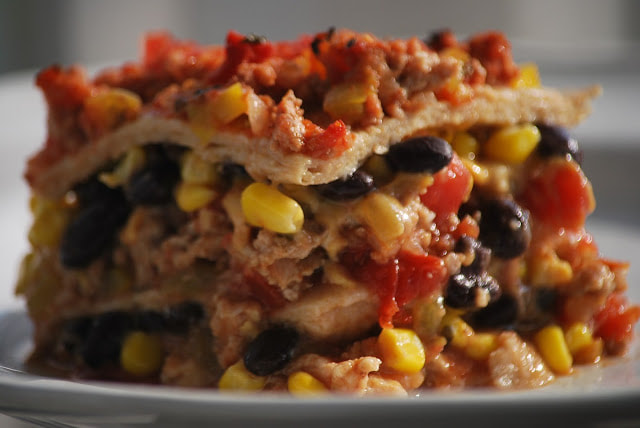 Mexican Lasagna Sauce: 1 onion, peeled and chopped 1 yellow bell pepper, seeded and chopped 1 can chopped green chiles 1 teaspoon kosher salt or 1/2 teaspoon table salt 2 tablespoons finely chopped cilantro 2 (14-ounce) cans diced tomatoes 1 tablespoon ketchup 1 lb lean ground turkey Filling: 2 (15-ounce) cans black beans, drained and rinsed 3 1/4 cups drained canned corn, from about 1 1/2 (15-ounce cans) 2 1/2 cups grated mature goats Cheddar, or cheese of your choice 6-8 soft flour tortillas (approximately 10-inch diameter)
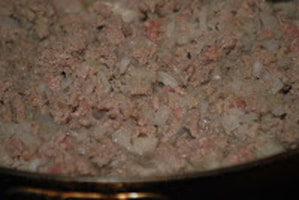
Add the onion.
Add the bell pepper.
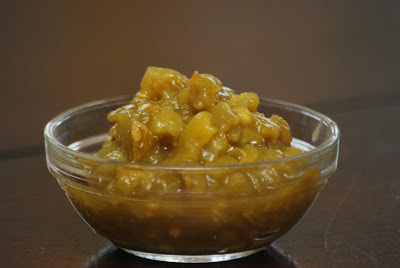
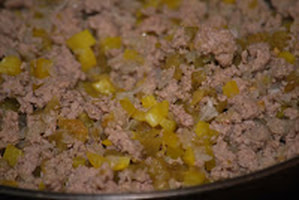
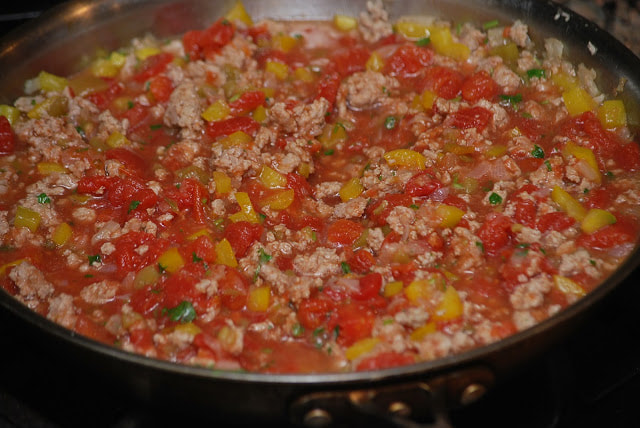
Add the chiles and salt and cook gently for 15 minutes.
Add the chopped cilantro stalks.
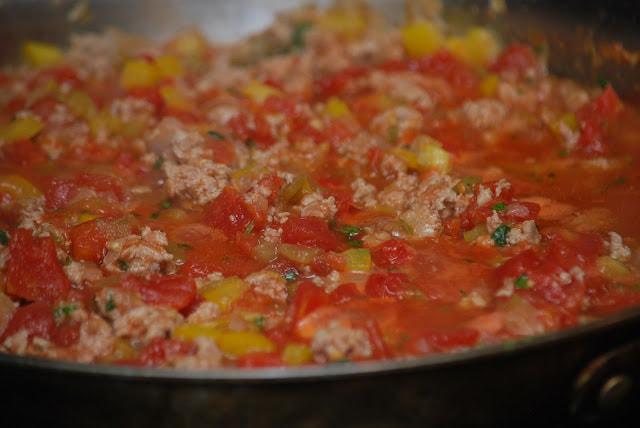
Add the canned tomatoes. Spoon in the ketchup and let things come to a simmer, leaving the sauce to cook while you get on with preparing the filling- about 10 minutes.
Finally, add the last layer of beans and cheese, nearly all of the remaining salsa and cover with the last 2 tortillas. Spread the very last bit of salsa over the tortillas and sprinkle with the remaining cheese. (I accidentally used up all of my cheese in the filling - oh well.) Place on top of the cookie sheet in the oven (to catch any over-flow from the lasagne) and bake for 30 minutes. 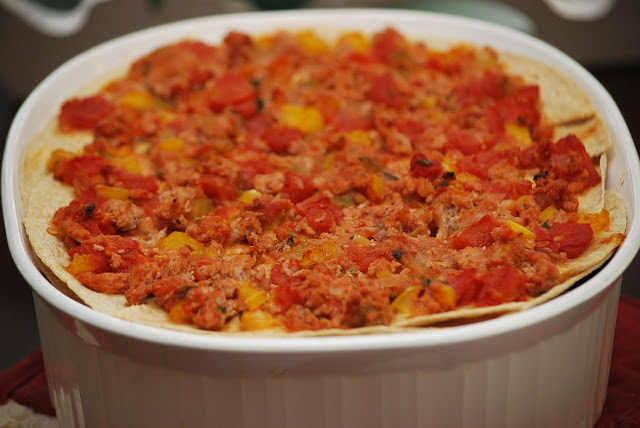 This lasagna was fantastic and it was even better the second day!
Ciao!
|