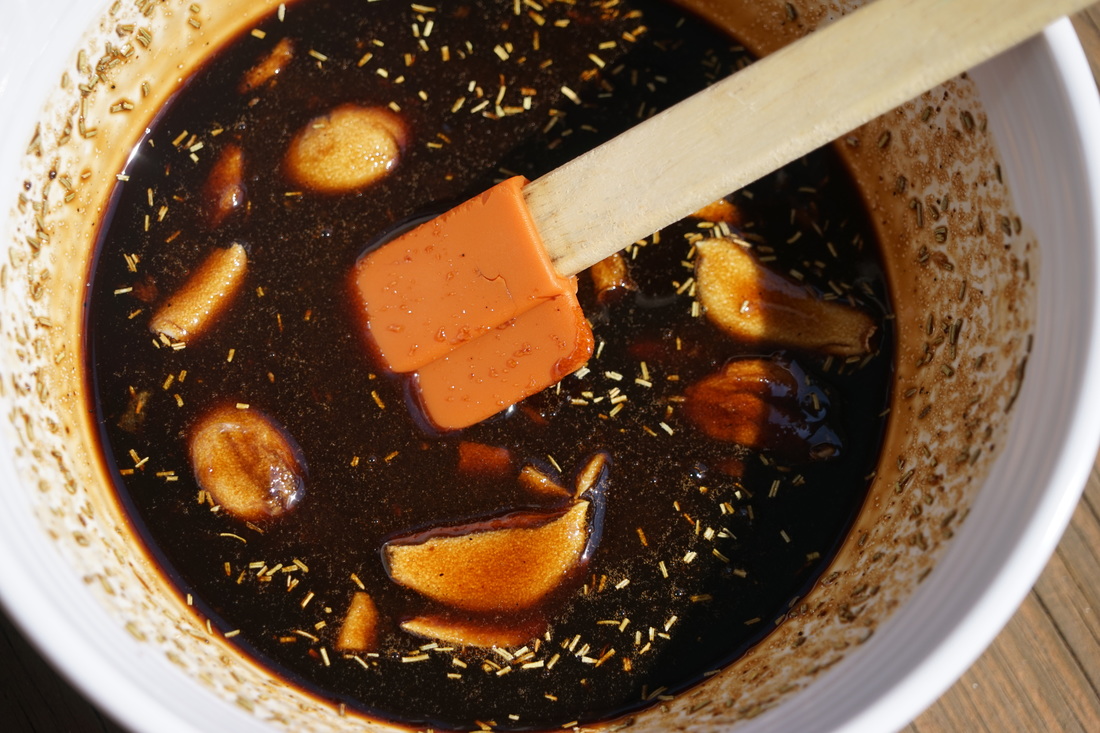
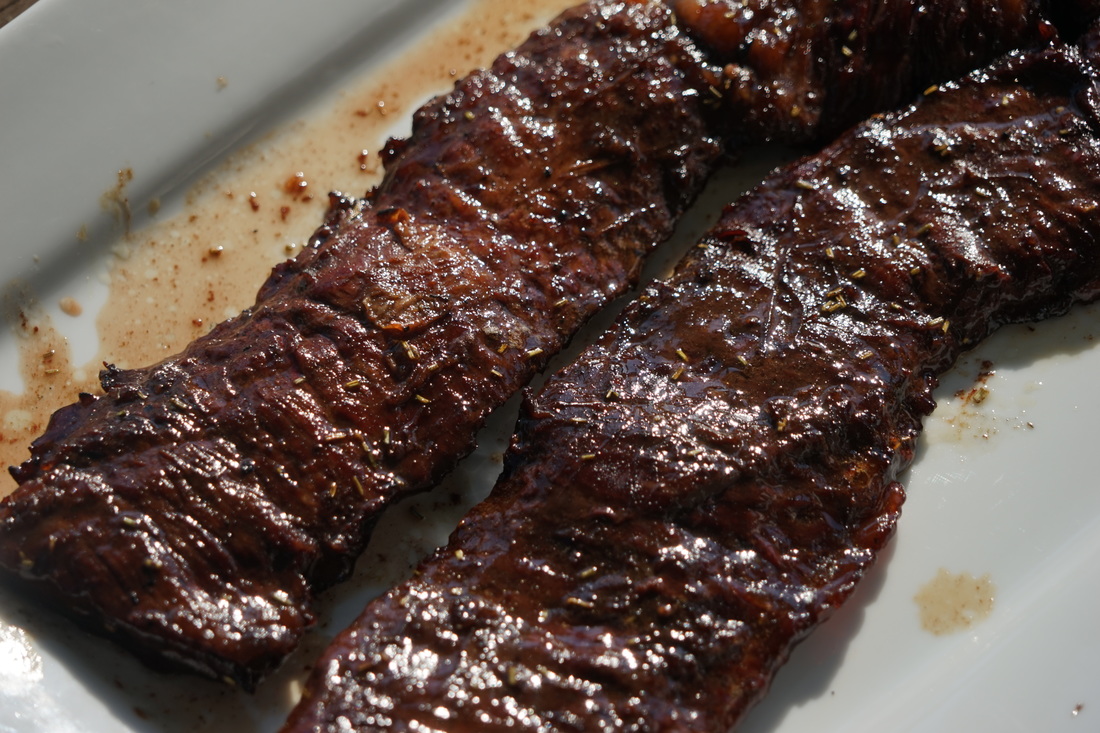
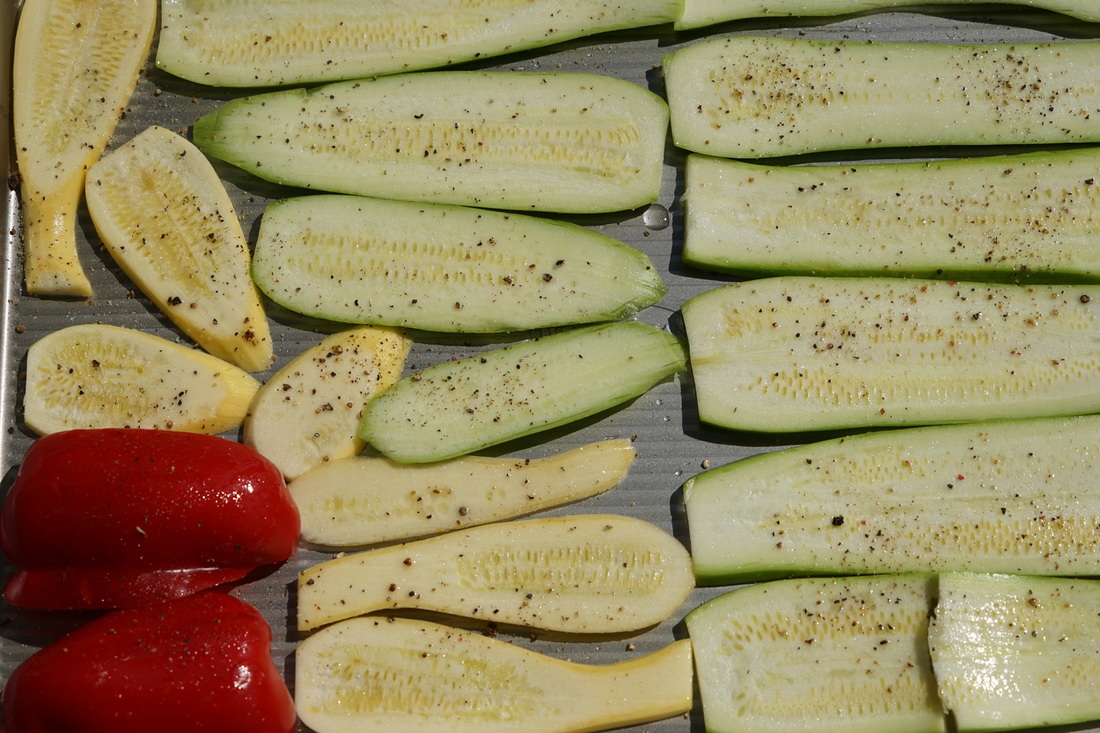
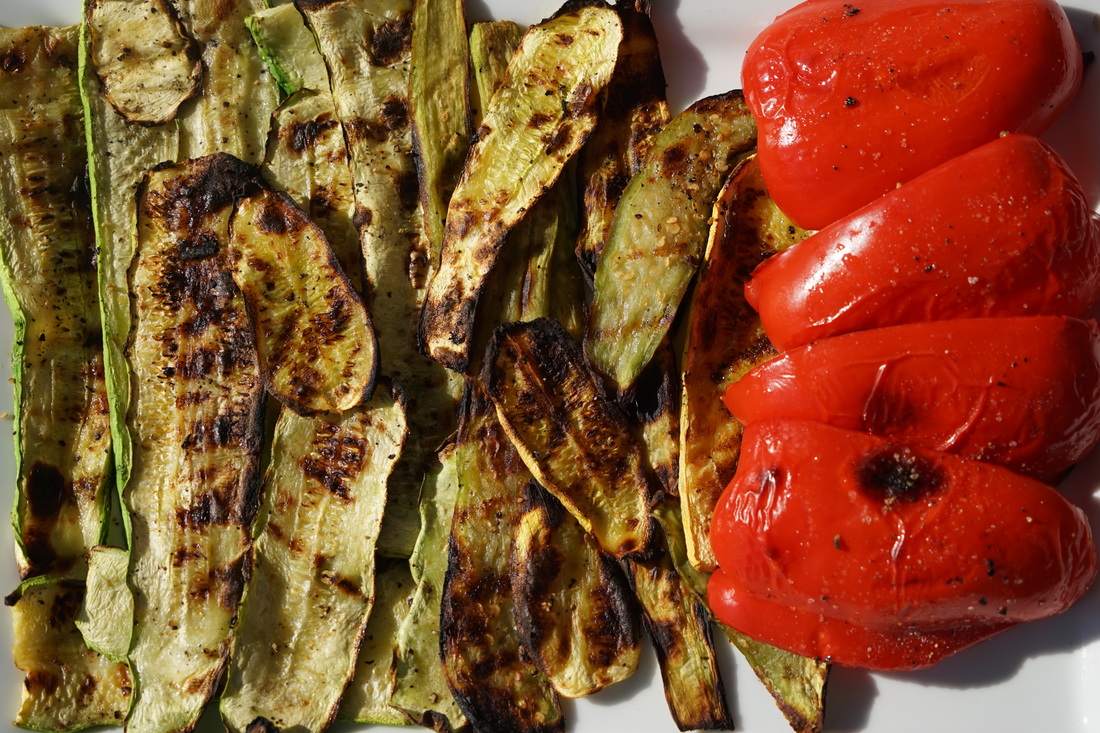
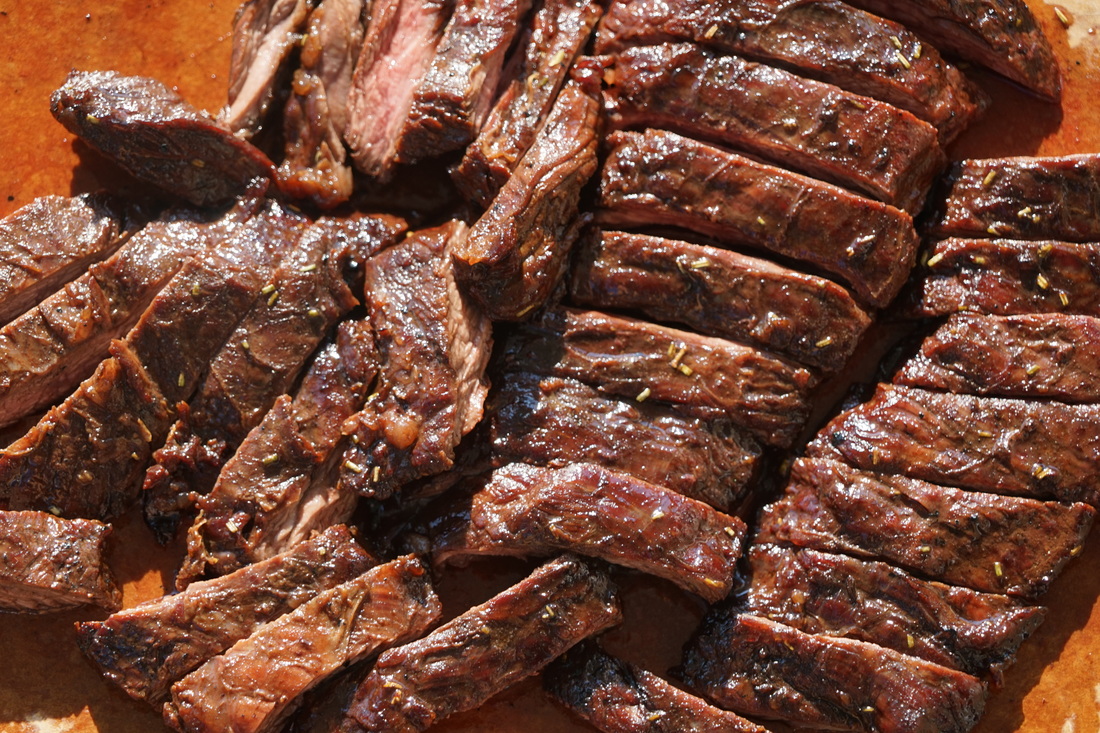
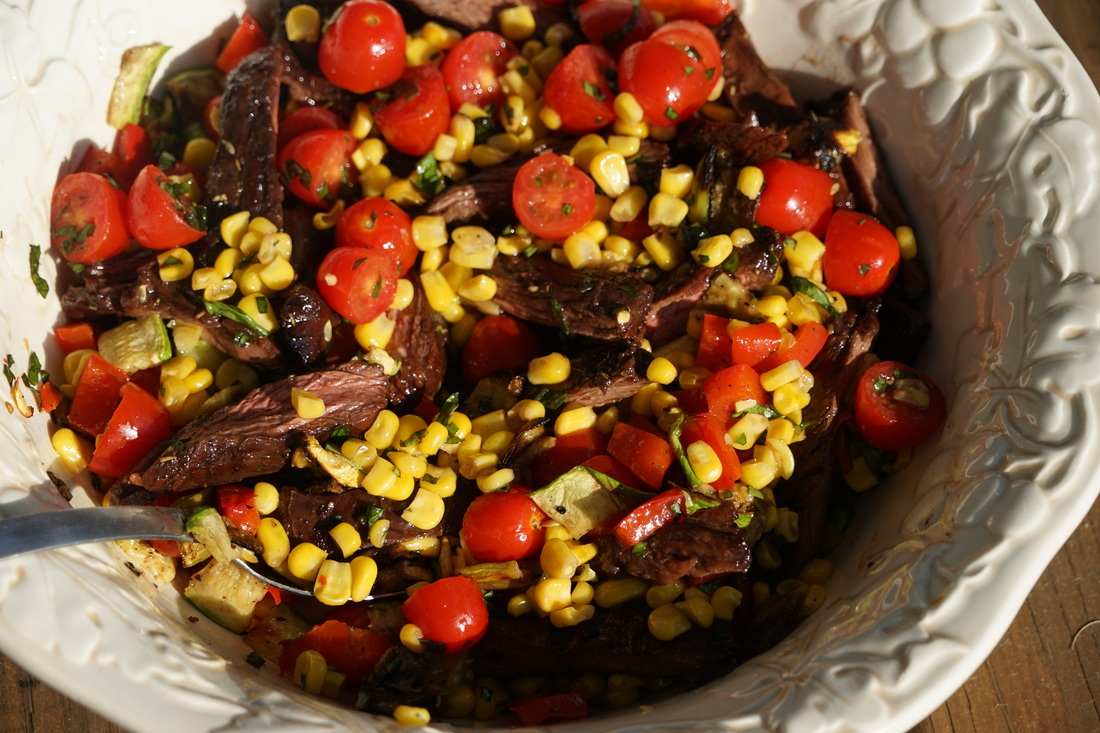
 Happy September! Although I'm sad to say goodbye to summer, I'm super excited about what Fall has to offer. Sure Fall means chilly mornings and comfy sweaters, pumpkin candles and apple cider but more importantly, it means that I can stand on my back deck in front of the grill without burning the bottoms of my feet. :) One of my favorite things to grill is vegetables! It's not that I'm opposed to a juicy steak or a nice smokey turkey breast, it's just that I LOVE the flavor that the Big Green Egg adds to just about any vegetable. My personal favorites: eggplant, zucchini, squash, corn and peppers. 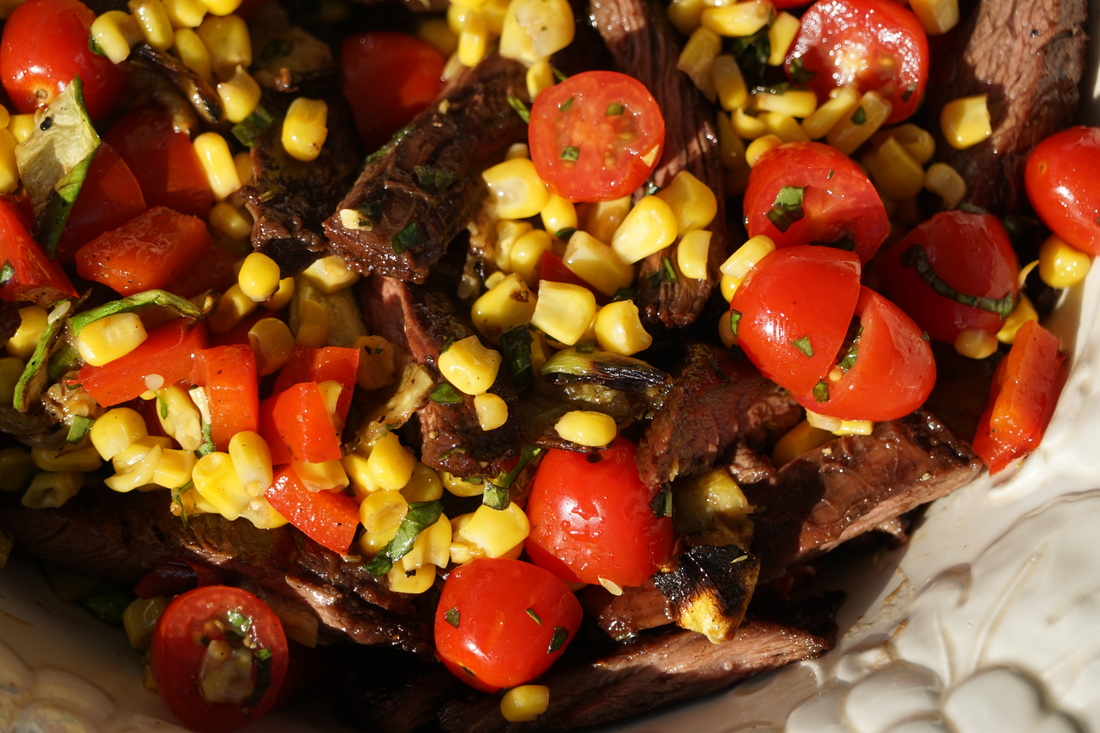 For dinner a few nights ago, I decided to combine my favorite grilled cuisine - vegetables - with Ben's favorite - steak! What could be better than a marinated skirt steak and grilled vegetable salad? My one suggestion for this recipe is to use really great skirt steak from a reputable butcher. Great skirt steak is a little pricey but it does make a big difference.  Marinated Skirt Steak and Grilled Vegetable Salad Marinade Salad 1 cup brown sugar 1 Tablespoon fresh basil 1/4 cup balsamic vinegar 1 Tablespoon olive oil 2 Tablespoons Worcestershire Sauce 2 scallions, thinly sliced 3 cloves garlic 2 cloves garlic 2 Tablespoons fresh rosemary, chopped 1 red bell pepper, quartered 1 1/2 pounds skirt steak 1 small yellow summer squash, cut into 1/2" slices 1 small zucchini, cut into 1/2" slices 1/2 cup frozen corn (or fresh) 1 cup cherry tomatoes, halved
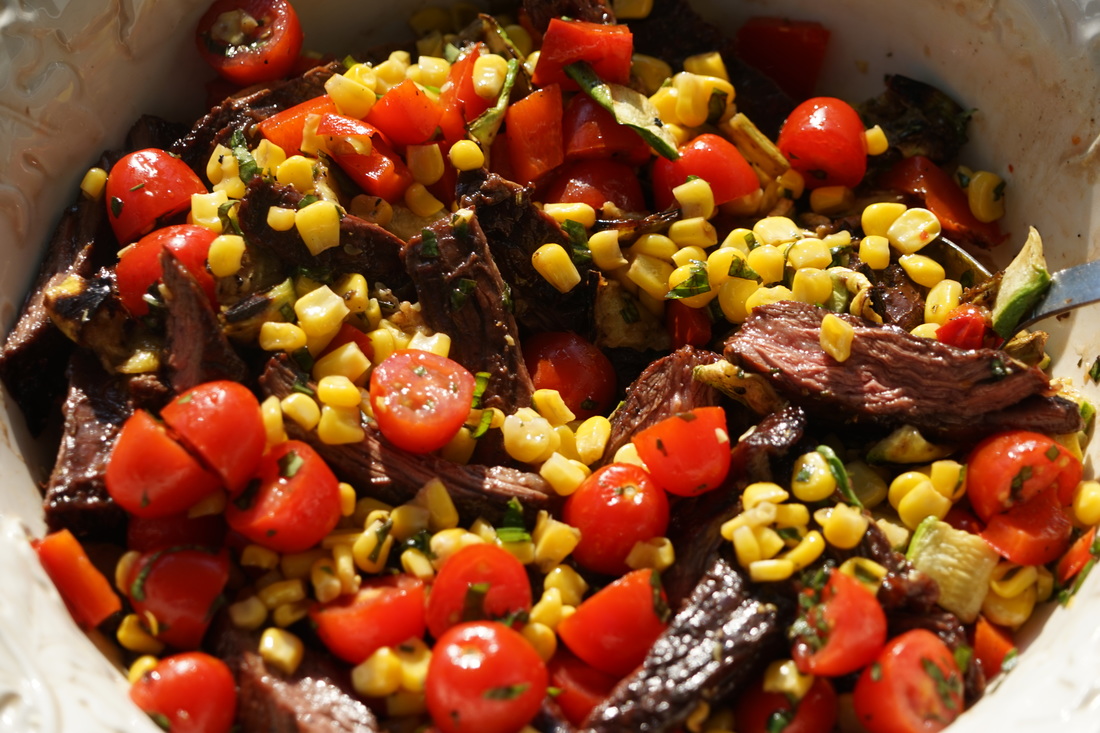
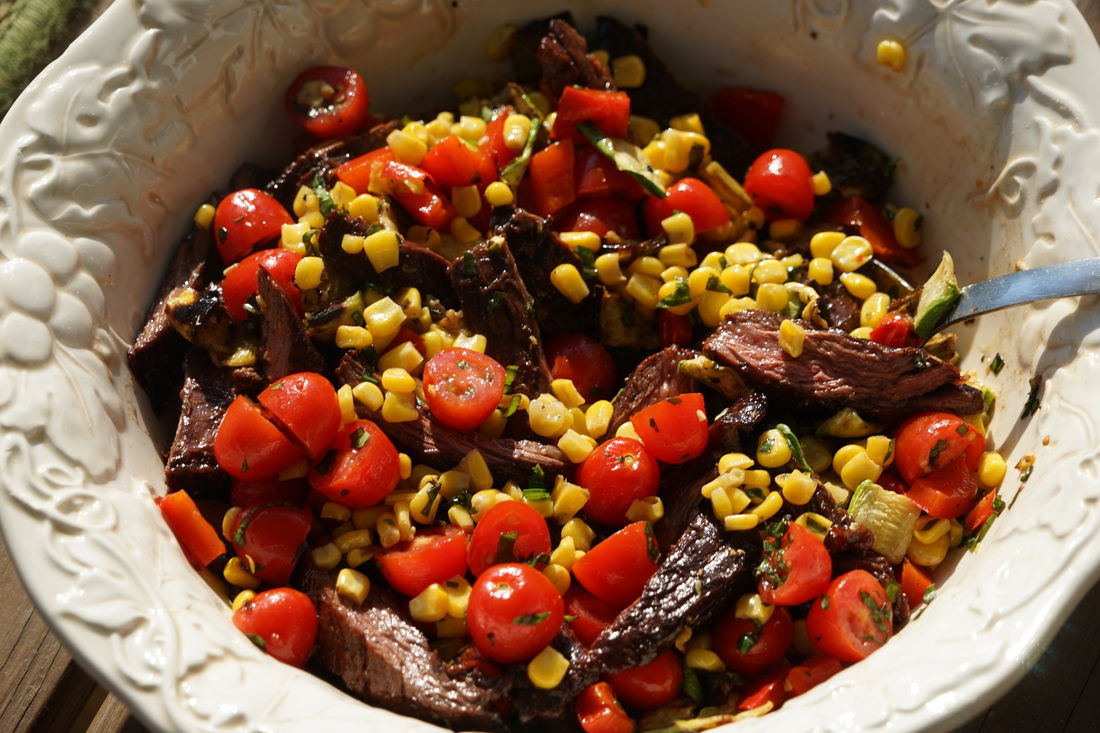
Chop vegetables and place in a bowl along with 1/2 of the corn mixture. 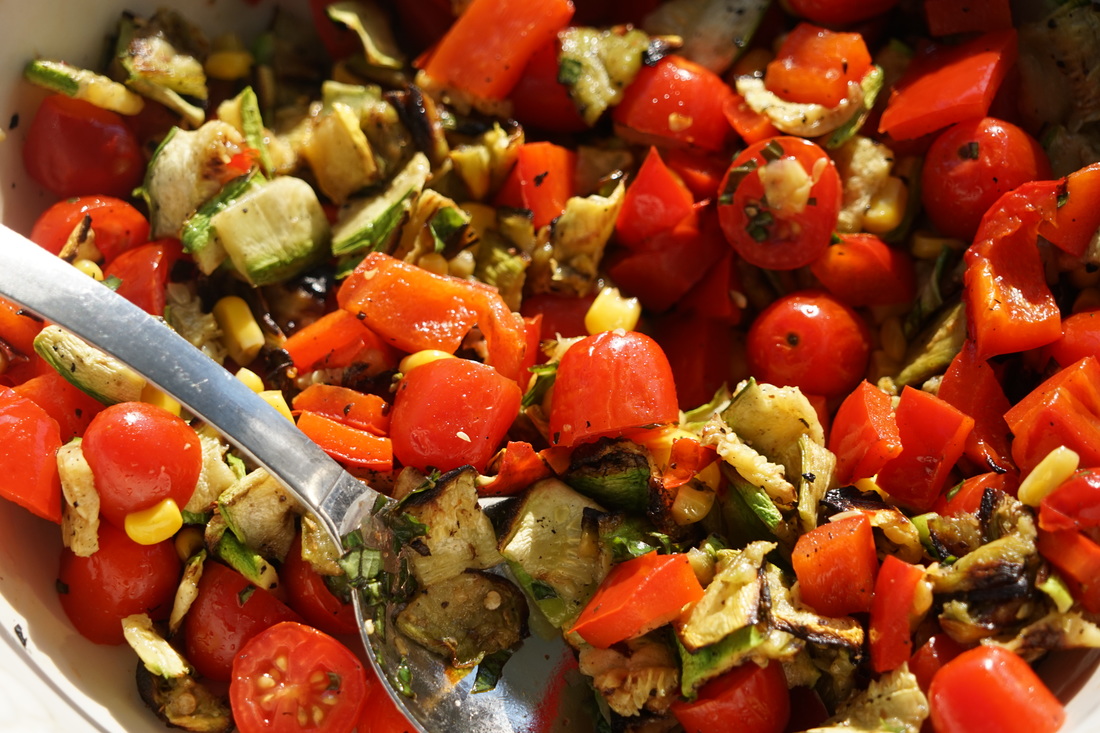 Add steak and remaining corn mixture. Top with sliced scallions.
We enjoyed our salad with fresh rolls and a glass of red wine. The perfect blend of both of our favorites from the grill - steak and vegetables. Use my recipe and modify it to make it your own. Choose meat and vegetables that you love and you are sure to create a delicious salad.
Ciao!
0 Comments
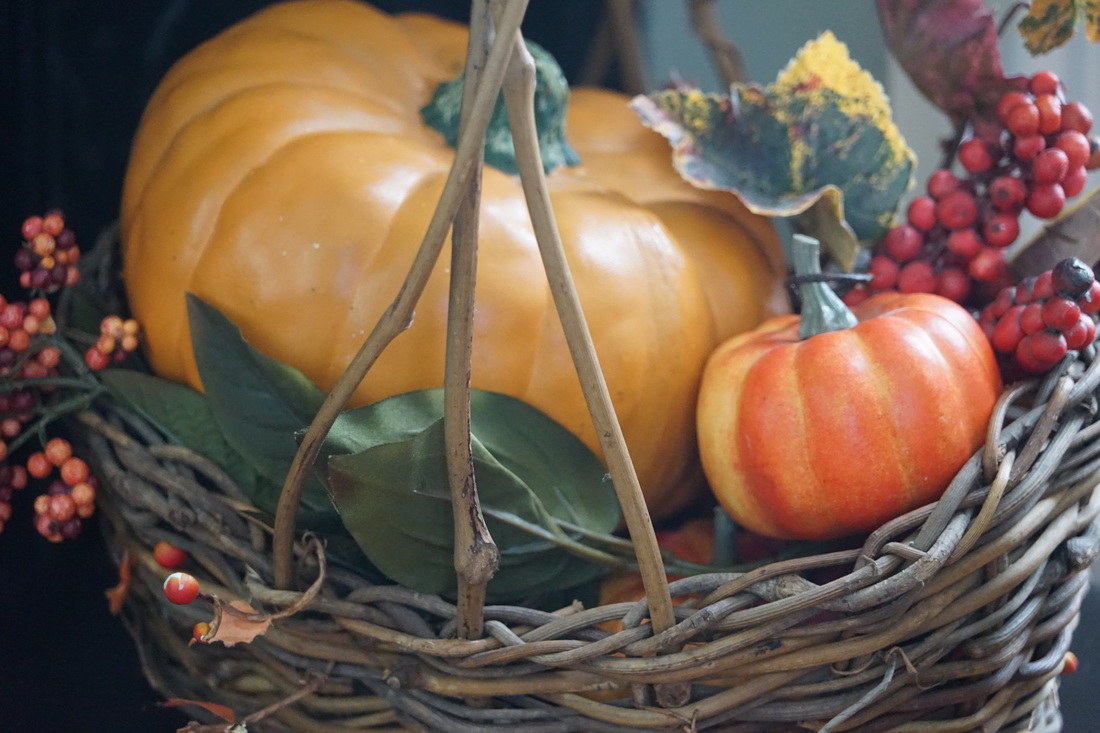
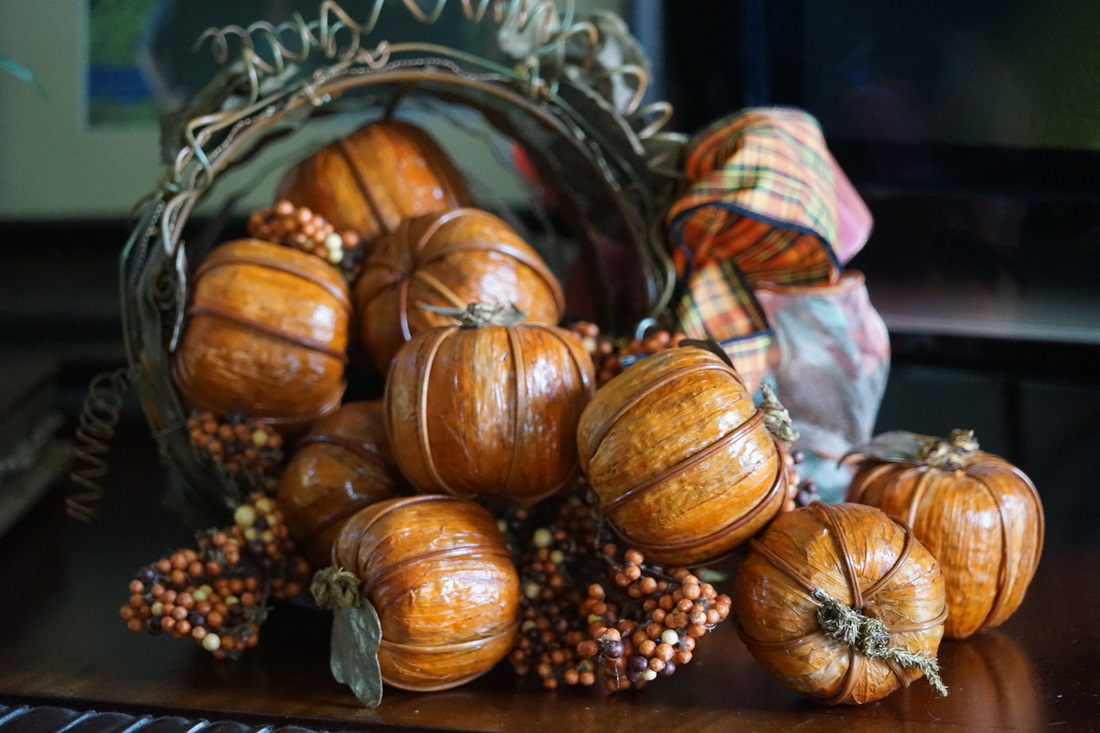
We had 2 days of cool-ish morning weather and that is all it took to launch me into full blown "Let it be Fall" mode. (I'm in denial about the fact that it's still August and that the hot weather will inevitably return so please don't burst my bubble.) Even if we can't keep the Fall temperatures outside, I've decided to declare it Fall - INSIDE my house. I carried 4 boxes full of pumpkins, cornucopias, wreaths, and Fall baskets up from the basement yesterday and I officially unleashed Fall inside the Davis house. Our livingroom is a mecca of brilliant orange pumpkin candles, golden yellow mums and vibrant red berry garlands.
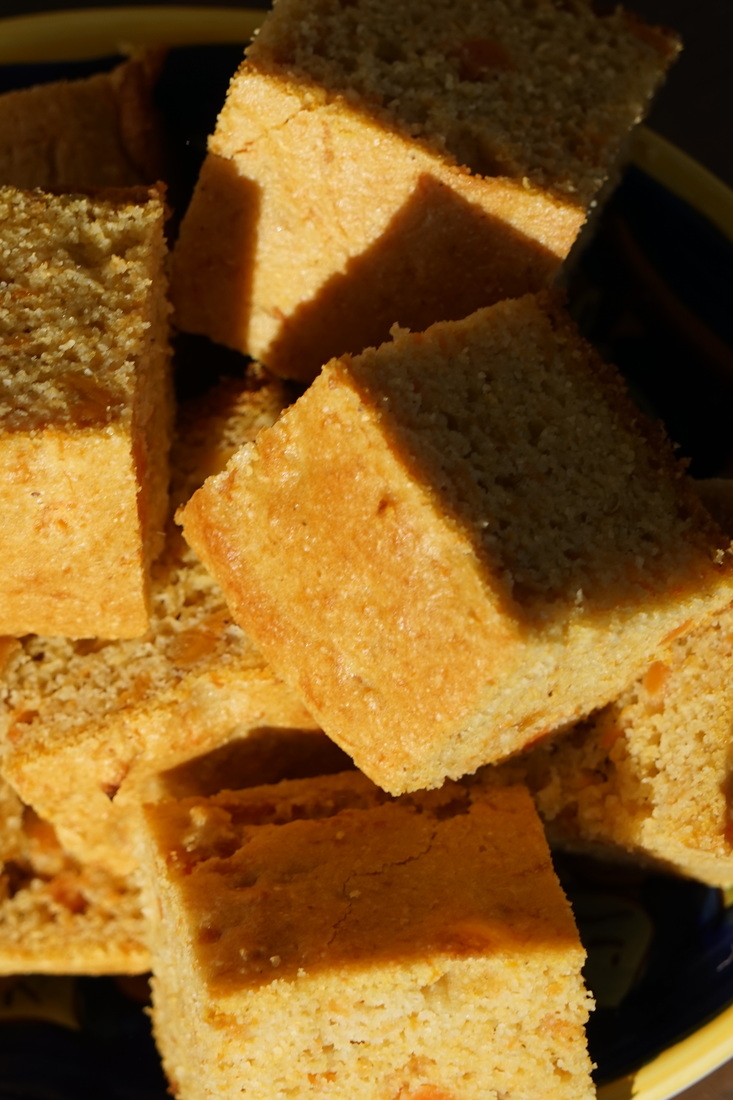
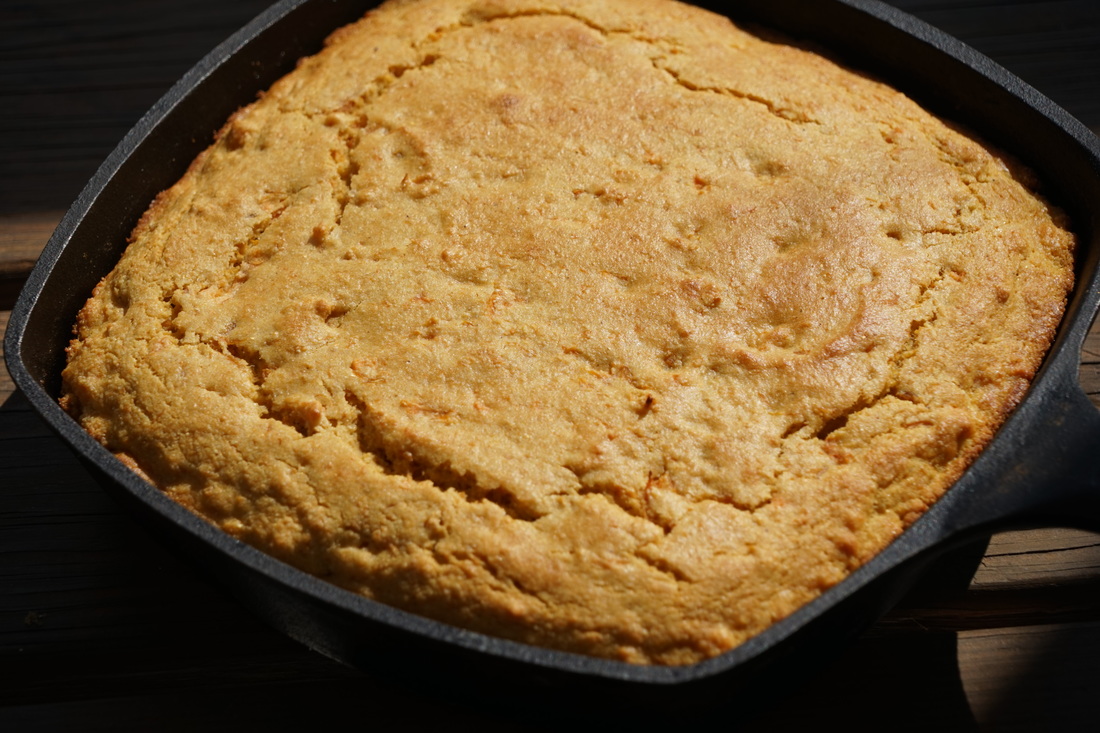
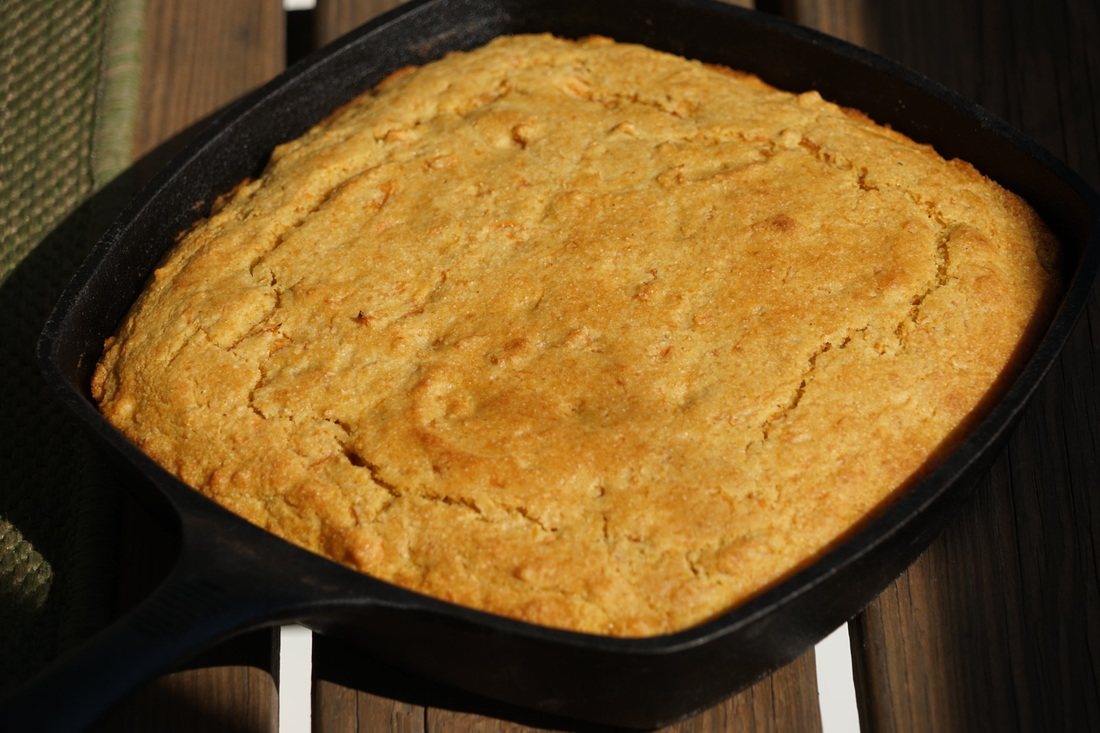
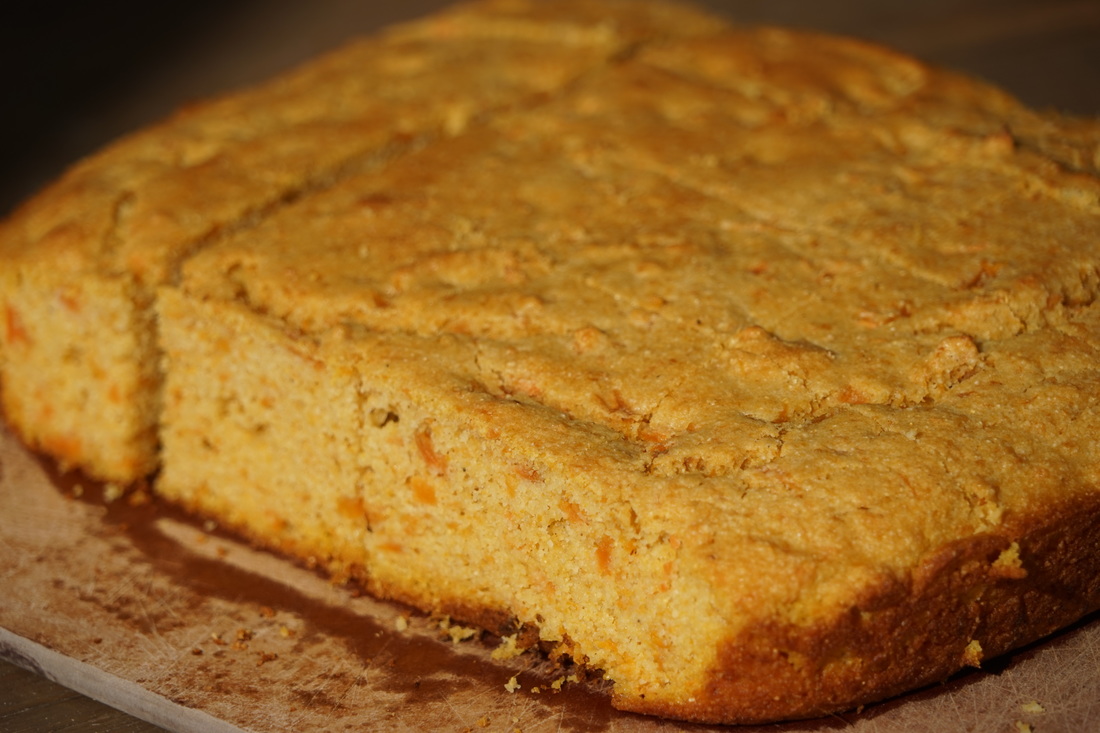
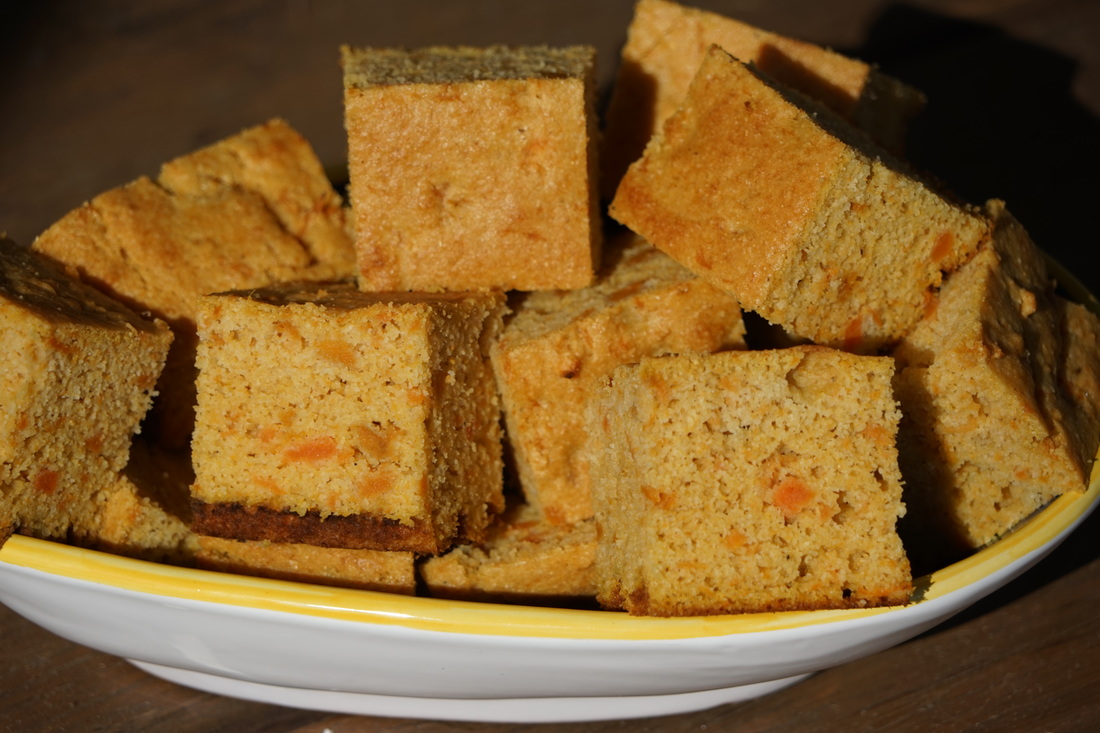
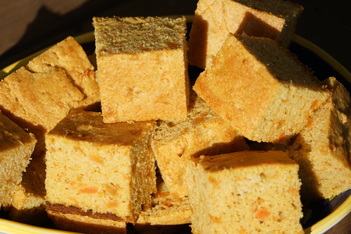
 It's a breath of Fall air in this house - even if I do have to turn the air conditioning down to create my own Fall-like temperatures. It won't be long before the trees in my front yard catch up with the season in my living room. 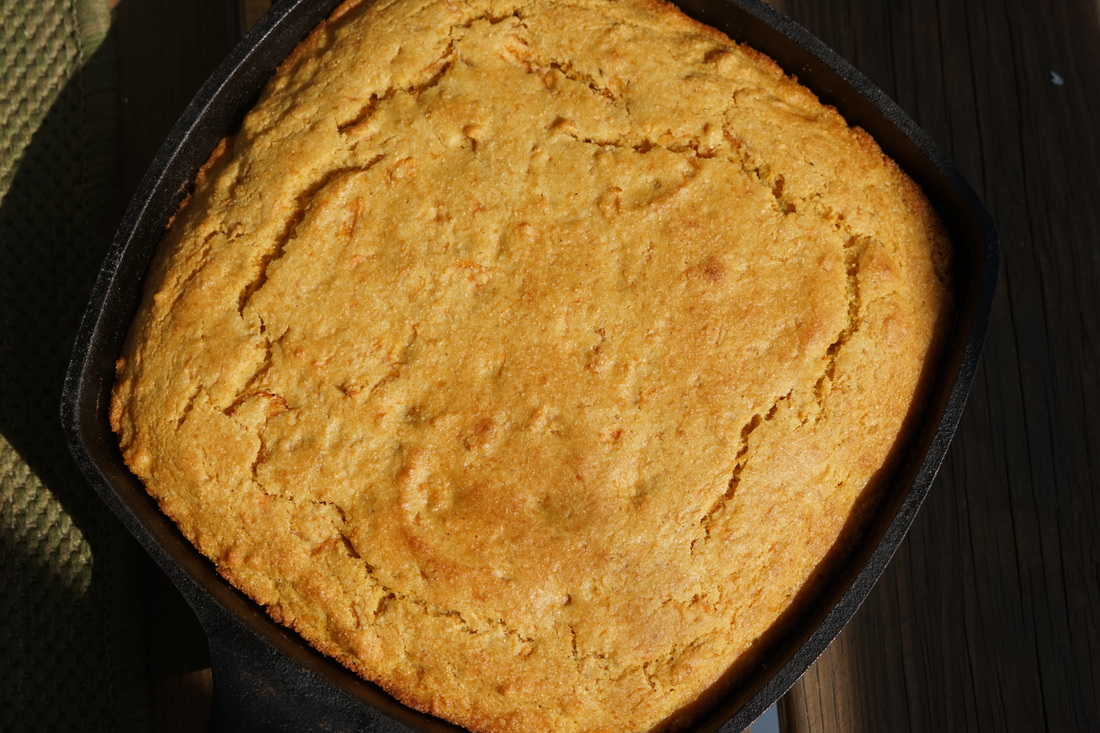 To continue with my Fall themed house, I've decided to make some Fall food this week and nothing says Fall to me like a great big pot of home made chili and cornbread. One bite of my Sweet Potato Cornbread will have everyone ready for Fall. 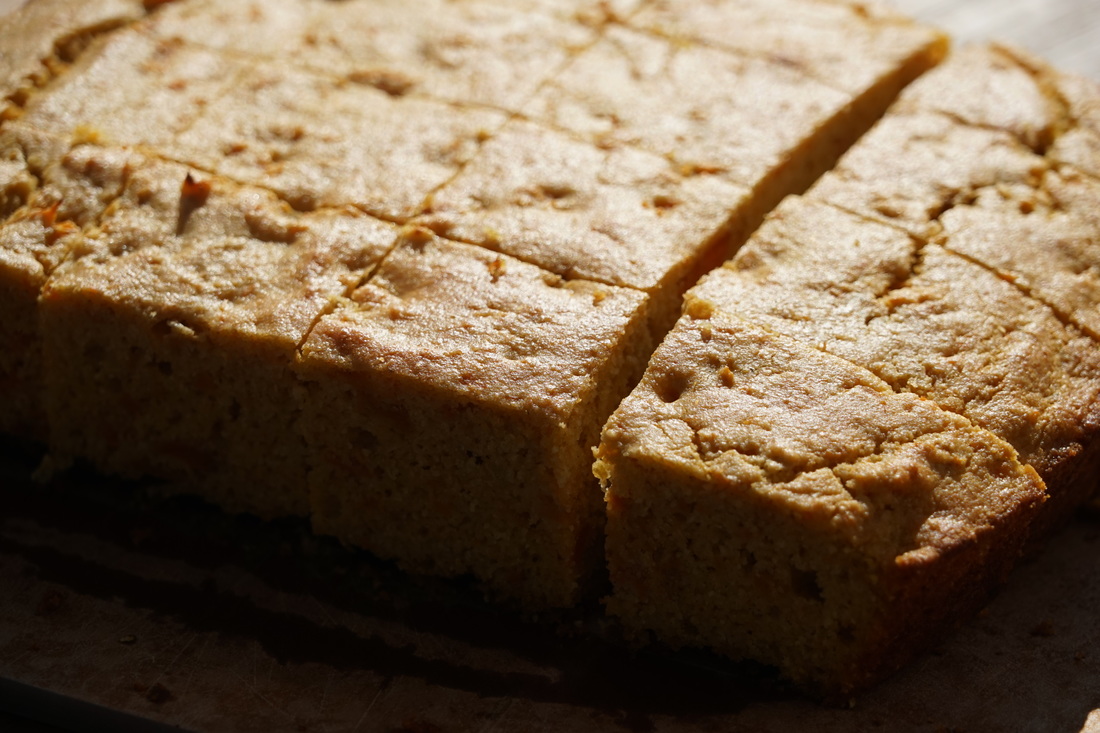
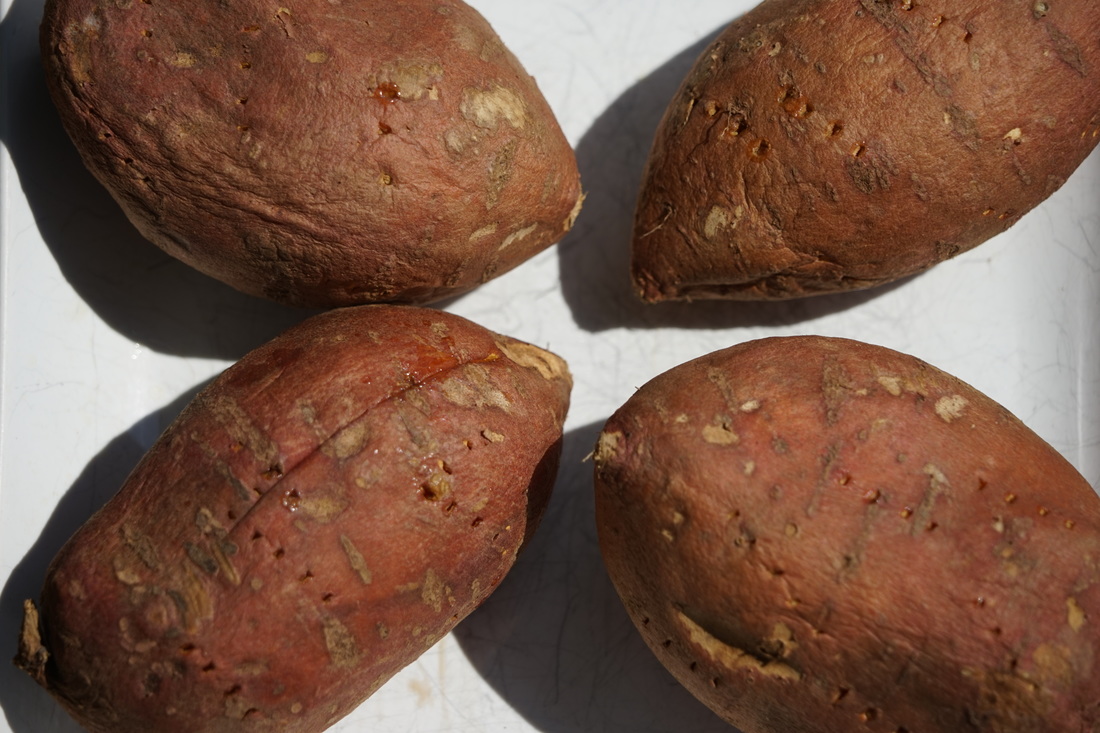
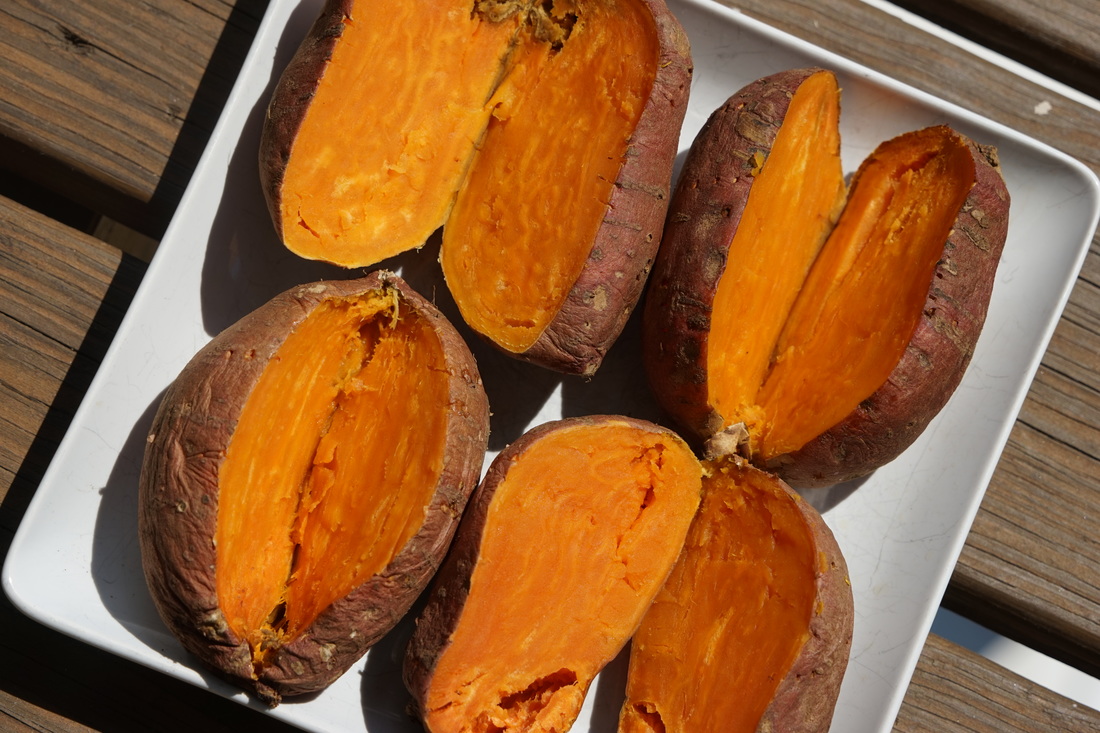
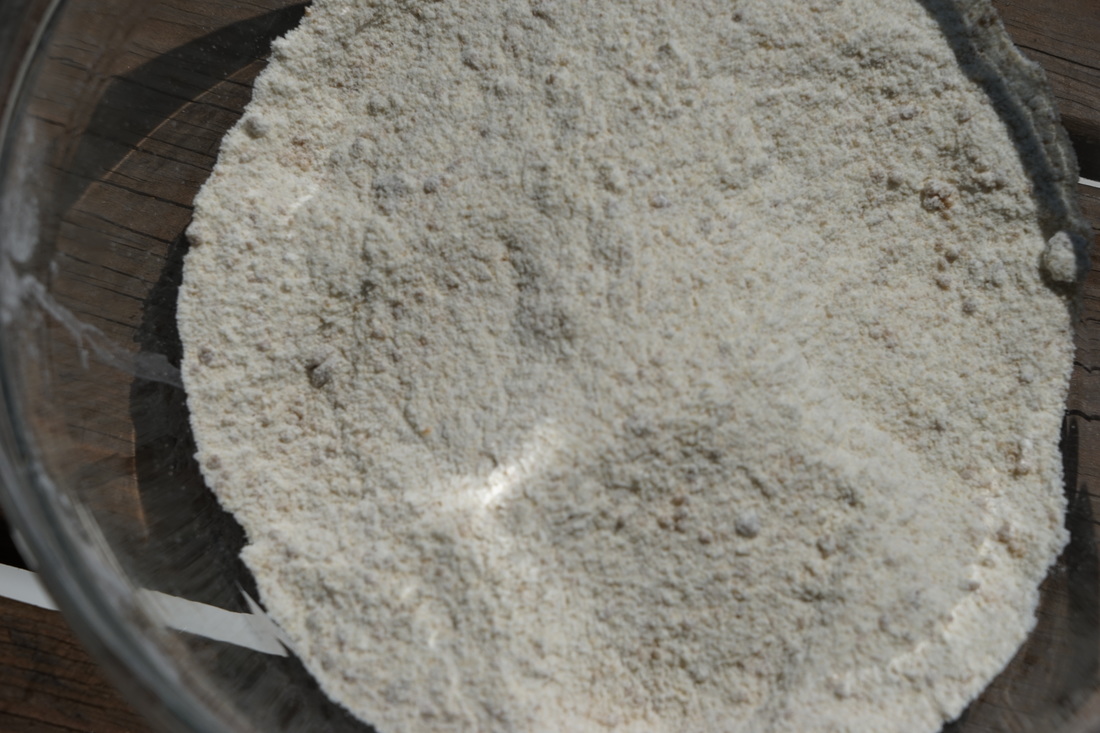
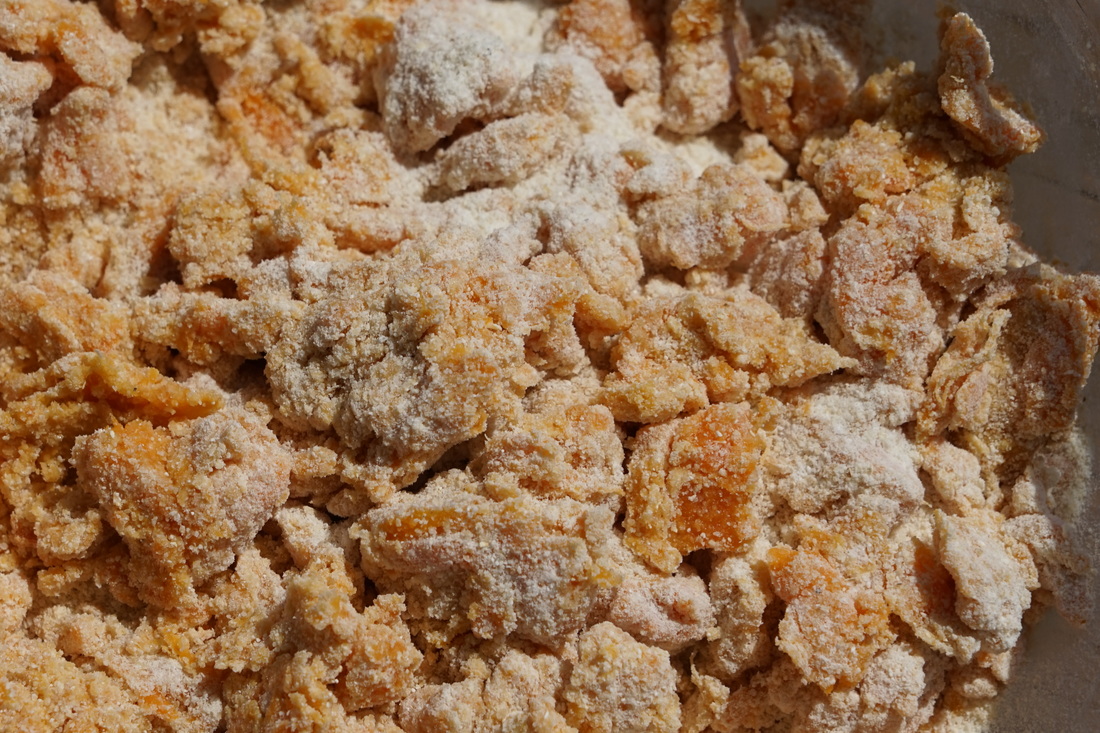
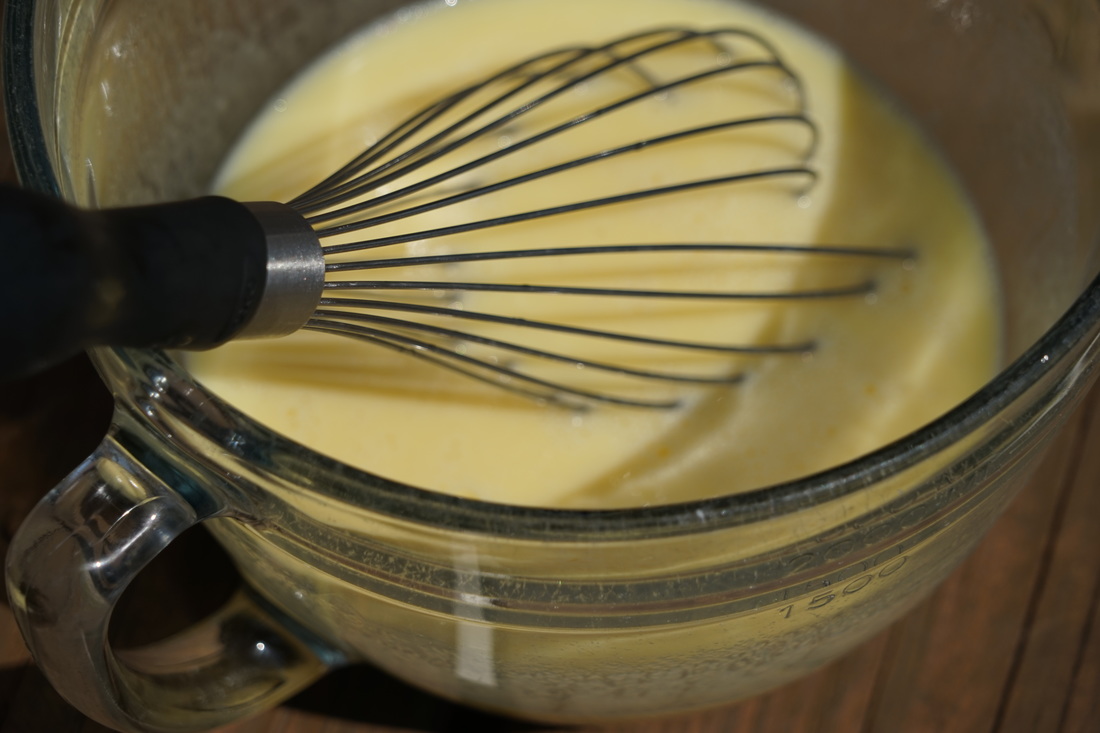
Sweet Potato Cornbread 1 1/2 pounds sweet potatoes 1/2 cup whole milk 8 Tablespoons butter + 1 Tablespoon 4 eggs 1 1/2 cups cornmeal 1/2 cup brown sugar 1 Tablespoon baking powder 1/2 teaspoon baking soda 1 3/4 teaspoons salt
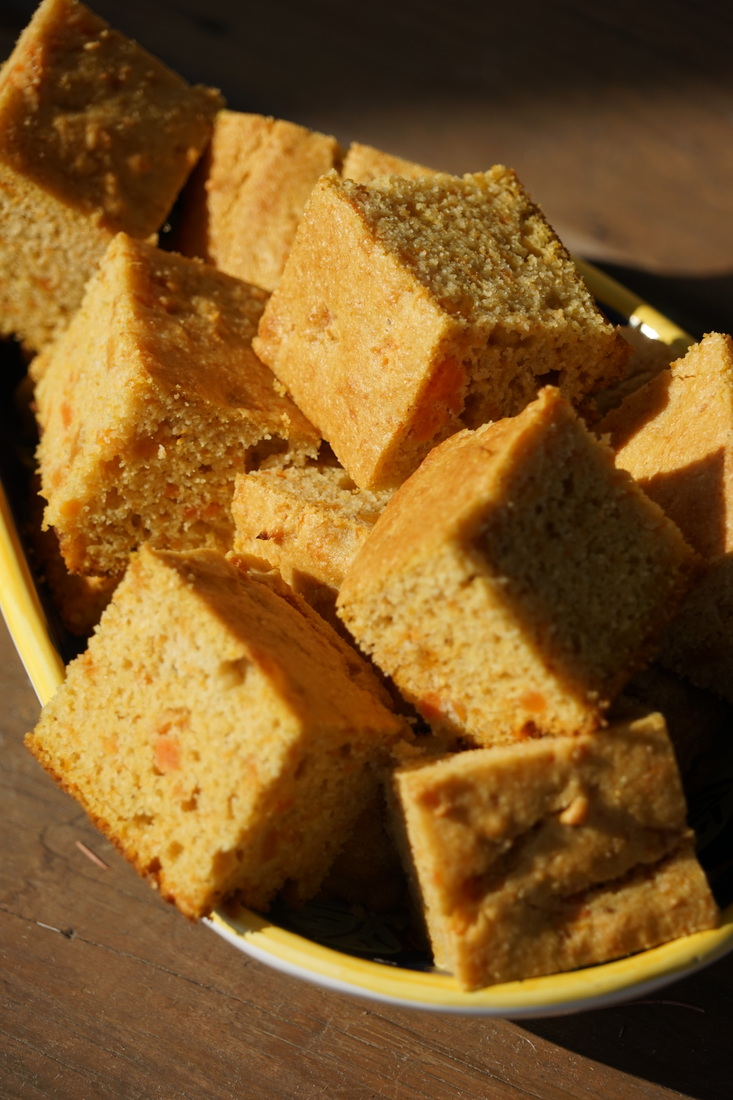
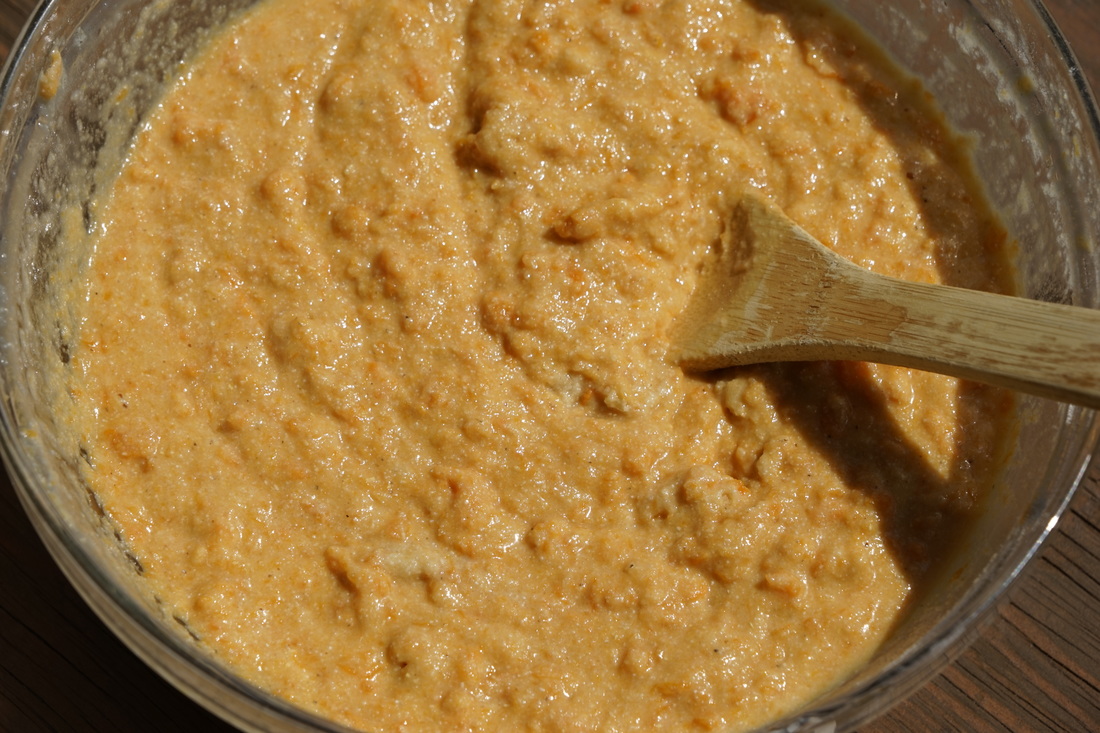
Melt 1 T. butter in cast iron skillet. Pour batter into skillet. 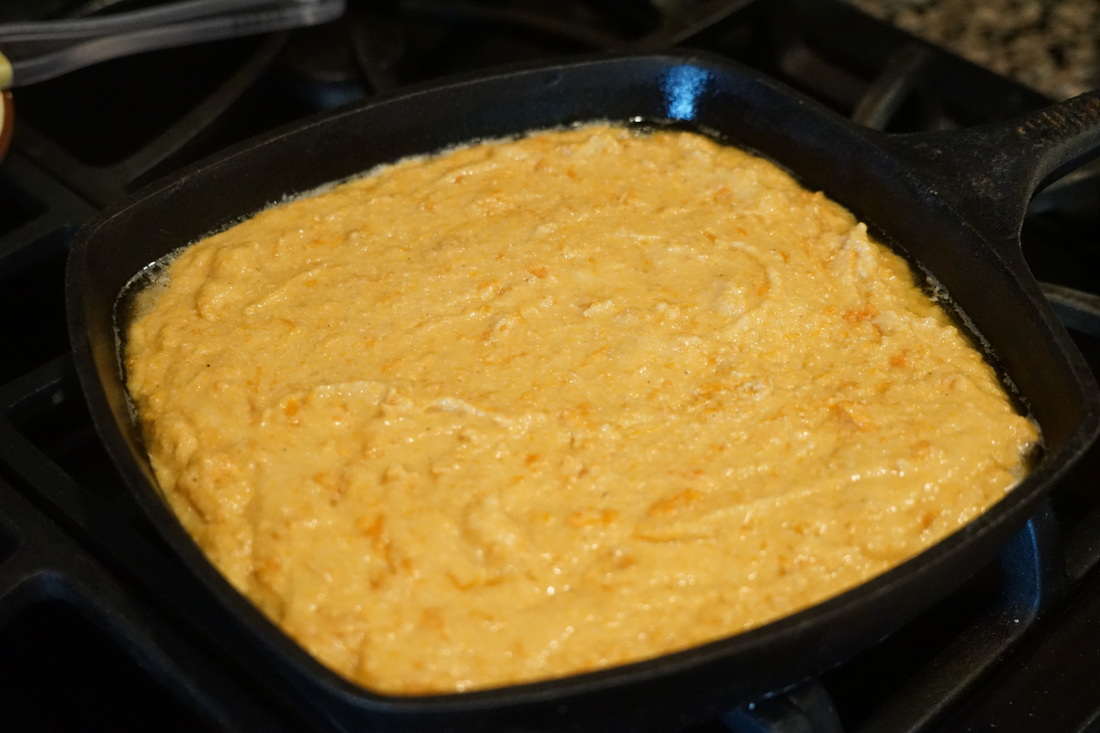 Bake 25-30 minutes at 425.
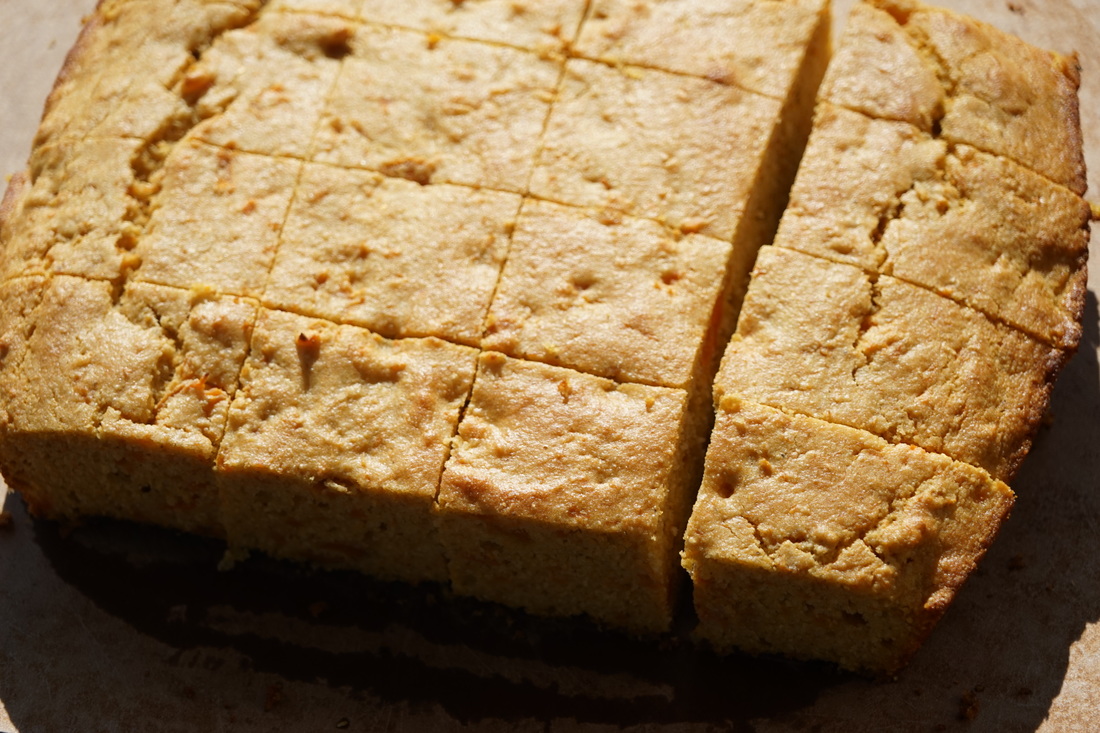
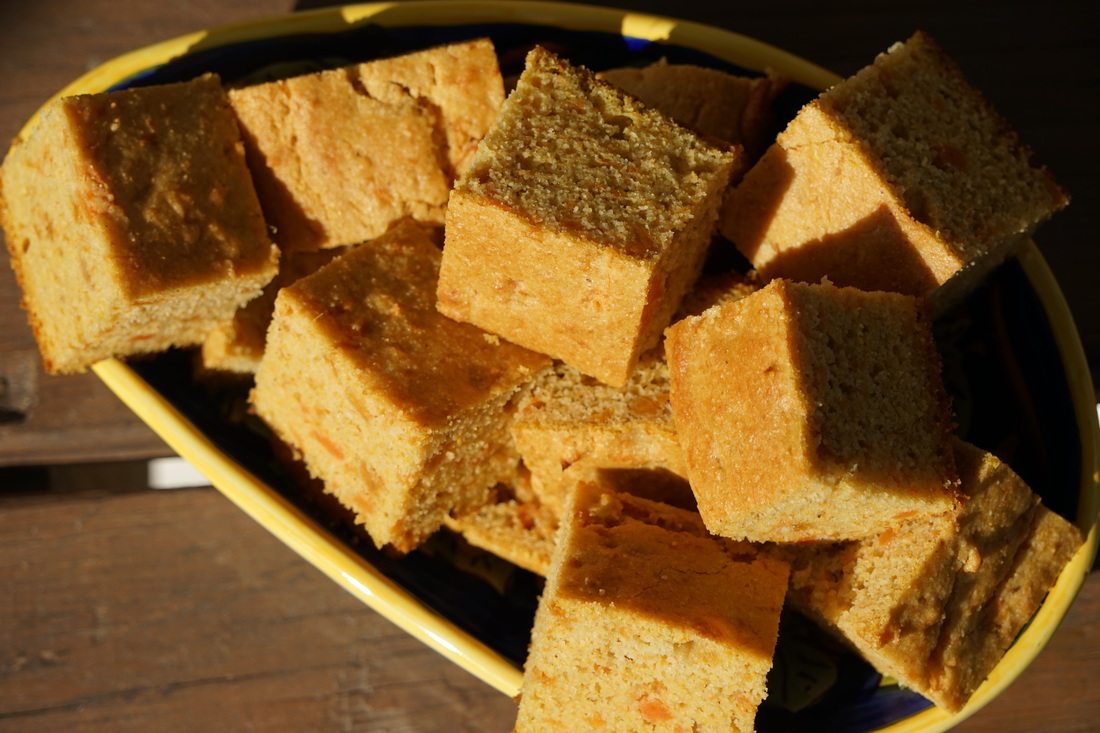
 Slice.
 Ciao!
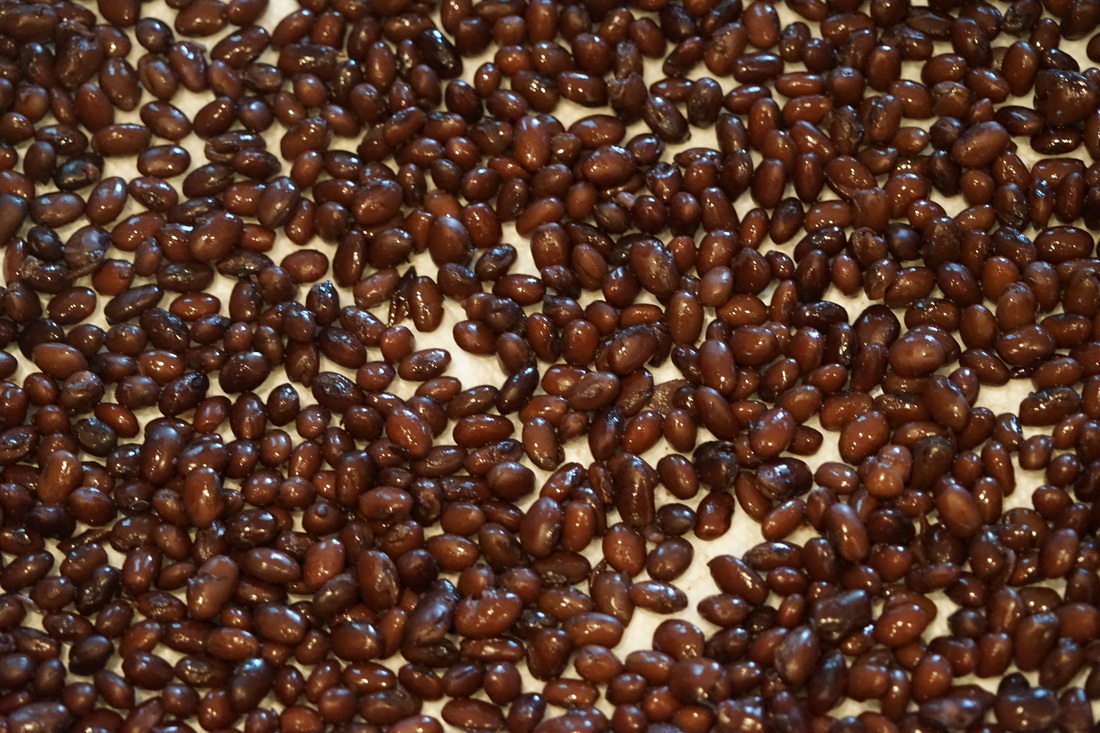
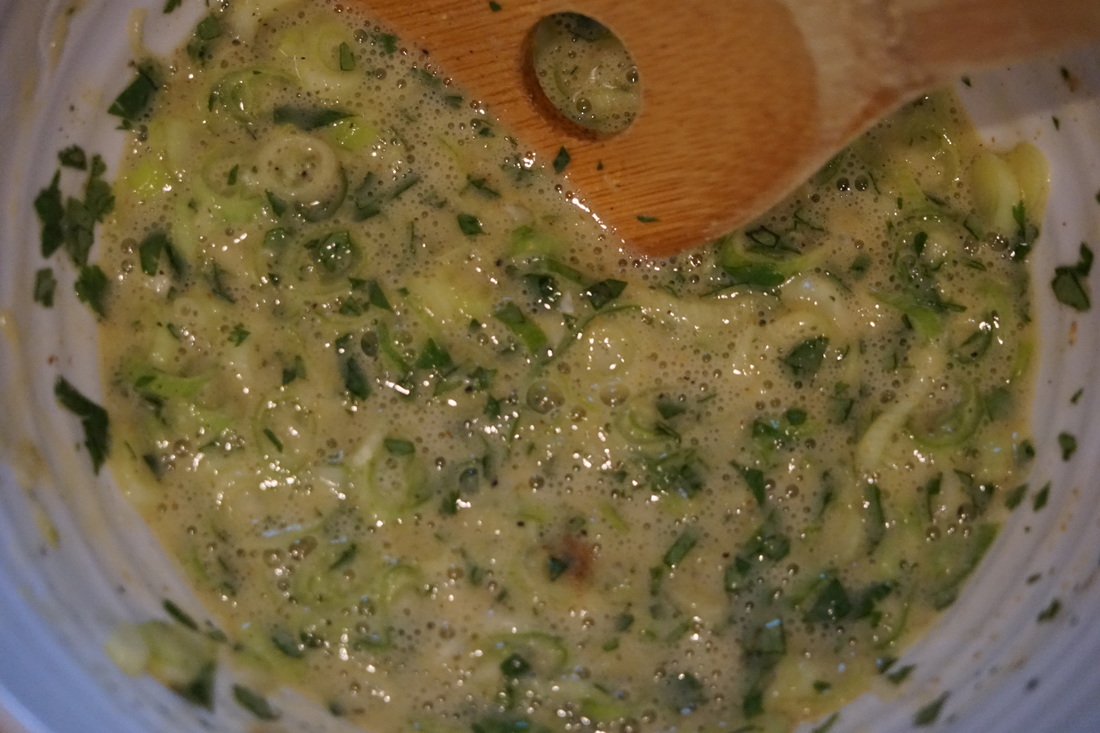
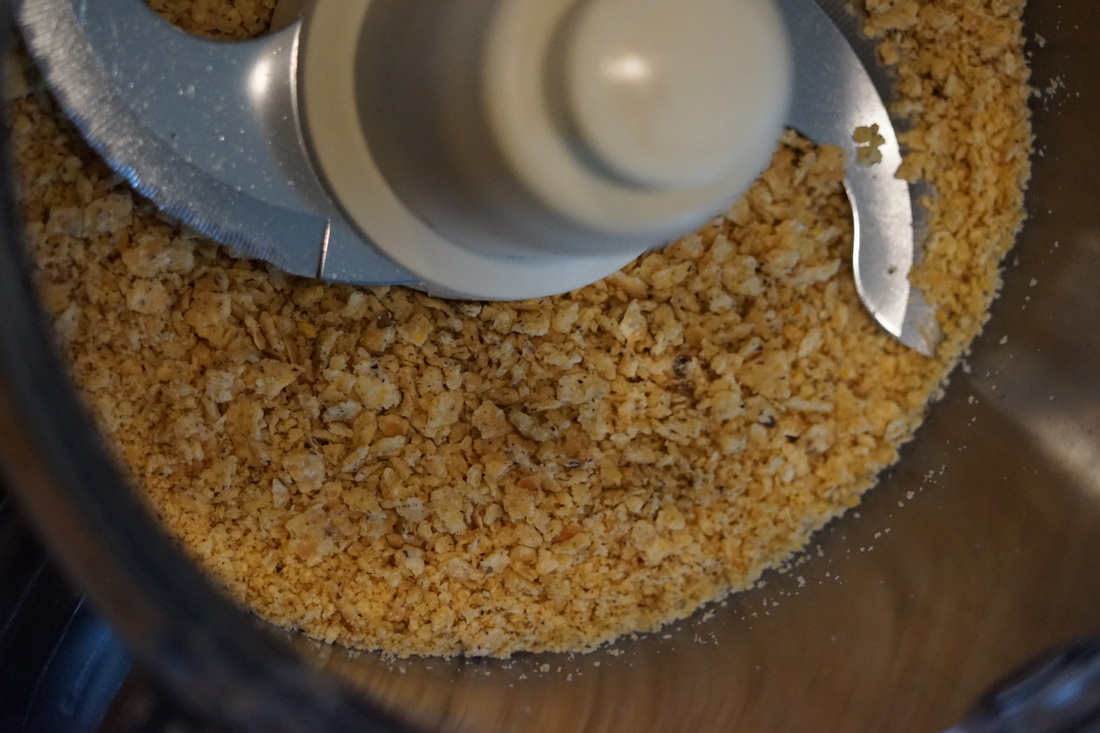
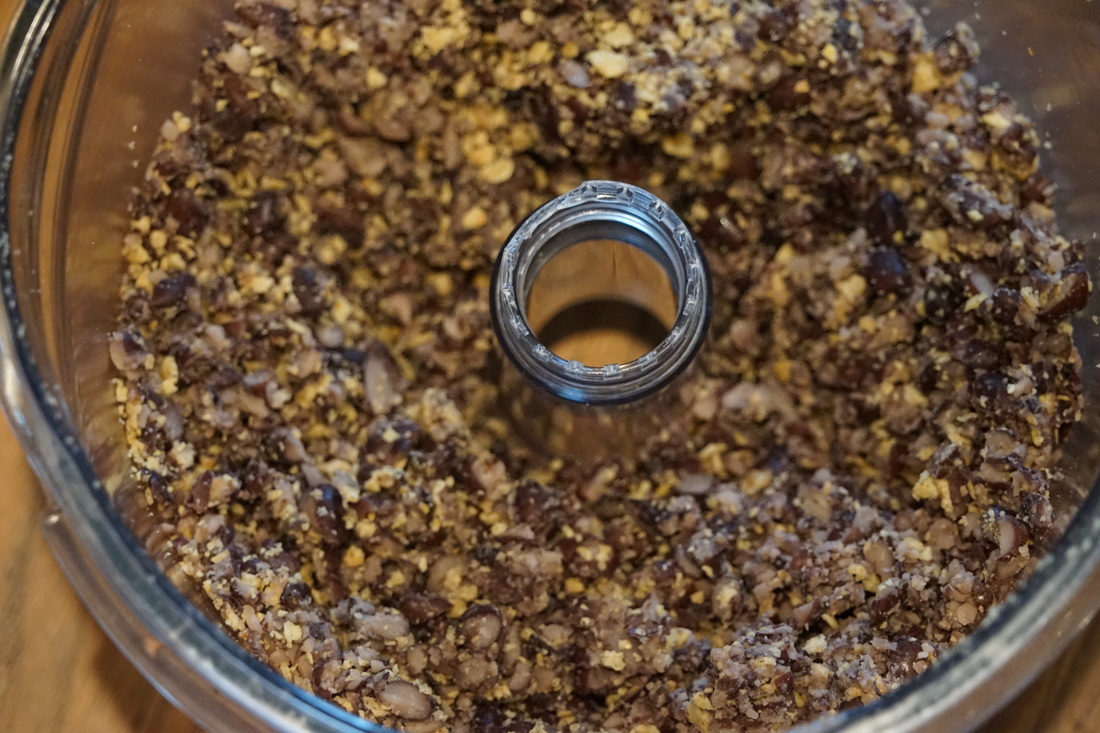
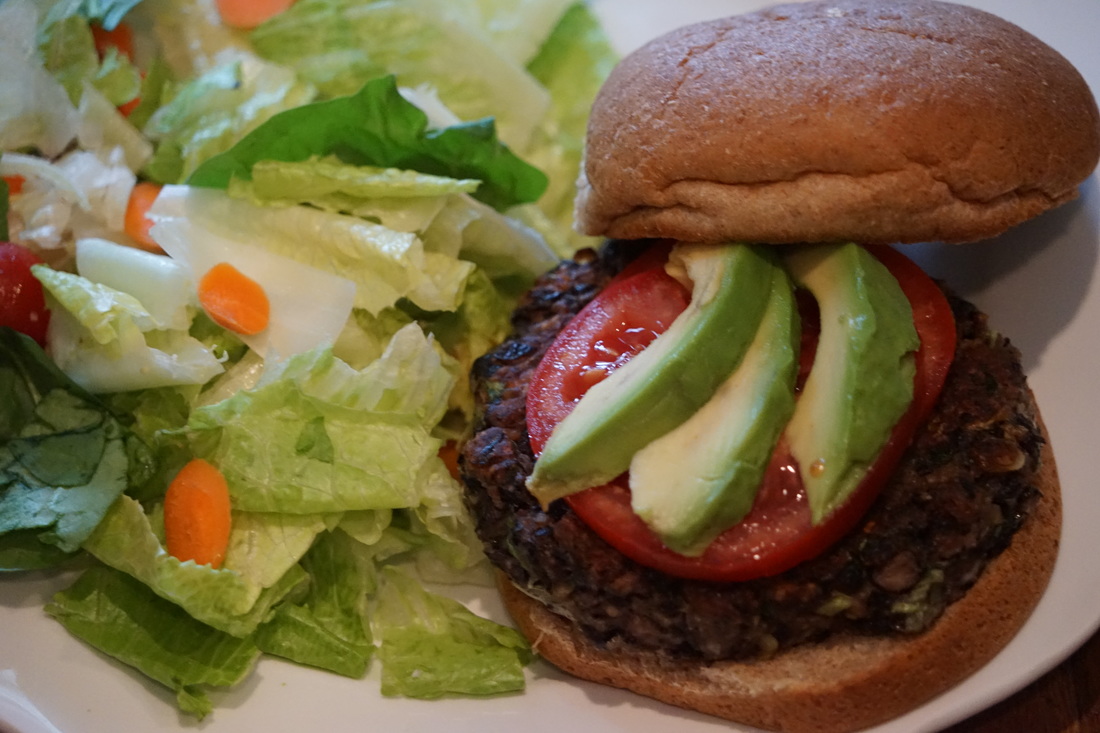
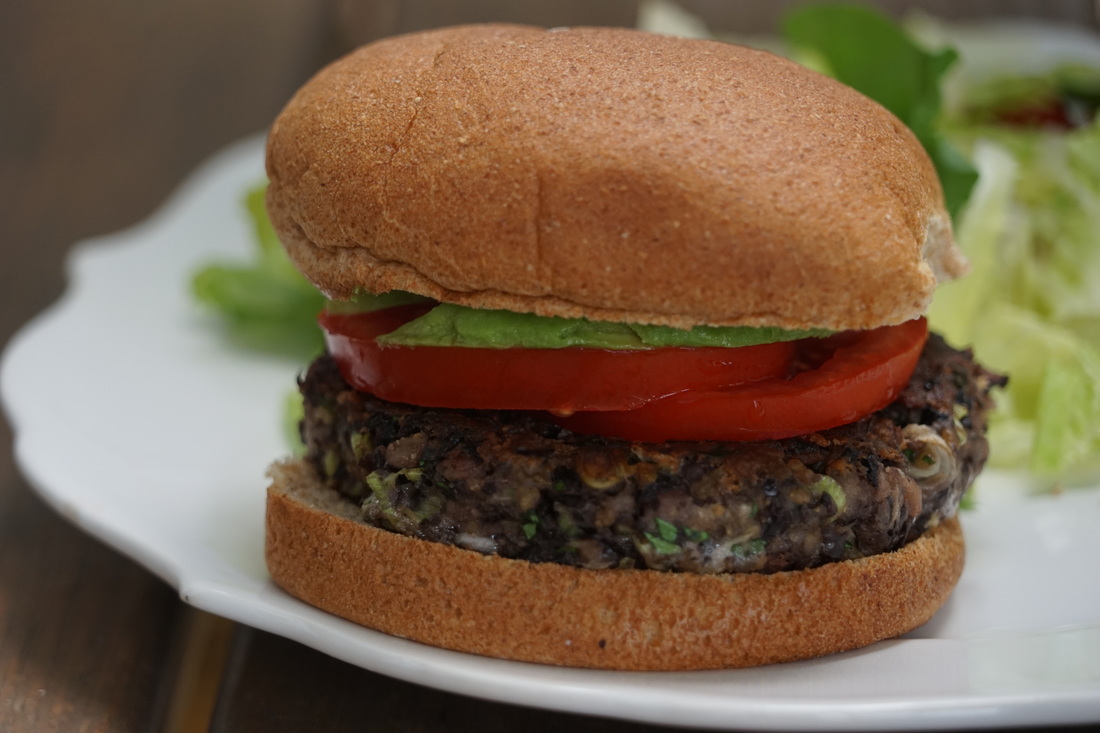
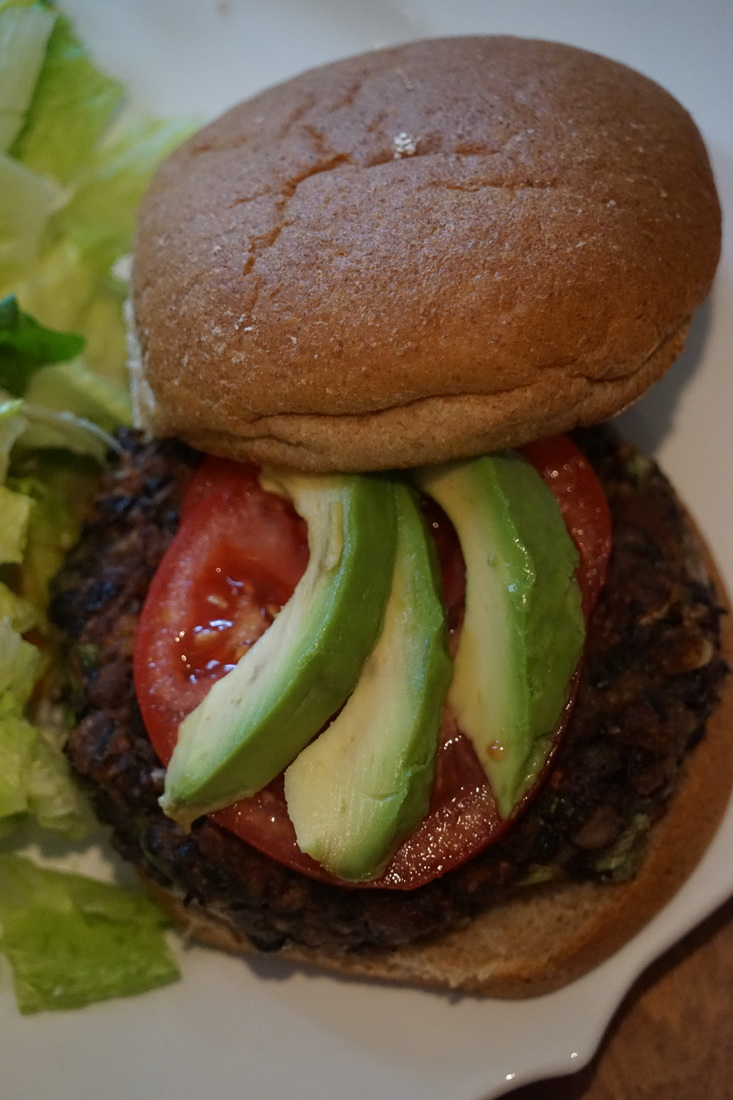
It's 4:00 and all is quiet in the Davis house - quite a change from the usual 4:00 hustle and bustle that goes on in this house. Ryan is back at school, Courtney is busy doing homework and that means that I have time to actually make a decent dinner. Needless to say, weeknight dinners have greatly improved since the kids started school again. We're eating salads with our meals, fresh vegetables, and even enjoying fresh rolls and breads with our dinner. It's amazing what I can do with an hour of free time in the afternoon. Believe it or not, spending time in the kitchen, preparing a meal is therapeutic for me. It's my place to de-stress and relax - but only when I have plenty of time. I normally prefer to make meals that are simple, healthy and fresh so I'm always on the lookout for new healthy recipes to feed my family. I found this black bean burger in my Cook's Illustrated magazine and it was a perfect weeknight dinner for my family. I threw the extra burgers in the freezer for another night when I might not have that extra hour in the afternoon to make dinner. 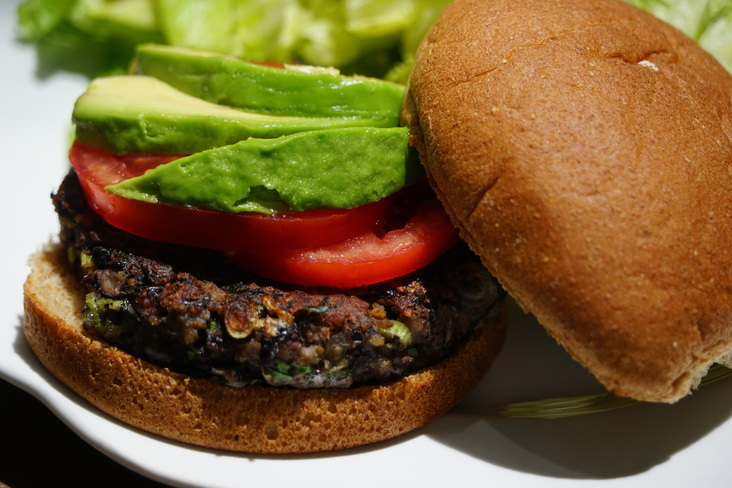 Black Bean Burgers 2 cans black beans, rinsed 2 Tablespoons flour 2 eggs 2 Tablespoons scallions, sliced 3 Tablespoons fresh cilantro, minced 2 cloves garlic, minced 1 teaspoon cumin 1/2 teaspoon coriander 1/4 teaspoon salt 1/4 teaspoon pepper 1 cup tortilla chips 2 teaspoons vegetable oil 6 hamburger buns
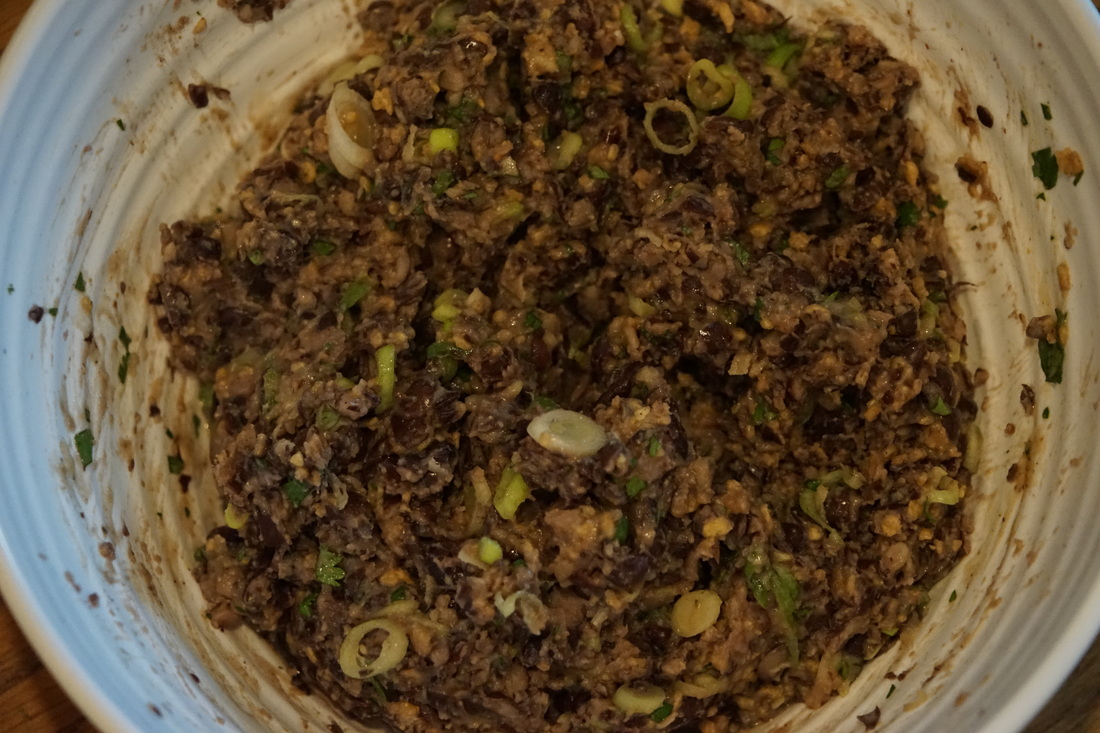
Divide dough into 6 equal portions. Cover and refrigerate at least 1 hour or up to 24 hours. (Patties can be placed in individual plastic bags and then a ziploc bag and frozen for up to 2 months.) 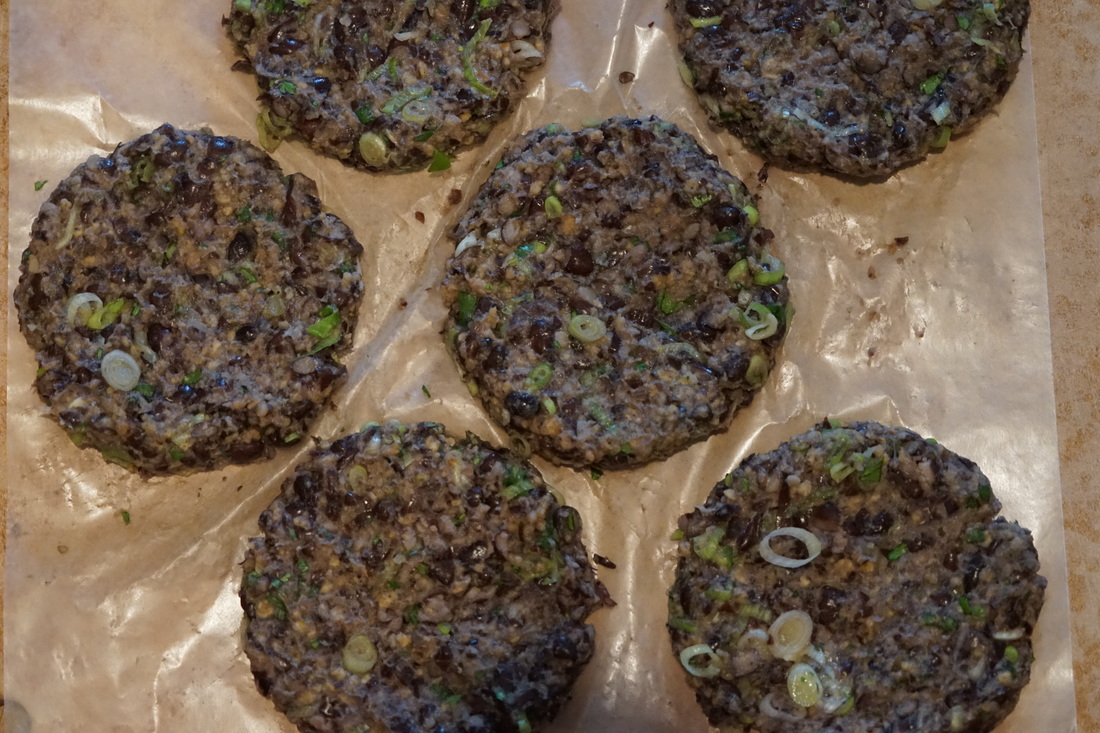 Heat oil in skillet and cook patties until bottoms are browned and crisp on both sides.  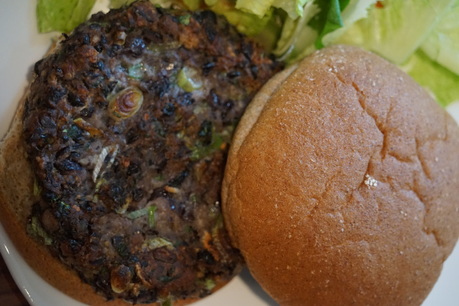 Transfer burgers to buns and top with condiments of your choice.
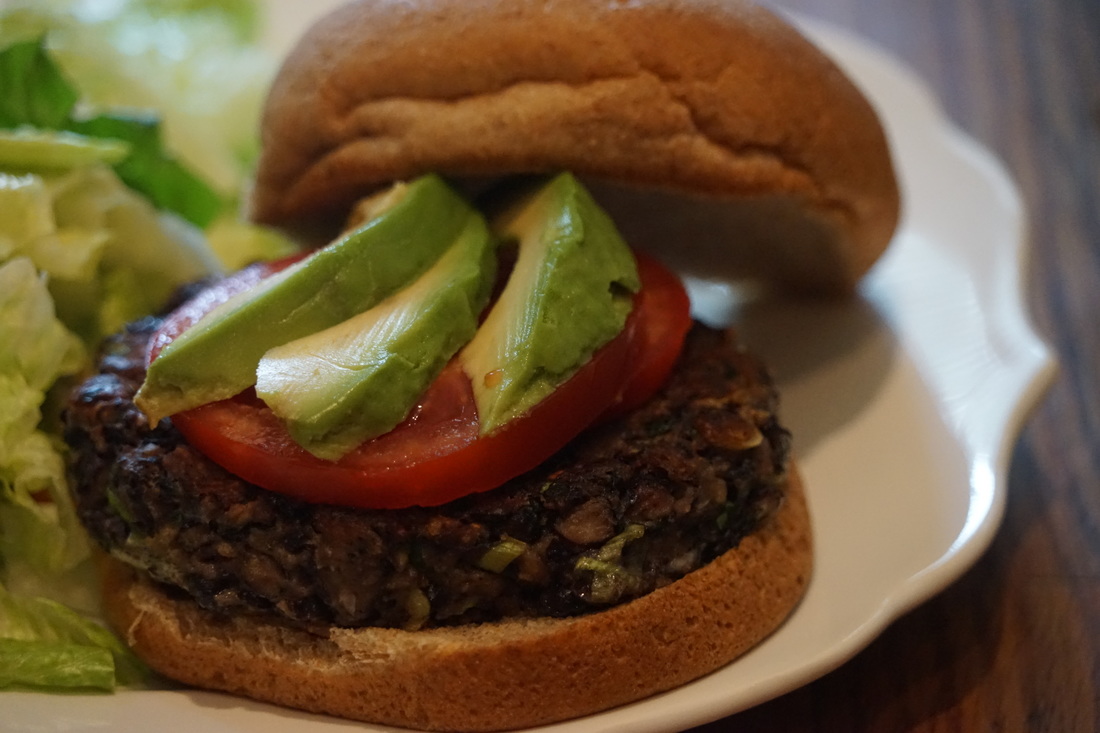 Even if you've had a bad black bean burger experience, you need to try these yummy burgers. These are not your normal - mushy - black bean burgers. They're packed full of delicious flavor and healthy black beans and they are definitely NOT mushy.
Ciao!
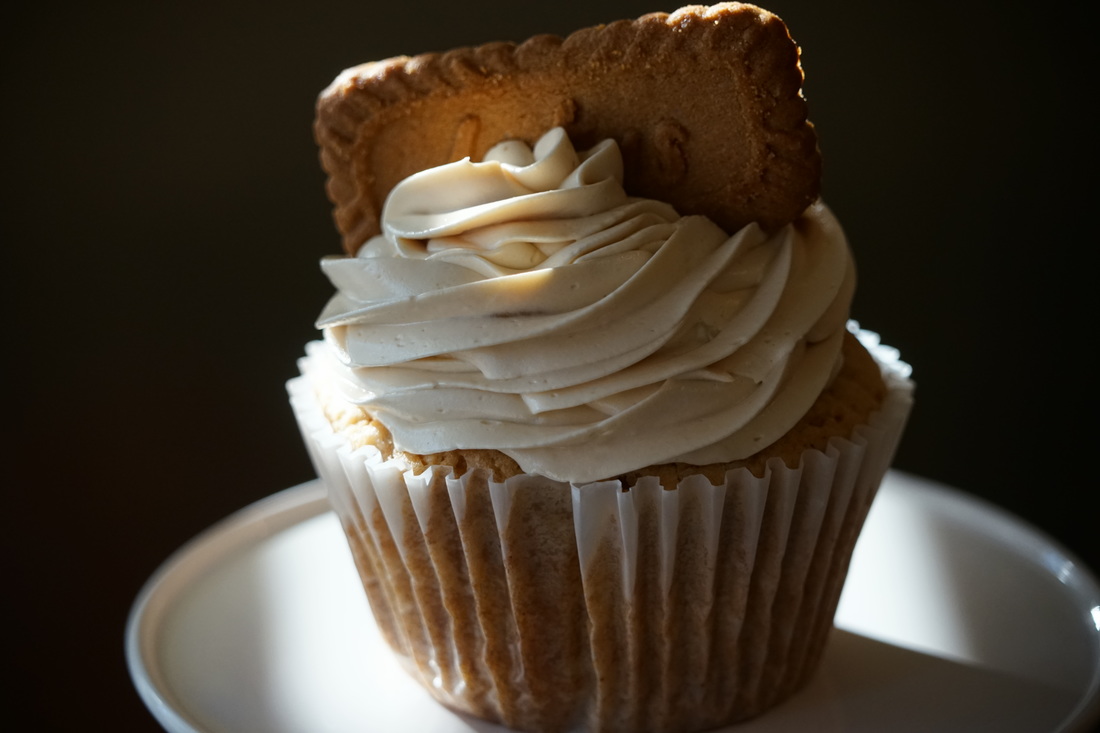
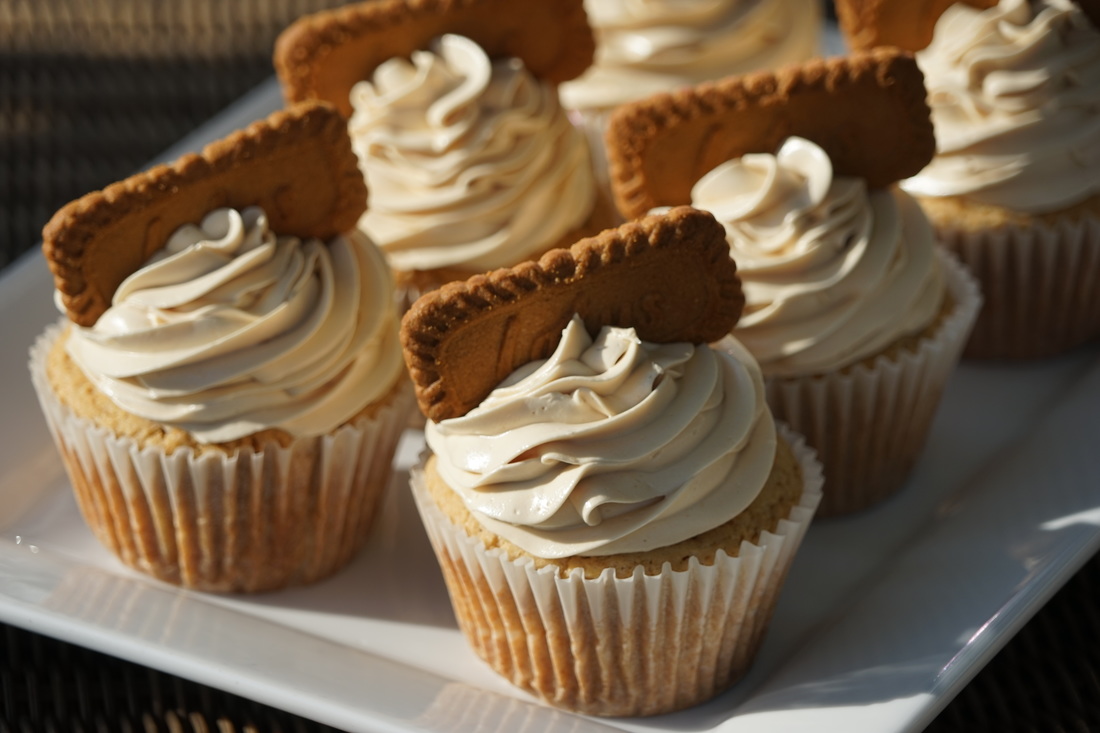
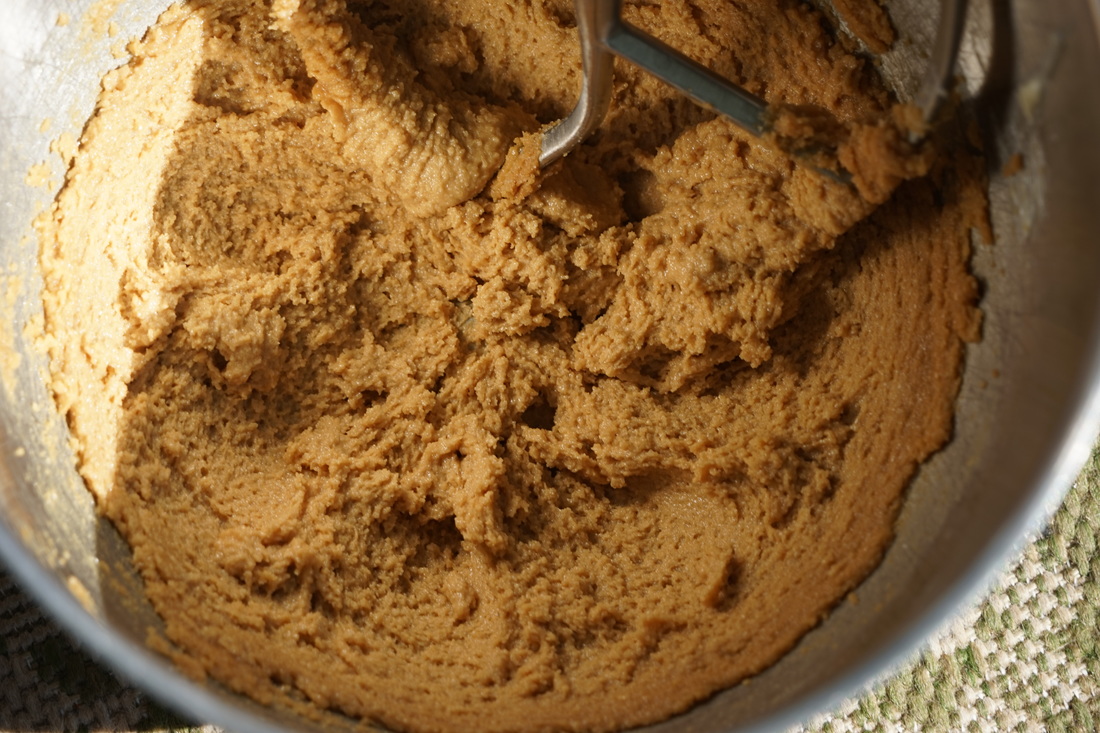
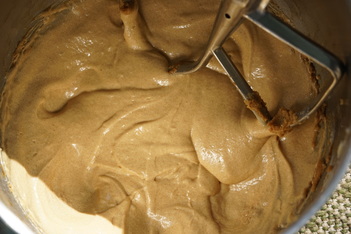
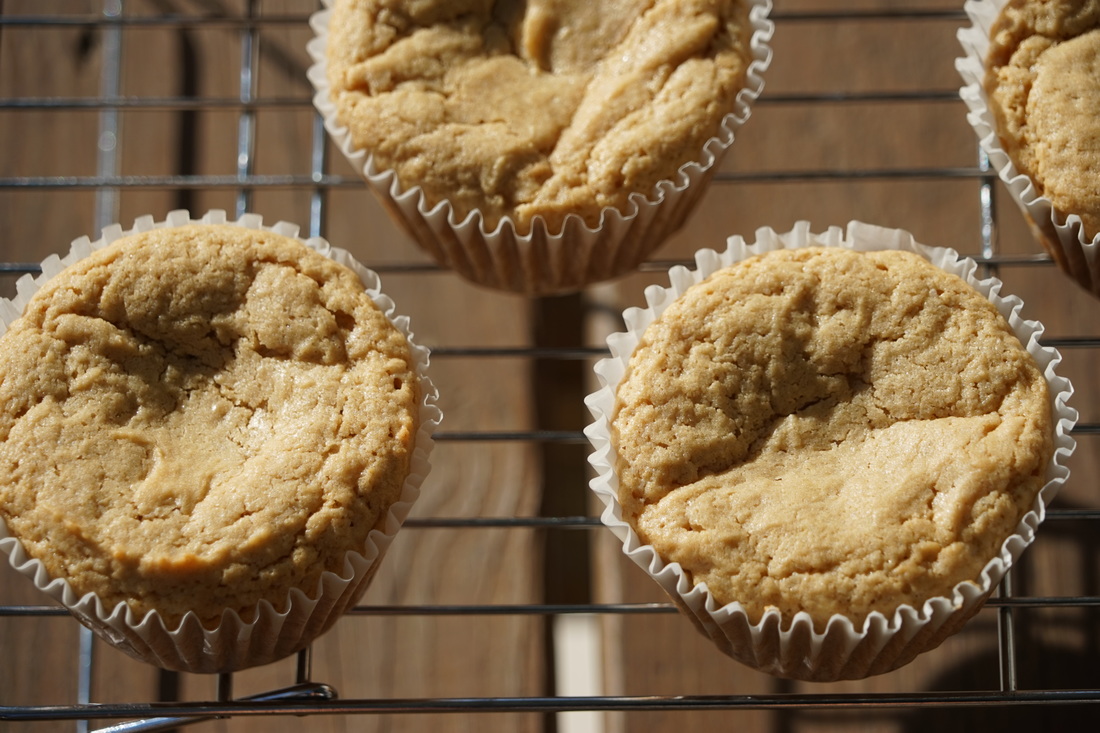
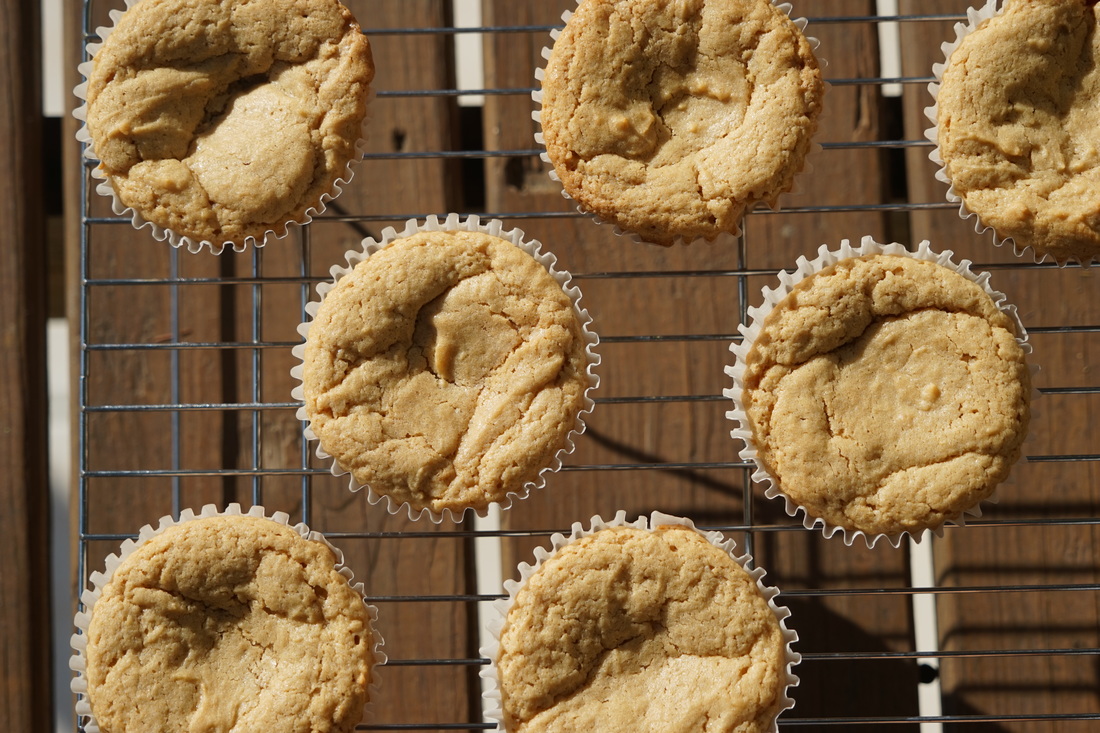
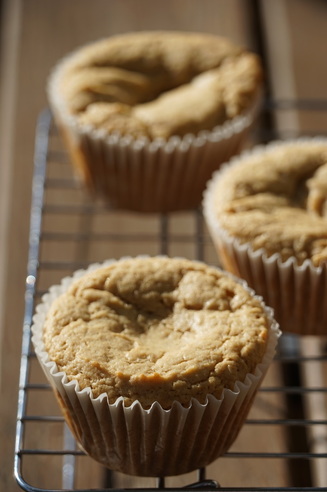
Who doesn't love a Biscoff cookie? You know, those sweet - crunchy - gingery - little cookies that they serve to passengers who travel on a Delta flight? (They are pretty much the reason that Delta is my airline of choice.) I have a hard time keeping a straight face when the flight attendant asks "cookies, peanuts or pretzels?" Really? I politely answer "cookies" but what I want to say is "seriously, Do you even have to ask? Just hand everyone the cookies and they'll be happier passengers." I'm proud to say that I've joined the Biscoff party and I've even bought the cookies from my grocery store when I'm not traveling. Turns out they are just as delicious on the ground as they are at 20,000 feet - and they're cheaper to buy in the store than an airline ticket. As if these little gems needed any more adornment, they also sell dark chocolate covered biscoff cookies! DARK CHOCOLATE BISOFF!!! Can we just take a moment to absorb the magnitude of that? At the risk of overwhelming you completely, I feel like it's my responsibility to mention that you can also buy biscoff cookies that have been ground them into a smooth, creamy spread. Biscoff spread is sold at most major supermarkets and it is AMAZING! Naturally, I had to use it to create a Biscoff cupcake. I added the spread to the cake batter and to the buttercream and topped the whole creation with a Biscoff cookie. 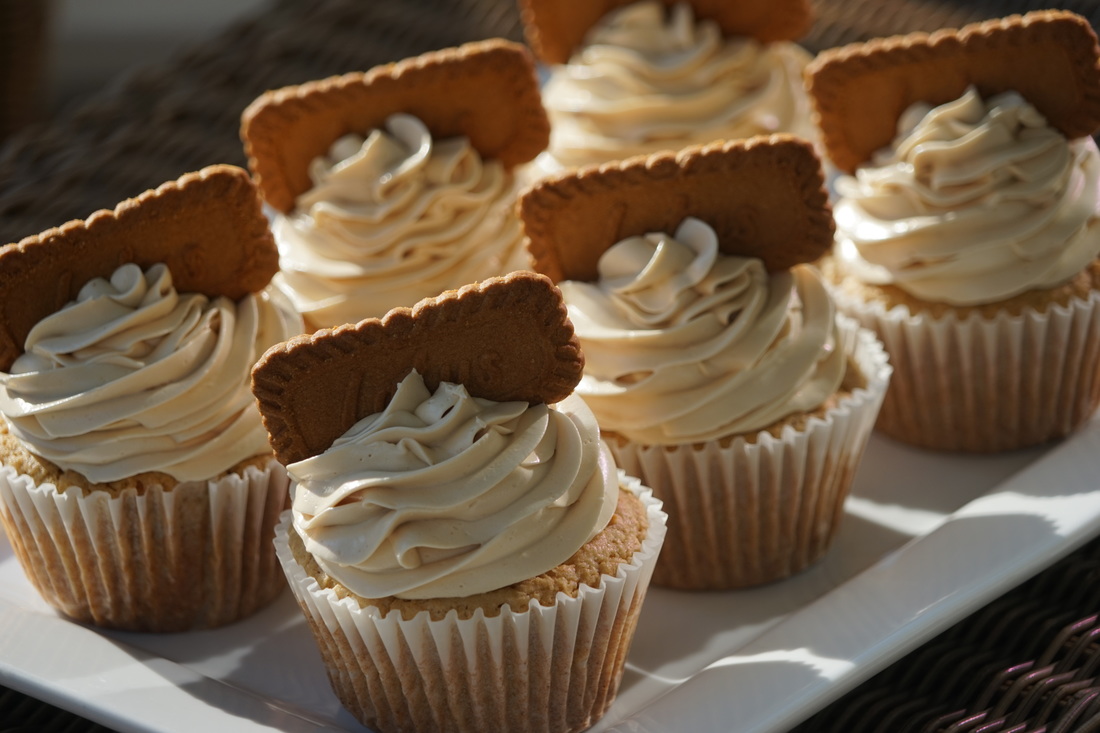 Biscoff Cupcakes 1/4 cup butter, room temperature 1/2 cup Biscoff spread 1 cup sugar 2 eggs 1 1/2 teaspoons vanilla 1 1/2 cups flour 1 1/4 teaspoons baking powder 1/3 cup milk Biscoff buttercream (Vanilla buttercream with 1/2 cup biscoff spread swirled in)
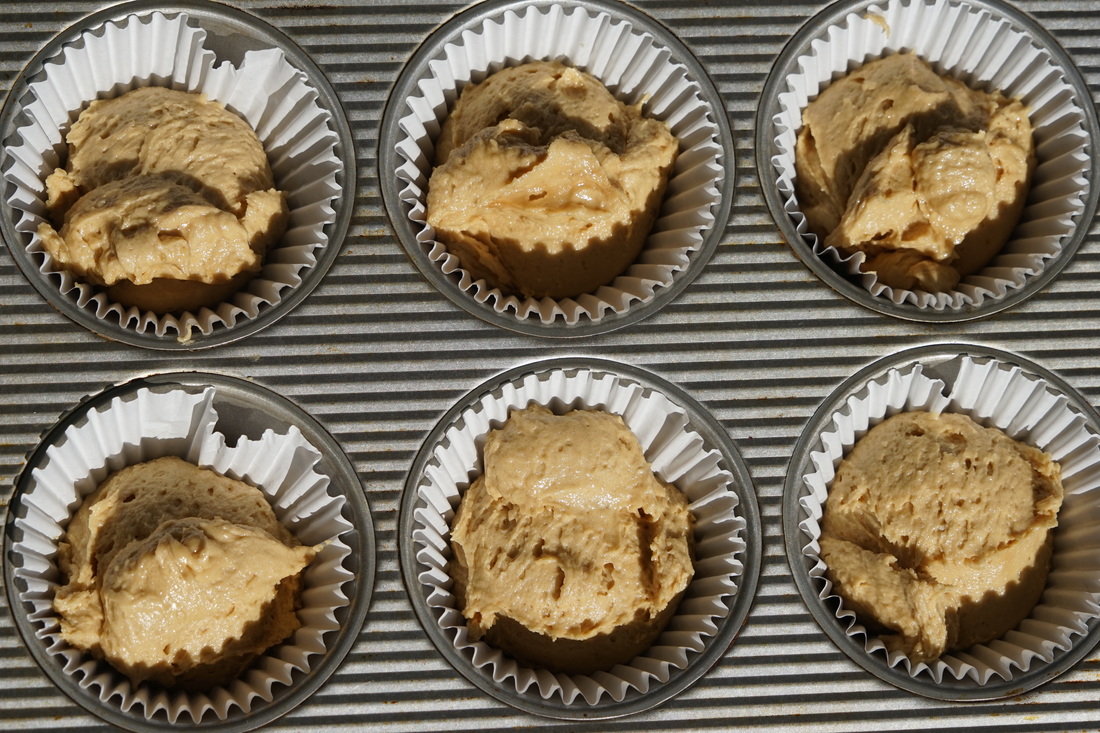
Bake 26 minutes at 350. (For jumbo cupcakes)
Frost with biscoff buttercream and top with a cookie. 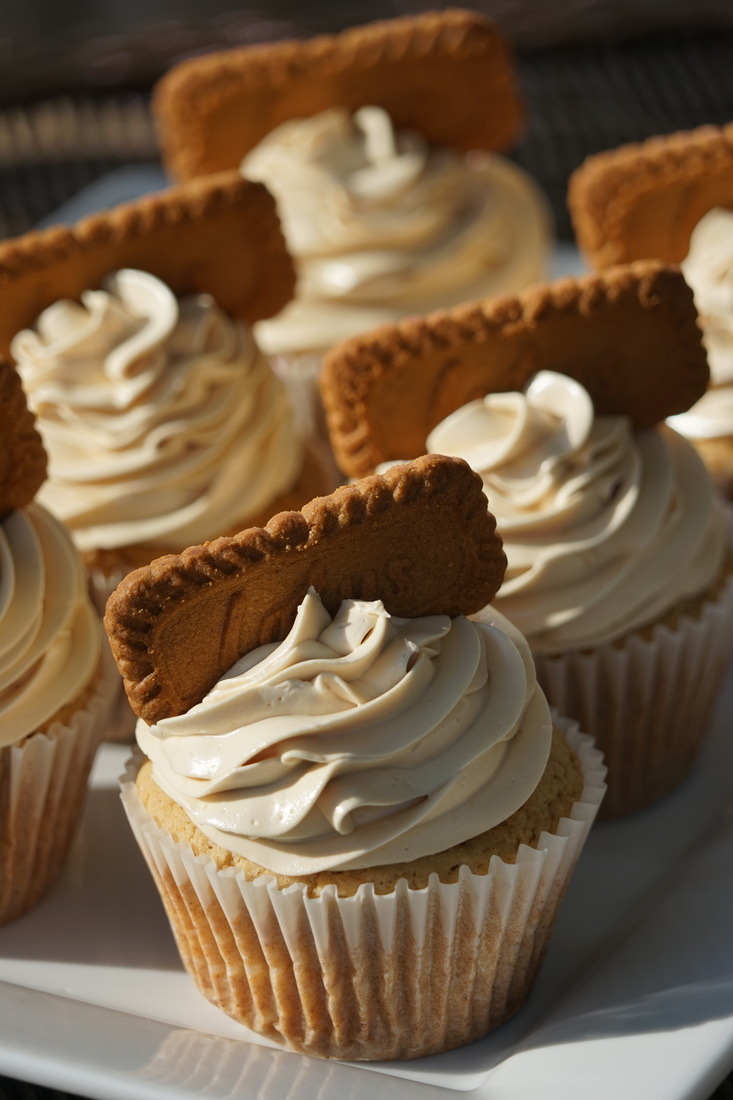 Now it's time for me to give some free advice to my favorite airline. Forget WiFi - if you serve these cupcakes to all (even coach) passengers on your flights - you will never have an empty seat on a plane again. You're welcome Delta - you know where to find me when you're ready to place your order. 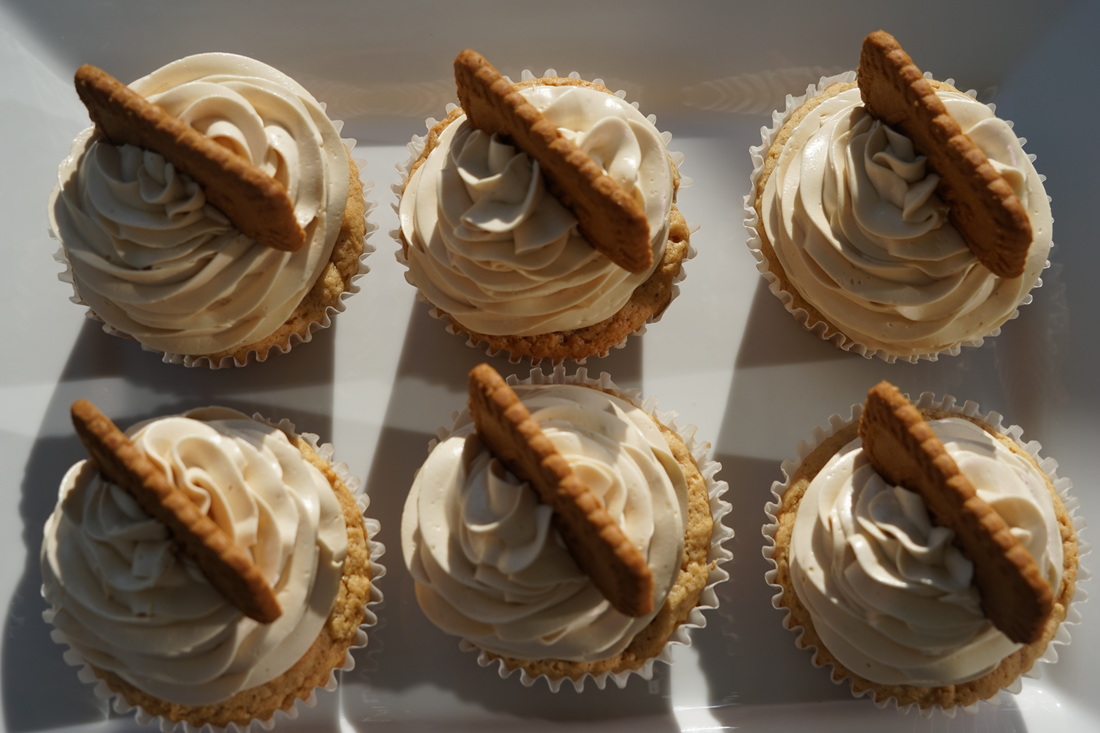 Ciao!
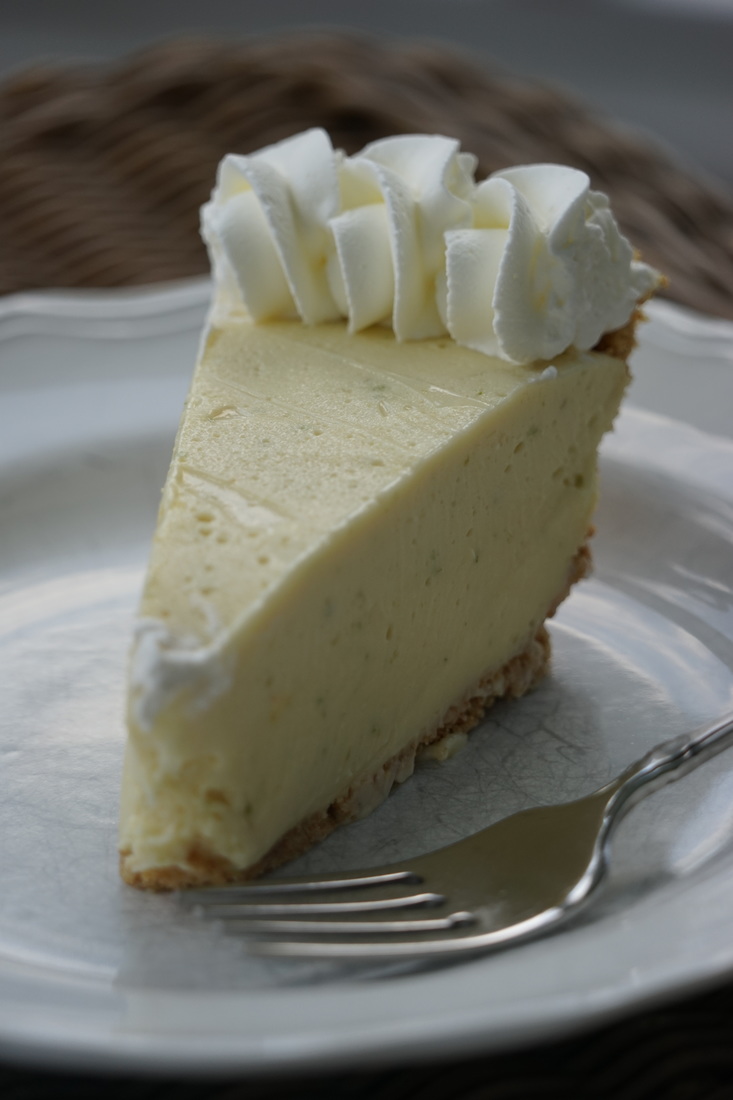
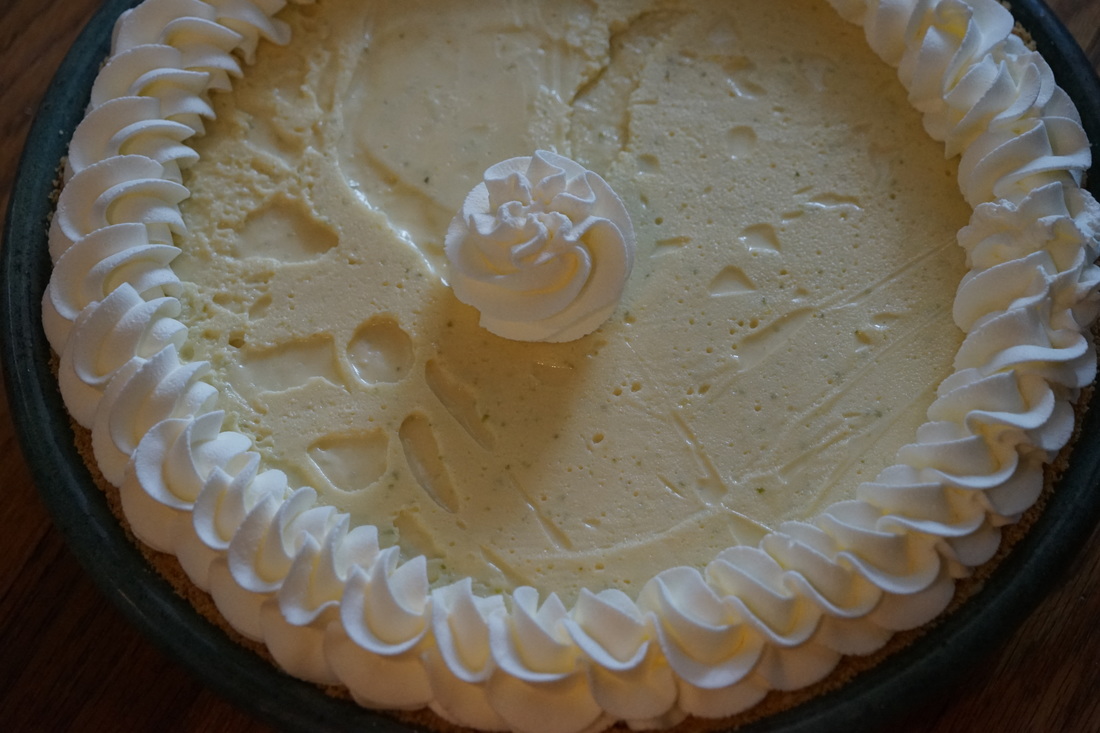
As a girl who uses social media daily, I am extremely thankful for all of the information that I can access through it. I use it to connect with friends, search for recipes, catch up on news, share my pictures and stories, take catering orders - and that all happens daily before 10:00 am. (It's hard to believe that there was ever a time when I clients had to pick up a phone to place an order for food.) I'm on Facebook, Pinterest, Instagram, Twitter and Snapchat. (By the way, I would love for you to connect with me on social media if you haven't already.) I post recipes on my Facebook and Pinterest pages at least a couple of times a week. You can also see what I'm making in real time by checking out my Instagram. I also tweet about my latest food experiences on twitter - great farmers markets that I'm visiting, restaurant reviews, - pretty much anything that I'm eating. I also love having my own little corner of the website world, with recipes all my own. Recipes that I've tried and modified to fit my own tastes. Recipes that I can access - anytime, and recipes that all of you can access as well. So to add to my modest little collection of recipes - here's another one - Key Lime Pie.
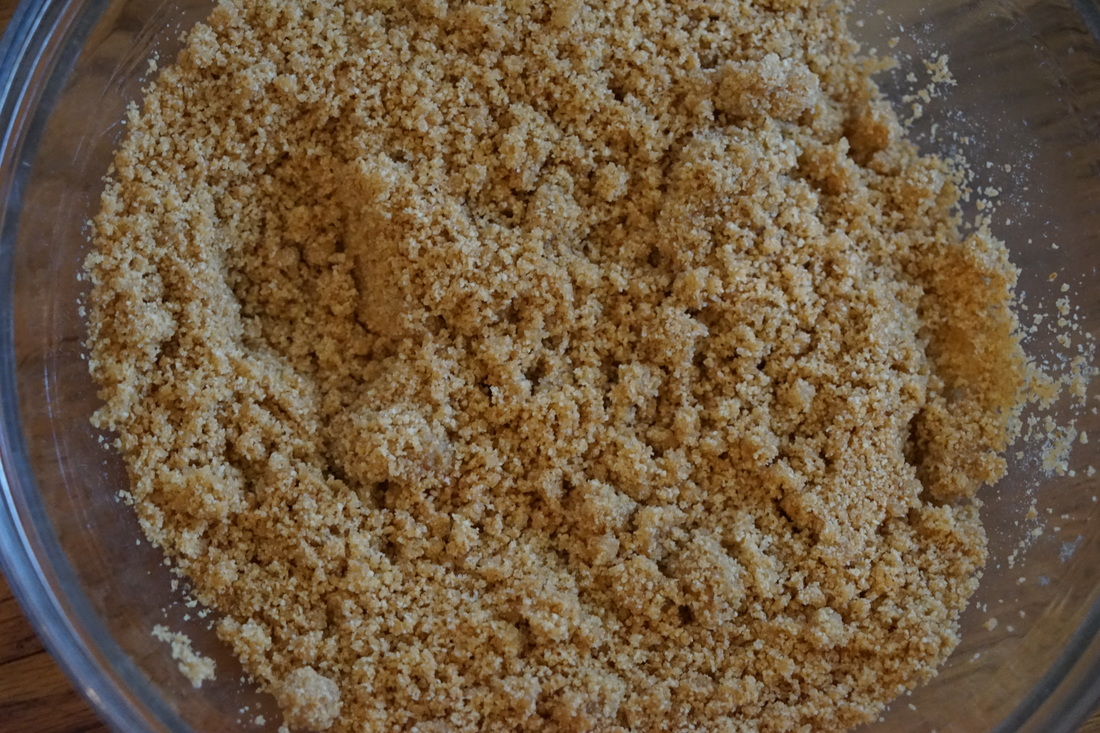
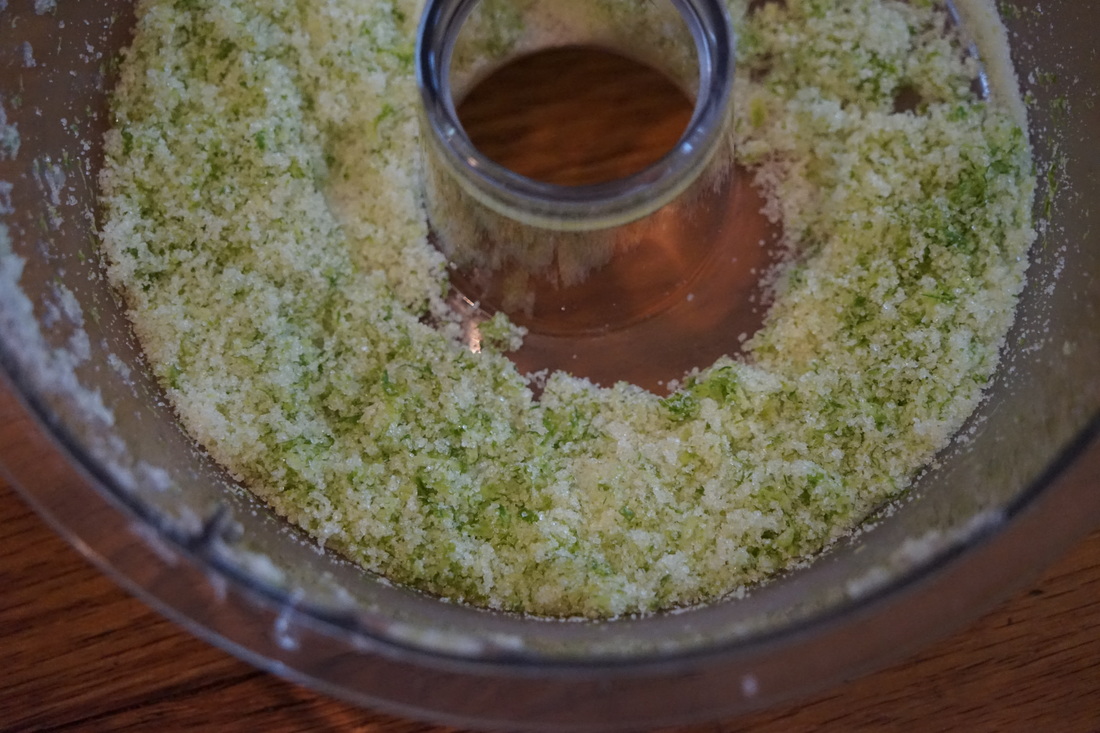
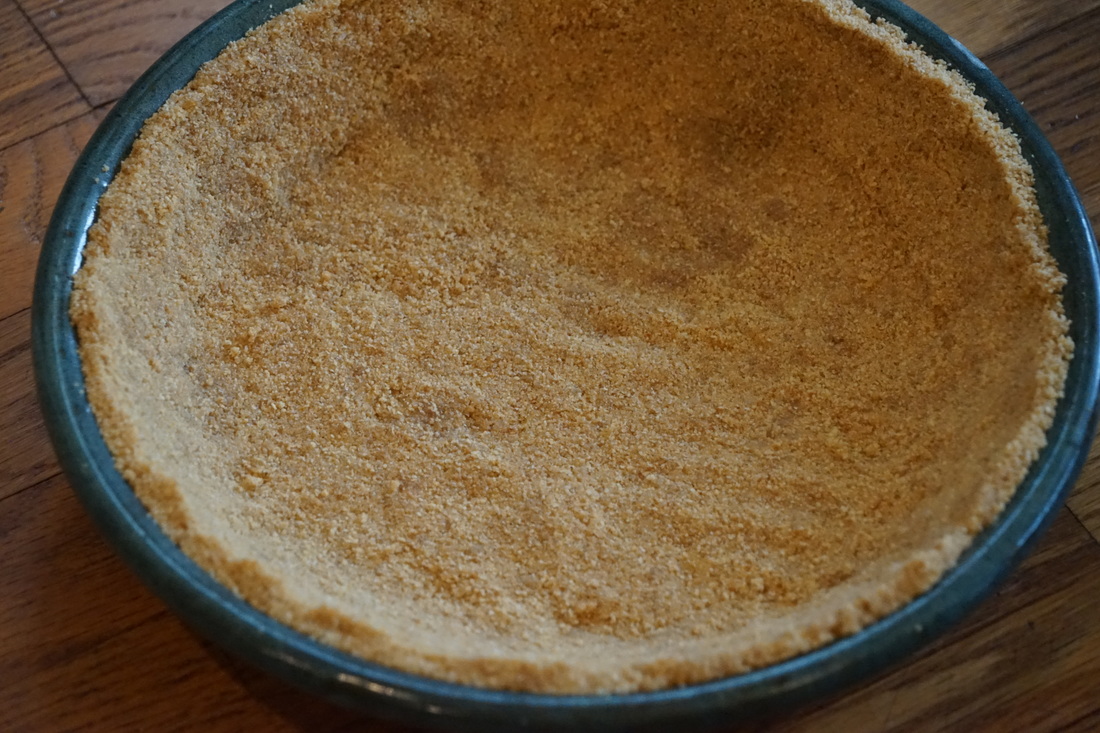
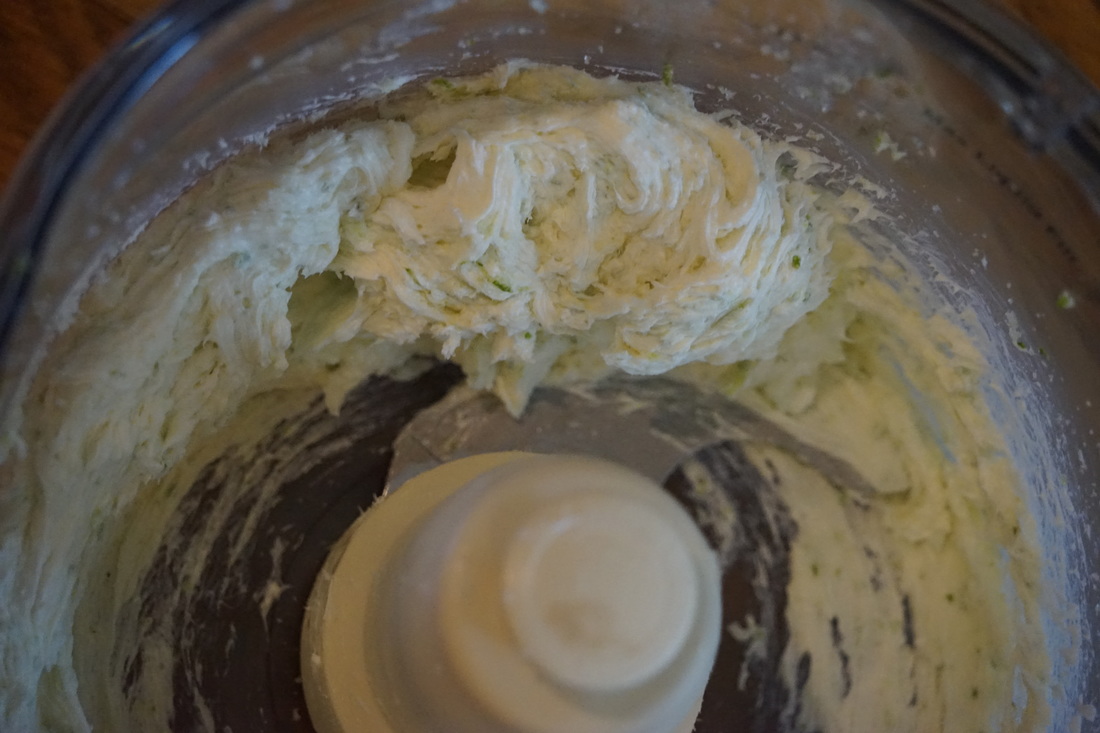
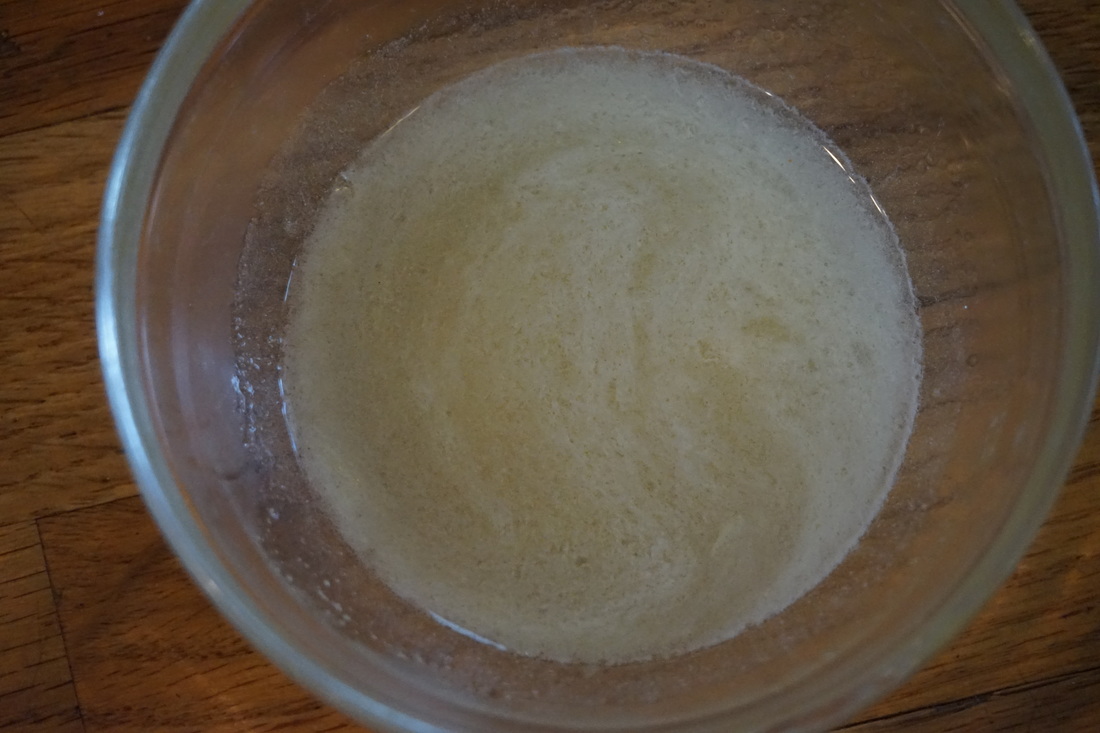
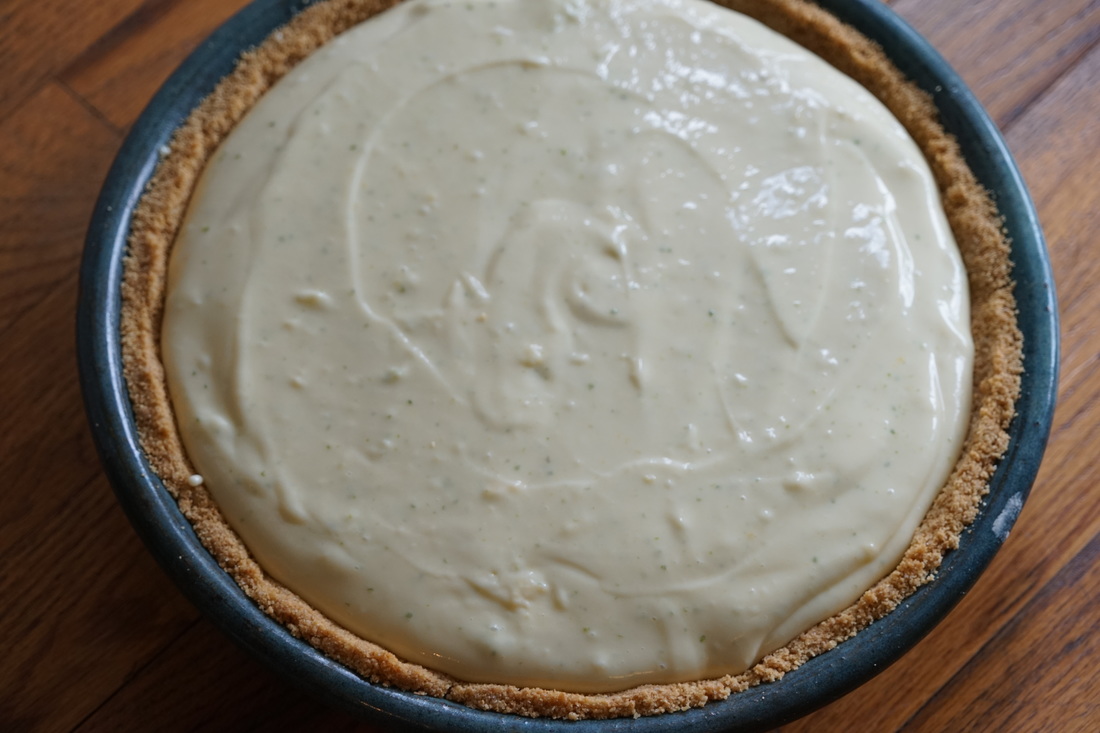
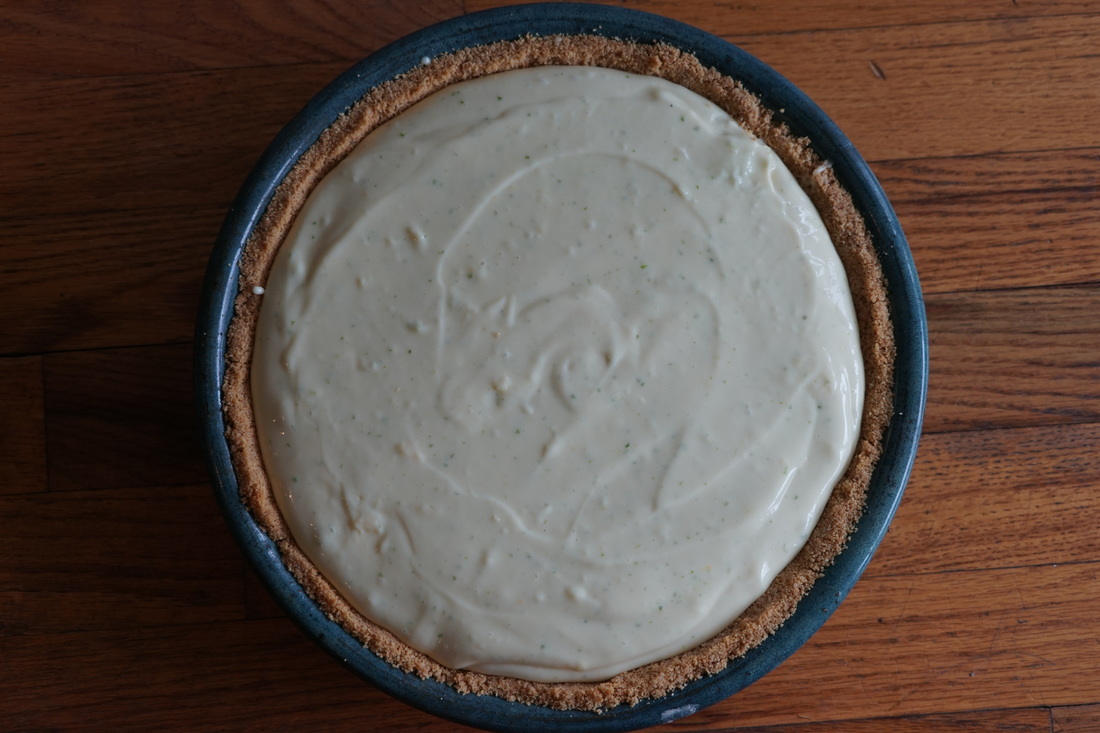
Key Lime Pie 8 whole graham crackers 2 tablespoons sugar 5 tablespoons butter, melted Filling 1/4 + 2 T. cup sugar 1 1/2 tablespoons grated lime zest 12 ounces cream cheese, softened 21 ounces sweetened condensed milk 1/3 cup + 3 Tablespoons instant vanilla pudding mix 2 1/4 teaspoons unflavored gelatin 1 1/2 cups fresh juice from 6 to 8 large limes 1 1/2 teaspoons vanilla extract
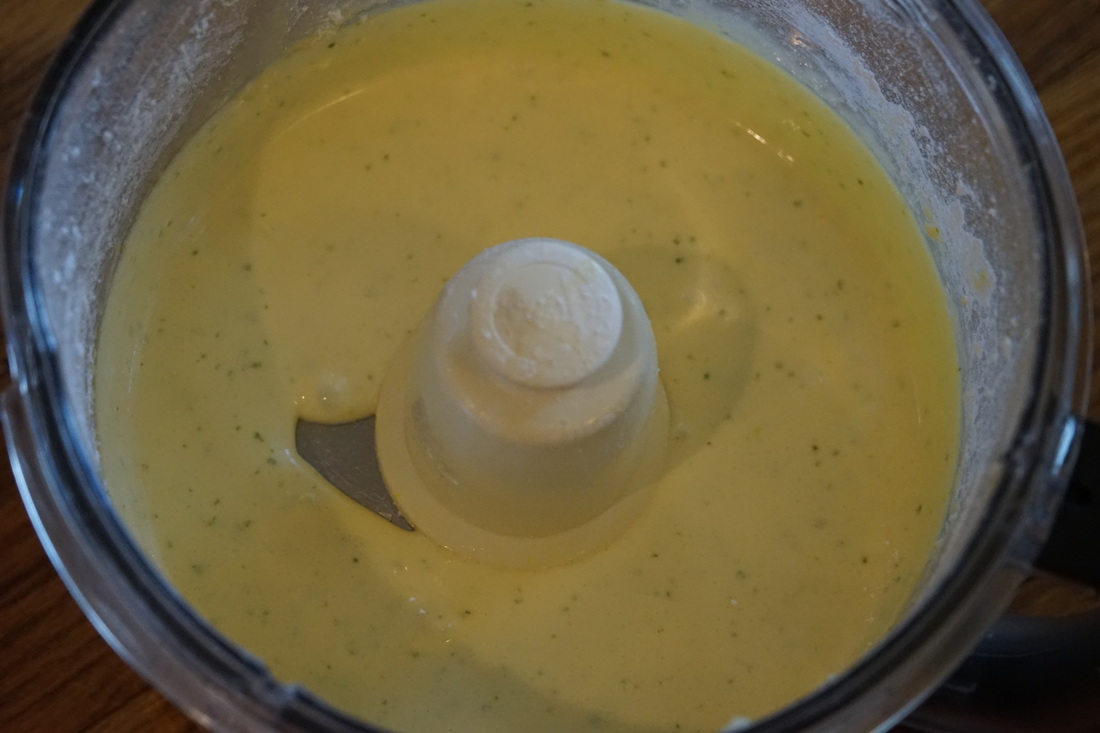
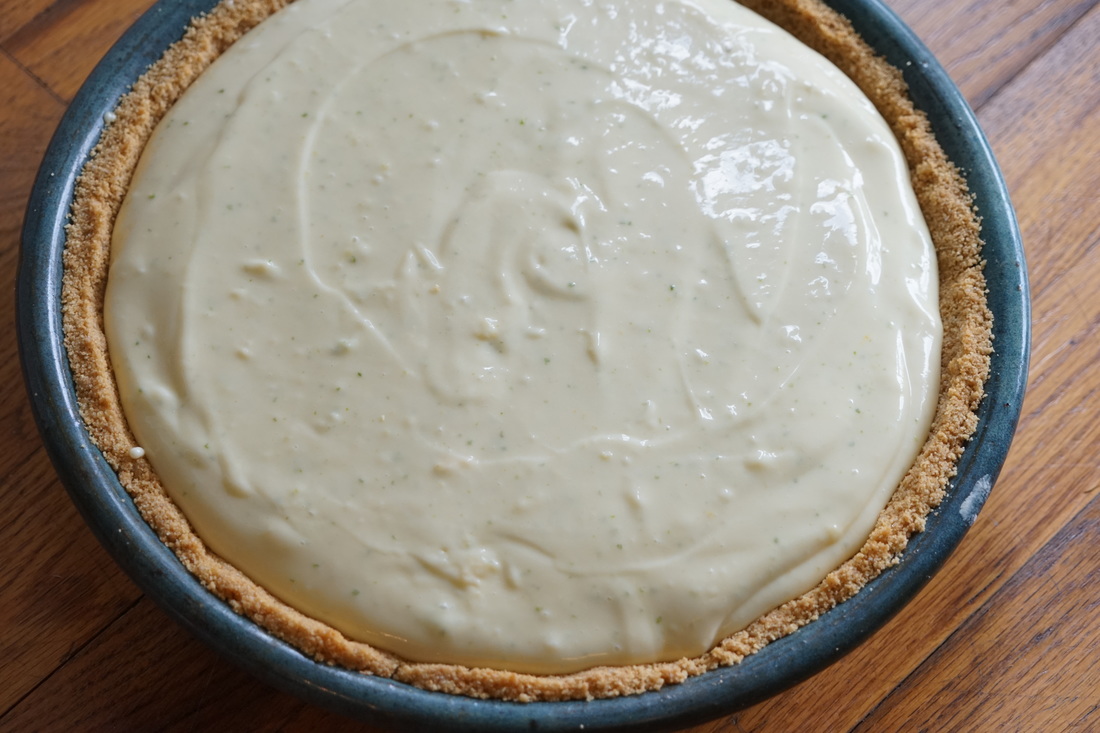
Add to food processor through feed tube while running. Add vanilla and remaining lime juice as well. 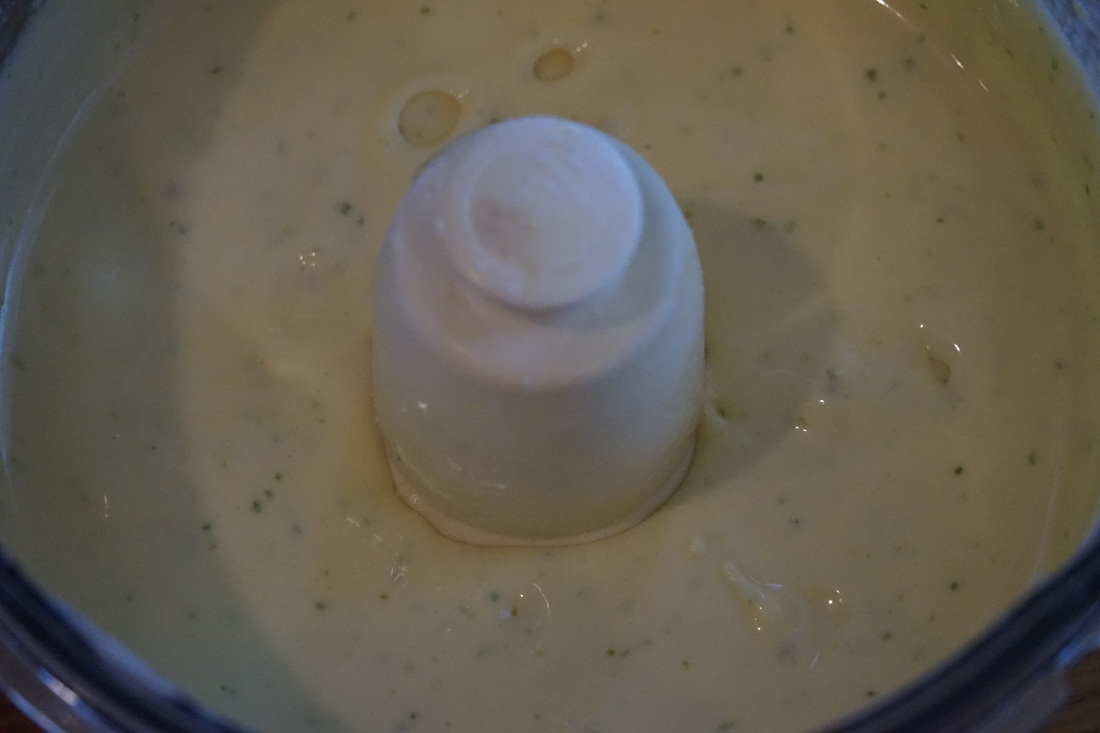 Pour over cooled crust.
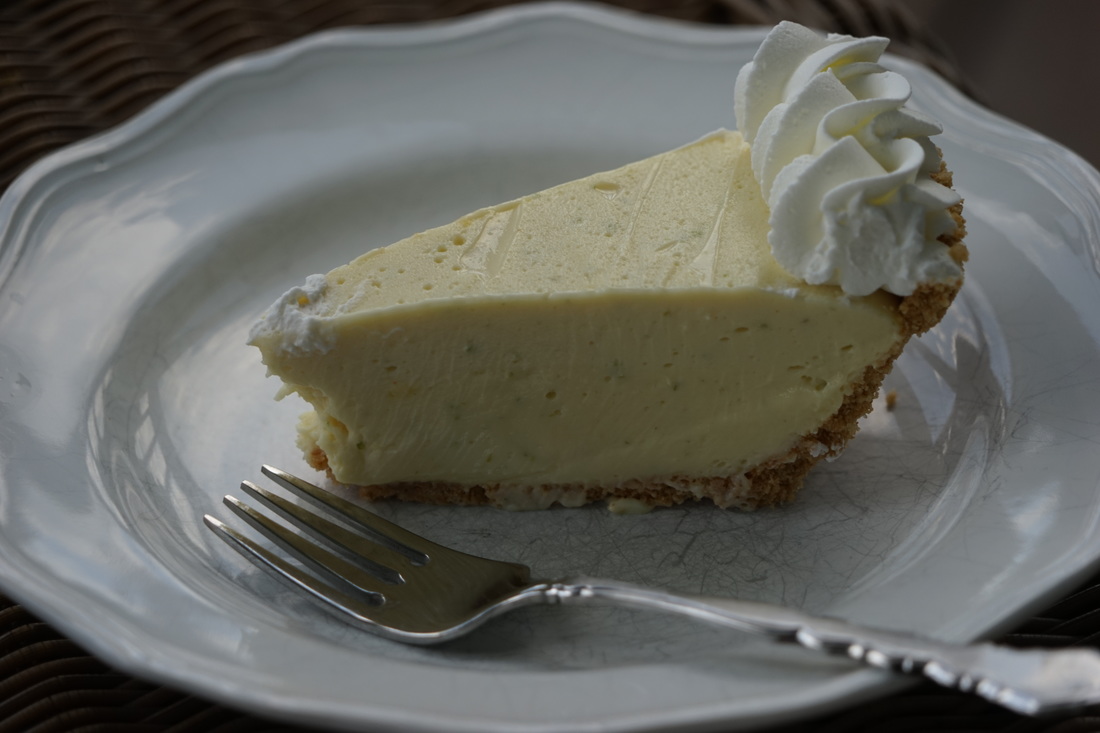
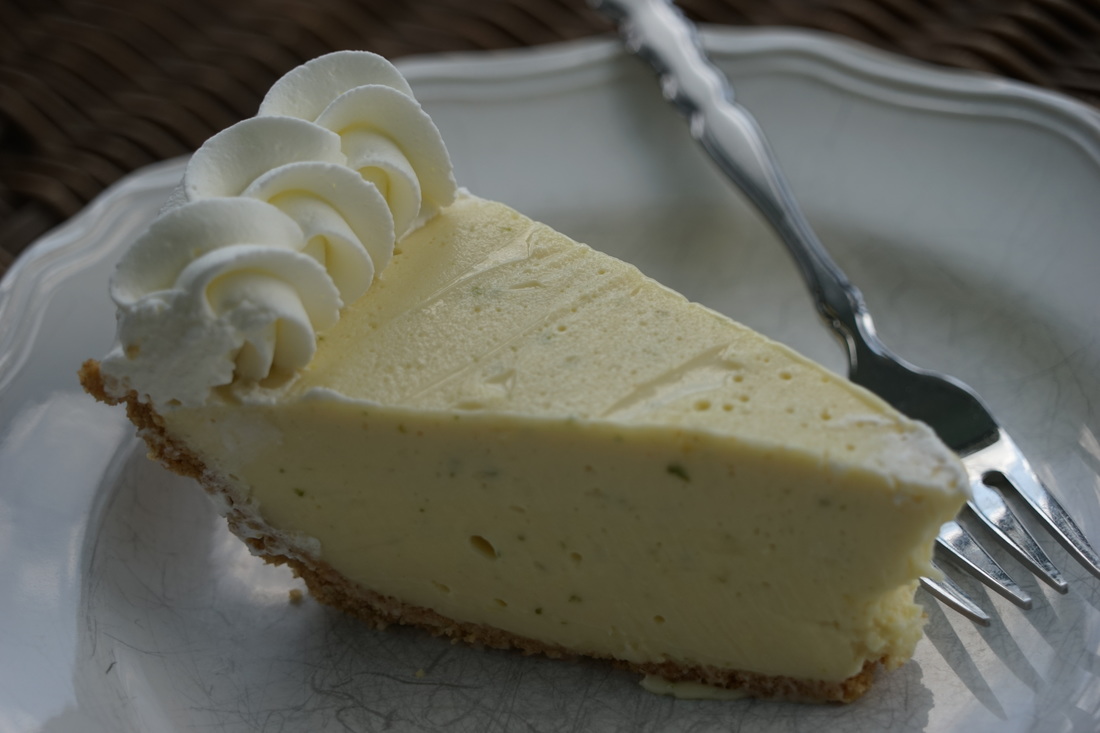
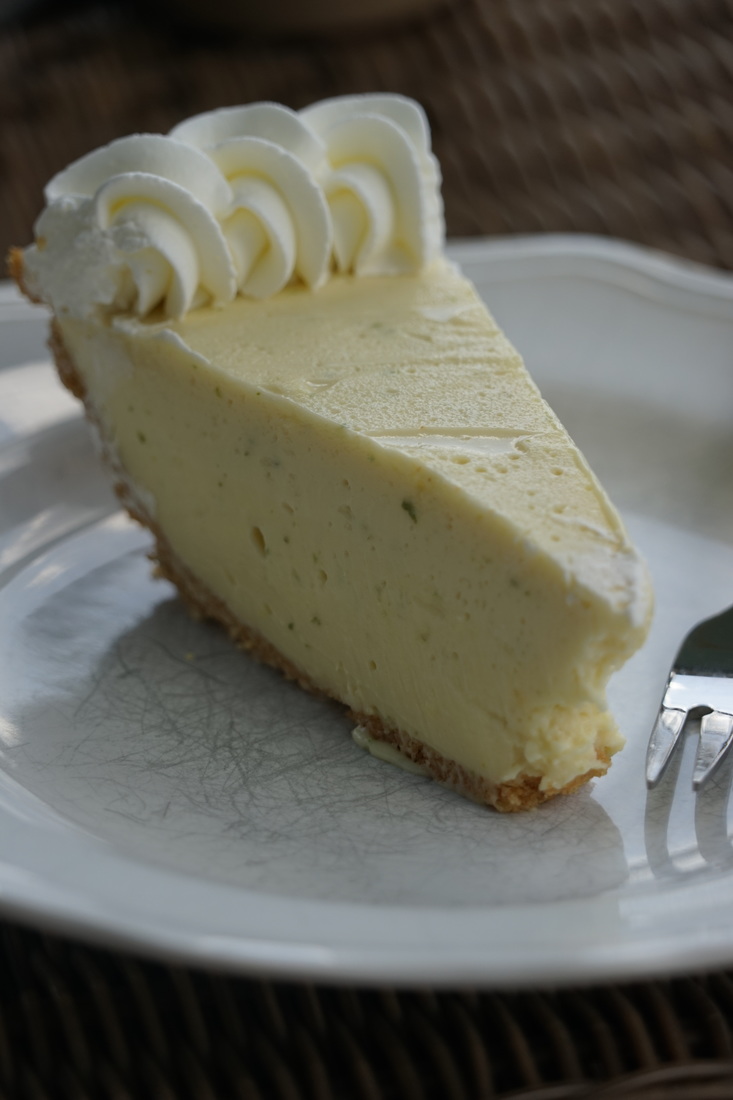
 Cover with plastic wrap and refrigerate at least 3 hours. (Or up to 3 days.) Top with whipped cream and slice. 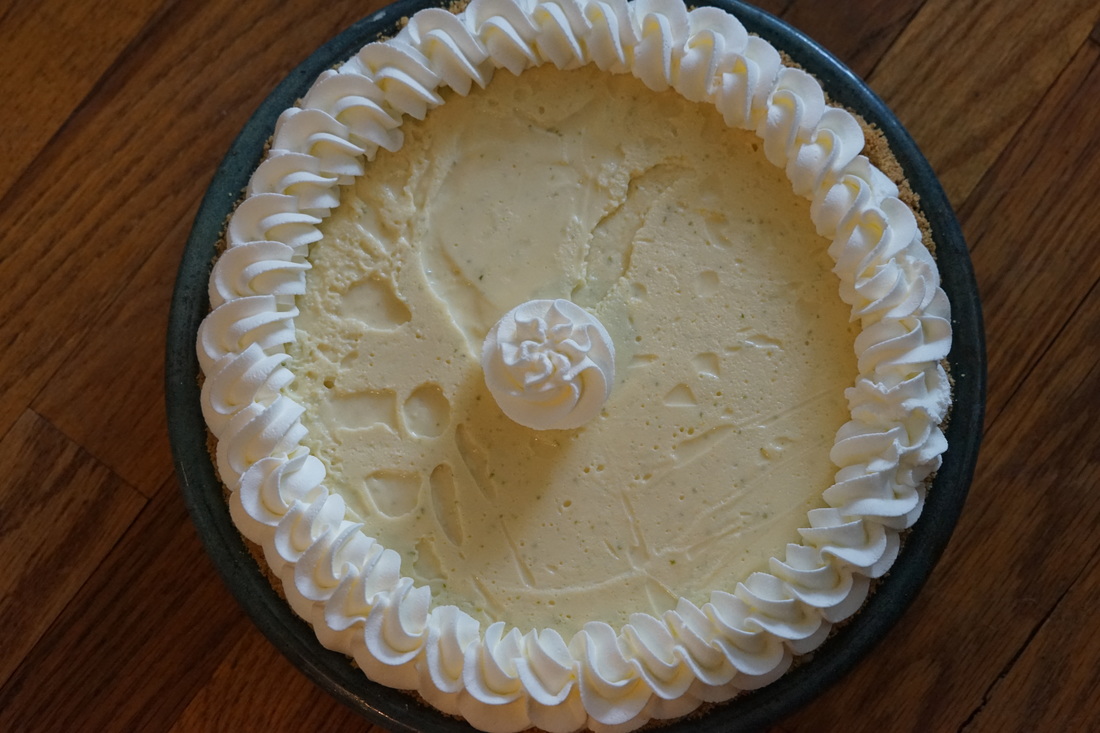 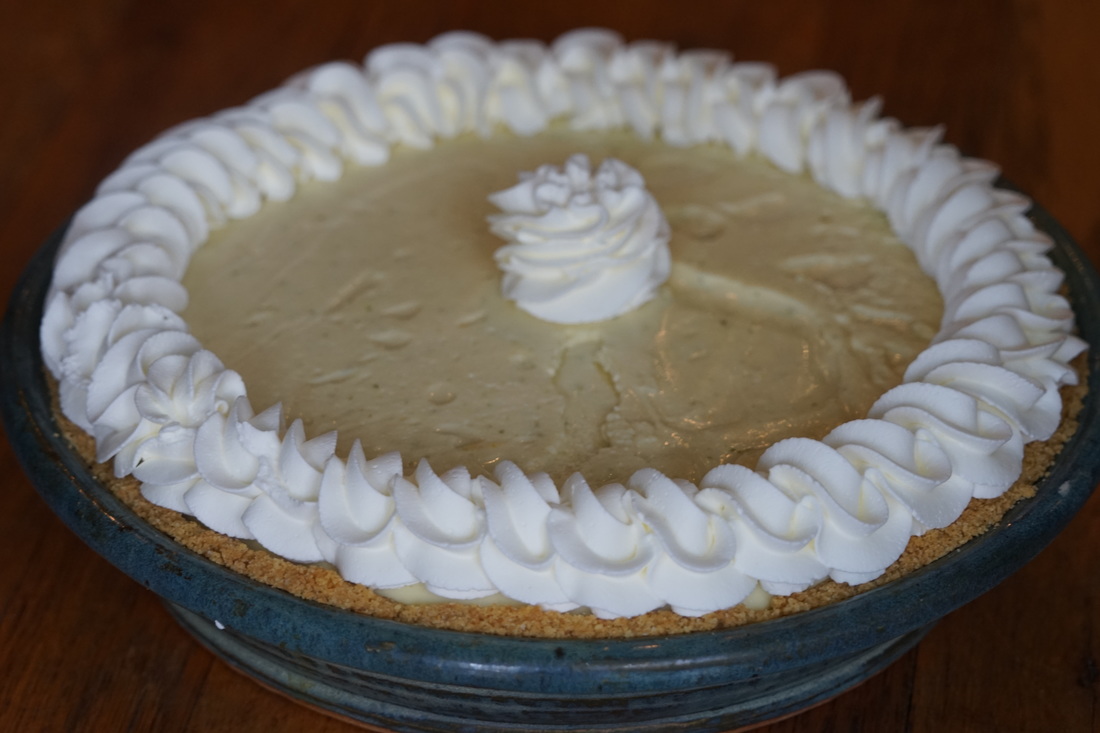 Key Lime Pie - now you can post it, pin is, tag it, snap it, share it and tweet about it. As thankful as I am for the availability of information on social media, I must say that I am exceedingly grateful that I had the opportunity to experience high school and college before the existence of social media. I'll just leave it at that.
Ciao!
|