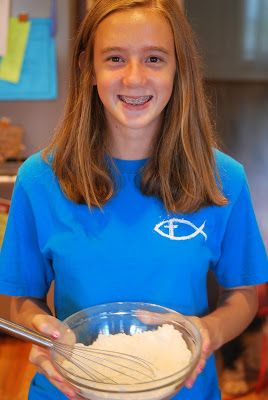
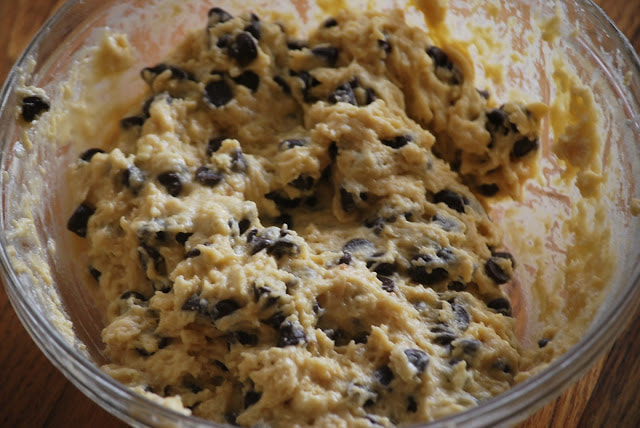
 This is it - the second Chocolate Chip Muffin recipe in 2 days. Are you excited? It's so much fun to make a recipe challenge for myself. (If I compete against myself - I always win!) So without further ado - here is Chocolate Chip muffin recipe number 2 courtesy of Twopeasandtheirpod.com. 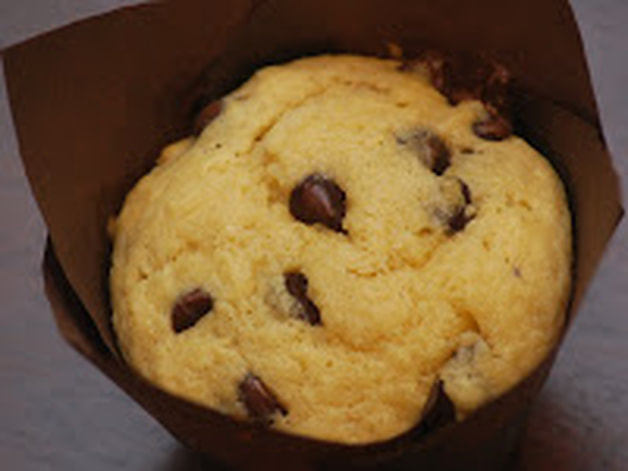 Chocolate Chip Muffins 2 cups all-purpose flour 1/3 cup granulated sugar 1/3 cup light brown sugar 2 teaspoons baking powder ½ teaspoon salt ½ cup unsalted butter, melted and cooled 2 large eggs, lightly beaten 2/3 cup buttermilk 2 teaspoons vanilla extract 1 1/4 cups chocolate chips ( I used semi-sweet)
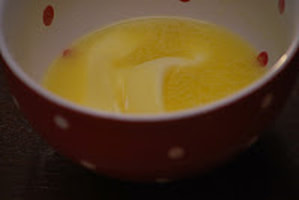
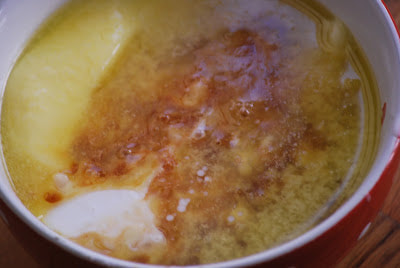
In medium bowl stir together melted butter, eggs, buttermilk, and vanilla extract until well blended.
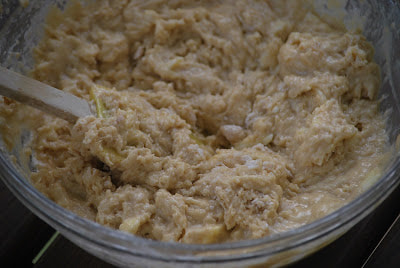
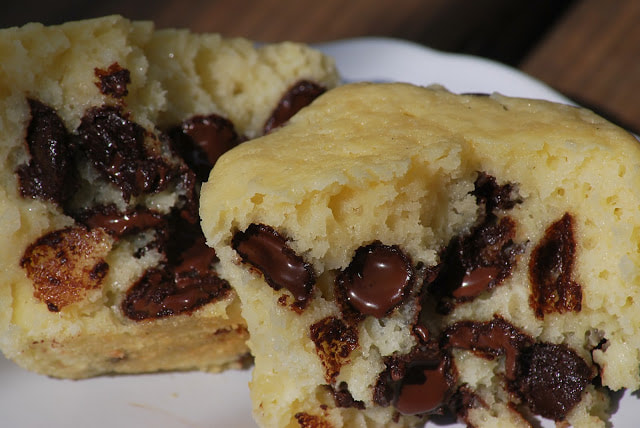
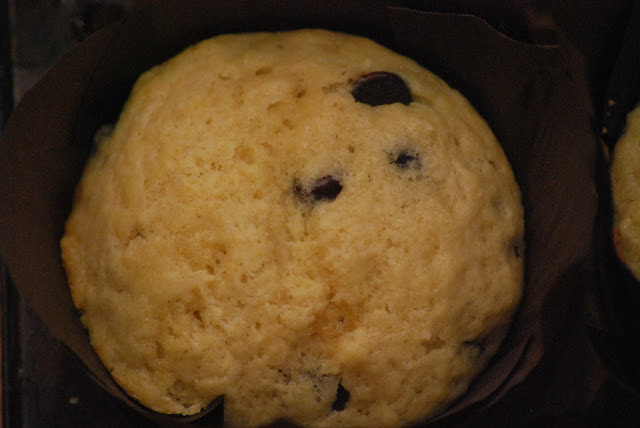
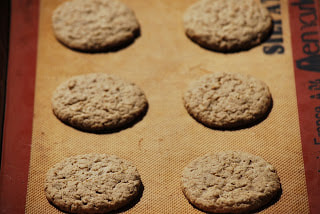
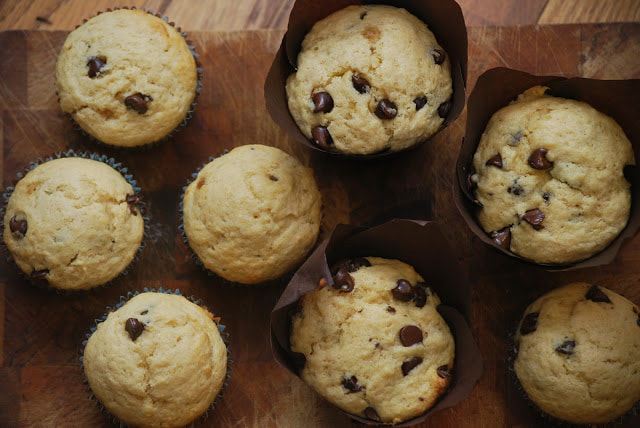
Spoon batter into muffins cups. 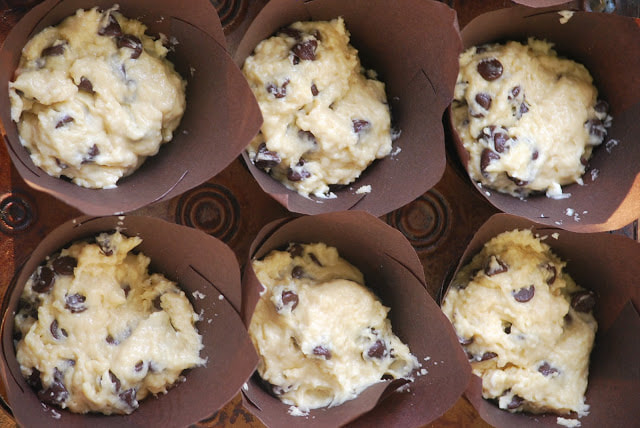 Bake for 17-20 minutes or until a toothpick comes out clean. Remove muffins from the oven and allow to cool before serving. 
The answer ... Recipe number 2 was the clear winner of the first ever Amy Davis chocolate chip muffin recipe contest. Yea! 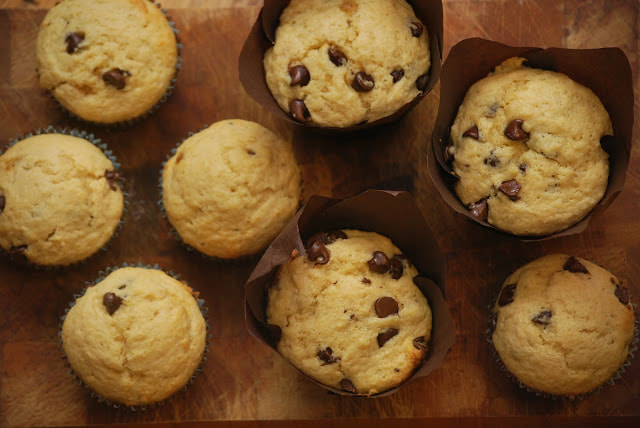 I thought these muffins were outstanding but I didn't want to be the only one to judge their extraordinary taste. Who better to help me taste test a new muffin recipe than a group of hungry, teenage cross country runners? I didn't even need to ask their opinion, the look on their faces told me everything that I needed to know. They whole heartily agreed that these muffins were fantastic.
Ciao!
0 Comments
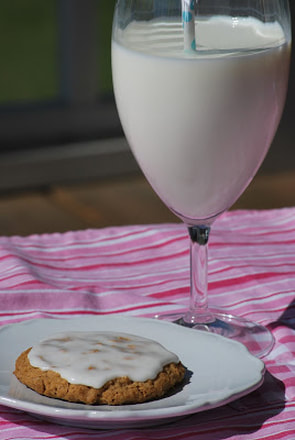
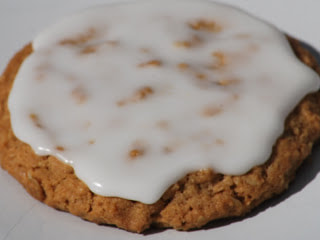
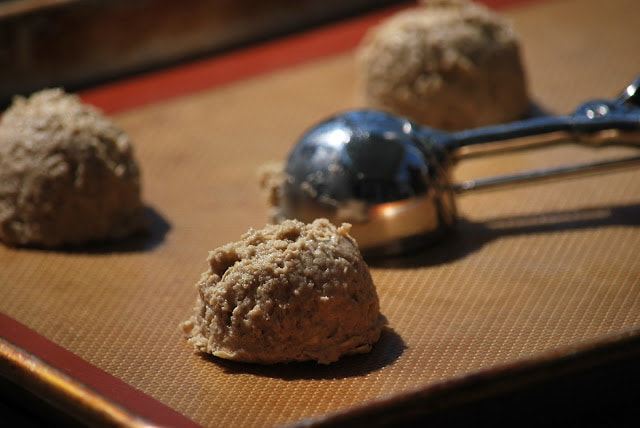
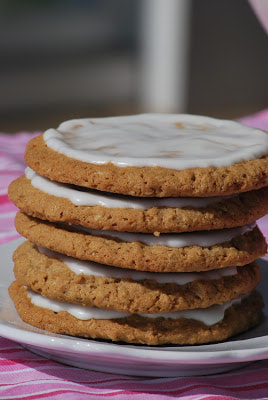
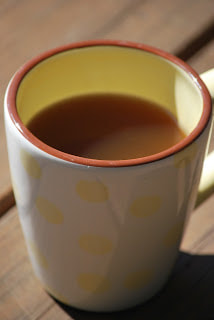
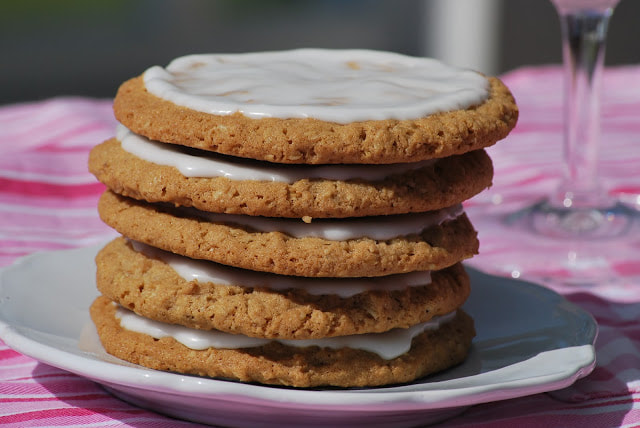 If there's one thing that I've learned, it's that life is busy and every once in a while, we need to take a step back and reevaluate what's really important. Some people are better at this than others - I happen to be one of the "others". It's easy for me to get caught up in the hustle and bustle of life and the demands of my job and my priorities tend to get all out of alignment. Taking the time to stop (not an easy task for me) and put things back into perspective does me a world of good. This is a busy time of year for me and my business so trying to squeeze a few minutes out of my day for myself is no easy feat. Sometimes I make myself a cup of coffee, pull a cookie out of the freezer and force myself to sit down for a few minutes before the kids get home from school. If you're like me and your idea of a quiet, peaceful moment involves a really great cookie - you need to try this recipe. A crispy oatmeal cookie drizzled with a vanilla glaze - delicious and somehow soothing and relaxing.
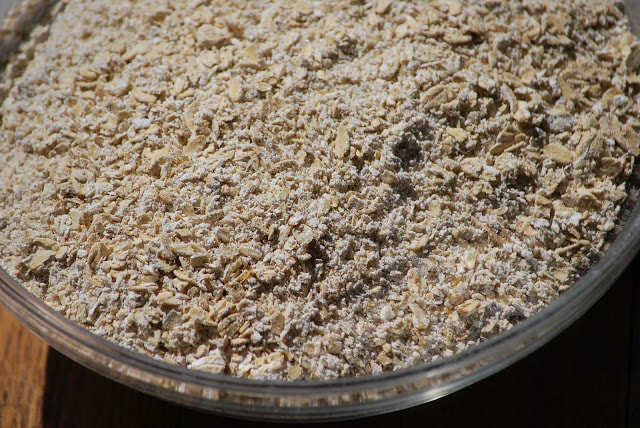
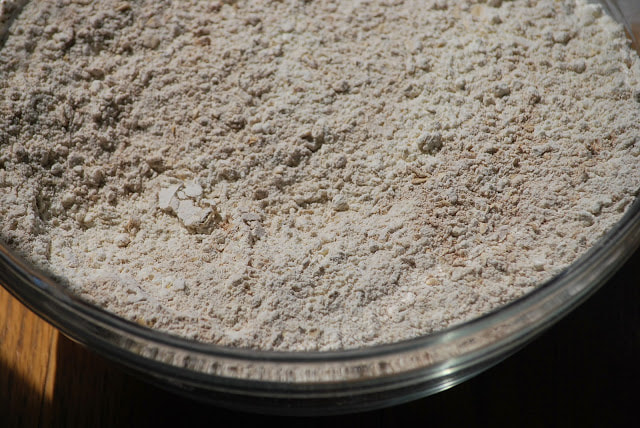
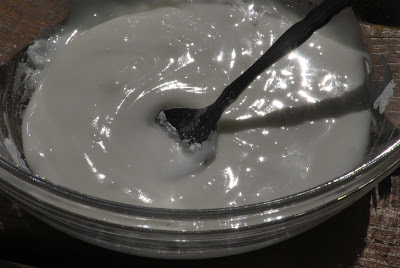
Old Fashioned Iced Oatmeal Cookies Yield: 18 large cookies Ingredients: Cookies: 2 cups old fashioned oats 2 cups all purpose flour 1 tablespoon baking powder 1 teaspoon baking soda 2 teaspoons cinnamon 1 teaspoon freshly ground nutmeg 1 teaspoon salt 1 cup (2 sticks) unsalted butter, melted 1 cup granulated sugar 1/2 cup packed light brown sugar 2 large eggs Icing: 2 cups powdered sugar 5 tablespoons milk Directions: Preheat oven to 350°F and butter two cookie sheets. Set aside.
Just in case you've never seen a whole nutmeg - this is what you're missing.
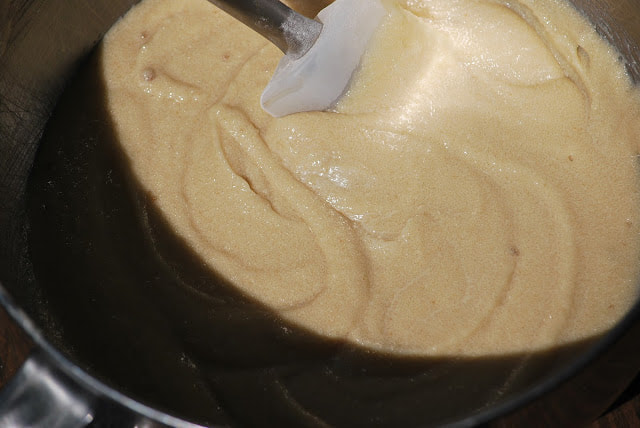
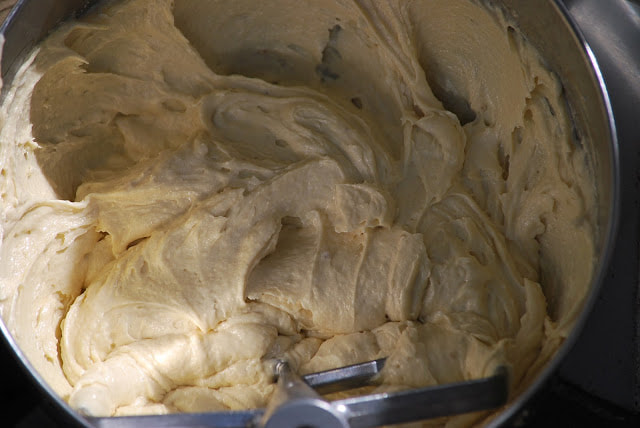
In a large bowl, beat together the melted butter, sugar and brown sugar.
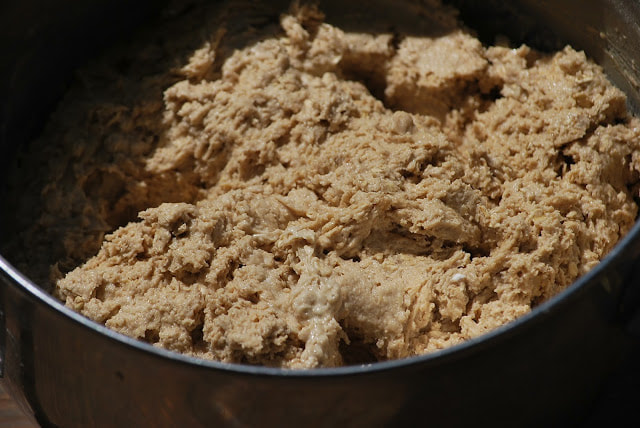
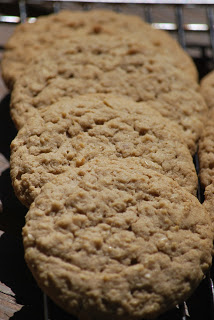
These cookies are delicious unfrosted. They are crispy and a favorite among my non-raisin eating teenagers. 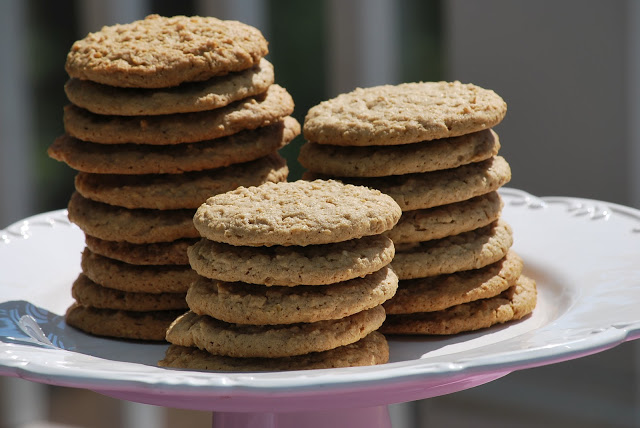
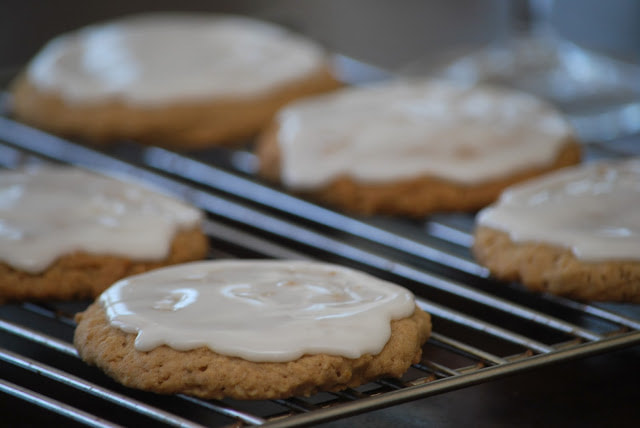
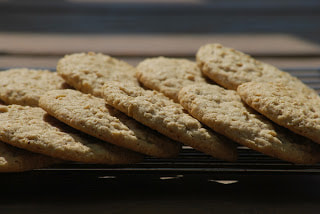
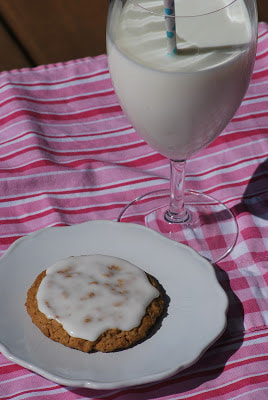
 A crispy oatmeal cookie with vanilla icing still dripping off the edges is wonderful but it's a far cry from the things that make me truly happy in my life. I have so much to be happy about. I consider myself a very lucky girl because I've been blessed with so much. How could I ever complain about the little stuff again?
You can store these cookies in an airtight container for up to a week or put them in the freezer for the holidays. I packed some of these cookies in individual bags for the Cross Country team a few weeks ago. 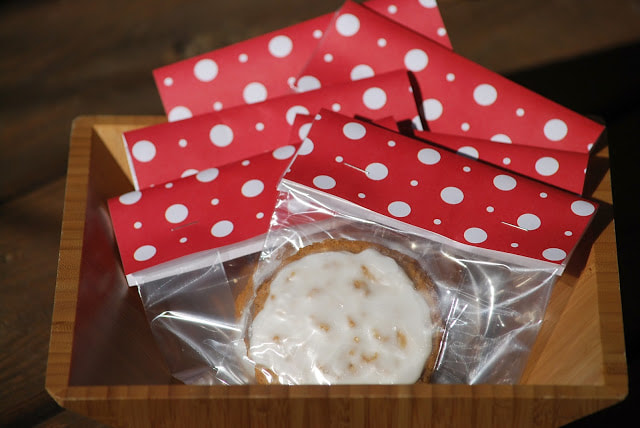 Pour yourself a glass of milk, grab a cookie and give yourself a few minutes to yourself today.
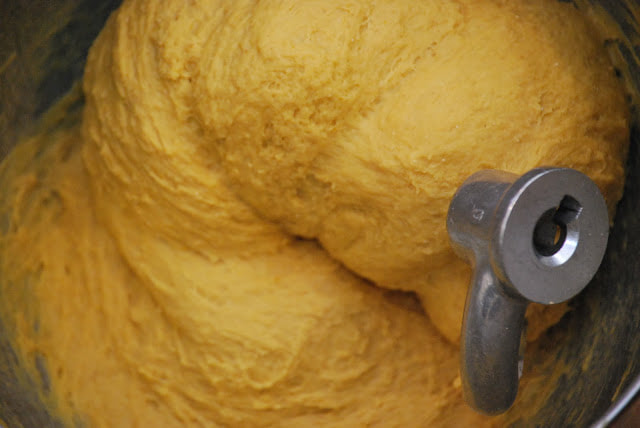
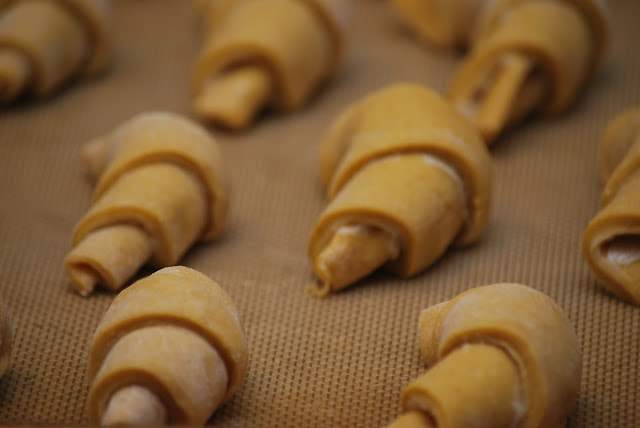
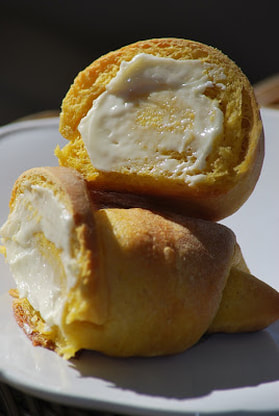
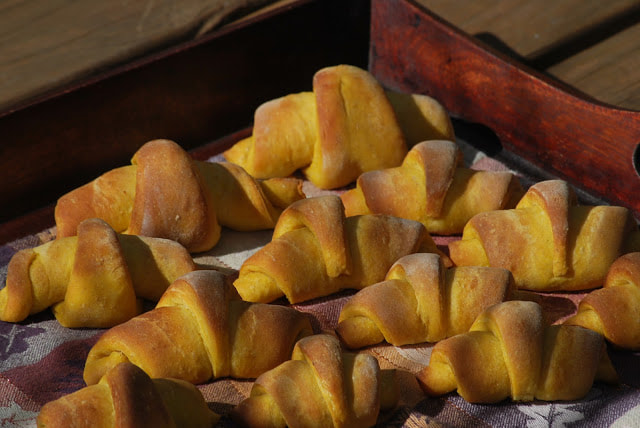
Ciao! 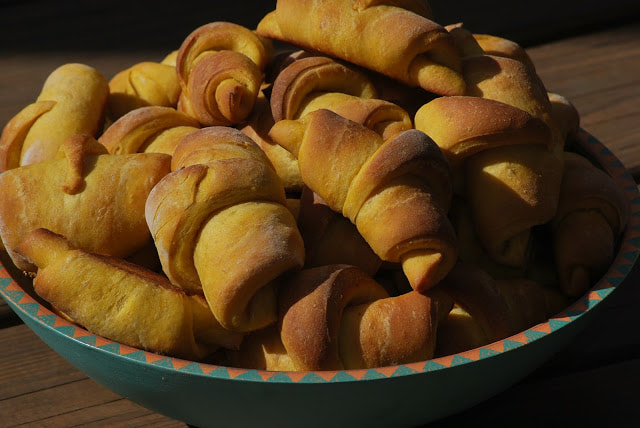 My mom makes the BEST homemade yeast rolls and this year, she is going to be at my house for Thanksgiving! (hint, hint, hint, mom) I do have a batch of pumpkin crescent rolls in my freezer just in case we get too busy and these are ALMOST as good as my mom's famous rolls. I served these rolls at my Halloween get together and I put the leftovers in the freezer. (mostly to stop myself from eating them.) This roll recipe came from Better Homes and Gardens and I have a feeling it is going to become a holiday tradition at my house. 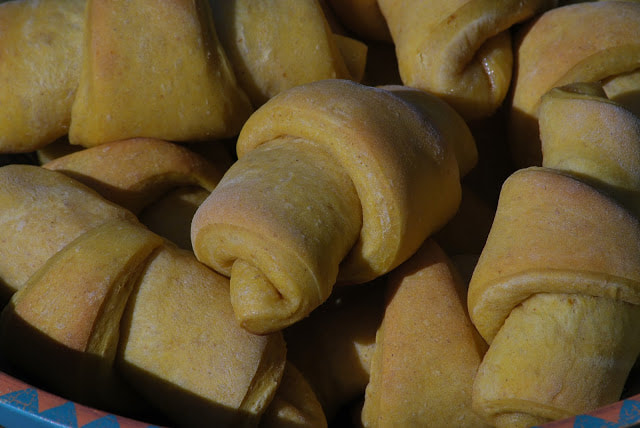 Pumpkin Crescent Rolls with Honey Butter 5 1/2 - 6 cups all-purpose flour 1 package active dry yeast 1 cup canned pumpkin 1 cup water 1/2 cup nonfat dry milk powder 6 tablespoons butter 1/3 cup packed brown sugar 2 tablespoons honey 1 teaspoon salt 1/2 teaspoon ground cinnamon 2 eggs 1 cup whole wheat flour Honey Butter 2 tablespoons butter, melted
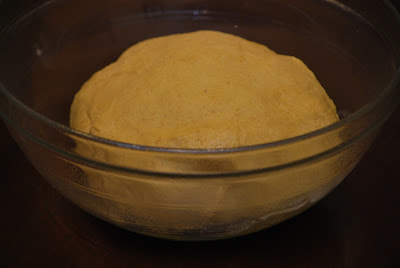
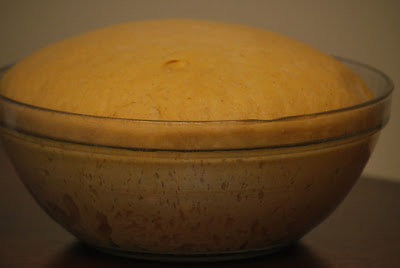
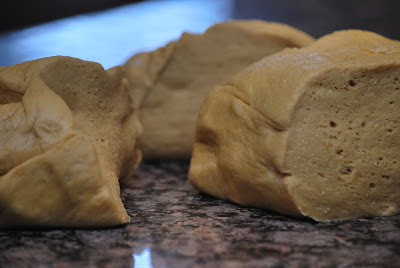
Turn dough out onto a lightly floured surface. Knead in enough of the remaining flour to make a moderately soft dough that is smooth and elastic (3 to 5 minutes total). Shape dough into a ball. Place in a lightly greased bowl, turning once to grease surface of dough. Cover; let rise in a warm place until double in size (1 hour).
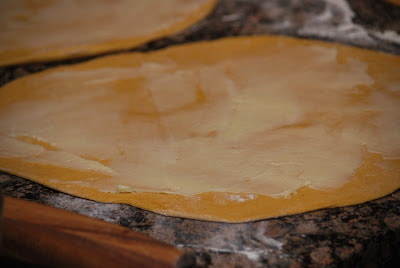
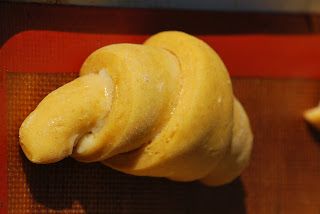
Spread with Honey Butter.
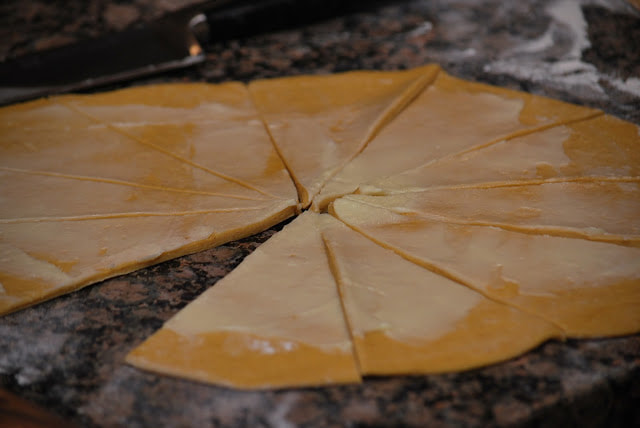
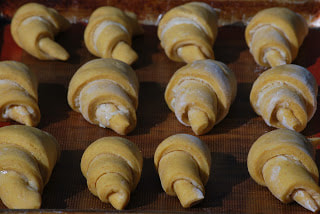
Cover; let rise in a warm place until nearly double in size (about 30 minutes).
Preheat oven to 375 degrees F. Uncover and bake rolls, 1 or 2 sheets at a time, about 15 minutes or until golden, rotating baking sheets halfway through baking if necessary. (Cover and chill remaining baking sheet[s] until ready to bake.) 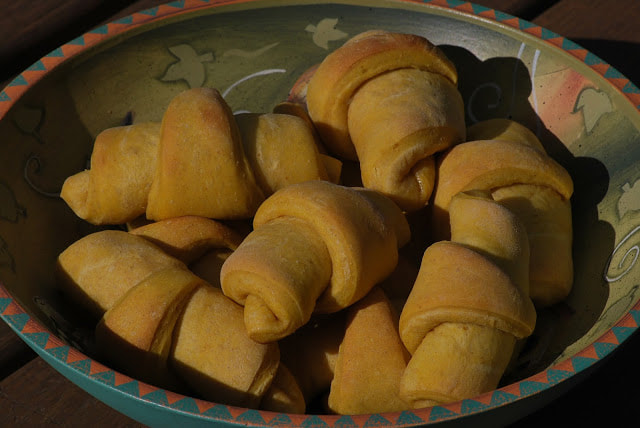 Brush tops of rolls with melted butter. Serve warm.
As an added bonus - here is all of the nutritional information for the rolls...
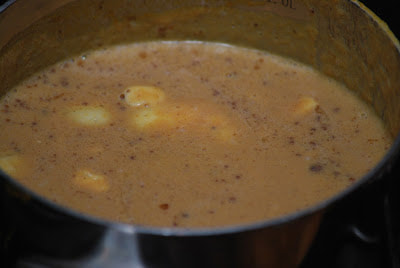
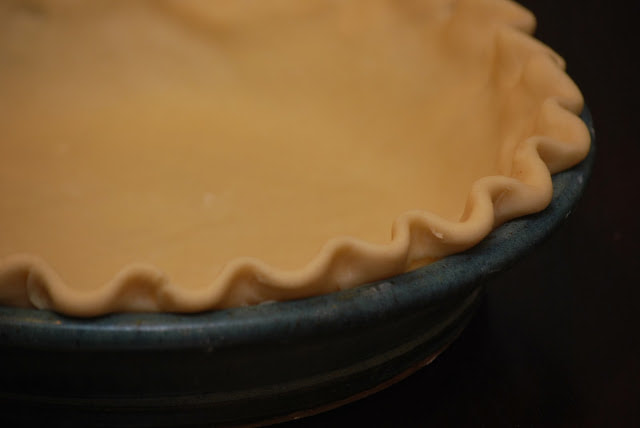
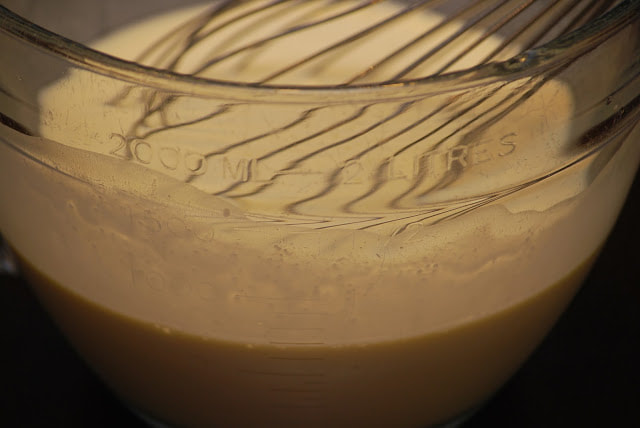
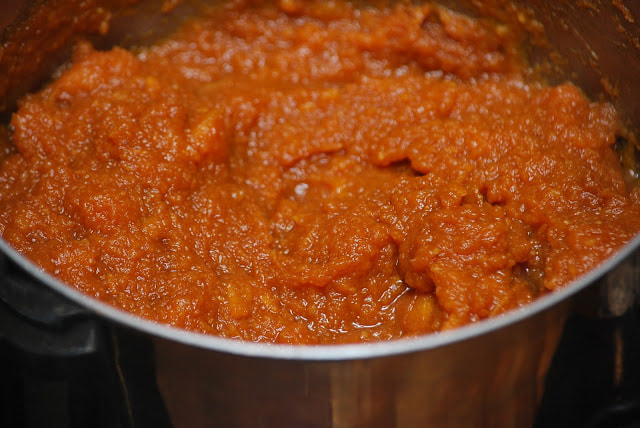
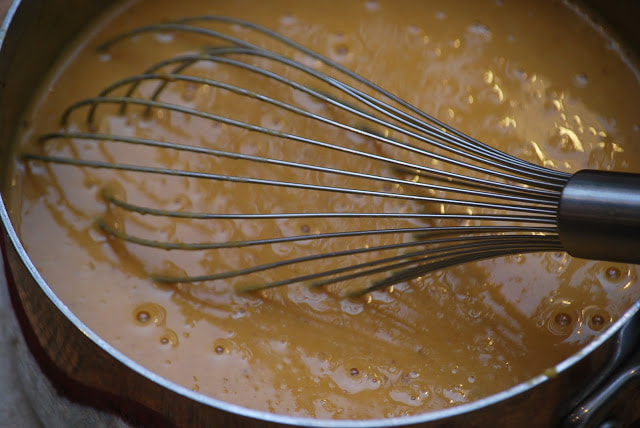
Nutrition Facts (Pumpkin Crescent Rolls with Honey Butter) Servings Per Recipe 36, cal. (kcal) 140, Fat, total (g) 4, chol. (mg) 22, sat. fat (g) 3, carb. (g) 22, Monosaturated fat (g) 1, dietary fiber (g) 1, sugar (g) 5, protein (g) 3, vit. A (IU) 1166, vit. C (mg) 1, Thiamin (mg) 0, Riboflavin (mg) 0, Niacin (mg) 1, Pyridoxine (Vit. B6) (mg) 0, Folate (µg) 44, Cobalamin (Vit. B12) (µg) 0, sodium (mg) 103, Potassium (mg) 77, calcium (mg) 20, iron (mg) 1, Percent Daily Values are based on a 2,000 calorie diet Just in case your mom is not going to show up at your house to make rolls this Thanksgiving, be prepared with a batch of pumpkin crescent rolls. Ciao! 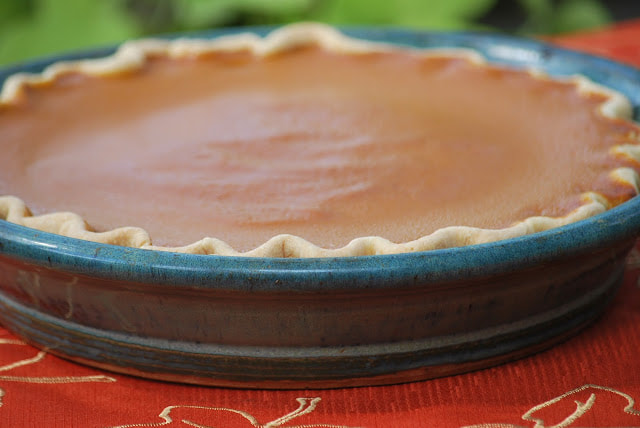 Pumpkin Pie - it just wouldn't be Thanksgiving without it. I started using this Cook's Illustrated recipe for my Thanksgiving pies 3 years ago and I'll never go back to my old recipe again. Homemade pumpkin pie is easy to make and a delicious way to complete your Thanksgiving meal. 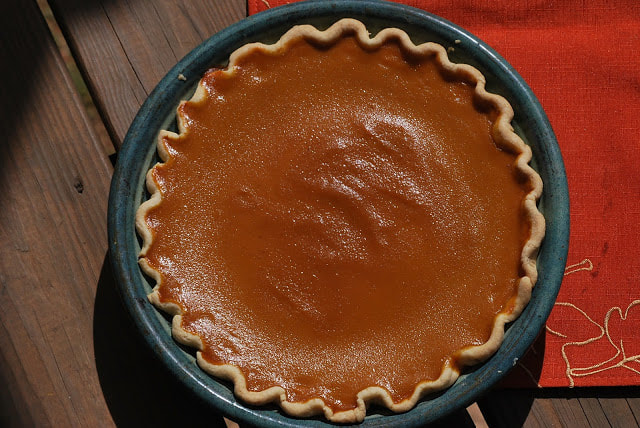 Pumpkin Pie 1 can pumpkin 1 cup heavy cream 1 cup canned yams, drained 1 cup whole milk ¾ cup sugar 3 eggs + 2 yolks ¼ maple syrup 1 teaspoon vanilla 2 teaspoons ginger ½ teaspoon cinnamon ¼ teaspoon nutmeg 1 teaspoon salt
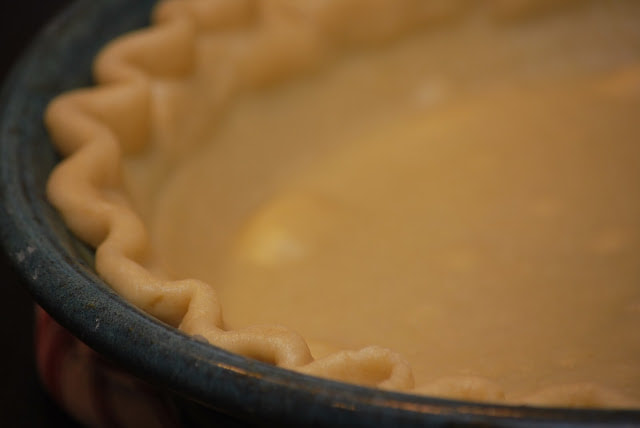
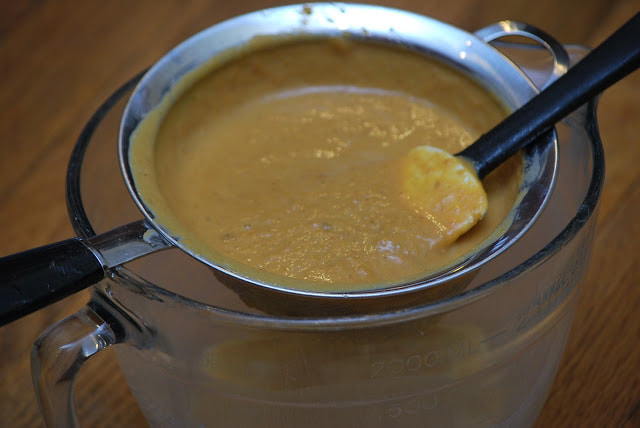
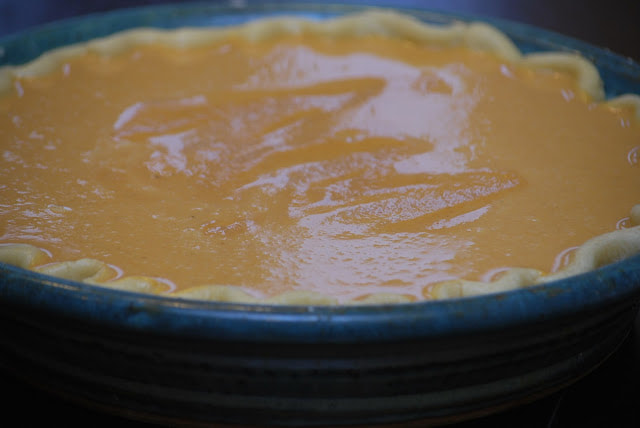
Pour into warm pie shell.
Bake 10 minutes. Reduce heat to 300 and bake an additional 20 – 35 minutes. 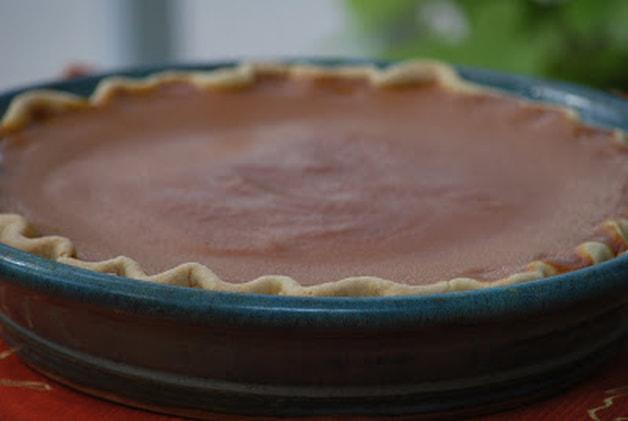 I have no pictures of this pie sliced or even topped with whipped cream because as soon as my pie had cooled, I put it straight into my freezer to save for Thanksgiving. (I love make ahead Thanksgiving desserts.)
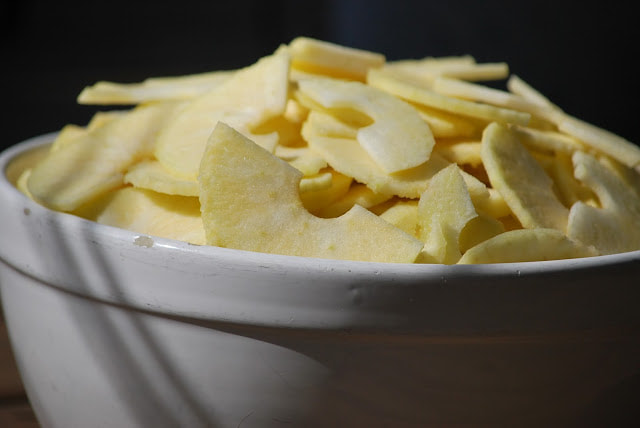
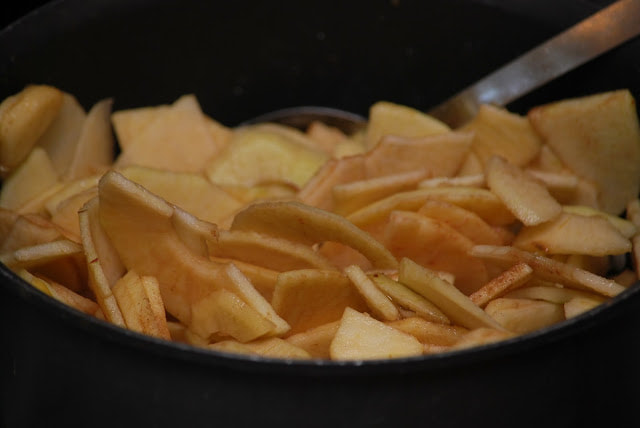
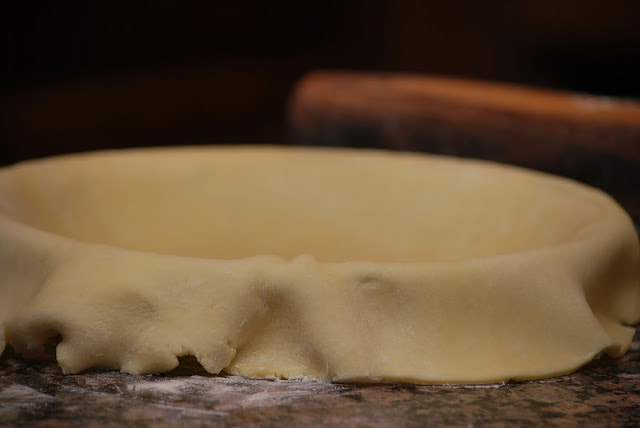
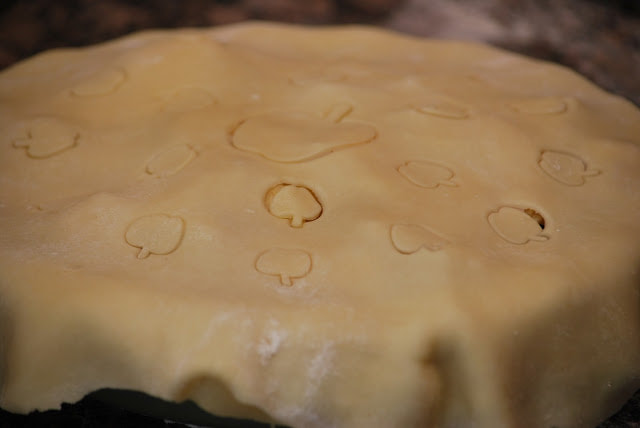
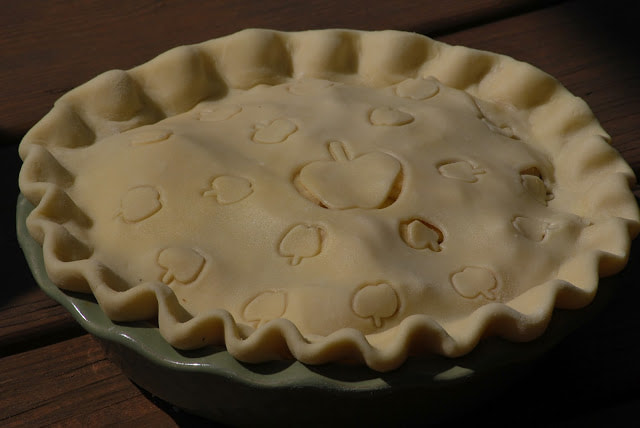
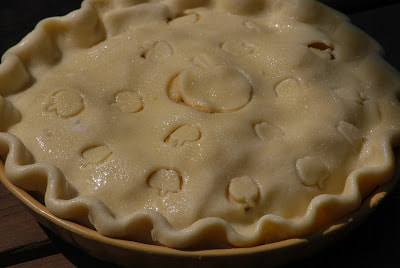
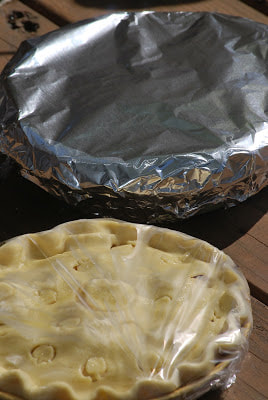
Ciao! 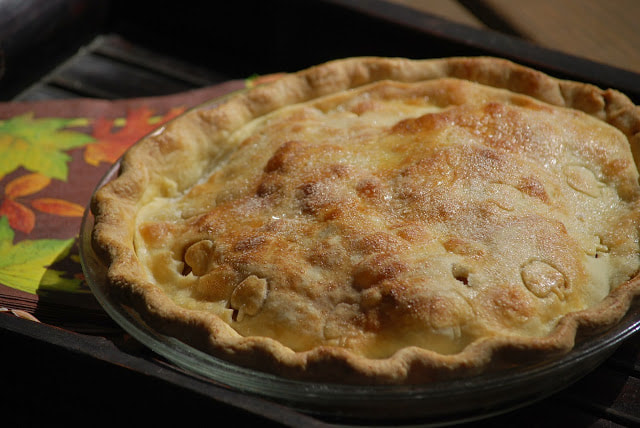 It's that time of year friends - time to make your Thanksgiving pies! Did you know that you can make apple pies and freeze them, unbaked? It is easier than you think. I made 3 apple pies in one afternoon. I baked one and froze the other 2 for Thanksgiving. I will pull them out of the freezer on Tuesday and bake them on Thursday morning. Ahhhh...the smell of homemade apple pie baking in the oven on Thanksgiving morning - I can hardly wait. 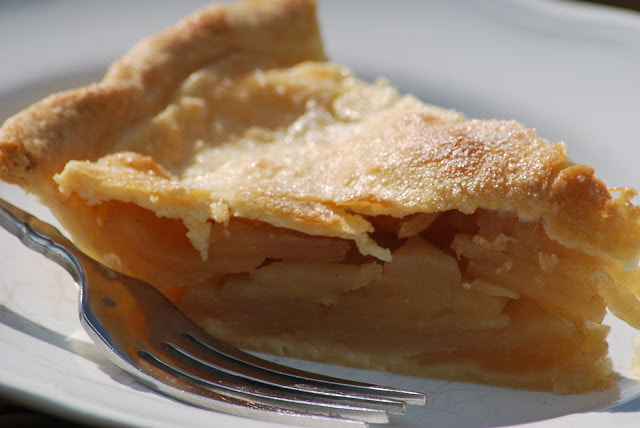 Deep Dish Apple Pie ½ cup sugar ¼ cup brown sugar ¼ teaspoon salt 1 lemon 1/8 teaspoon cinnamon 10 apples 1 egg white beaten
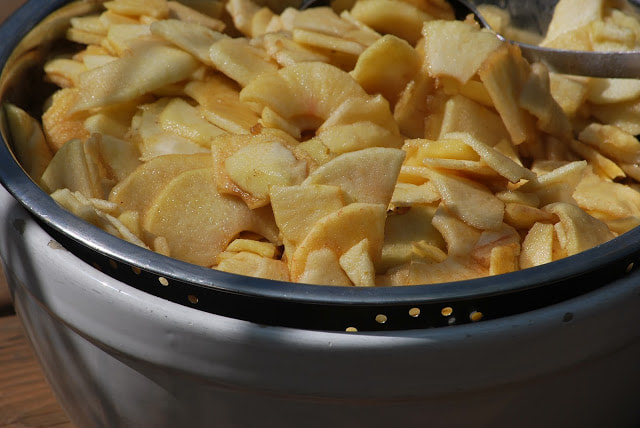
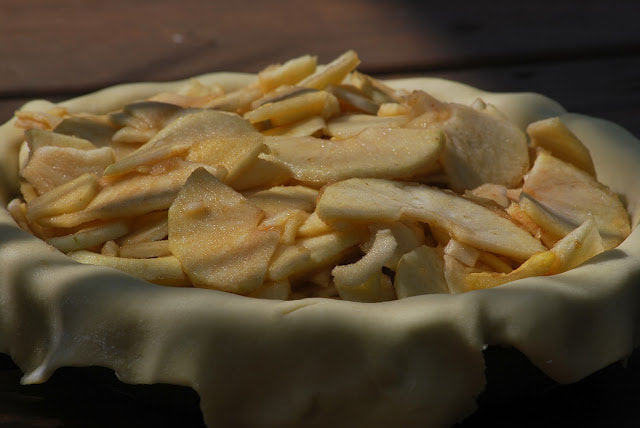
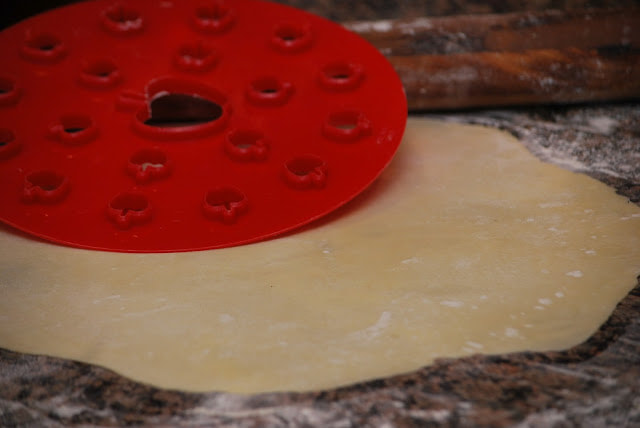
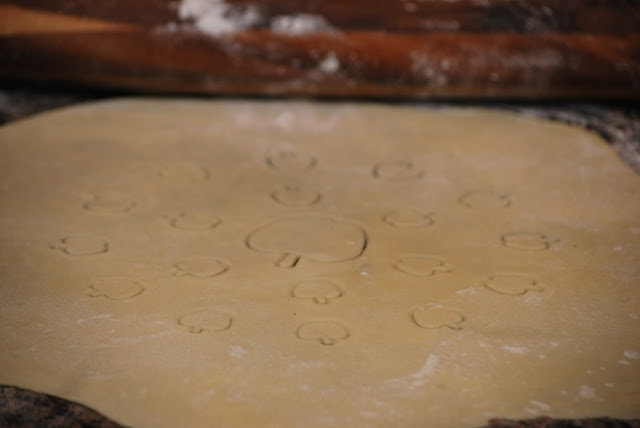
Bake on lowest rack in oven for 45-55 minutes at 425. Cool at least 1 ½ hours before slicing. 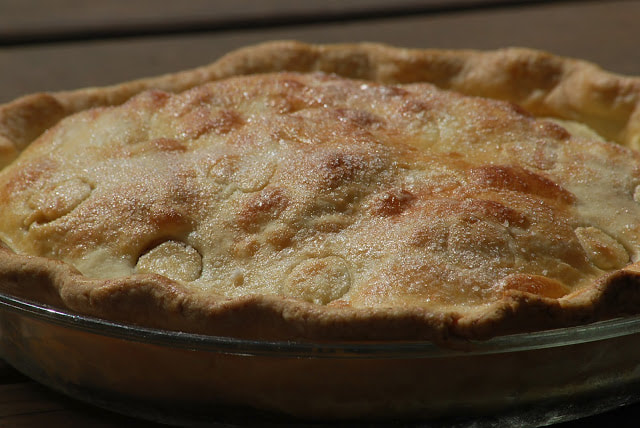 At the risk of being repetitive, I am posting LOTS of pictures of my apple pie. Sit back and enjoy. Not drooling on the keyboard. 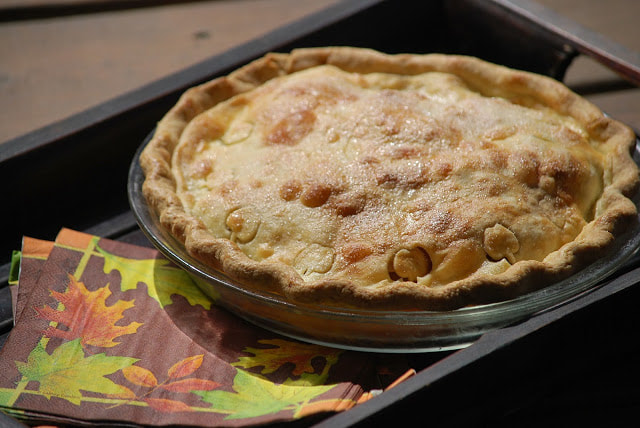 When completely cool, slice and enjoy. 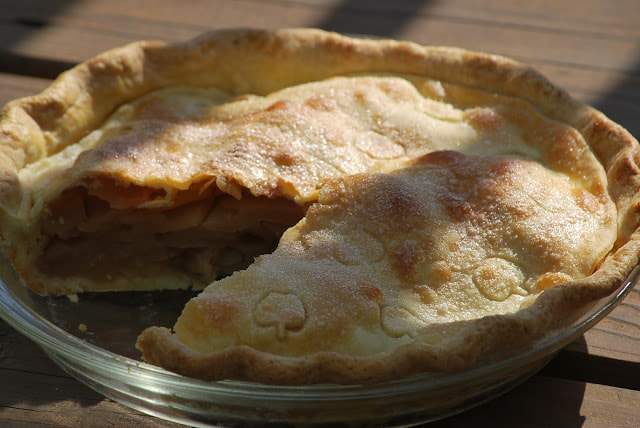 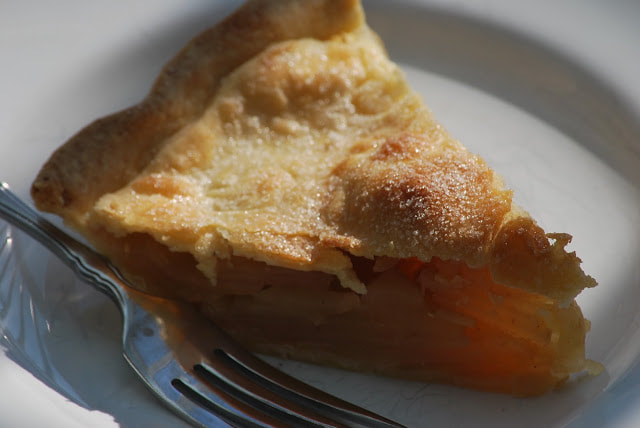
As always, you can send me a comment with any apple pie related questions. I'll do my best to respond to your comments quickly.
Ciao! |