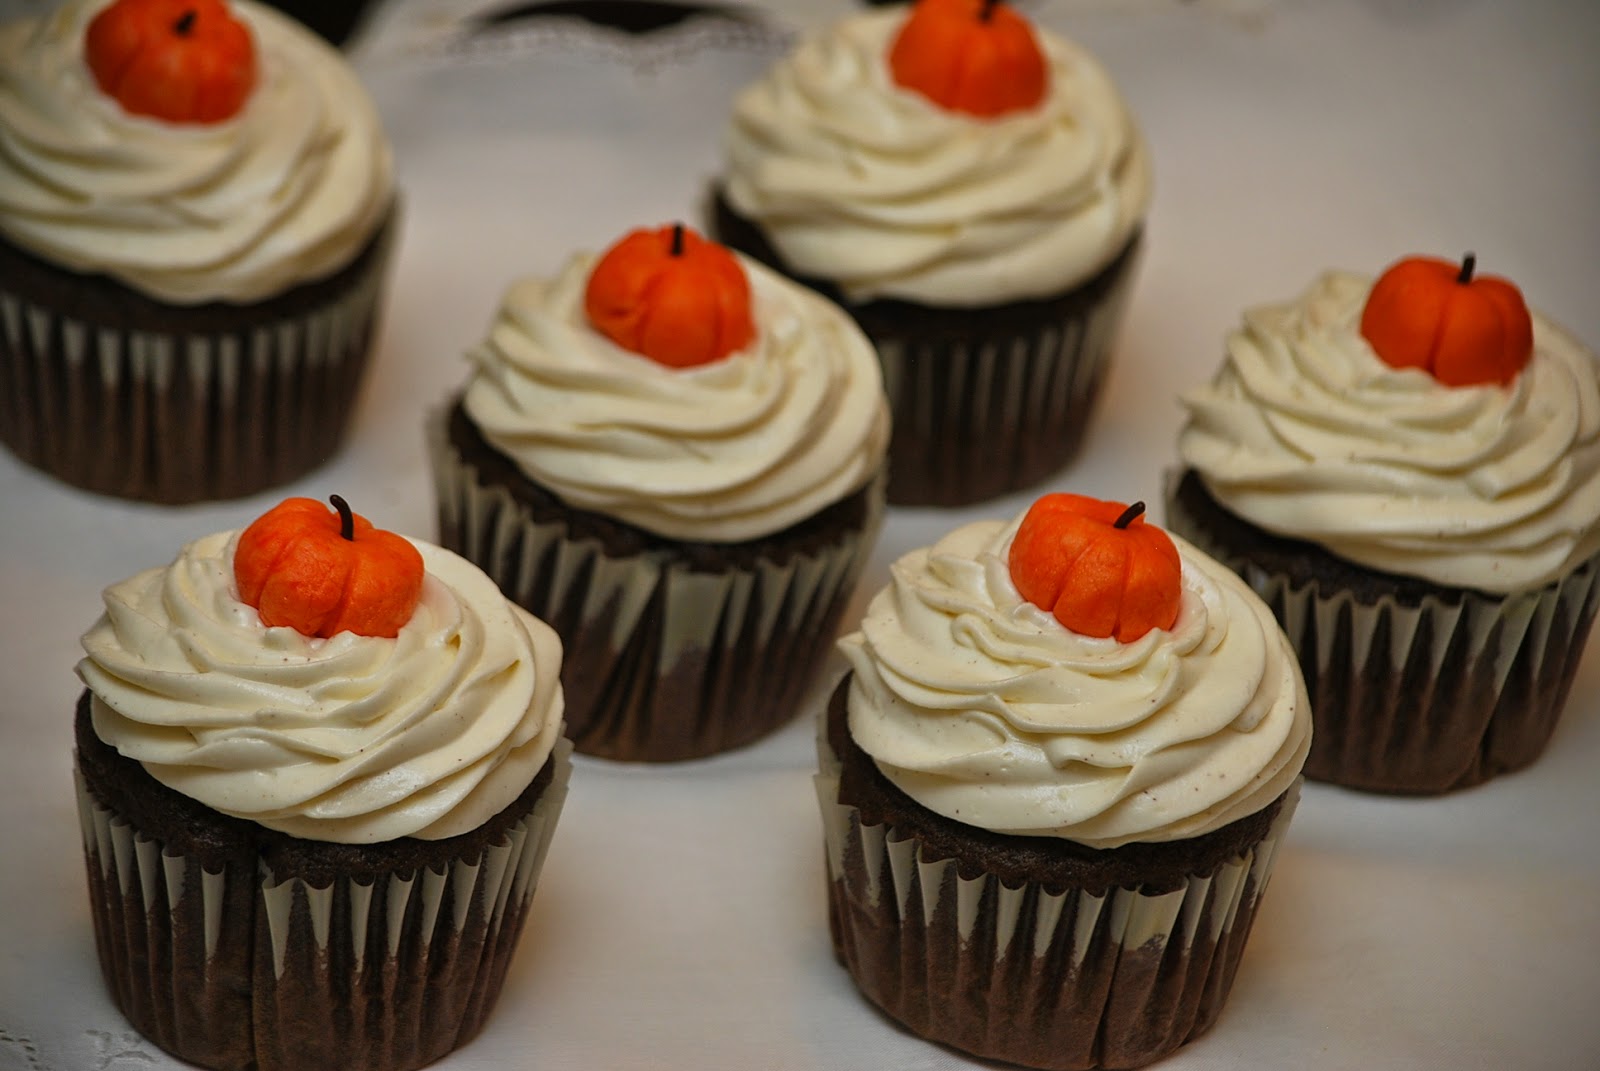
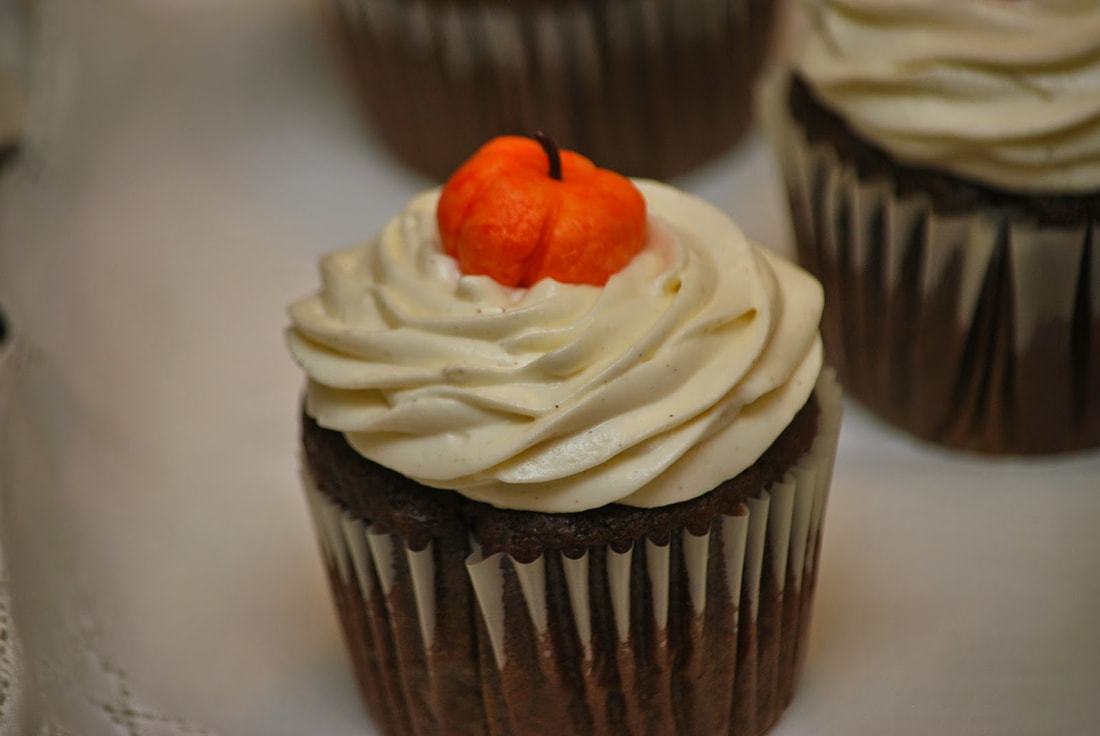
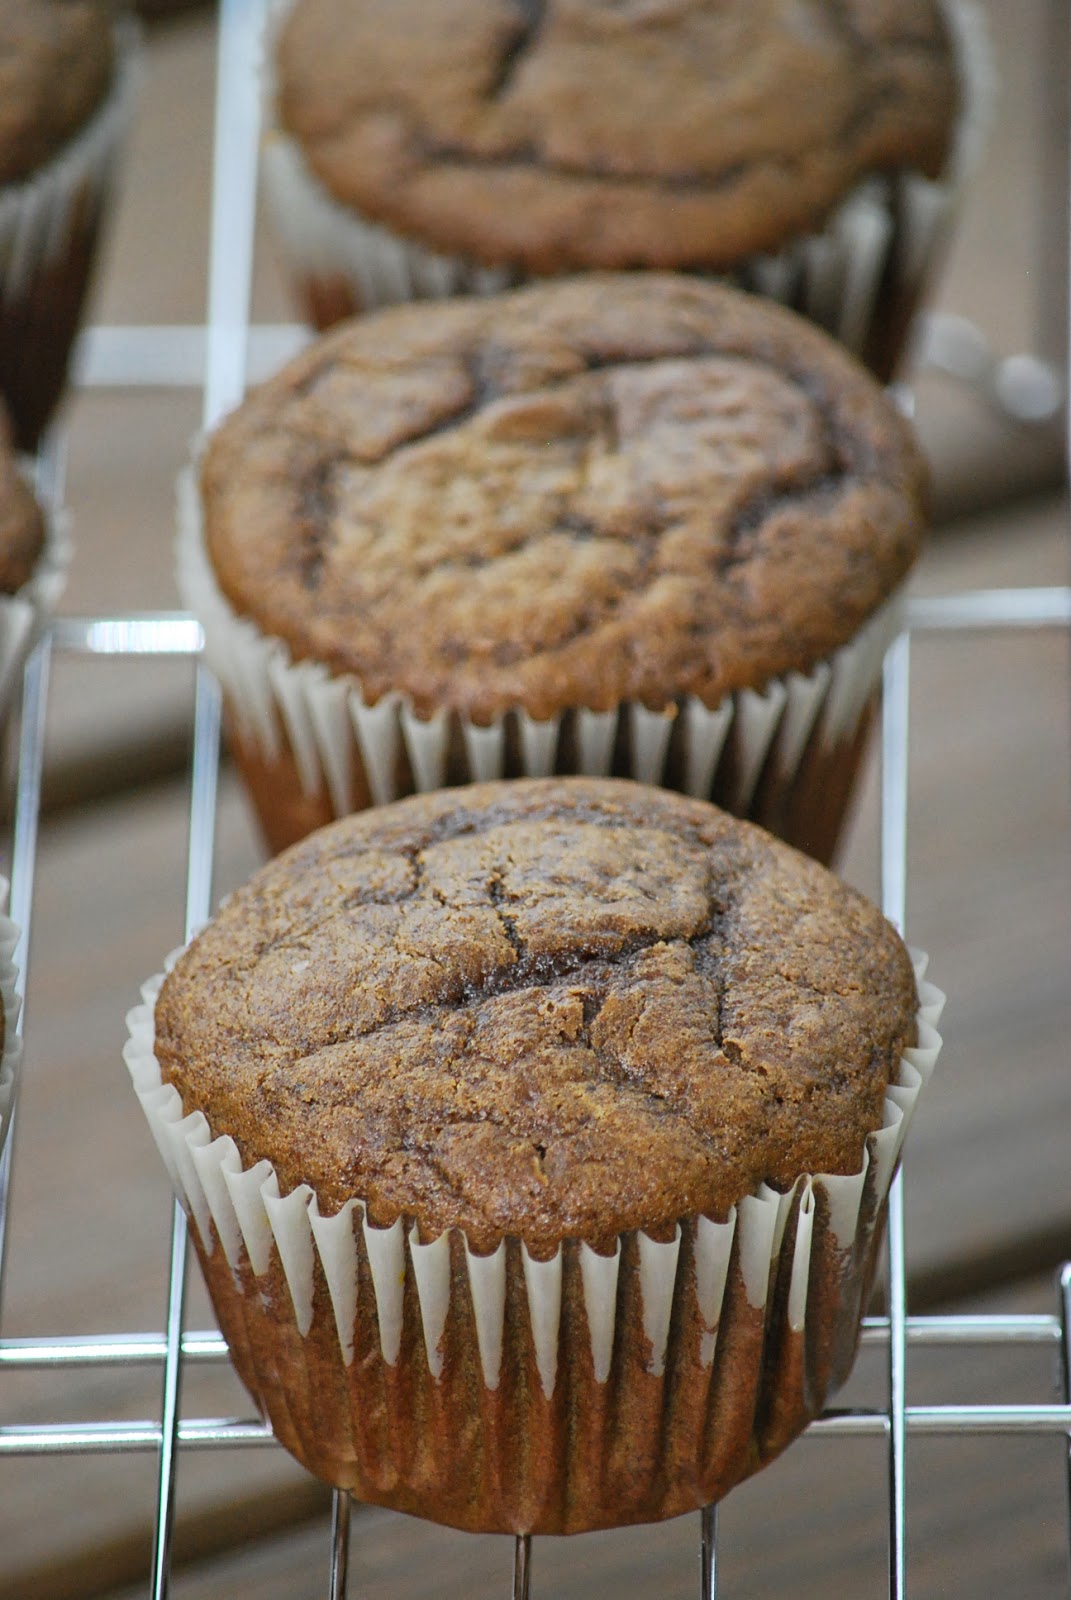
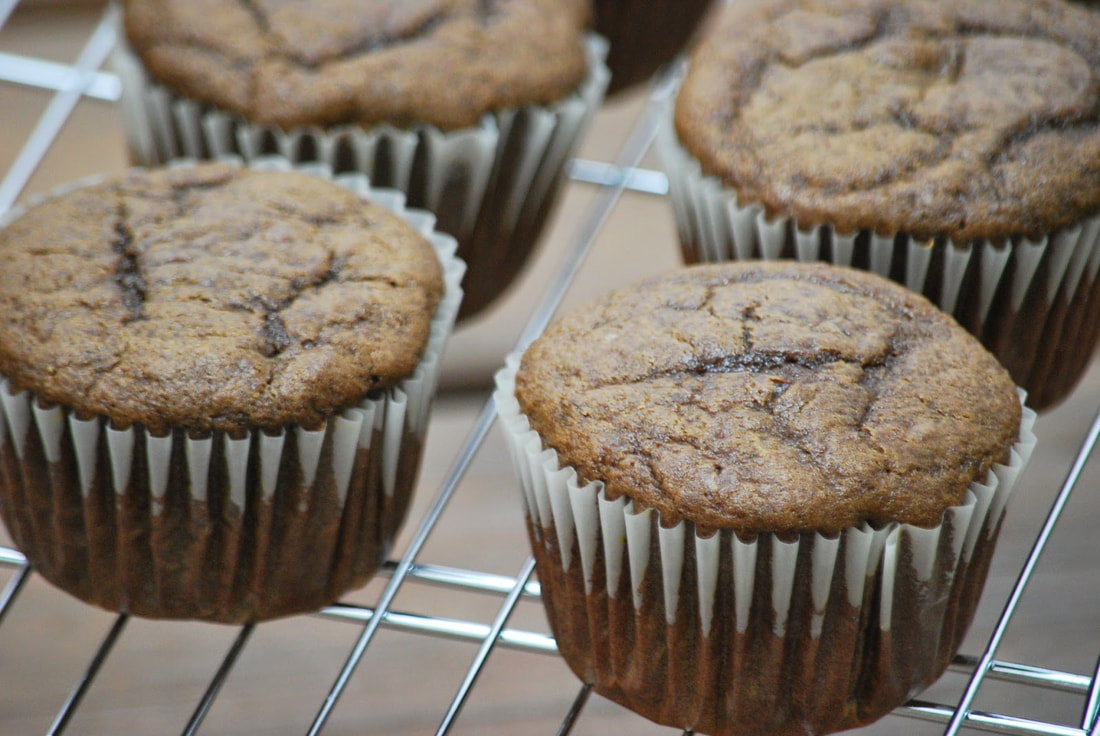
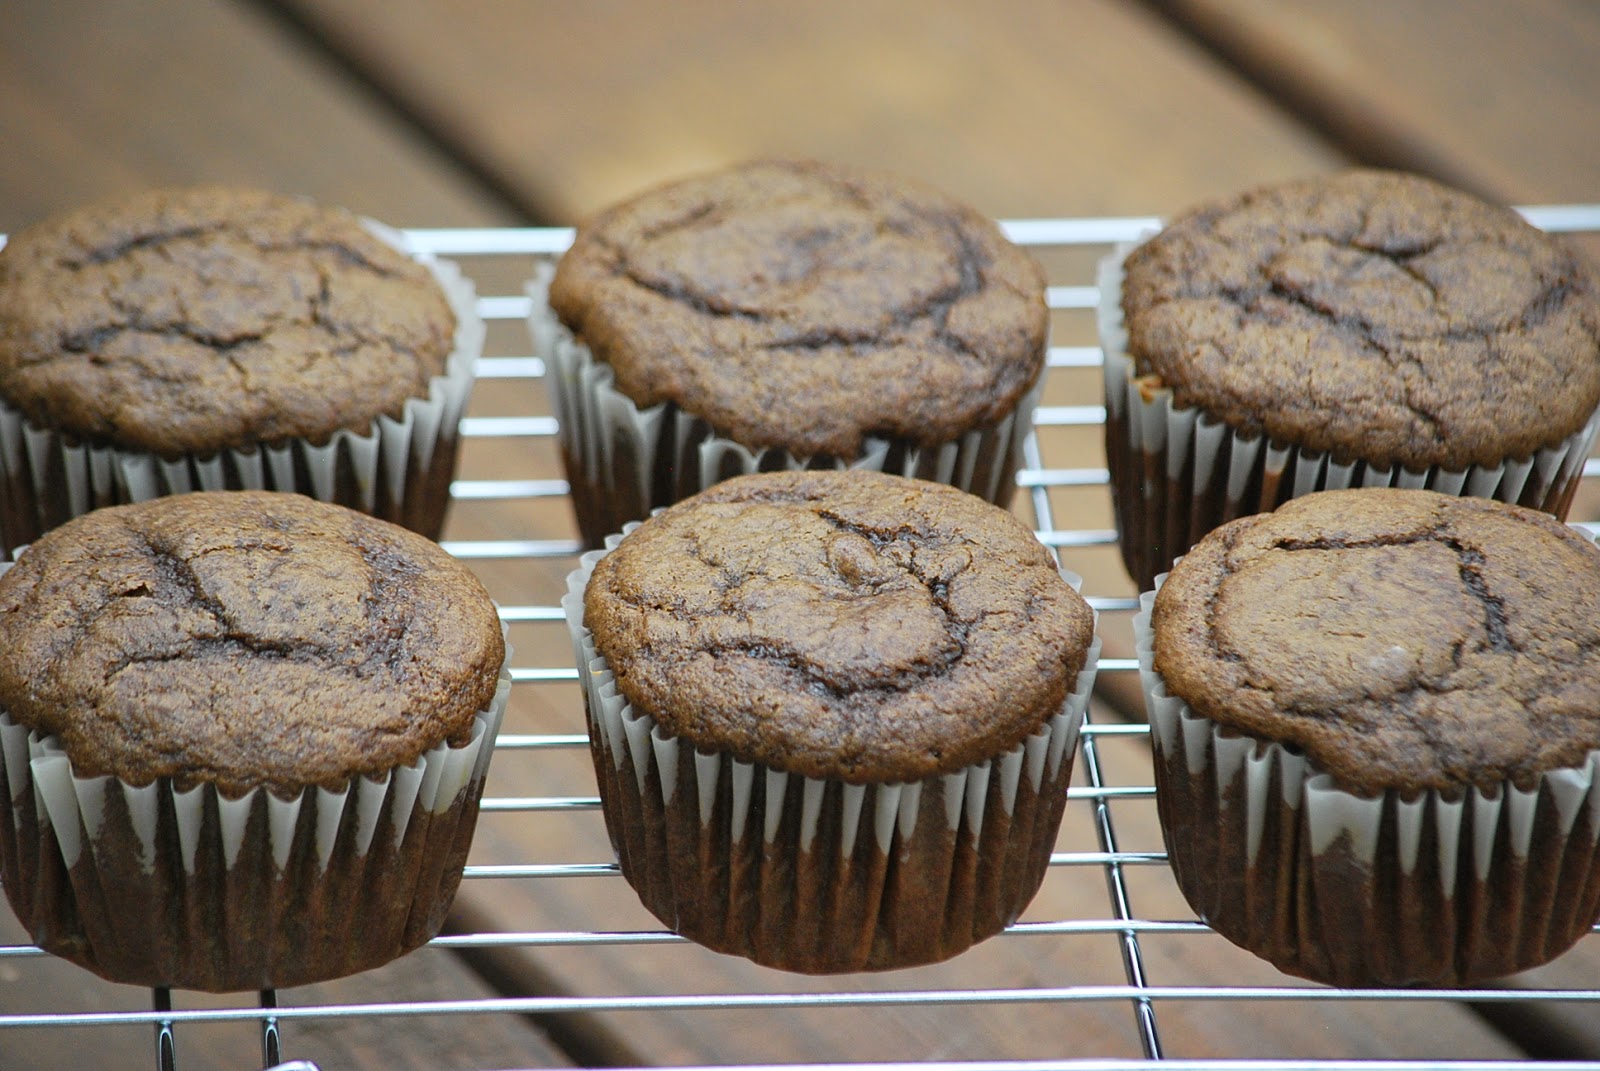
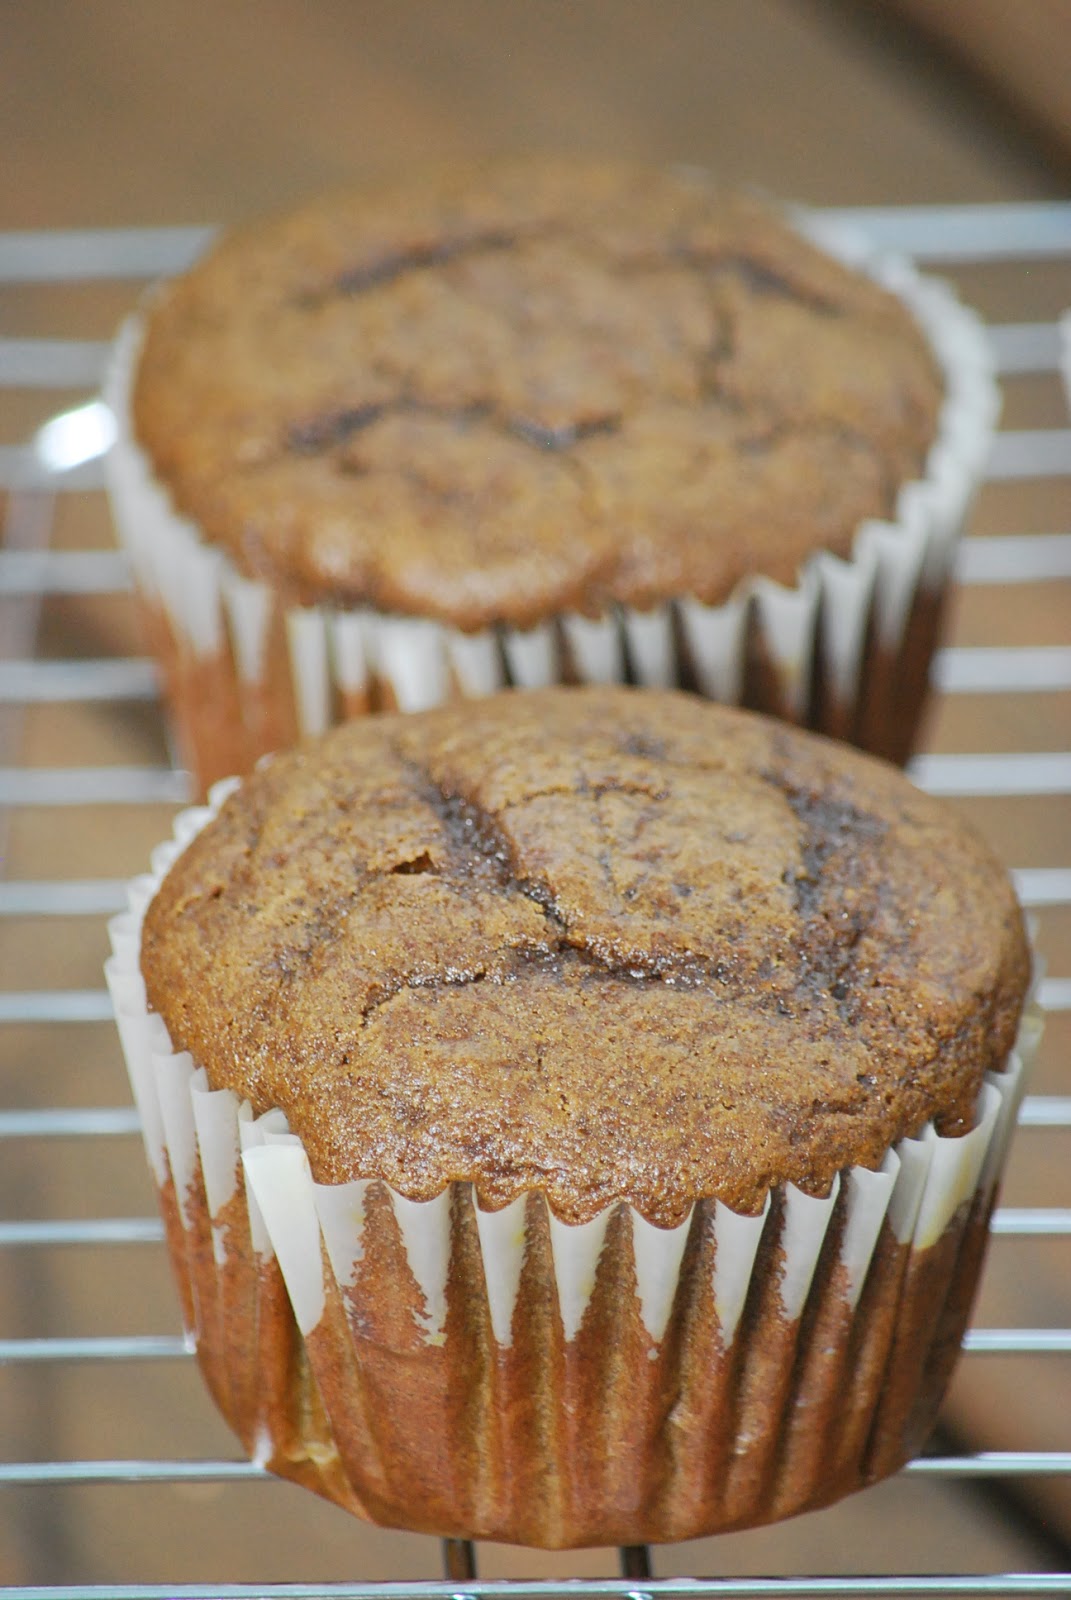
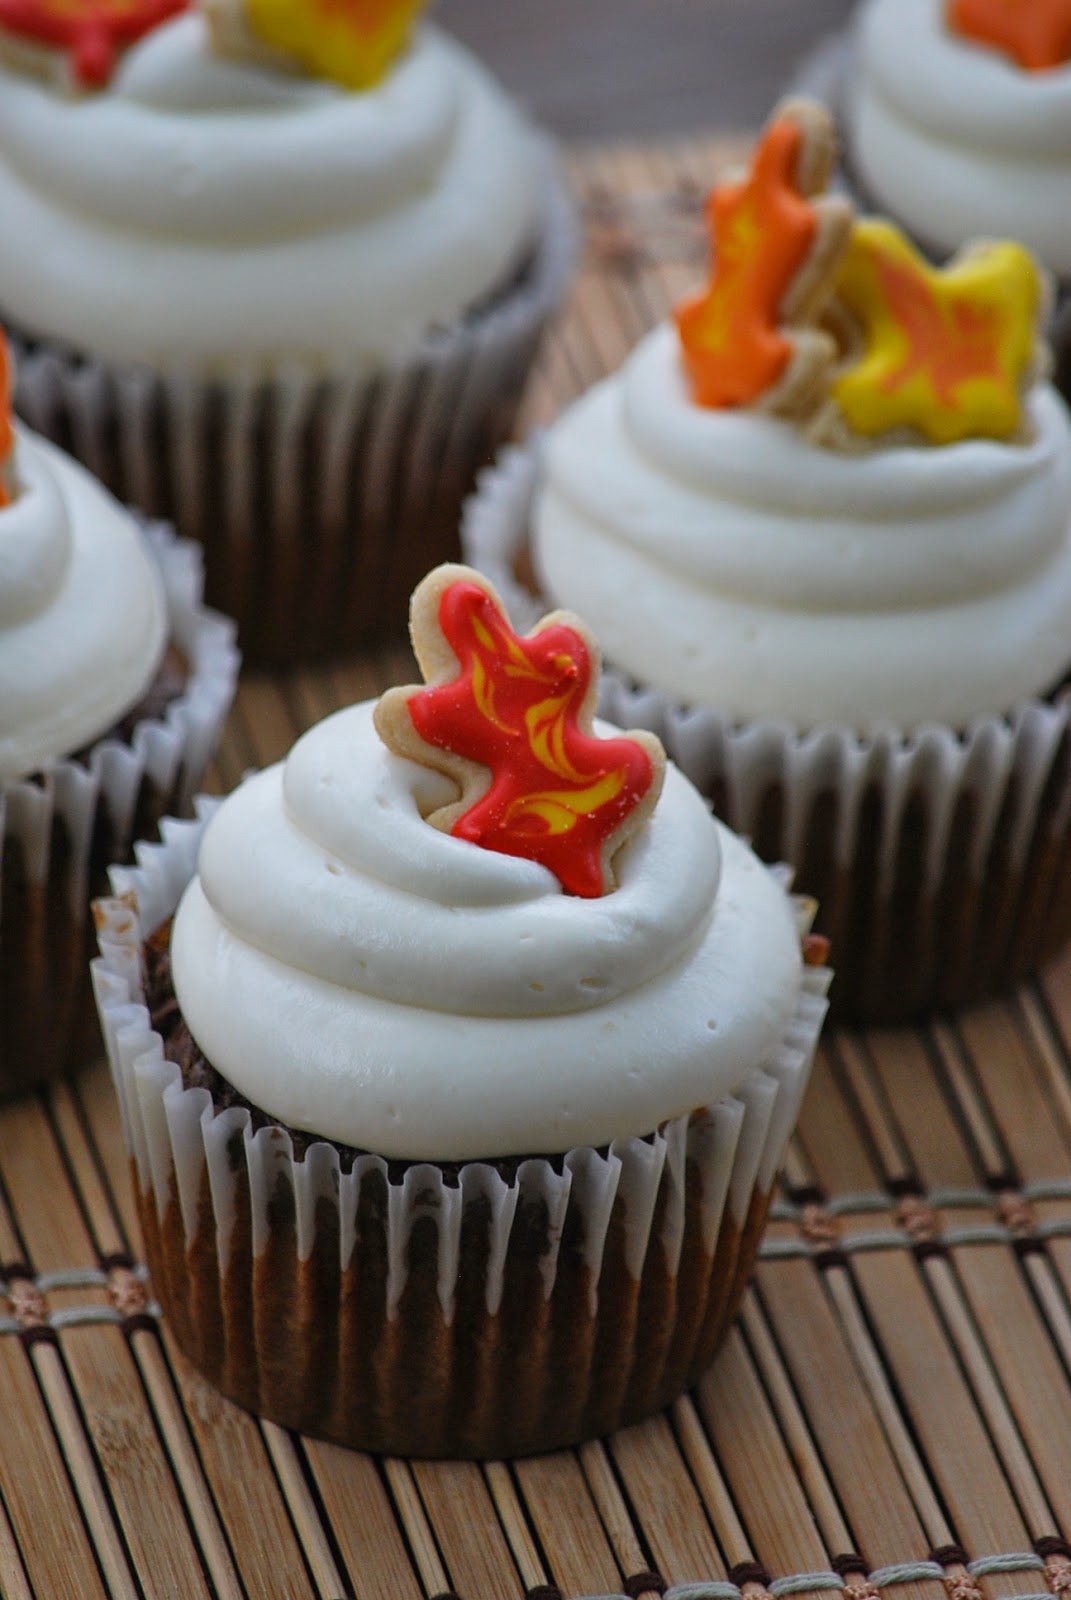
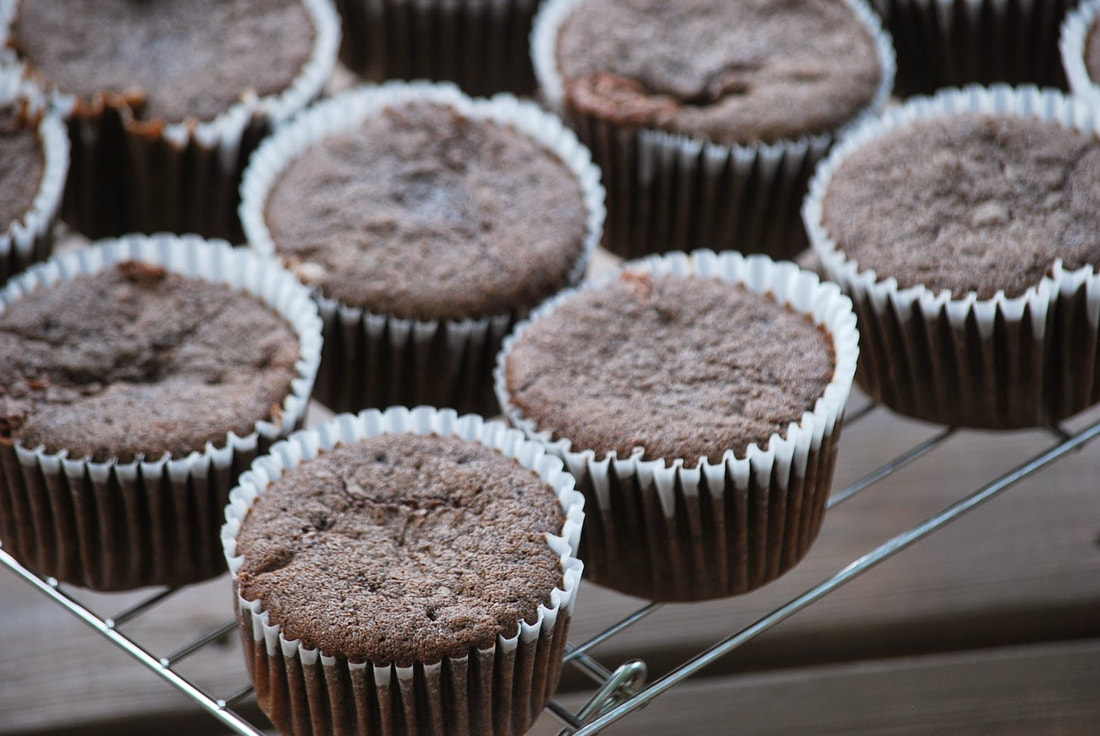
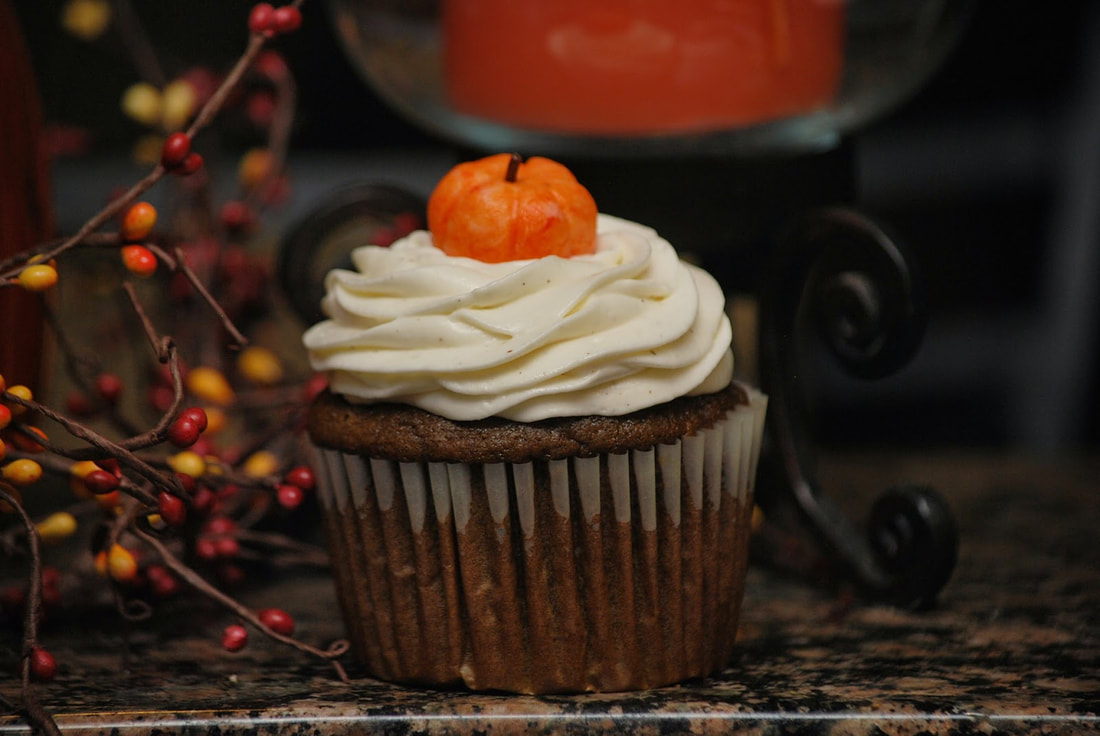
 I waited until the last minute to get my candy but I am prepared for the barrage of trickers that will inevitably be knocking on my door tonight. 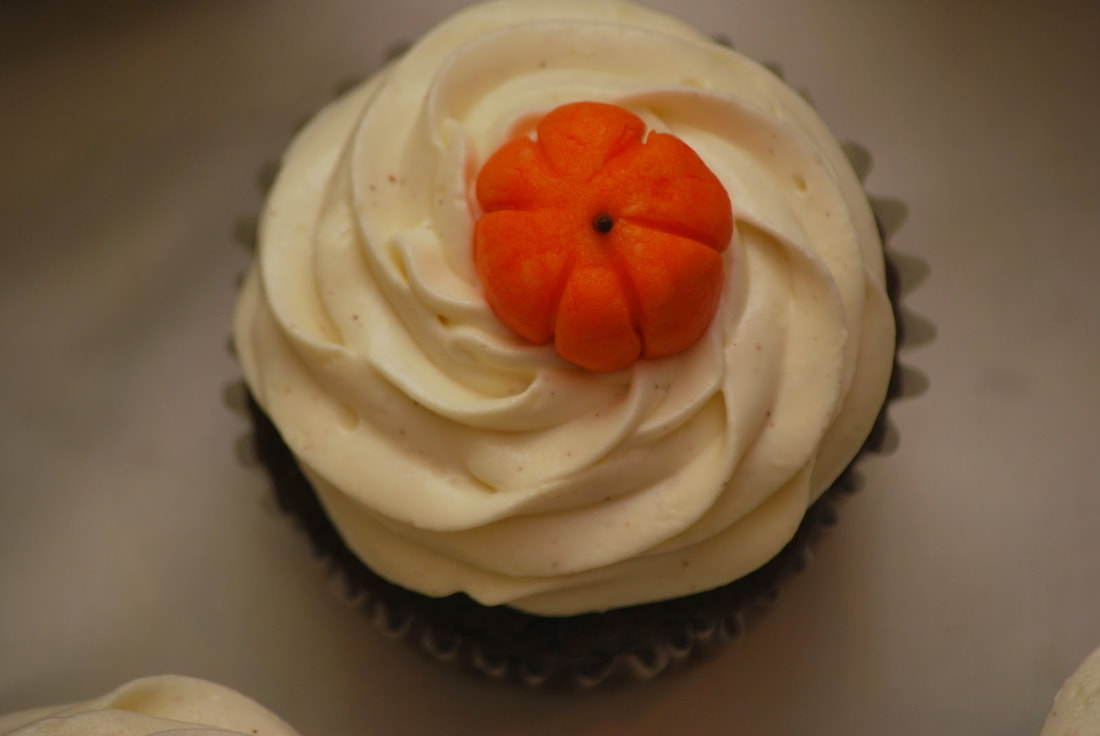 I've got my chocolate bars and lollipops in a bucket beside my front door and right beside the candy, I have a tray of pumpkin cupcakes that I will be passing out to the more "mature" trick or treaters. 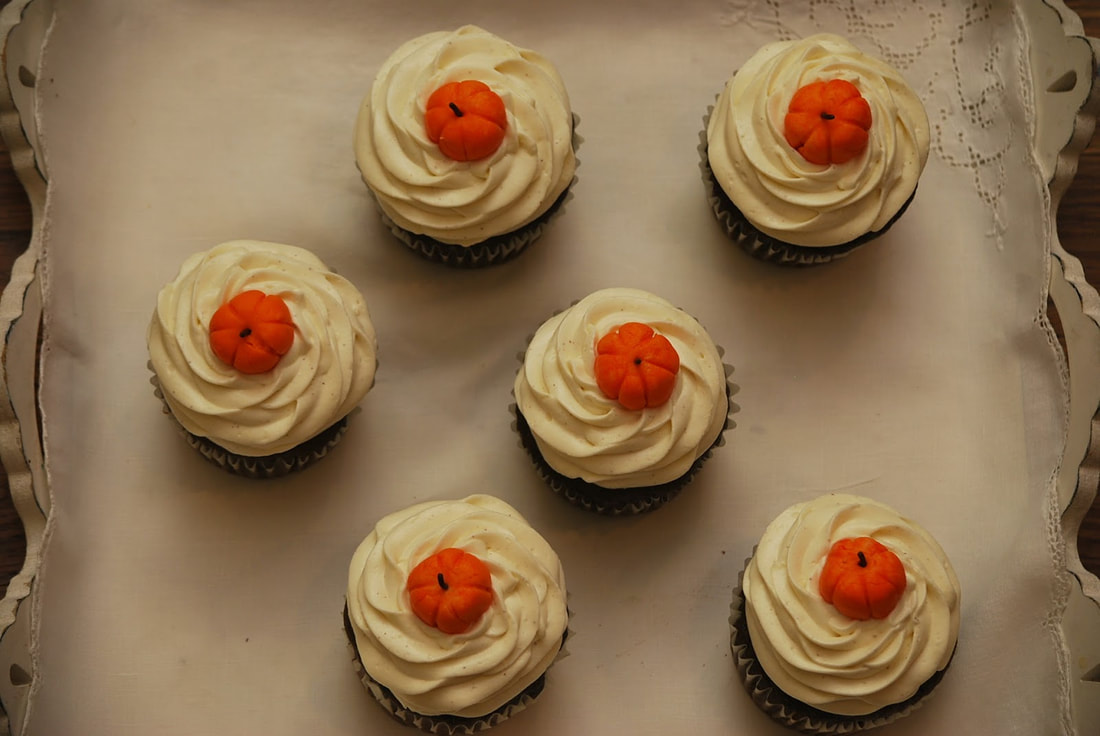 It's not that kids won't appreciate a cupcake now and then but lets face it, tonight is all about filling their jack o'lantern with raw sugar. And, after years of tricker treating with my own kids, I know that sometimes the parents need a little sugar energy halfway around the neighborhood.
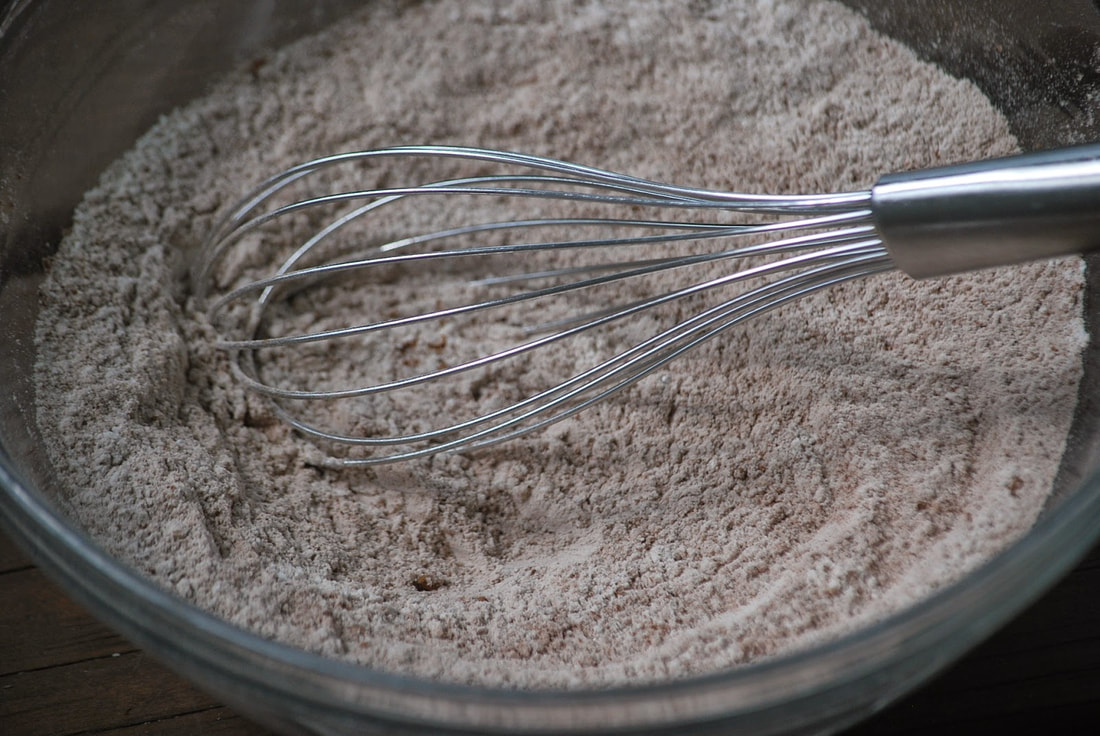
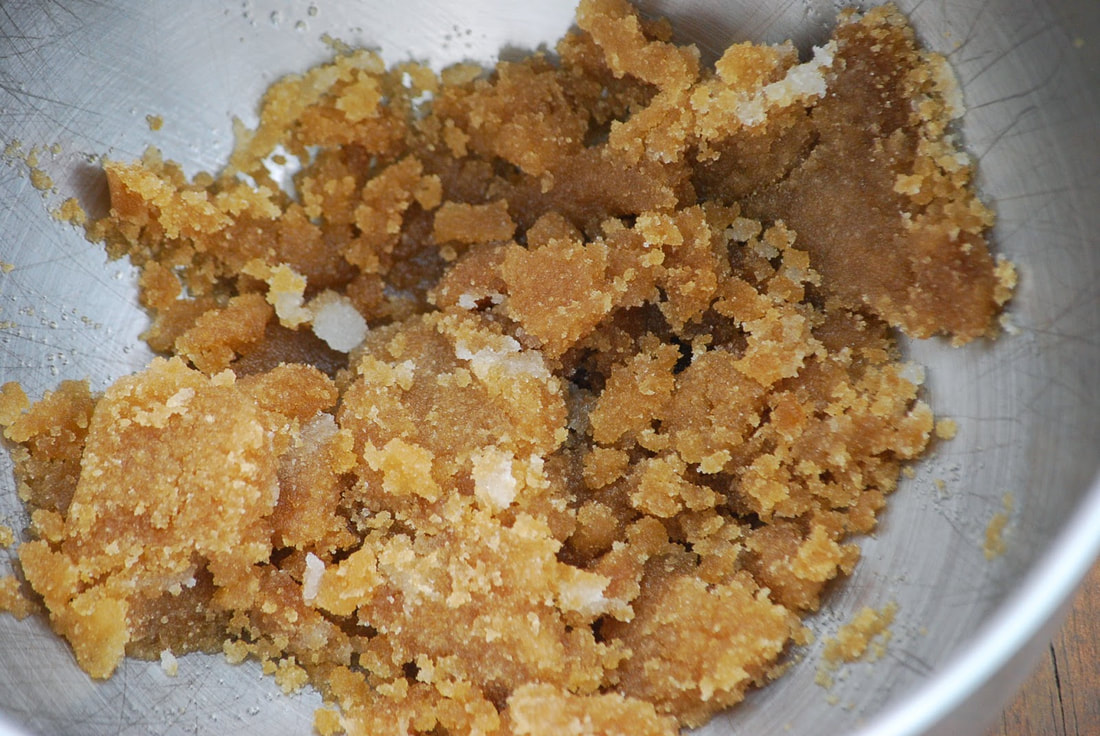
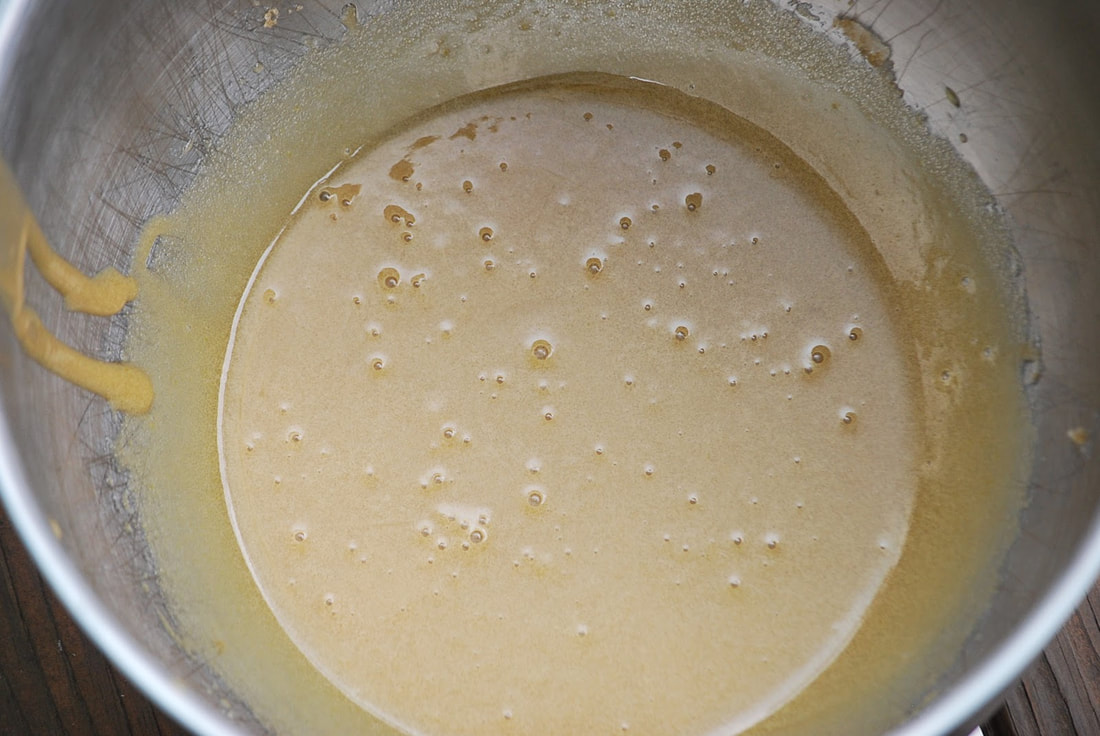
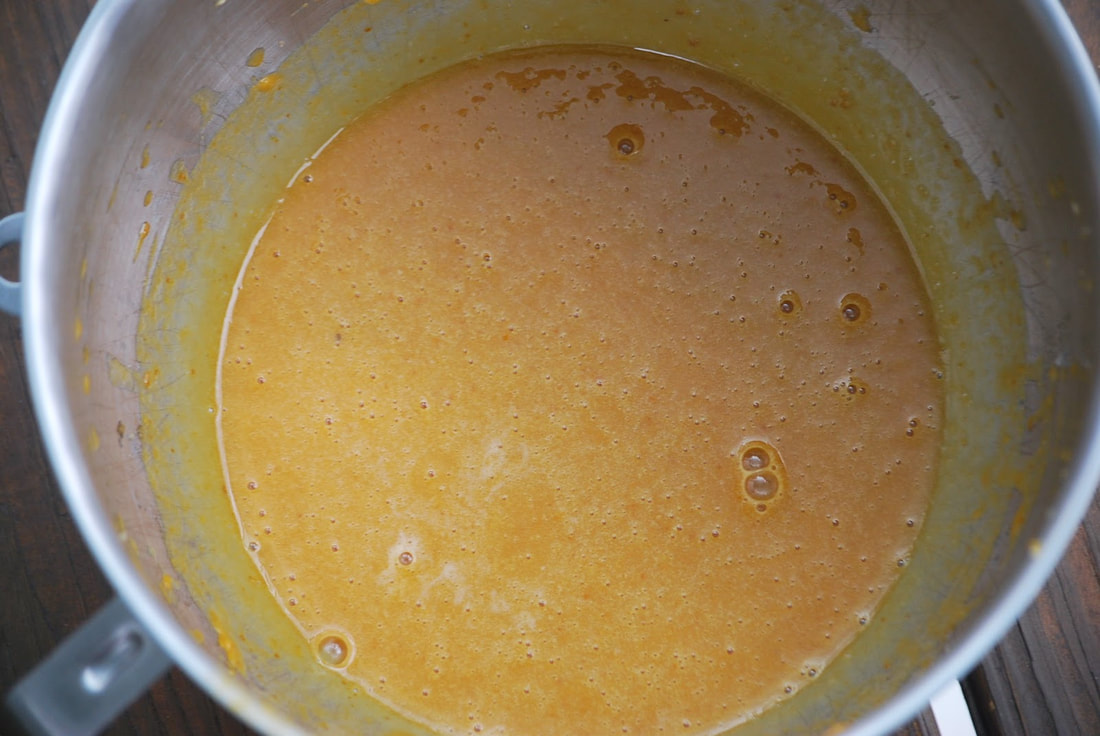
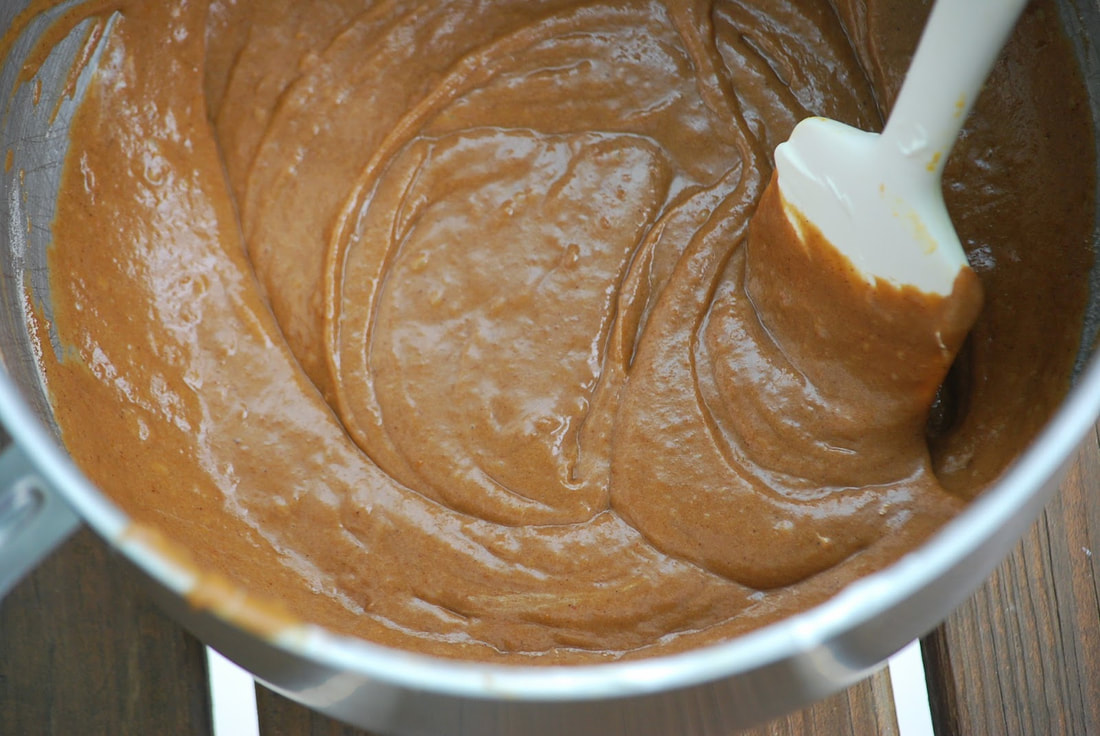
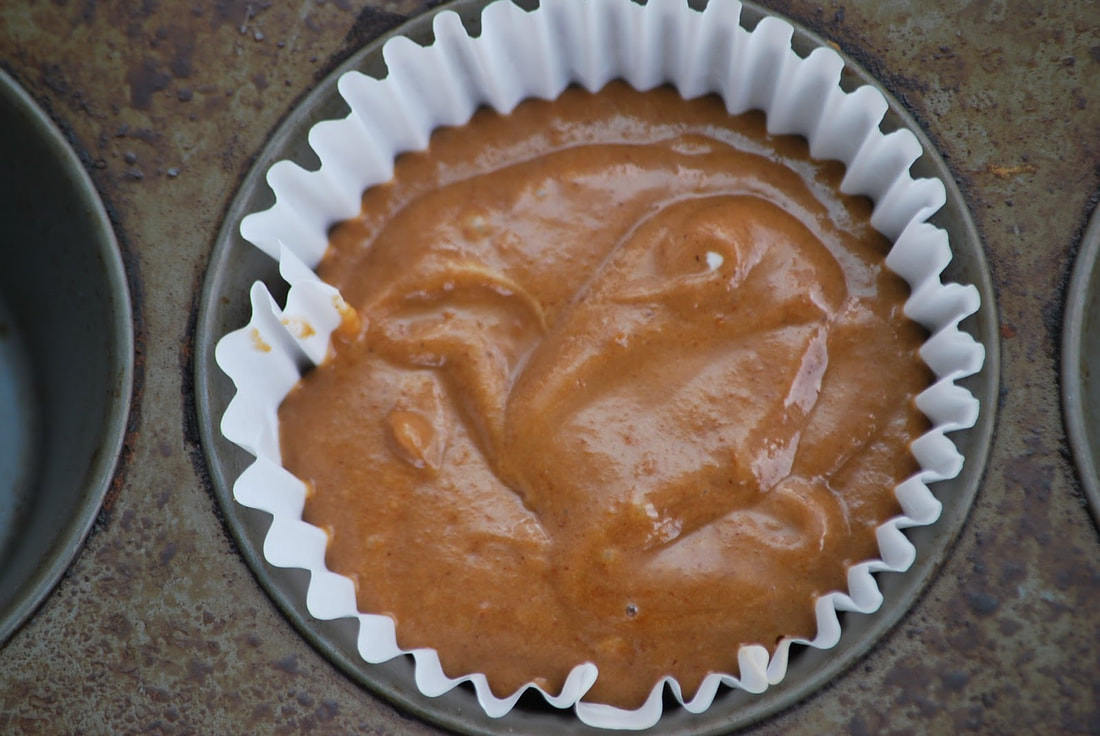
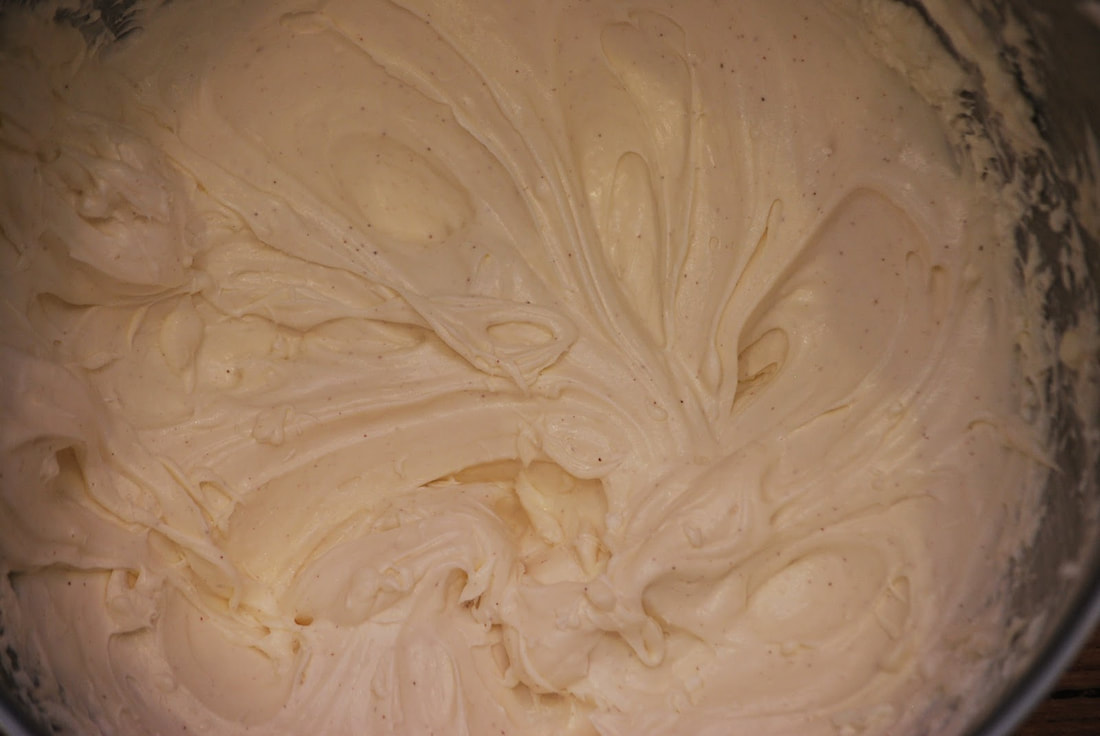
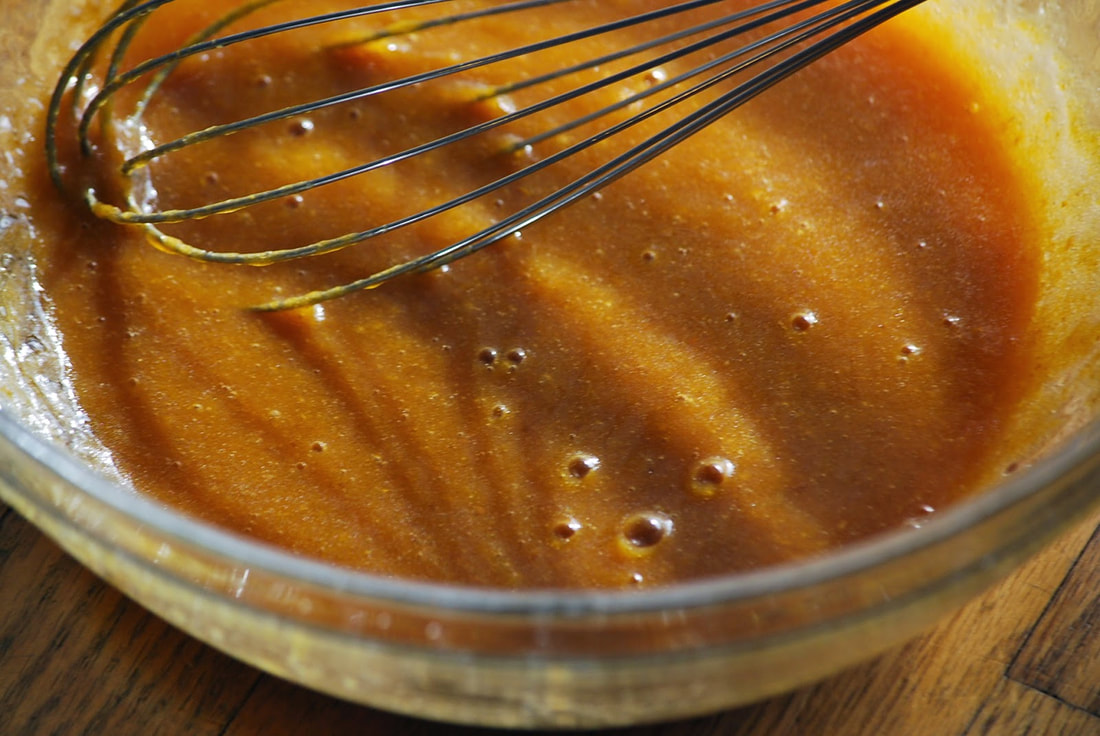
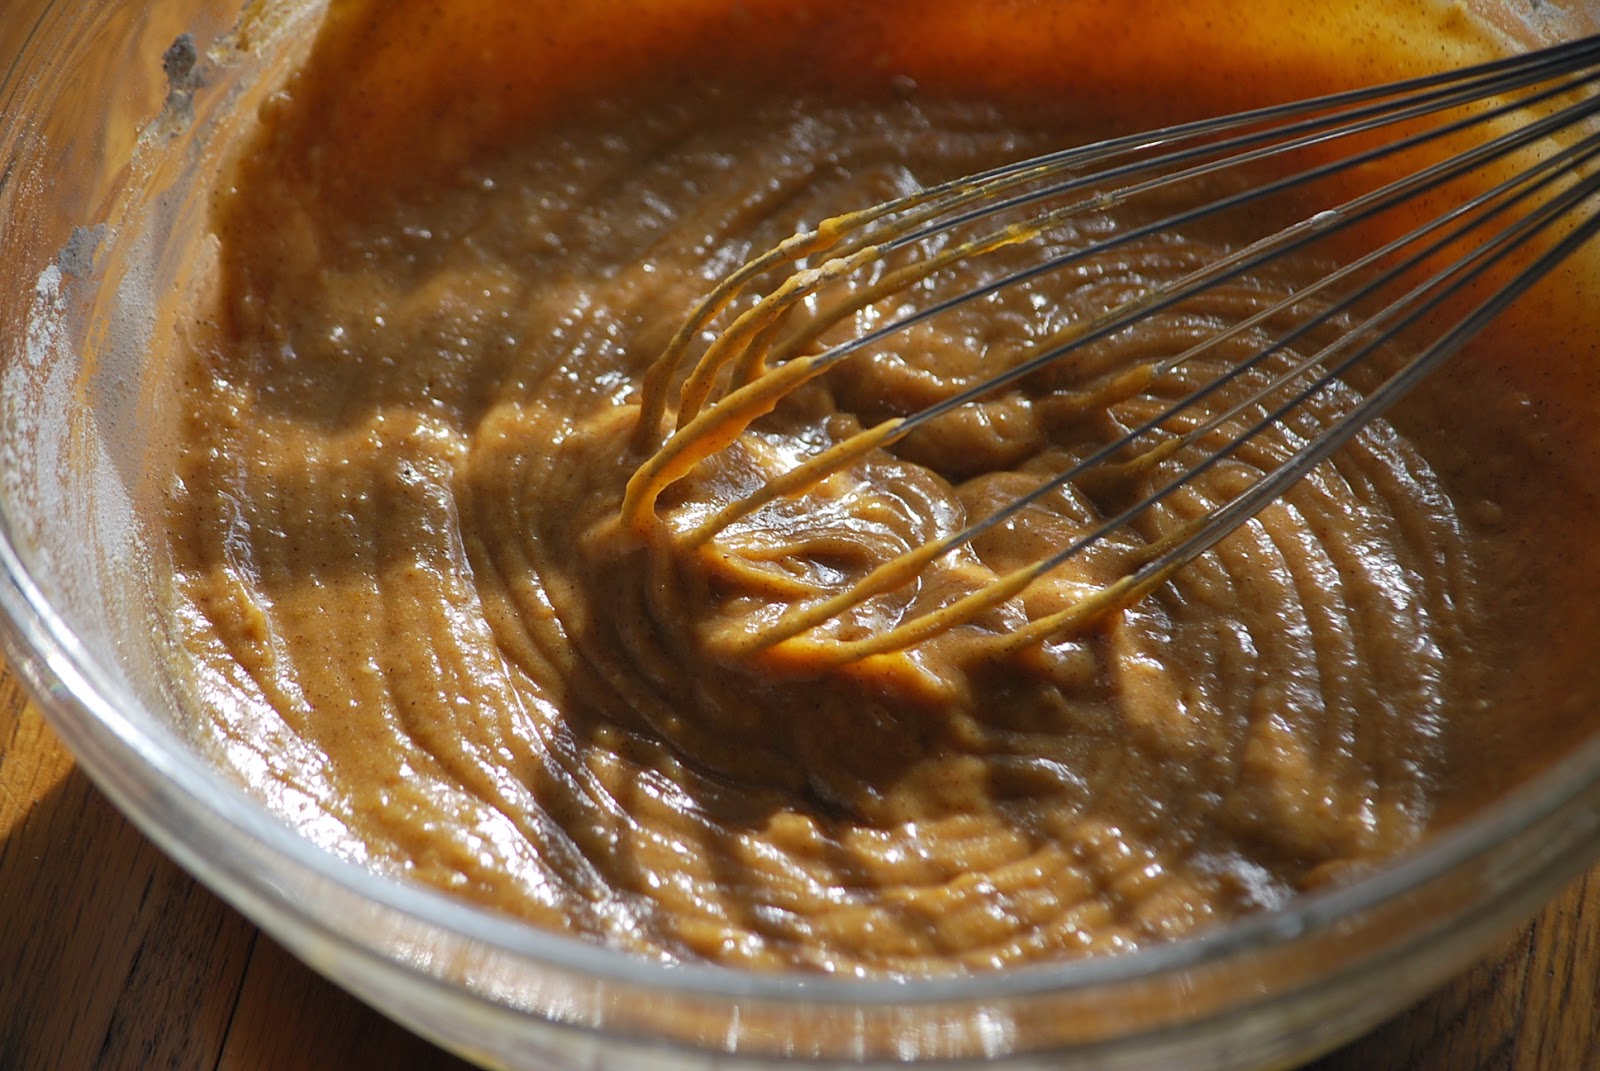
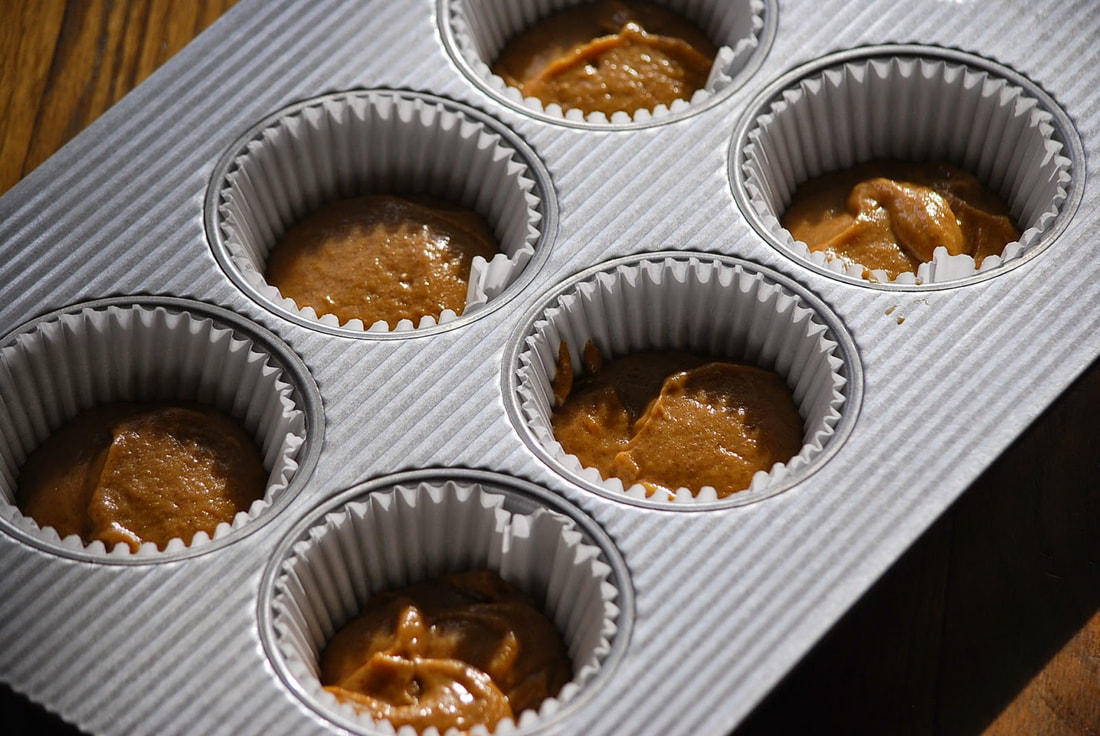
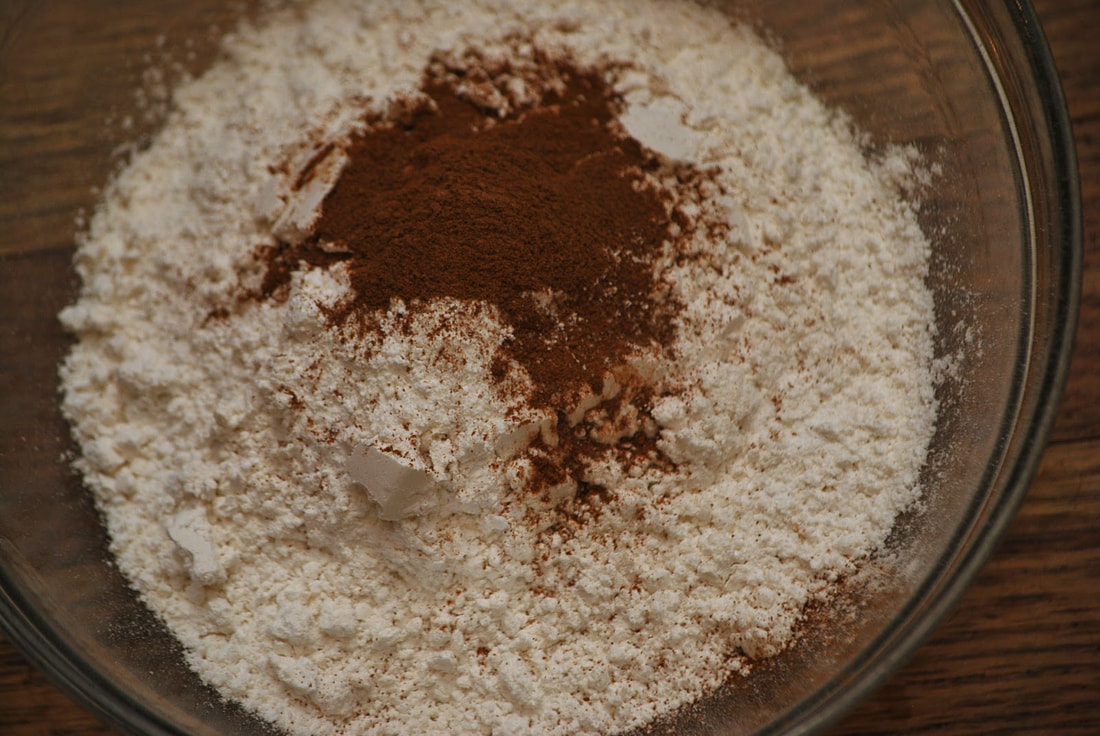
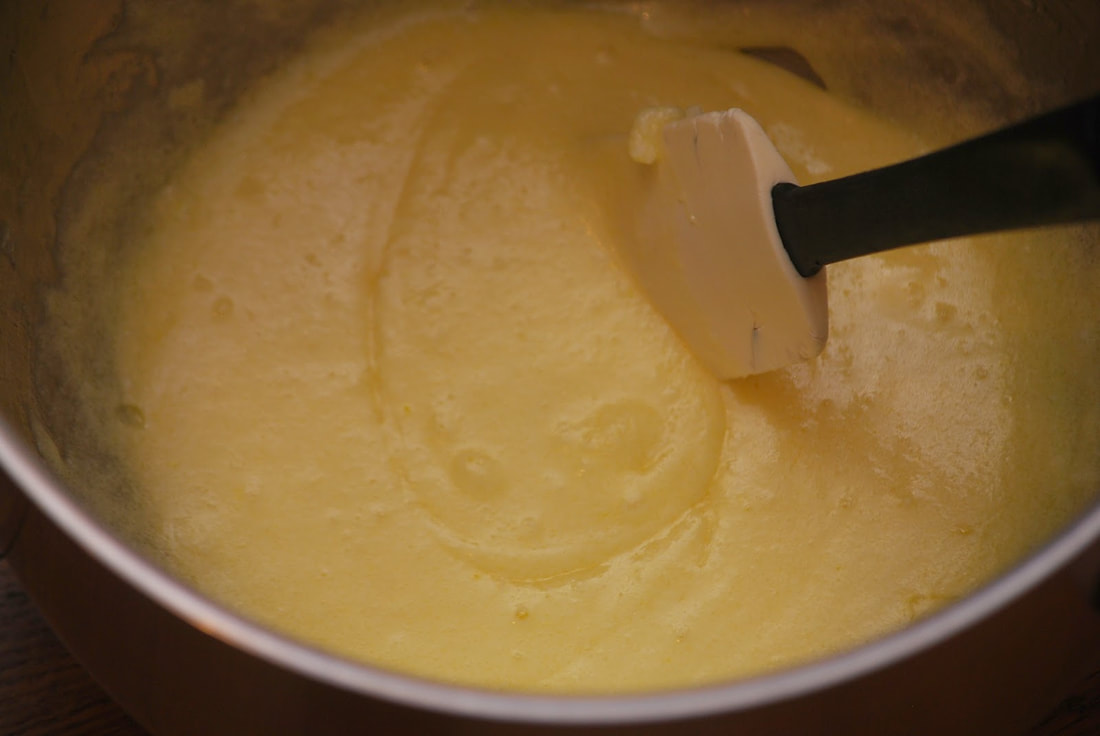
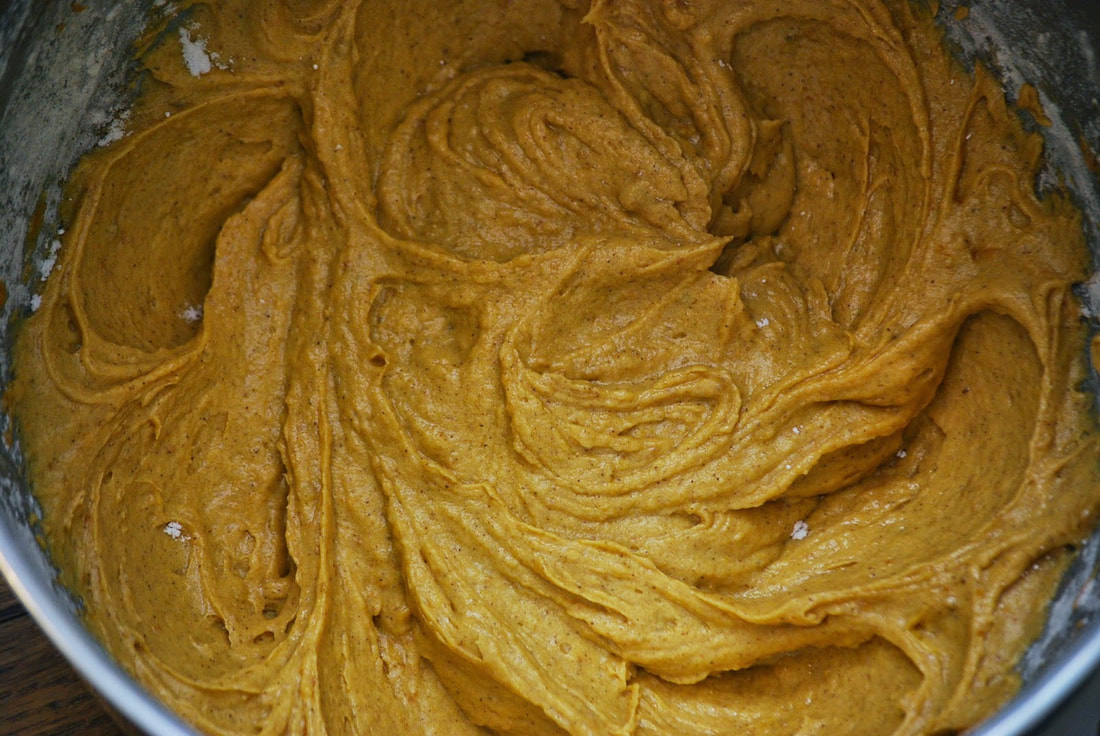
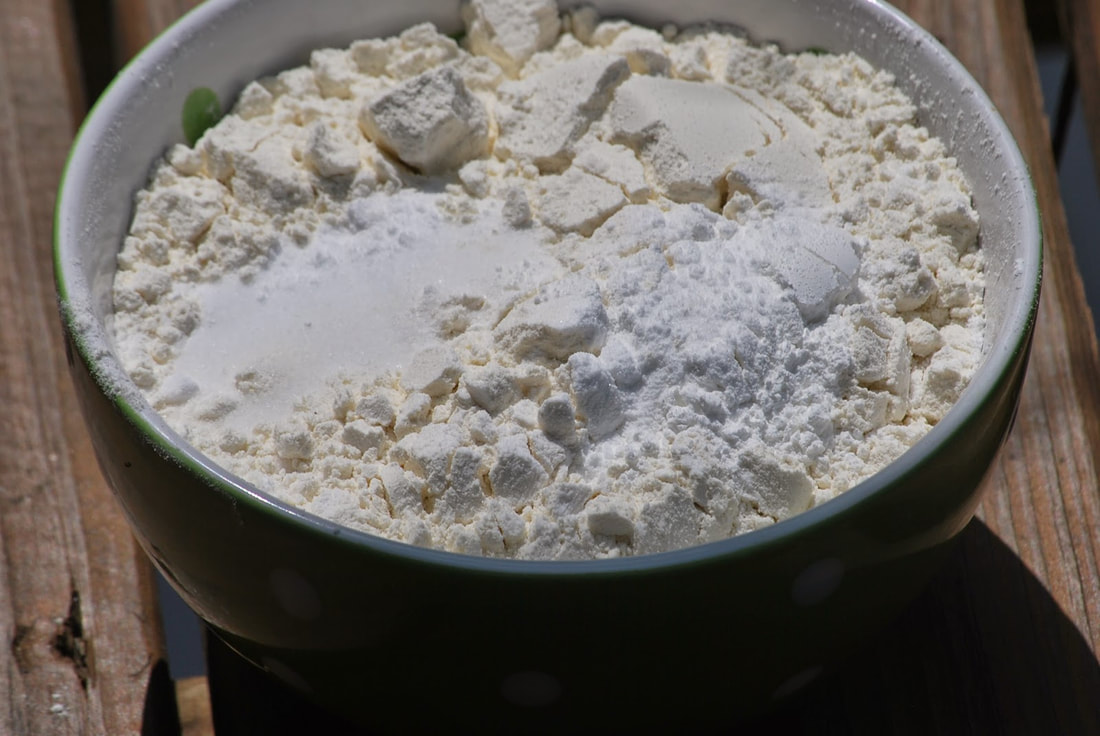
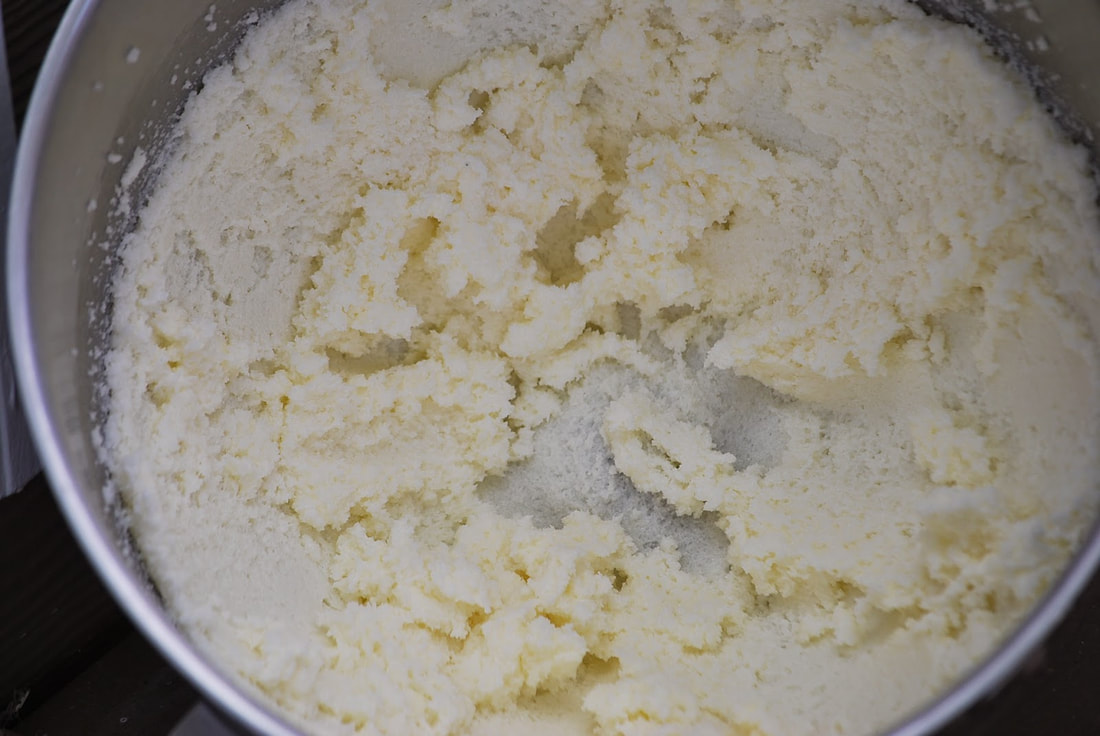
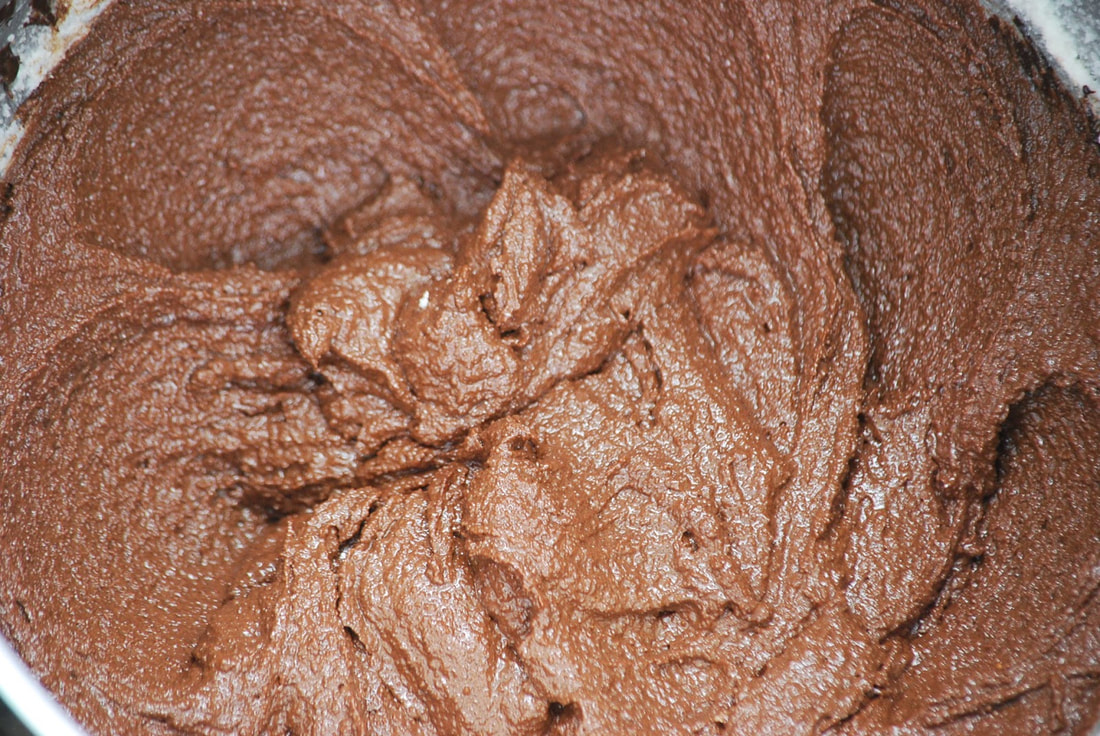
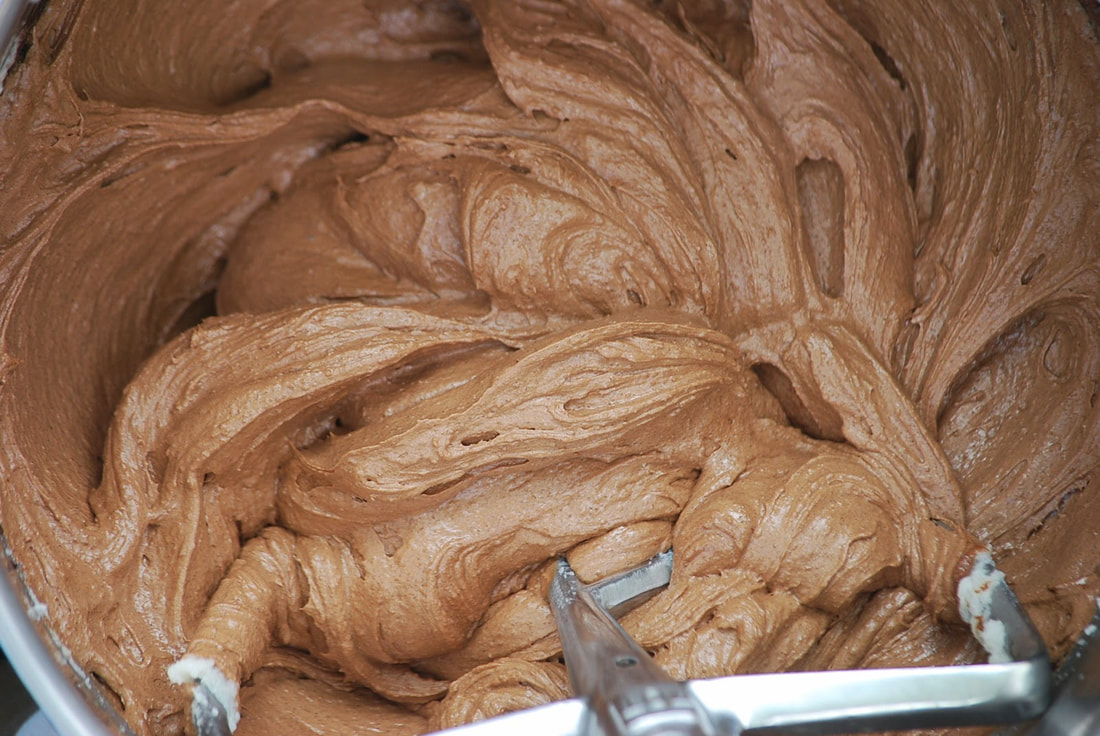
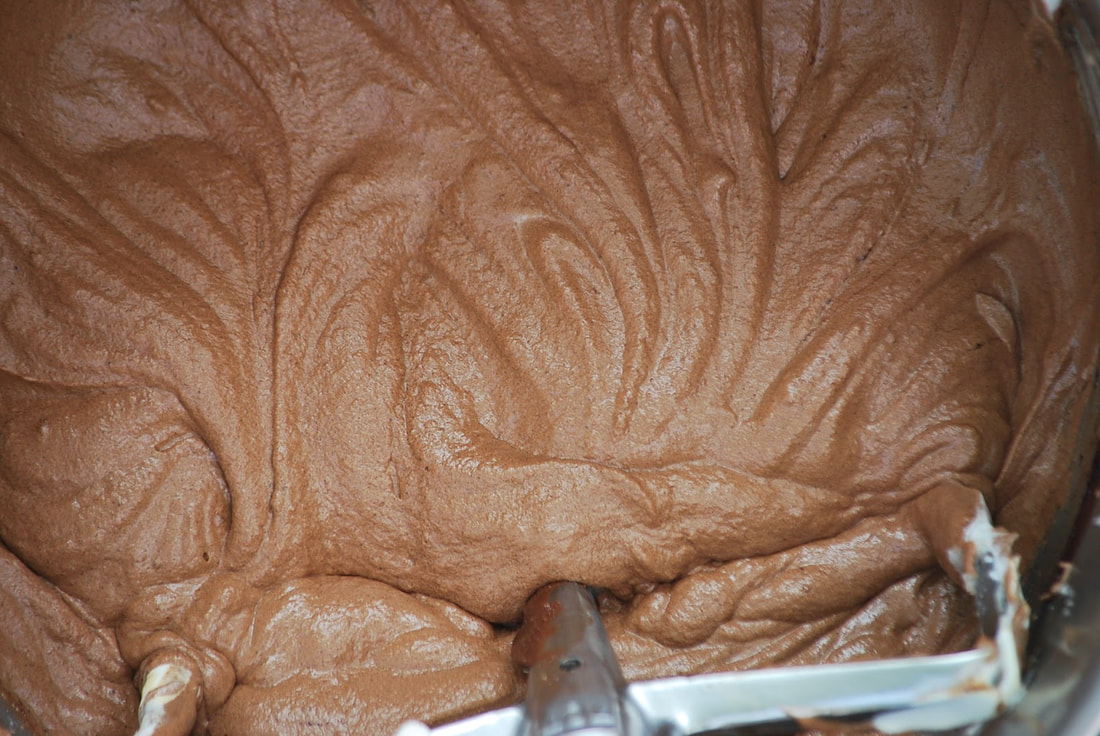
So if you happen to live in my neighborhood and you are out trick or treating with your kids tonight, make sure you stop by for a pumpkin cupcake. You don't even need a costume. 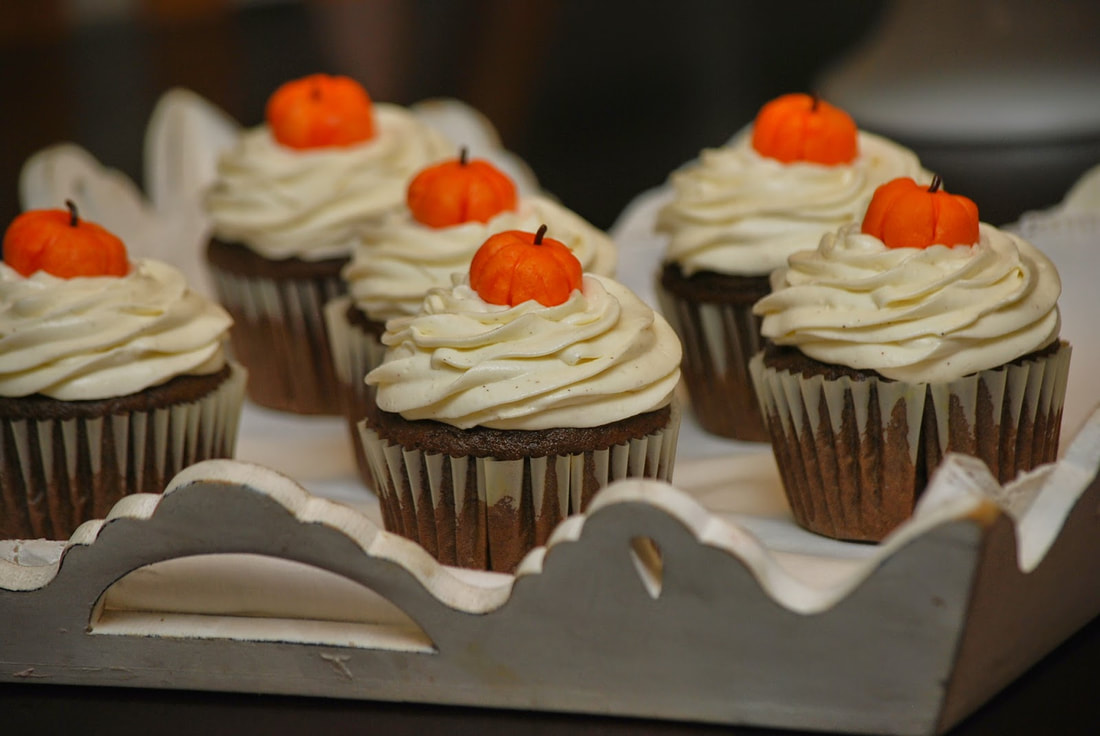 Chocolate Pumpkin Cupcakes 2 cups all-purpose flour 3 tablespoons unsweetened cocoa powder 3 teaspoons baking powder 1 teaspoon baking soda 1/2 teaspoon salt 2 teaspoons ground cinnamon 1/4 teaspoon ground ginger 1/4 teaspoon ground allspice 1/4 teaspoon freshly ground nutmeg 1/8 teaspoon ground cloves 1 1/4 cups dark brown sugar 2/3 cups sugar 3/4 cup canola oil 3 large eggs 1 15-ounce can pumpkin puree (not pie filling) 2 teaspoons pure vanilla extract 1/3 cup sour cream
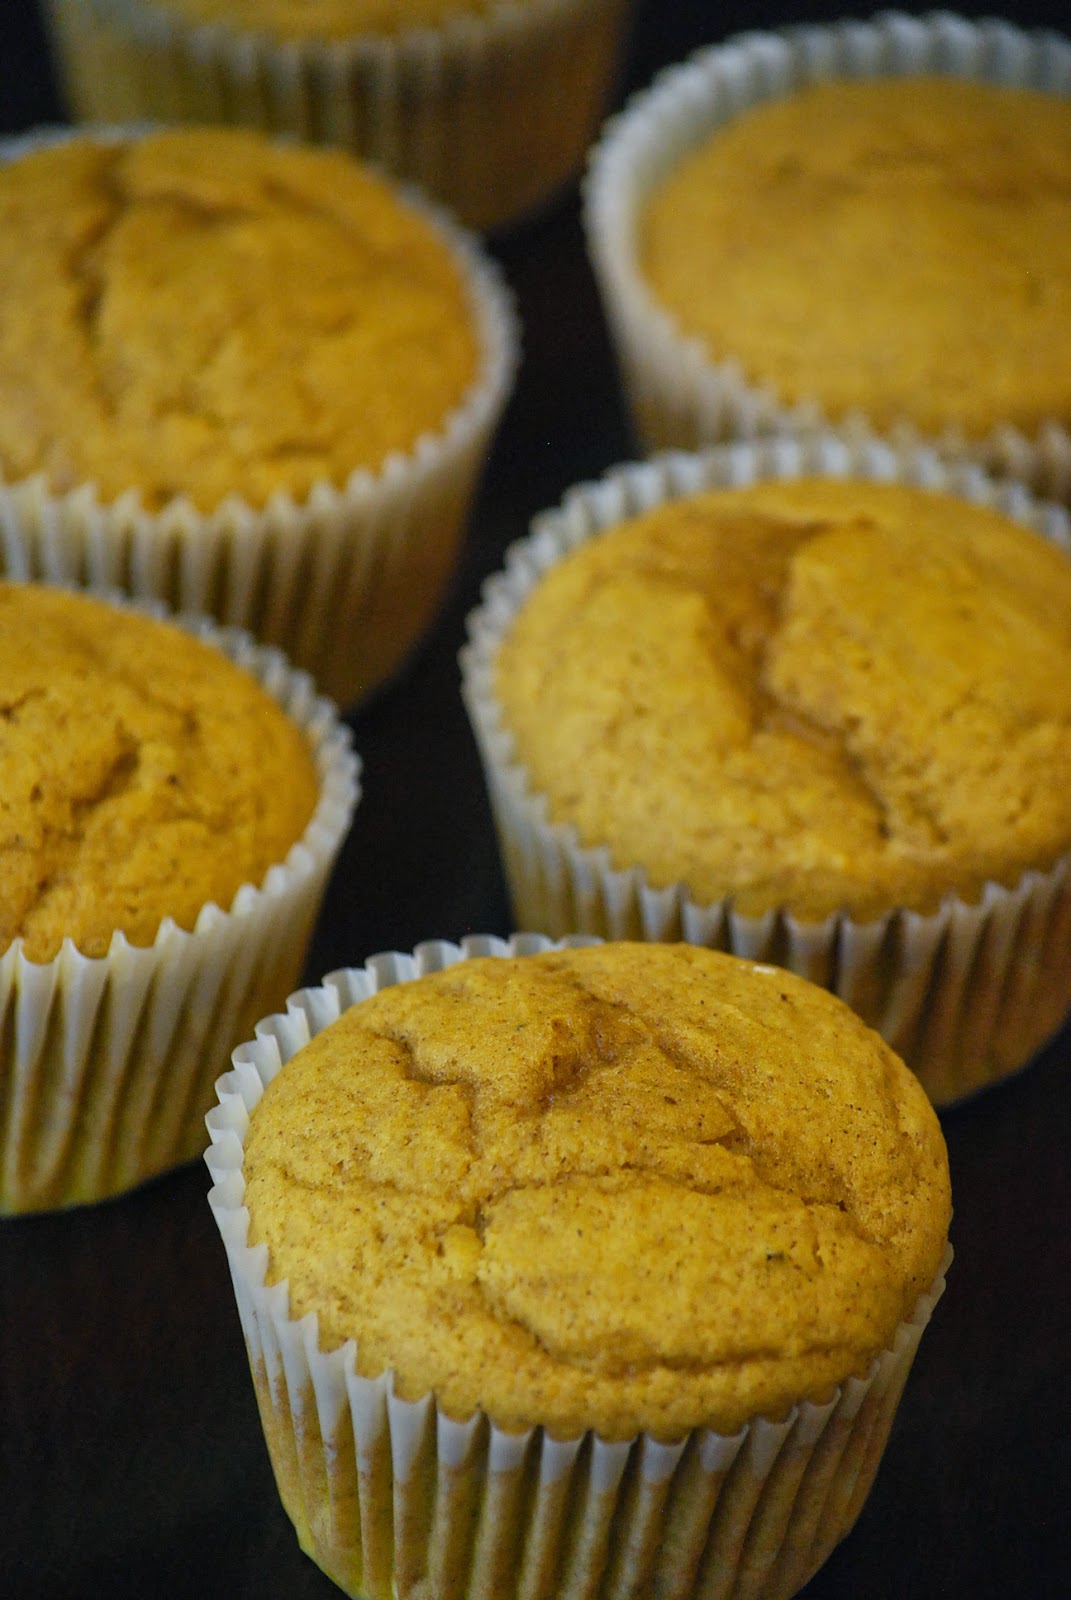
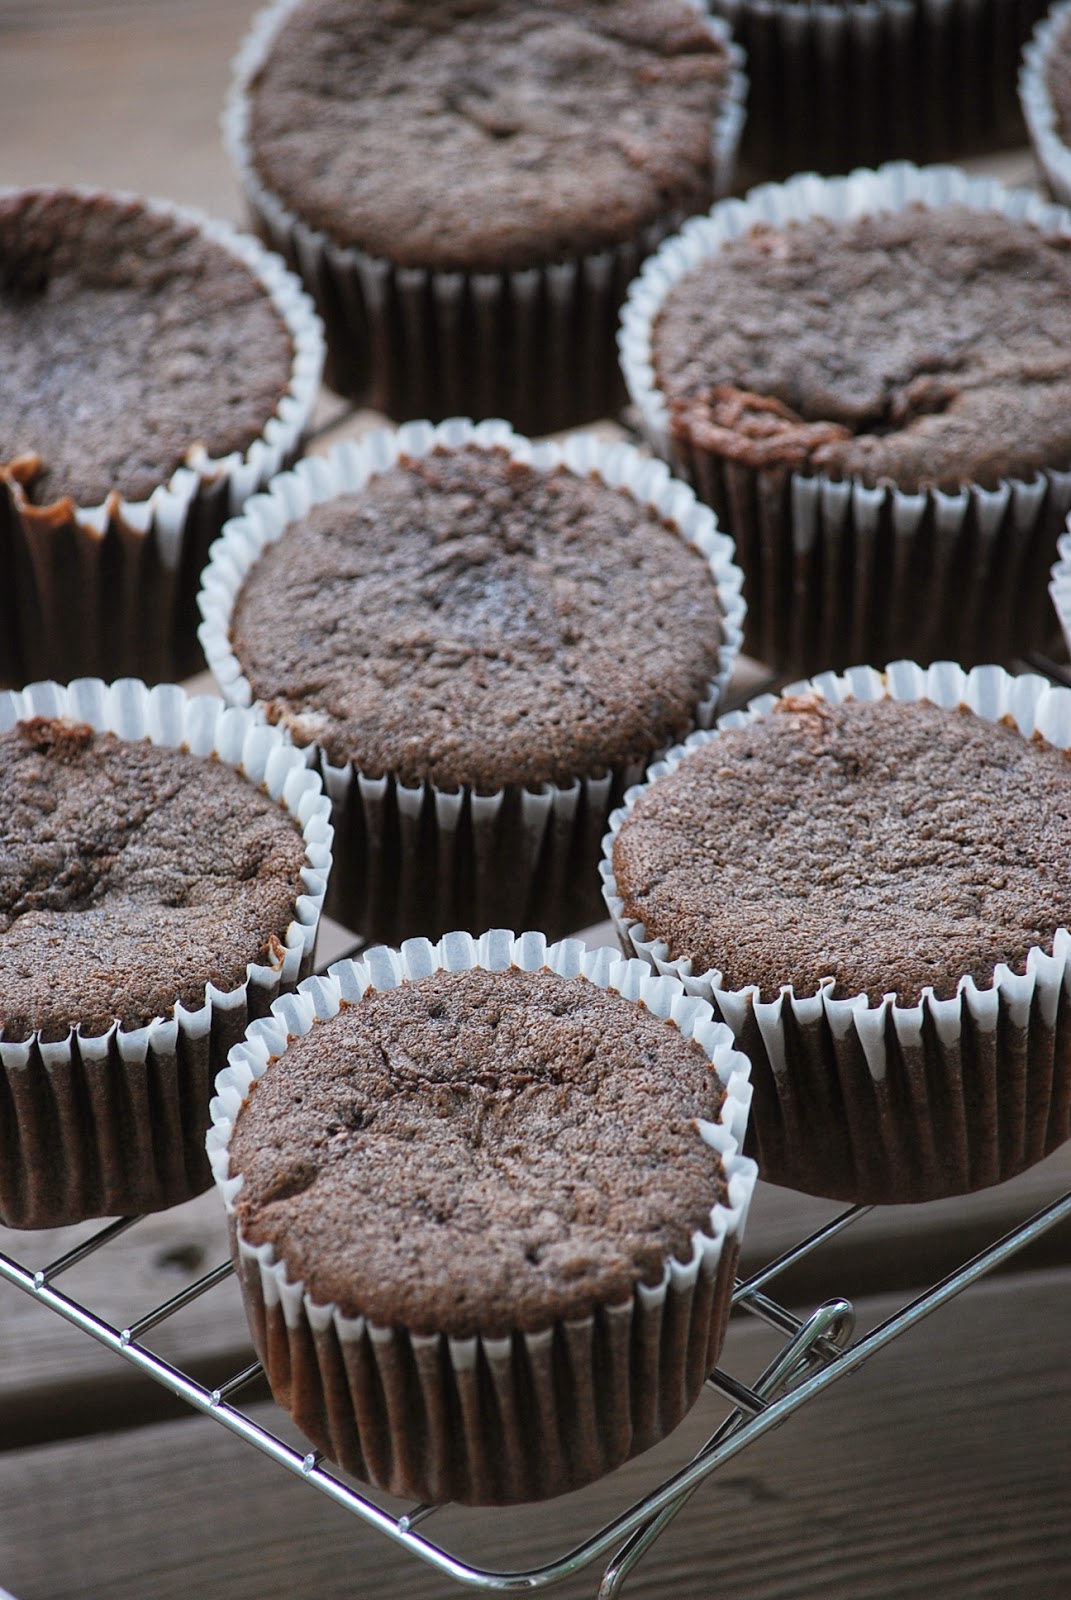
Bake 25 minutes at 350.
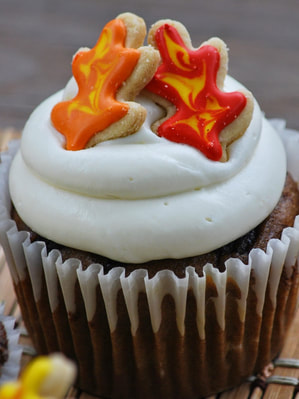
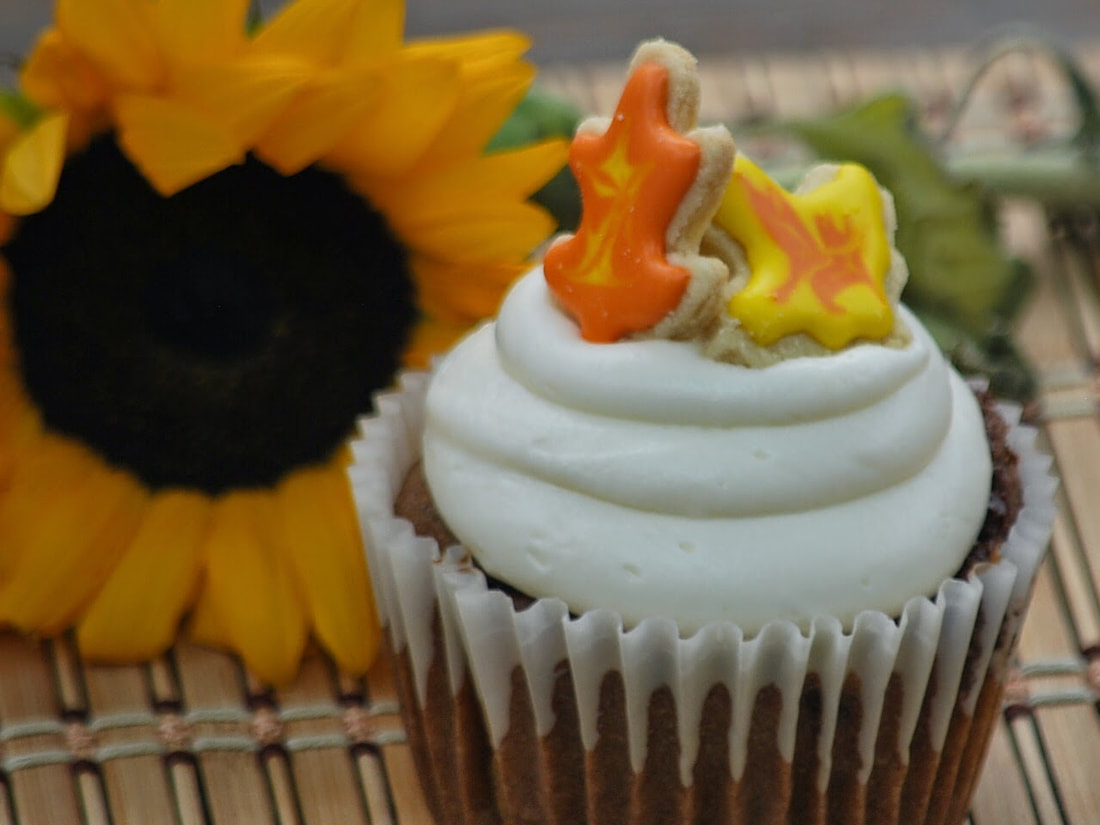
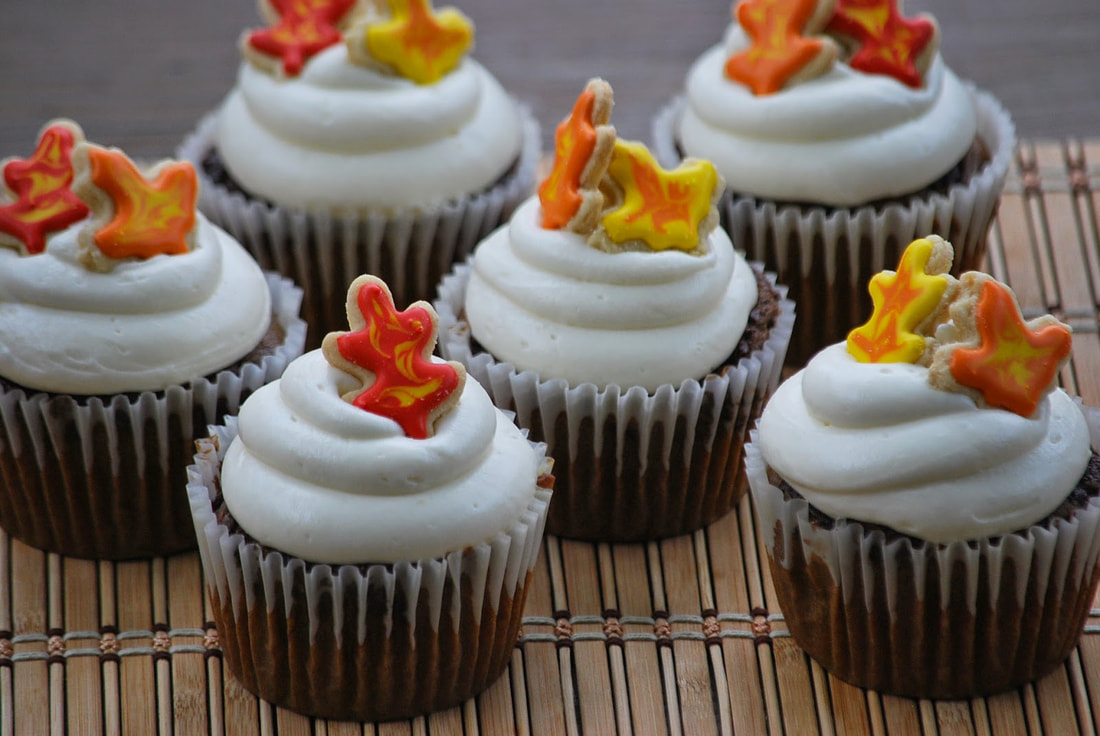
I think the perfect little costume for these little cupcakes is an orange colored white chocolate pumpkin. 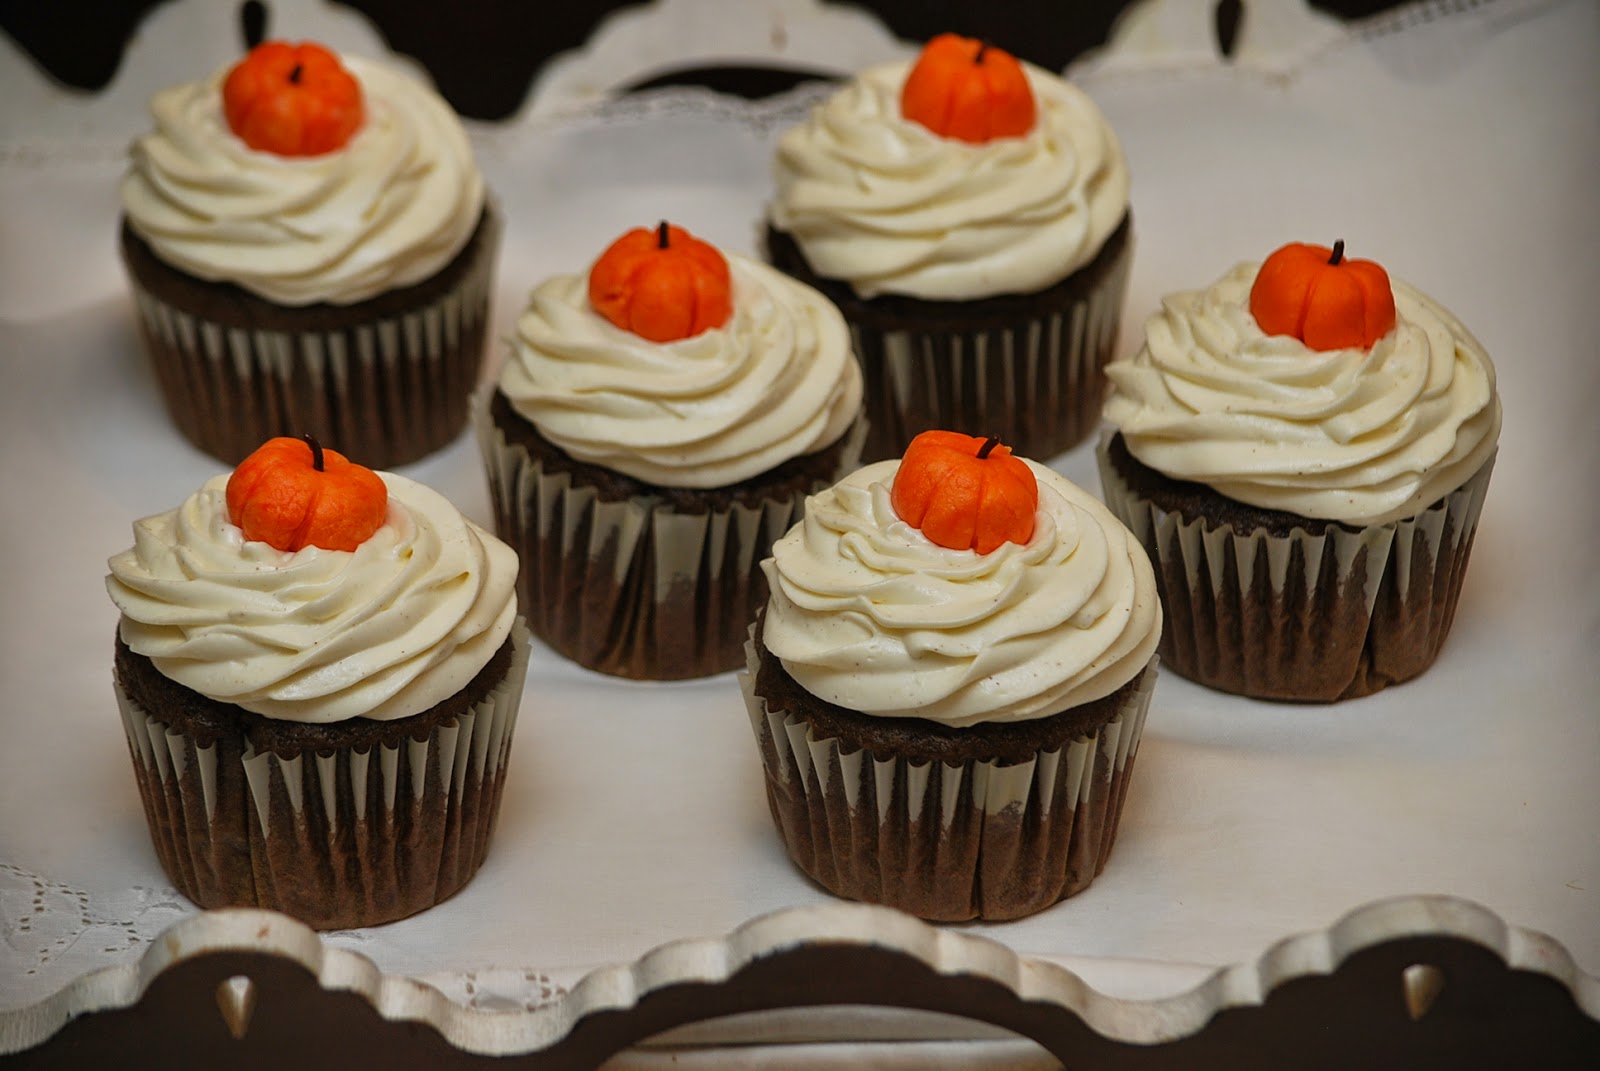 Ciao!
0 Comments
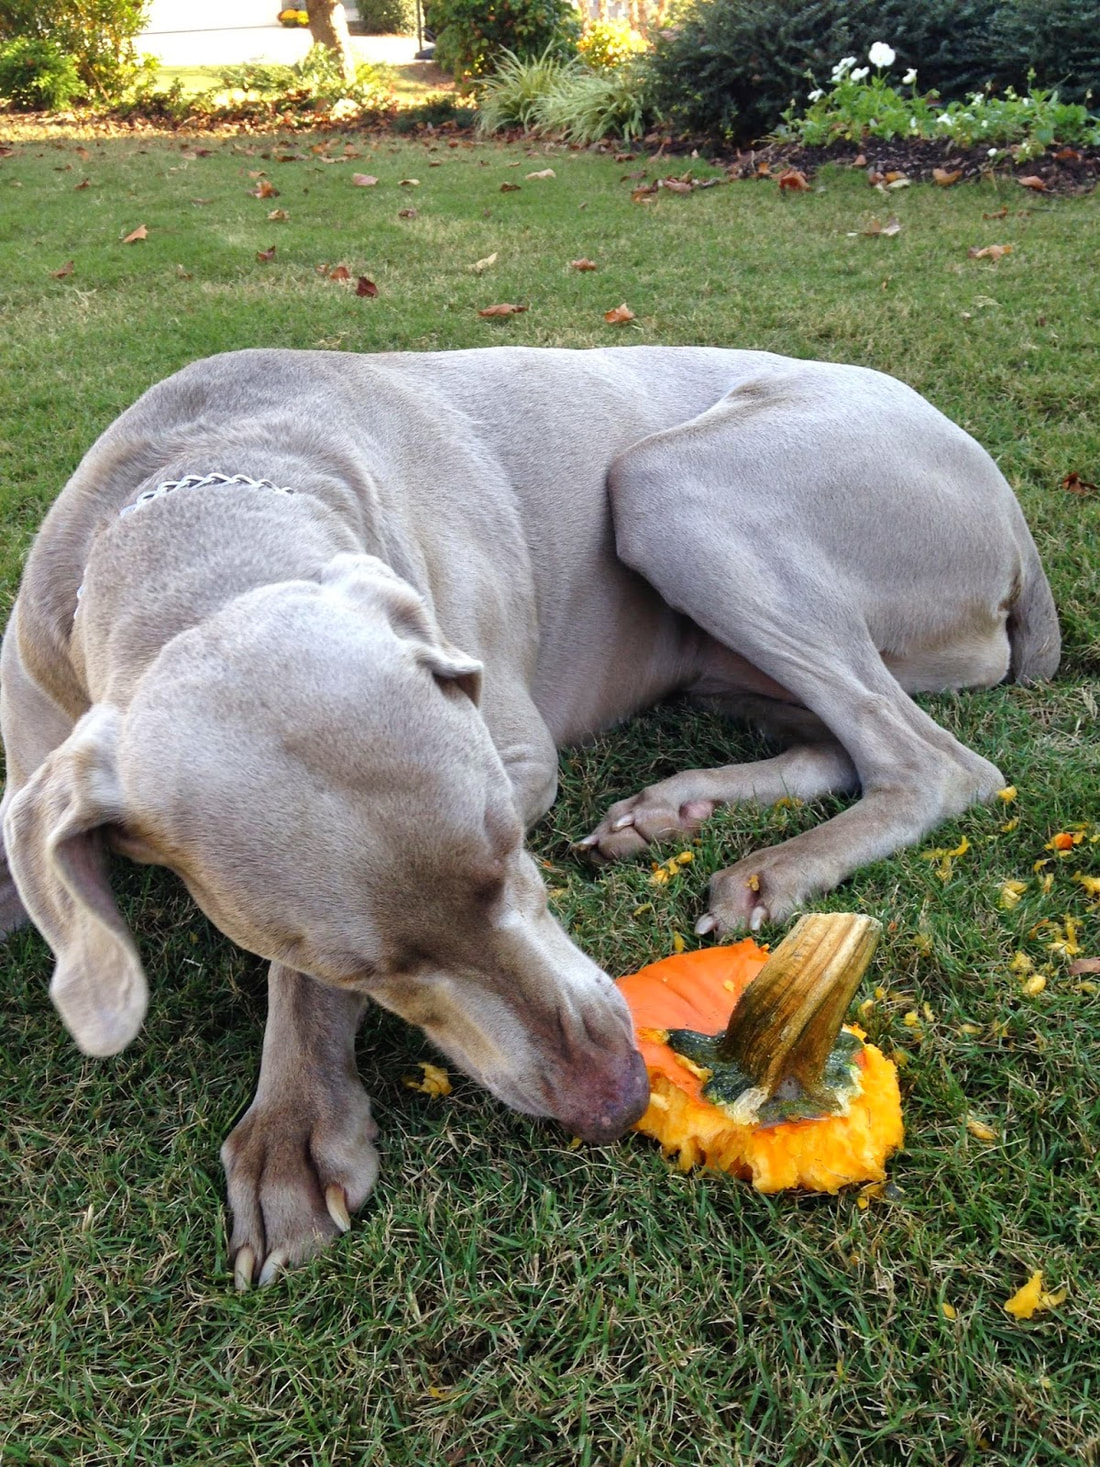
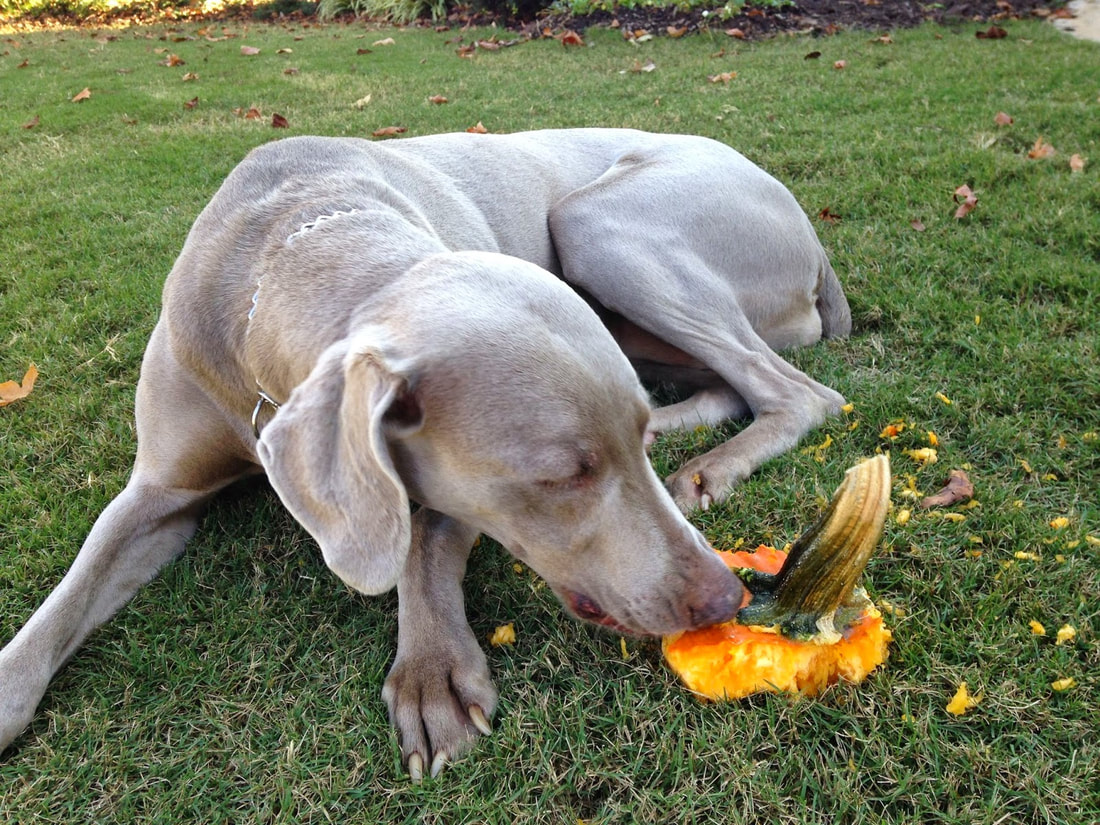
 Our pumpkins have been carved - and then eaten by a very large Weimeriner. (All within a 12 hour period.) The costumes pieces have been gathered up, the candy has been bought (and not COMPLETELY eaten) and we are officially ready for Halloween. Bring on the trick or treaters!!!
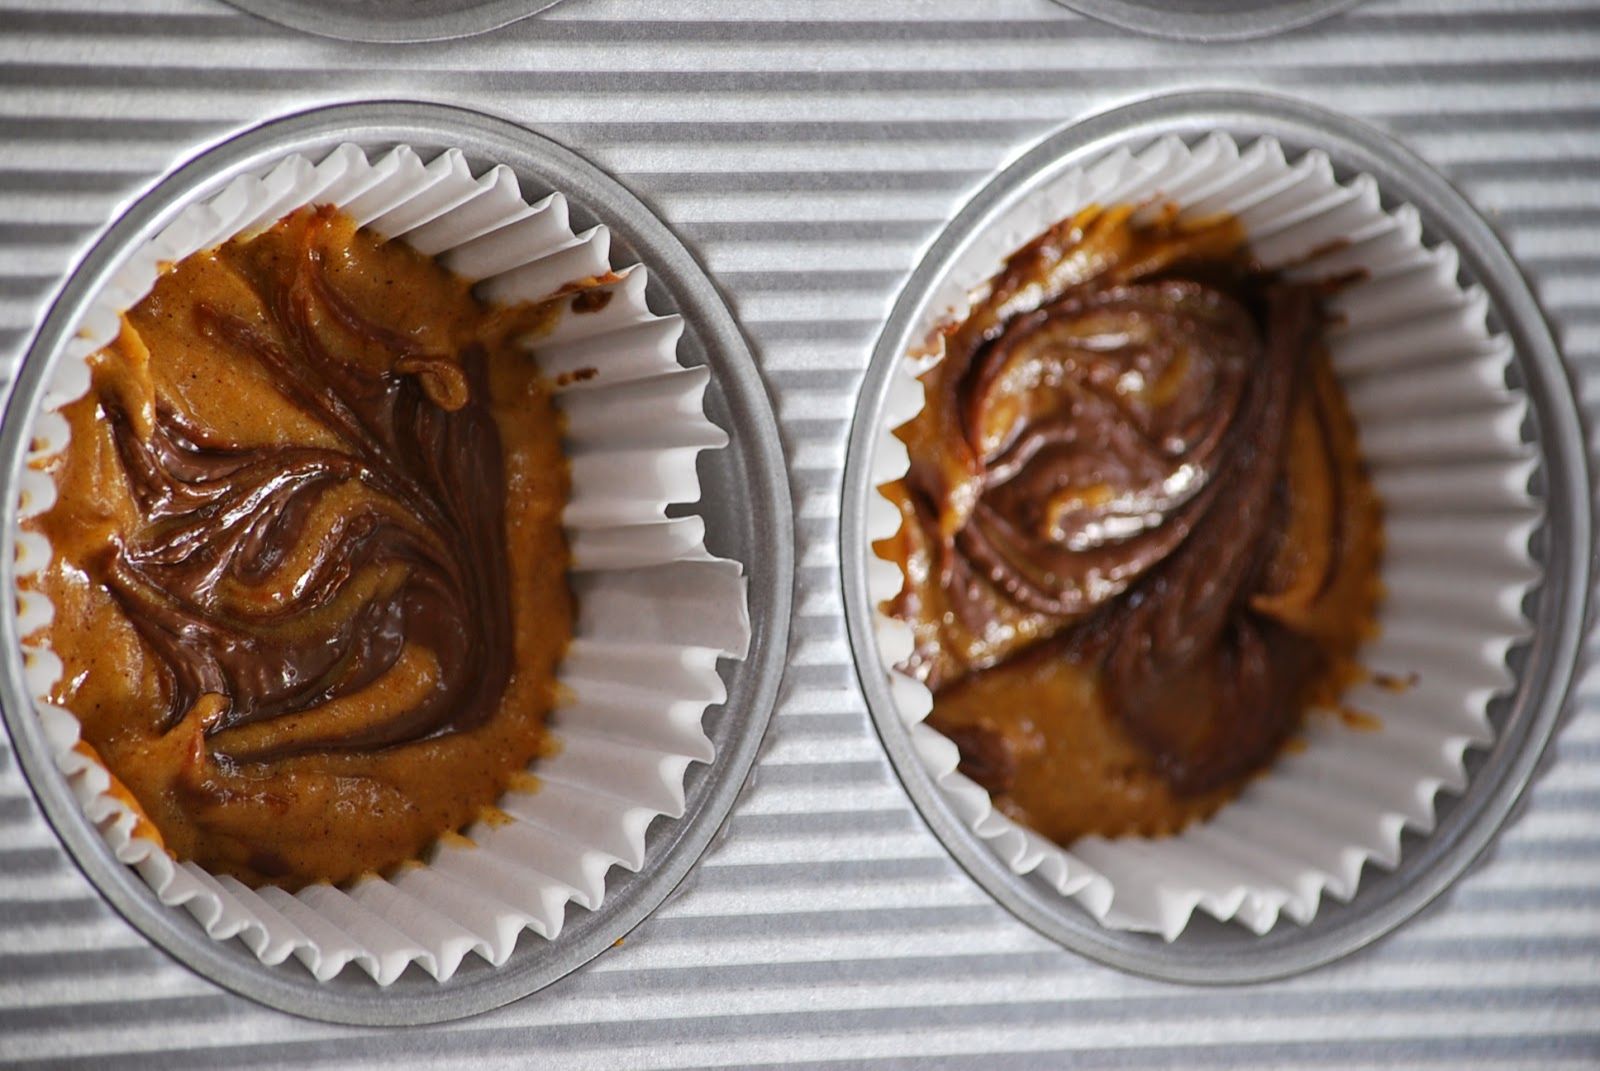
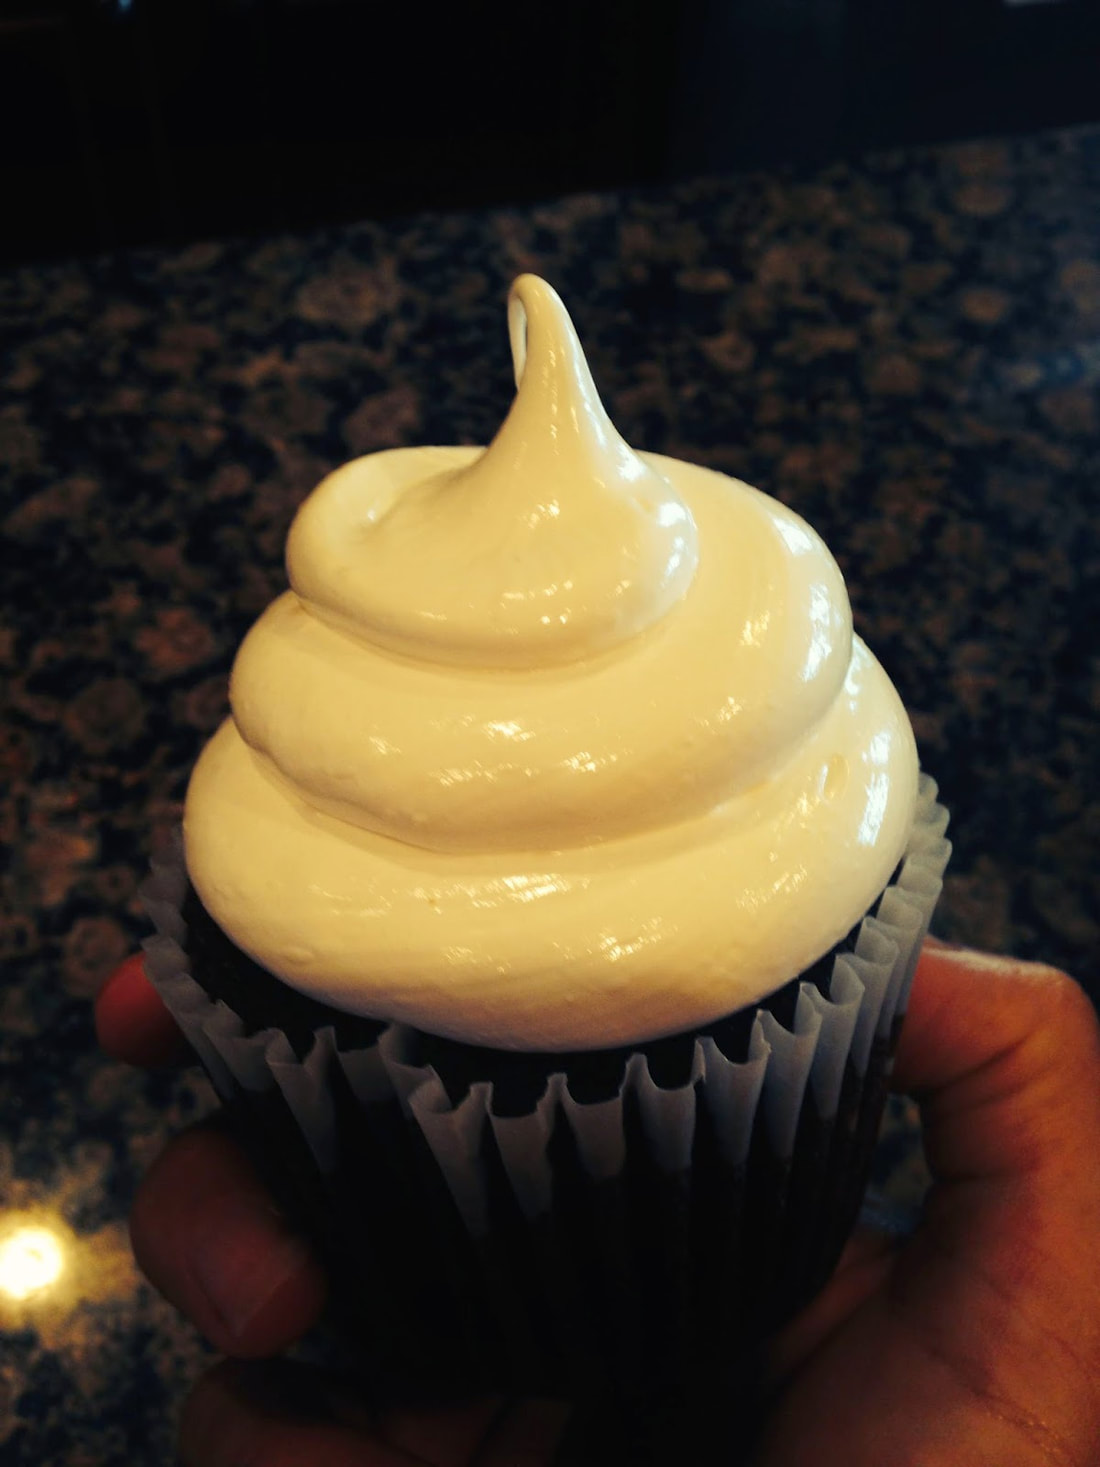
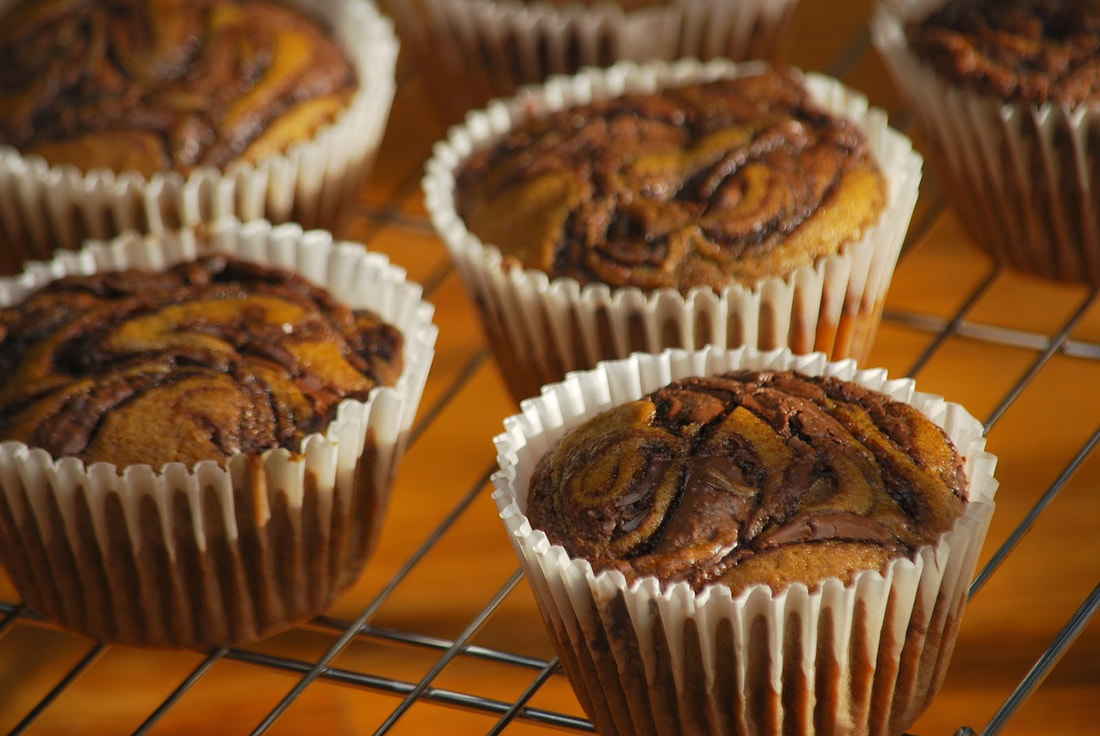
We live in a neighborhood that is absolutely loaded with trick or treaters on Halloween. I love it. I sit on my front porch with a cup of hot coffee and pass out candy to each princess and Ninja turtle that walks up my sidewalk. Mia sits beside me and it might be the only night that she allows strangers to walk into our her yard without threatening to eat them. To be honest, any small child who walks up carrying a wand or a sword or wearing any sort of mask causes my large grey dog to hide behind me in terror. (Its actually quite hilarious to see her cower before Elsa the ice princess.) 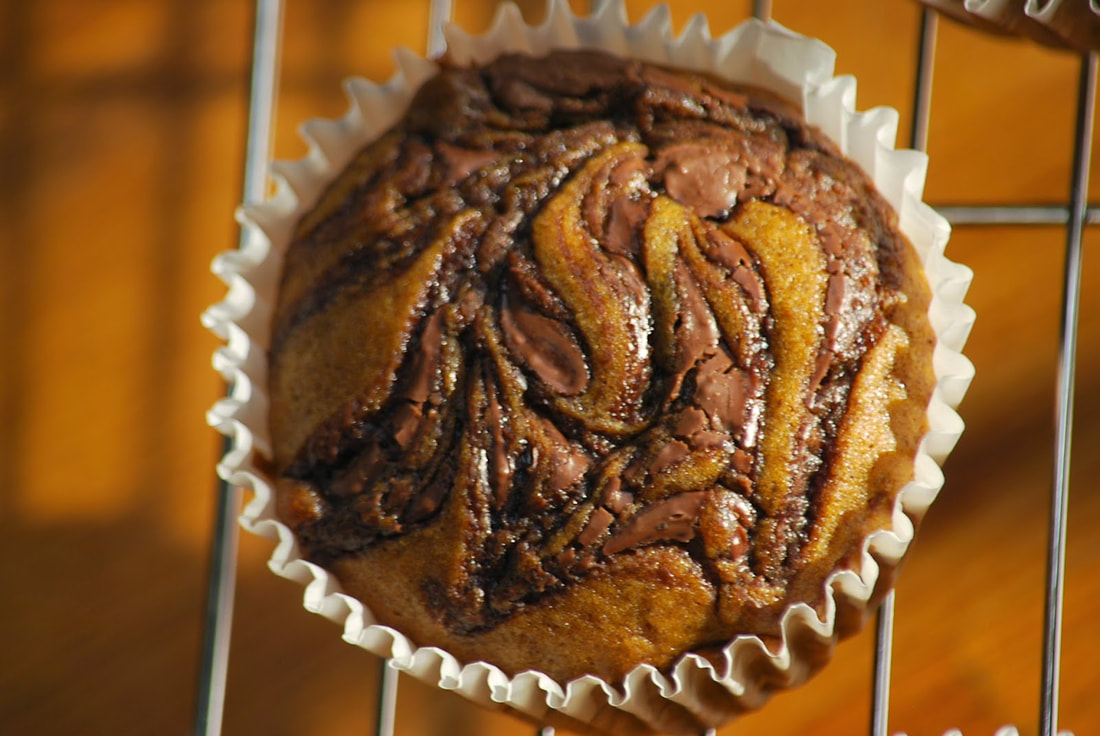 In preparation for Halloween, I am getting my pumpkin cupcakes ready as well. (To hand out to the adults of course.)
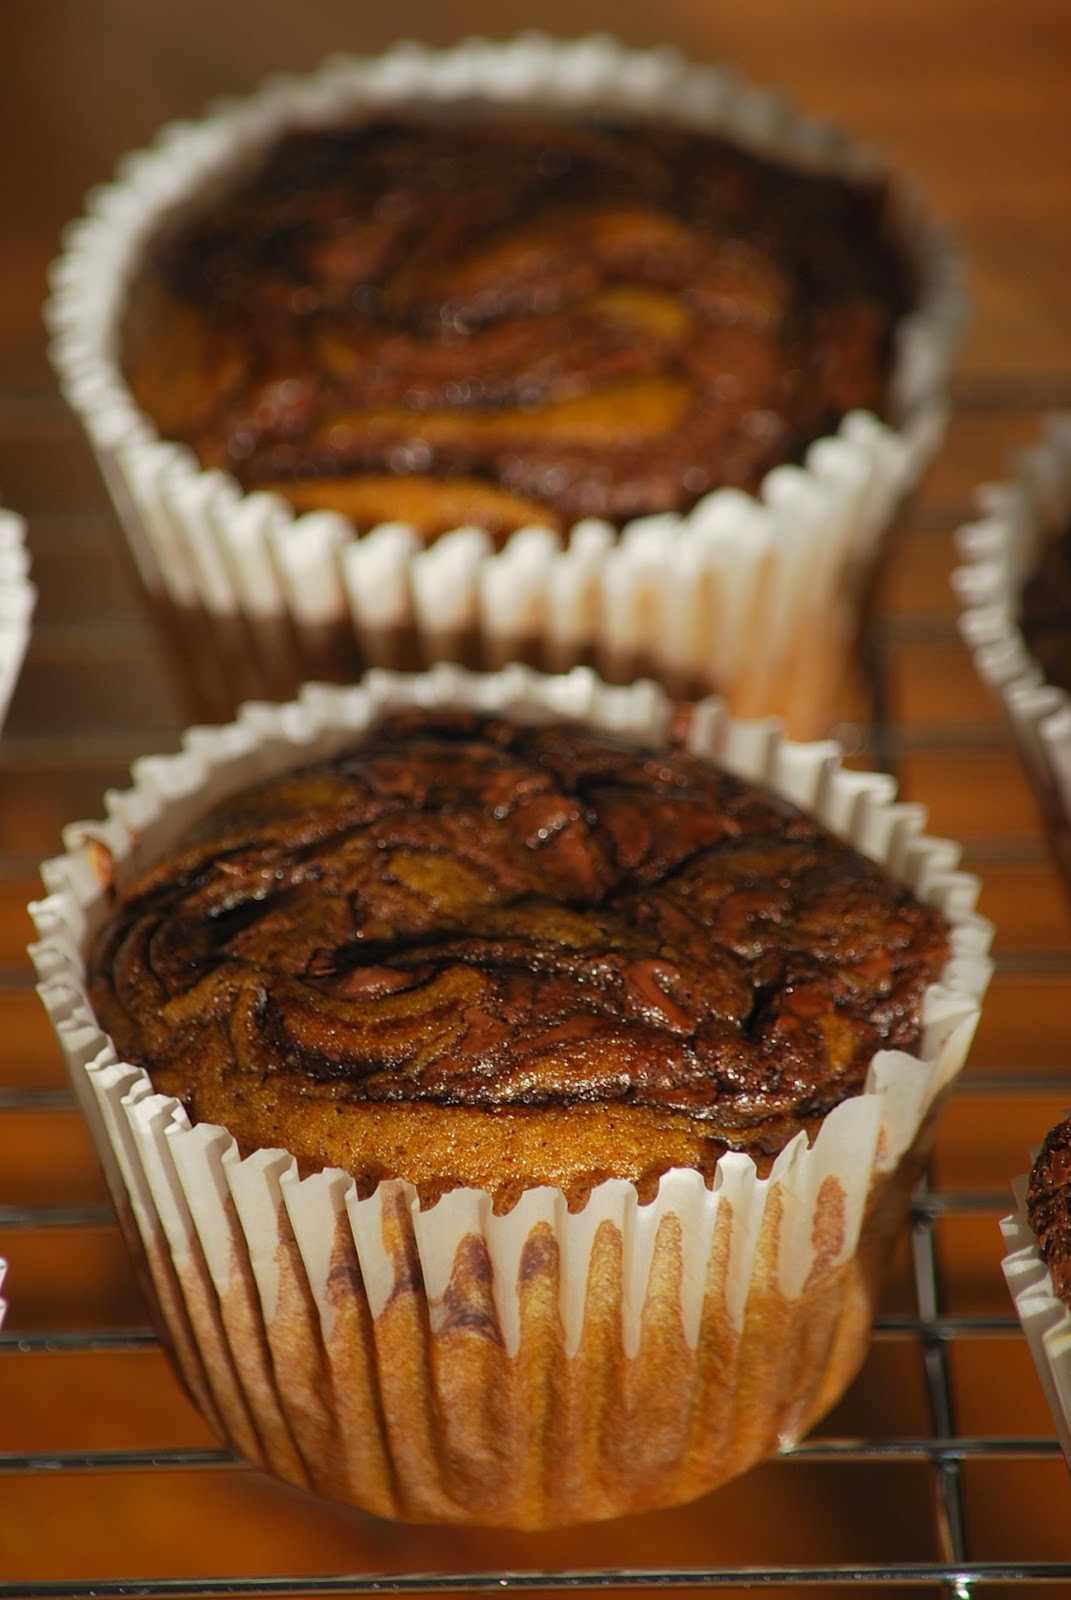
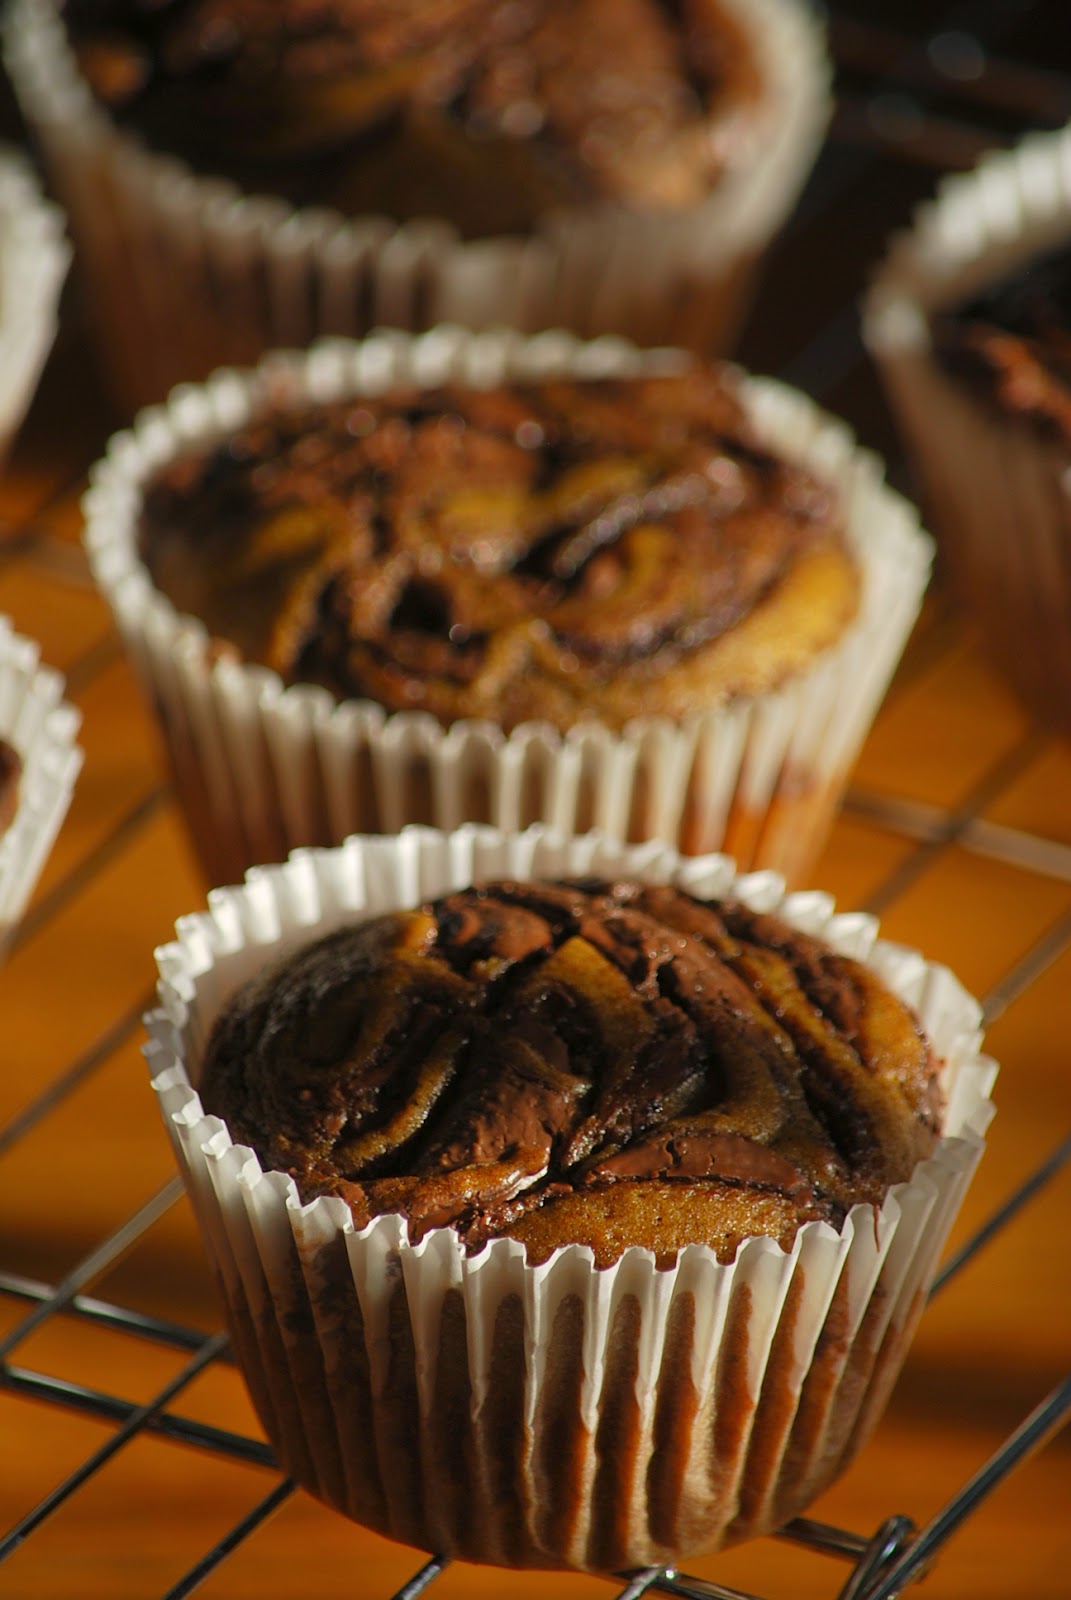
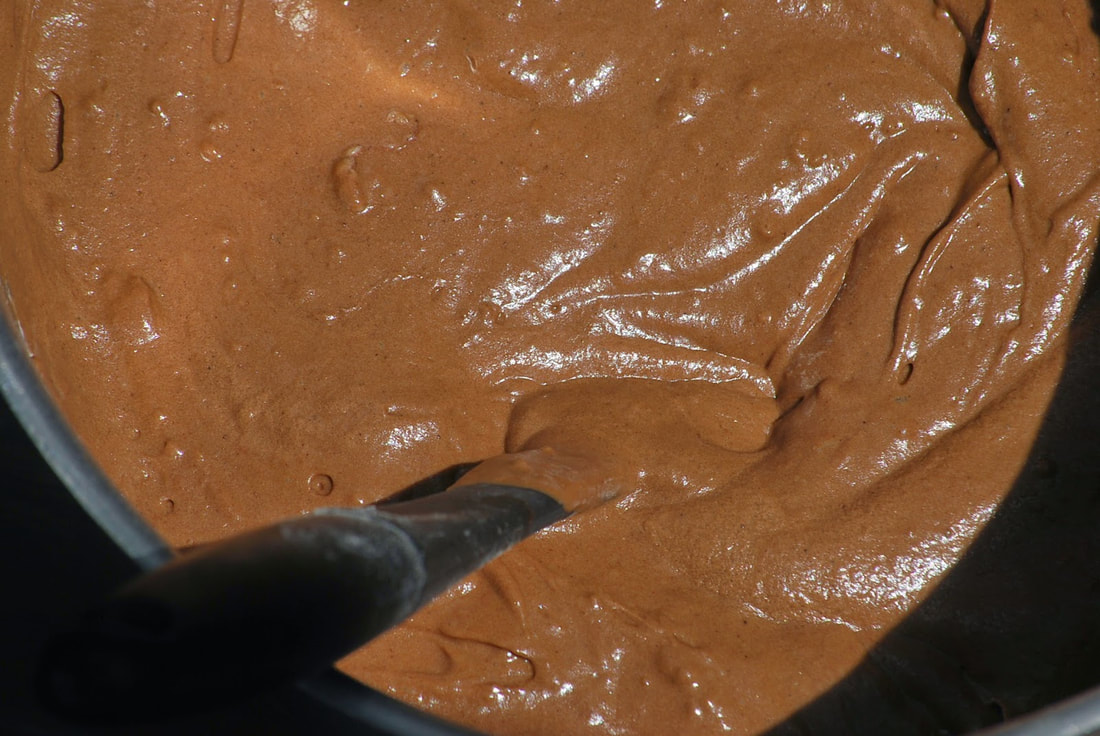
Pumpkin Nutella Swirl Cupcakes 1/2 cup pumpkin puree 1/4 cup granulated sugar 1/3 cup brown sugar 1 egg 1/4 cup canola oil 1/4 cup water 1/2 teaspoon vanilla 1 cup all-purpose flour 1/2 teaspoon baking soda 1/4 teaspoon salt 1 teaspoon pumpkin pie spice 1/4 cup Nutella
Bake for 18-22 minutes or until a toothpick inserted into the center comes out clean.
 Frost with whipped cream cheese.
OK, NOW I'm ready for Halloween.
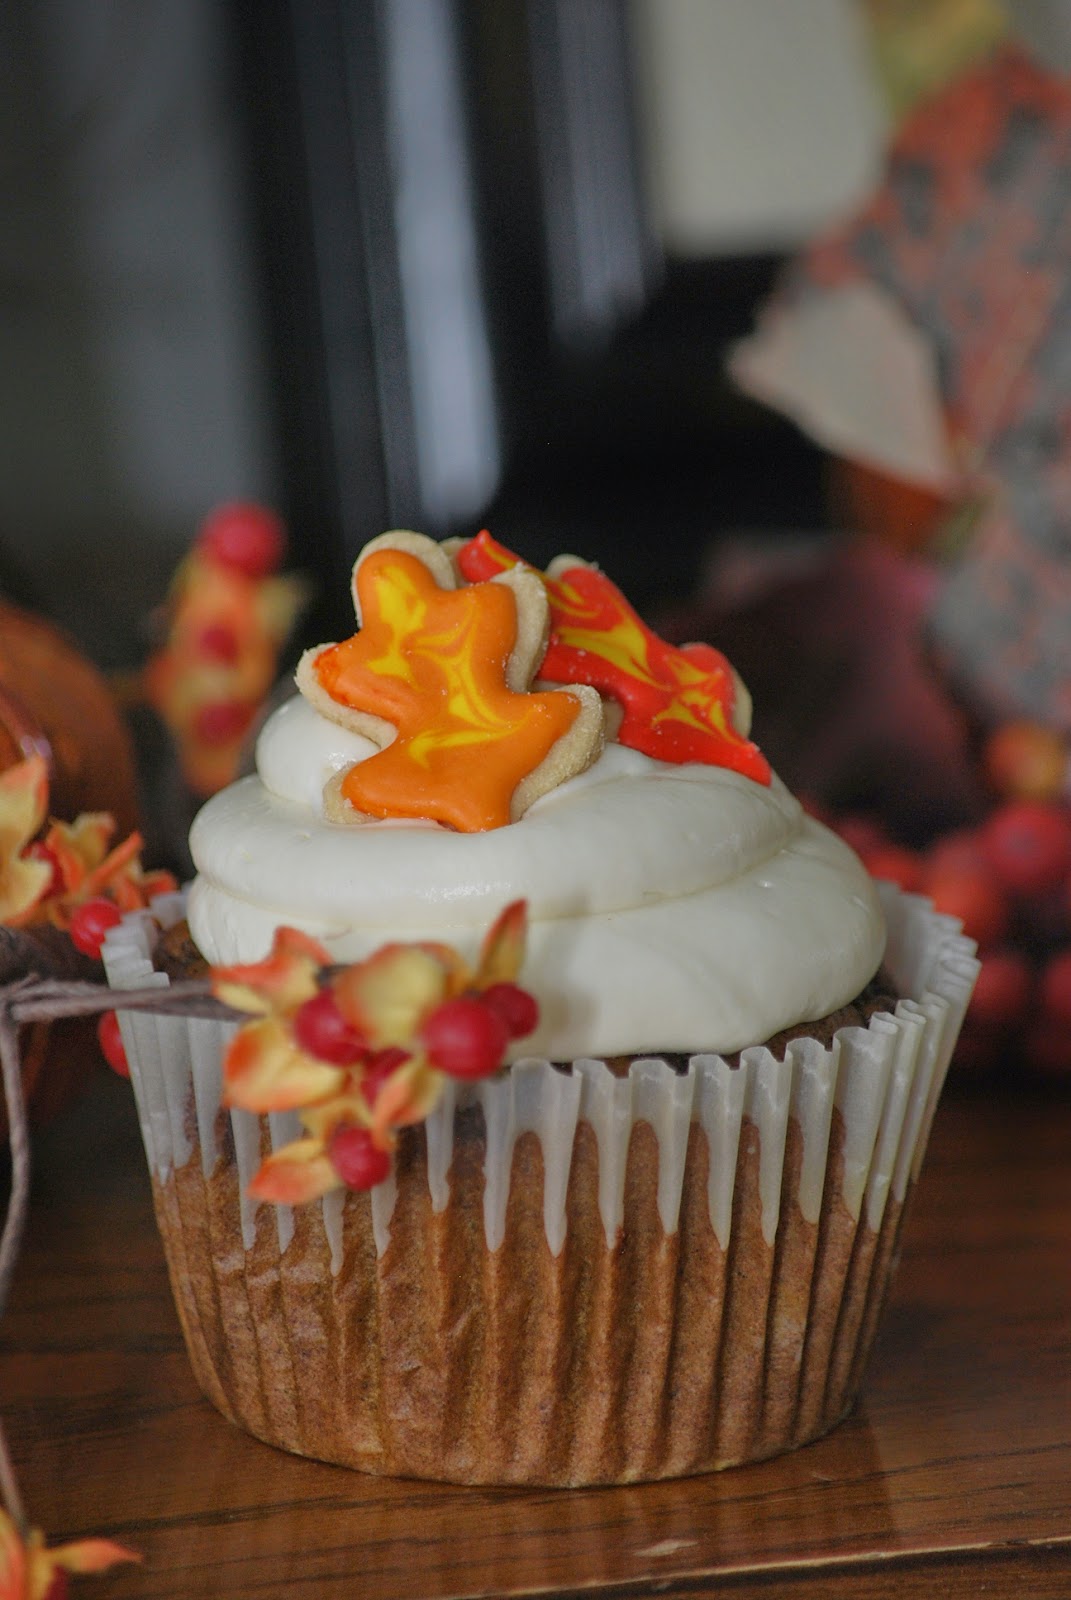
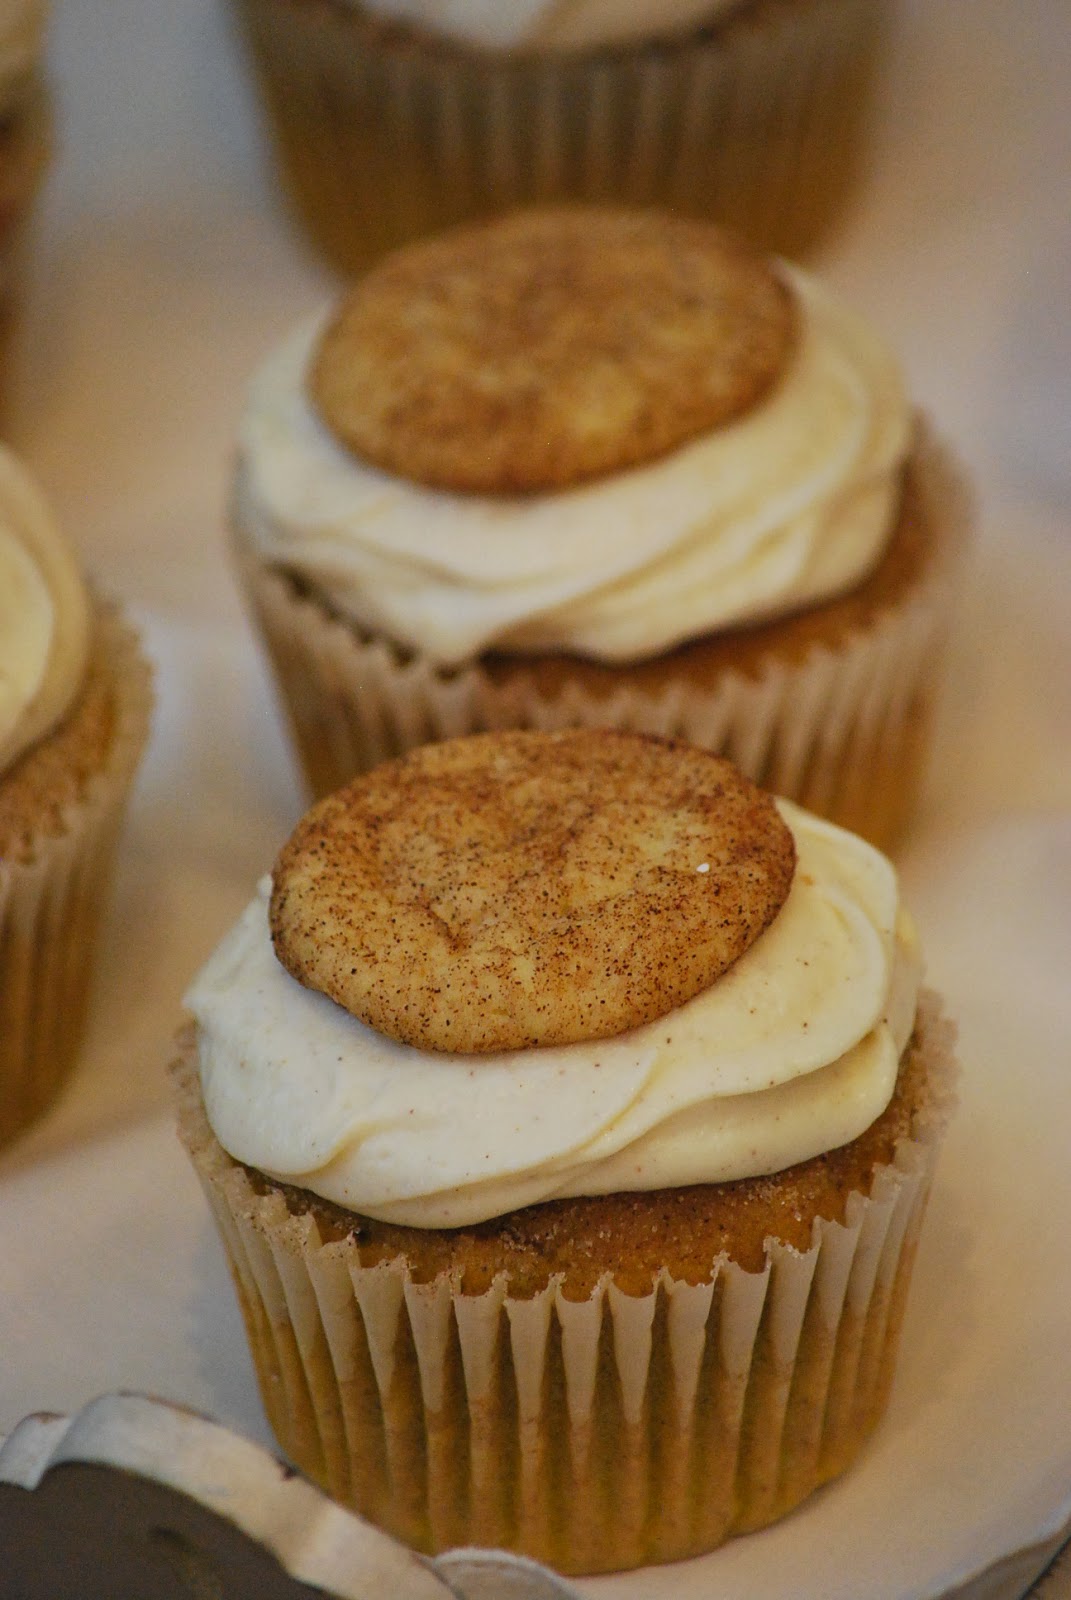
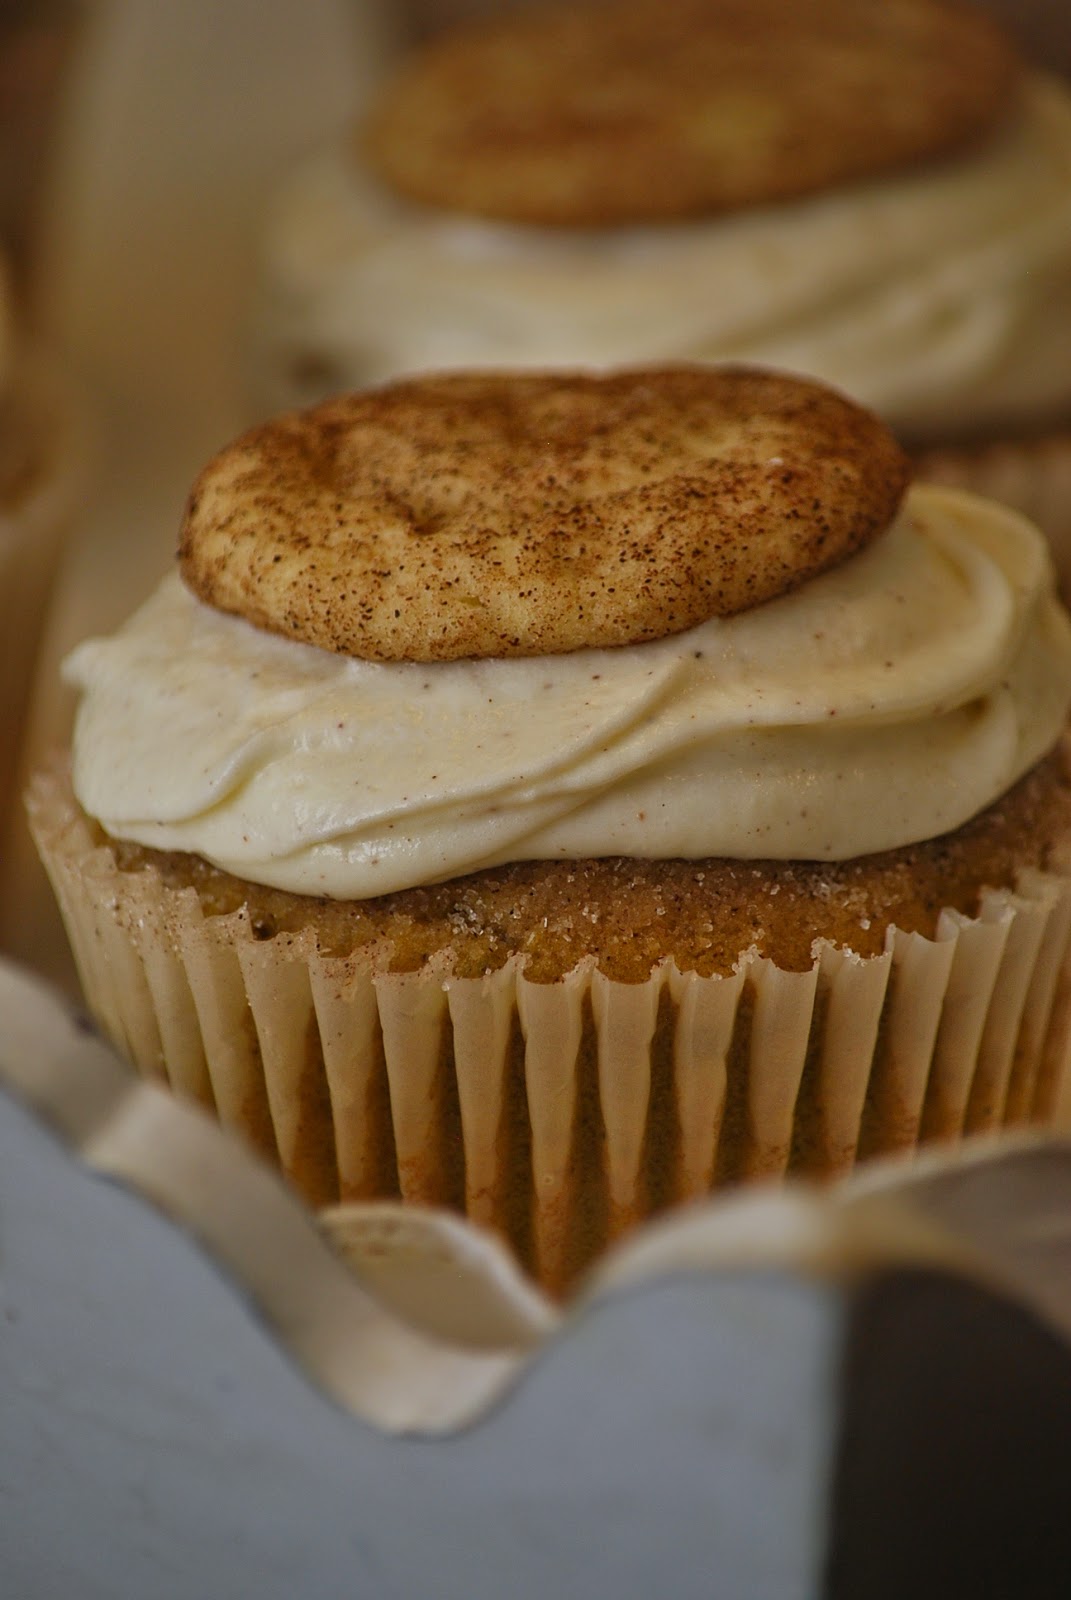
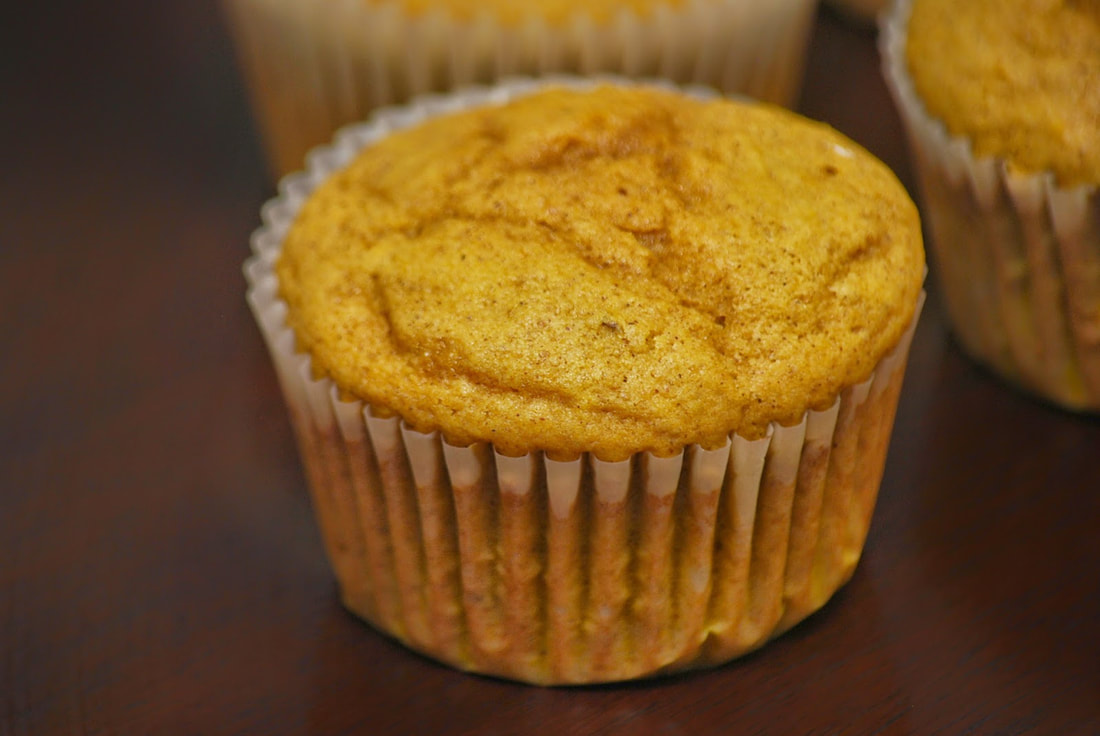
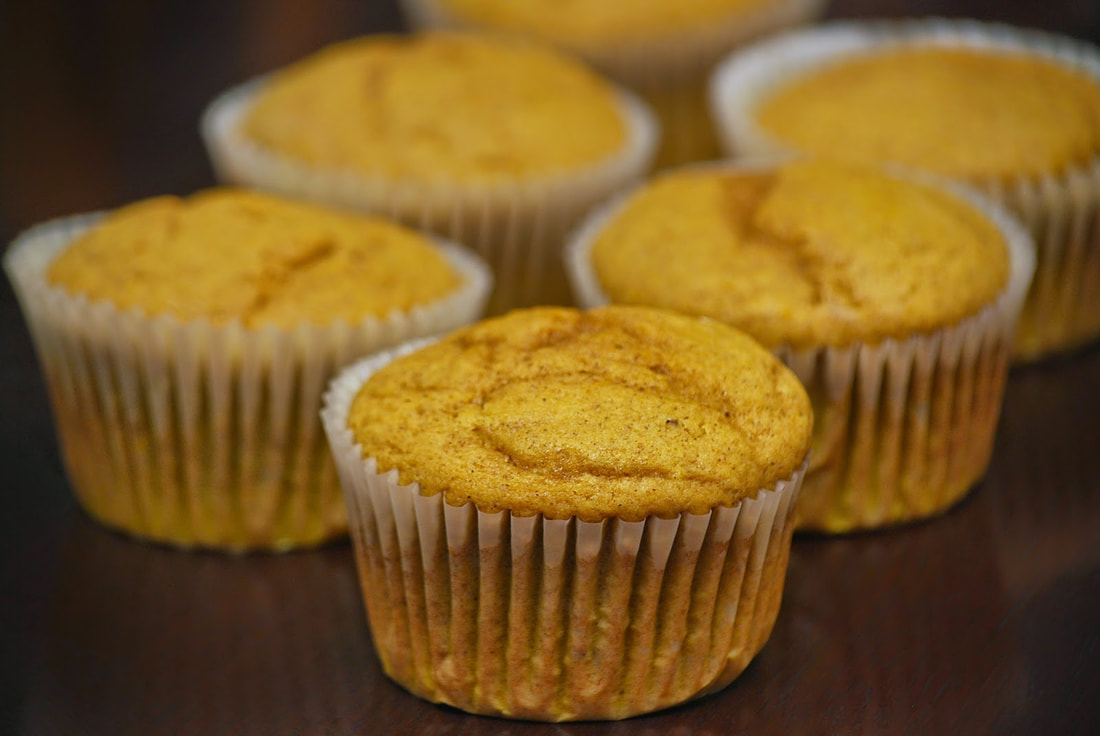
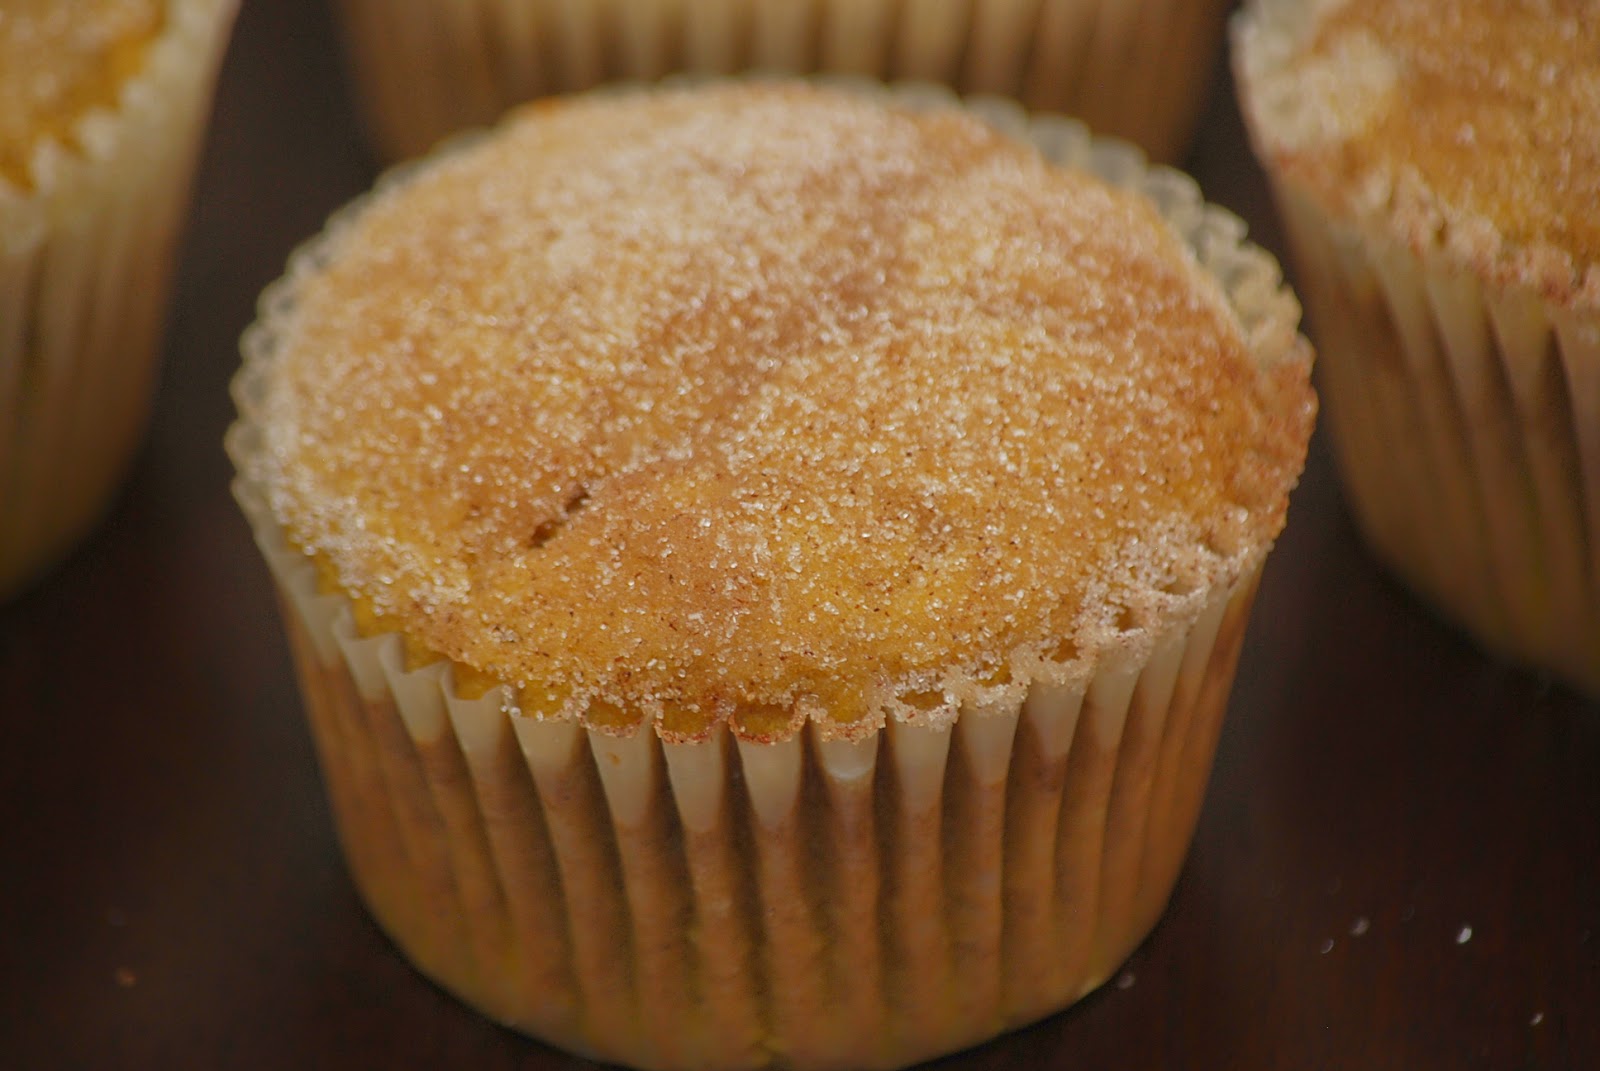
Ciao! 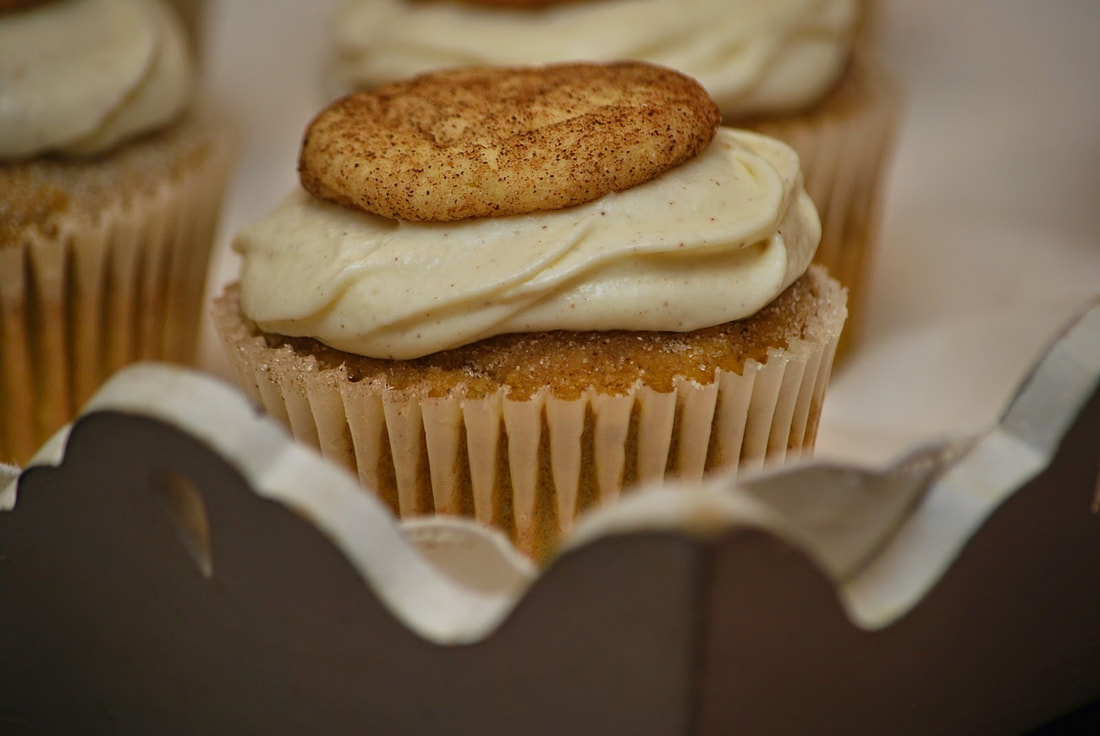 What happens when you fuse a snickerdoodle and a pumpkin cupcake? A pumpkin snickerdoodle cupcake happens - that's what. 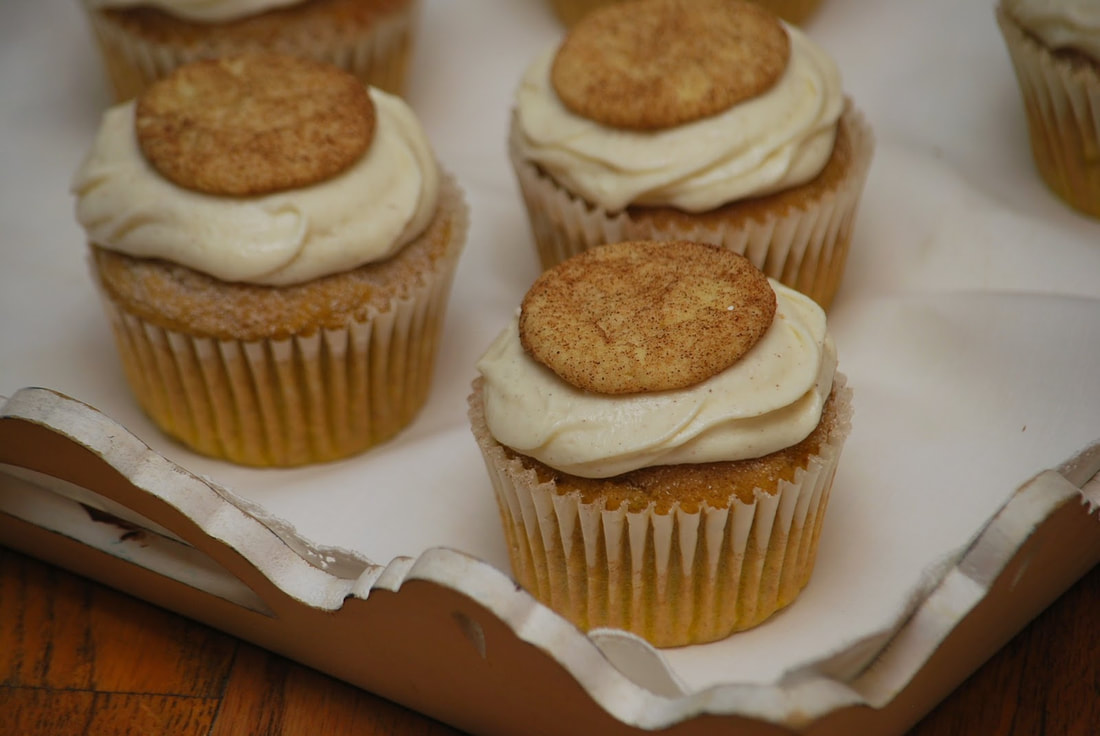 A moist, cinnamon spiced pumpkin cupcake brushed with melted butter, dipped in a cinnamon sugar coating, topped with whipped cream cheese icing and a crunchy snickerdoodle cookie - now that's what I call Fall cupcake perfection.
It just doesn't get any more perfect than this. 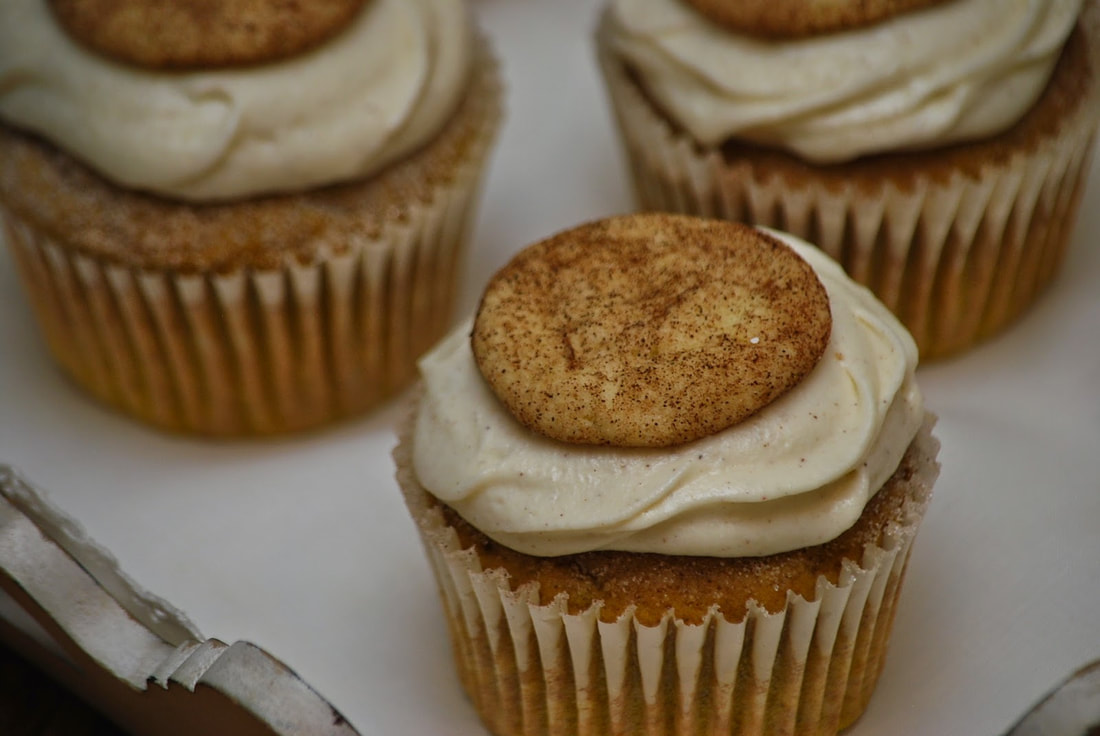 Pumpkin Snickerdoodle Cupcakes 1 1/2 cups all-purpose flour 1 1/2 cups cake flour (not self- rising), sifted 1 tablespoon baking powder 1/2 teaspoon salt 1 tablespoon ground cinnamon, plus 1/2 teaspoon for dusting 1 cup (2 sticks) unsalted butter, room temperature 1 3/4 cups sugar, plus 2 tablespoons for dusting 4 large eggs, room temperature 2 teaspoons pure vanilla extract 1/2 cup pumpkin
Scoop batter into muffin cups and bake 25 minutes at 350. (For jumbo size cupcakes.)
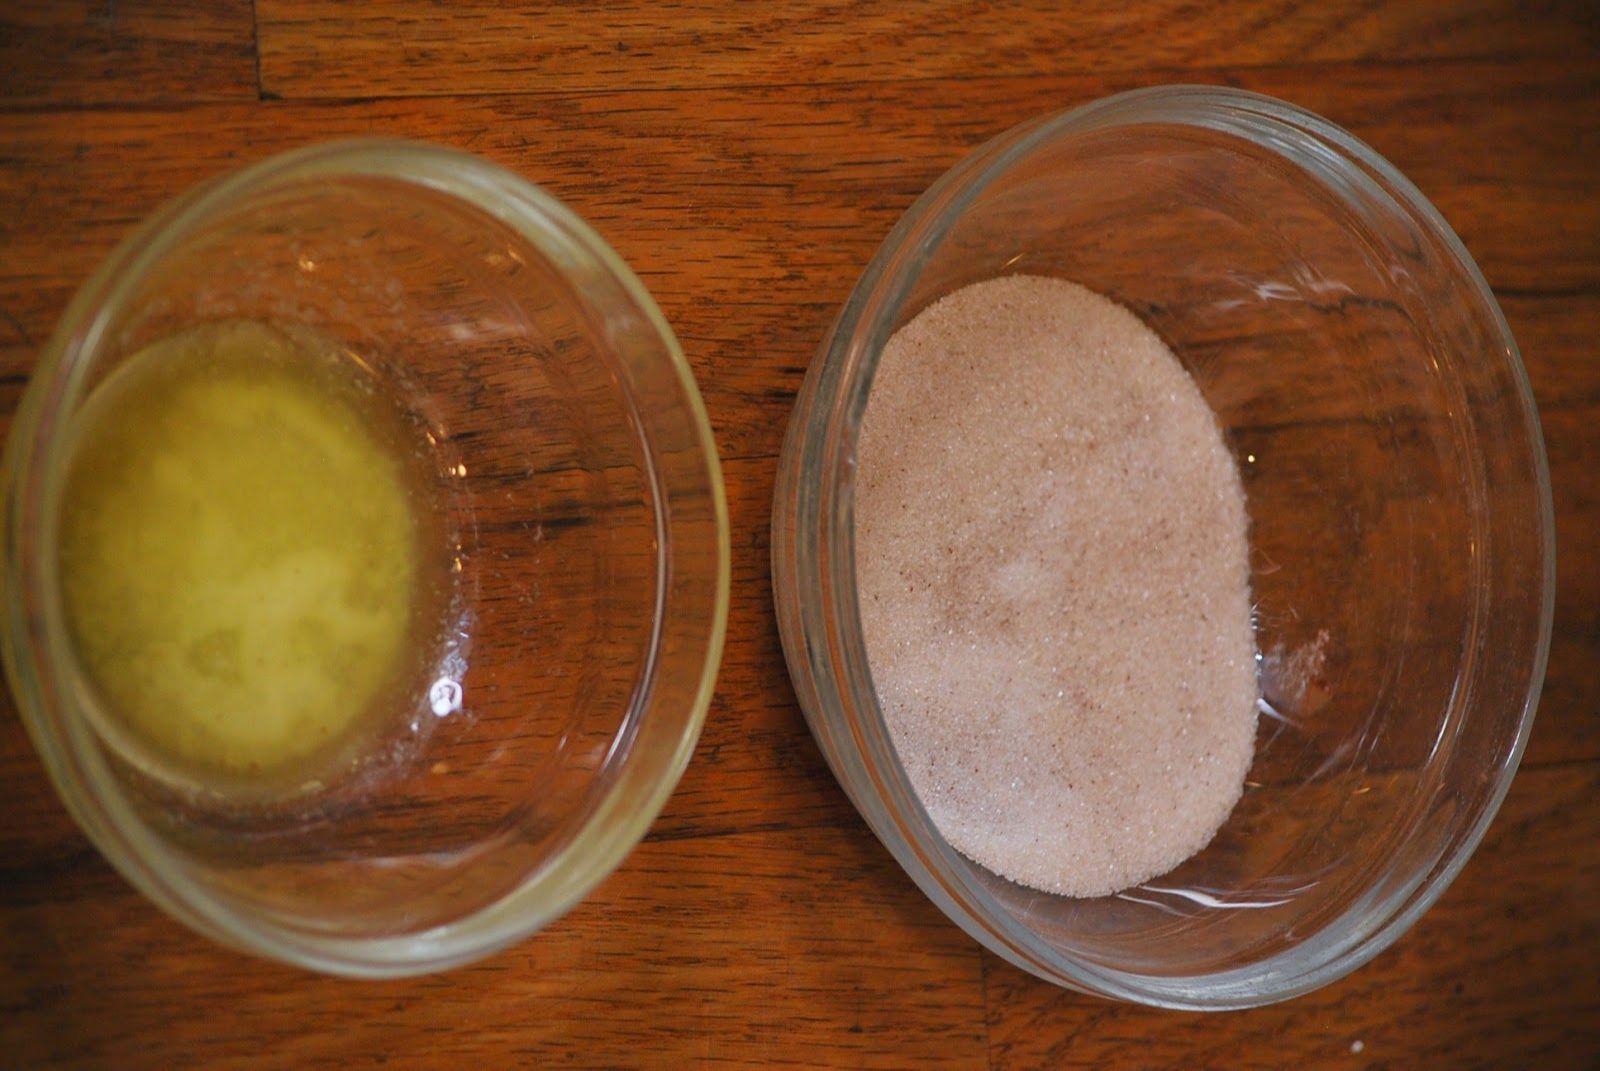
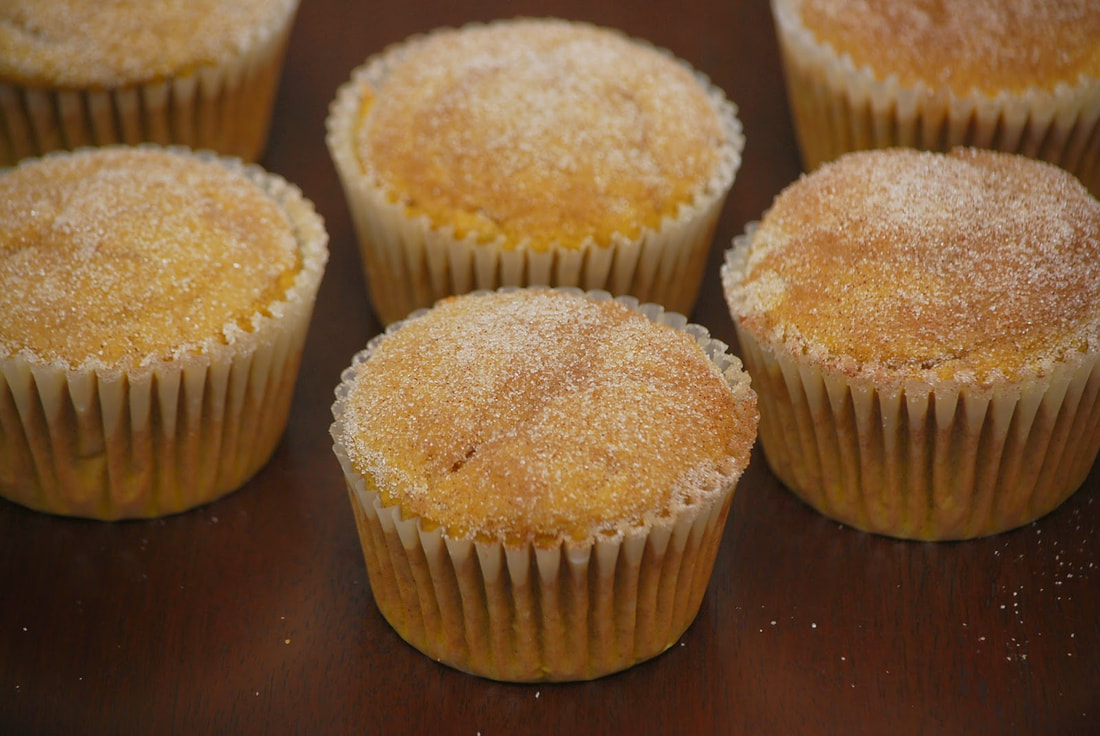
Brush the top of each cupcake with butter and then dip in cinnamon sugar.
These really are good - just like this. You can stop here OR add a swirl of cinnamon cream cheese frosting and a mini snickerdoodle cookie if you like.  The epitome of Fall in a cupcake! Enjoy!
Ciao!
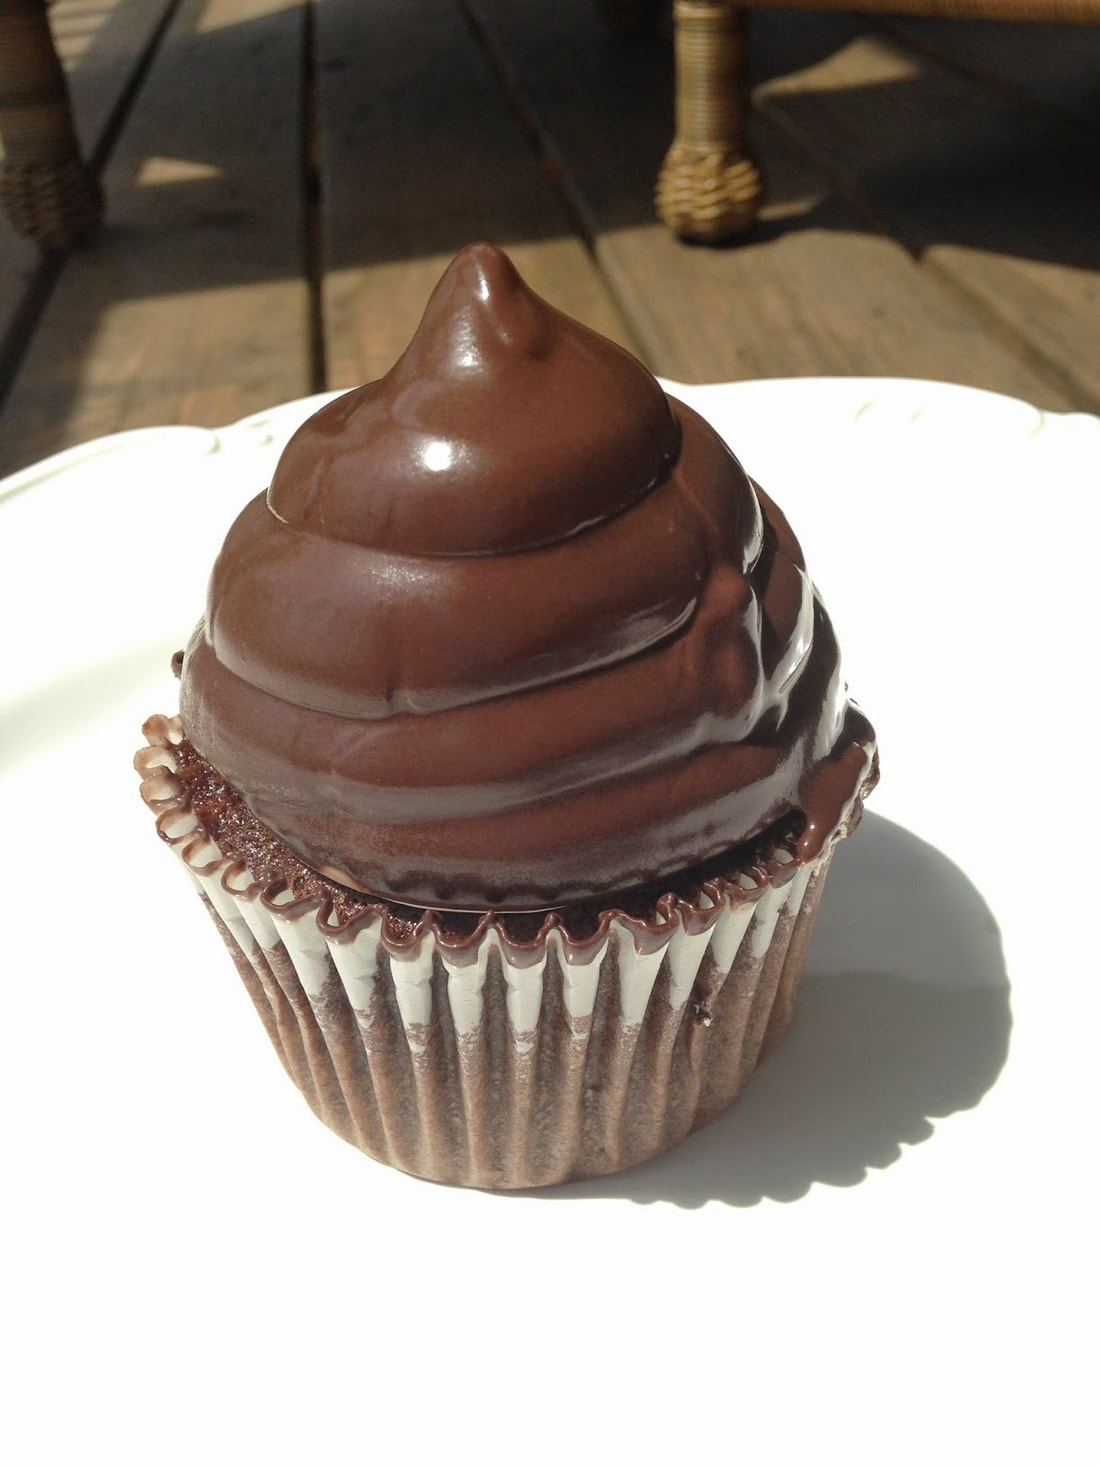
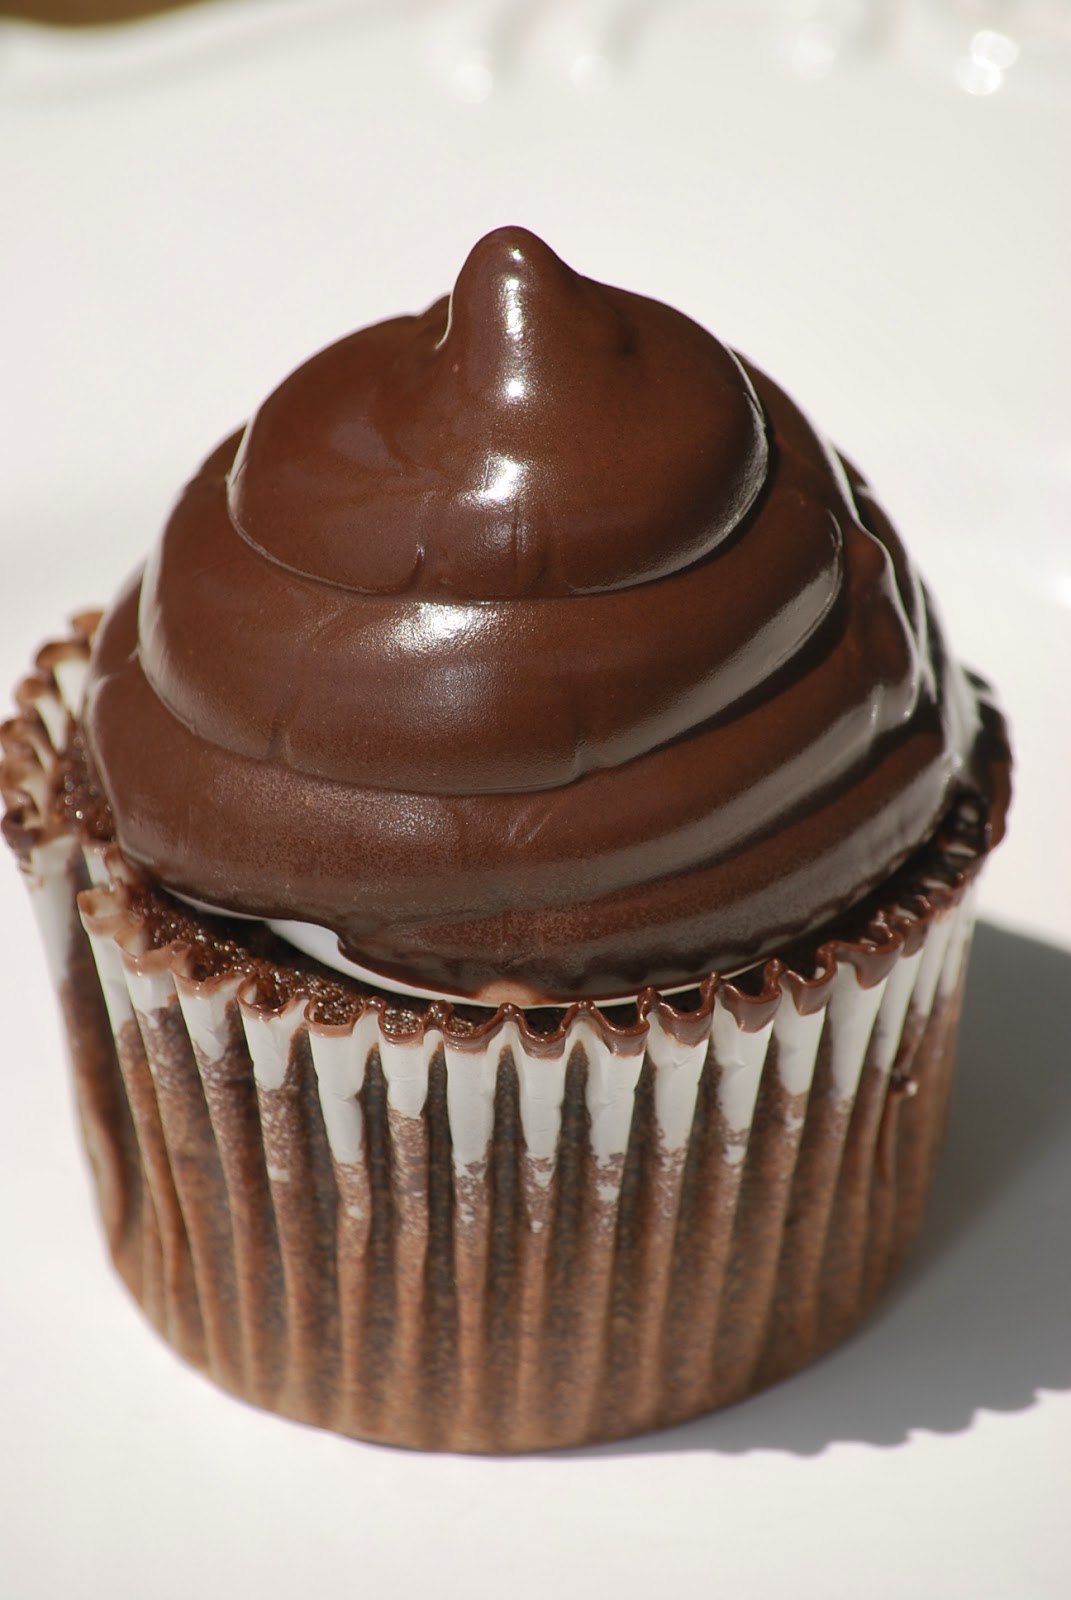
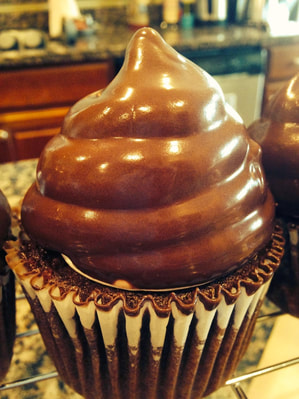
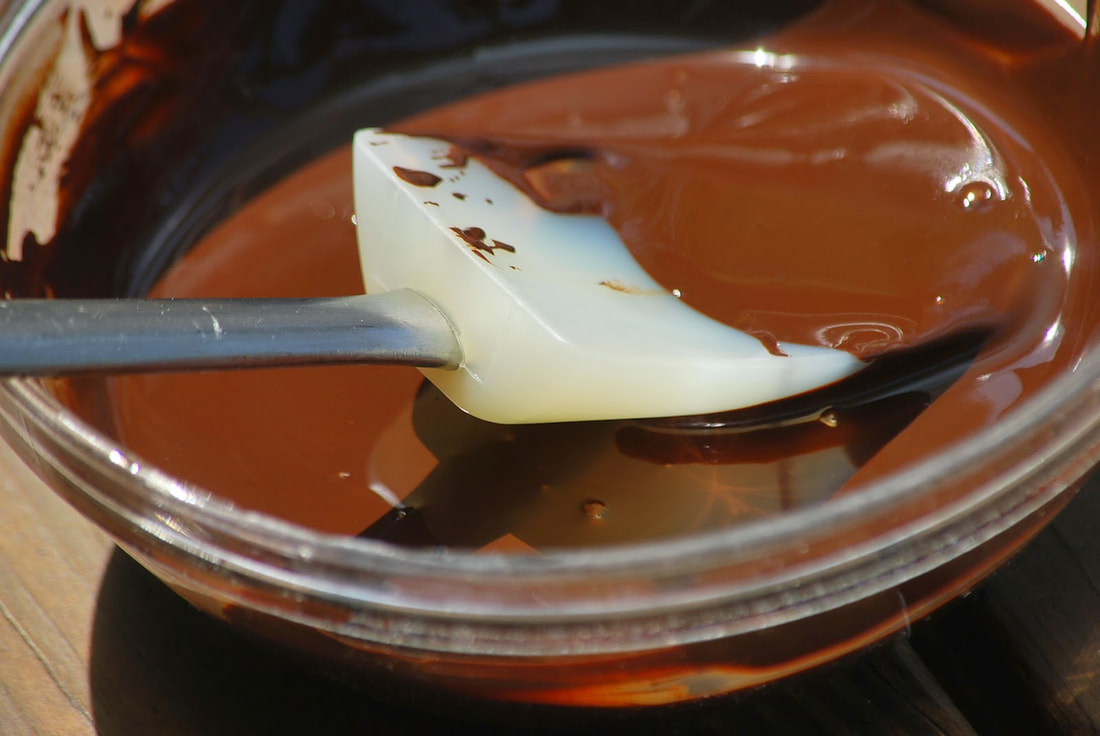
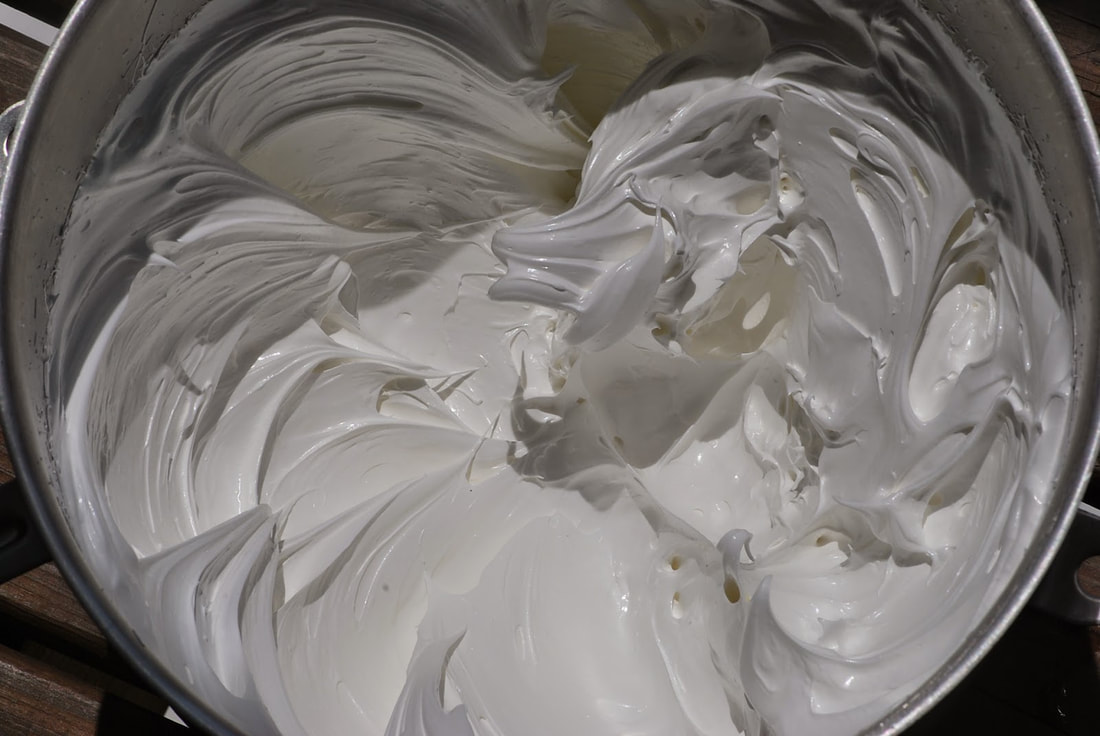
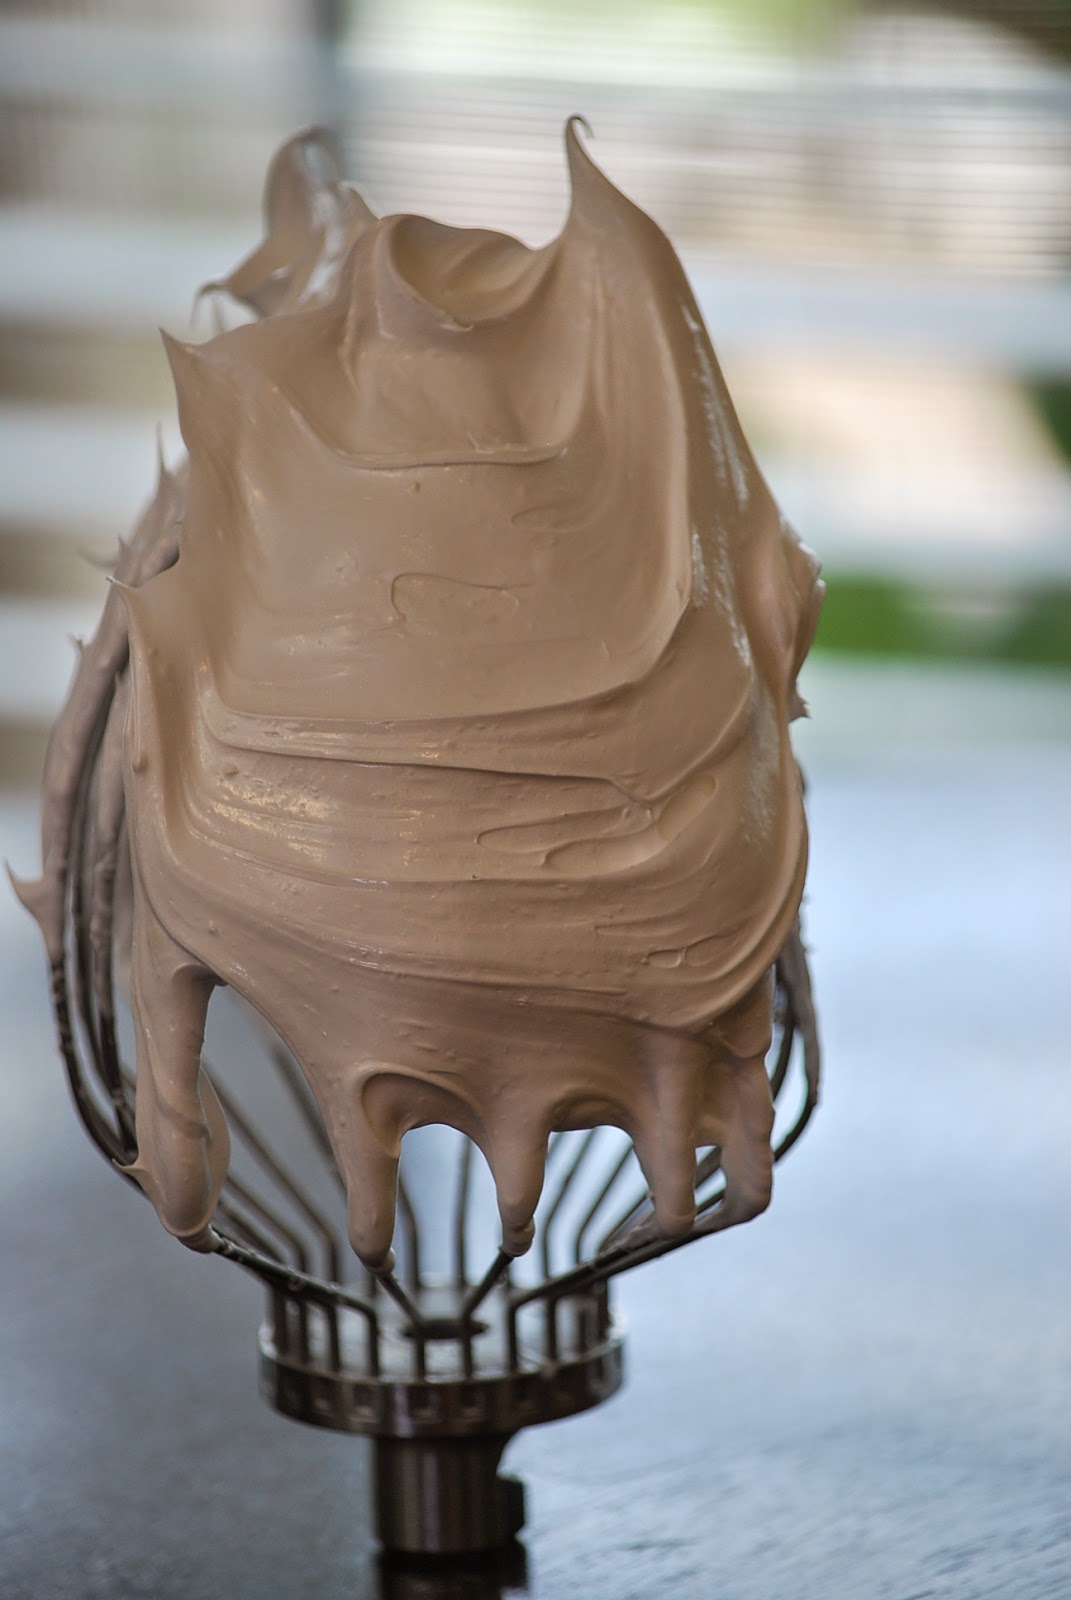
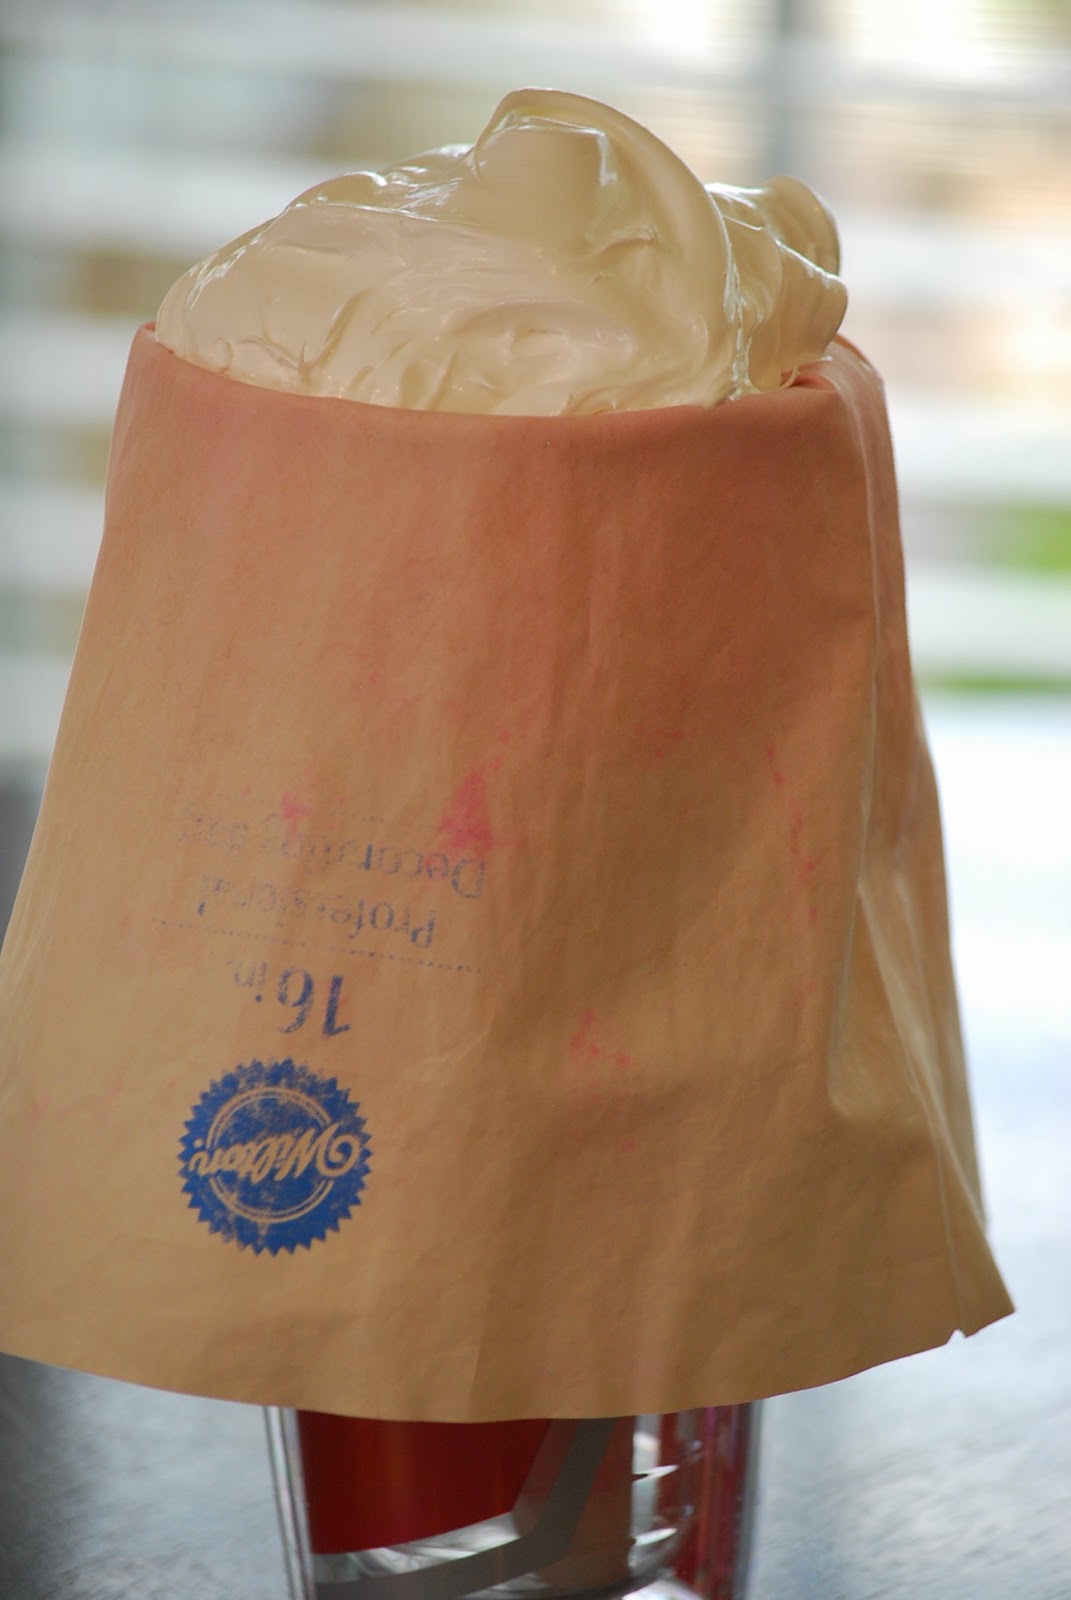
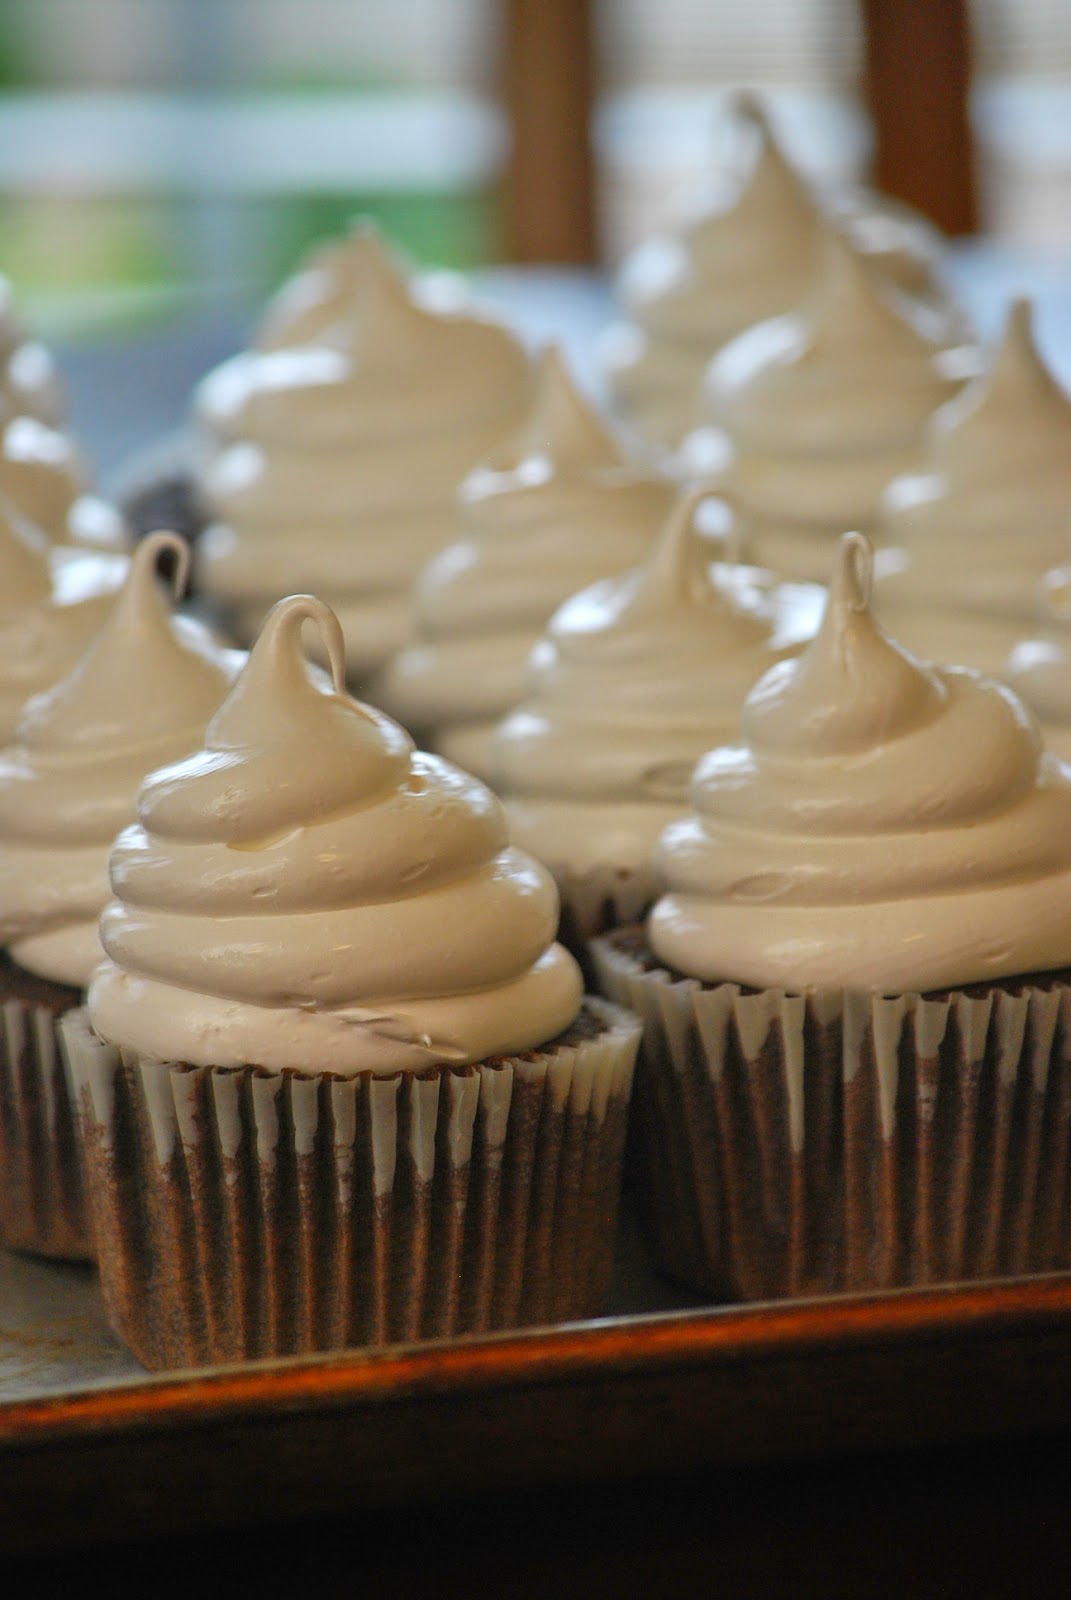
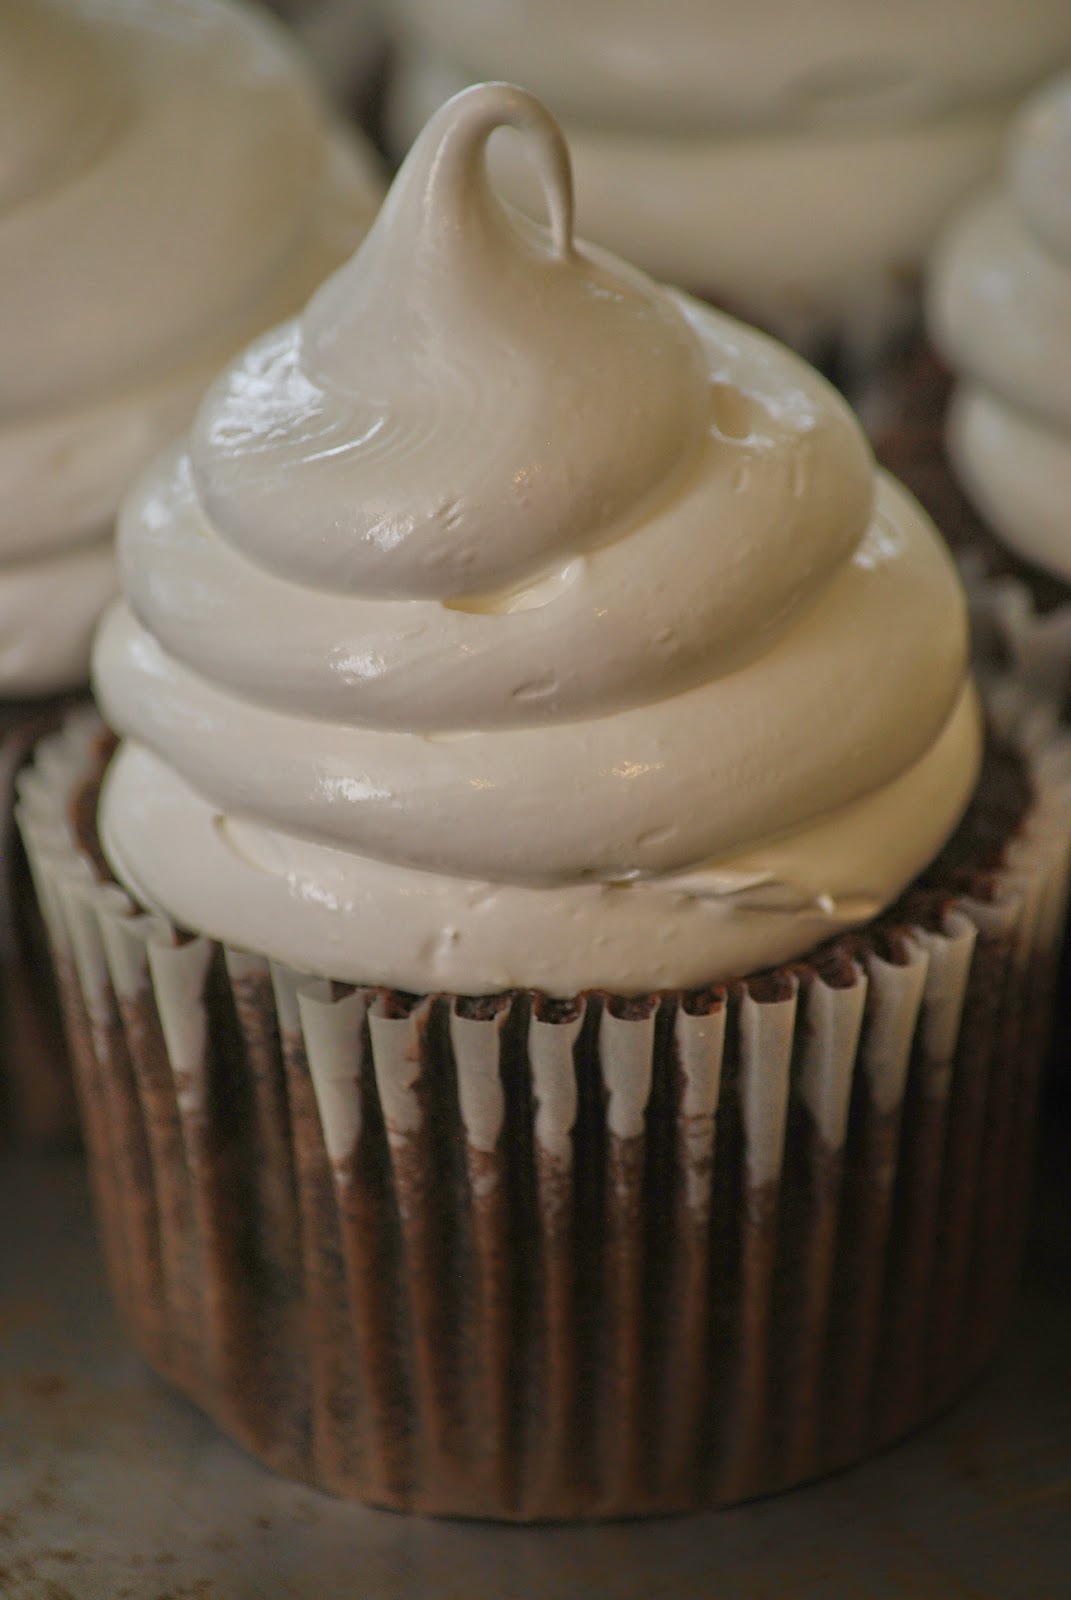
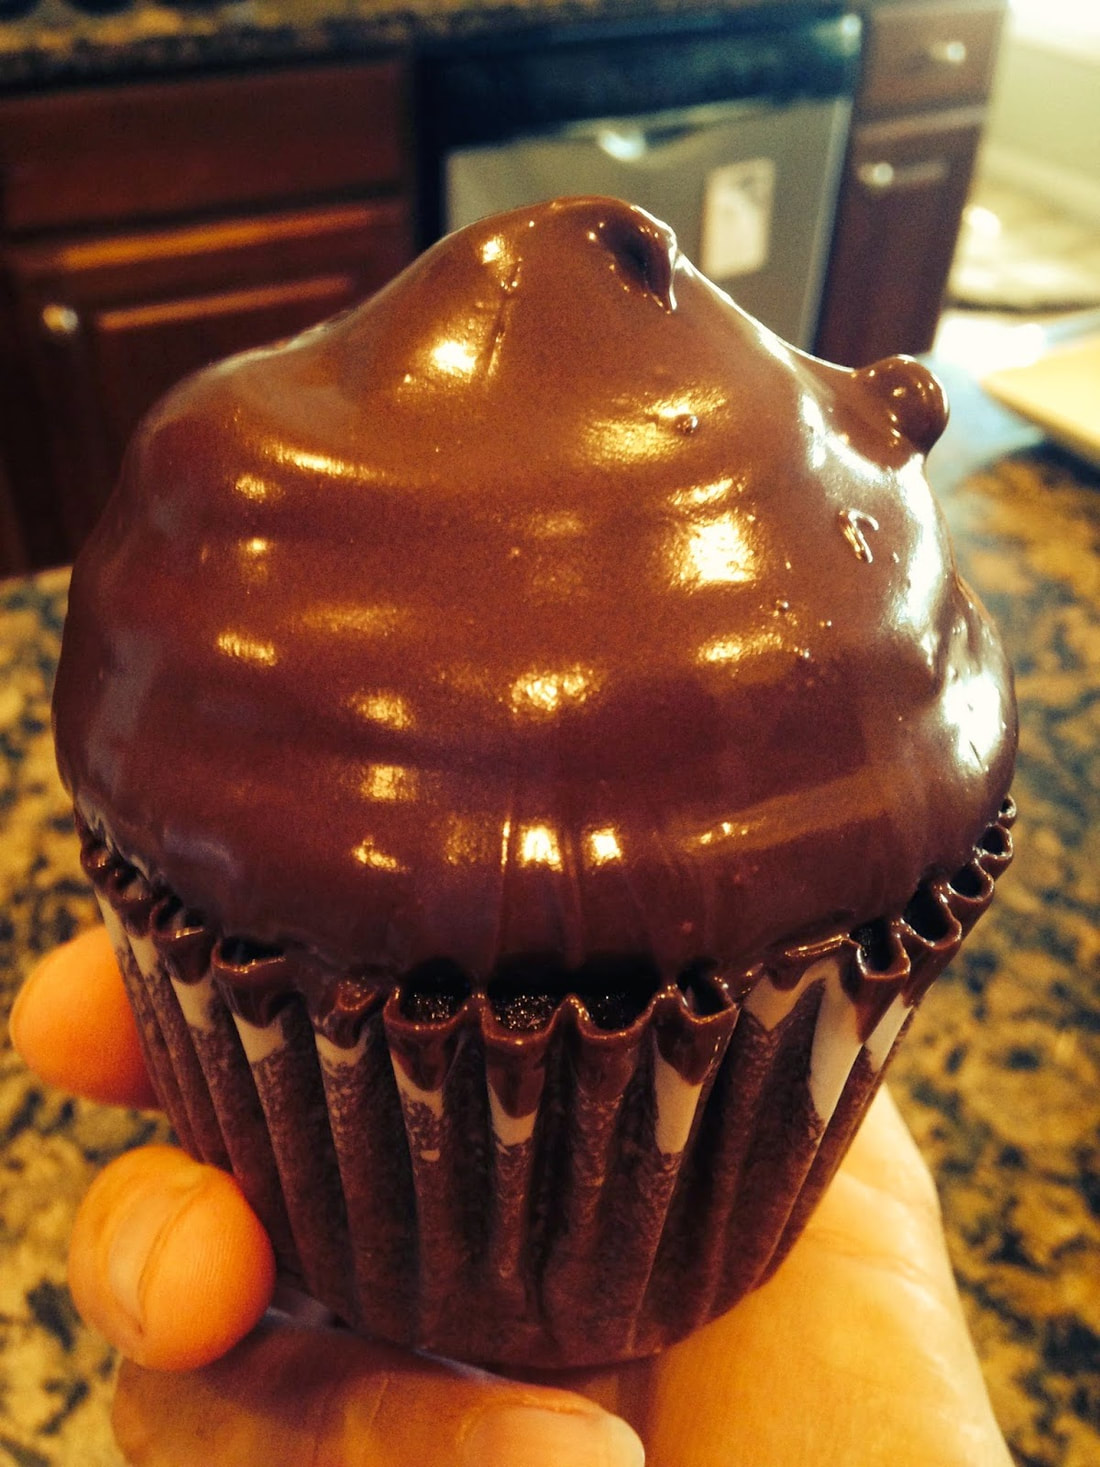
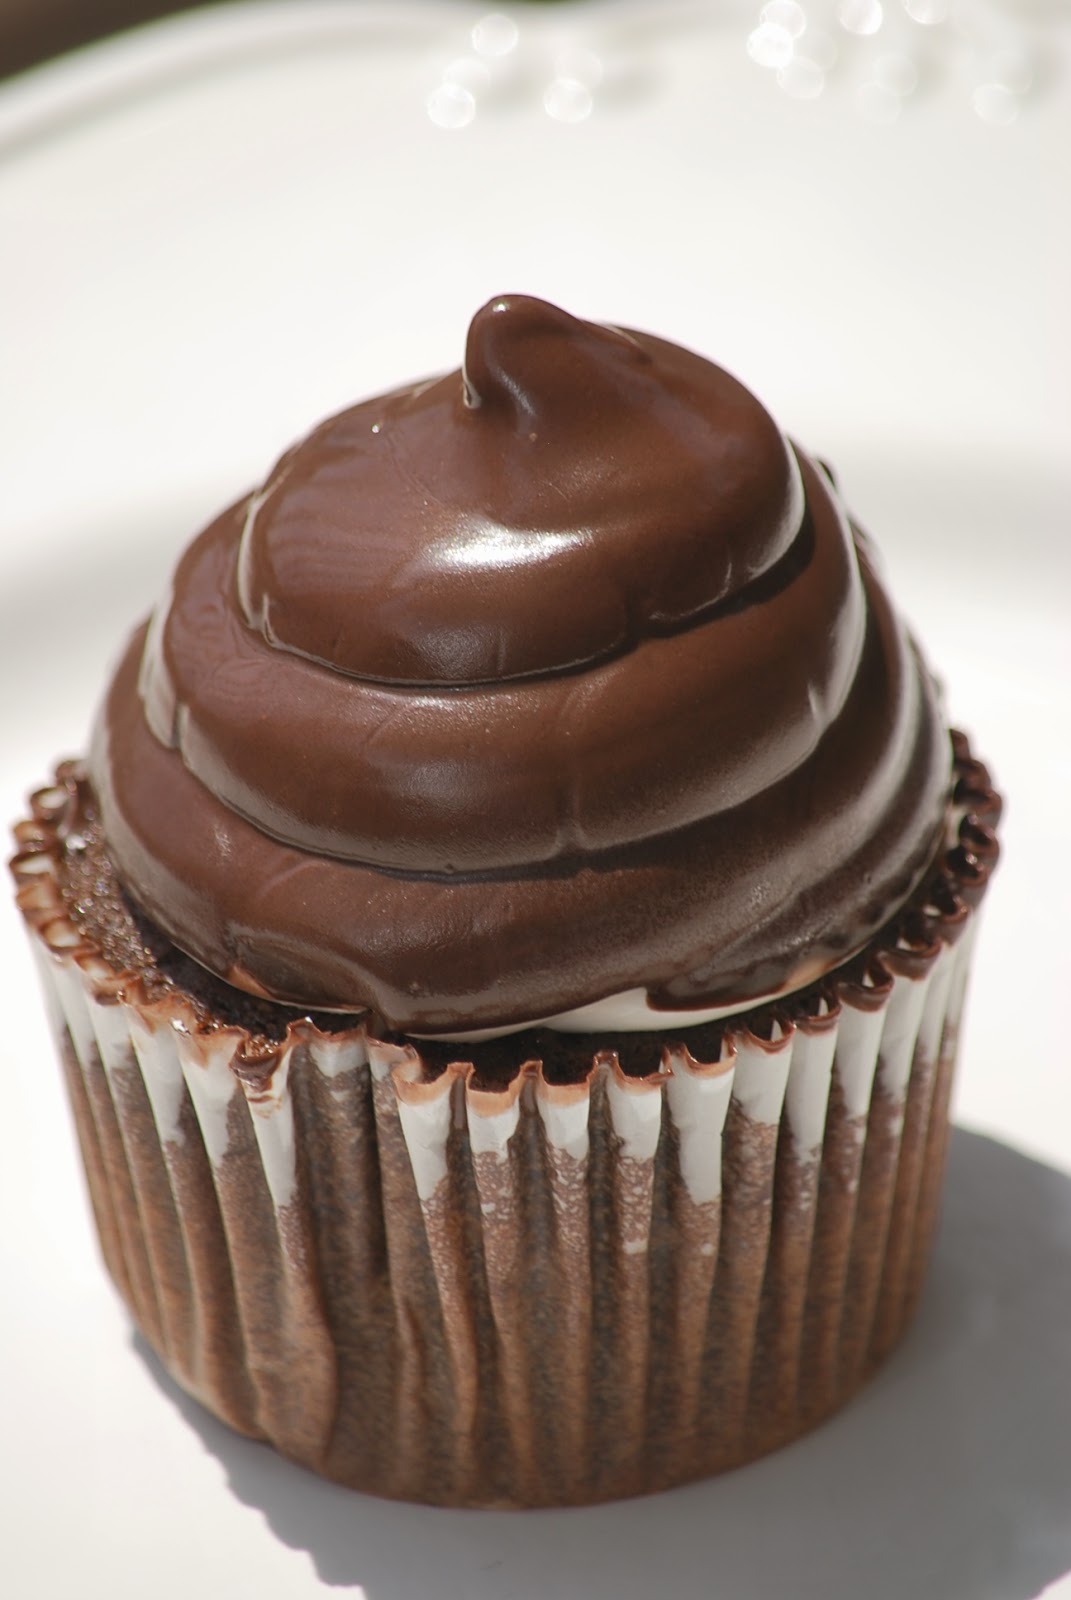
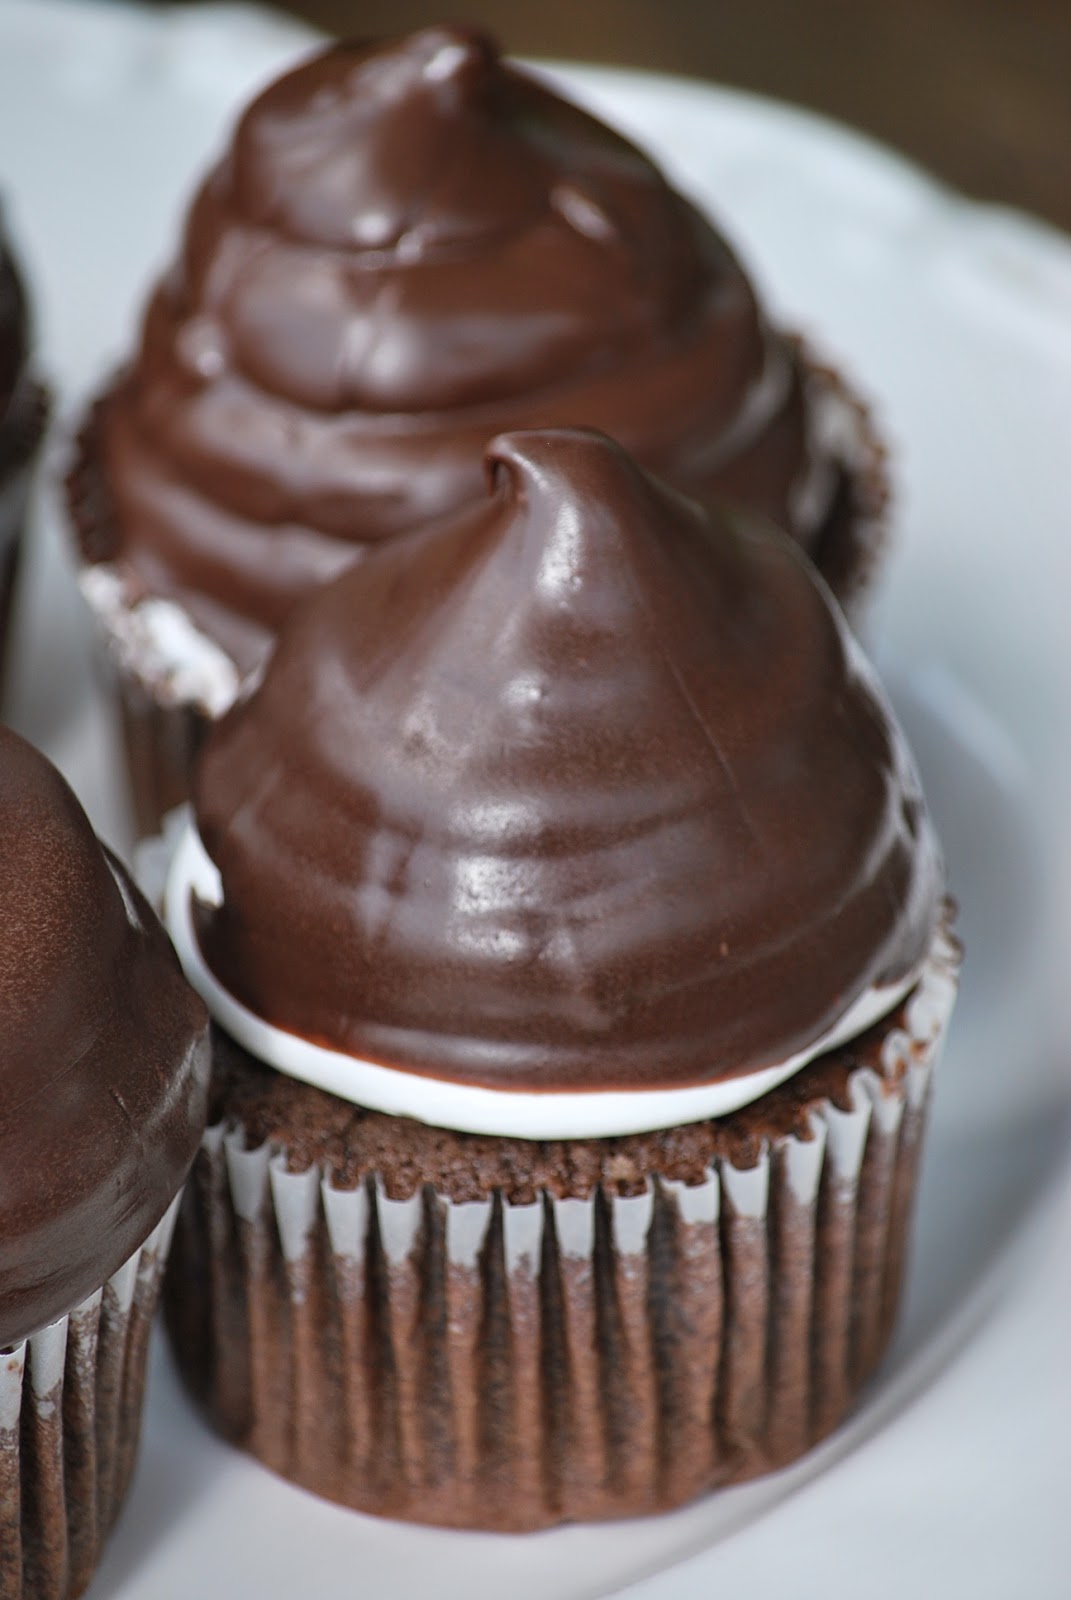
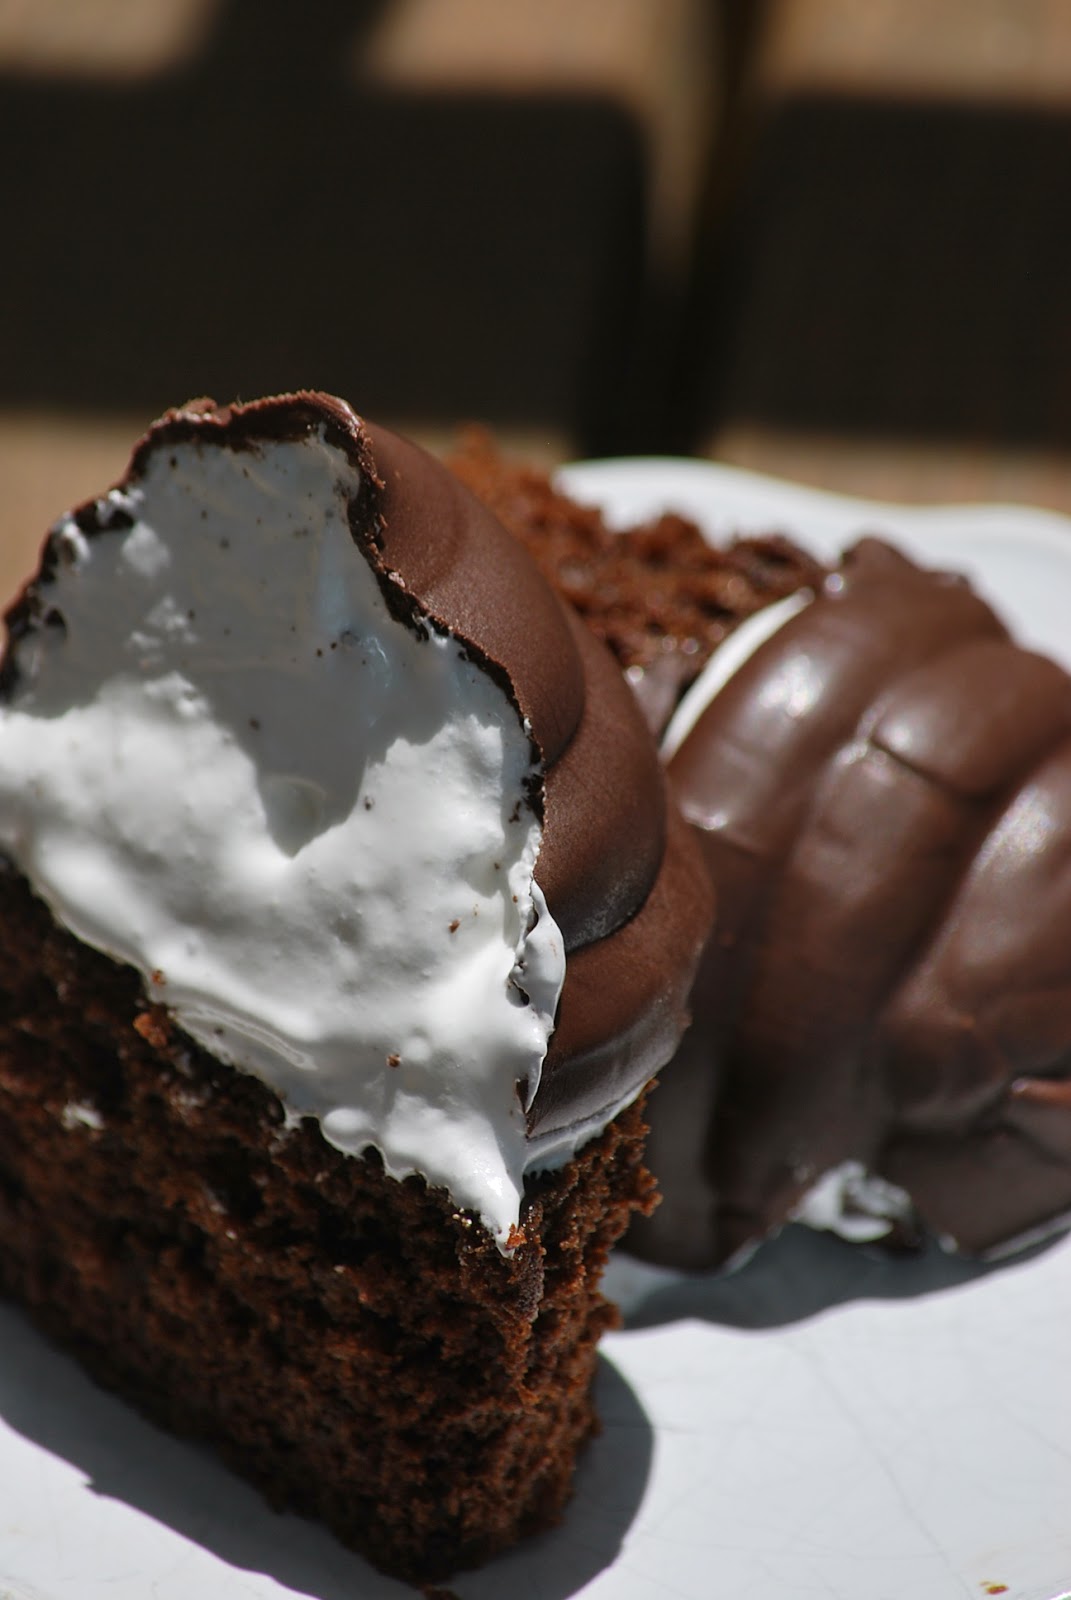
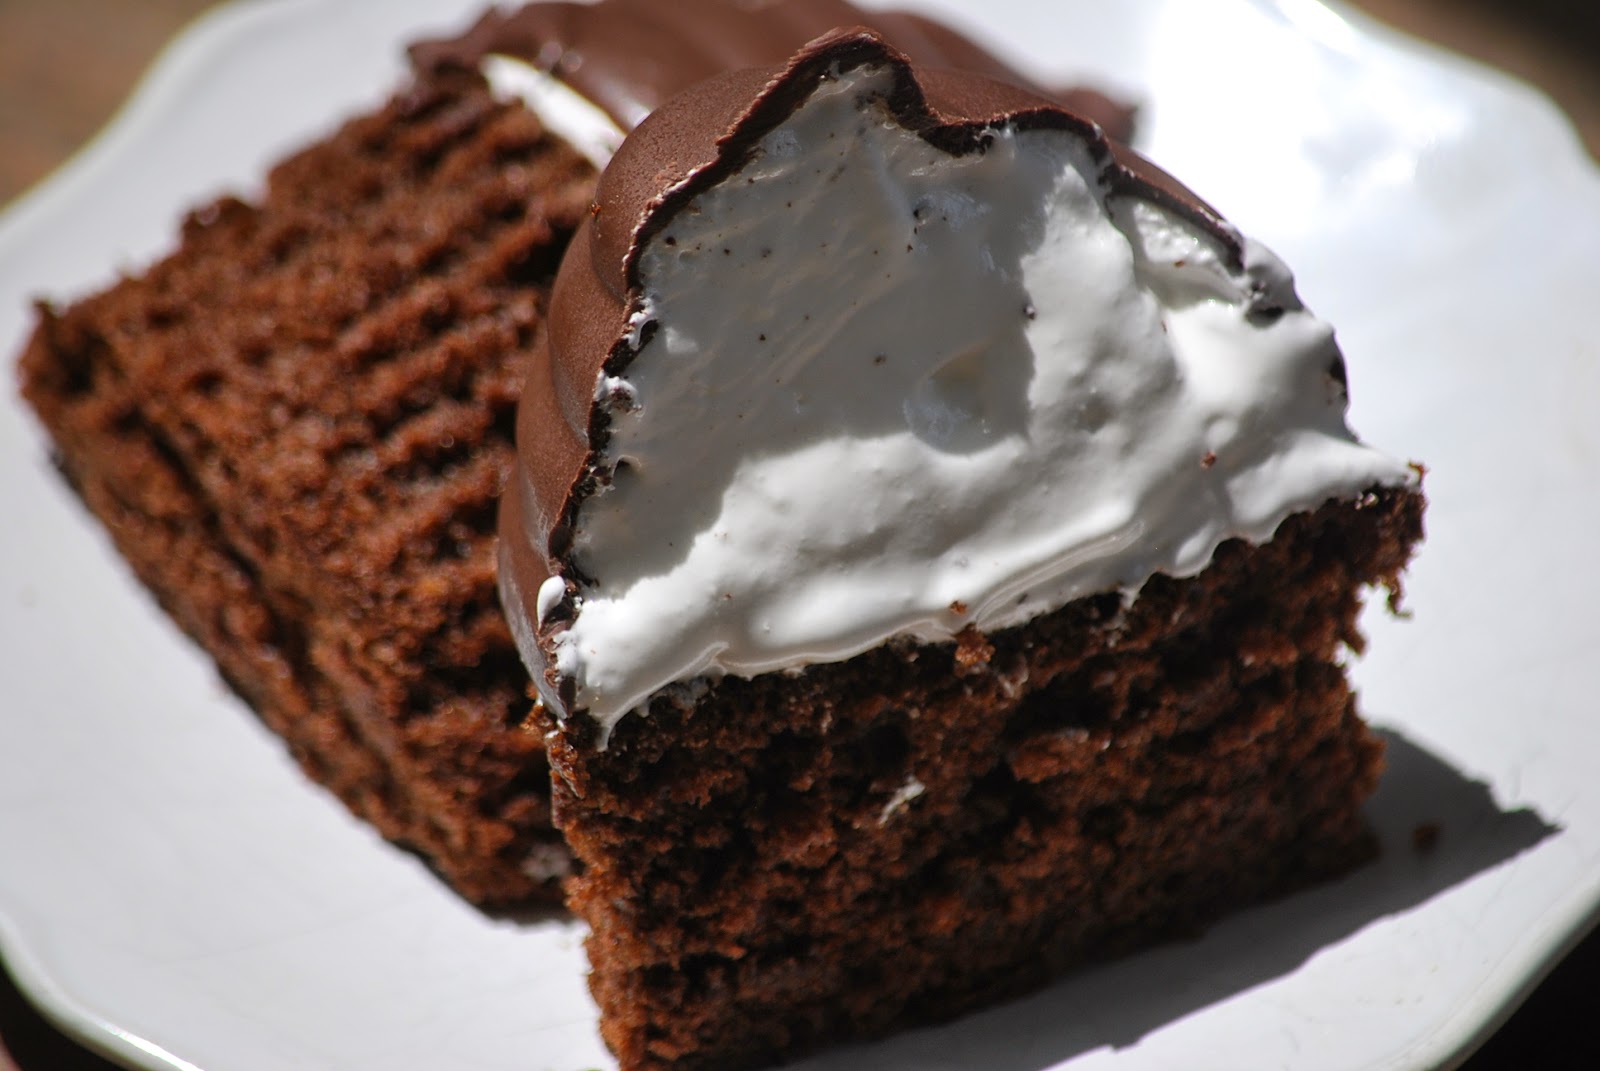
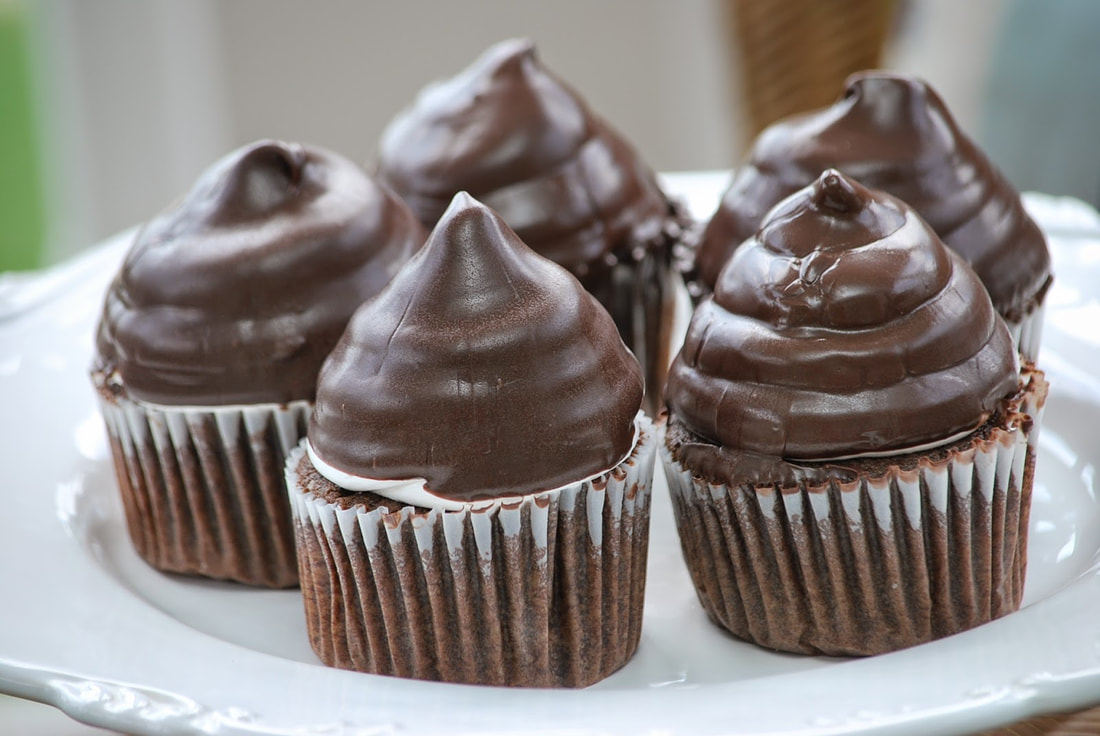
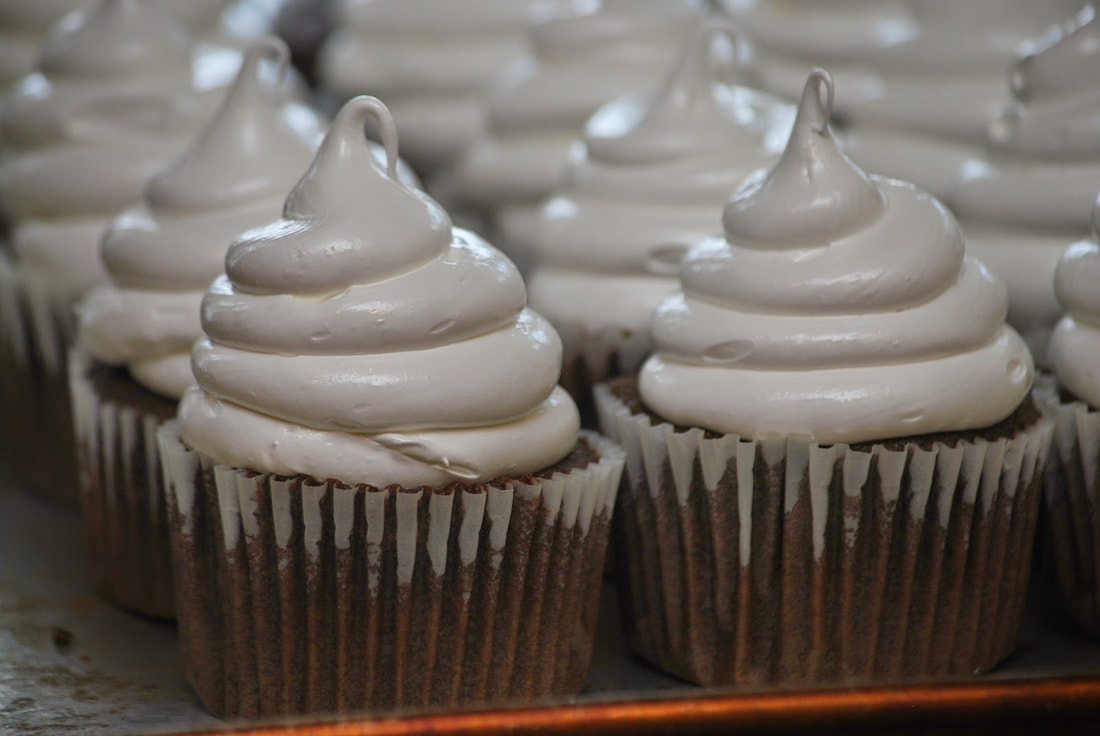
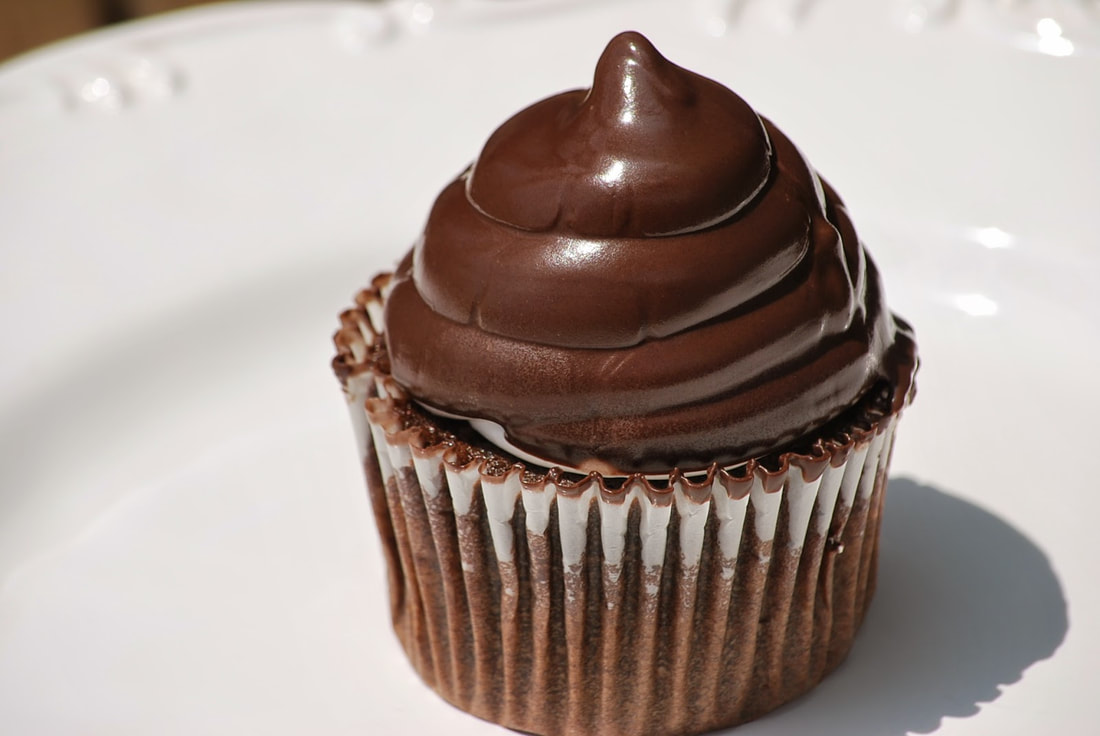
I have made a LOT of different kinds of cupcakes and to be honest, I'll try just about anything in the name of experimental chocolate baking. 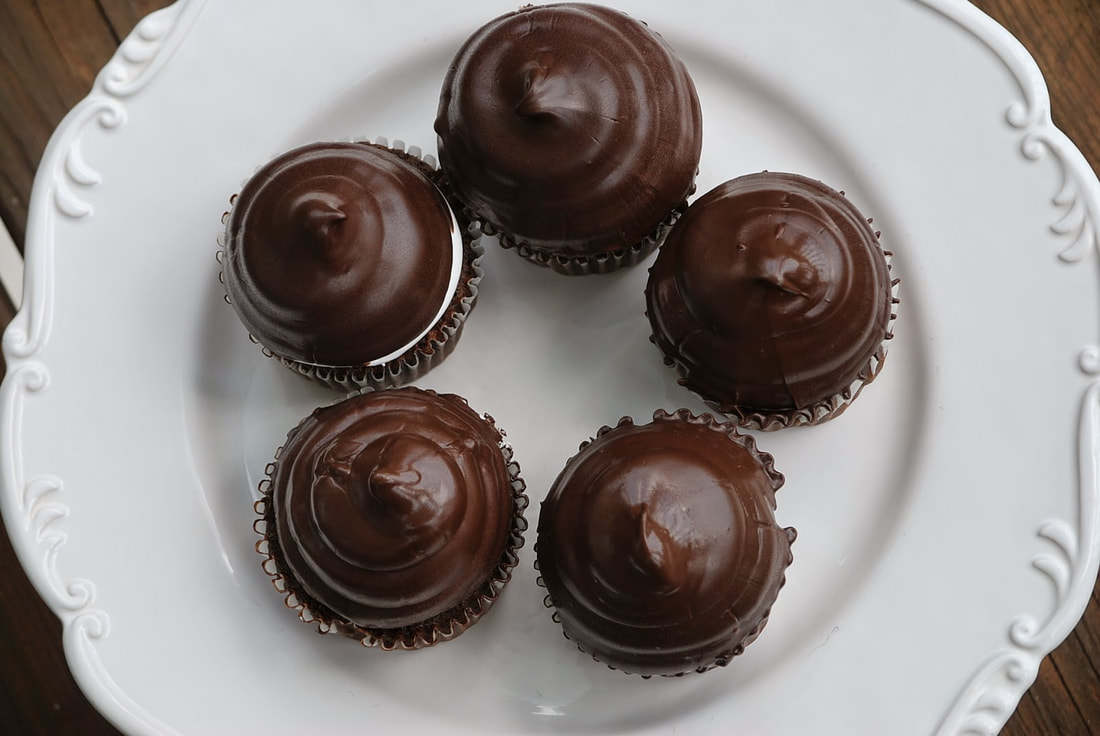 These hi hat cupcakes threw me for a loop though. I was instantly drawn to the perfectly smooth chocolate coating that enveloped a delicate tower of meringue. I couldn't even imagine how one would go about getting that thin chocolate shell on top of the cupcake without it dripping down the sides of the paper. 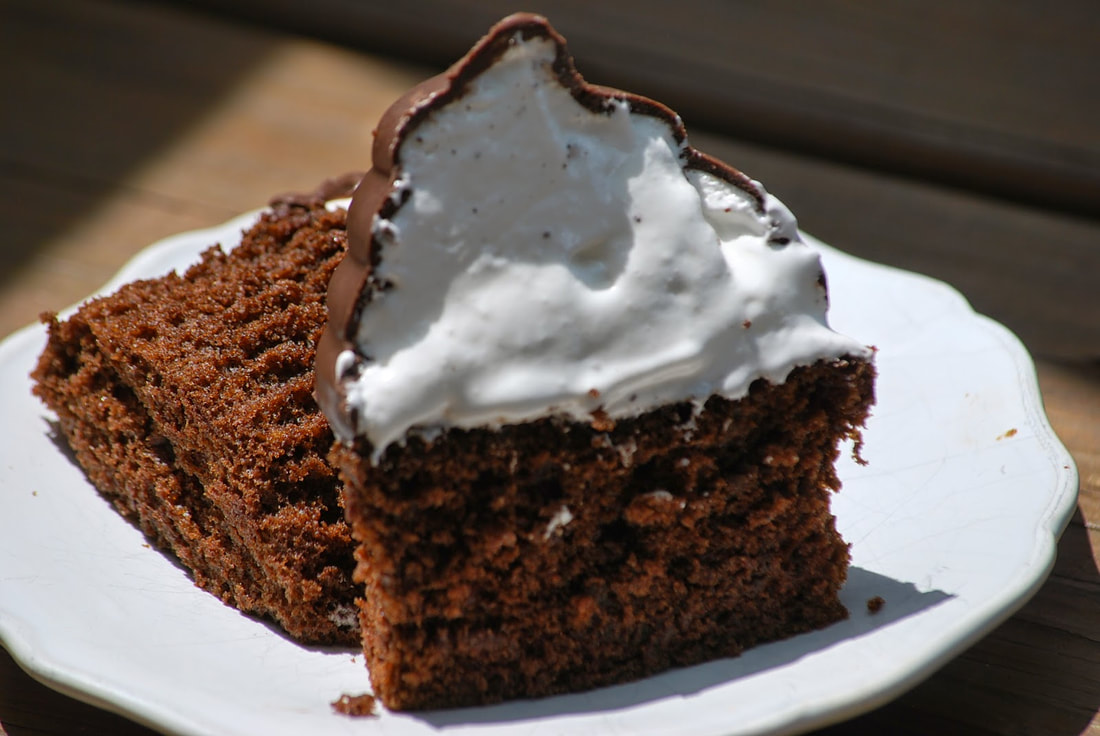 As I did some investigation, I realized that the only way to achieve hi hat cupcake perfection is to turn the cupcake - icing and all - upside down in a bowl of melted chocolate! UPSIDE DOWN!
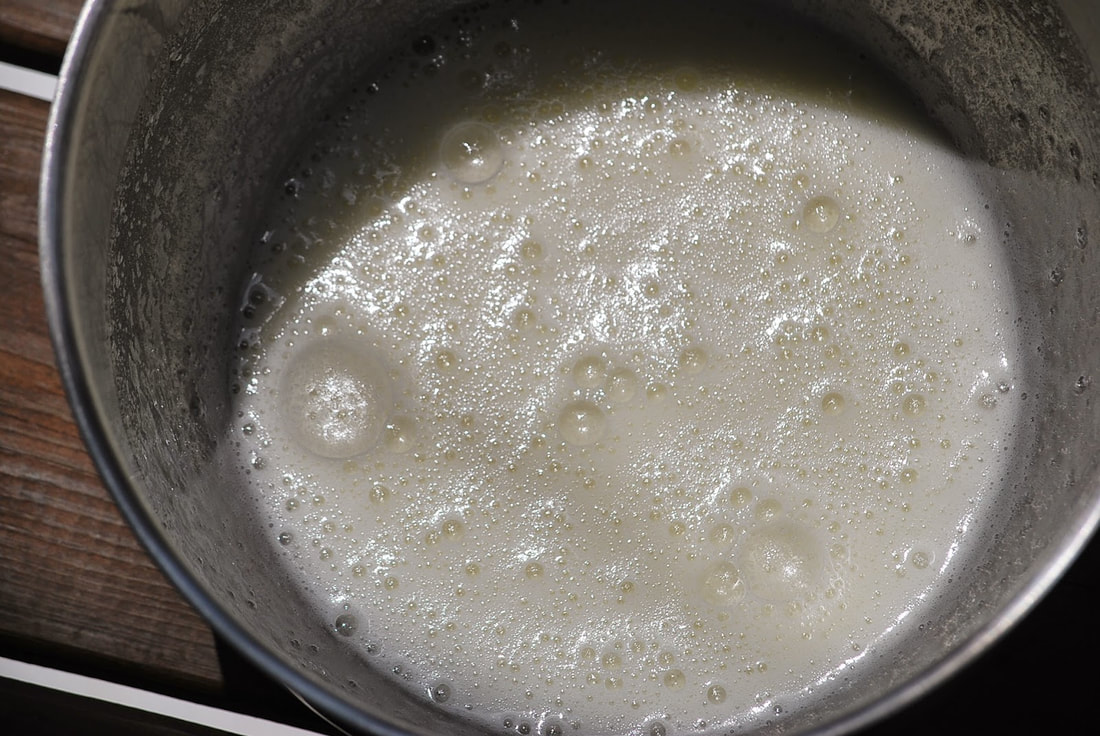
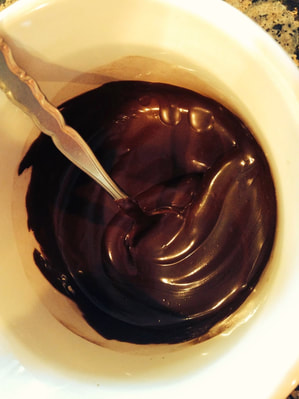
Hi Hat Cupcakes 3 ounces unsweetened chocolate 1 cup flour ½ teaspoon baking powder ½ teaspoon baking soda ¼ teaspoon salt ½ cup butter 1 ¼ cups sugar 2 eggs 1 teaspoon vanilla ½ cups sour cream 1/2 cup coffee Meringue 2 cups sugar 8 egg whites 1/4 teaspoon cream of tartar Chocolate Coating 1 bag of Wilton candy melts 1 Tablespoon canola oil
Bake 20 minutes at 350.
Transfer to a pastry bag fitted with a plain ½” tip. Pipe a spiral of frosting into a 2” cone on top of each cupcake. Freeze 10 minutes.
 Chocolate Coating: Combine chocolate and oil in bowl and microwave until melted.
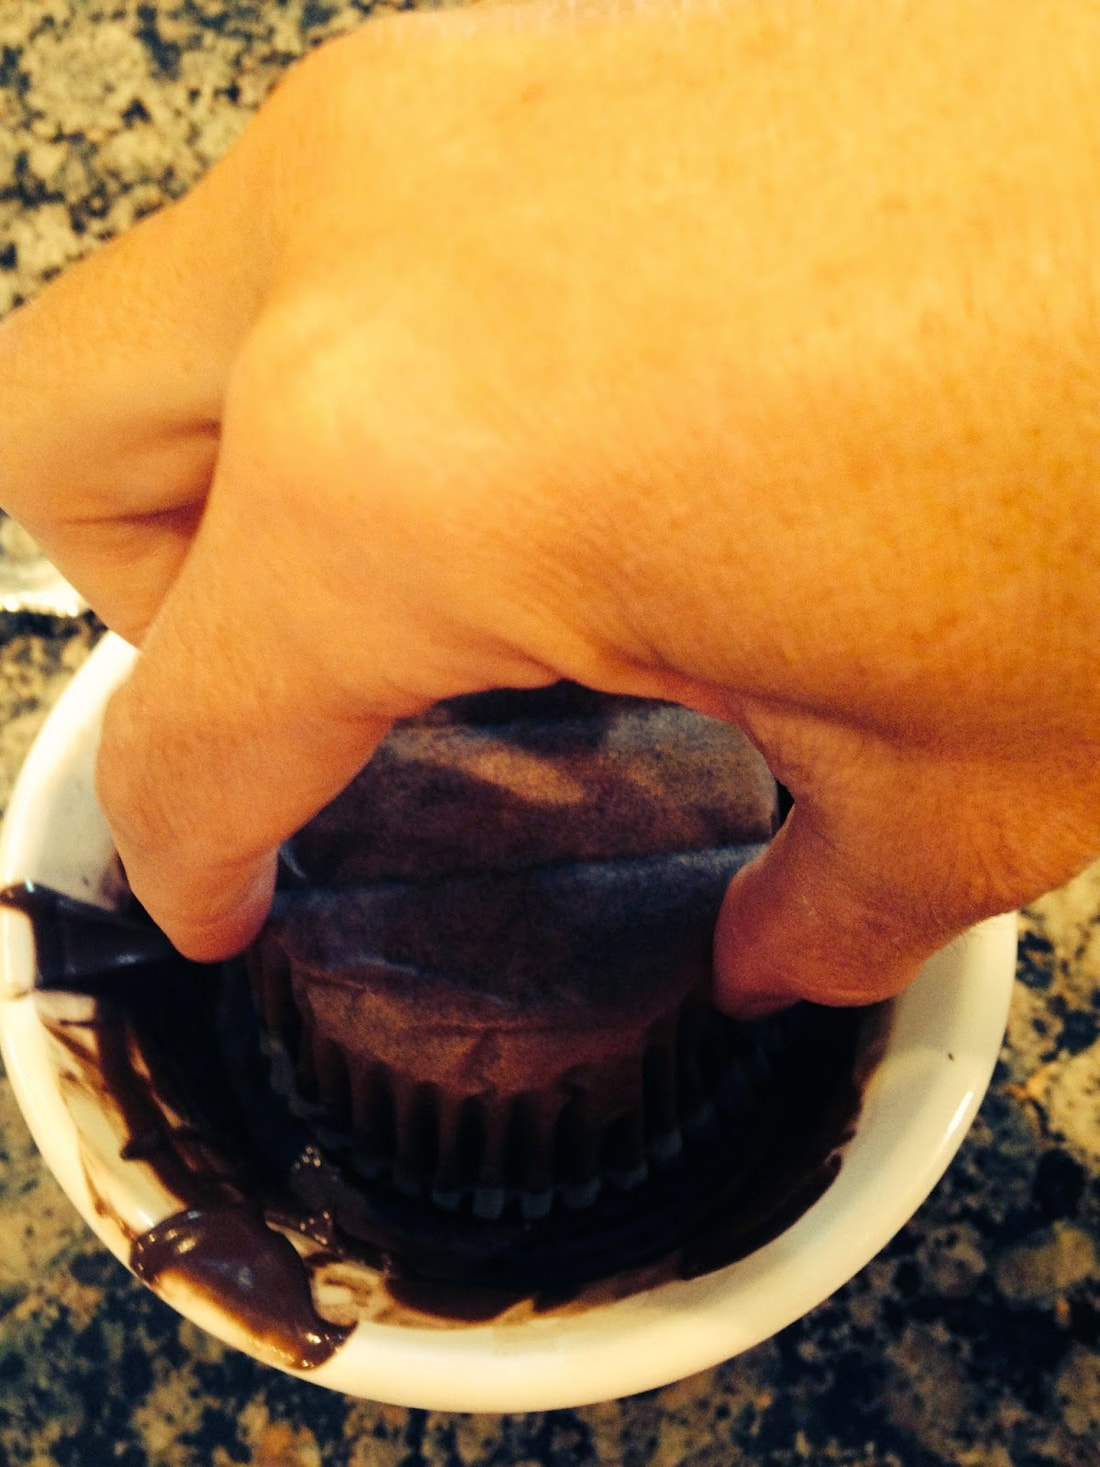
Holding each cupcake by its bottom, dip in chocolate to coat.
Transfer to a baking sheet and let stand 15 minutes. Cover and refrigerate 2 hours – serve cold.
 Sorry about the awkward pictures but if you think it's hard to dip a frosted cupcake upside down melted chocolate, you should try it one handed while trying to use a phone to take pictures with the other. (AWKWARD)
The most important thing to remember is to freeze the frosted cupcakes for at least 10 minutes before dipping. This will prevent the frosting from sliding off when you turn it upside down - hopefully. Give this recipe a try - it really is fun and the results are delicious.
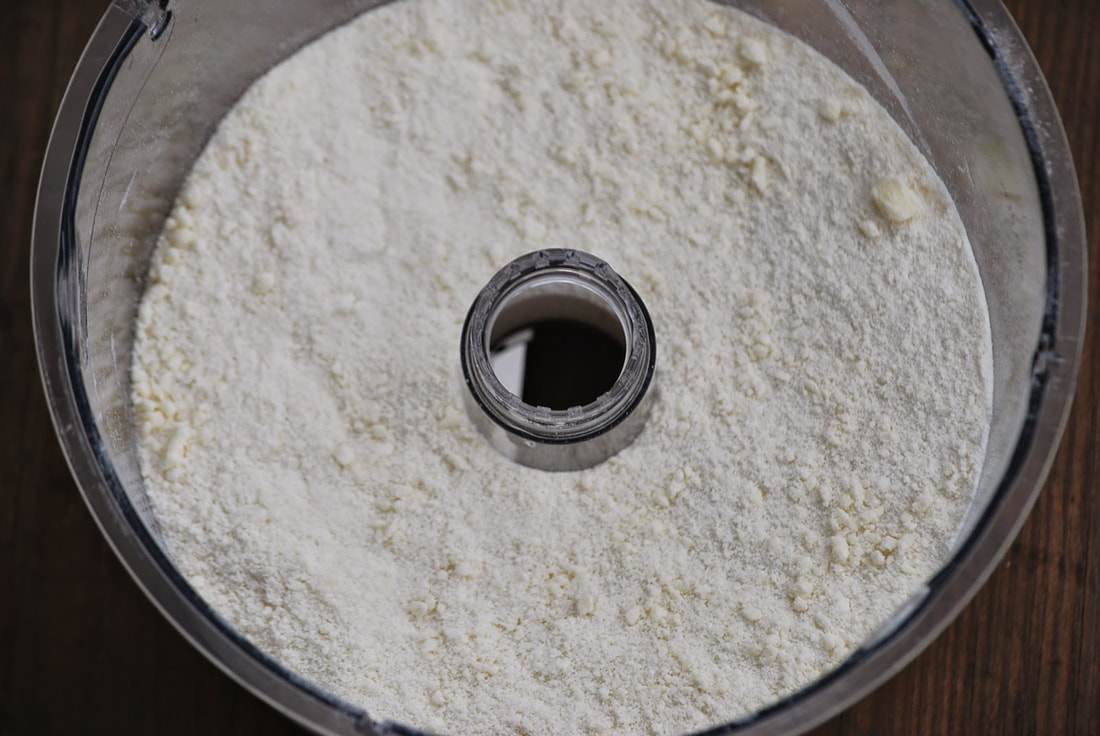
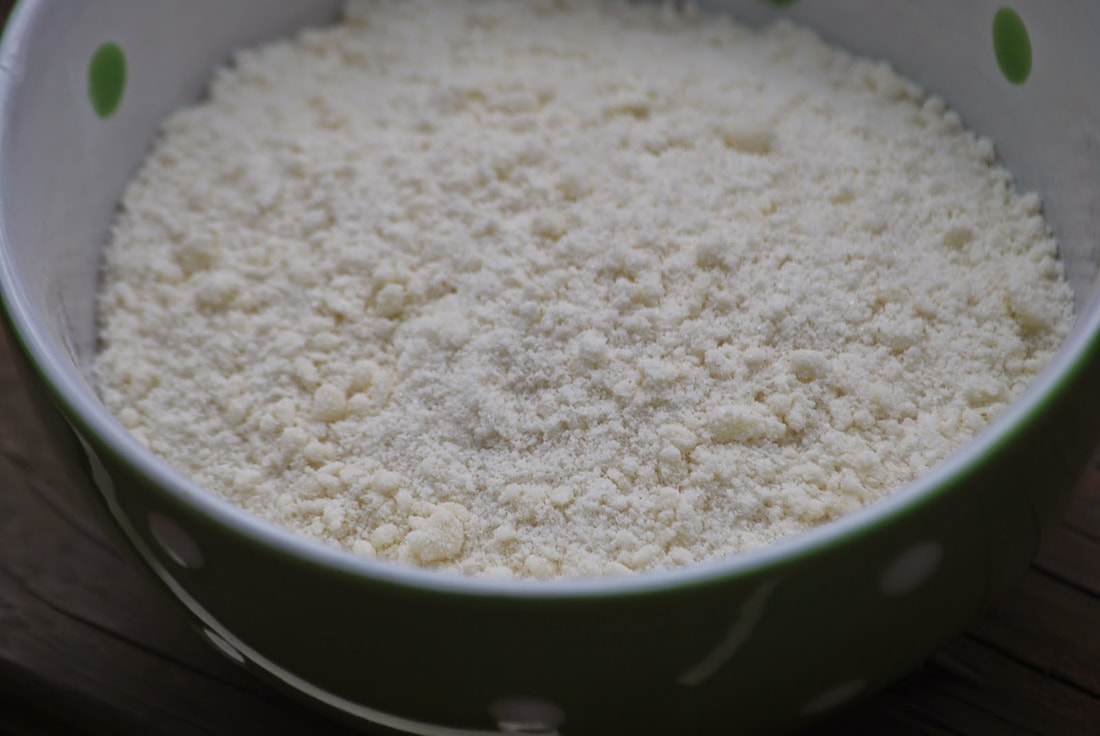
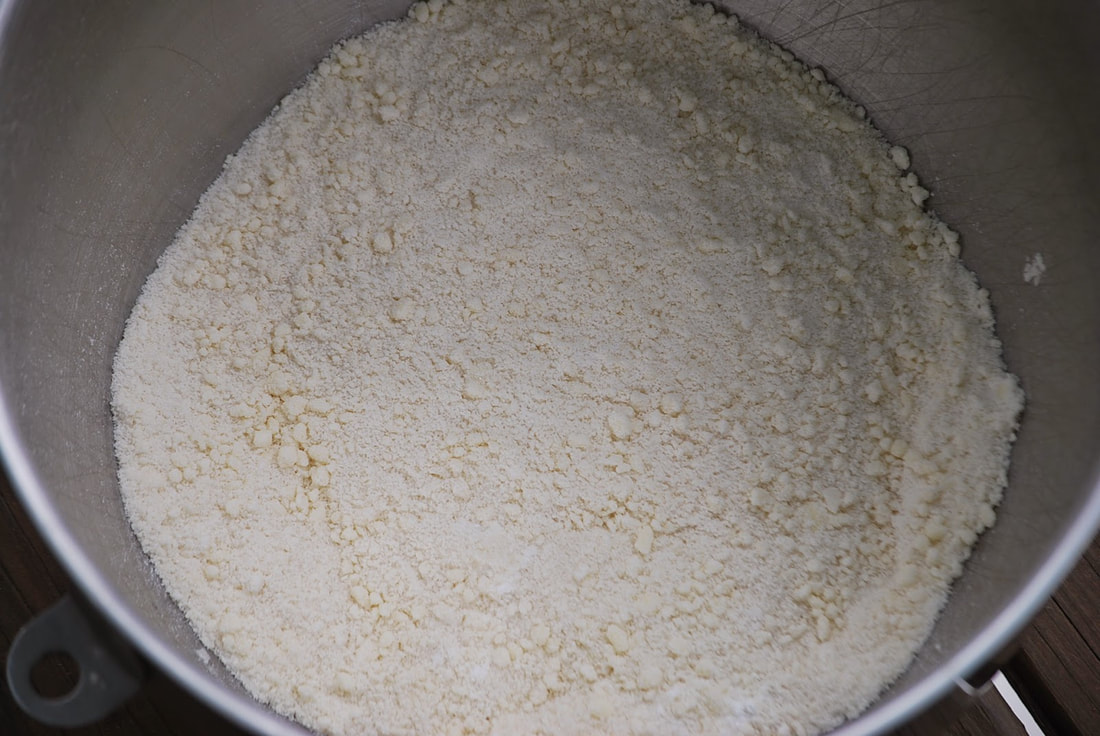
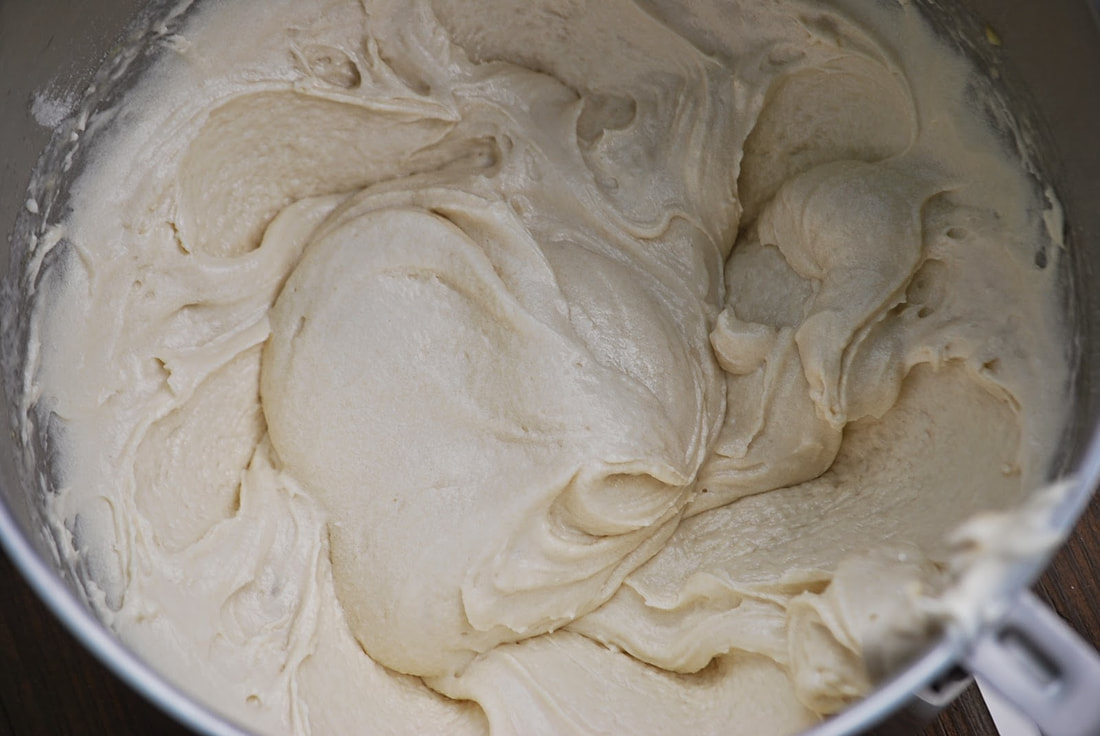
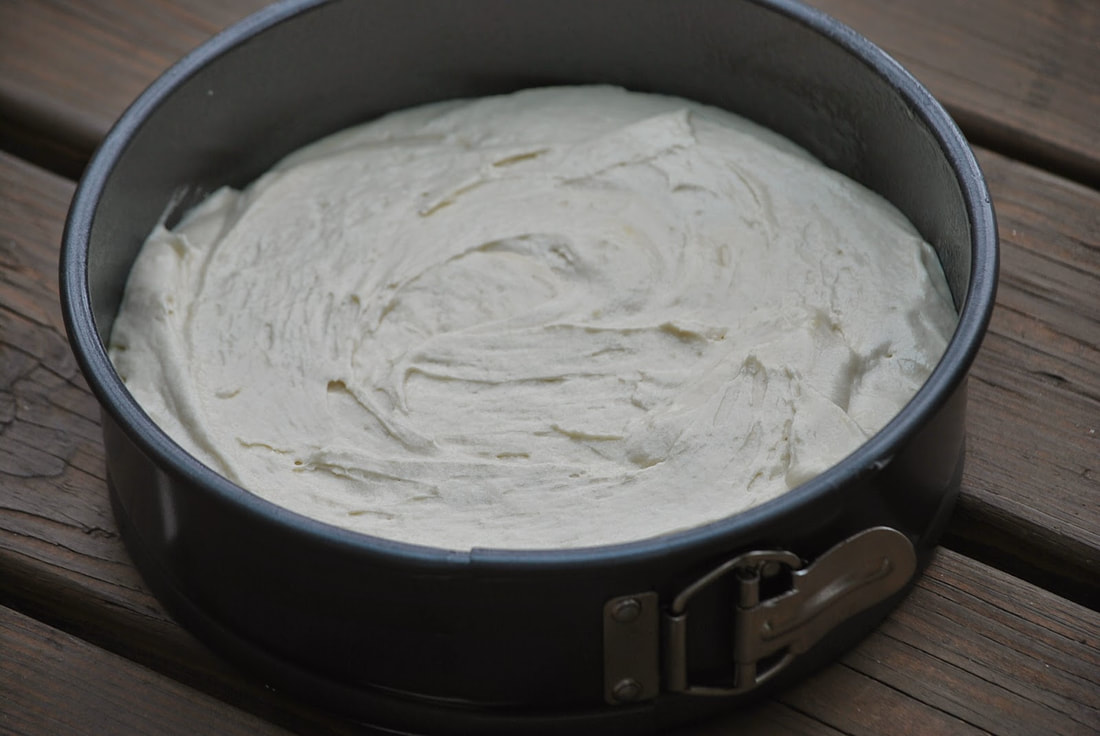
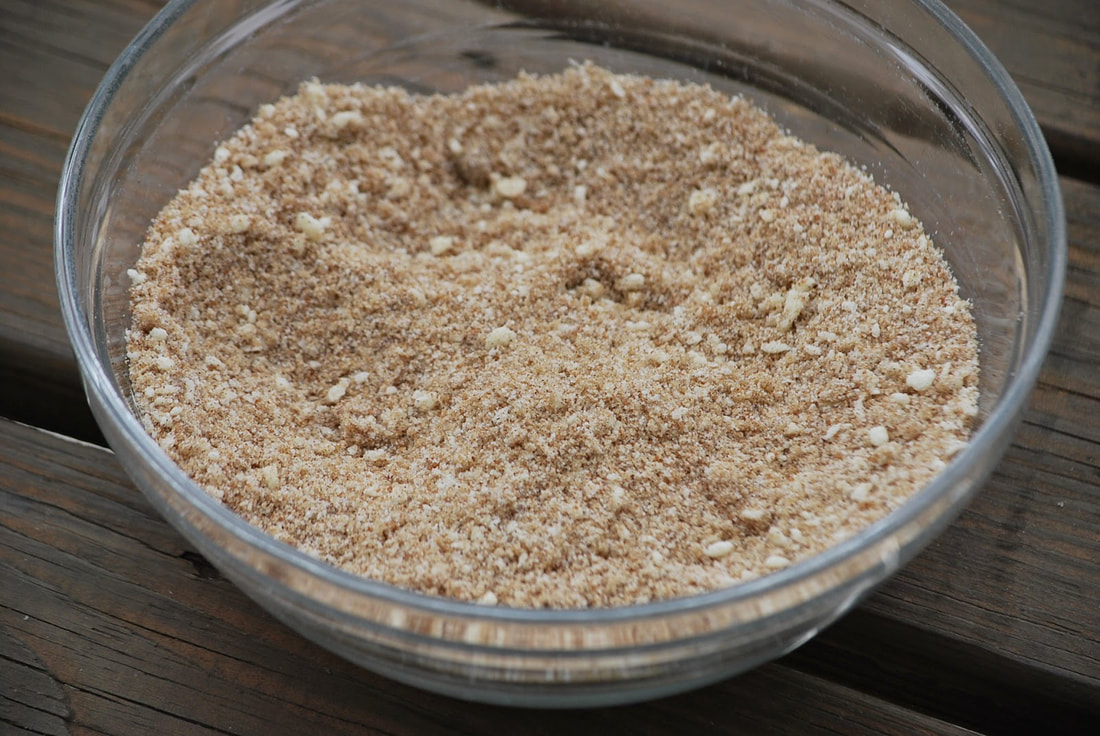
Ciao! 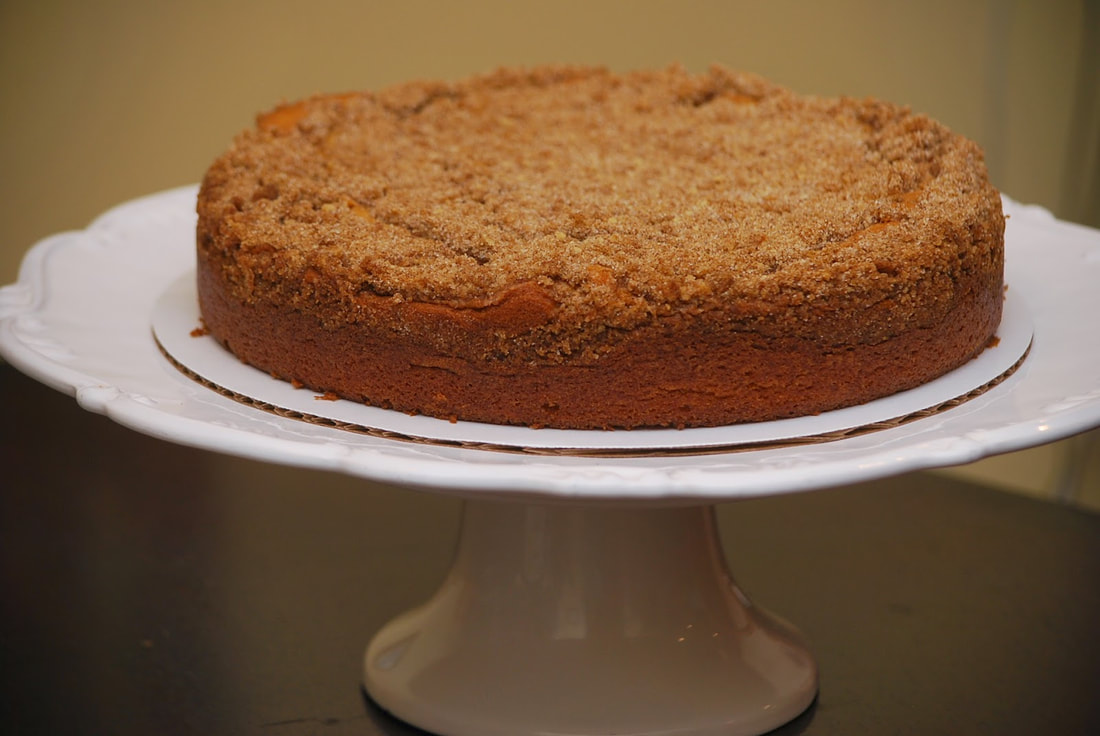 The mornings are cooler and it's getting harder and harder for me to get out of bed in the mornings it seems. I just want to stay snuggled up under my covers lately. 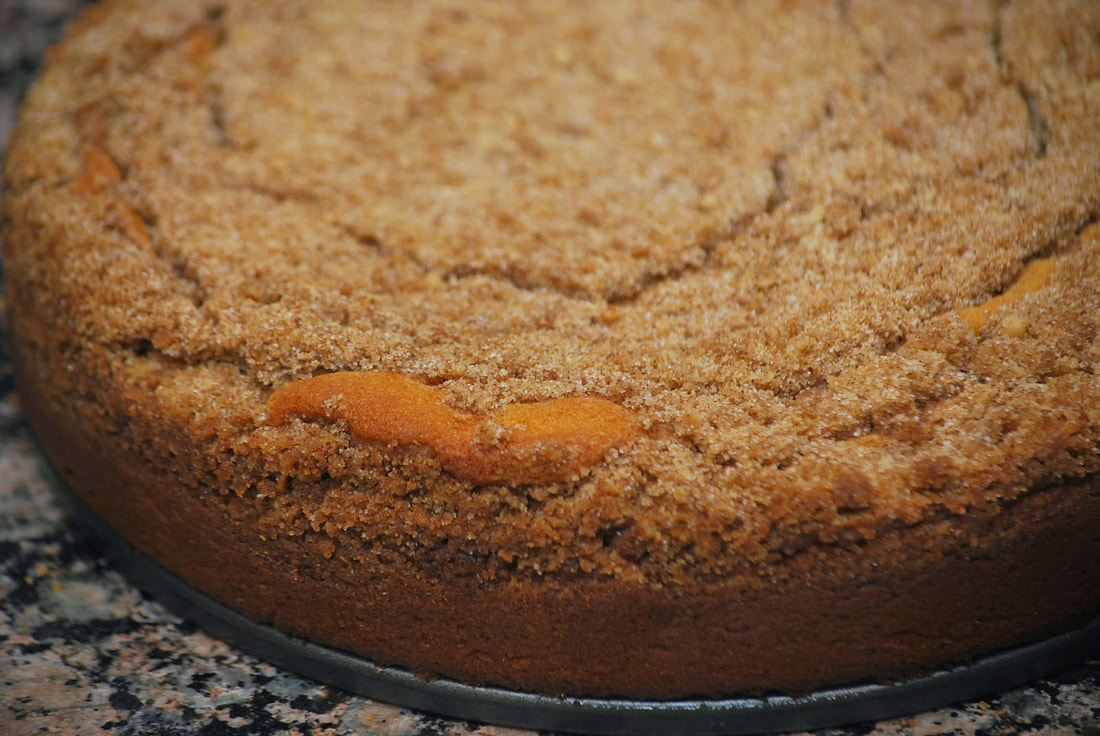 So what is a girl to do who needs some inspiration to jump out of bed in the morning? Well, this girl programs the coffee pot to make hot water for my tea in the morning and then makes coffee cake before she goes to bed. 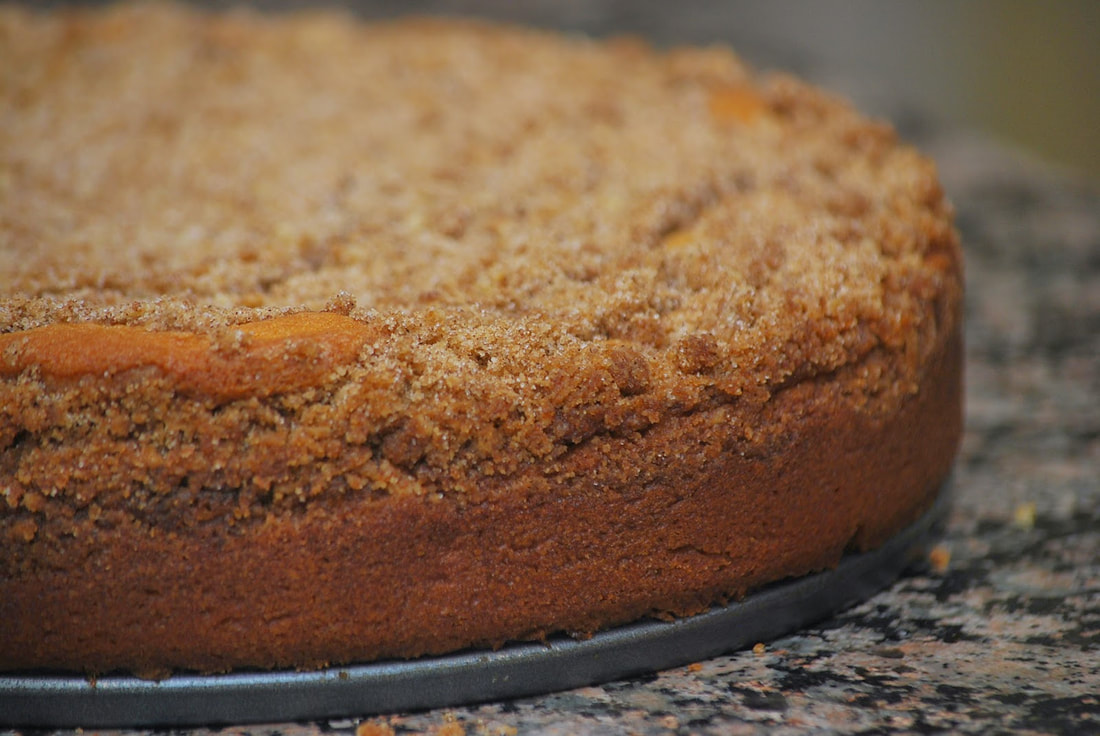 Yep, nothing motivates me to jump out of bed in the morning like the thought of a giant slice of crumbly coffee cake waiting for me in the kitchen. (Whatever it takes right?) 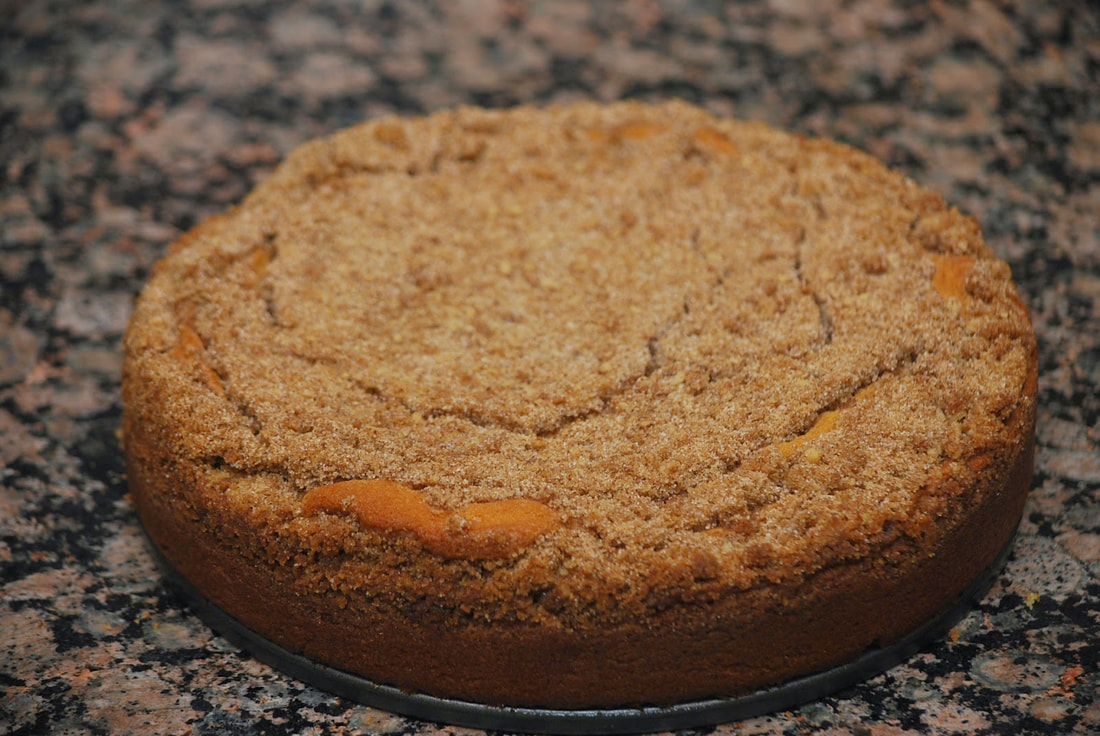 Crumb Topped Coffee Cake 1 Tablespoon flour, for coating the pan 2 cups all-purpose flour 1 cup + 2 Tablespoons granulated sugar 1 teaspoon salt 10 Tablespoons (1 and 1/4 stick) unsalted butter, firm and cold 1 teaspoon baking powder 1/2 teaspoon baking soda 3/4 cup buttermilk, at room temperature 1 large egg, at room temperature 2 teaspoons vanilla extract 2/3 cup brown sugar 2 teaspoons ground cinnamon
Set aside 1 cup of the flour mixture. Transfer mixture to a mixing bowl. Mix the baking powder and baking soda into the remaining flour mixture.
Add the brown sugar and cinnamon to the reserved flour mixture. Toss with a fork until well blended.
Bake the cake until the center is firm and a toothpick inserted in the center comes out clean - 50-58 minutes. Allow to cool for 10 minutes, then remove the sides of the springform pan and allow cake to cool completely before serving (about 2 hours). 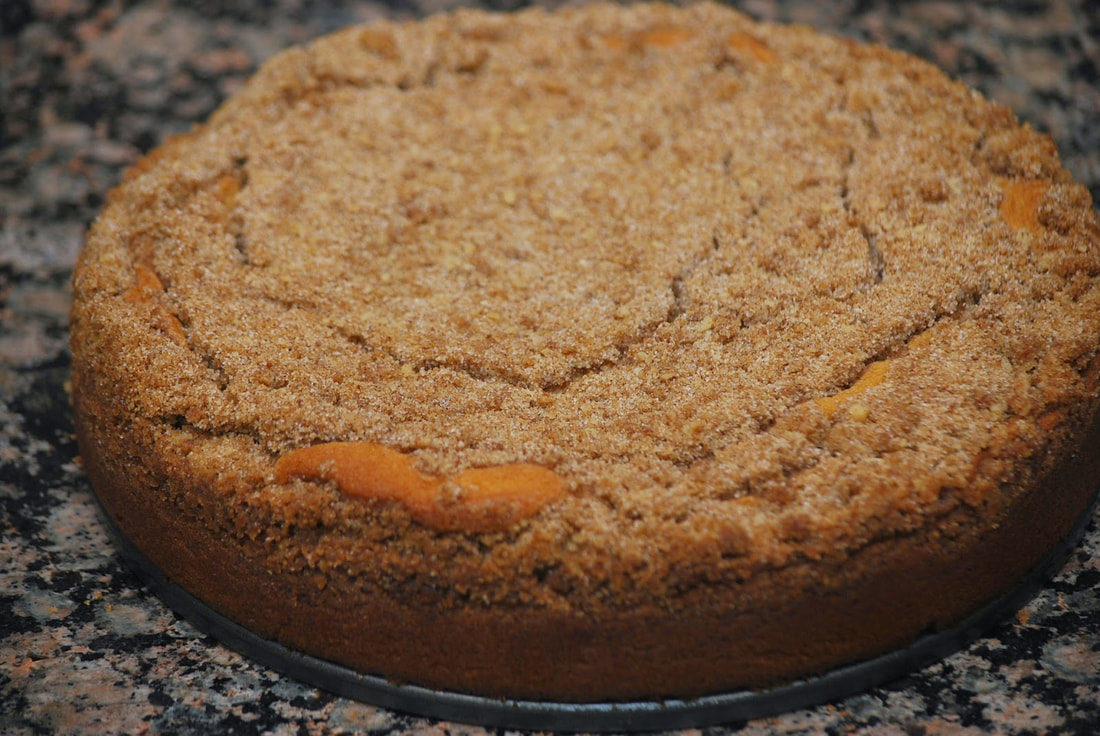 The only problem with this morning coffee cake motivation is that I have to resist the urge to eat it BEFORE I go to bed.
Ciao! |