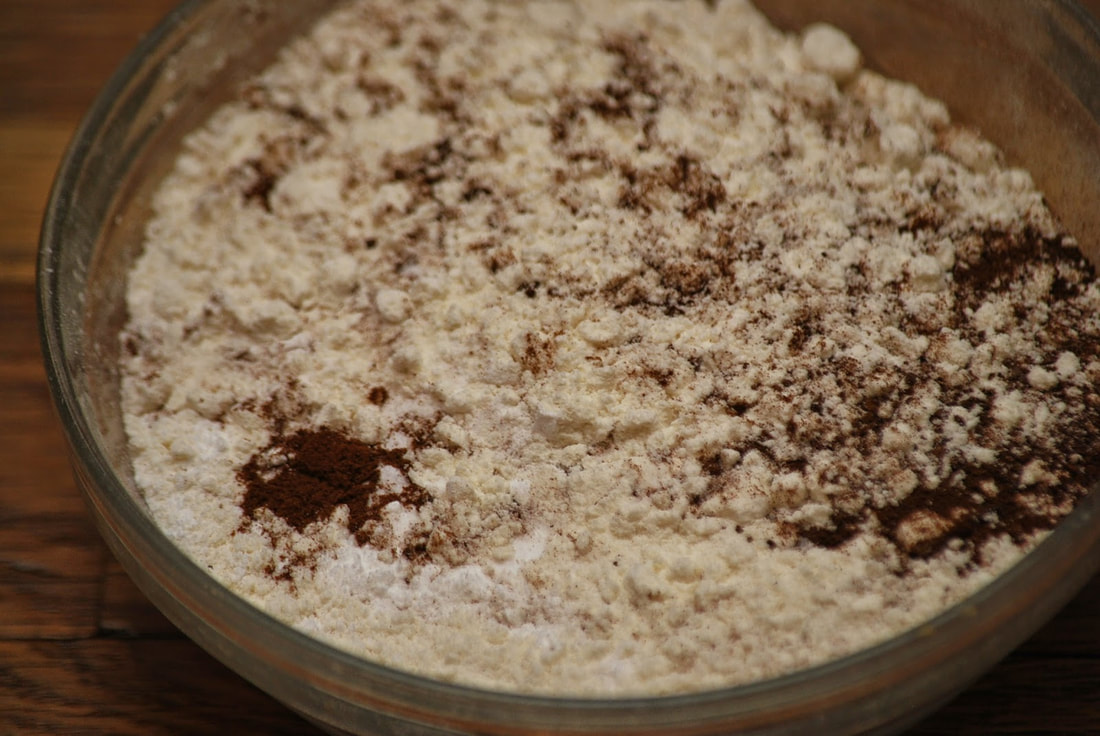
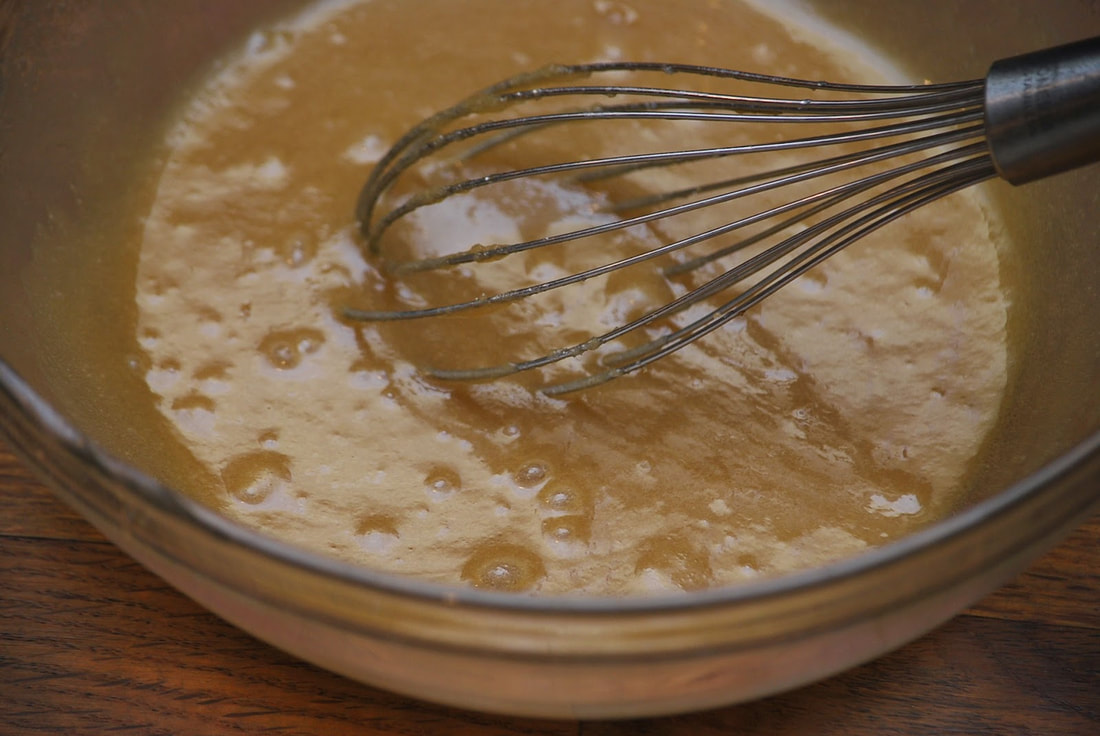
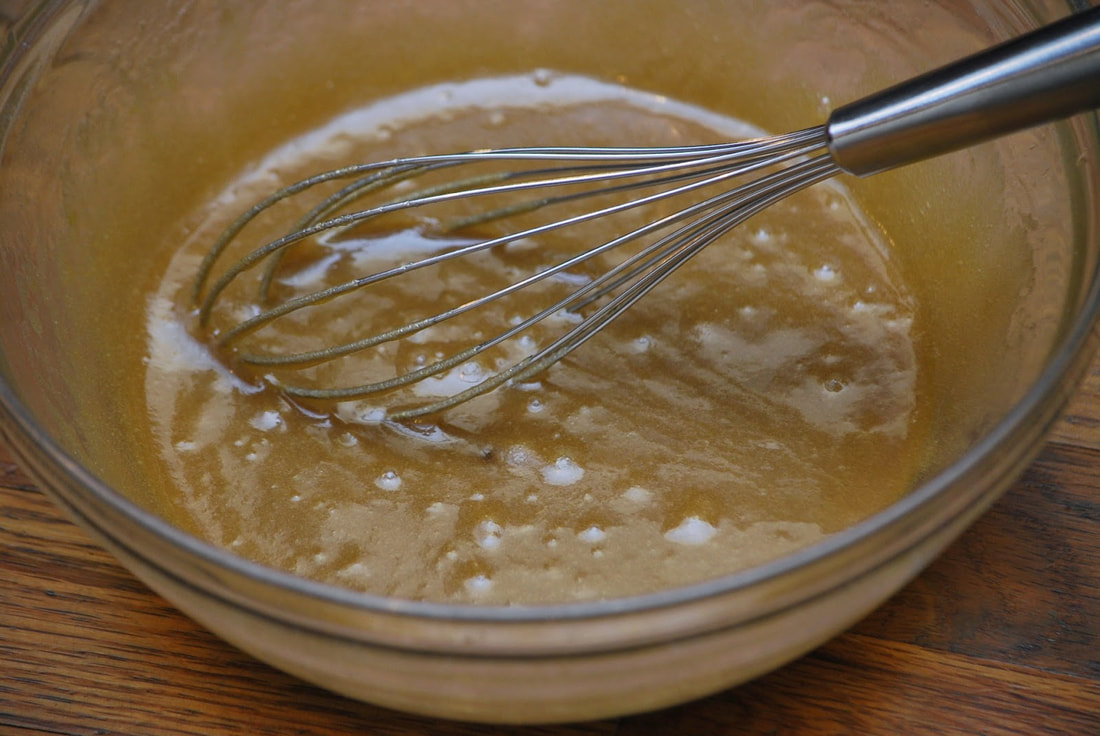
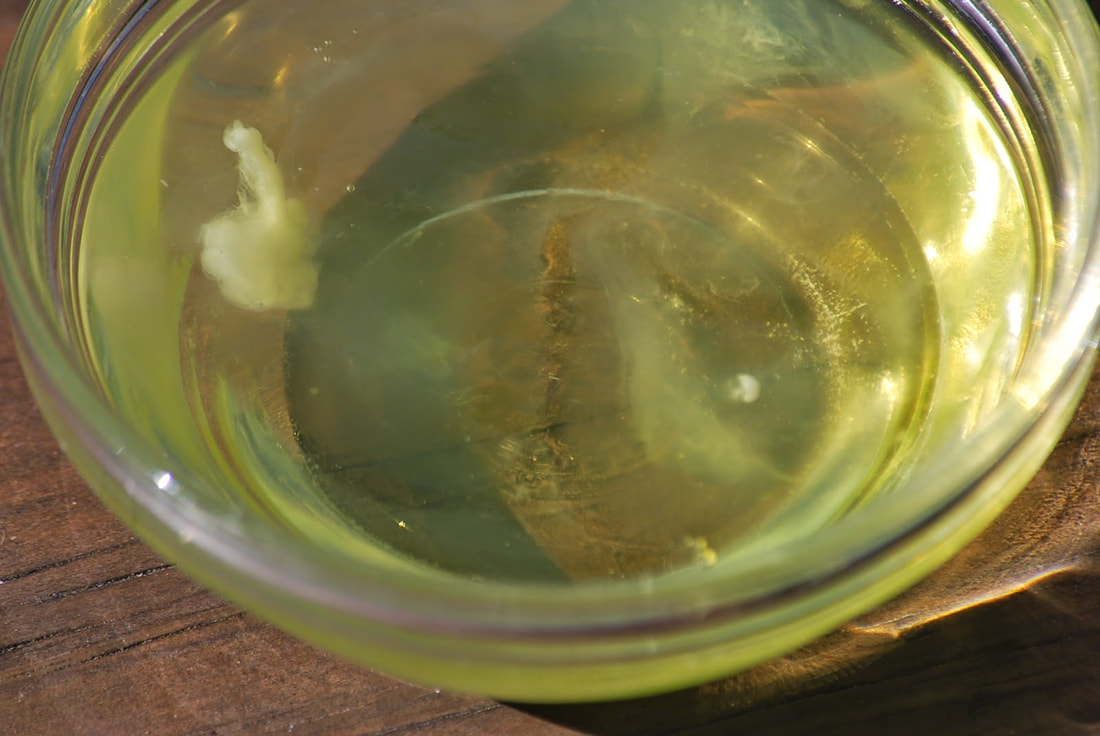
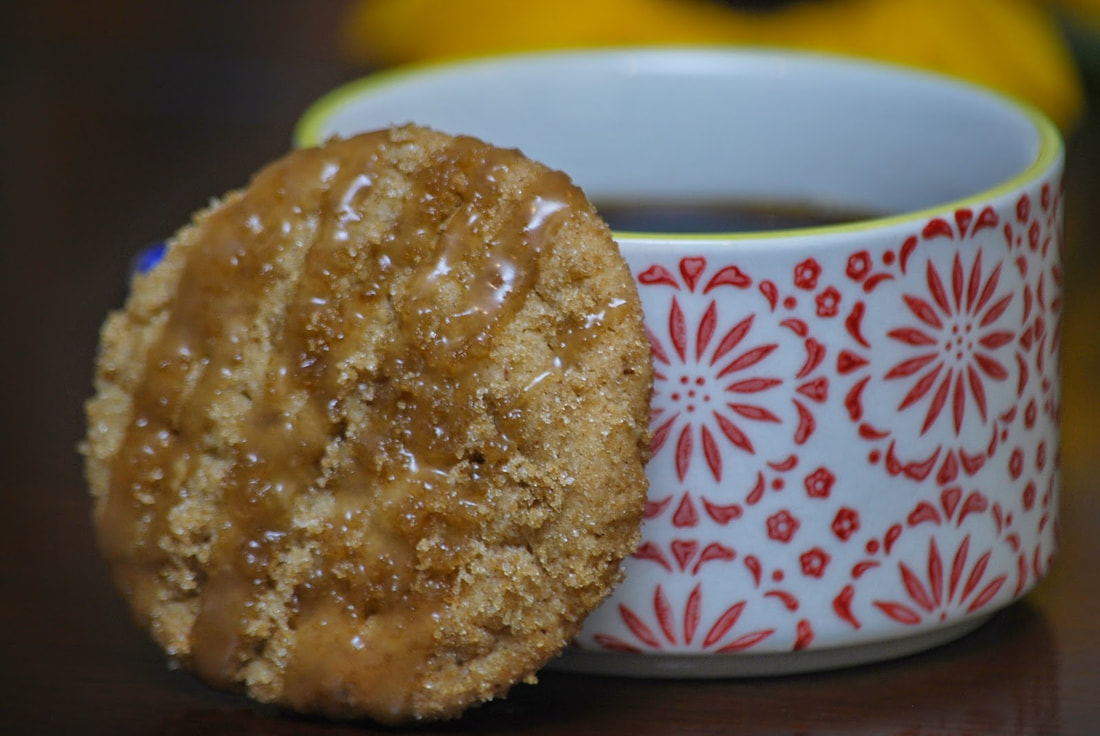
 Attention coffee drinkers - I have got a treat for you. A caramel macchiato cookie!!! You heard that right - a coffee infused cookie, drizzled with salted caramel sauce - all the delicious flavors that you love to drink - in cookie form. 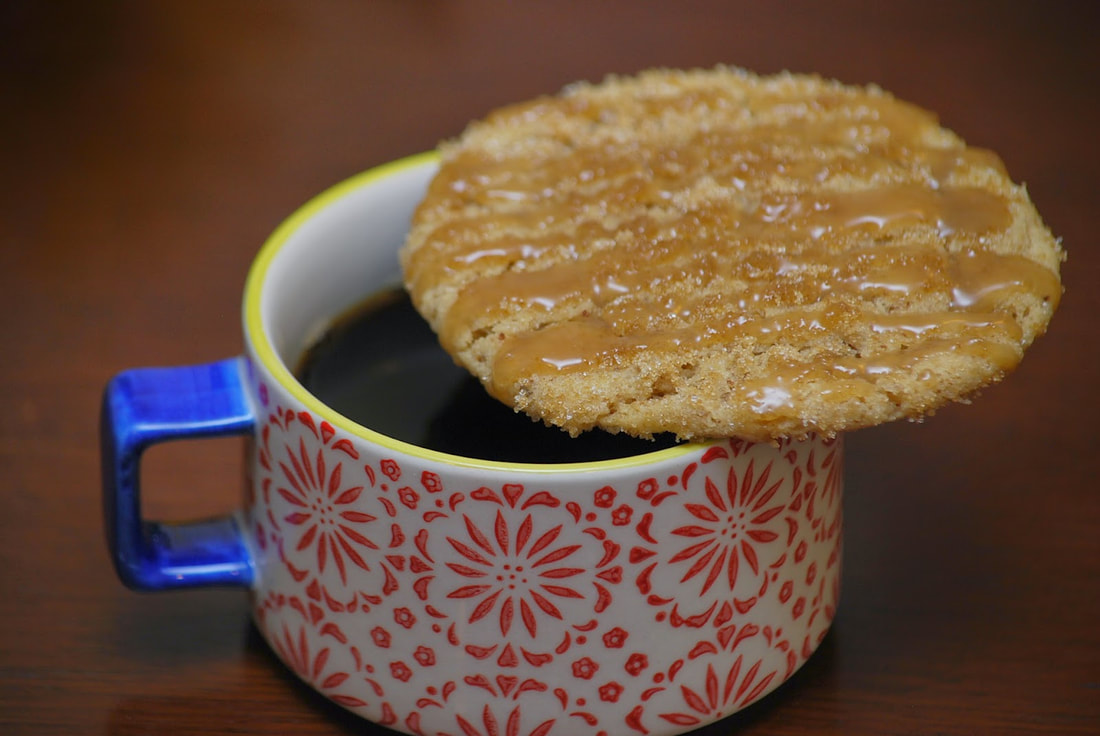 I am in no way advocating that you boycott your favorite caramel flavored coffee drink - I'm simply offering you a new way to enjoy it.  Give this cookie a try - you will not regret it. 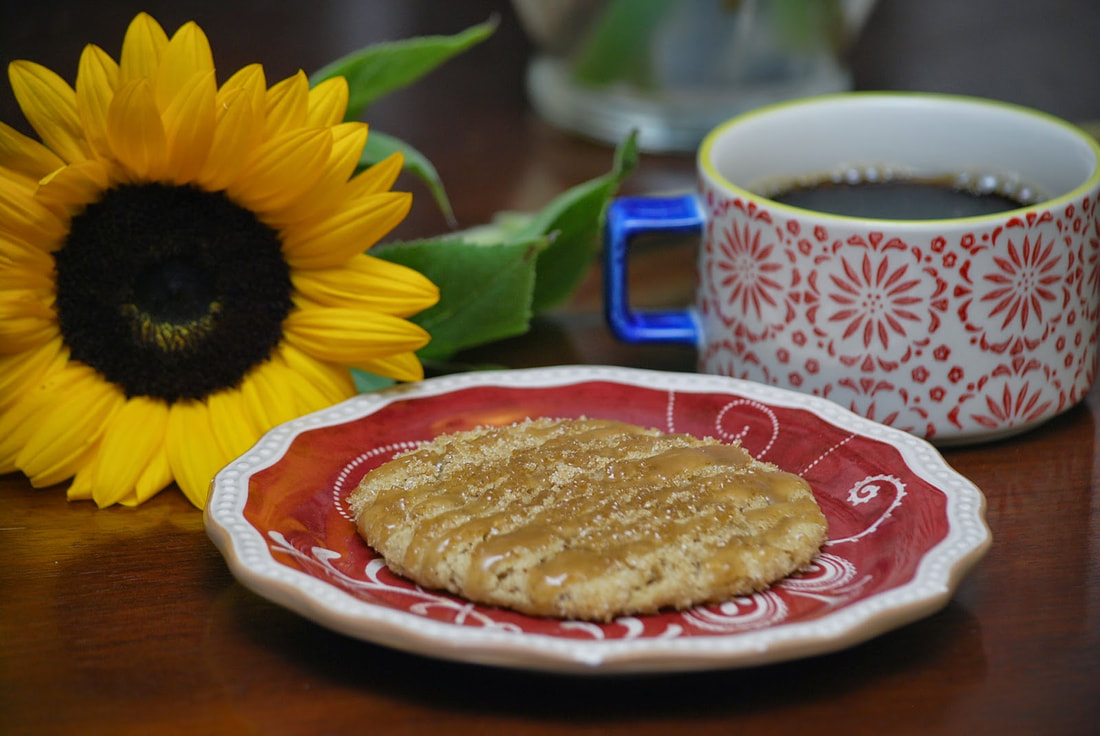 Caramel Macchiato Cupcakes 2 ¼ cup Flour 1 tsp Baking Powder ½ tsp Baking Soda 1 Tbsp Espresso Powder ½ tsp Salt ¾ cup Brown Sugar + ¼ cup for Rolling ¾ cup Sugar + ¼ cup for Rolling ¼ cup Cream Cheese, cut into pieces and softened 6 Tbsp Butter, melted ⅓ cup Vegetable Oil 1 Egg 1 Tbsp Milk 1 tsp Vanilla 1 cup Salted Caramel Sauce
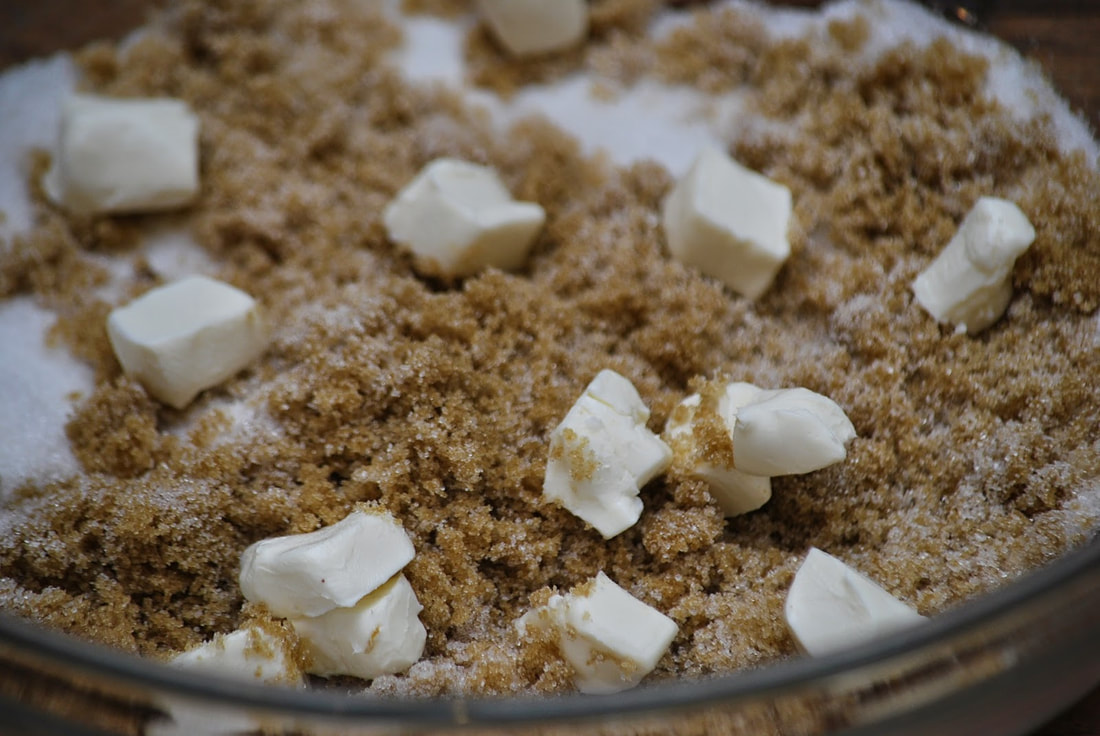
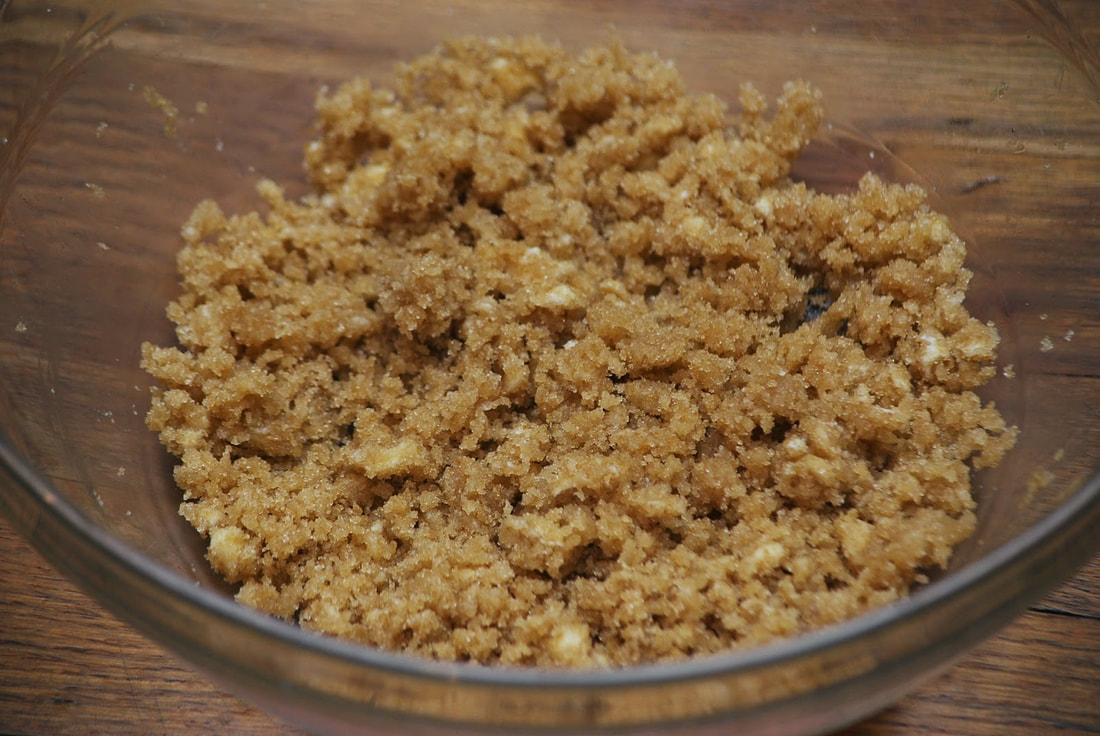
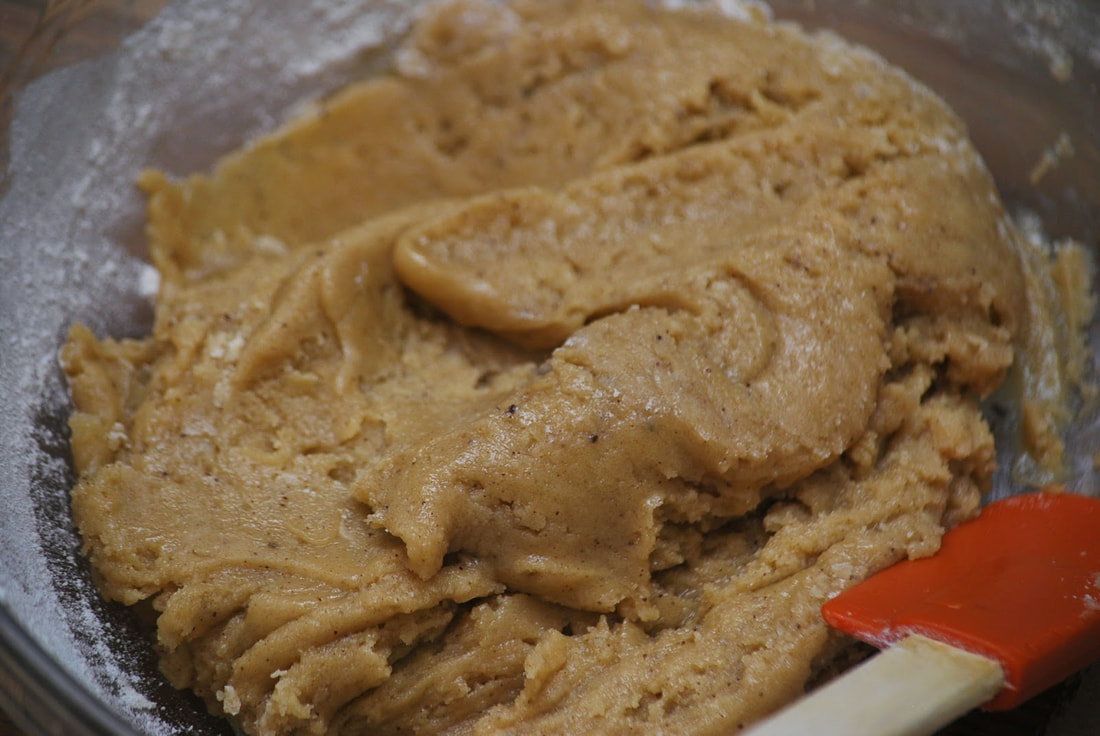
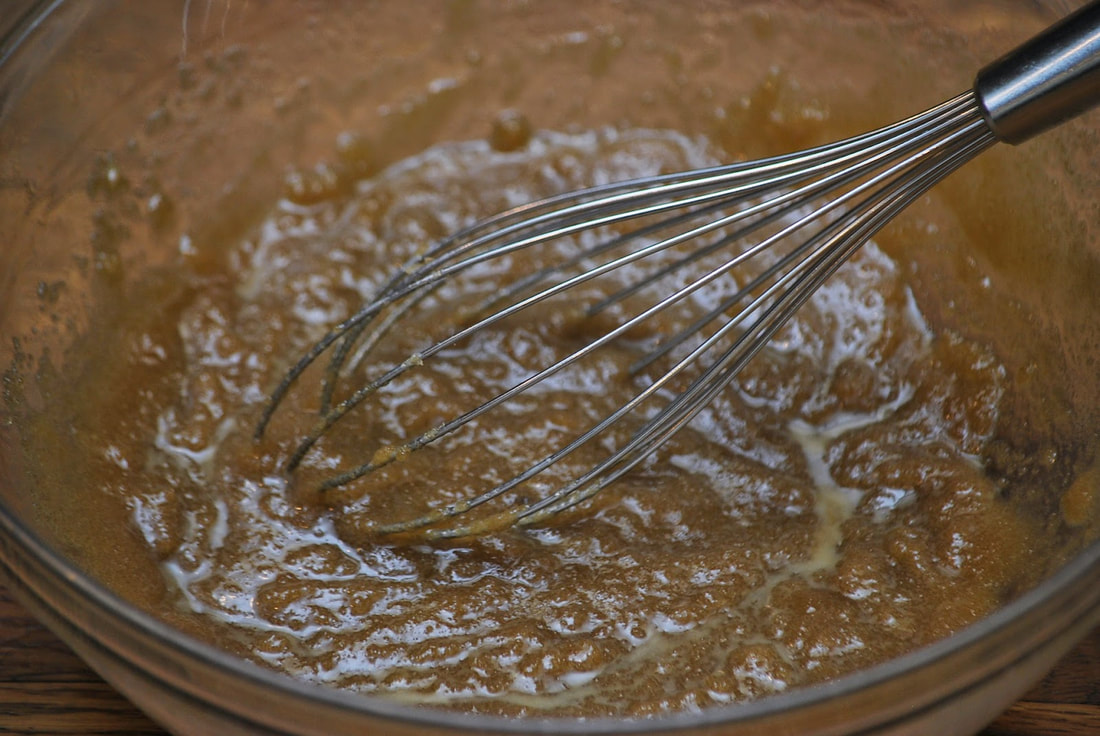
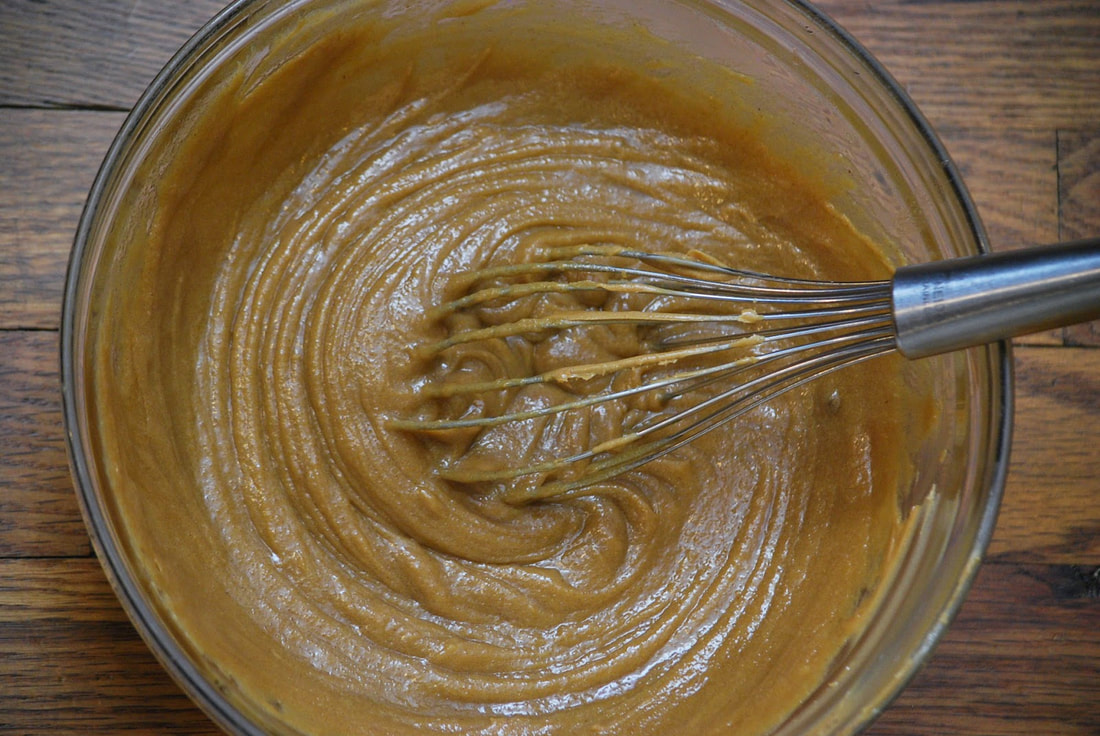
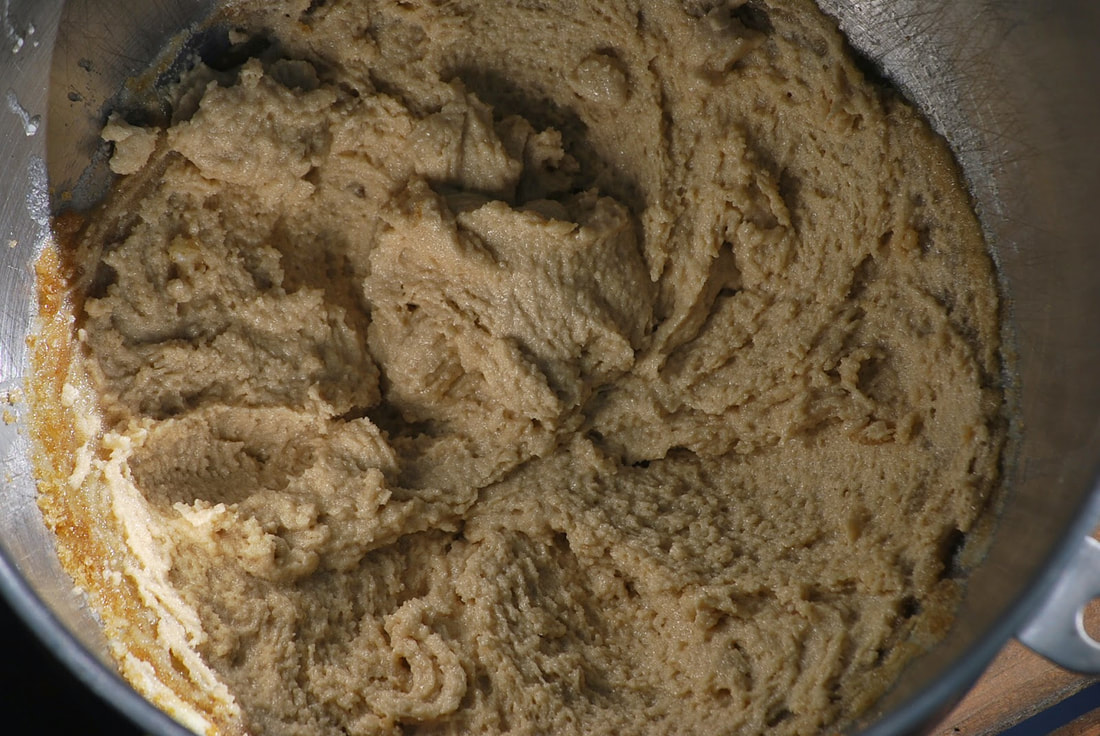
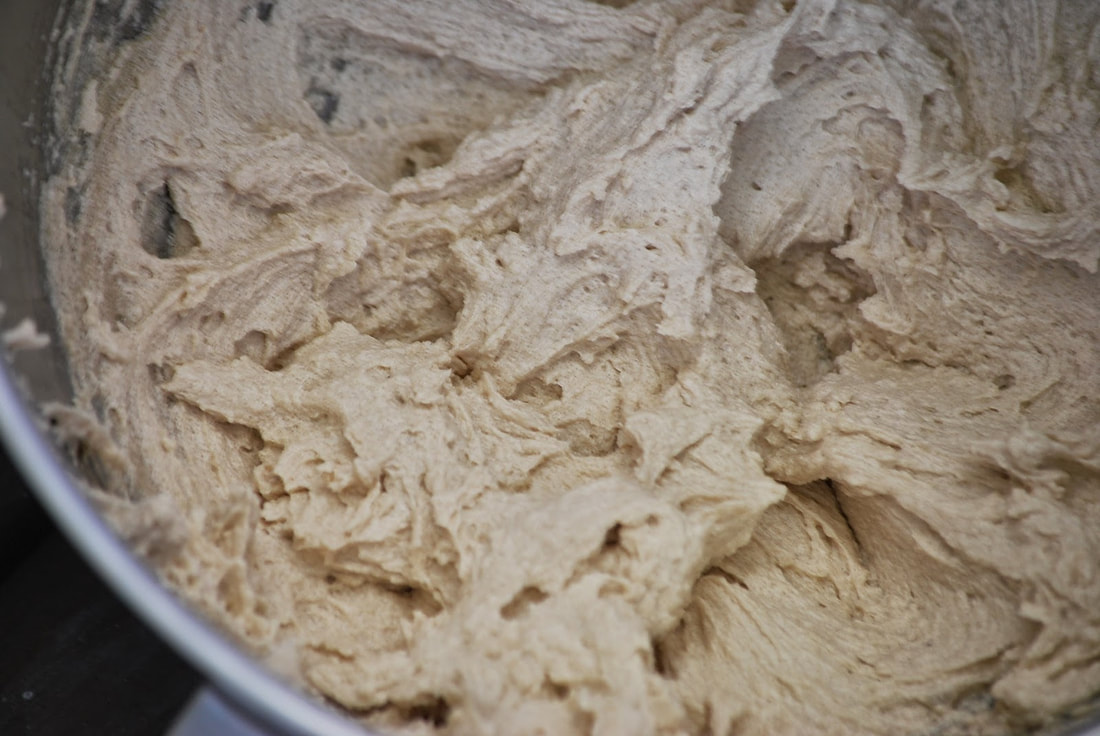
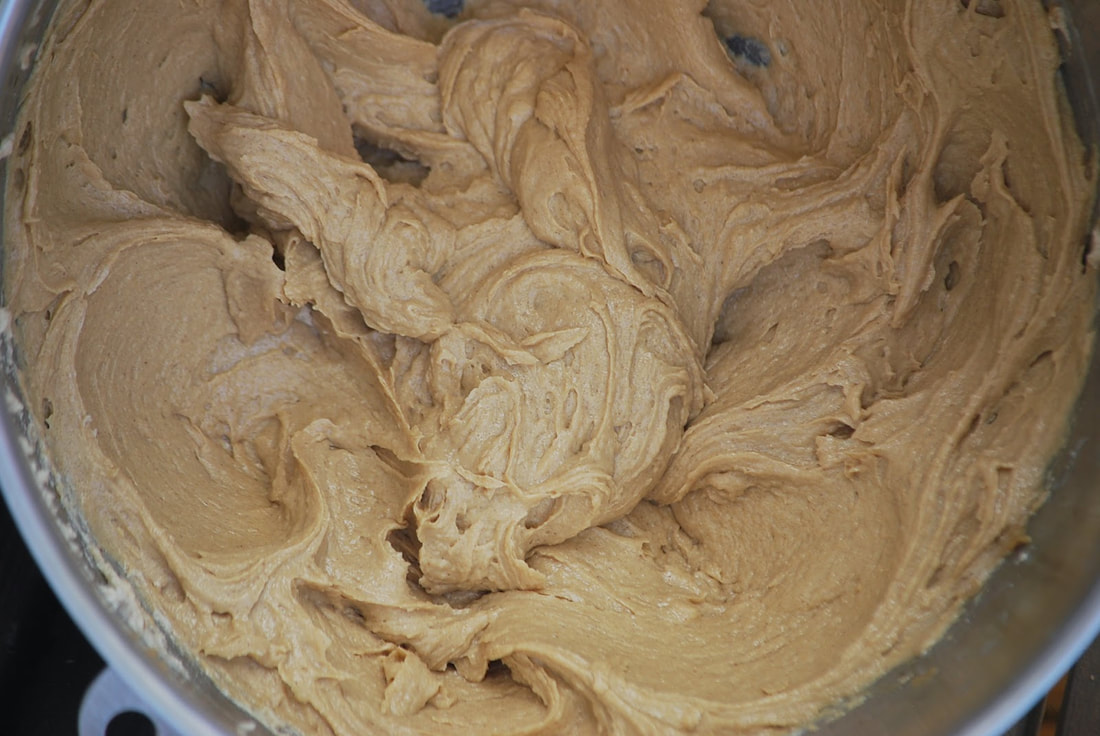
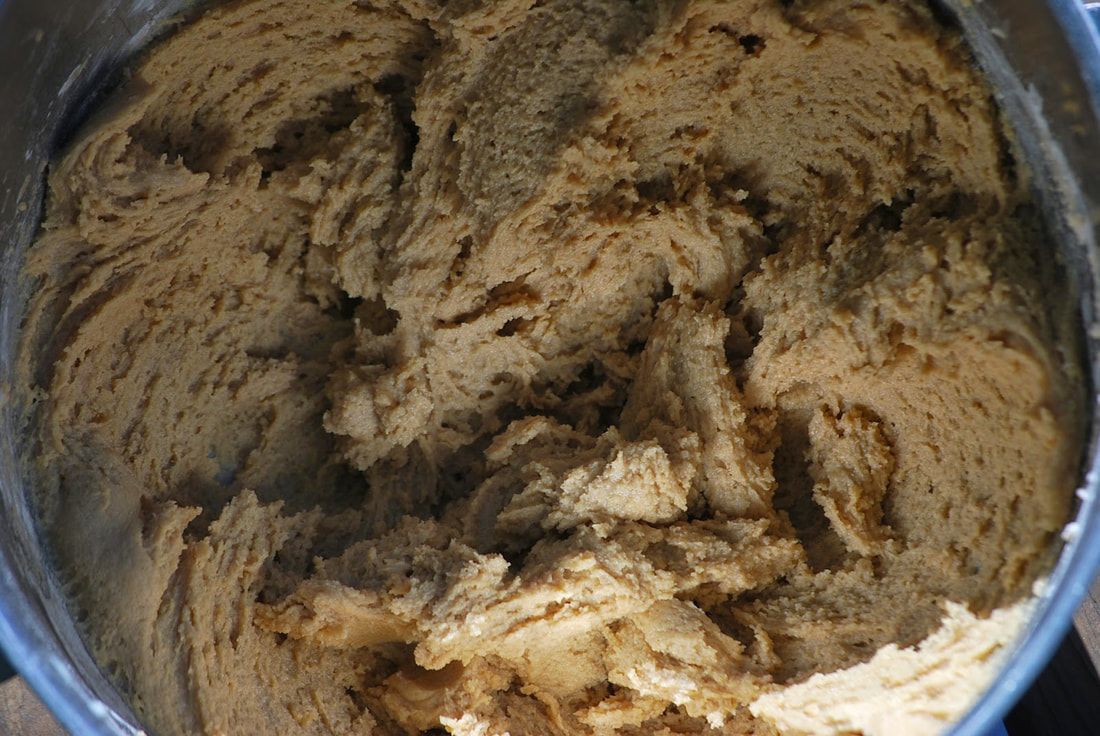
In another large bowl mix together ¾ cup brown sugar and ¾ cup sugar with softened cream cheese.
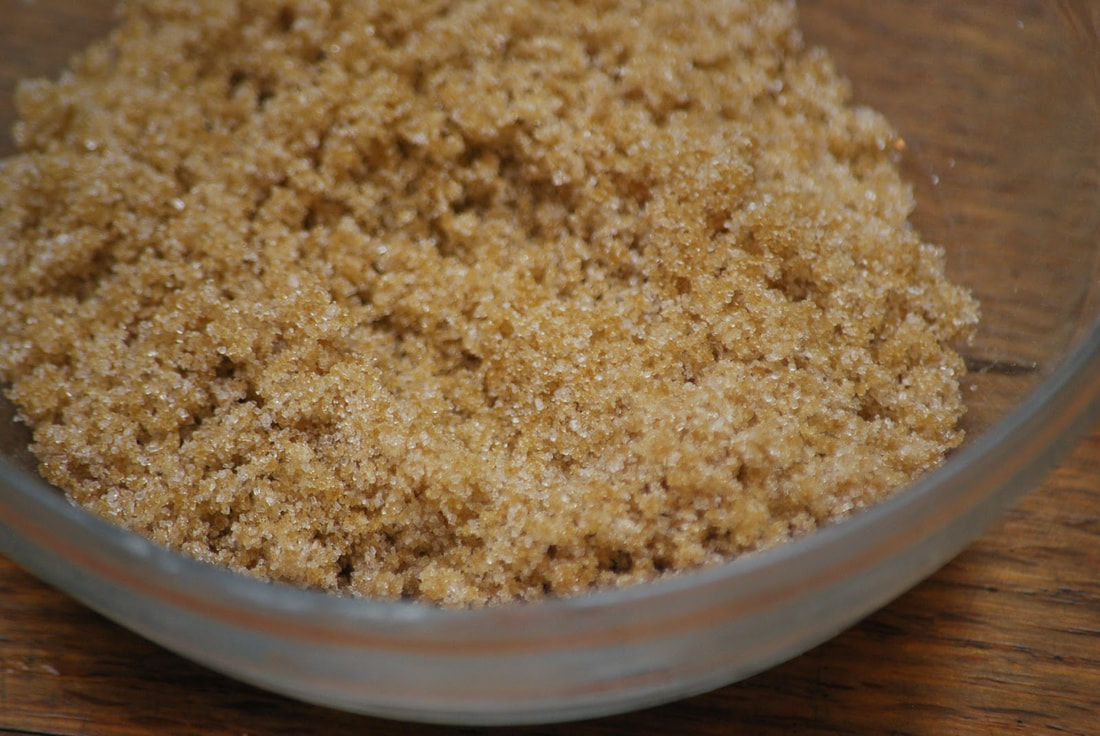
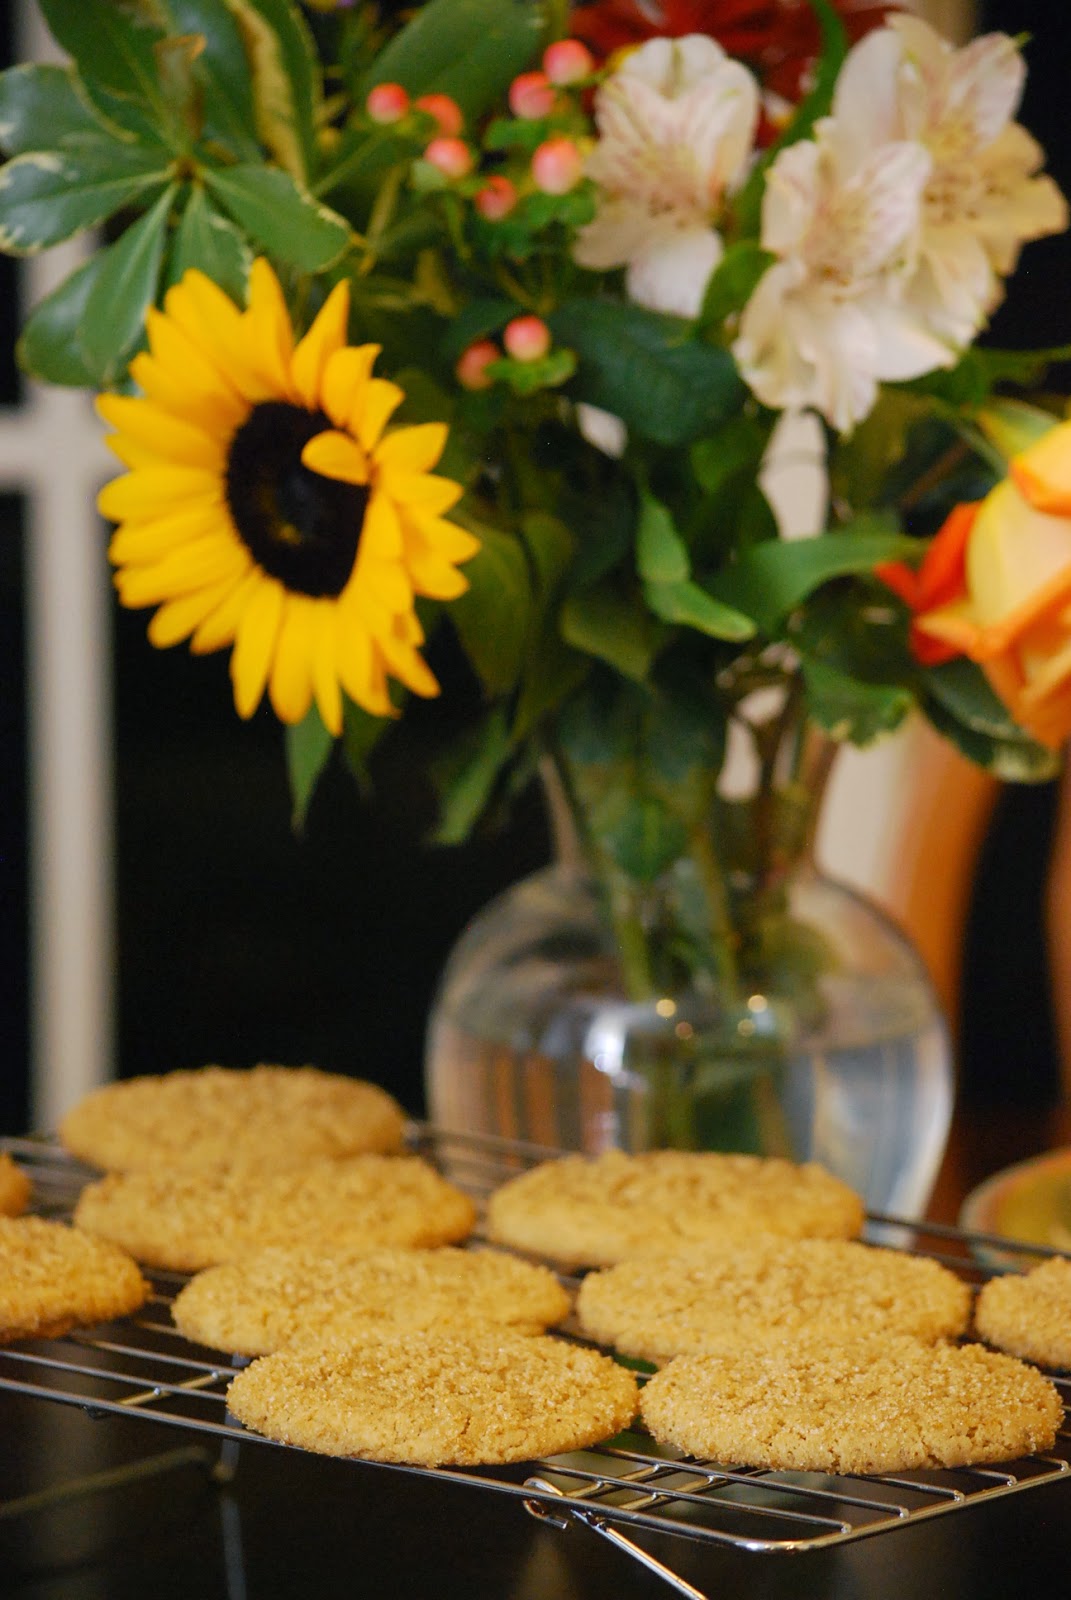
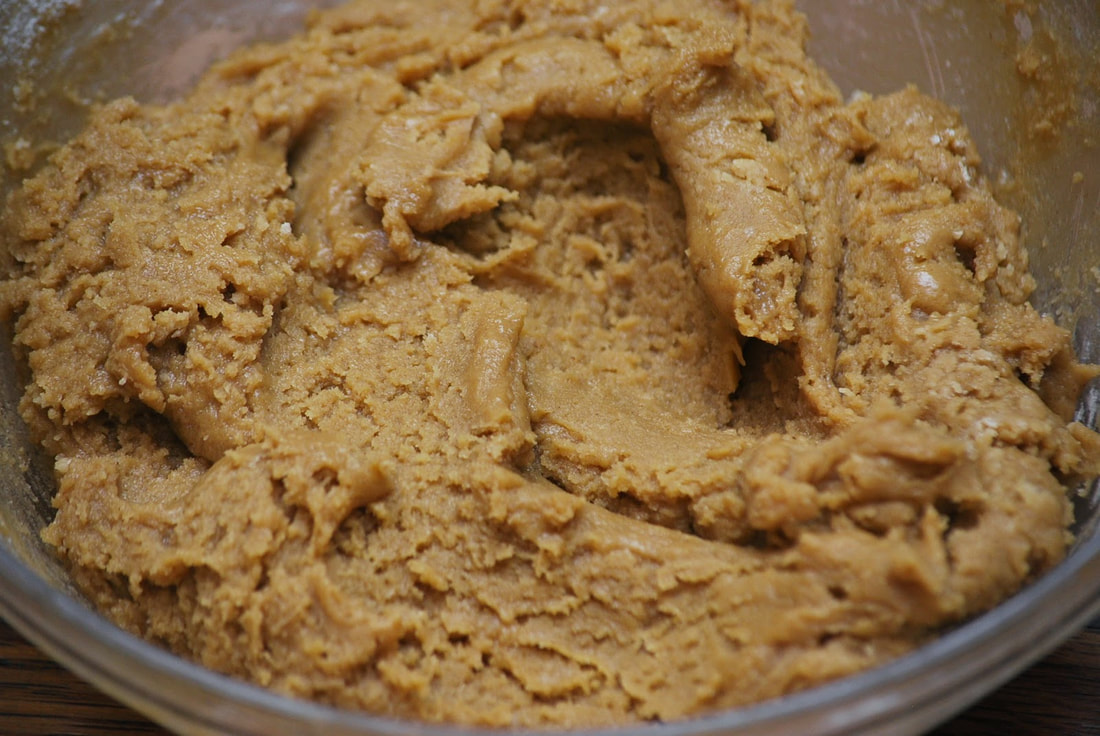
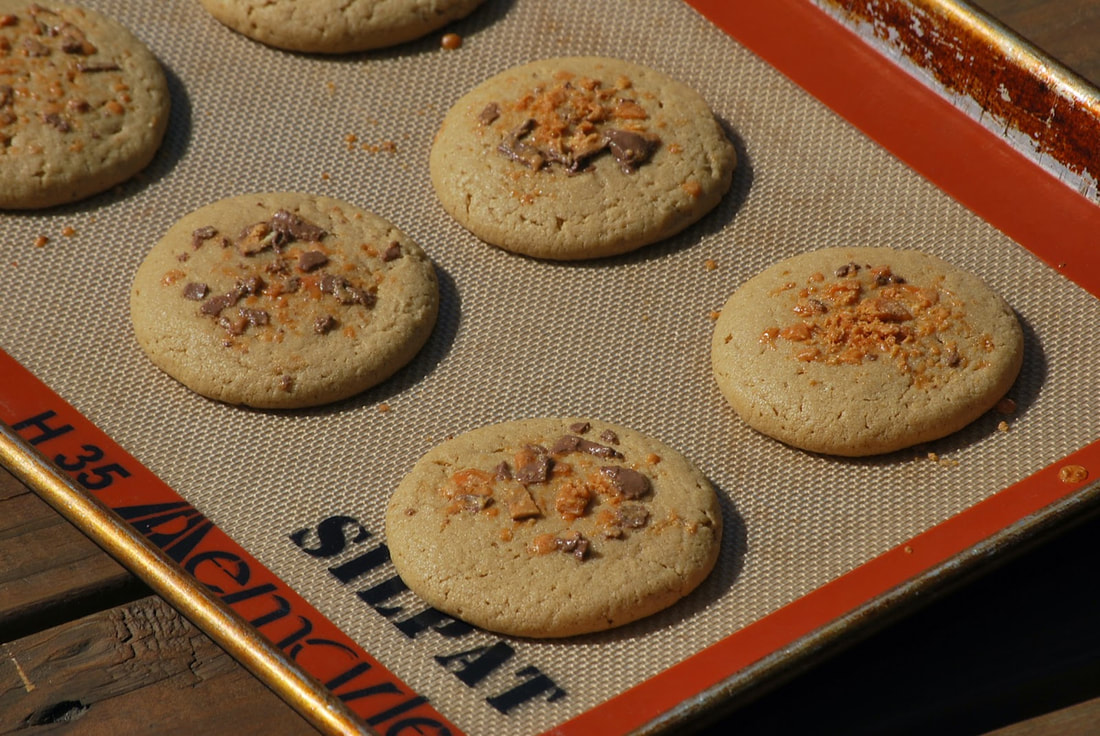
Using a cookie scoop, gather about 2 tablespoons of dough, roll into a ball and then roll into the brown and white sugar mixture. Place 2 inches apart on cookie sheet. With the bottom of a flat bottom glass, gently press down onto the top of each cookie dough ball until they are about 2 inches in diameter. Sprinkle cookies with additional brown and white sugar mixture. Bake for 12 minutes or until they just turn golden brown on the edges. Let cookies cool on cookie sheet for 5 minutes before removing. Remove and then allow to cool on wire rack.
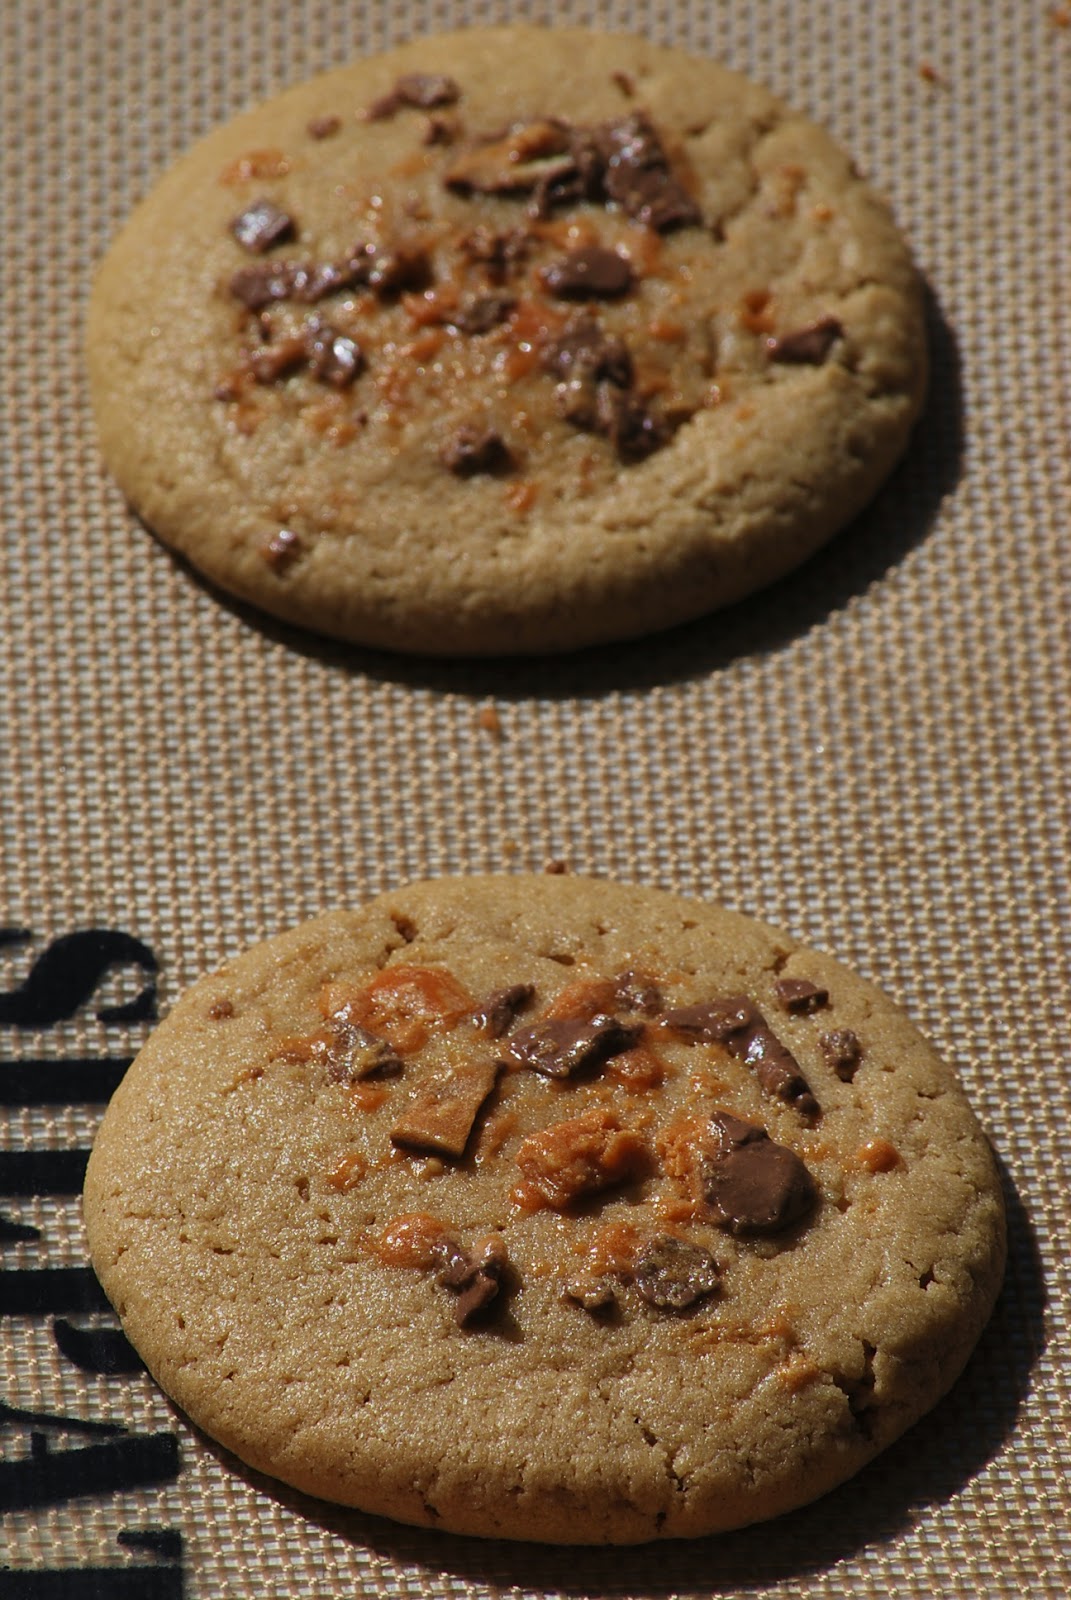
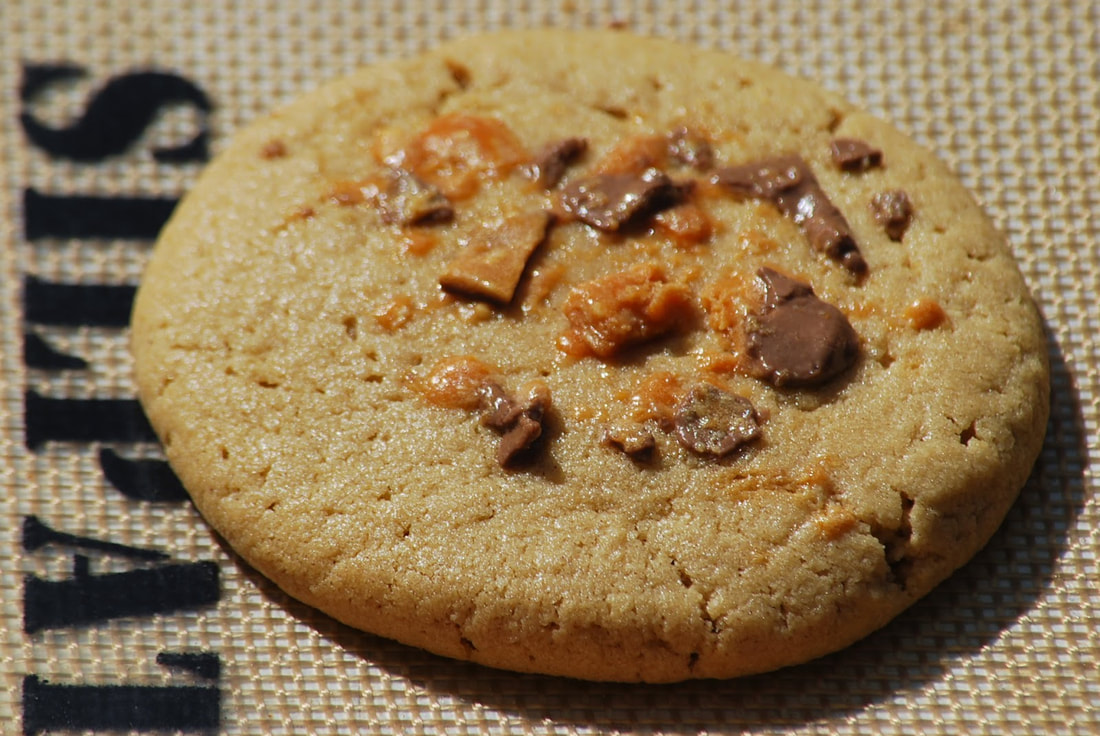
Drizzle the tops of cooled cookies with warmed salted caramel. 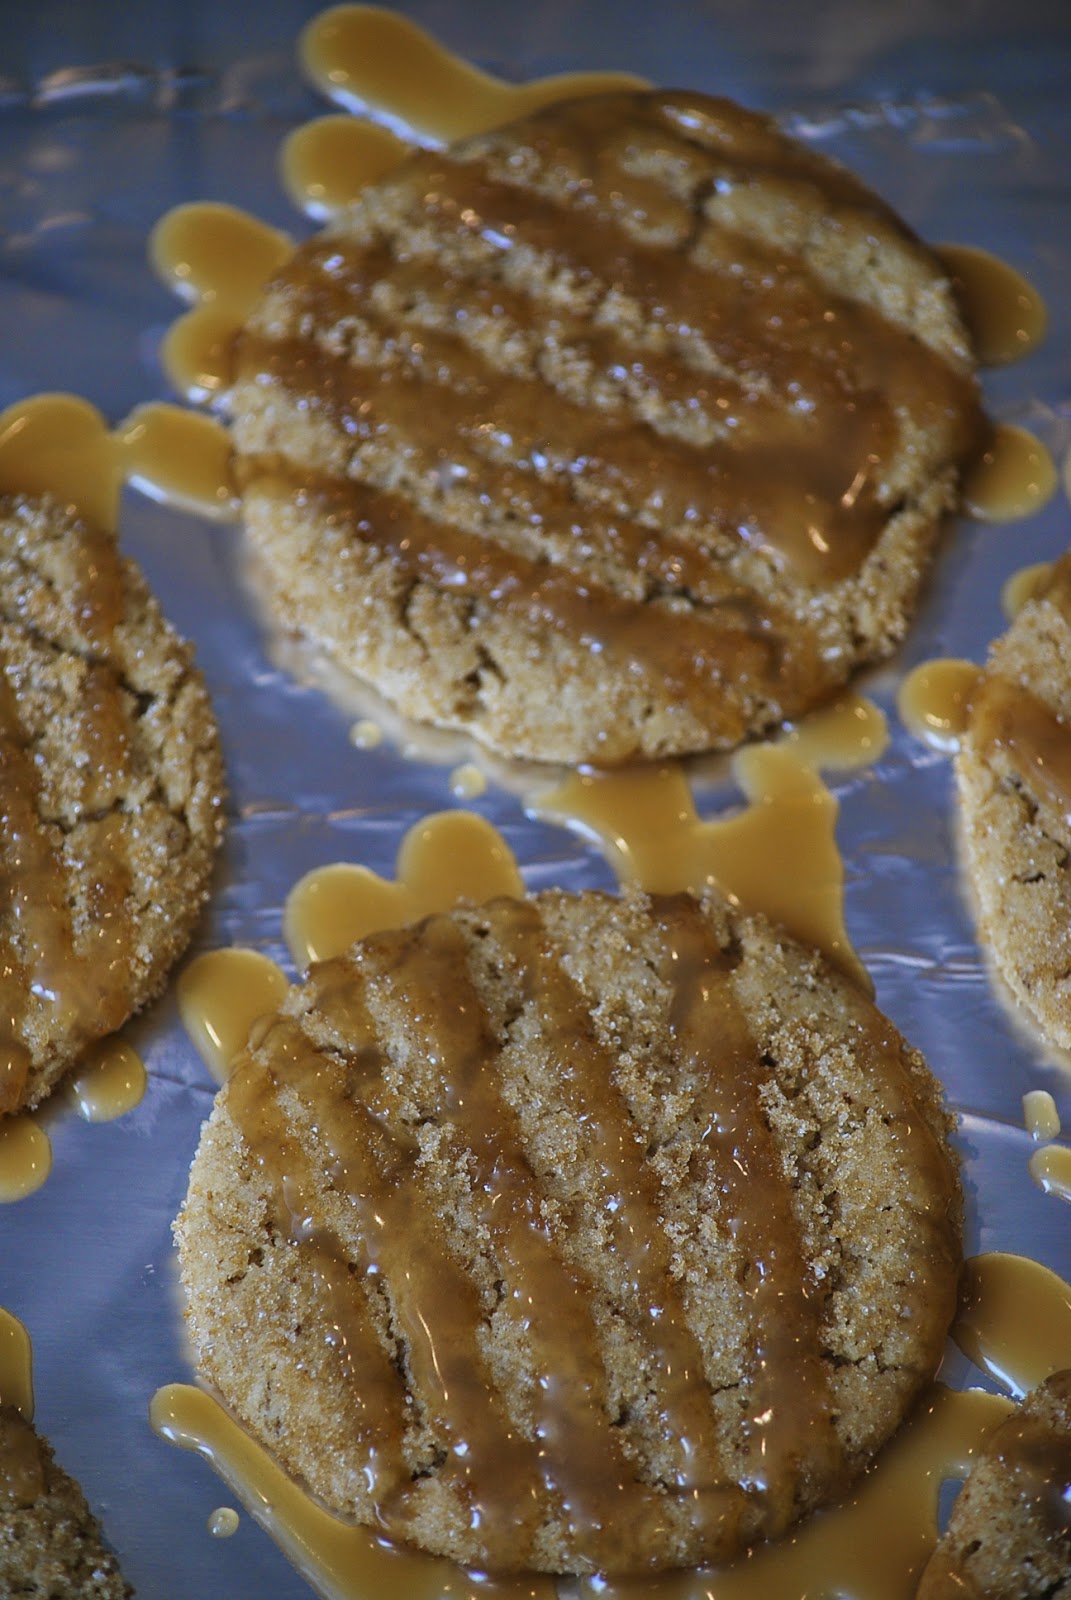  I didn't realize that I took so many pictures of these cookies - I must have been REALLY hungry!
Ciao!
0 Comments
 My advice to any of you who are heading out into the scary world of black Friday shopping - arm yourself. Not with weapons or credit cards - no, no - arm yourselves with SUGAR. An adequate supply of sugar will carry you through the long lines at the checkout and might even come in as a valuable negotiating tool when an army of angry shoppers are arguing over the last toy on the shelf. 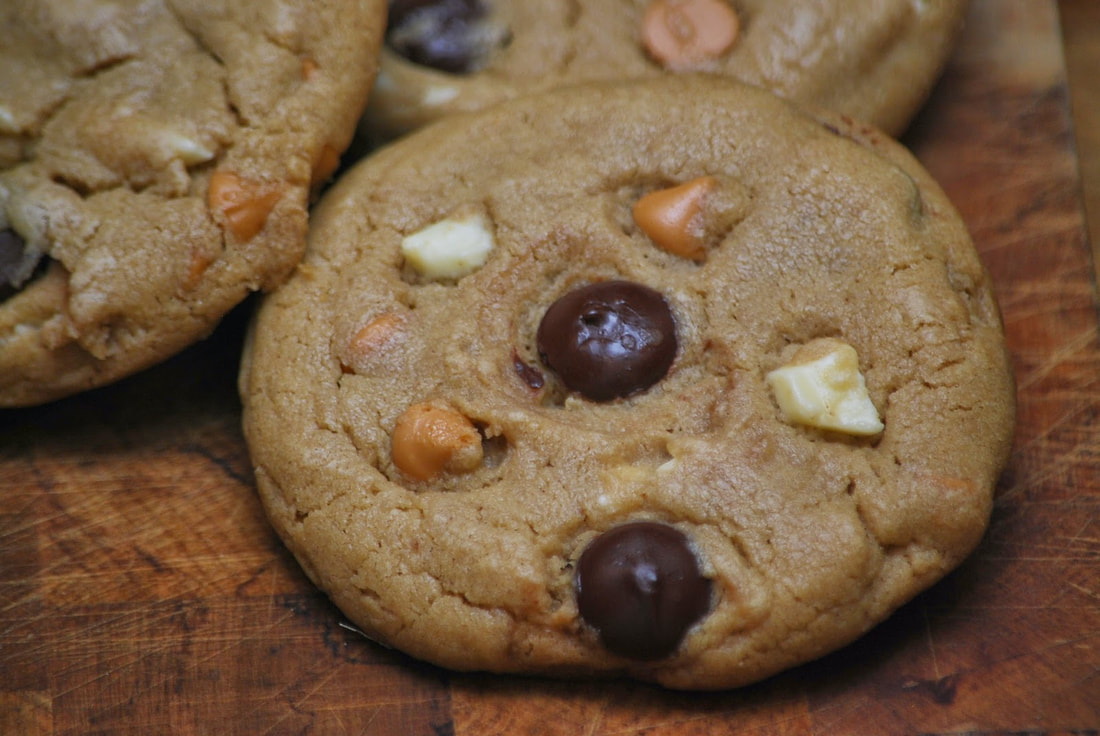 Take my advice shoppers - don't rely on coffee to carry you through the day. Cookies work much better as energy boosters --- AND you can tuck them into your purse and get through even the most crowed isles without spilling your drink. Shop hands free this year people - skip the coffee and pack cookies!
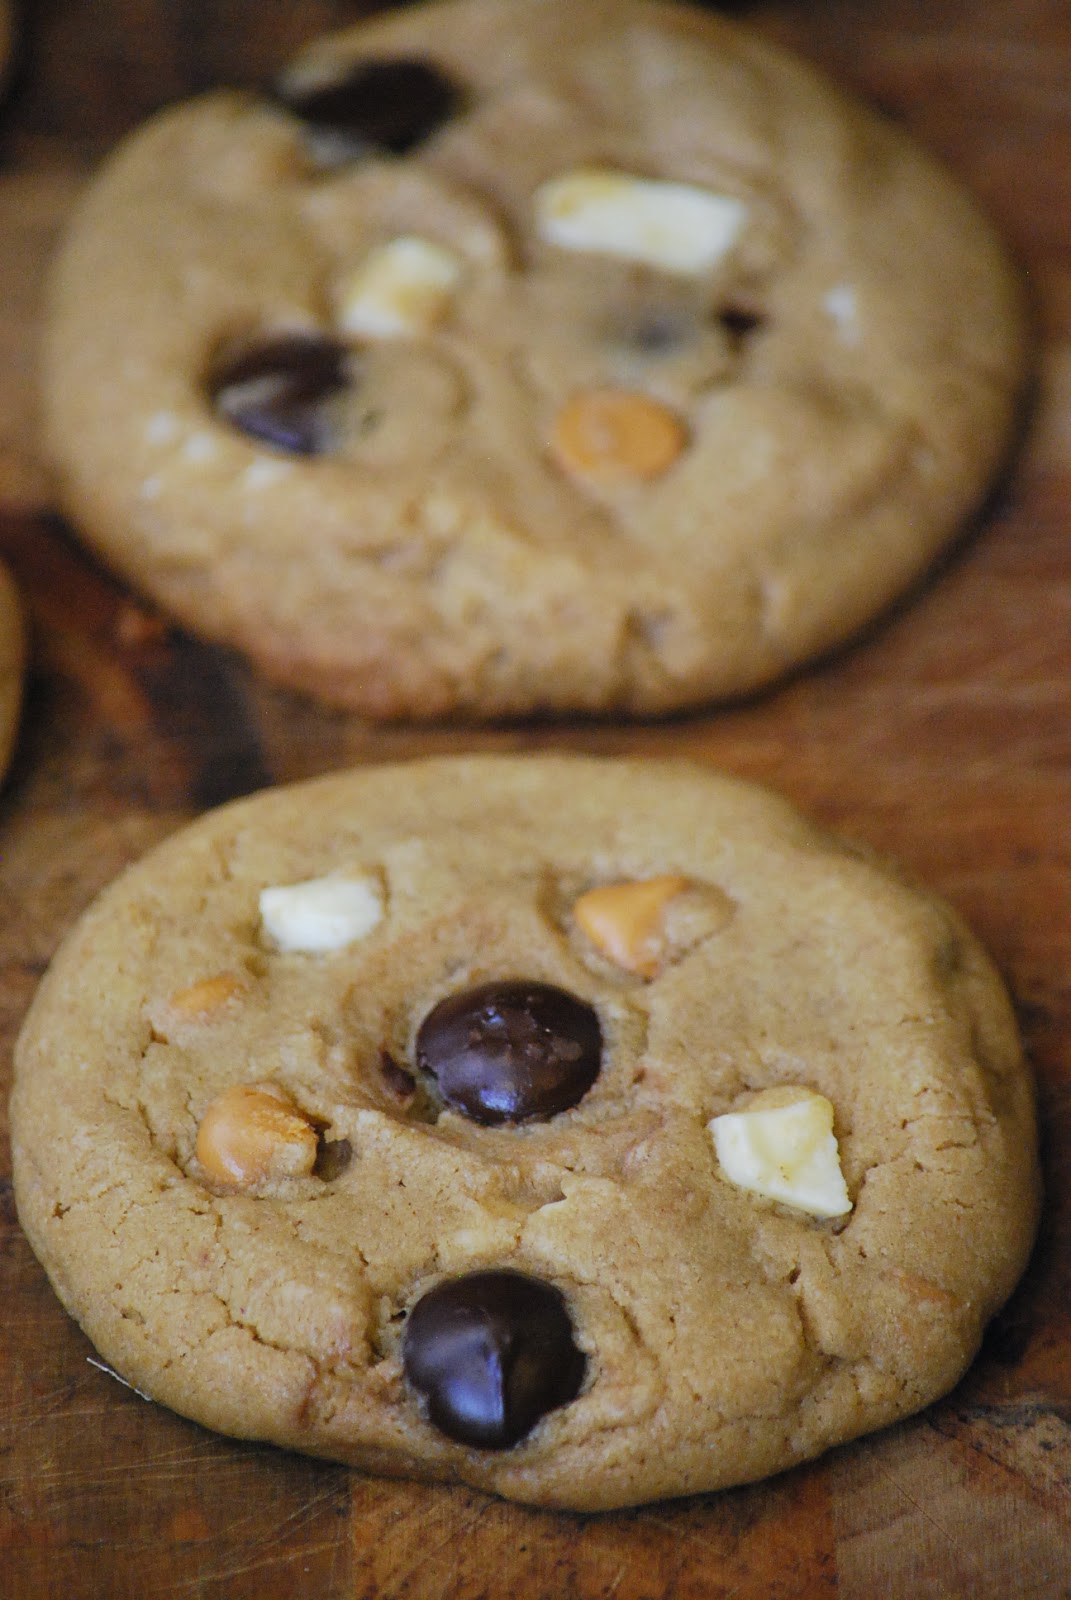
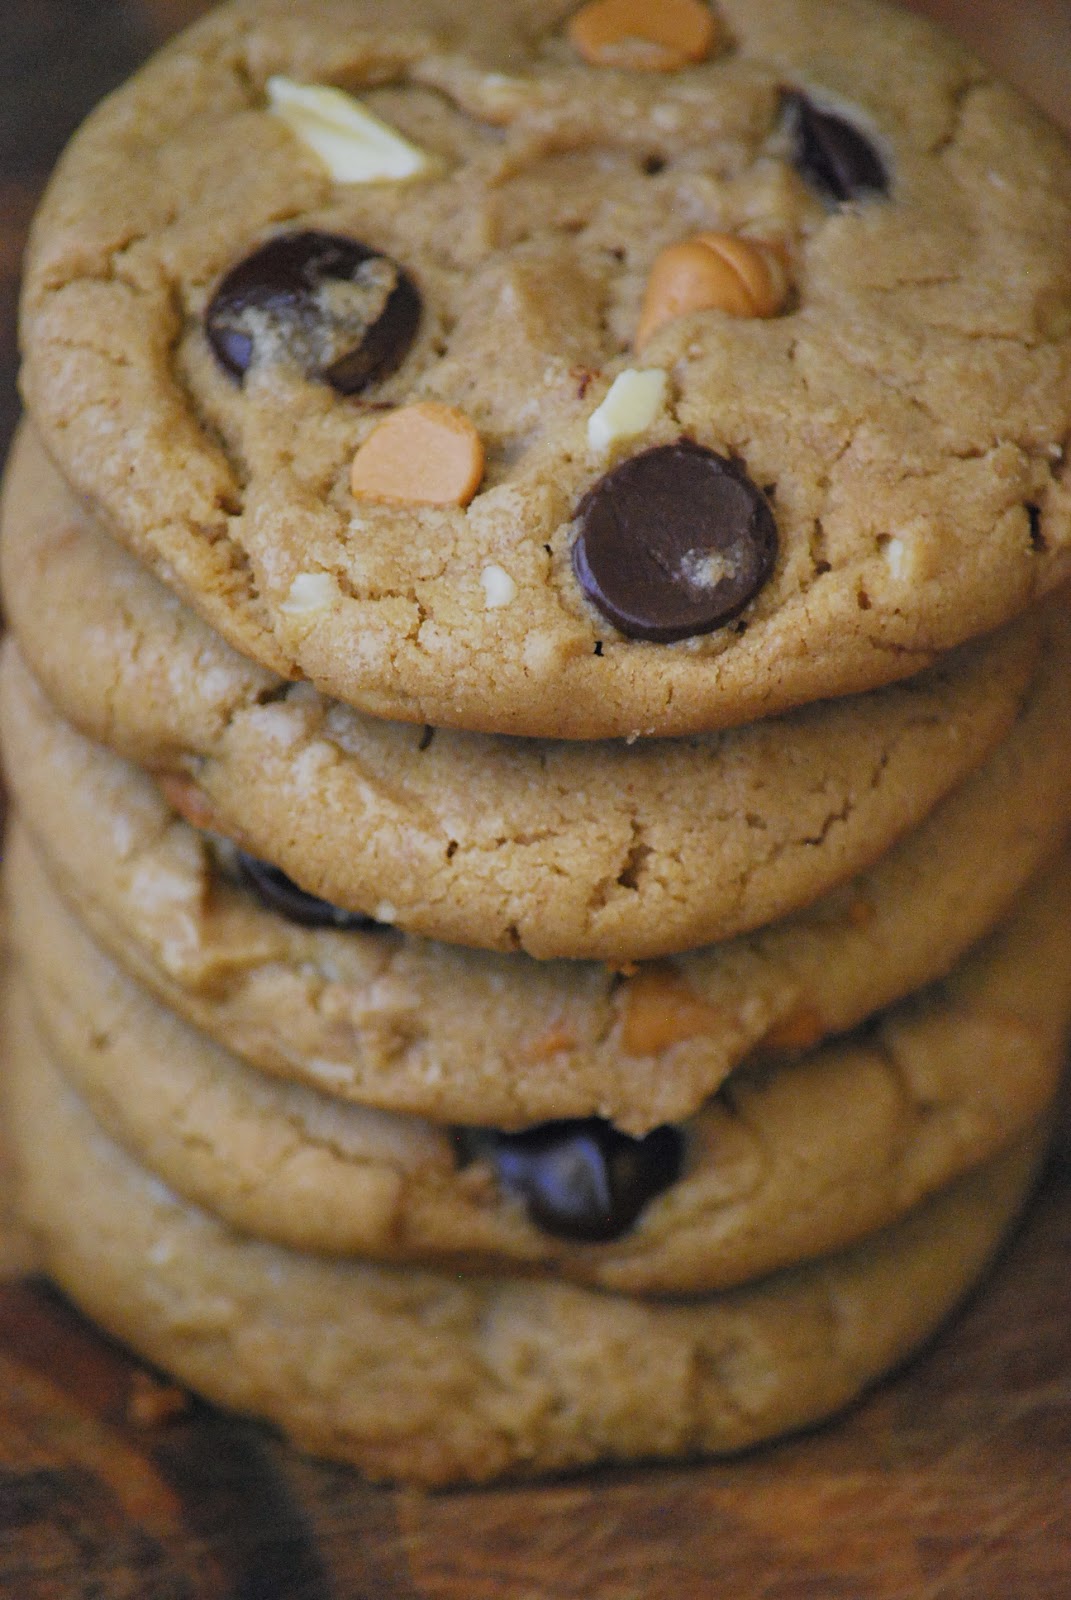
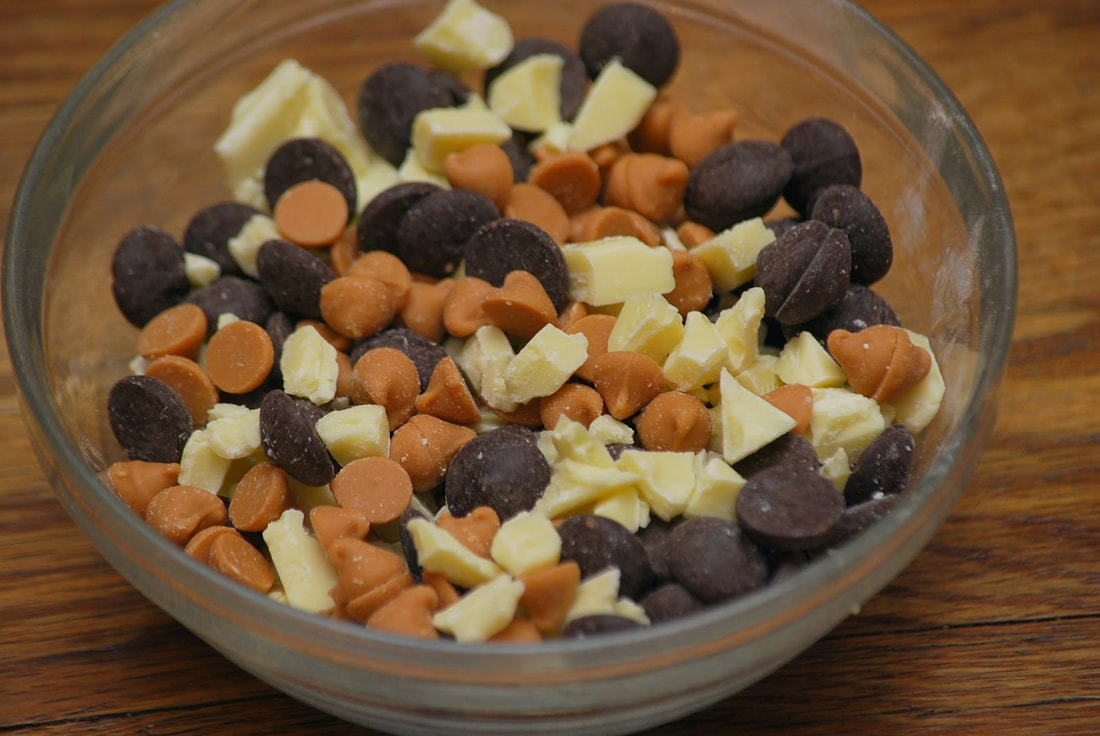
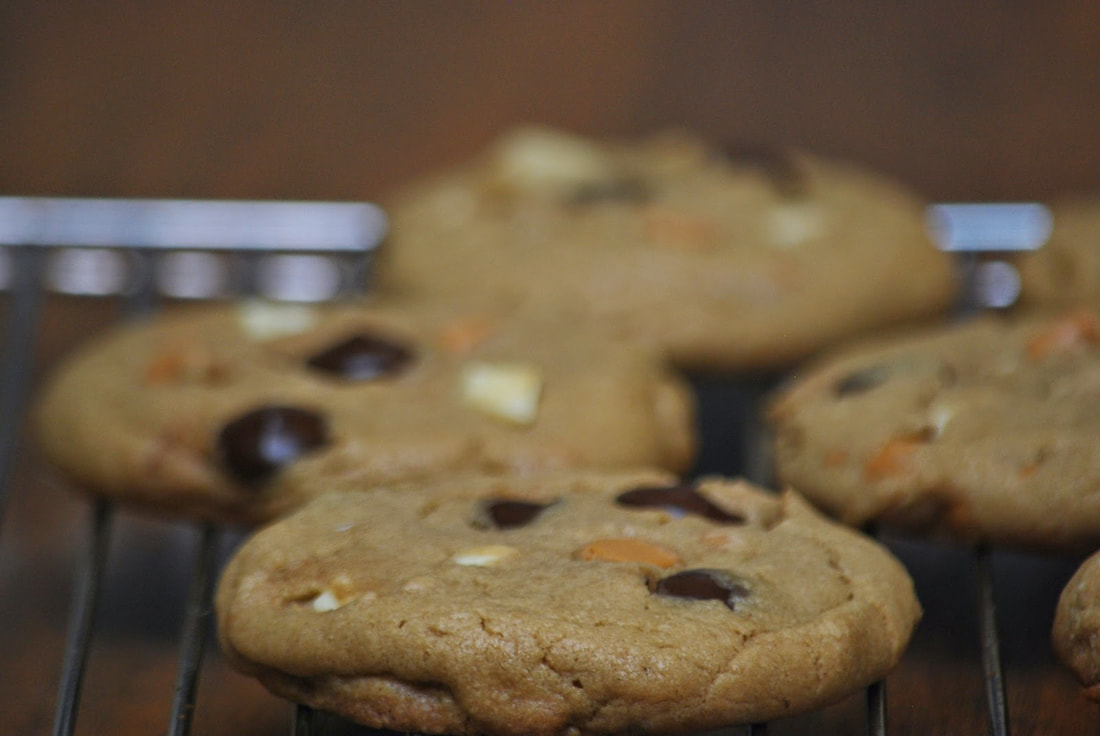
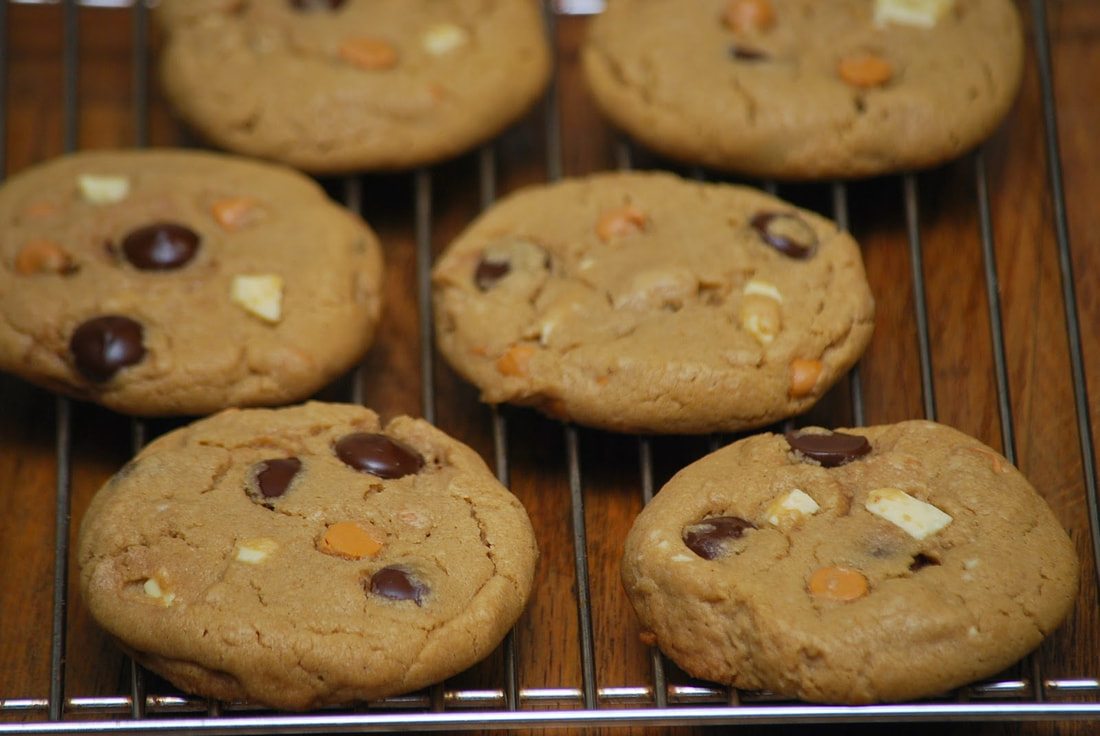
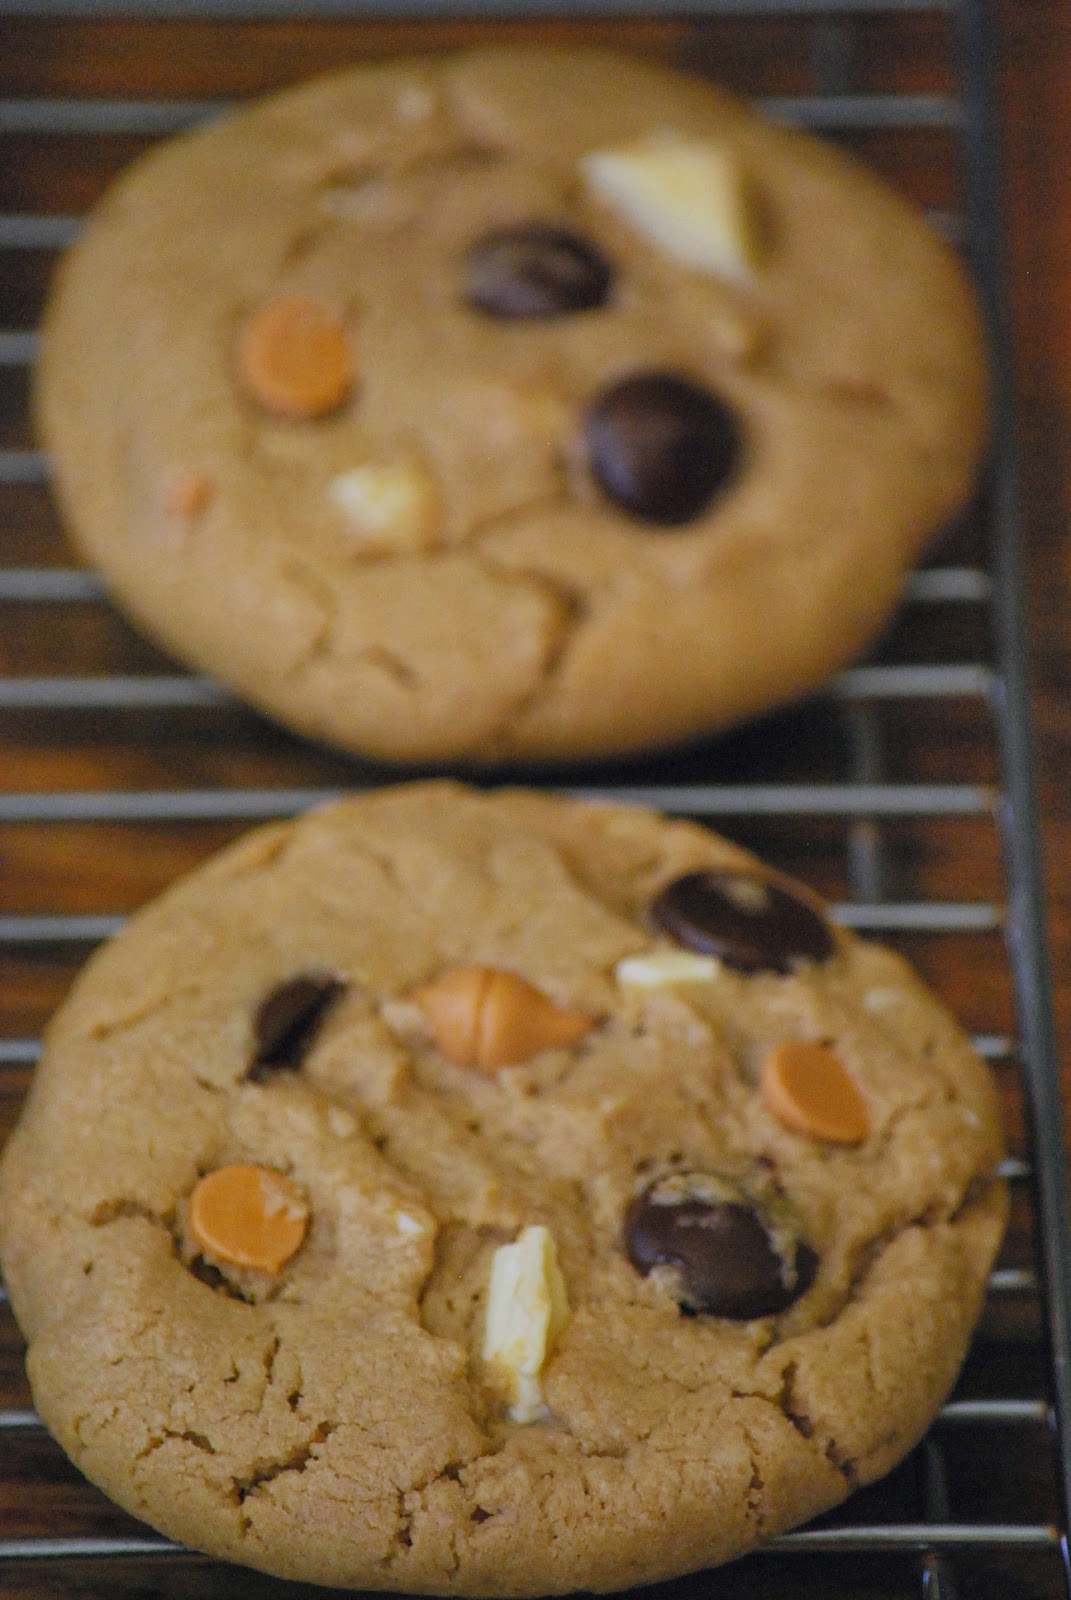
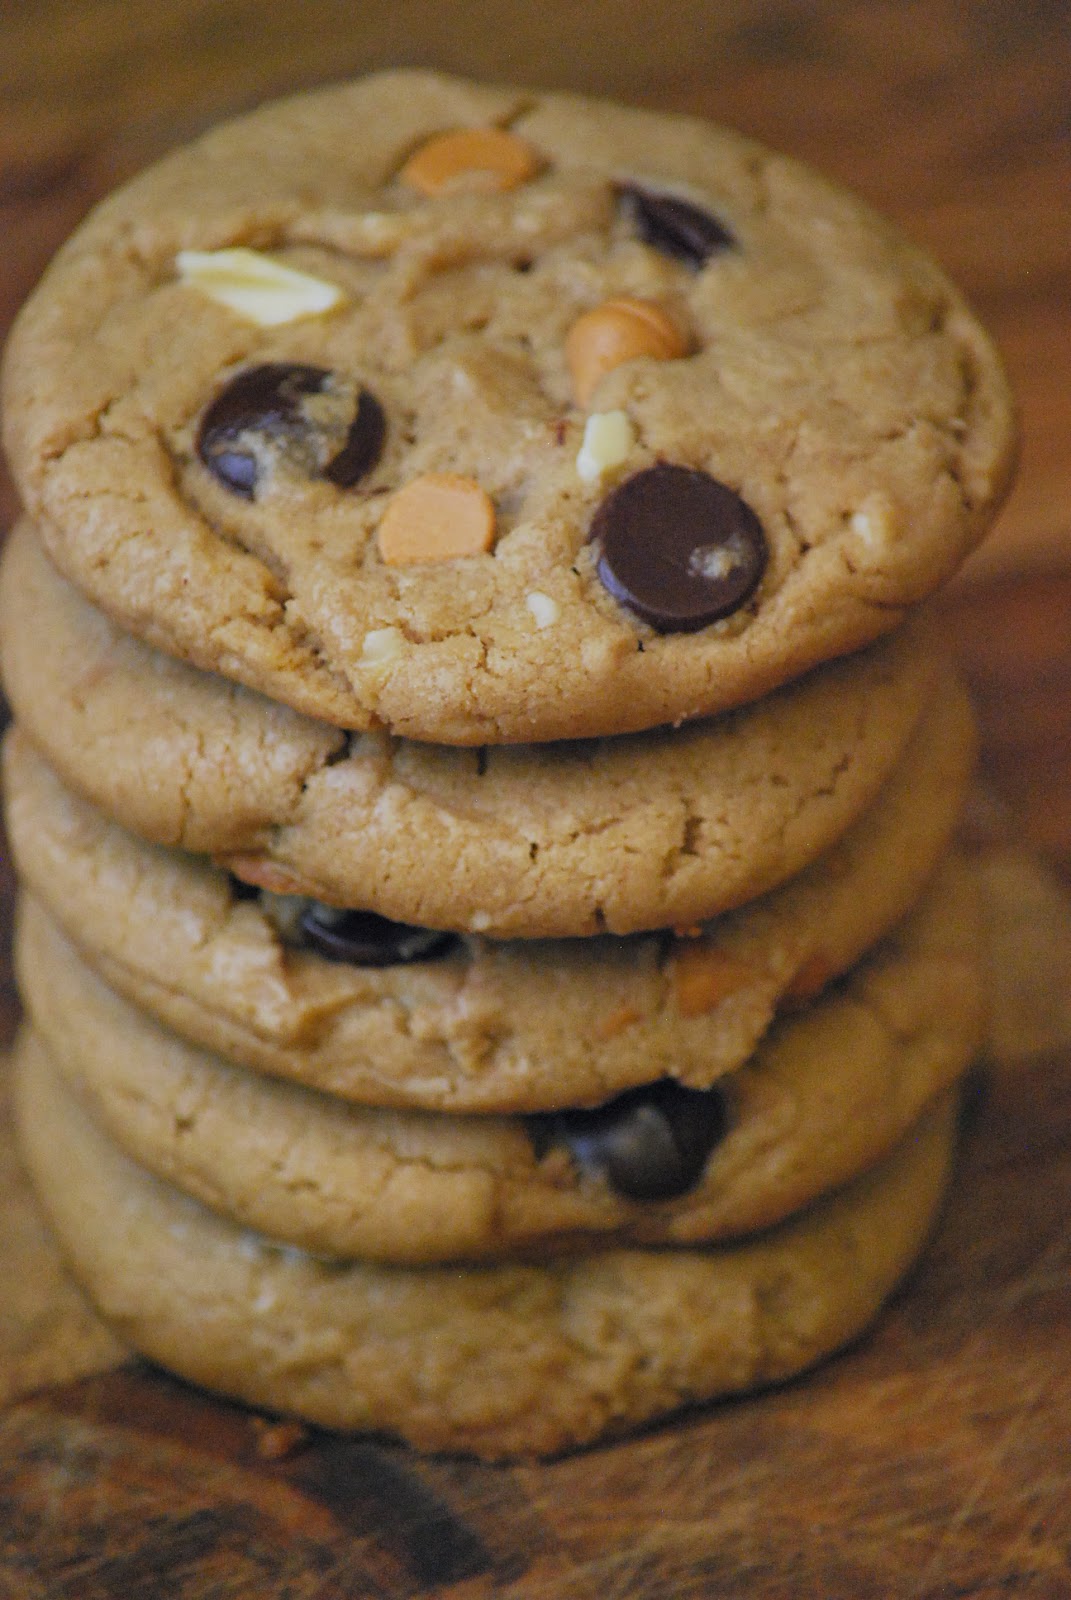
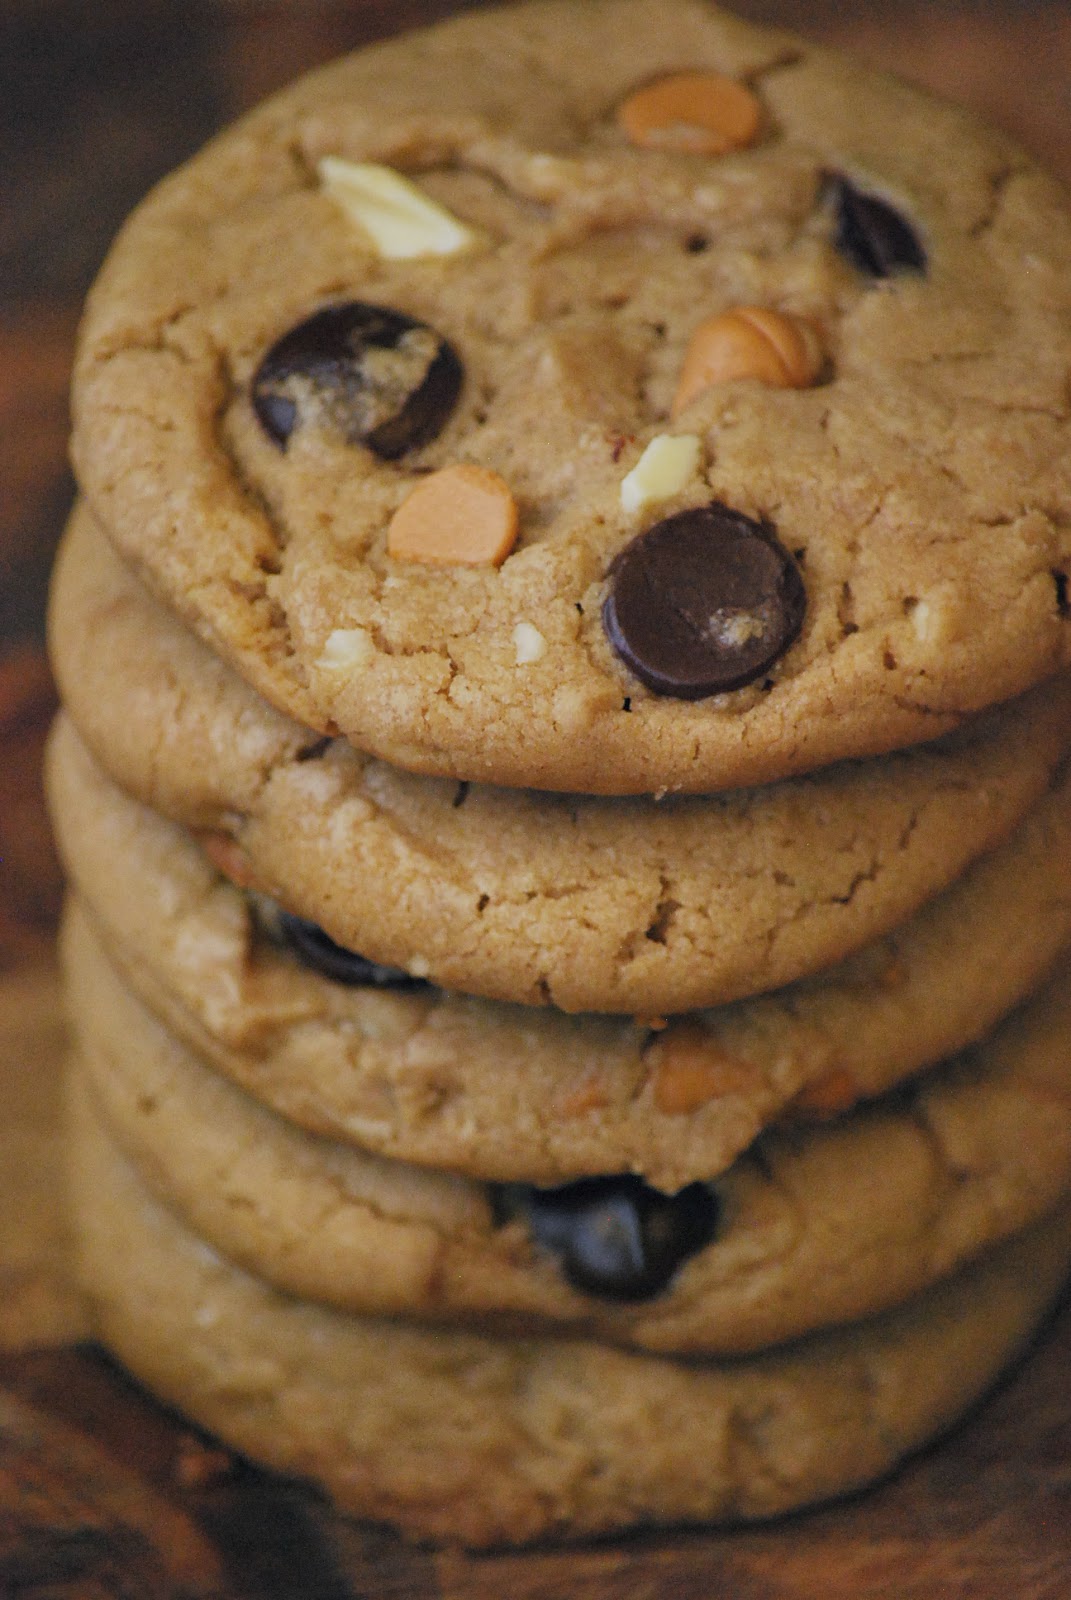
What better way to give yourself a little pick me up than with a cookie loaded with peanut butter, chocolate, butterscotch and white chocolate? 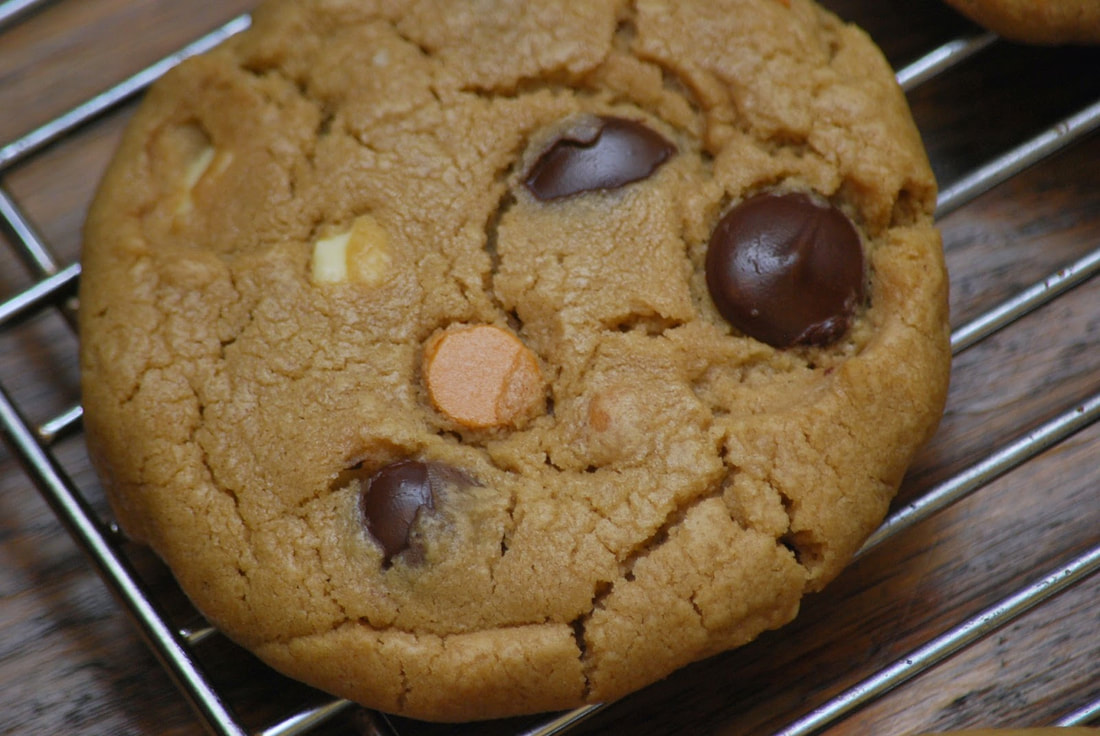 Loaded Peanut Butter Cookies 1/2 cup of melted unsalted butter 1 cup of dark brown sugar 1 egg, room temperature 3/4 cup of peanut butter 1 tsp. vanilla 1 1/2 cups of flour 1/2 tsp. baking soda 1/8 tsp salt 1/2 cup peanut butter morsels 1/3 cup white chocolate chips 1/3 cup of mini chocolate chips
Fold in peanut butter morsels, mini chocolate chips and white chocolate chips until evenly distributed.
Form one inch balls with the cookie dough and place then on the baking sheet about 2 inches apart. Bake for 8-9 minutes. Cool on wire racks.
Bake a batch of loaded peanut butter cookies and shop on blog friends. As for me, I'll be munching on my cookies on cyber Monday.
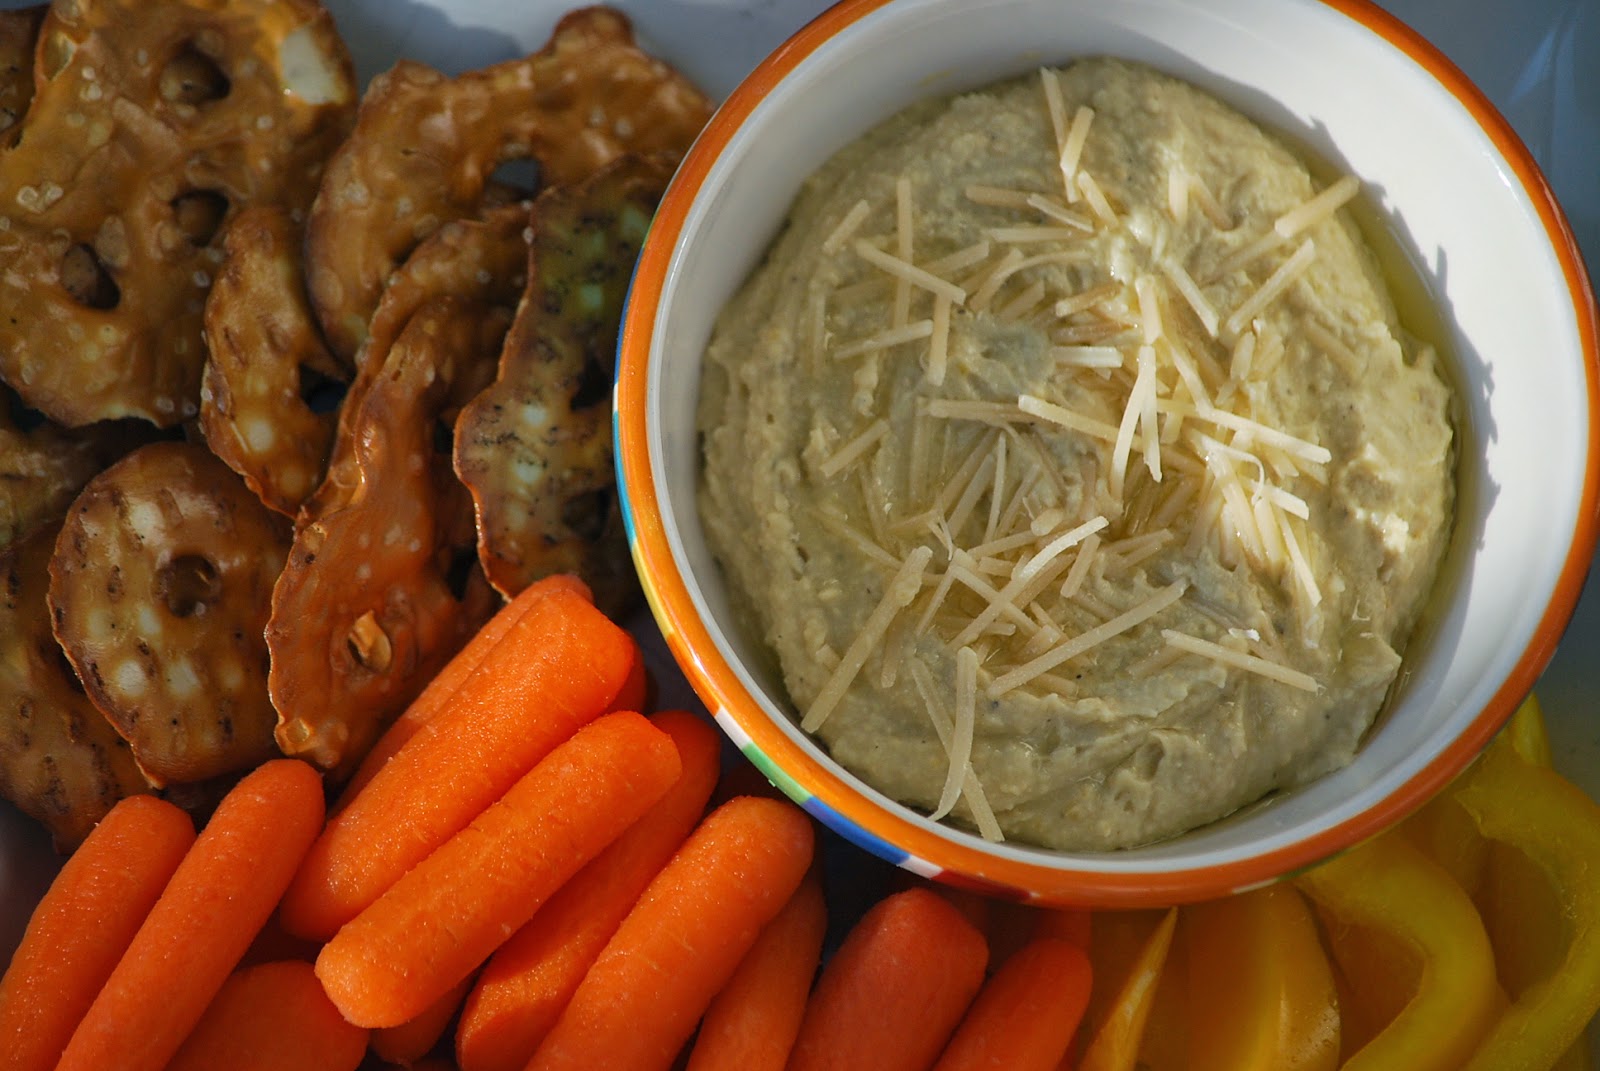
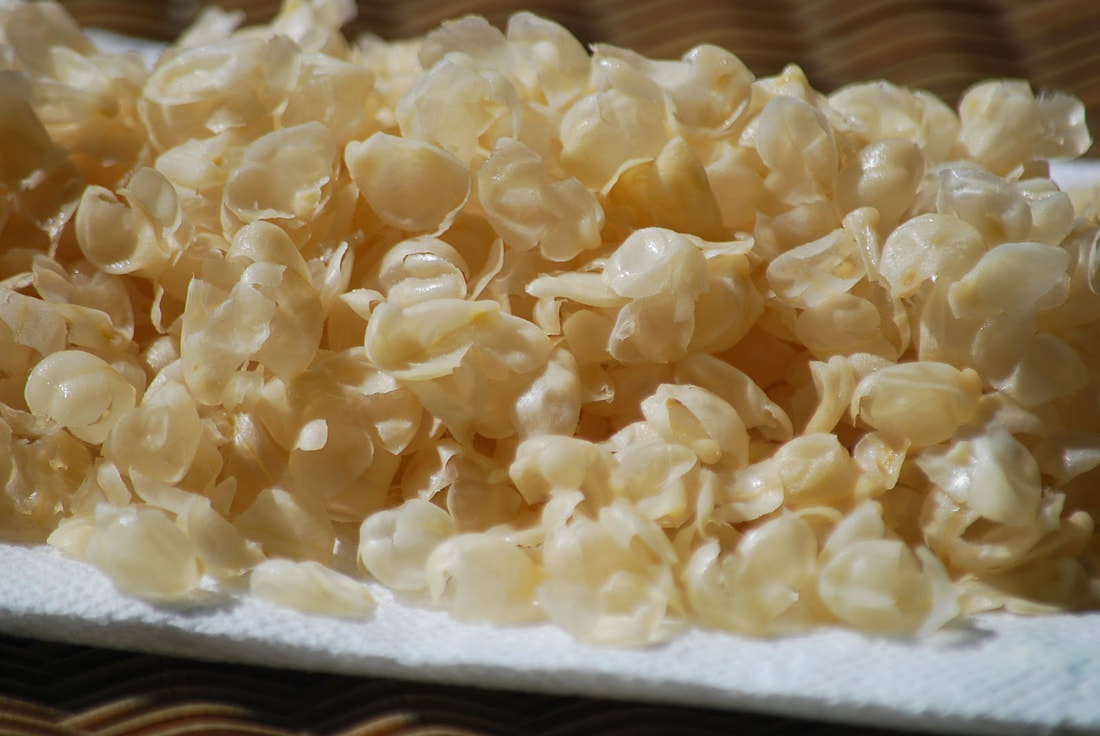
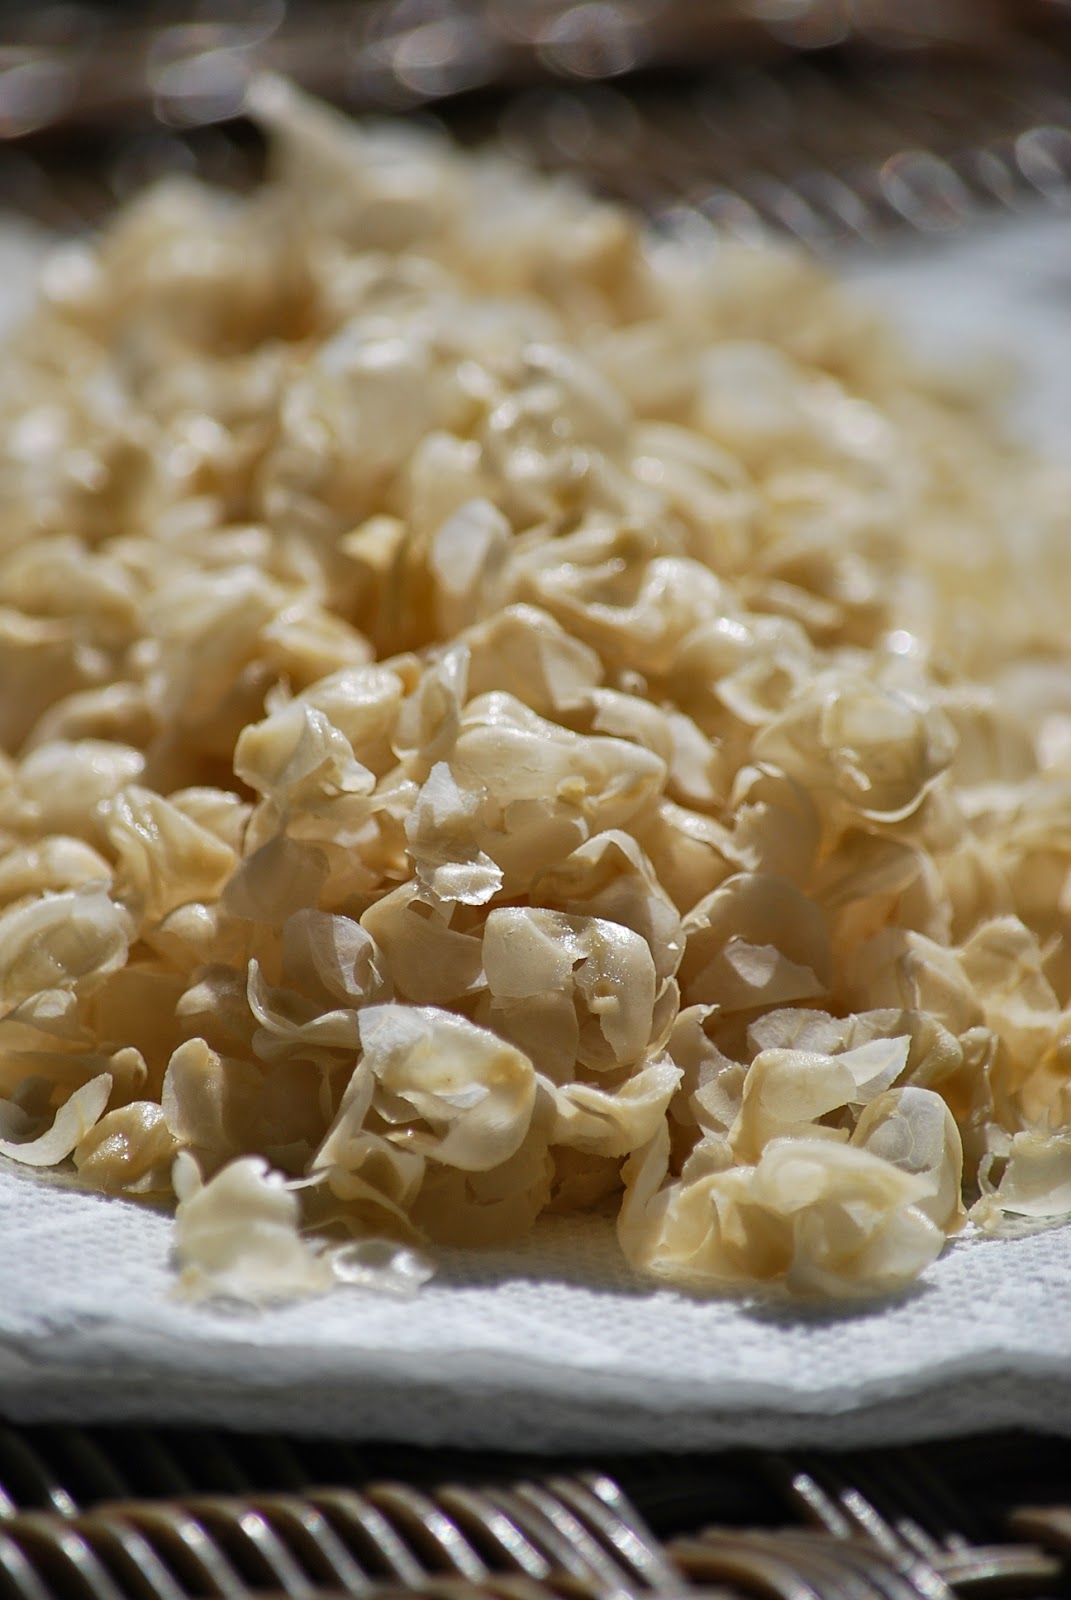
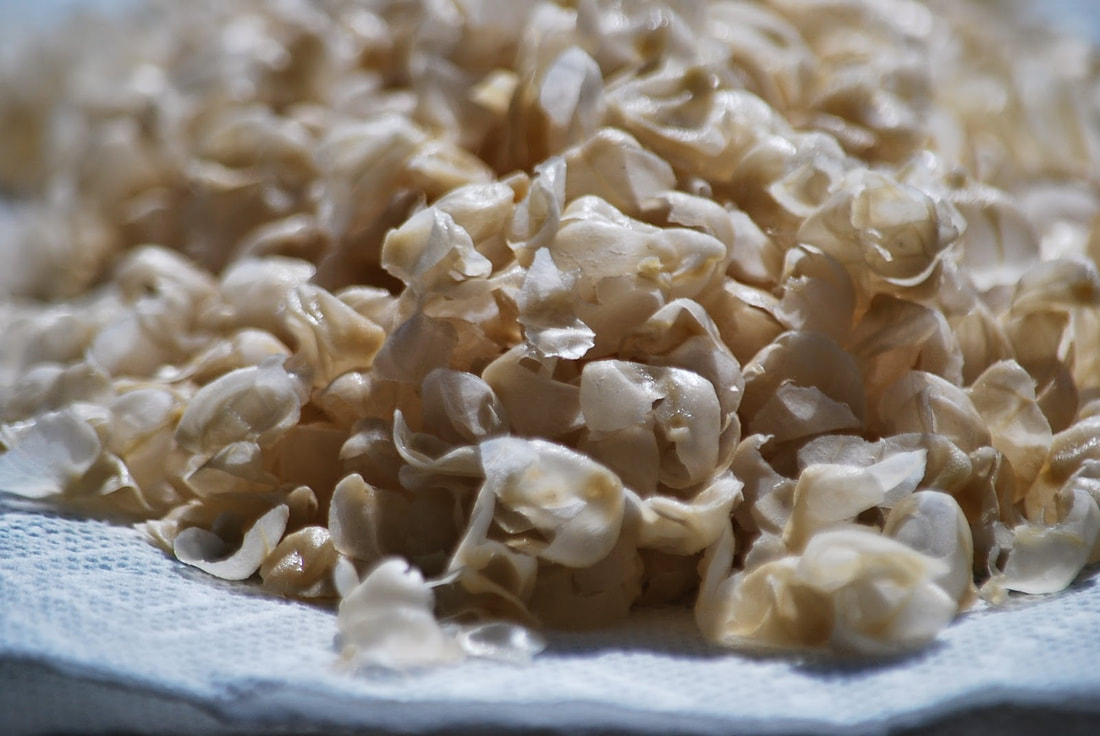
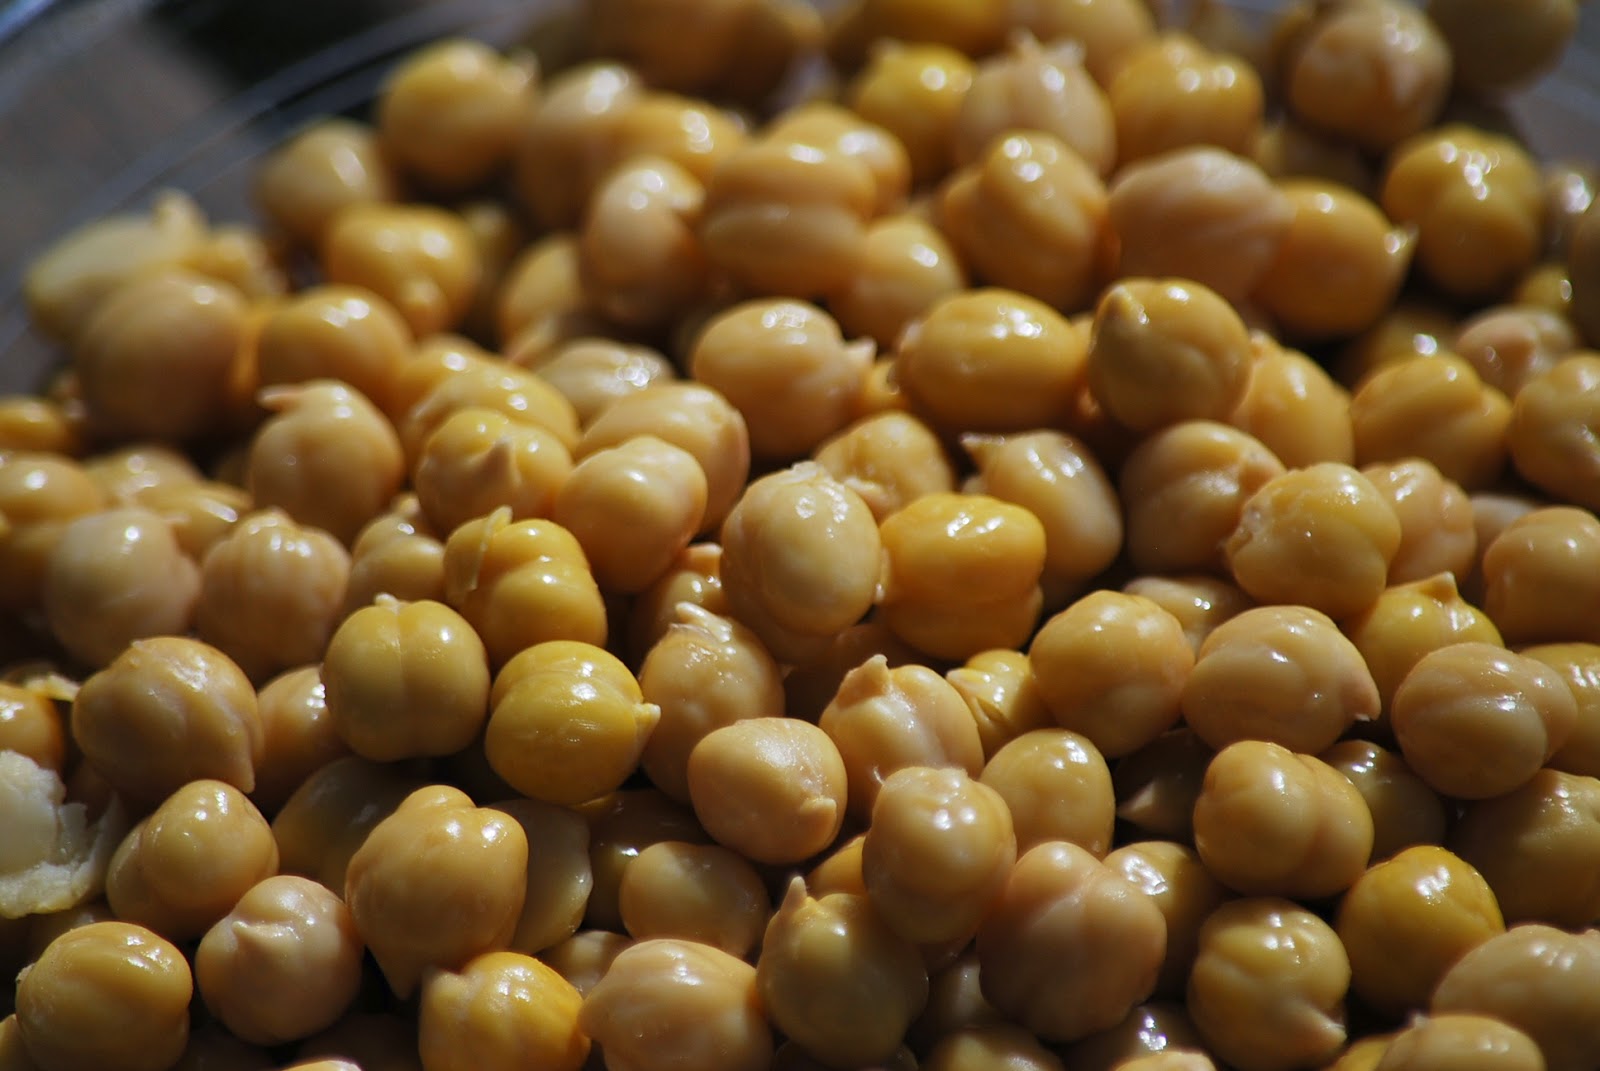
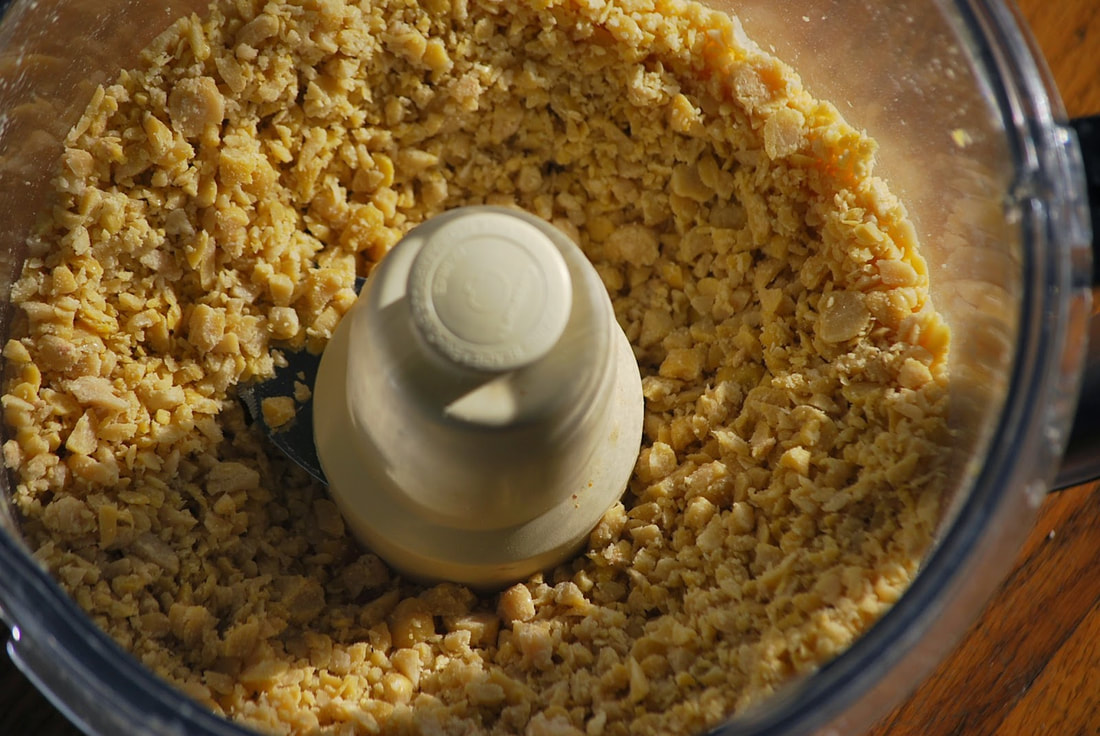
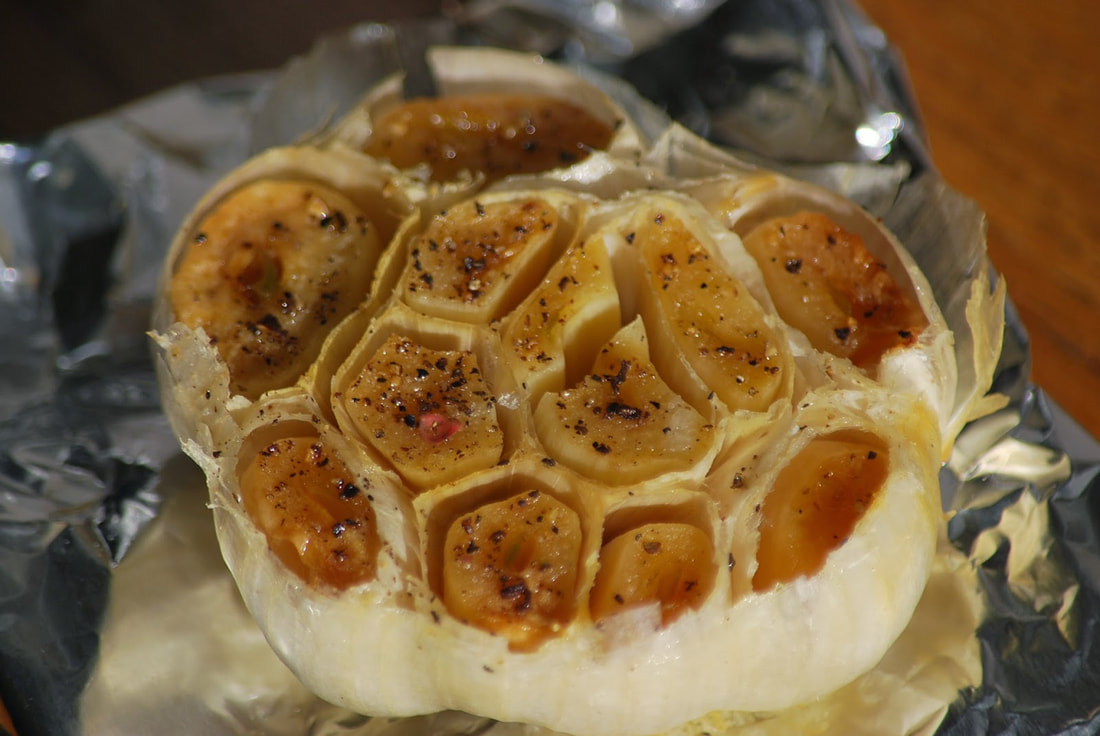
Chick pea membranes are tough and do not break down - no matter how powerful your blender. I have been adjusting ingredients and tweaking my hummus recipes for years, just trying to achieve a creamy texture when all along - all I needed to do was to remove the peel from my chick peas. 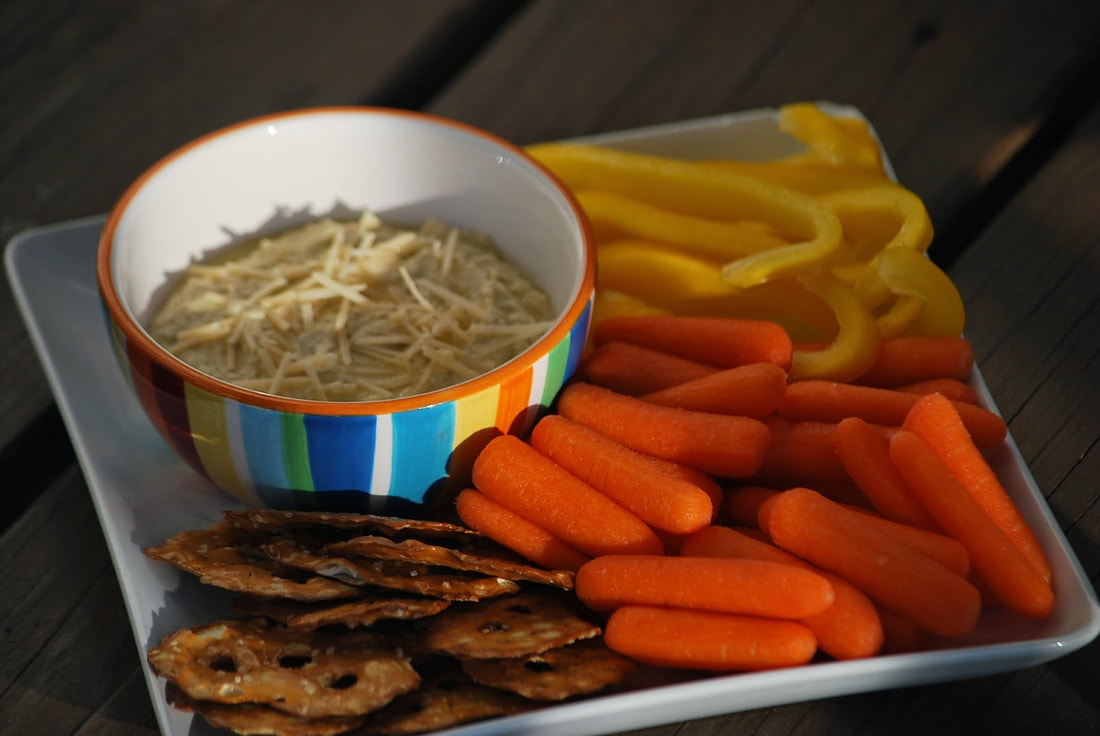 Here is my official hummus disclaimer - you WILL spend a ridiculous amount of time popping the skin off of each individual chick pea and it IS a mind-numbing task. BUT, I promise you that it is worth it. Every second that you spend removing membranes is going to pay off in the best hummus that you have EVER eaten. (Put on some groovy music and the time that you spend peeling won't seem quite so painful.) 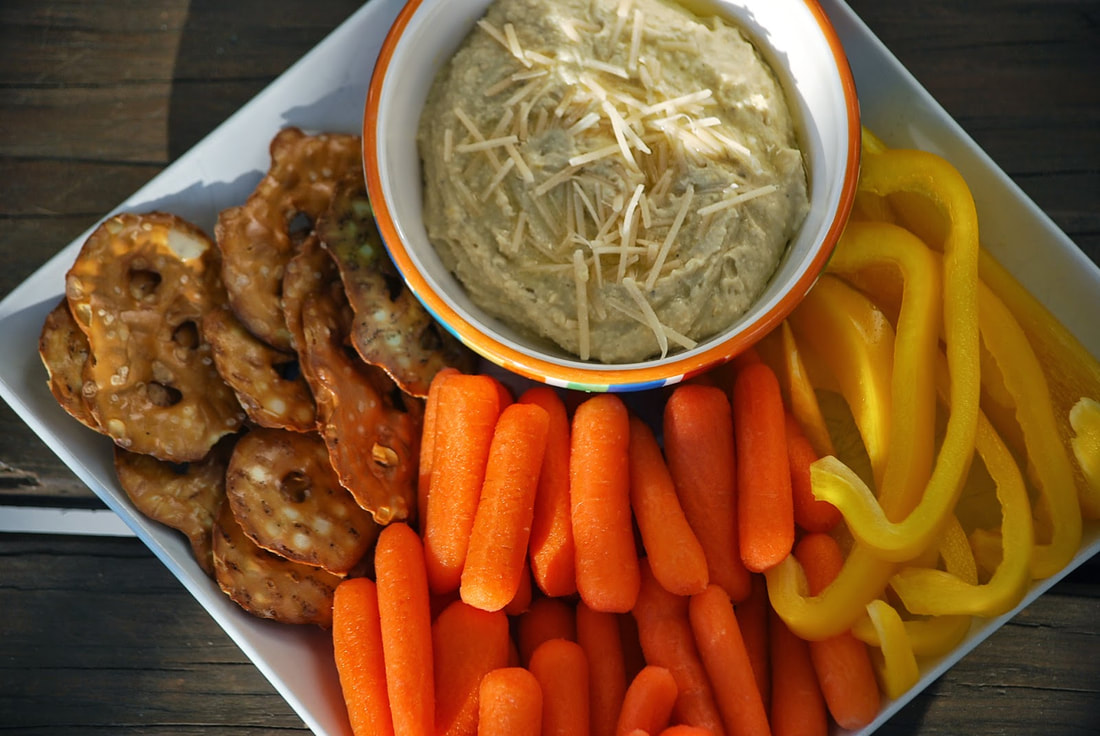 Roasted Garlic Parmesan Hummus 1 and 3/4 cups cooked chickpeas (about one 15 ounce can - drain, rinse, and reserve 1/4 cup liquid) 4 roasted garlic cloves, chopped 1/4 cup olive oil 1/8 cup tahini, stirred well 1/4 teaspoon fresh ground pepper 2 Tablespoons freshly squeezed lemon juice 1/4 cup reserved chickpea liquid or water sea salt, to taste Peel the skins off of all the chickpeas. This may be done in advance to save time if you prefer - cover the peeled chickpeas and keep in the refrigerator for up to 2 days.
Add the remaining ingredients. Taste - and add a little salt if needed.
Add more olive oil and/or reserved chickpea liquid to thin out if needed. 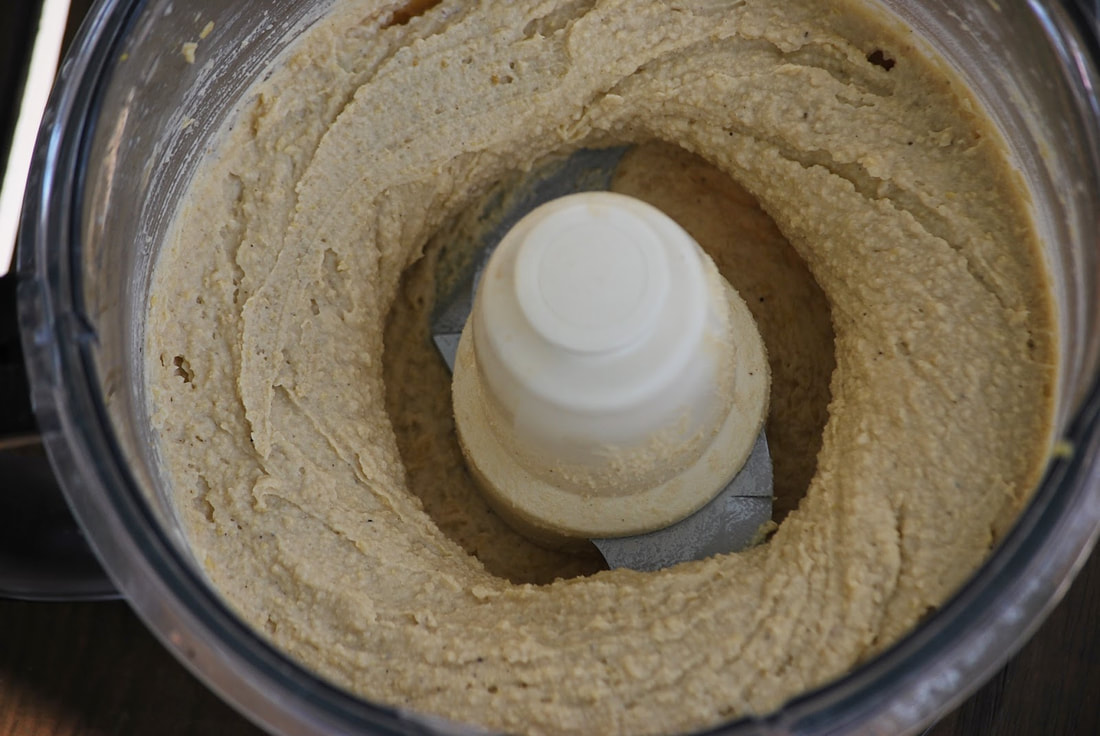 Spoon the hummus into a bowl and drizzle with additional olive oil, a sprinkle of parmesan, a couple pieces of chopped roasted garlic, and a sprinkle of fresh ground pepper if desired. Serve with spiced pita chips and fresh veggies. Cover tightly and store up to 4 days in the refrigerator. 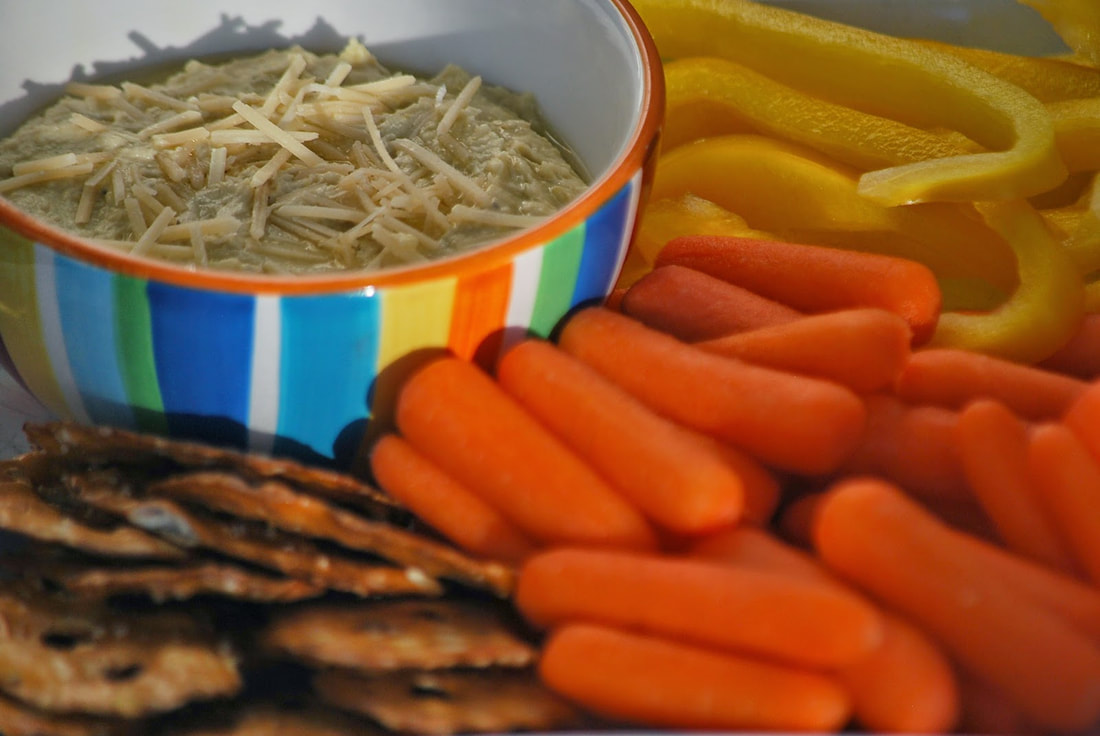 This hummus is soooo good. I ate it for lunch every single day for a week. And the only reason that I stopped after a week is because I ran out. I hope that you like it as much as I do.
Ciao! 
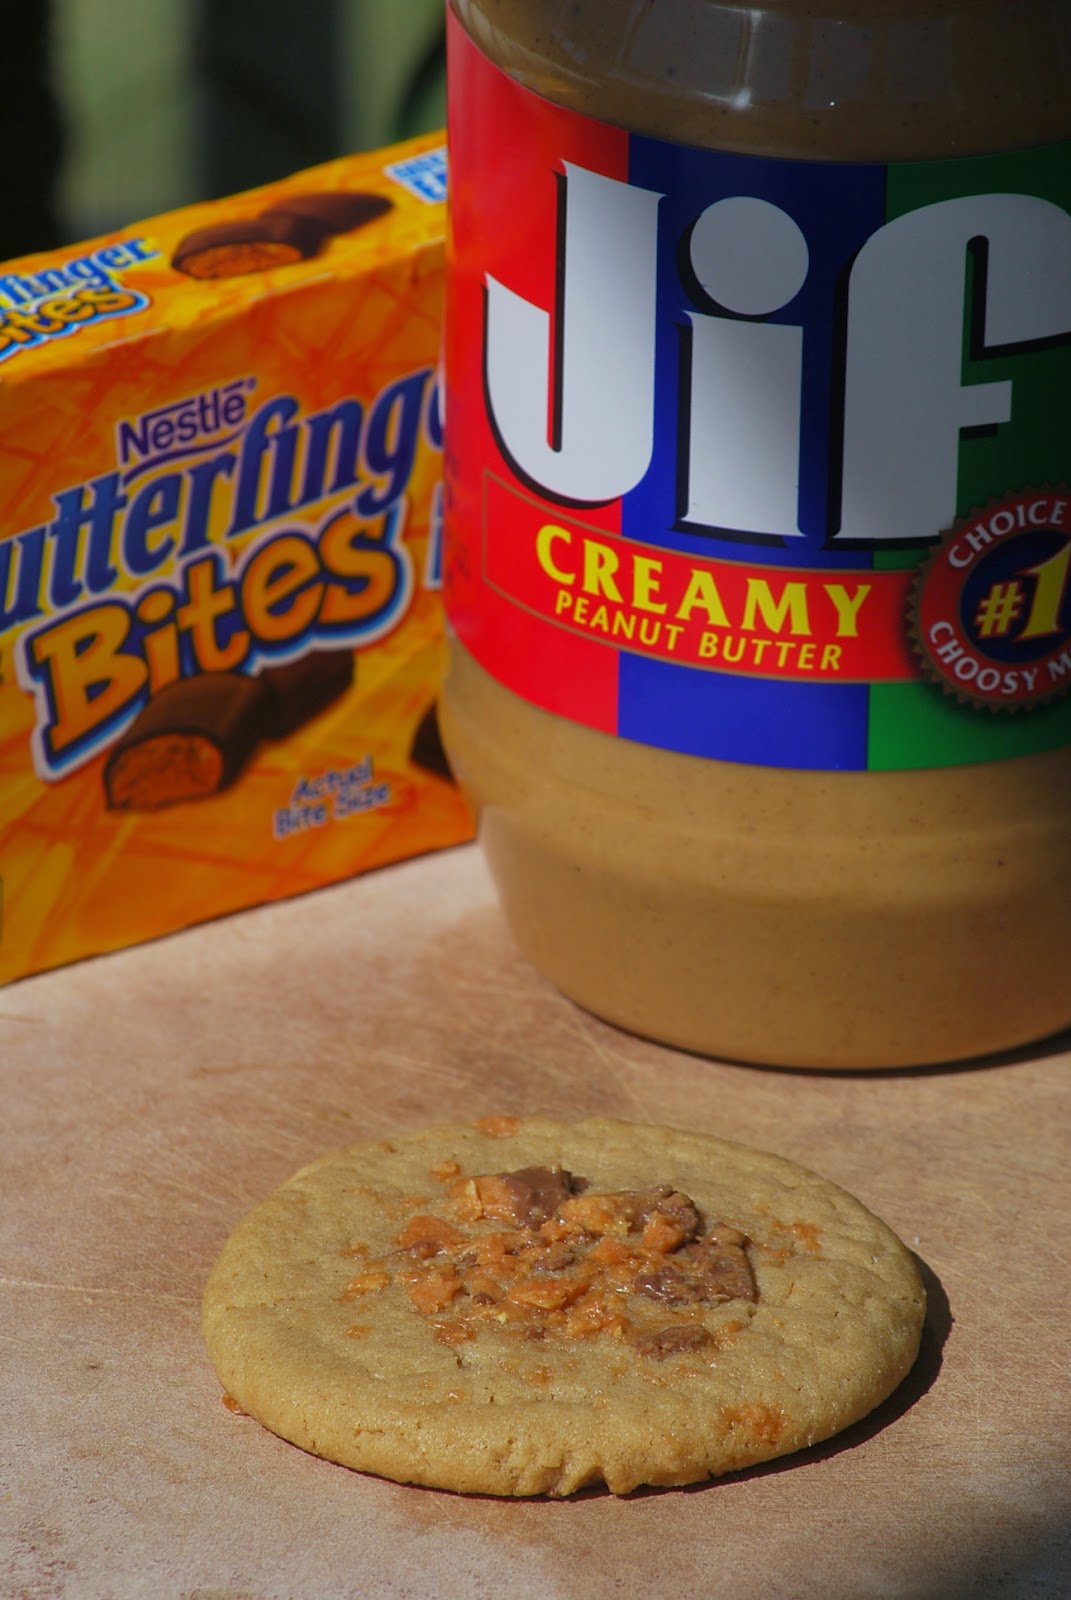
The only thing that seems to stop me from eating all of the delicious bites of chocolate is to bake them into a cupcake or a cookie. (Yes, I realize that I would be better off eating them out of the bag but I'm in complete denial.) 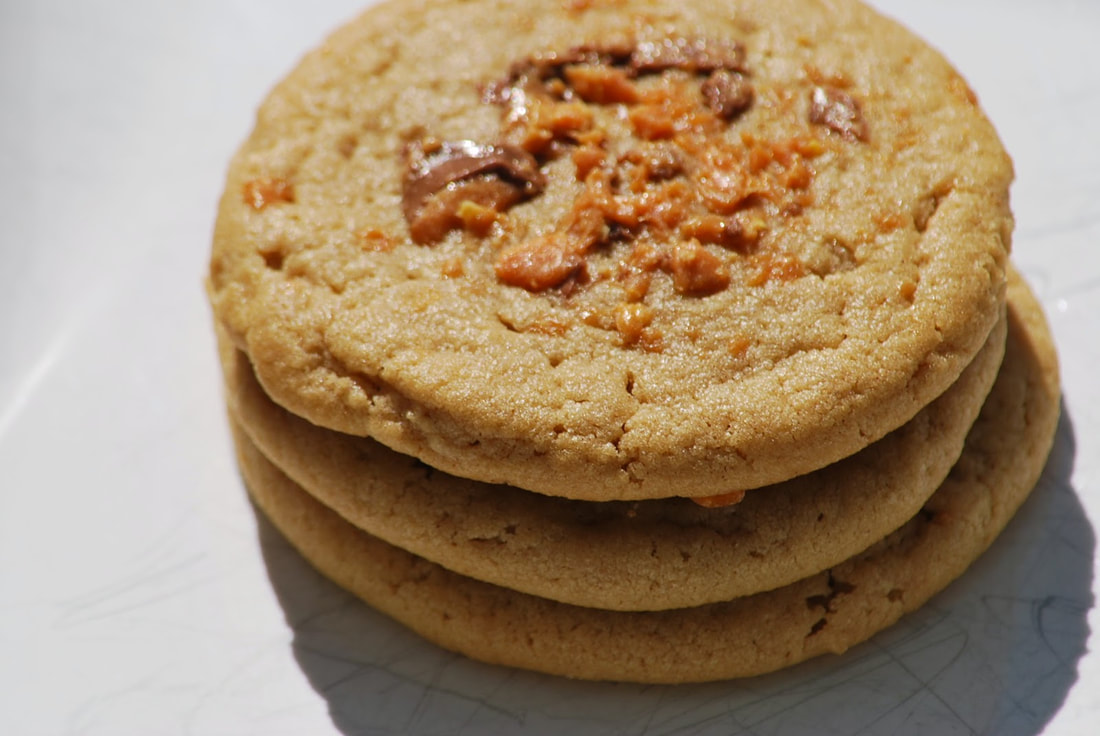 So here it is - a creamy peanut butter cookie with a sprinkling of chopped butterfinger candy bar baked into the top. What more could you ask for? You really do need to try these. 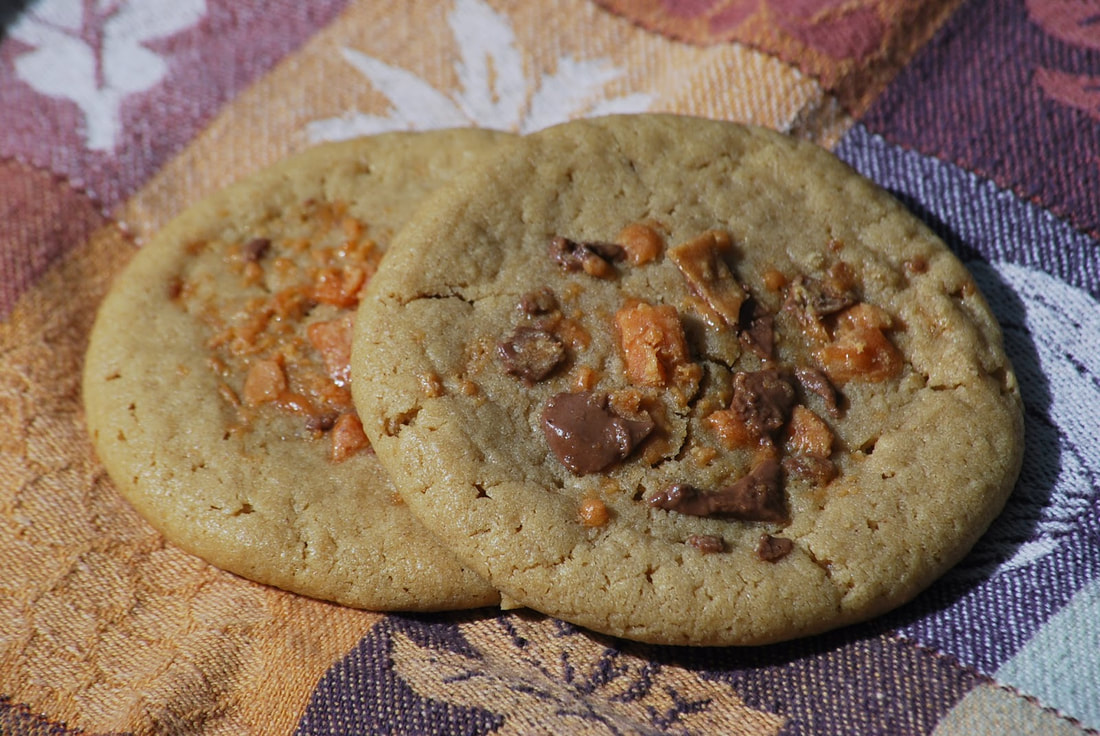 Peanut Butter Butterfinger Cookies 1/2 cup unsalted butter, softened 3/4 cup white sugar 2/3 cup lightly packed light brown sugar 2 egg whites 1 1/4 cups creamy peanut butter 1 1/2 teaspoons pure vanilla extract 1 cup all-purpose flour 1/2 teaspoon baking soda 1/4 teaspoon salt 5 (2.1 ounce) Butterfinger candy bars, chopped
Add the egg whites and beat well.
Combine the flour, baking soda, and salt. Add the dry ingredients into the creamed mixture and mix until just combined.
Using a medium cookie scoop (about 1 ½ tablespoons) shape dough into balls and place on the prepared baking sheets. Sprinkle chopped candy bars on top. Bake in preheated oven for 10 to 12 minutes at 350.
Remove cookies from oven and allow them to cool for about 5 minutes on the cookie sheet before moving them to a cooling rack.  Peanut butter butterfinger cookies - glorious. That is all I can say about these cookies. 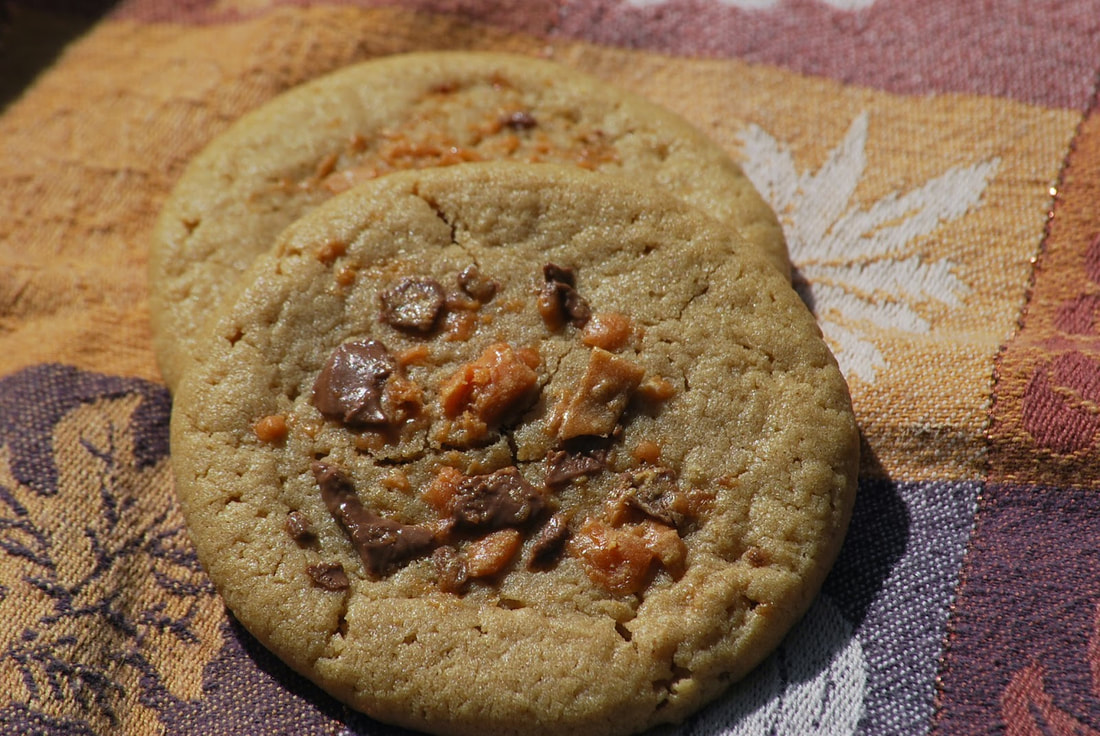 Ciao!
 What ever happened to the good old Christmas cookie exchange? They seem to be a thing of the past - I never hear about them anymore. I hope that there are still people out there who are still hosting cookie exchanges. 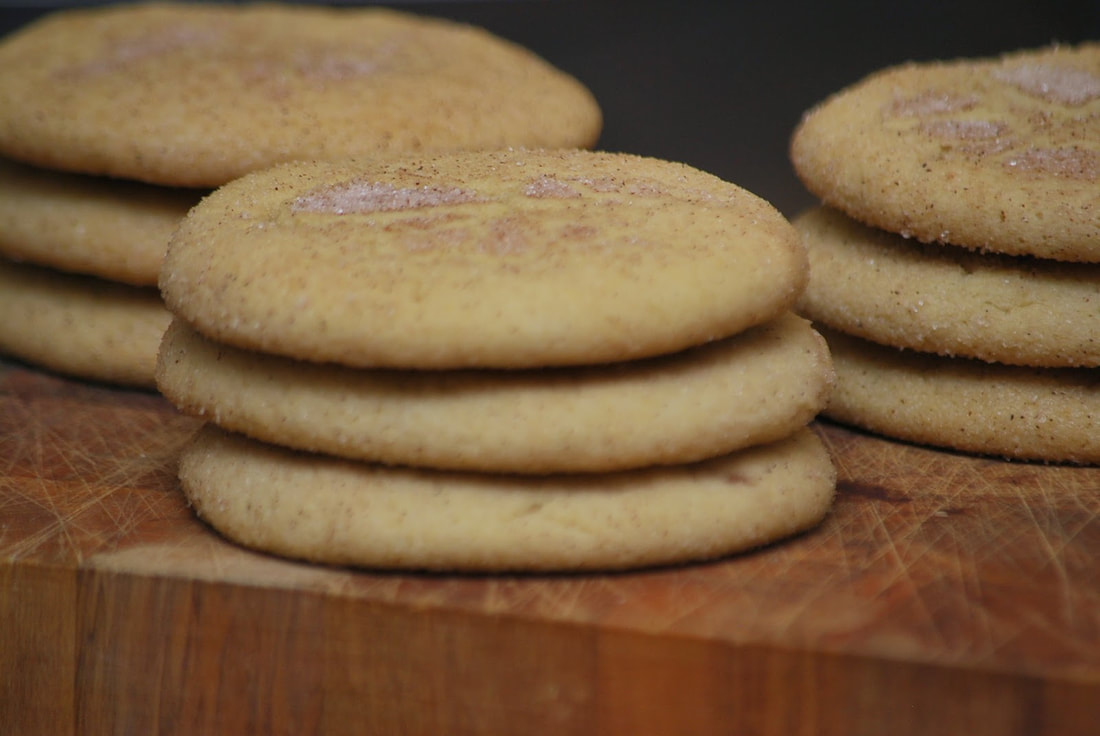 It is still a great concept though - perfect and bake one or two of your favorite Christmas cookie recipes and share with your friends. SHARE! Instead of trying to master a lot of different cookie recipes - stick with the ones that you're great at and everyone benefits.
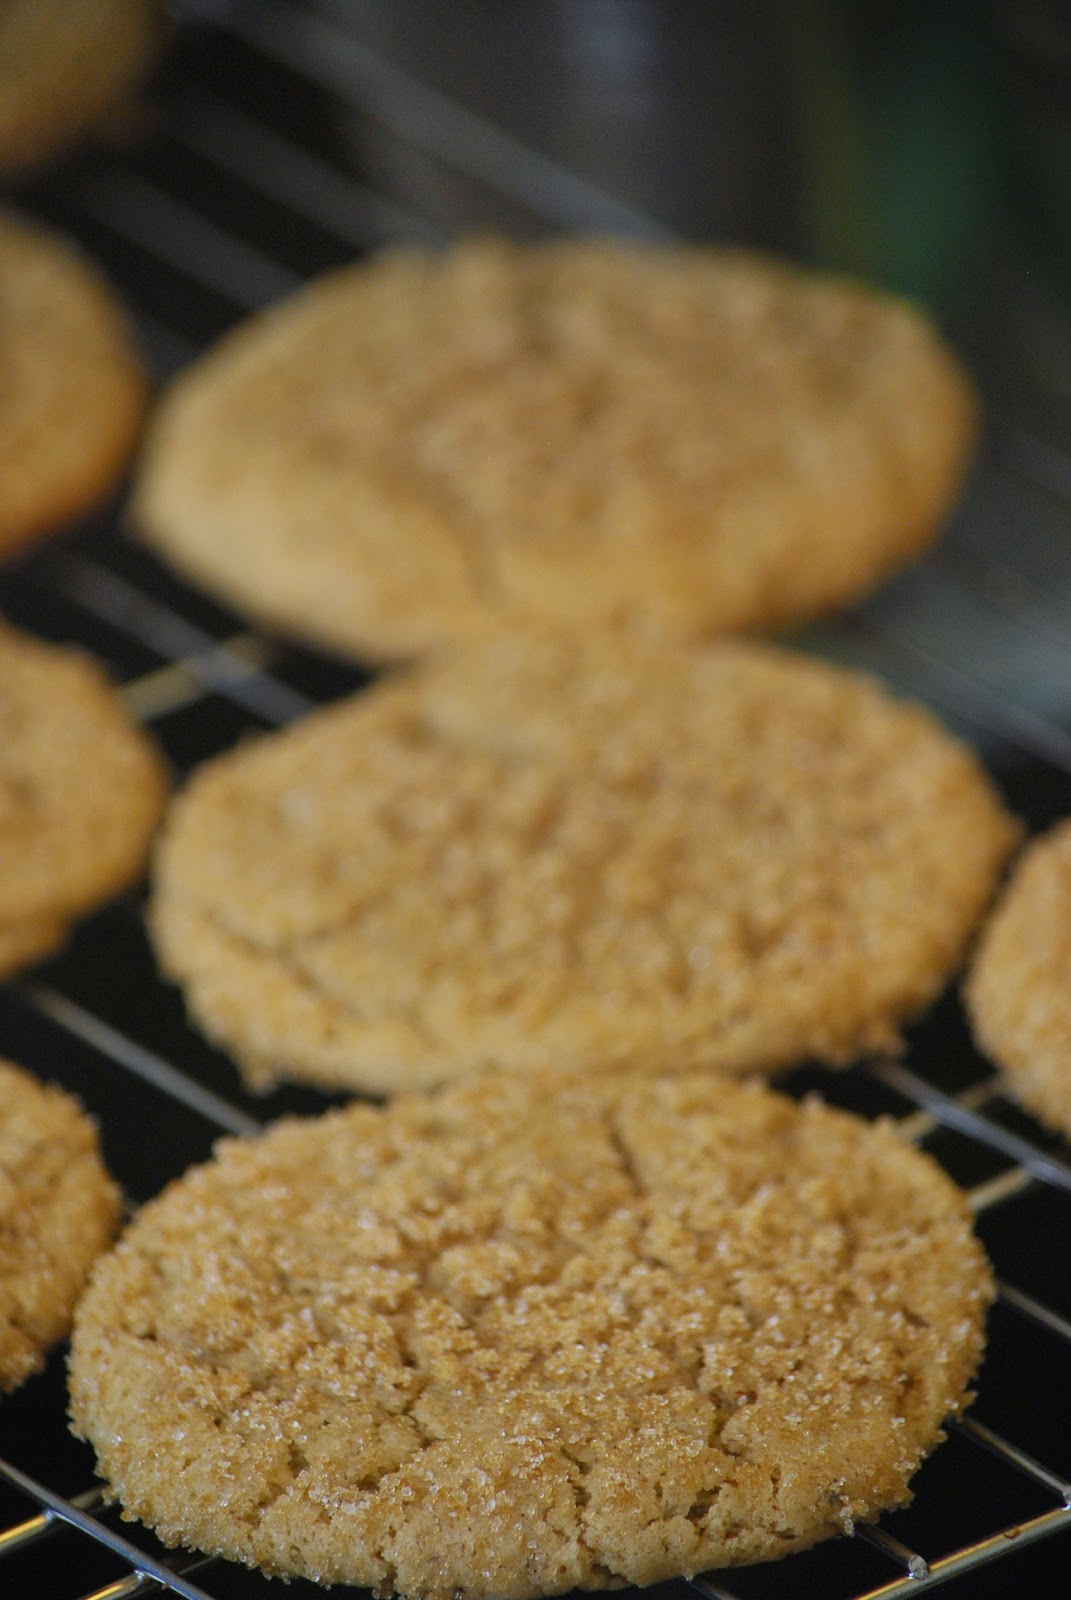
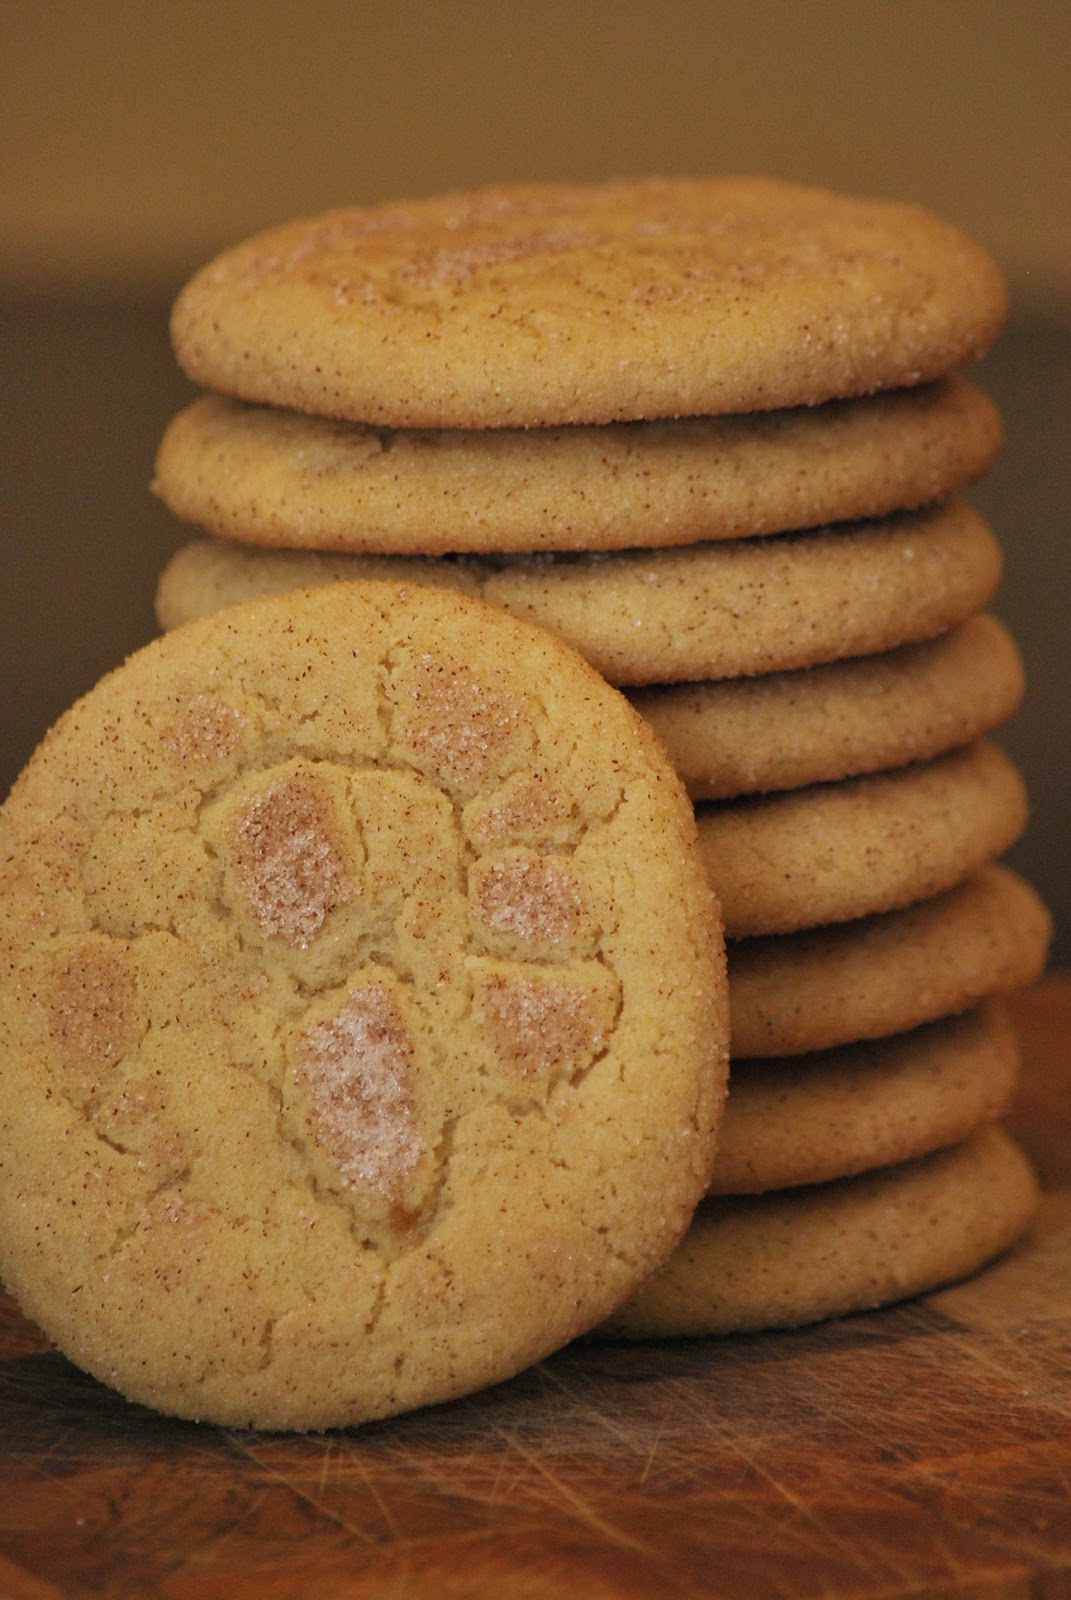
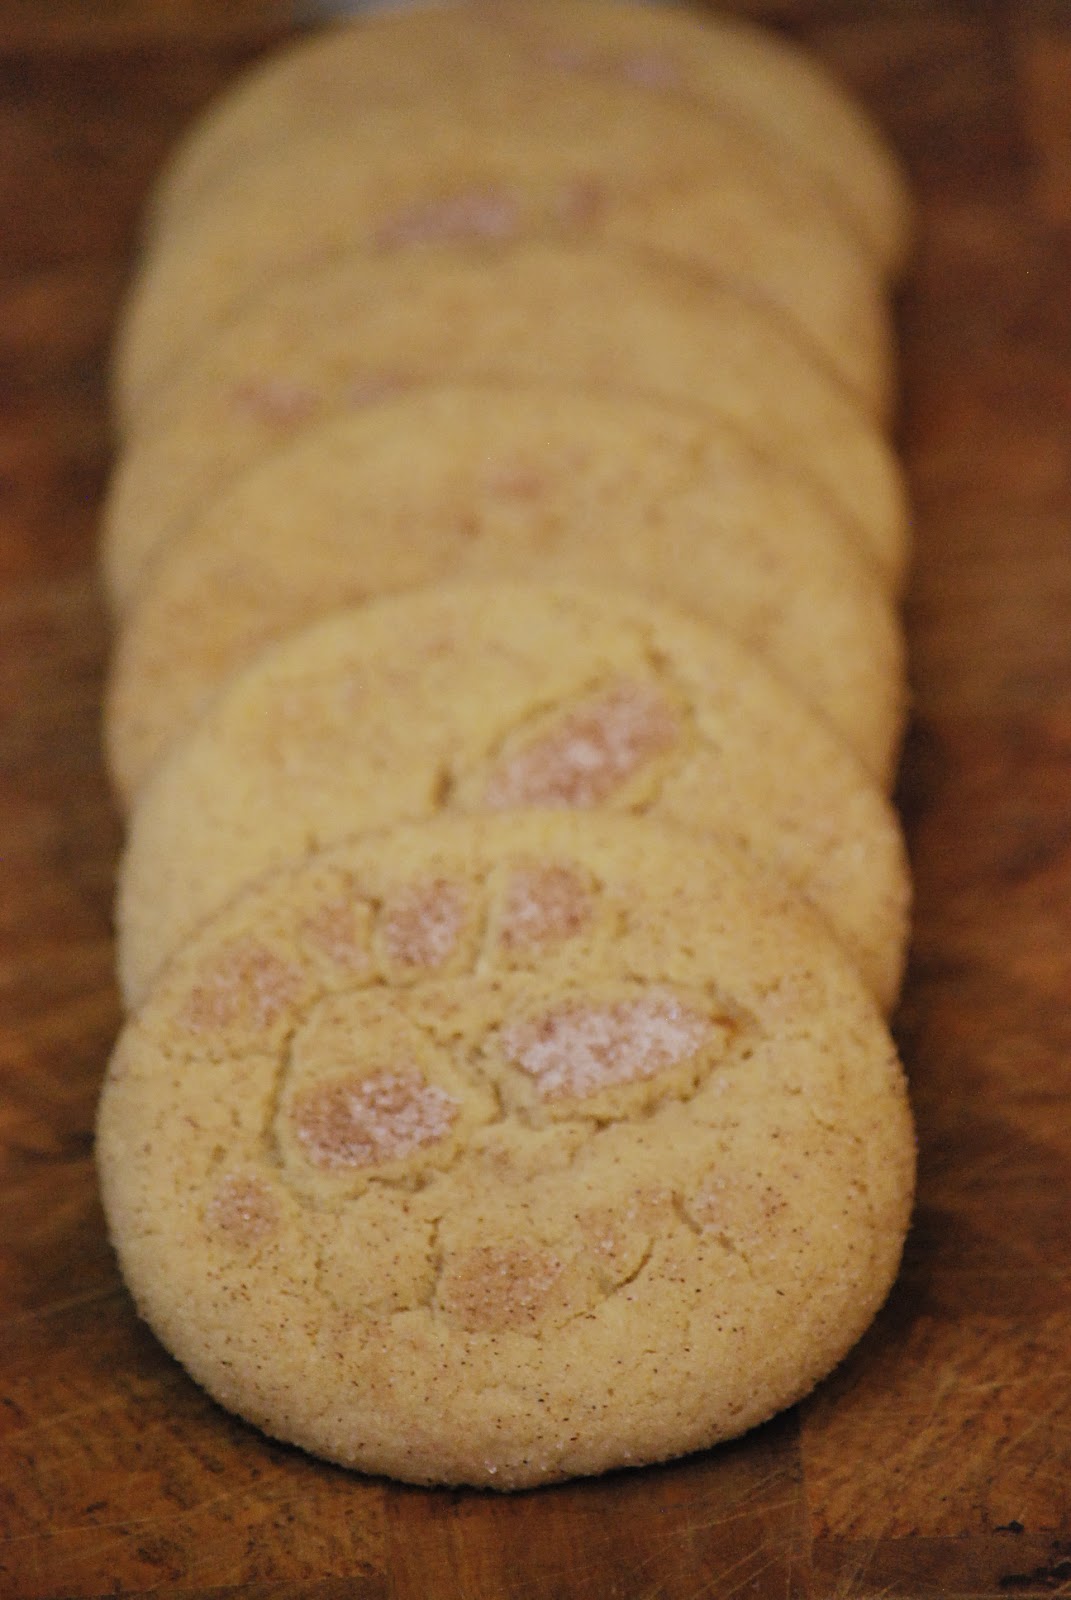
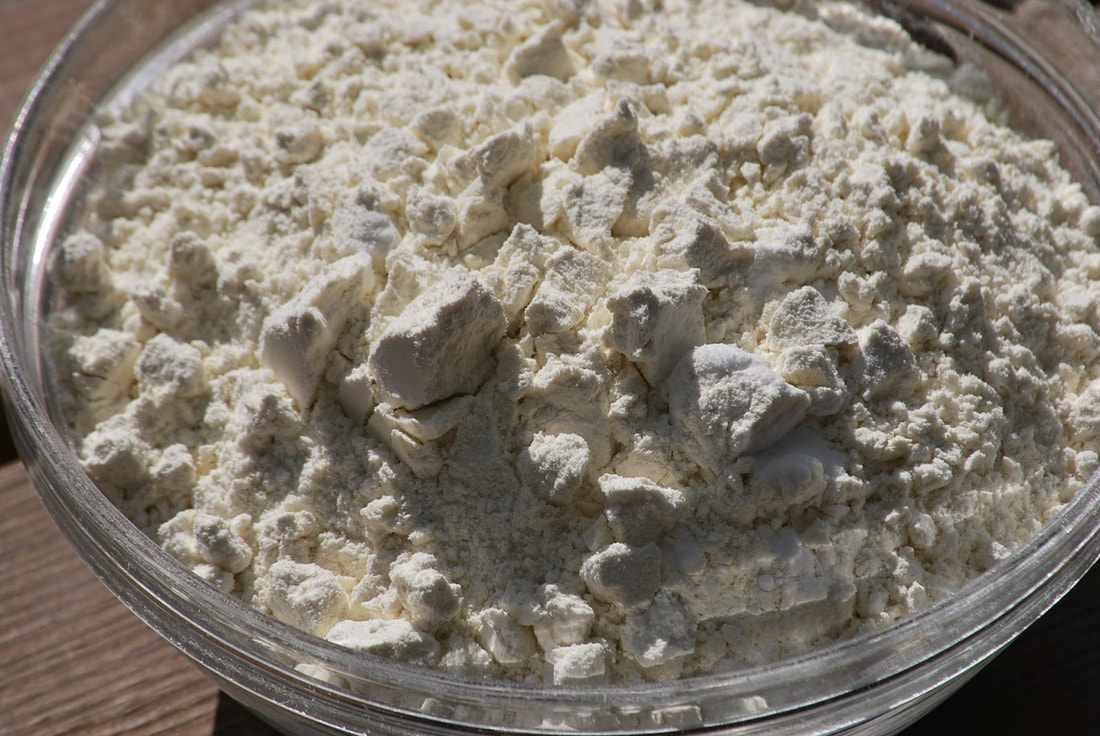
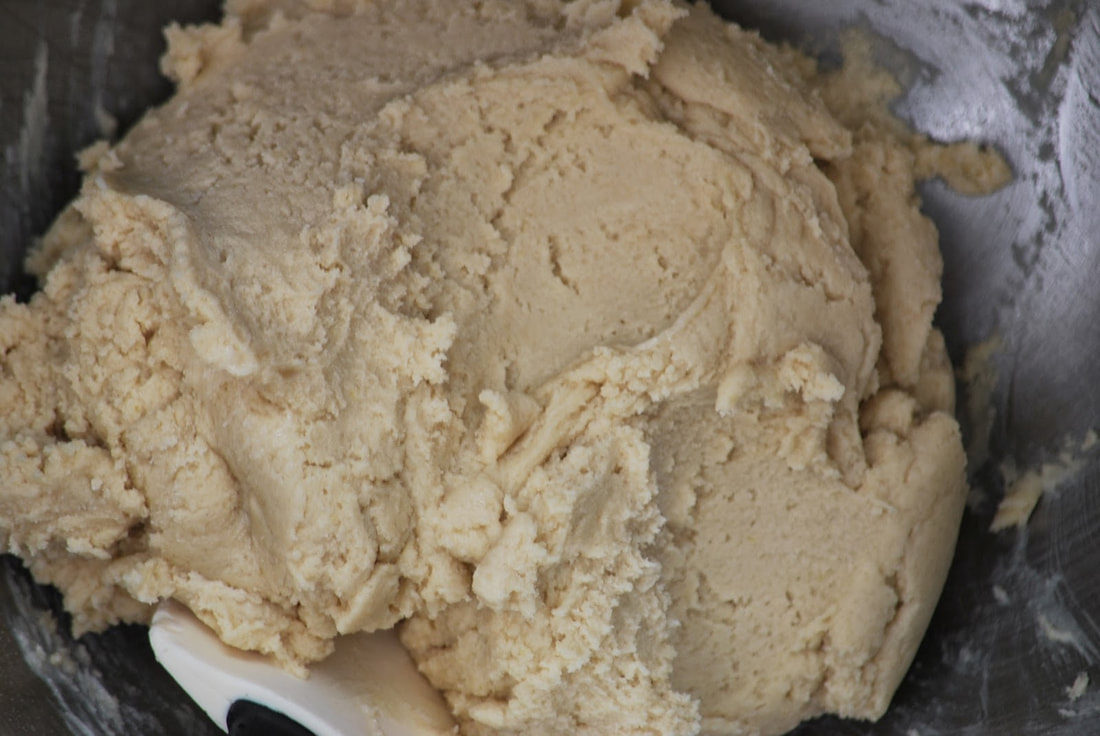
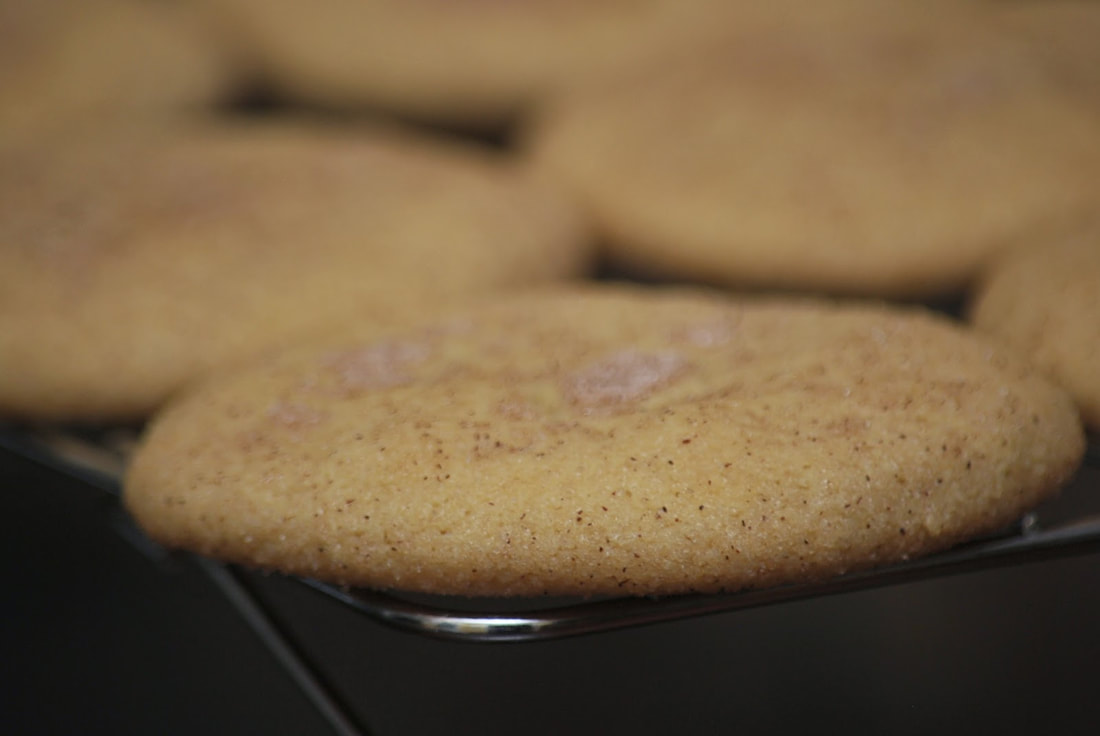
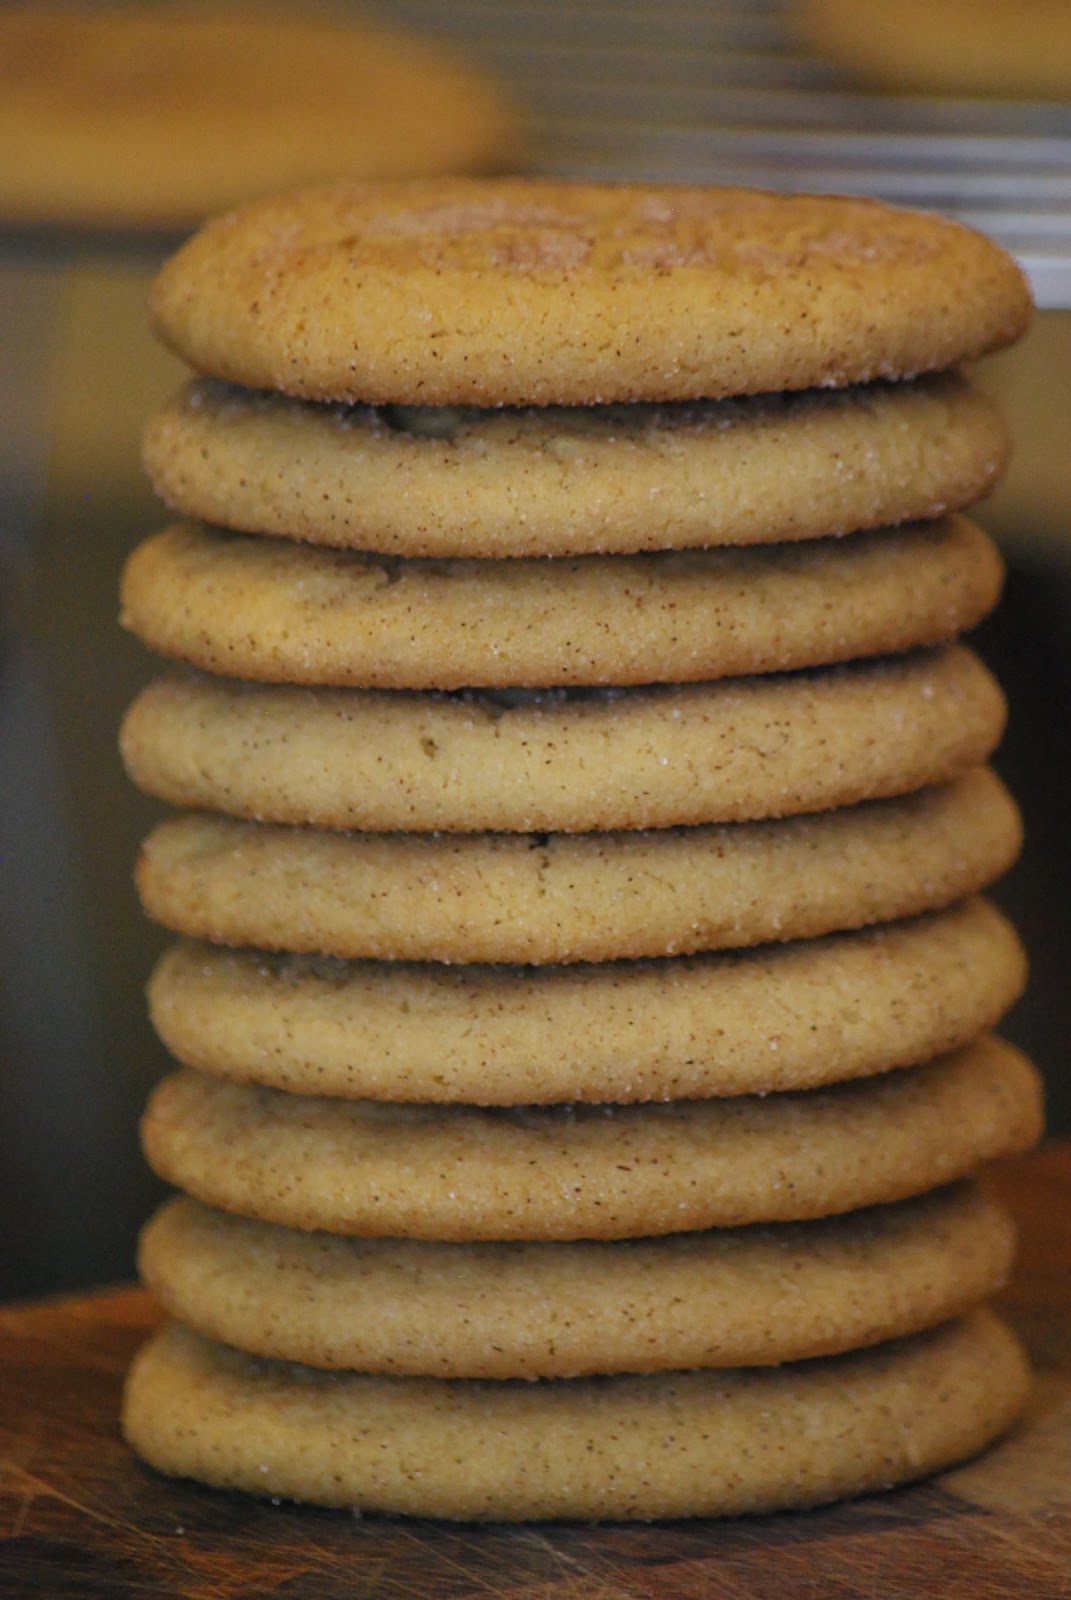
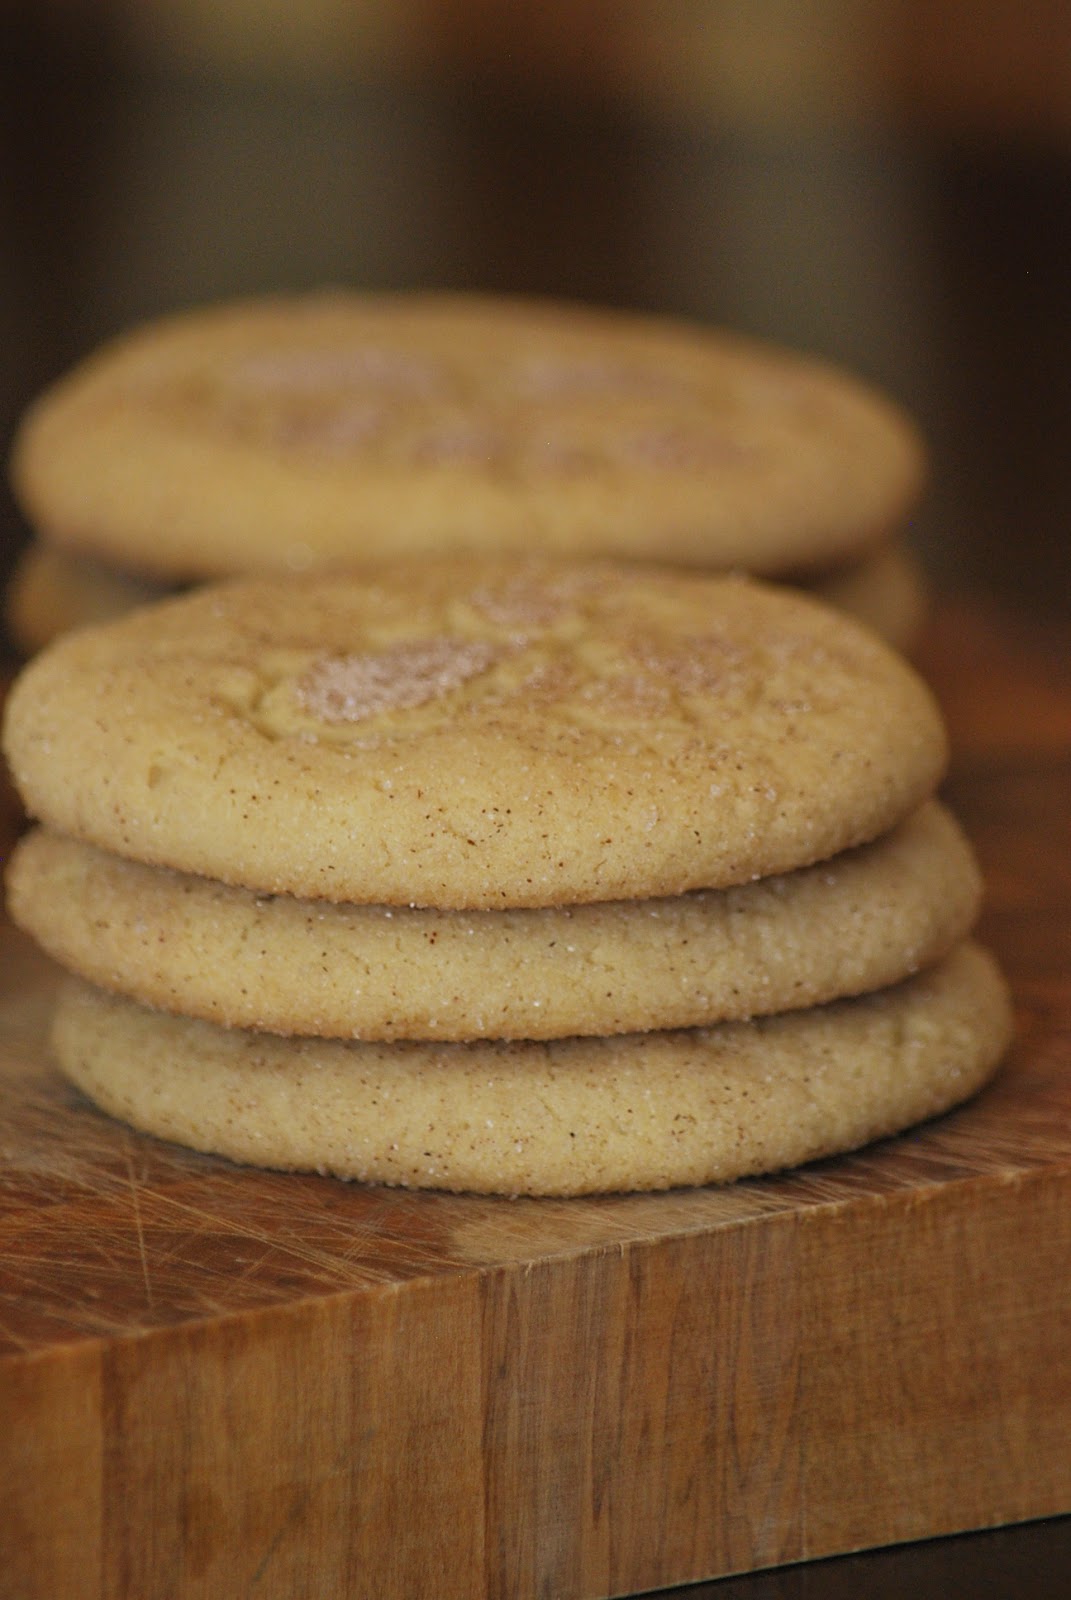
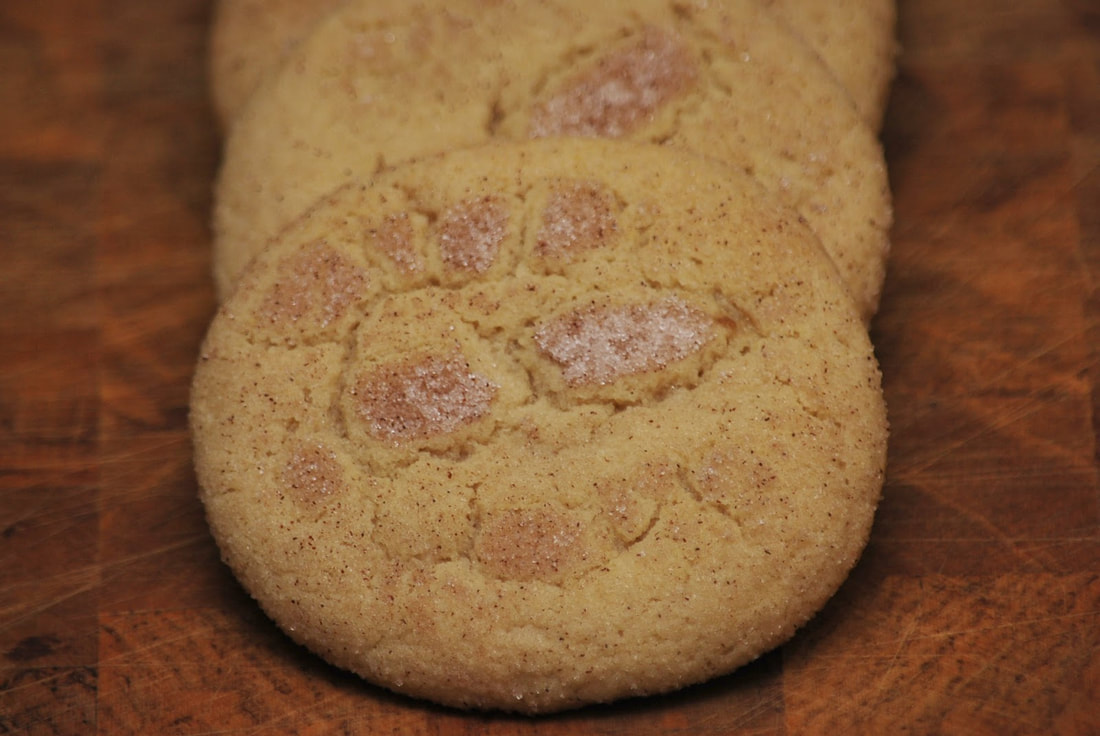
Perfecting a cookie recipe? - that's my specialty. I've made snickerdoodles for years and I'm always trying to improve on them. I love the buttery flavor but I've had trouble keeping the pillowy soft texture of the cookie when I try and adjust my butter/shortening ratio. Fortunately for me, I came across a recipe on mylitter.com that just might have solved my problem. (A little brown sugar just might be the key to the perfect, buttery Snickerdoodle.) 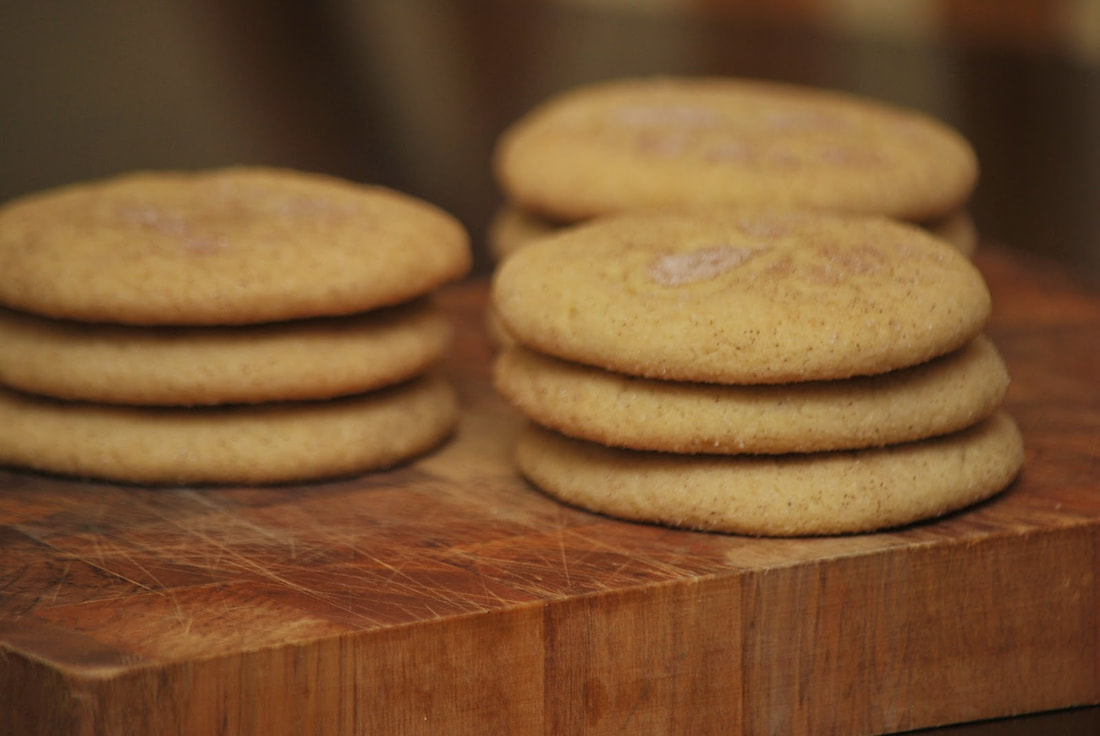 Snickerdoodles 1/2 cup butter (1 stick) softened 1/2 cup granulated sugar 1/3 cup brown sugar 1 egg 1/2 teaspoon vanilla 1 1/2 cups flour 1/4 teaspoon salt 1/2 teaspoon baking soda 1/4 teaspoon cream of tartar For rolling 2 tablespoons granulated sugar 1 teaspoon cinnamon
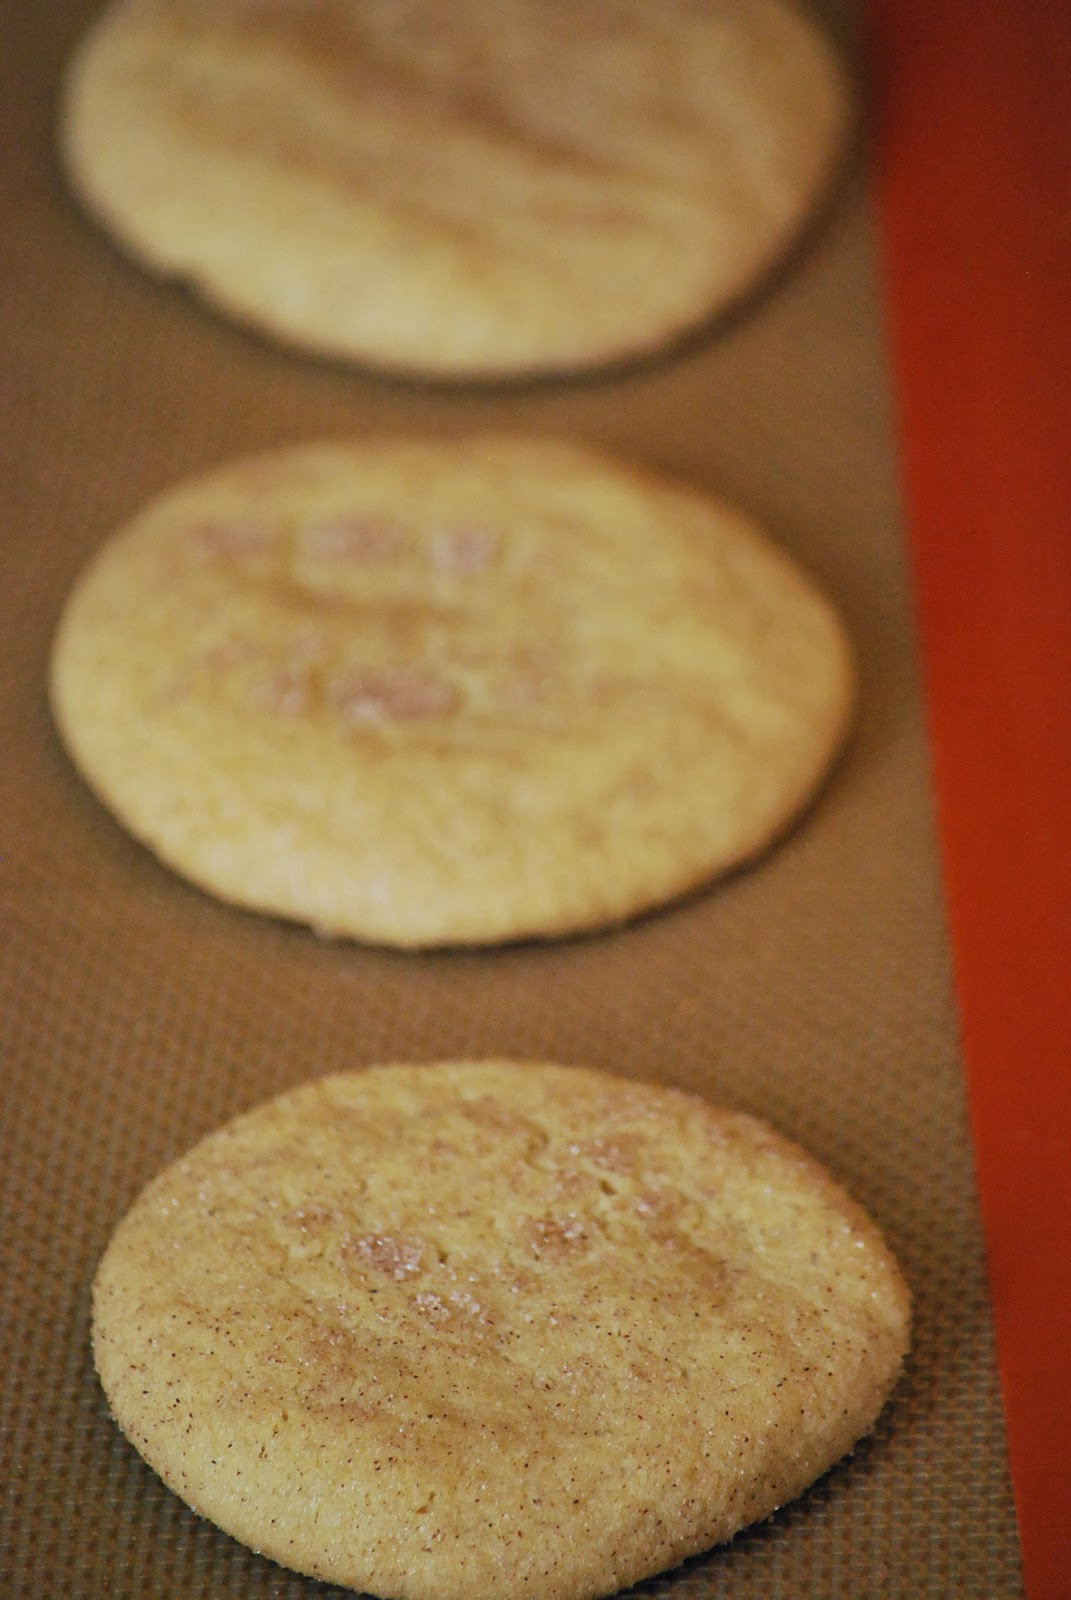
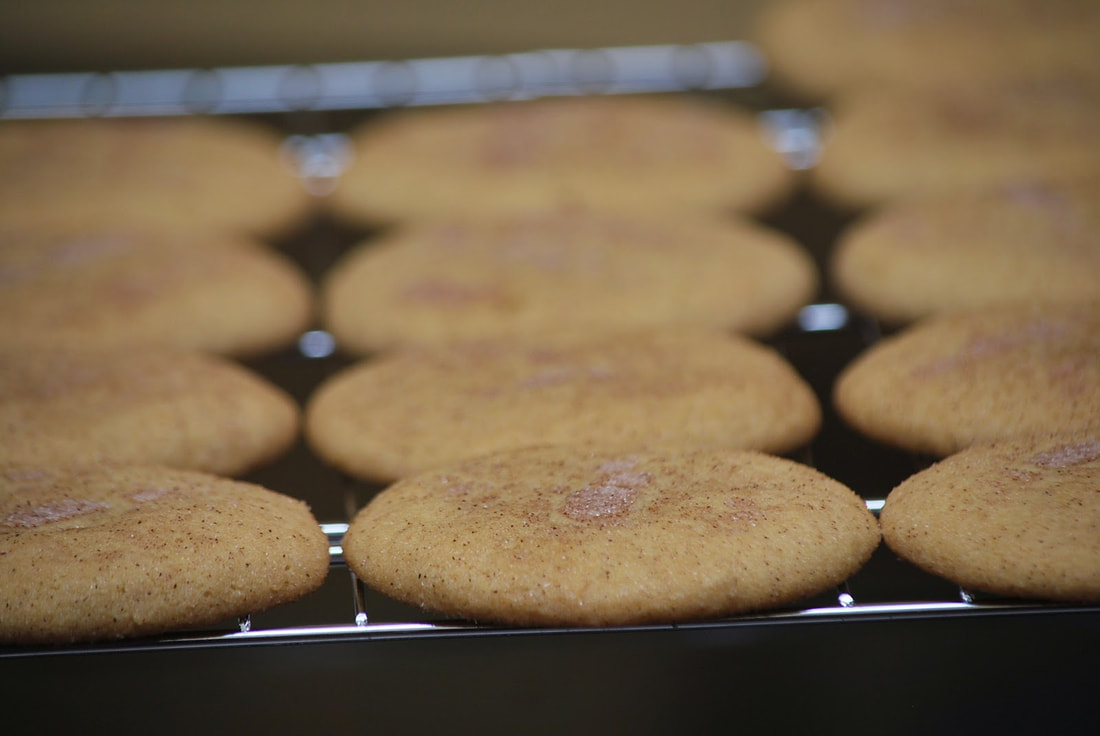
Combine the sugar with the cinnamon for the topping. Scoop dough into balls and roll in cinnamon sugar. Let the dough rest for 30 to 60 minutes in the refrigerator. 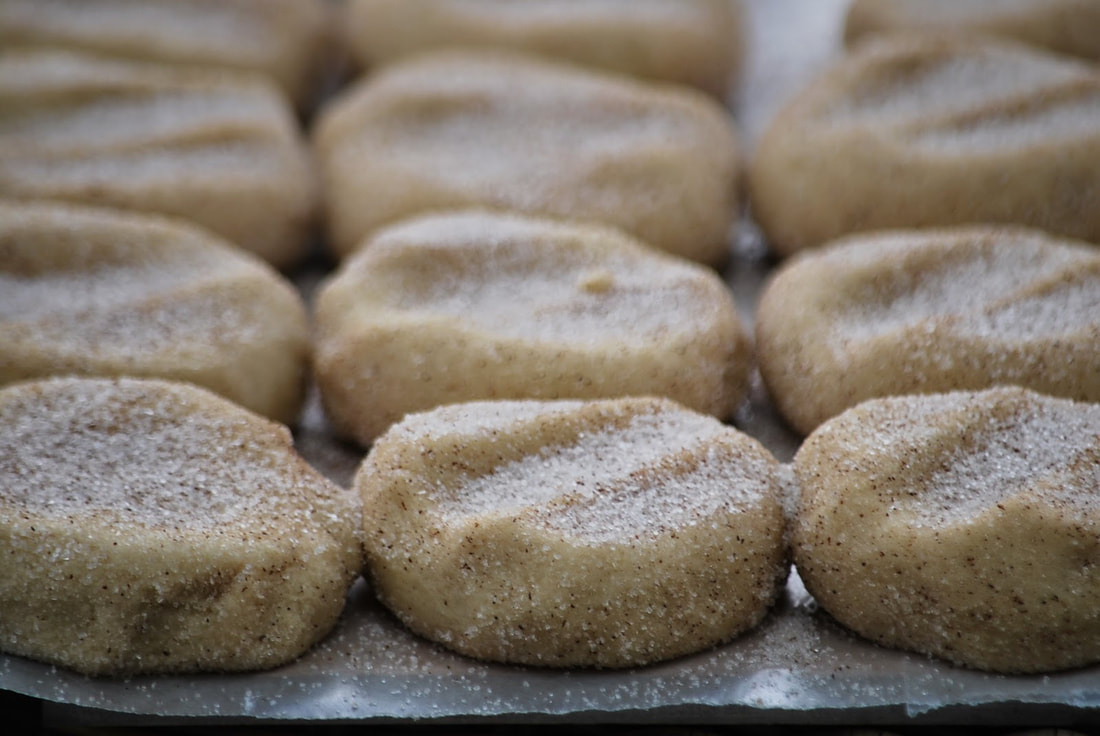
Cool on wire racks.
If you host or attend and annual Christmas cookie exchange - I want to hear about it. Send me a comment and let me know the logistics. How is it organized? How do you pack and transport your cookies, etc?
|