My Story in Recipes
  • Recipe Index
  • Blog Posts
  • My Story
  • Connect

Carrot Cake

7/30/2014

0 Comments

 
Picture
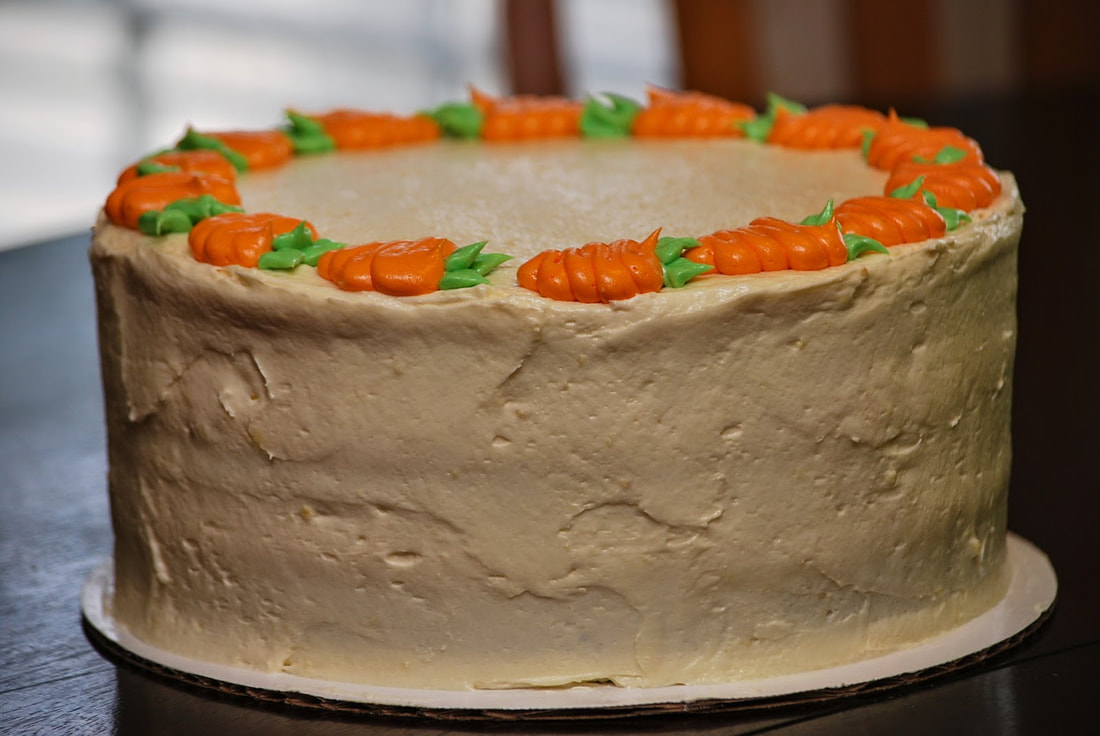
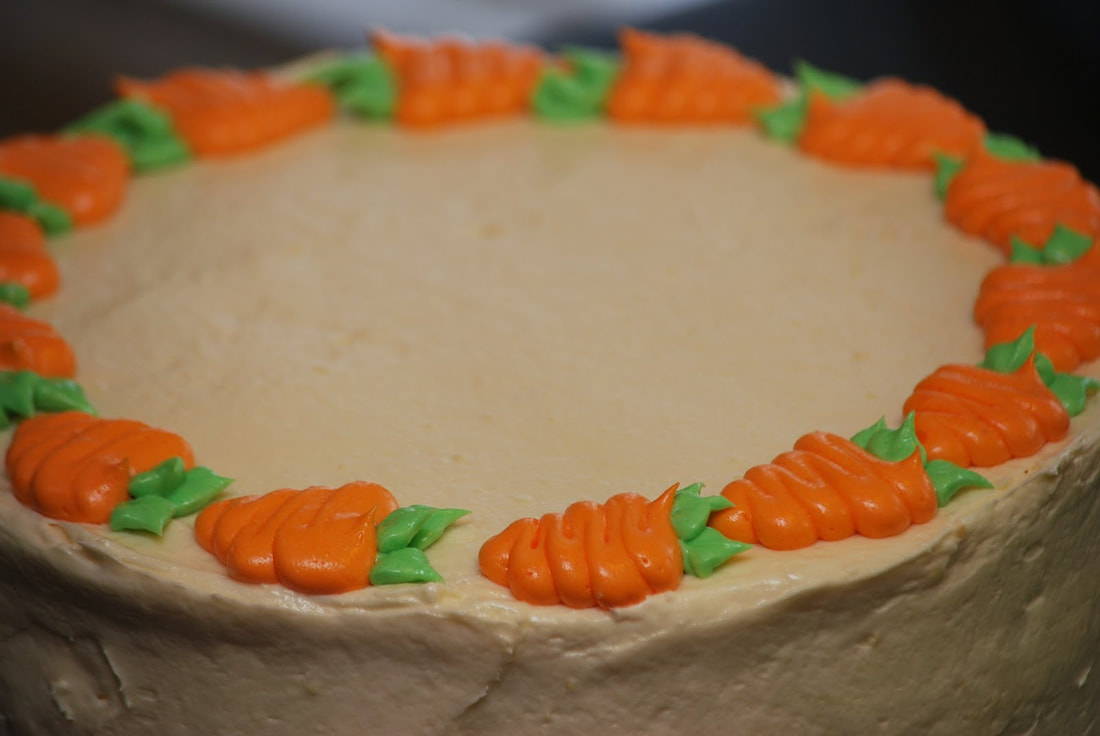
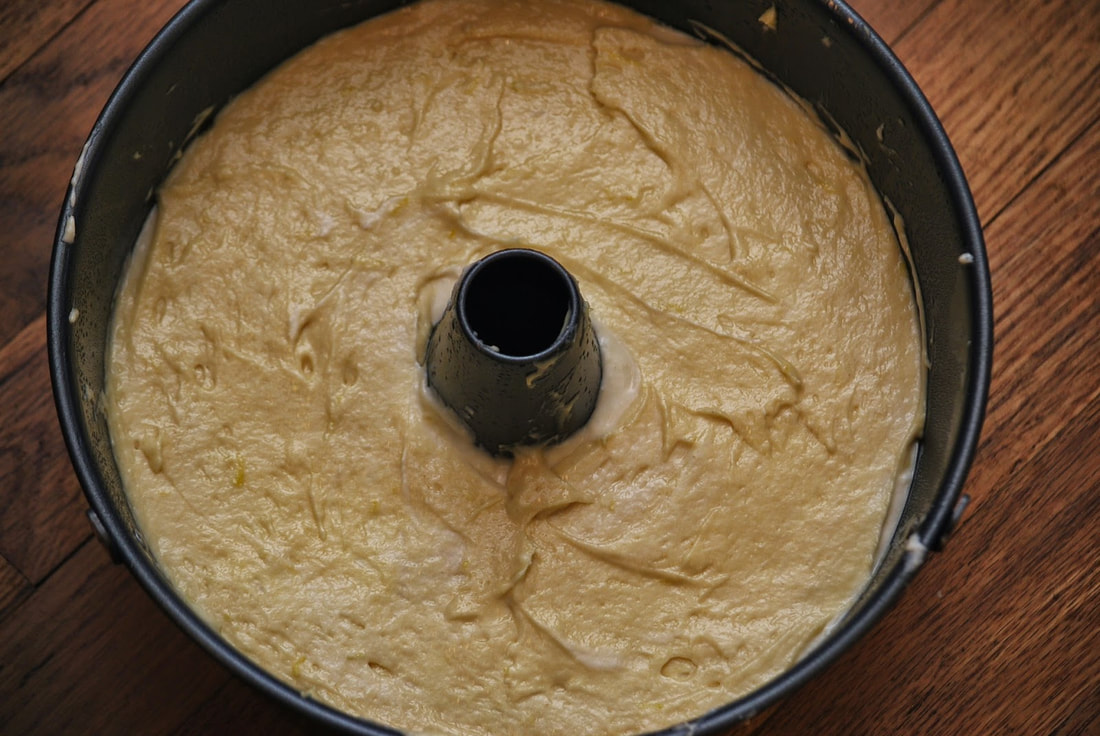
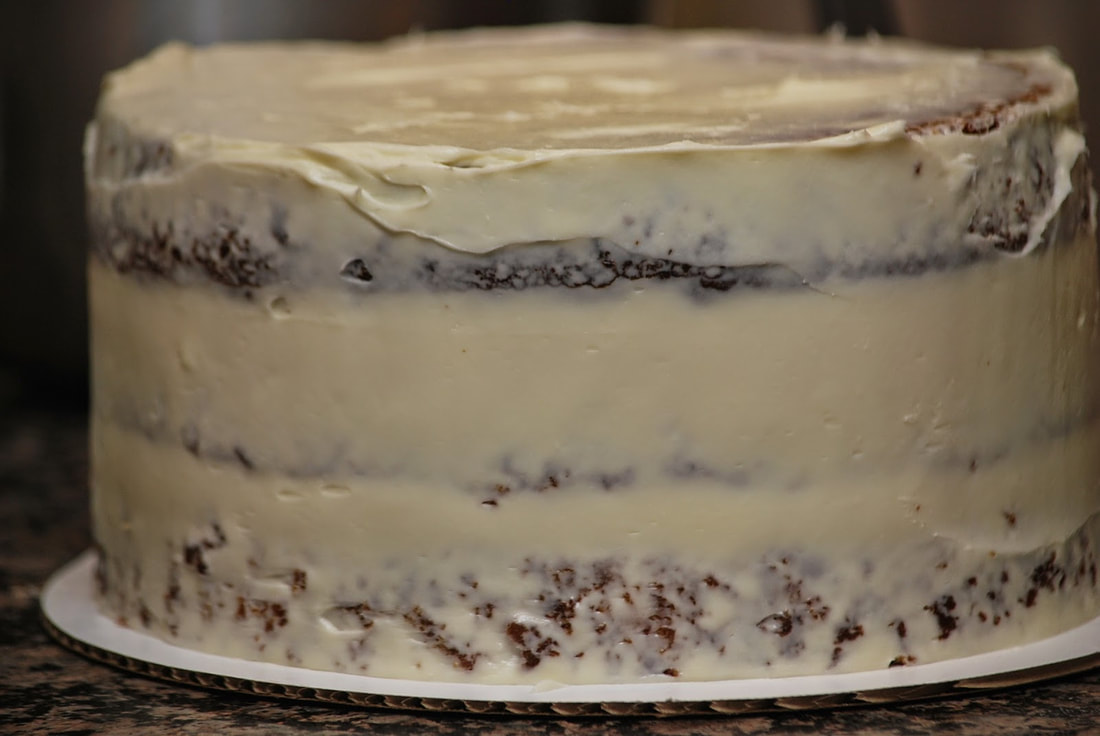
​I normally reserve carrot cake for Easter time but I'm really not sure why I associate the two.  Maybe it's because the Easter bunny likes carrots?  Perhaps it's because of its simple white design with carrot accents.  Or maybe it's just because I have a plethora of carrots in the springtime.  For whatever reason - I tend to reserve my carrot cake for Springtime.  Not anymore though.  I'm breaking with my weird seasonal carrot cake tradition and baking carrot cake in the middle of the summer!  (I know - living on the edge.)
This recipe came from my Cook's Illustrated magazine.  It was intended to be a 4 layer rectangle cake baked in a sheet pan but I worked my culinary magic on this recipe and converted it to a three layer cake.  
Picture
Picture
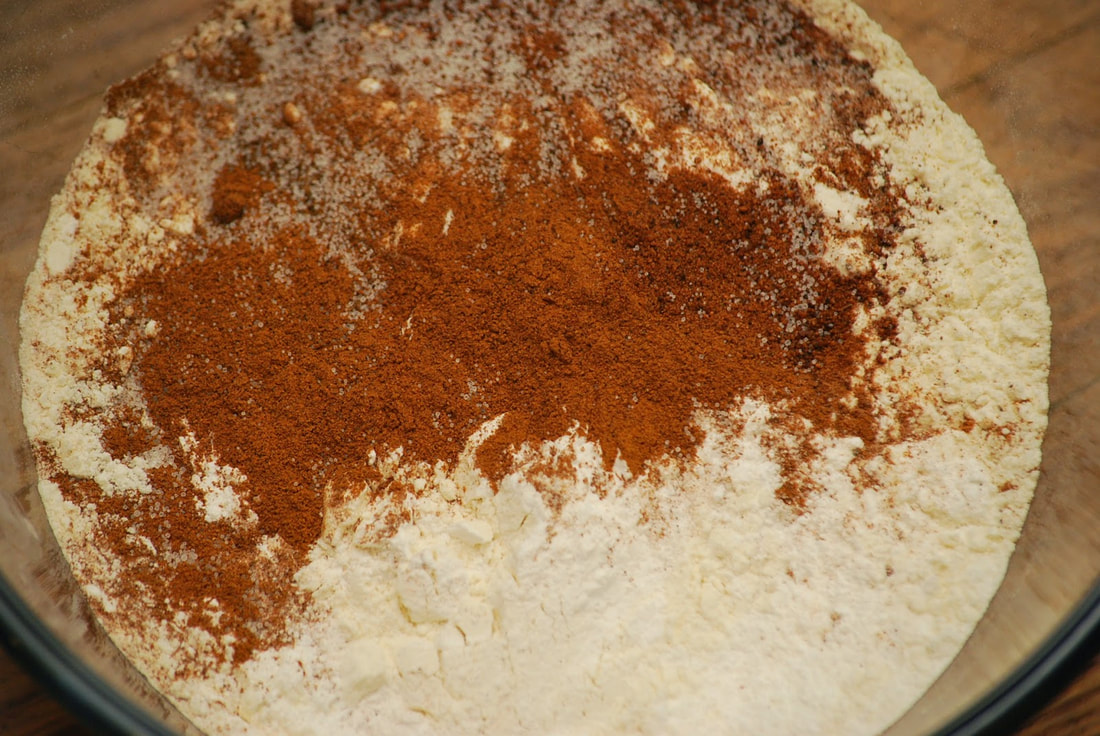
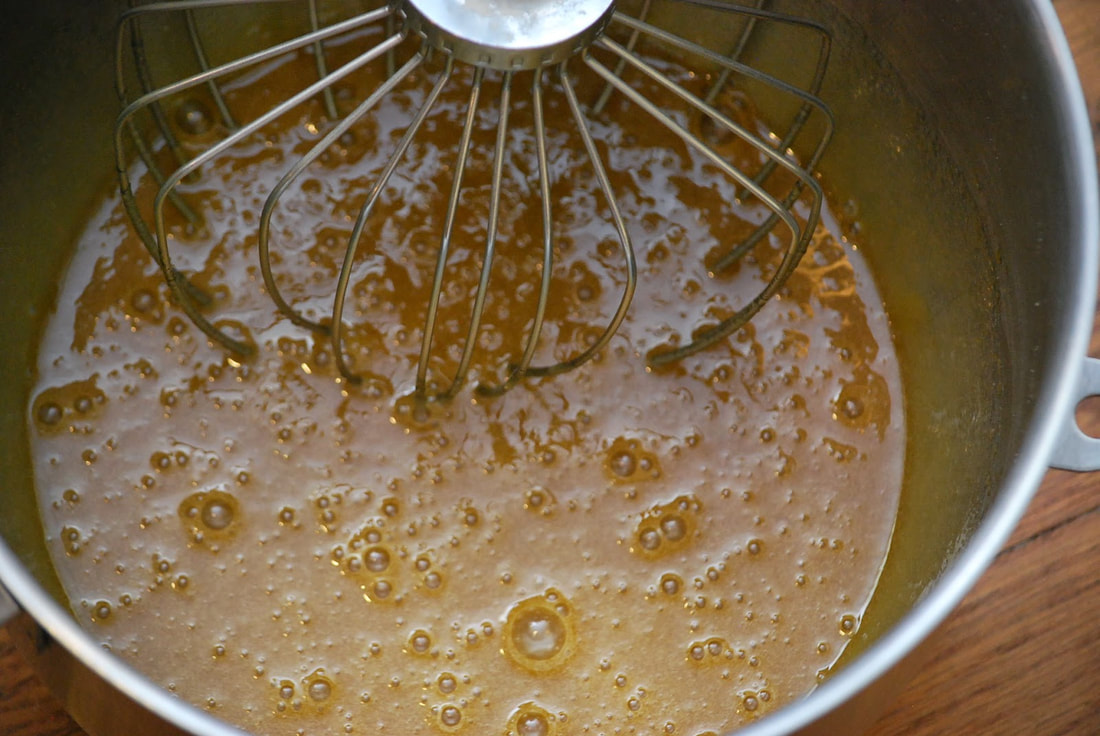
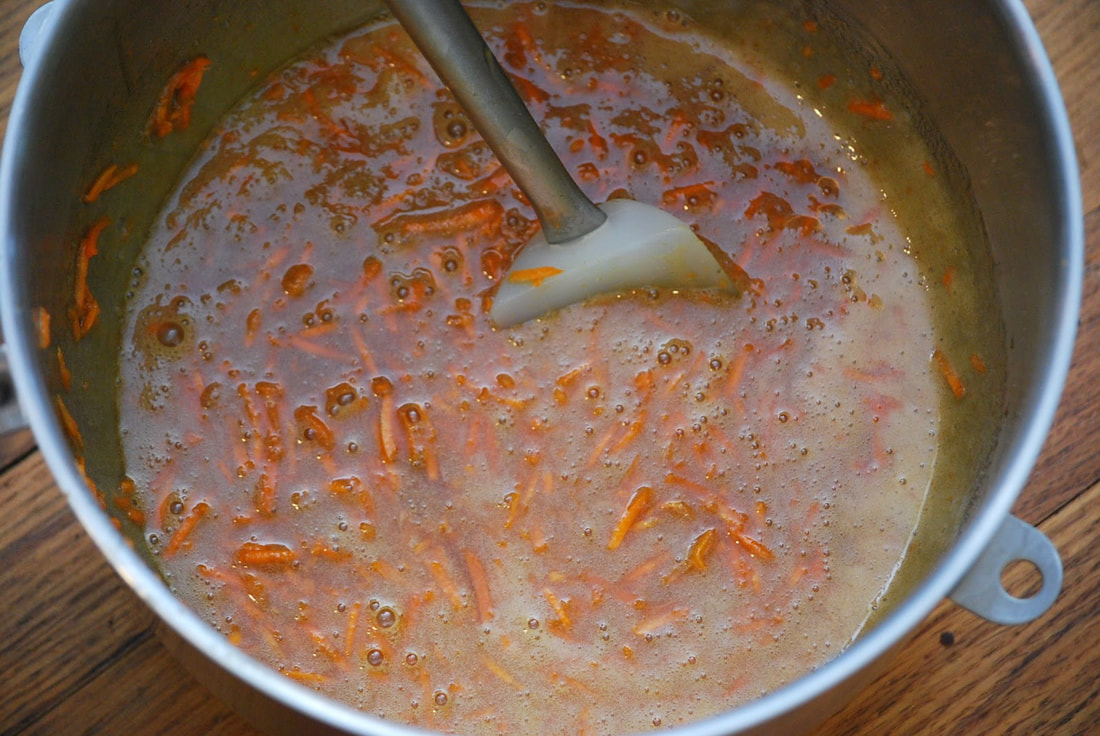
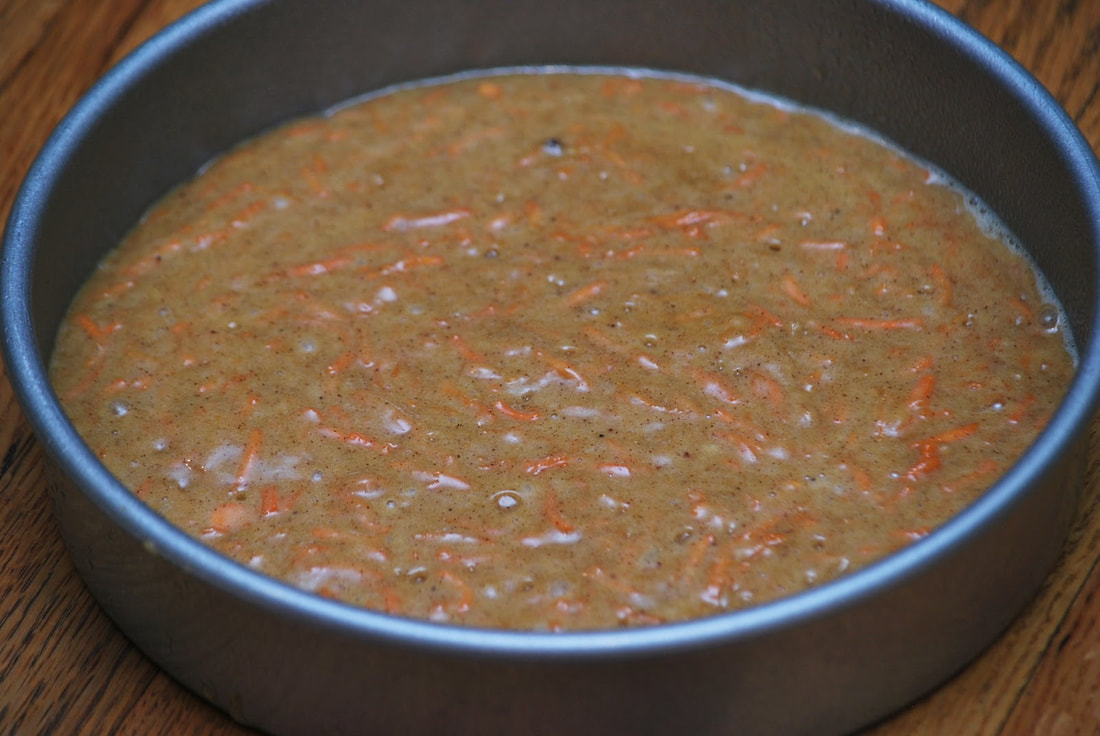
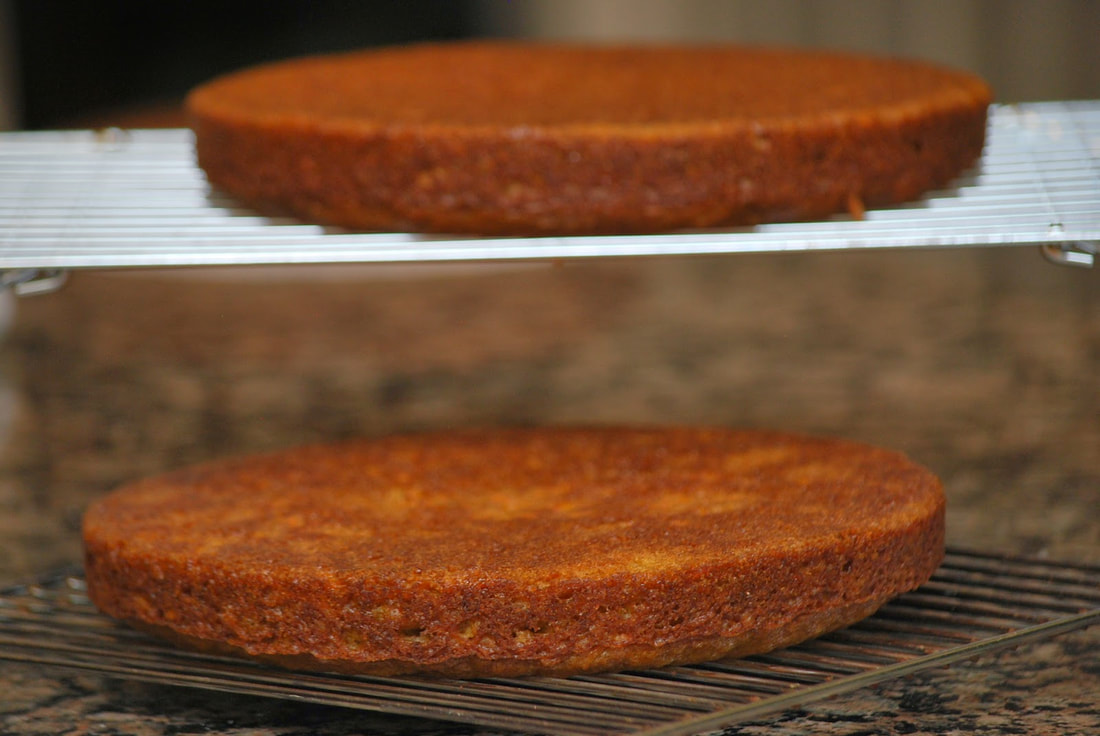
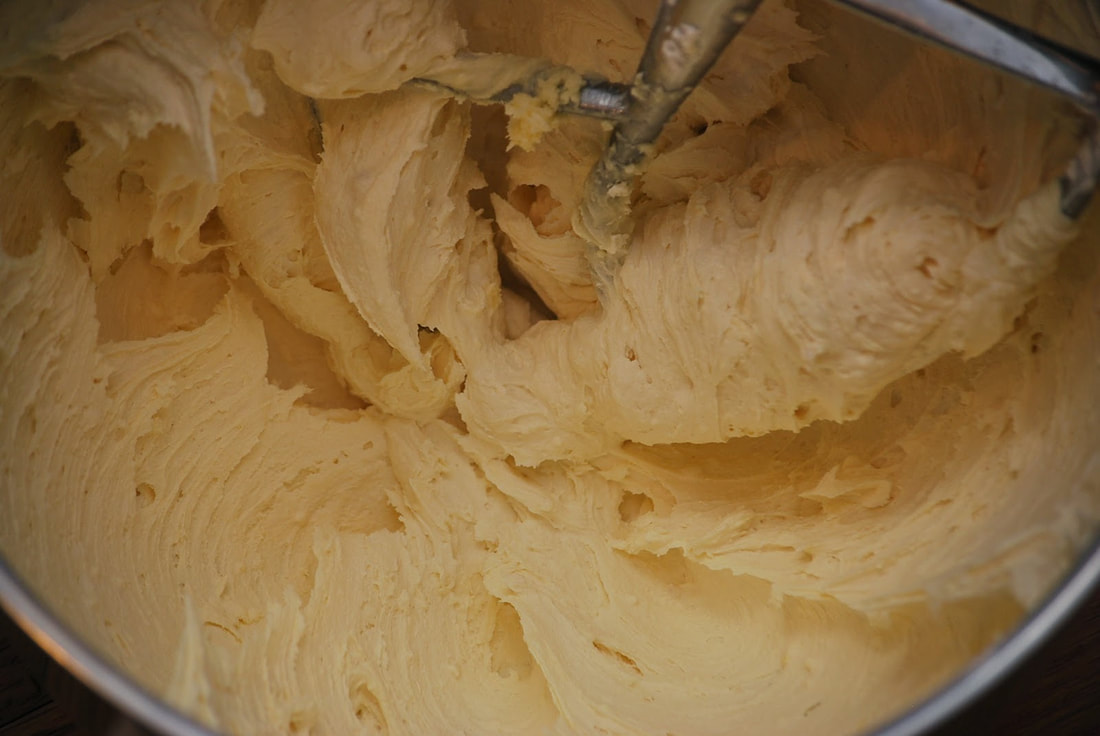
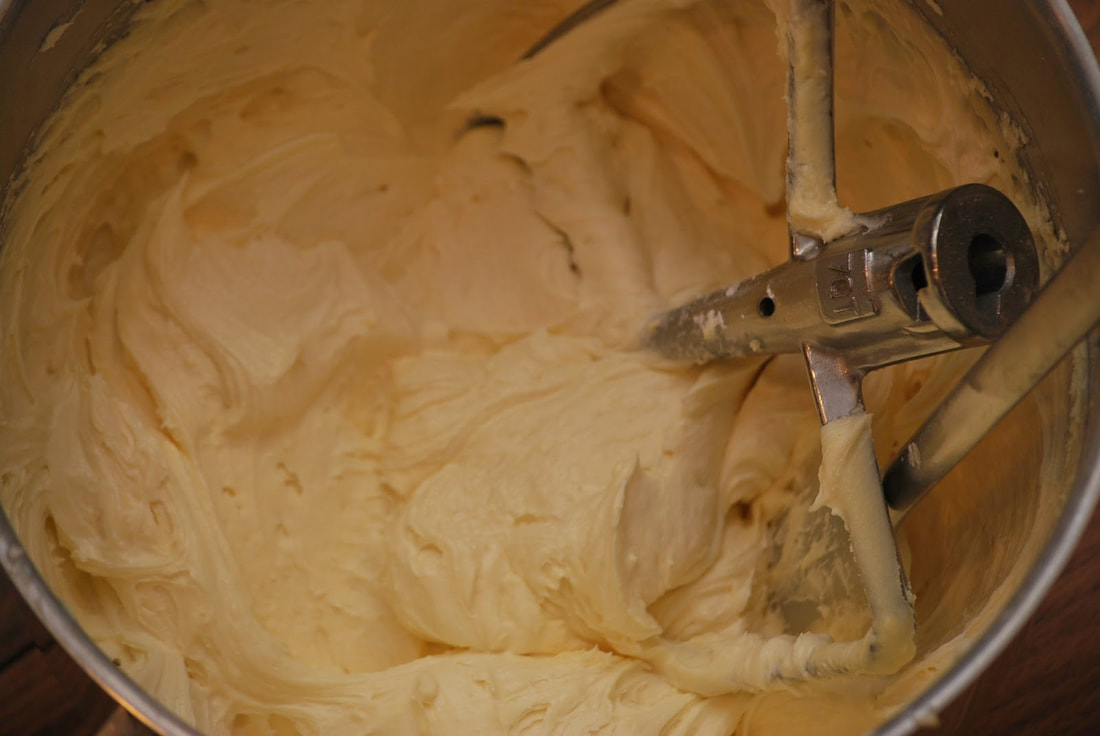
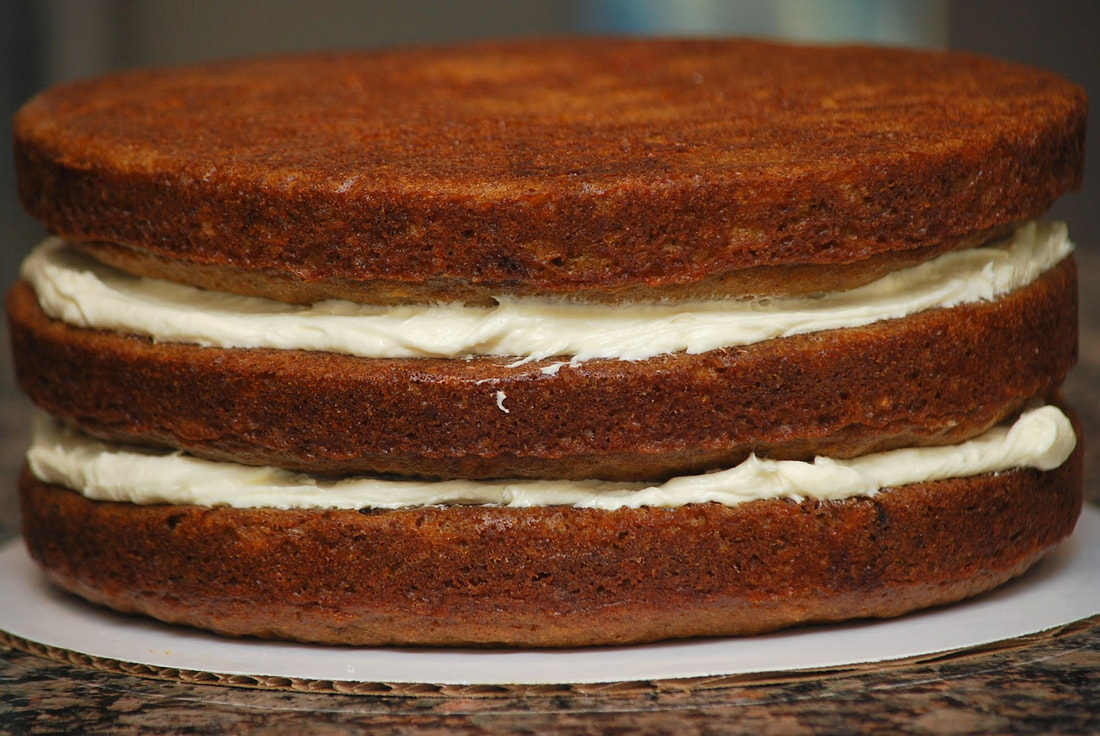
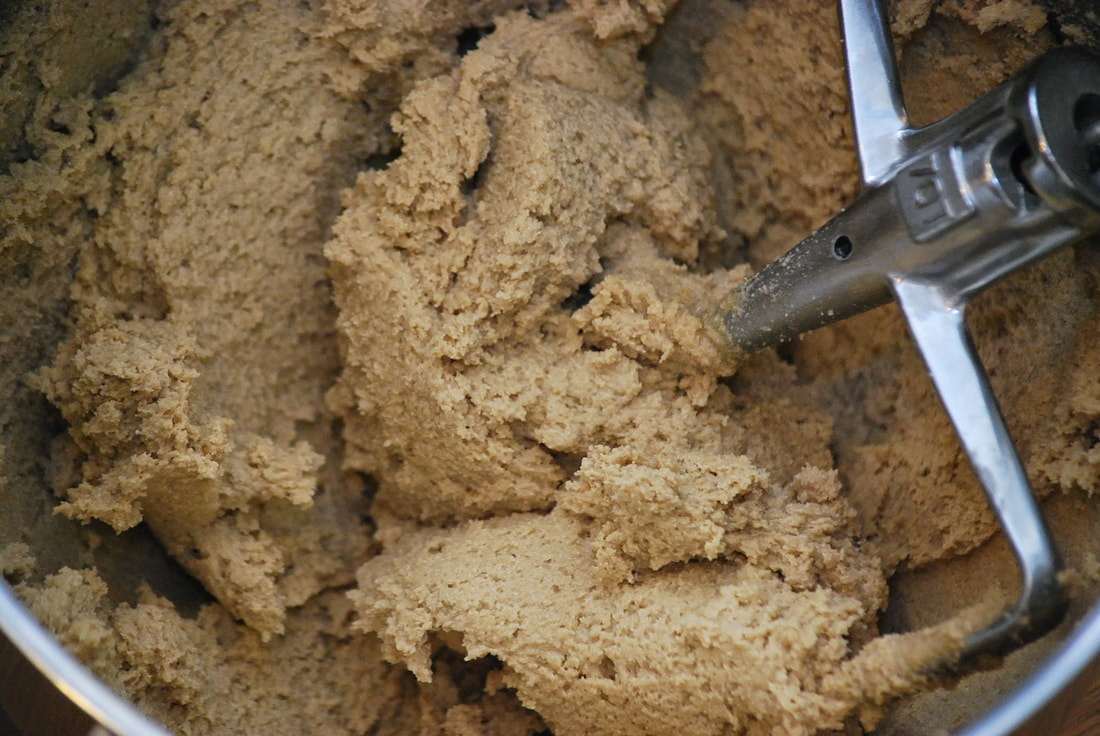
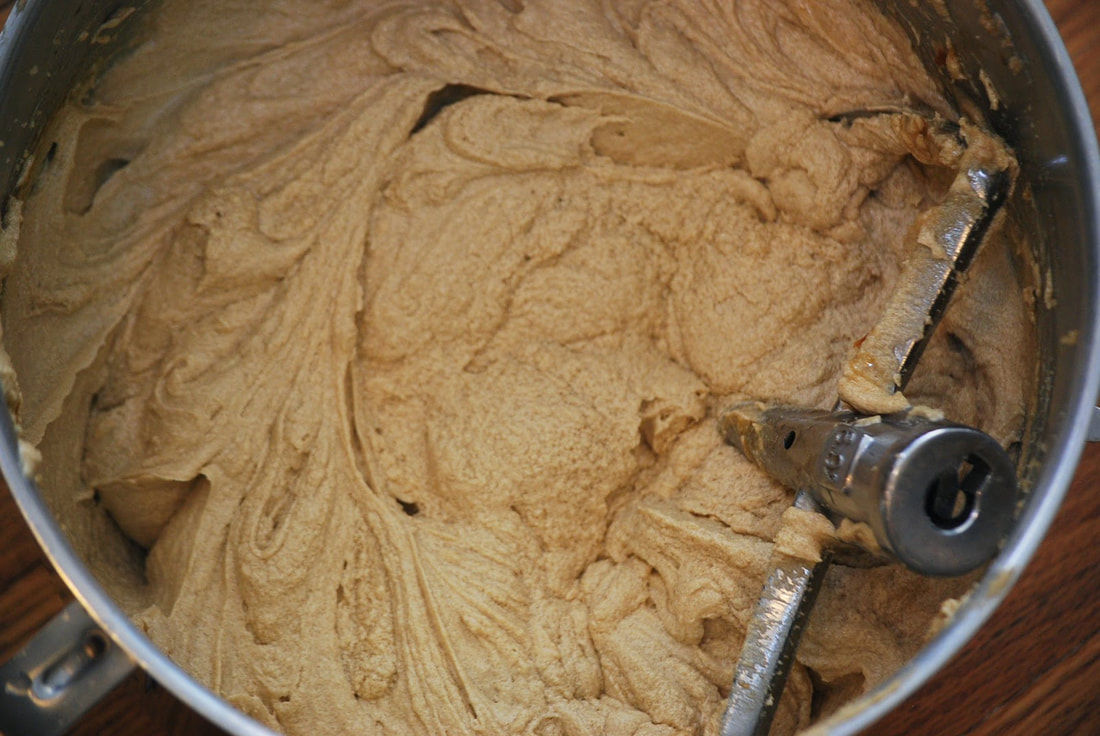
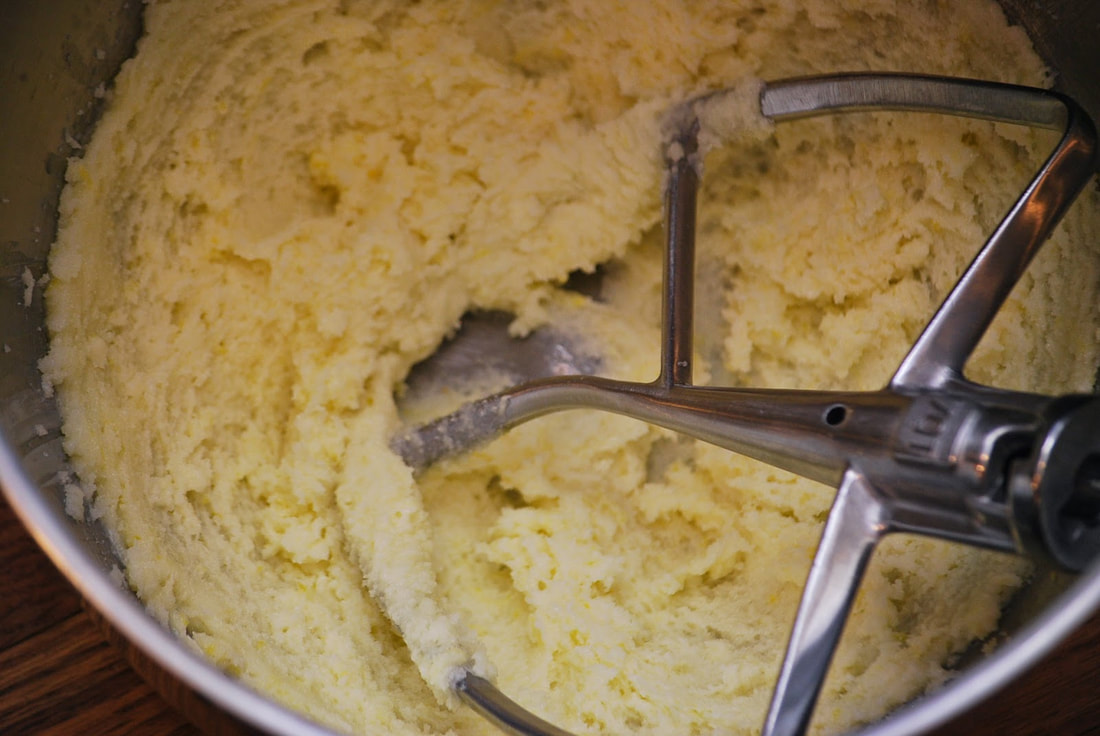
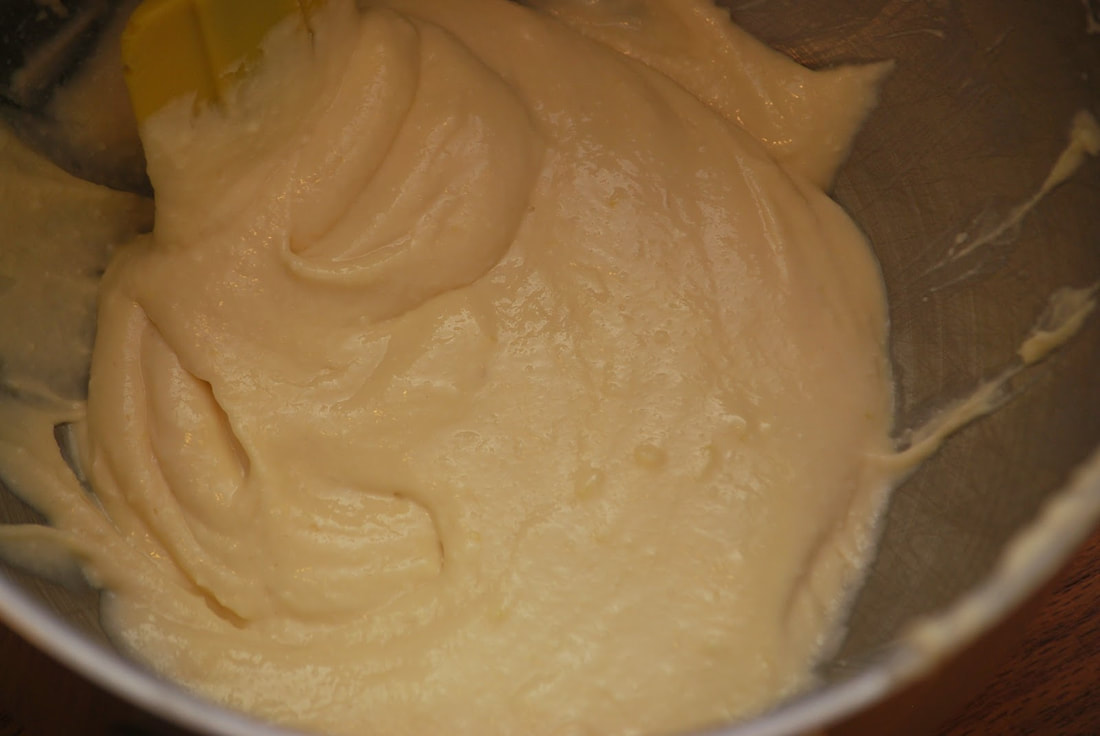
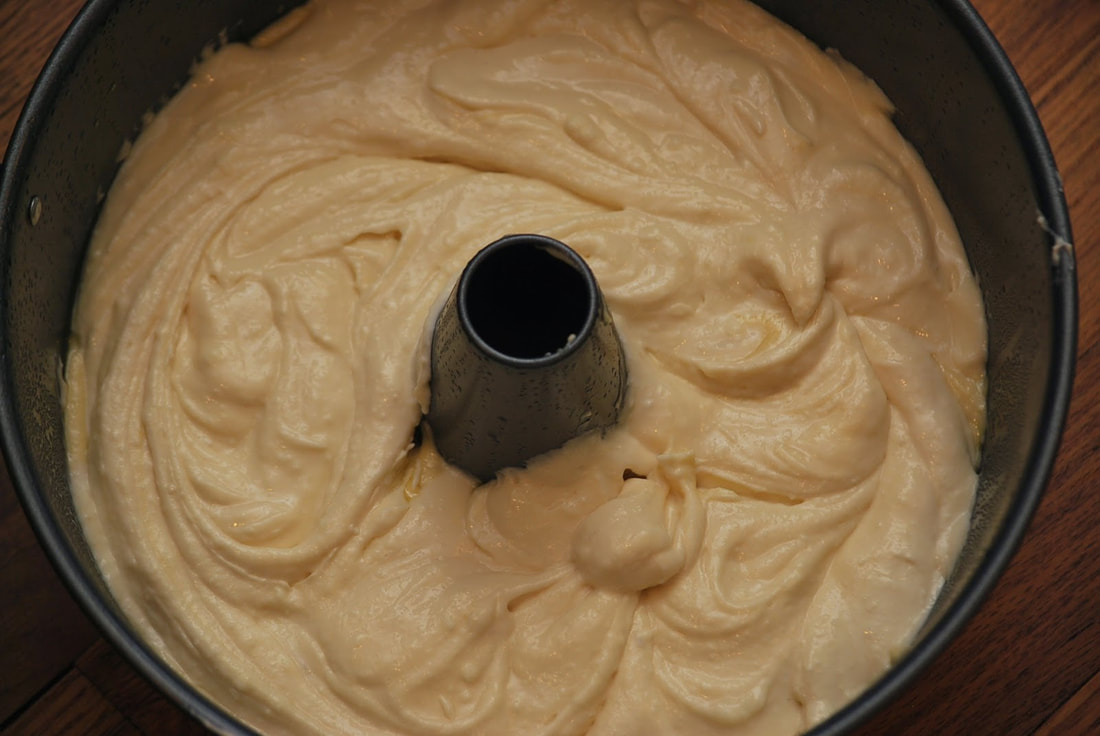
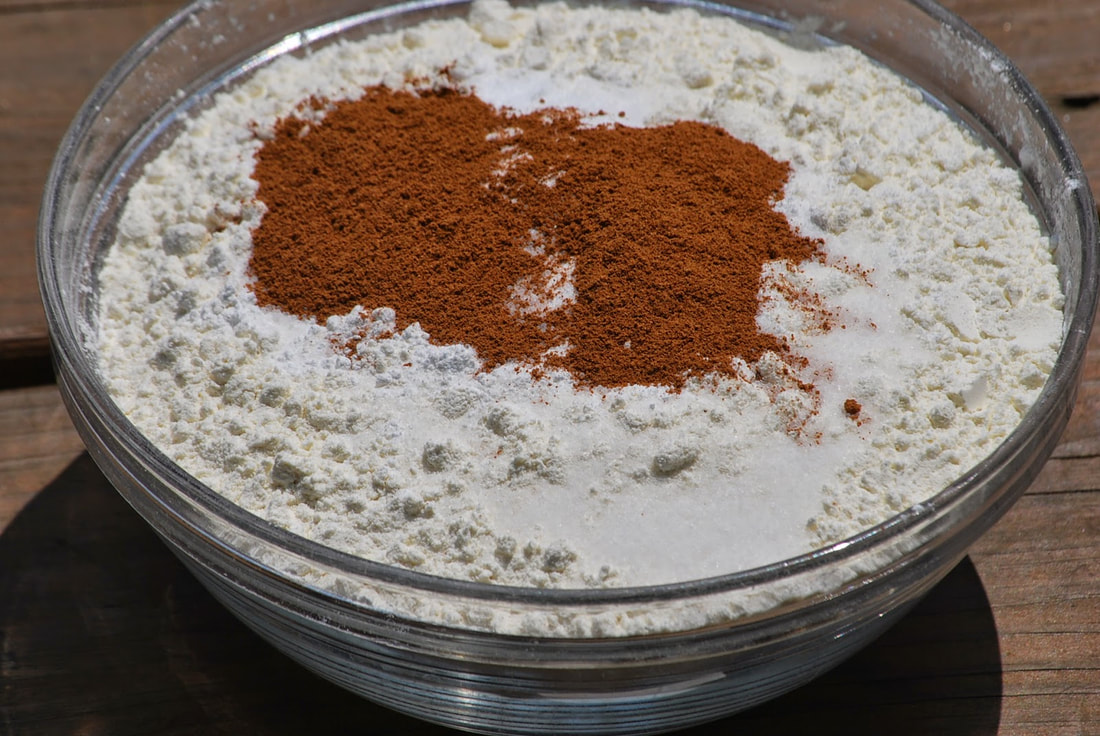
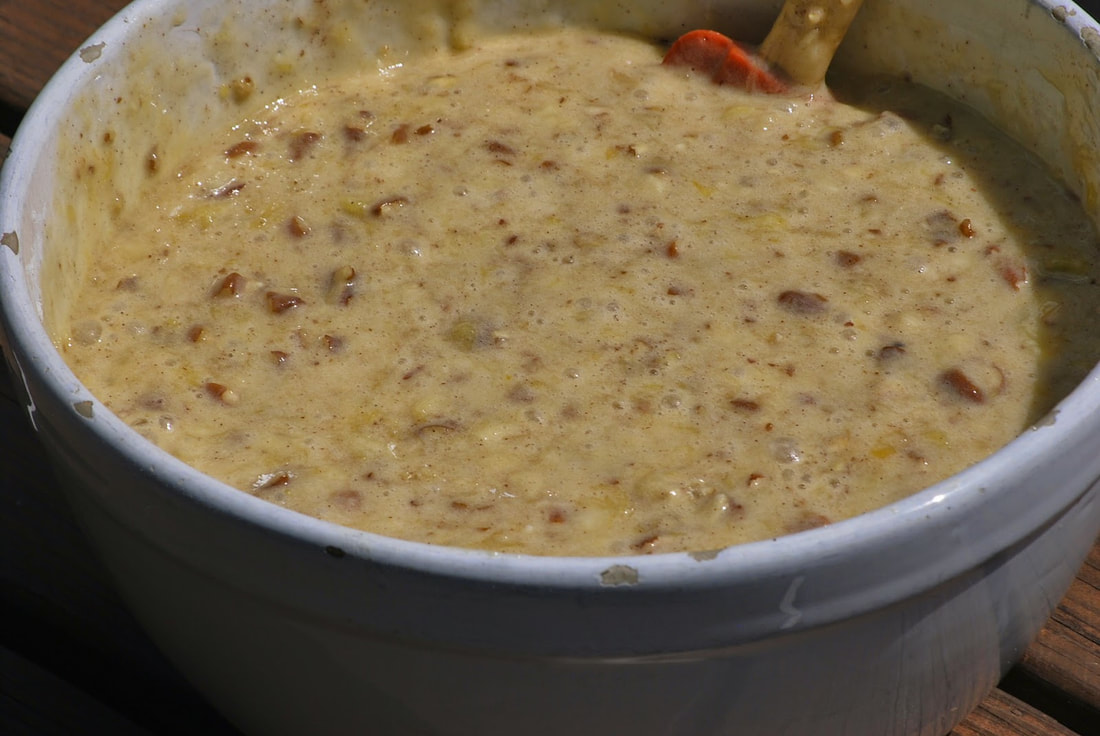
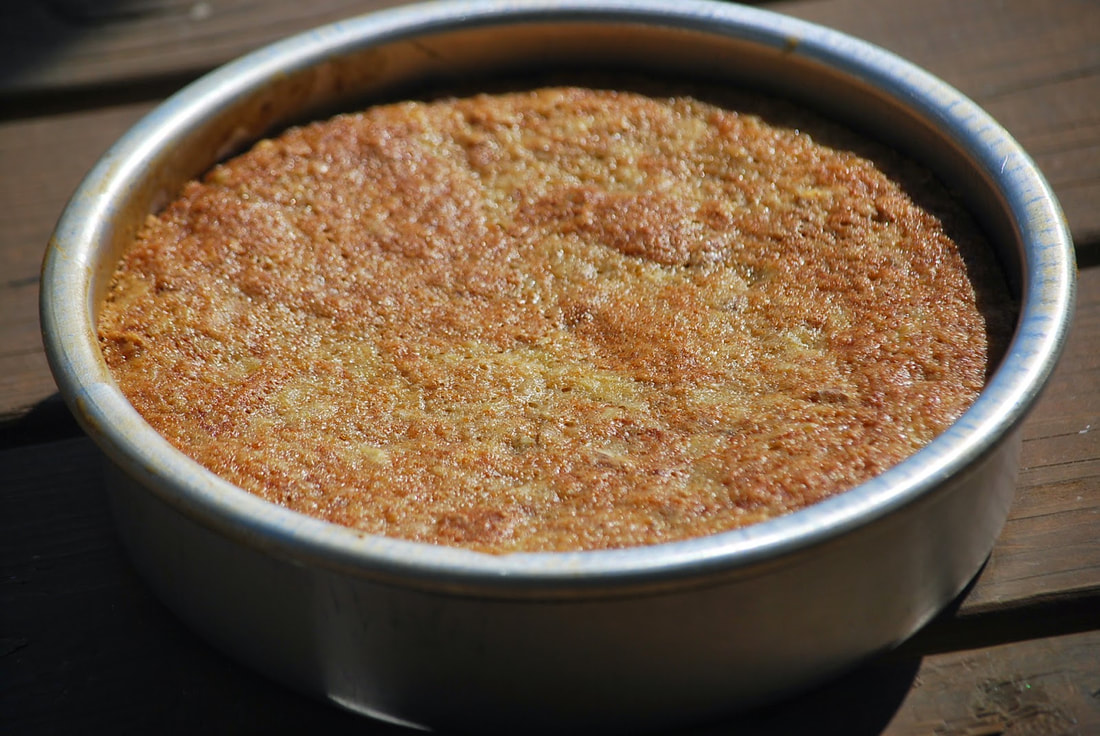
Carrot Cake
Cake 
2 1/4 cups flour
3 teaspoons baking powder
1 1/2 teaspoons baking soda
2 1/4 teaspoons cinnamon
1 teaspoon nutmeg
3/4 teaspoons salt
1/4 teaspoon cloves
2 1/4 cups brown sugar
1 1/4 cups oil
5 eggs
1 1/2 teaspoons vanilla
6 carrots, shredded

Frosting
1 1/2 cups butter
4 1/2 cups powdered sugar
1/4 cup dried buttermilk
3 teaspoons vanilla
18 ounces cream cheese
​Whisk together flour, baking powder, baking soda, cinnamon , nutmeg, salt and cloves.
​Combine sugar, oil, eggs and vanilla in mixing bowl.  Whisk until smooth.
Picture
Picture
​Stir in carrots.
​Fold in dry ingredients.
Picture
Picture
Pour into 3 greased cake pans.
​Bake 30 minutes at 350.
Picture
Picture
​For frosting, combine butter, sugar, buttermilk, vanilla and salt in mixer.
​Add cream cheese, 1 ounce at a time.  Beat until creamy.
Picture
Picture
Spread frosting between the cake layers.
​Cover sides and top with a thin coat of icing.  Refrigerate at least 30 minutes.
Picture
Picture
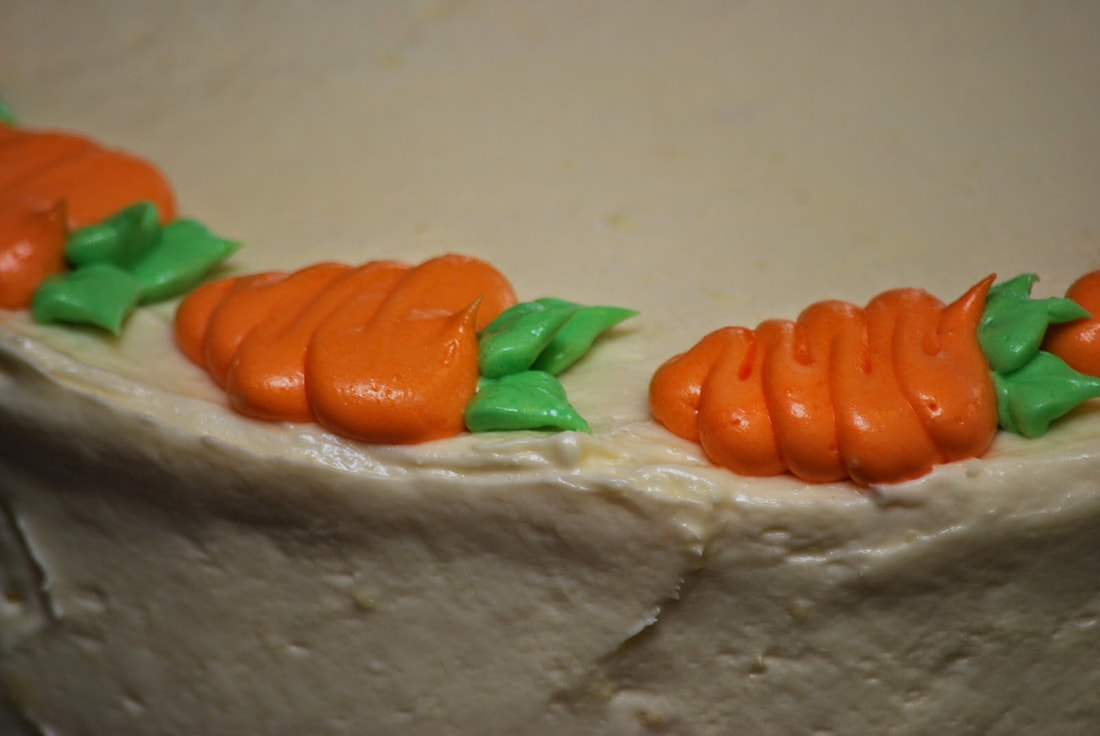
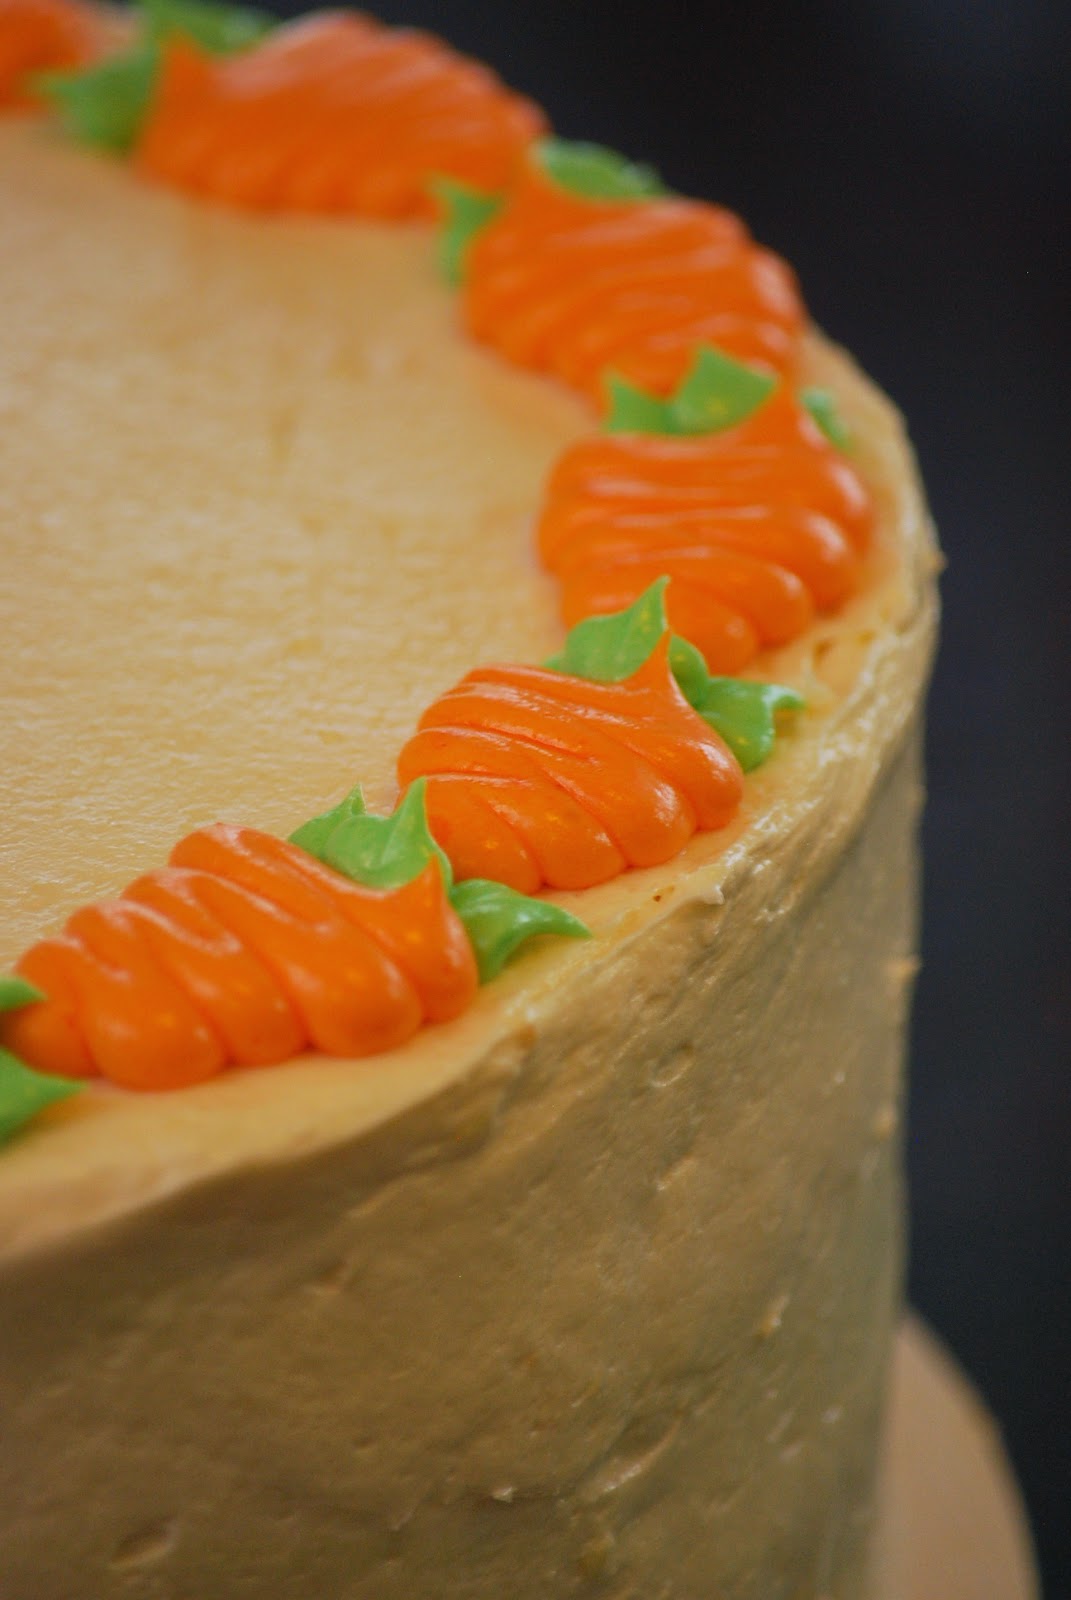
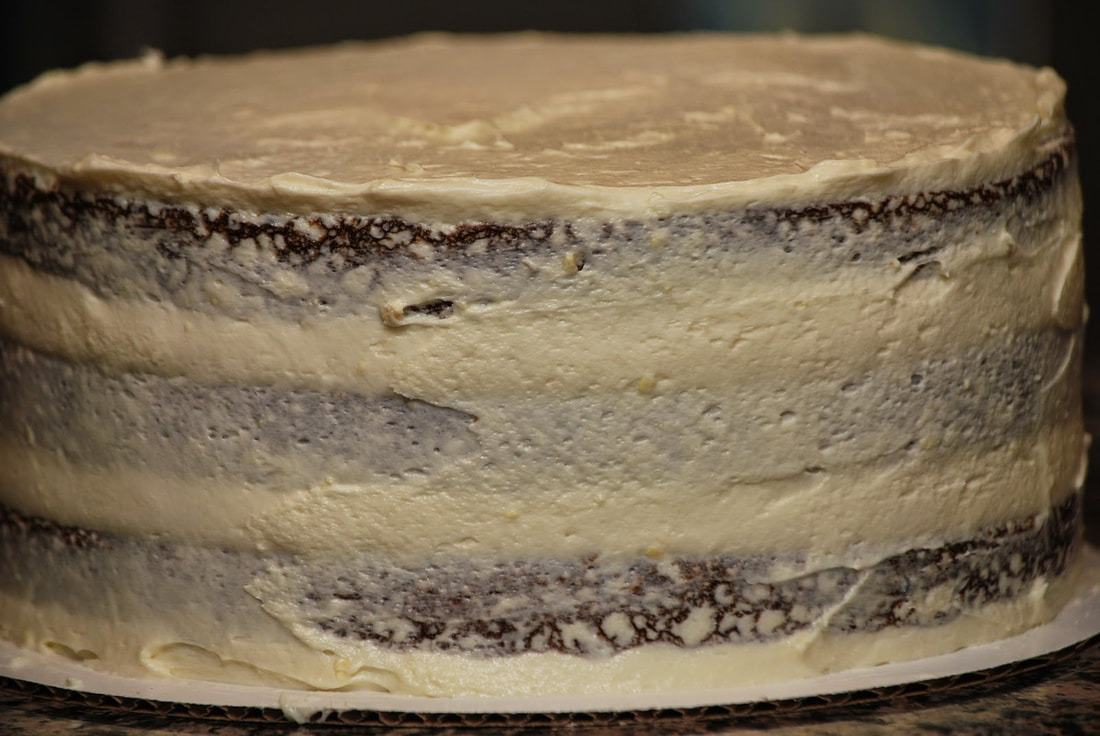
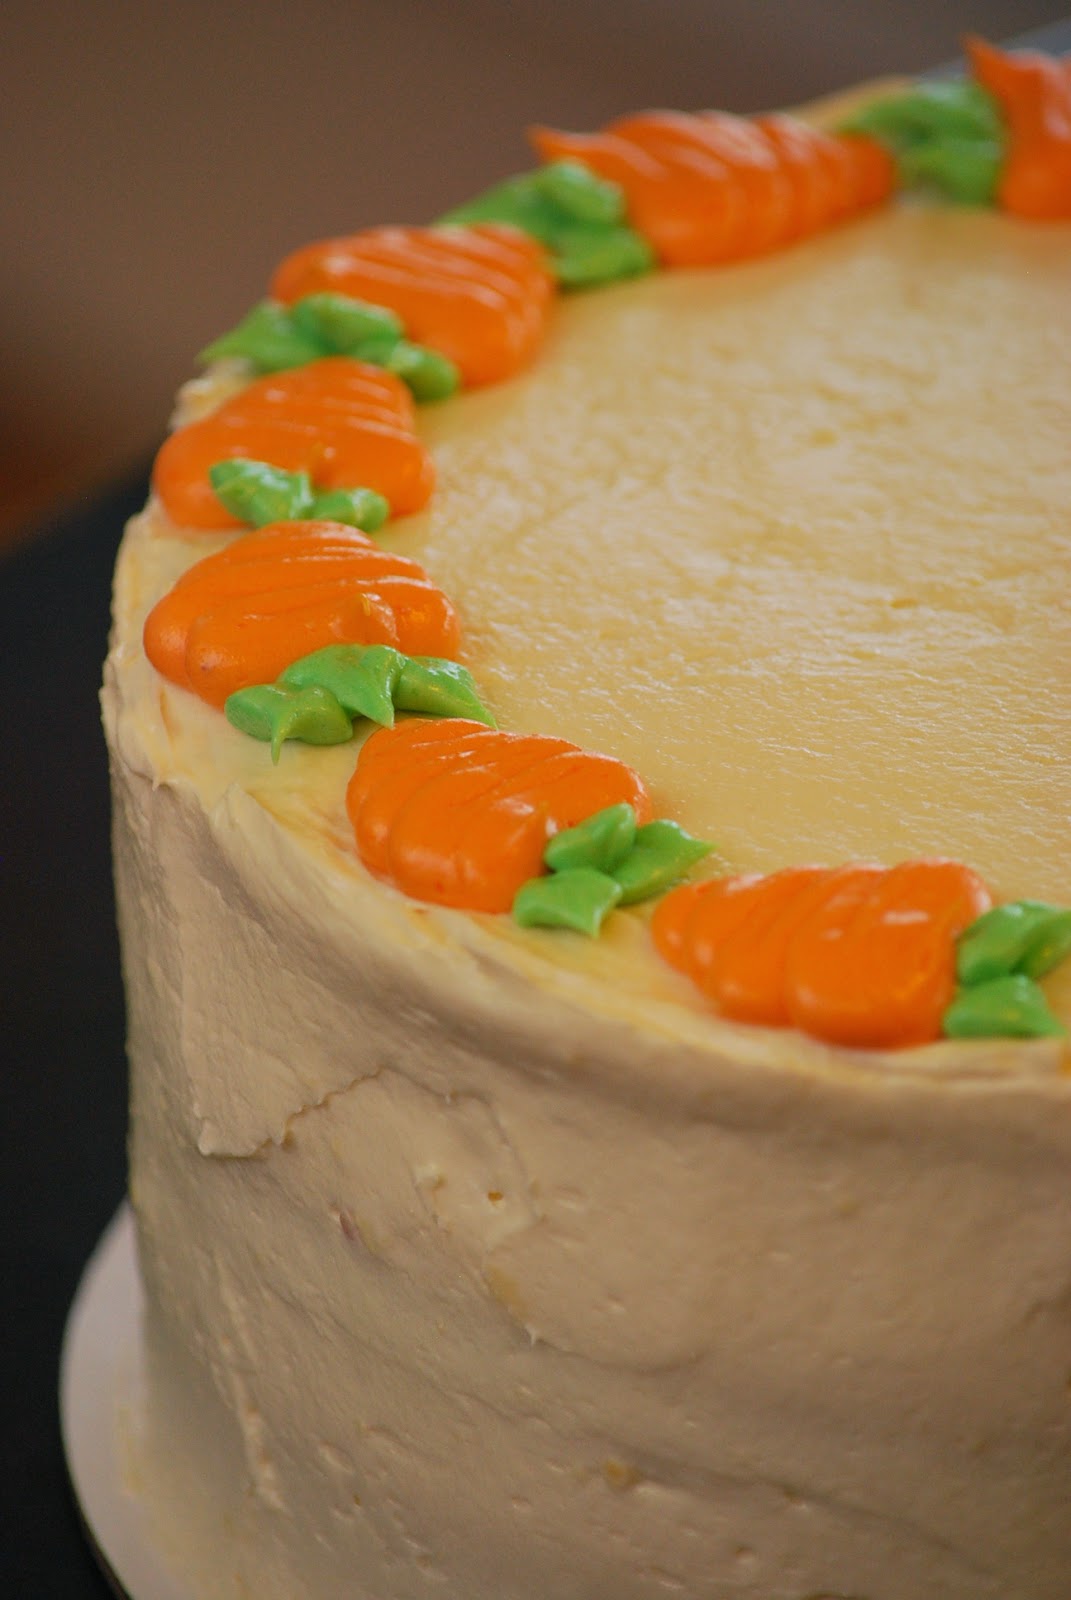
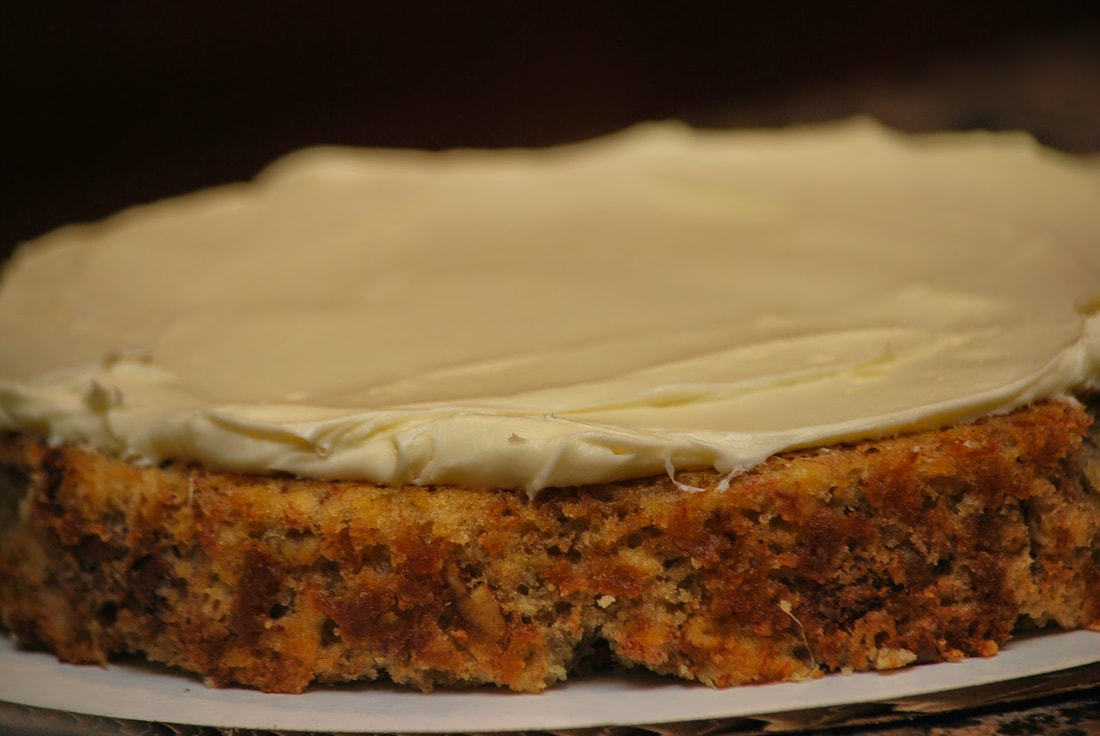
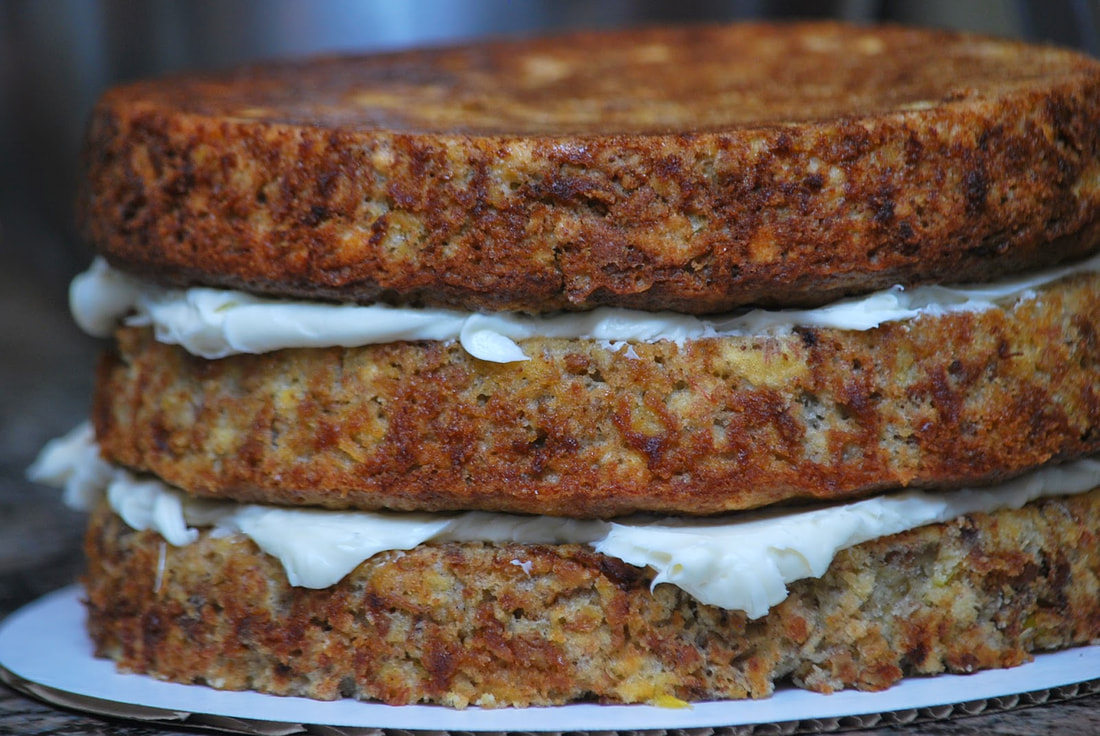
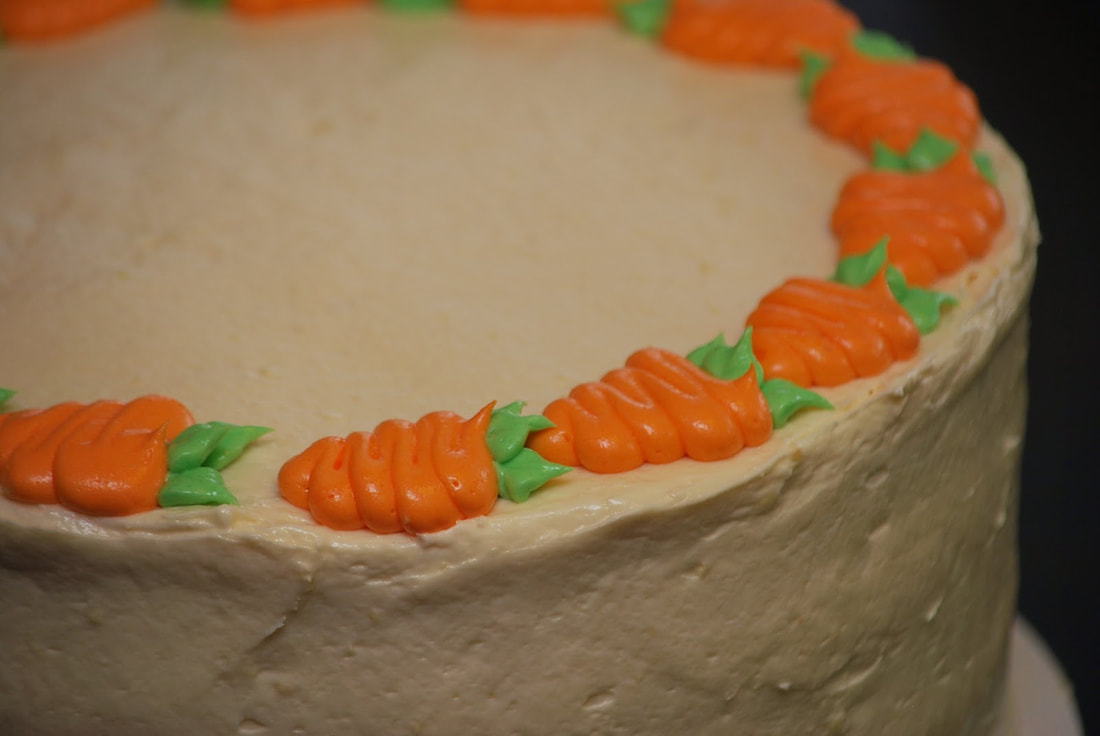
​Spread remaining icing over cake.  Tint a small amount green and another small amount orange to make carrot decorations if you like.
Picture
Picture
Picture
Super cute and super easy to make.  (Even in the summer.)

Ciao!
Click here for a printable version of this recipe
0 Comments

Cookies and Cream Cake

7/29/2014

0 Comments

 
Picture

​​Anyone remember my cookies and cream cupcakes ? I used a white cake as the base and folded crushed cookies into the batter to make a black and white swirled cake. 
Picture
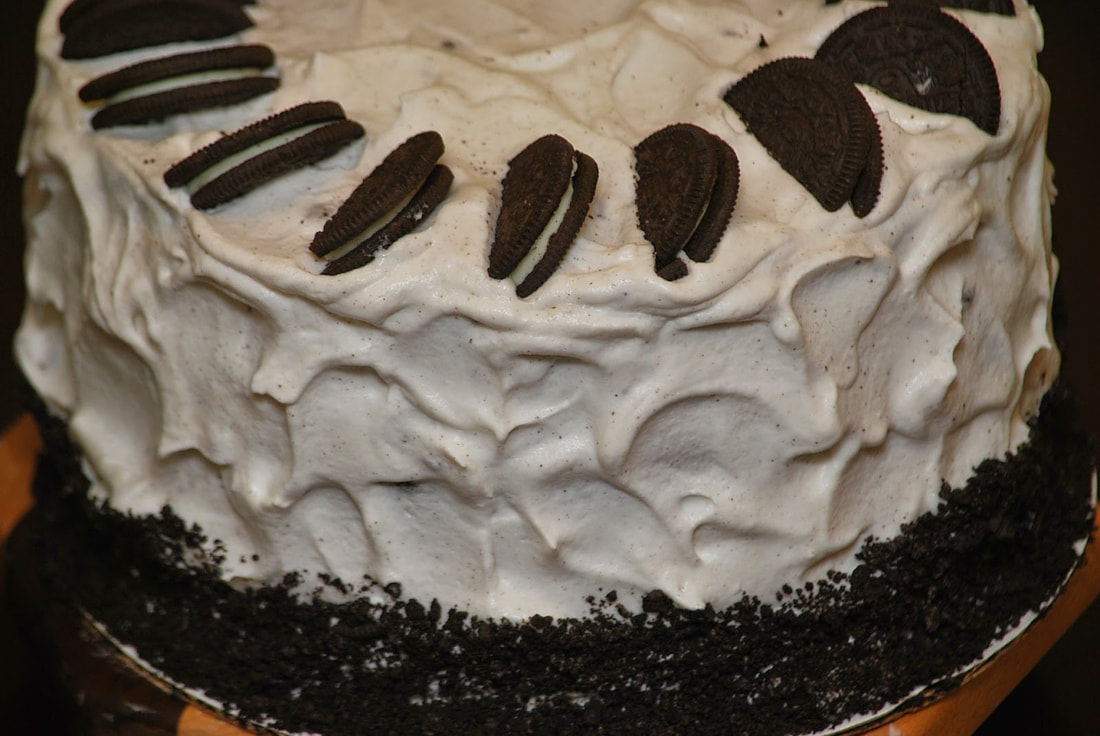
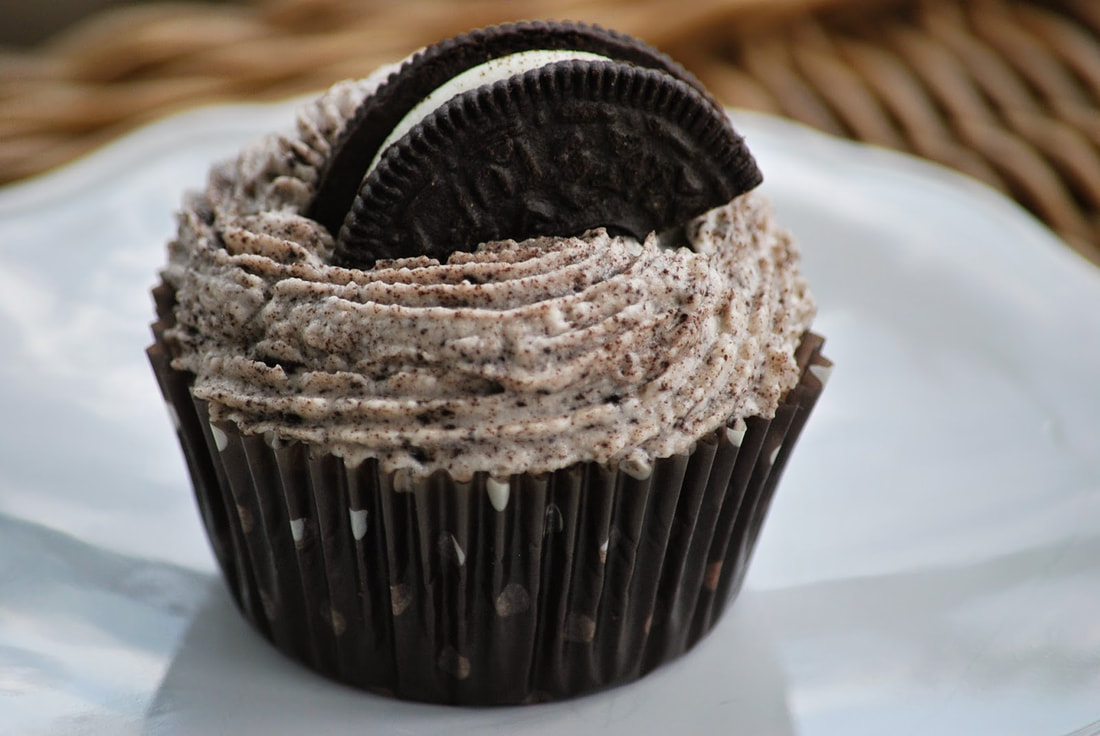
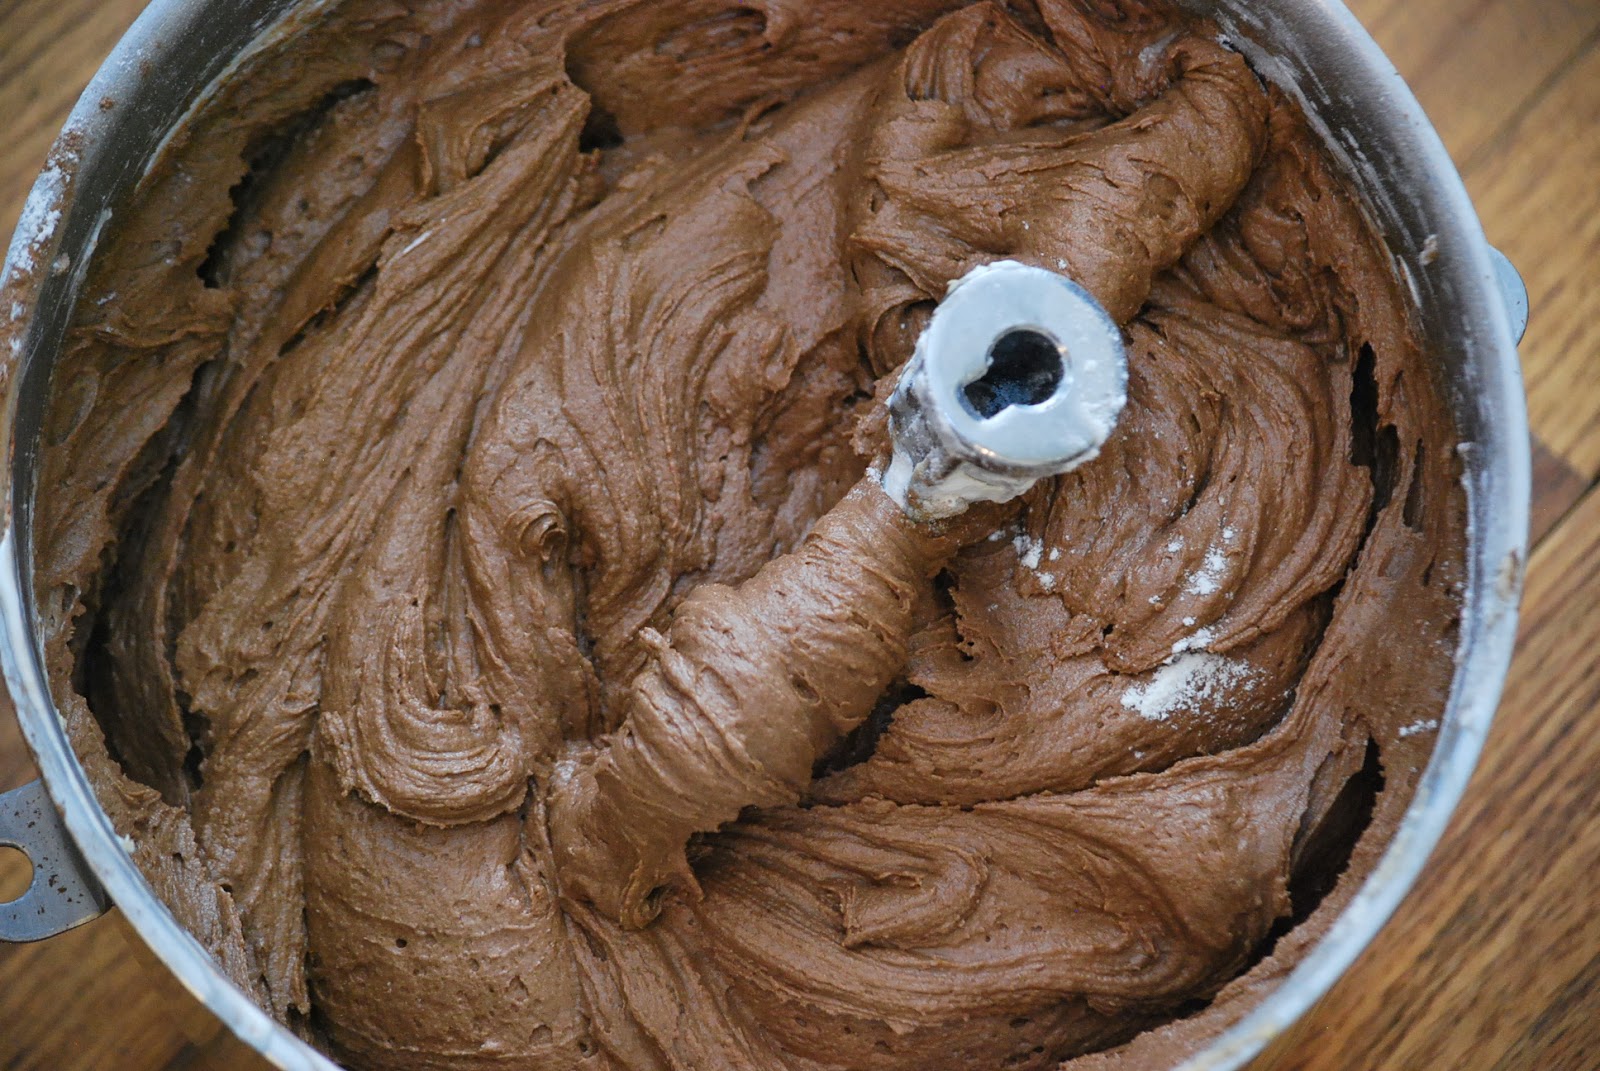
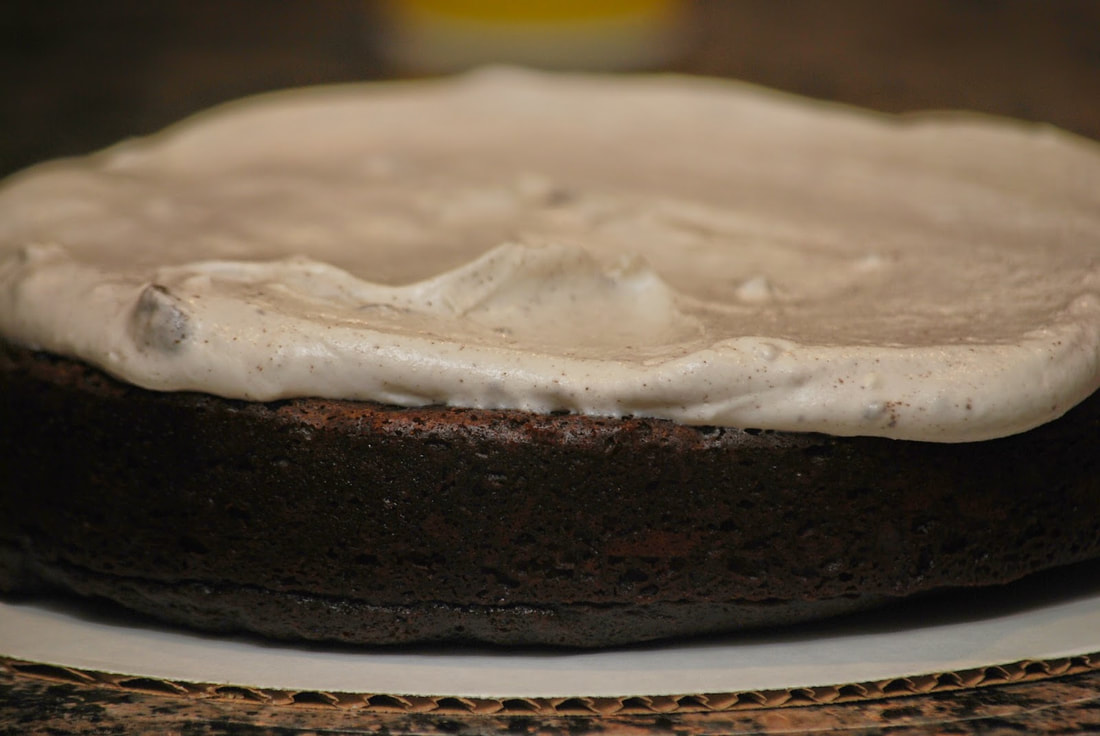
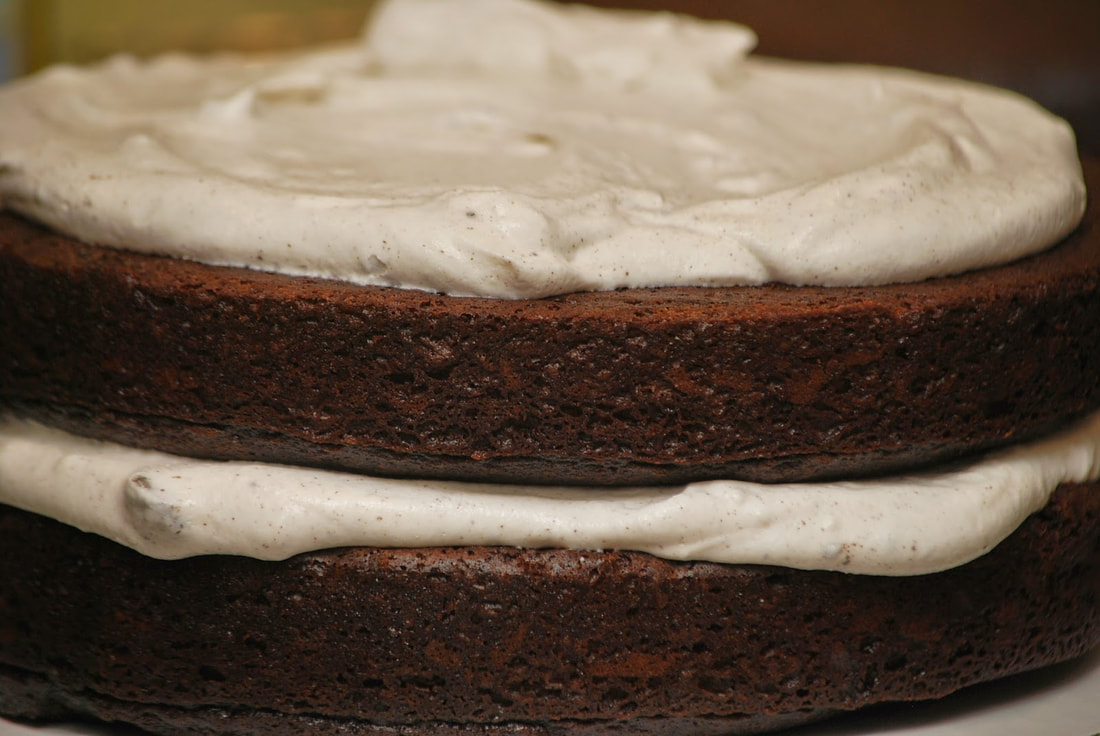
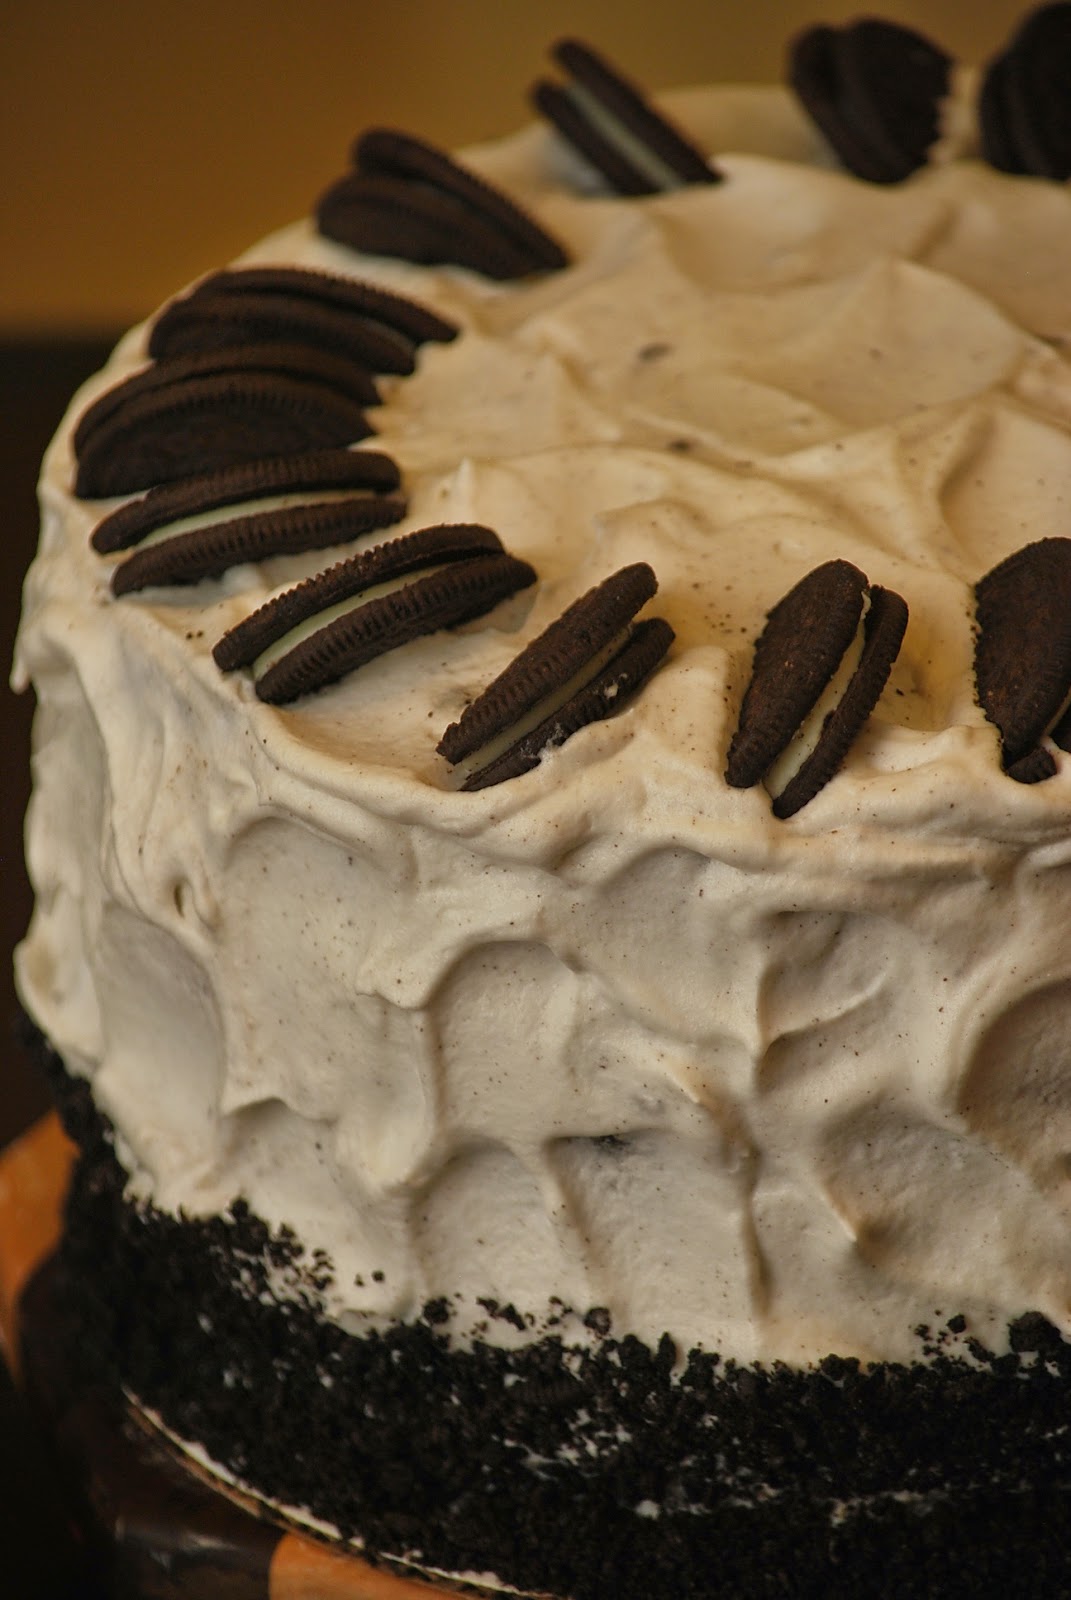
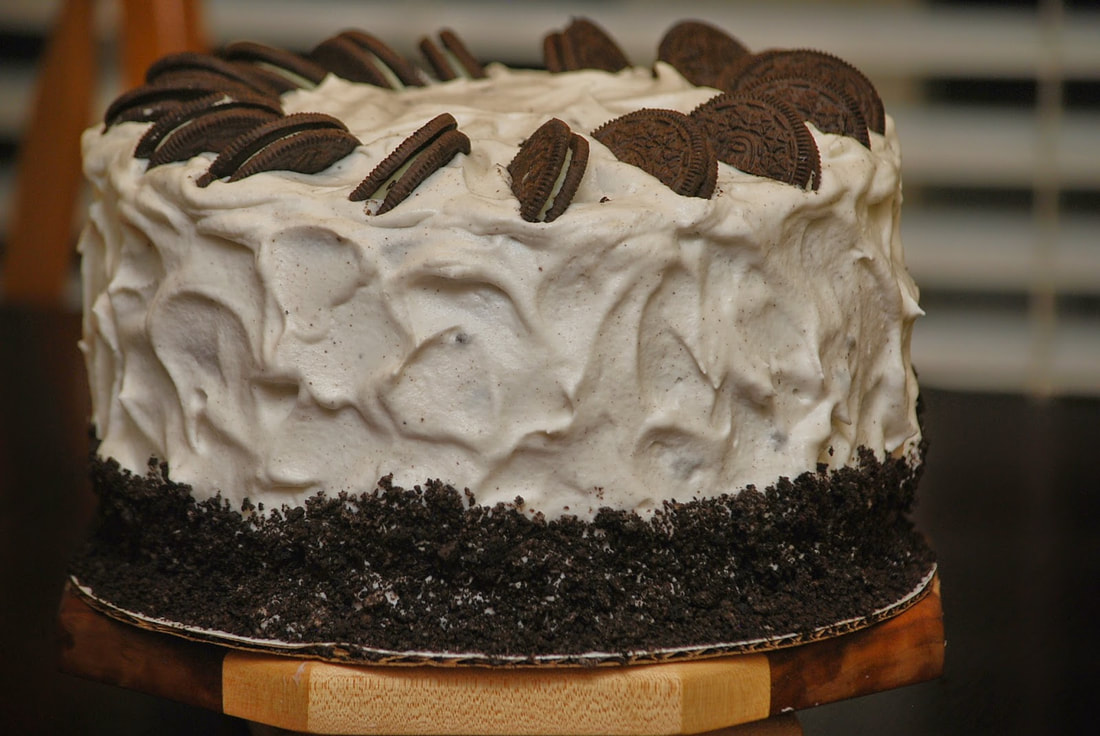
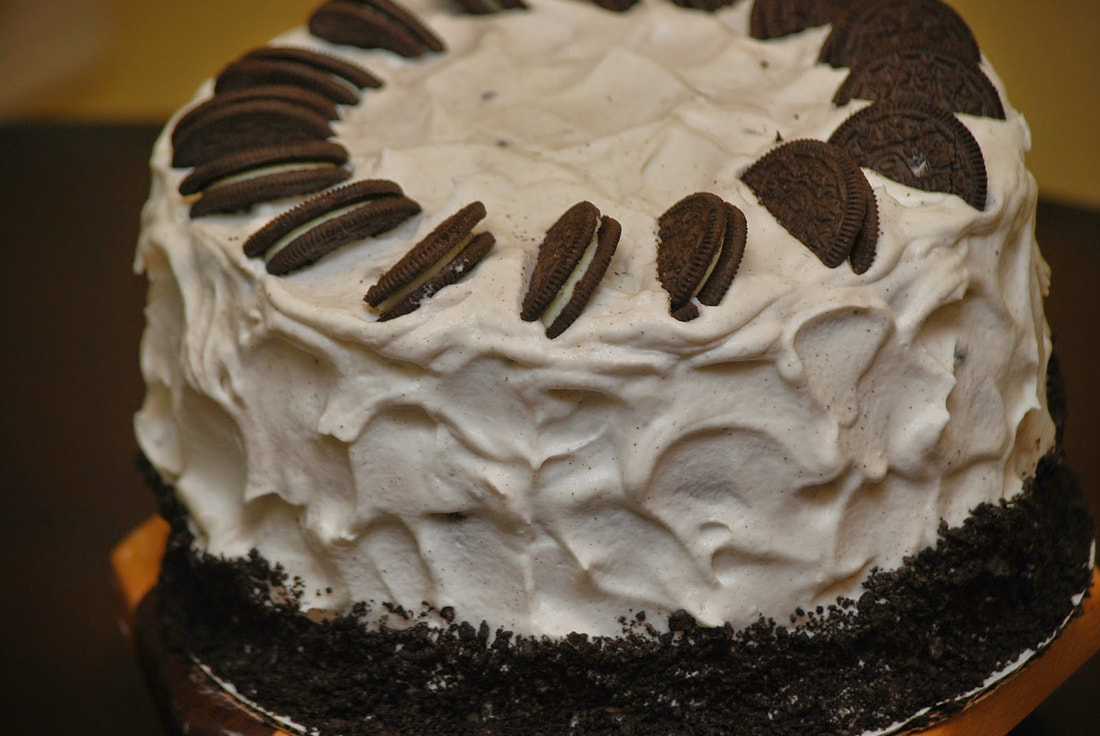
​I decided go a different direction with my cookies and cream cake.  I turned it inside out - fluffy white frosting with bits of crushed cookie sandwiched between layers of dark chocolate cake and topped with cookie halves. I wonder which version will go over better?
Picture
Picture
​
​It should be no surprise to you that the key ingredient in cookies and cream cake are Oreo cookies and Oreo pudding.  
Picture
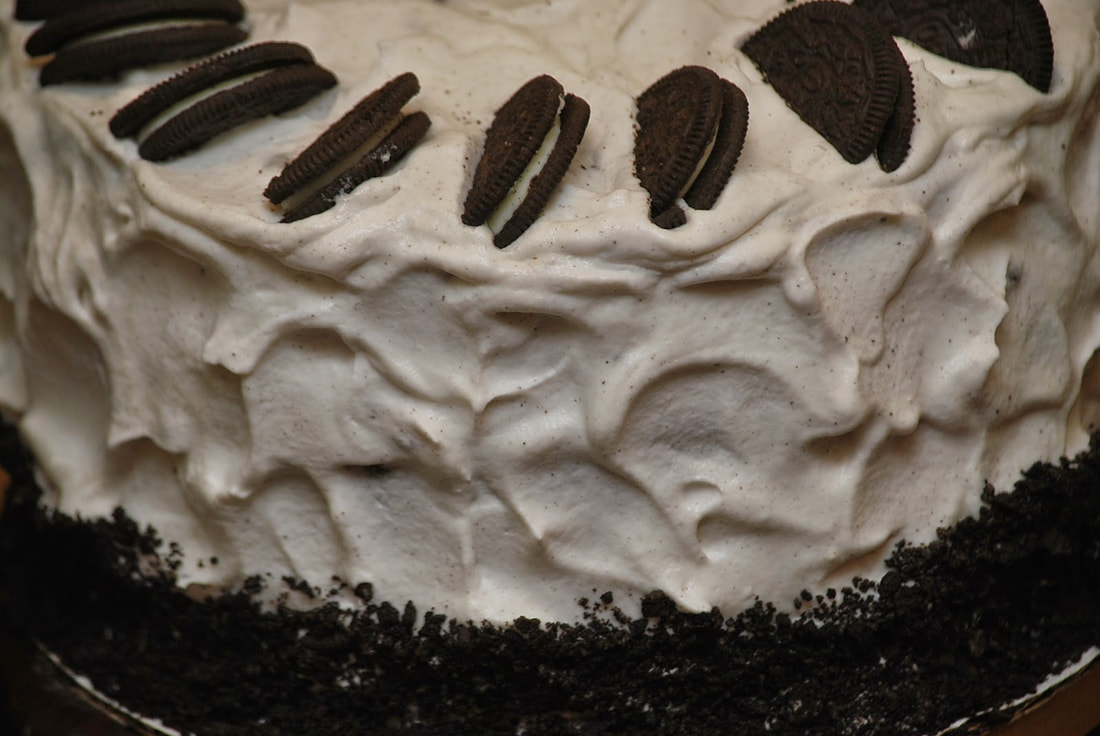
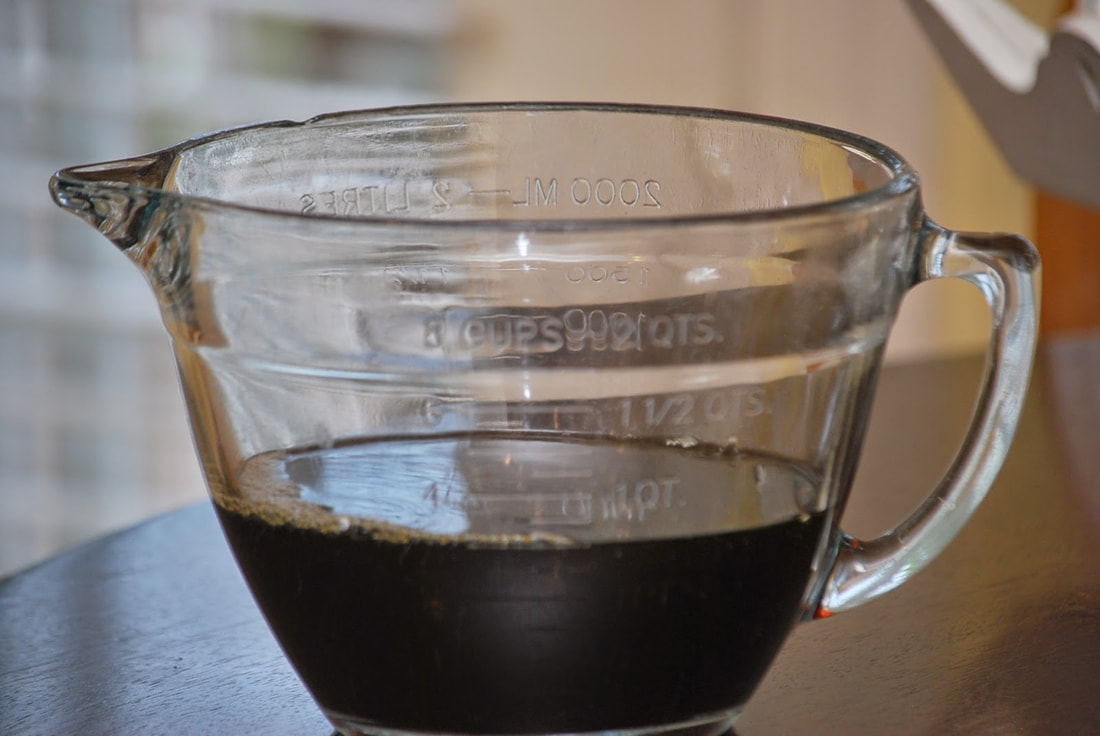
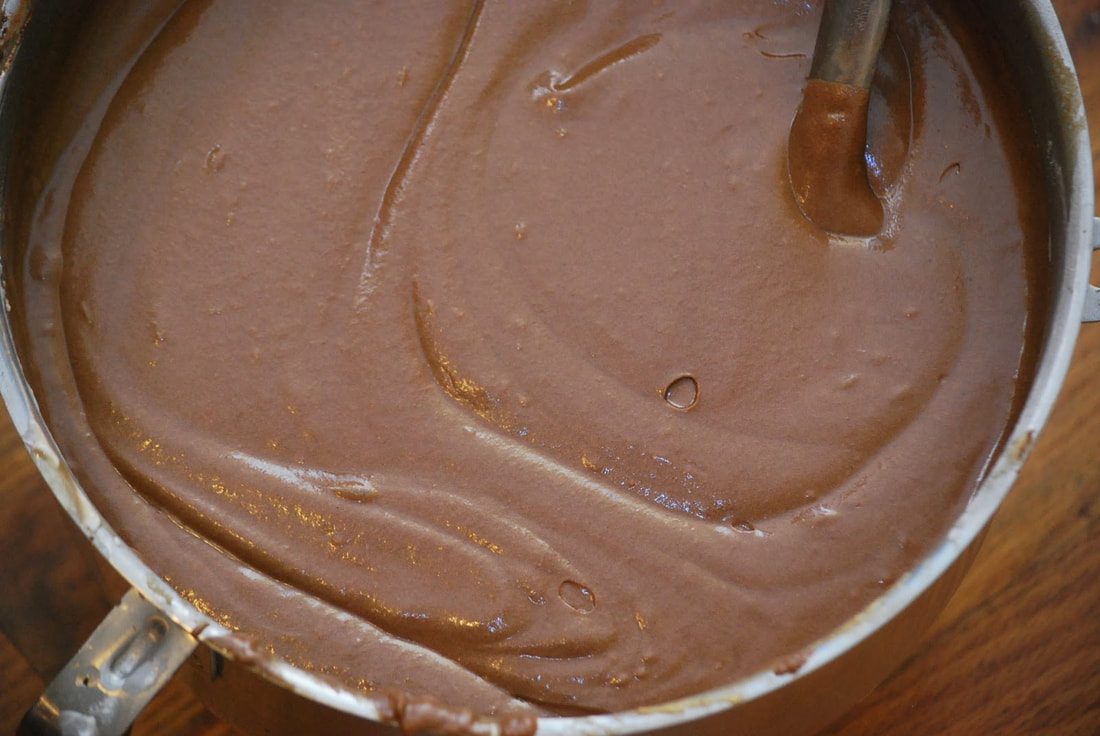
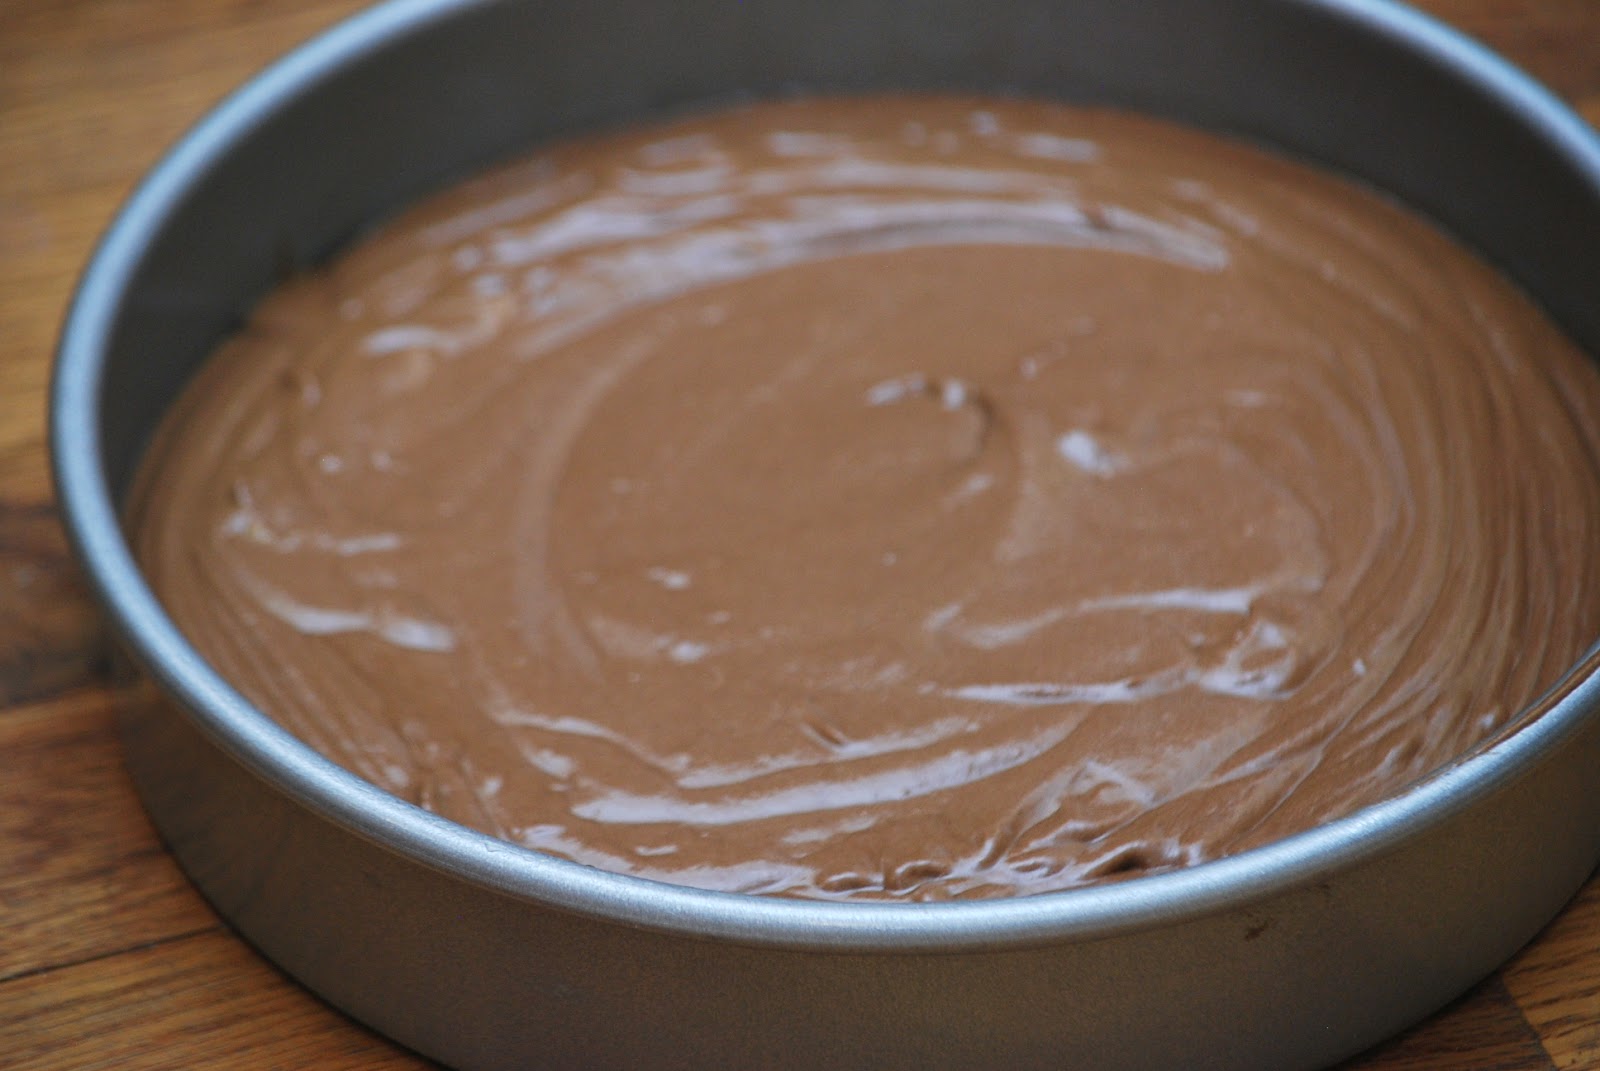
Cookies and Cream Cake
1 cup butter                        
3 cups brown sugar                    
4 eggs                           
3 teaspoons vanilla                  
3 cups flour
¾ cup cocoa                        
3 teaspoons baking soda
½ teaspoon salt
1 ½ cups brewed coffee
1 1/3 cups sour cream
Cream butter and sugar.  
Add eggs, one at a time.  Stir in vanilla.  
Picture
Picture
Picture
Add dry ingredients, alternating with sour cream.  
Picture
Picture
Mix in coffee.
Picture
Picture
Pour into 3 greased cake pans.
Bake 35 minutes at 350.  
Picture
Picture
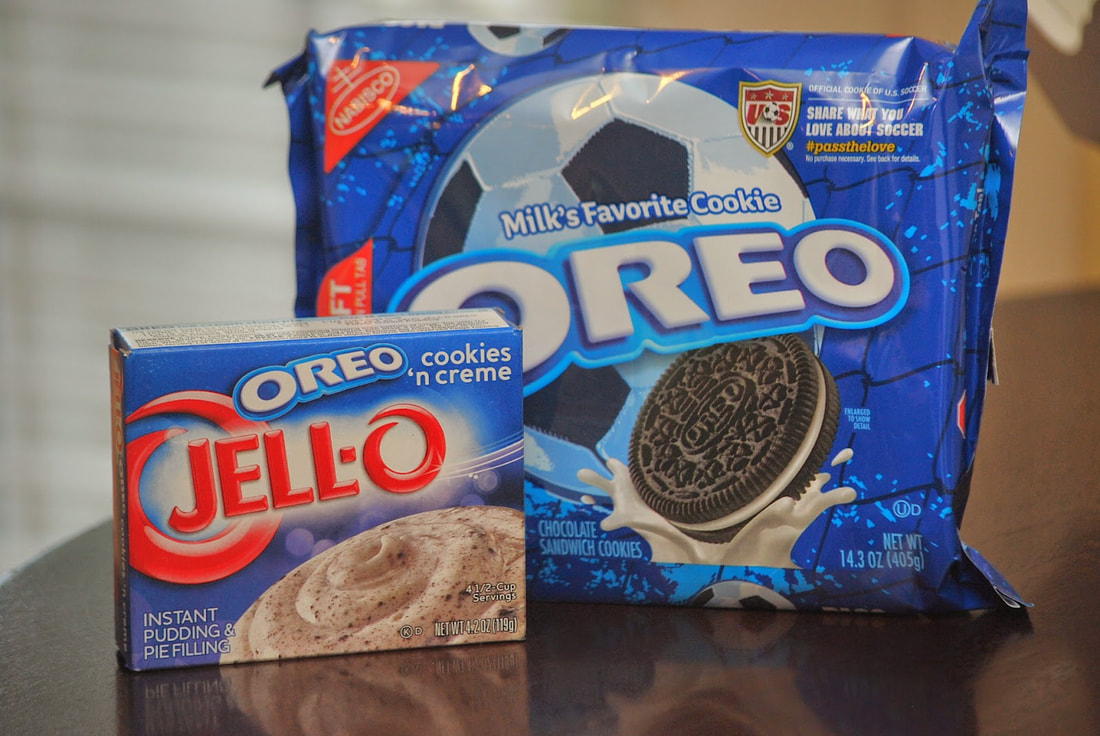
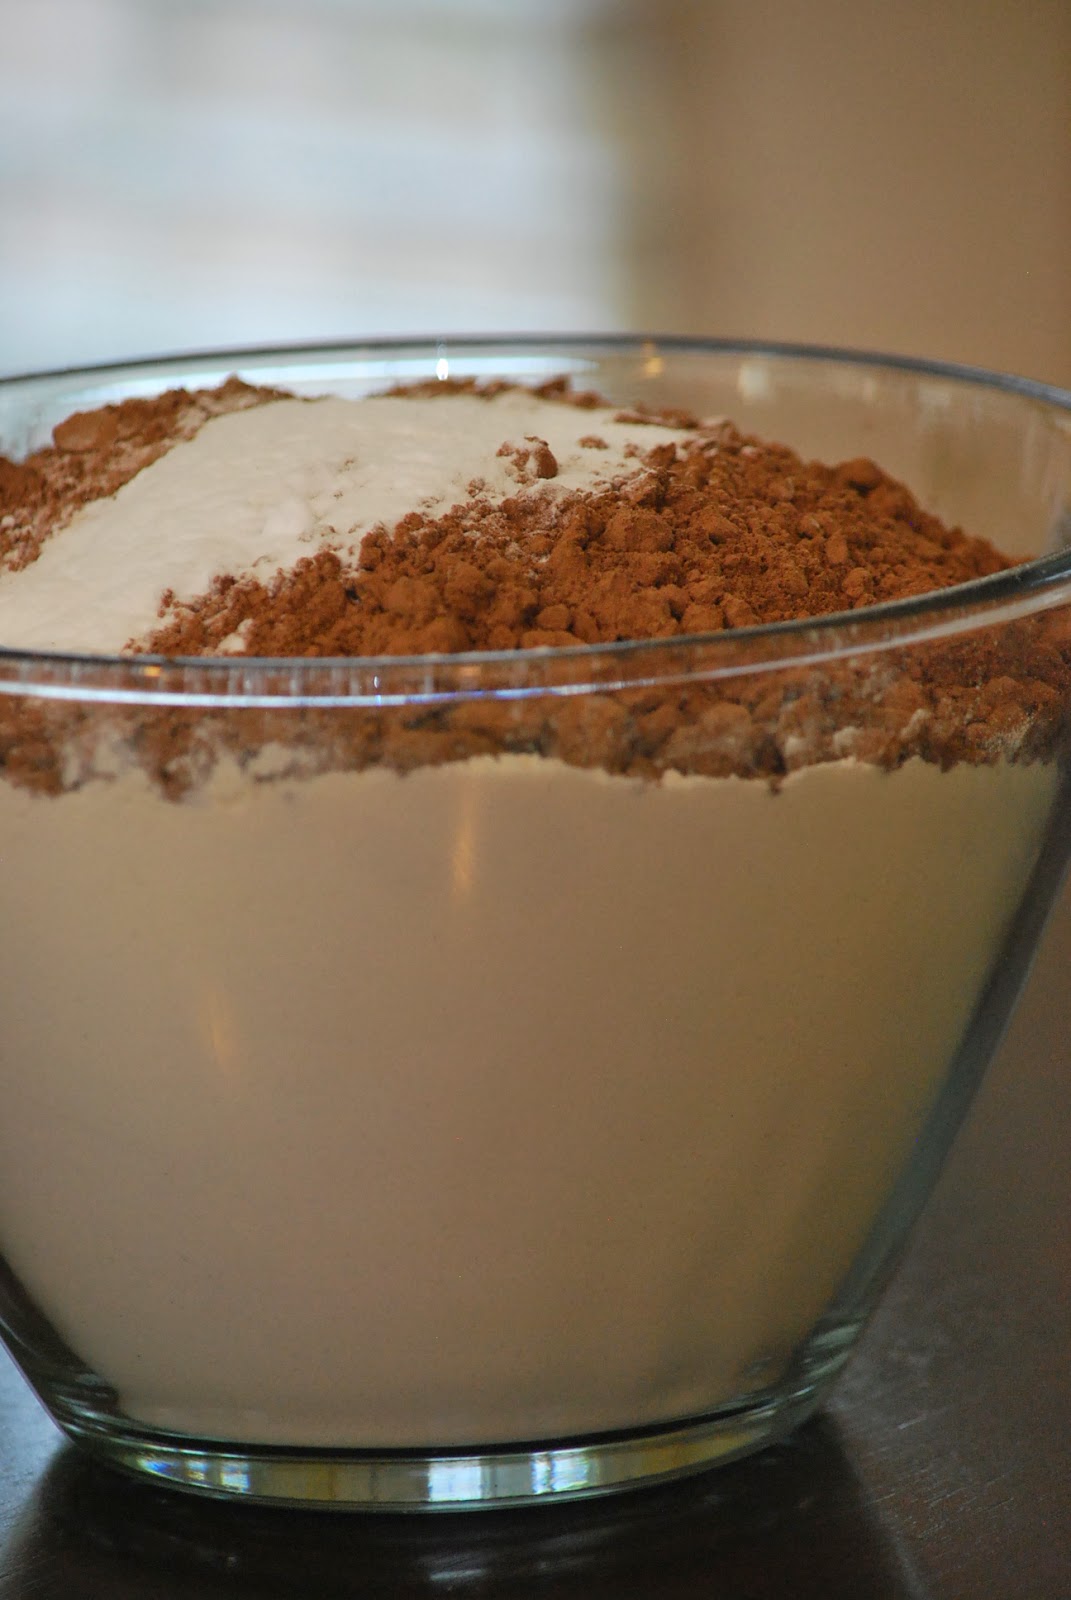
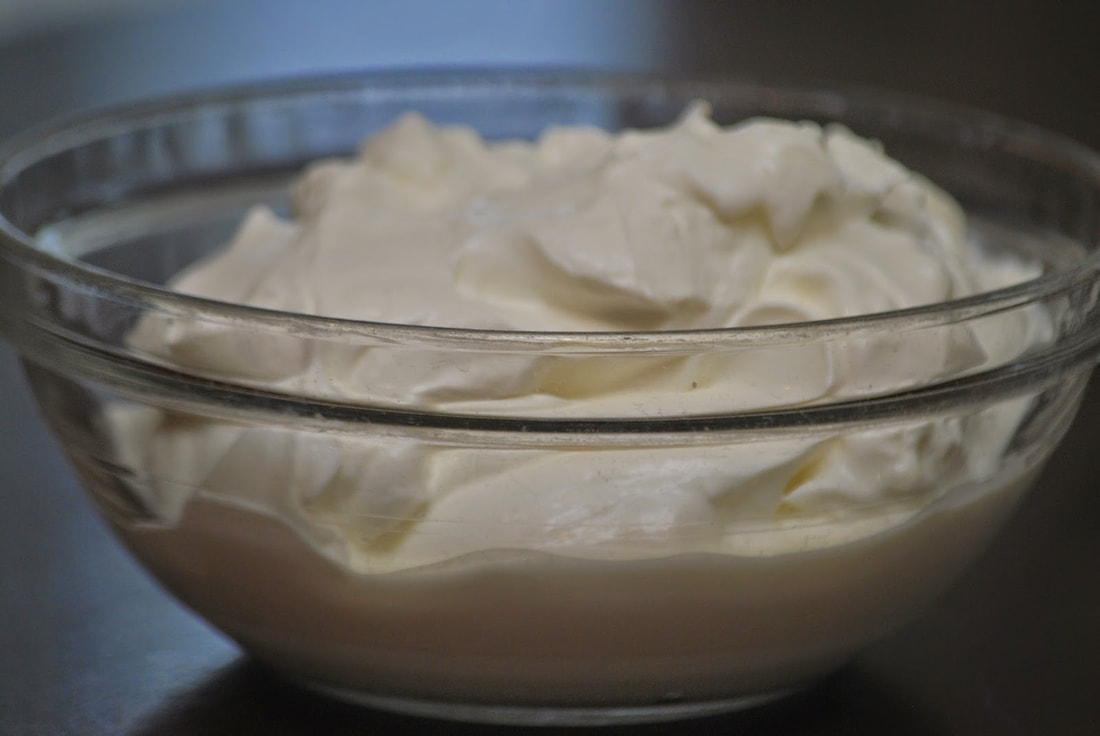
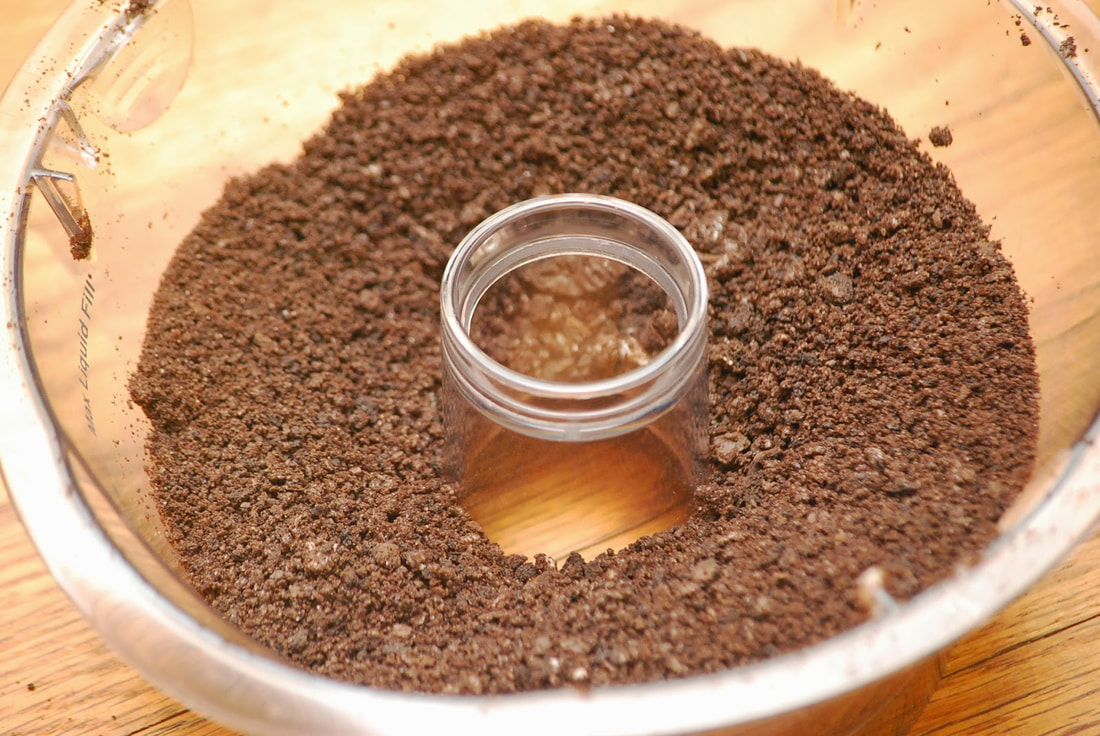
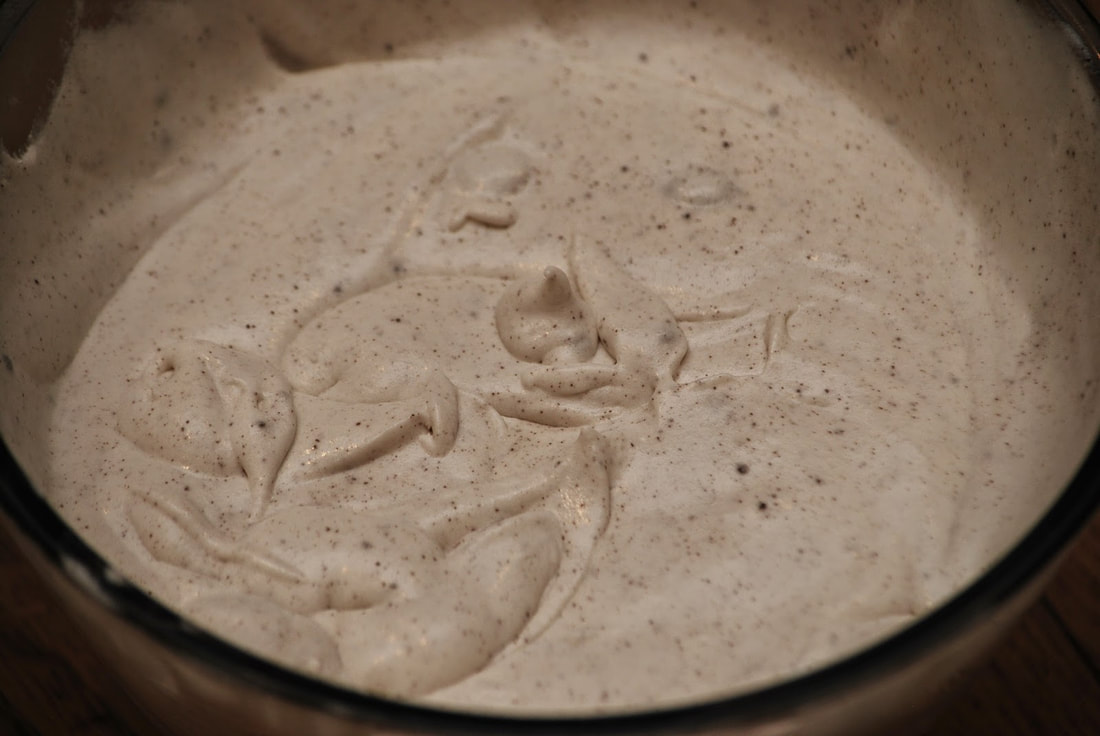
Frosting
8 ounces container Cool Whip
1 package Oreo pudding
1/4 cup powdered sugar
1 cup milk
Oreo Cookies 
​Crush 2 sleeves of Oreos in food processor.
Whisk together powdered sugar, milk and pudding.  Fold in Cool Whip.  Fold in cookie crumbs. 
Picture
Picture
Start by placing 1 cake layer on a cake circle.  Top with a cup of frosting.
Repeat layers.
Picture
Picture
Spread a thin layer of frosting over entire cake and refrigerate 30 minutes.
Picture
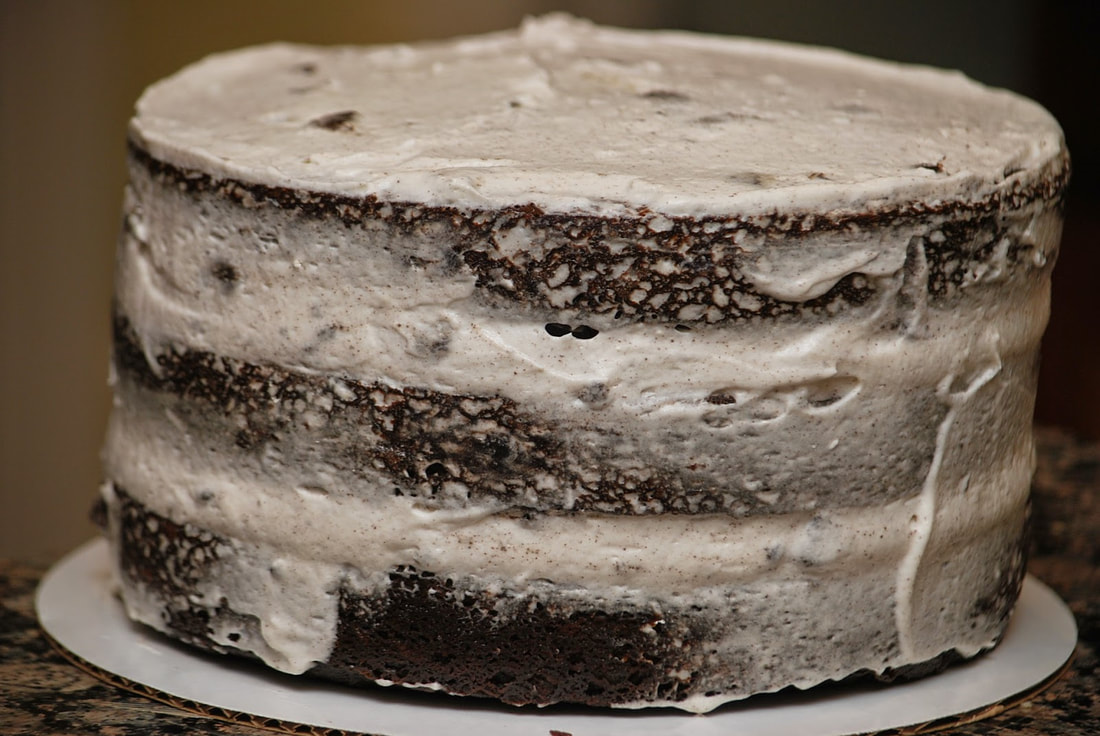
Spread rest of frosting over chilled cake and top with cookie halves.
Picture
Picture
Picture
Click here for a printable version of this recipe
0 Comments

Cream Cheese Coffee Cake

7/28/2014

0 Comments

 
Picture
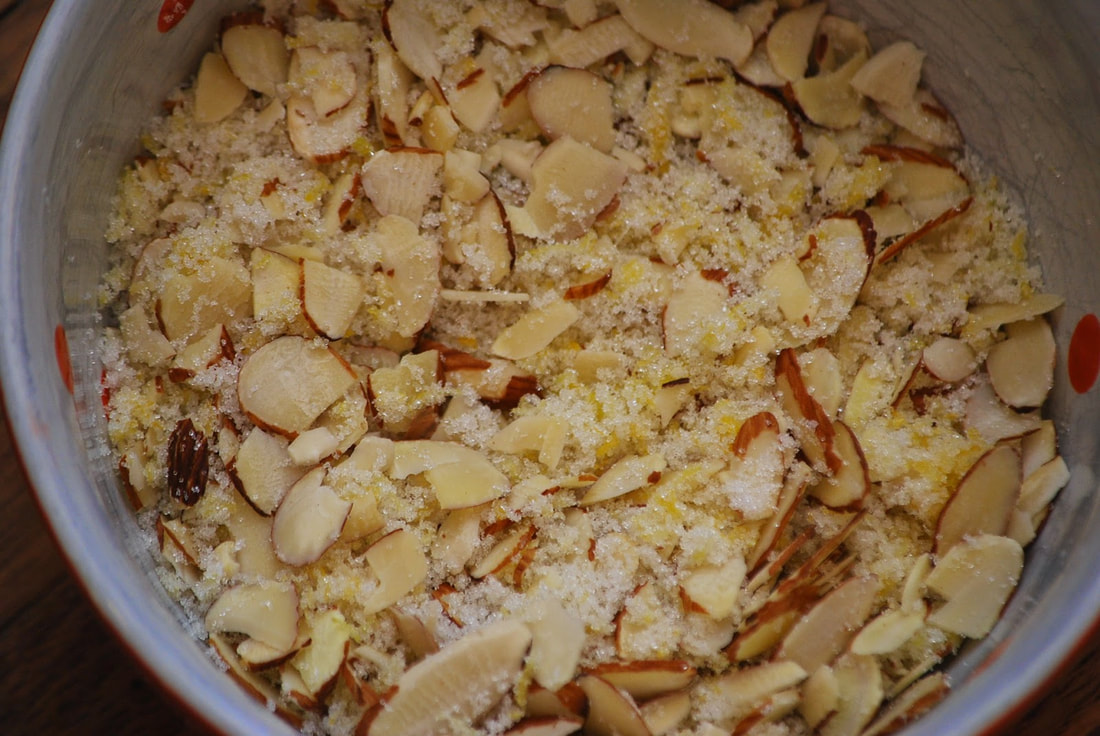
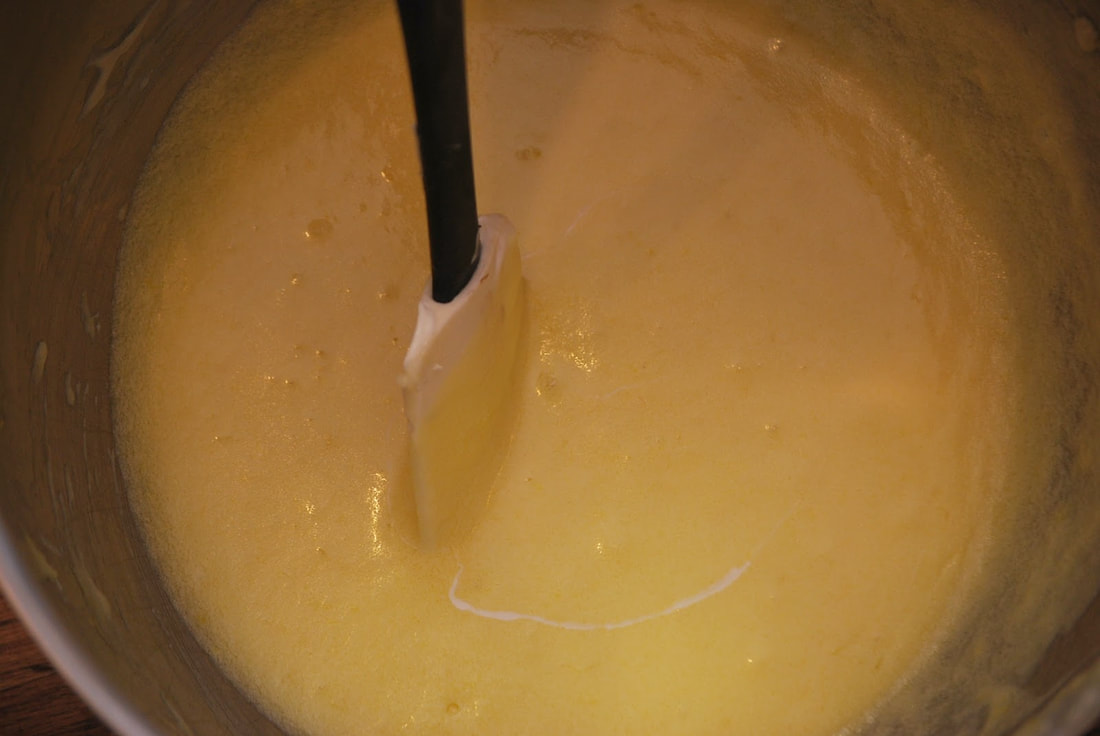
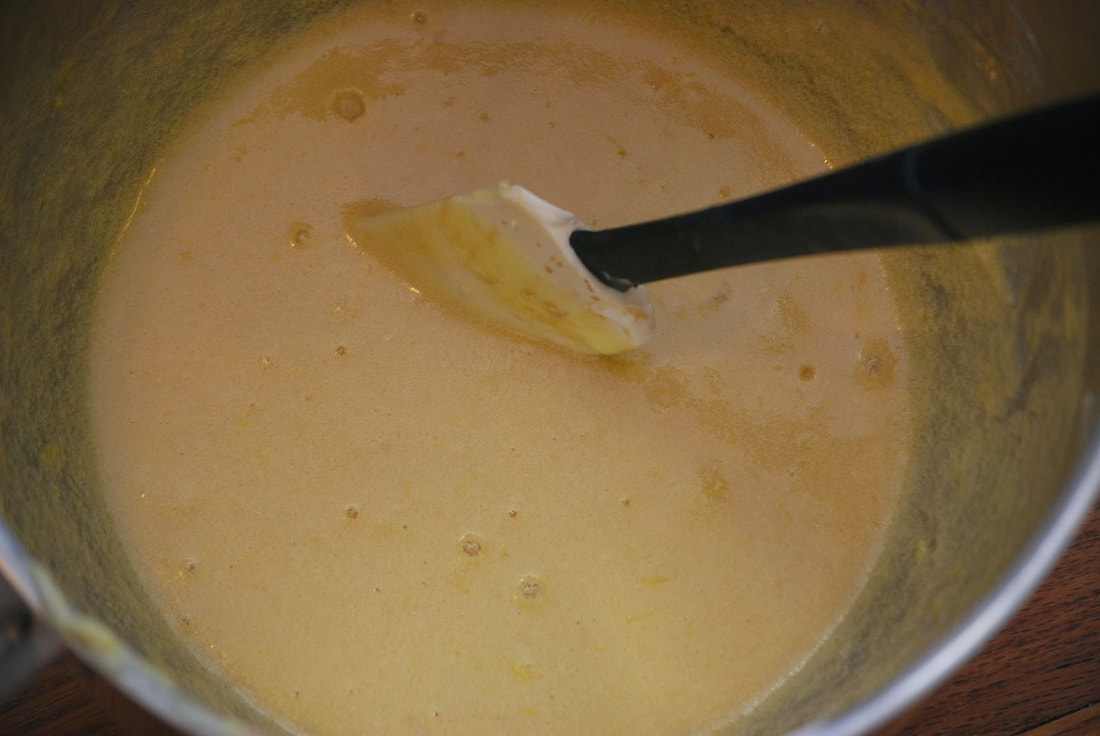
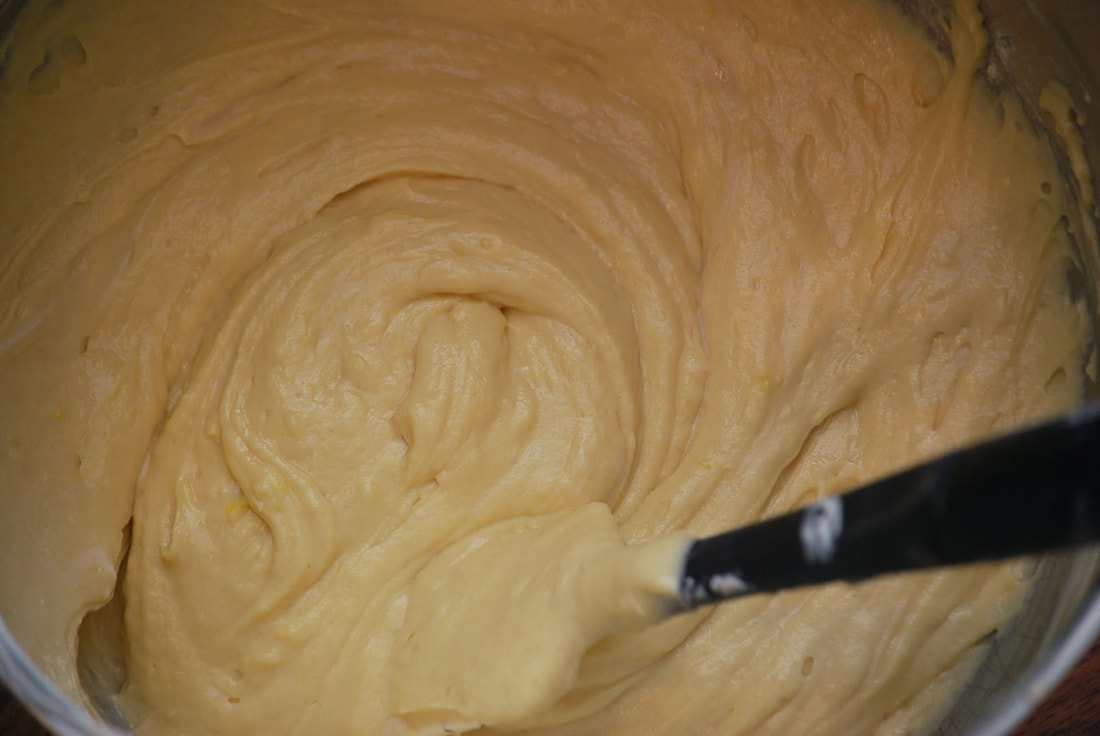
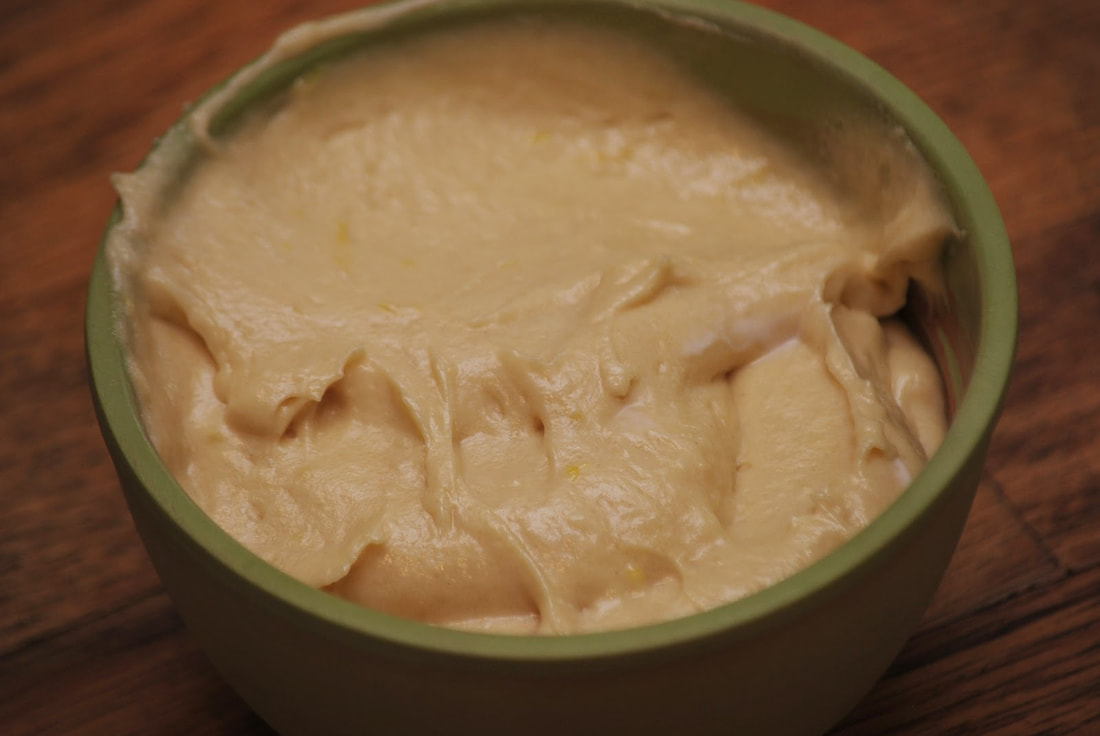
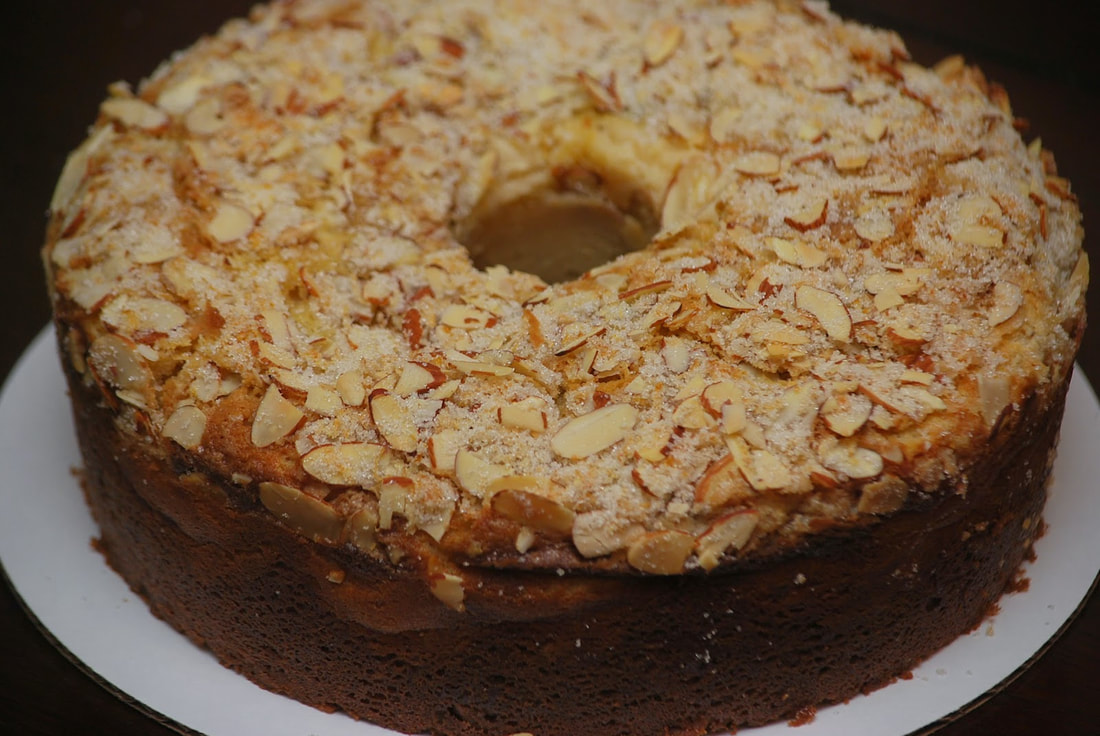
​I think I may have a sugar addiction - before I even get out of bed in the morning - I'm craving sugar. My normal breakfast consists of a sunny side up egg on a piece of whole grain bread with a slice of avocado. It is super good and it gives me the energy and protein that I need to get through my morning workout.
Picture
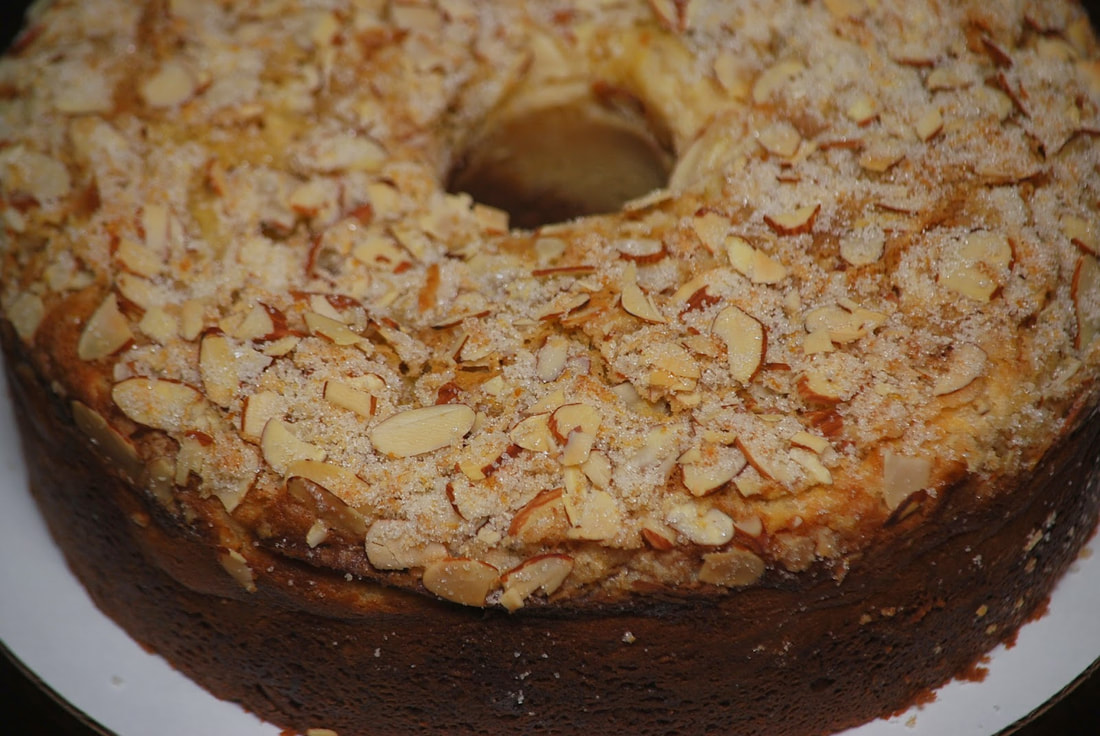
​Even with all of that though, my body still craves a little something sweet in the morning. I have to grab either a biscotti or a little something sweet to finish off my breakfast. (Pretty sure that having a dessert for breakfast isn't healthy but it gets me through my morning. Whatever it takes, right?) 

Surely, I'm not the only sugar fanatic out there who craves sugar the moment that they get out of bed in the morning. (Please tell me I'm not alone.) If you happen to be one of those people who like a little breakfast dessert - like me - you may want to try this lemon cream cheese coffee cake. It's just the bit of sweetness that I crave in the morning. 
Picture
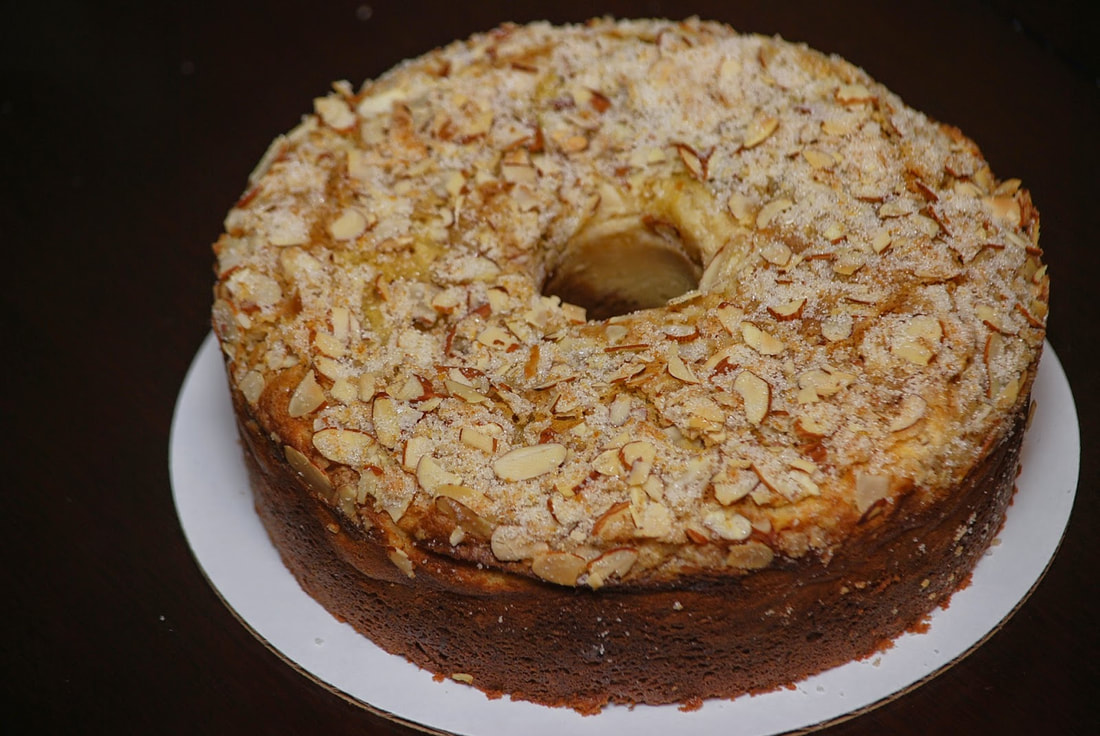
Cream Cheese Coffee Cake
Lemon Sugar- Almond Topping
1/4 cup sugar
1 1/2 teaspoons lemon zest
1/2 cup sliced almonds

Cake
2 1/4 cups flour
1 1/8 teaspoon baking powder
1 1/8 teaspoon baking soda
1 teaspoon salt
10 tablespoons butter
1 cup + 7 Tablespoons sugar
1 Tablespoon + 4 teaspoons lemon zest
juice from 2 lemons
4 eggs
5 teaspoons vanilla
1 1/4 cups our cream
8 ounces cream cheese
​For topping, stir together sugar and lemon zest.  Stir in almonds.
In mixer, combine butter, 1 cup plus 2 Tablespoons sugar and lemon zest and beat until light and fluffy.
Picture
Picture
Add eggs, 1 at a time.
Add 4 teaspoons vanilla and mix.
Picture
Picture
Add 1/3 of flour mixture followed by 1/2 of the sour cream and repeat.  End with remaining flour mixture.
Reserve 1 1/4 cups batter.
Picture
Picture
Spoon remaining batter into greased tube pan.
Beat cream cheese, 5 Tablespoons sugar, lemon juice and 1 teaspoon vanilla until light and fluffy.
Picture
Picture
Add 1/4 cup of the reserved batter.
Spoon cheese filling over batter in pan, keeping 1 inch from sides.  Gently swirl batter with a knife. 
Picture
Picture
Spread remaining cup of batter over top.
Sprinkle lemon sugar topping over cake and press to adhere.
Picture
Picture
​Bake until golden brown, 45-50 minutes at 350.
Picture
​I think it might be easier to become a morning coffee drinker - then I could add a little sweet creamer to my coffee to get my morning sugar.  Nah, this coffee is way better than coffee creamer.
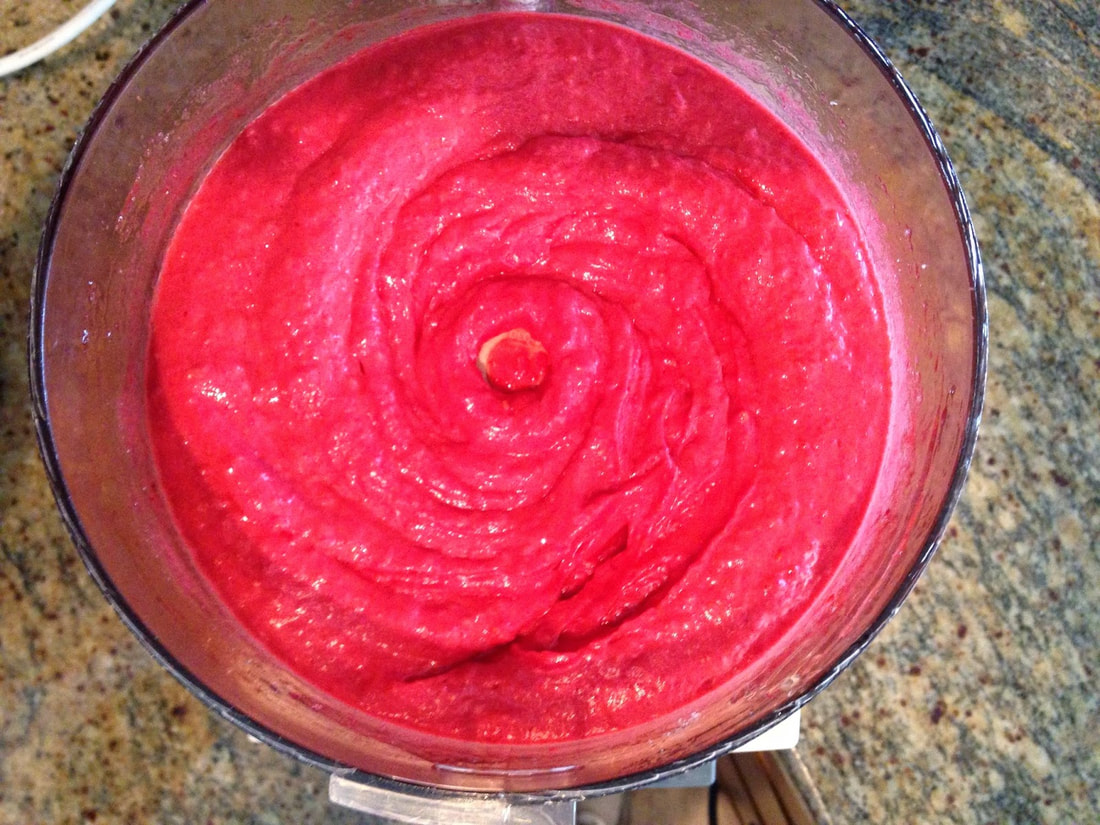
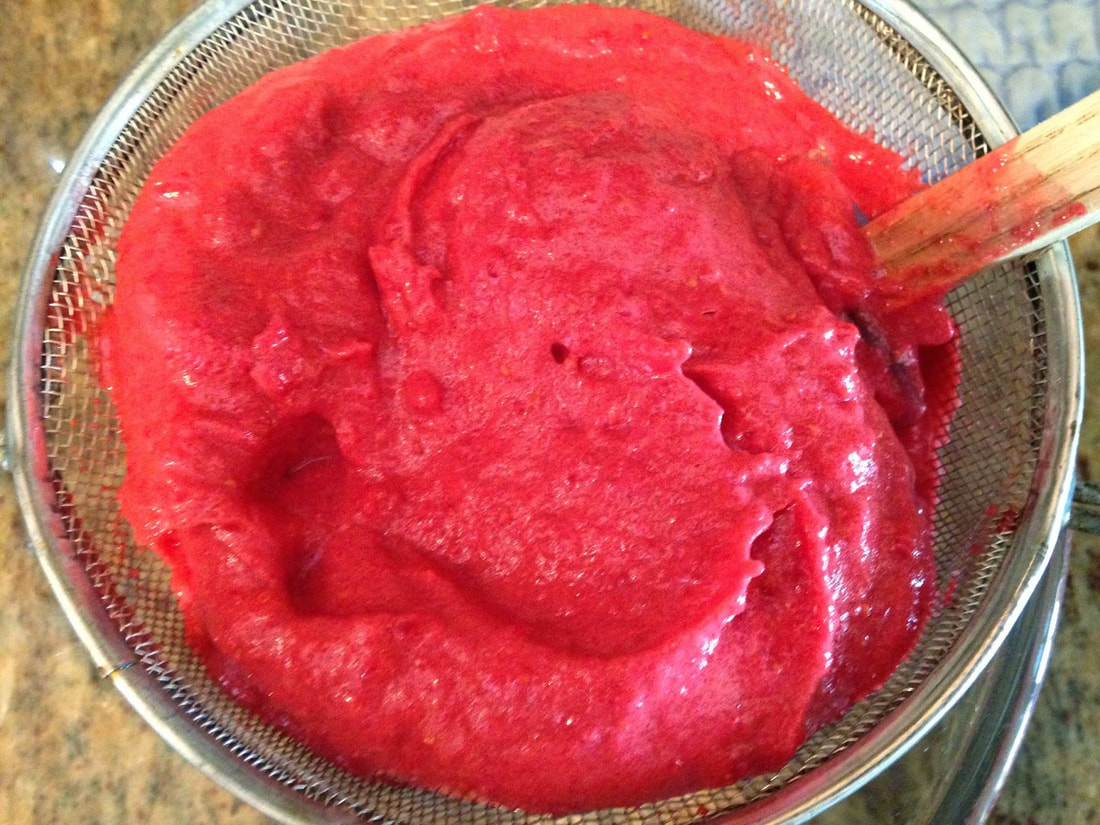
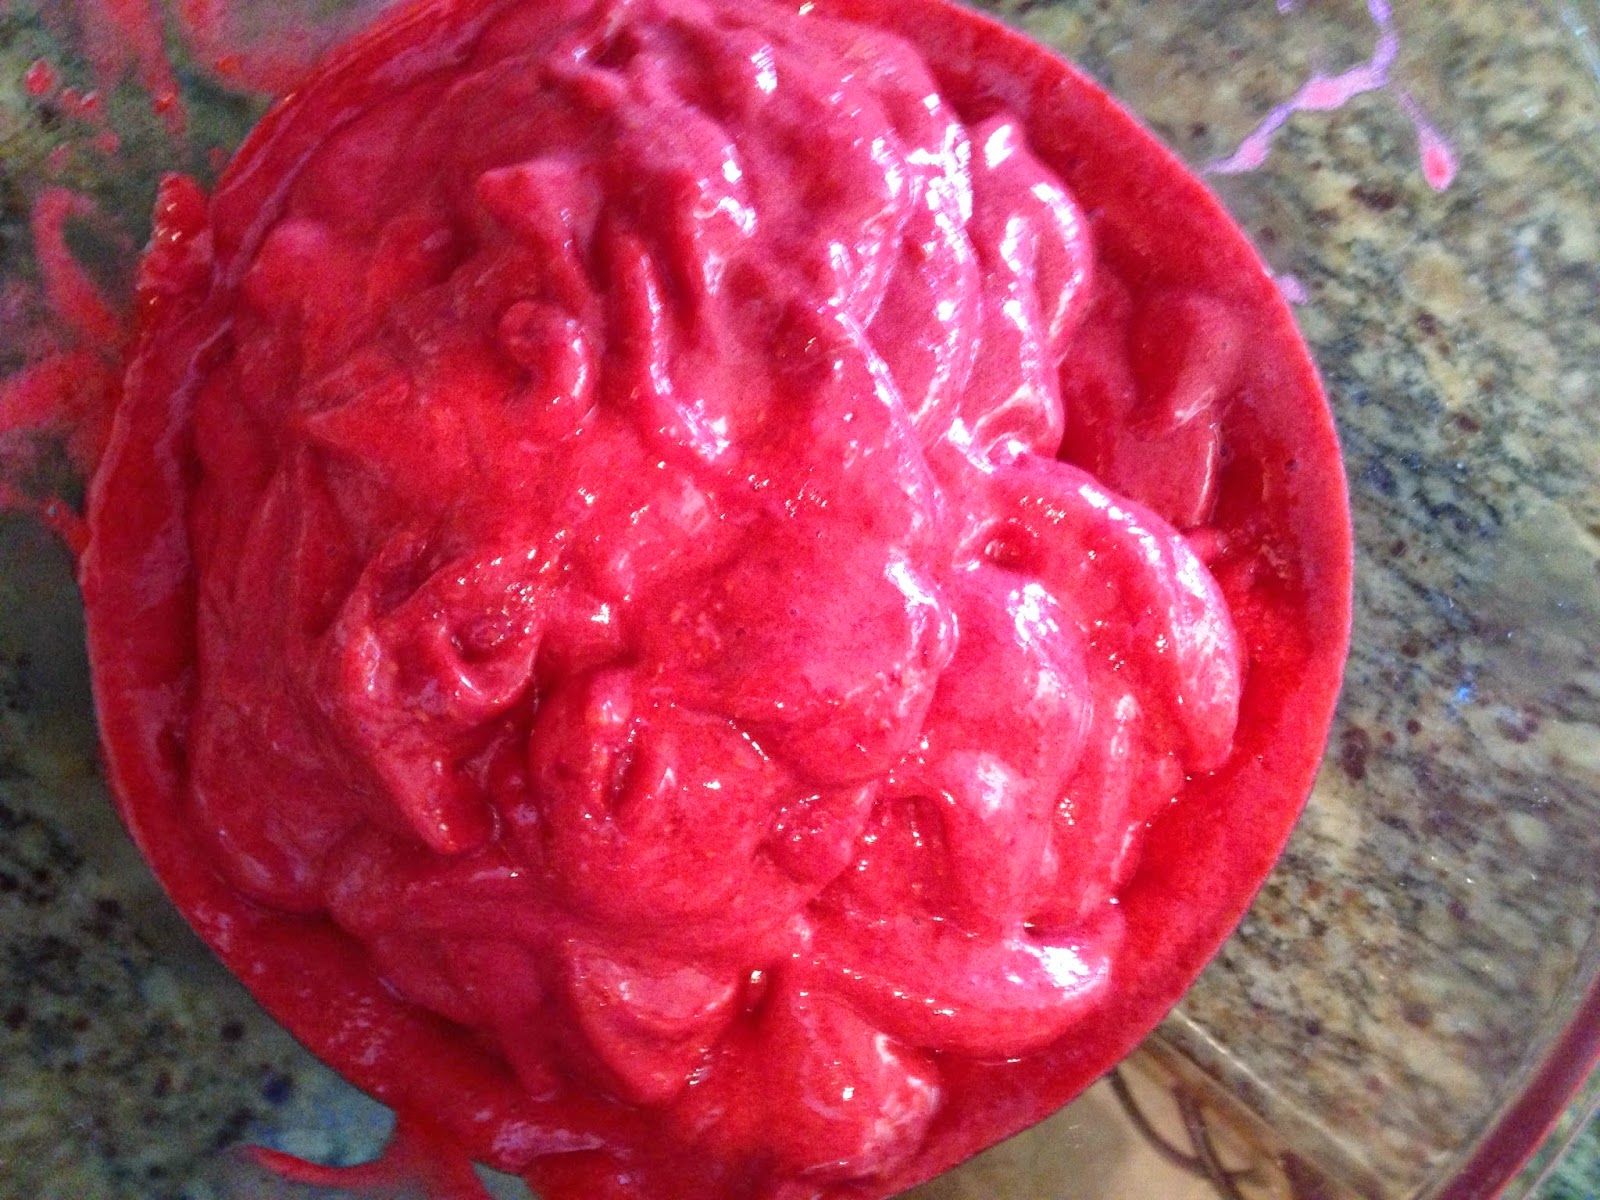
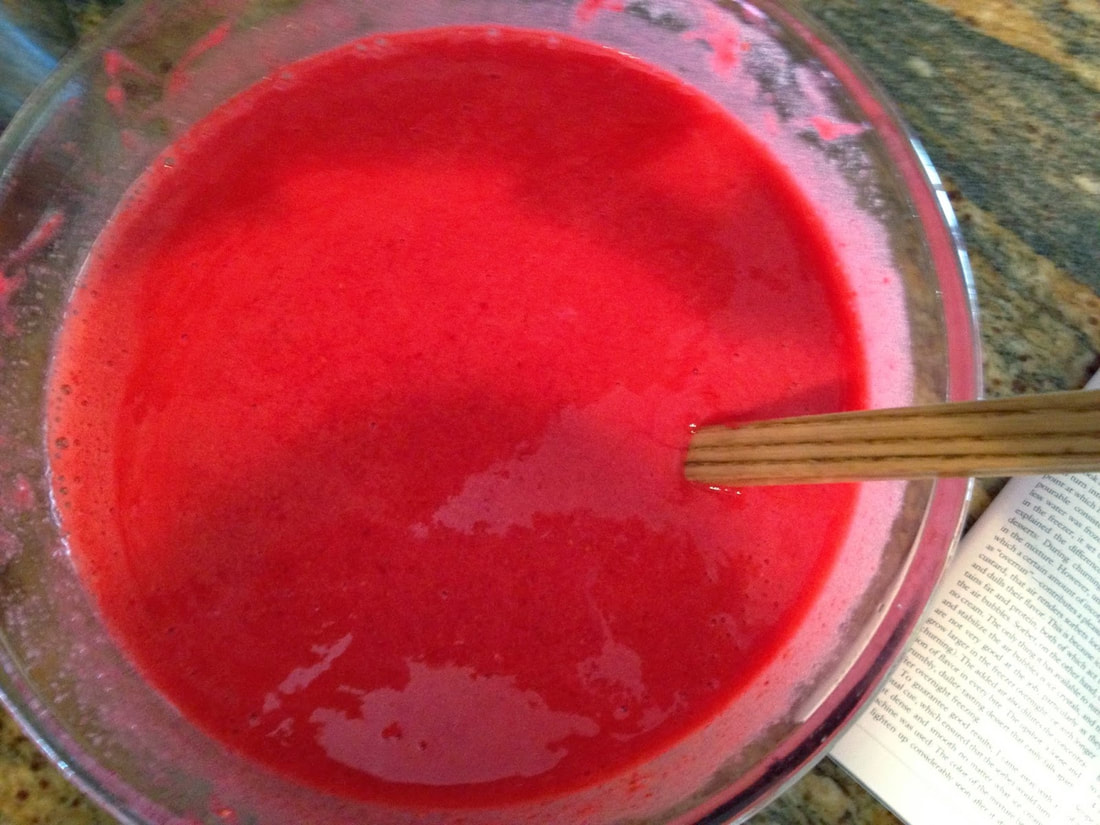
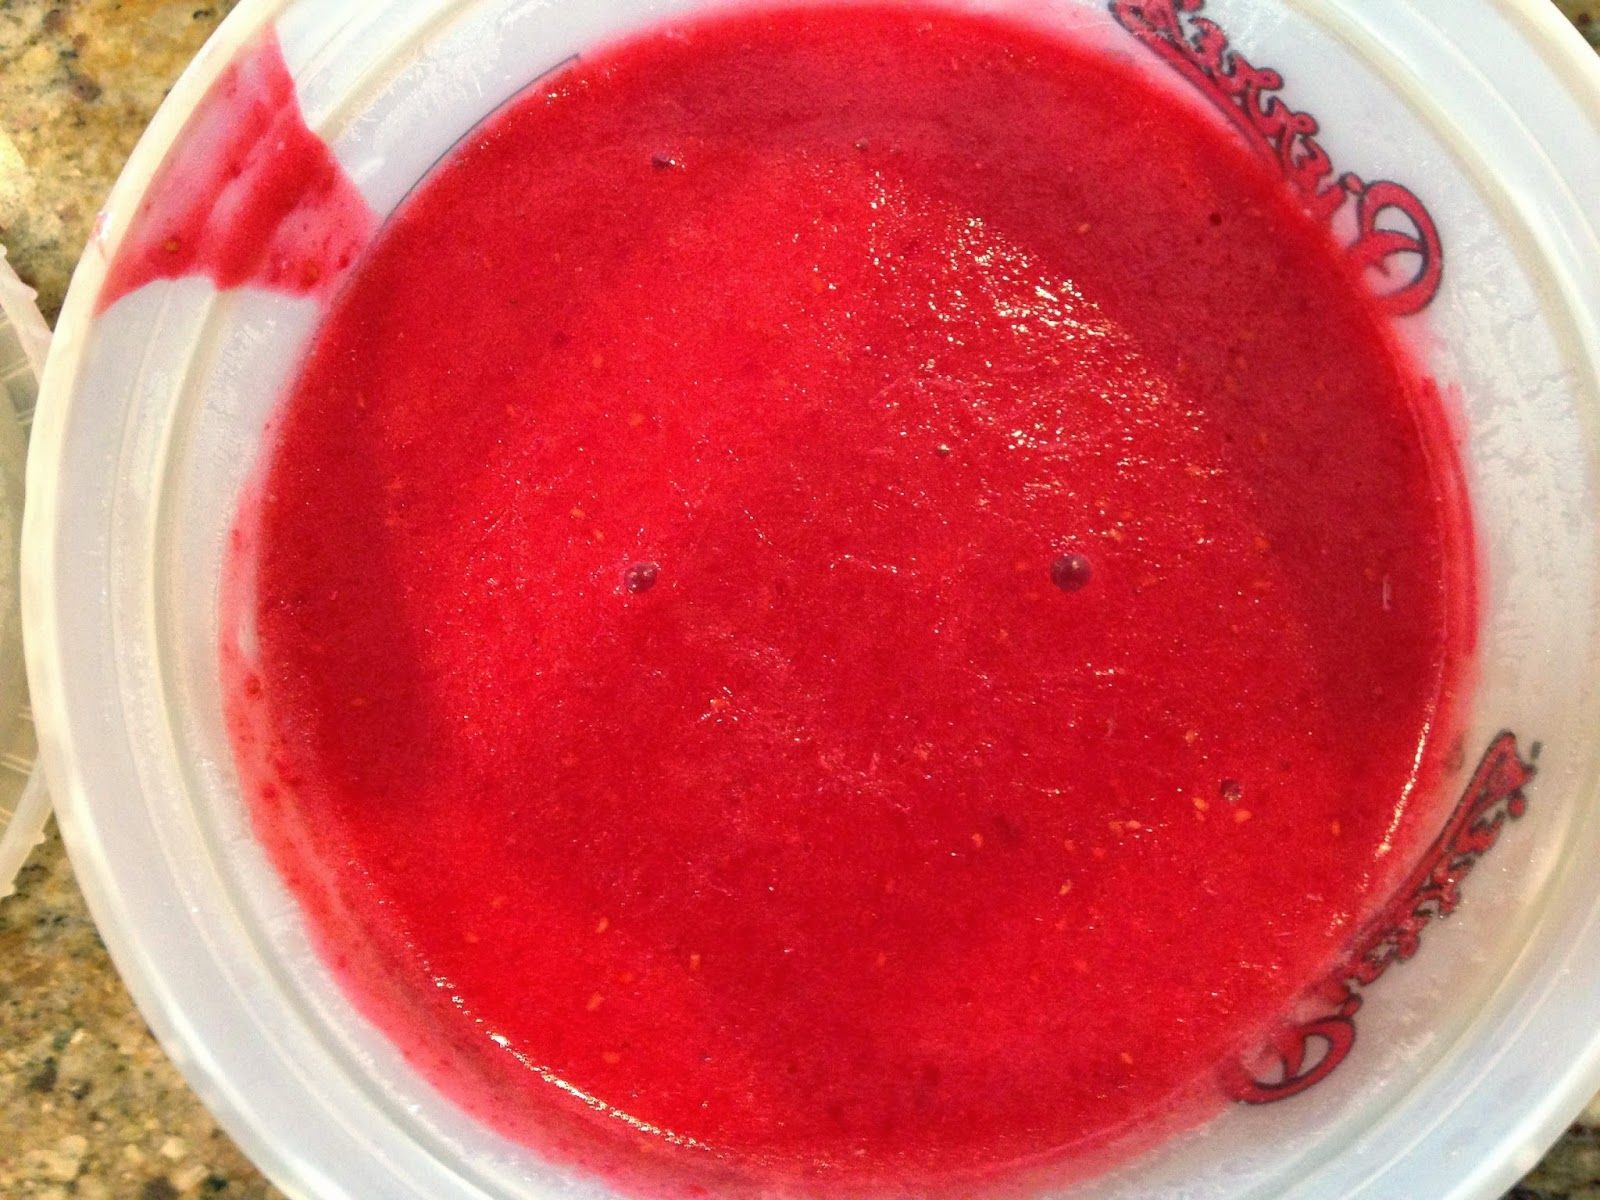
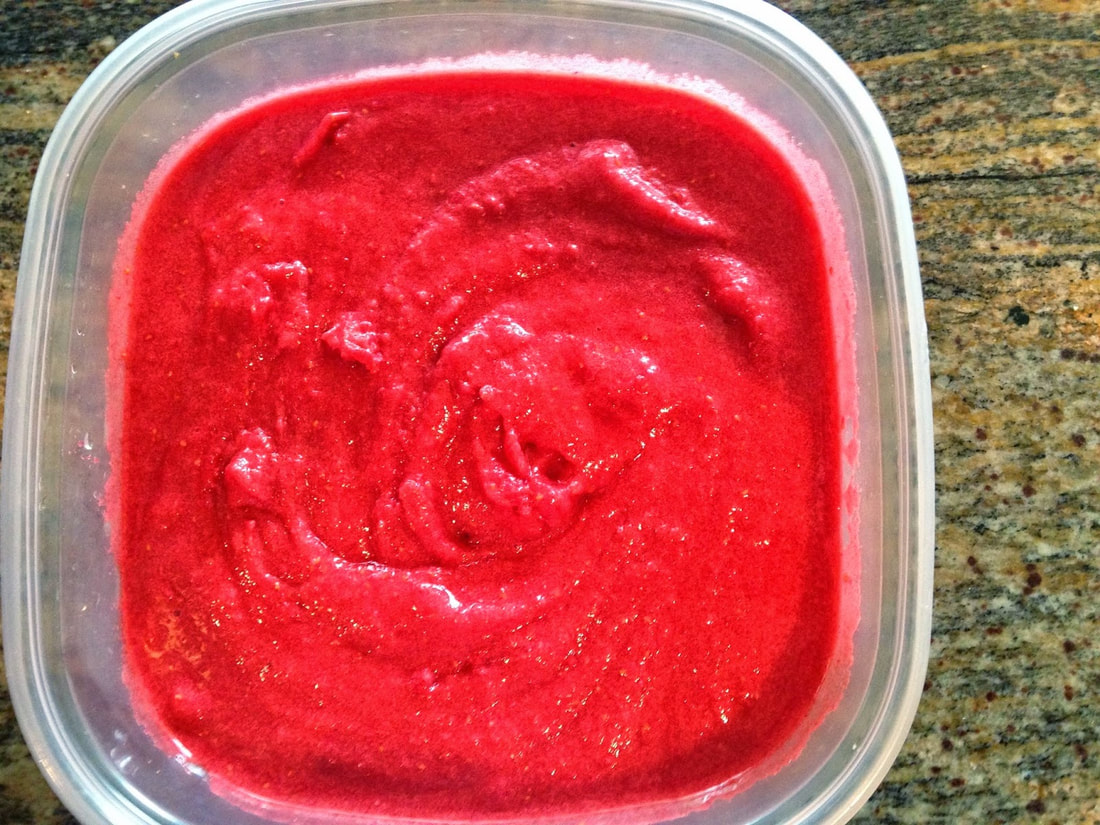
Ciao!
Click here for a printable version of this recipe
0 Comments

Raspberry Sorbet

7/26/2014

0 Comments

 
Picture
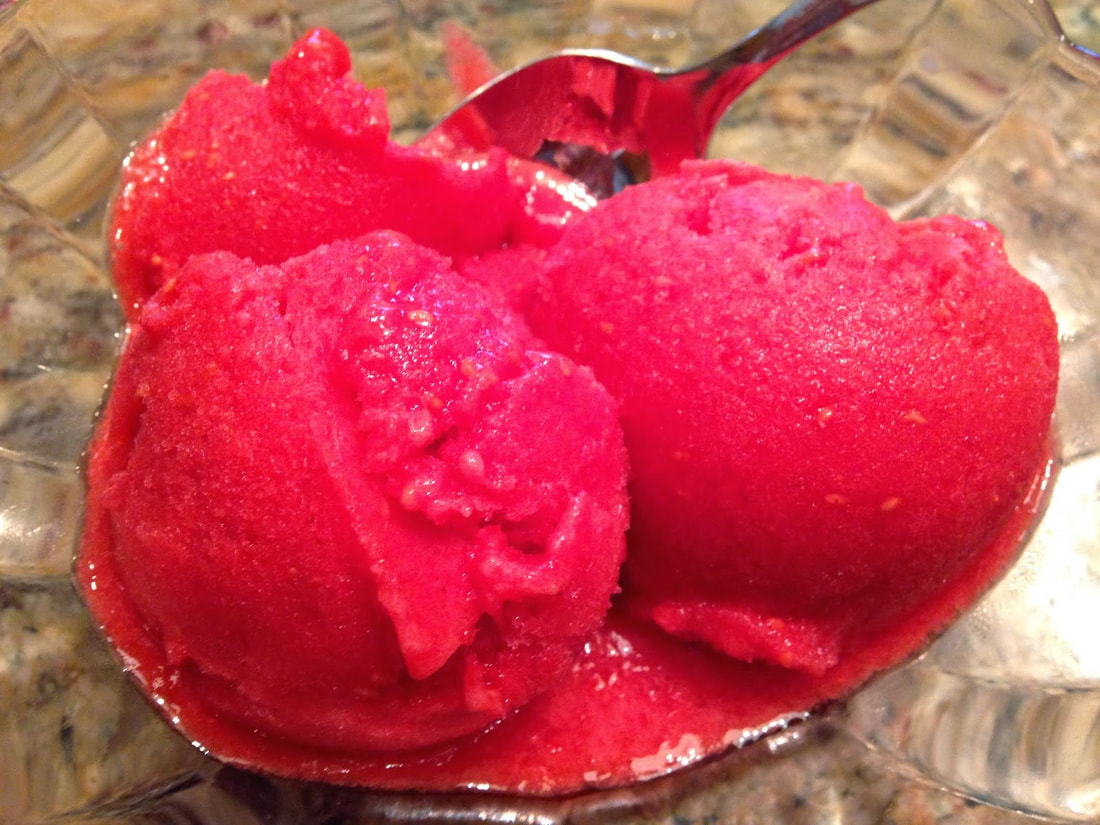
Quite possibly my favorite week of the entire year is the week that my family gets together at my parents house in the summer.  I think it's also the fastest week of the entire year.  We pack so many activities into just a few short days that we all come home rejuvenated and exhausted.  I'll share the highlights of our week in pictures at the end of this post but for now, let's get to the recipe of the day ... Raspberry Sorbet.  
Picture

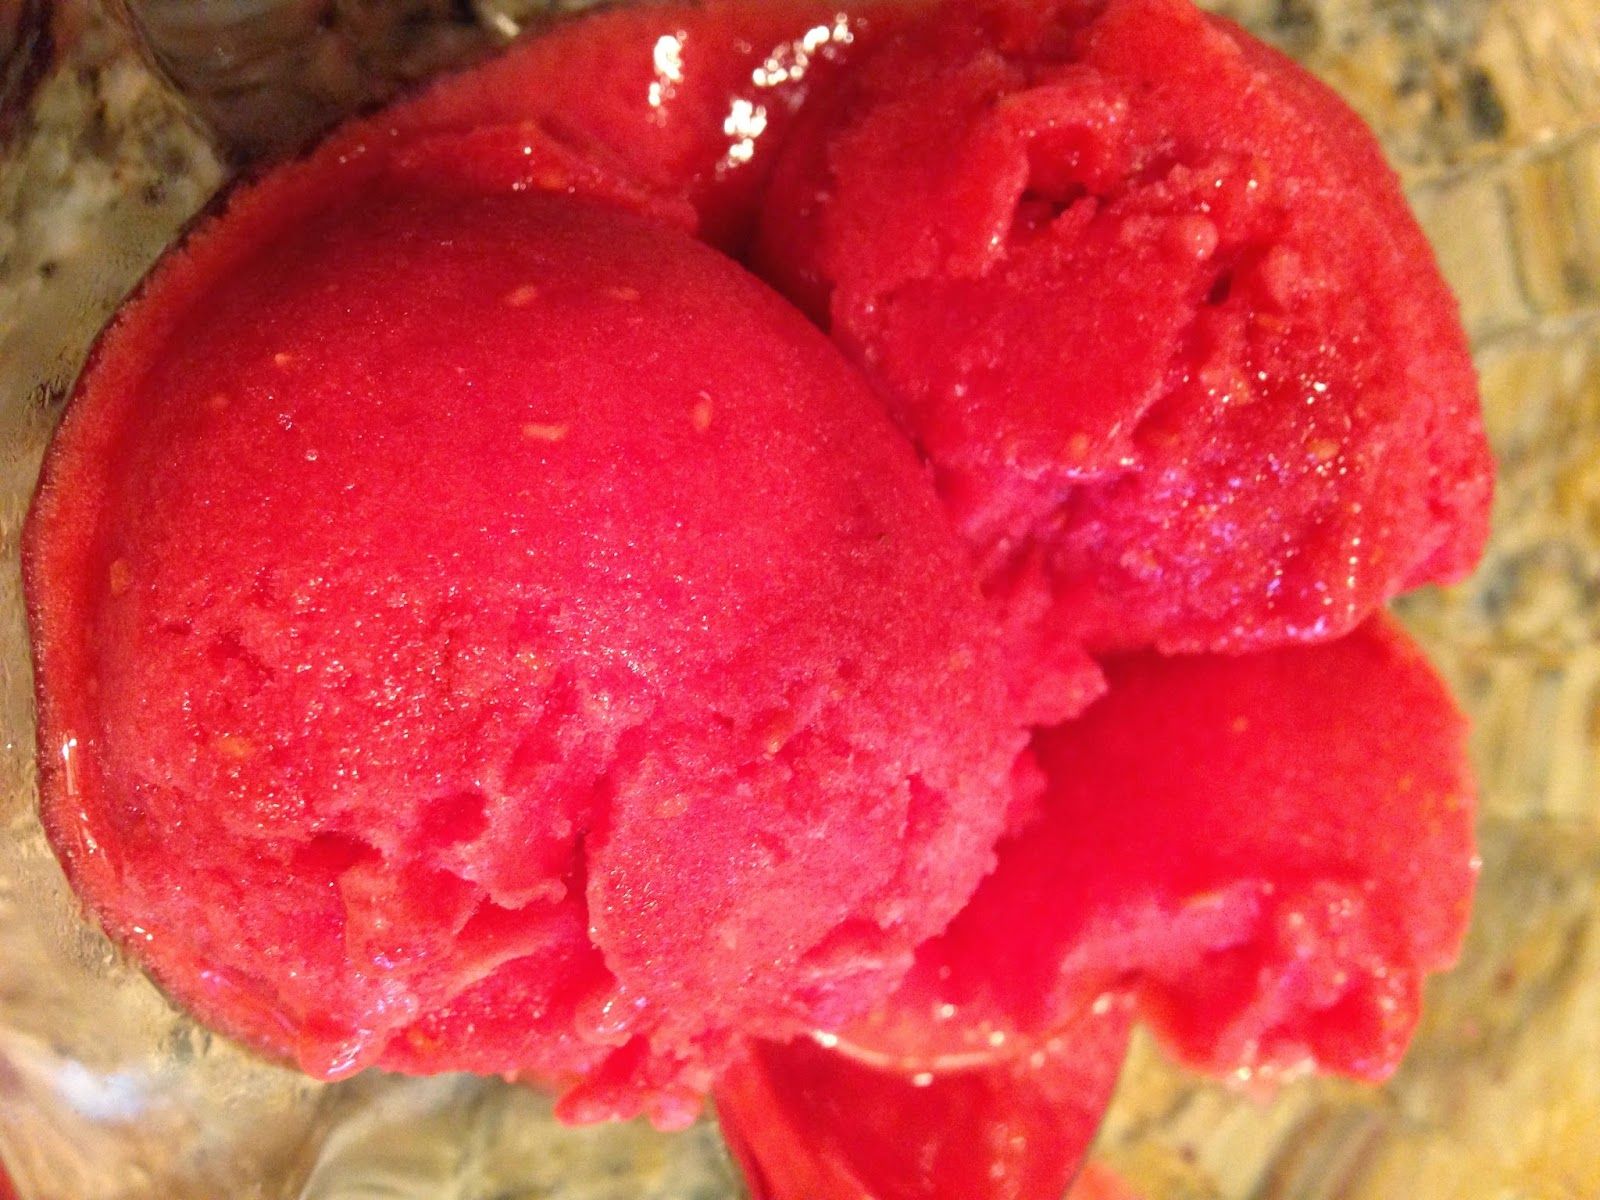
Raspberry Sorbet
2 cups water
2 teaspoons Sure-Jell for No Sugar Needed Recipes
1/4 teaspoon salt
8 cups raspberries
1 cup + 4 Tablespoons sugar
1/2 cup corn syrup
Combine water, sure-jell and salt in a medium saucepan.  Heat over medium high heat until sure-jell is dissolved.  Remove pan from heat and allow to cool 10 minutes.  
Process raspberries, corn syrup and water mixture in food processor until smooth.
Picture
Picture
Strain through a fine mesh strainer.
Transfer 1 cup of mixture to a small bowl, cover and freeze for at least 4 hours.
Picture
Picture
Place remaining mixture in a larger bowl, cover and refrigerate.
​Remove mixtures from refrigerator and freezer and scrape frozen mixture into larger bowl of refrigerated mixture.  Stir until frozen base has fully dissolved.
Picture
Picture
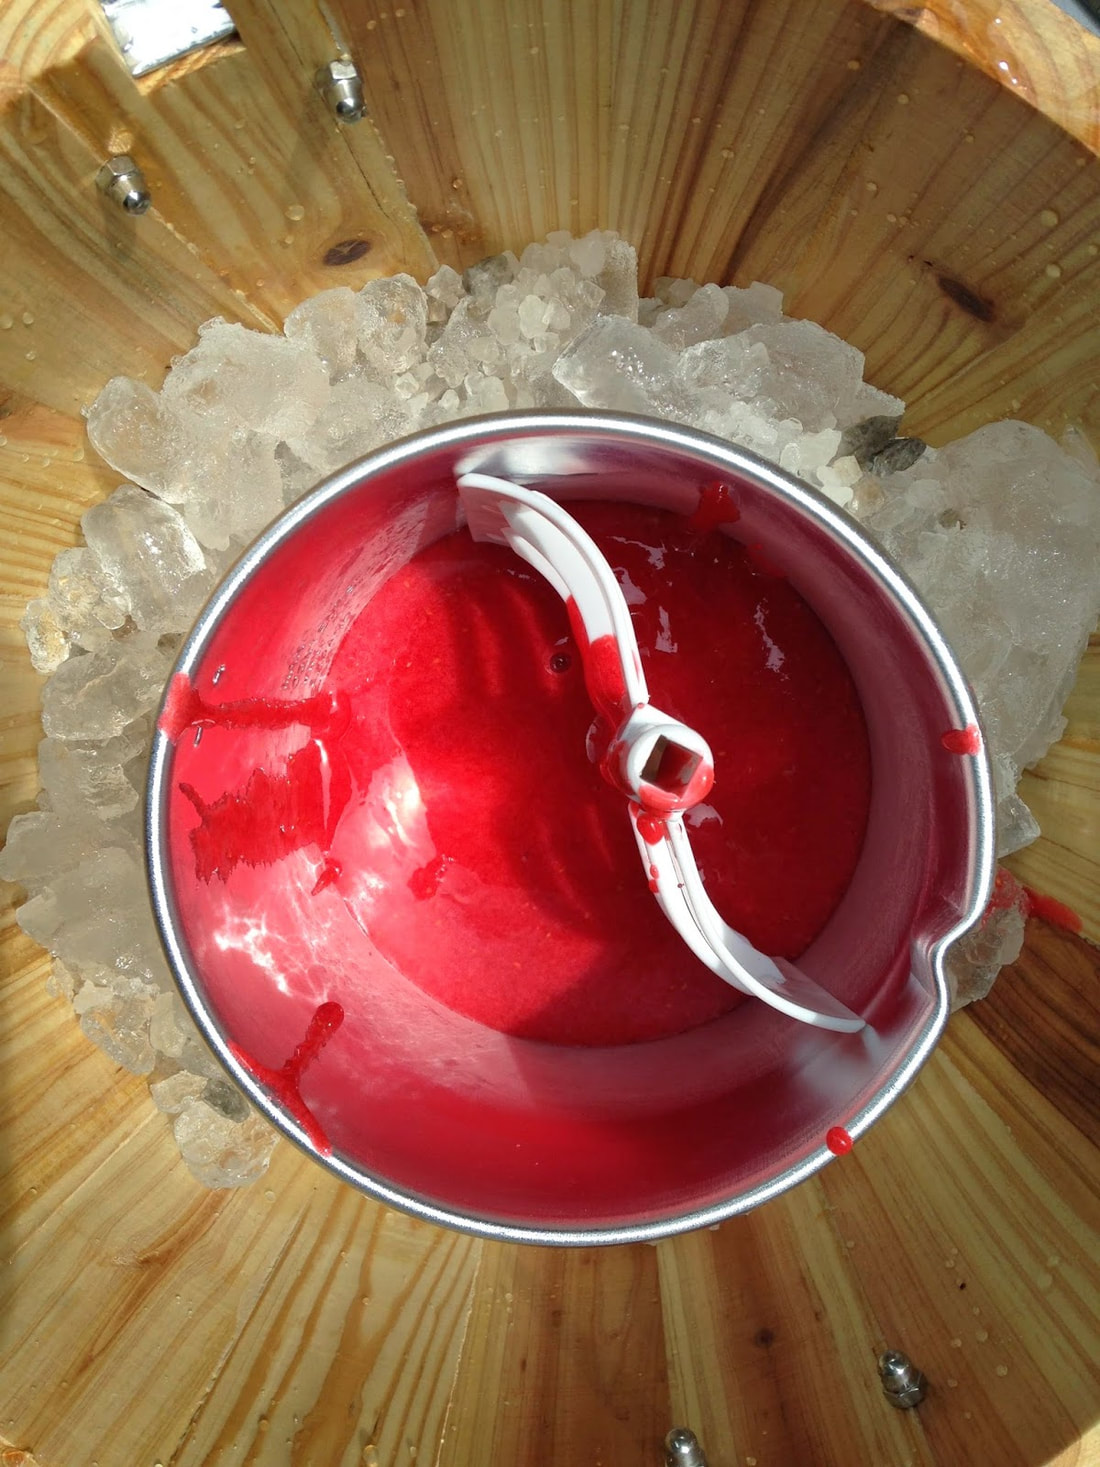
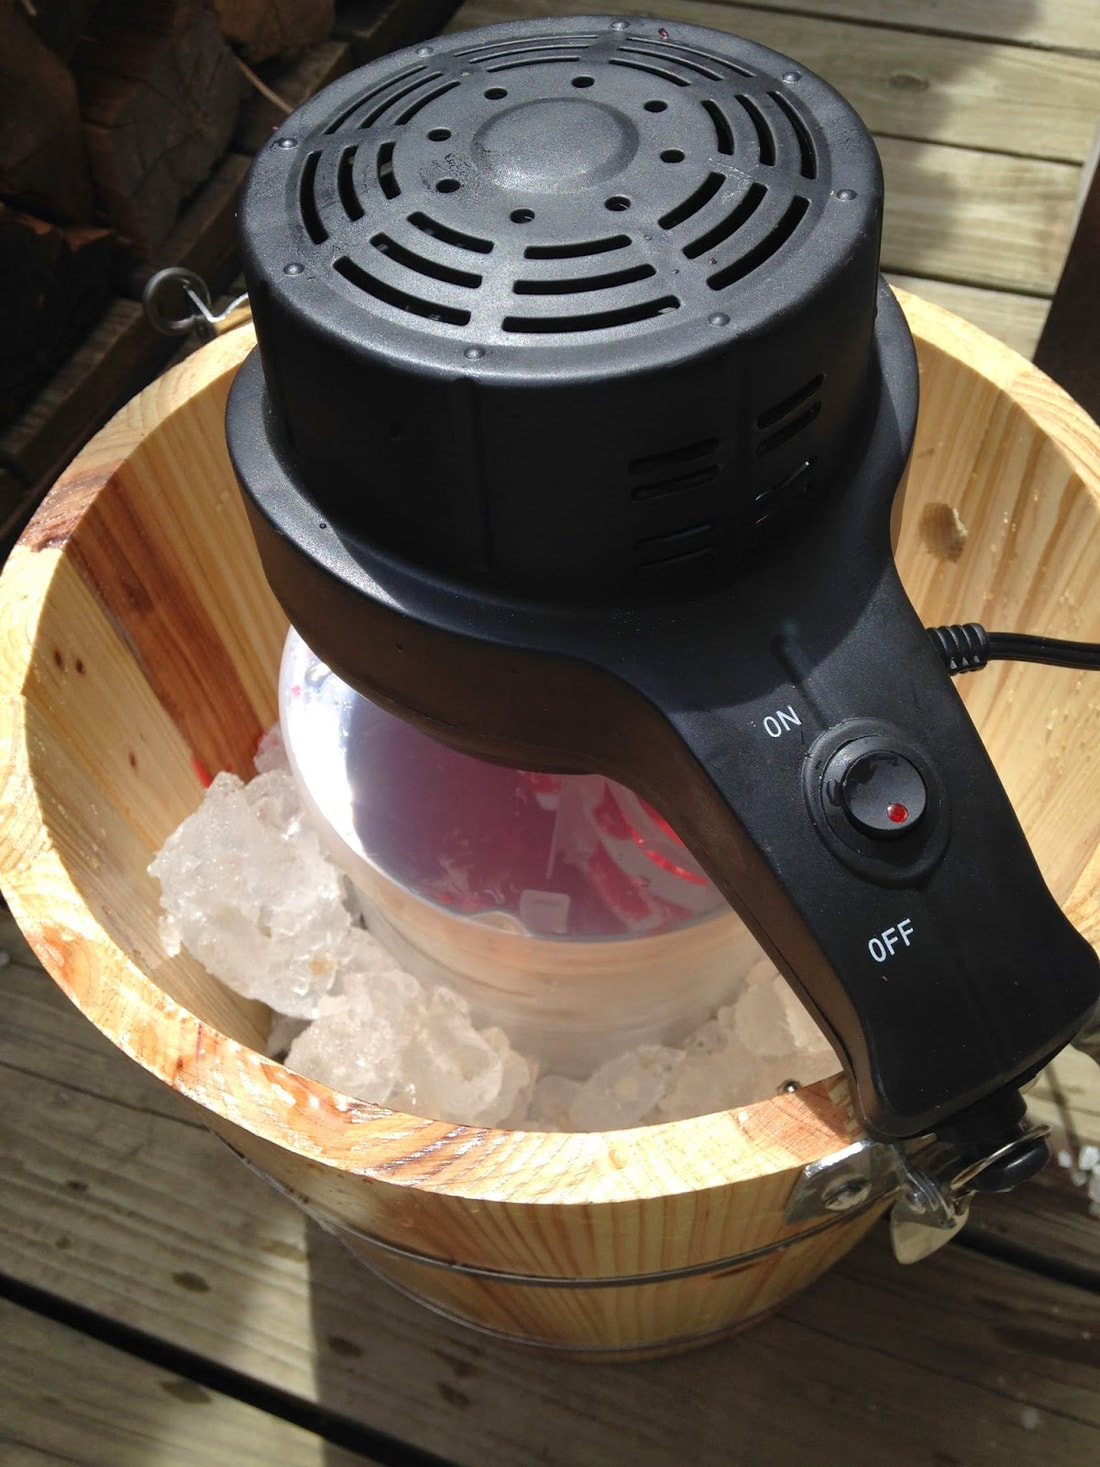
Transfer mixture to an ice cream freezer.  Churn until mixture has the consistency of a thick milkshake.  (15-25 minutes)
Picture
Picture
Transfer sorbet to an airtight container and freeze at least 2 hours.
Picture
​We couldn't wait very long to try our sorbet, so ours was a little soft when we ate it.  Still good though. 
Picture
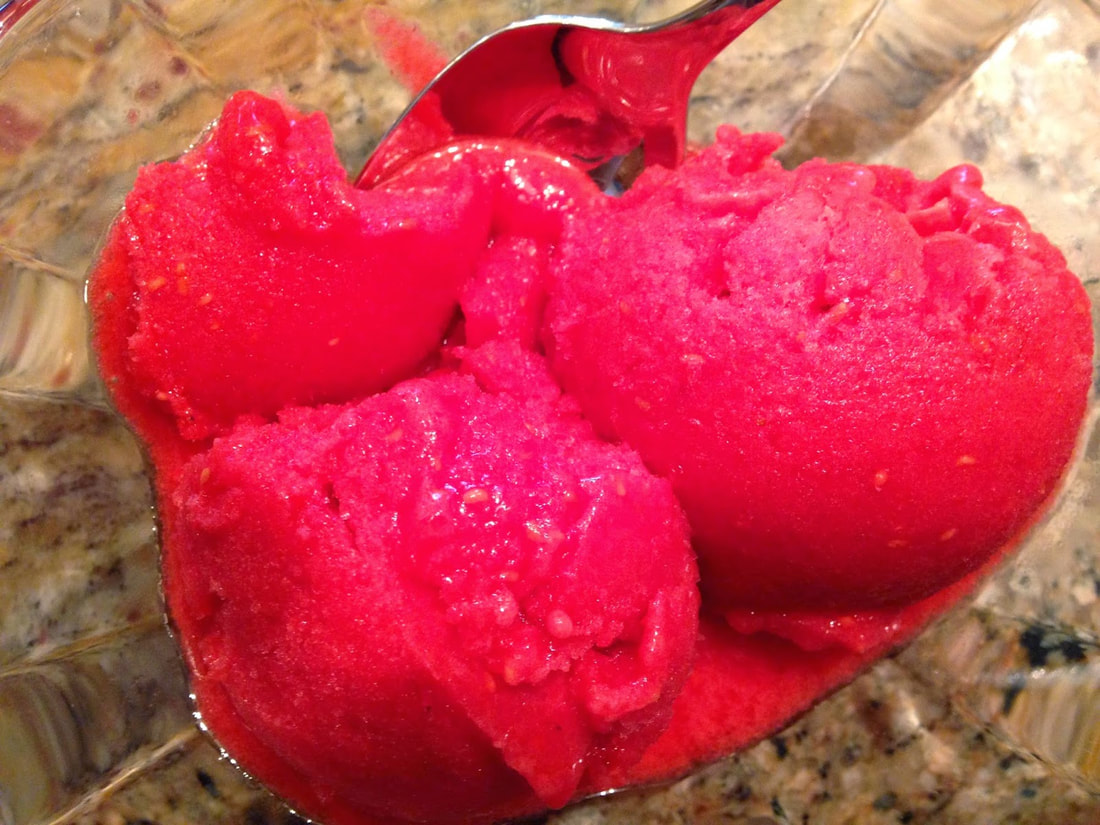
My sorbet had quite a few seeds in it - I think I needed a finer strainer to get rid of the seeds completely.  All in all though, that would be my only complaint.  Other than the seeds, this was REALLY yummy.
Now back to our summer fun week.  
Picture
Picture
Picture
Picture
Picture
Picture
Picture
Picture
Picture
Picture
Picture
Picture
Picture
Picture
Picture
Picture
Picture
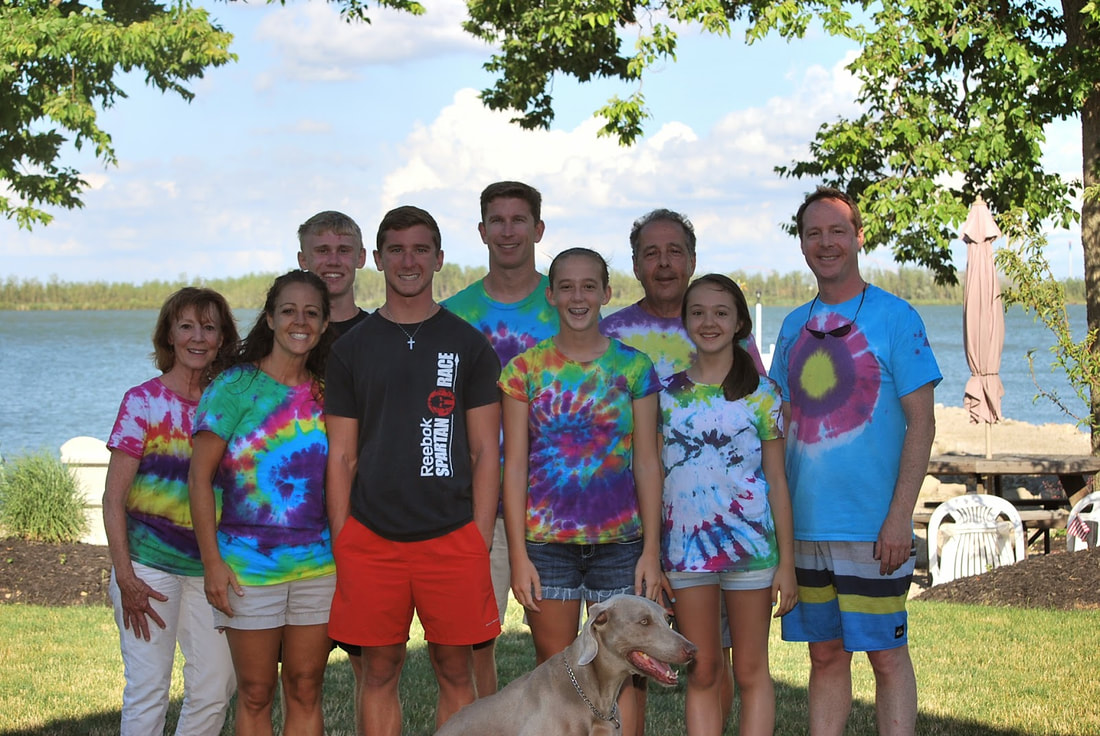
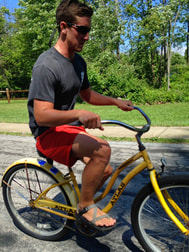
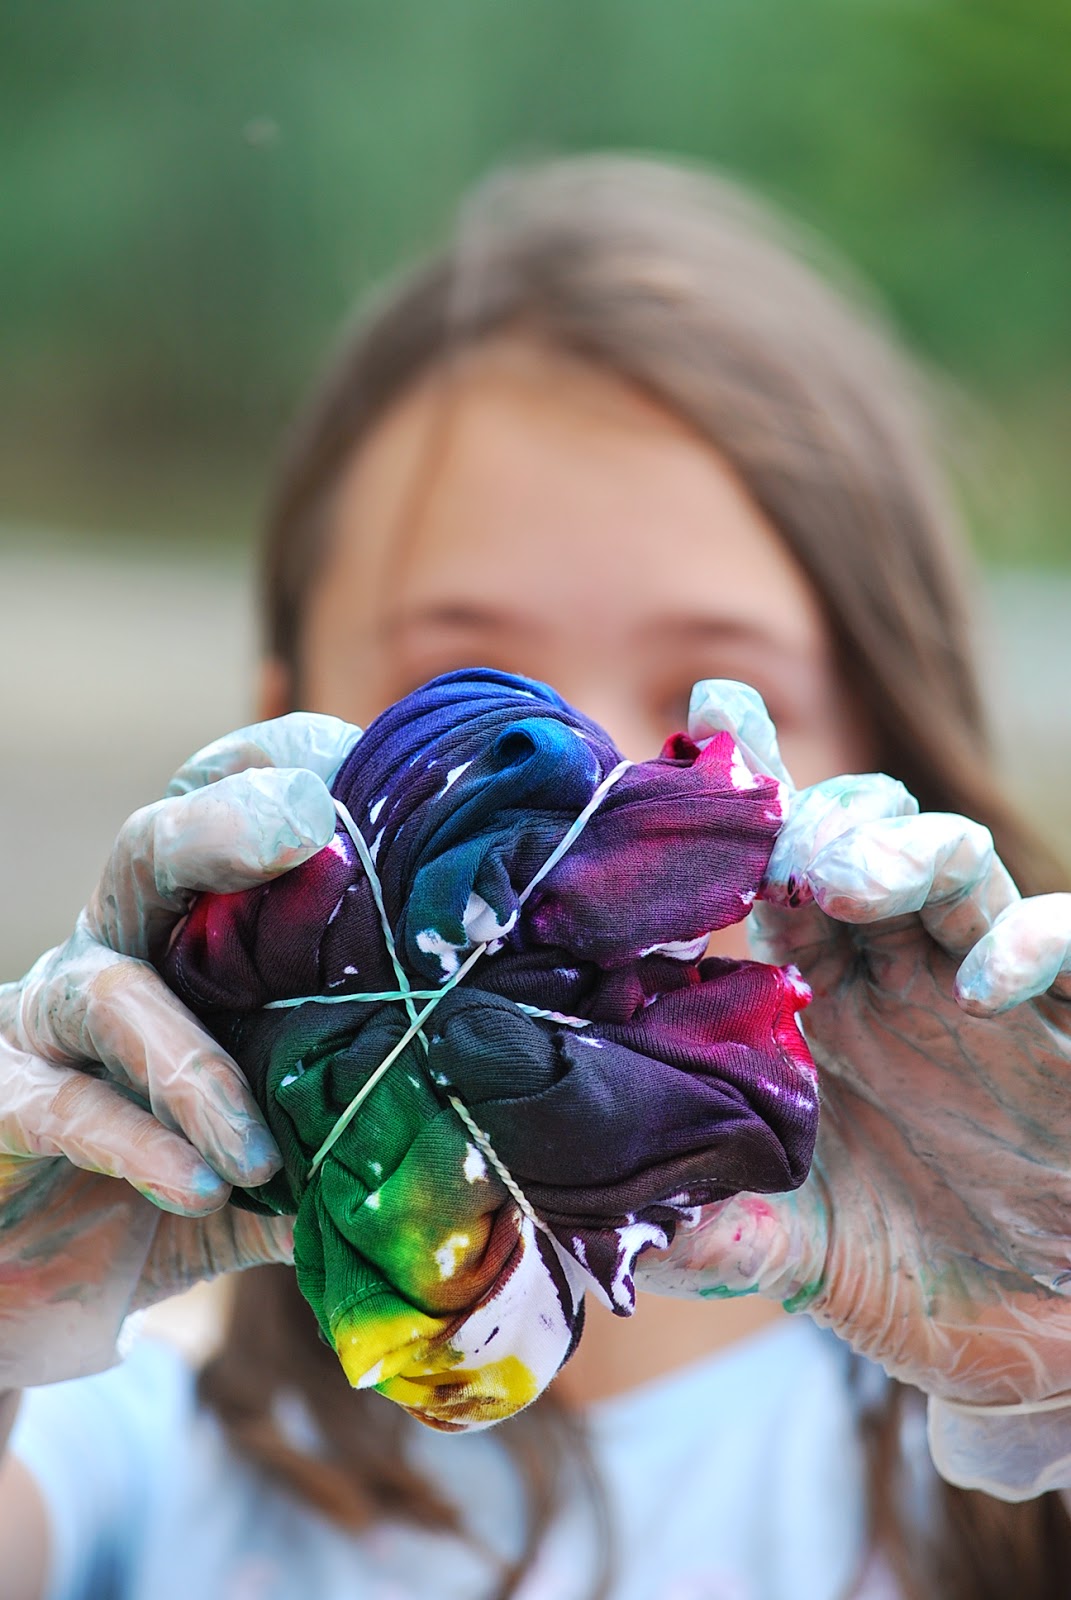
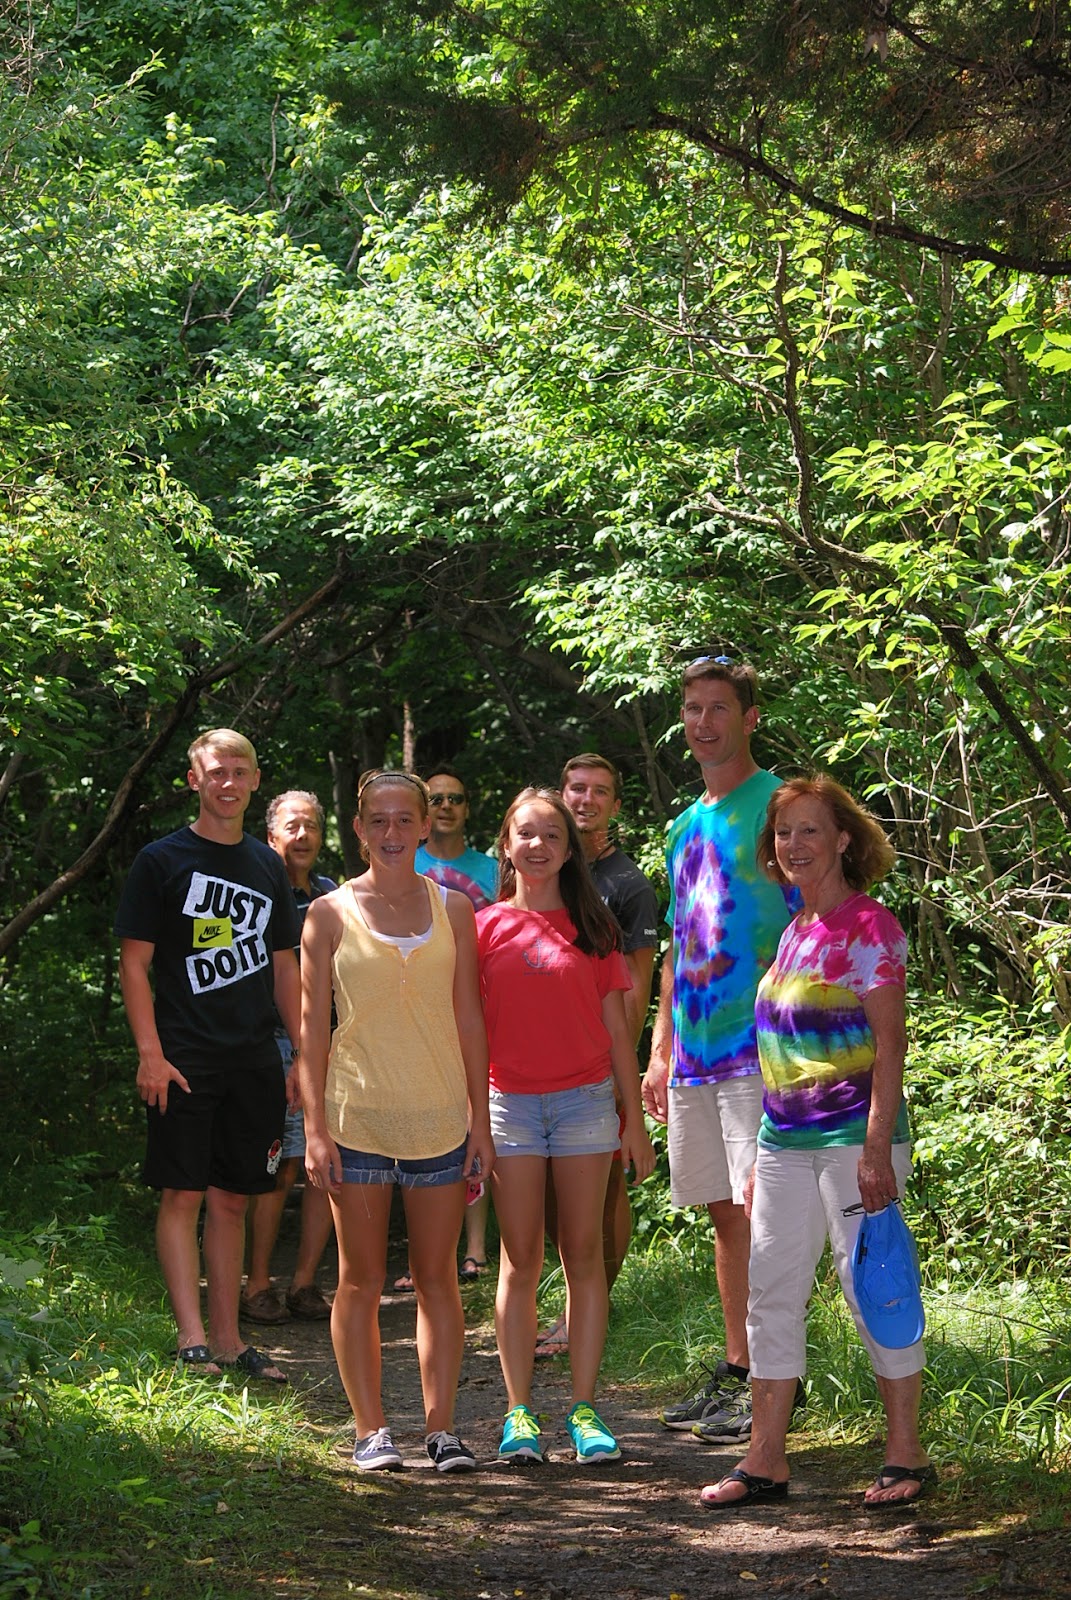
It makes me tired just looking at all of the activities that we squeezed into one little week.  I'm already looking forward to next year.  
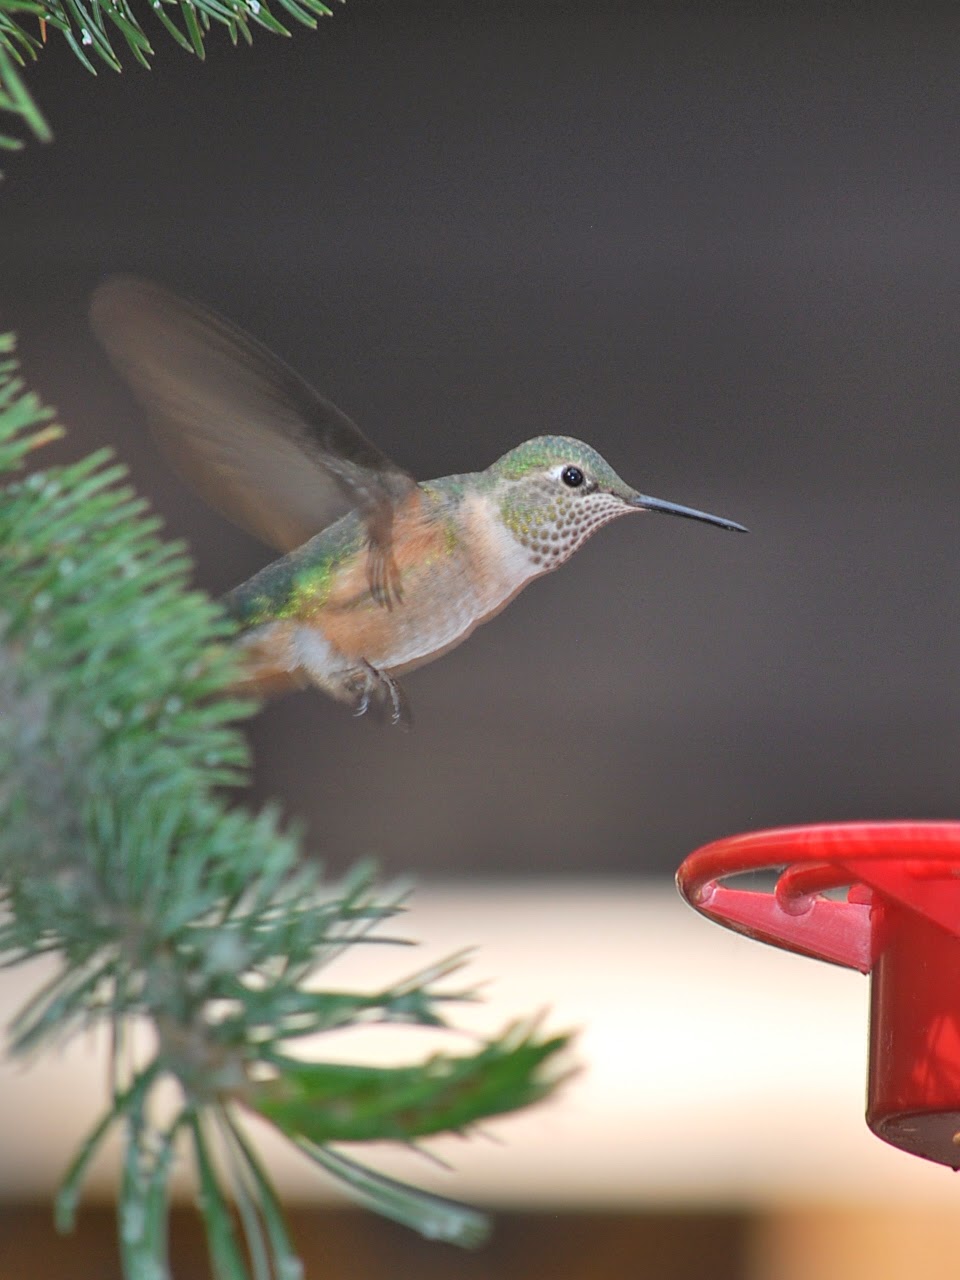
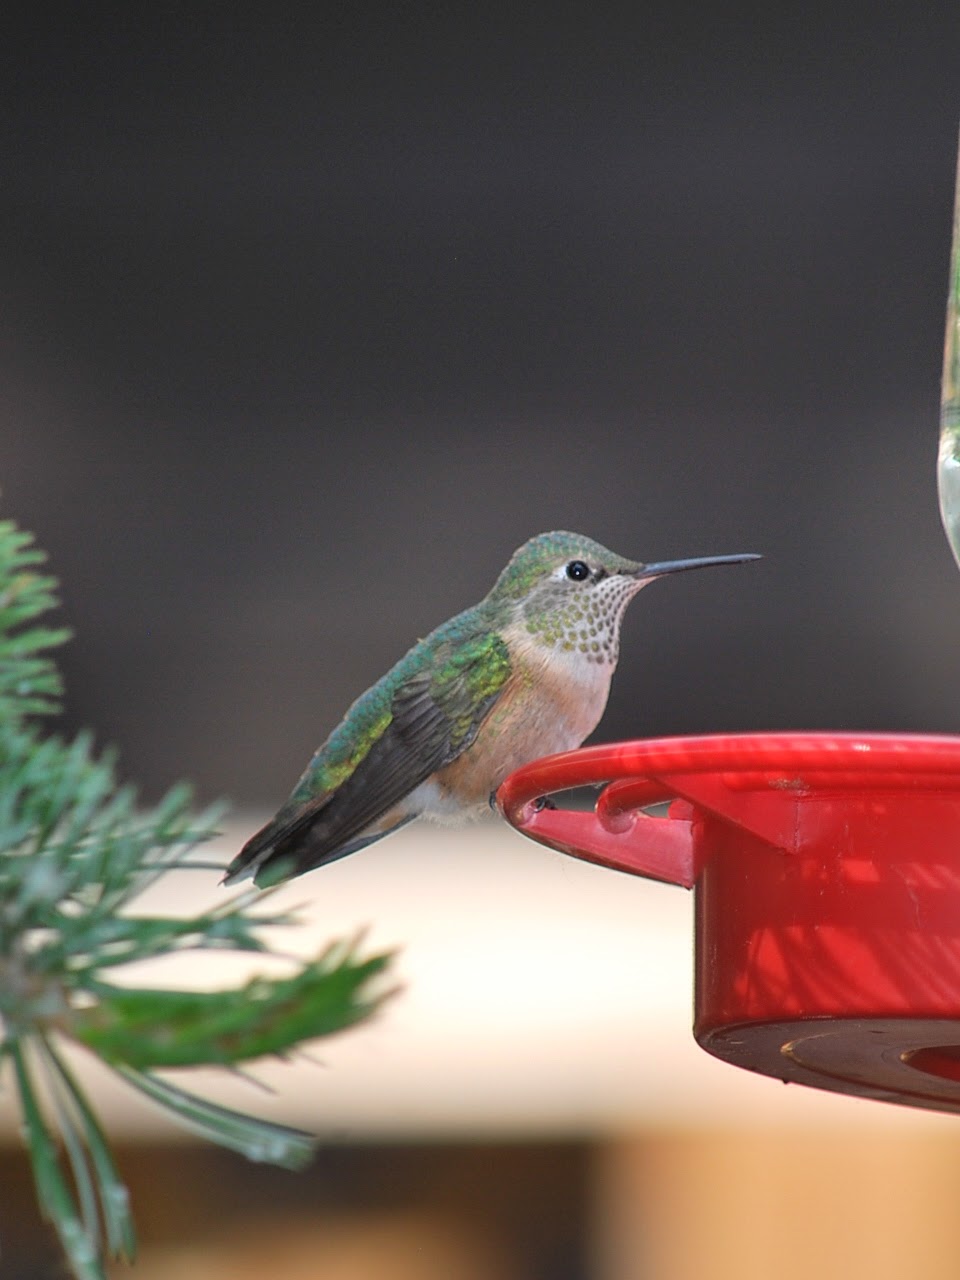
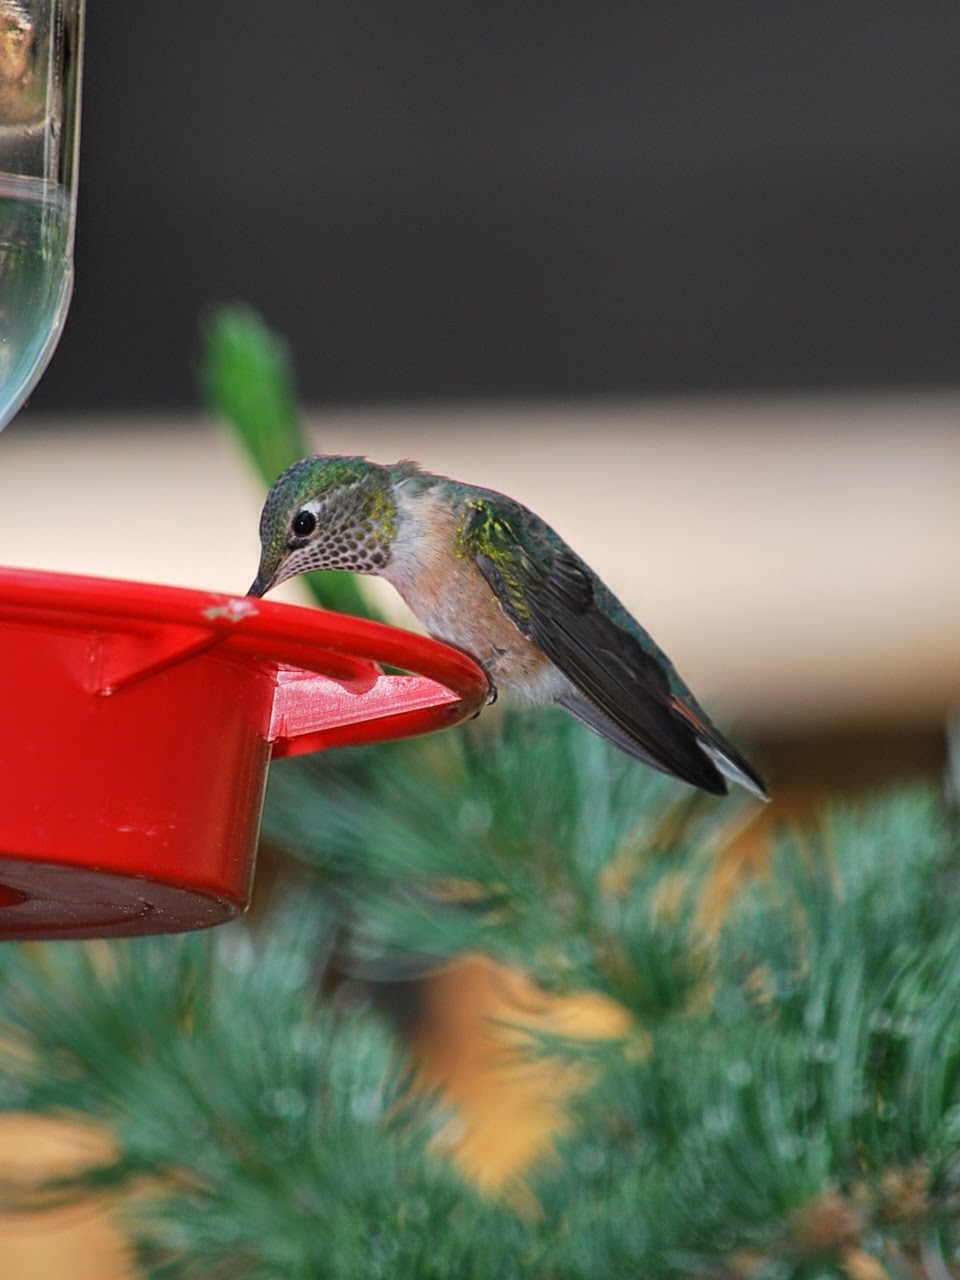
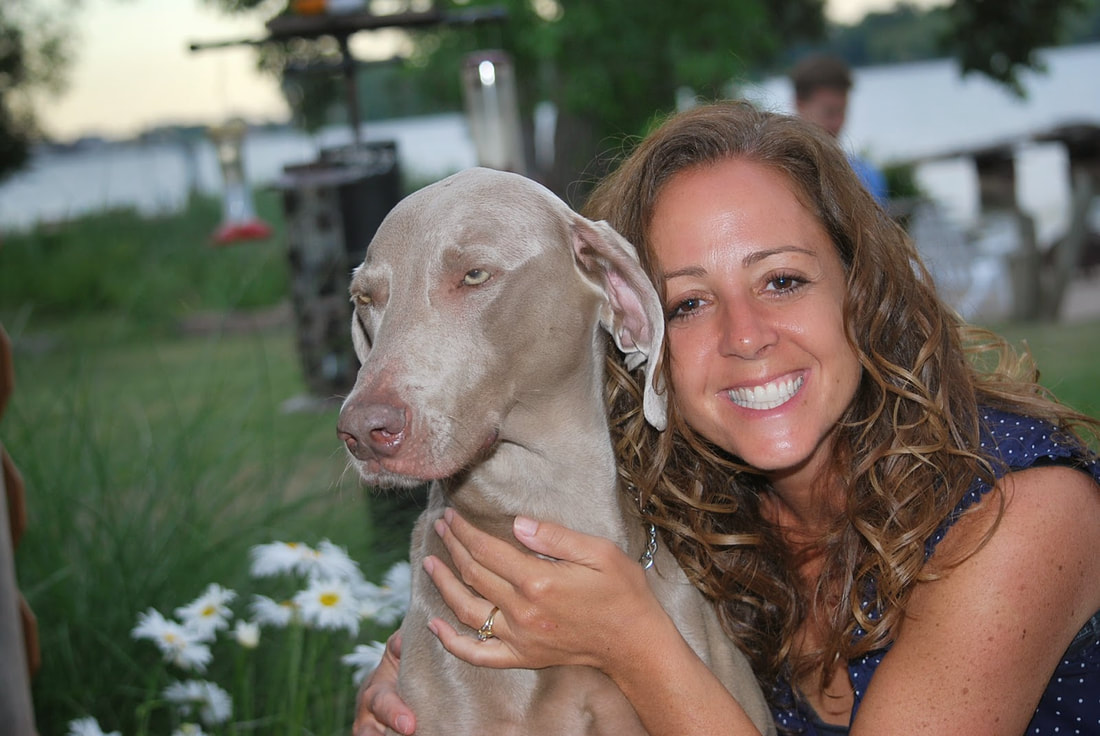
​Ciao!
Click here for a printable version of this recipe
0 Comments

Hummingbird Cake

7/25/2014

0 Comments

 
Picture
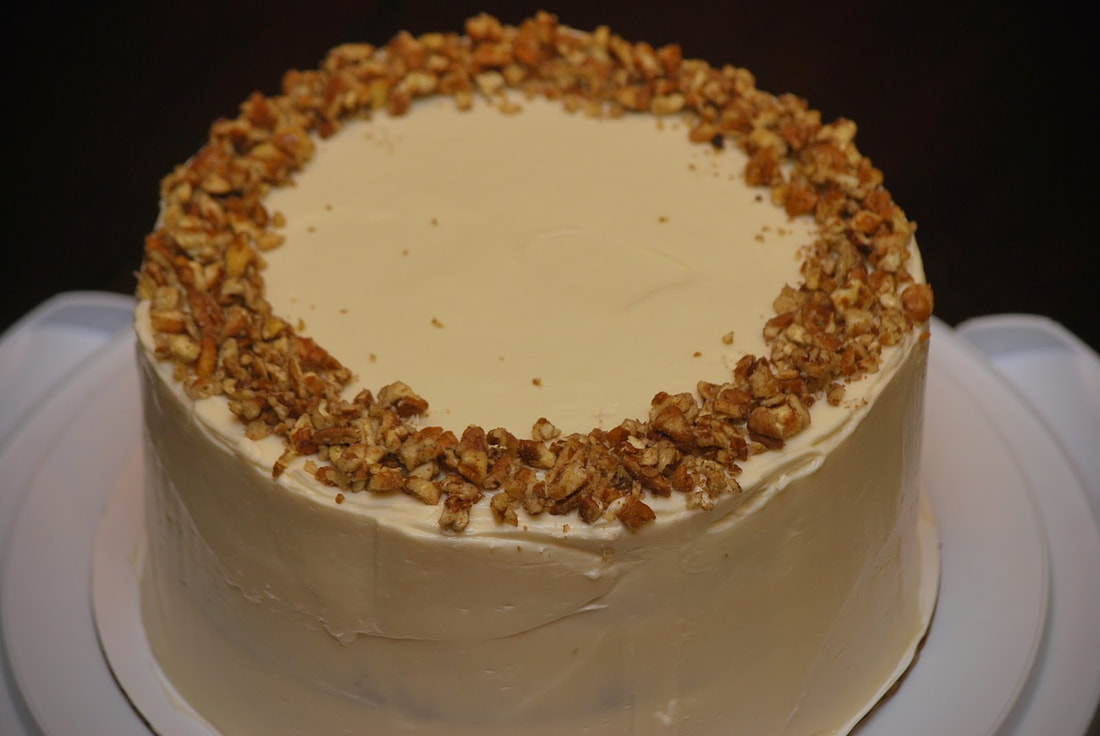
My family teases me because I love to take bird pictures.  In all honesty, there have been family vacations when I come home with just as many pictures of birds that I have of the kids.

Last summer, I got some pictures of a hummingbird that just happened to be hanging out at the same coffee shop that we visited one morning.  It was really awesome to watch the hummingbird as he busily went about his morning.
Picture
Picture
Picture
Picture
​I think I may have to get a hummingbird feeder for our house.  They are just so much fun to watch. 

Speaking of hummingbirds, I made a hummingbird cake from the Cook's Country magazine recently - my first one ever - and it was delicious.  I wasn't sure how the pineapples and the bananas and the pecans were going to taste inside of a cake but turns out -  it's a delicious combination.  
Picture
Picture
Picture
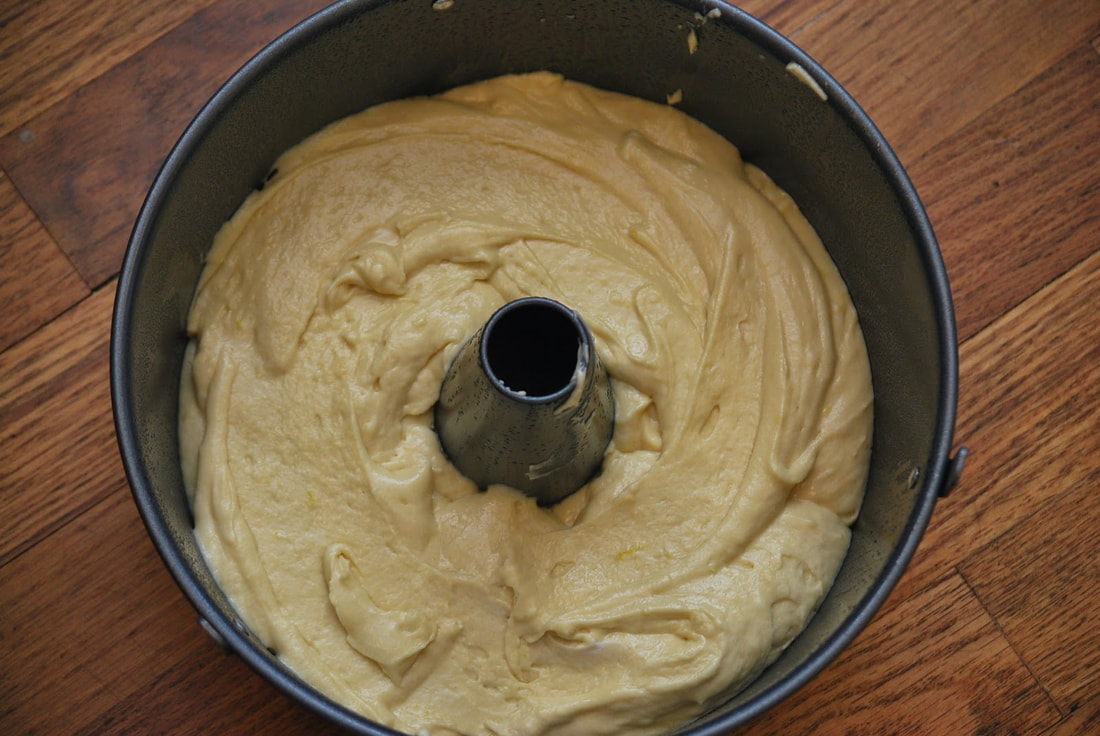
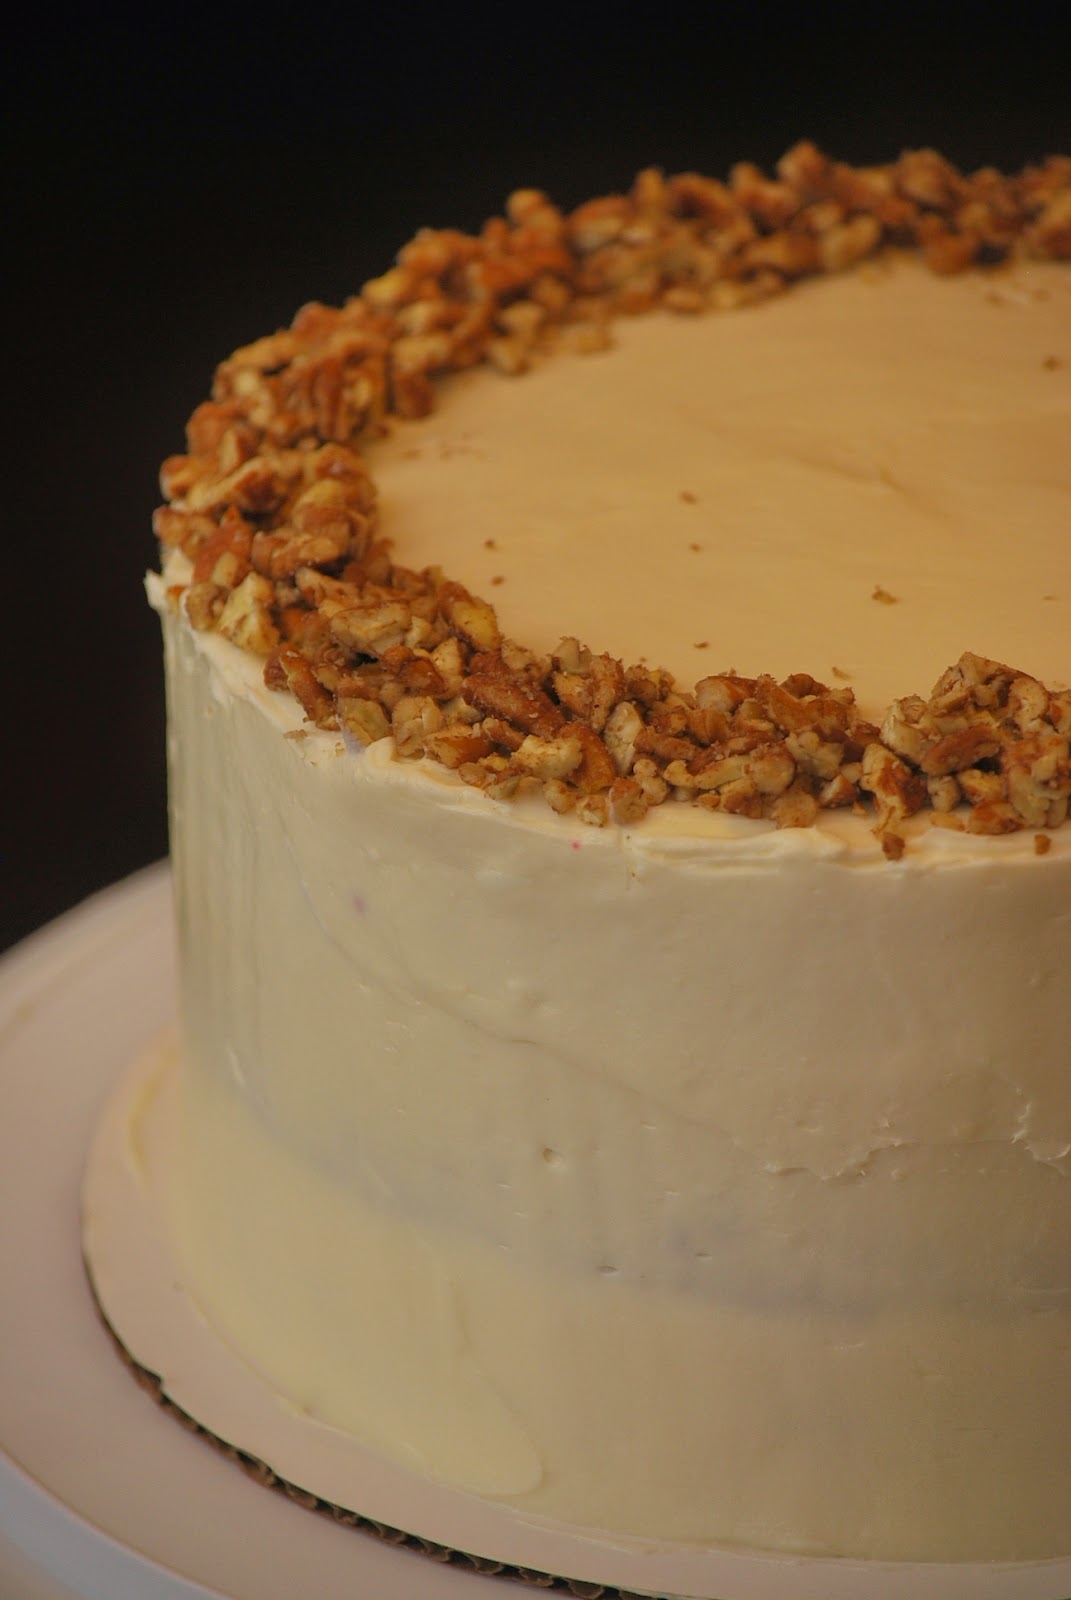
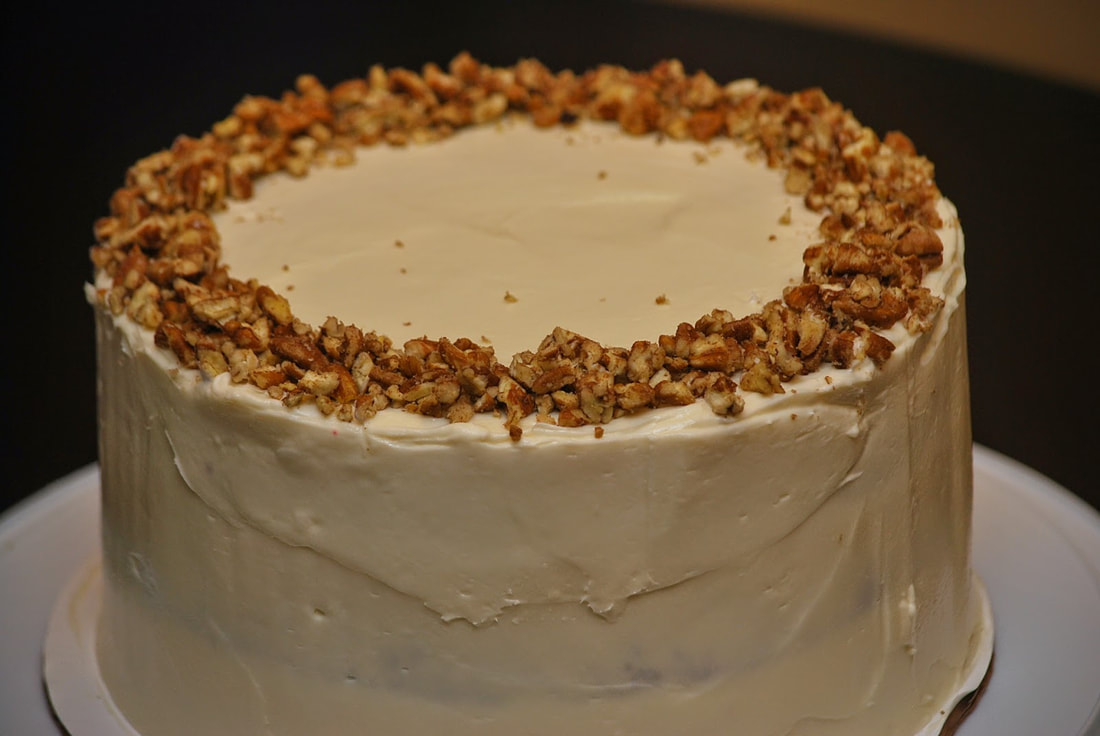
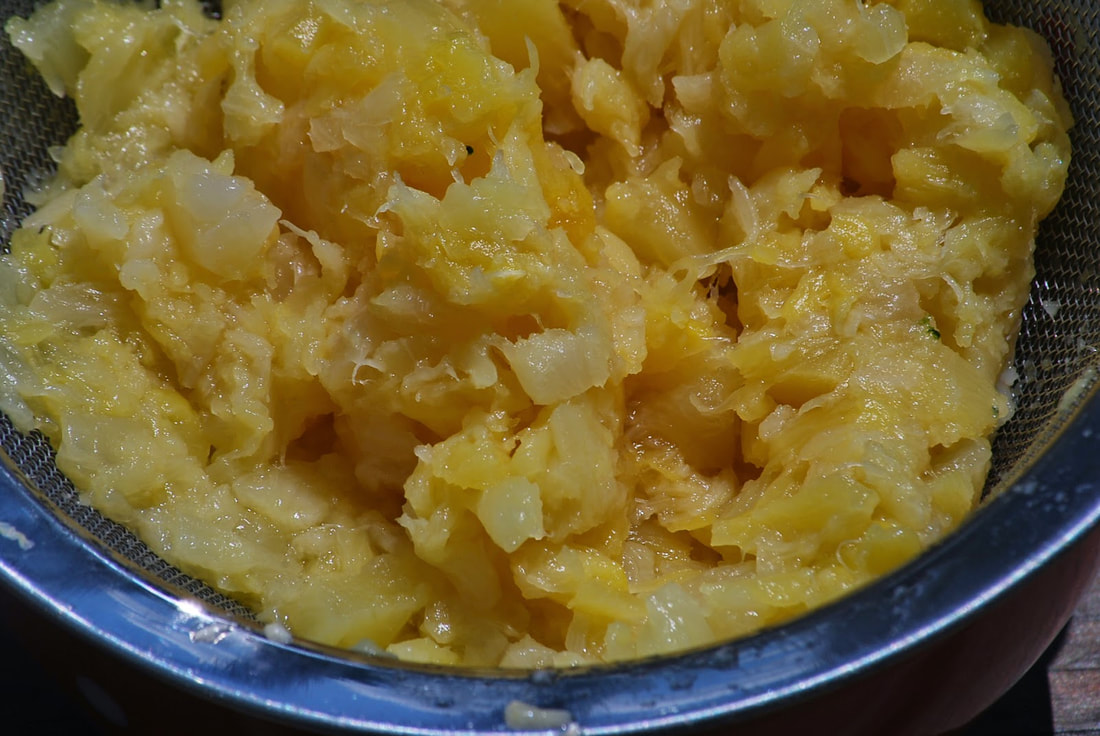
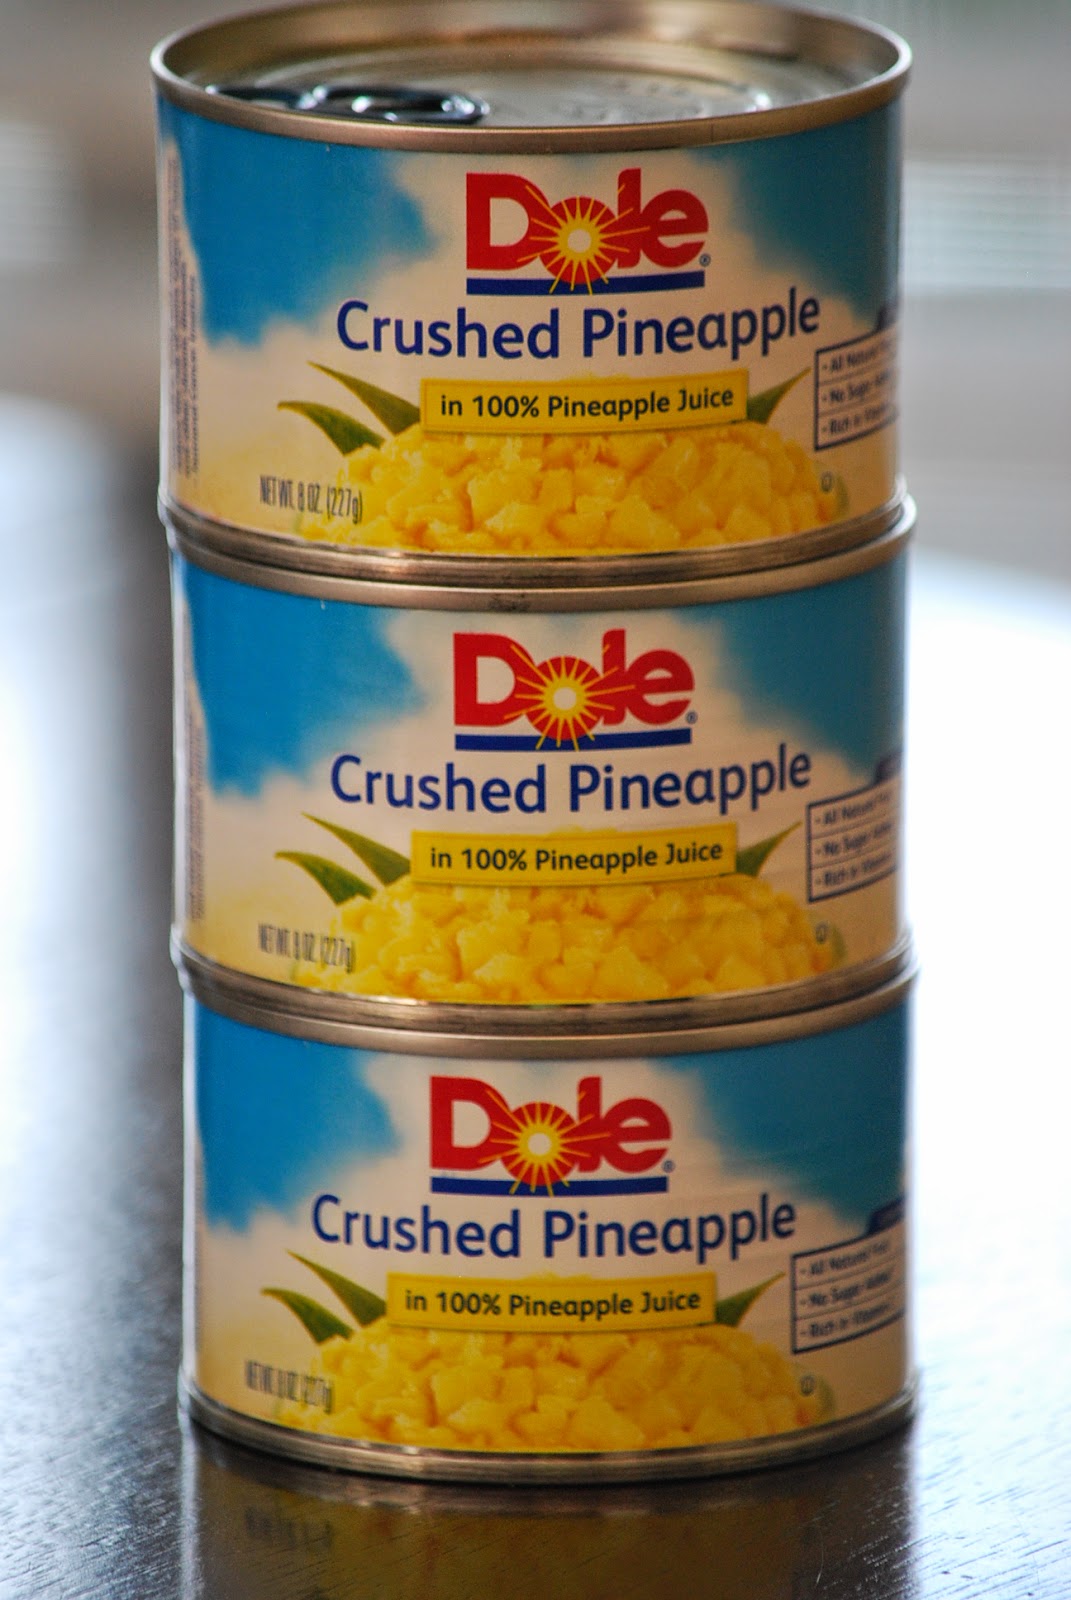
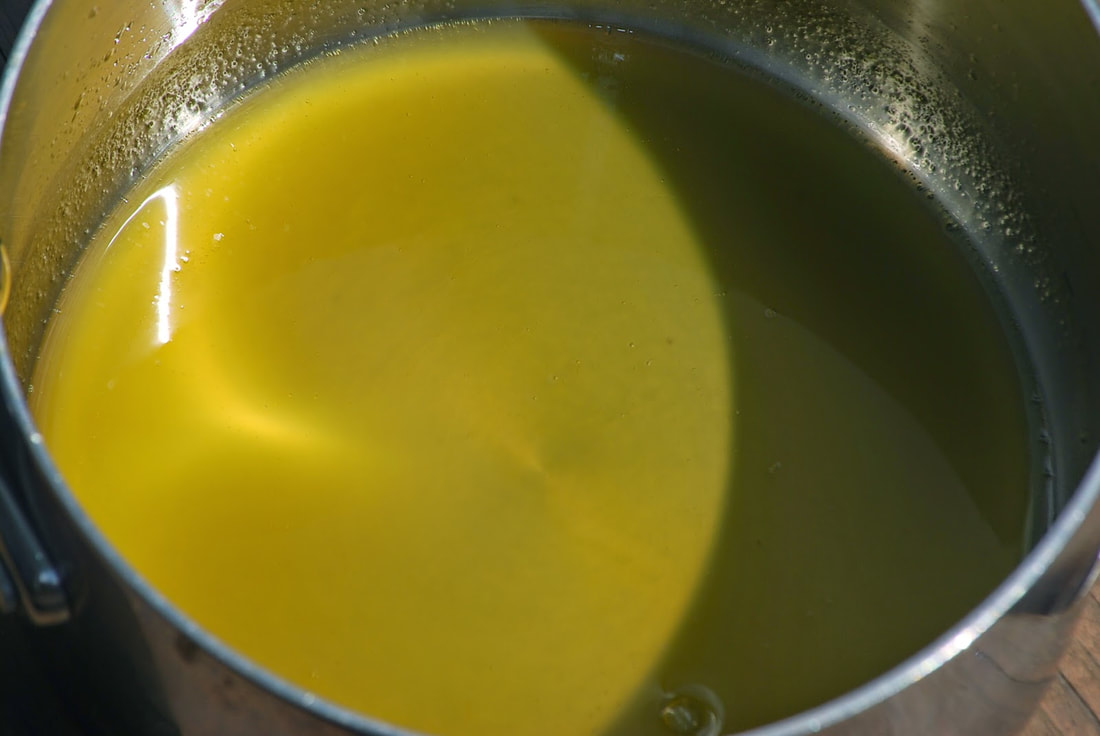
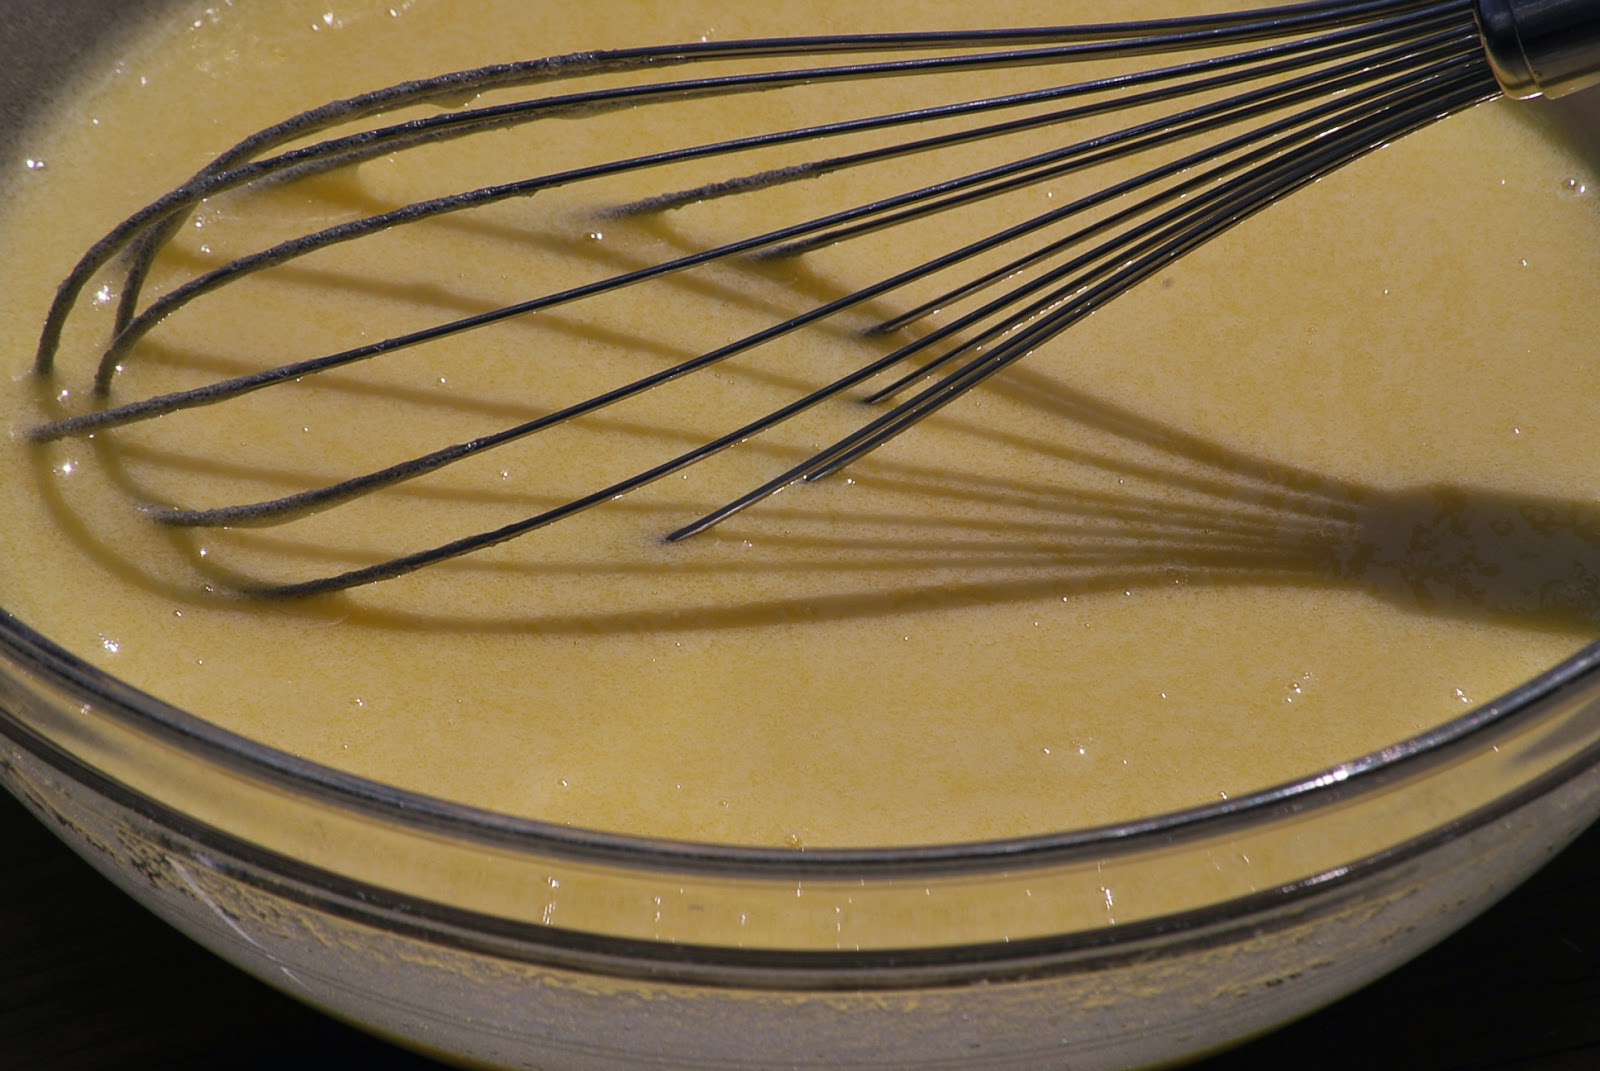
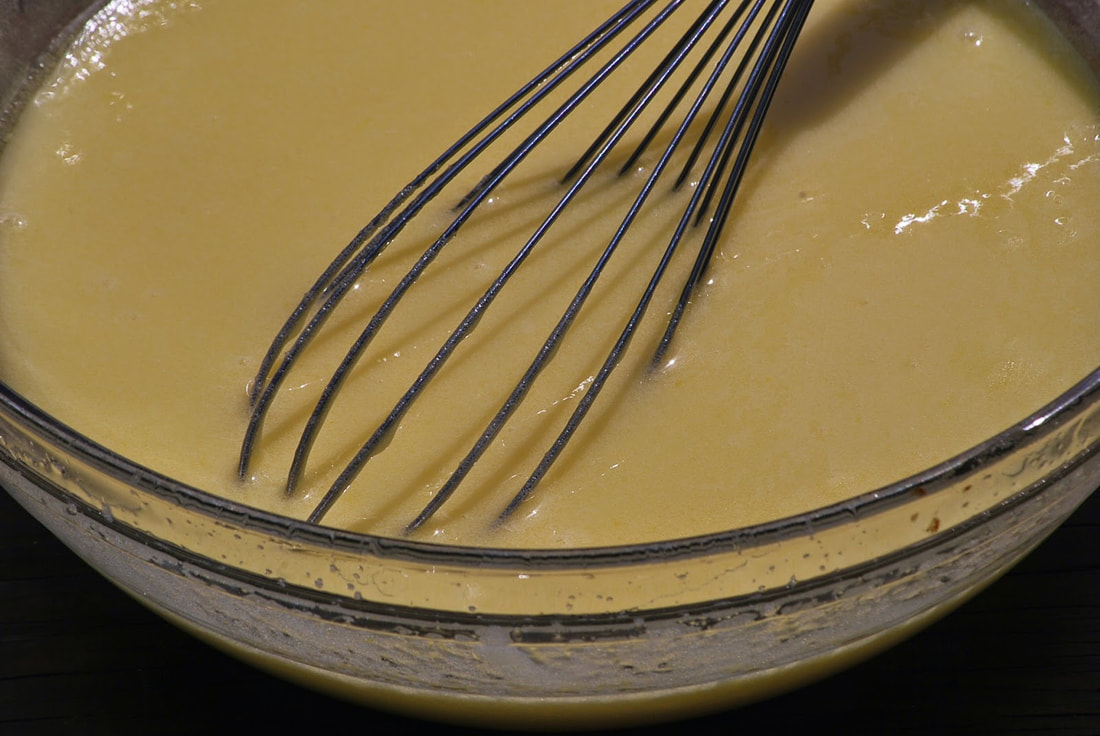
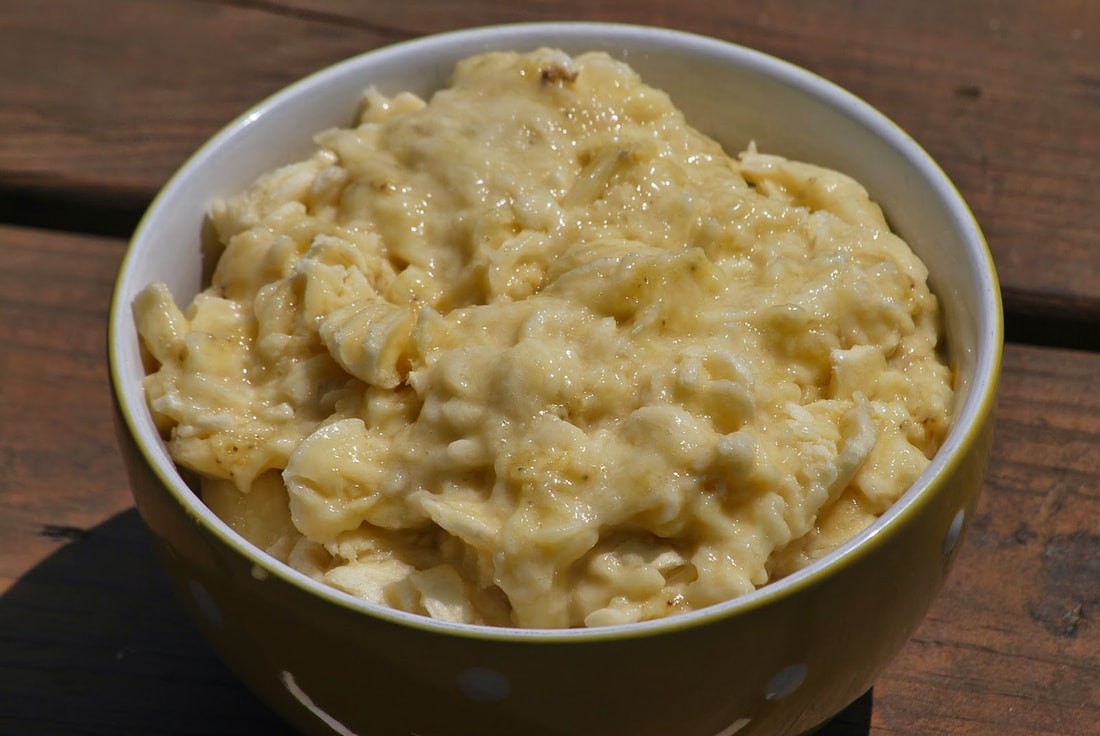
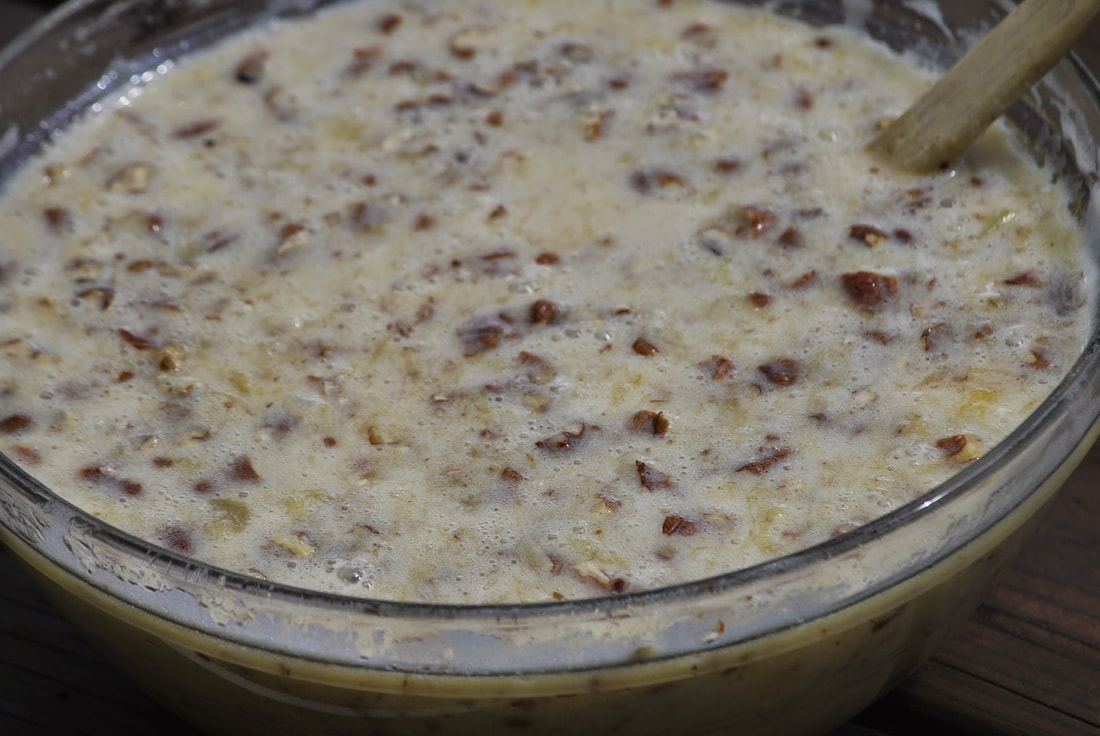
Hummingbird Cake
3 (8 ounce) cans crushed pineapple
4 1/2 cups flour
3 teaspoons baking powder
1 1/2 teaspoons baking soda
1 1/2 teaspoons cinnamon
1 1/2 teaspoons salt
3 cups sugar
4 1/2 large eggs
1 1/2 cups vegetable oil
6 large bananas, mashed
2 1/4 cups pecans, toasted and chopped
3 teaspoons vanilla

Frosting
30 Tablespoons butter
7 1/2 cups powdered sugar
3 3/4 teaspoons vanilla
3/4 teaspoon salt
30 ounces cream cheese
3/4 cup toasted pecans, chopped


Drain pineapple and press to remove juice.  Reserve juice.

Picture
Picture
​Pour juice into a saucepan and cook over medium heat until reduced to1/2 cup.
​Whisk together flour, baking powder, baking soda, cinnamon and salt.
Picture
Picture
Whisk sugar and eggs together.
​ Whisk in oil.
Picture
Picture
Stir in bananas, pineapple, pineapple juice, pecans and vanilla.
Picture
Picture
Fold in dry ingredients.
​Pour into 3 nine inch cake pans and bake for 55 minutes.
Picture
Picture
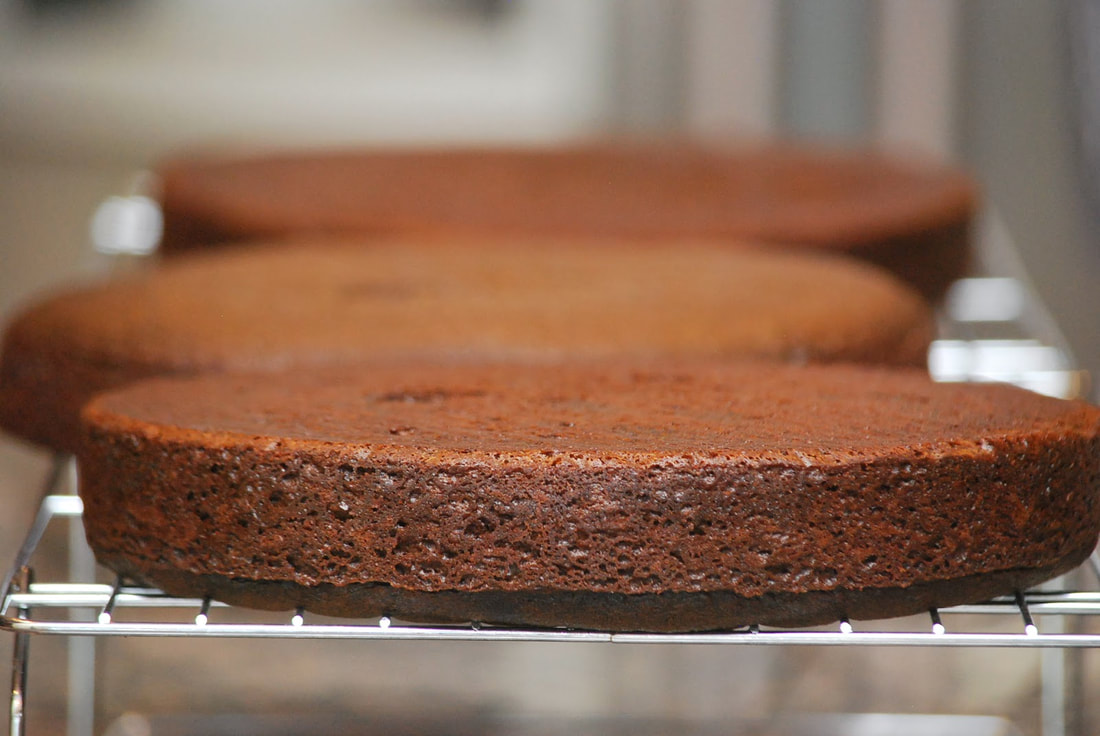
Invert onto cooling racks to cool completely.
Picture
​Frost 1 layer with cream cheese frosting.
Repeat with second layer.
​
Picture
Picture
​Top with final layer.
Cover with a thin layer of frosting.  Refrigerate 1 hour.
Picture
Picture
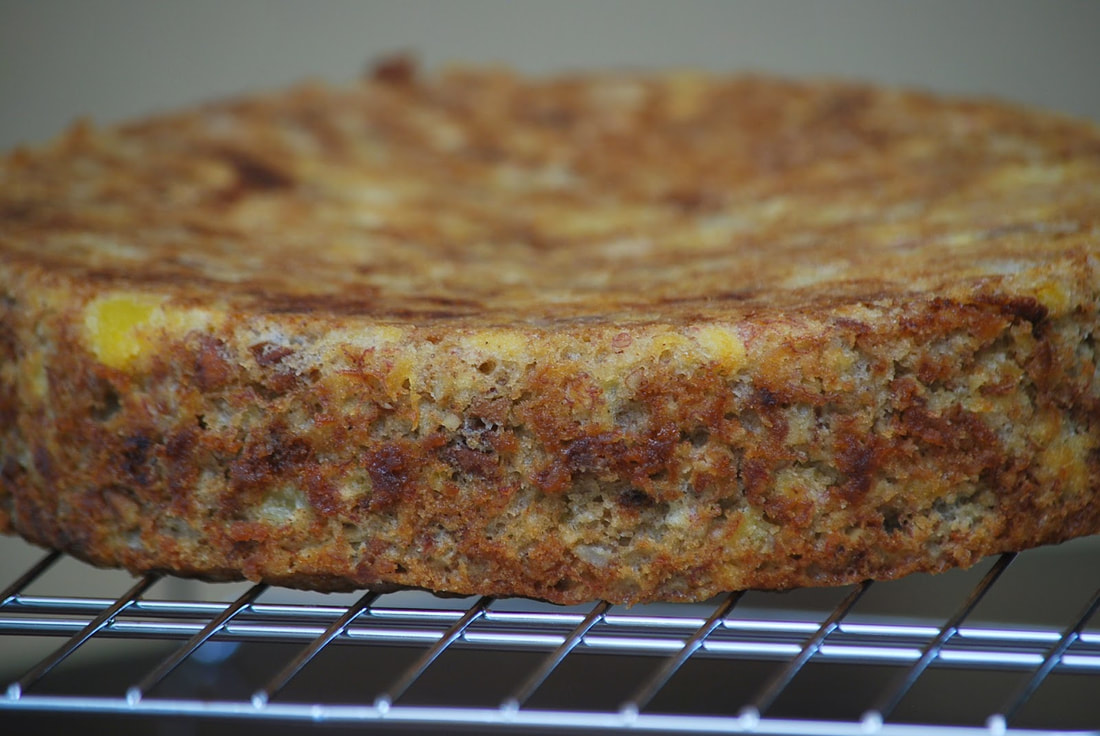
Spread a final layer of icing over the cake and decorate with chopped pecans.
Picture
Picture
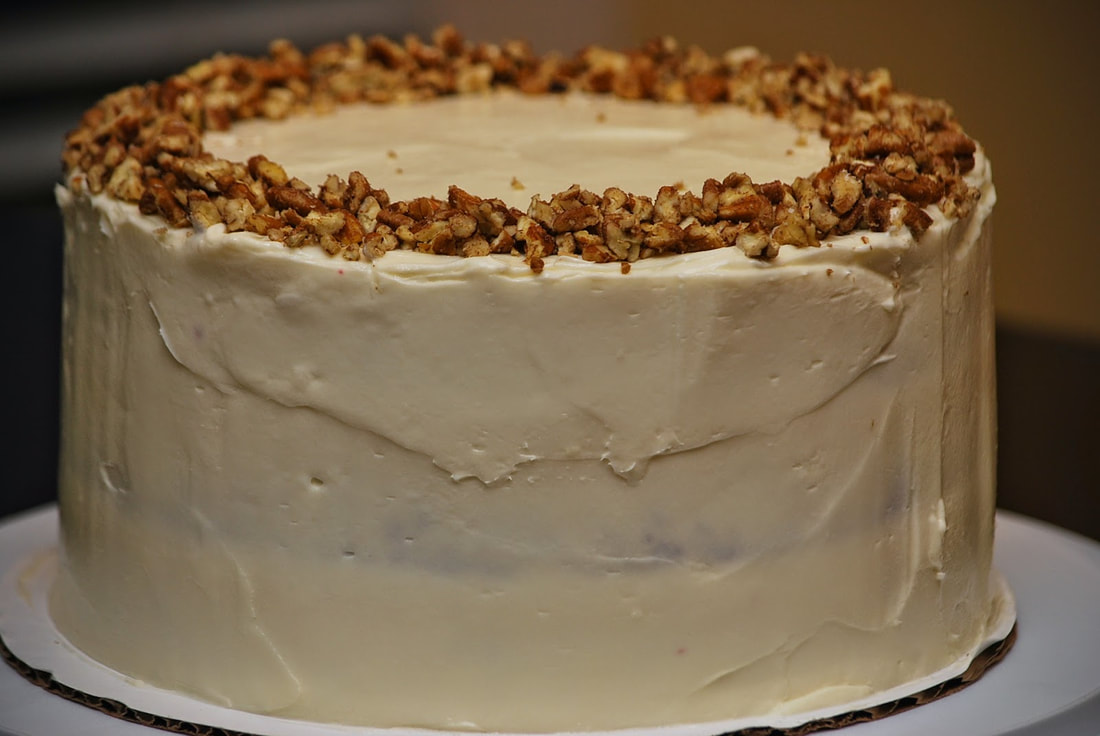
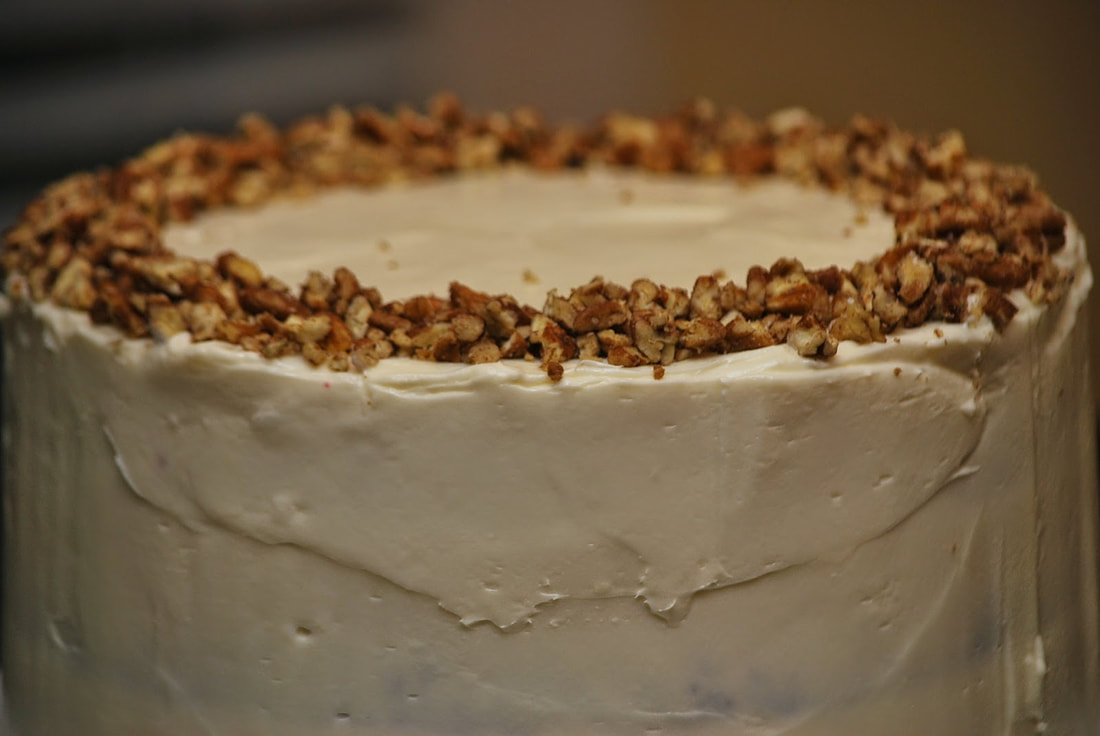
So there you have it - a hummingbird cake.  If I had to describe it, I would say that it's similar to a carrot cake, without the carrots.  This one is definitely worth a try.

Ciao!
Click here for a printable version of this recipe
0 Comments
<<Previous
    Like my page on facebook.

    Follow me on Instagram


    Follow Me on Pinterest

    Categories

    All
    30 Minute Meals
    30-minute-meals
    Big Green Egg Recipes
    Chocolate
    Christmas Classics
    Comfort Foods
    Crock Pot Meals
    Fall Favorites
    Healthy-choices
    Healthy-choices
    My Favorites
    Springtime Treats
    St Patrick's Day Goodies
    Summertime Specialties
    Thanksgiving Classics
    Valentine Treats
    Vegetarian
    Winter Warm Ups

    Archives

    January 2023
    December 2022
    November 2022
    October 2022
    September 2022
    August 2022
    July 2022
    June 2022
    May 2022
    April 2022
    March 2022
    February 2022
    January 2022
    December 2021
    November 2021
    October 2021
    September 2021
    August 2021
    July 2021
    June 2021
    May 2021
    April 2021
    March 2021
    February 2021
    January 2021
    December 2020
    November 2020
    October 2020
    September 2020
    August 2020
    July 2020
    June 2020
    May 2020
    April 2020
    March 2020
    February 2020
    January 2020
    December 2019
    November 2019
    October 2019
    September 2019
    August 2019
    July 2019
    June 2019
    May 2019
    April 2019
    March 2019
    February 2019
    January 2019
    December 2018
    November 2018
    October 2018
    September 2018
    August 2018
    July 2018
    June 2018
    May 2018
    April 2018
    March 2018
    February 2018
    January 2018
    December 2017
    November 2017
    October 2017
    September 2017
    August 2017
    July 2017
    June 2017
    May 2017
    April 2017
    March 2017
    February 2017
    January 2017
    December 2016
    November 2016
    October 2016
    September 2016
    August 2016
    July 2016
    June 2016
    May 2016
    April 2016
    March 2016
    February 2016
    January 2016
    December 2015
    November 2015
    October 2015
    September 2015
    August 2015
    July 2015
    June 2015
    May 2015
    April 2015
    March 2015
    February 2015
    January 2015
    December 2014
    November 2014
    October 2014
    September 2014
    August 2014
    July 2014
    June 2014
    May 2014
    April 2014
    March 2014
    February 2014
    January 2014
    December 2013
    November 2013
    October 2013
    September 2013
    August 2013
    July 2013
    June 2013
    May 2013
    April 2013
    March 2013
    February 2013
    January 2013
    December 2012
    November 2012
    October 2012
    September 2012
    August 2012
    July 2012
    June 2012
    May 2012
    April 2012
    March 2012
    February 2012
    January 2012
    December 2011
    November 2011
    October 2011
    September 2011
    August 2011
    July 2011

  • Recipe Index
  • Blog Posts
  • My Story
  • Connect