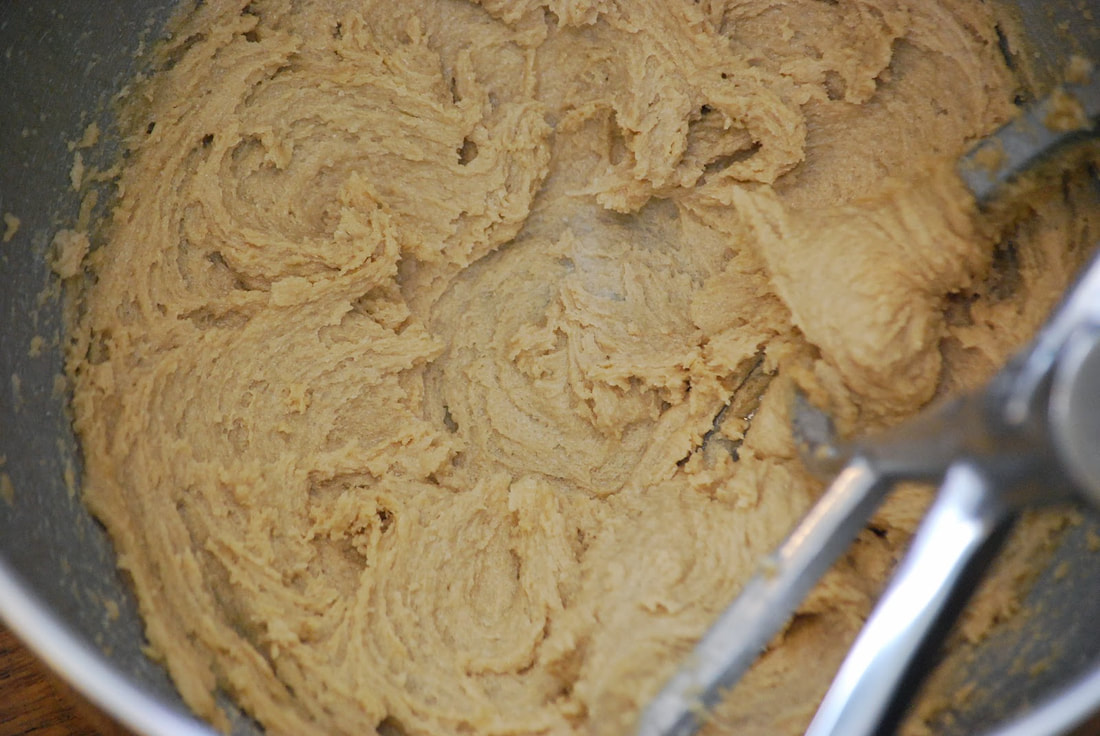
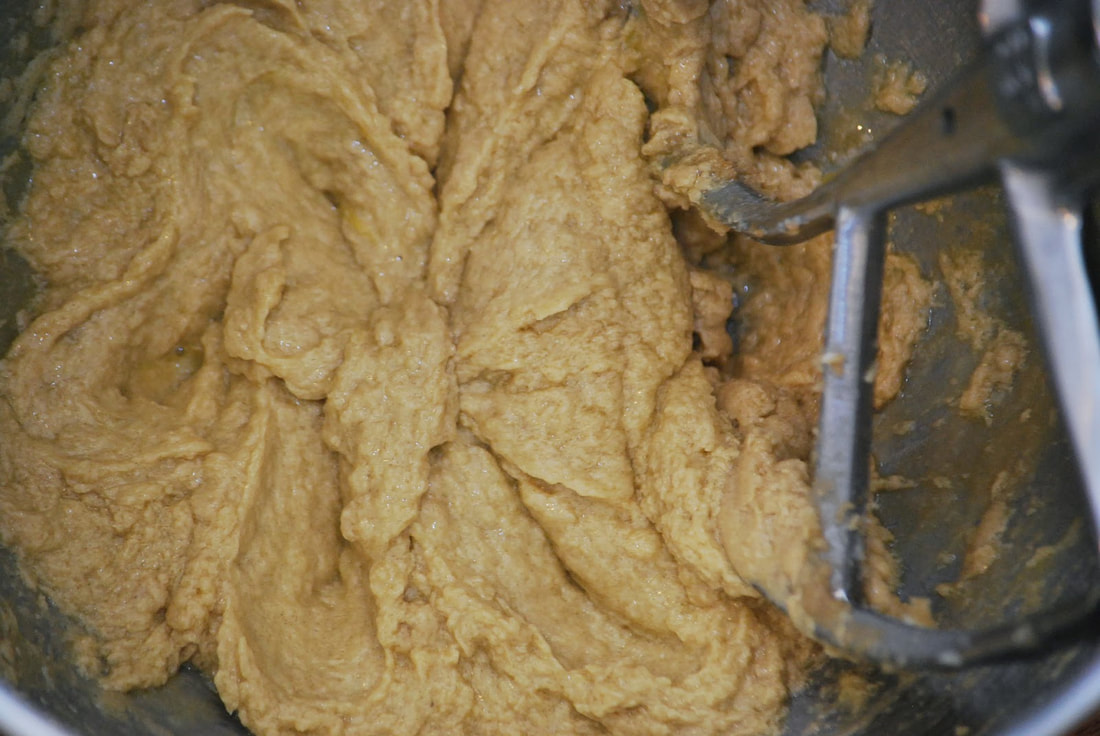
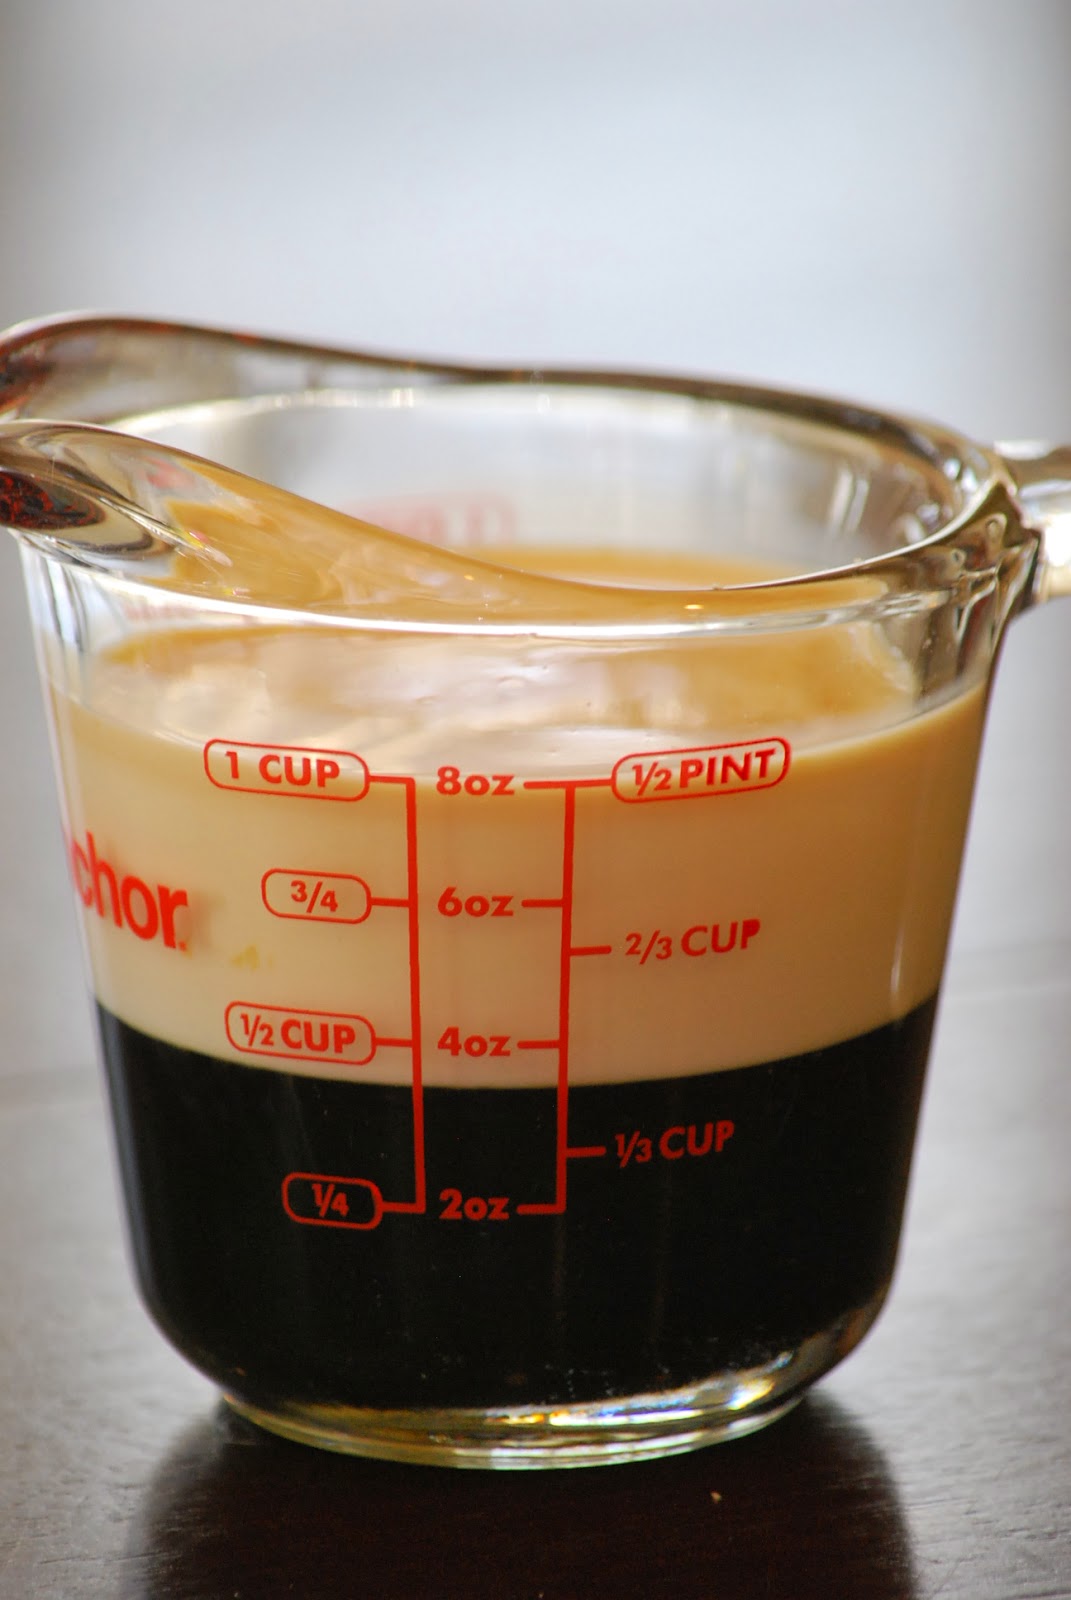
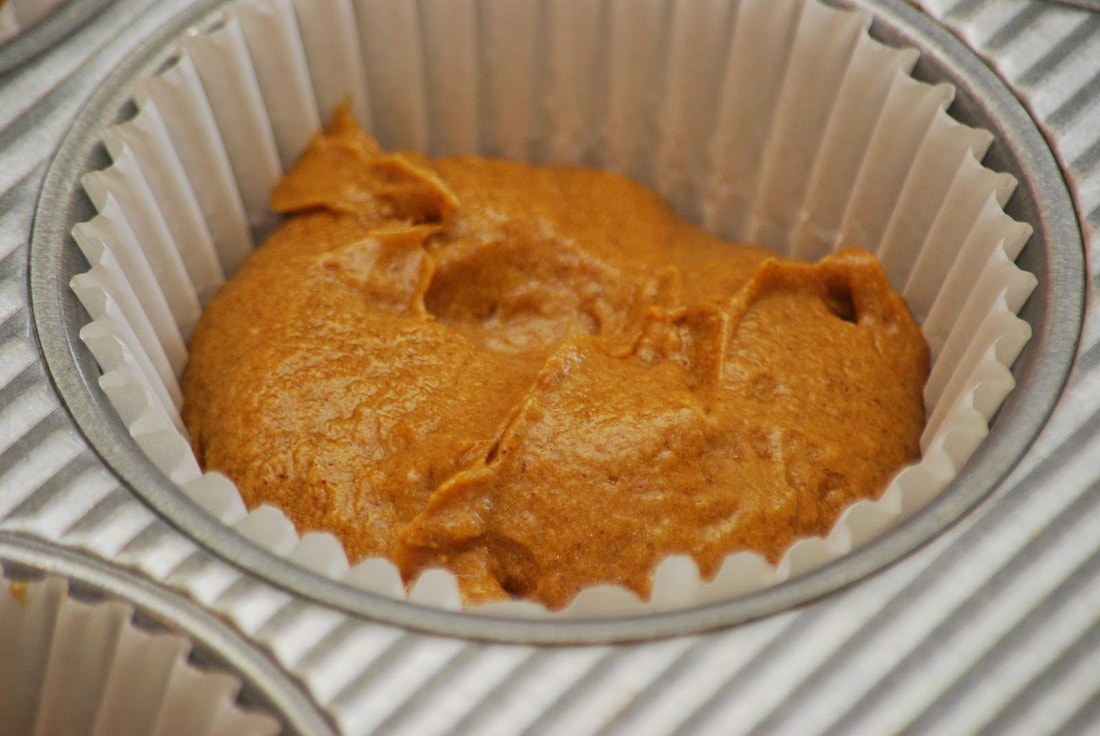
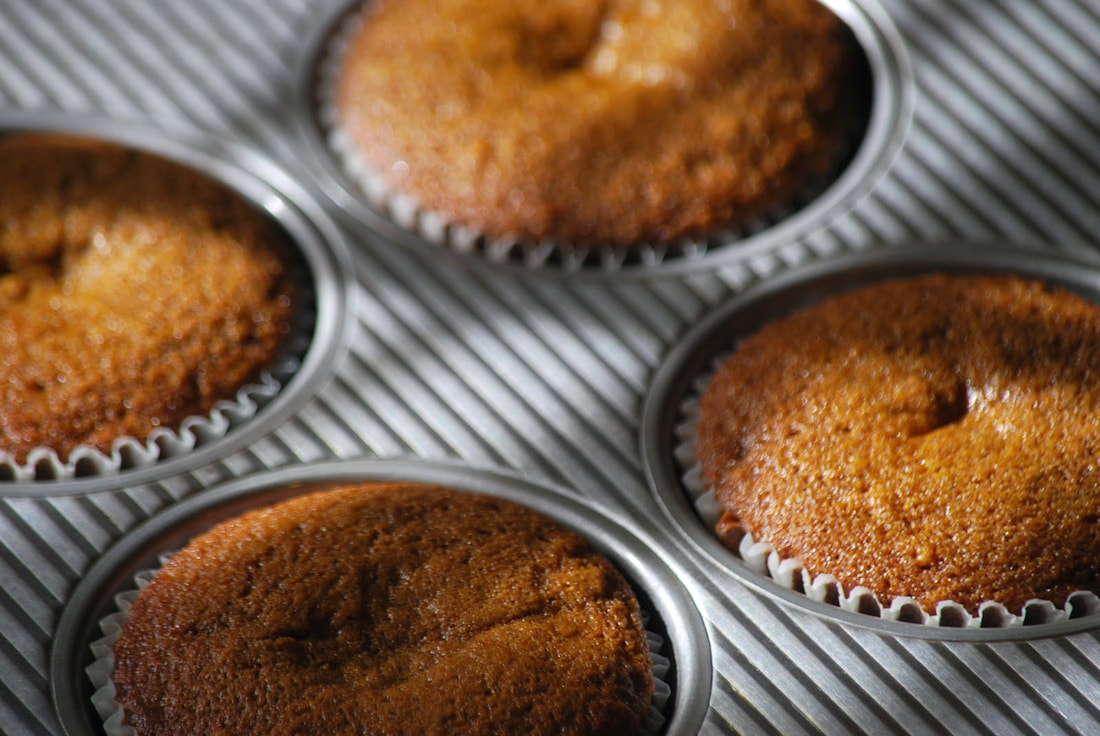
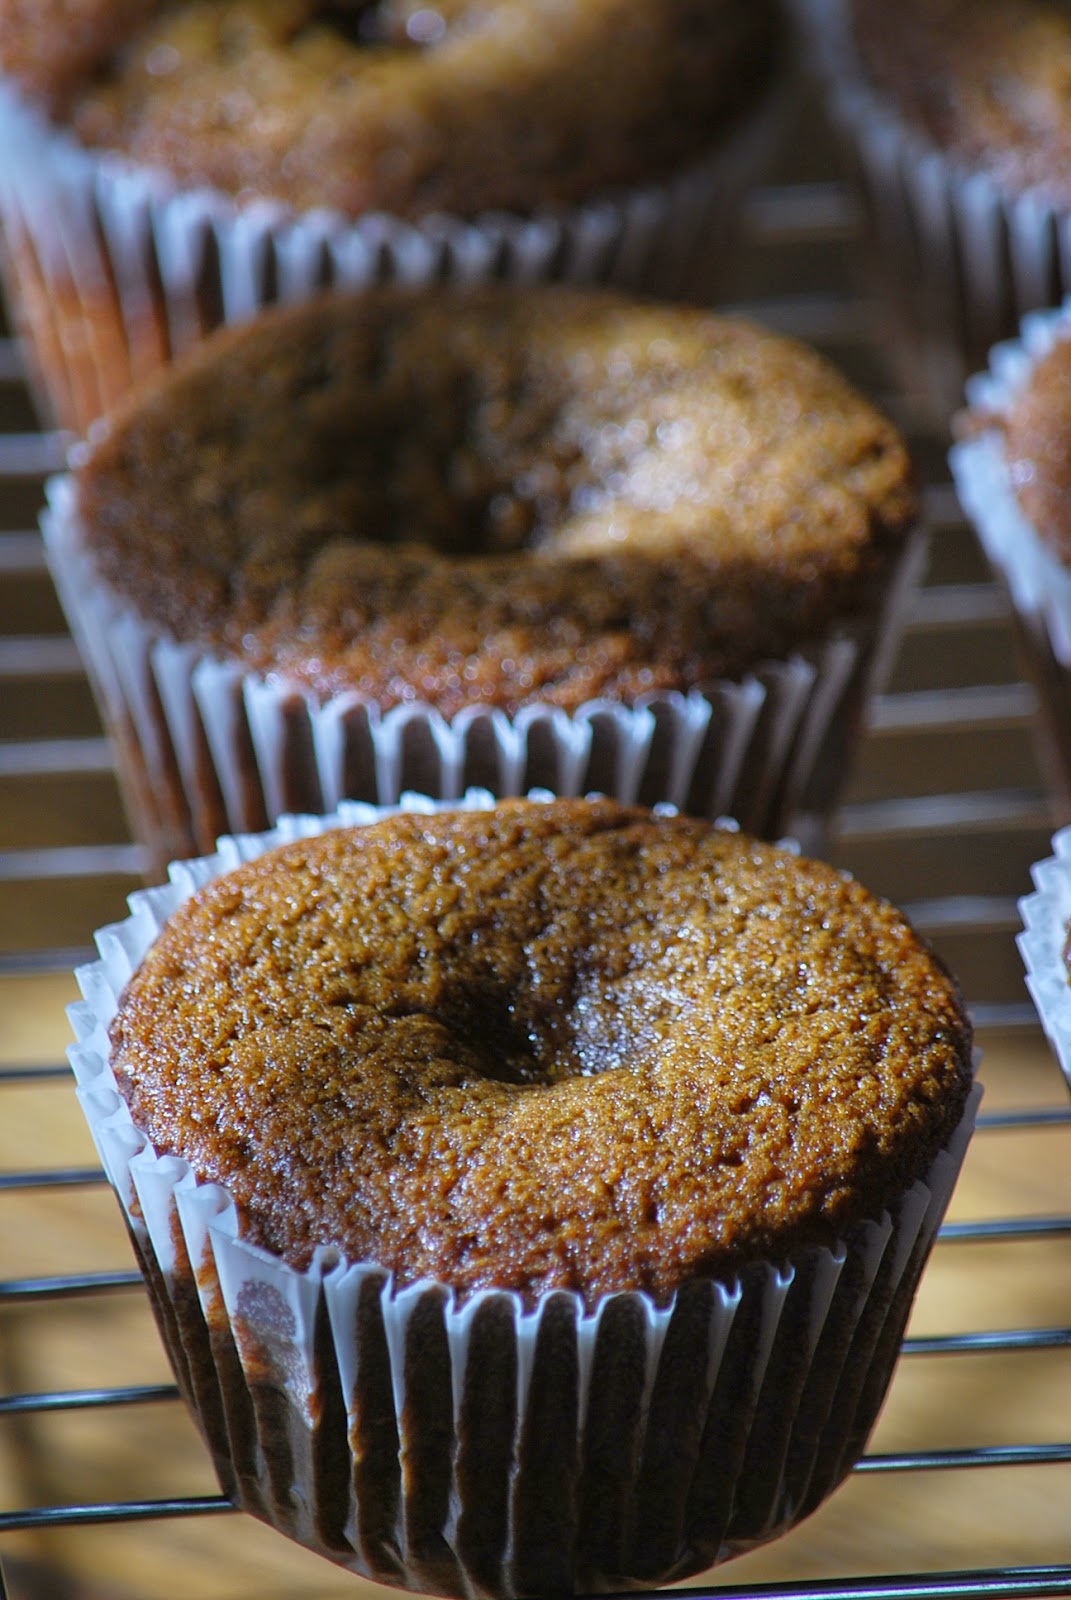
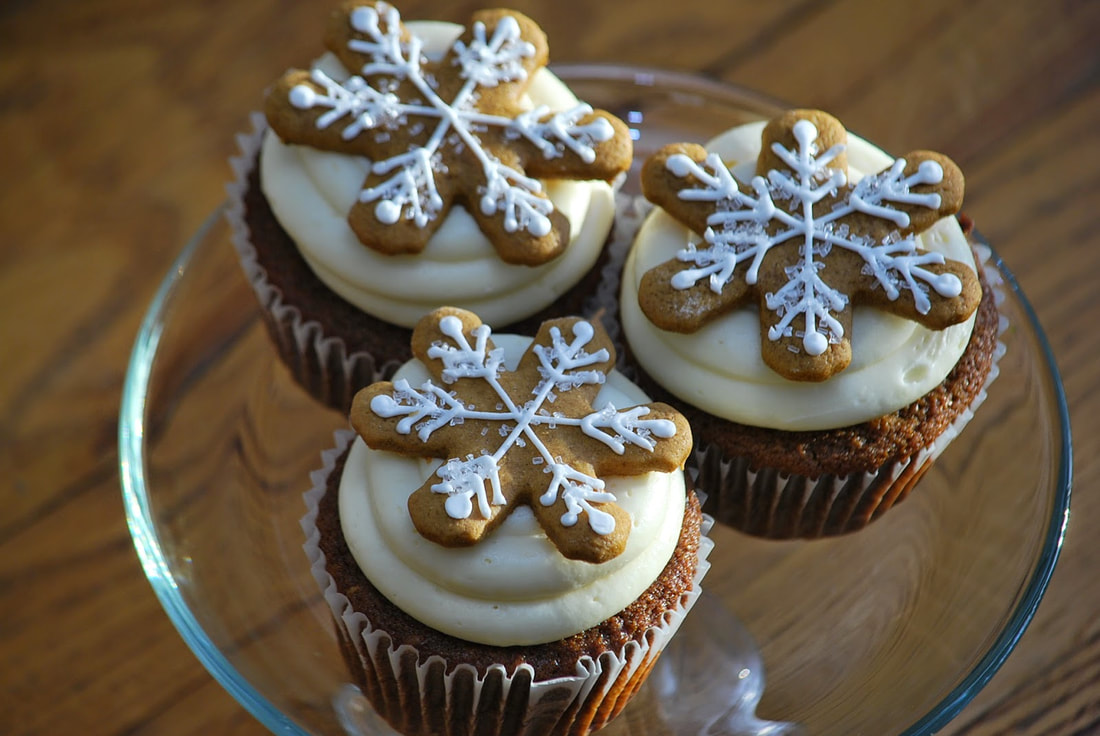
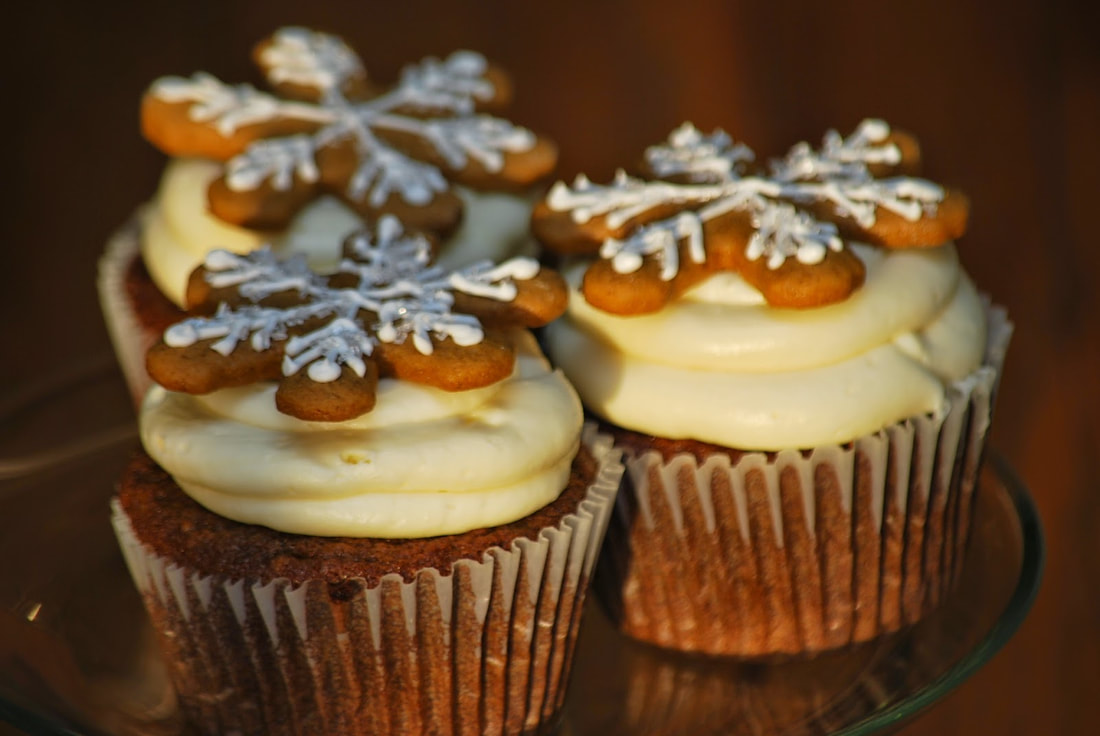
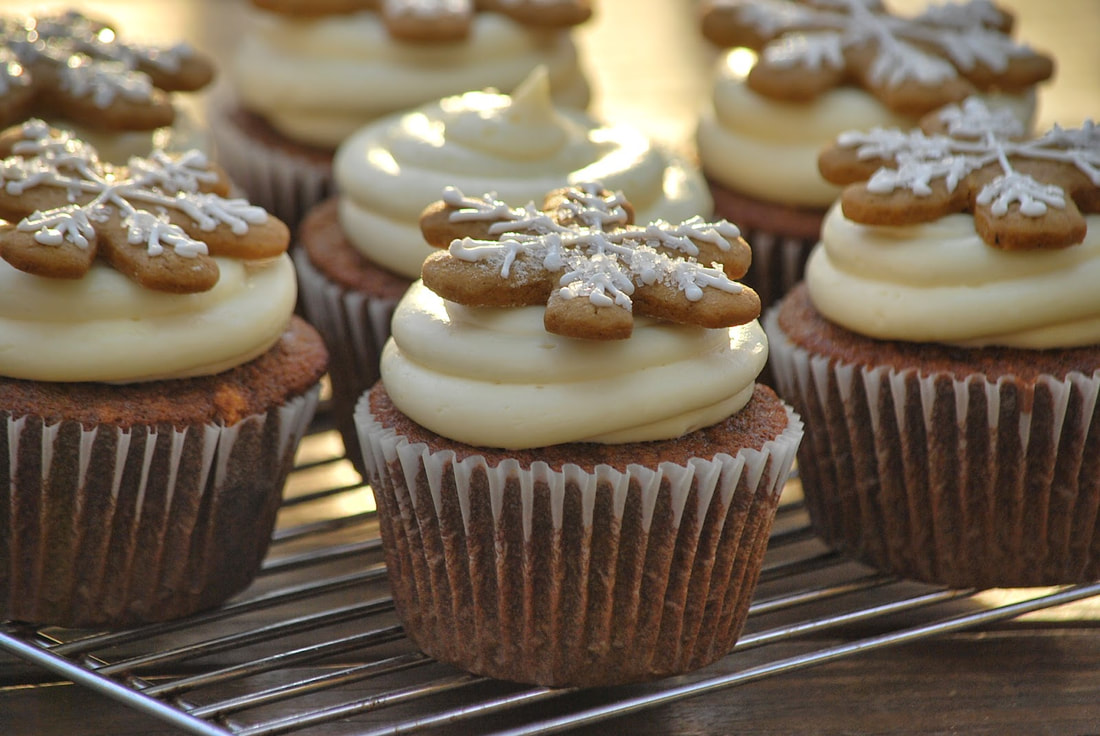
 I am a huge fan of spicy, crispy, molasses sweetened gingerbread cookies. I love the combination of the cinnamon and ginger and allspice and the rich, deep flavors of the molasses and brown sugar. They're a definite contender for my all time favorite Christmas cookie. (Tied with a dark chocolate oatmeal cookie.) 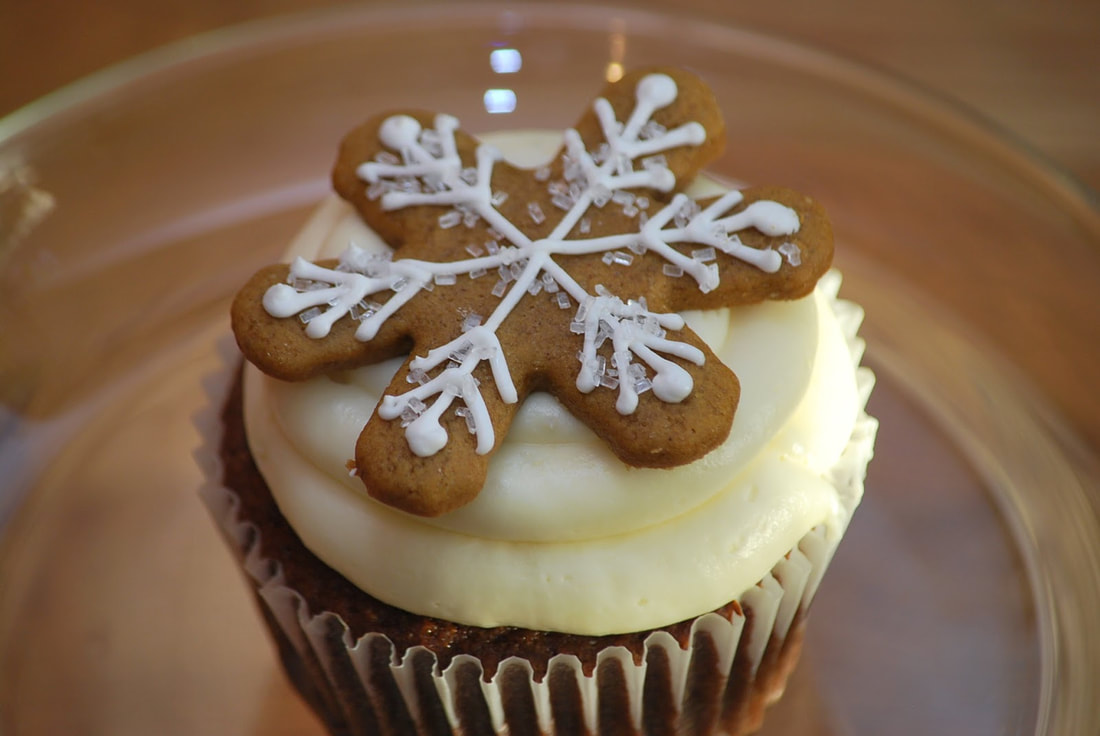 I don't know why I never thought about transforming these delicious cookies into cupcake form before. But it finally occurred to me that the same flavors that make such tremendous cookies would also make phenomenal cupcakes. Cinnamon, ginger, allspice, nutmeg, brown sugar, molasses and vanilla - all the flavors of Christmas. 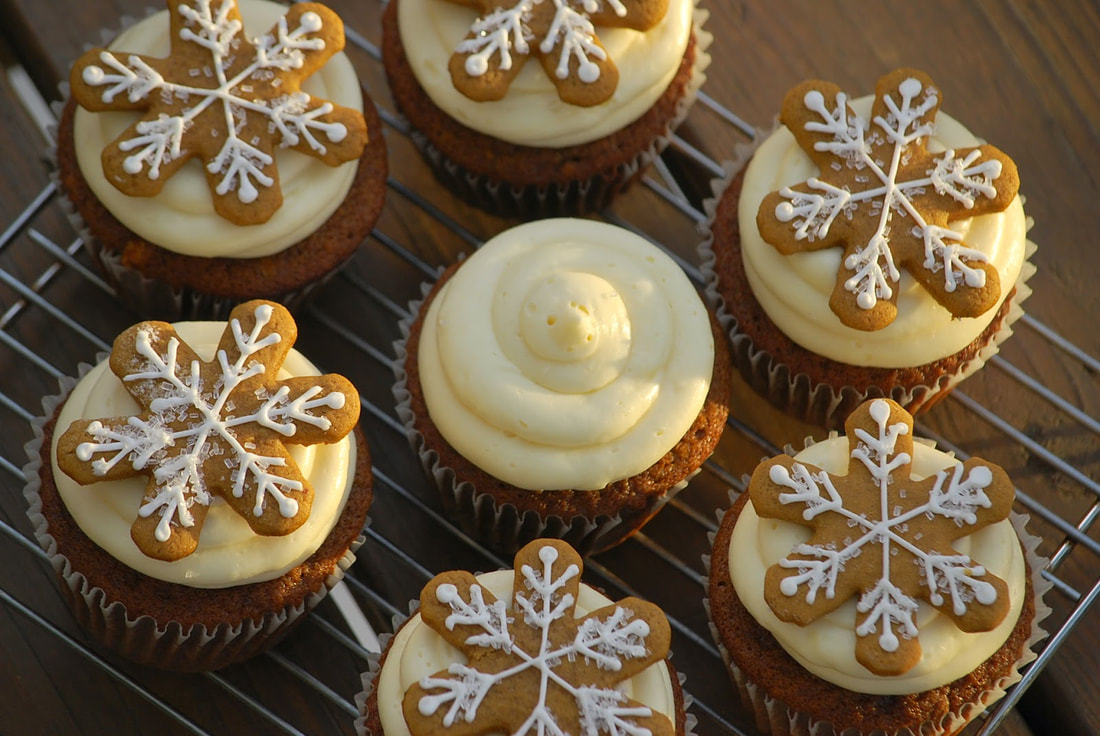 Do you want to know what is better than eating a gingerbread cookie? Eating a gingerbread cookie that is sitting on top of a gingerbread cupcake. 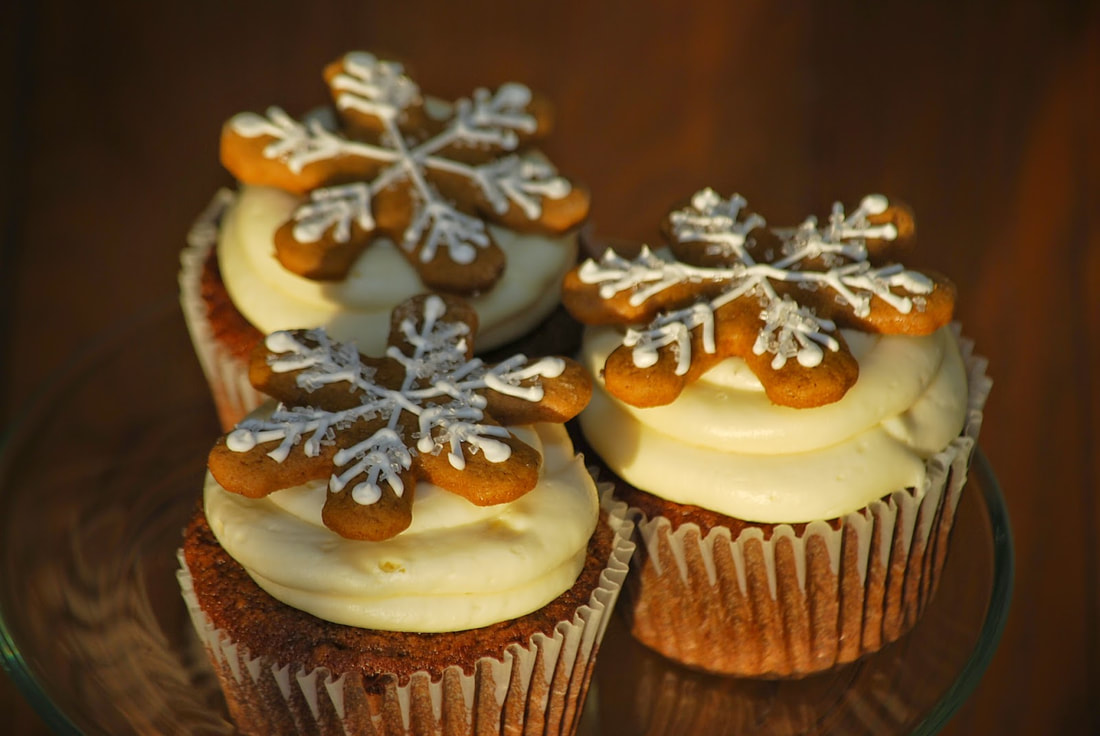 Gingerbread Cupcakes 1/2 cup (115g) unsalted butter, softened to room temperature 1/2 cup (100g) brown sugar 1 egg, at room temperature 1/2 cup (120ml) milk, at room temperature 1/2 cup (156g) molasses 1 teaspoon vanilla extract 1 and 1/3 cups (167g) all-purpose flour 1/2 teaspoon baking powder 1/2 teaspoon baking soda 1/4 teaspoon salt 1 teaspoon ground cinnamon 1/2 teaspoon ground ginger 1/2 teaspoon nutmeg 1/4 teaspoon ground allspice
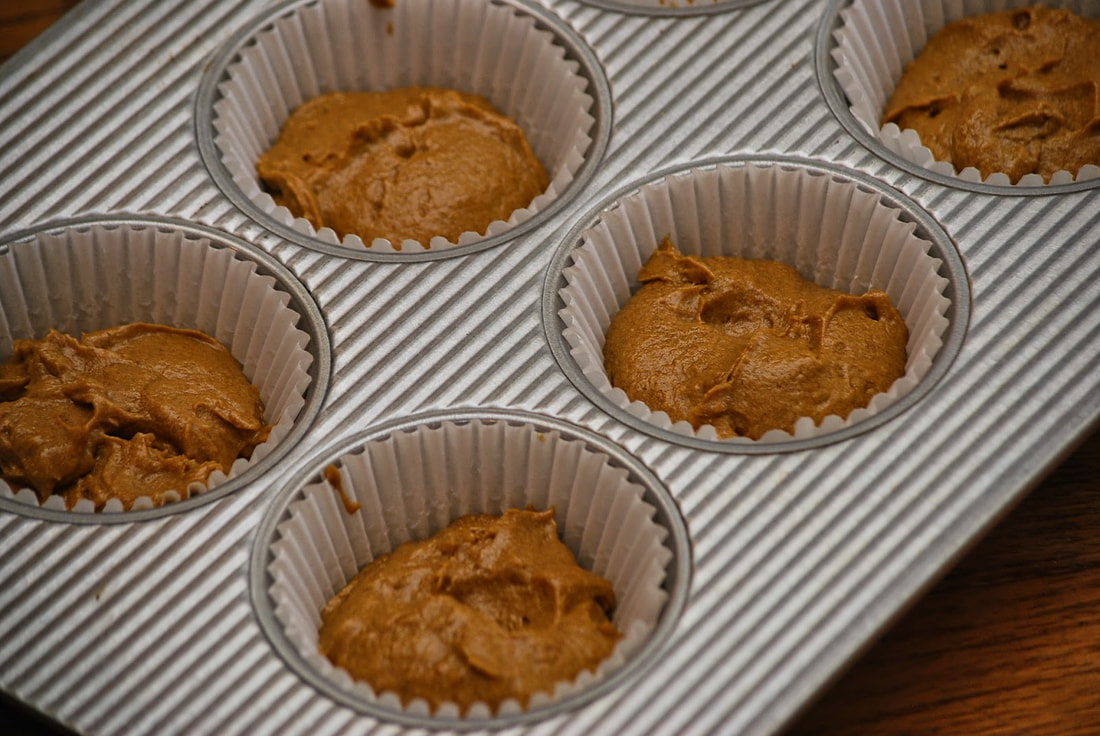
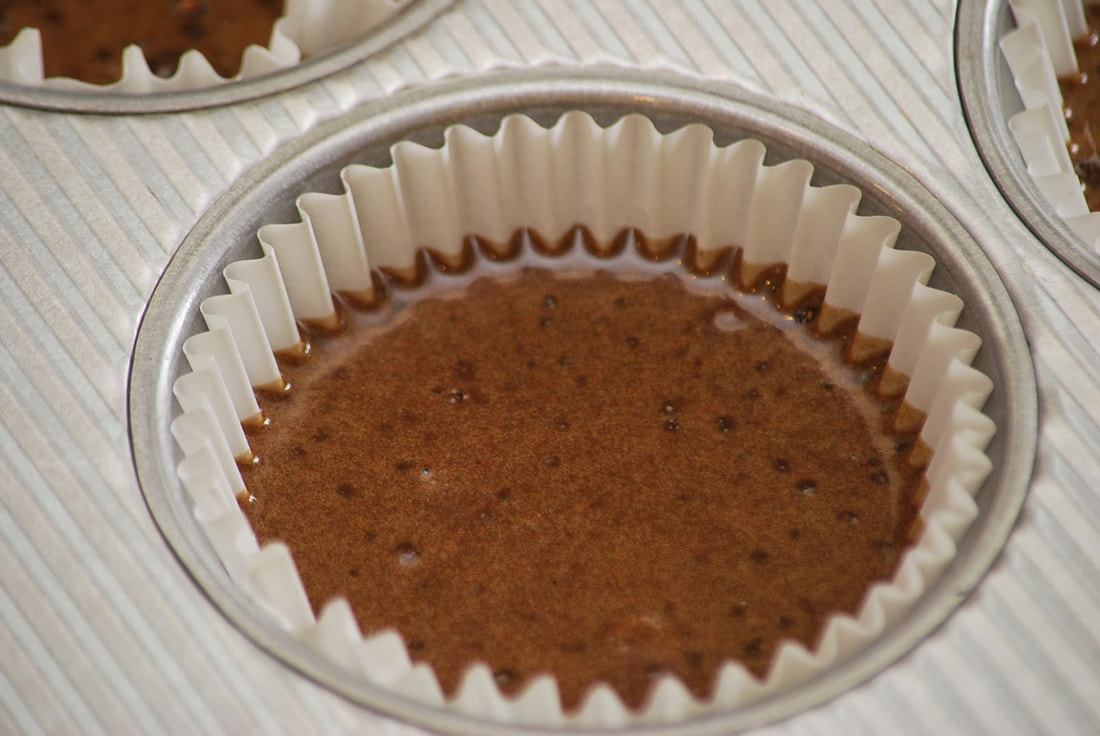
Fill cupcake liners 2/3 of the way full, no more.
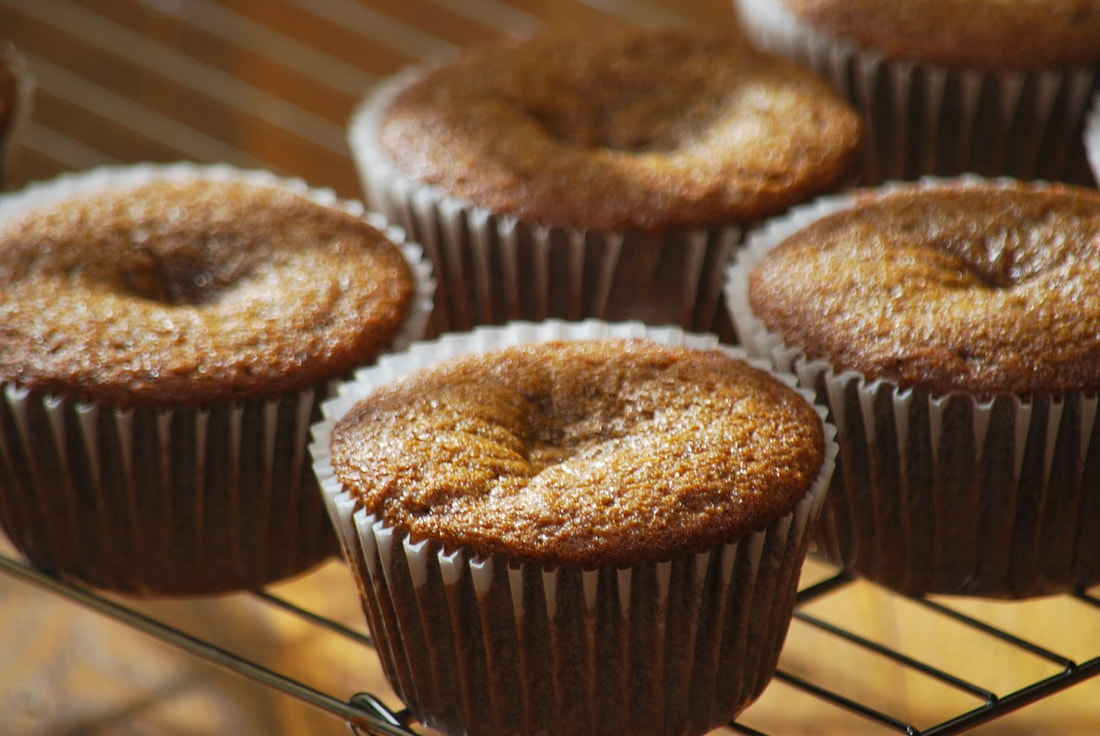
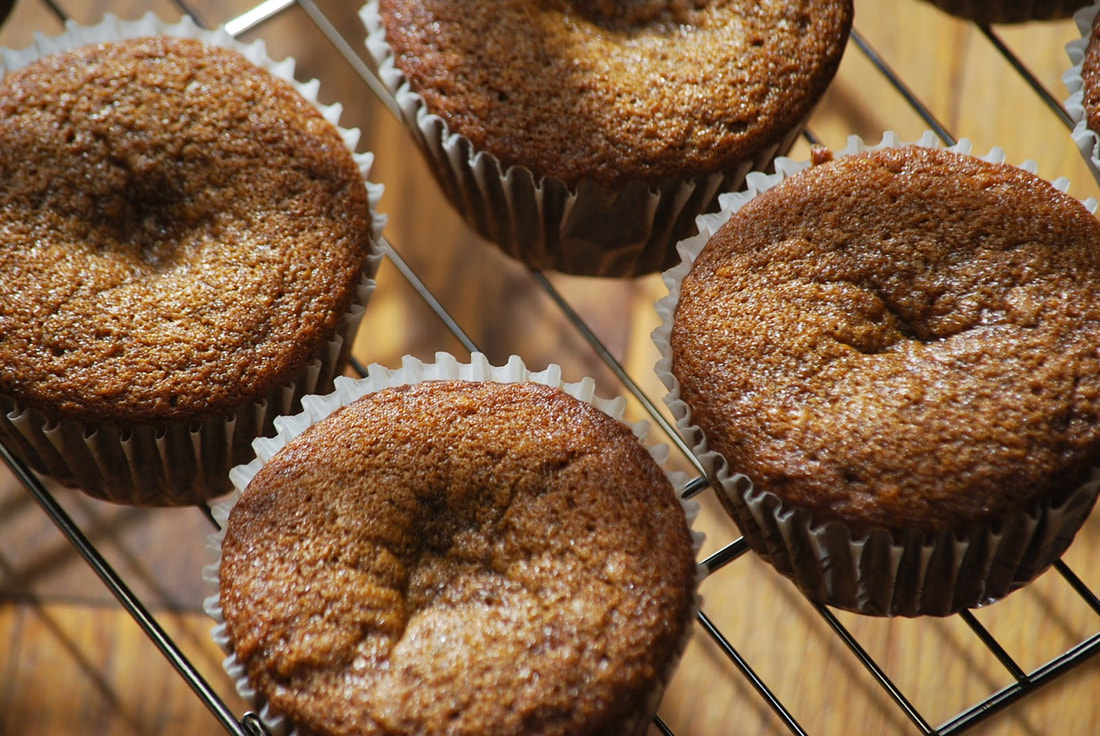
Cool on wire racks.
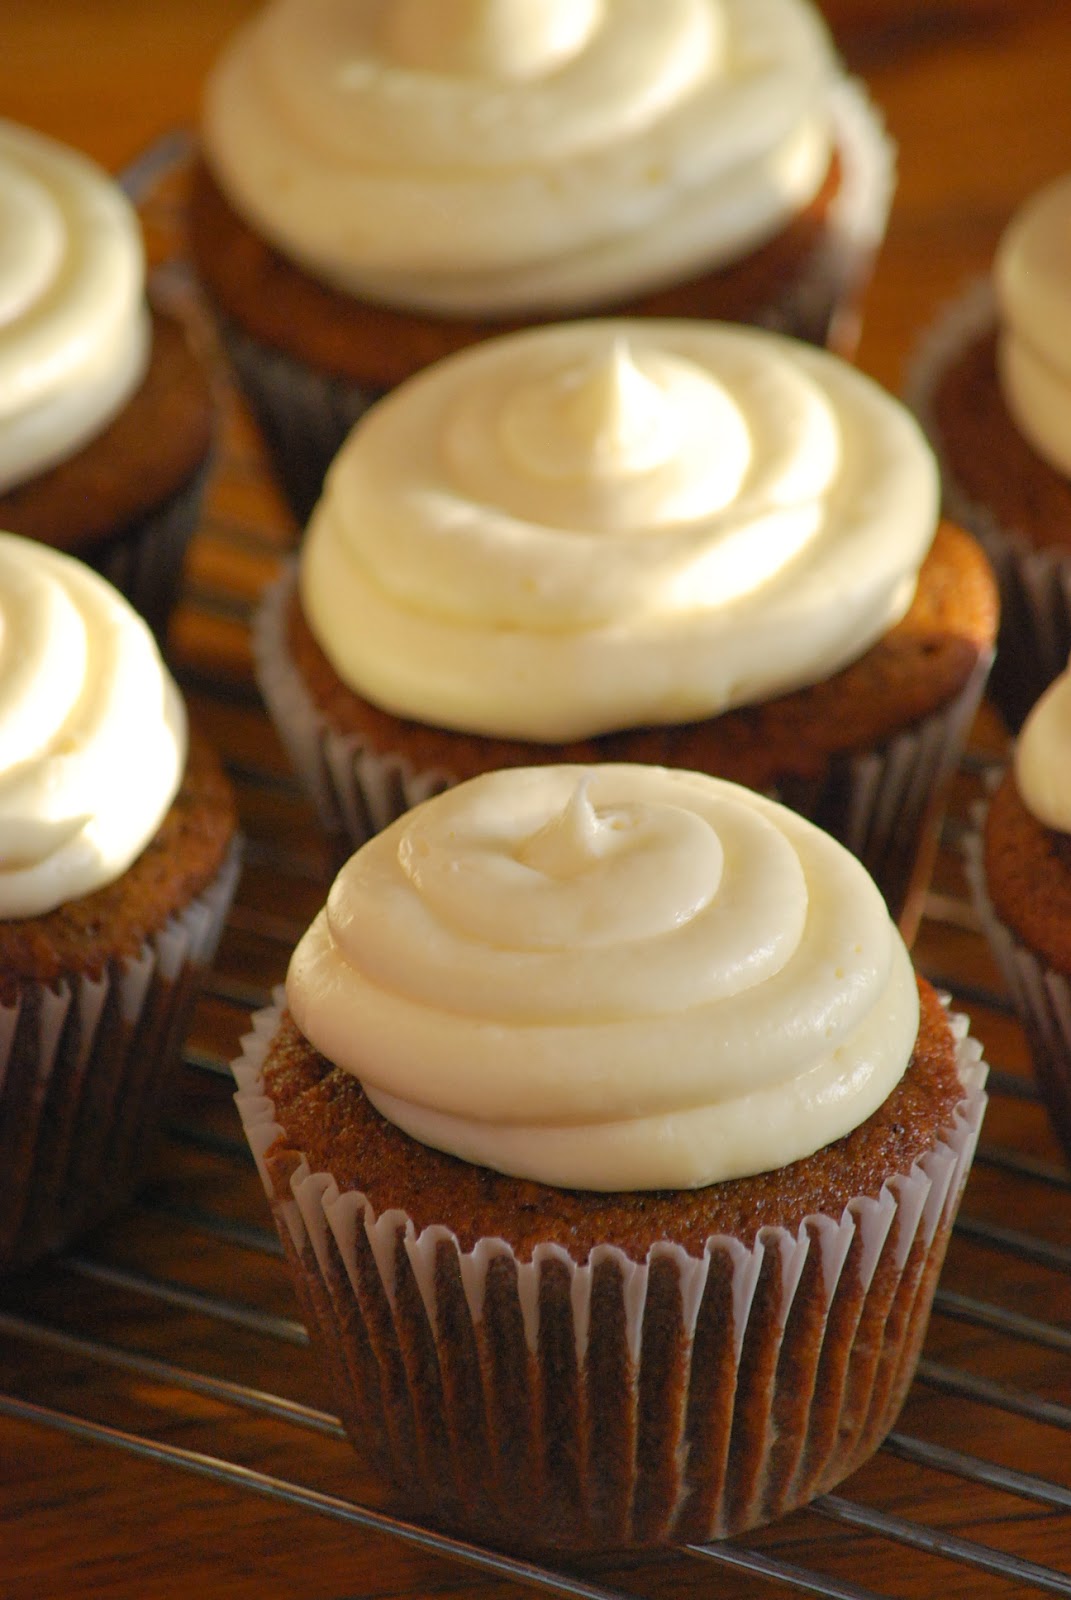
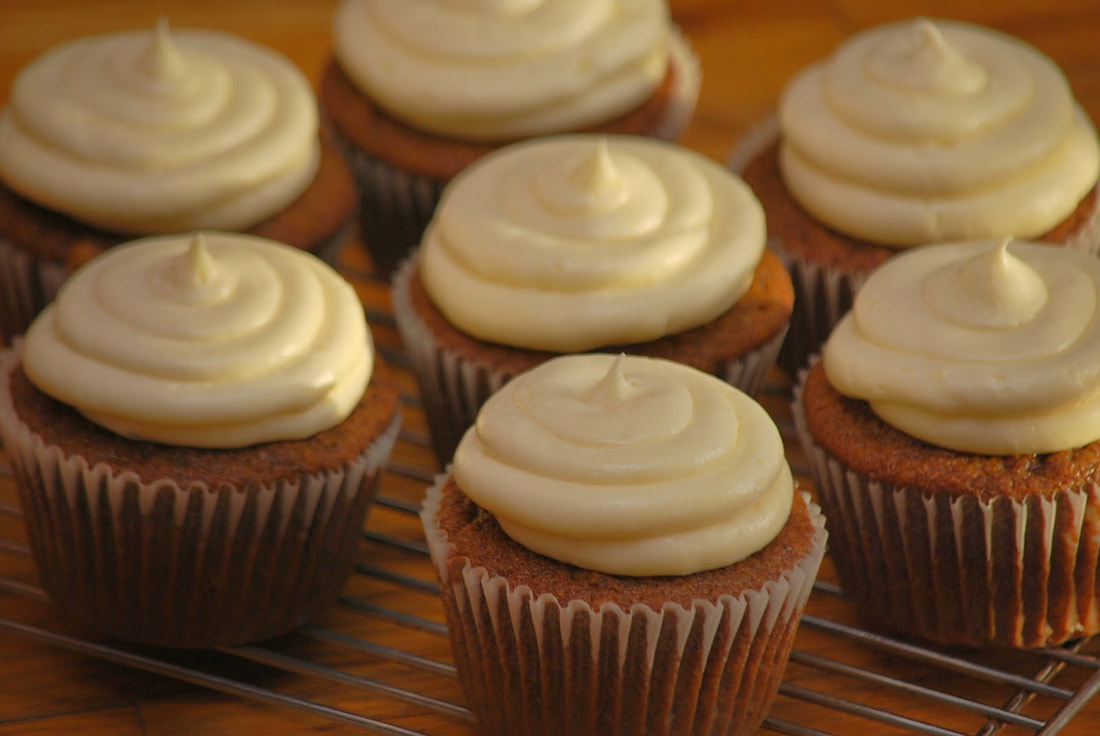
Frost with cream cheese frosting.
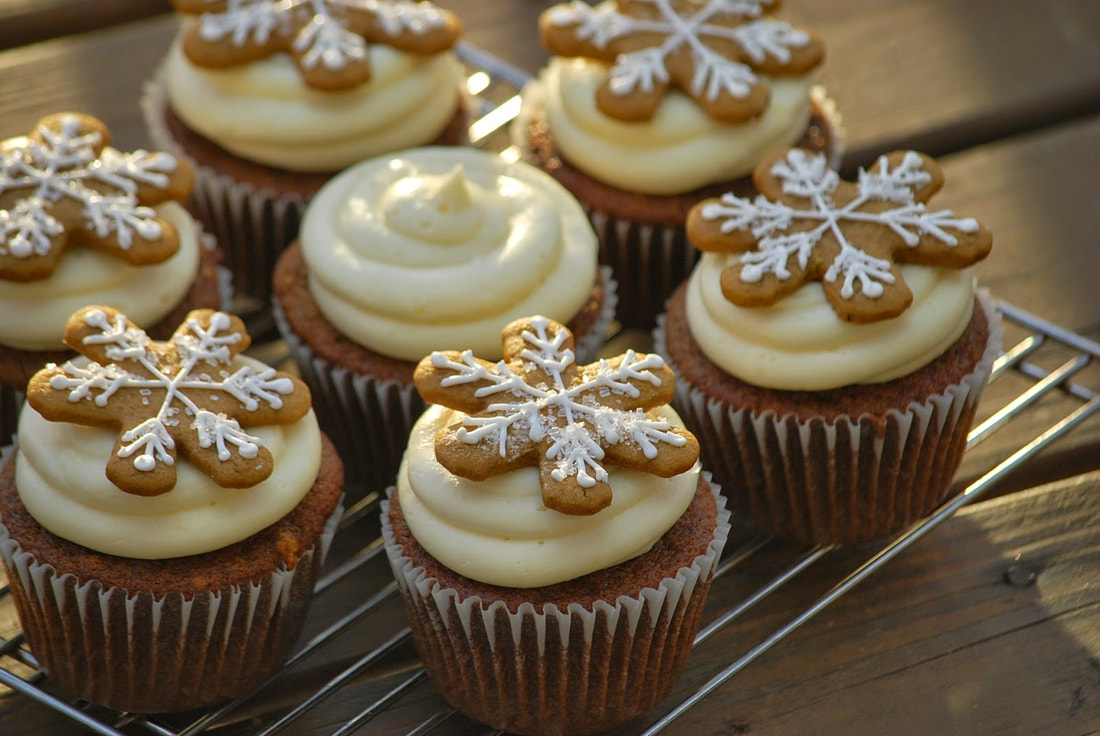
Add a gingerbread cookie to the top of each cupcake and you have achieved gingerbread perfection.
 Ciao!
0 Comments
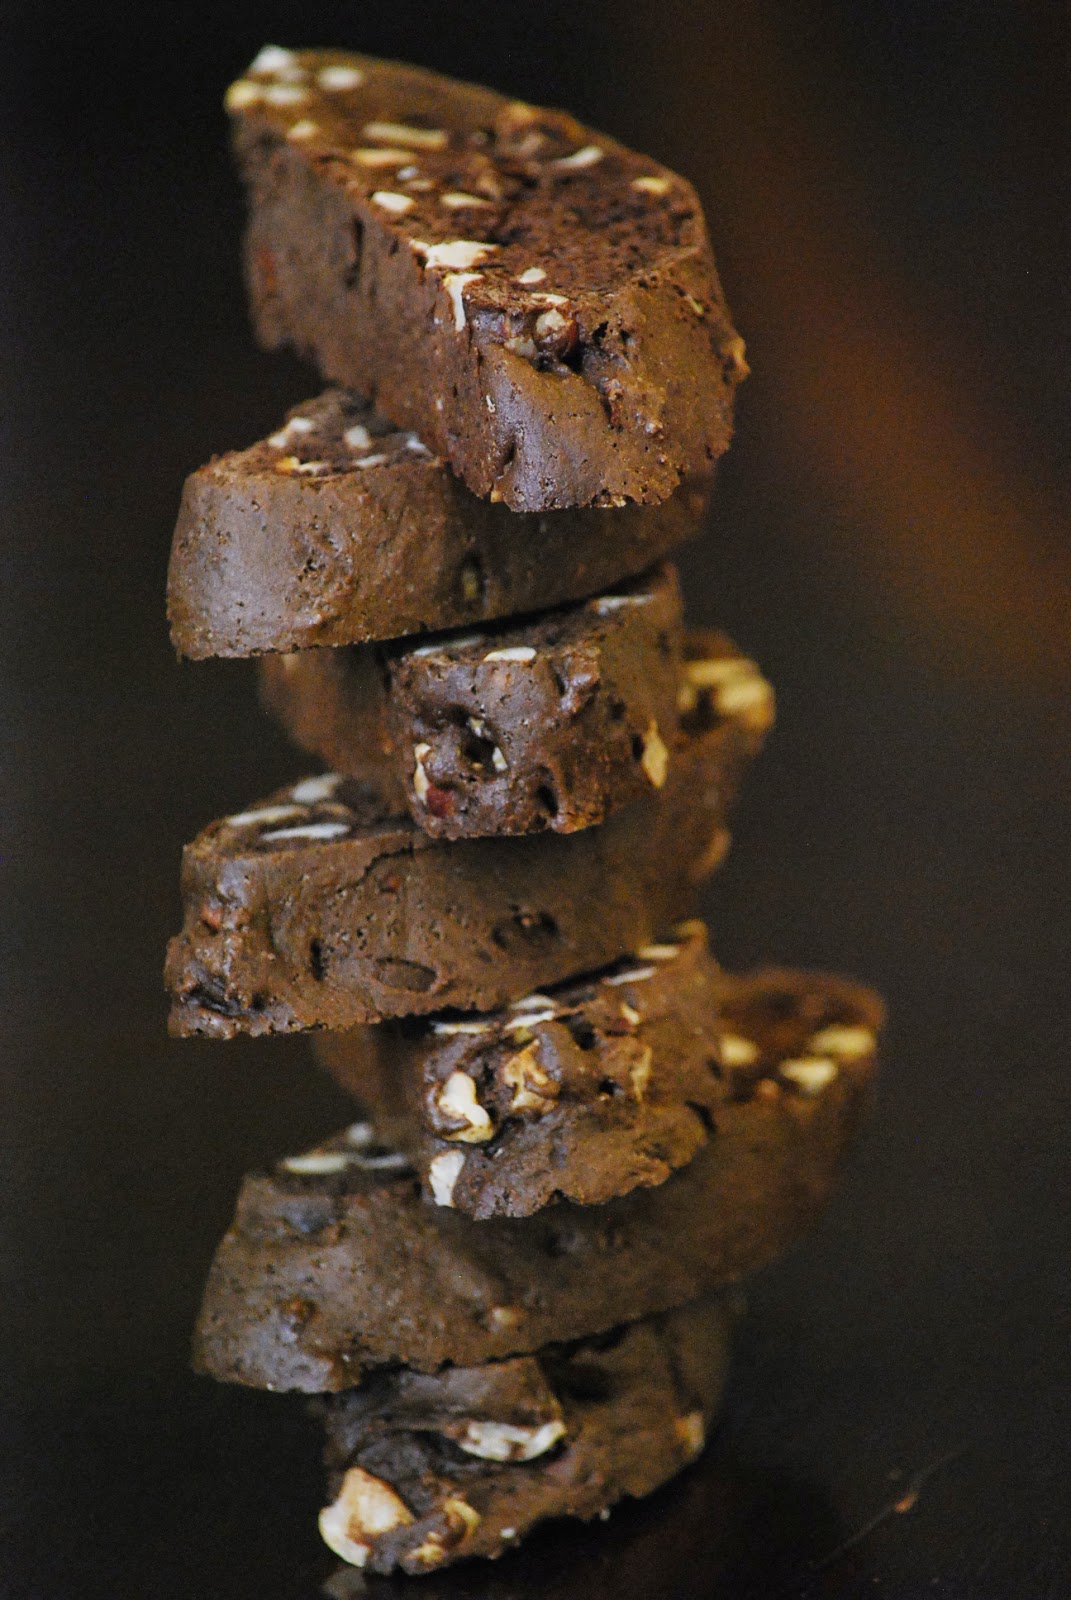
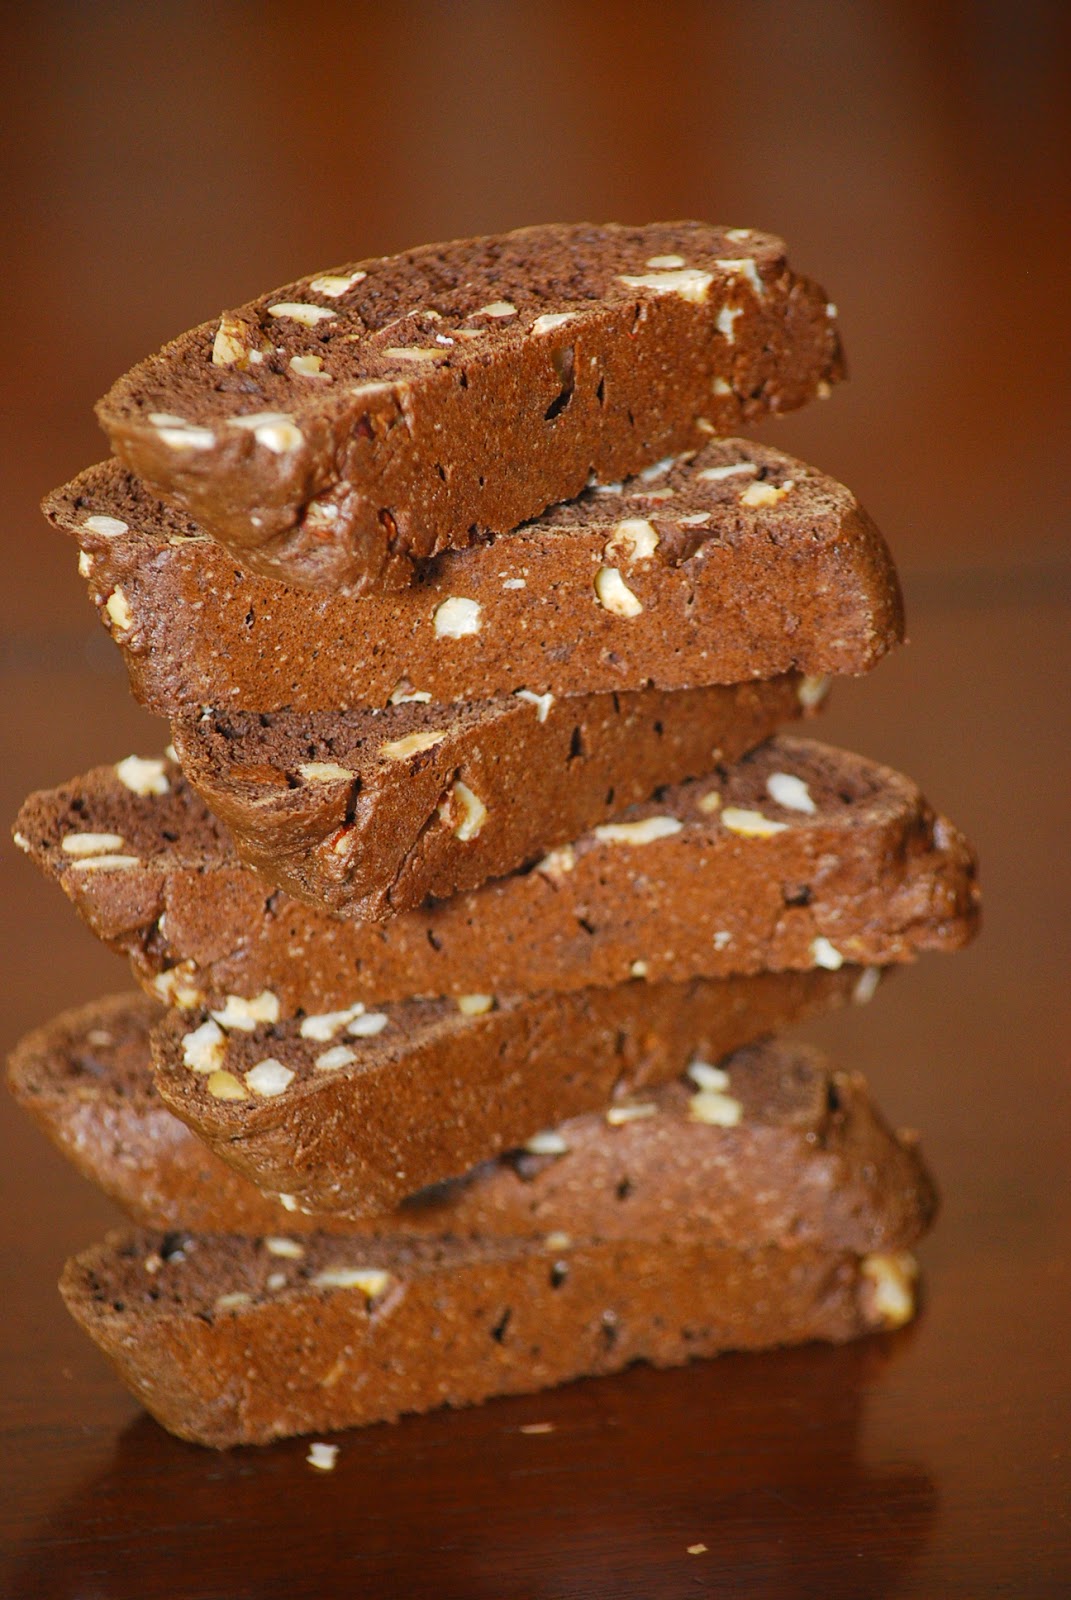
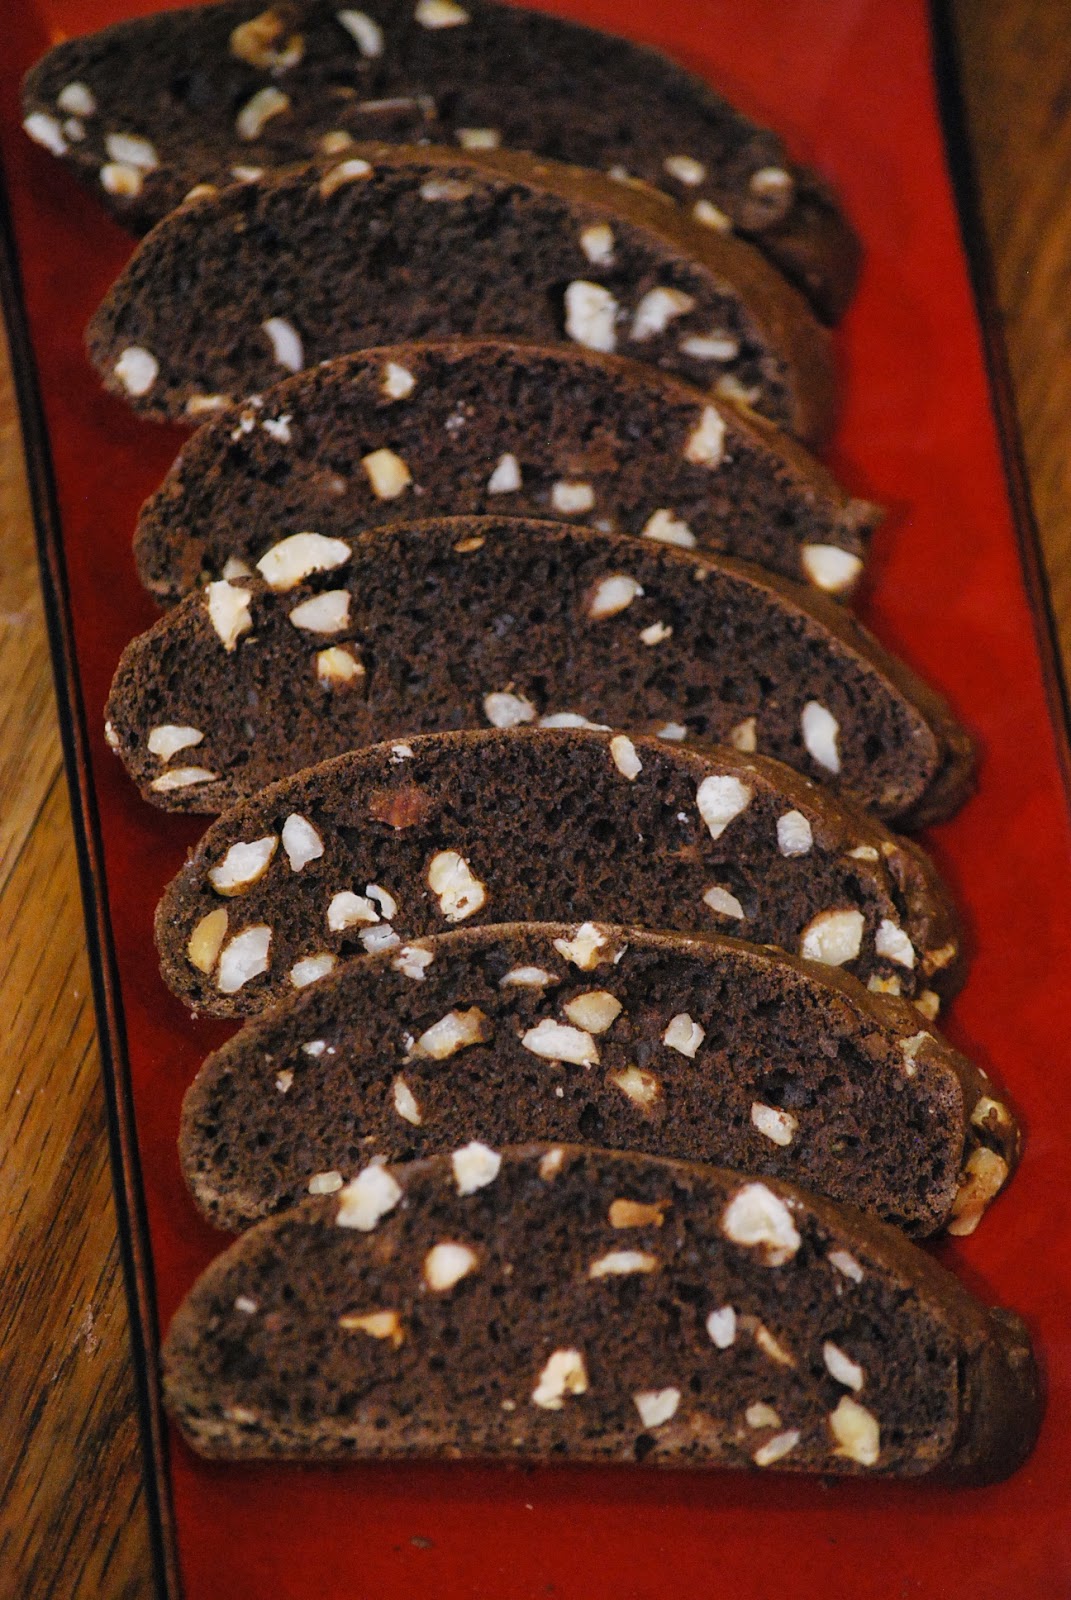
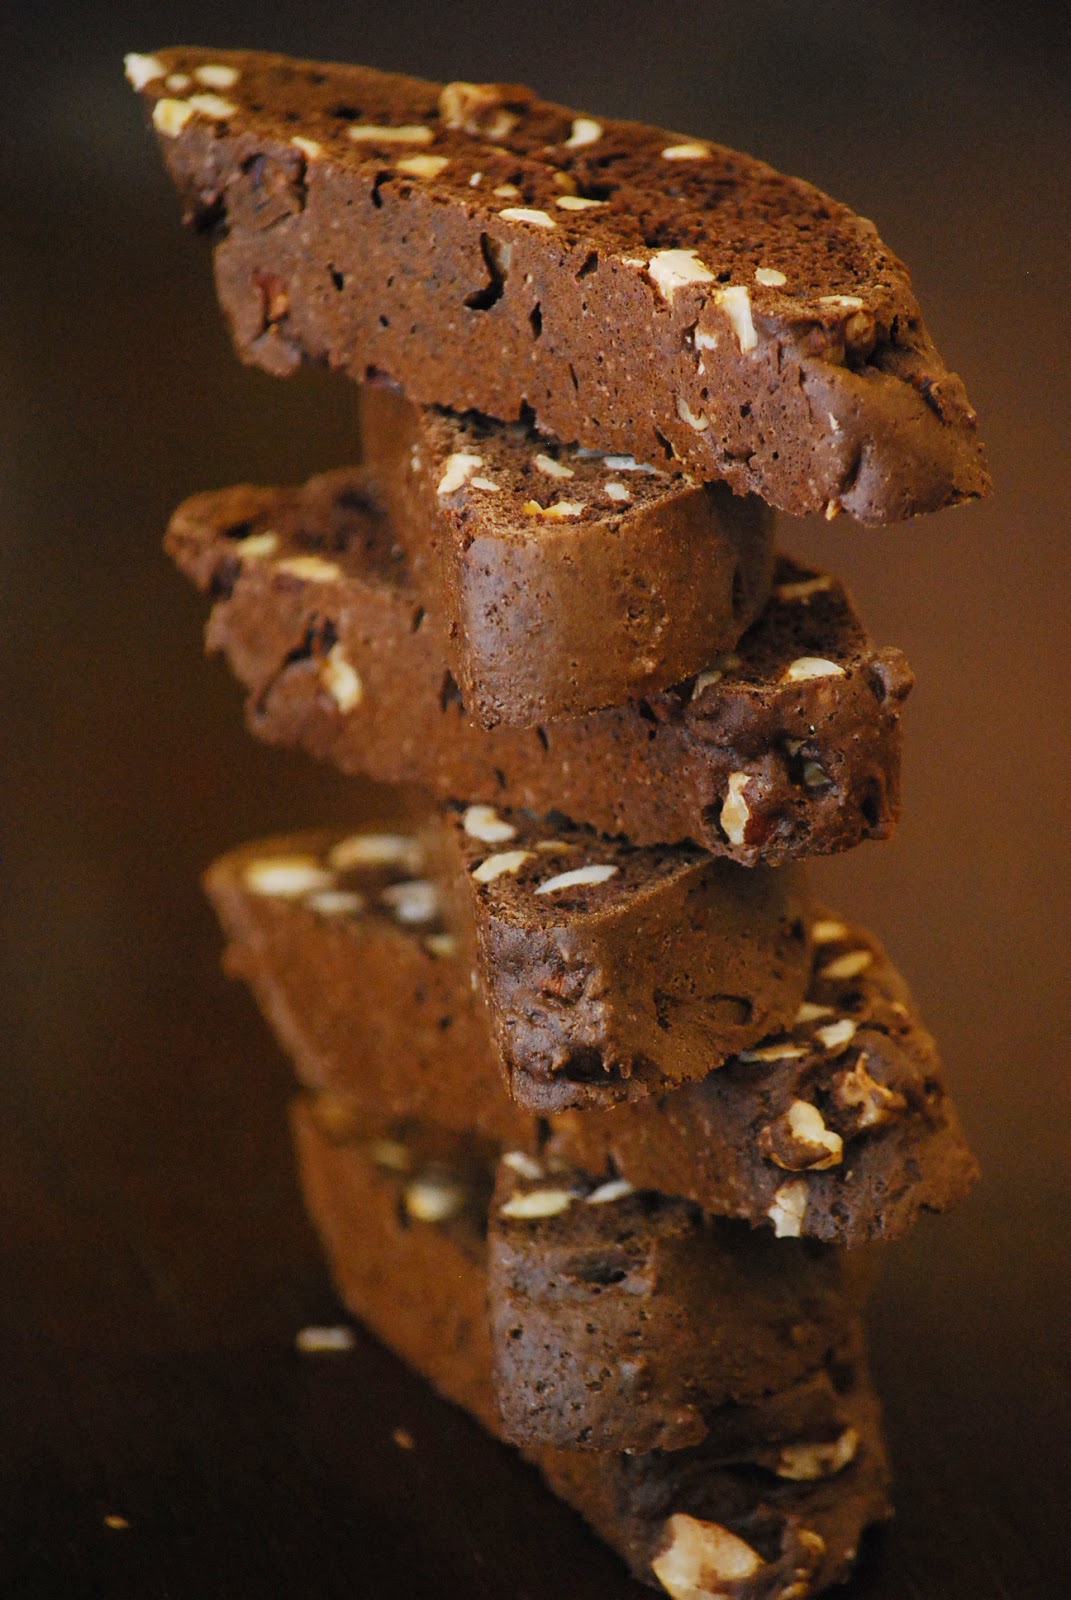
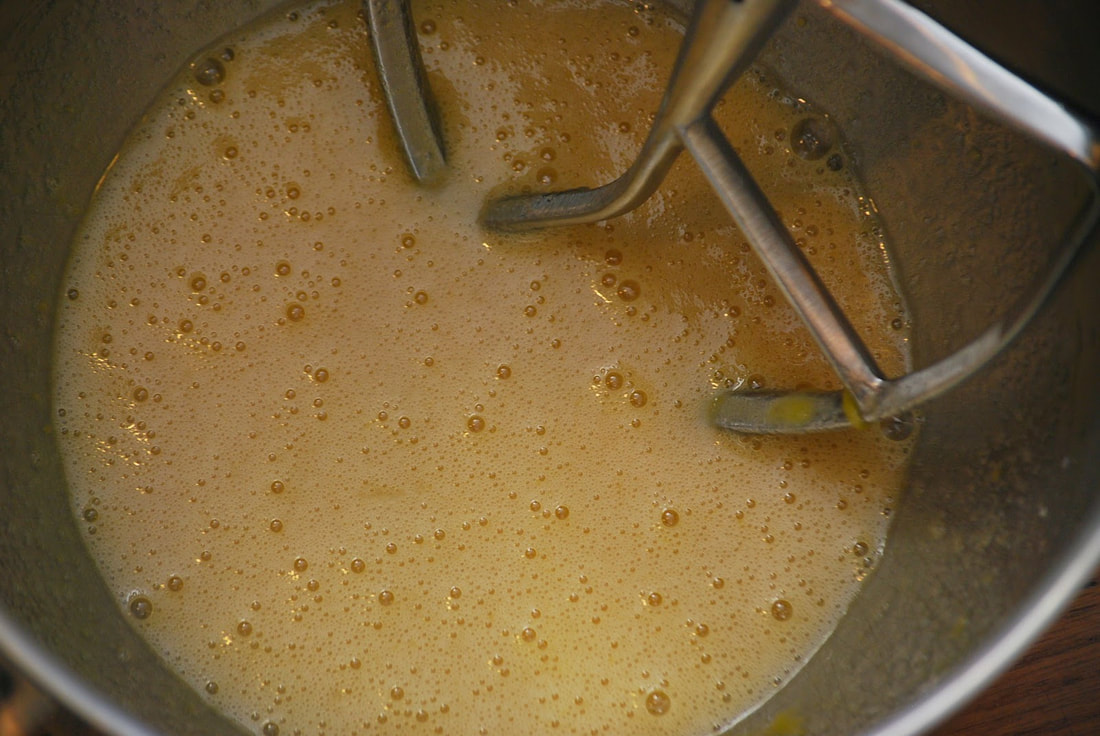
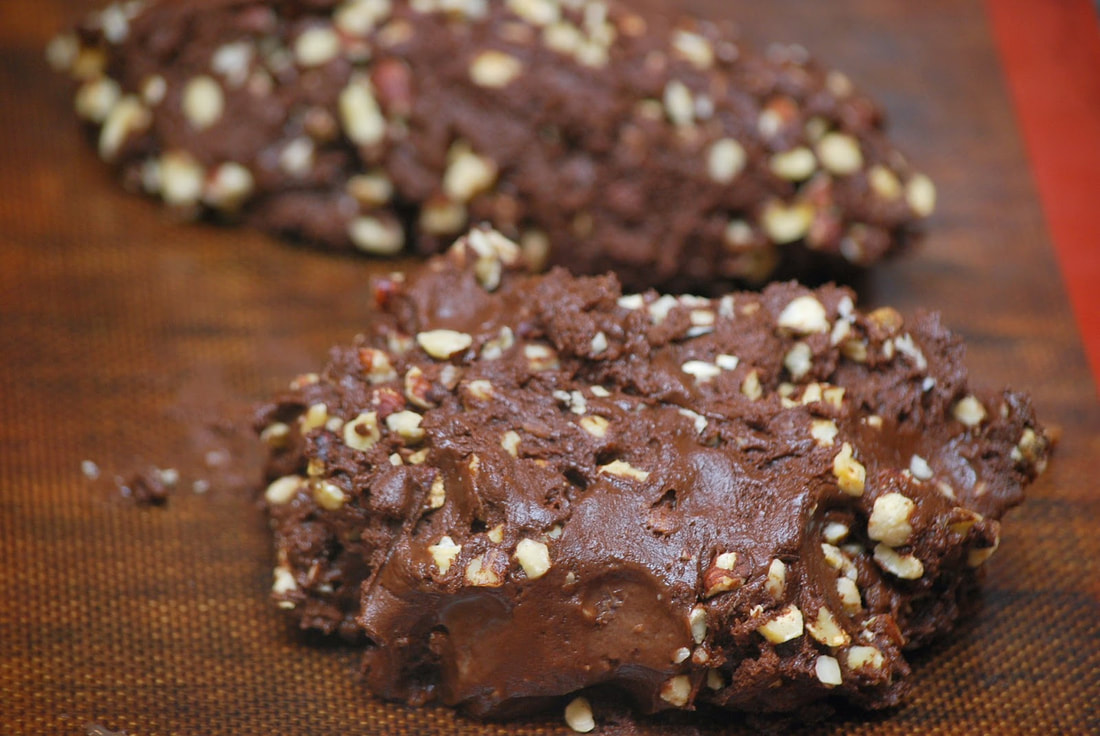
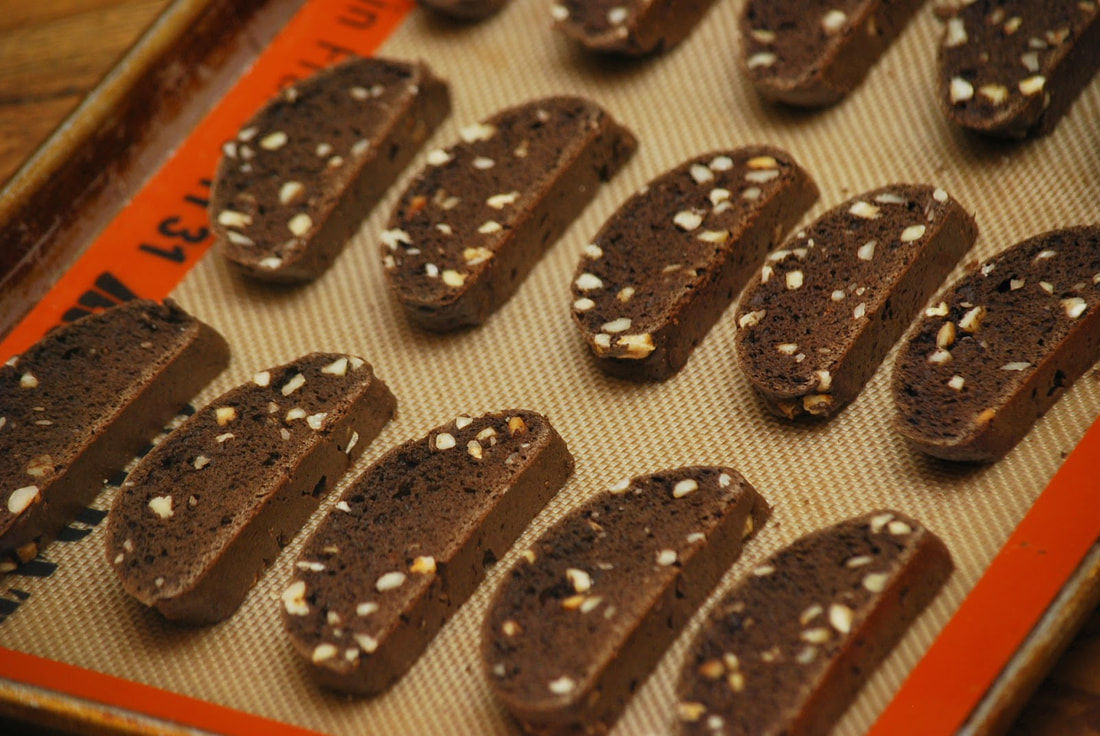
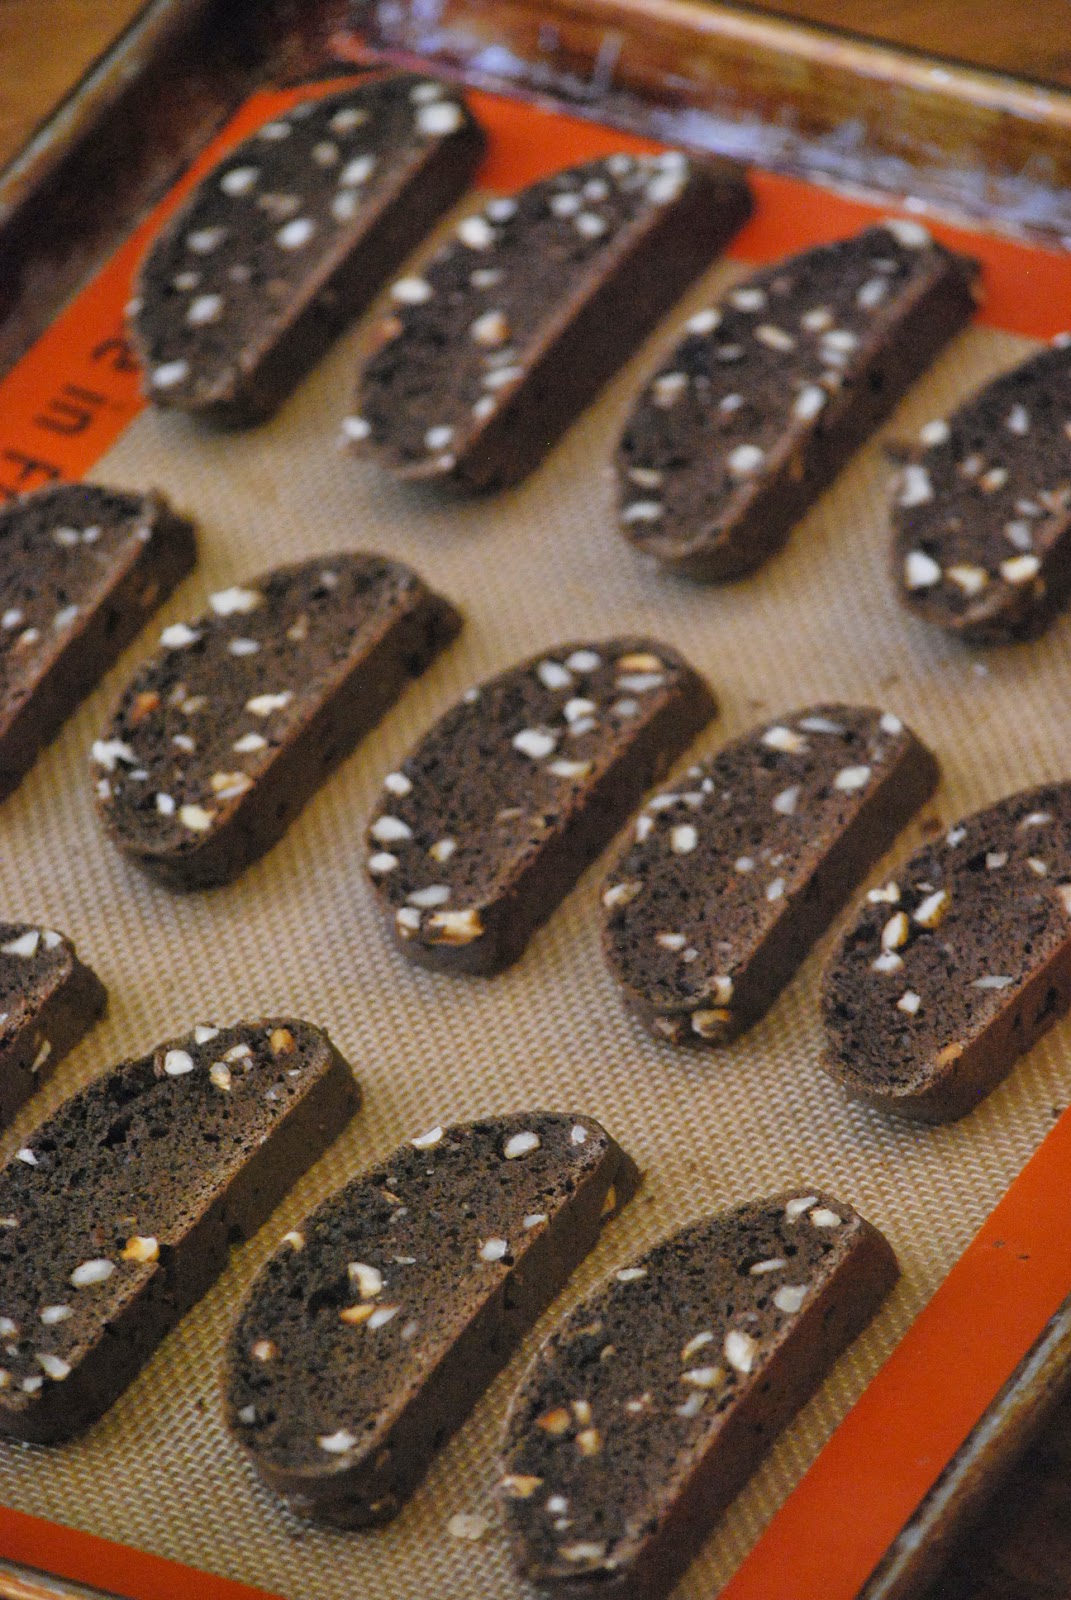
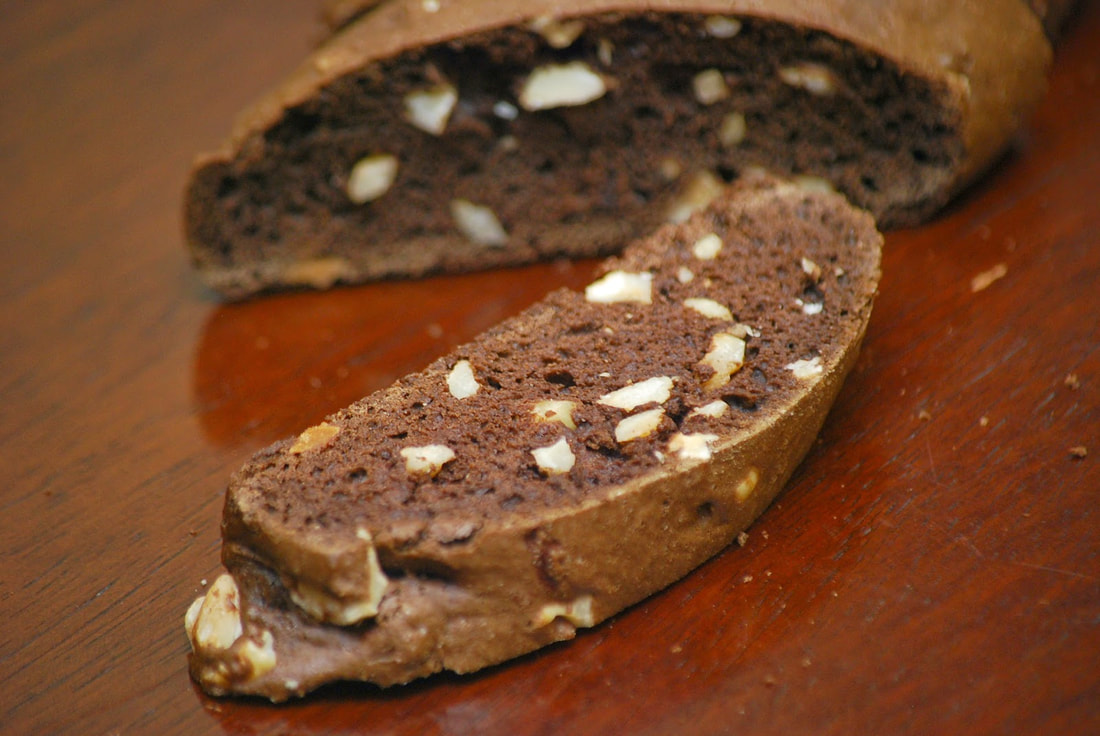 My family is coming to Georgia for Christmas this year. I am so excited about their visit!!! And you know what it means when the Mazzeo clan come to town? - biscotti! Chocolate hazelnut lactose-free biscotti to be exact! 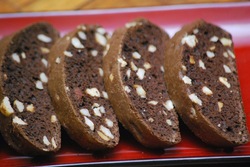 Let me just say that since I put these dark chocolate, hazelnut studded biscotti in my freezer, I cannot get them out of my mind. My family just better hurry up and get here because there may not be any left by Christmas morning.
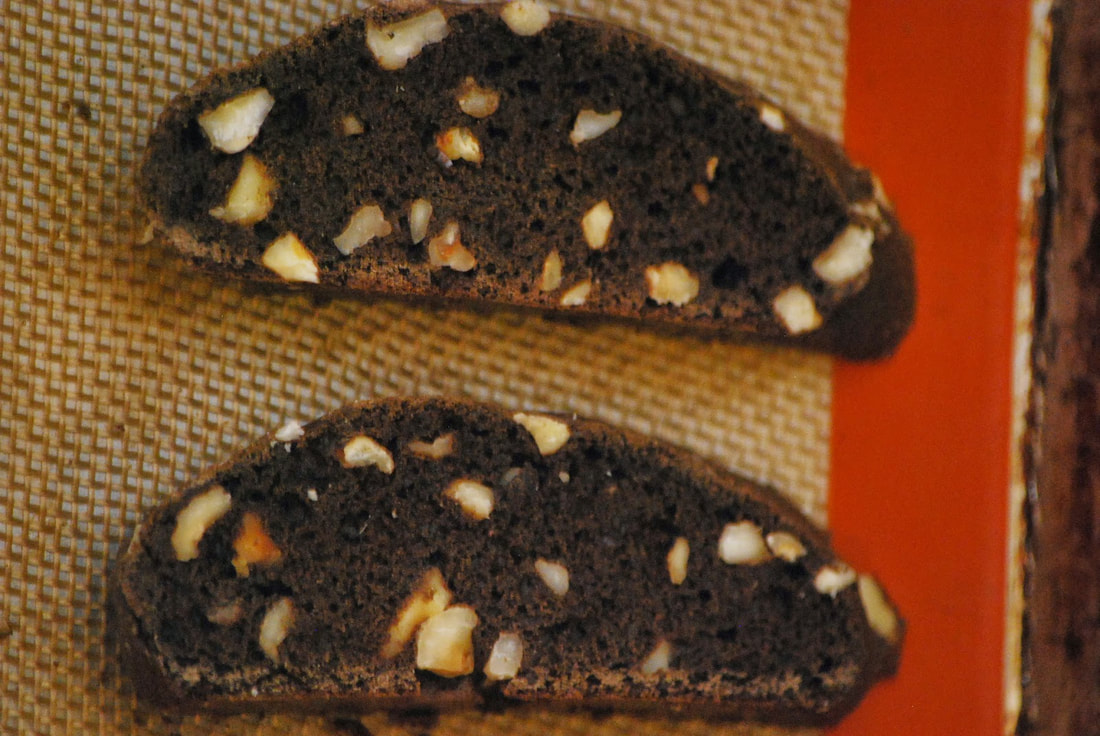
These really are some of the most delicious biscotti that I have ever made. Chocolatey, 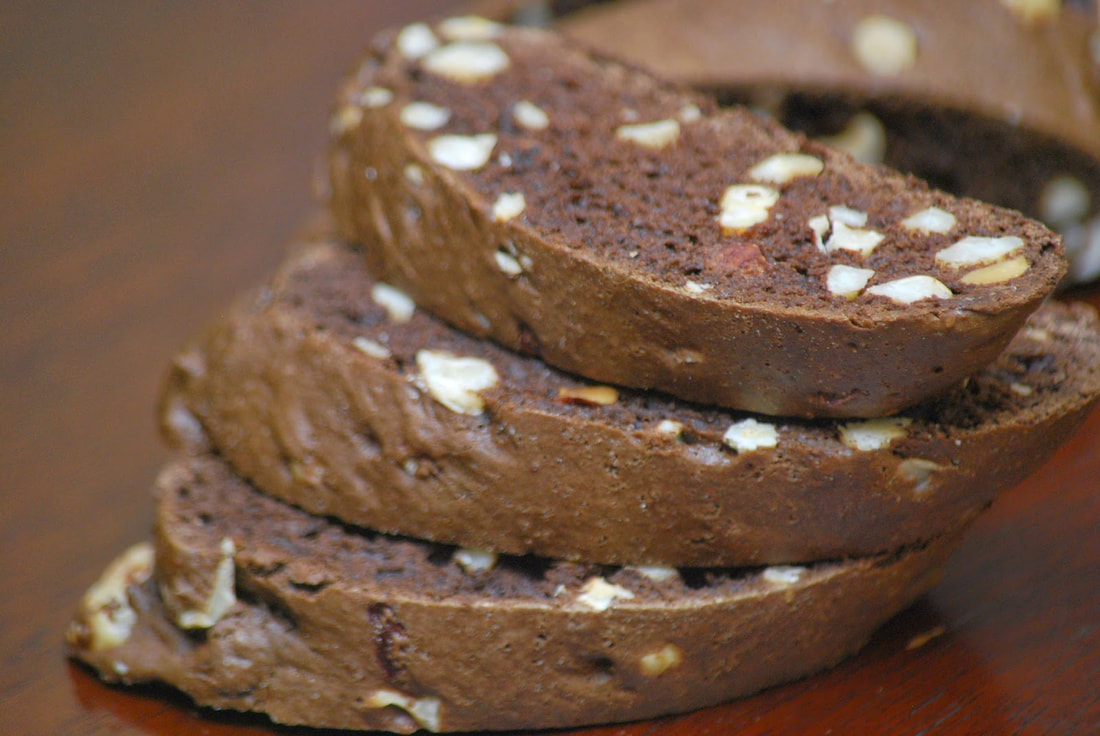 nutty
crunchy
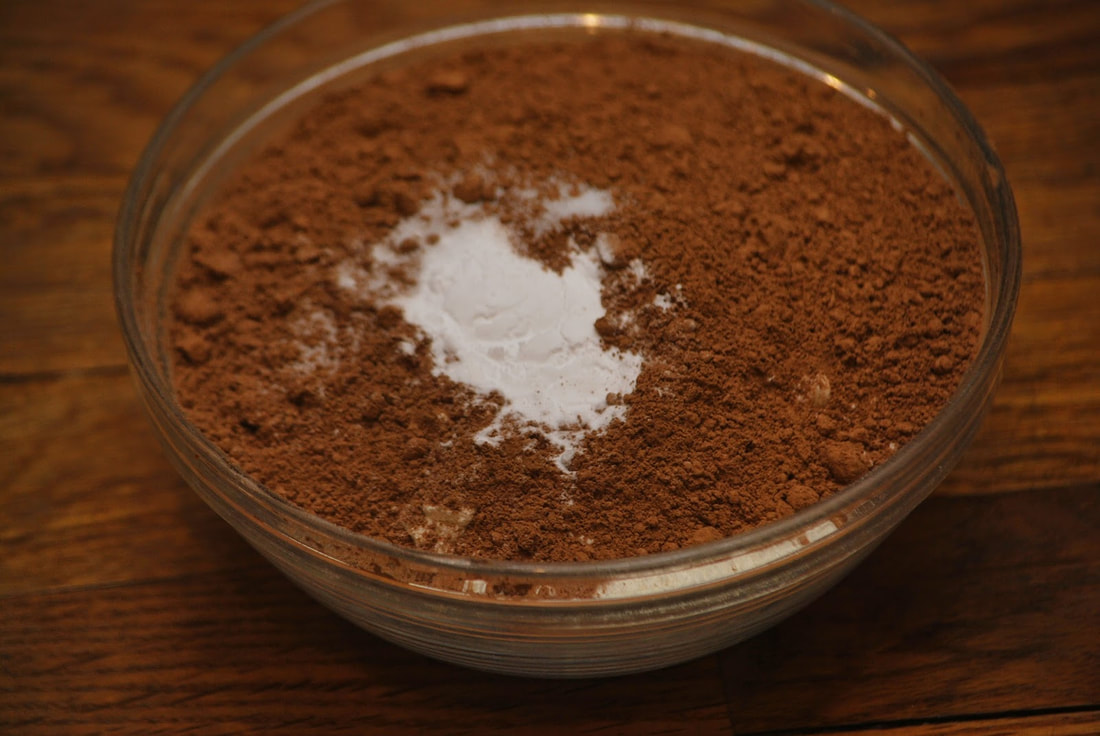
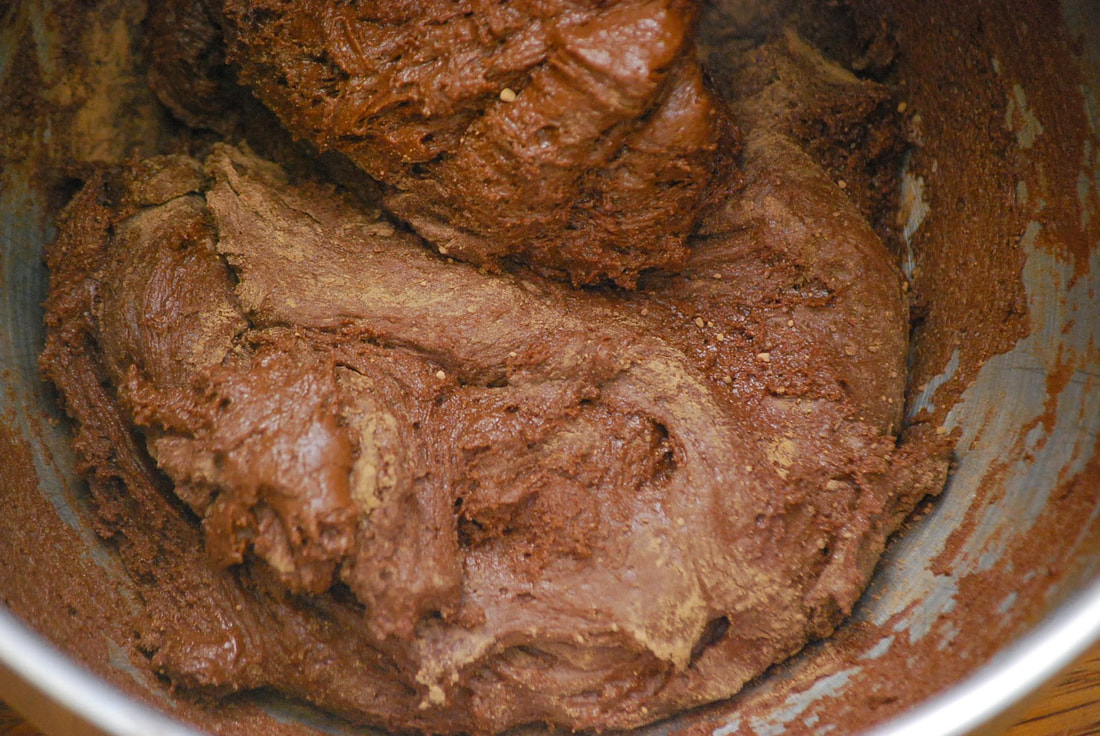
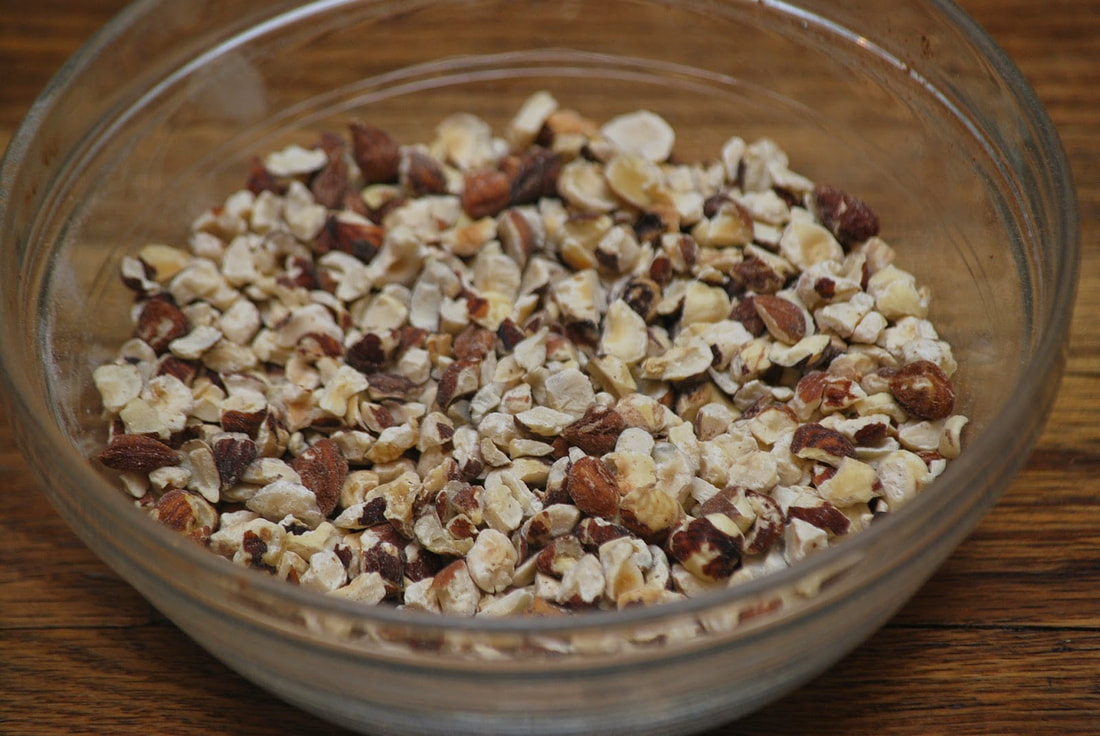
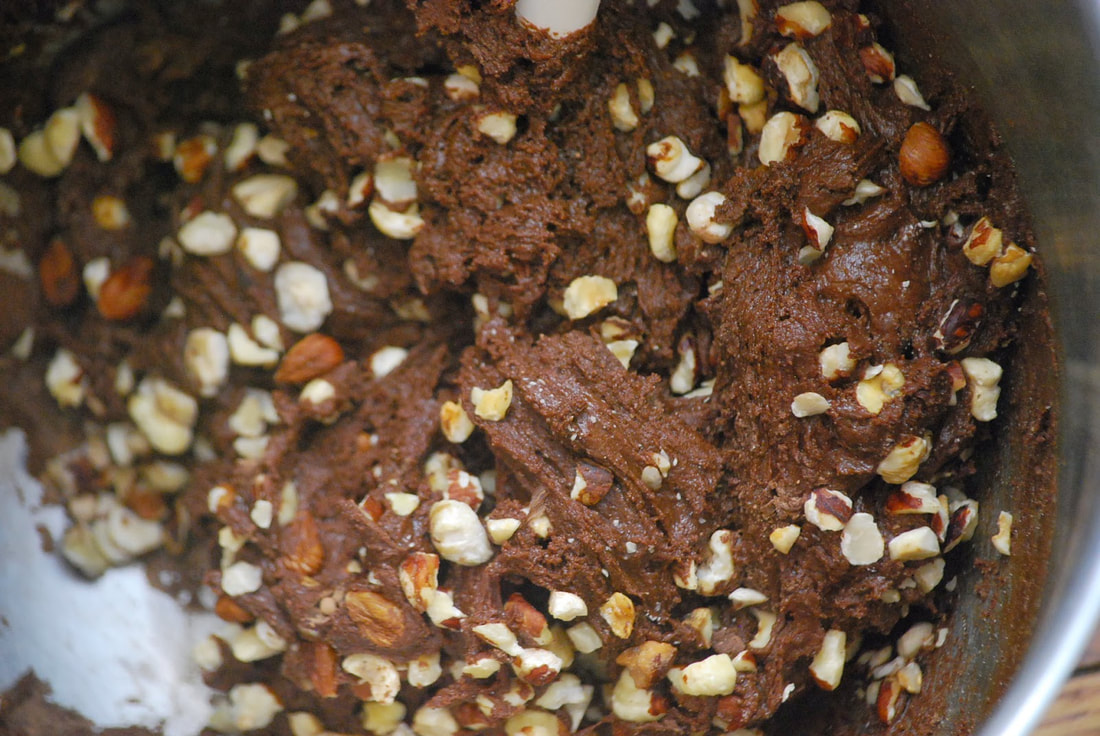
and begging to be dipped in a cup of coffee - kind of delicious. 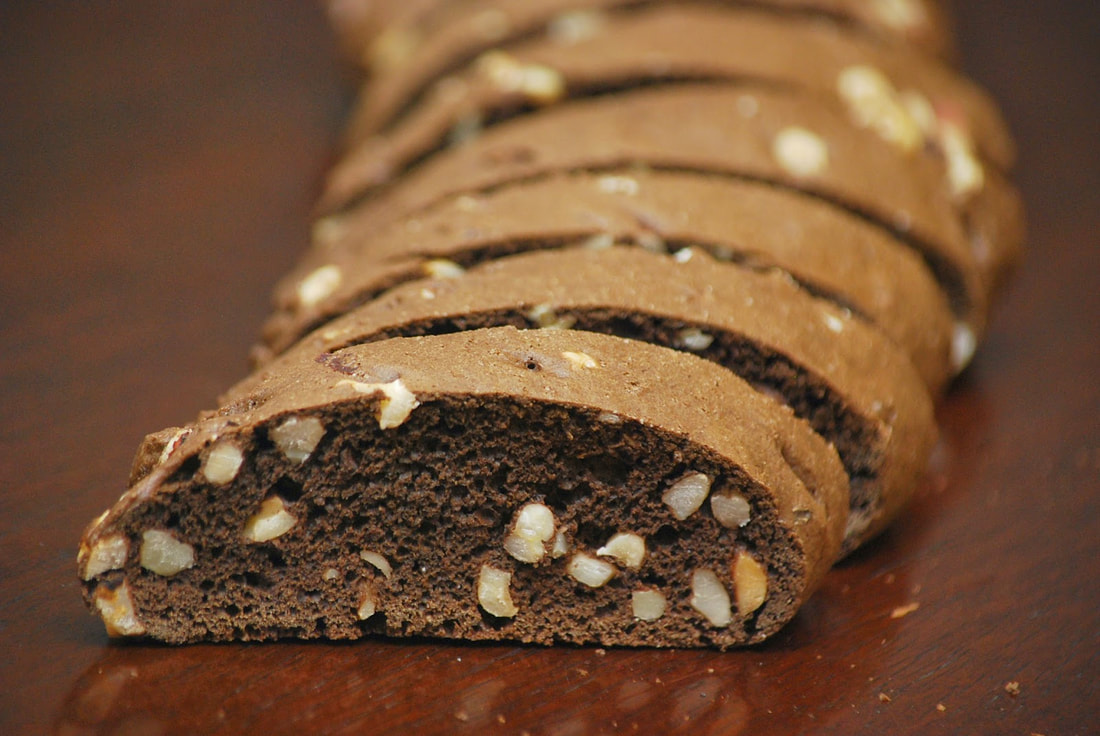 Chocolate Hazelnut Biscotti 2 cups (280g) flour 3/4 cups (75g) top-quality cocoa powder 1 teaspoon baking soda 1/4 teaspoon table salt 4 large eggs 1 cup (200g) sugar 1 teaspoon vanilla extract 1/8 teaspoon almond extract (optional) 1 cup (125g) hazelnuts, toasted and very coarsely-chopped 3/4 cups (120g) chocolate chips
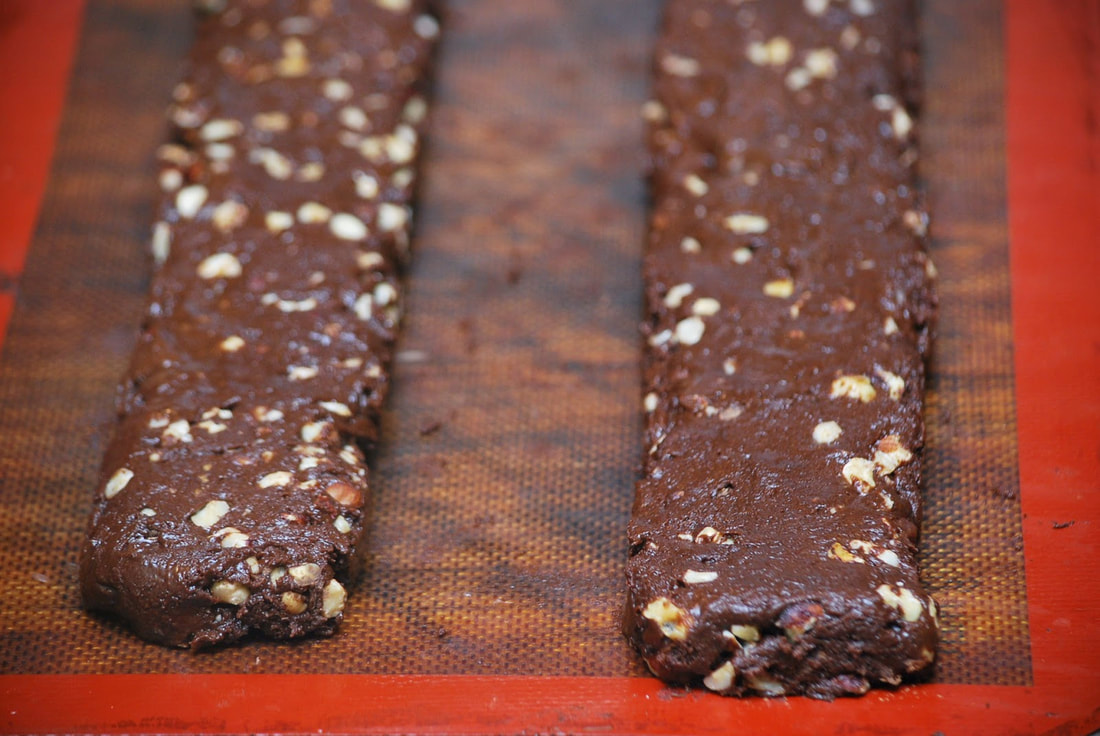
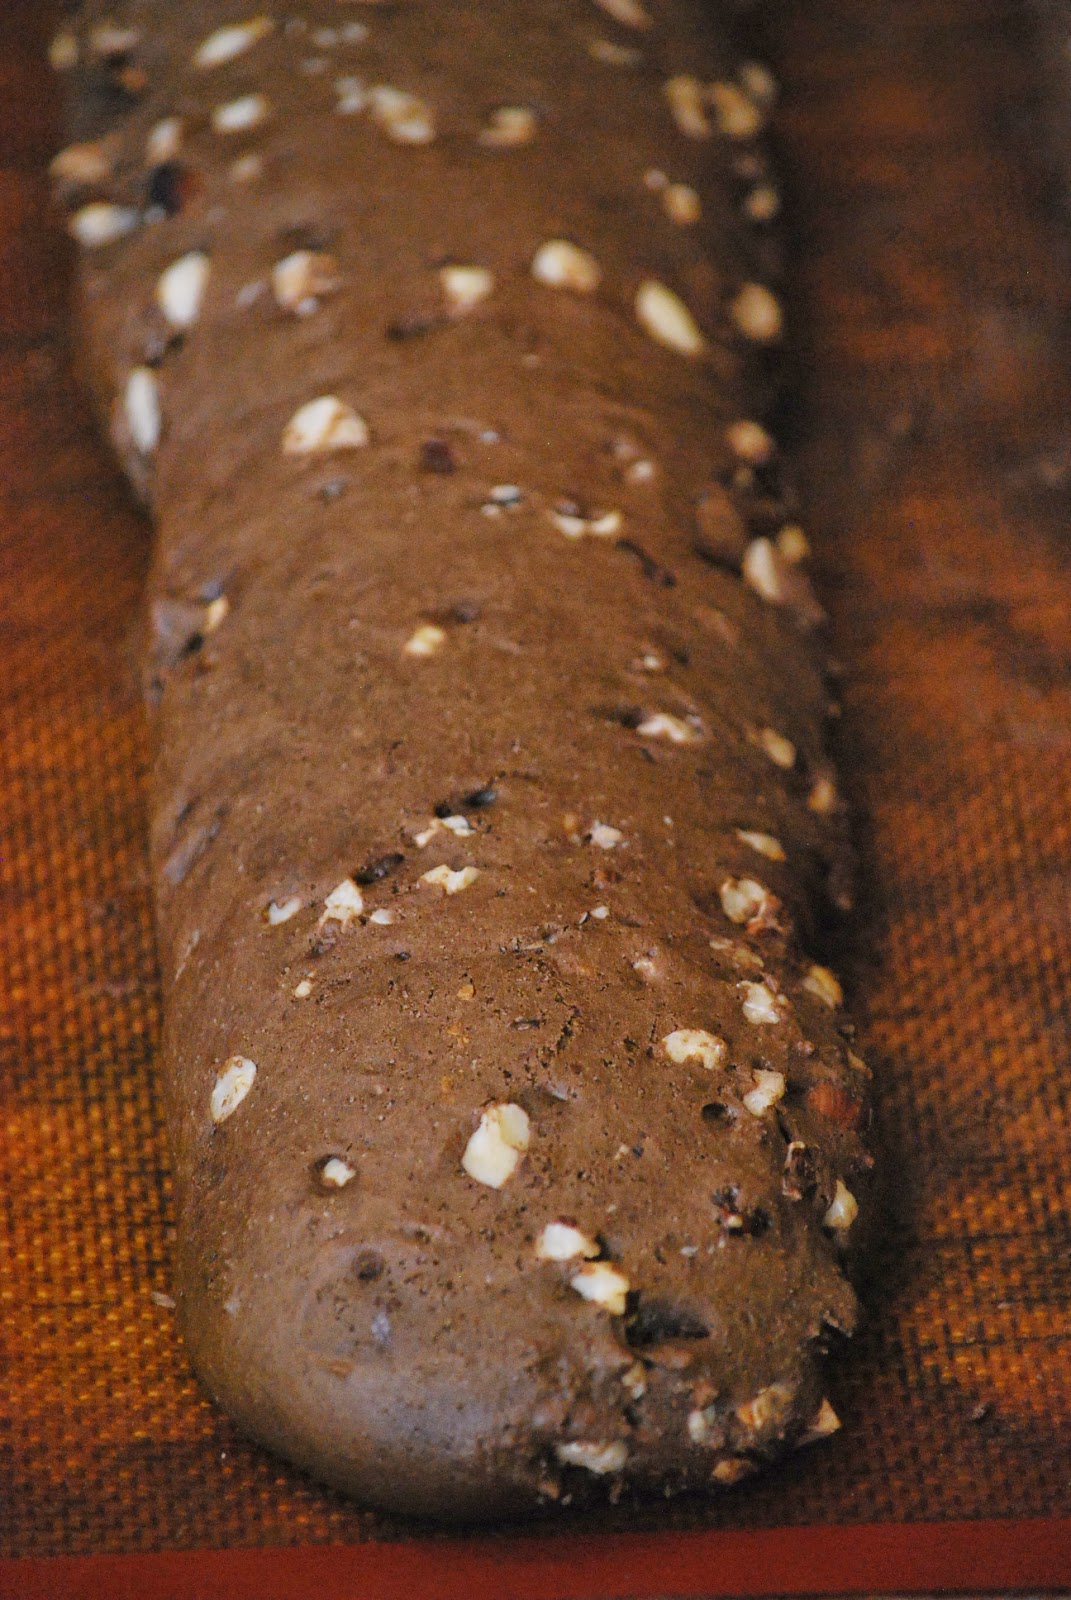
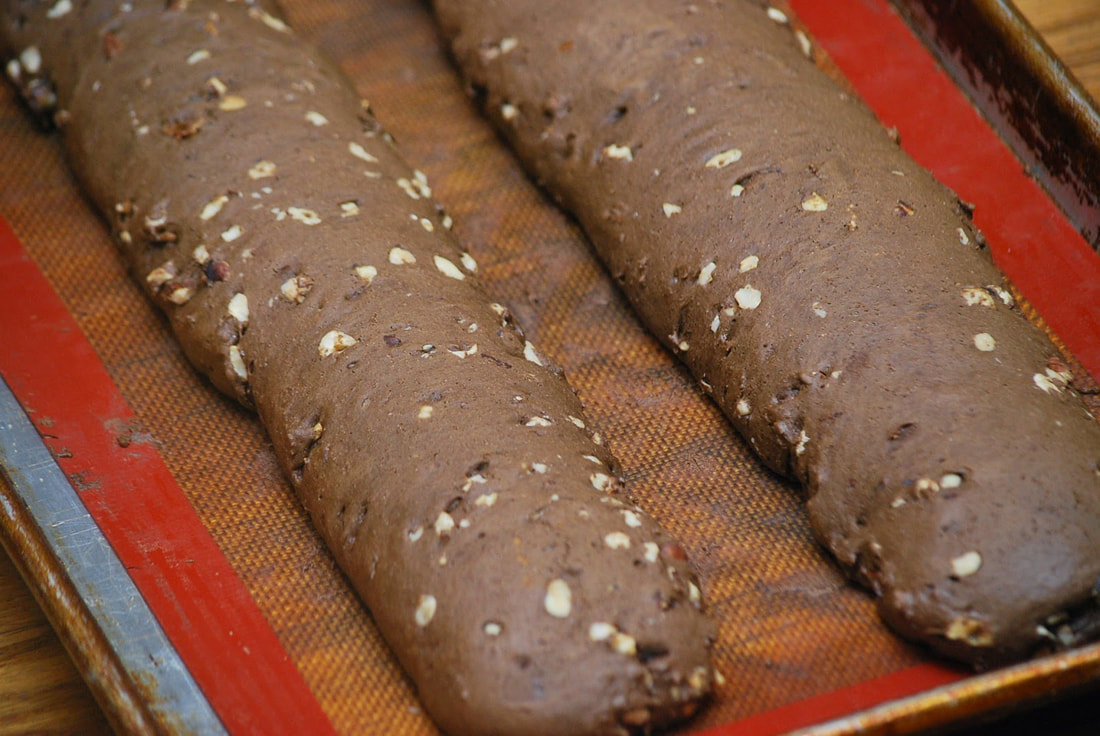
Fold in chopped hazelnuts.
Bake for 25 minutes, until the dough feels firm to the touch.
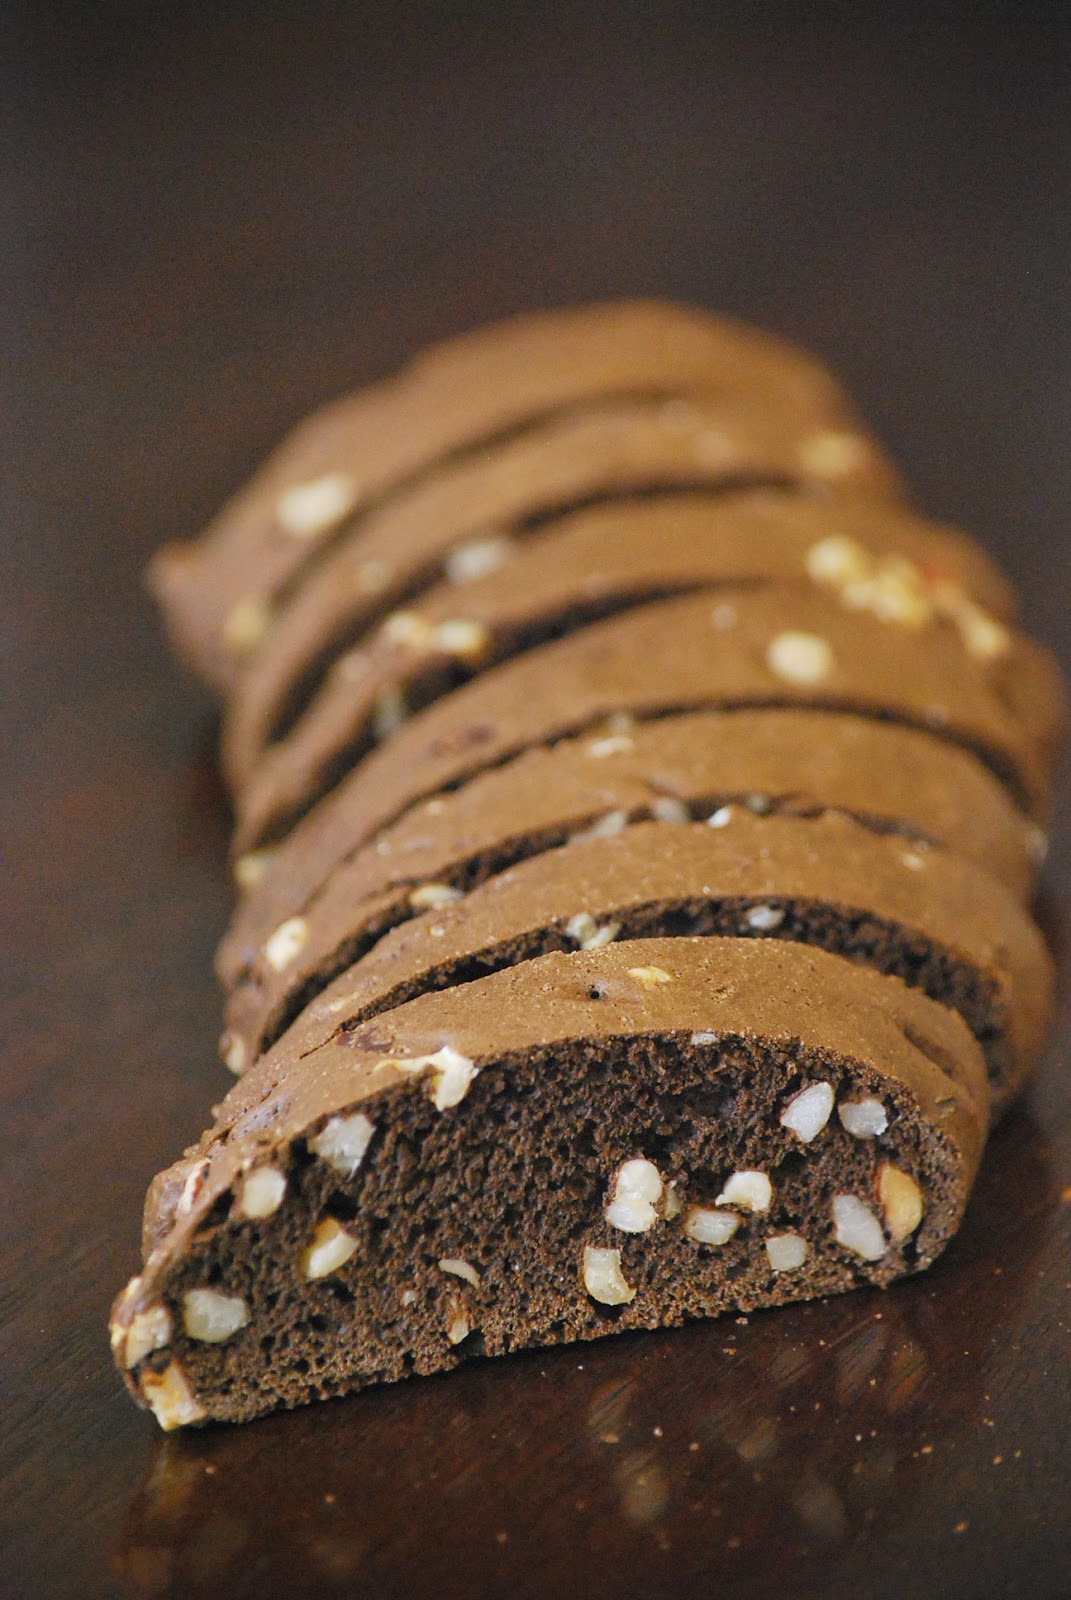
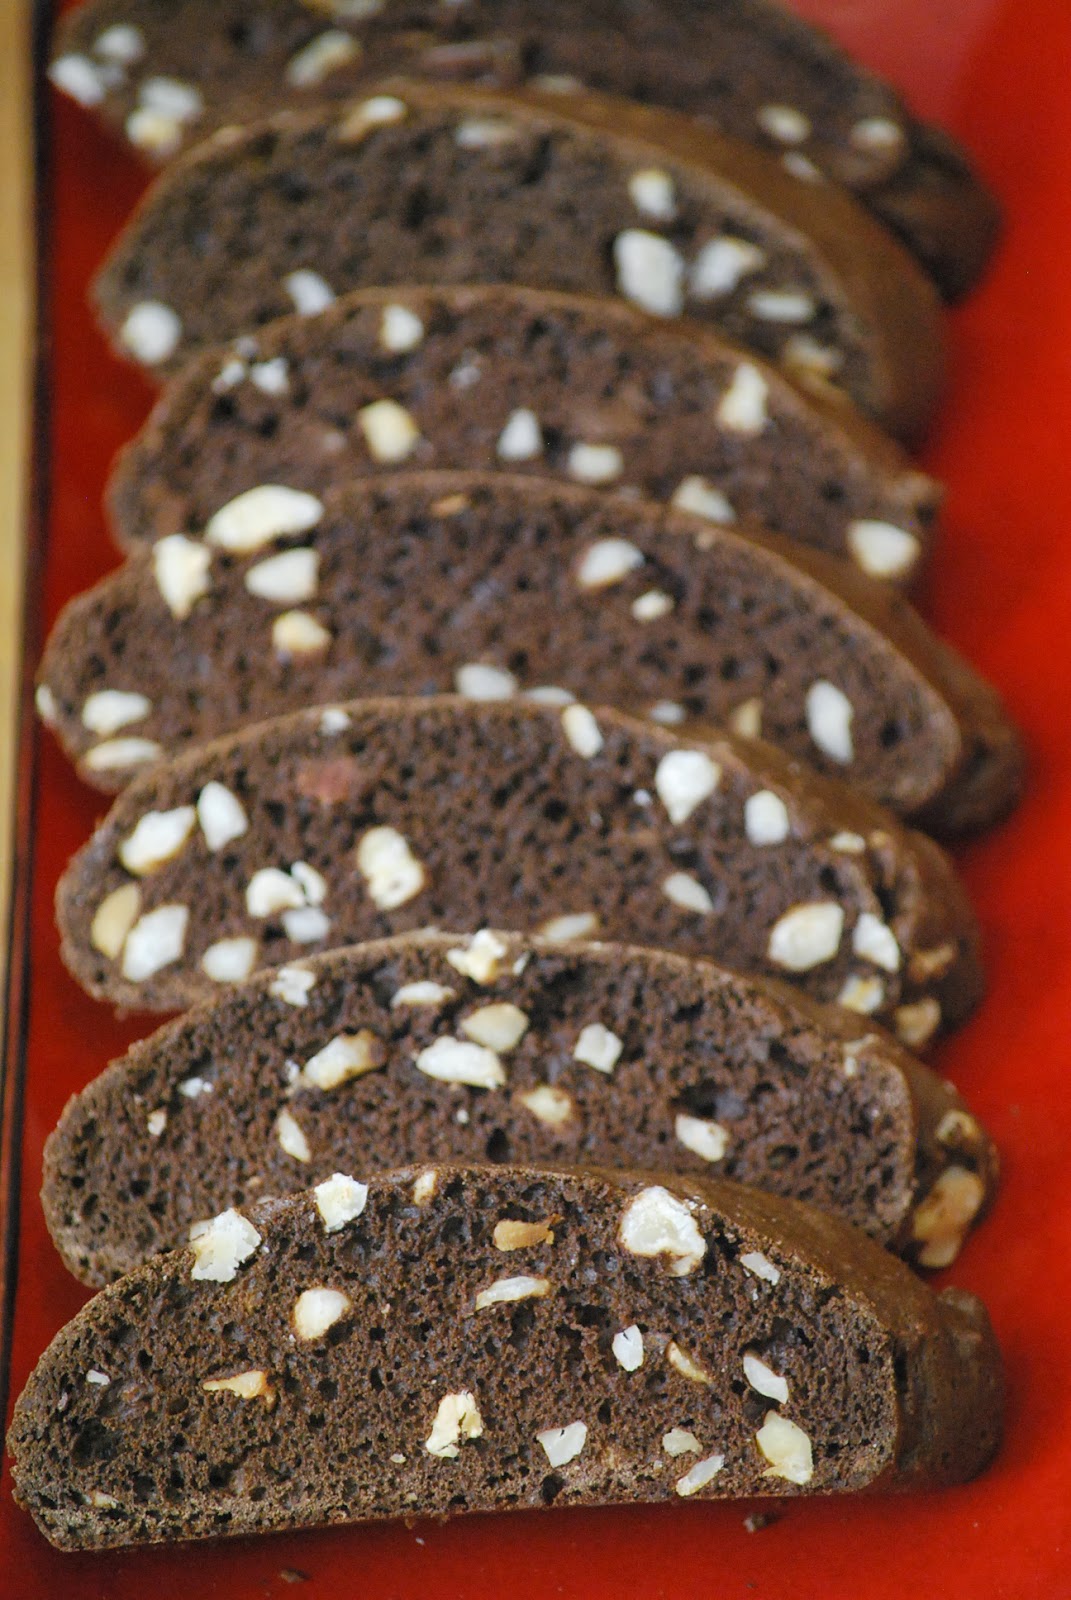
Remove pan from the oven and cool 15 minutes. On a cutting board, use a serrated knife to diagonally cut the cookies into 1/2-inches slices. Lay the cookies cut side down on baking sheets and return to the oven for 15 minutes turning the baking sheet midway during baking, until the cookies feel mostly firm.
Store in a cool, dry place or in my case - hide in the freezer until Christmas morning. 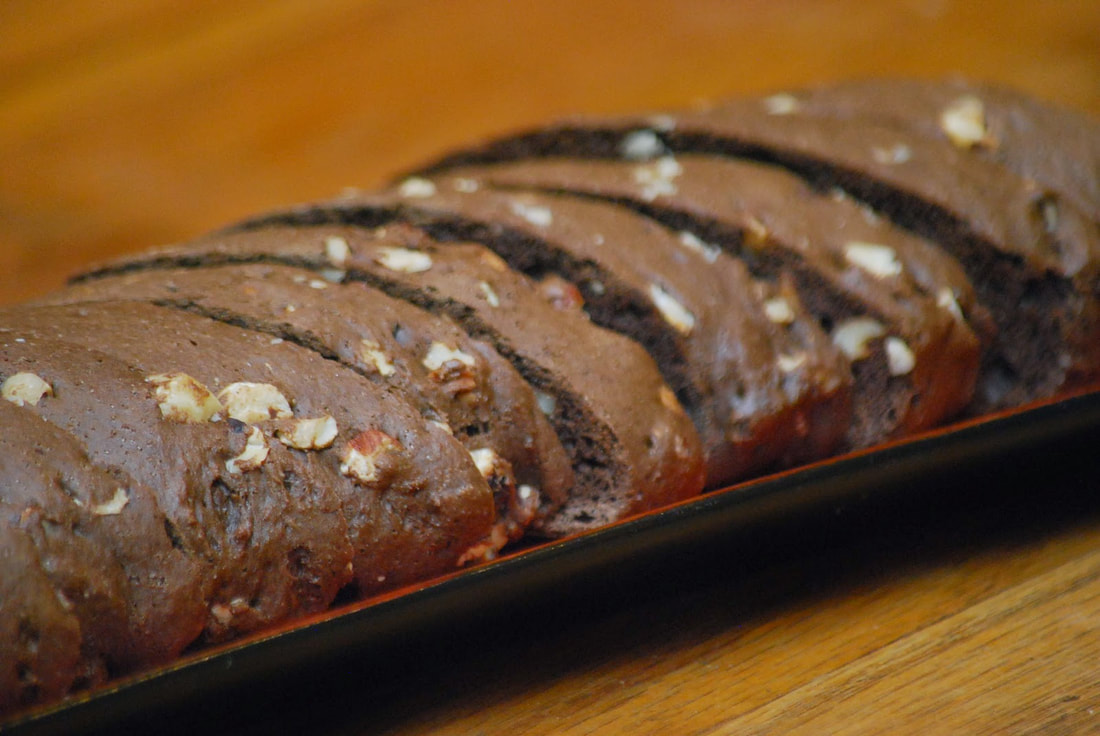 Christmas morning is going to be all that much sweeter with chocolate hazelnut biscotti on our table.
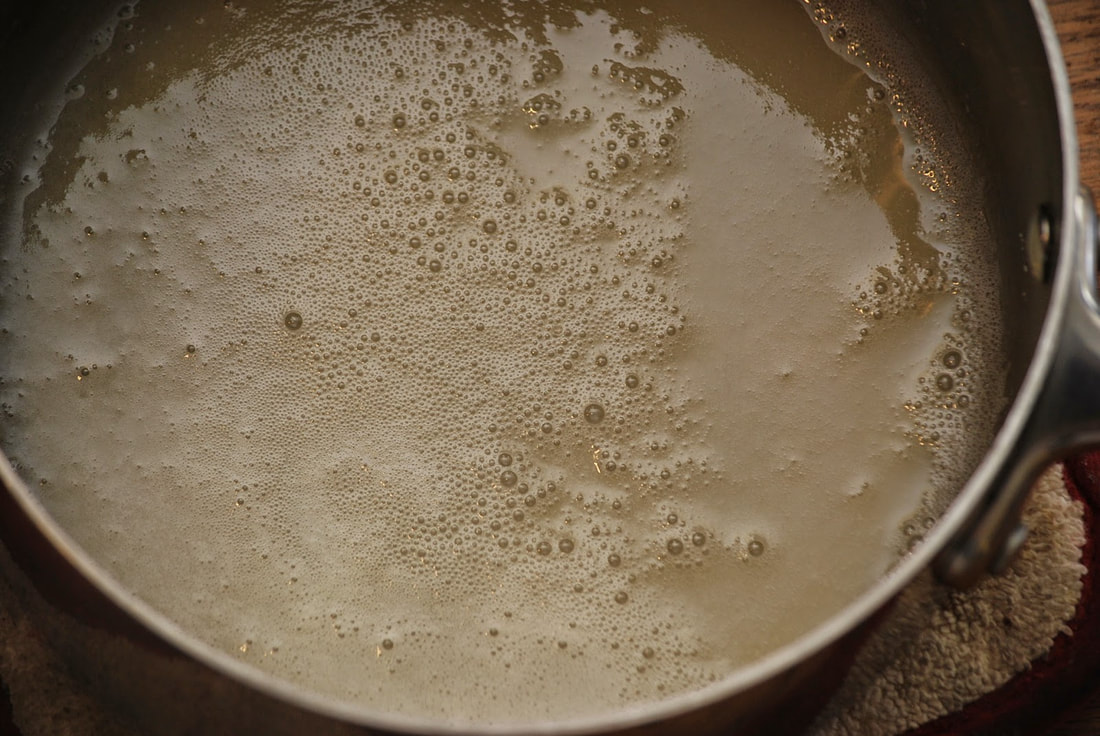
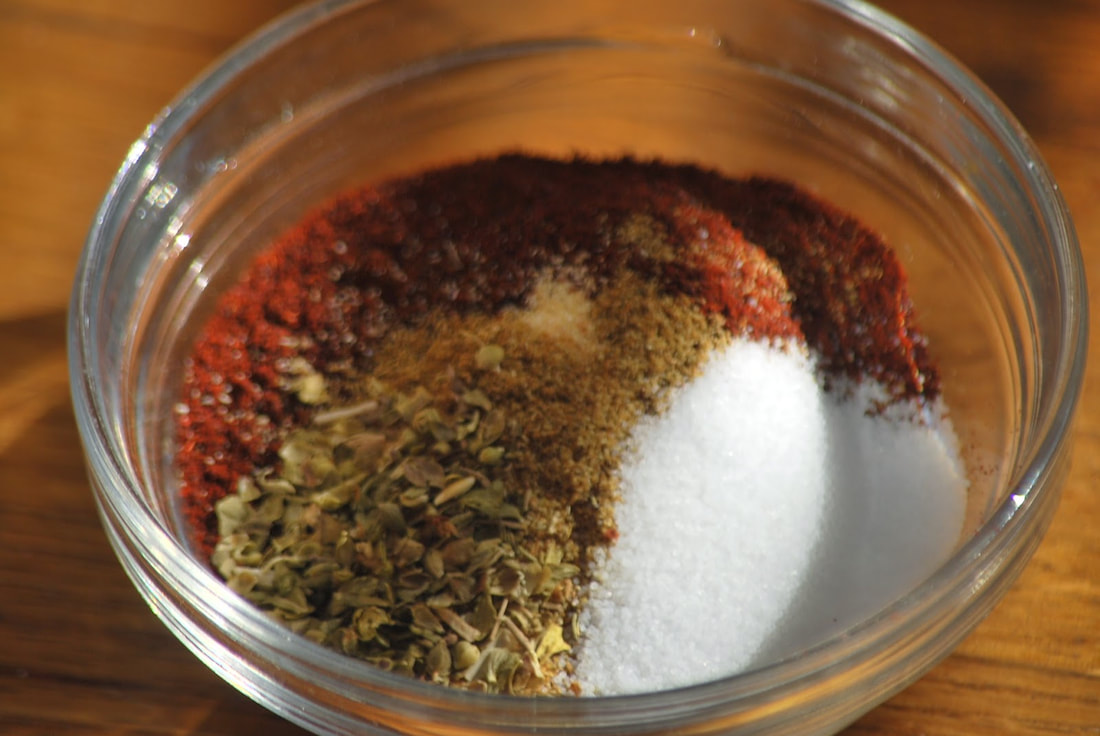
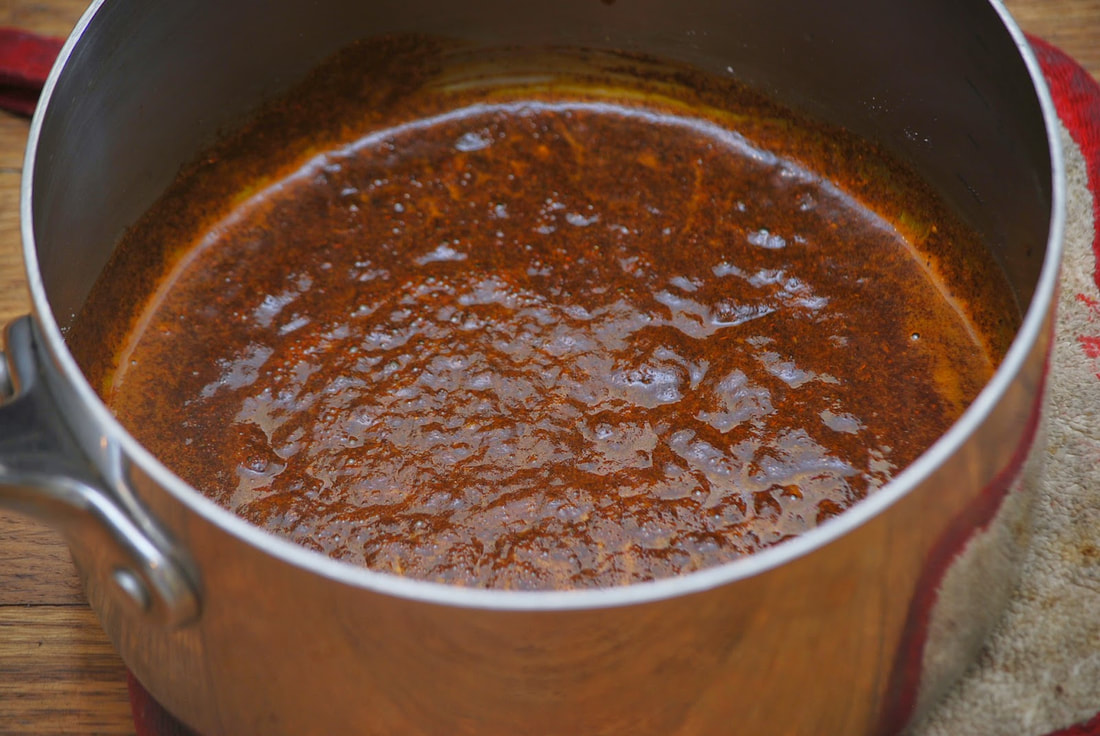
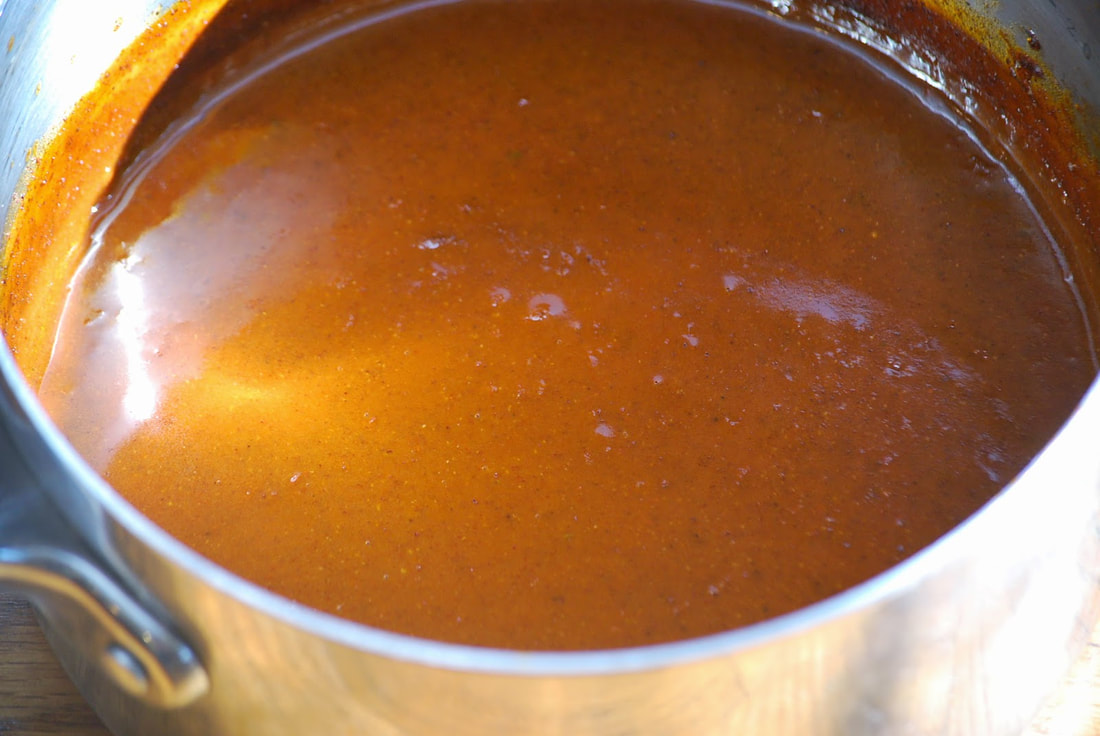
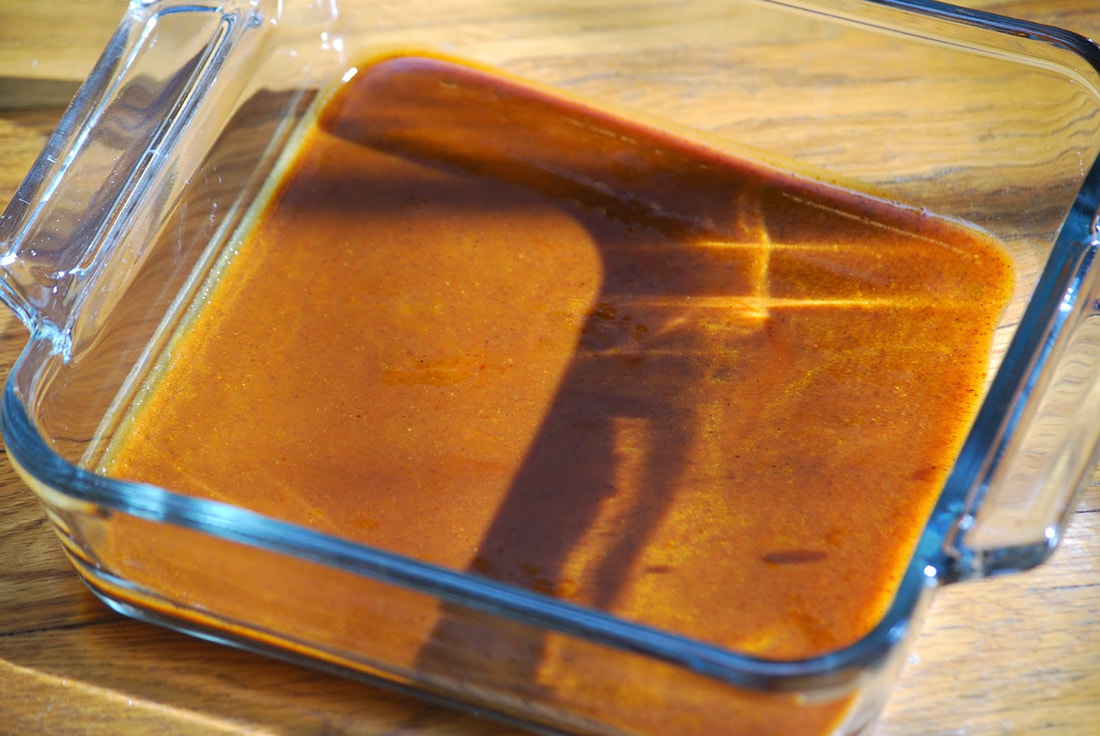
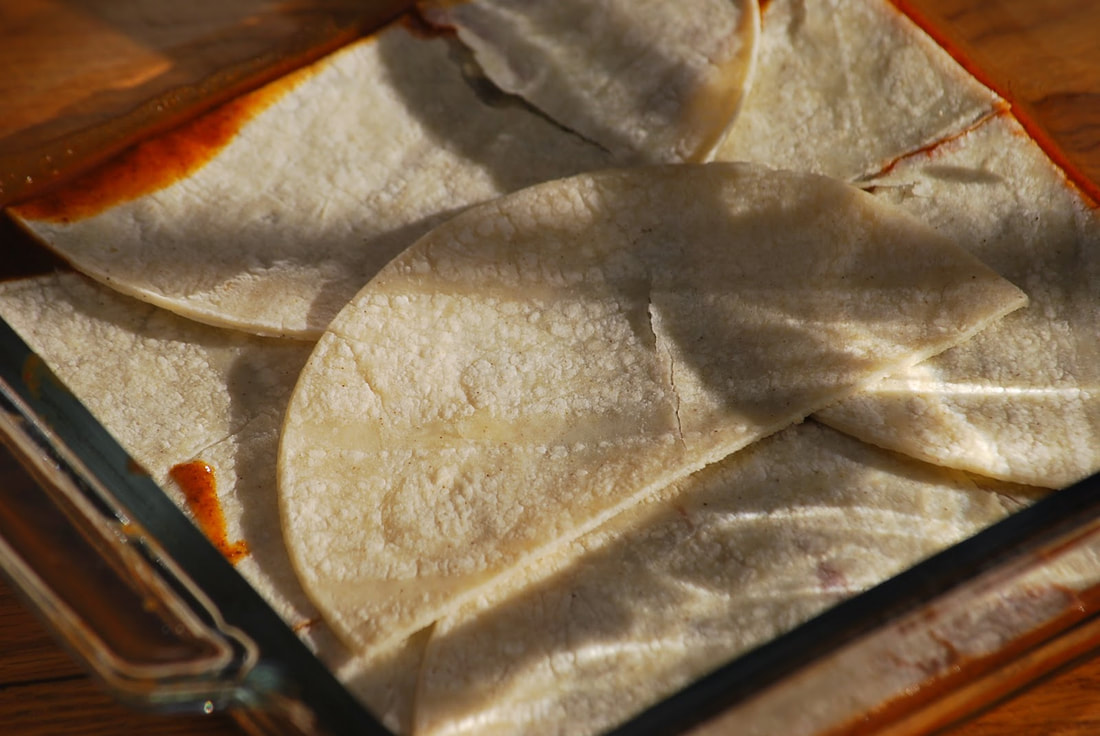
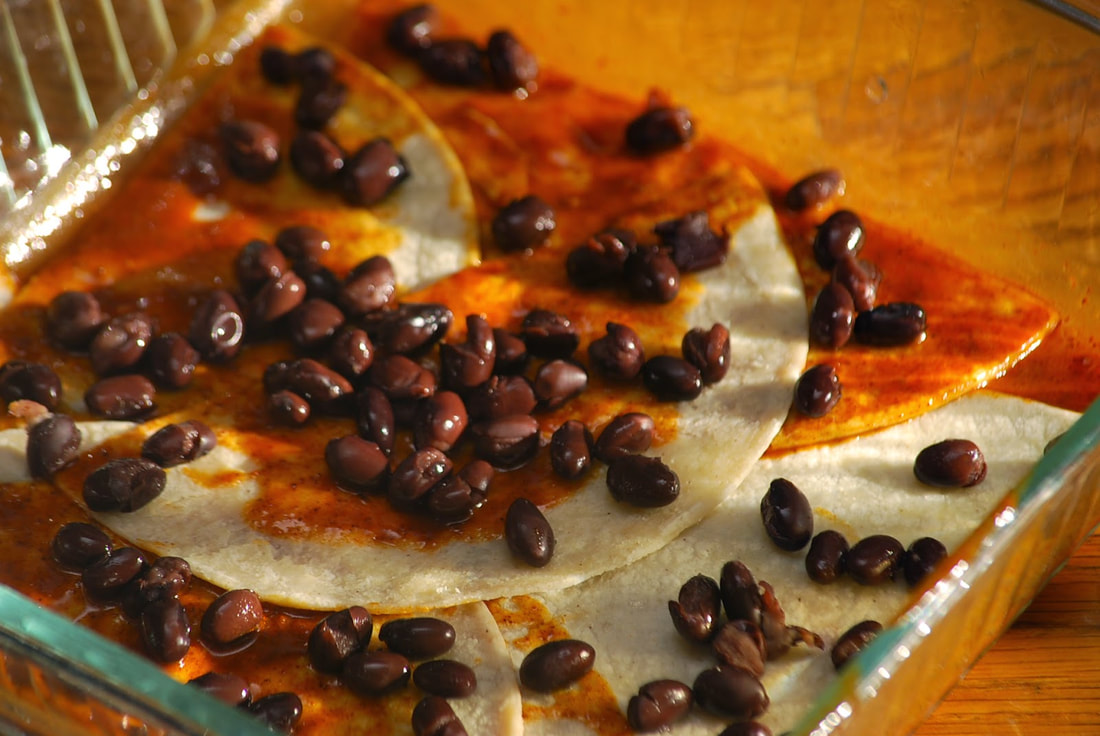
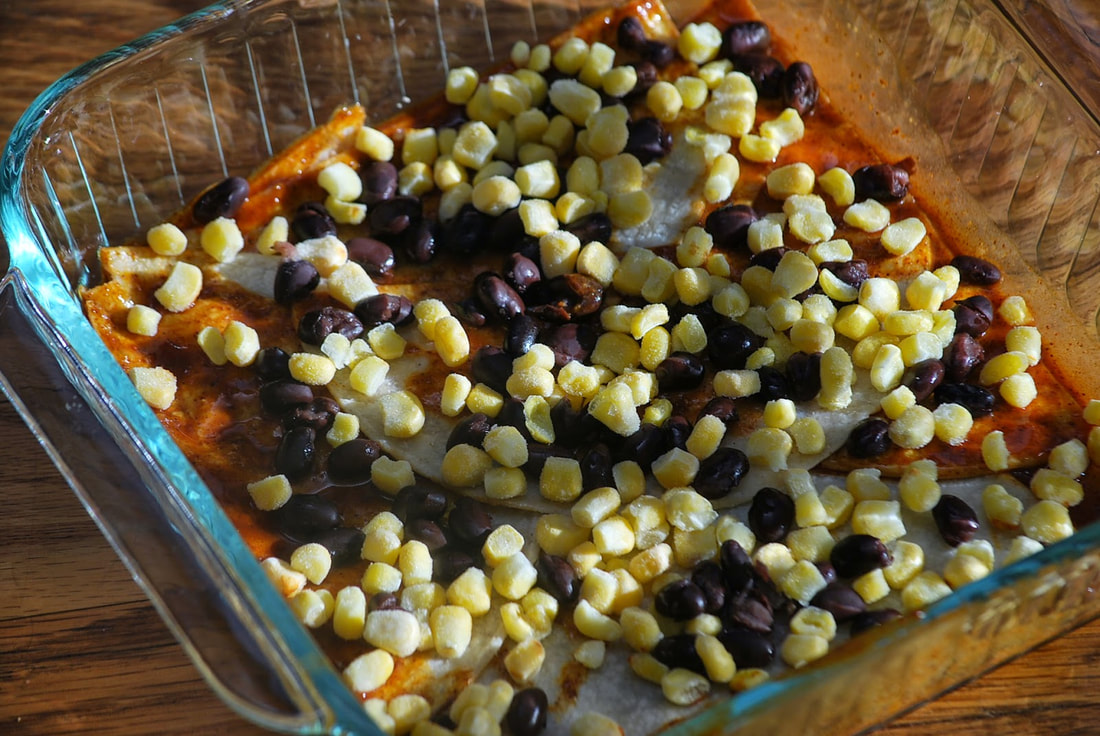
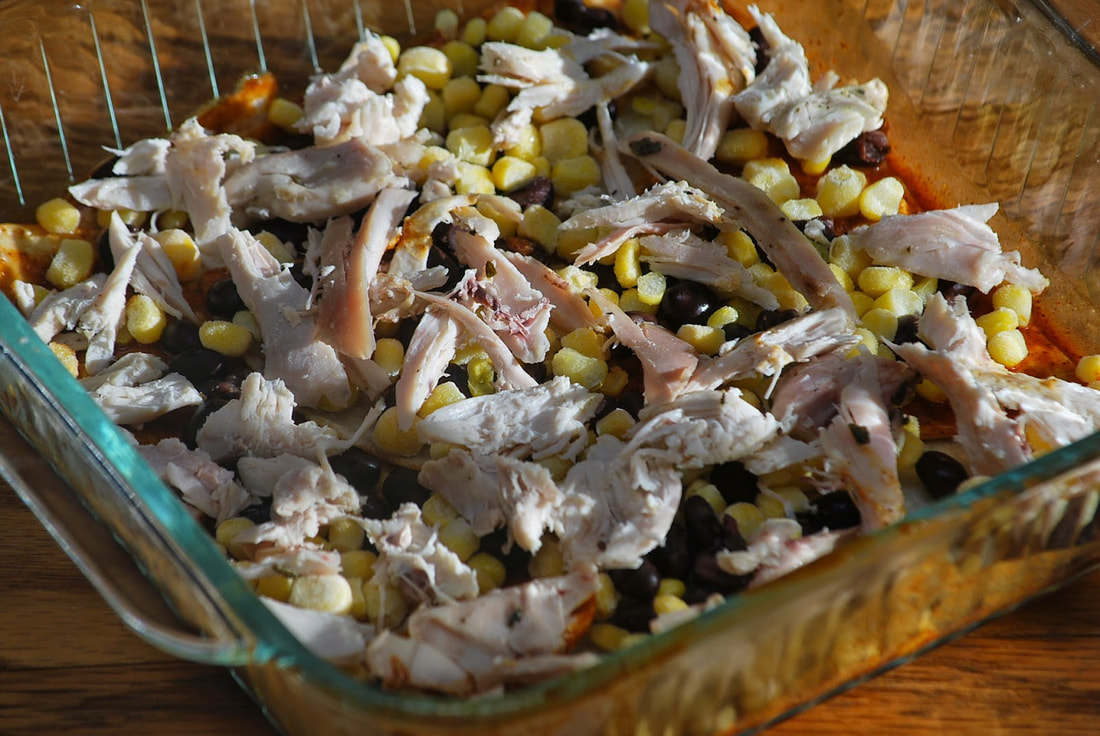
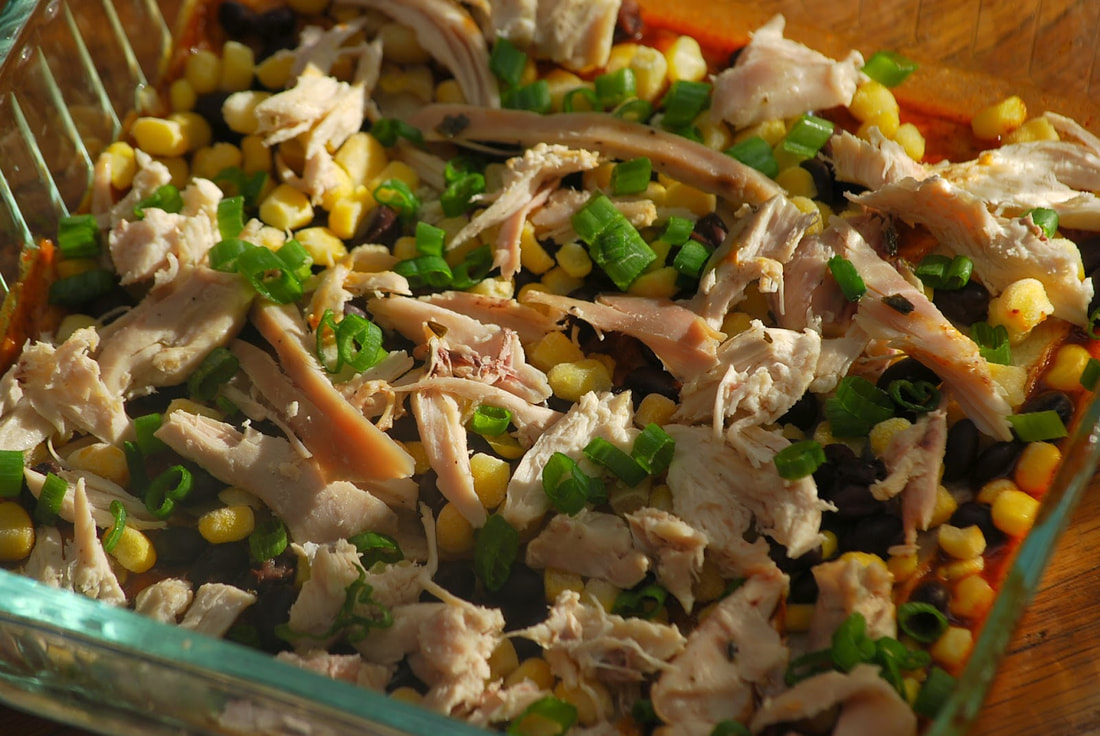
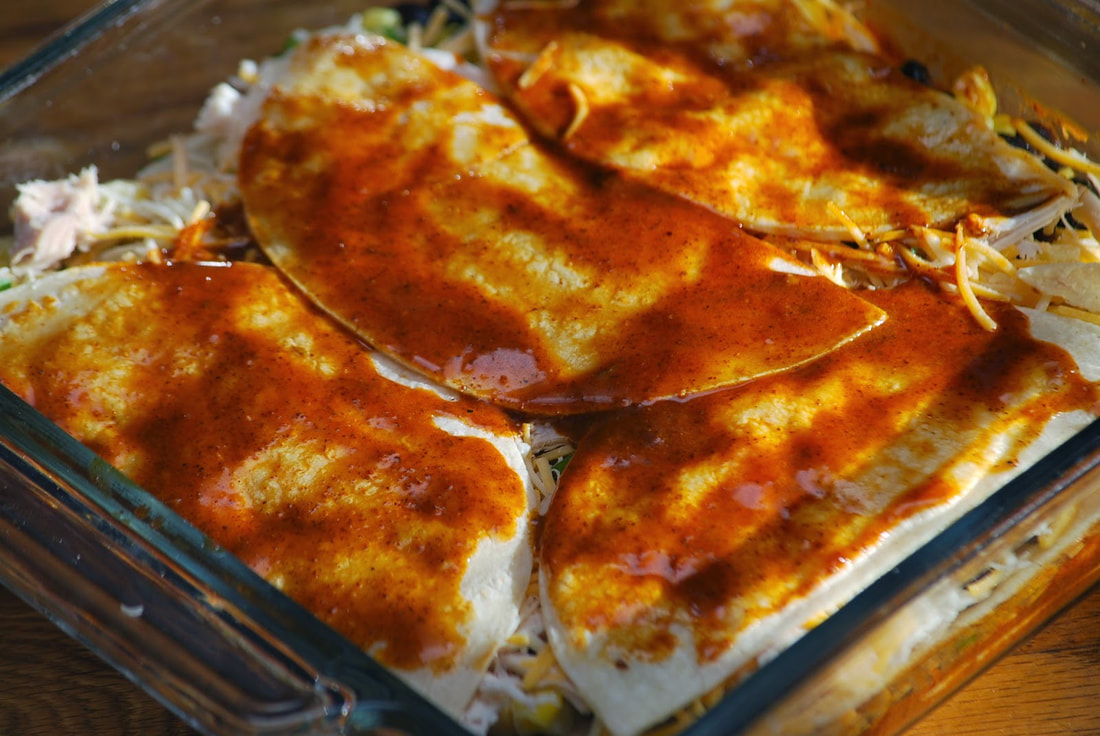
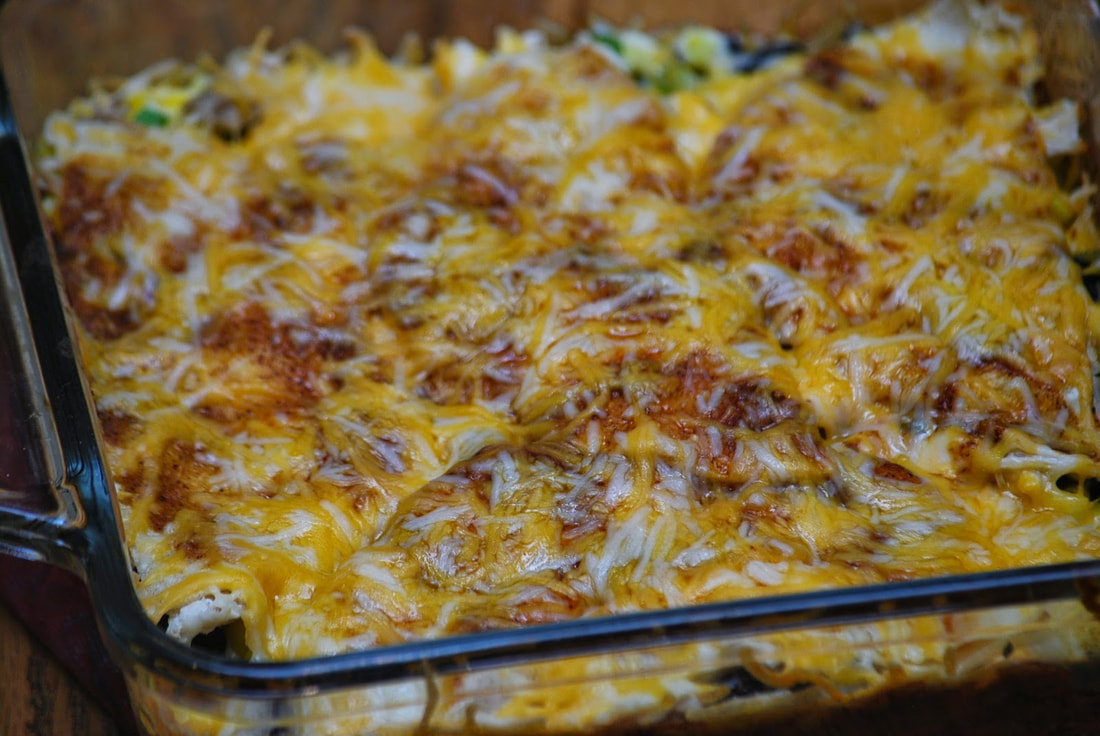
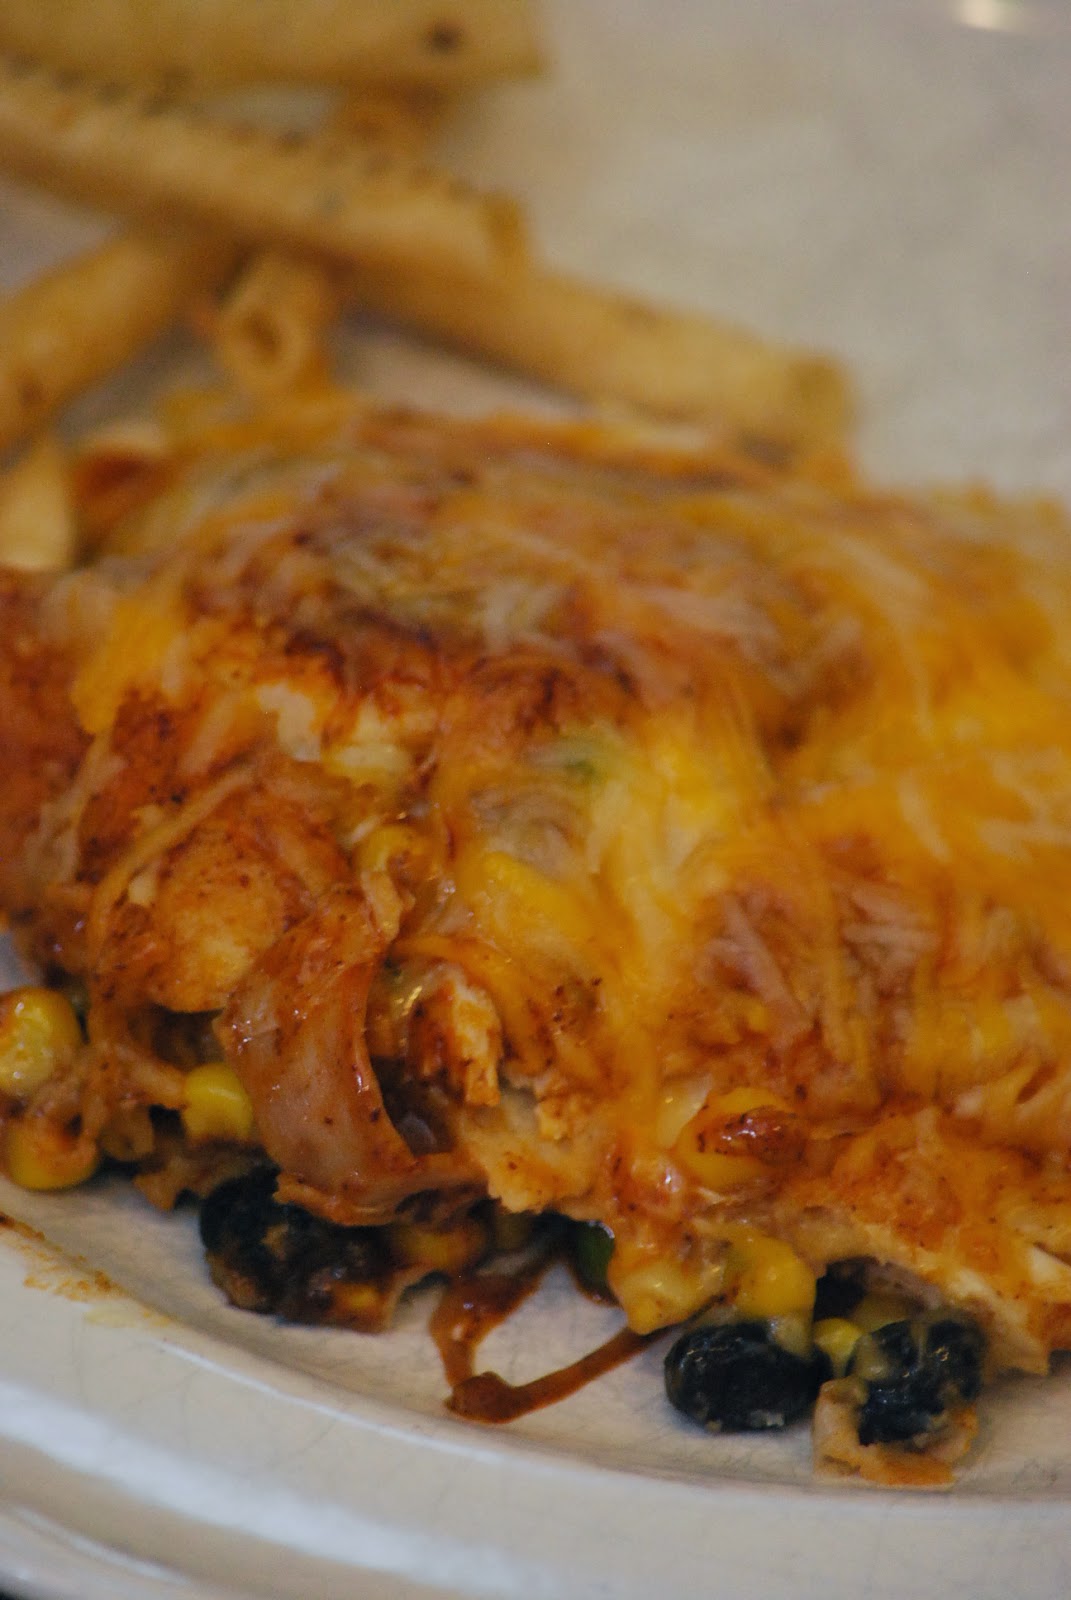
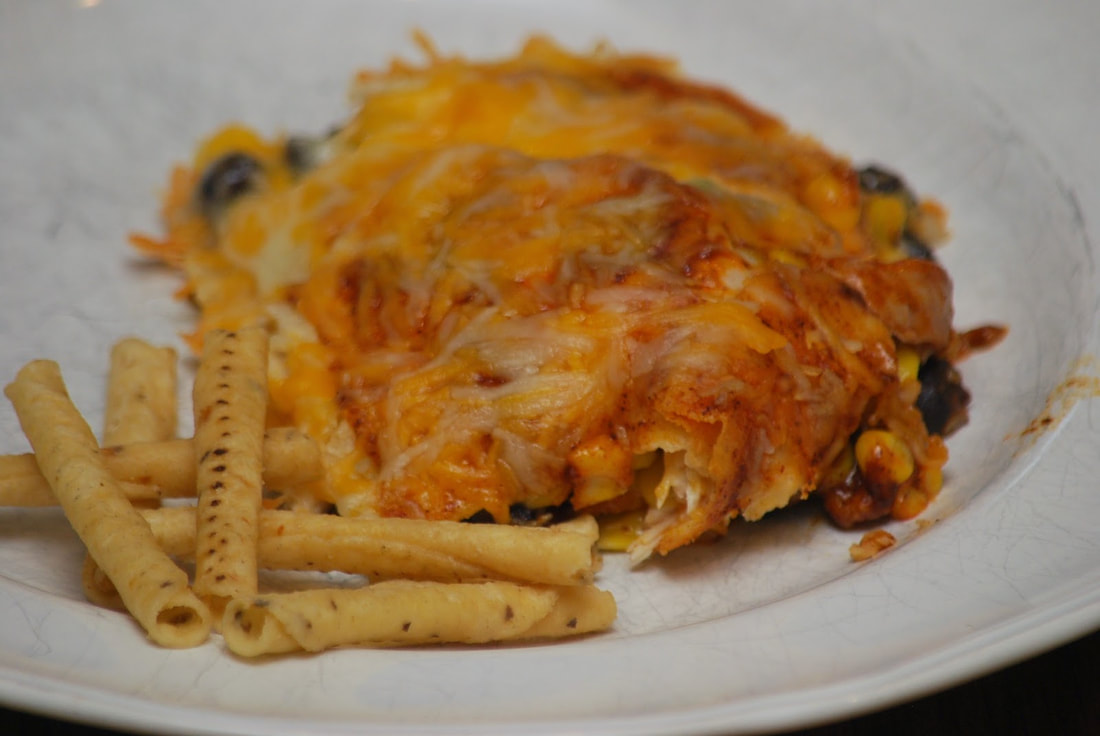
Ciao! 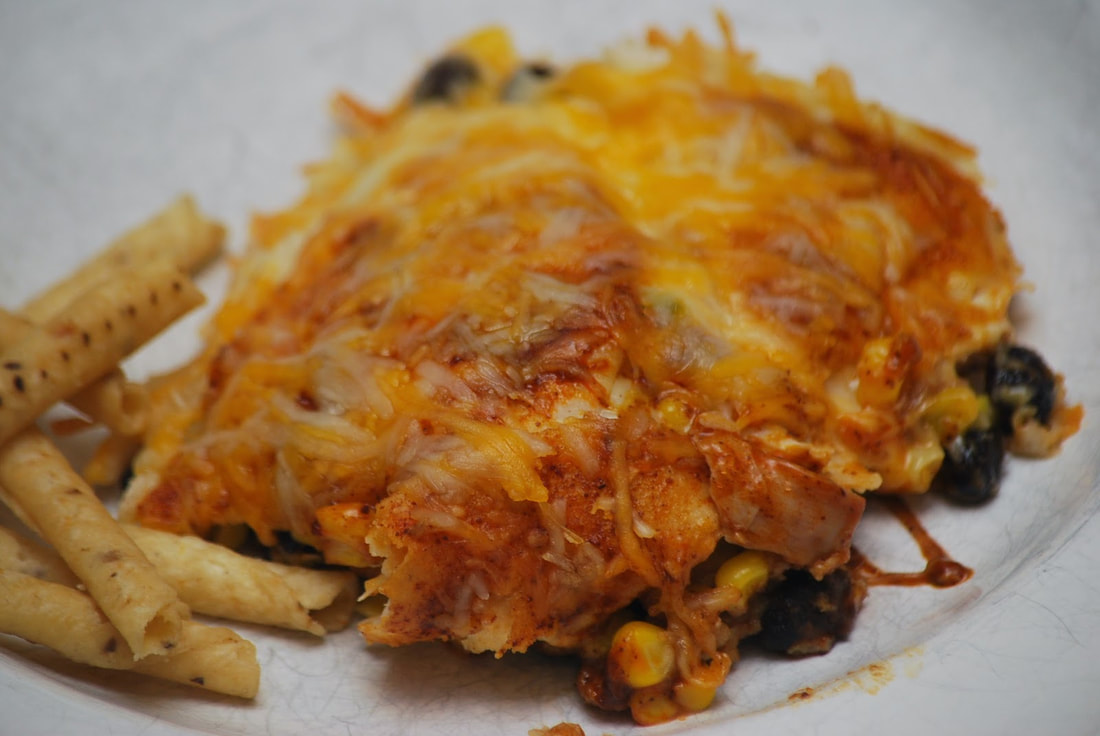 It's December 18th - does the word "busy" even begin to accurately describe your to-do list for today? Presents to buy, food to prepare, rooms to clean, laundry to finish, parties to attend, teacher gifts to send to school - sound familiar? If you're feeling overwhelmed today - You're not alone. Trust me! 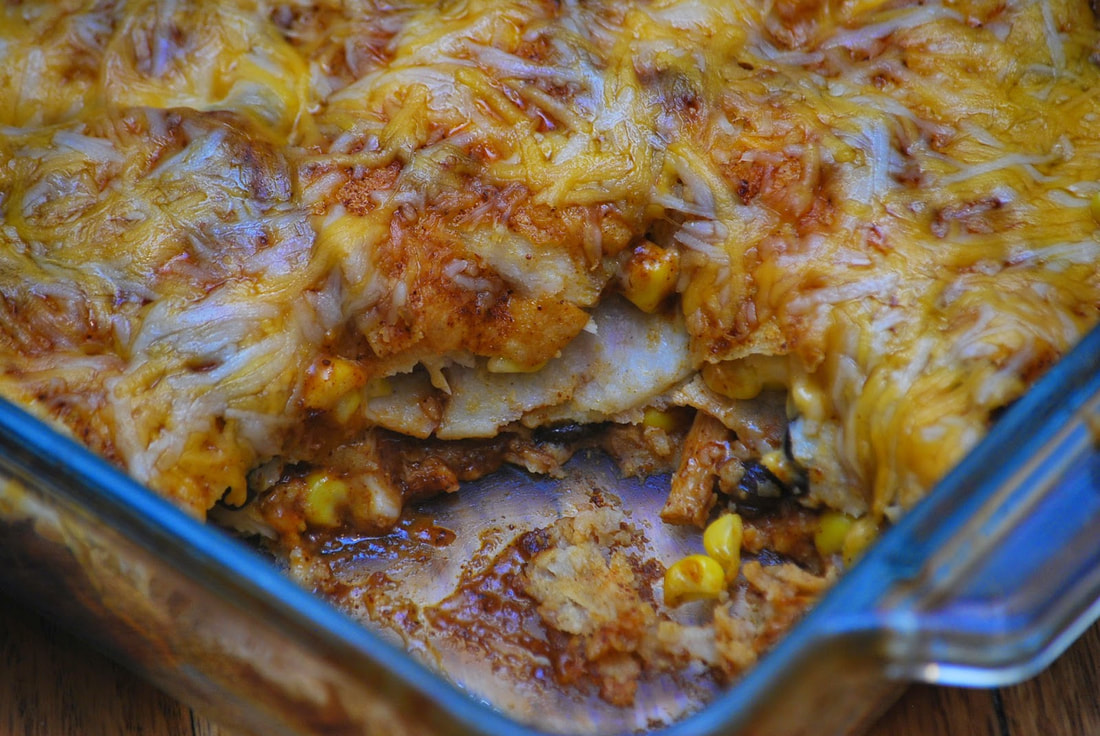 I think it's time to take a collective deep breath. Ahhhhhh. OK - Time to tackle my list of tasks for the day. Did I mention that Courtney is taking her drivers test today too? :) 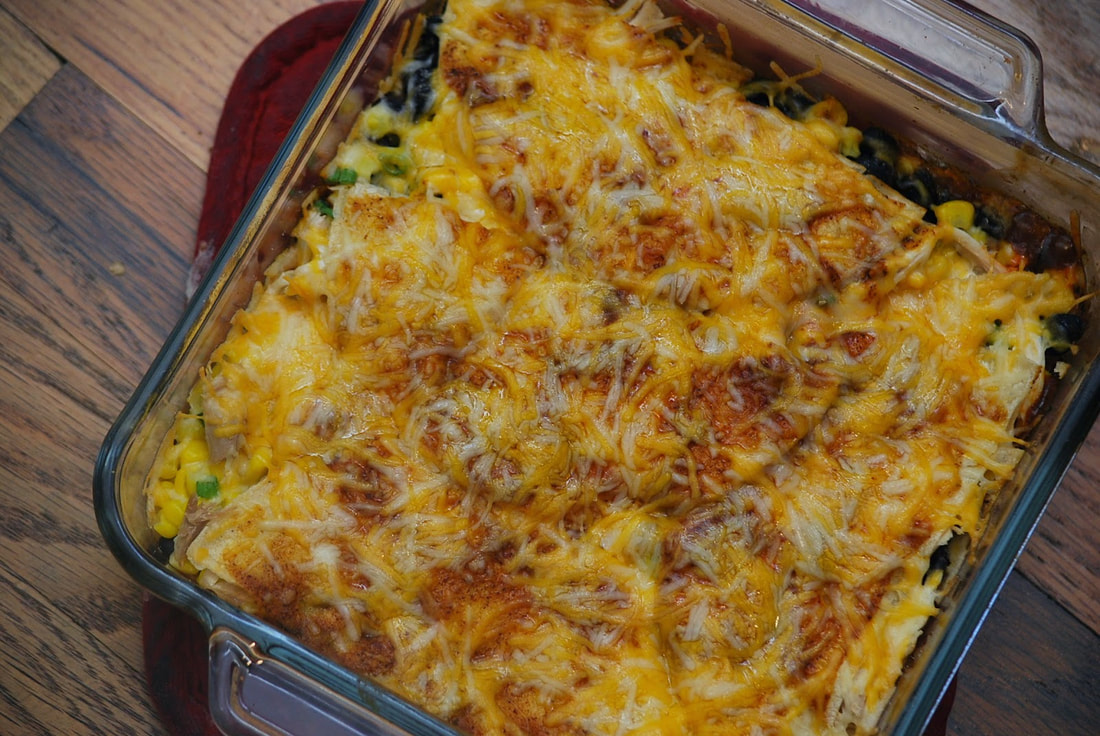 It's days like this when I am so thankful that I have some freezer meals that I can pull out and heat up without a whole lot of prep time. I'm pretty sure that gimmesomeoven.com was thinking about my crazy life when she posted this chicken enchilada casserole recipe because it is absolutely perfect. It can be made ahead of time AND it's delicious. 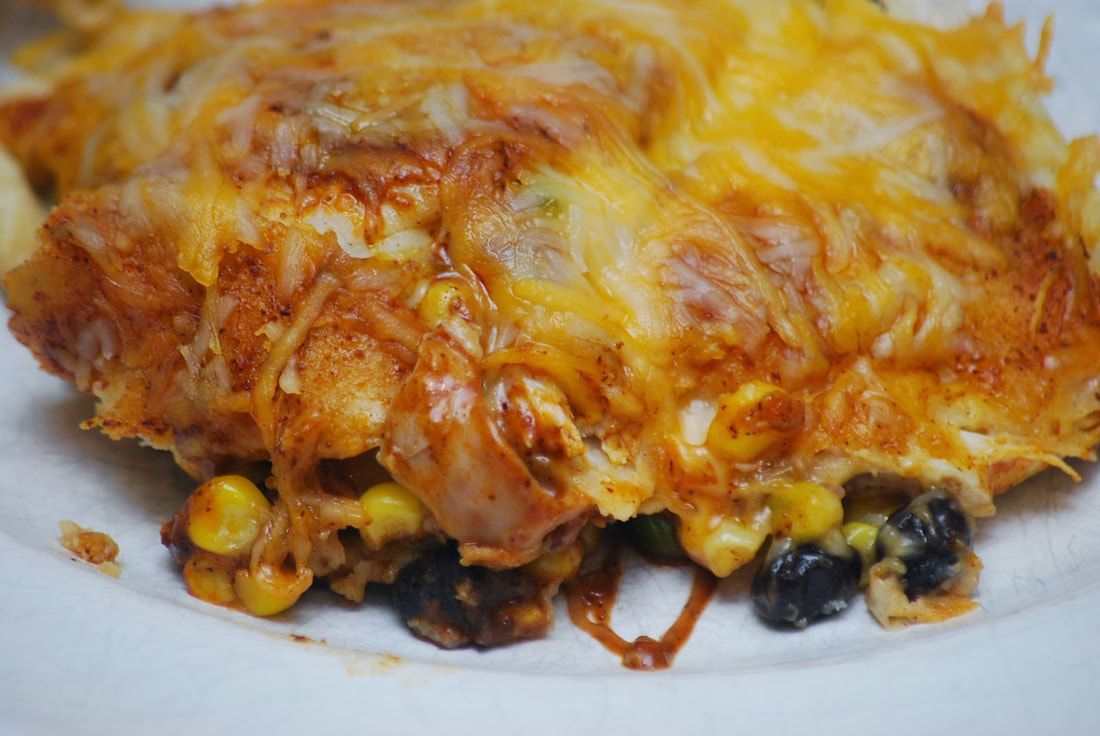 Chicken Enchilada Casserole 3 cups red enchilada sauce homemade red enchilada sauce 16 corn tortillas, halved 2 (15 ounce) cans black beans, rinsed and drained 1 (15 ounce) can whole kernel corn, drained 6 scallions (green onions), thinly sliced 4 cups (about 1.5 pounds) shredded cooked chicken 3 cups shredded Mexican blend cheese 1 avocado, peeled, pitted and diced homemade red enchilada sauce 2 Tbsp. vegetable or canola oil 2 Tbsp. all-purpose or gluten-free flour 2 Tbsp. chili powder 1/2 tsp. garlic powder 1/2 tsp. salt 1/4 tsp. cumin 1/4 tsp. oregano 2 cups chicken or vegetable stock For sauce: Heat oil in a small saucepan over medium-high heat. Add flour and stir together over the heat for one minute.
Stir in the remaining seasonings (chili powder through oregano).
Top with a layer of about 8 tortilla halves so that the entire dish is covered.
Now to take a moment to sit back and enjoy a meal with my family.
Ciao!
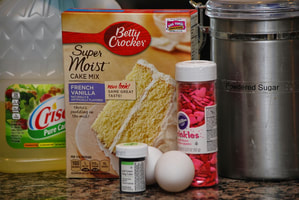
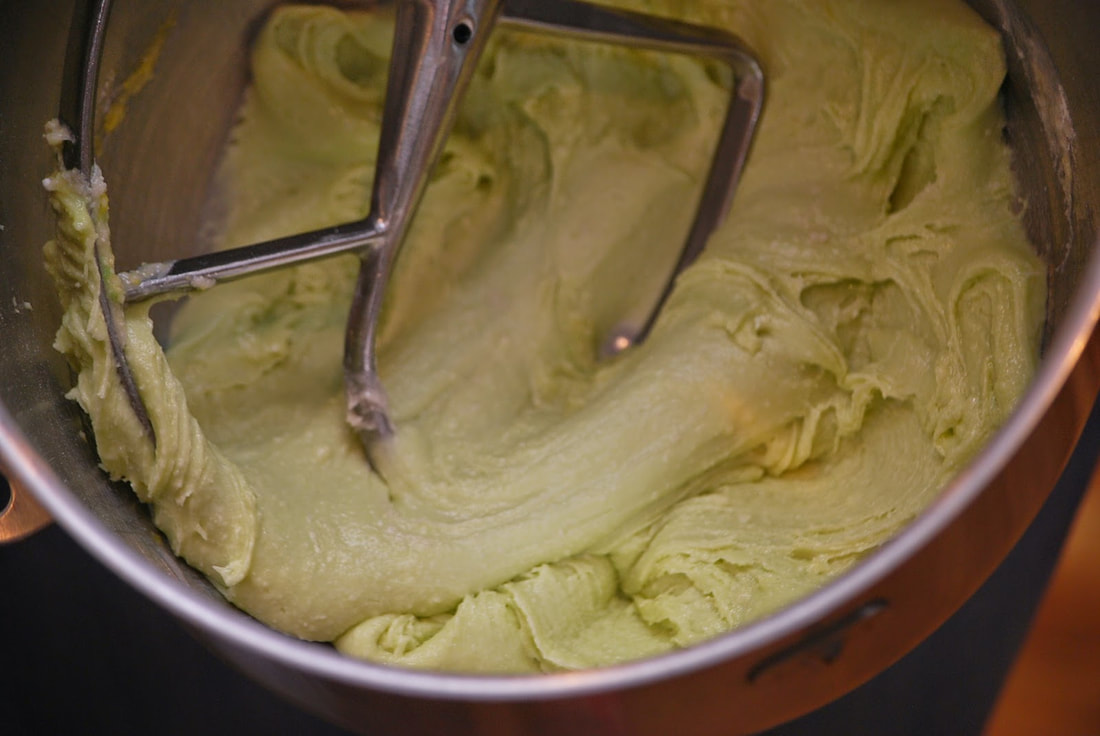
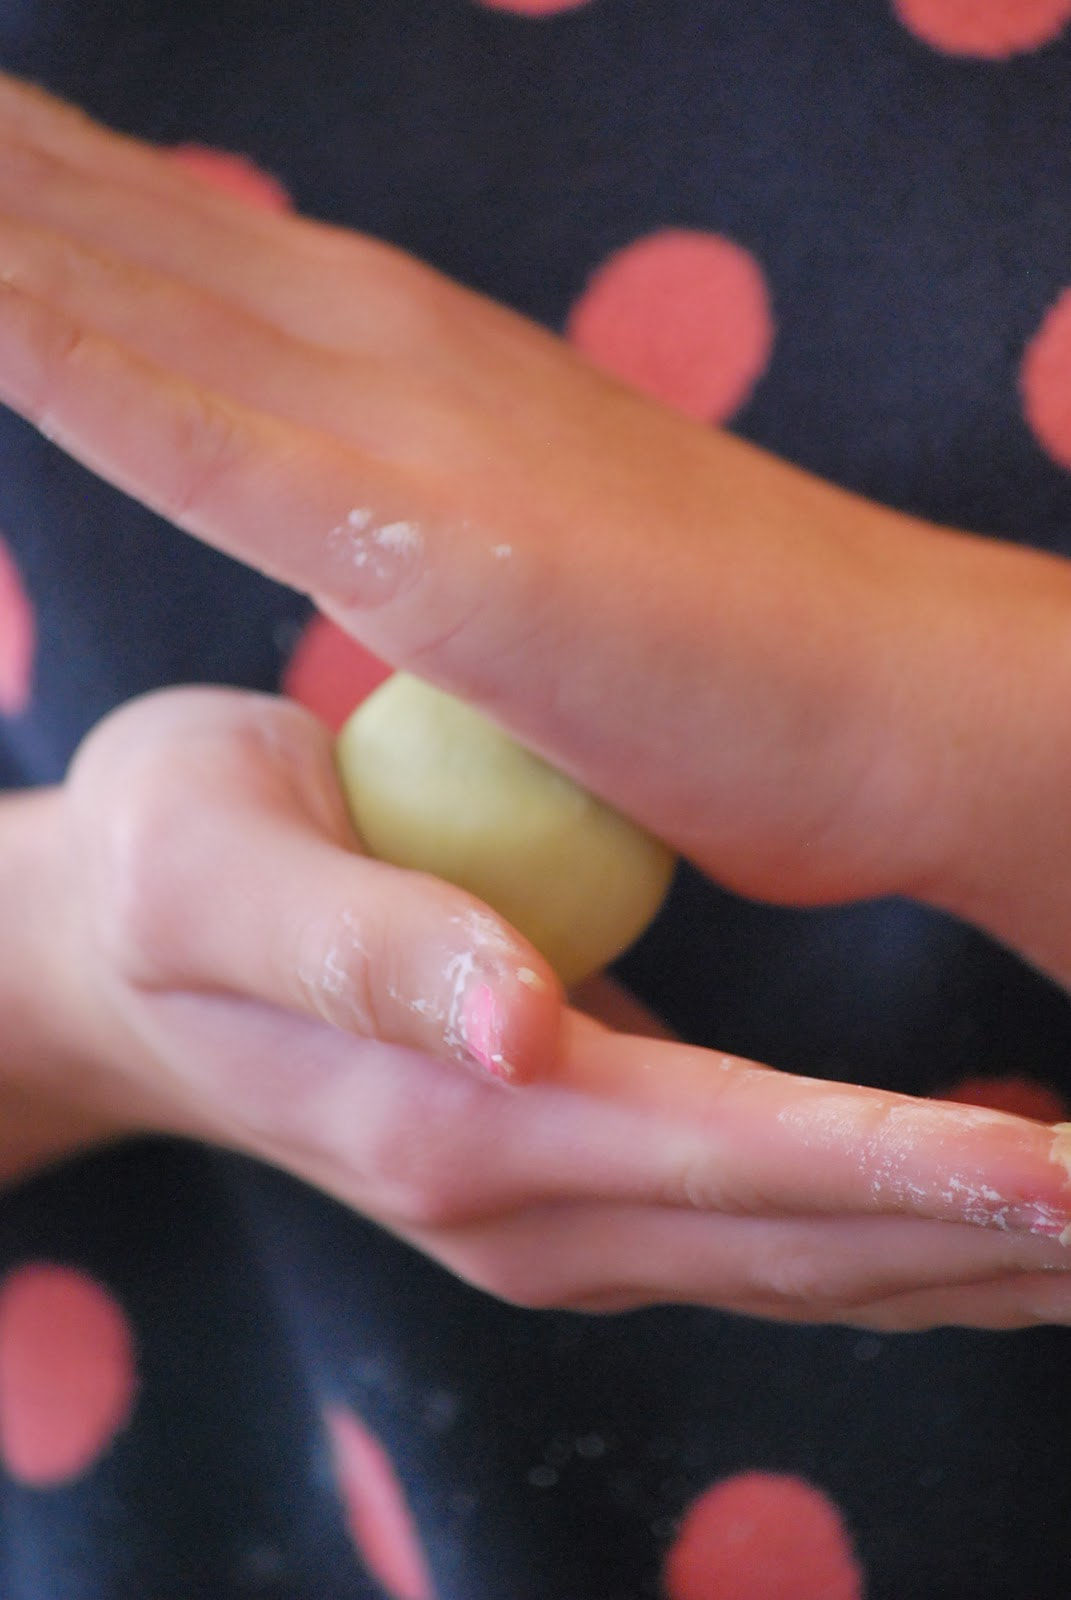
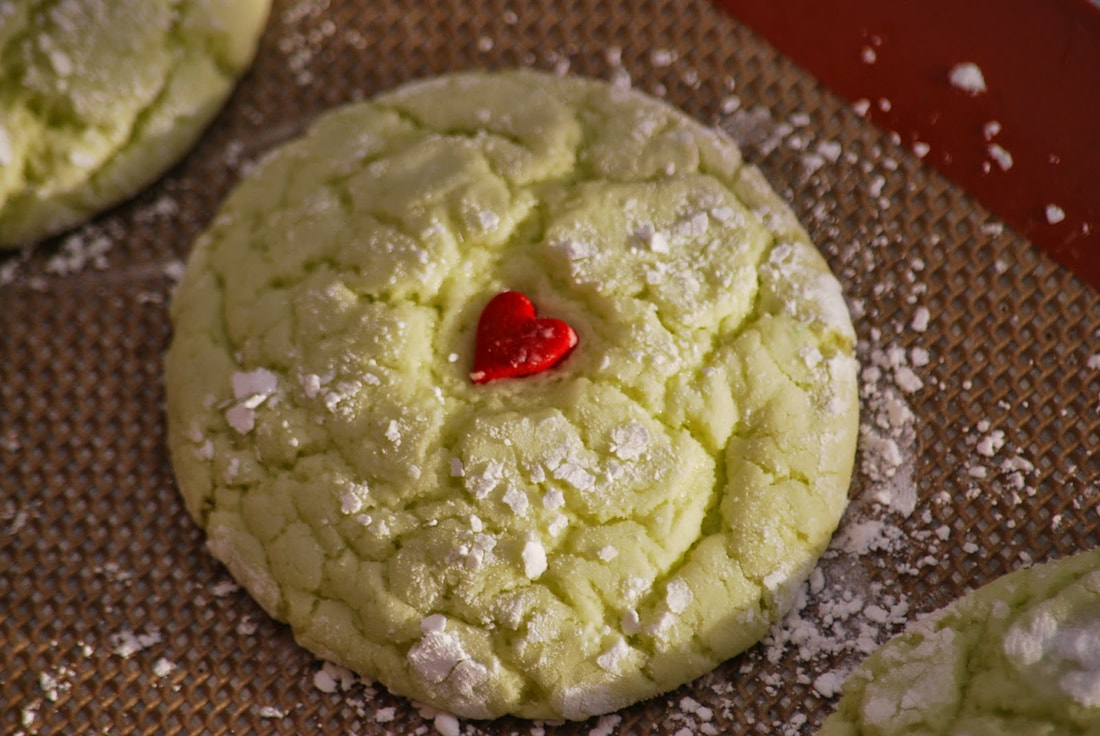
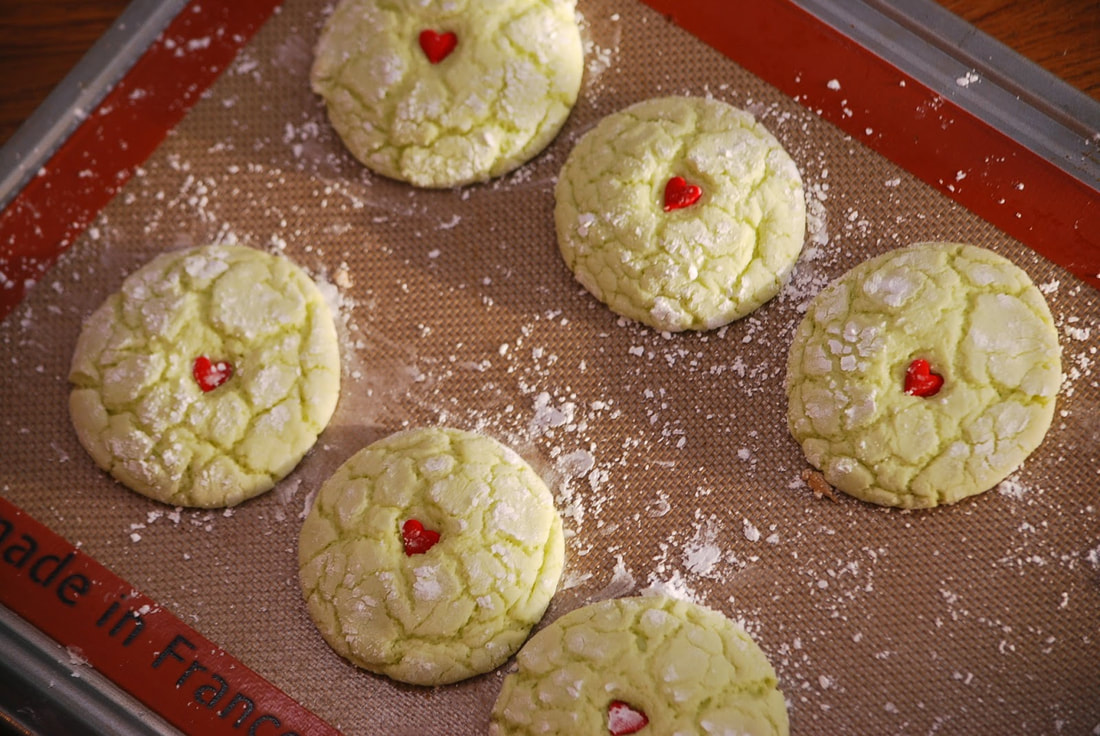
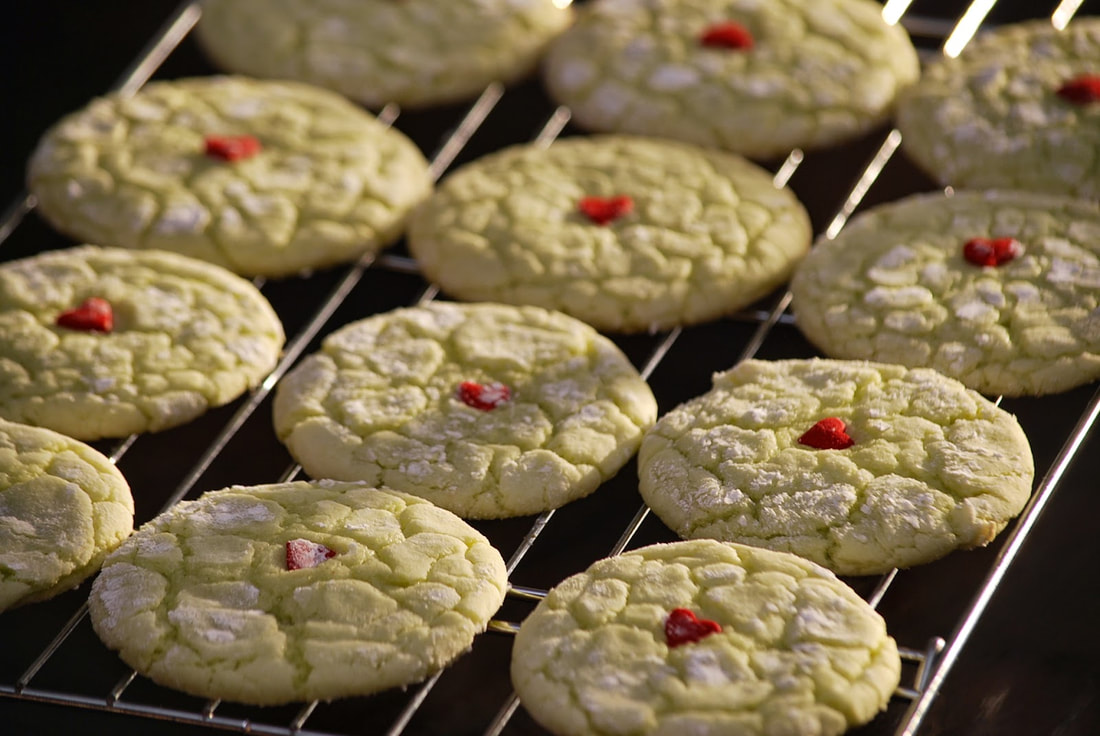
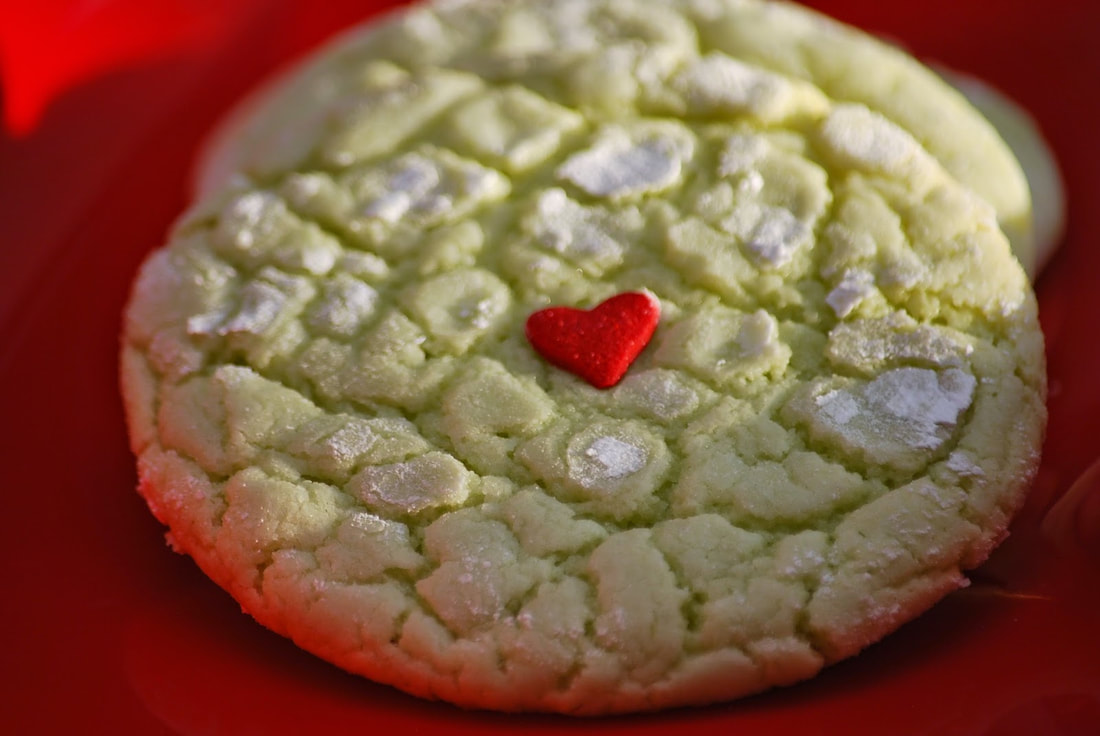 I don't normally post cake mix cookie recipes but I just couldn't resist posting these Grinch cookies. They are super cute - ultra-easy to make and really yummy - the trifecta of the perfect Christmas cookie! 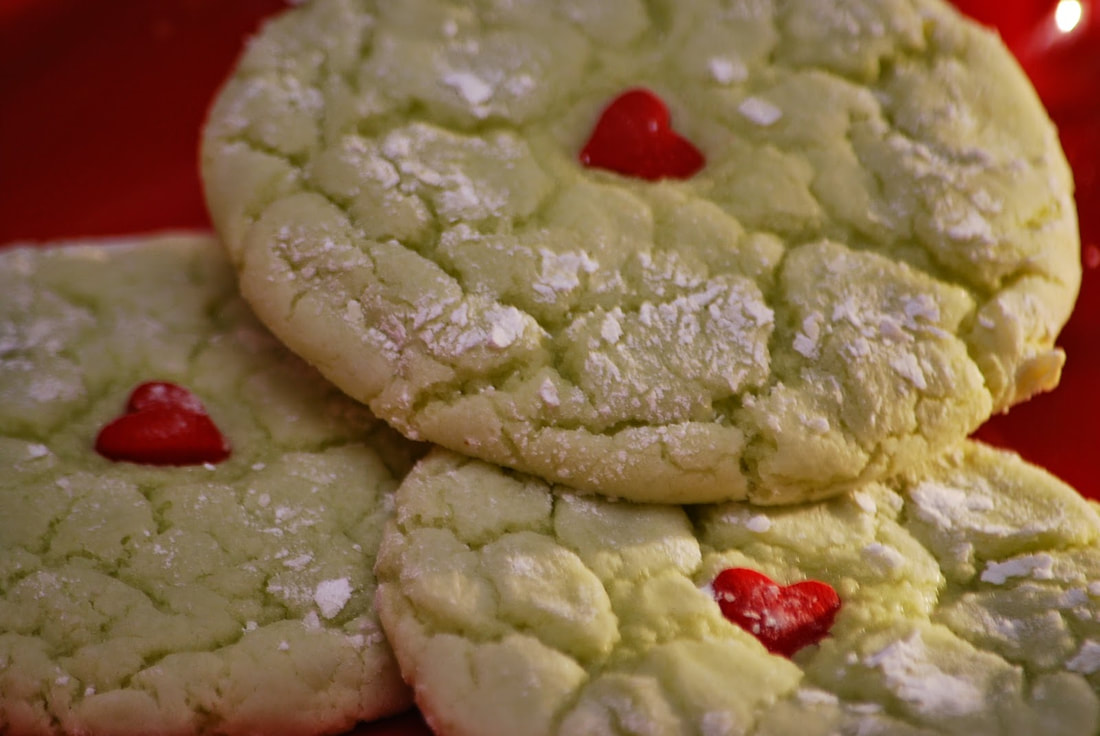 This week I am absolutely swamped with Christmas orders and present wrapping and I'm not even going to mention the fact that my house is a DISASTER. Soooo, when Courtney came home and announced that she needed to take cookies to a school party, I pulled up this recipe on Pinterest and turned the kitchen over to her. (This really is the perfect recipe for kids who love to bake.)  Courtney did a fantastic job with these cookies and I was even able to snap a few pictures in between my gift wrapping. Apparently the kids at school loved them too because the box came home empty from the party. 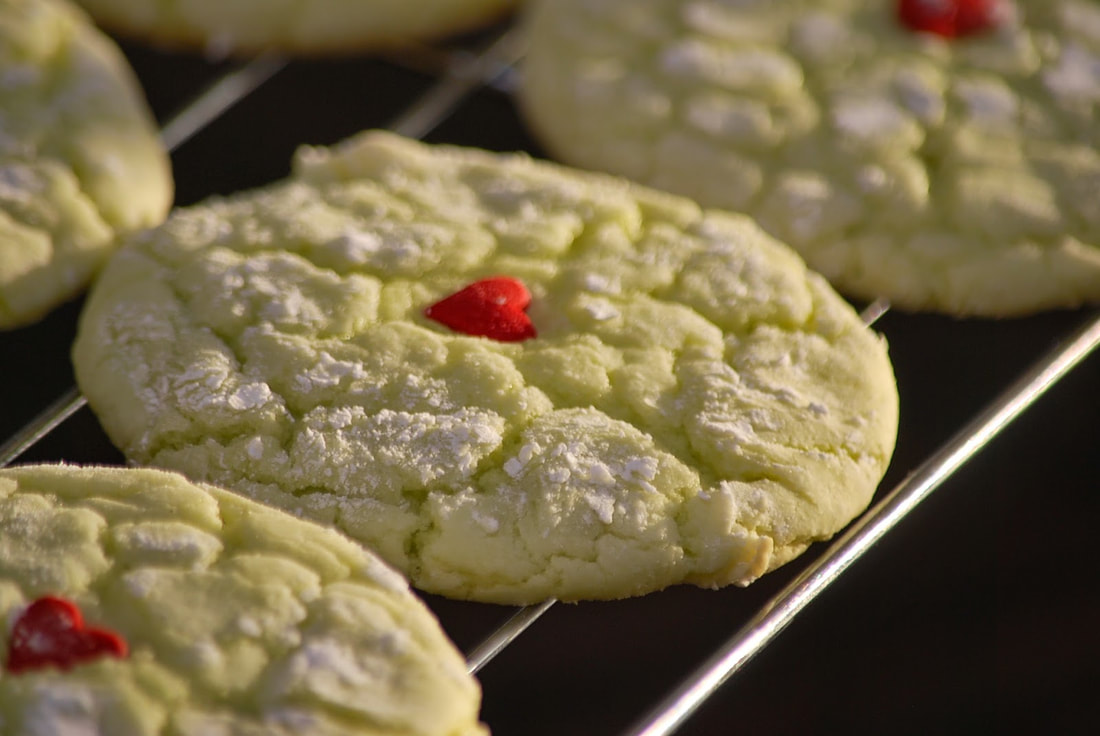
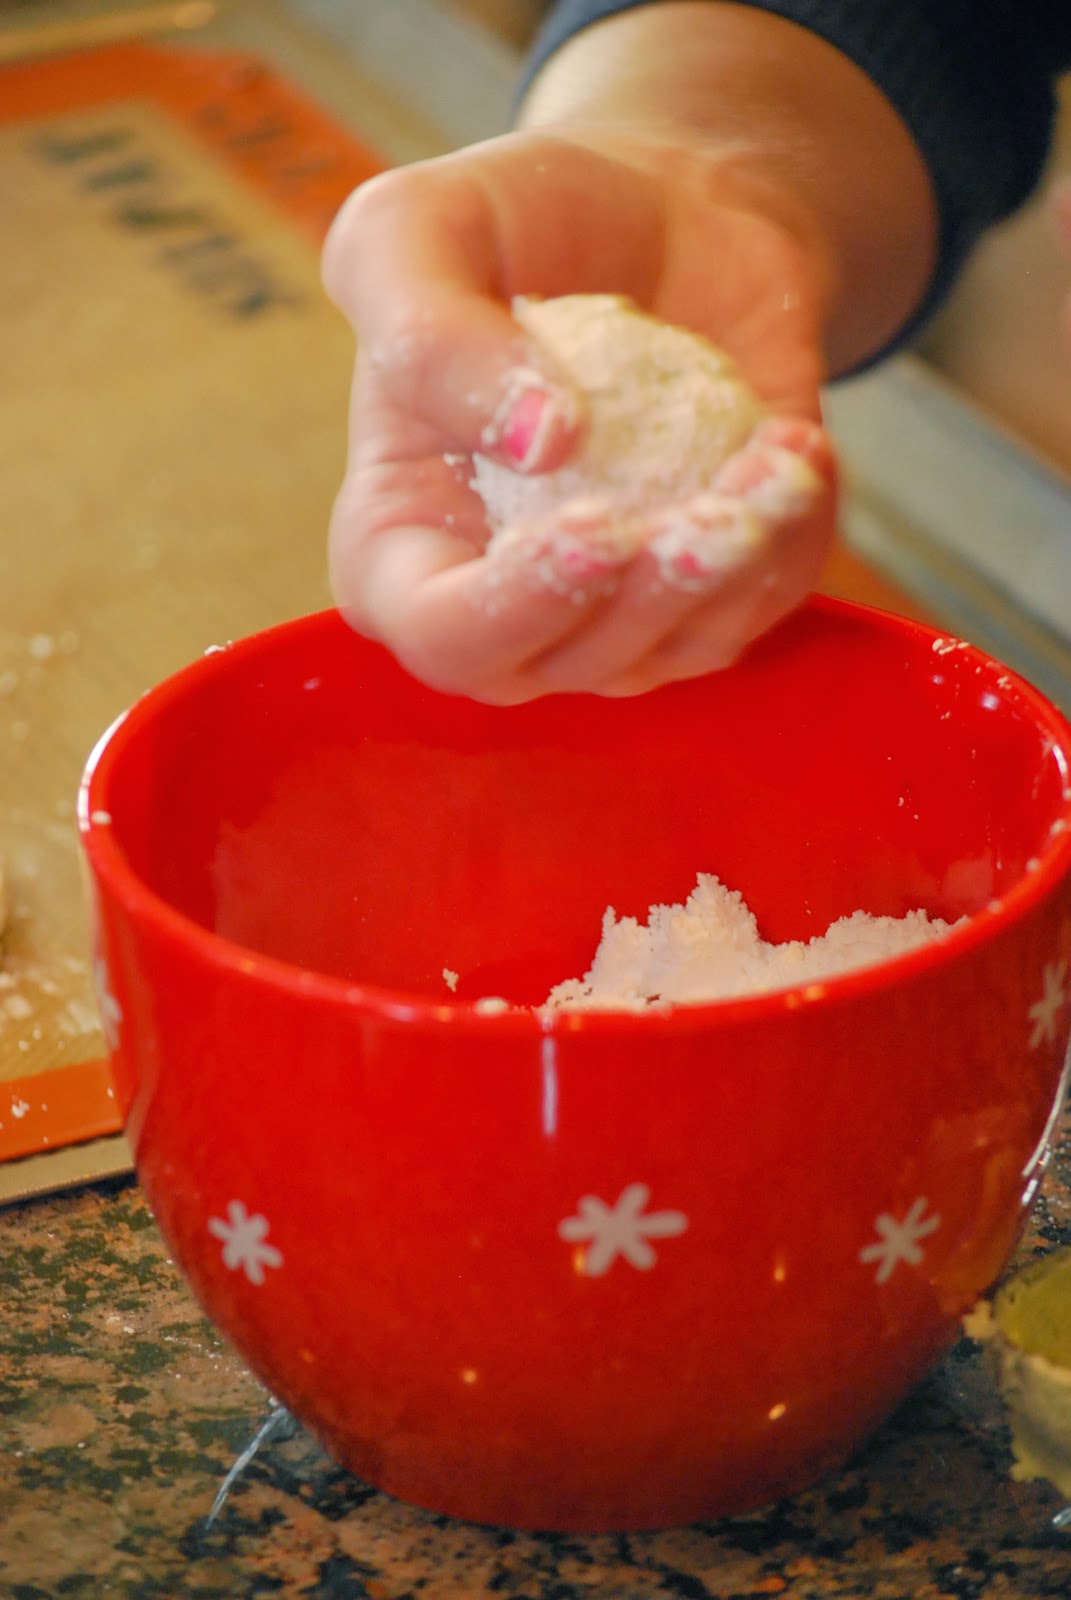
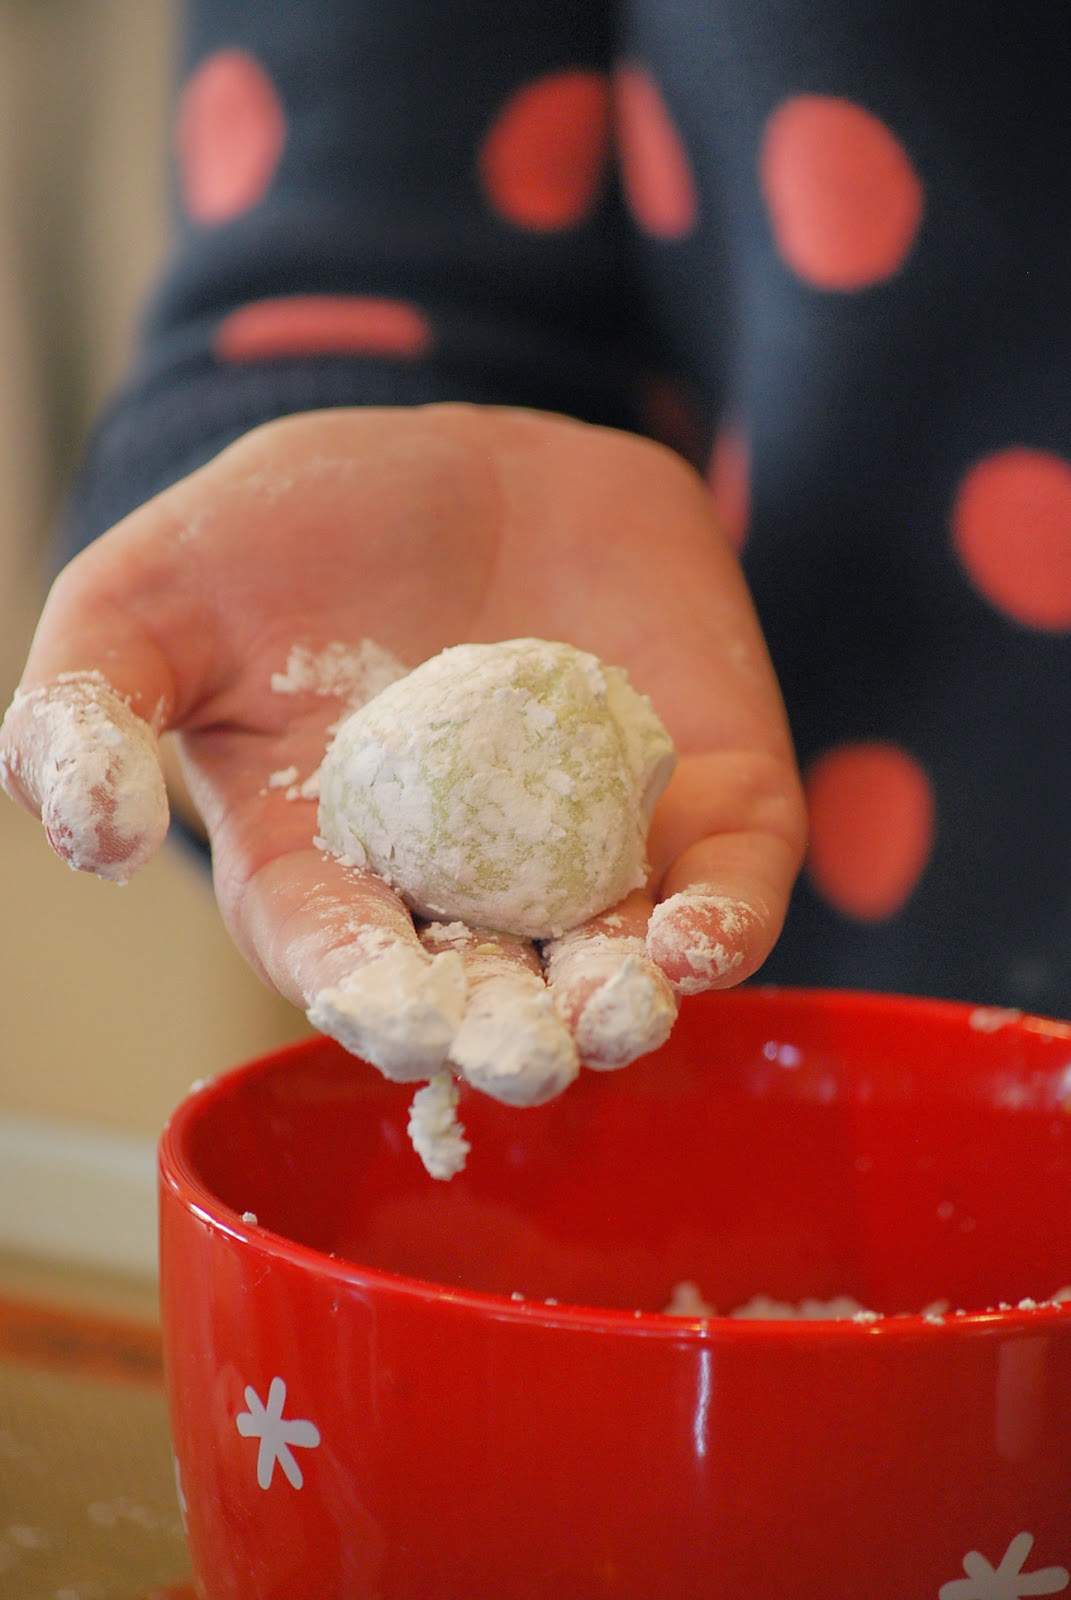
Chill the dough for 10-15 minutes. Drop by Tablespoon into confectioners sugar and roll into balls.
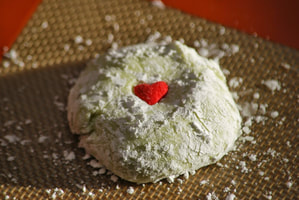
Place on baking sheet and press 1 large heart candy in the center.
Bake for 8 minutes until just set.
Let cool 2 minutes on pan before removing to cool completely on a wire rack.
There you have it - 6 simple ingredients and 30 minutes = delicious Grinch cookies. 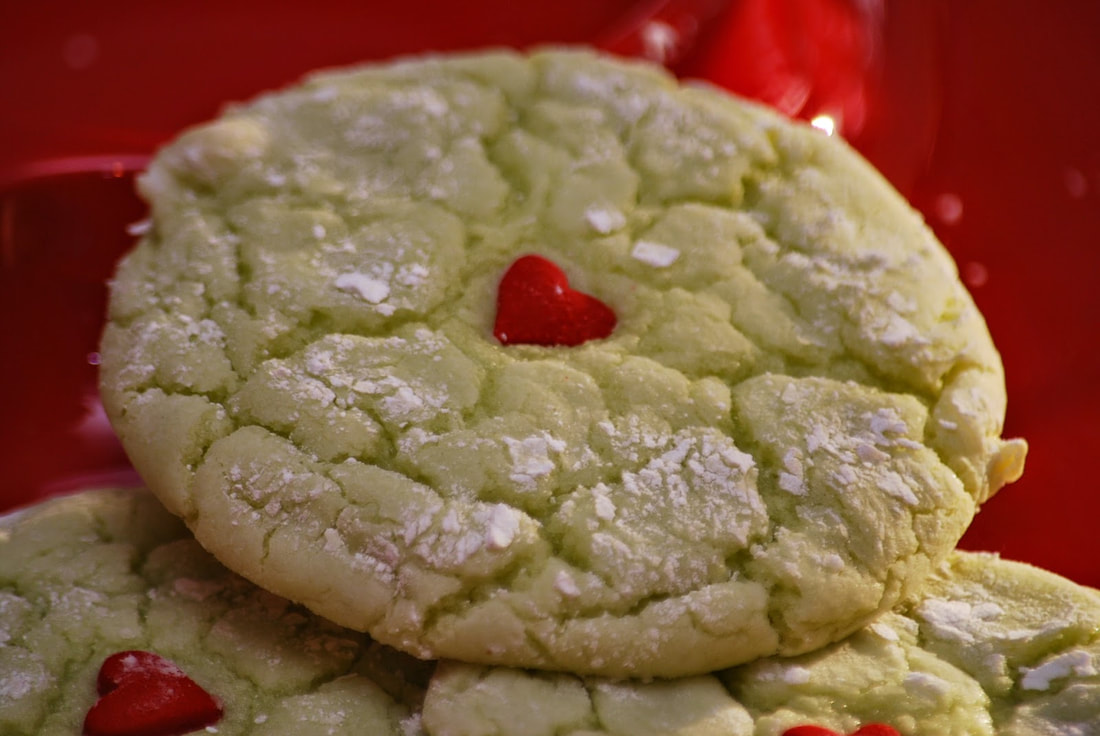 Ciao!
 How is your Christmas spirit today? Are you super excited about the upcoming holiday and ready to embrace all of the tasks and commitments that are required to pull off the perfect Christmas? Or are you tired, overwhelmed and exhausted and dreading the thought of even looking at your to do list for the day? My guess is that most of us lie somewhere in the middle of all those two. 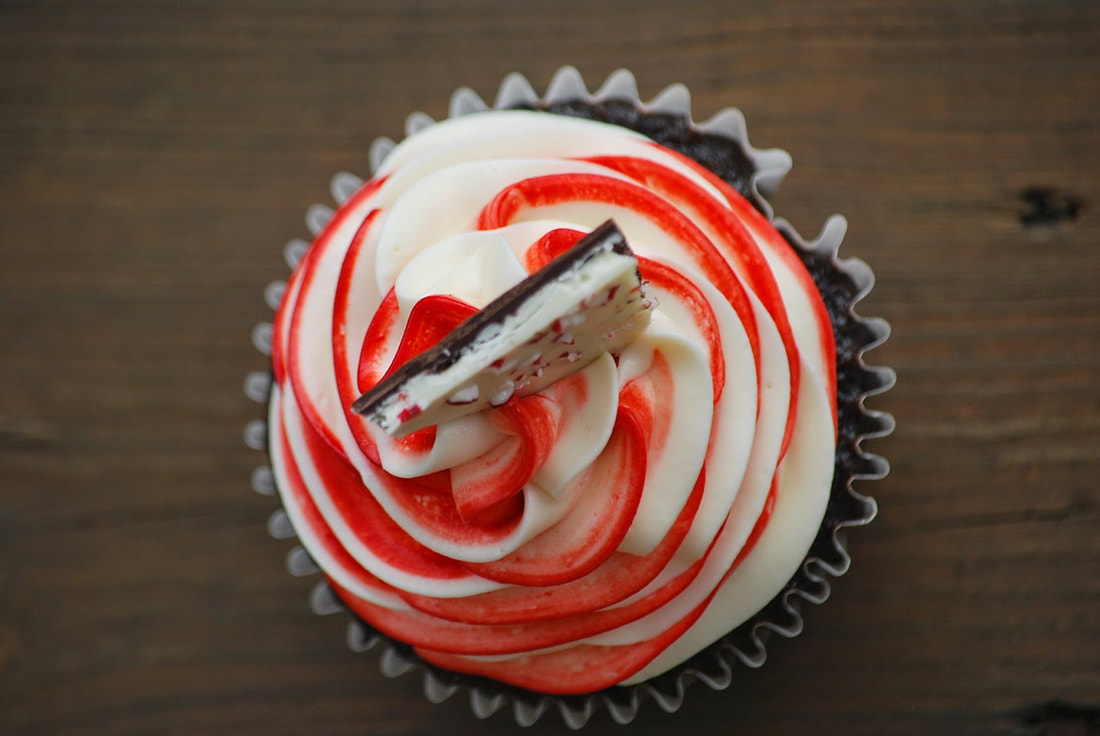 As for me, I am very excited about spending time with all of the people that I love this Christmas but I must admit - I am somewhat afraid to even put my "to-do" list in writing. (Then it just becomes all too real - and overwhelming.) I spend a lot of time preparing for Christmas - buying gifts, wrapping gifts, decorating the house, planning and preparing for family meals, writing cards, etc, etc, etc. It's easy for me to get caught up in all of the "busyness" of the season and my joy for Christmas gets lost.
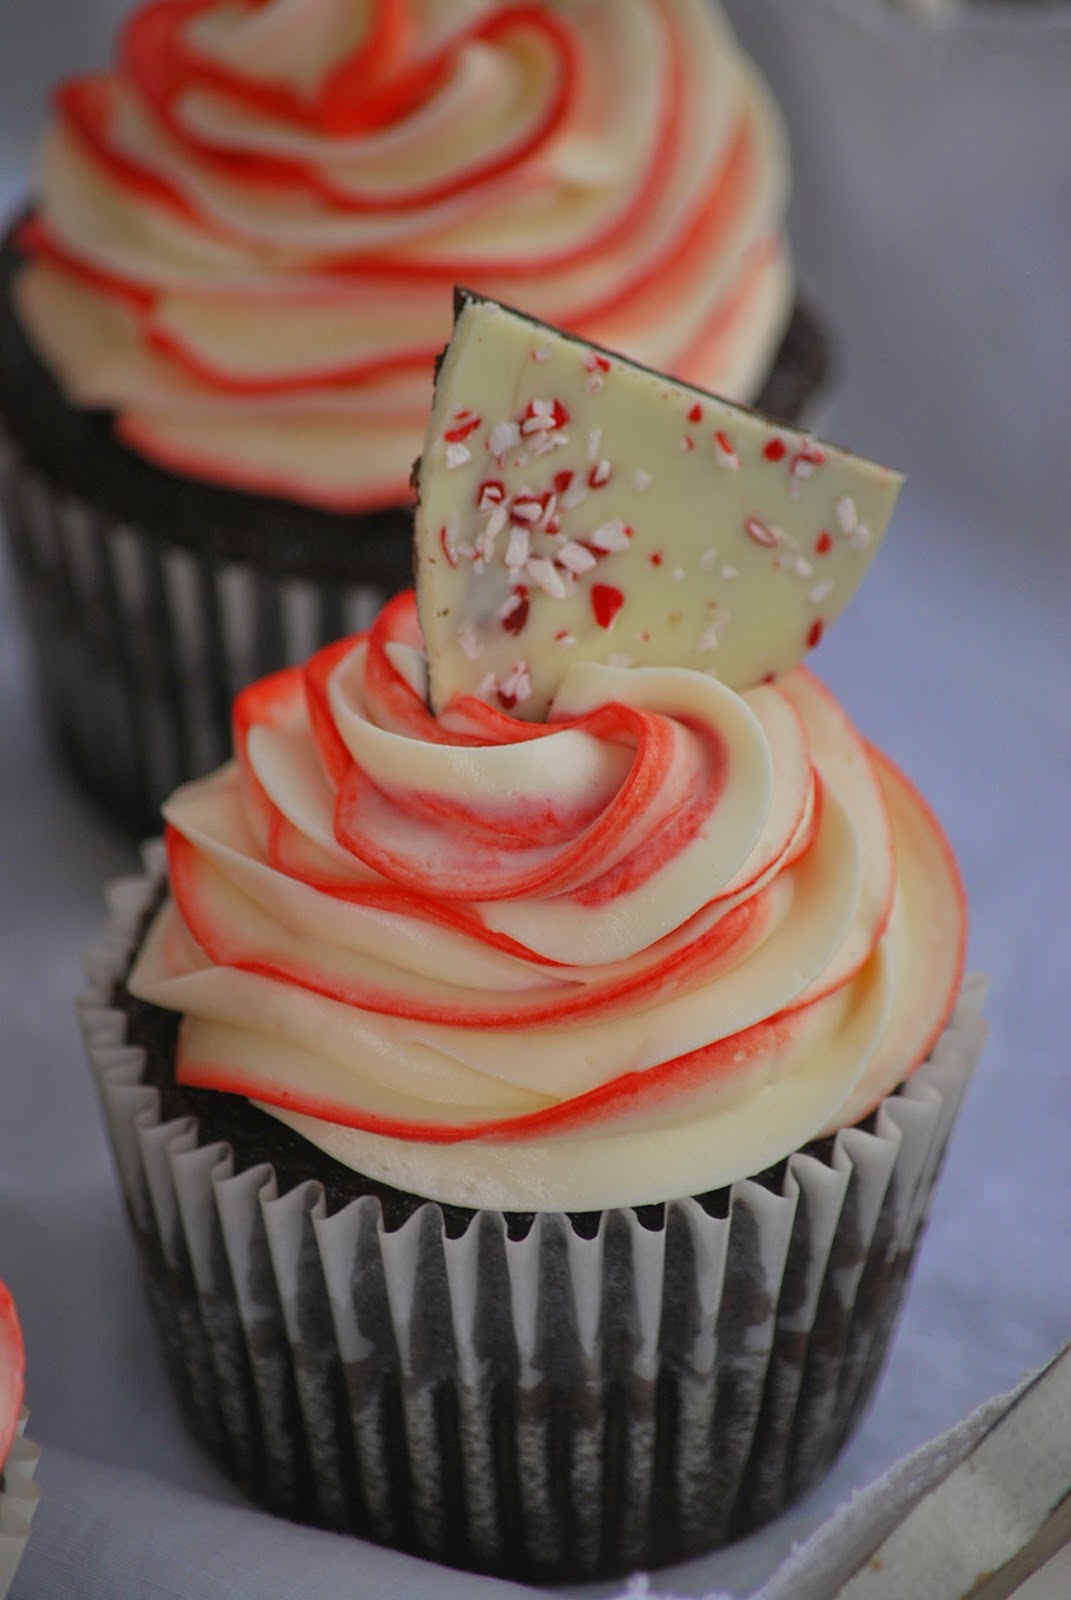
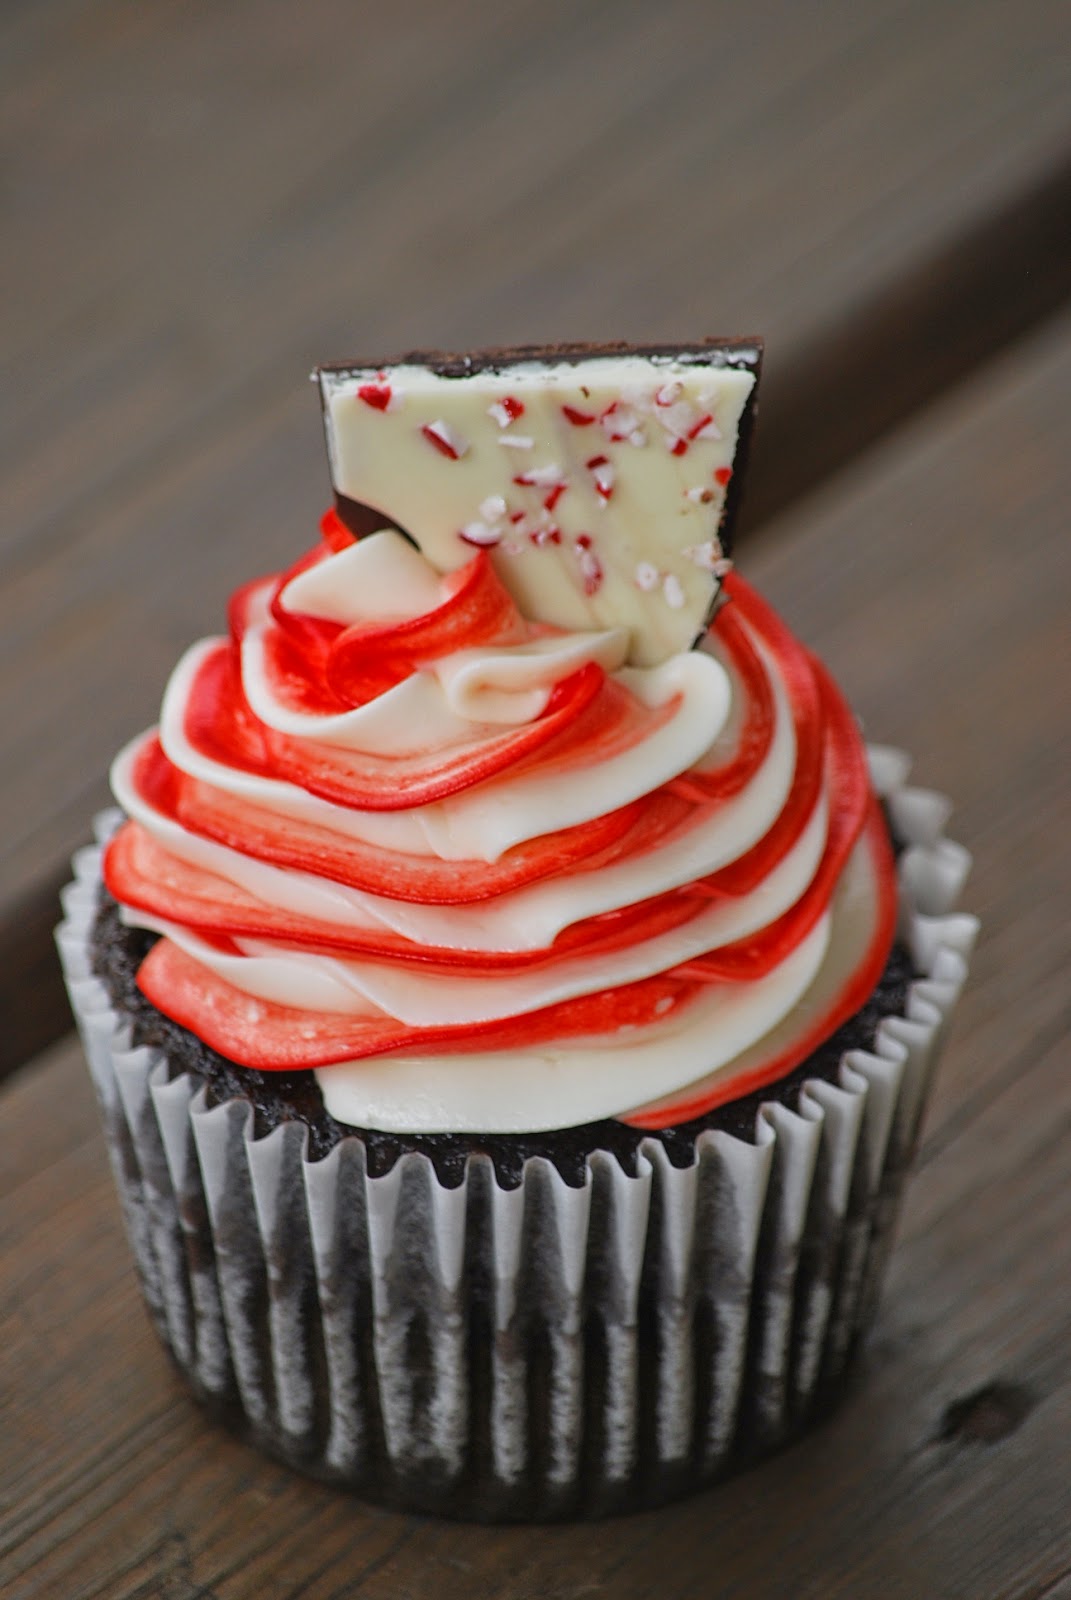
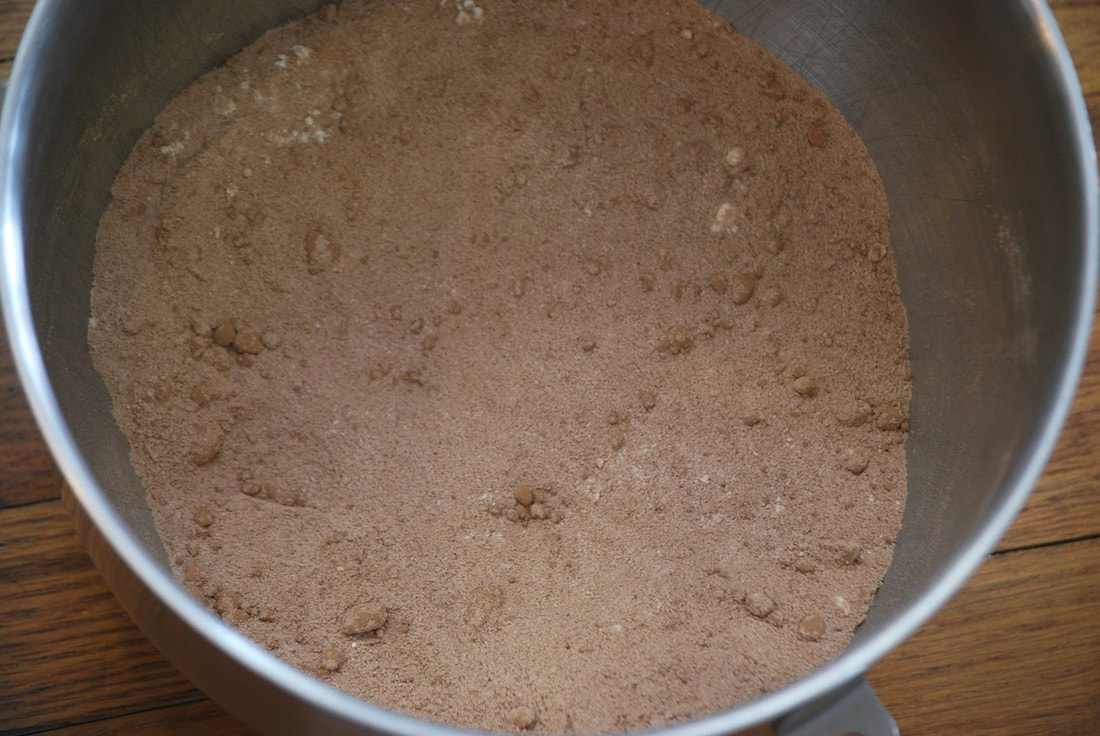
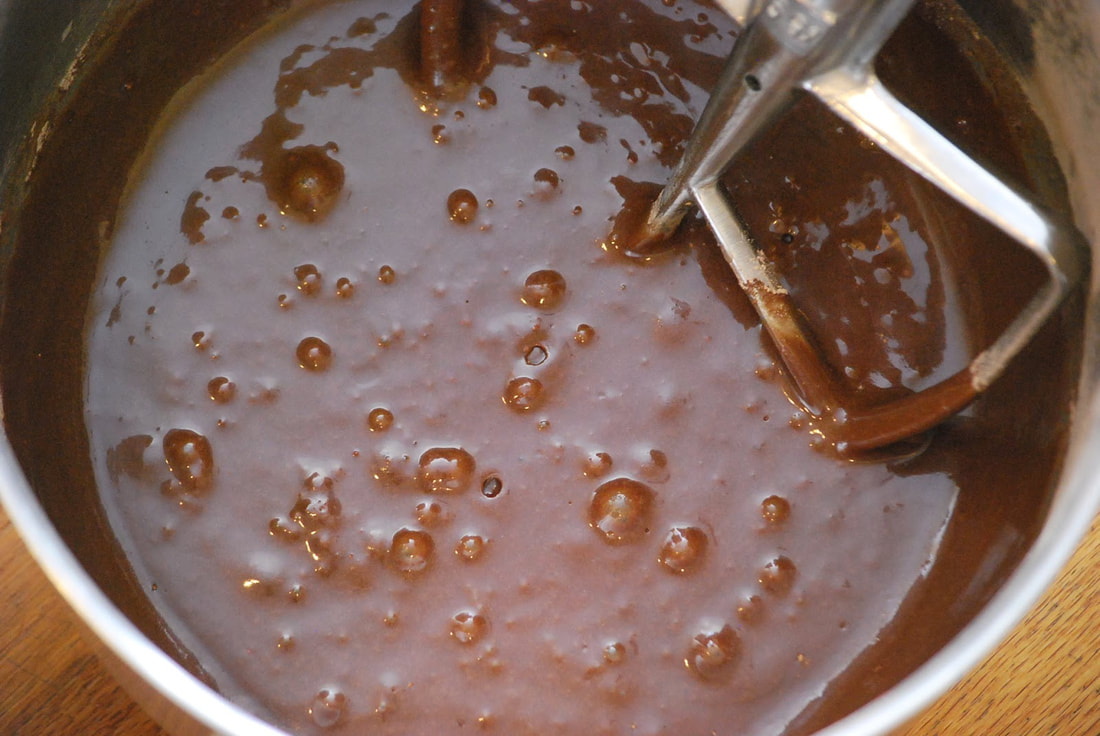
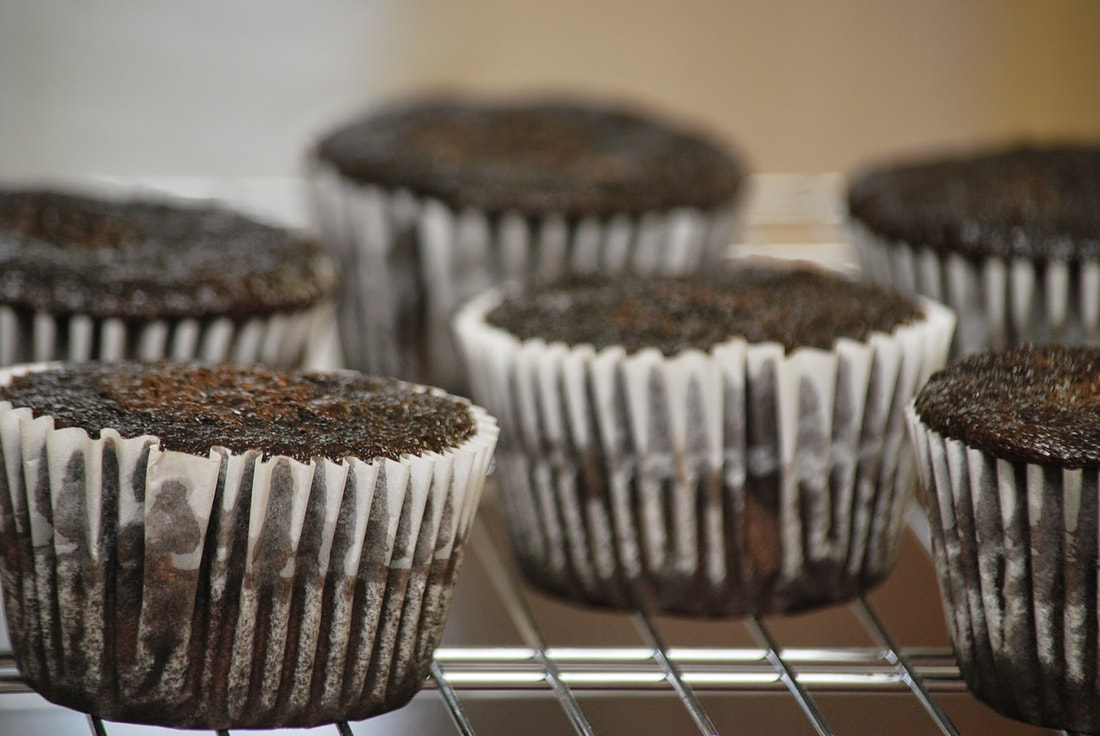
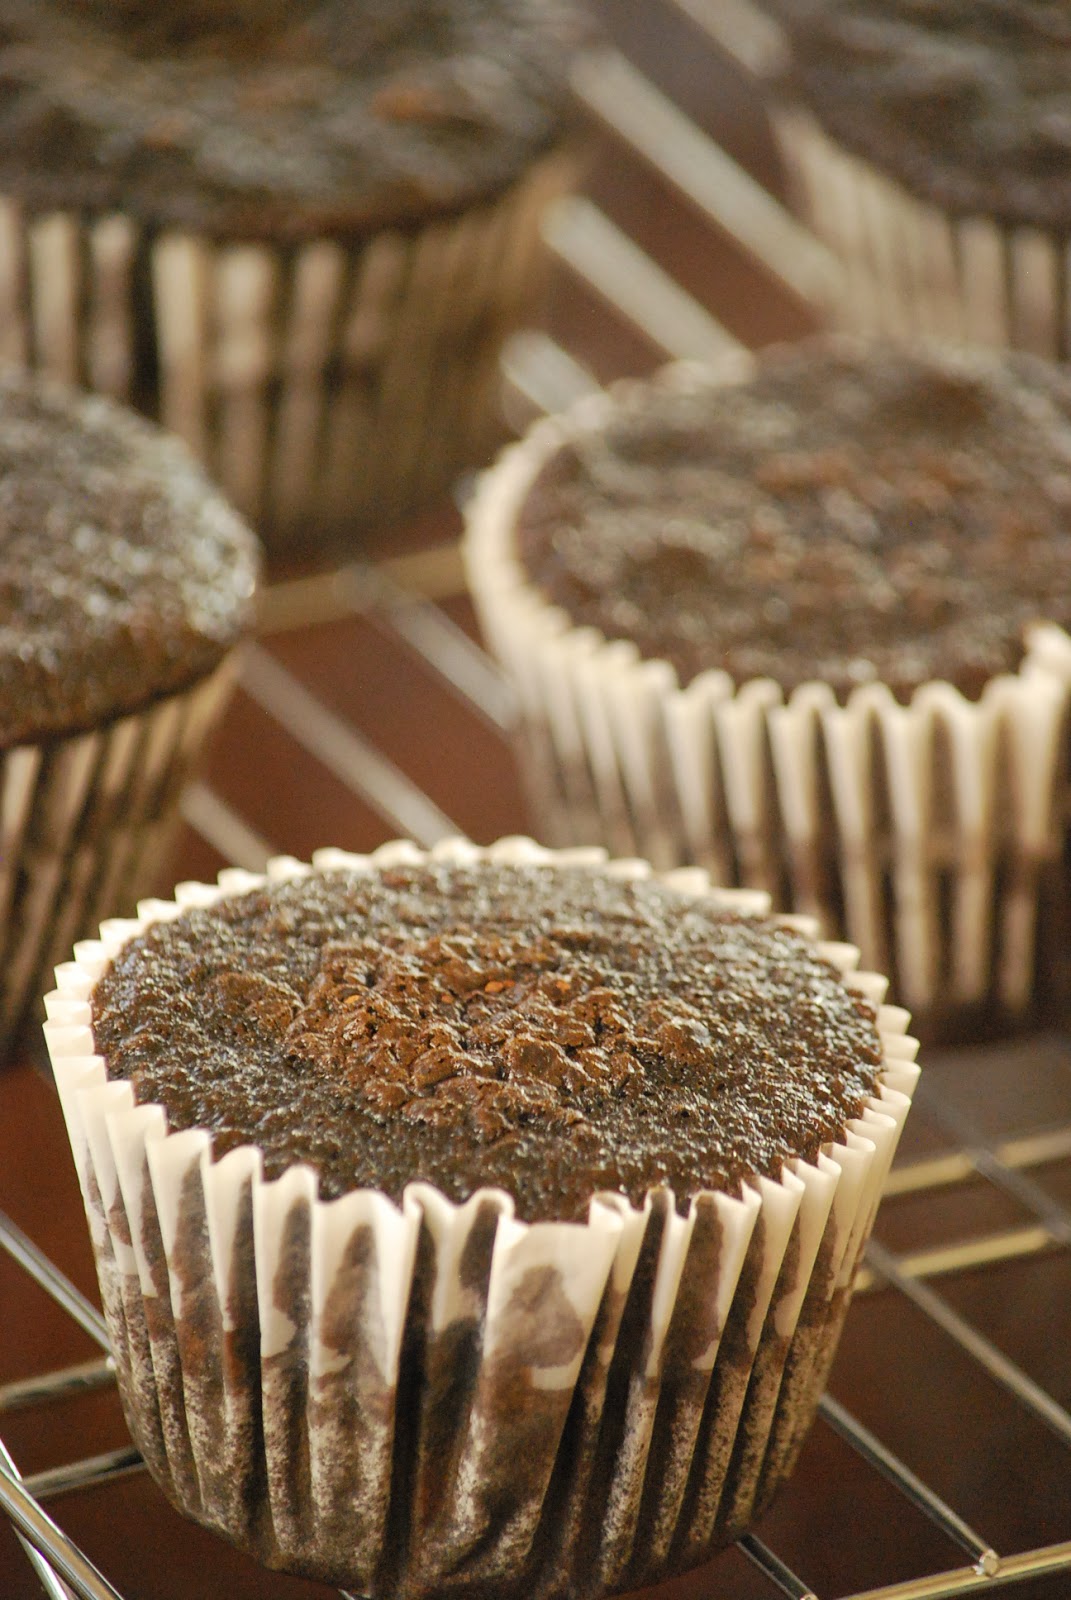
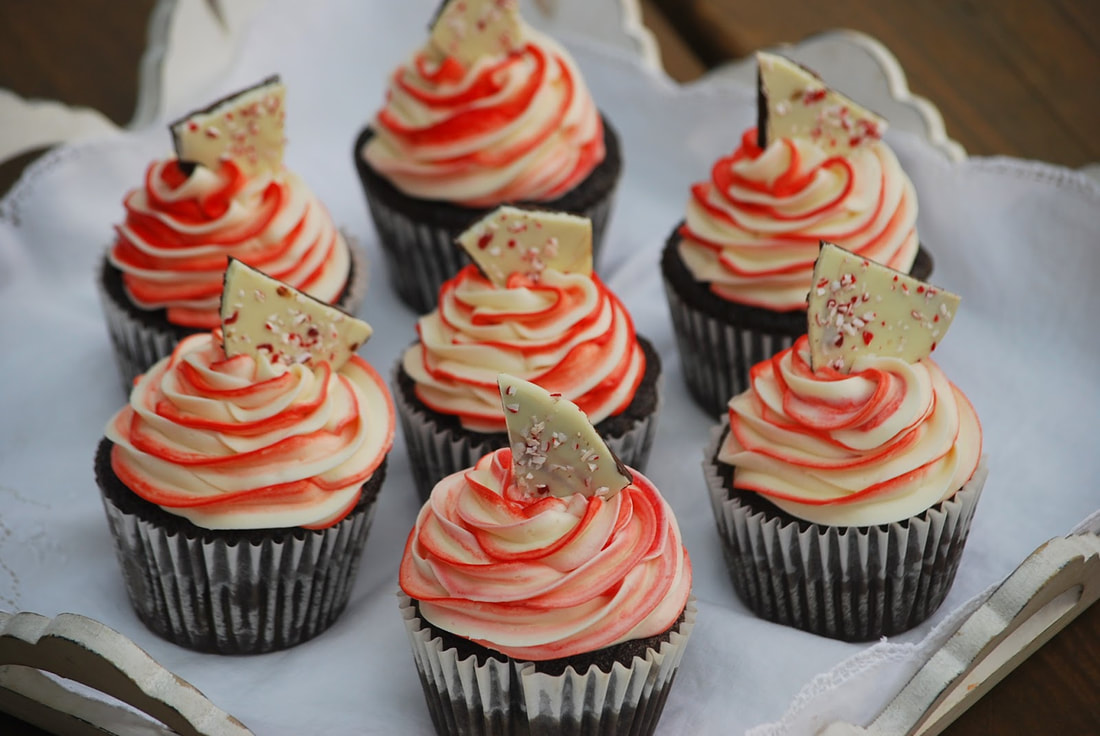
I have to say that making these giant chocolate peppermint cupcakes has given me back my Christmas spirit. (Baking is my therapy.) These chocolate peppermint cupcakes are like beautifully wrapped gifts just waiting for someone to enjoy. Swirls of red striped, peppermint scented cream cheese frosting sitting on top of a moist, dark chocolate cupcake. I challenge anyone to NOT be in the Christmas spirit with a plate of these cupcakes sitting in front of you. 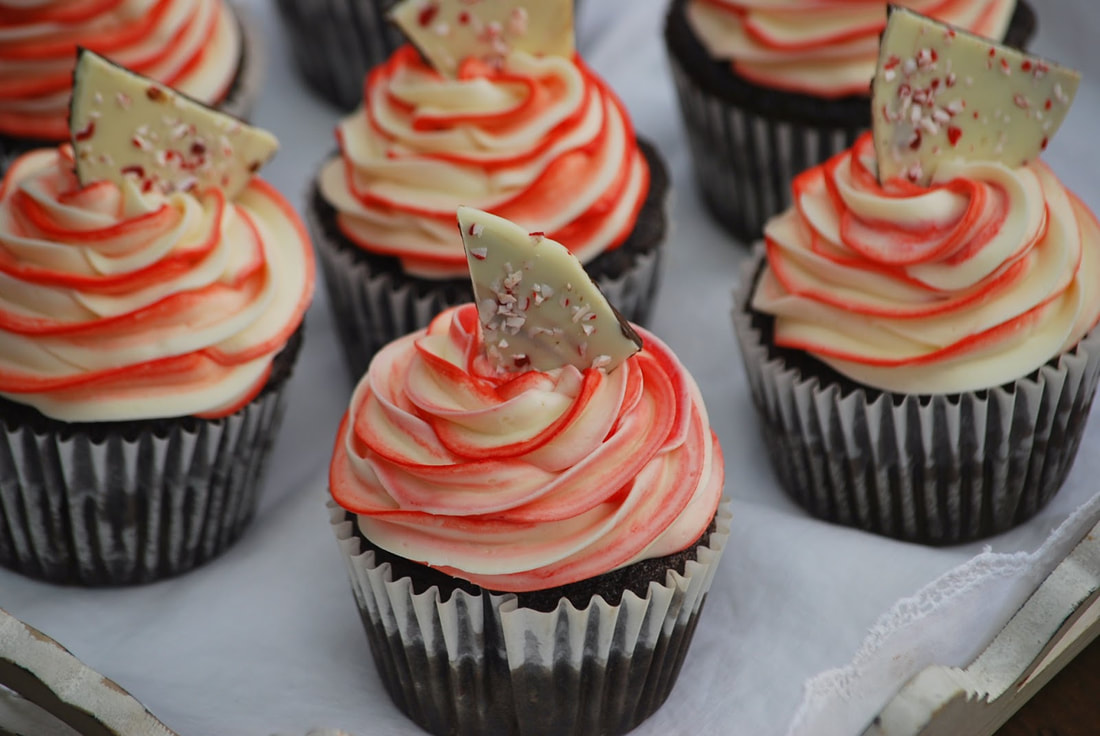 Chocolate Peppermint Cupcakes 2 cups sugar 1 3/4 cups all purpose flour 3/4 cup unsweetened cocoa 1 1/2 teaspoons baking powder 1 1/2 teaspoons baking soda 1 teaspoon salt 2 eggs 1 cup whole milk 1/2 cup vegetable oil 2 teaspoons vanilla extract 1 cup boiling water
Cool completely on wire rack before frosting. Prepare a batch of cream cheese frosting. Add 1/2 teaspoon peppermint extract. Pipe onto cupcakes. (I used a paintbrush to paint a line of red food coloring on the inside of my pastry bag.)
I made the little peppermint bark that I put on the top of each of these cupcakes but you could certainly purchase some if you don't want to make your own.
These cupcakes would also look cute with some crushed peppermints or candy canes. If you have another creative idea for decorations, send me a picture. Ciao! |