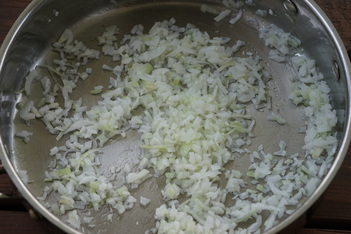
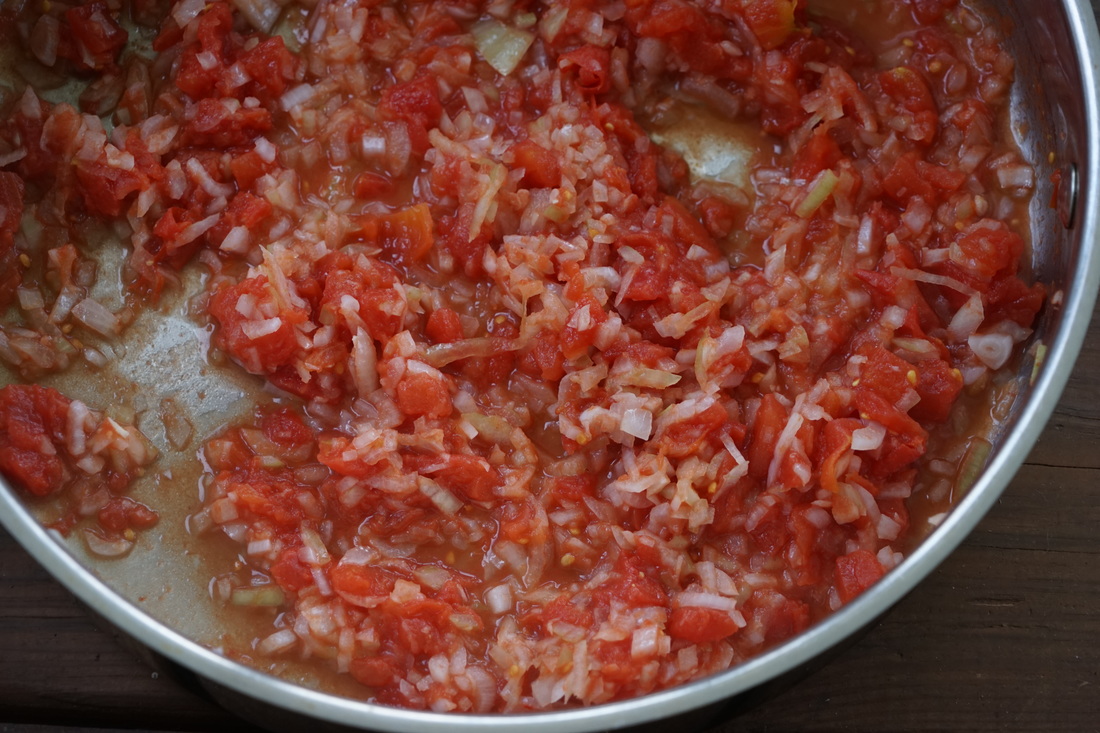
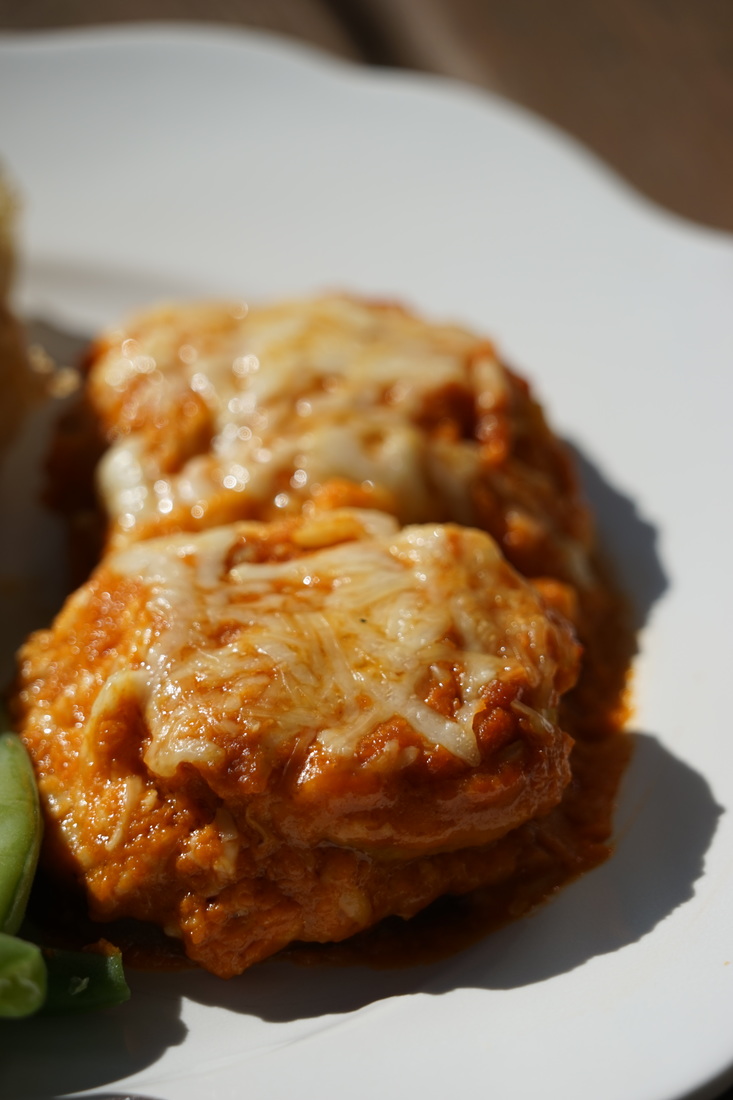
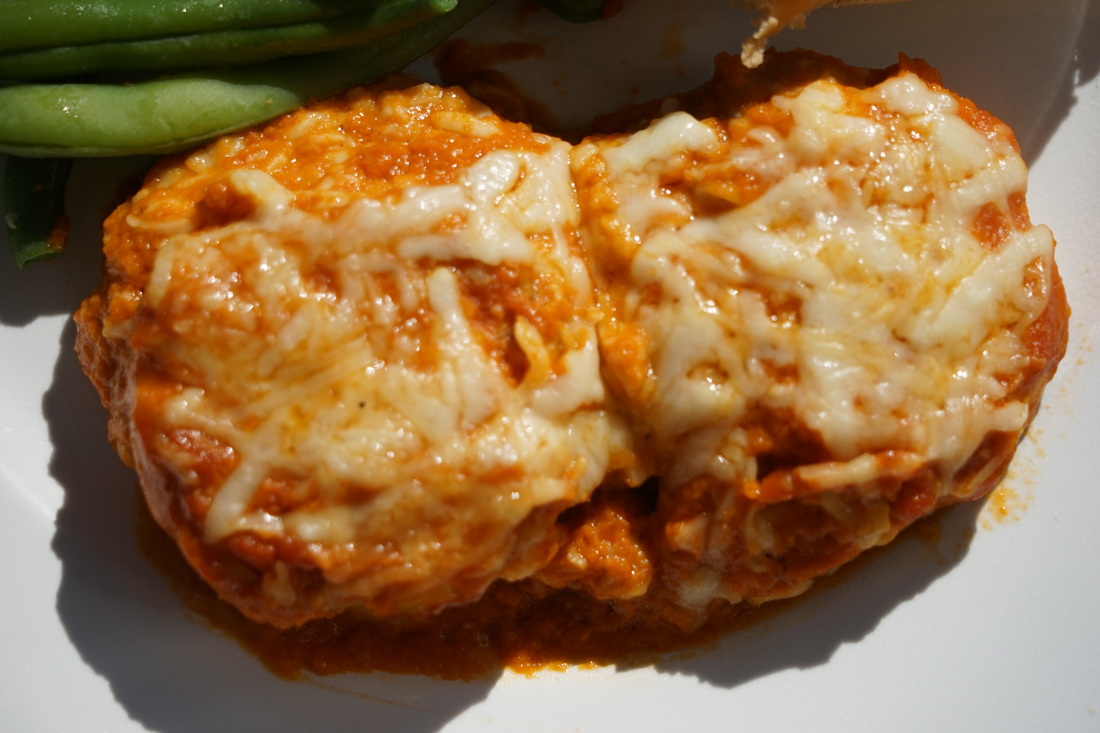
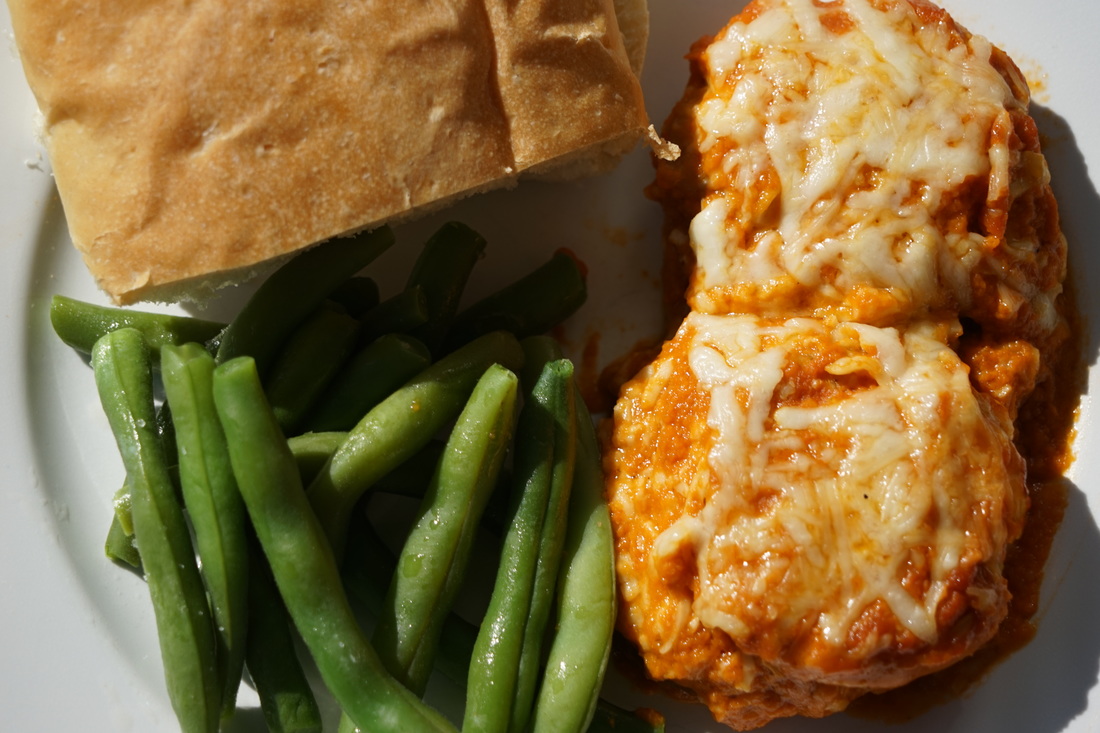
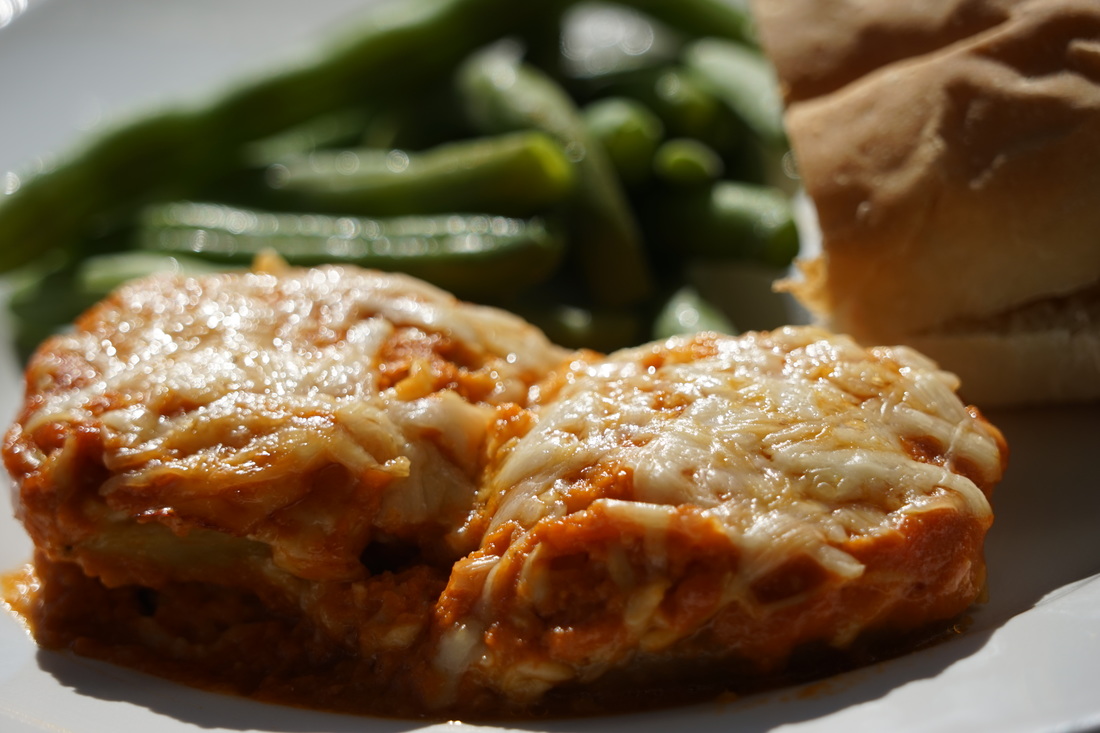
 I'm finally reaping the benefits of all my hard work in the garden this summer. The hours that I spent standing in the hot sun watering vegetables and pulling weeds is all worth it when I start to harvest vegetables. Yesterday, I picked eggplants from the garden and made eggplant Parmesan Then I collected dozens of green beans for a yummy side dish. All I needed to do was add some fresh bread to our dinner and we had a delicious garden- inspired meal. 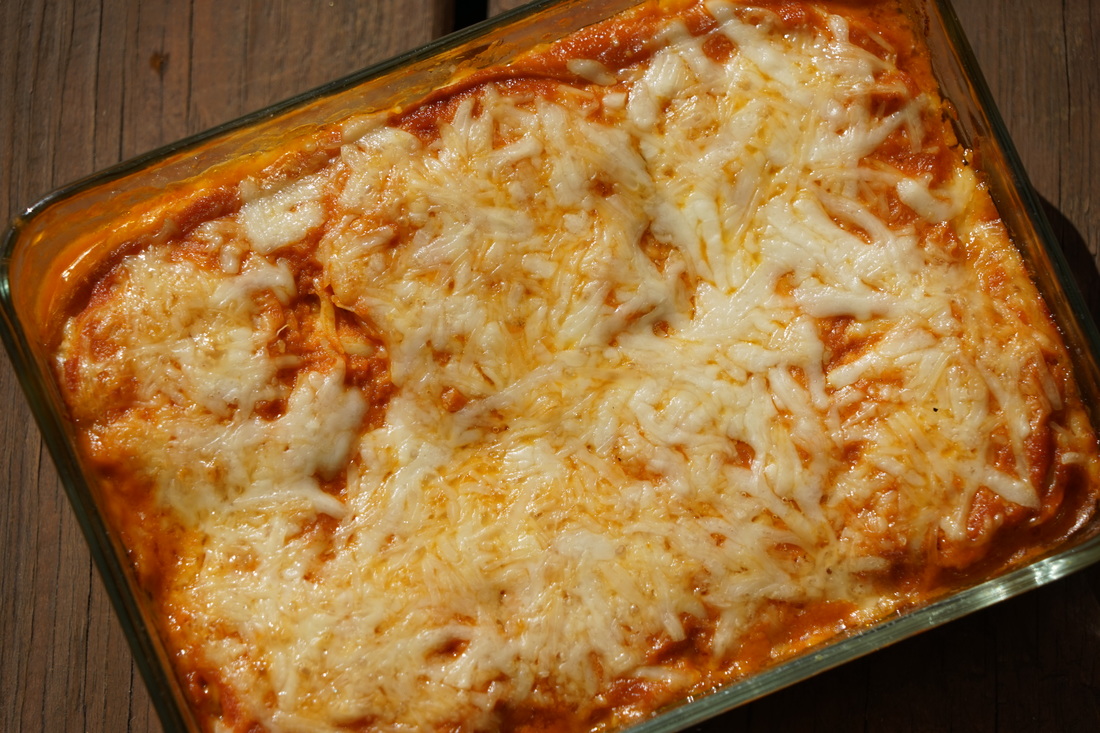 Eggplant Parmesan salt and pepper 2 small eggplant, peeled and sliced 1/4 cup flour canola oil 1 onion, diced 2 cloves garlic 14 ounce can diced tomatoes 1/4 cup water 2 Tablespoons tomato paste 1/4 cup fresh basil 1 cup mozzarella cheese, shredded 1/4 cup Parmesan cheese Place eggplant slices on paper towel lined baking sheets. Sprinkle with salt and let stand 1 hour. 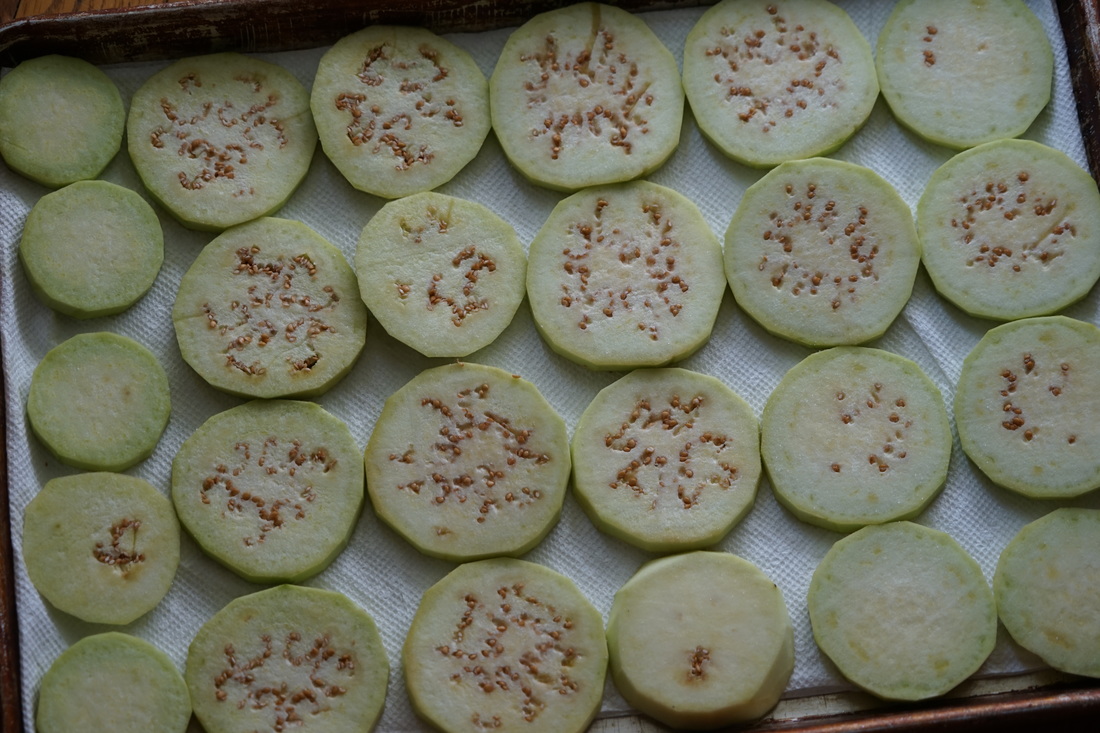
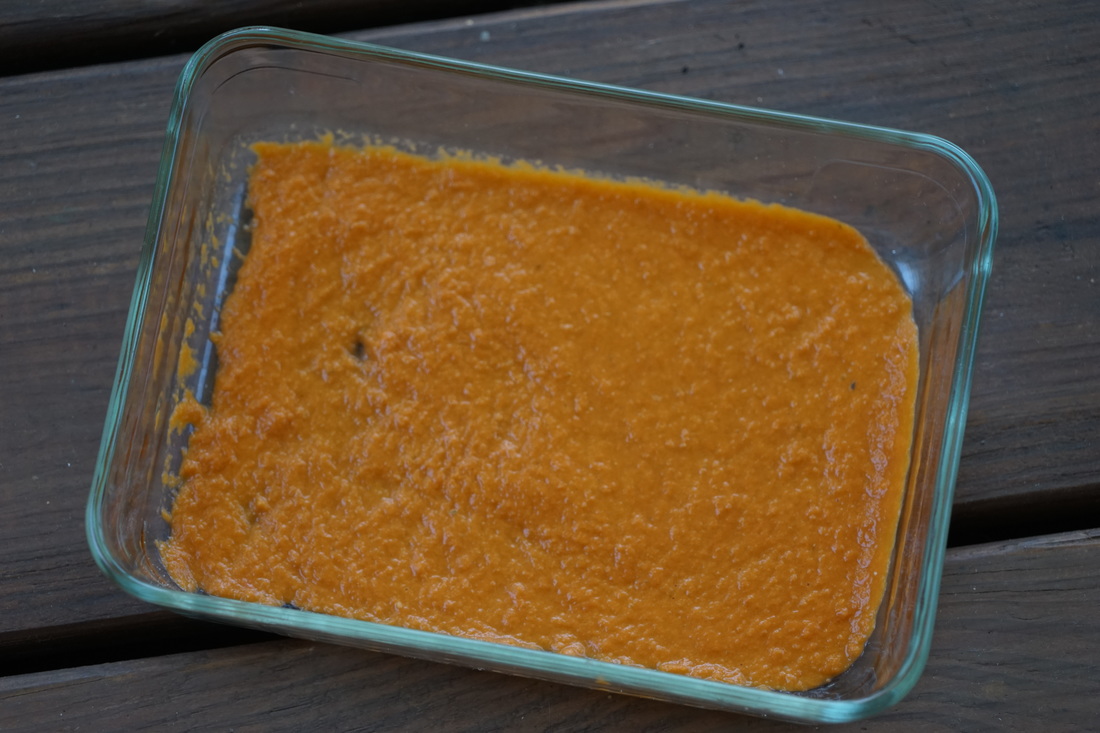
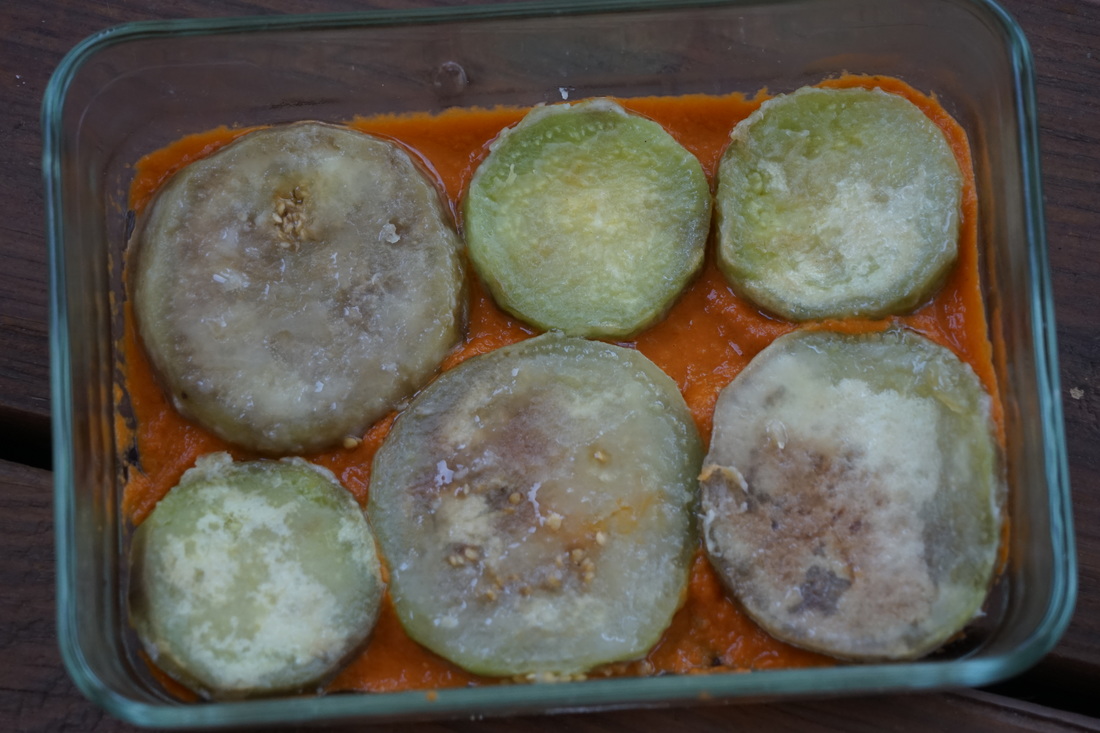
Add fresh basil and simmer sauce 10-20 minutes. 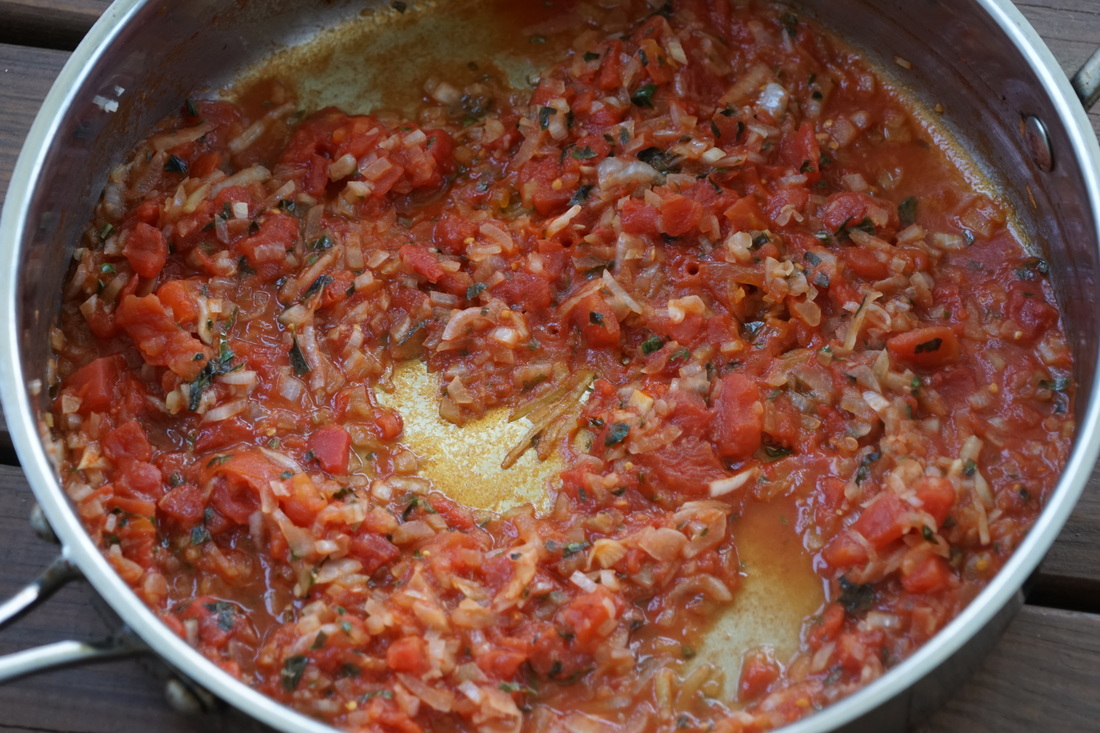 Transfer sauce to a blender and process until smooth. 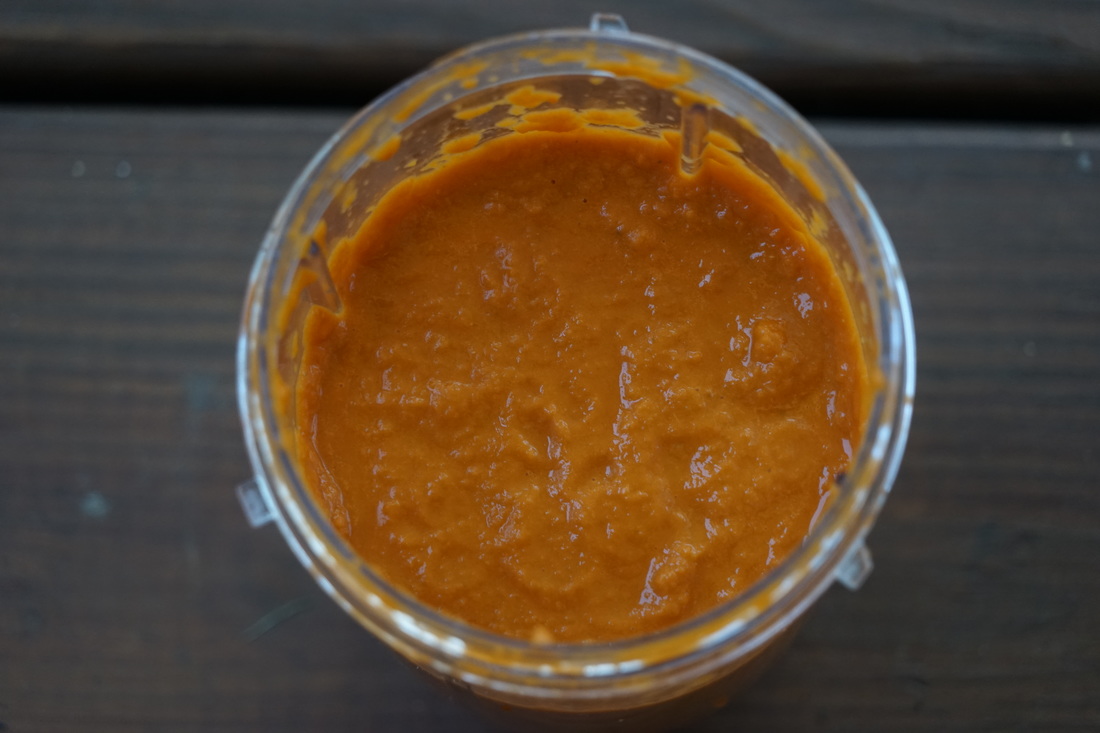 Heat oil in skillet. Pat eggplant dry and dredge in flour. 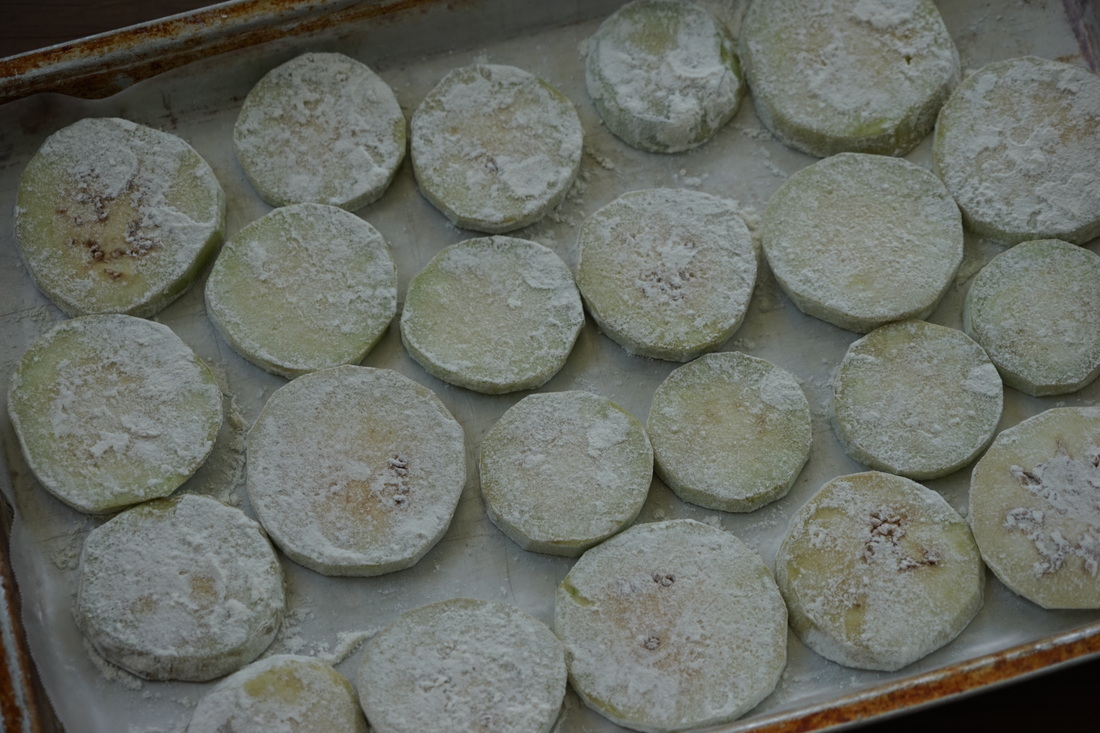 Add a few Tablespoons of water to skillet at a time and cook eggplant in batches until softened on each side. 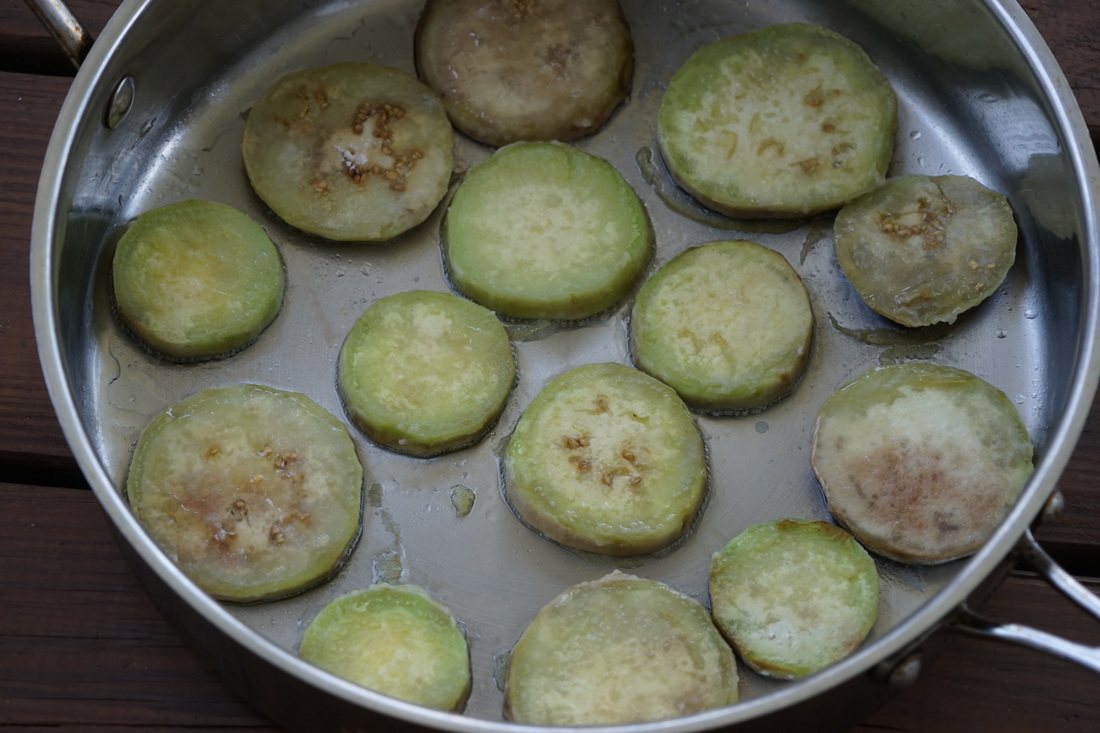
Season eggplant with salt and pepper. Top with a sprinkling of Parmesan and mozzarella cheeses. 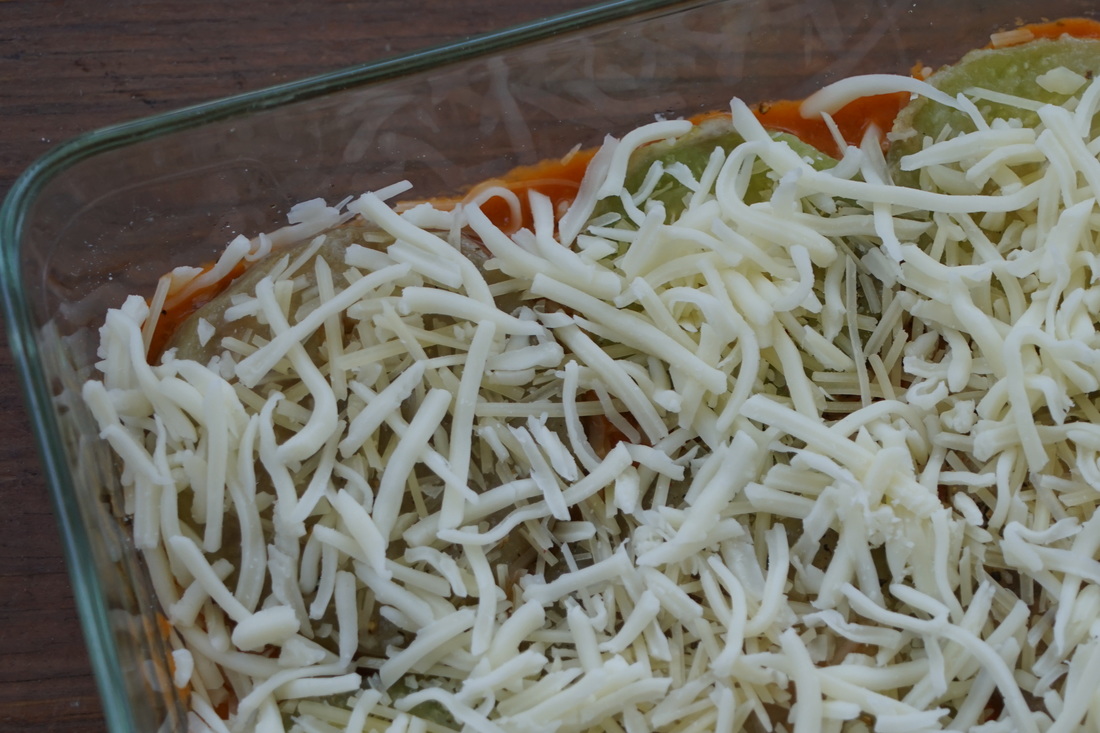 Repeat layers. Sauce - eggplant - cheese. 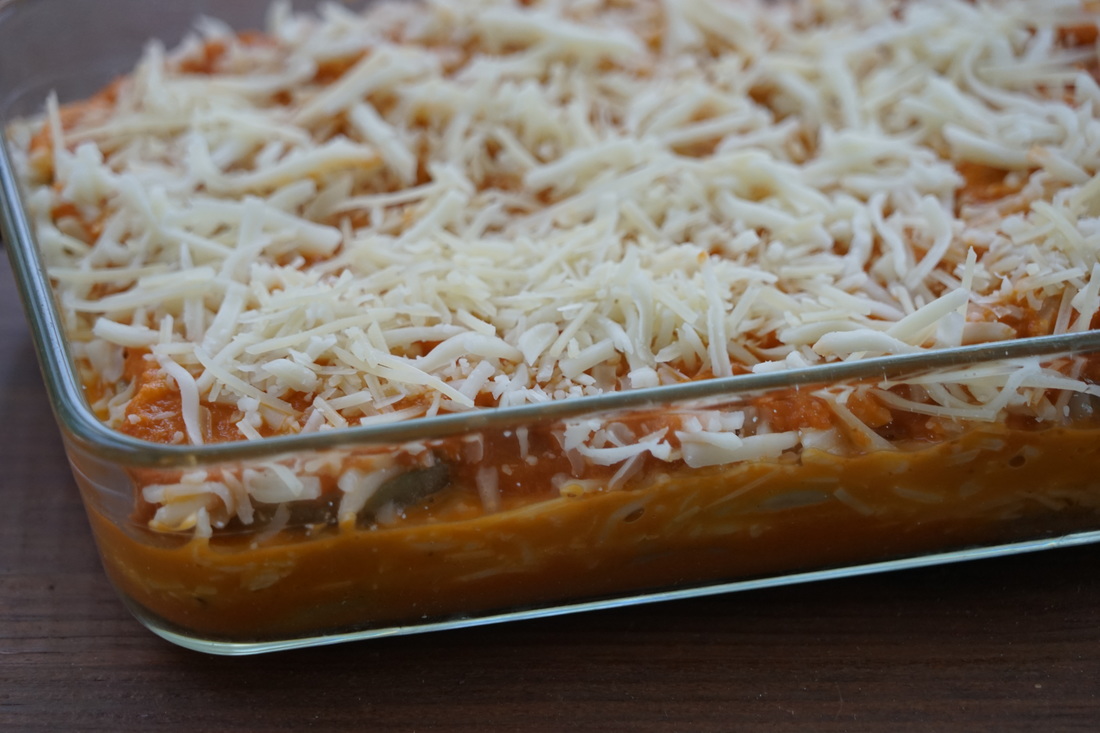 Bake 45 minutes at 350. 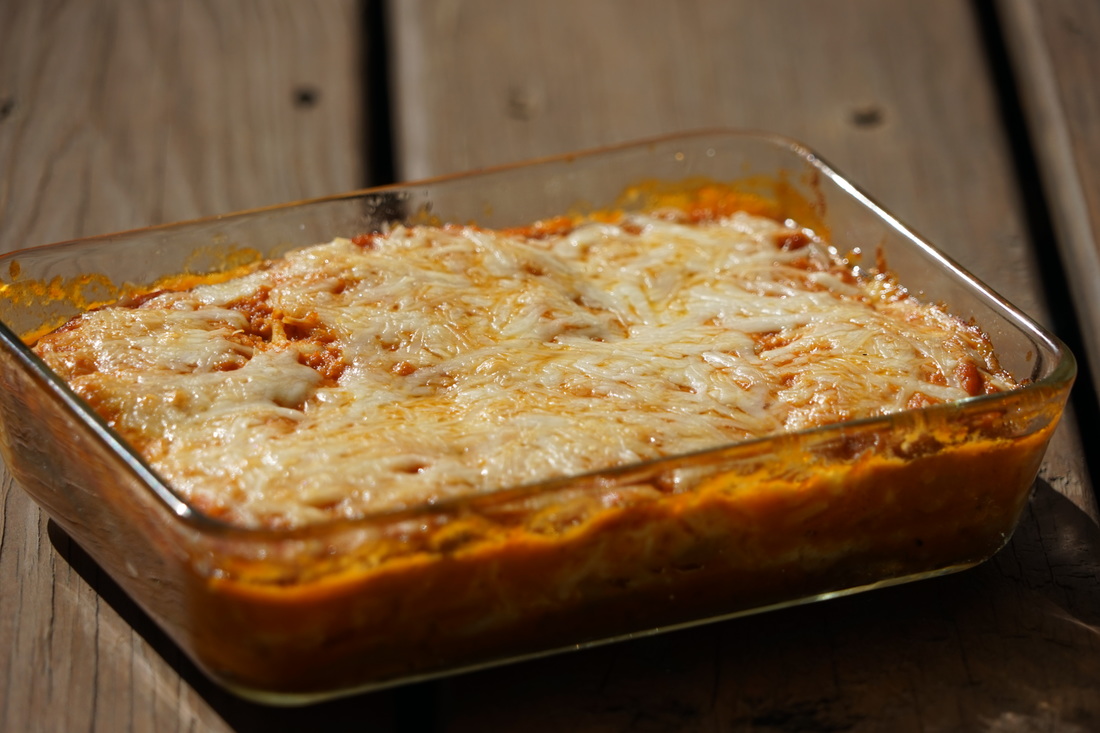 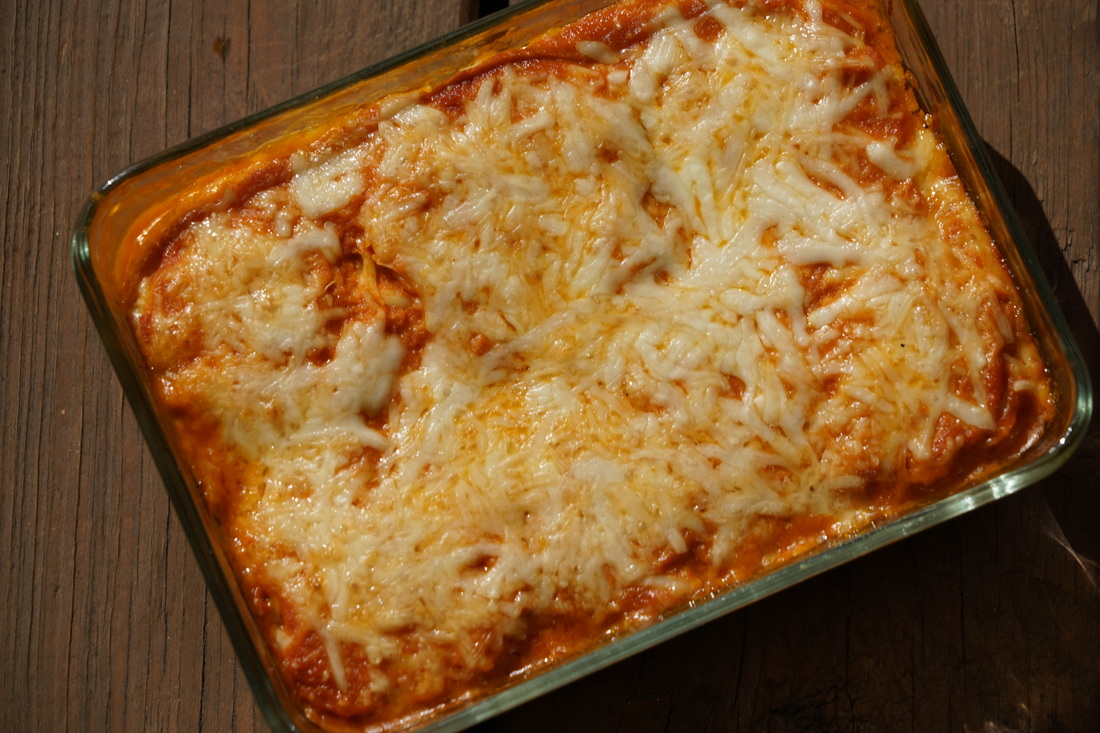 Enjoy.
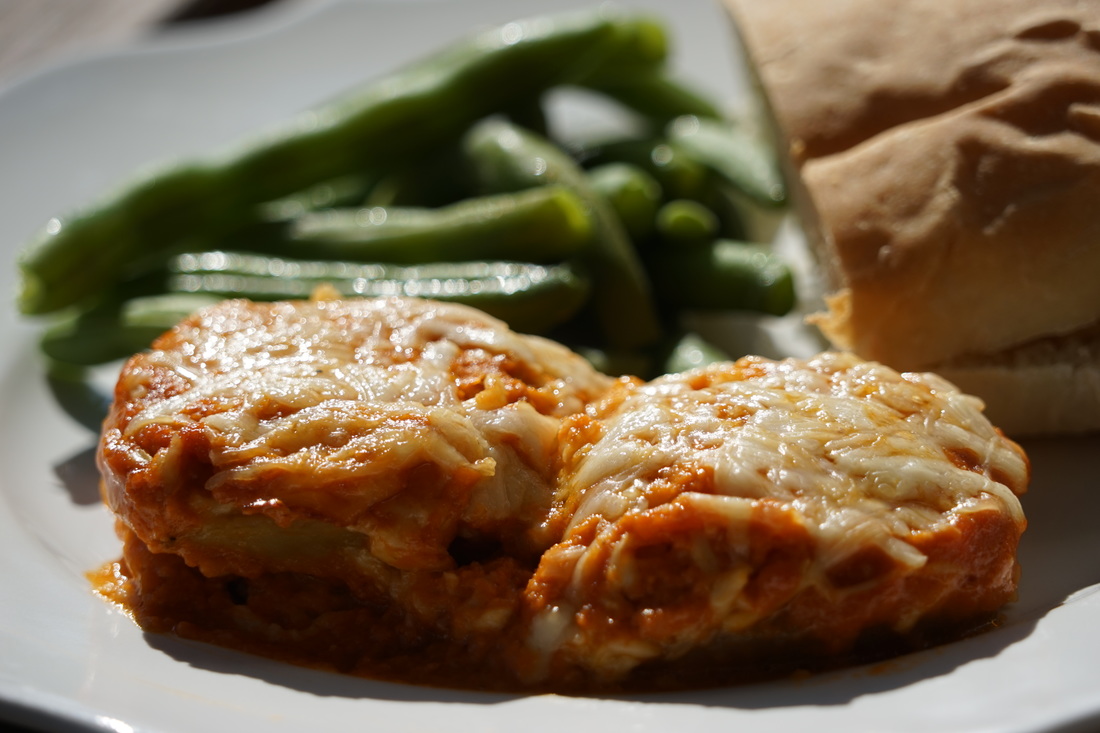 The first vegetables that we picked from the garden this summer were cucumbers and tomatoes. A month or so after that, we started to harvest green beans and eggplant. Now I'm anxiously awaiting the ripening of the watermelon and carrots in the garden.
Ciao!
0 Comments
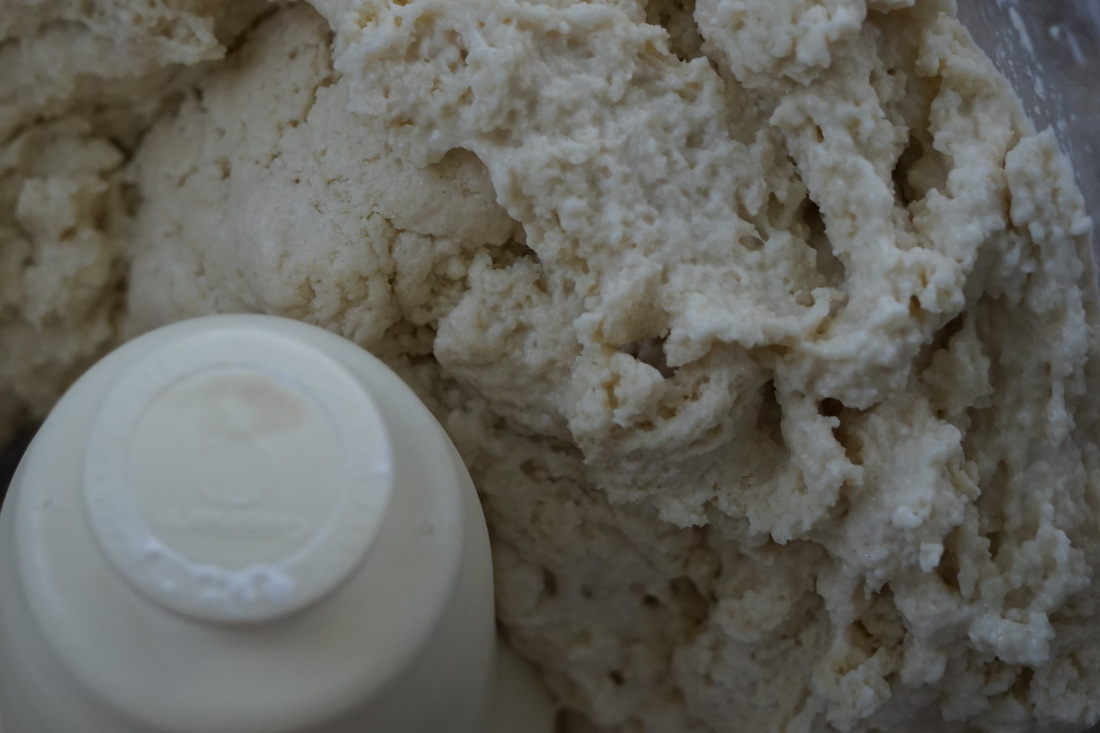
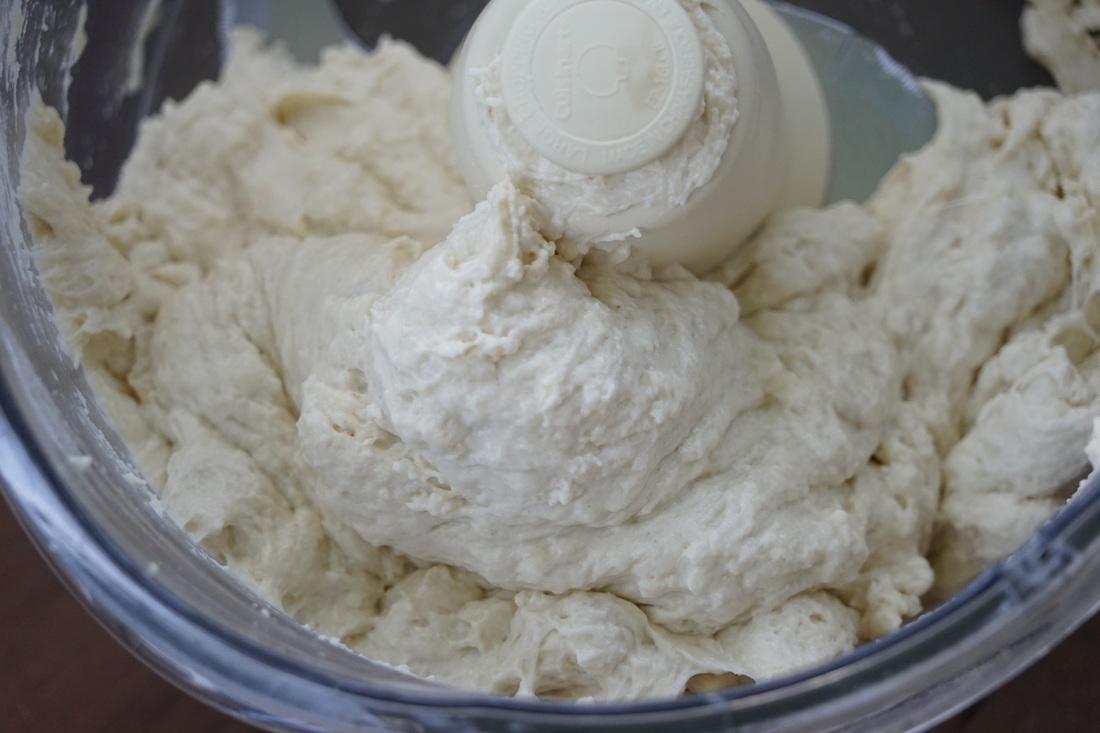
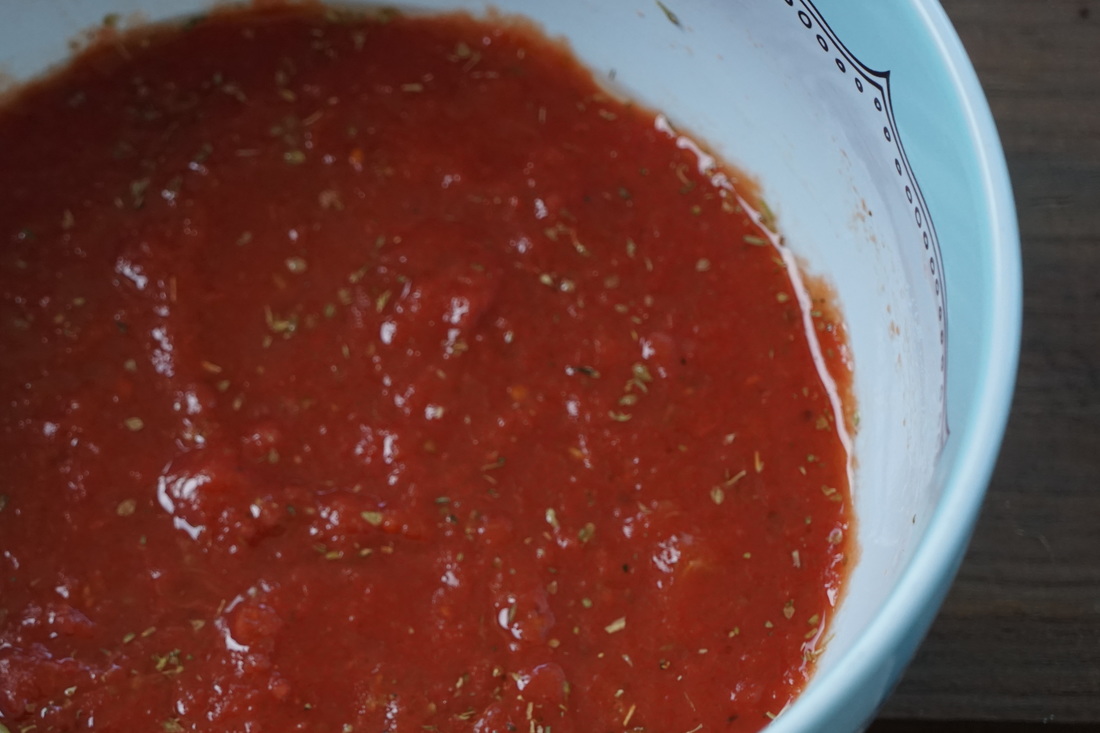
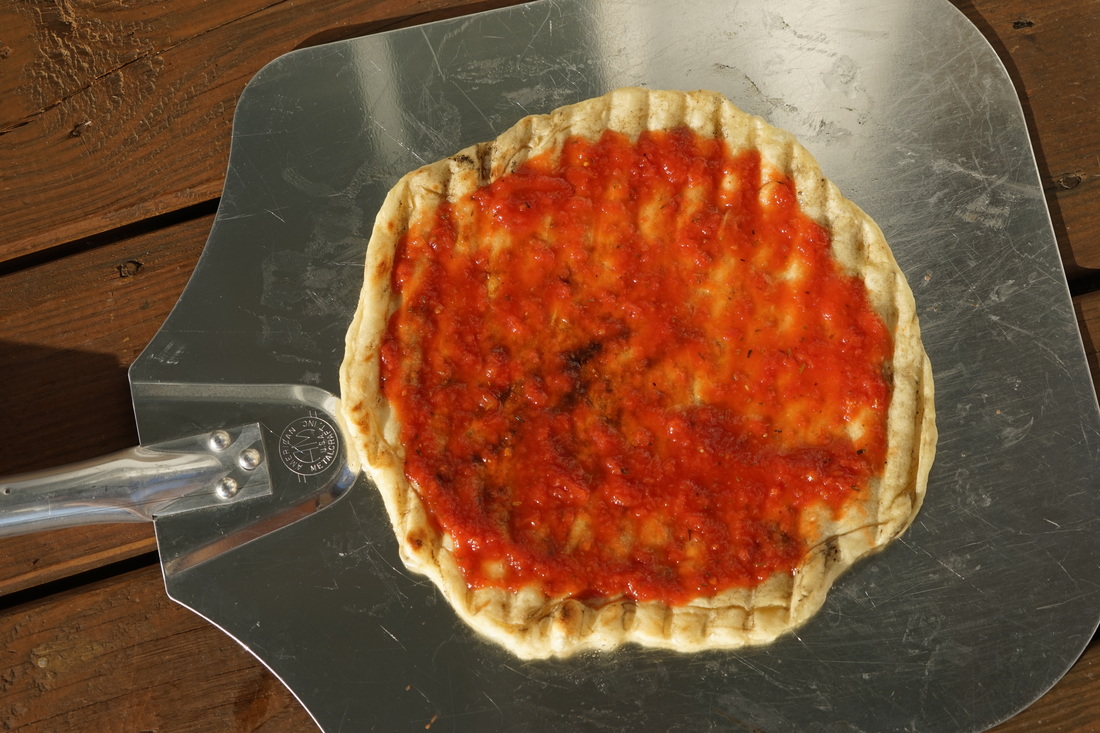
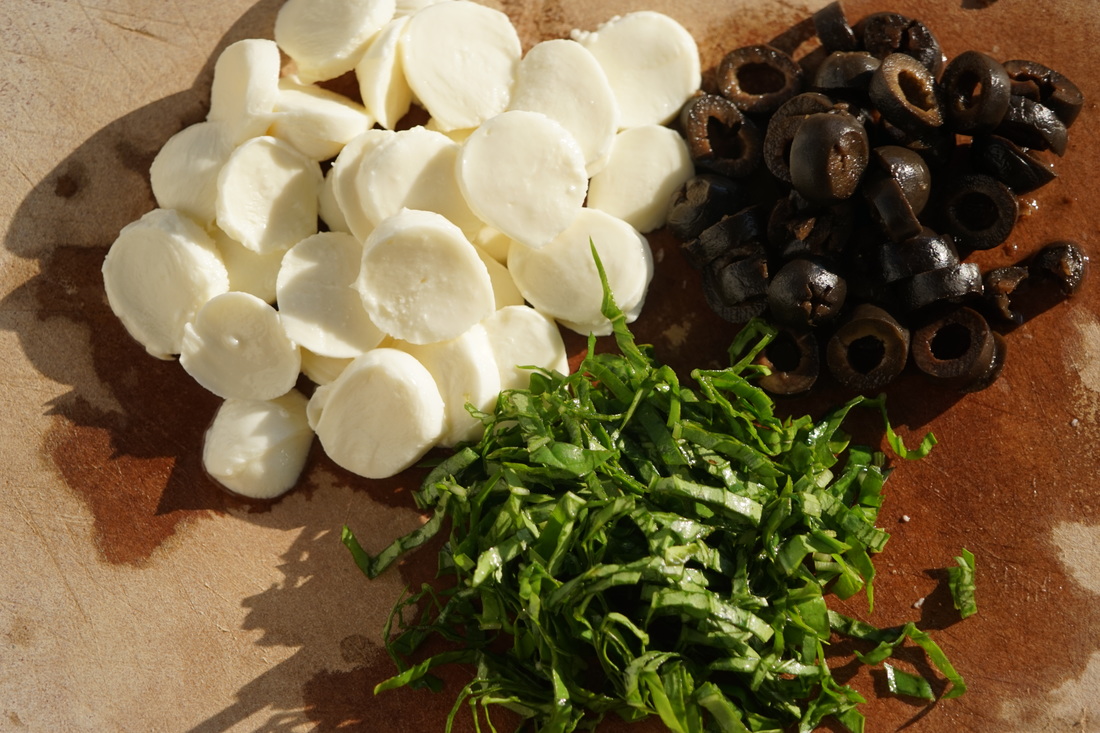
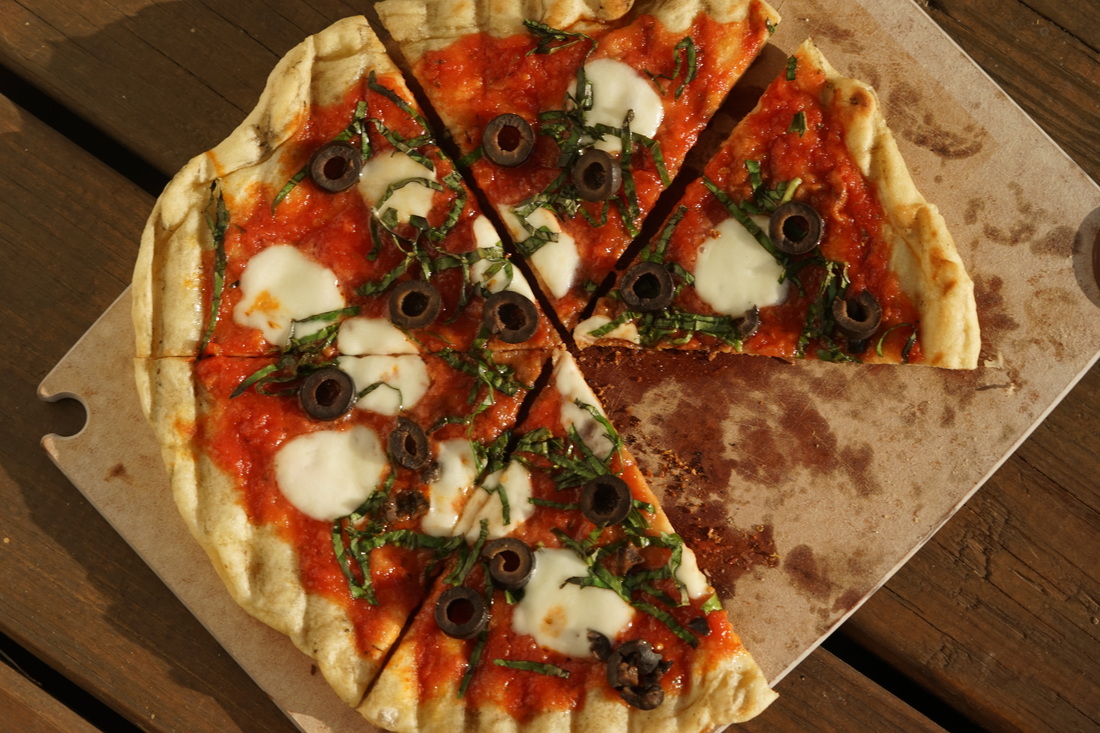 I am a huge fan of pizza cooked on my Big Green Egg but I've never been able to figure out how to make multiple pizzas at one time. It was always a struggle to feed grilled pizza to my family of four because its easily a good hour after the first pizza comes off the grill to the time the last pizza is finished. I end up spending our entire meal time, running back and forth to the grill to cook pizzas. 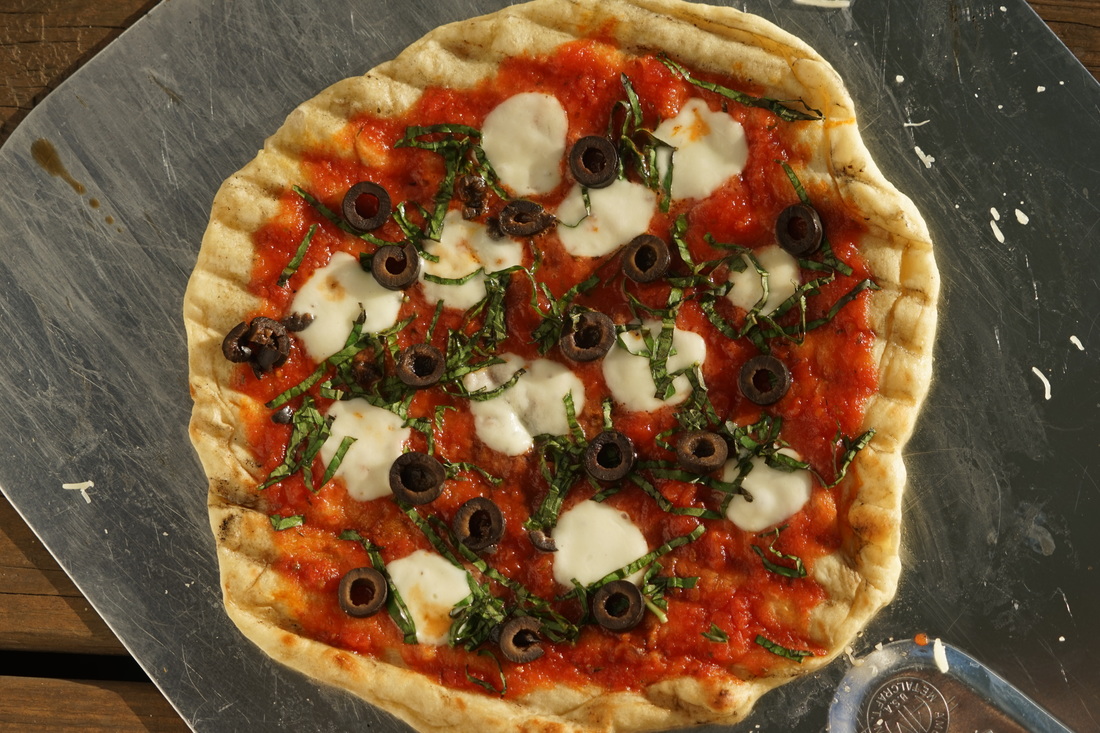 It's taken me a while to come up with a solution to my grilled pizza issue but I think I've come up with some really great solutions to make grilled pizza night a little bit more efficient. First of all, I prepared the pizza dough and the sauce well in advance and stored it in the refrigerator until I was ready to use it. This is good for the dough but also a great way to make dinner time, less hectic. Secondly, I precooked the crust on one side in advance. Once all the pizza doughs are parcooked, everyone can create their own unique pizza and they only take a few minutes to finish cooking on the grill. This thin crust grilled pizza is absolutely amazing. This was my fresh mozzarella, fresh basil and olive pizza and it was DELICIOUS! 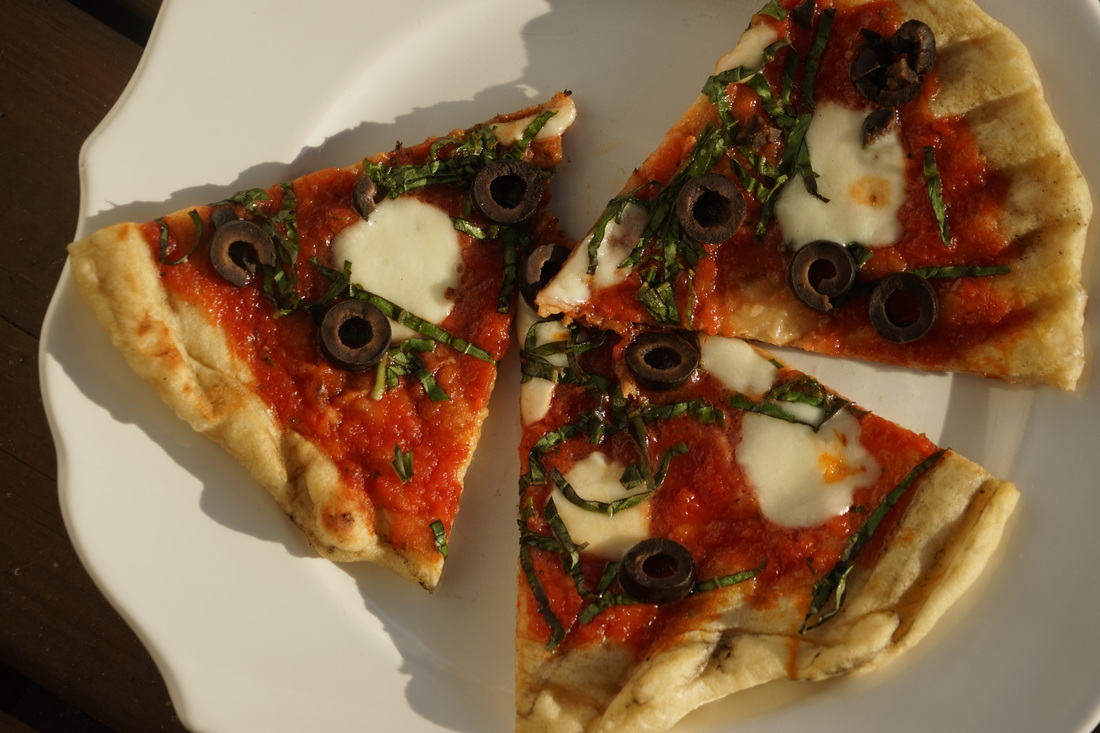 Grilled Pizza Dough 3 cups flour 1 Tablespoon sugar 1/4 teaspoon yeast 1 1/4 cups ice water 1 tablespoon canola oil 1 1/2 teaspoons salt Sauce 14 ounce can crushed tomatoes 2 Tablespoons olive oil 1 teaspoon oregano 1/2 teaspoon sugar 1/2 teaspoon salt Pizza 1/2 cup olive oil 8 ounces fresh mozzarella 3 Tablespoons fresh basil sliced olives
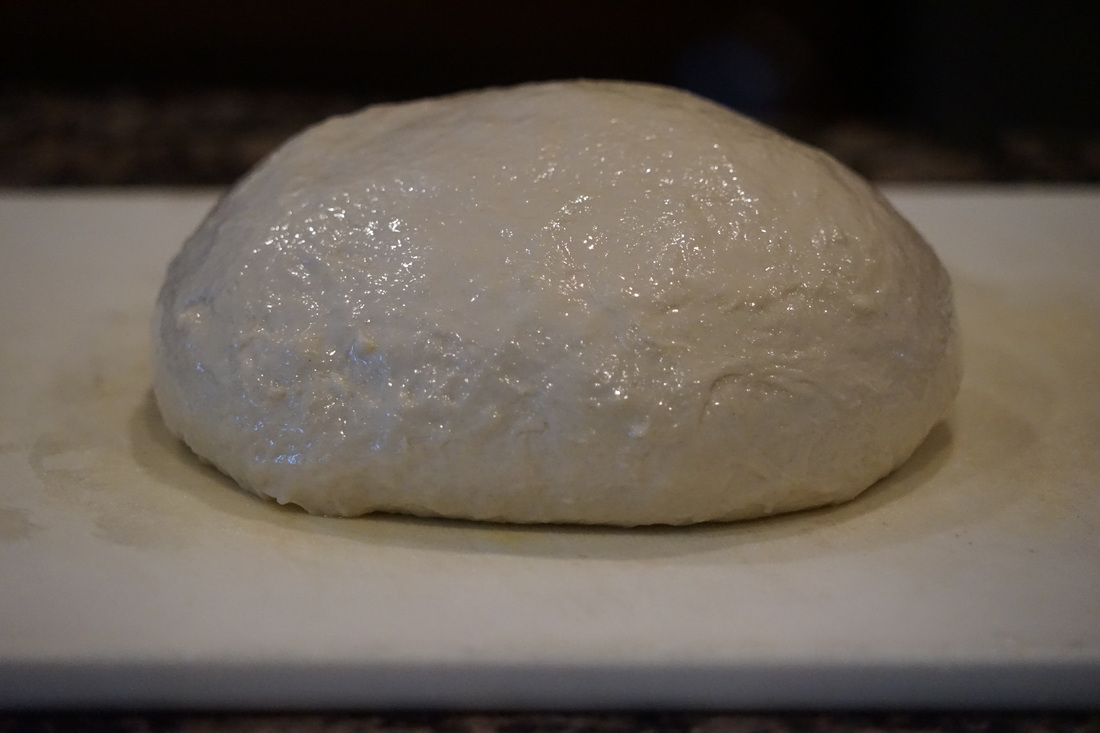
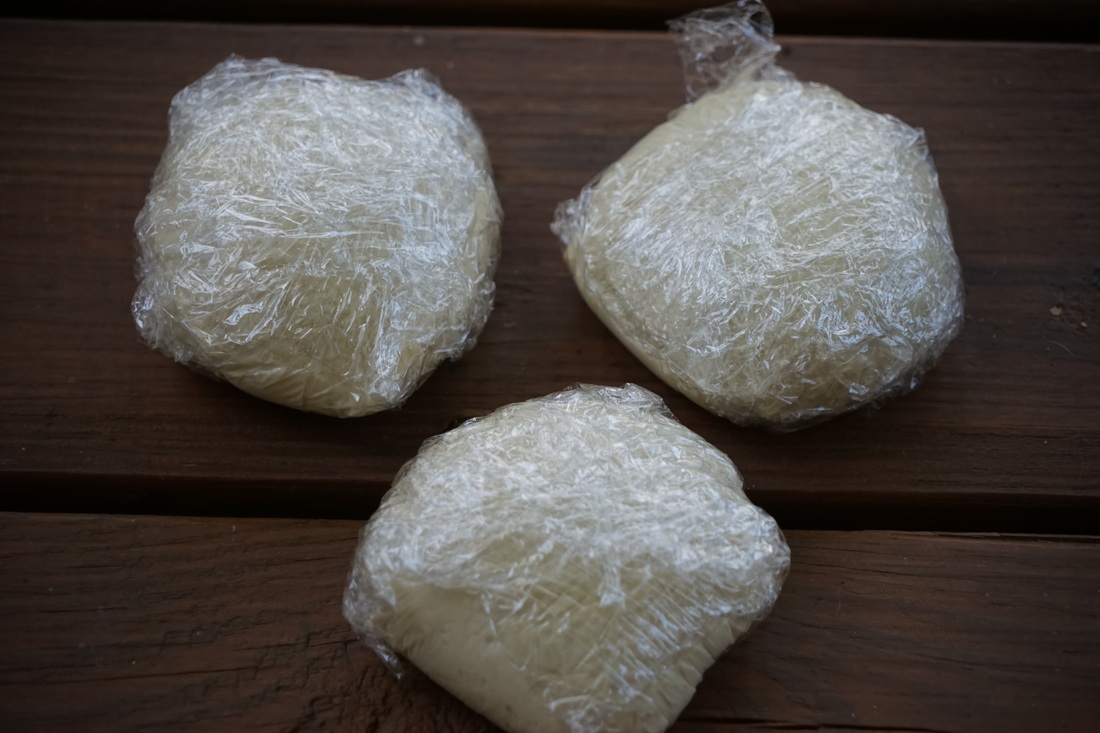
Divide dough into 4 equal pieces. 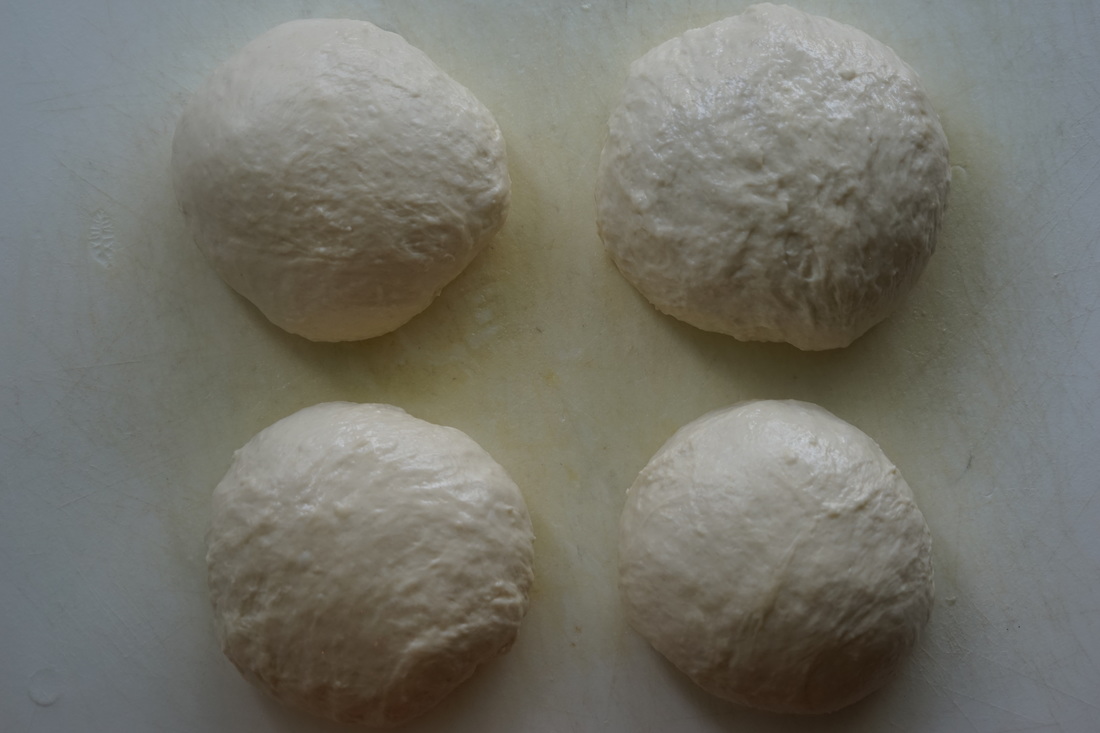
One hour before cooking, remove dough from refrigerator and let stand at room temperature. Light grill. Clean and oil cooking grate. Oil a baking sheet and stretch dough on sheet. (Don't skimp on the oil.) 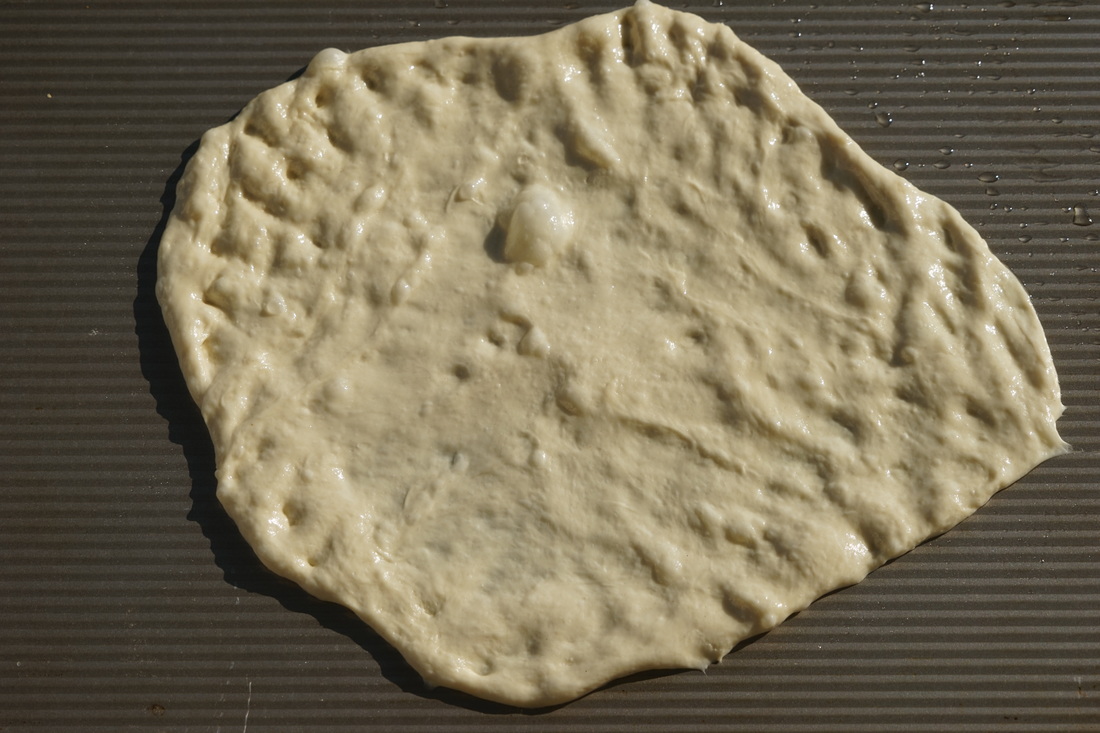 Place directly on hot grill grate and cook until slightly browned. 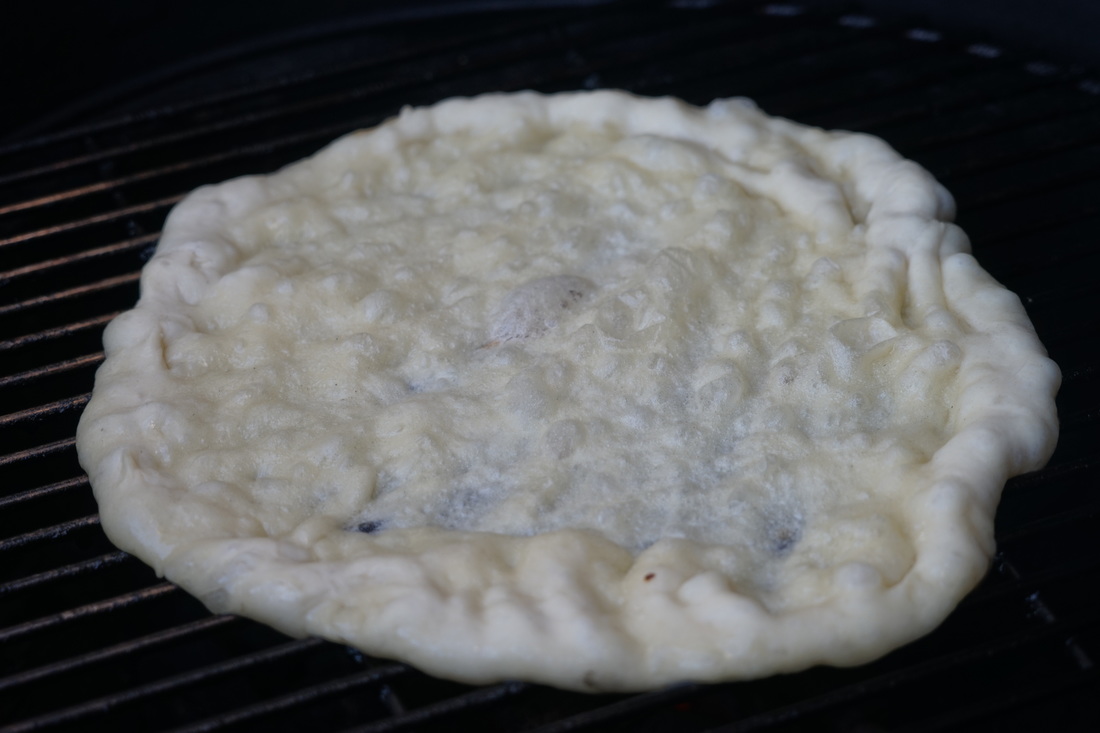 Turn 90 degrees and continue grilling until nicely browned. (Do not flip.) 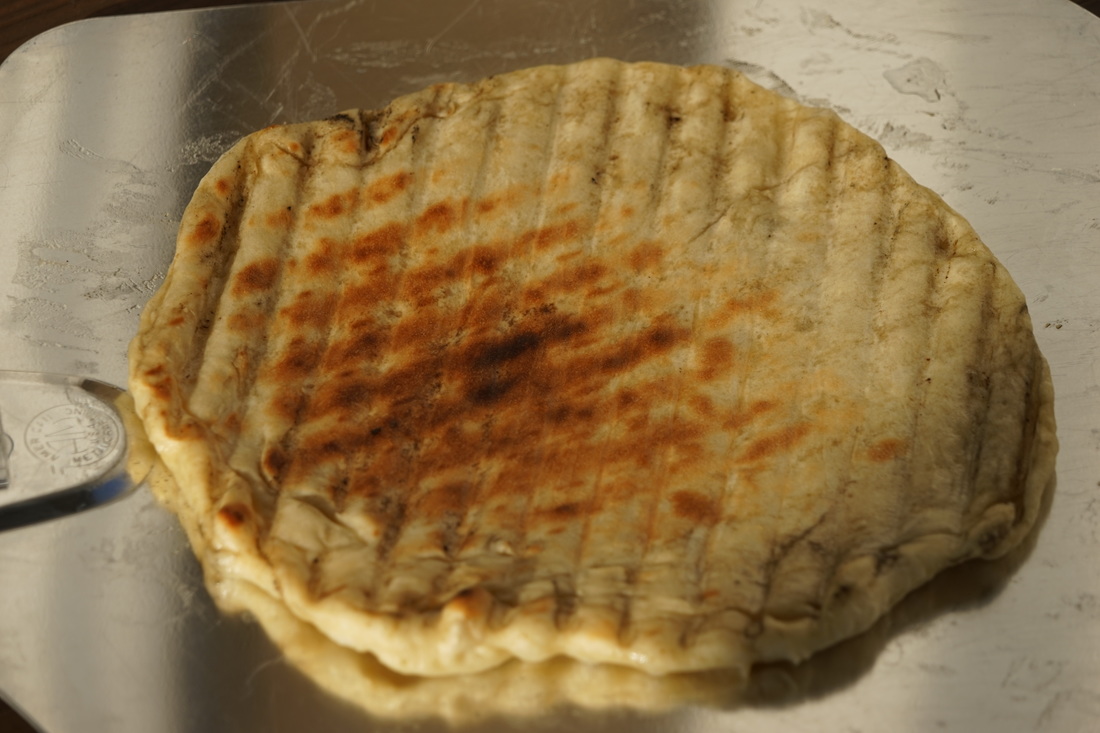 Remove from grill and add sauce and toppings to the browned side of the crust.
Place pizza back on the grill to cook the bottom of the crust. 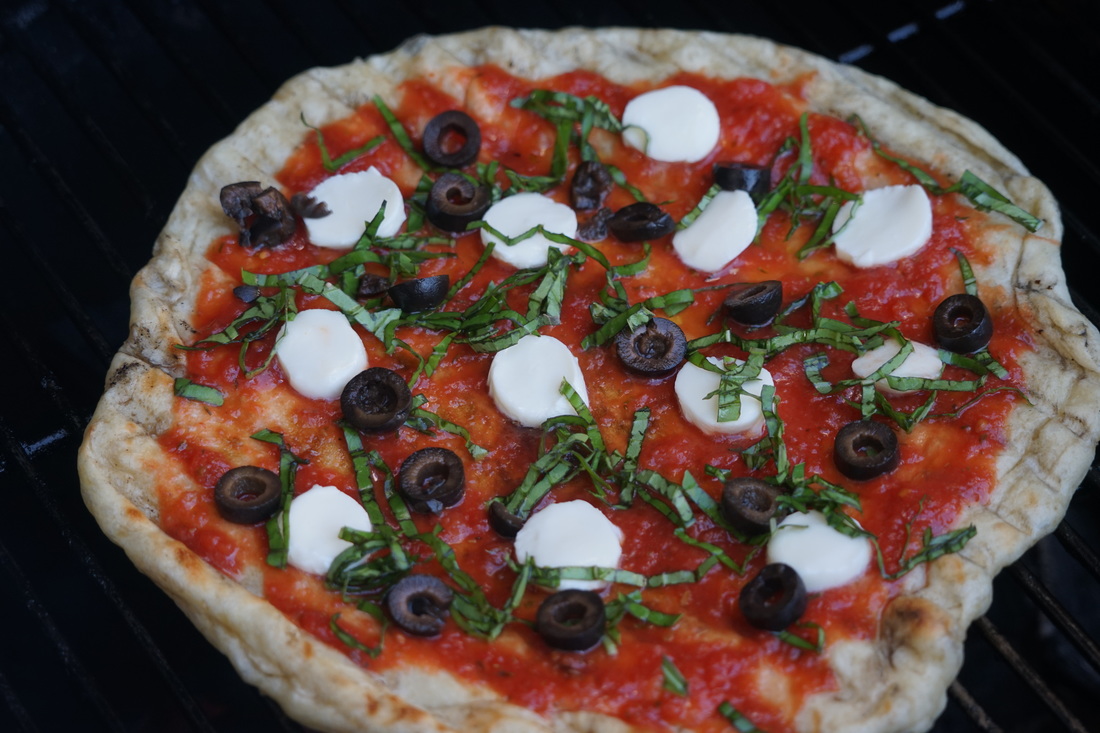 Cook until cheese is melted and crust in browned on the bottom. 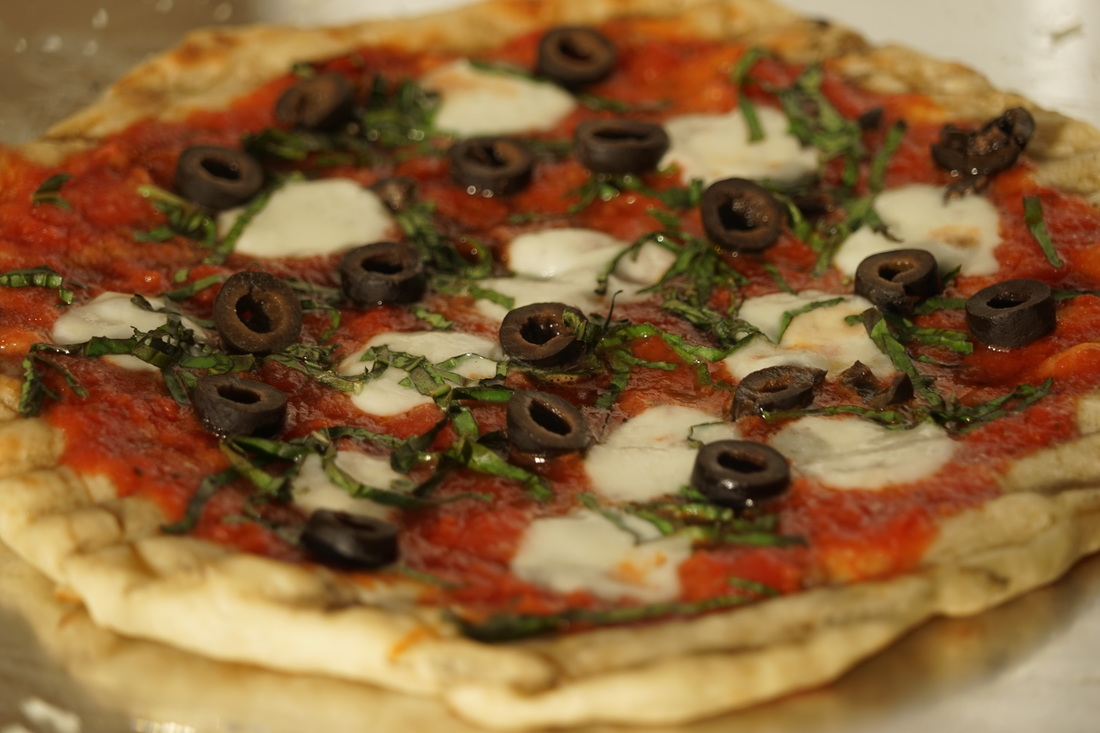 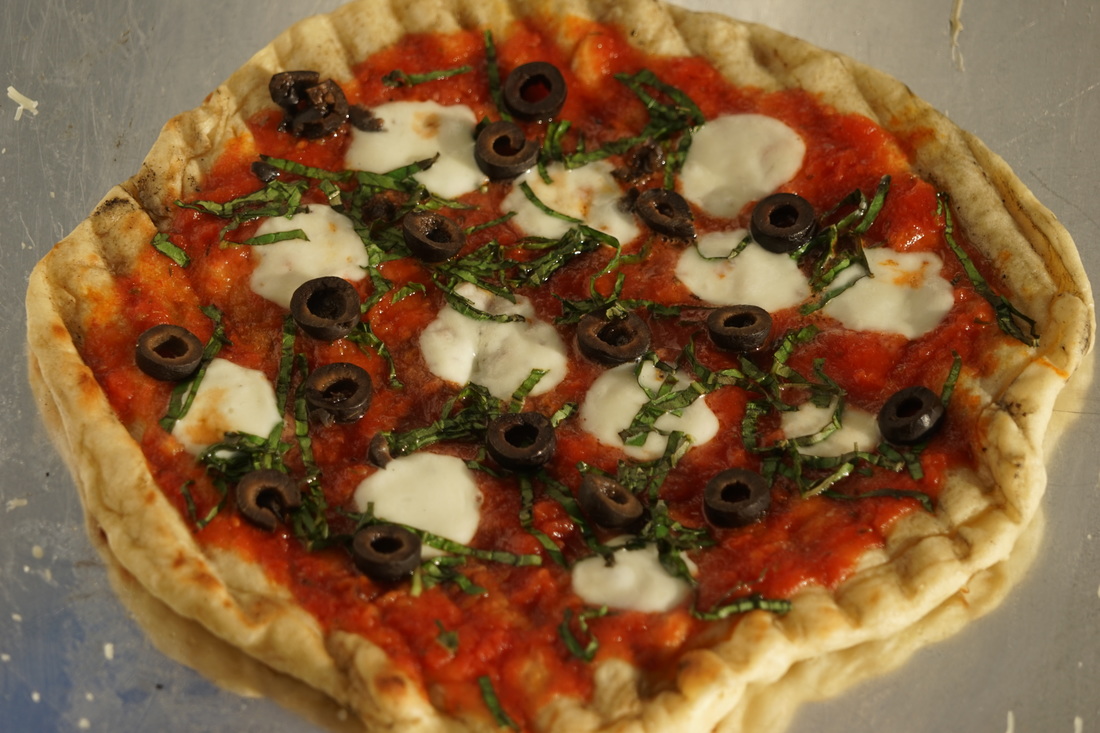 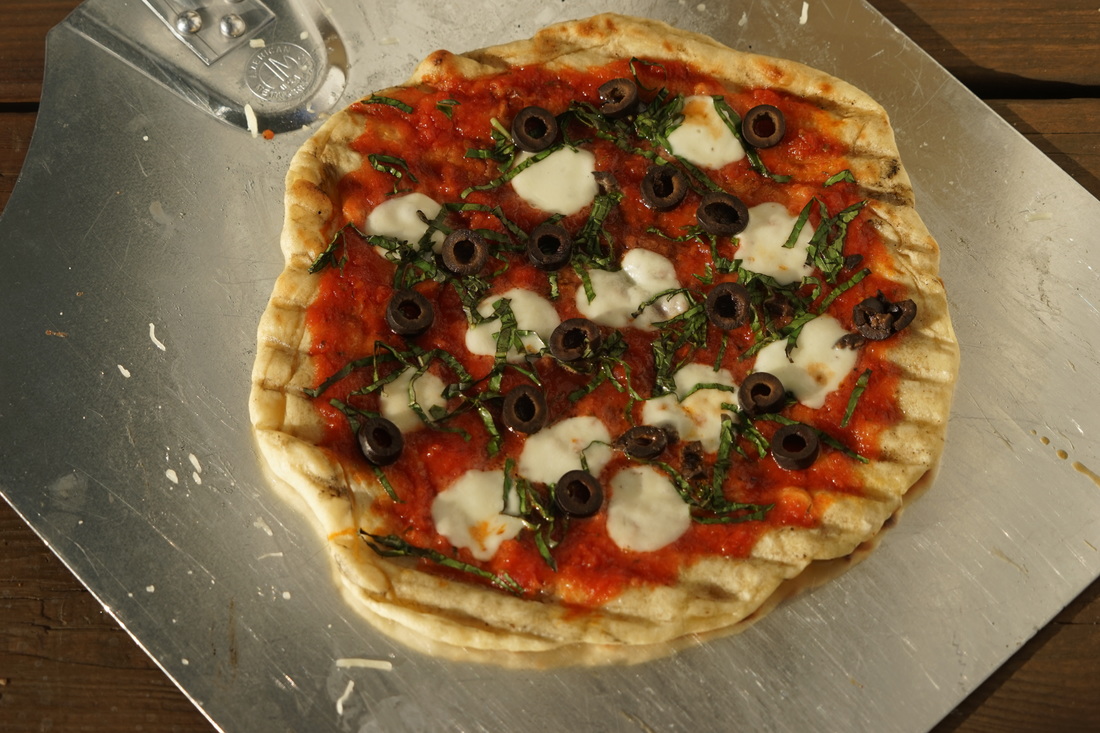 Enjoy! 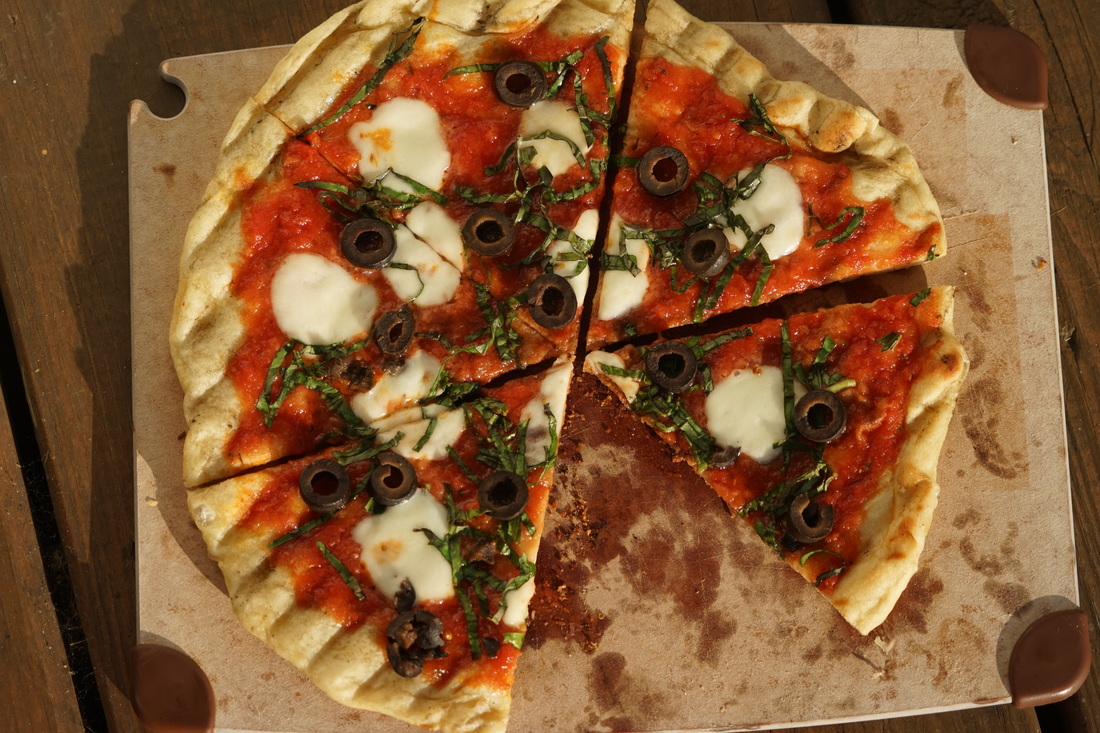 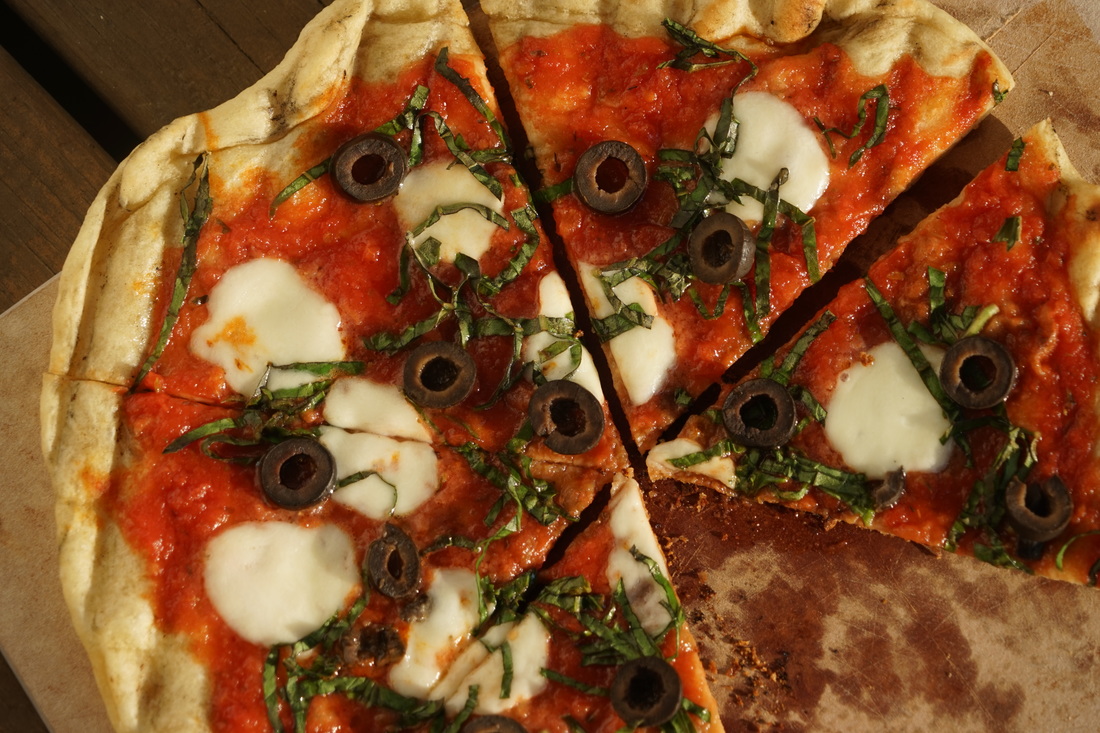 Of course, there ARE those people that would rather have their pizza baked in the oven instead of over a grill. (There's one in every group.) This pizza works just as well in the oven. I prebaked mine in a 425 oven for 5 minutes, took it out, flipped it over, topped it and then finished cooking for another 8 minutes. 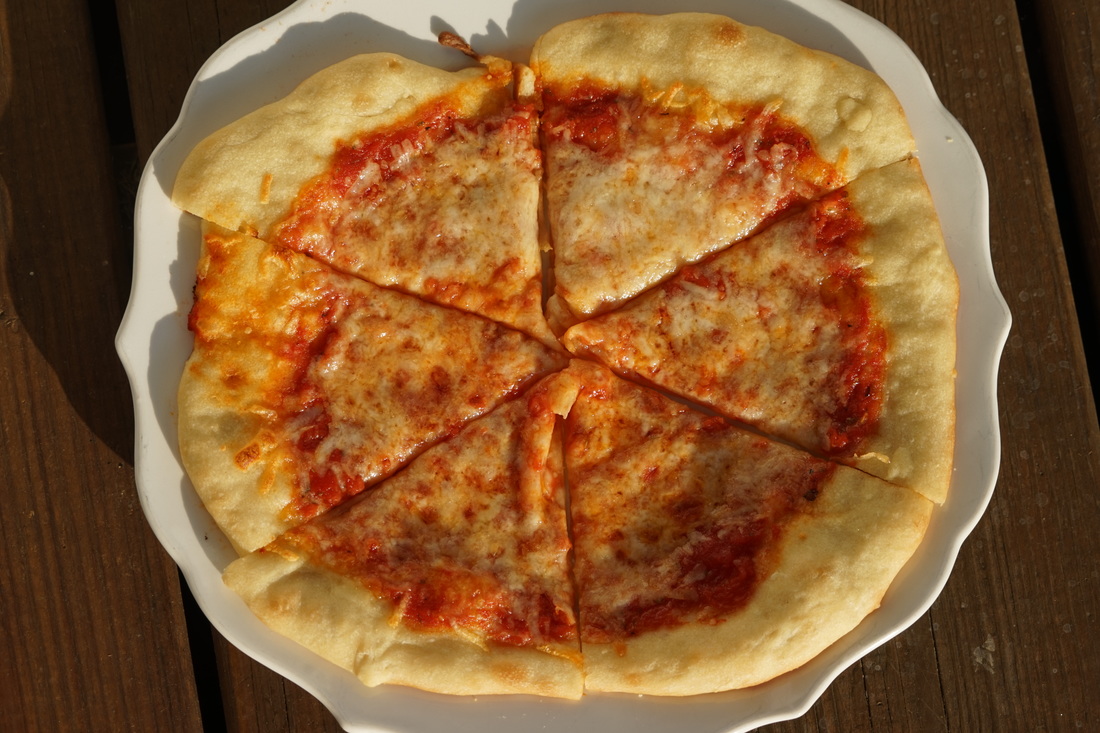 Now I'm ready to host a grilled pizza party - who's in?
Ciao! 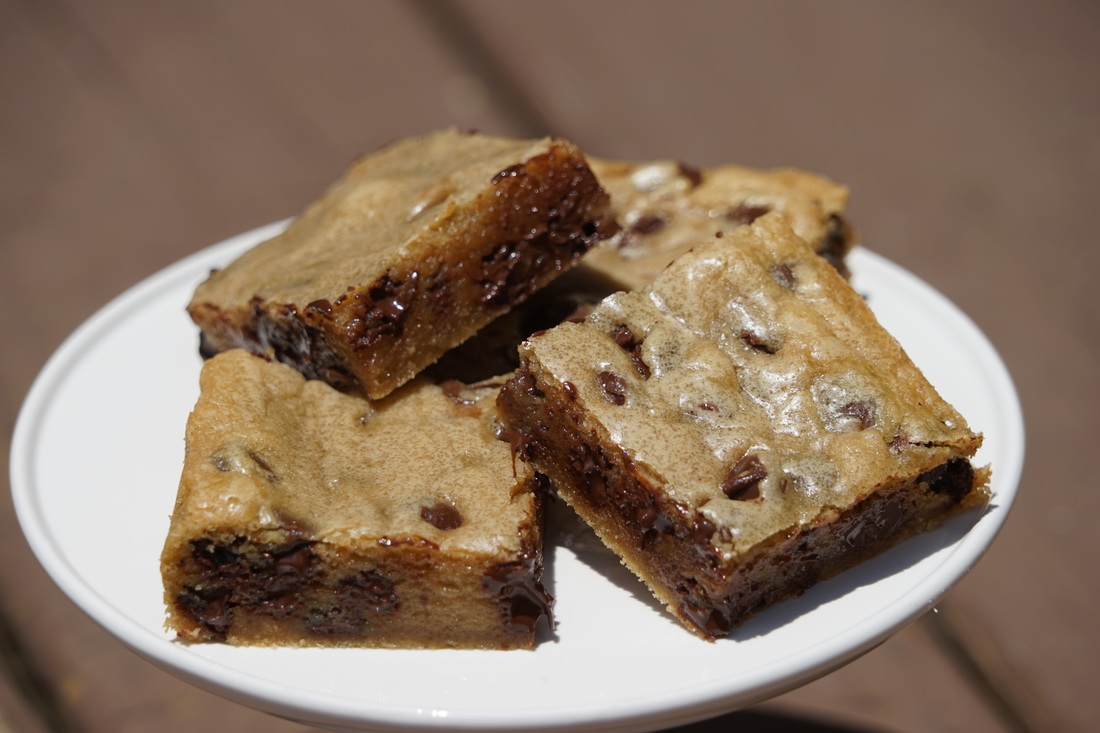 Nobody wants to stand in front of a hot oven on a hot summer day - trust me - I know better than anyone just how miserable it is to work in a hot kitchen. As much as I love freshly baked cookies - I don't want to sweat it out while I bake. I guess I could just go without brownies or cookies during the hot summer months - but we all know - that's not going to happen. So, I had to figure out a way to keep my cool in the kitchen while still getting my baking done. My solution? I bake my favorite treats as bars instead of as individual cookies - they take less time to prepare and less time baking time which means a cooler kitchen.
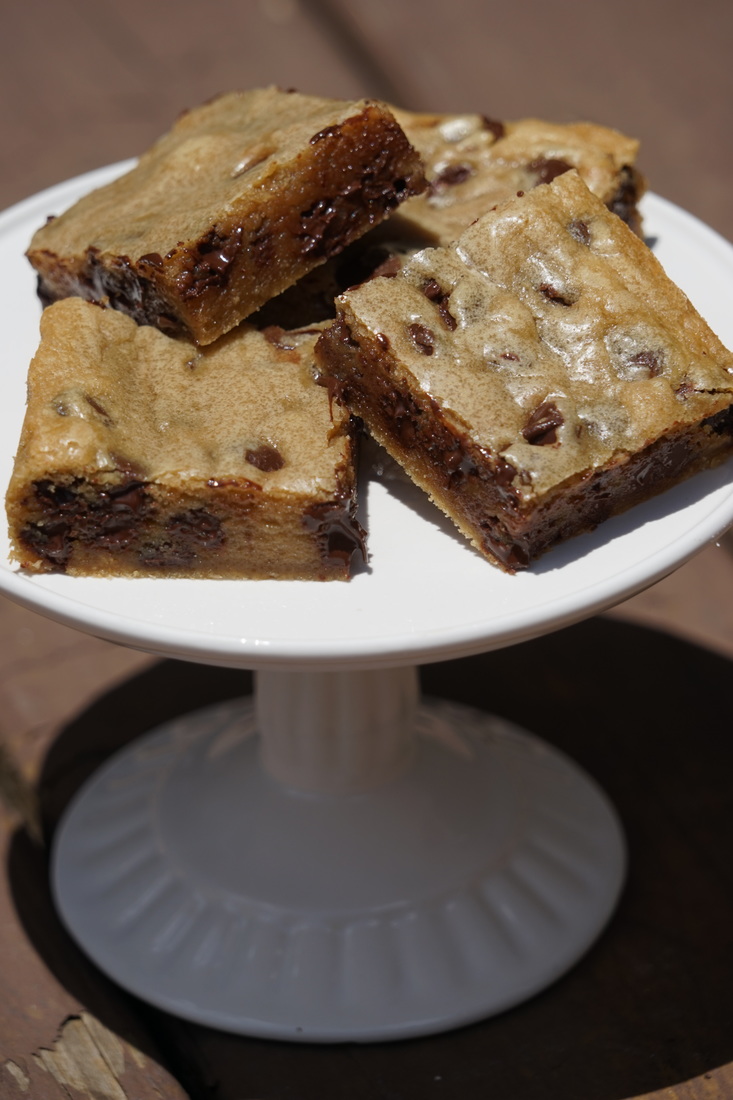
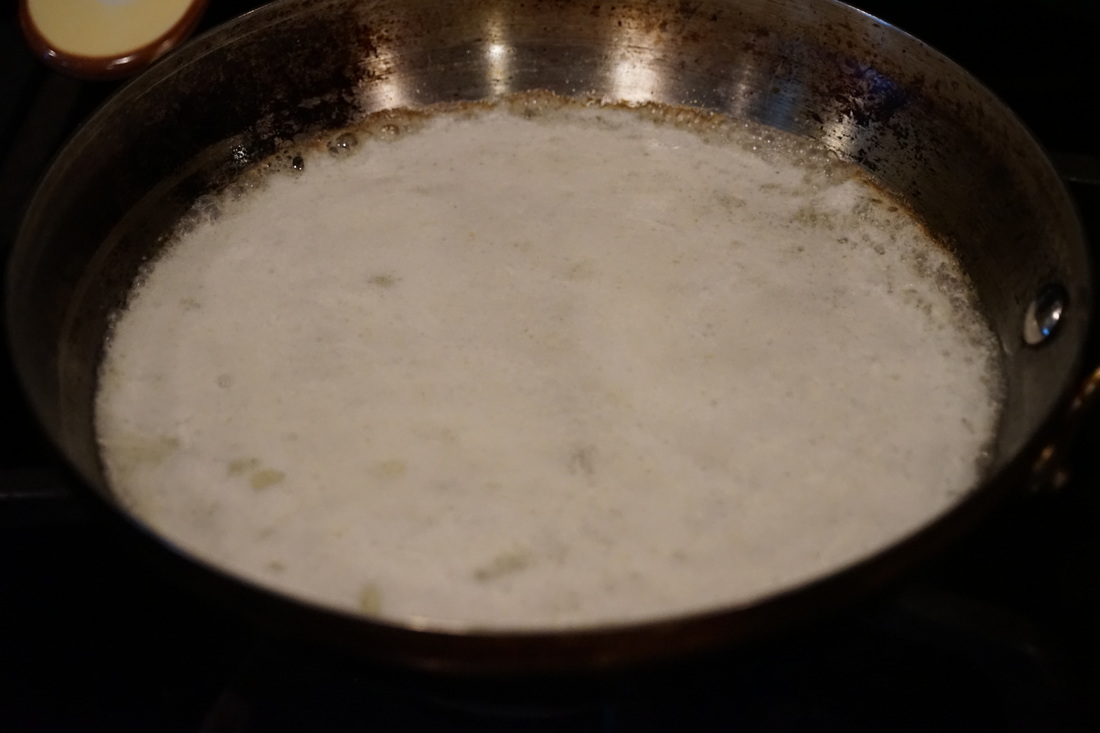
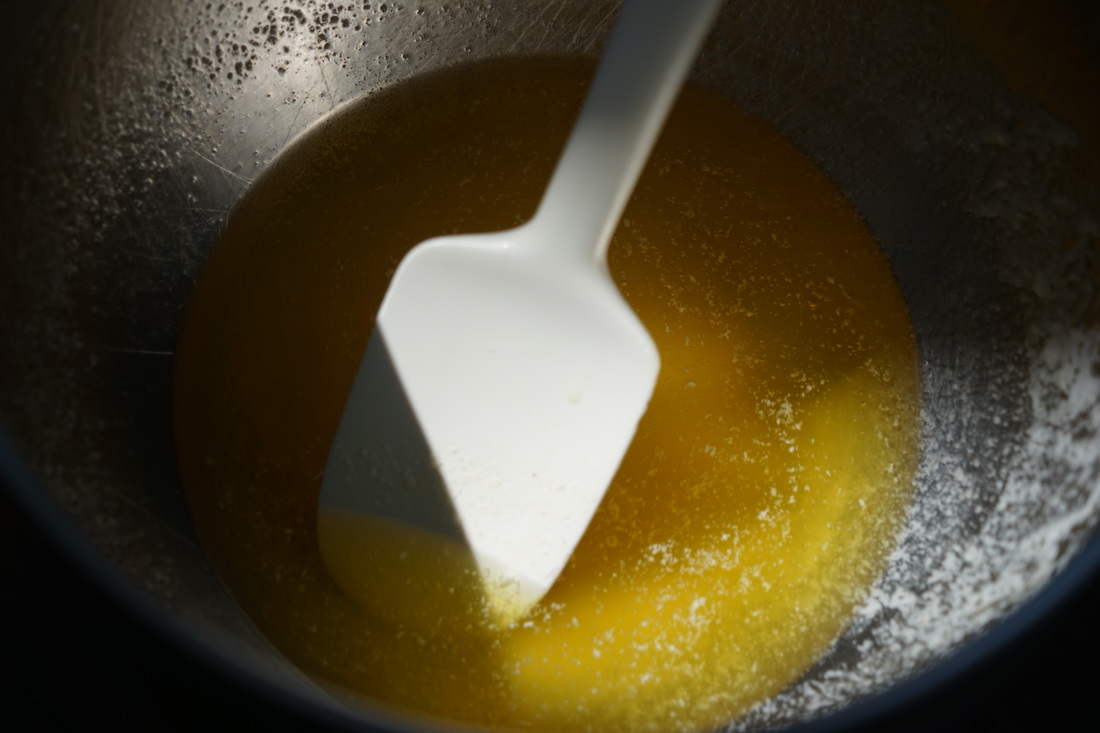
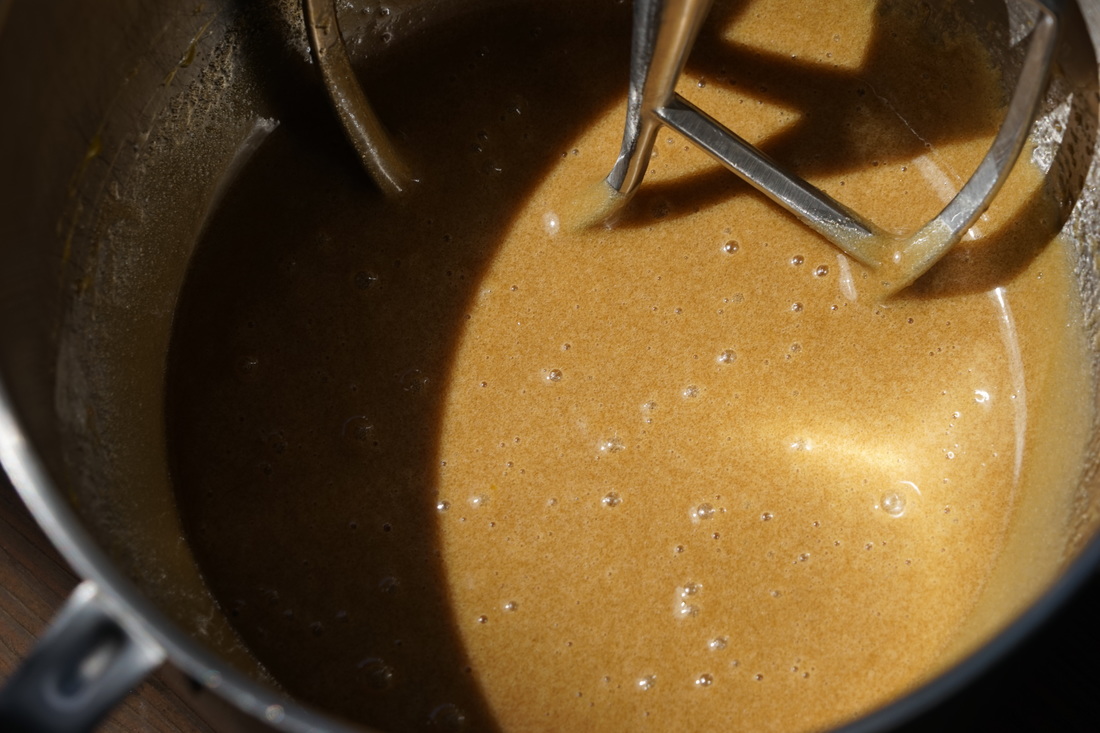
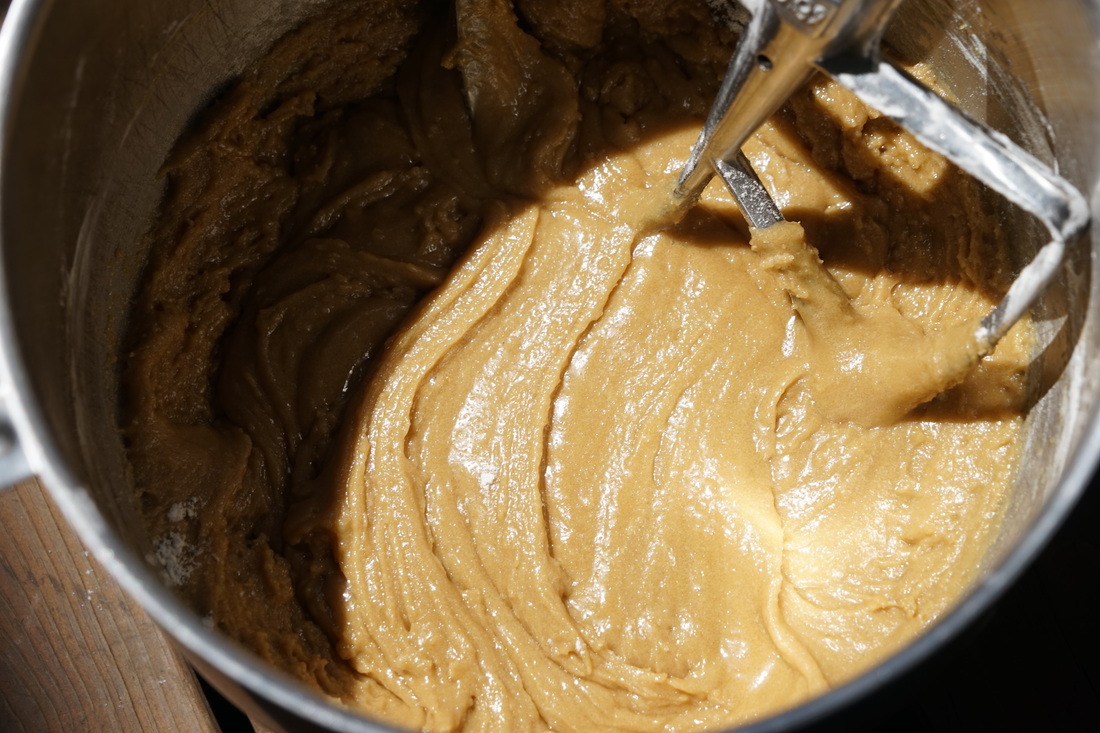
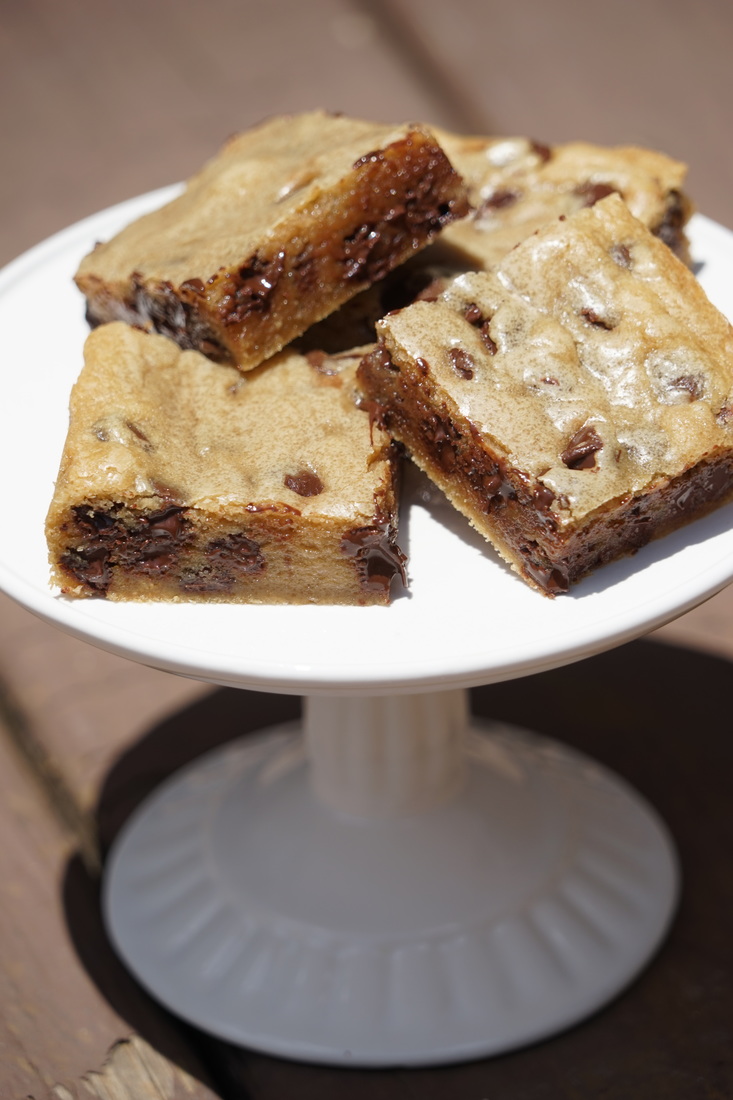
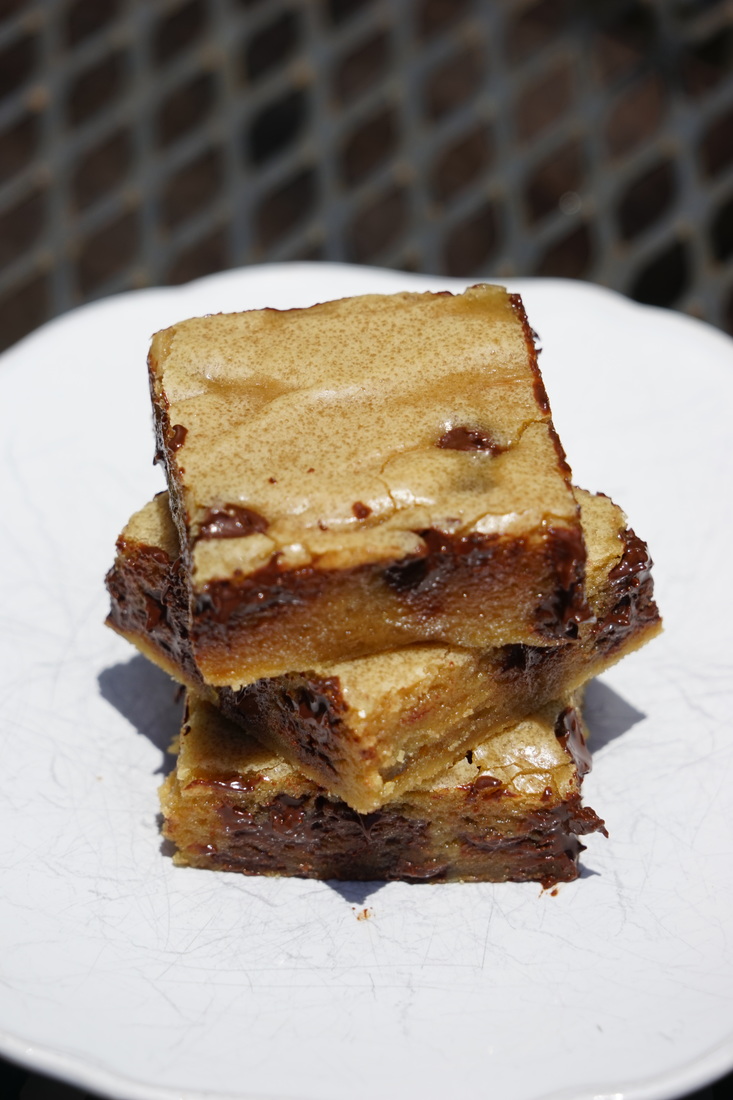
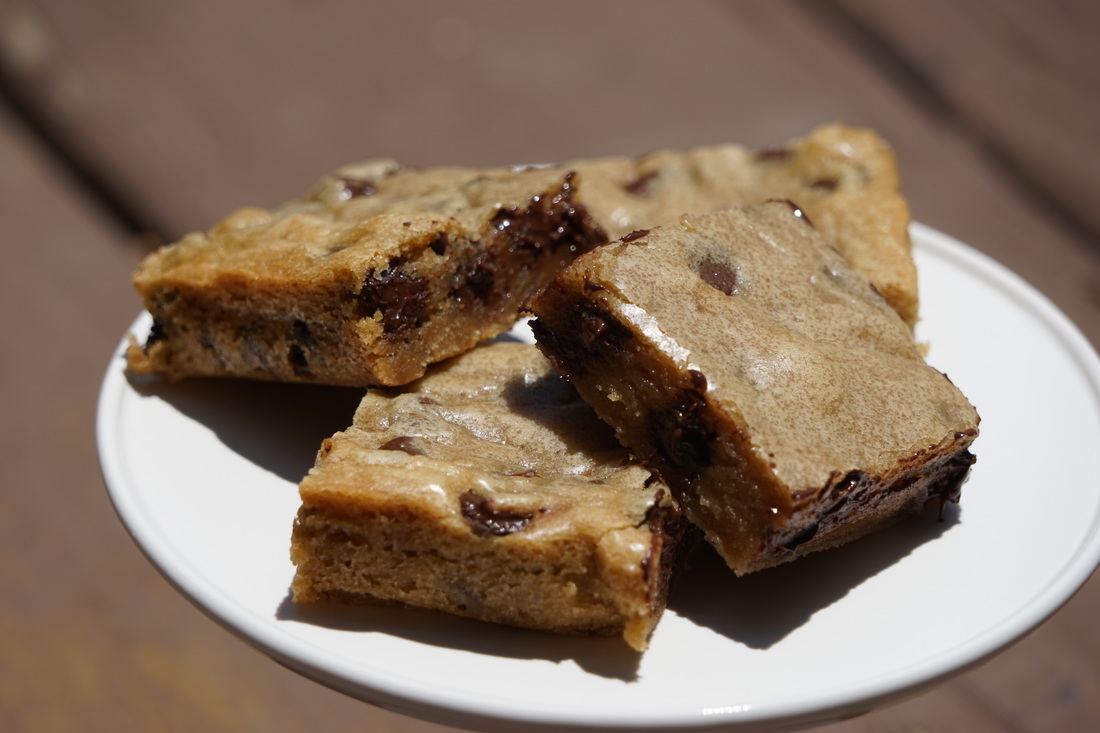
My browned butter chocolate chip blondies are the perfect treat to prepare - even on the hottest of summer days. They take about 15 minutes to prepare and only 20 minutes to bake up to sweet, delicious, blondie perfection. 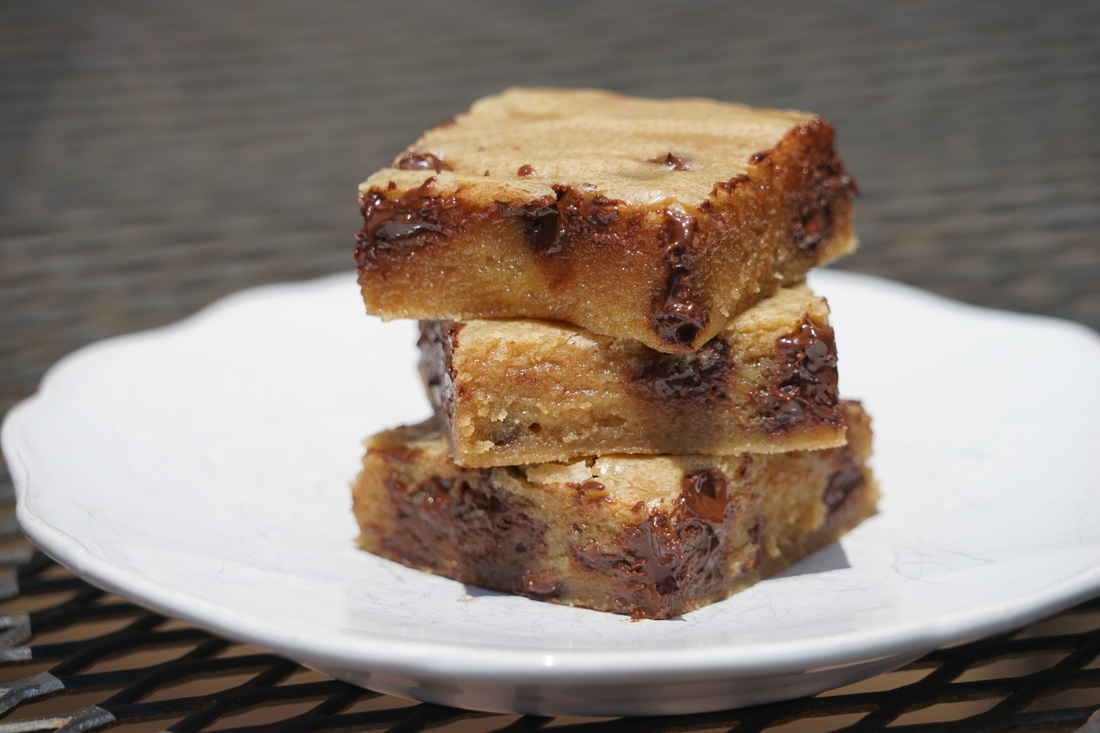 Browned Butter Chocolate Chip Blondies
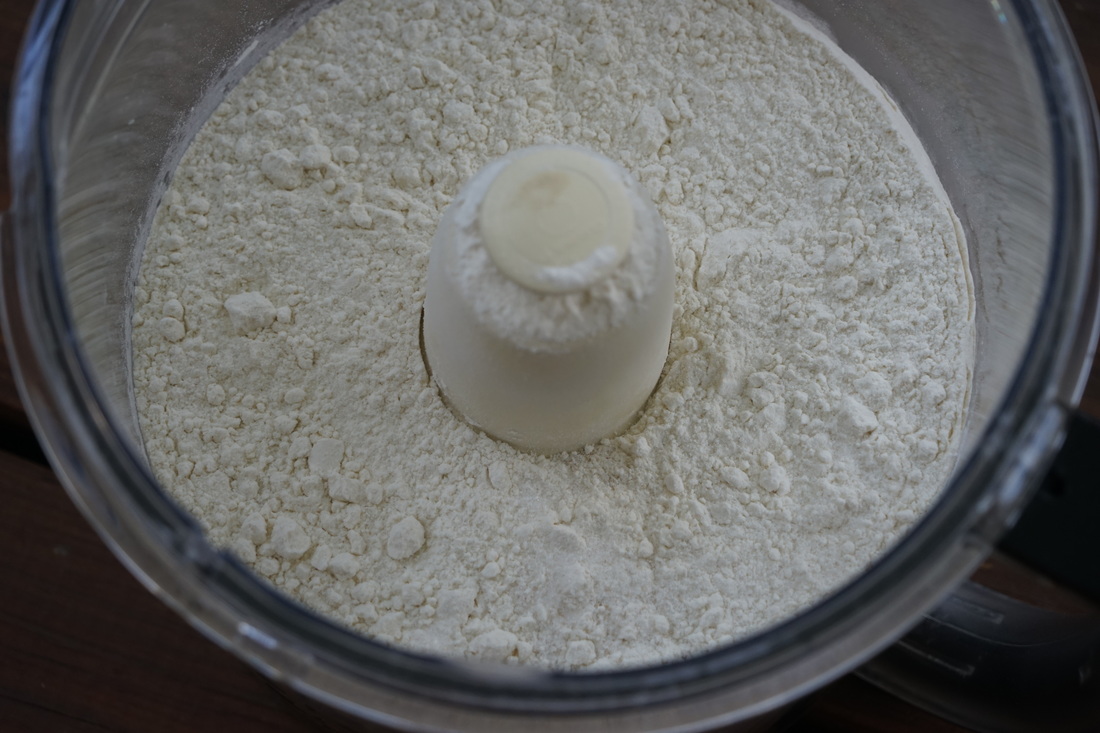
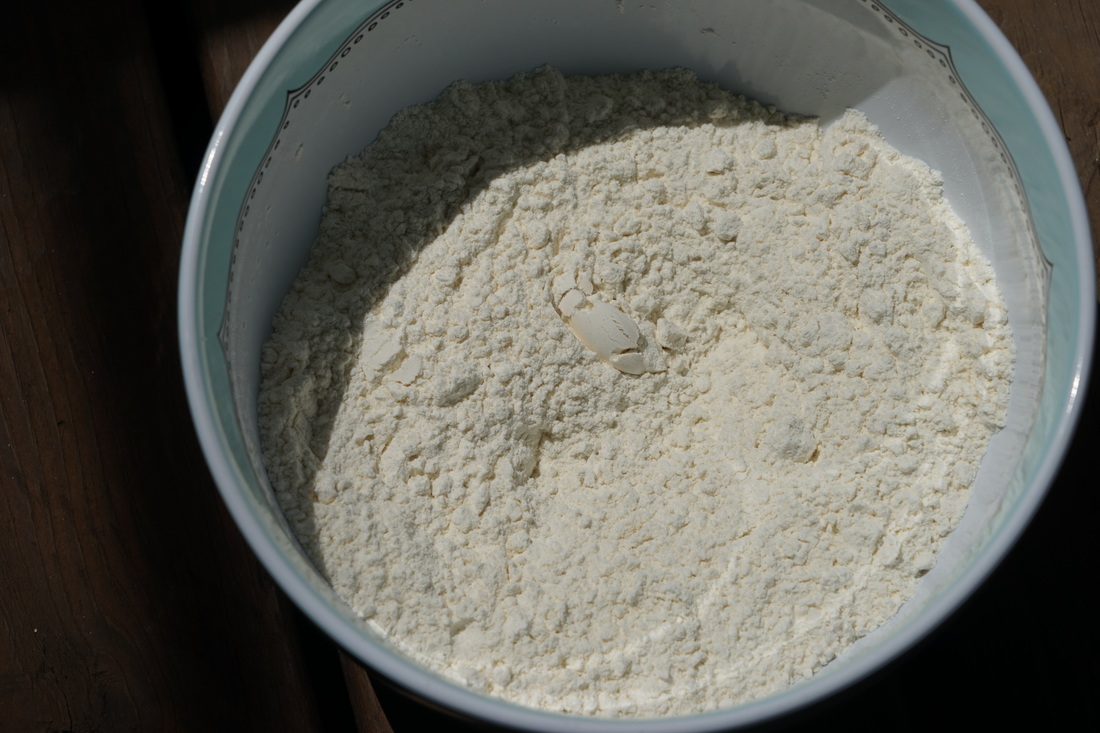
Add flour and salt.
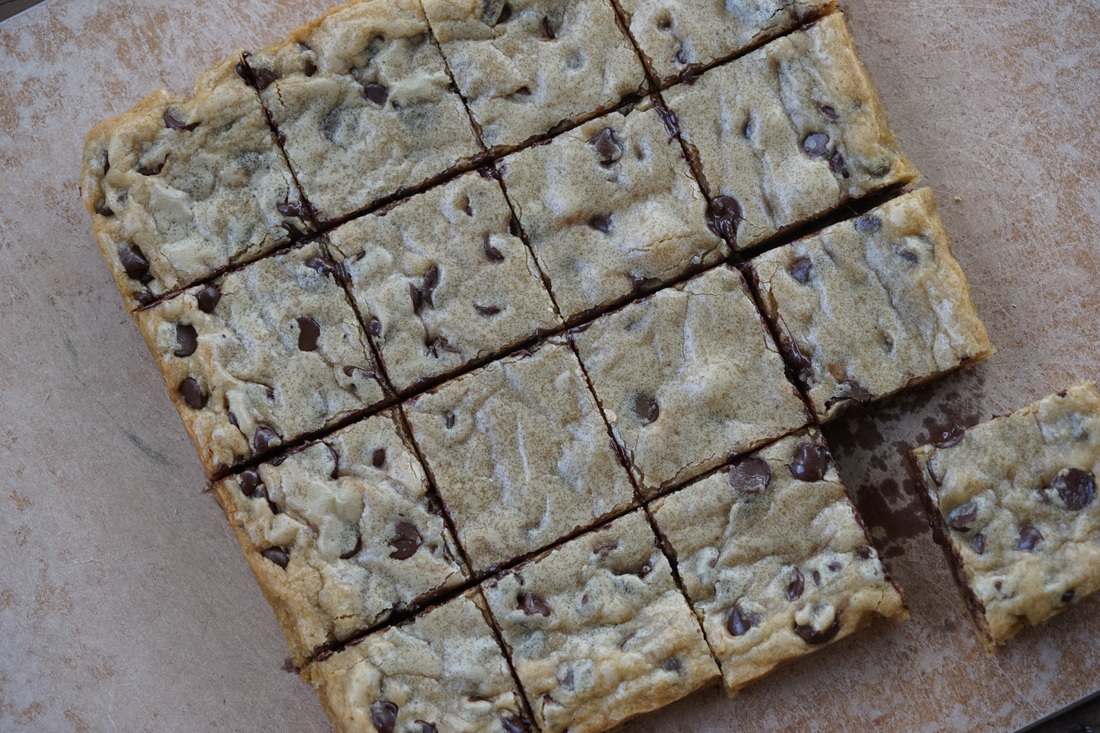
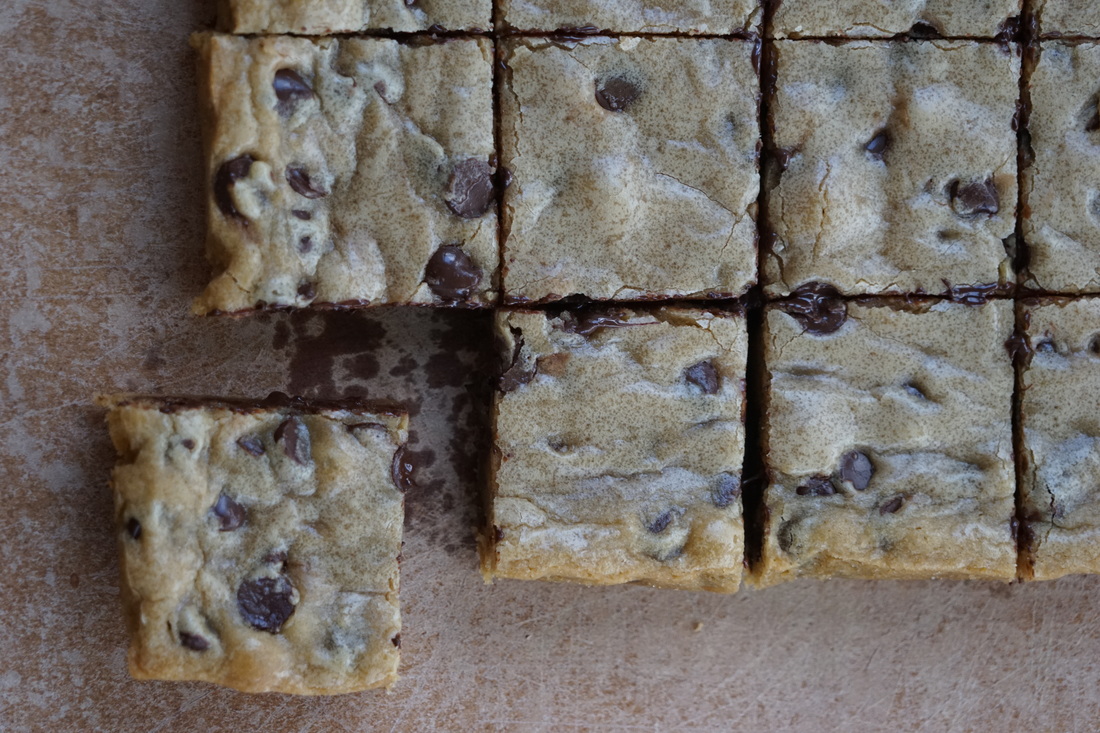
Stir in chocolate chips. 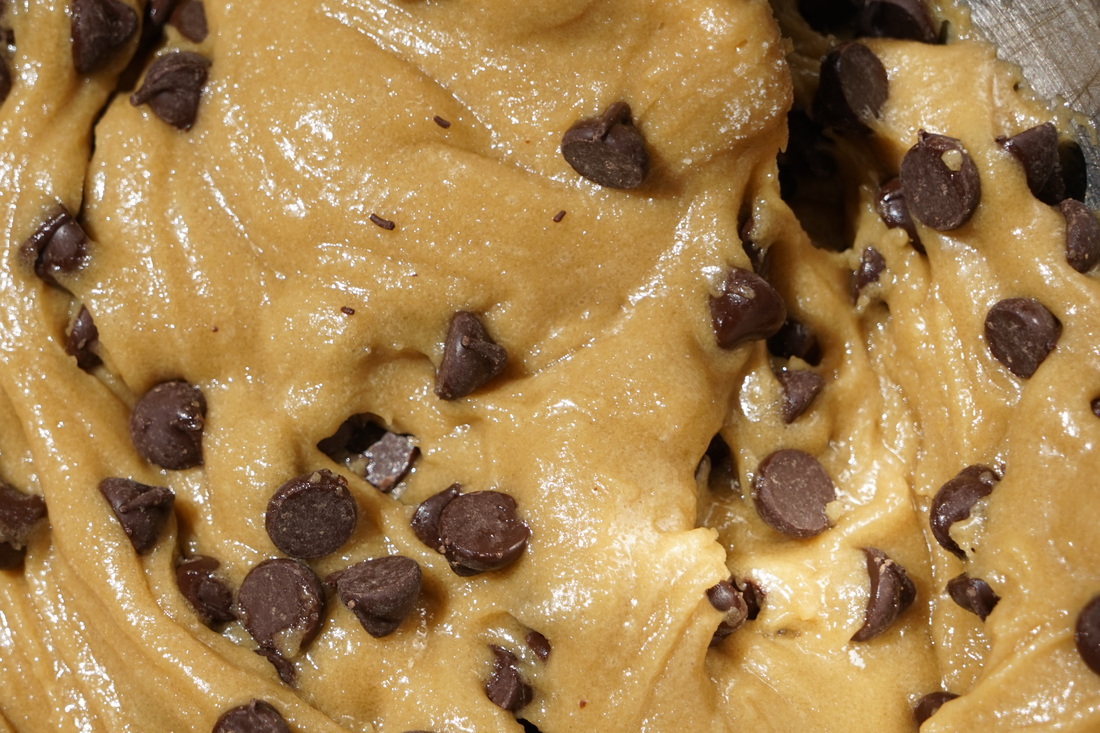 Line and 8 inch square baking pan with foil and spray with cooking spray. Spread batter into pan. Bake 20 minutes at 350. 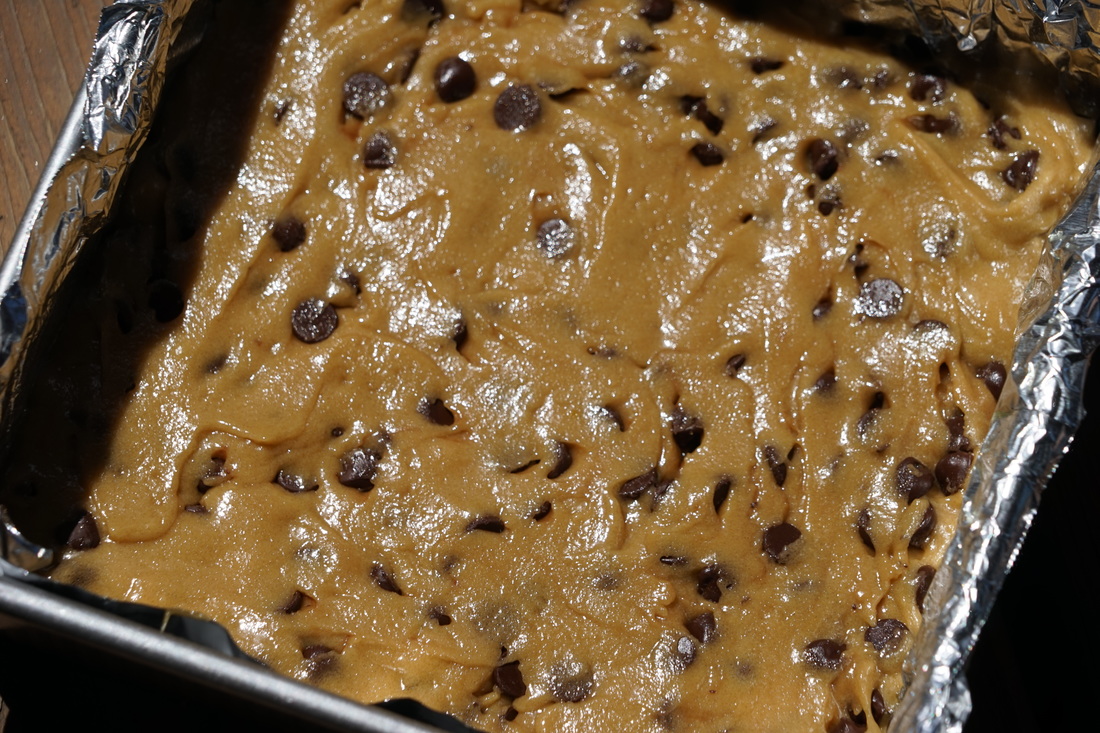 Let cool 1 hour before slicing. 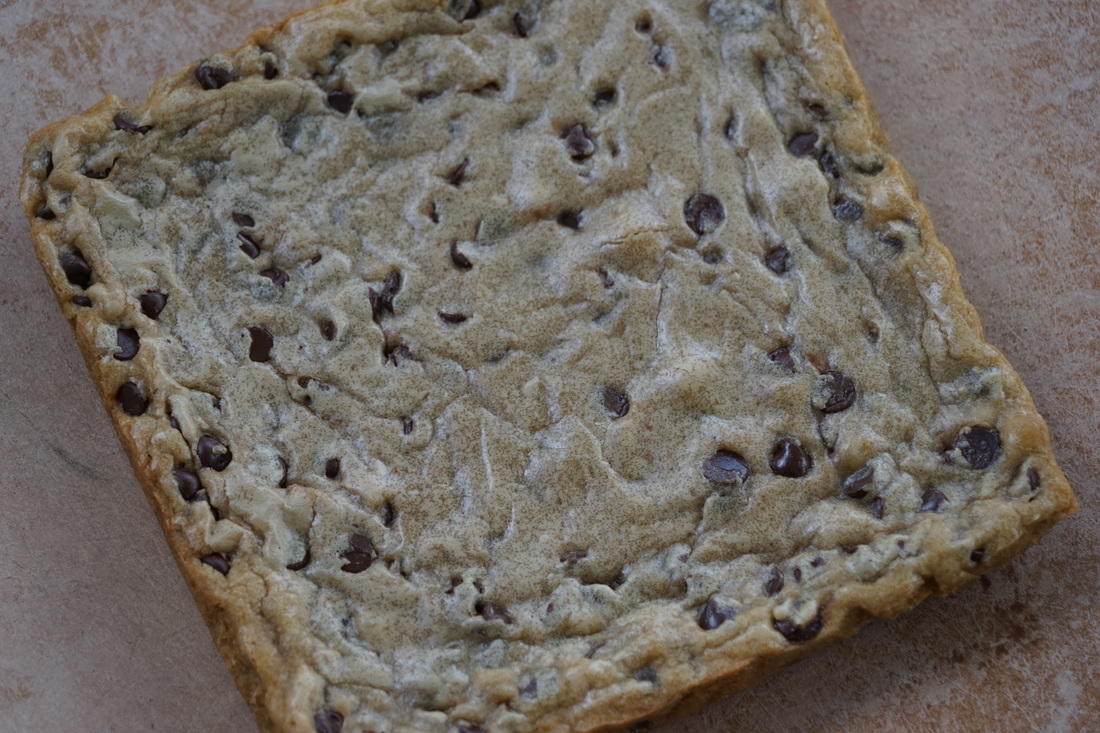 Cut into 16 squares.
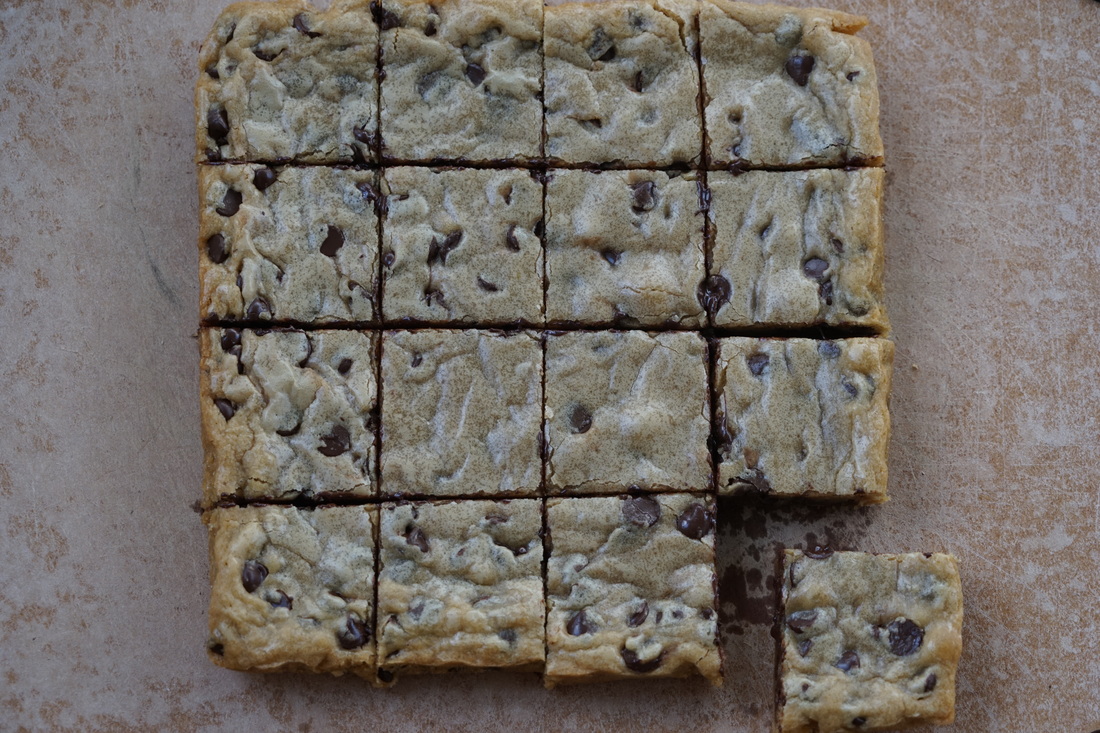 Devour.
 I'll save the individual cookie baking for the Fall and winter months. As for right now - I'll turn my oven on as little as possible and bake my cookies as bars.
Ciao! |