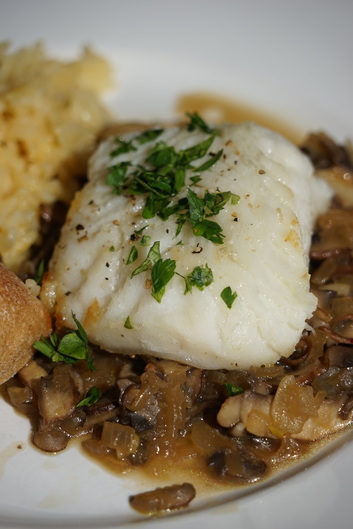
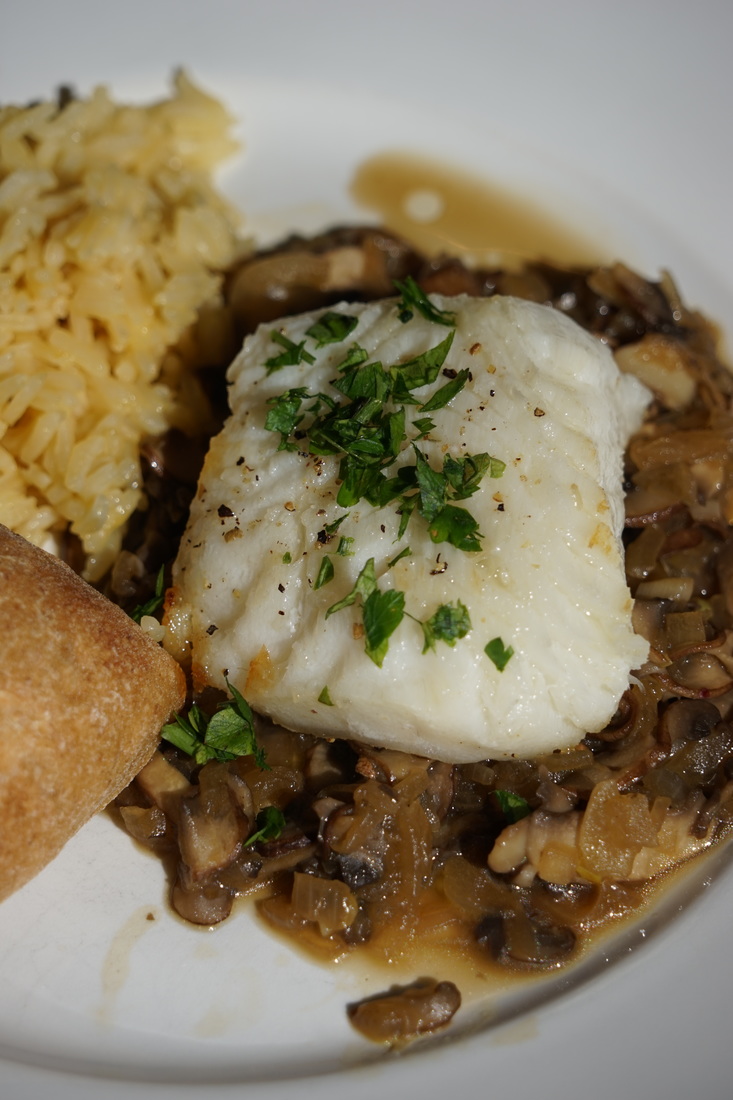
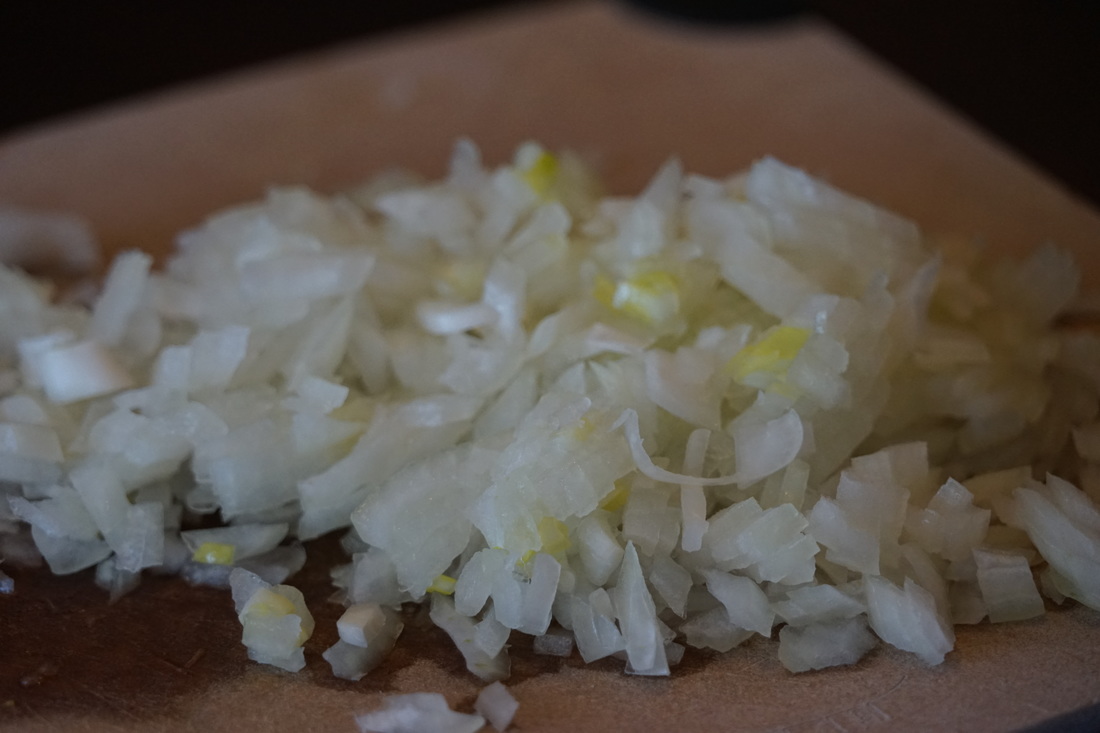
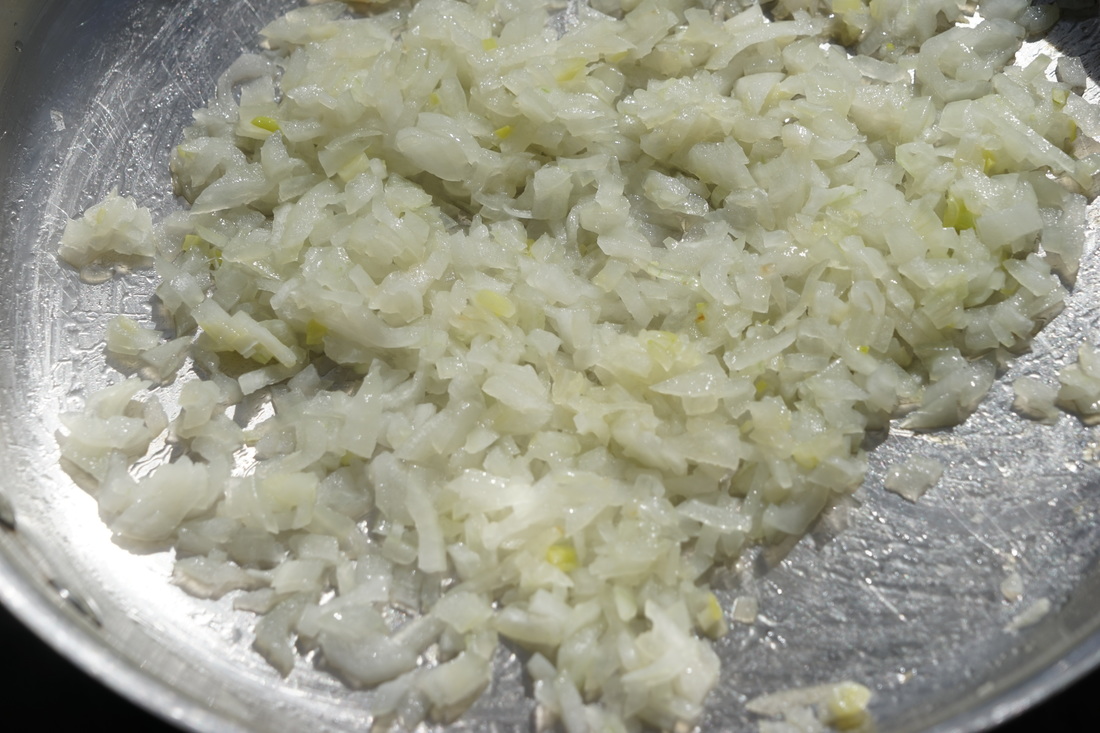
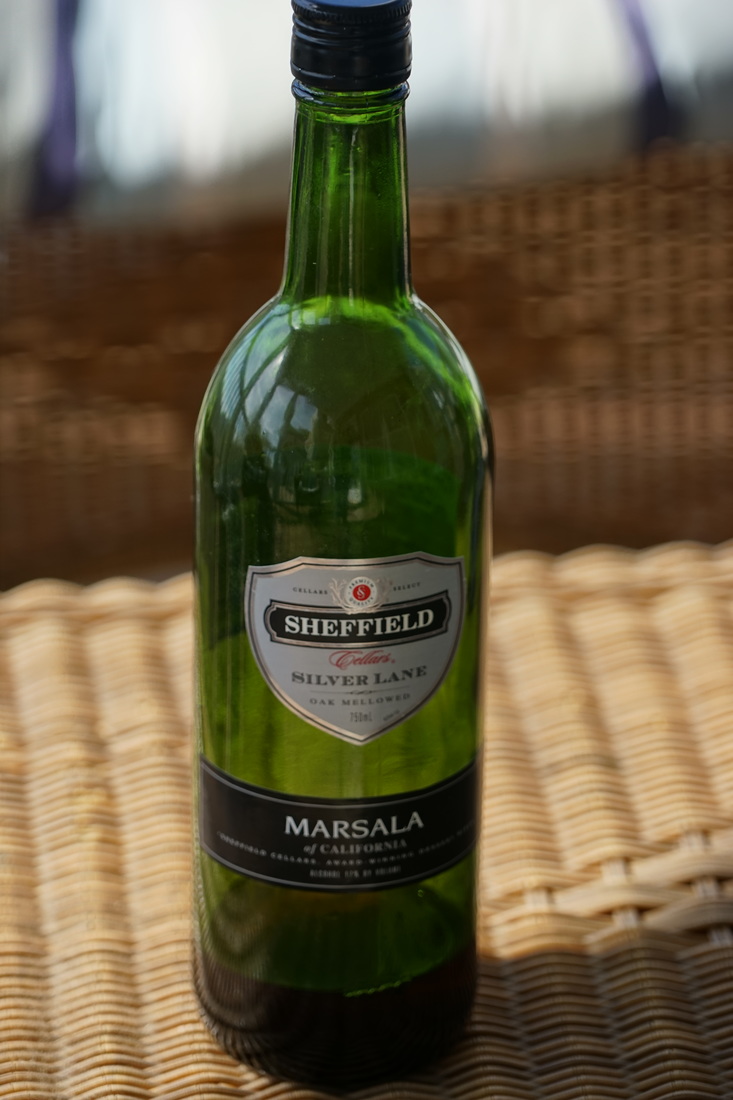
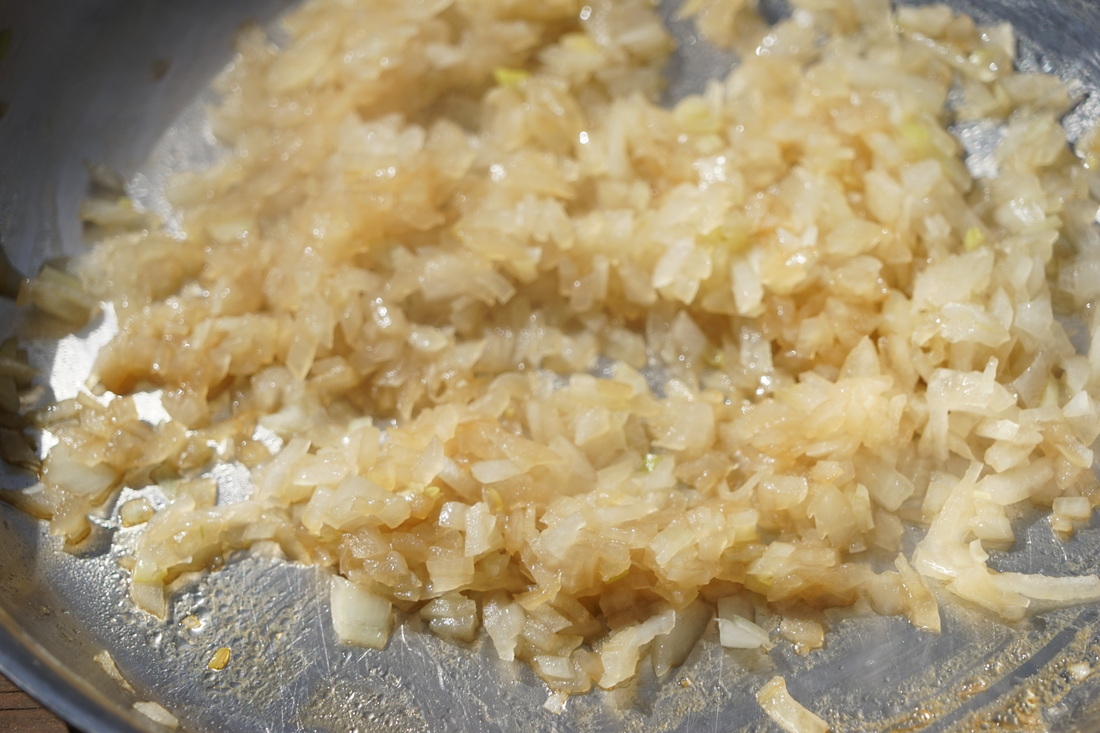
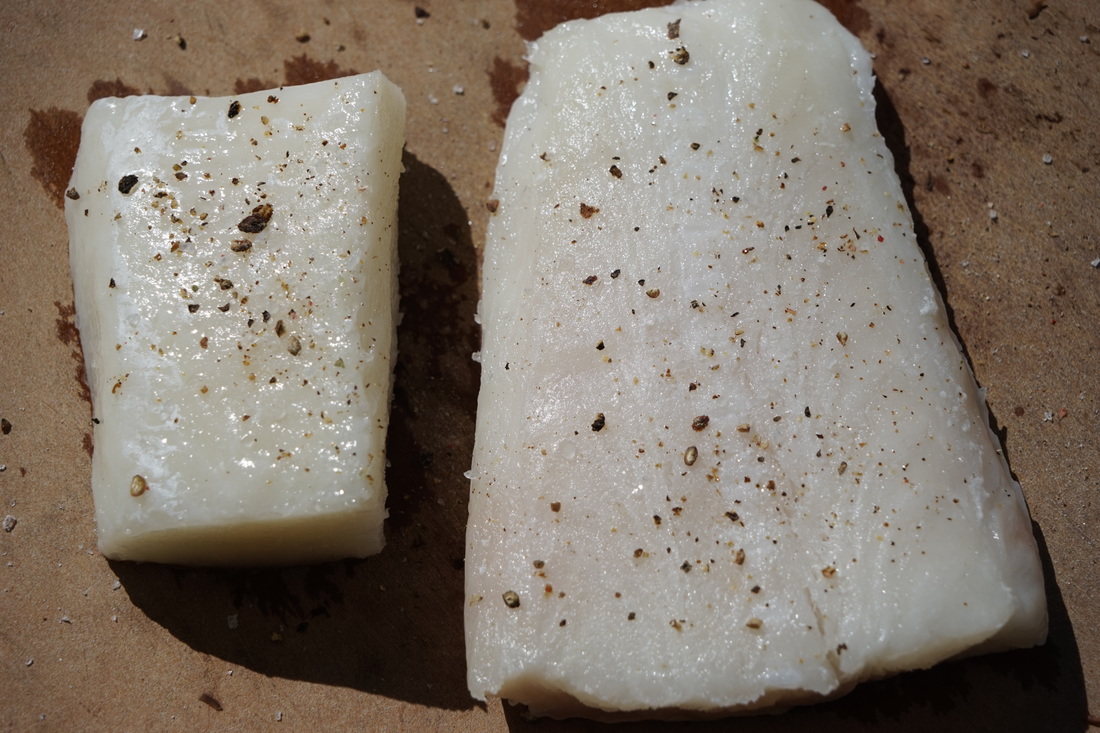
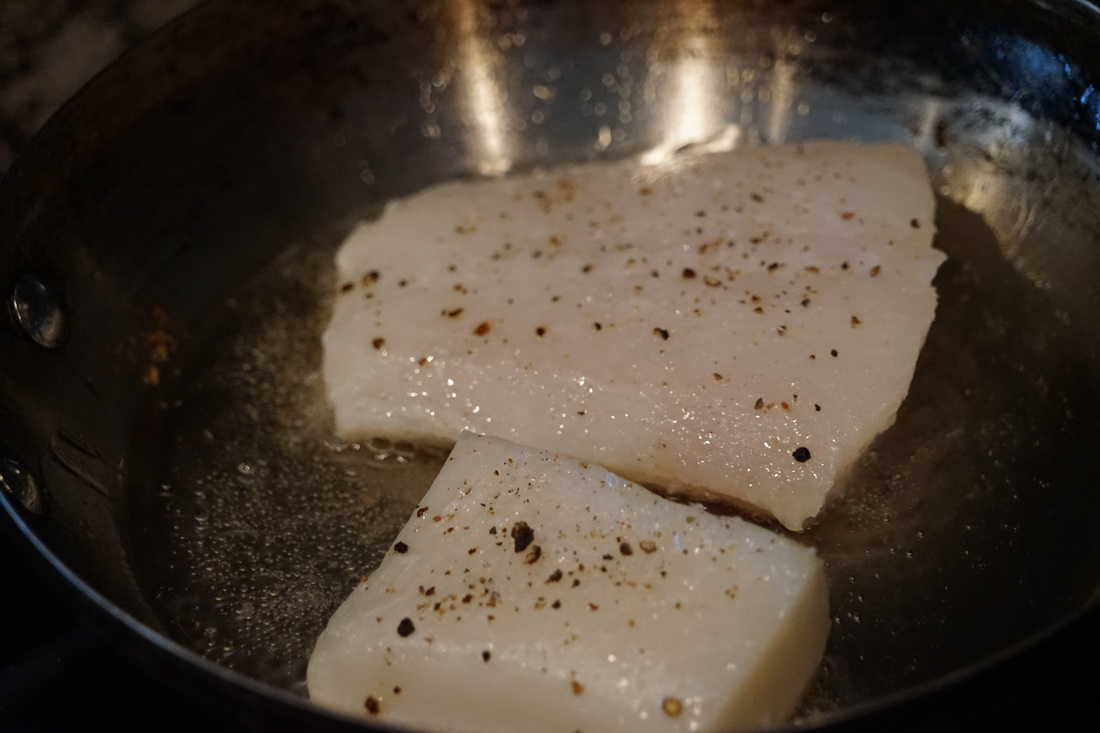
If you've ever had a piece of really great Chilean Sea Bass - you know how great it is. If you've never tried it - well, you're missing out and you really need to taste it. It is by far one of my favorite fish to eat. Like most fish - the preparation of Sea Bass is simple. Lightly seasoned and pan sauteed is really the best method that I've found for this flaky fish. Place it on top of a bed of Marsala mushroom onion confiit and you've got yourself a gourmet Sea Bass dinner. I made this Sea Bass for Ben on Valentine's Day. We wanted to have a special dinner but we didn't want to go out to an overly crowded restaurant. Chilean Sea Bass was the perfect meal. It's a little bit pricey so I don't buy it often - just for special occasions - but we both love it. If you've never tried Chilean Sea Bass before - this is a great - simple recipe to get you started. Try it and I think you'll be "hooked." (See what I did there?)  Chilean Sea Bass 2 tablespoons olive oil 1 tablespoon of butter 1/2 large onion, diced 1/4 cup Marsala wine 4 oz. fresh mushrooms, sliced 1/4 cup of chicken stock Salt and Pepper 2 tablespoons canola oil 2 fillets of sea bass (approximately 1 lb.) 1 tablespoon parsley, chopped Heat olive oil in skillet and saute onion until soft.
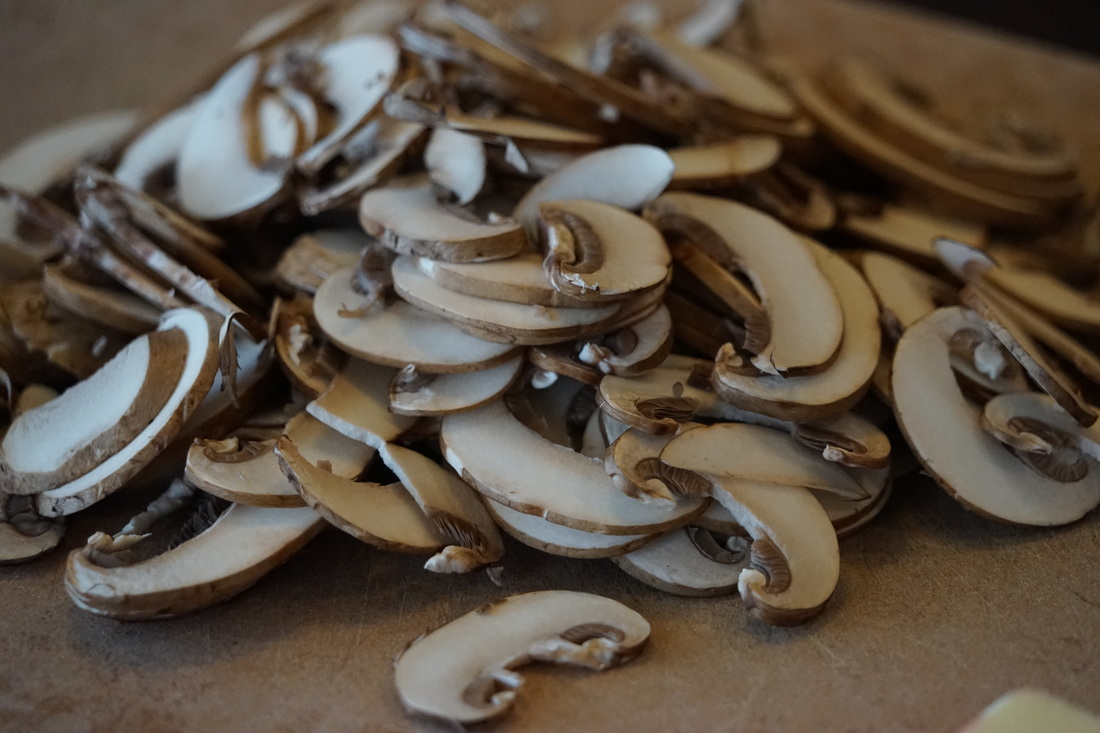
Add butter and mushrooms. Cook until softened.
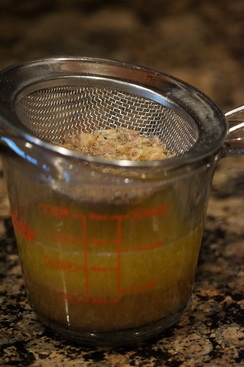
Add broth and salt and pepper. Cook until thickened. 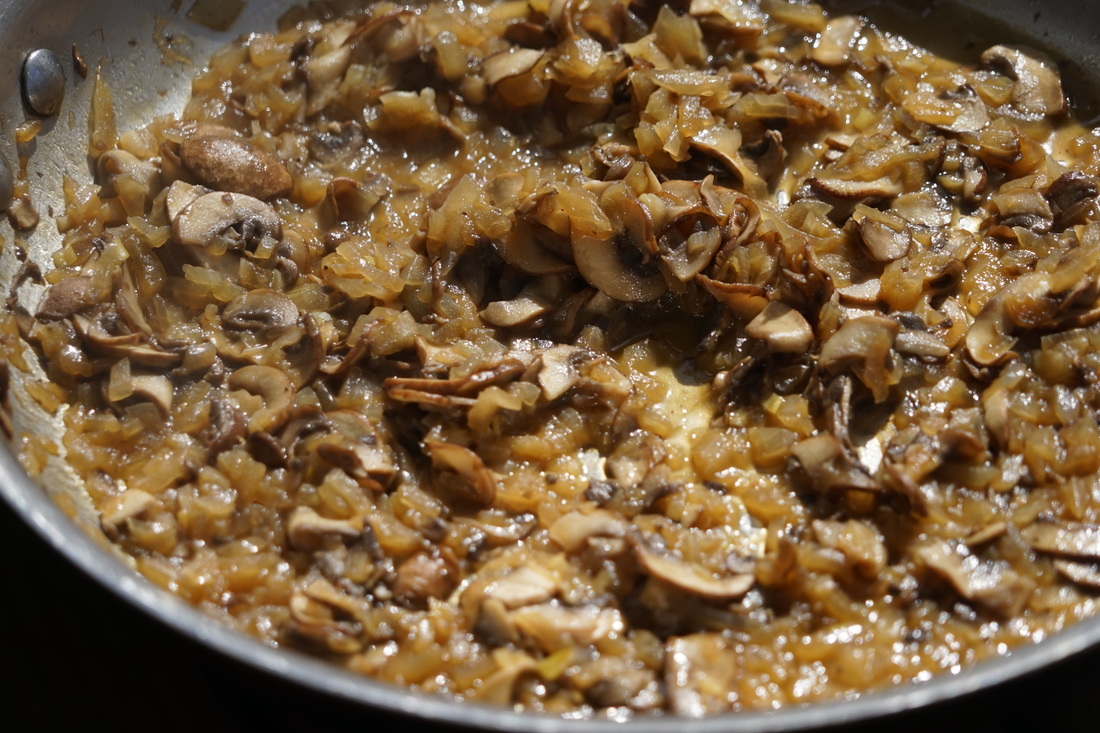 Heat canola oil in skillet until almost smoking. Season fish with salt and pepper. Cook 3-4 minutes on each side.
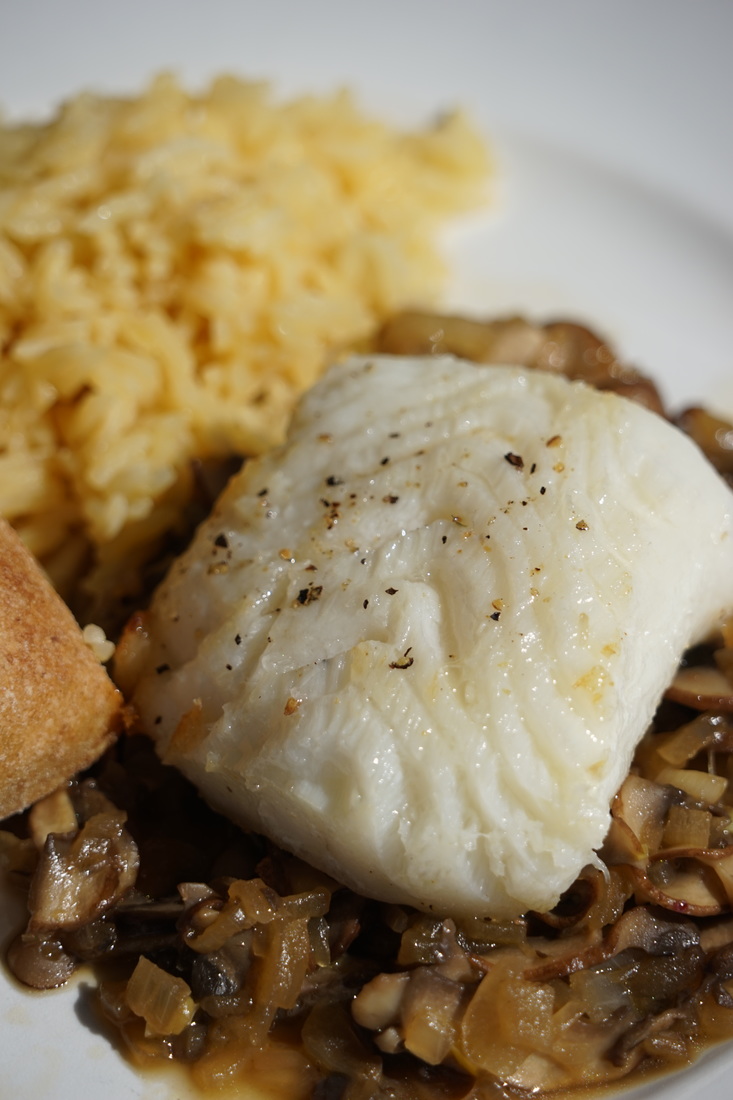
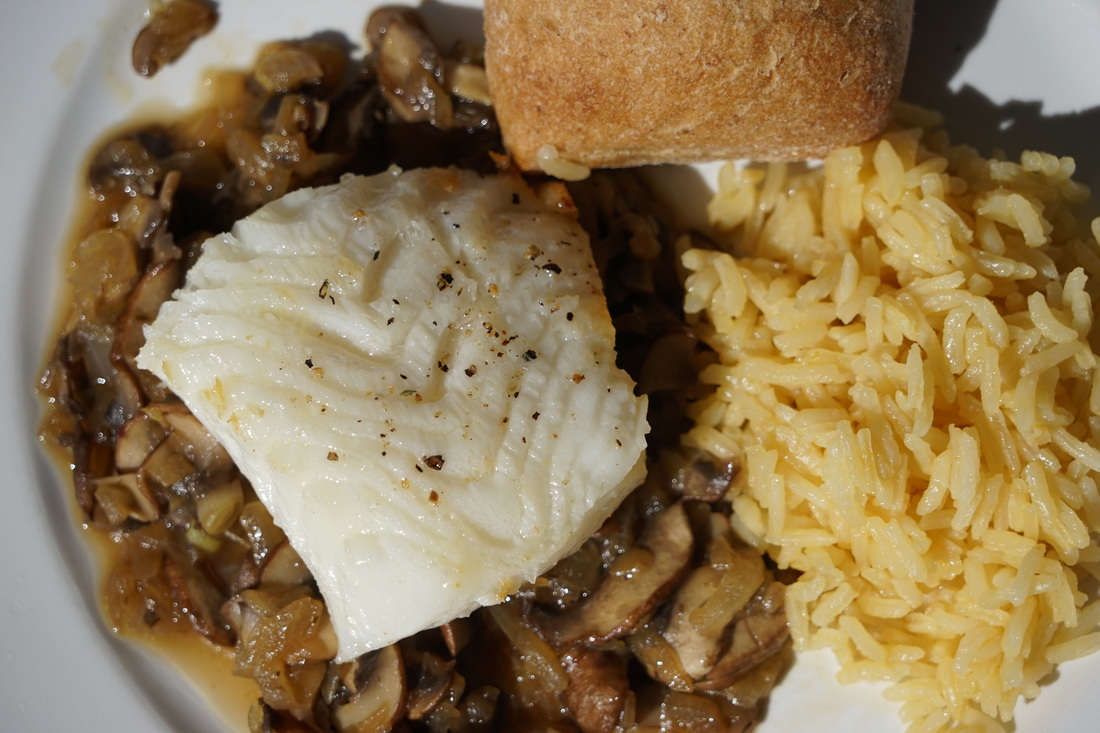
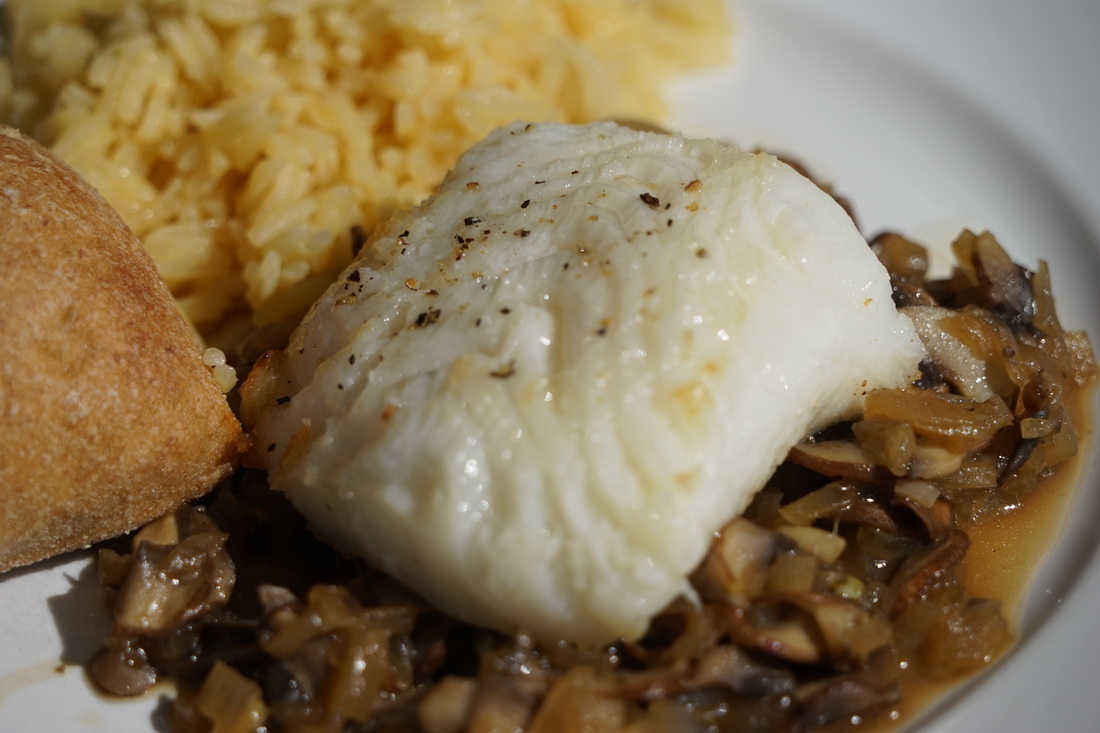
Spoon mushroom onion mixture onto plates. Top with fish.
Sprinkle with parsley and serve. 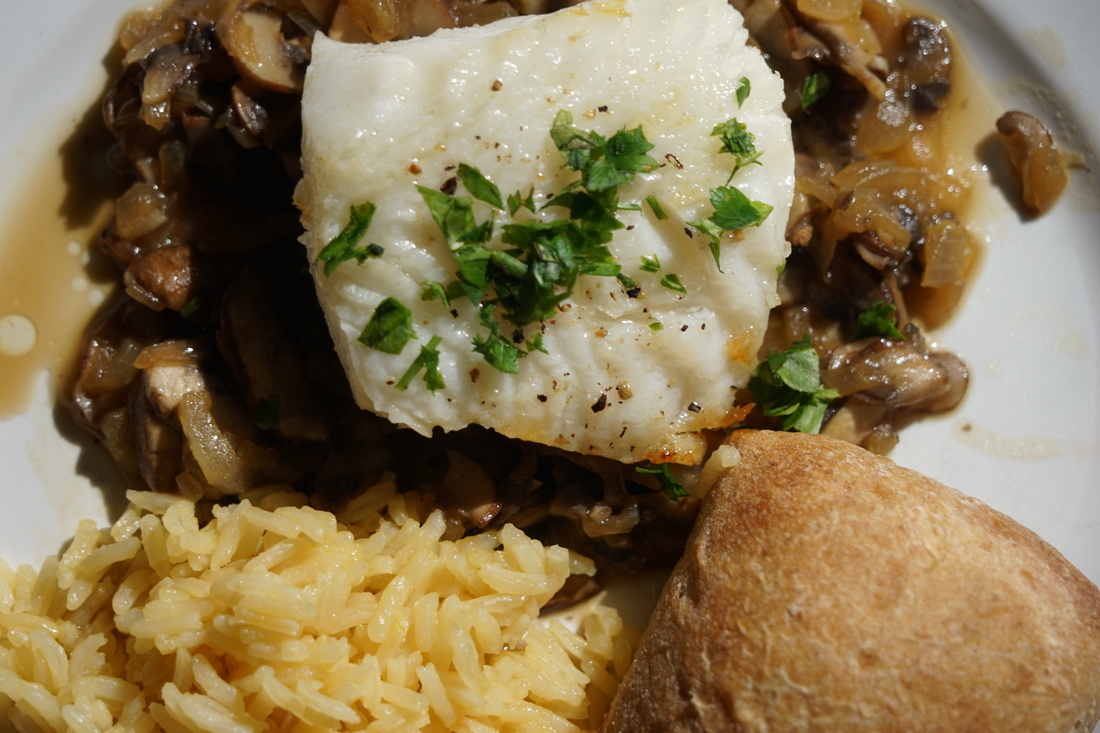 Birthday dinner, anniversary celebration or Valentine's Dinner - Sea Bass is the way to go. Trust me.
Ciao!
1 Comment
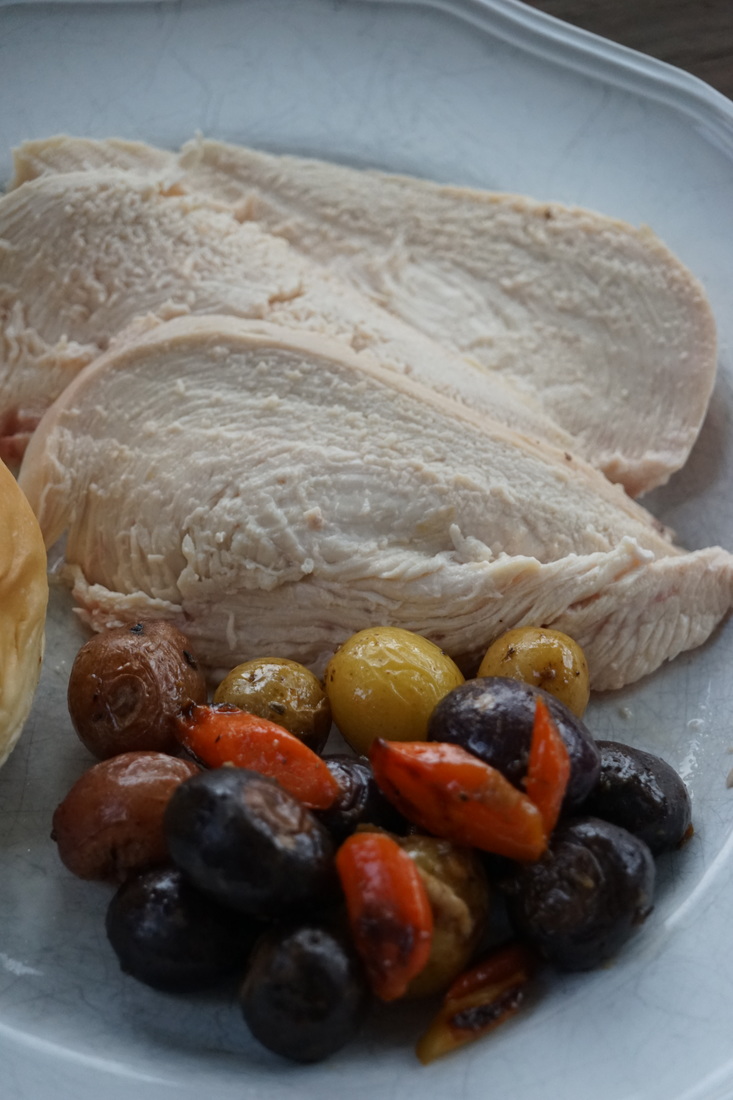
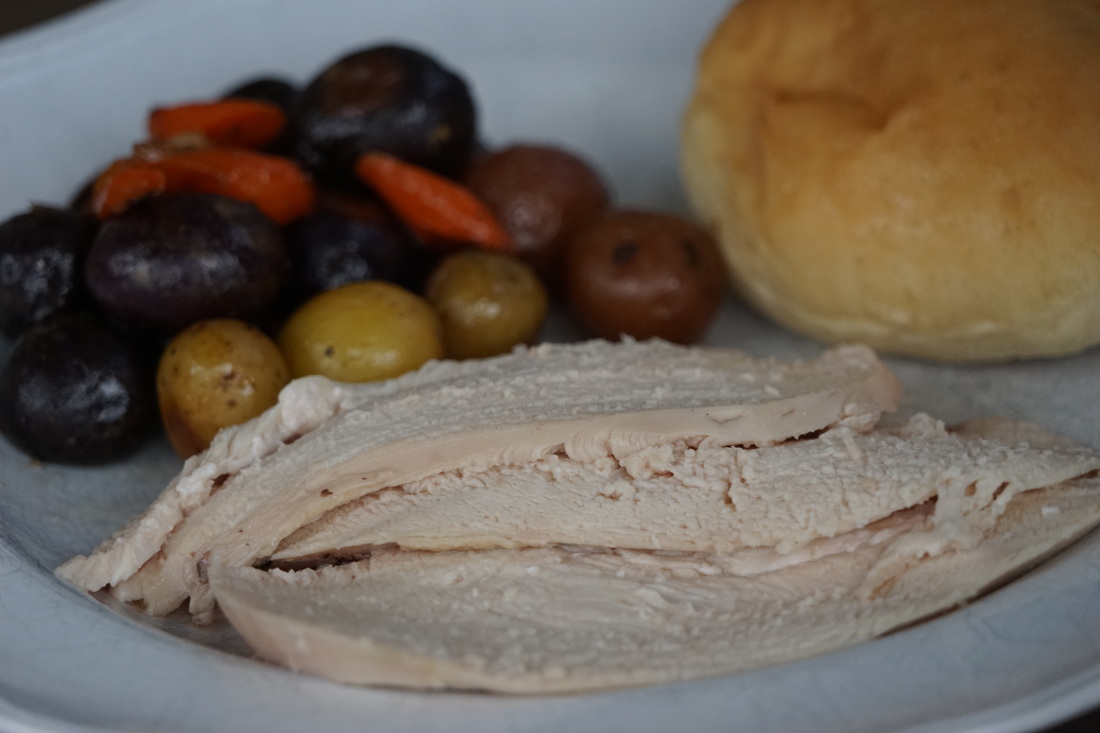
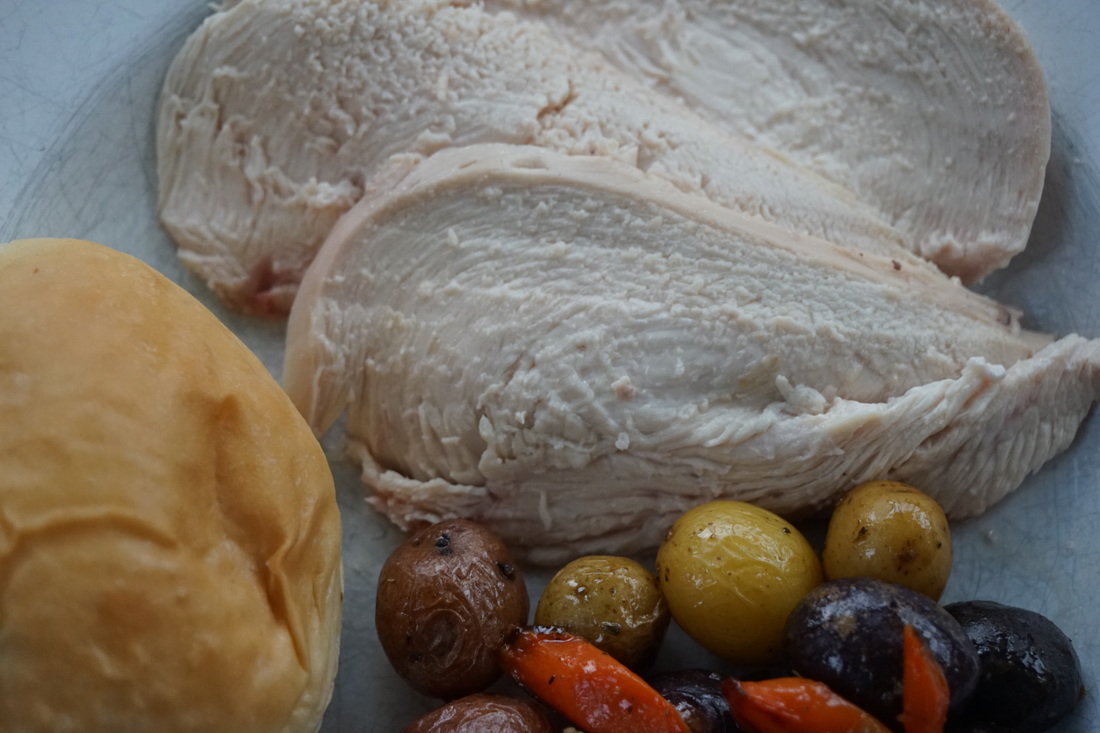
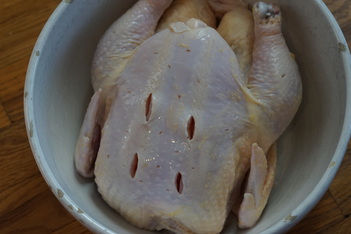
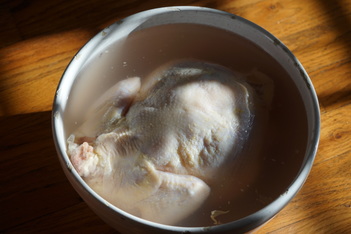
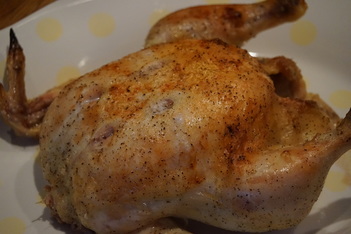
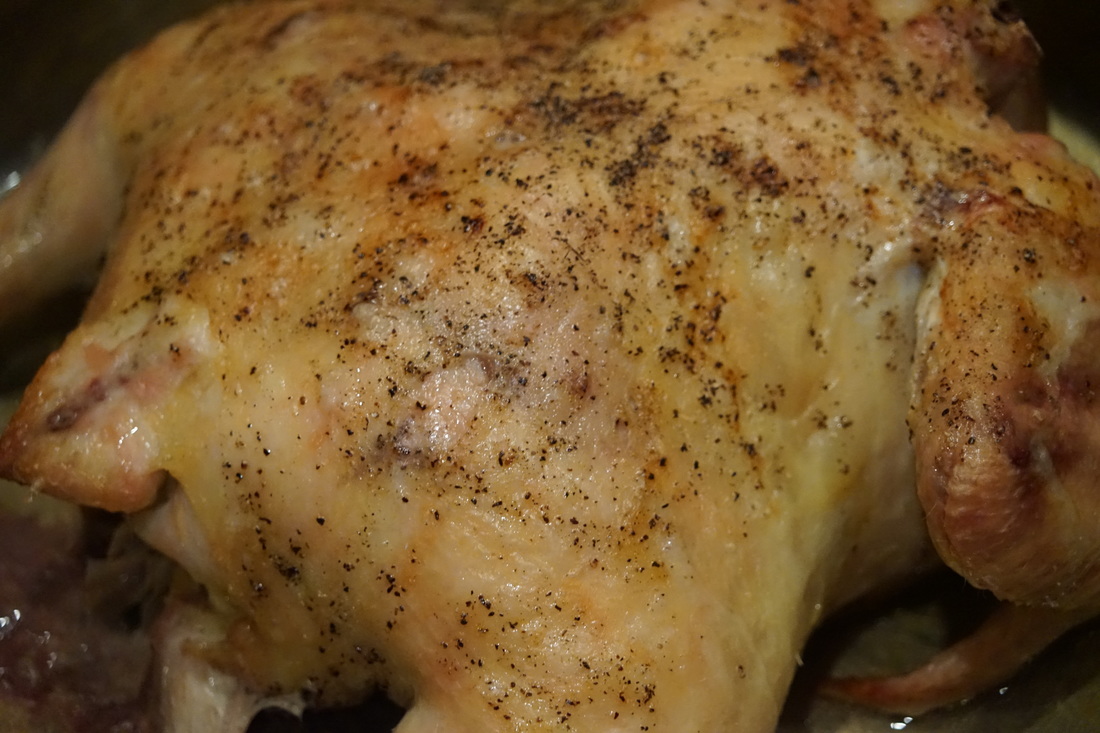
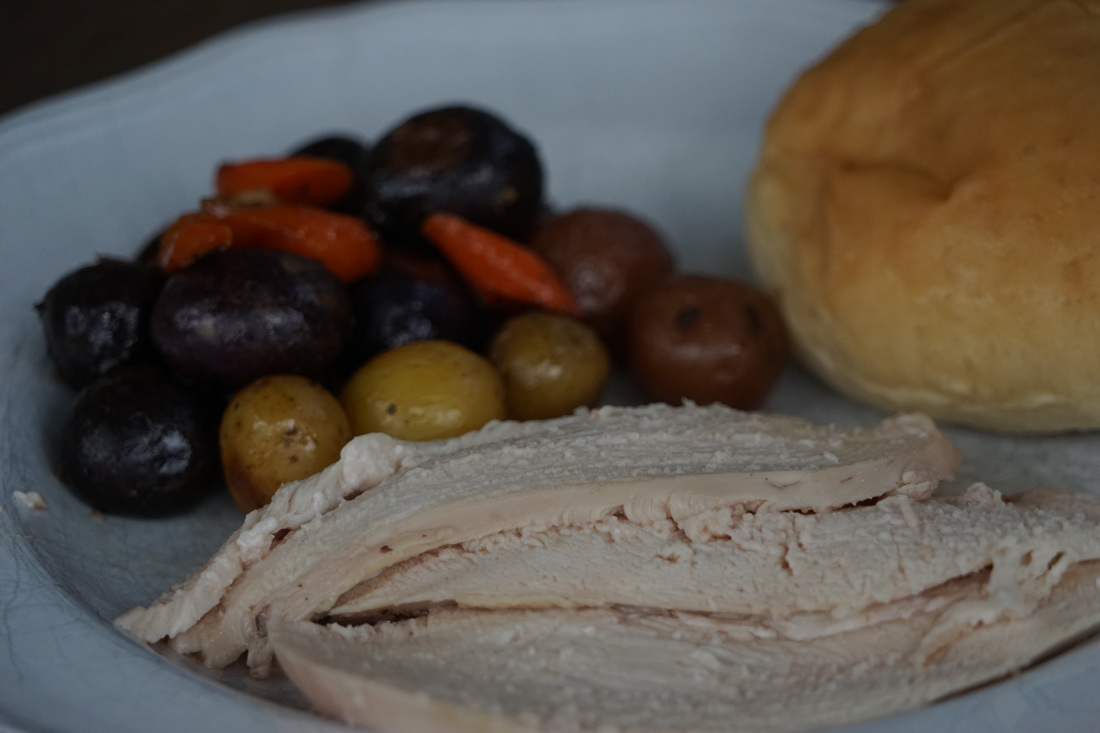
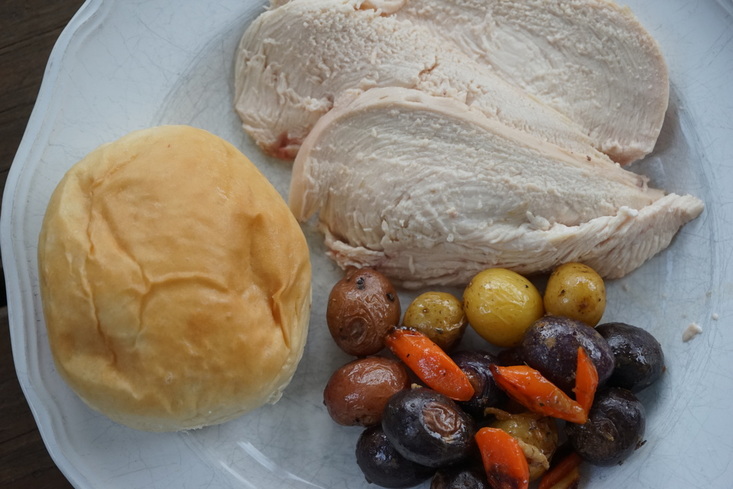
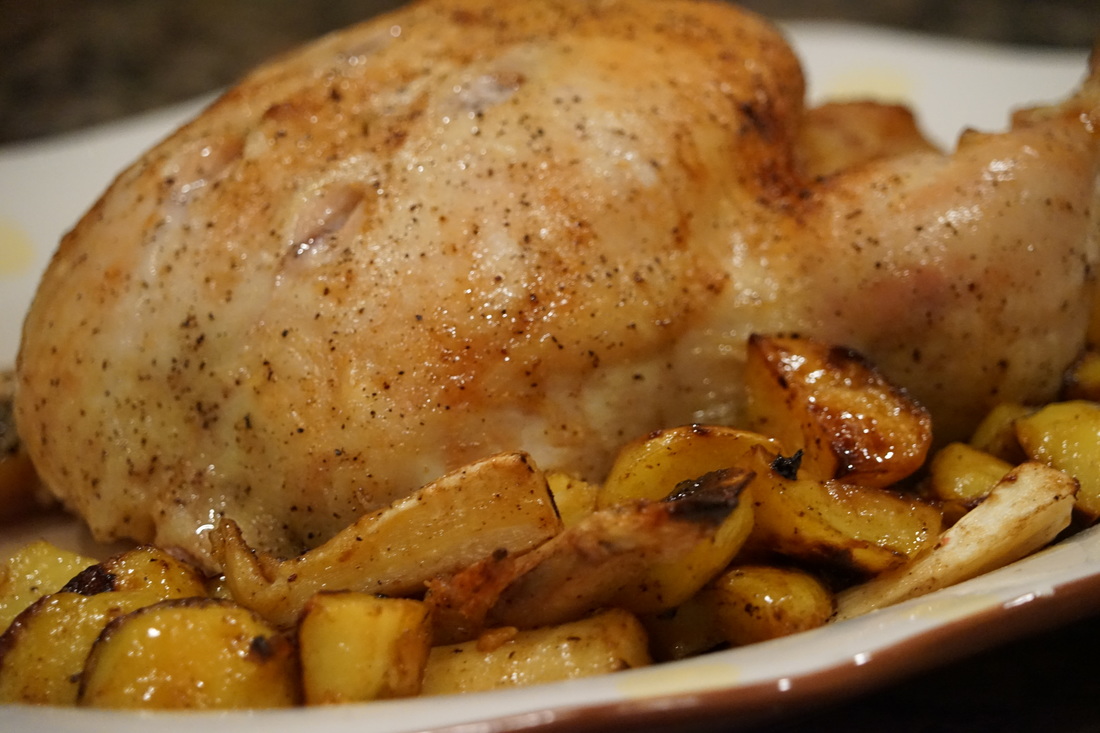 Roasting a whole chicken in the oven is easy - getting it juicy and flavorful - not always so easy. There are lots of ways of keeping a roast chicken moist but I think brining is by far my favorite. The problem is that most recipe call for 24 hours of brine time - that throws the "easy" part of the roast chicken recipe right out the window. Is it even possible to create a roast chicken recipe that's both juicy and easy. A delicious roast chicken doesn't have to be a 24 hour process. I've realized that reducing the brine time to one hour is sufficient for a perfectly wonderfully juicy roast bird.
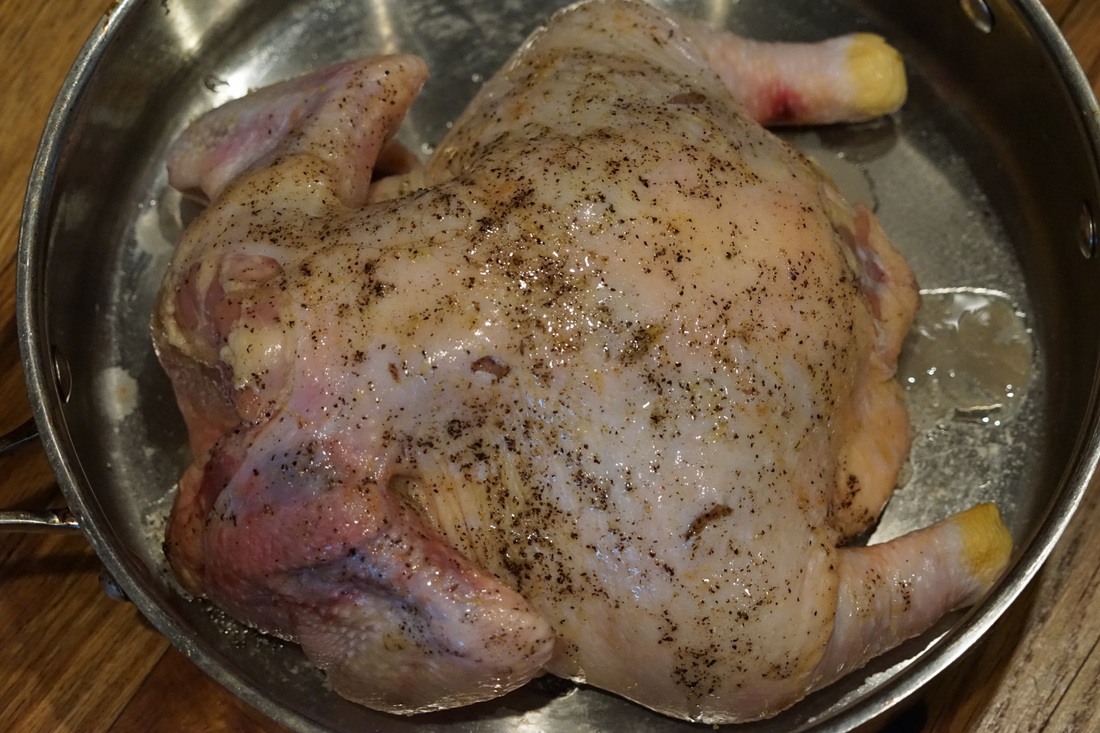
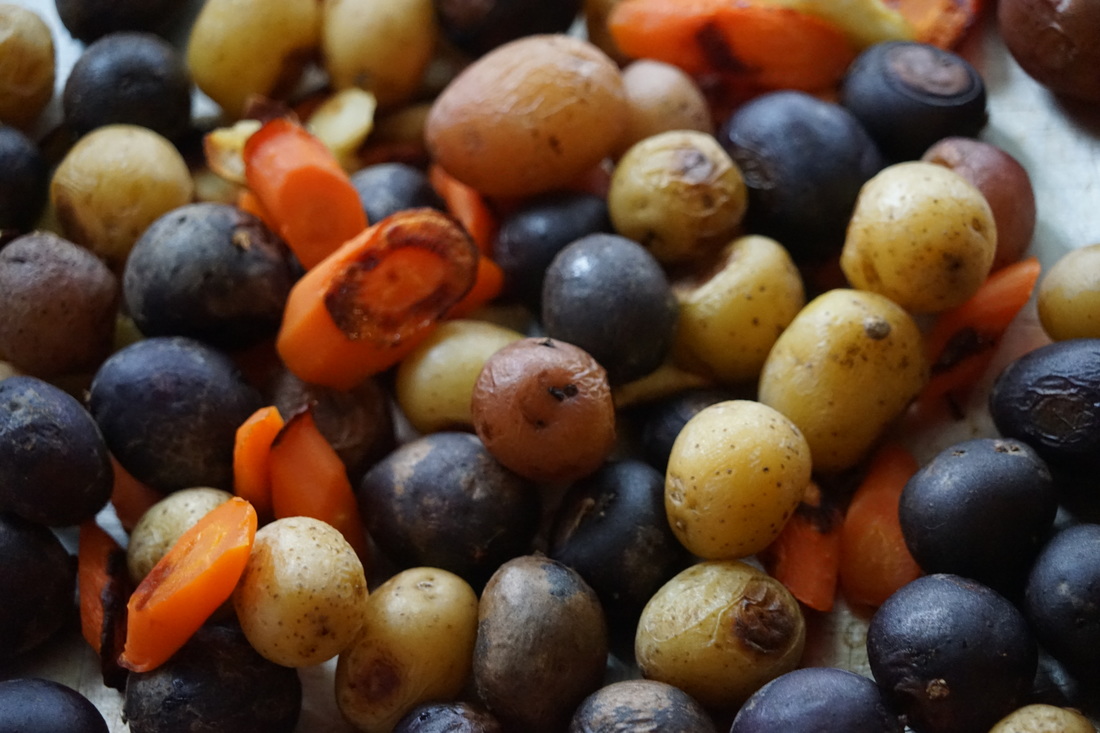
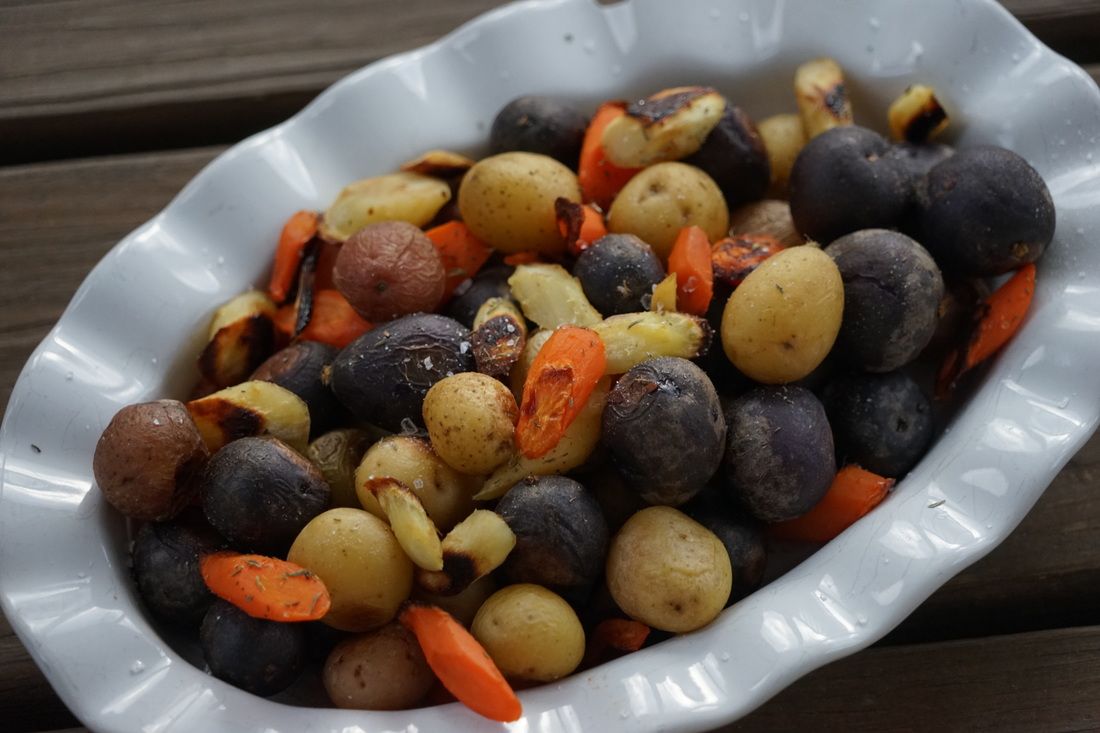
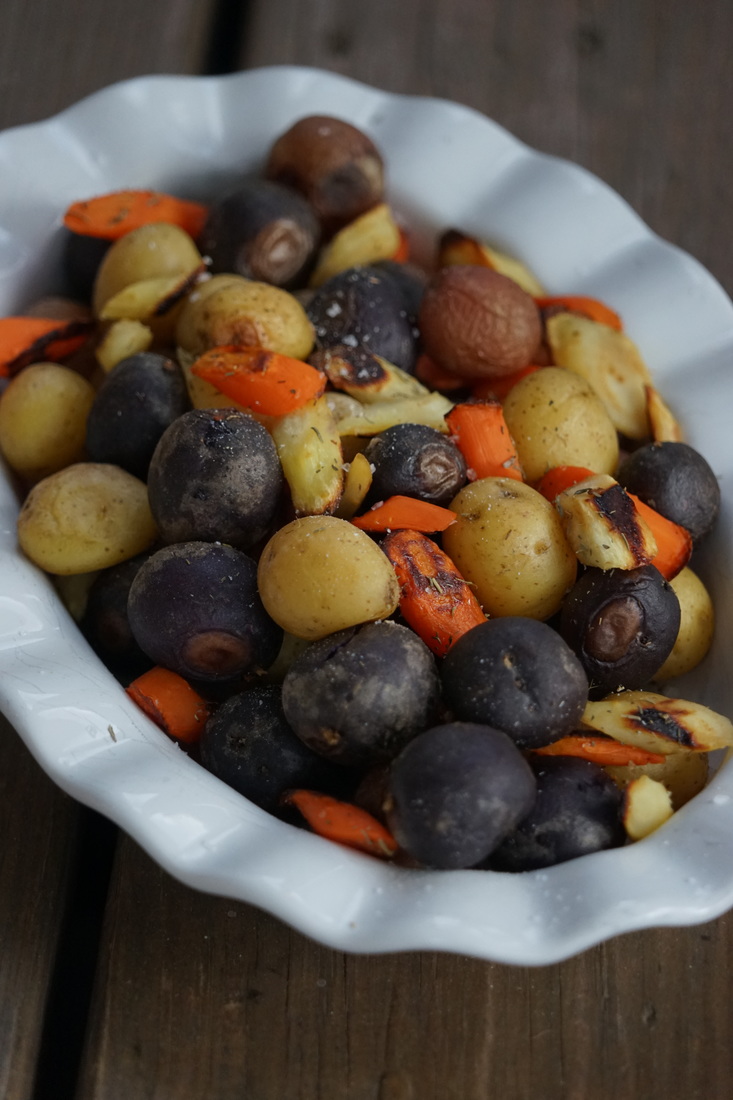
Best Roast Chicken with Vegetables 1 chicken 1/2 cup salt 1/2 teaspoon pepper 1 pound potatoes 4 carrots, peeled and sliced 4 parsnips, peeled and sliced 4 teaspoons oil 1/4 cup water 1 teaspoon fresh minced thyme
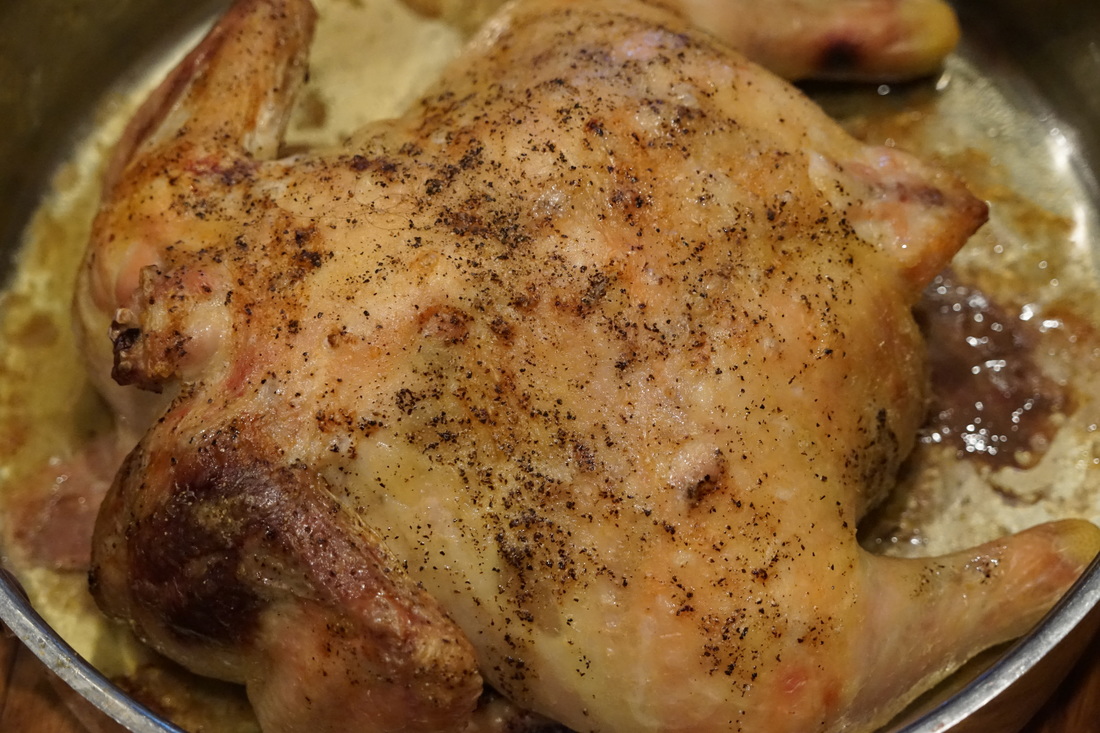
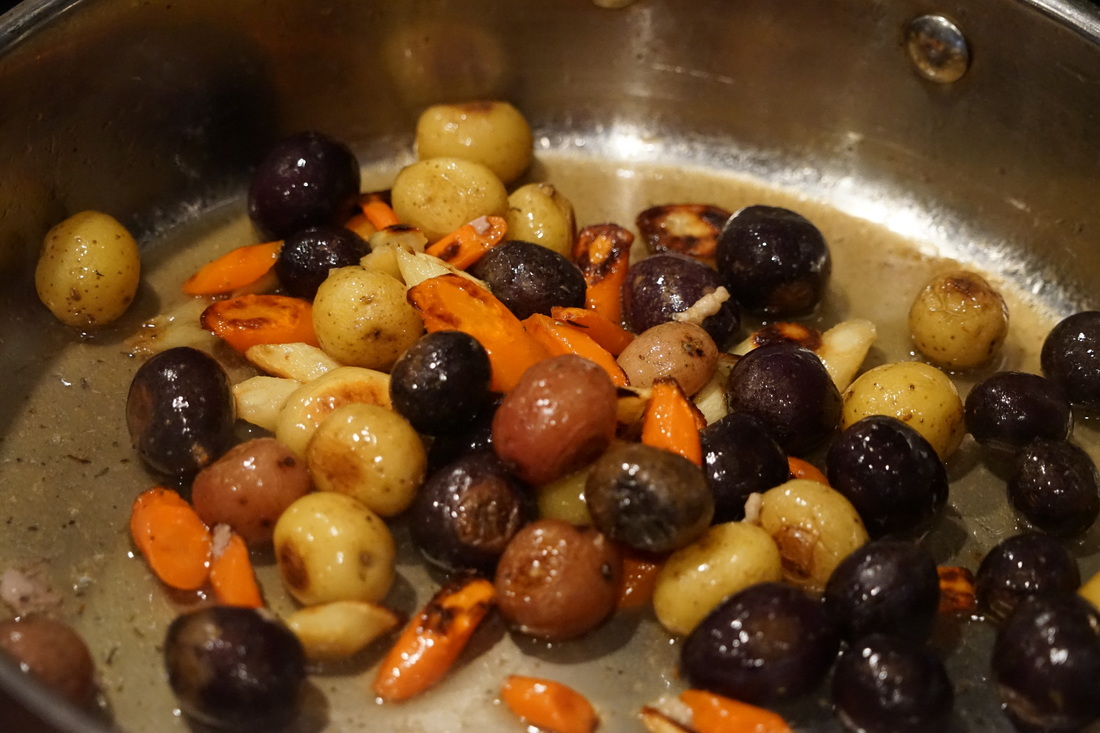
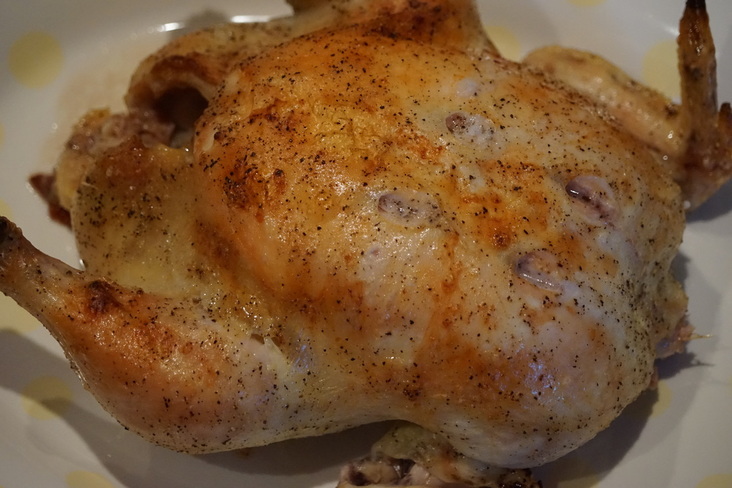
Place vegetables on a baking sheet and cover pan with foil. Preheat oven to 450. Heat skillet in oven for 15 min. 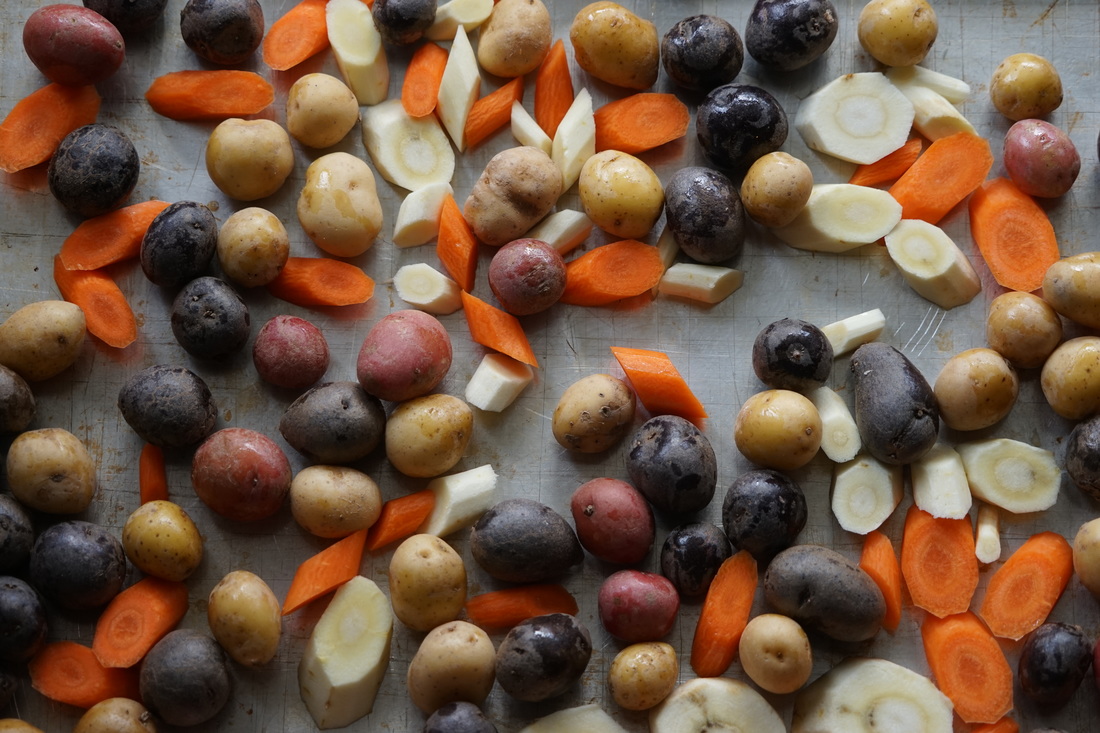 Remove chicken from brine. Pat dry with paper towels. Combine 1 T. oil and pepper. Rub over skin. Pour remaining oil in preheated skillet. Place chicken in skillet. Place vegetables on second lowest oven rack and chicken on middle oven rack. Bake 30 minutes.
Remove vegetables from oven and continue to roast chicken until breast temperature reaches 160.
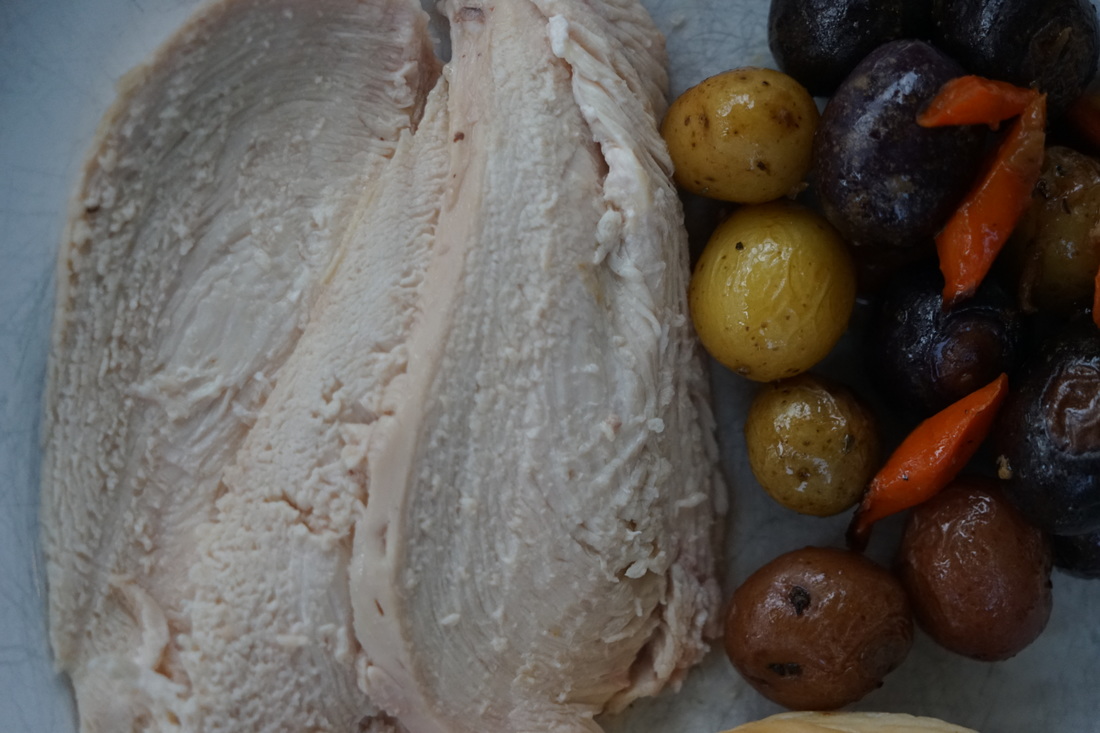
Remove skillet from oven and transfer chicken to a platter to rest.
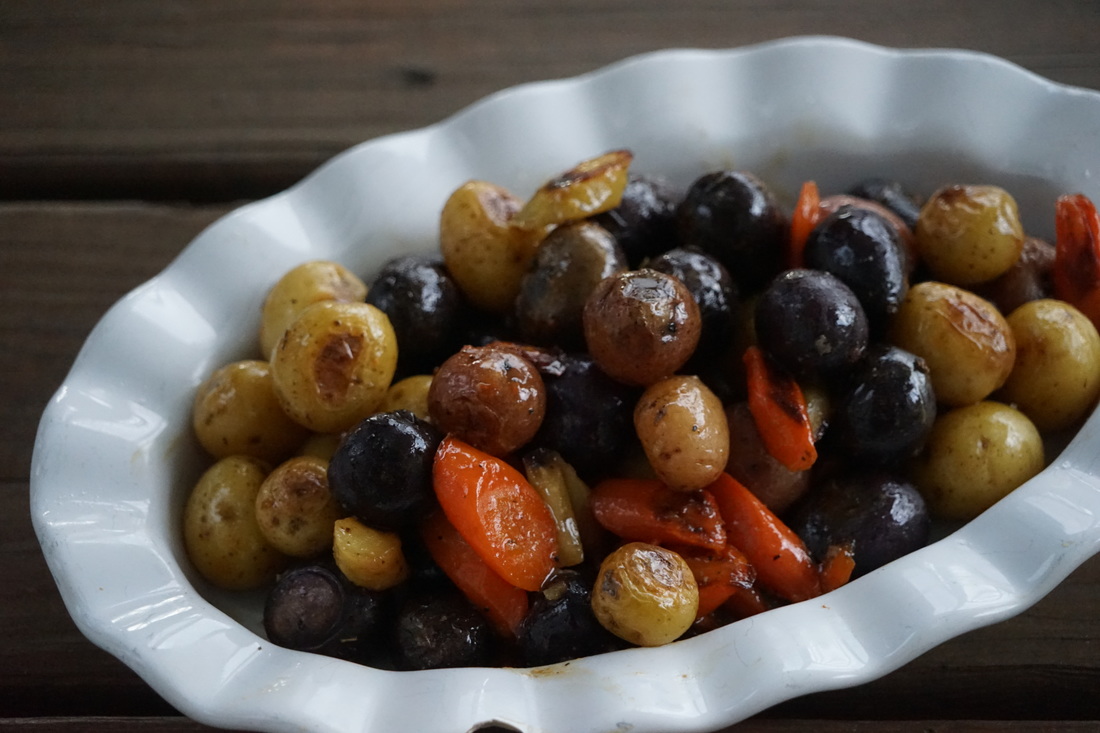
Strain off fat and return juices to skillet along with roasted vegetables and thyme. Saute until vegetables are coated and juices are thickened and syrupy.
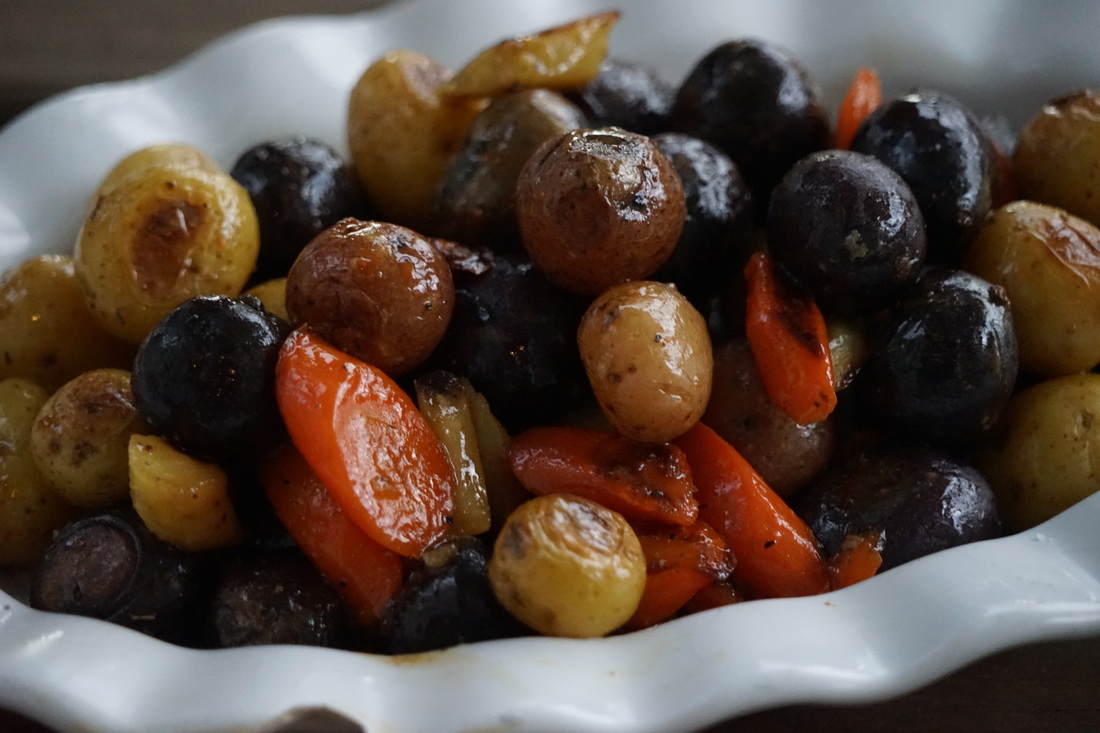 Moist and delicious roast chicken and vegetables that's easy.
 This chicken ended up being last nights dinner AND today's lunch. It was just as delicious today as it was yesterday - just in case you were wondering.
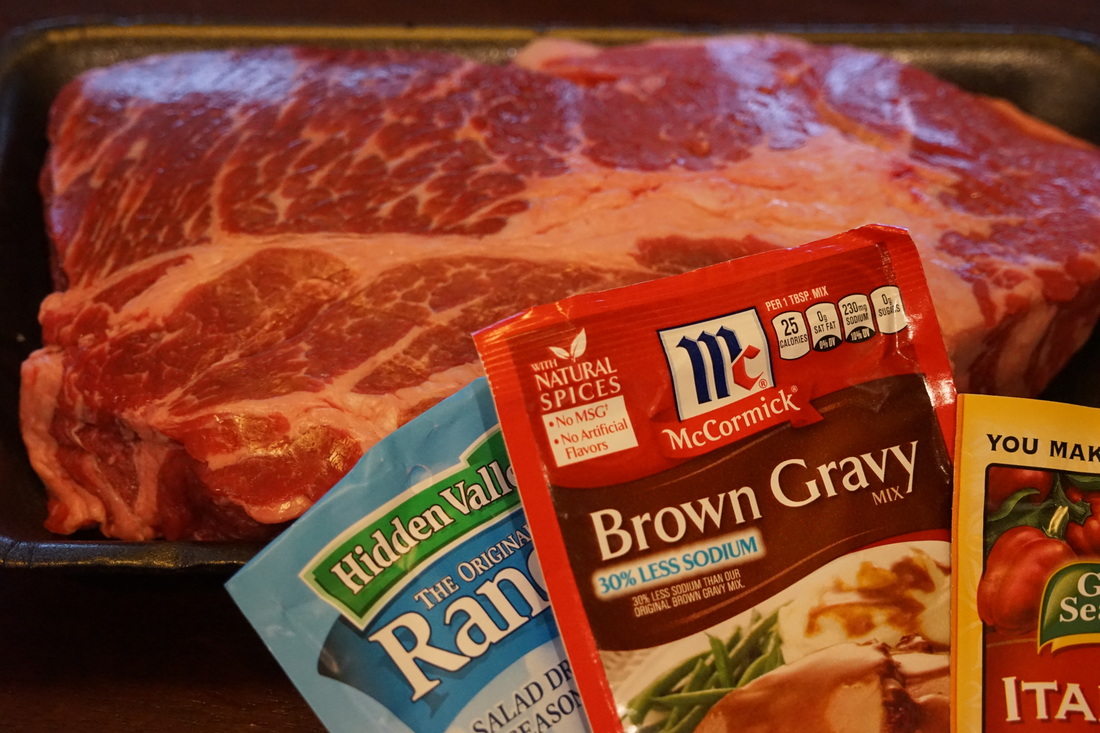
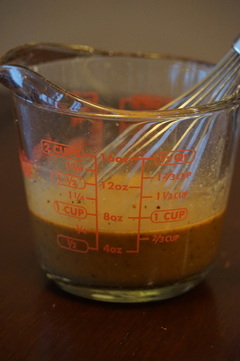
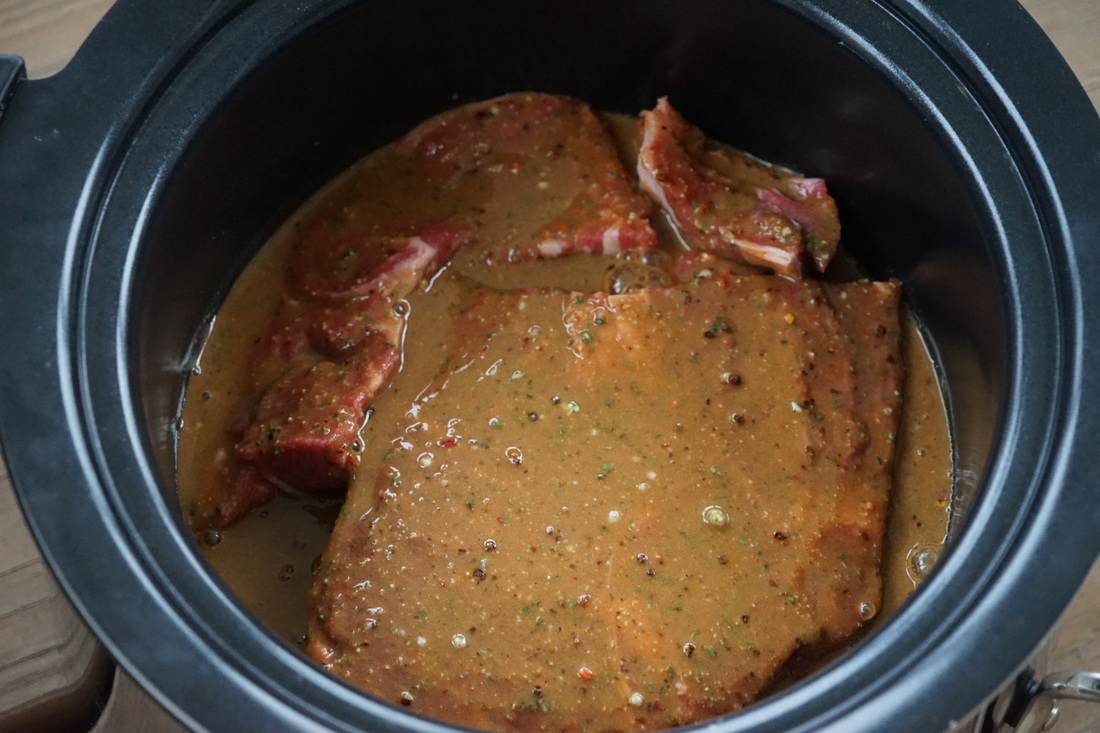
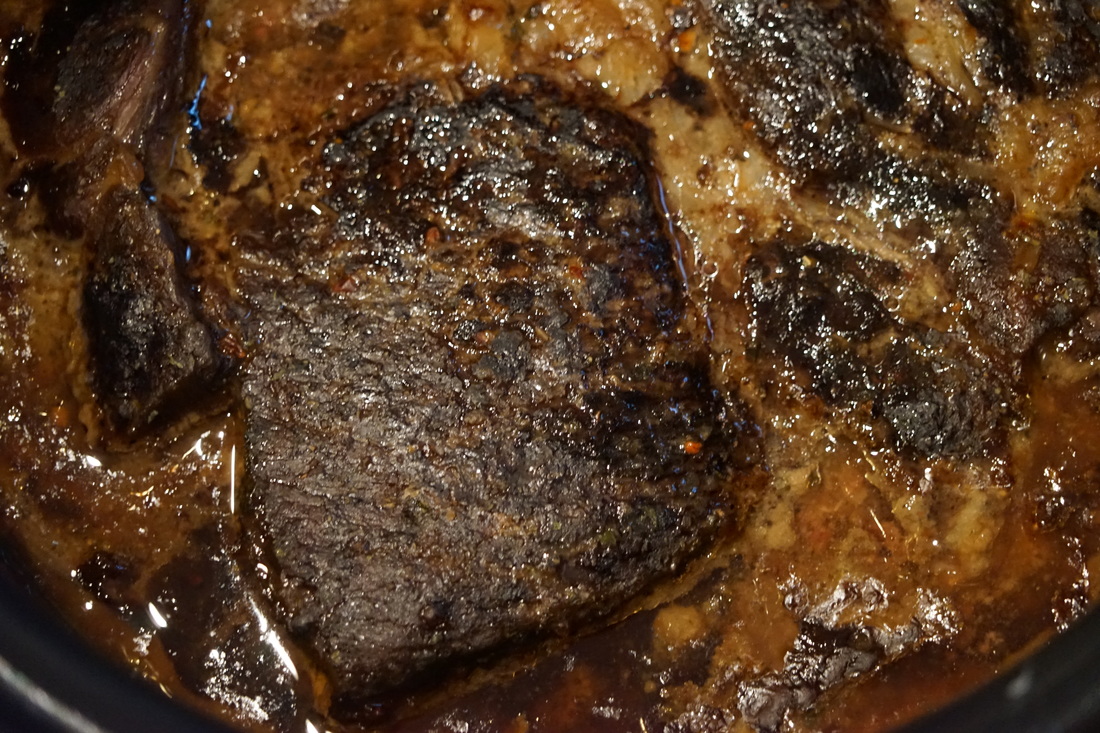
Ciao! 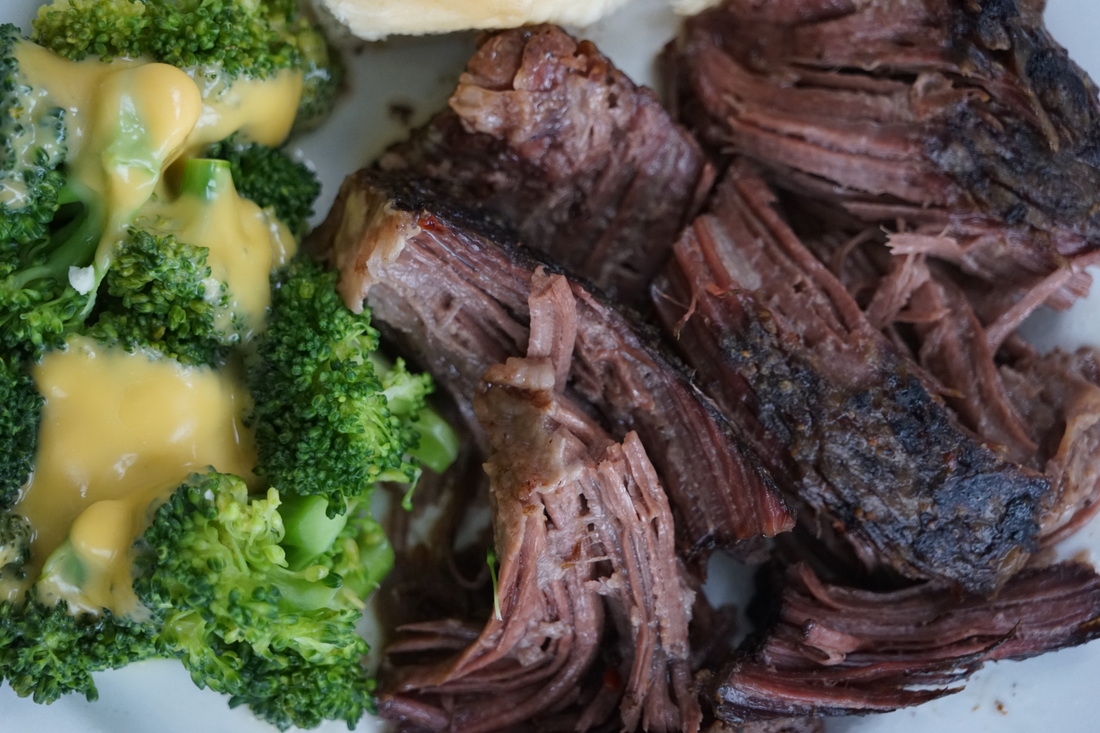 My Ben grew up eating pot roast and even though I know that I won't ever be able to replicate his mom's pot roast - I thought I would tackle my own recipe. Maybe it was we both grew up in the mid-west but pot roast seemed to be a staple in my home as well. My mom made the most flavorful and tender pot roast - just another one of those things that I didn't appreciate as a kid. I don't make pot roast very often but if I would have known how easy it was - I think I would have made it a lot more often. I used a slow cooker to make my simple pot roast. It turned out super tender - like fall apart tender - and really delicious. It was a perfect Sunday afternoon lunch that smelled amazing when we walked in the door after church. 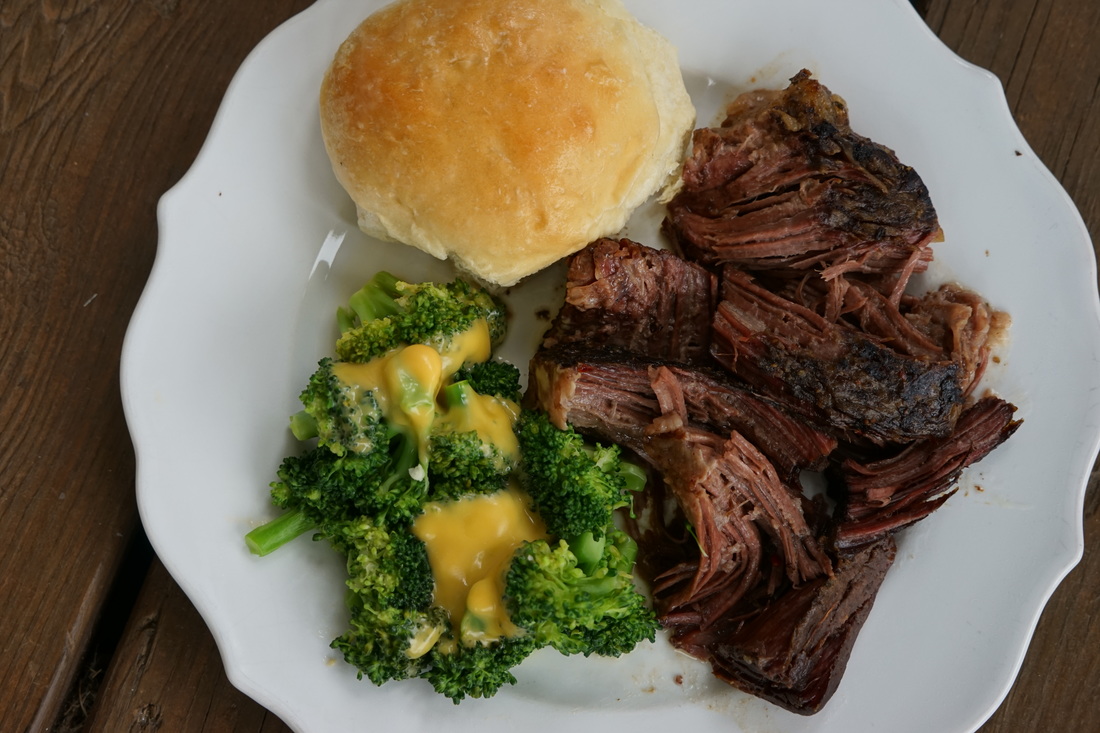
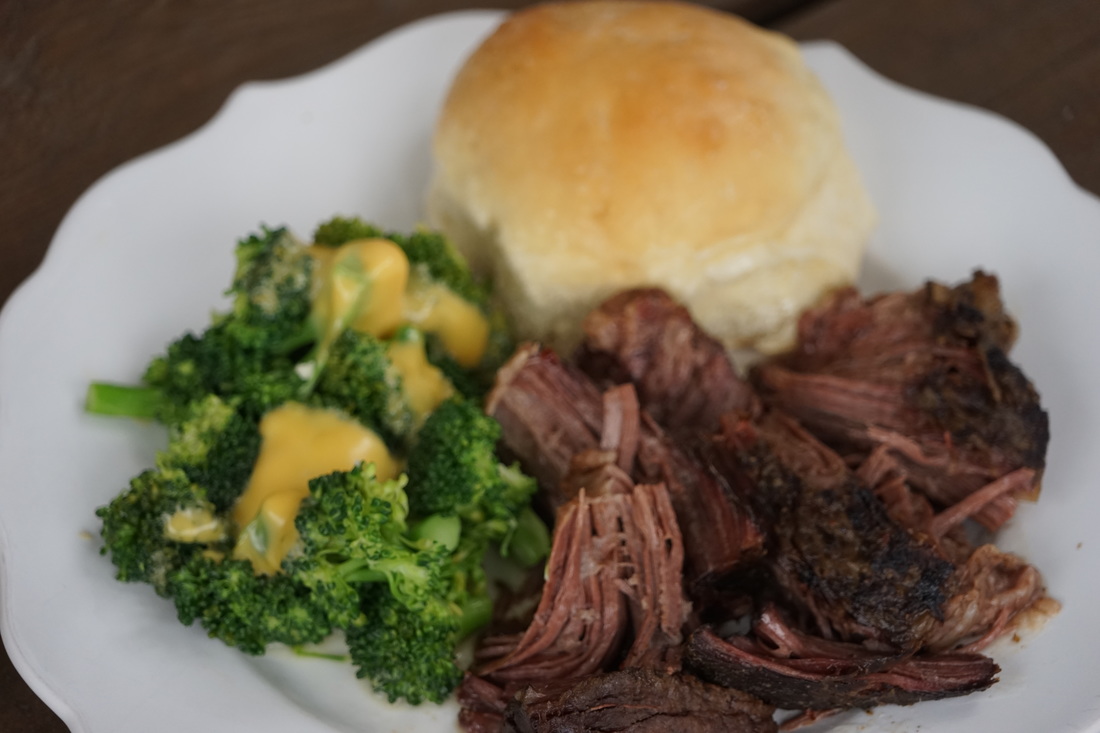
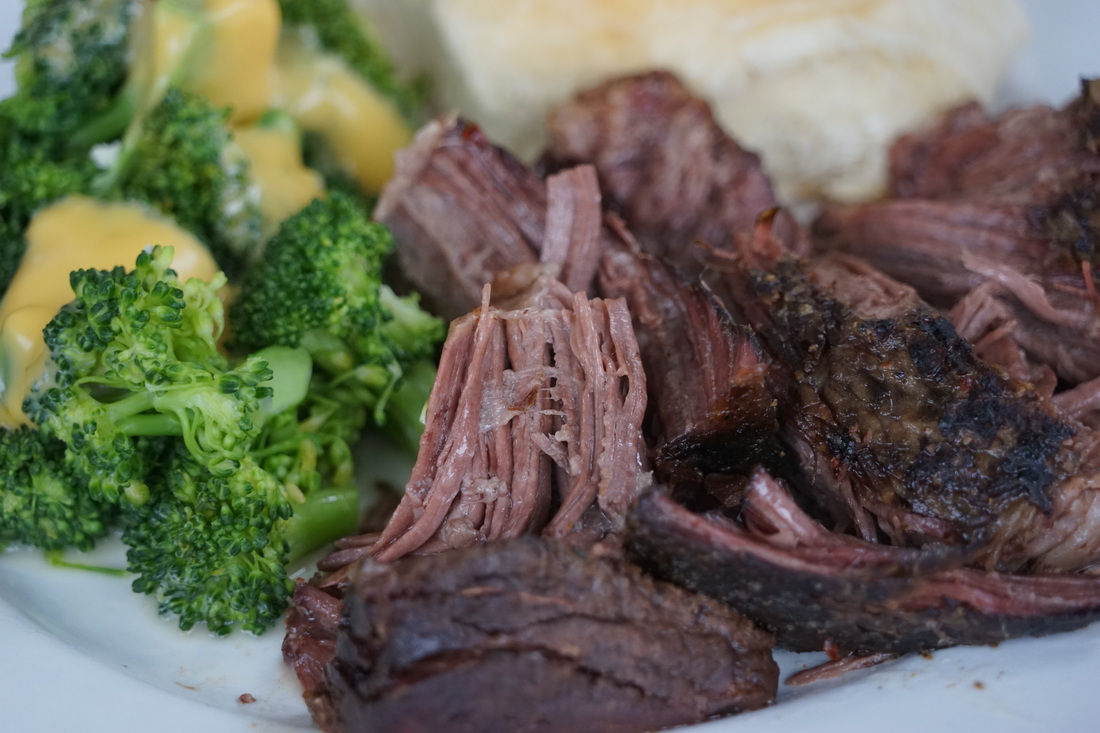
Pull roast apart with a fork.
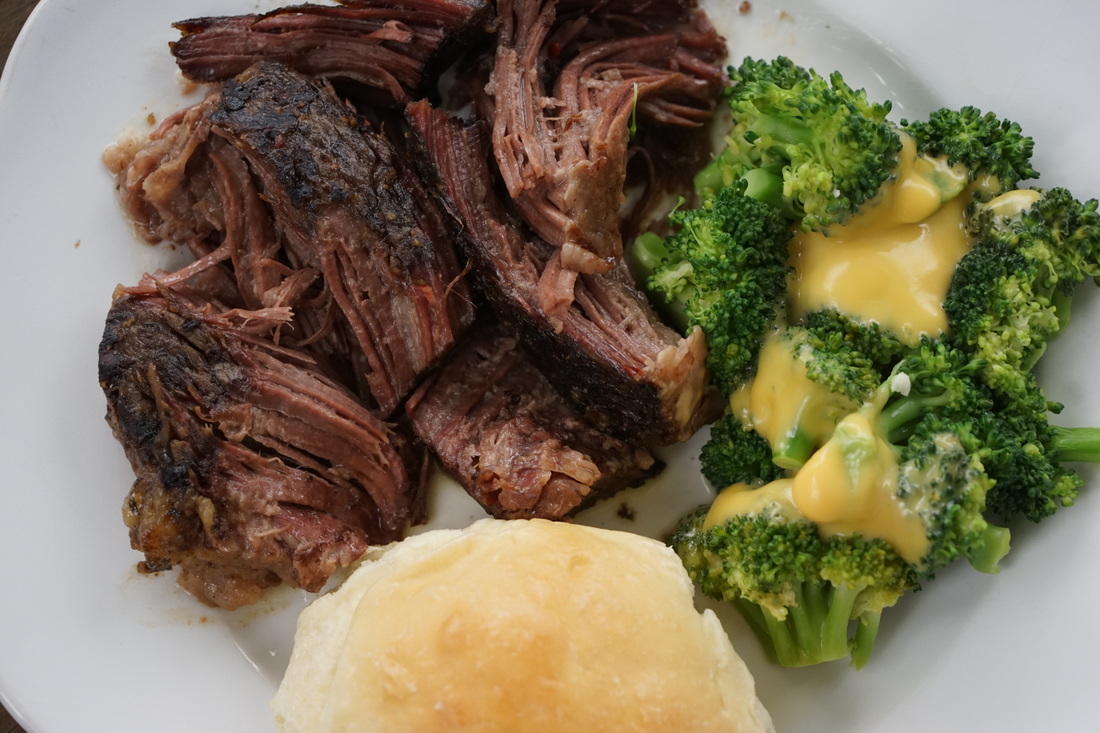 Ben and I loved this pot roast - our sweet girl - not so much. (Pretty sure it's because she didn't have the privilege of growing up in the mid-west.) It was super easy and really tender and flavorful. Not quite up to the standard of my mom's pot roast but not bad for a Southern transplant.
Ciao! 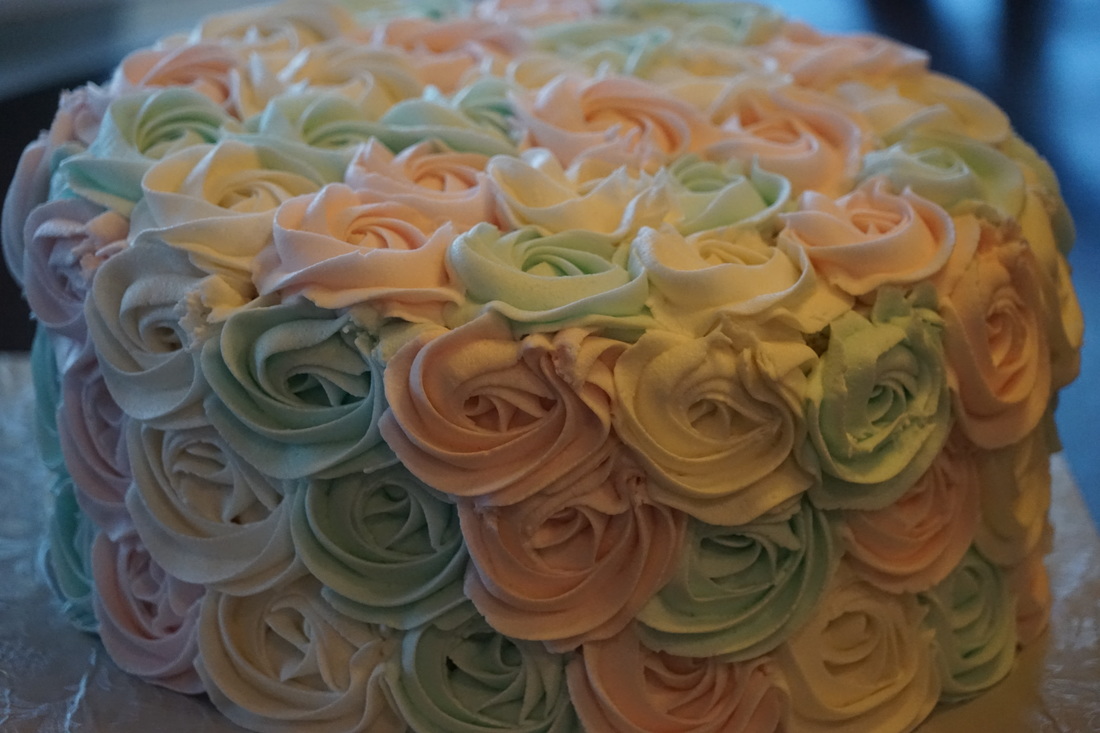
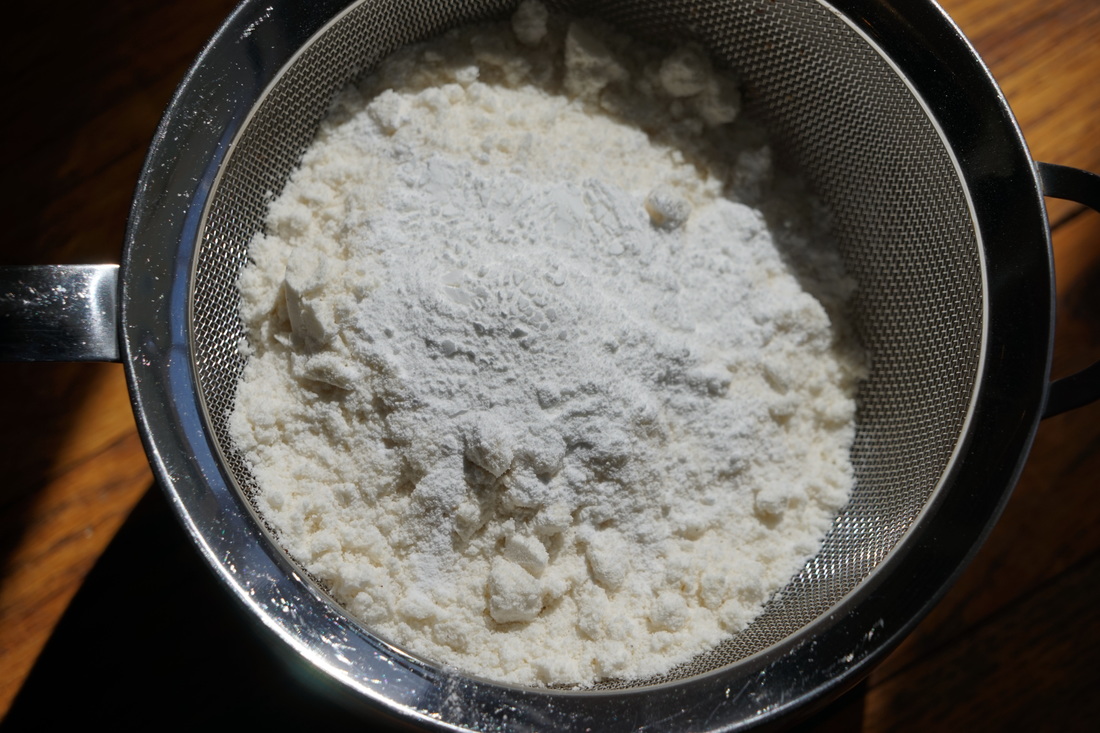
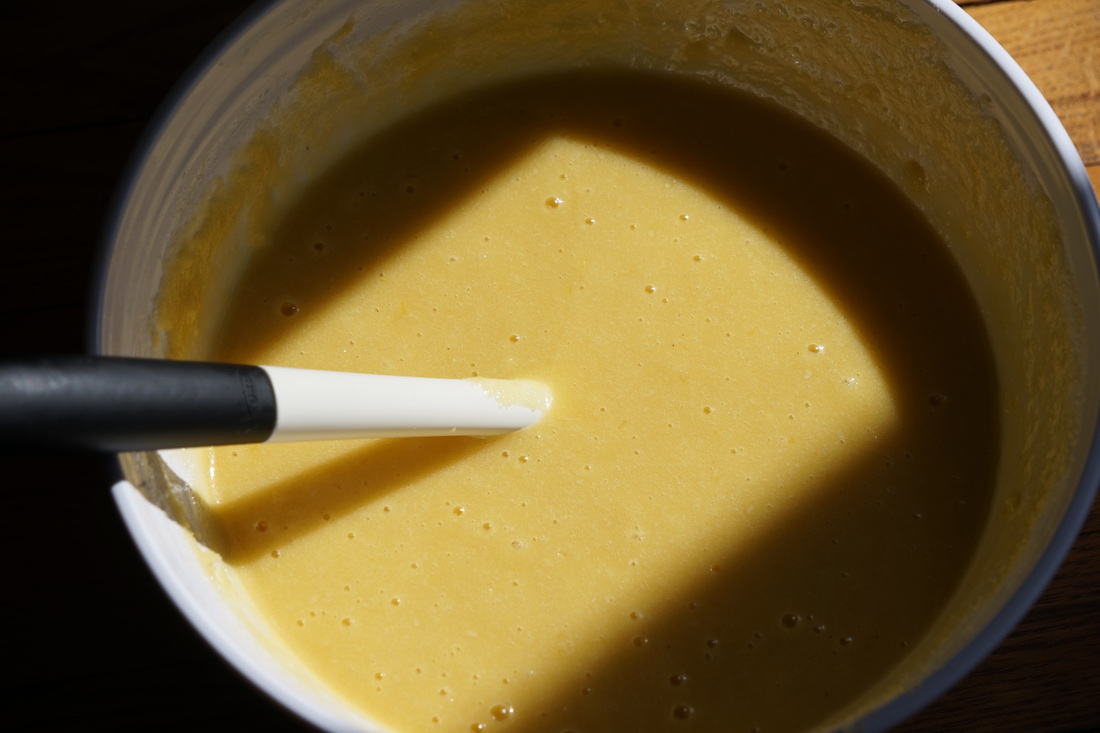
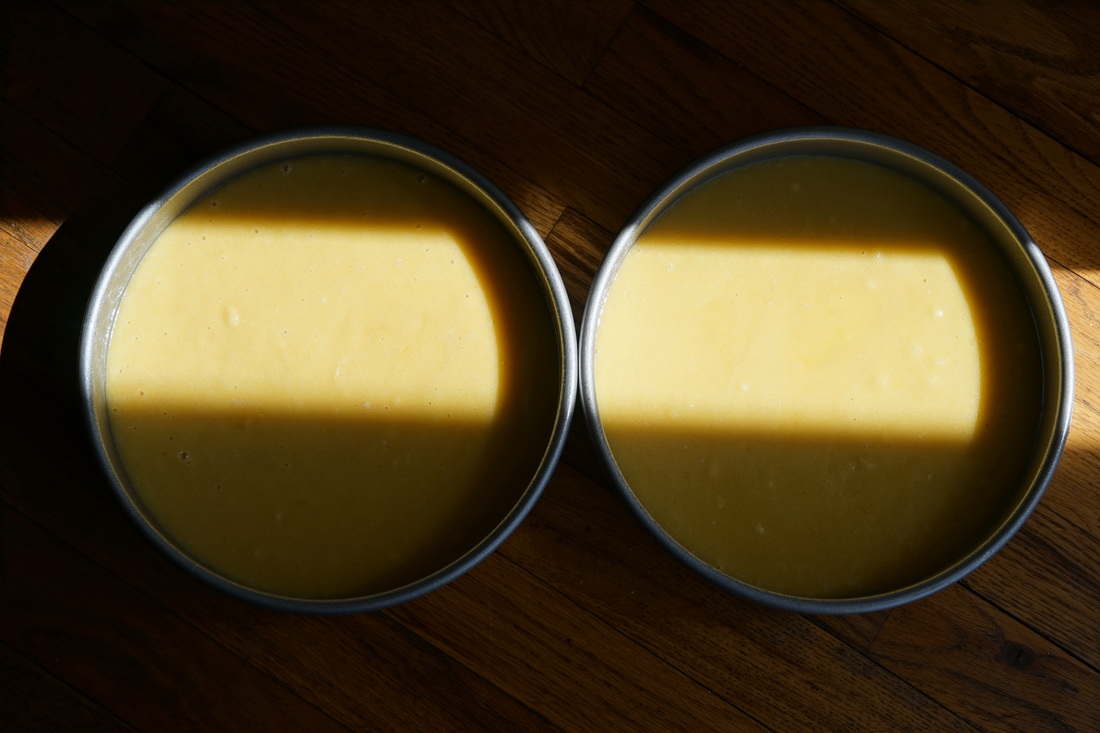
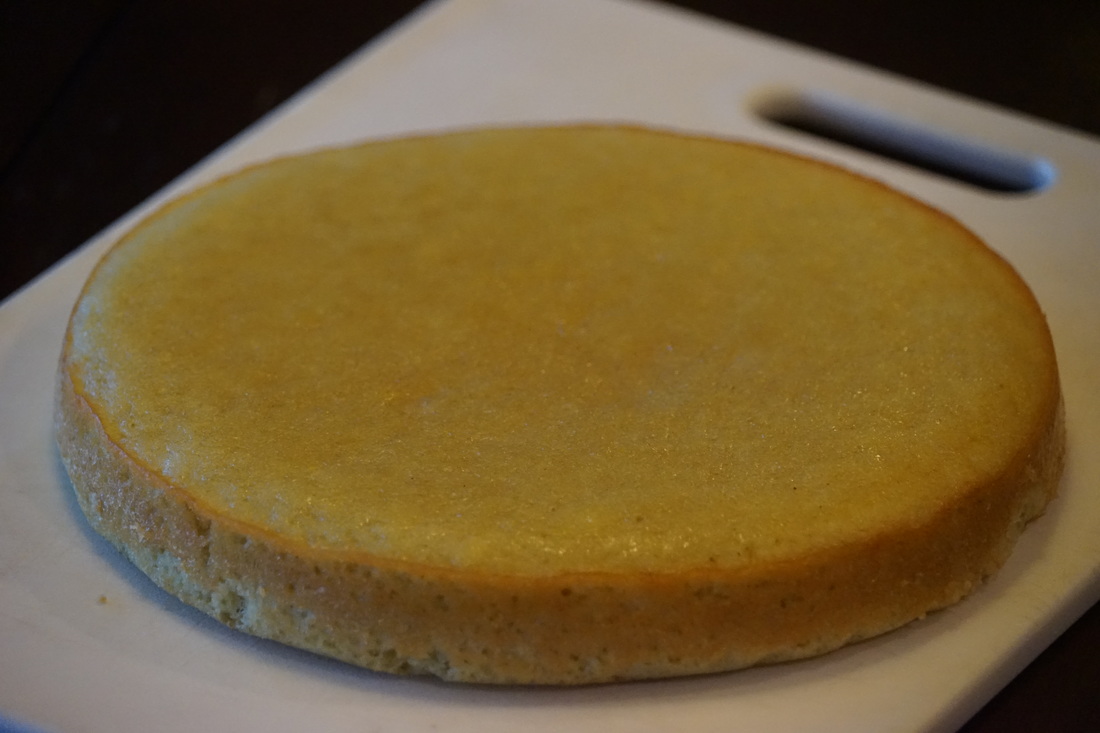
There is no shortage of gluten free and dairy free recipes on the internet. They all seem to have one thing in common - weird ingredients. I found a few recipes to try and I even made a special trip to the nearest specialty supermarket in search of some of these obscure ingredients. Unfortunately, all of the recipes that I tried produced a less than delicious cake. I was not happy with ANY of the recipes that I attempted. Turns out that after all that, I didn't need to add any weird or obscure ingredients or flours after all - all I was missing was the gluten free bakers secret ingredient --- coconut flour. (Thank you King Arthur for that little tip.) No crazy ingredients, no weird aftertaste - just delicious cupcakes without the gluten or dairy. 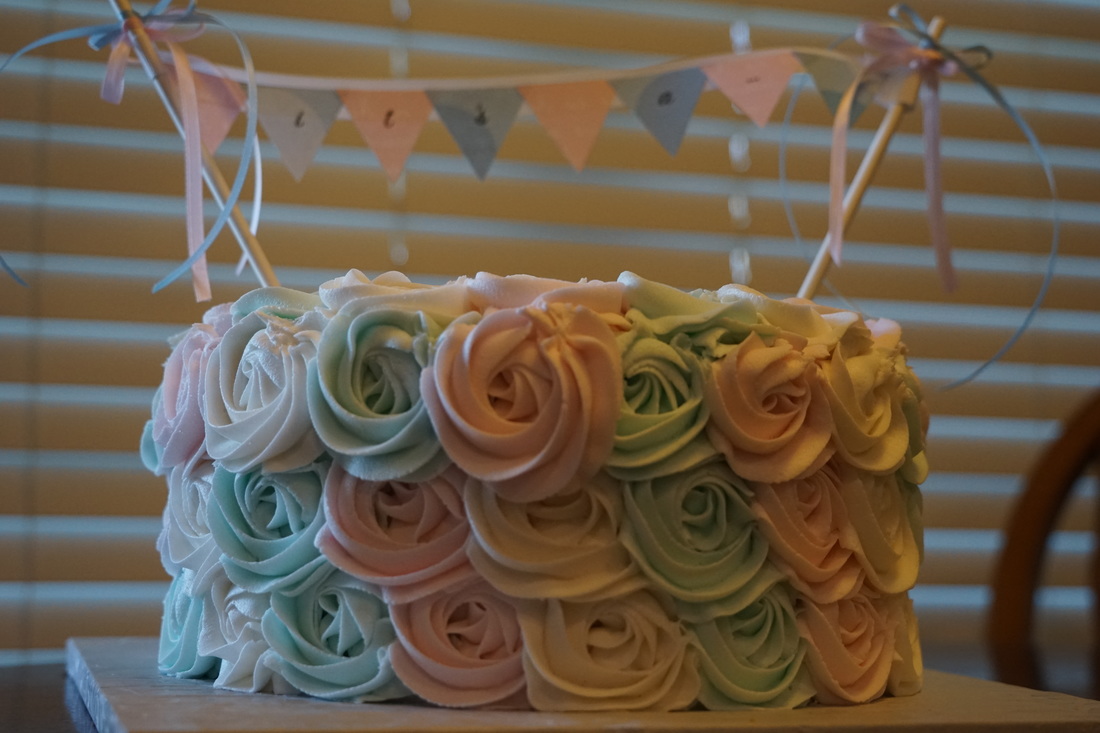 Gluten Free/Dairy Free Cake
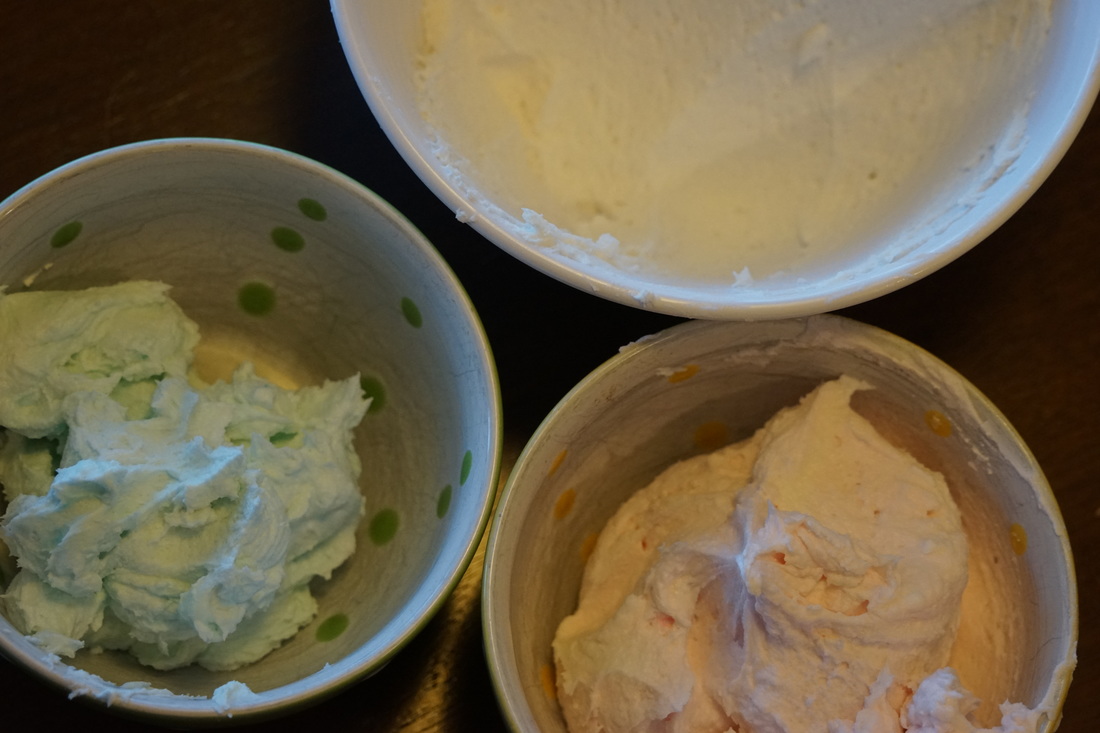
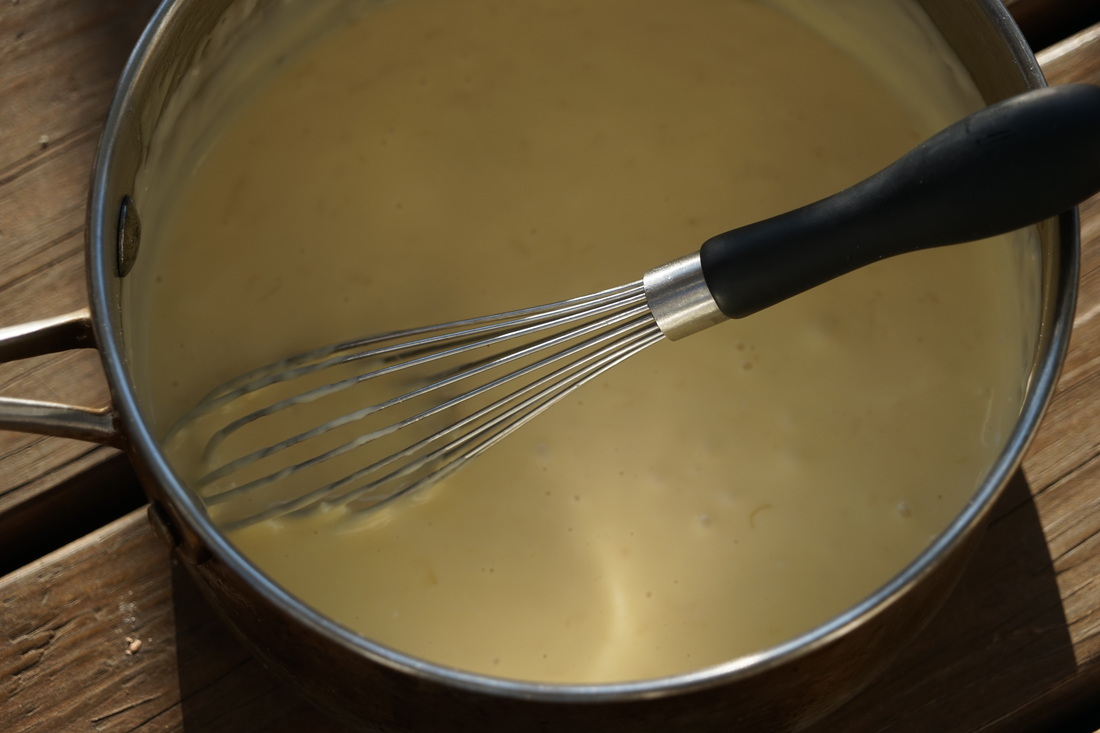
Bake 30 minutes at 350. 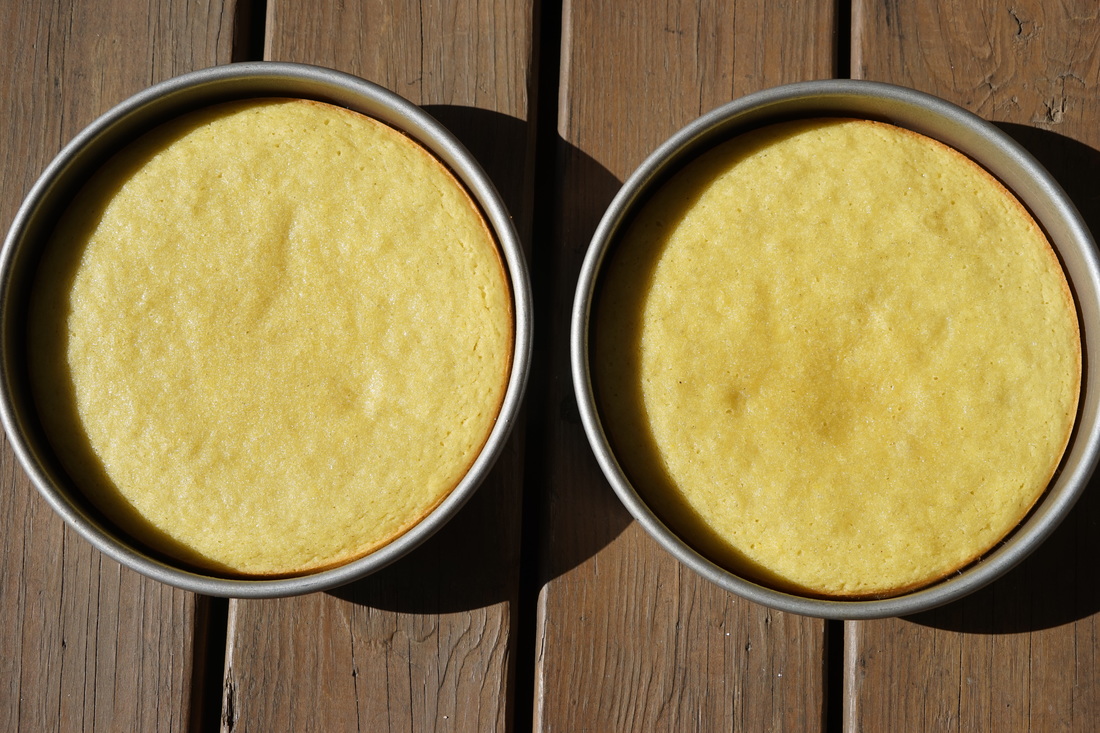 Once the cakes cool, it's time to frost. I whipped up a batch of gluten/dairy free buttercream using the Wilton recipe. Wilton Buttercream 1 cup white crisco shortening 1 pound powdered sugar 1 Tablespoon meringue powder 1 teaspoon almond extract 2 Tablespoons dairy free milk (I used cashew milk) Cream ingredients together on low speed in standing mixer.
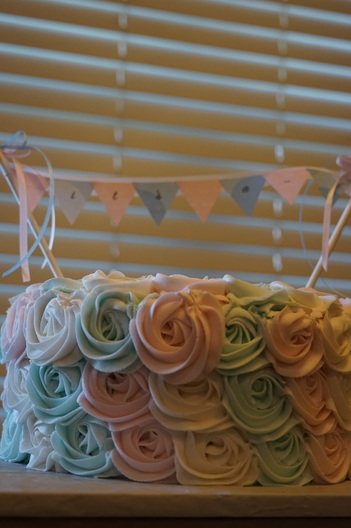
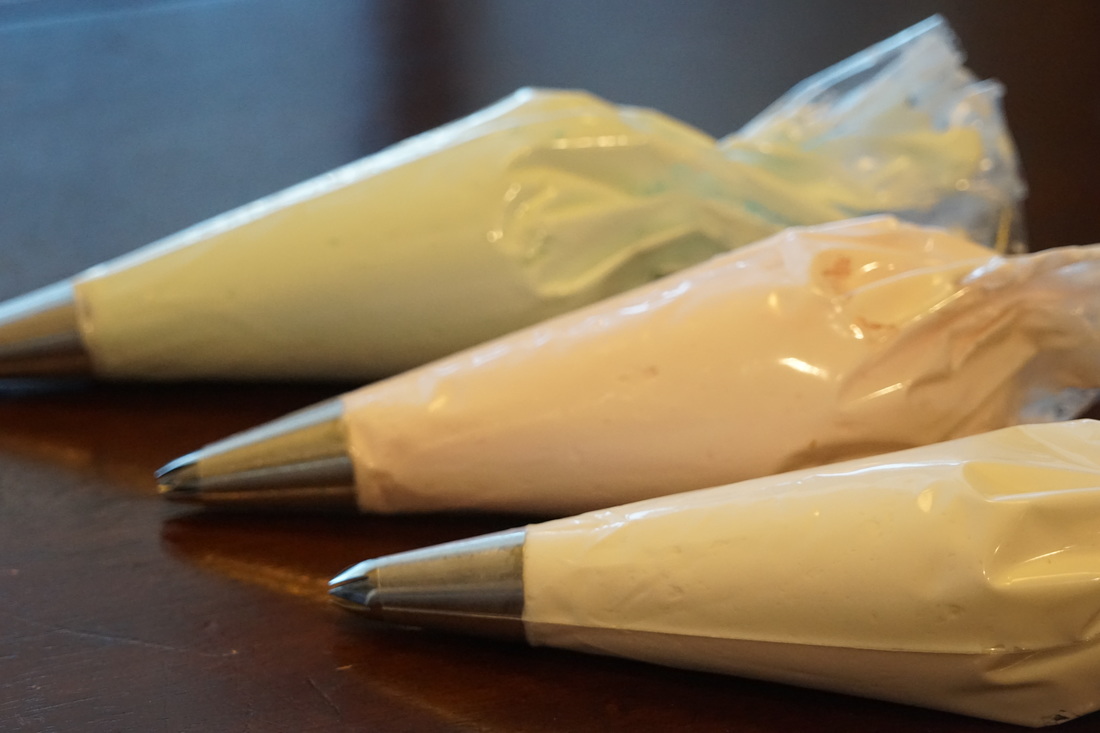
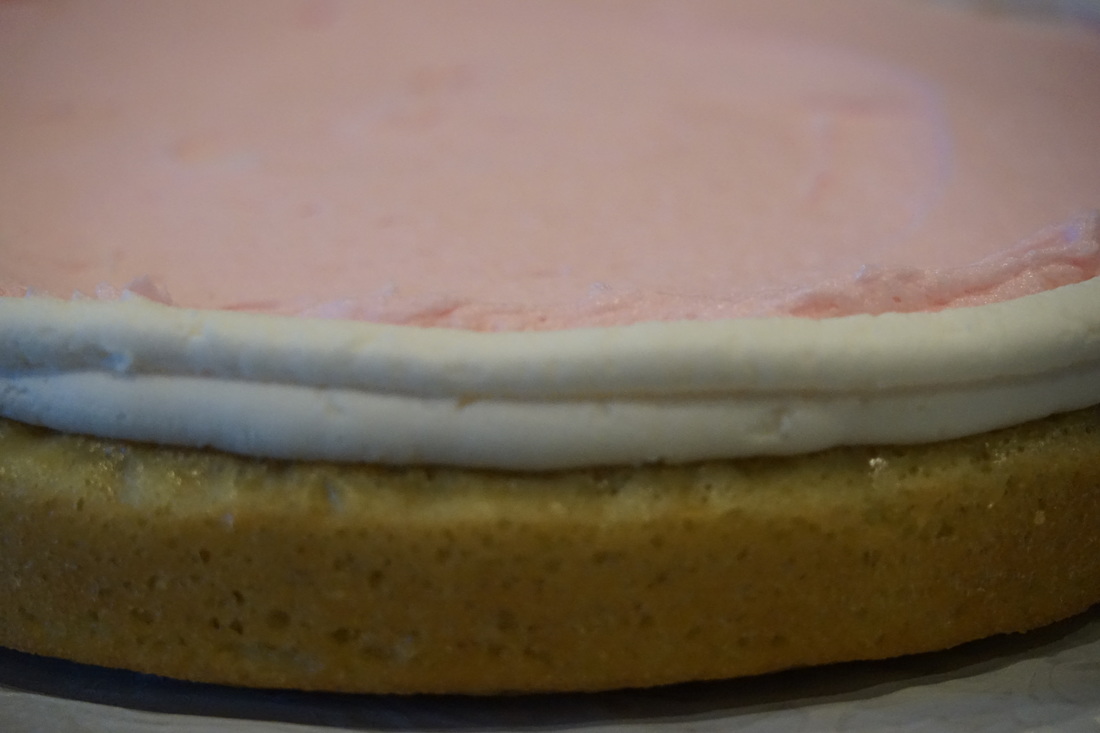
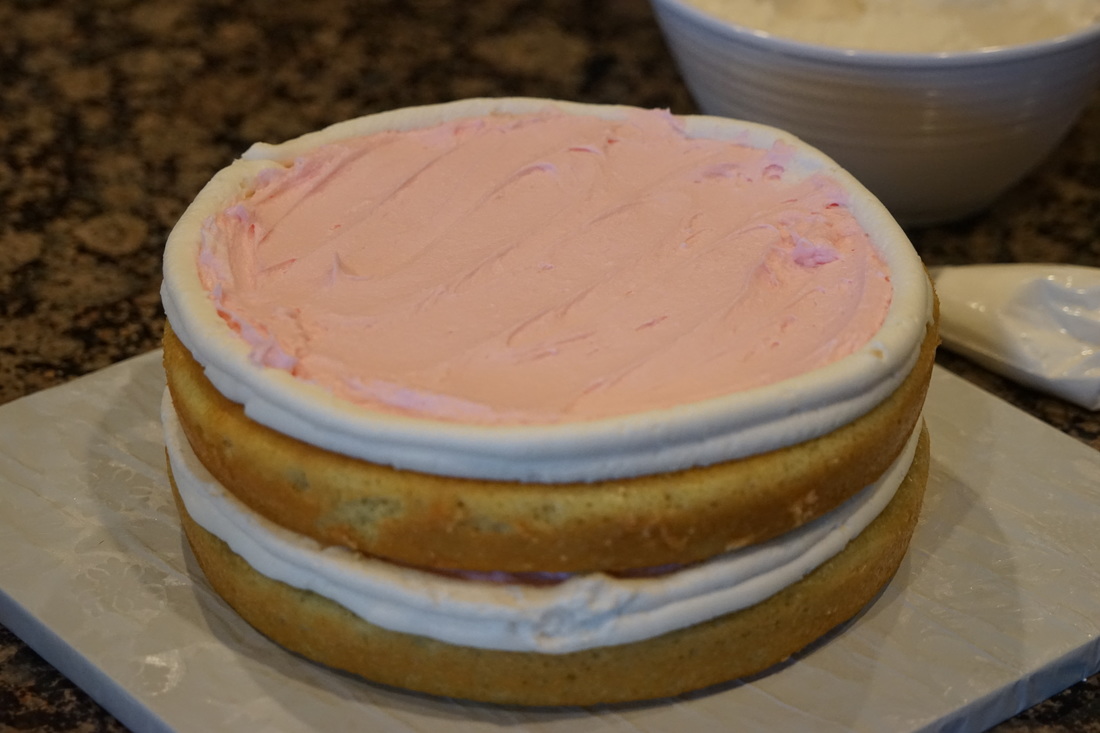
To make this rosette cake, start by piping a circle of white icing along the edge of one cake layer. Spoiler Alert: Fill white ring with pink or blue icing to reflect the new babys gender.
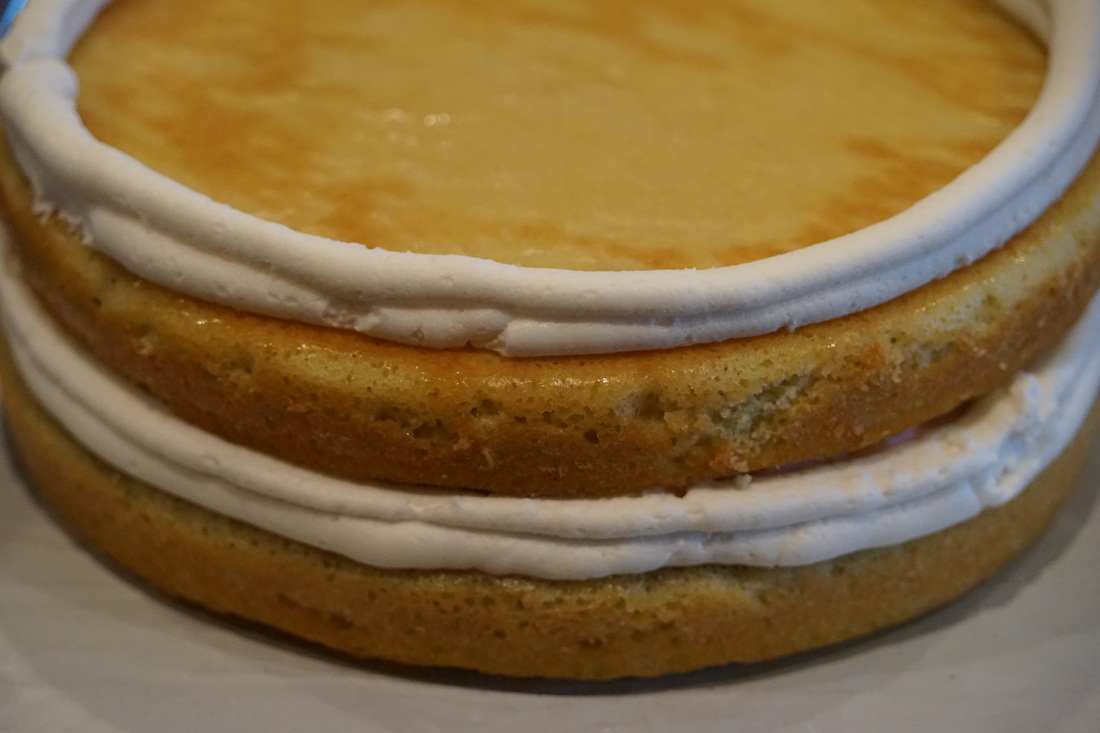
Add another cake layer on top and repeat the process.
Add a third cake layer. The recipe only makes 2 layers so you will have to make more batter to add a third layer. 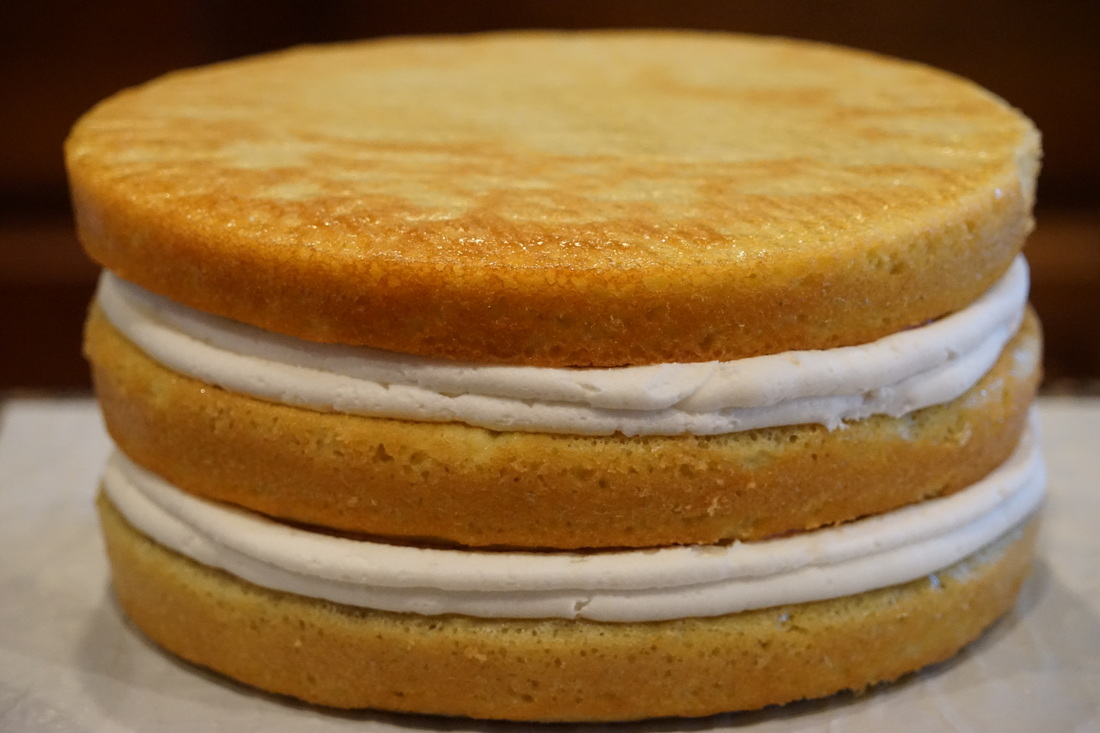 Spread a thin layer of icing on sides and top of cake. Refrigerate 1 hour. 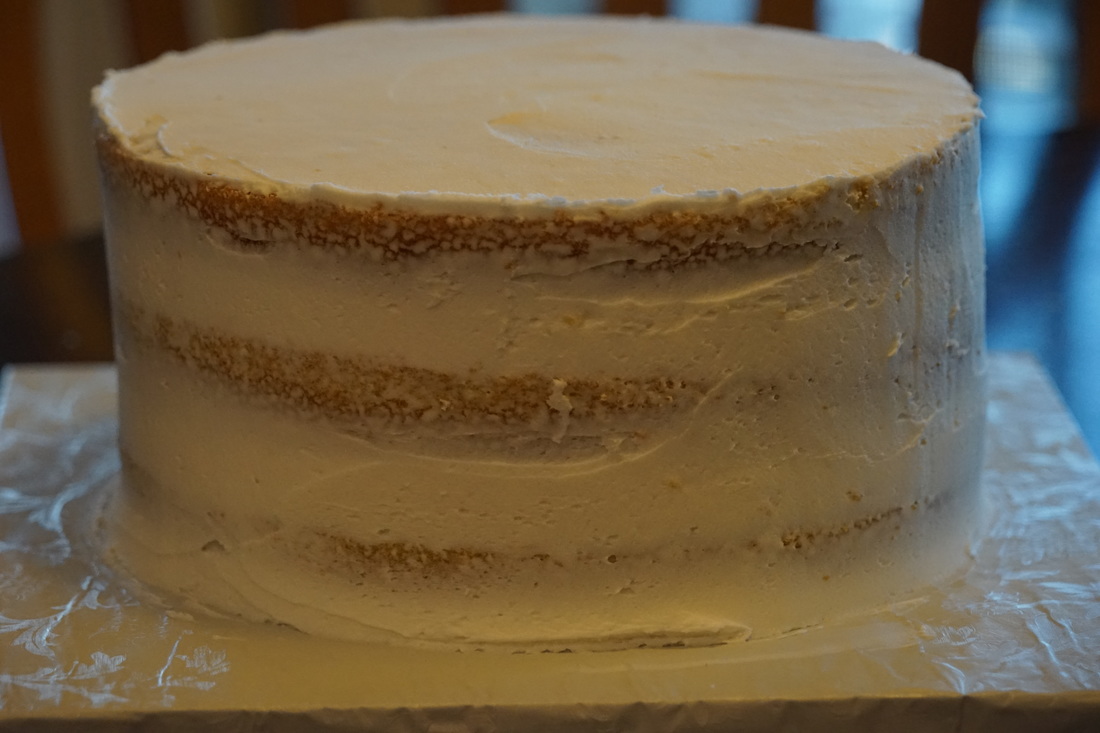 Pipe rosettes onto the sides and top of cake. 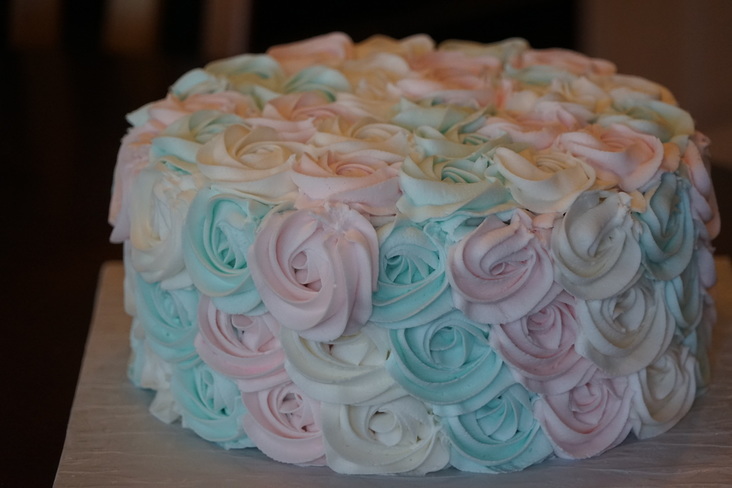 Add a super cute little banner and you've got yourself a beautiful and DELICIOUS gluten free dairy free gender reveal cake!!! 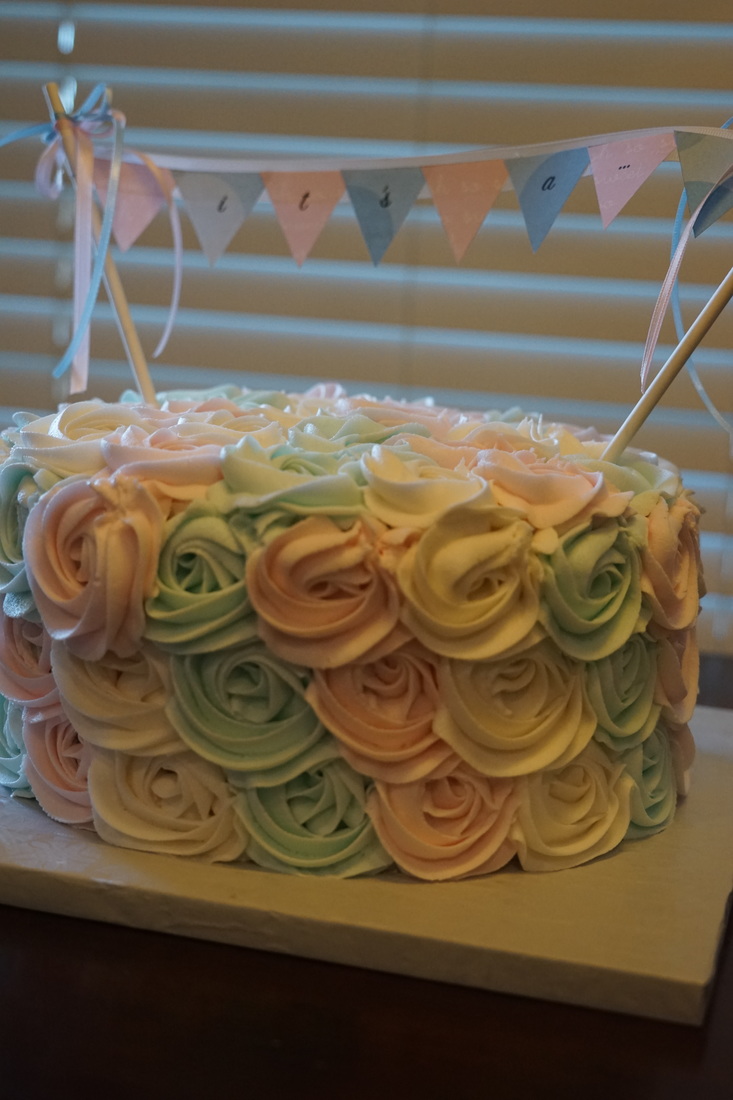 You have no idea how excited I am about this new gluten free discovery. This recipe is so easy AND easily adaptable into other flavors like strawberry, chocolate, peanut butter. Ooooohhh. I can hardly wait to try all of these new gluten free recipes. I'm already feeling the need to add a whole new "gluten-free" category to my blog.
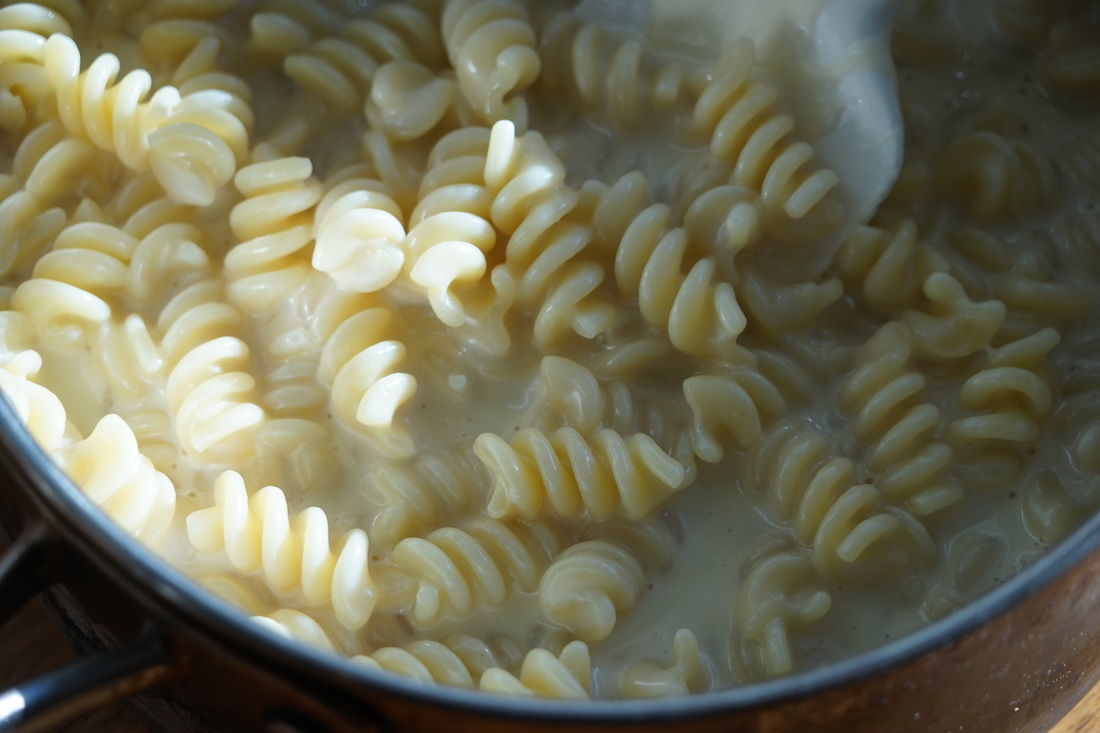
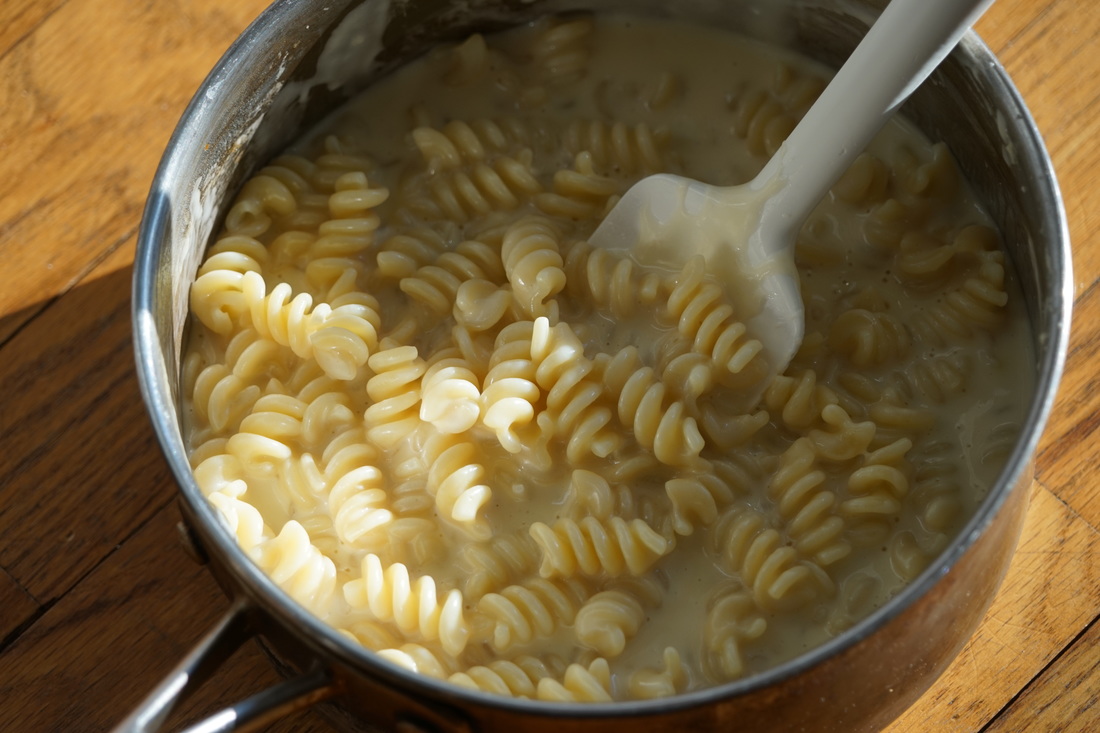
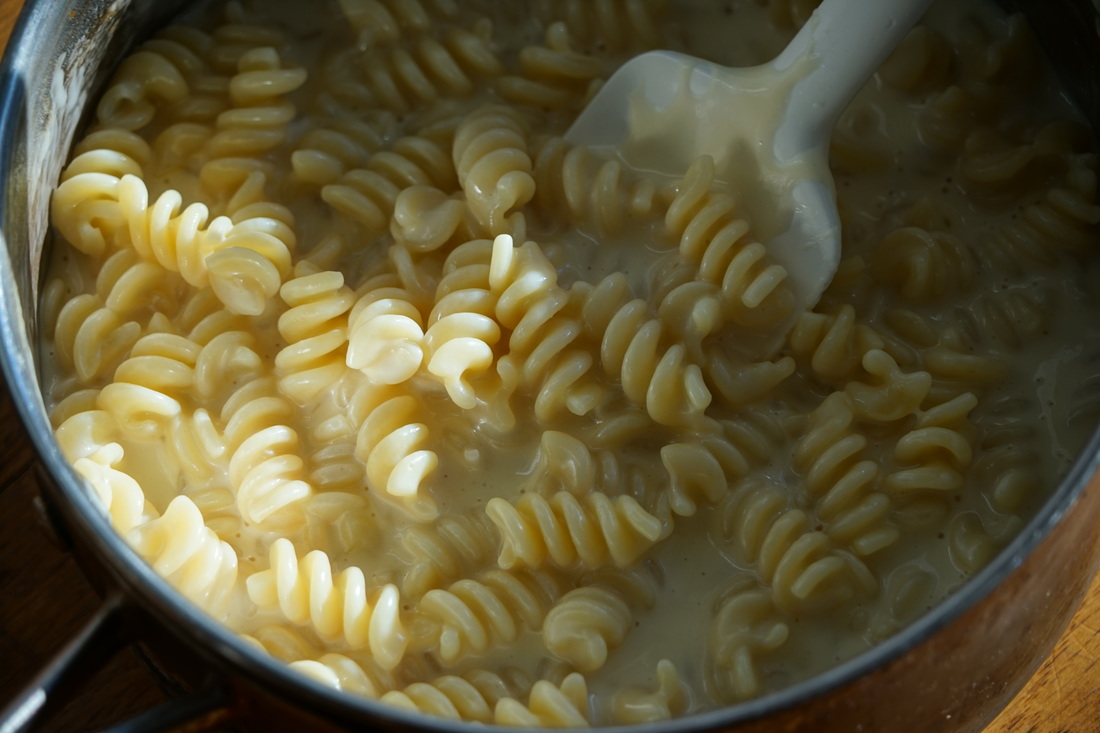
Ciao! 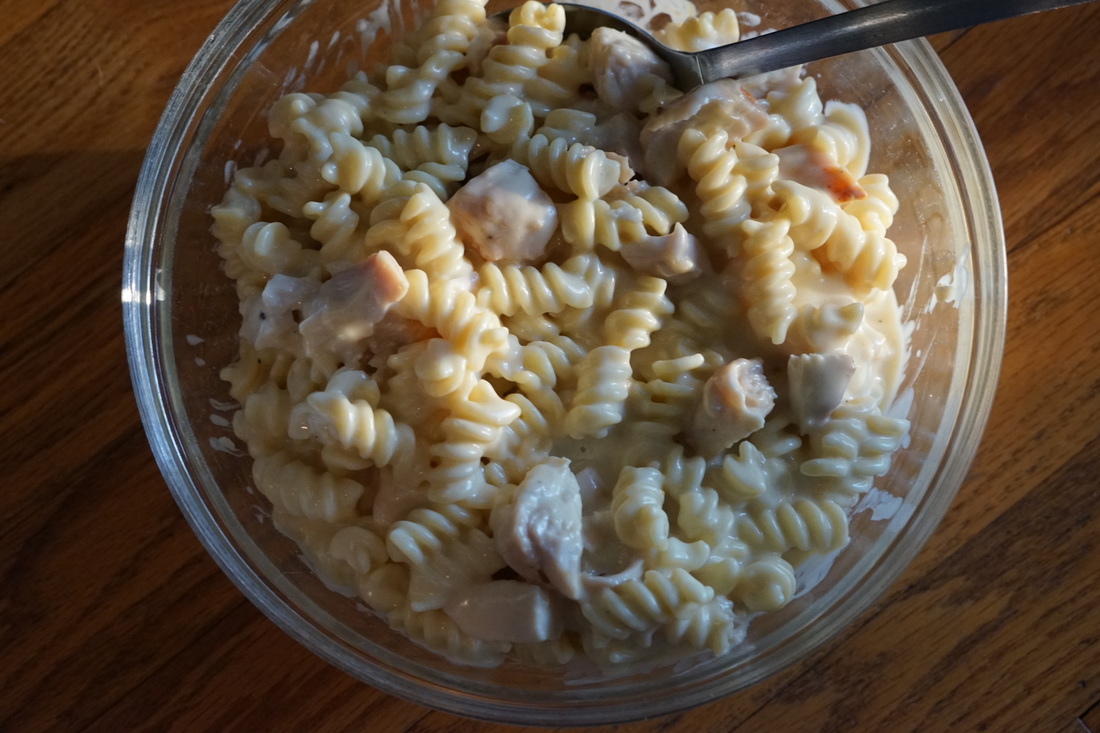 I opened my refrigerator last week and I think I had 8 different tiny pieces of cheese in my cheese drawer. Some of them I didn't even really remember when I had bought so it was definitely time to use them up. I ended up grating all of my miscellaneous cheese and turning it into this delicious cheesy pasta dinner. 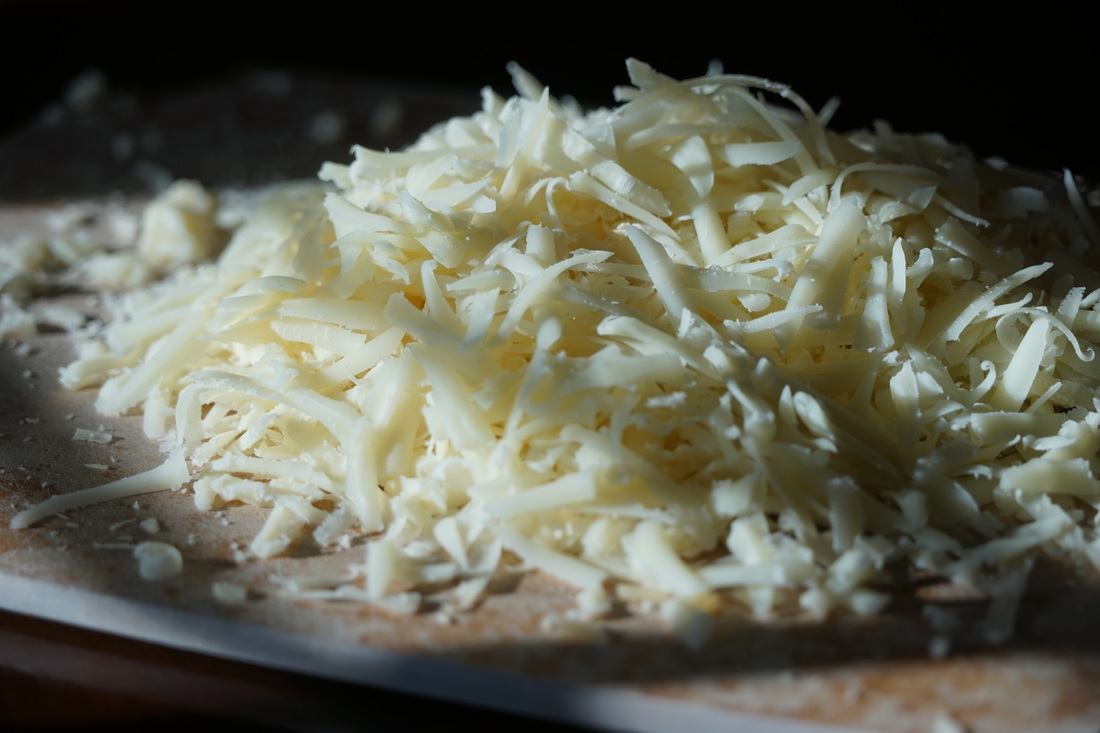 Four Cheese Pasta
Stir in cooked pasta.
 Stir in chicken and serve. 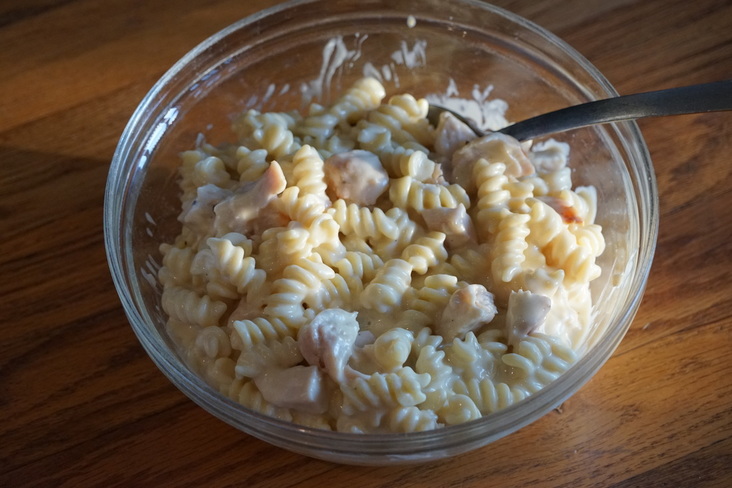 Enjoy. 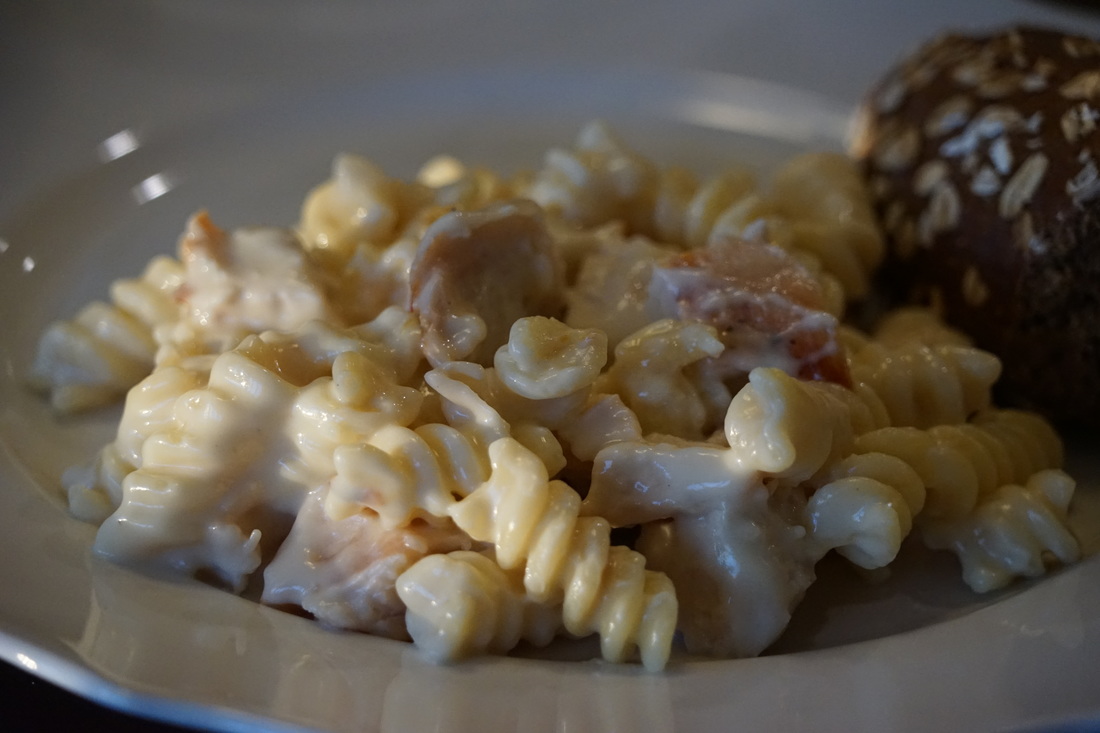 This delicious pasta was YUMMY! The perfect way to use up all those little bit of cheese that I had in my frig. Pretty sure I can never duplicate it exactly because I just kept shredding various cheeses until I ended up with 1 1/2 cups. I'm pretty sure that it would be delicious with ANY cheese though. Give it a try and let me know how yours turns out.
Ciao! |