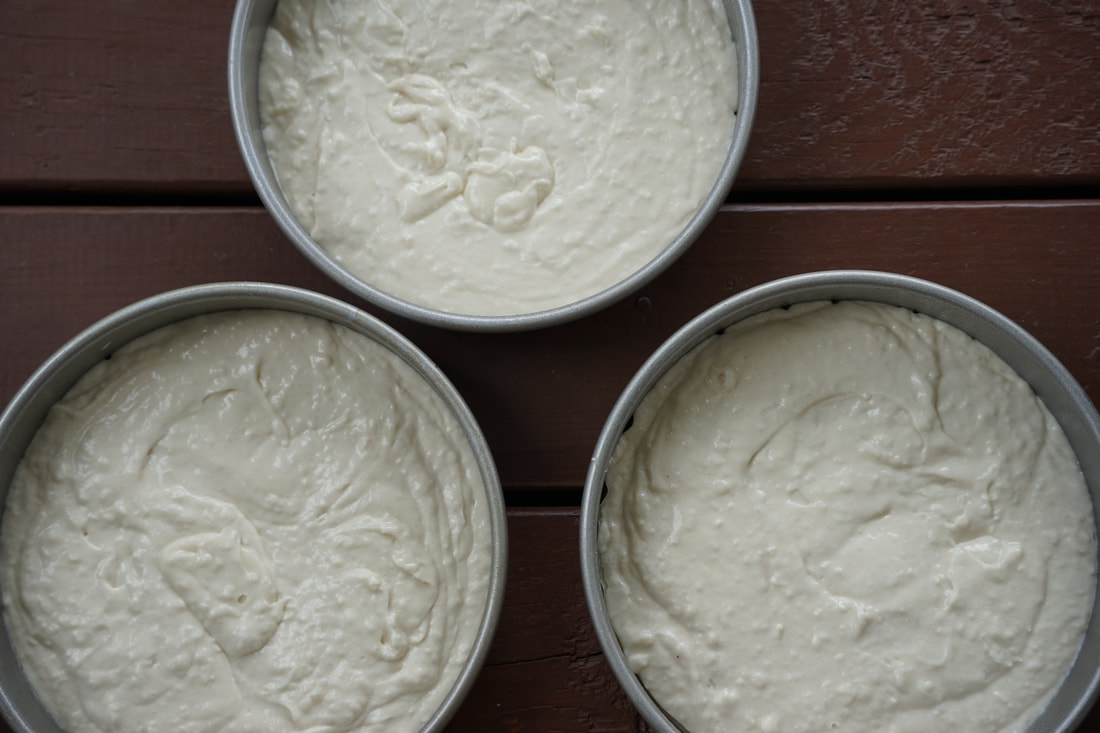
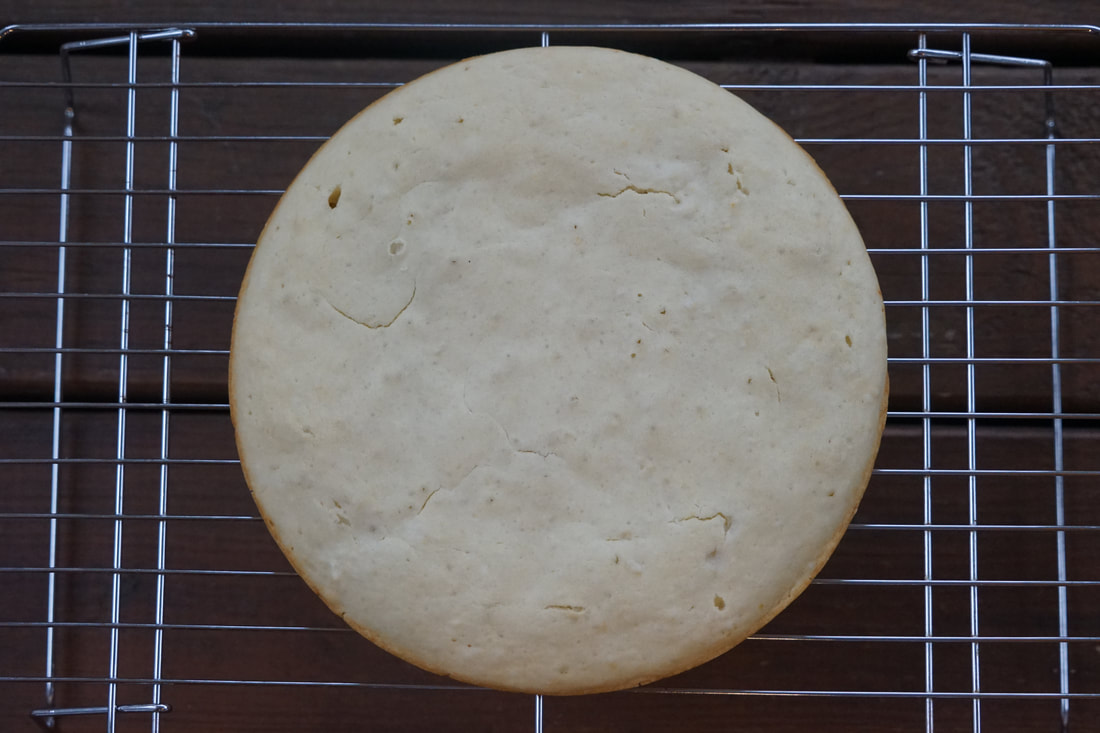
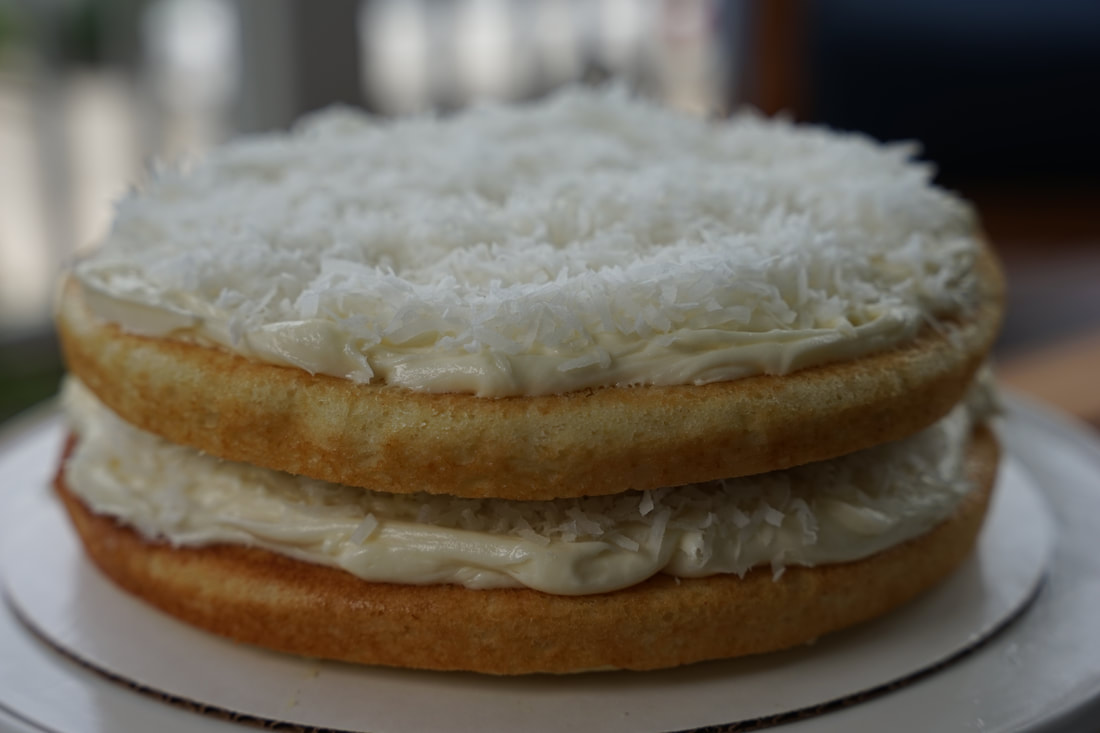
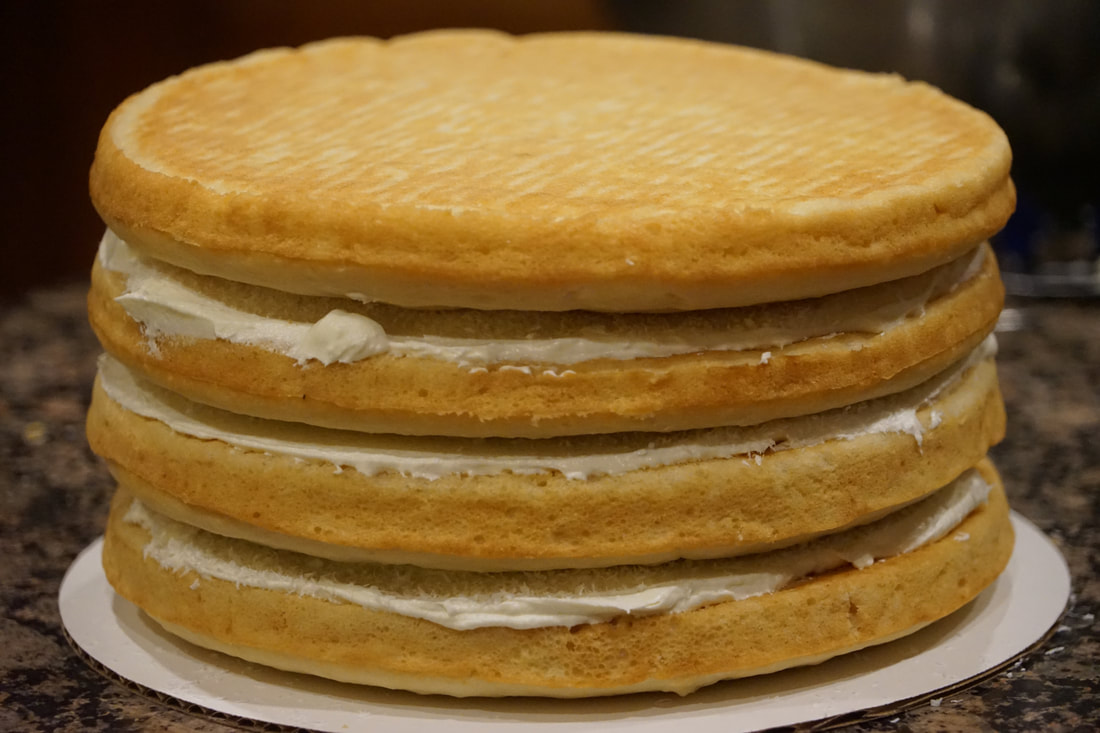
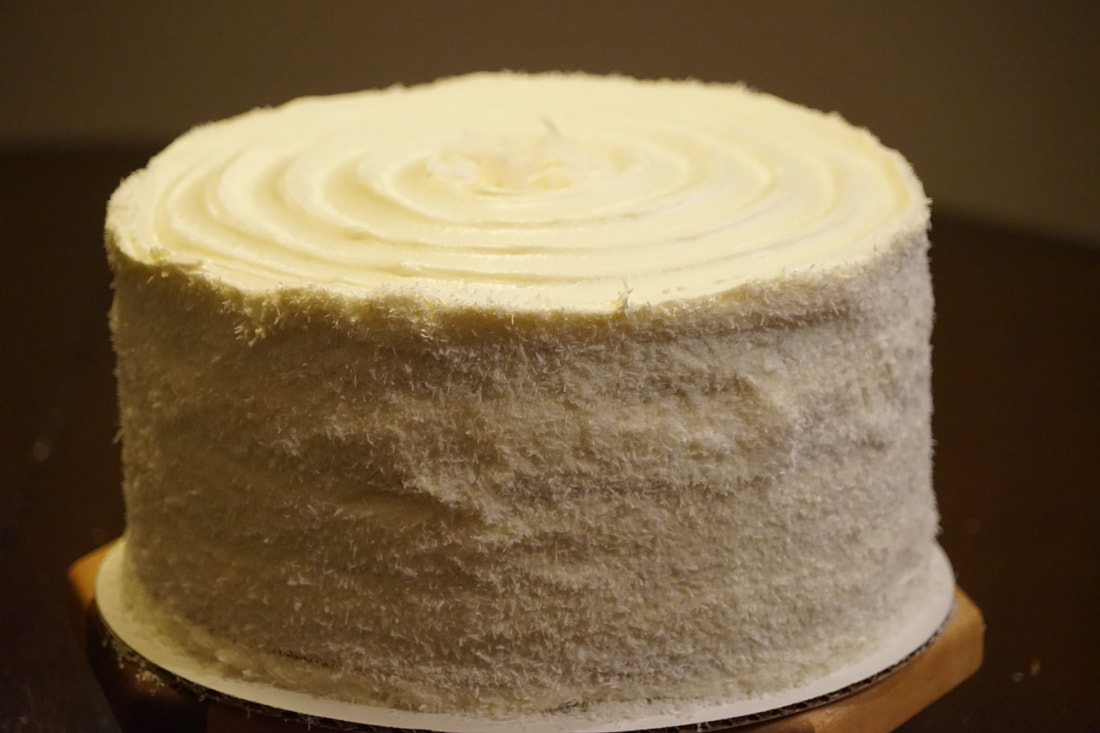
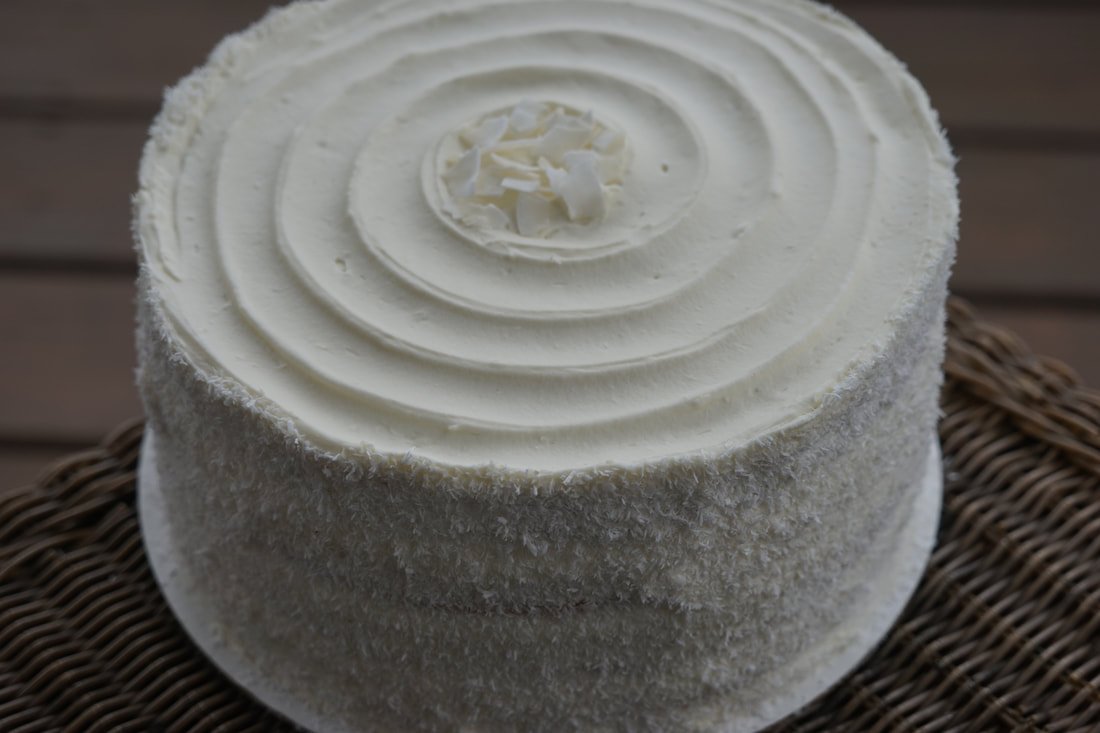
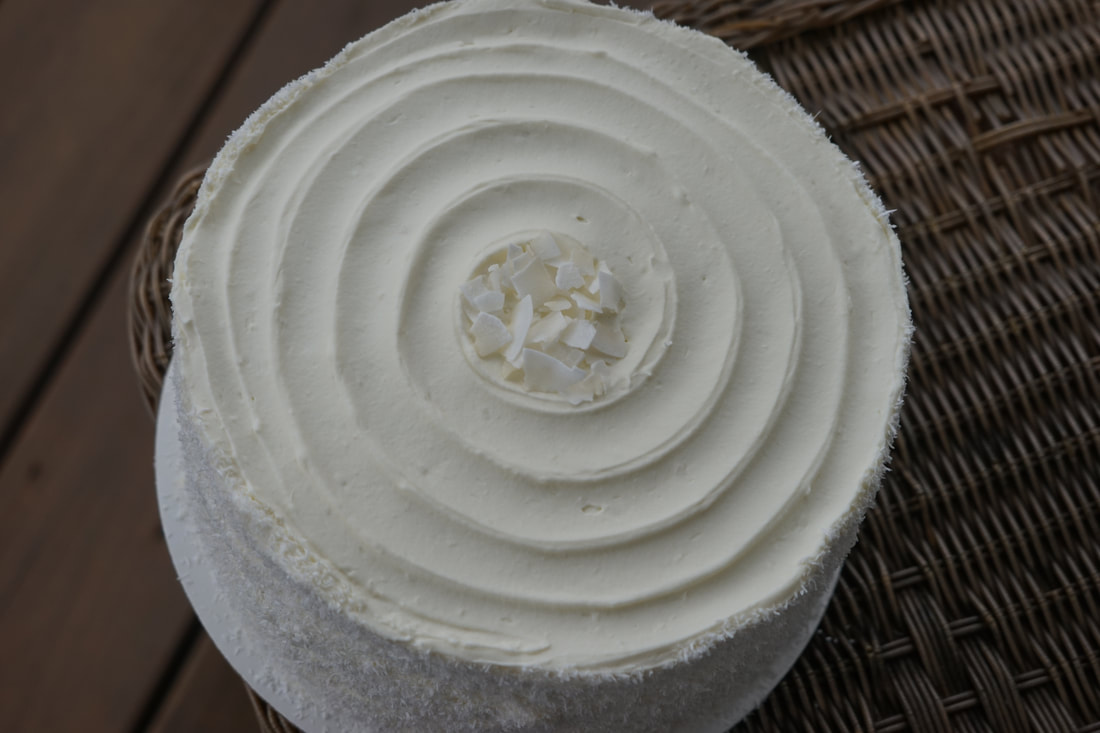
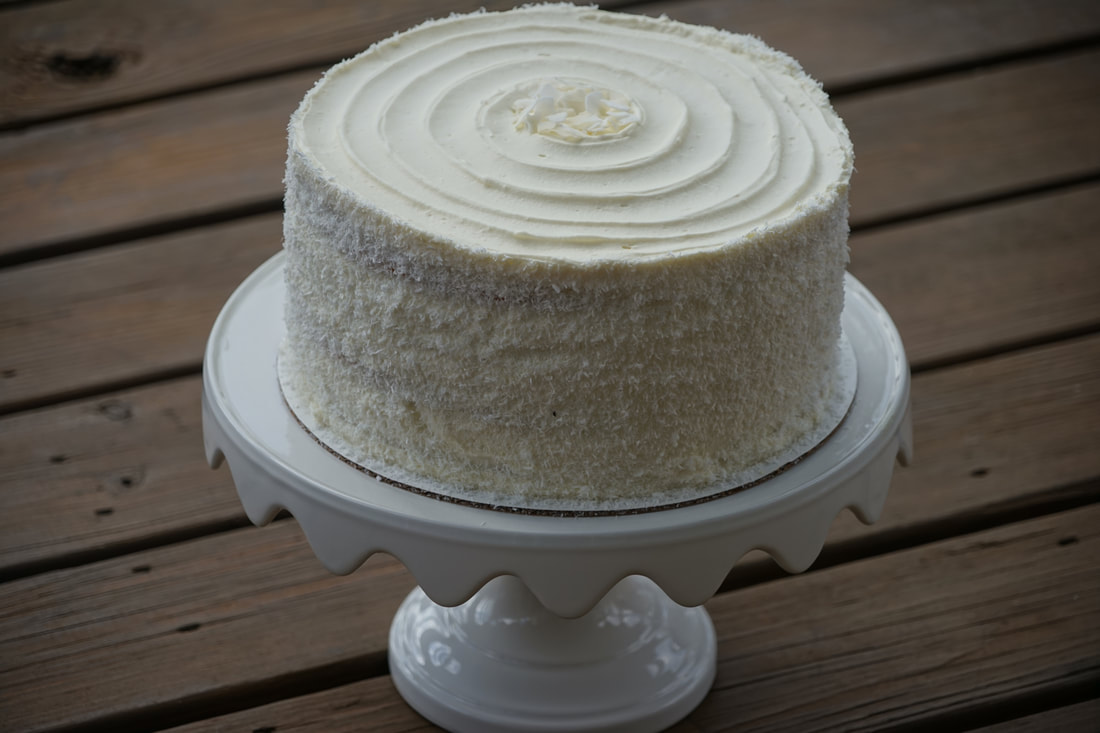
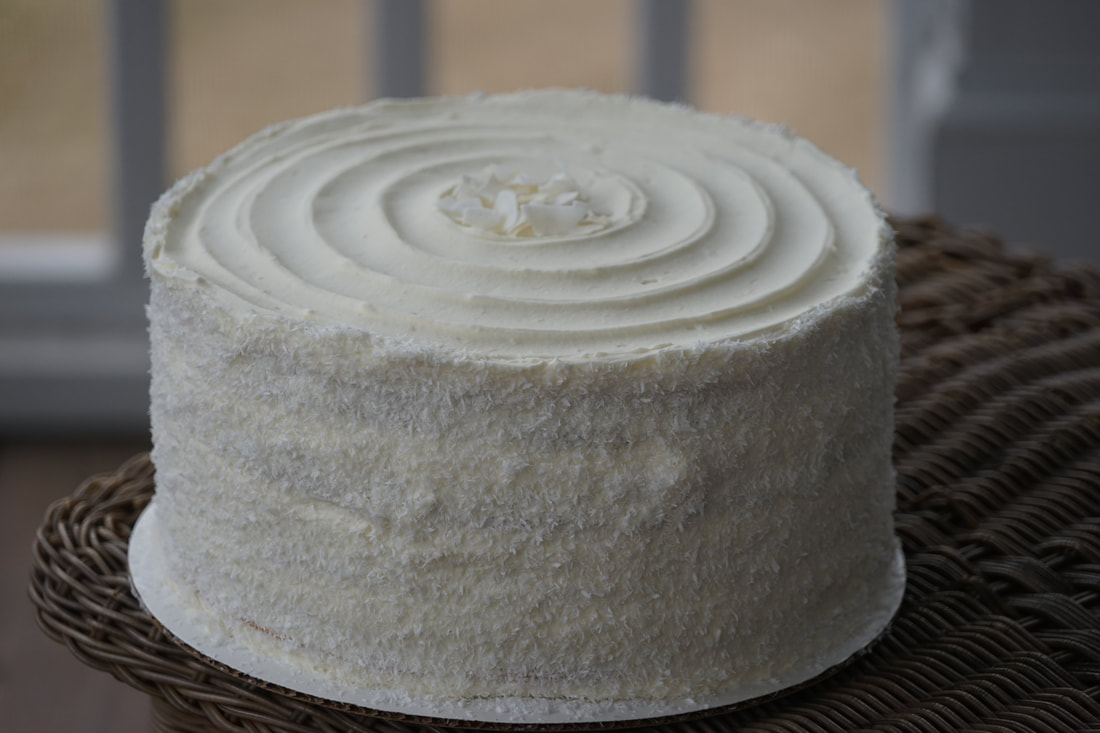
 Coconut is what I would label as a decisive ingredient. There are basically 2 types of people in this world - coconut lovers who can't get enough of it and those who are absolutely appalled by the white fruit. I've never met anyone who is on the fence about coconut. What about you? Which side of the coconut fence do you sit on - are you a lover or a hater? 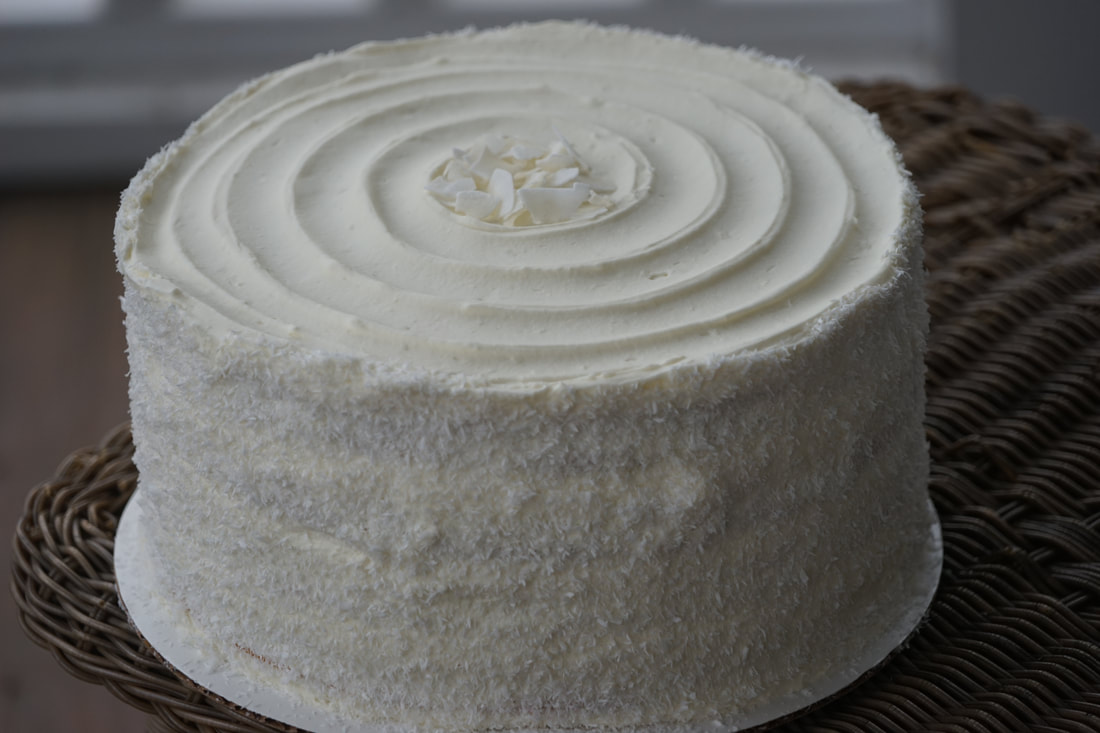 If you're a coconut lover - I've got just the cake for you. Traditionally, coconut cake is a basic white cake layered with vanilla frosting that is sprinkled with flakes of sweet white coconut. I'll never understand the purpose of making a coconut cake without infusing coconut into both the cake and the frosting. Coconut milk is a readily available in supermarkets and it's a great way to incorporate all of that delicious coconut flavor into the cake AND frosting. Cream of coconut is also a great alternative to traditional whipped cream and when combined with a cream cheese frosting, coconut cream makes the most delicious whipped coconut topping for this cake. I also love the look of the desiccated coconut pressed into the sides of the cake to really set this cake apart from other coconut cakes. Put all of those elements into one cake and you've got a perfectly coconut-y cake. 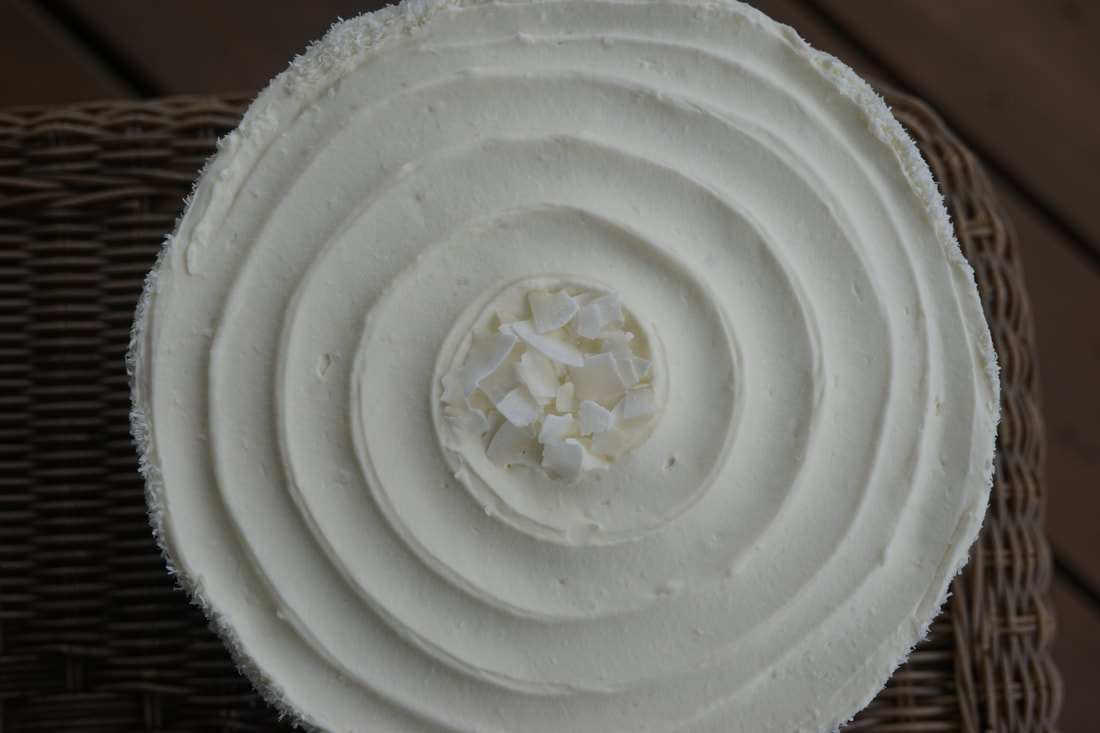 Coconut Cake
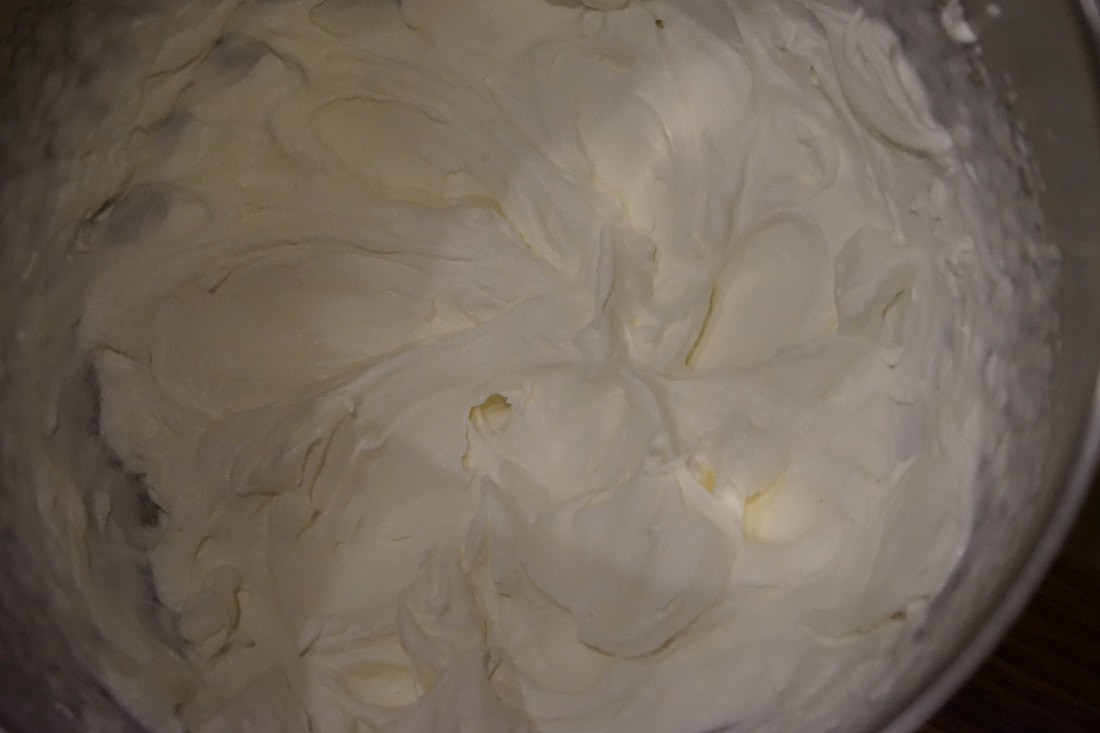
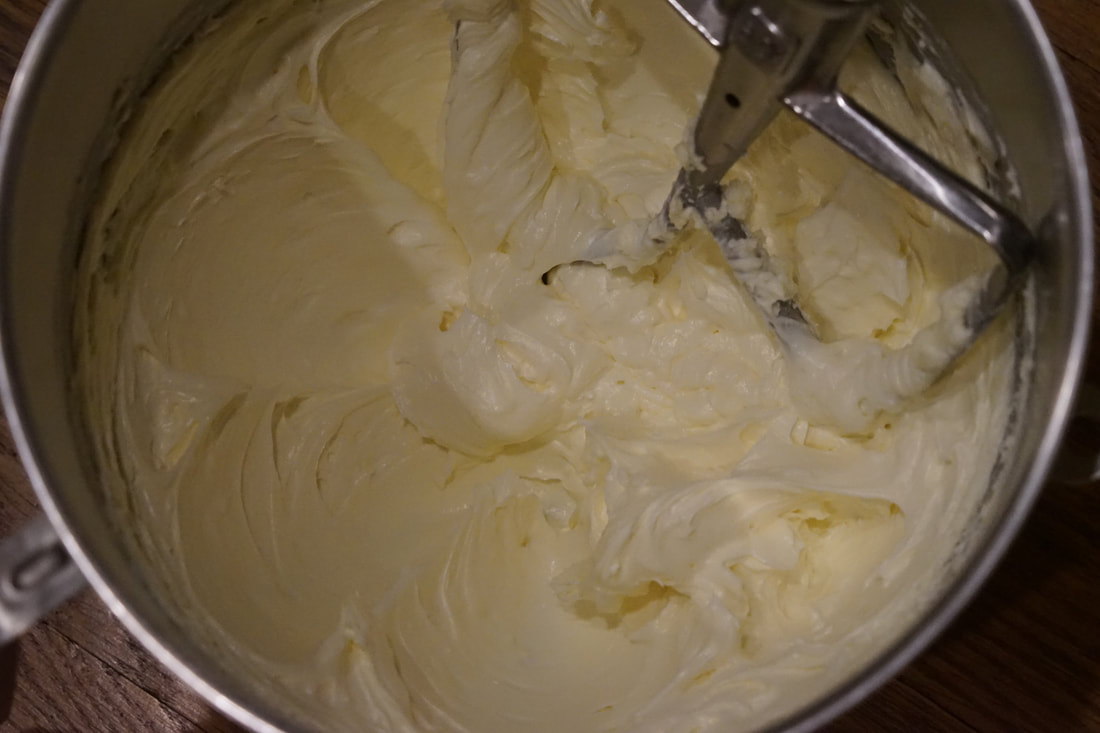
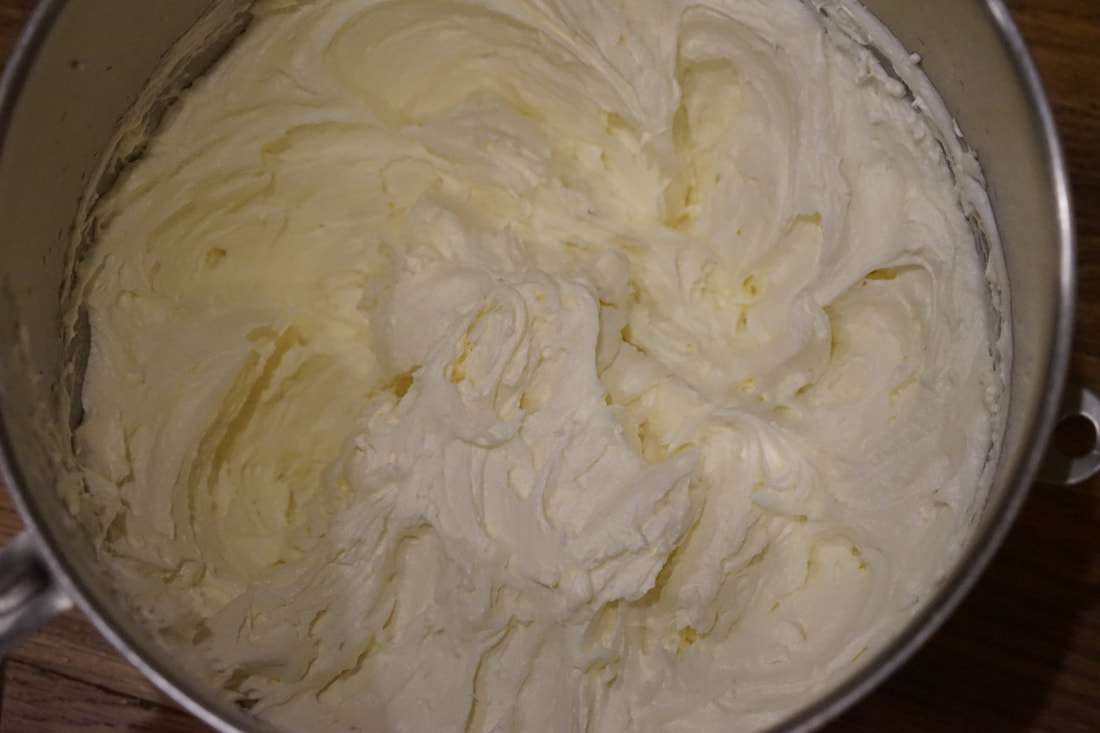
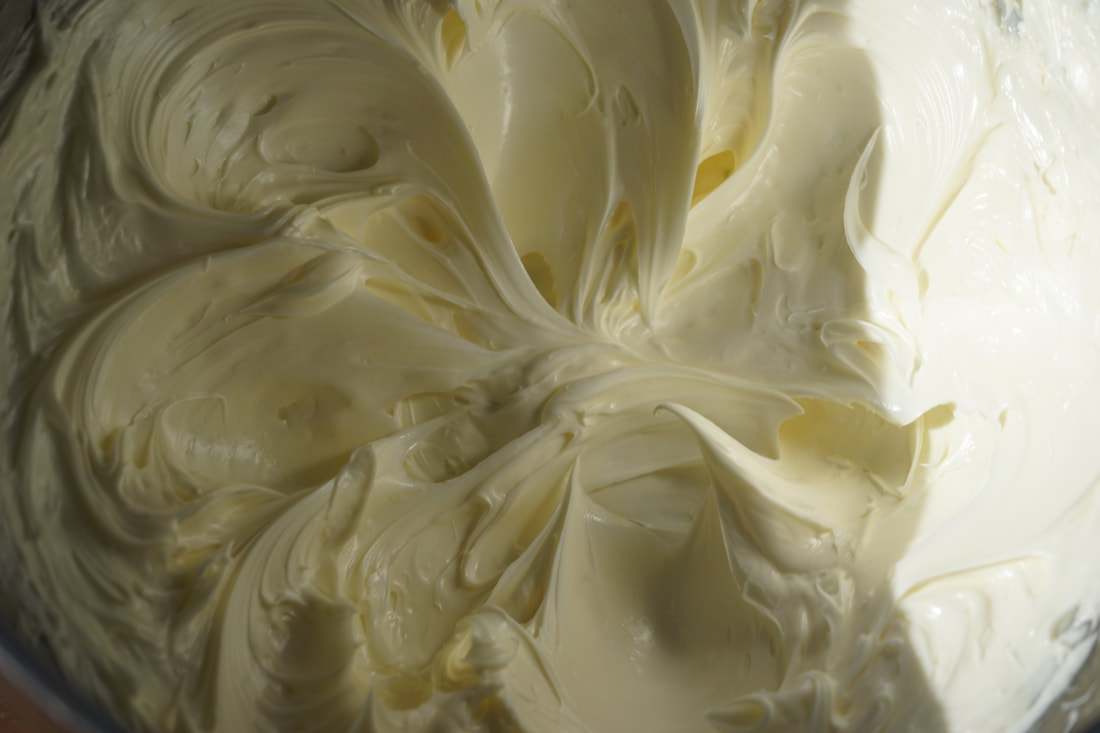
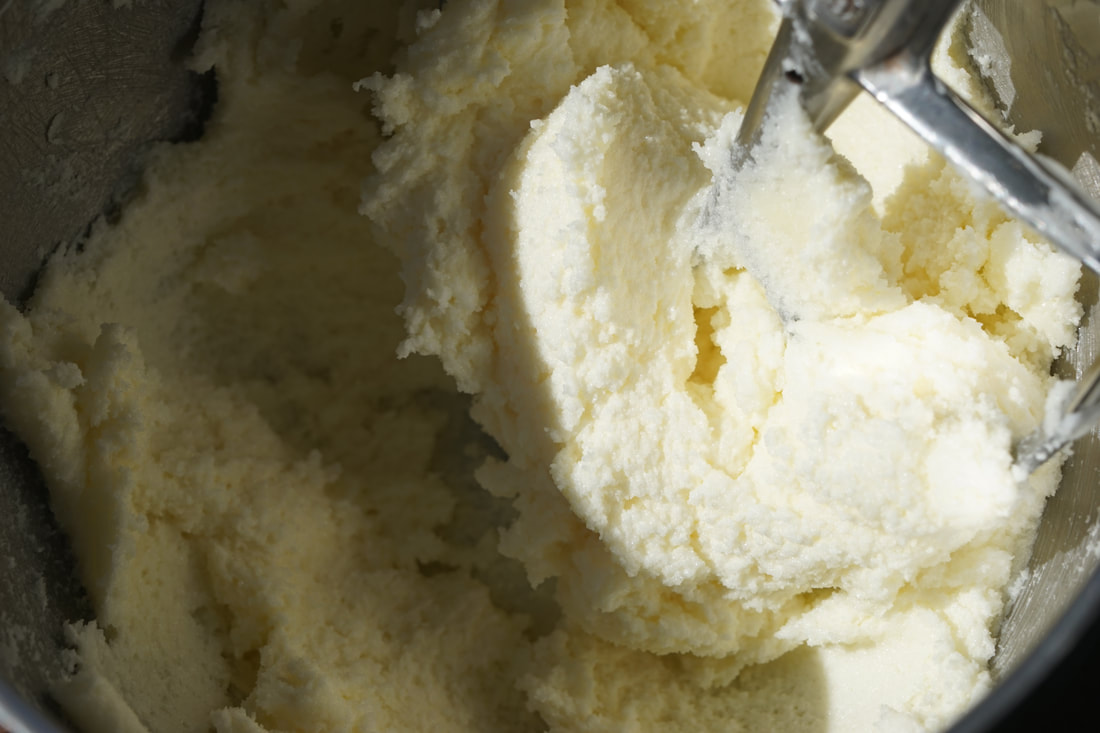
Whipped Cream Cheese Coconut Frosting
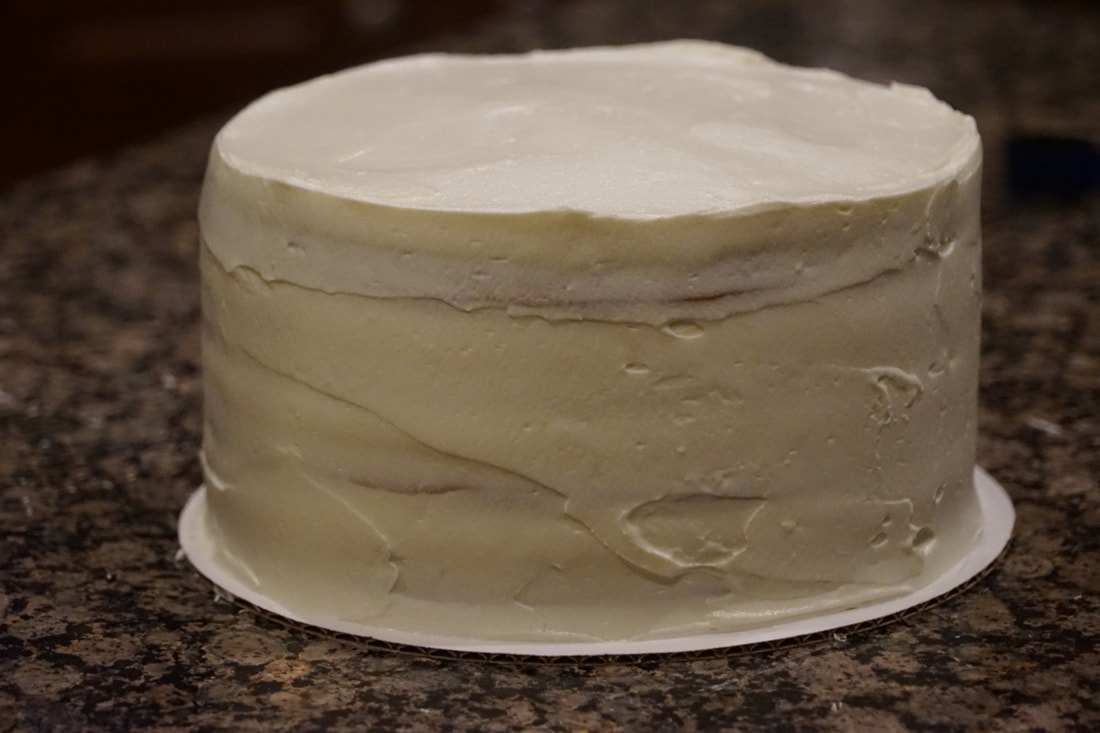
Chill cake at least 2 hours before slicing and serving.
 I made this particular coconut cake with Splenda instead of sugar so that it would be diabetic friendly. Aren't you glad that there are so many sugar substitutes available to us?
Ciao!
0 Comments
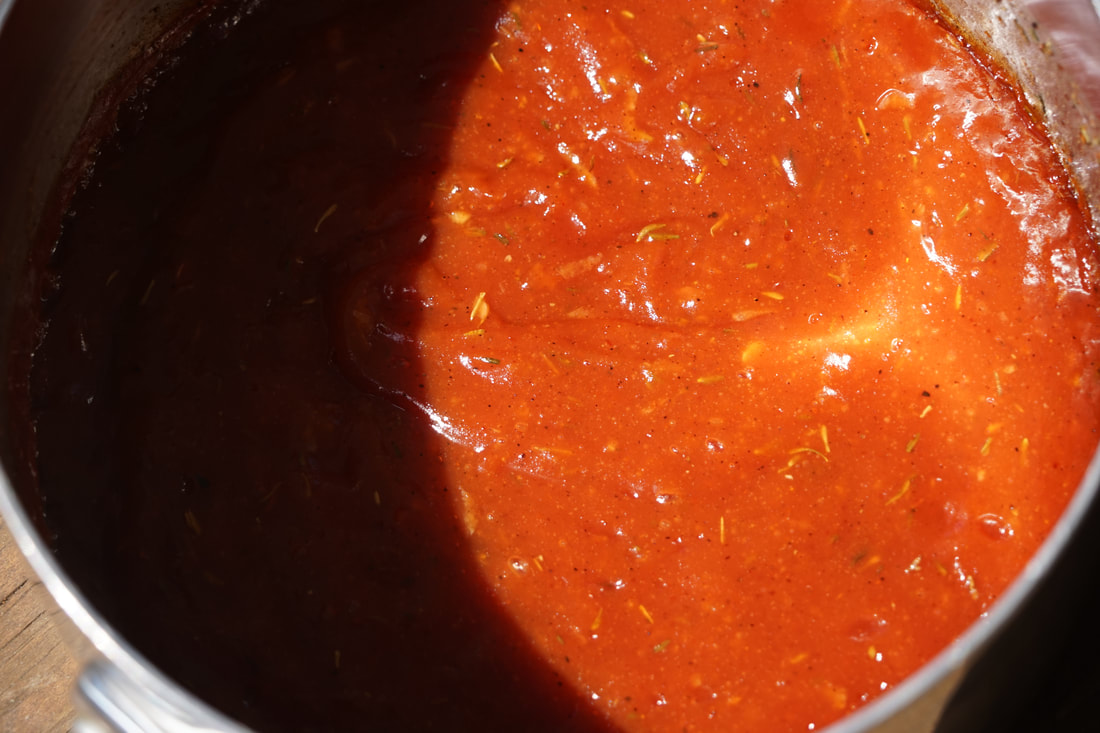
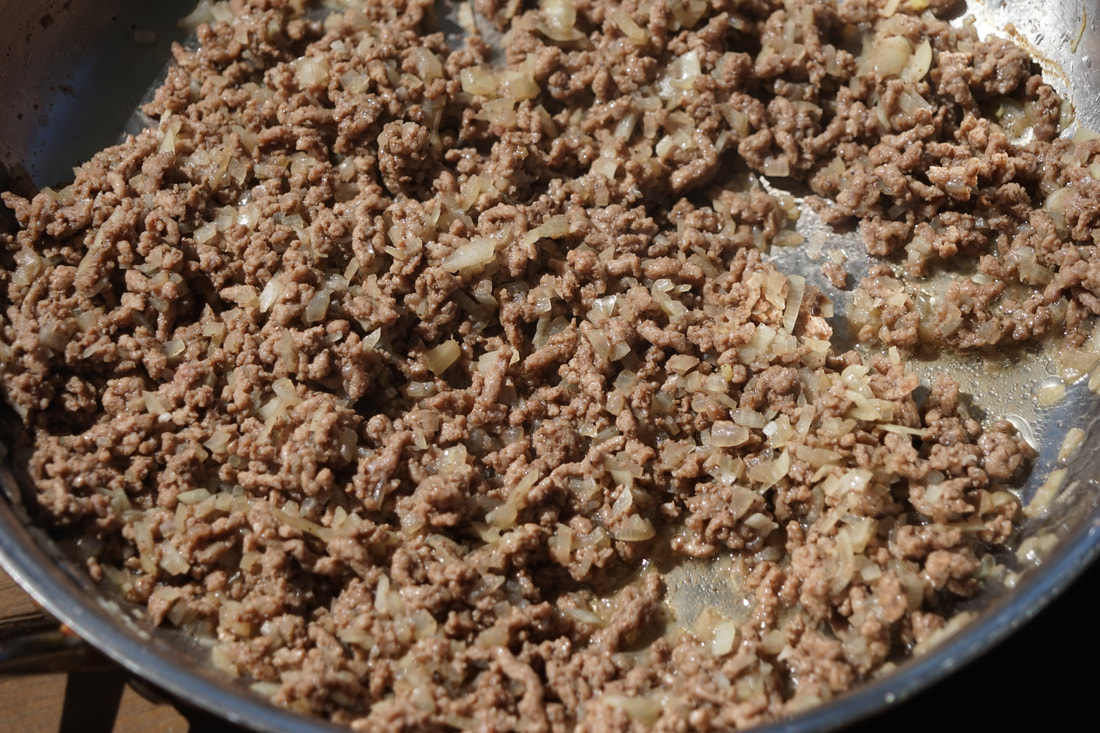
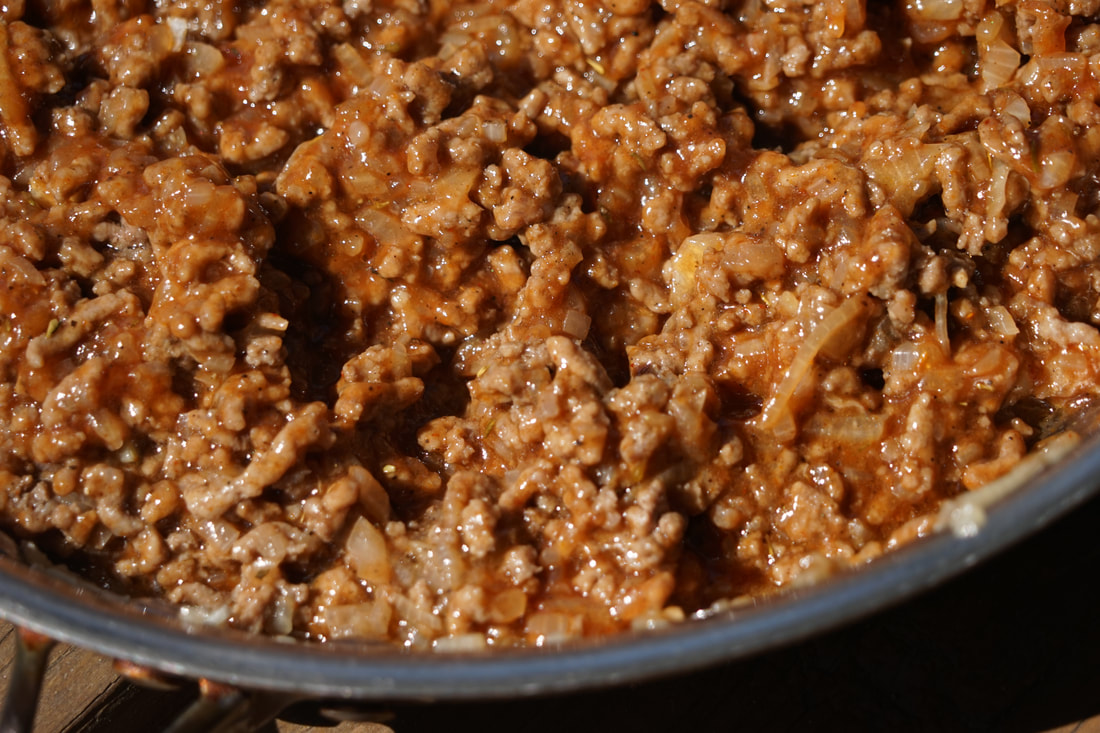
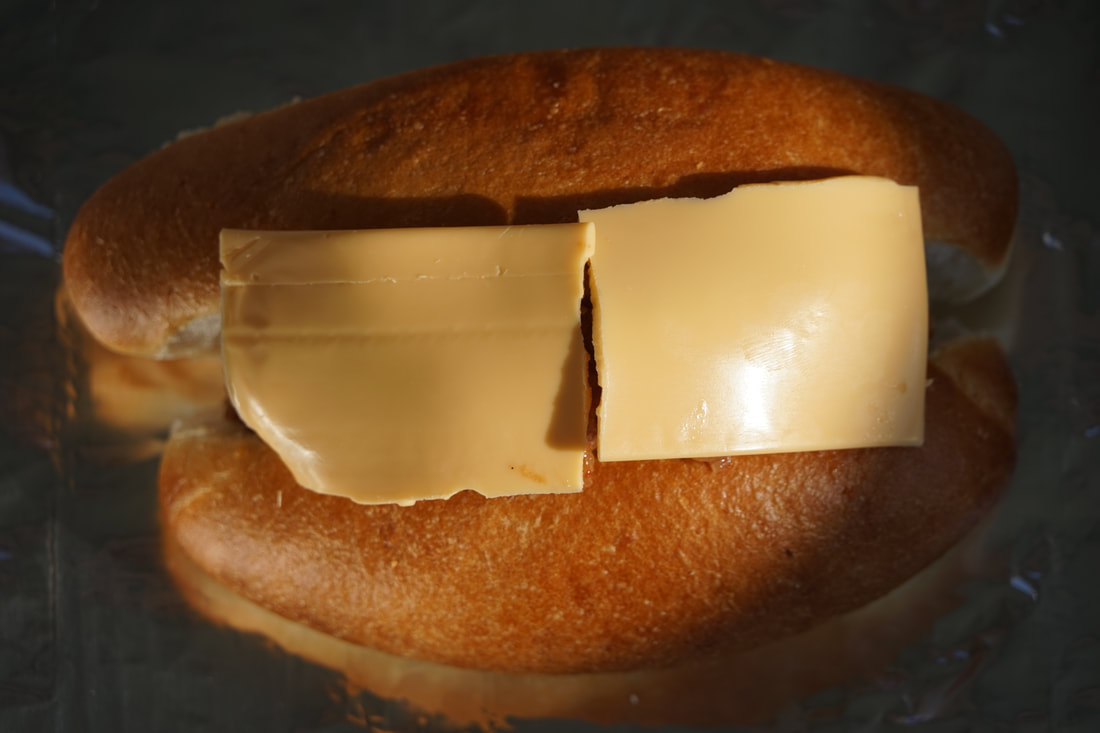
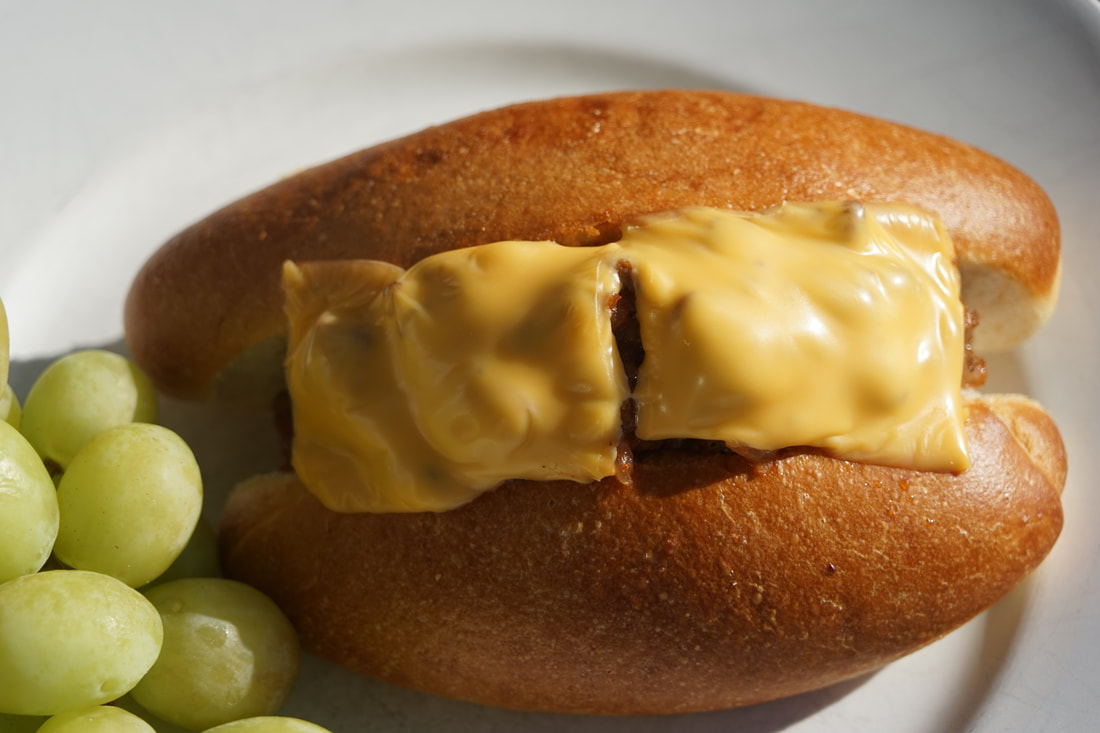
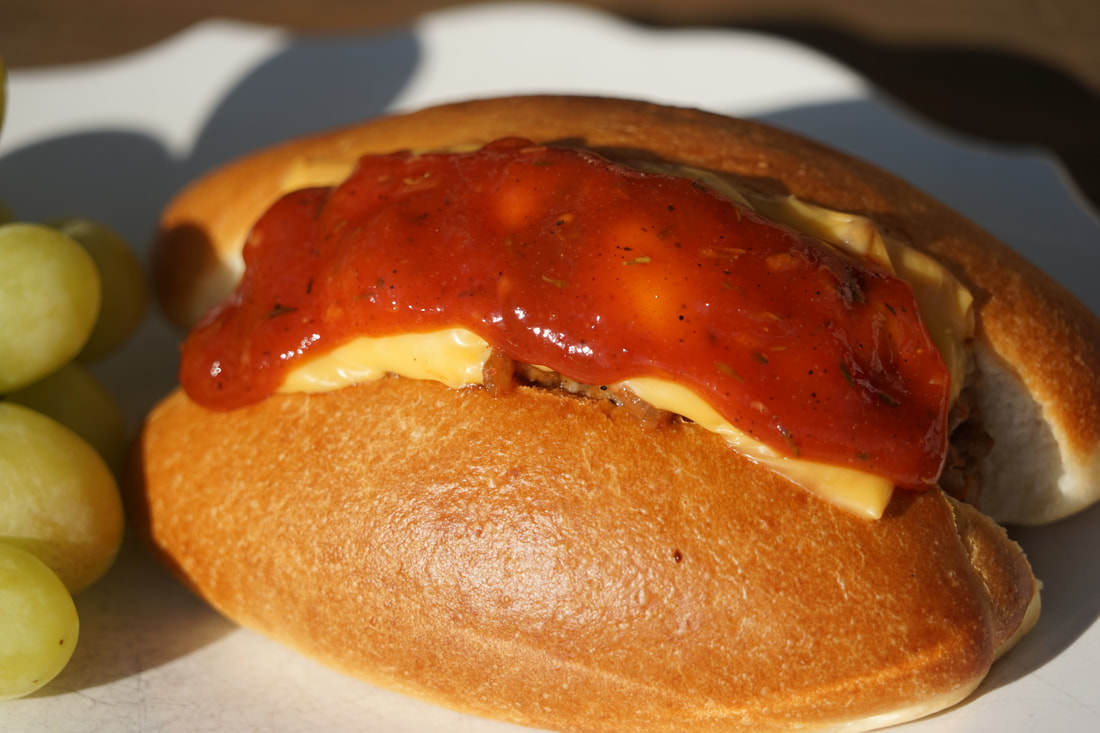 Personal chefs prepare nutritious, gourmet meals at least three times a day for their family. We create fresh flowers arrangements for the table daily all while wearing a perfectly starched white coat. Do you believe that? I hope not. My family will be the first to tell you that that isn't even close to the reality of living with a personal chef. I do a whole lot of cooking for people that do not live in my house and more often than not - I serve my own family the leftovers, the test dishes or the mistakes. They're very accustomed to eating meals comprised the food that I over estimated for a catering job. When I do make something specifically for my own family, it's generally something very simple and classic. In this case - I did my own version of the traditional Sloppy Joe sandwich. (A favorite of my 19 year old.) She was apprehensive about my updated sandwich because she's so fond of the original but I think I was able to win her over with my Sloppy Joe Sub Sandwich.  Sloppy Joe Sub Sandwiches Sauce Sandwiches 1 cup ketchup 1 Tablespoon oil 3 Tablespoons cider vinegar 1 pound 85% lean beef 2 Tablespoons brown sugar 1 teaspoon pepper 3/4 teaspoon thyme 3/4 teaspoon salt 3/4 teaspoon dry mustard 4 (6 inch) sub rolls 1 clove minced garlic 8 slices American cheese 3/4 teaspoon chili powder 1 onion, diced 1/4 teaspoon pepper
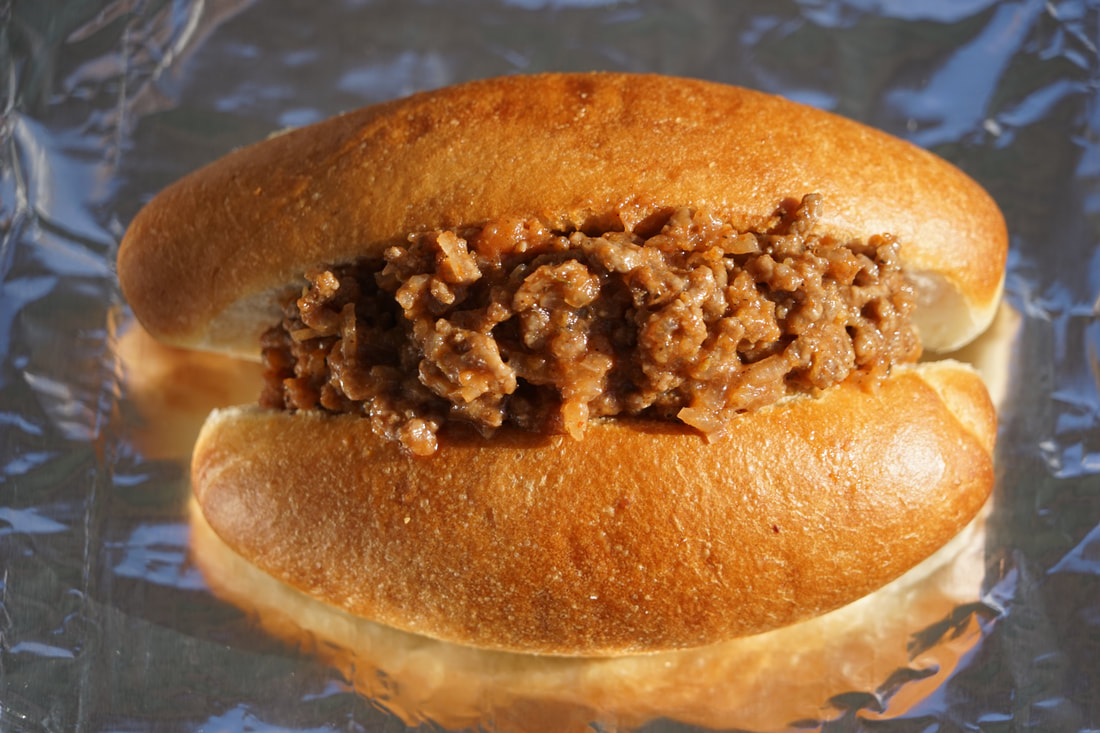
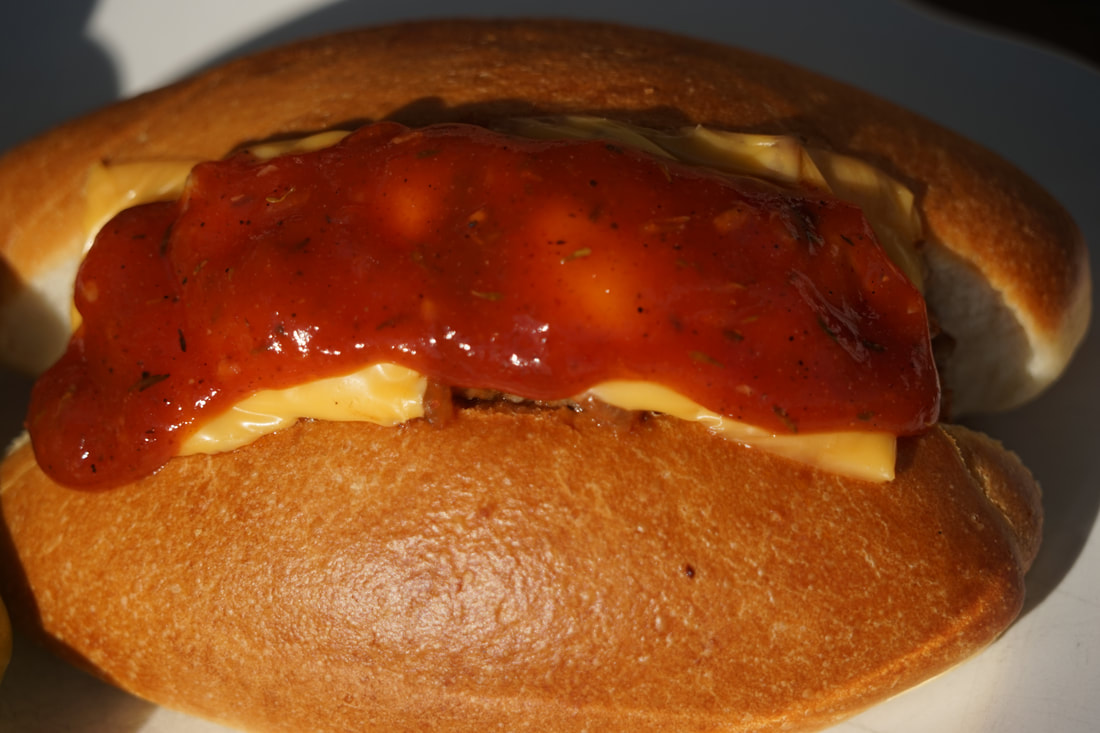
Spoon remaining sauce over meat and close sandwiches.
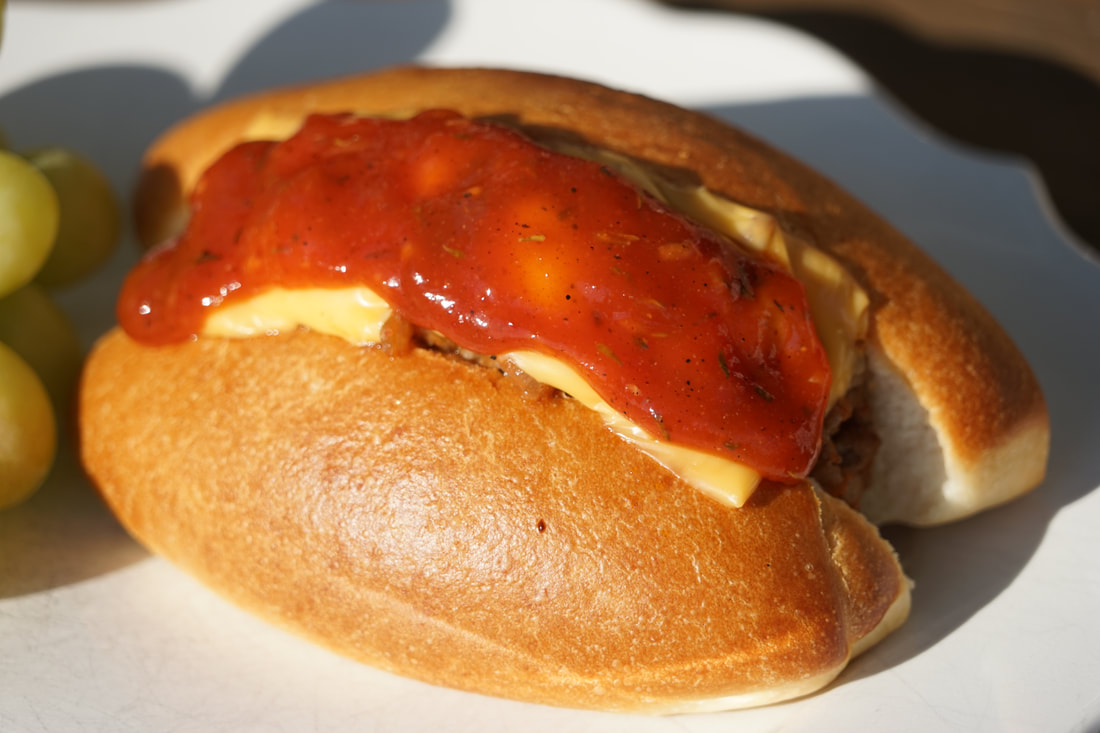
Sloppy joes are comfort food in my house so here's to a night of wonderfully warm and satisfying food that didn't start out at someone else's dinner.
Ciao!
There are certain foods that we identify specifically by color. Green beans, brown rice, purple grapes - just to name just a few. In the baking world, there are some cakes that are identified by their color as well. White cake, yellow cake, red velvet cake - you get the idea. Even though we identify each cake by its color - they each have their own distinctive qualities. It's almost universally accepted knowledge that a yellow cake is a rich, buttery cake with vanilla flavor. A white cake is generally lighter with a more tender texture than a yellow cake and can be either vanilla or almond flavored. A red velvet cake is always a moist yellow cake with a hint of cocoa and a whole lot of red food coloring to give it its signature red color.
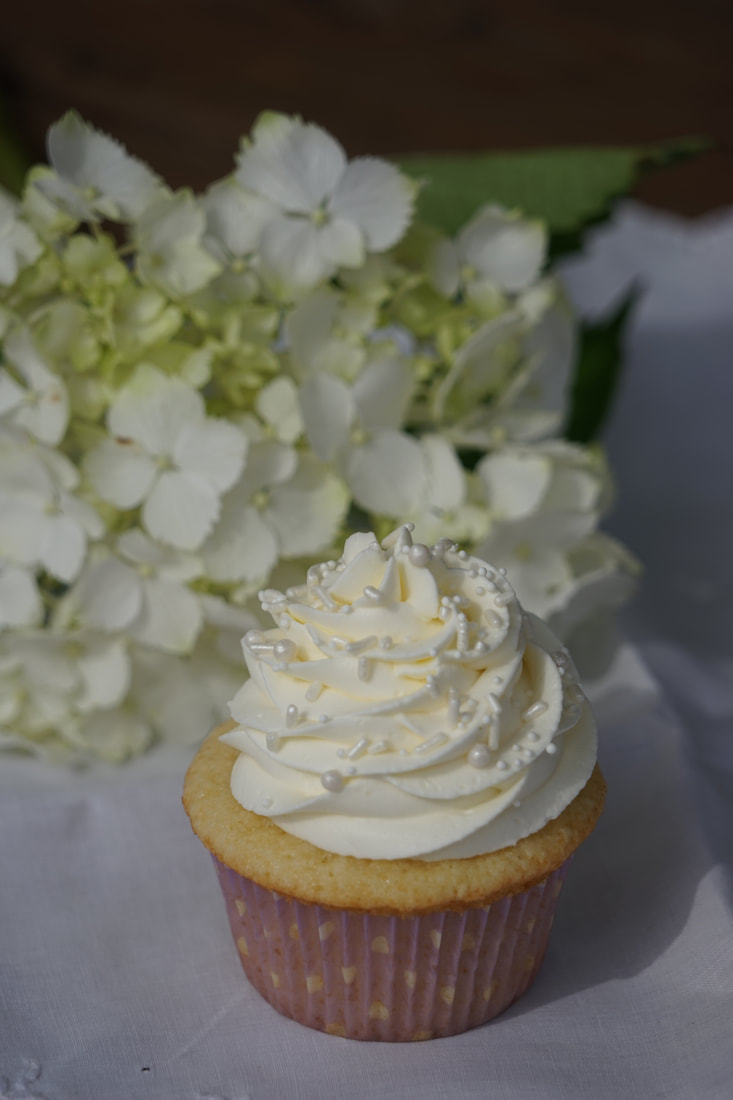
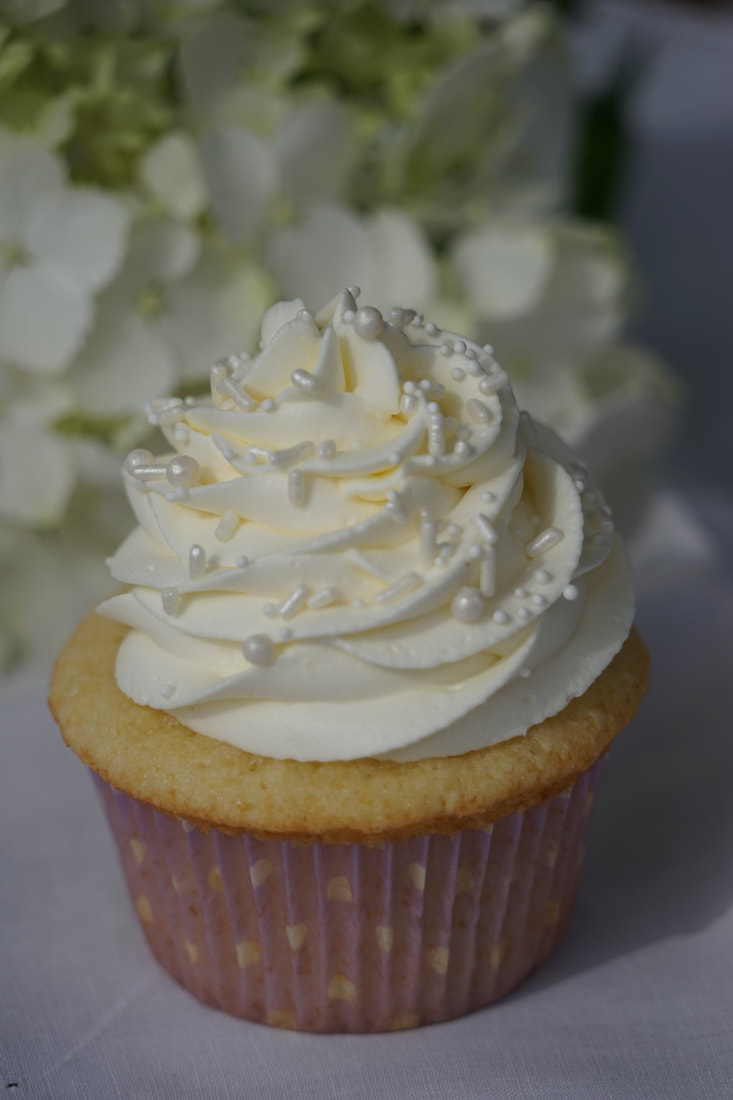
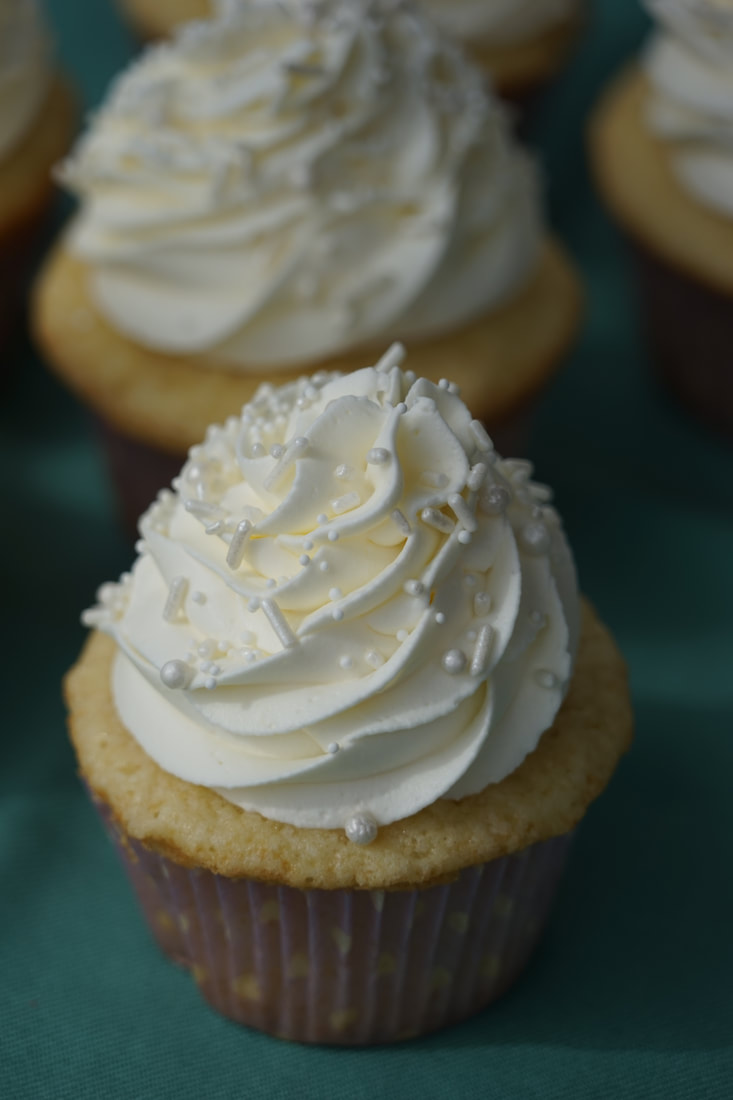
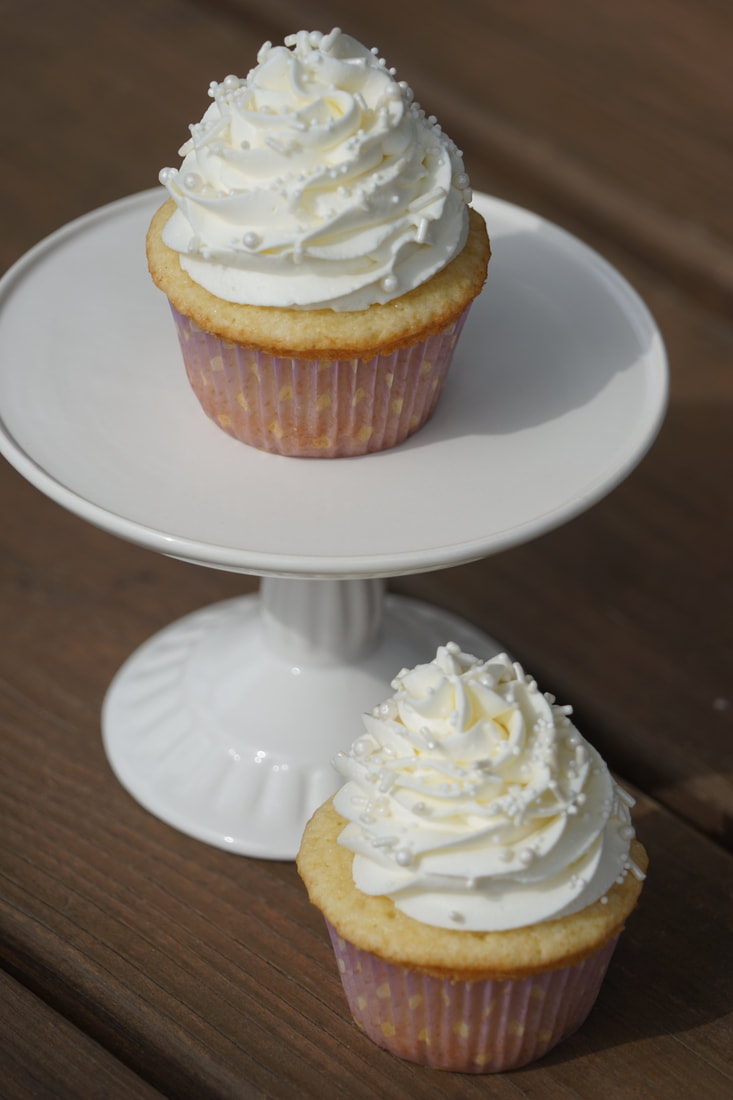
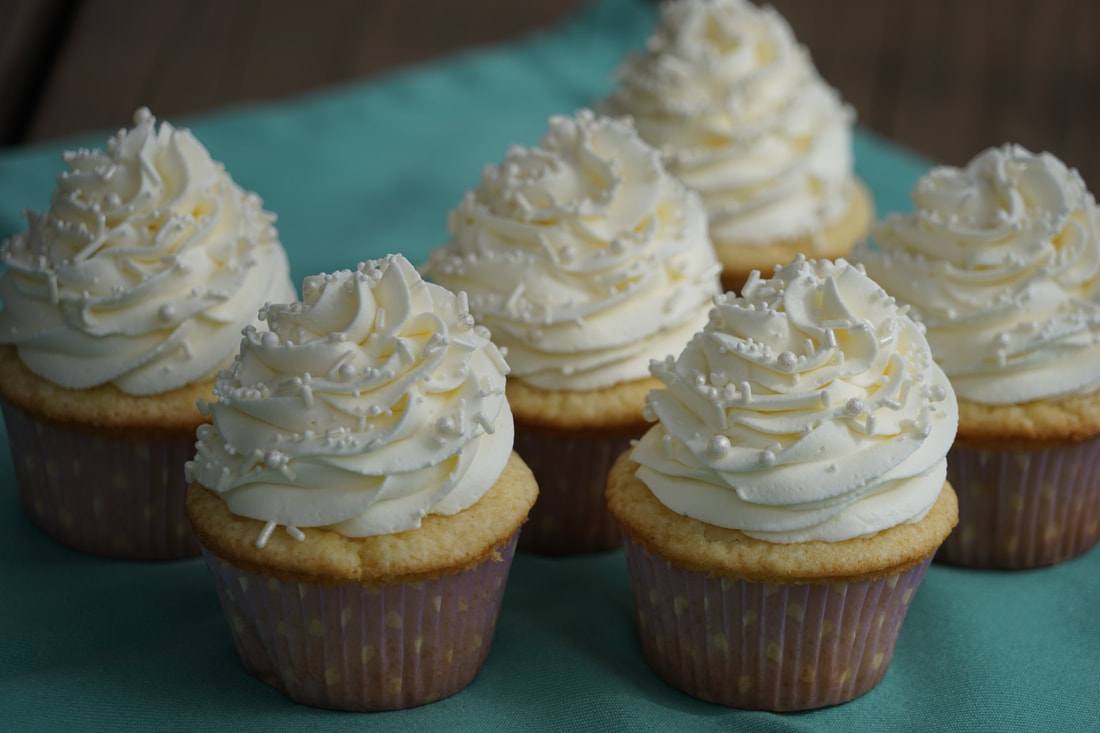
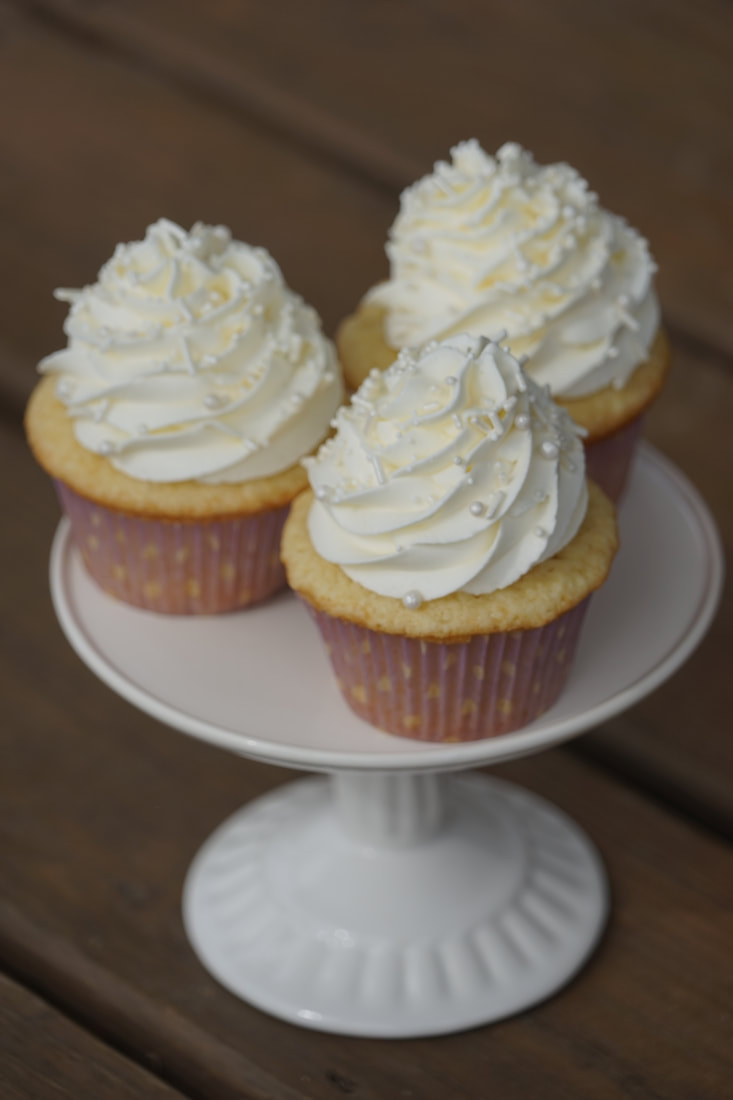
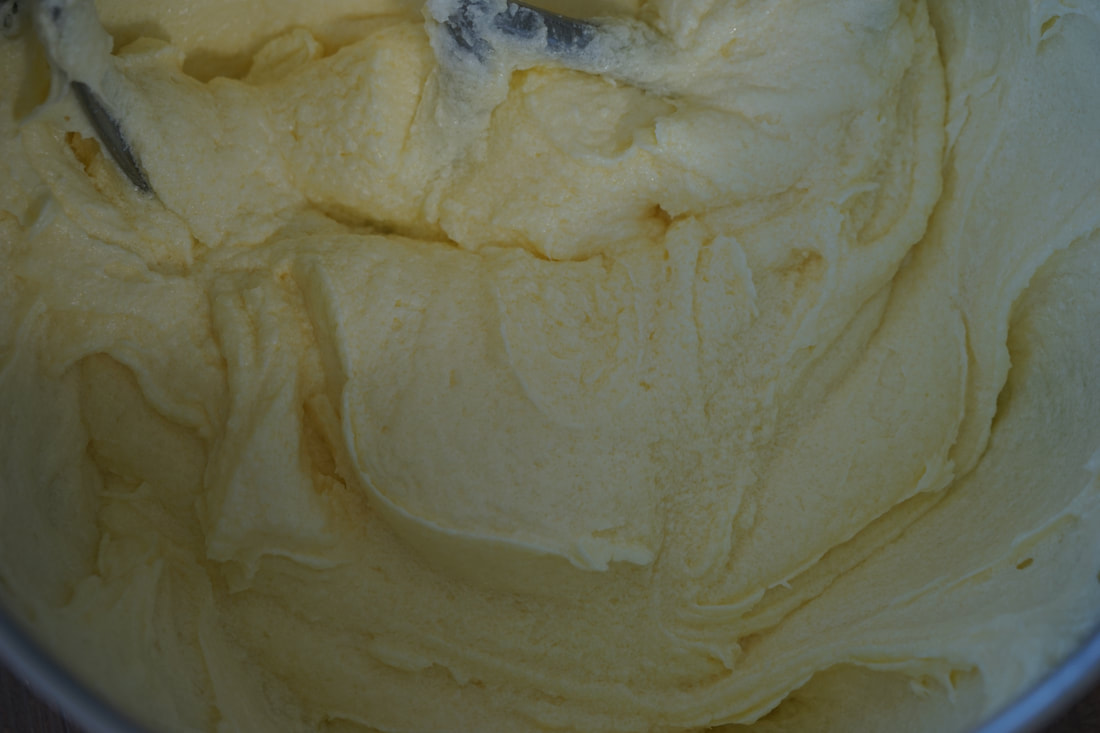
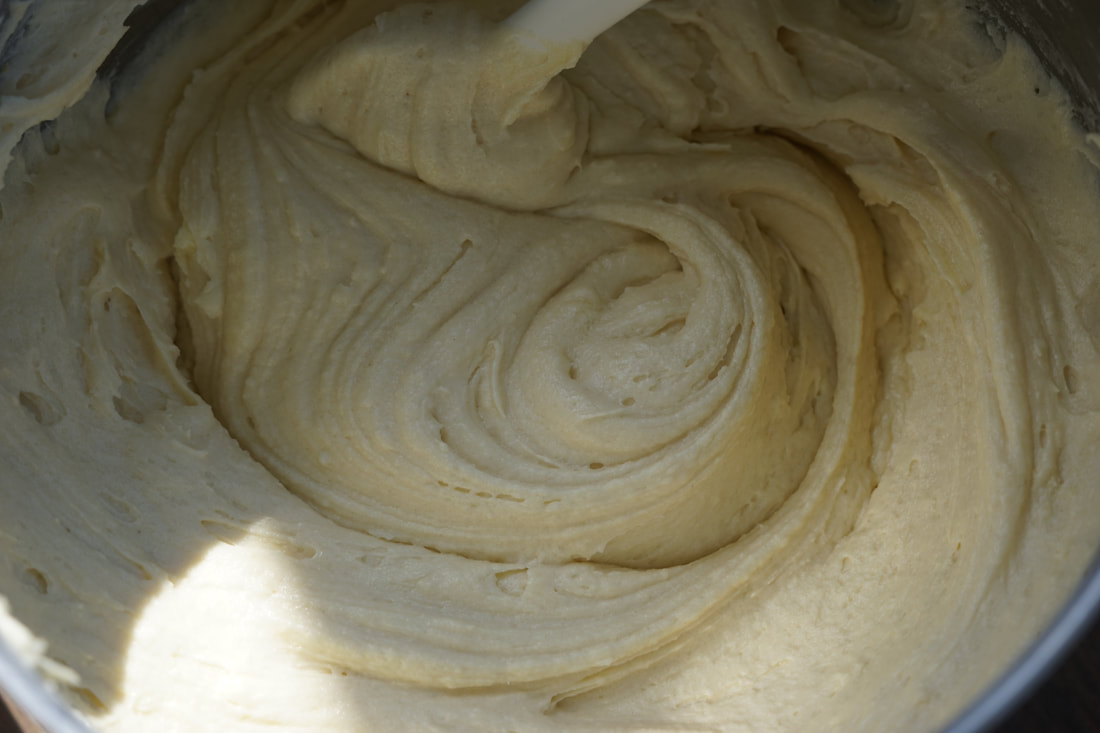
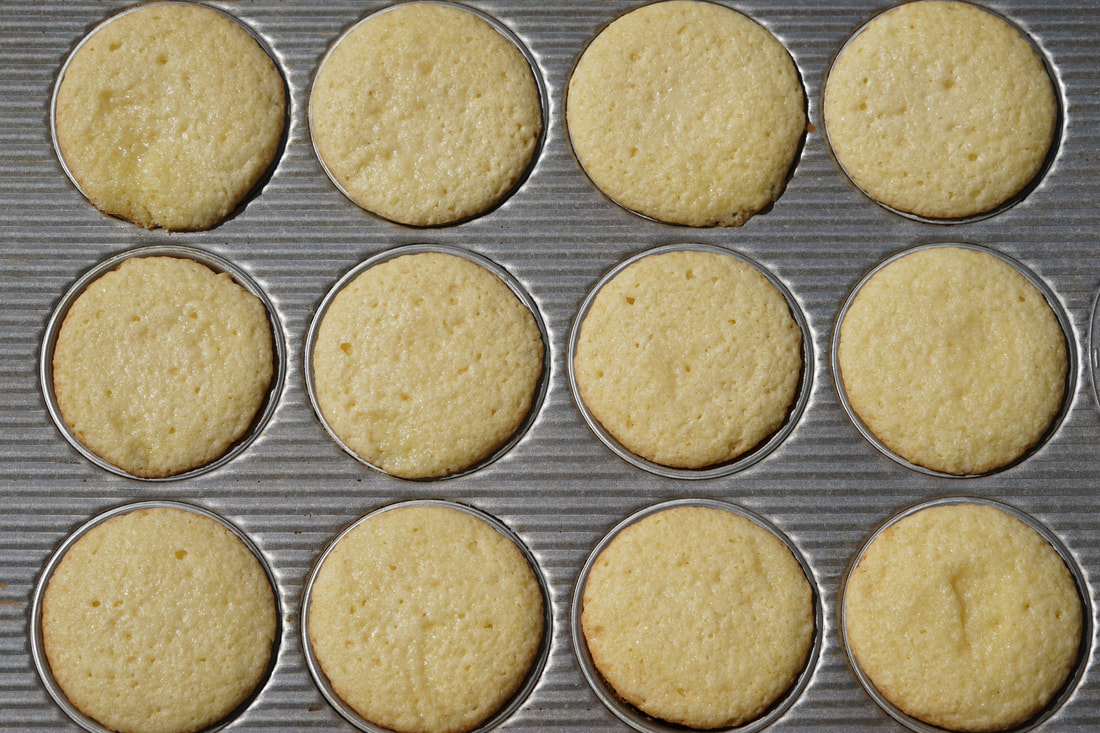
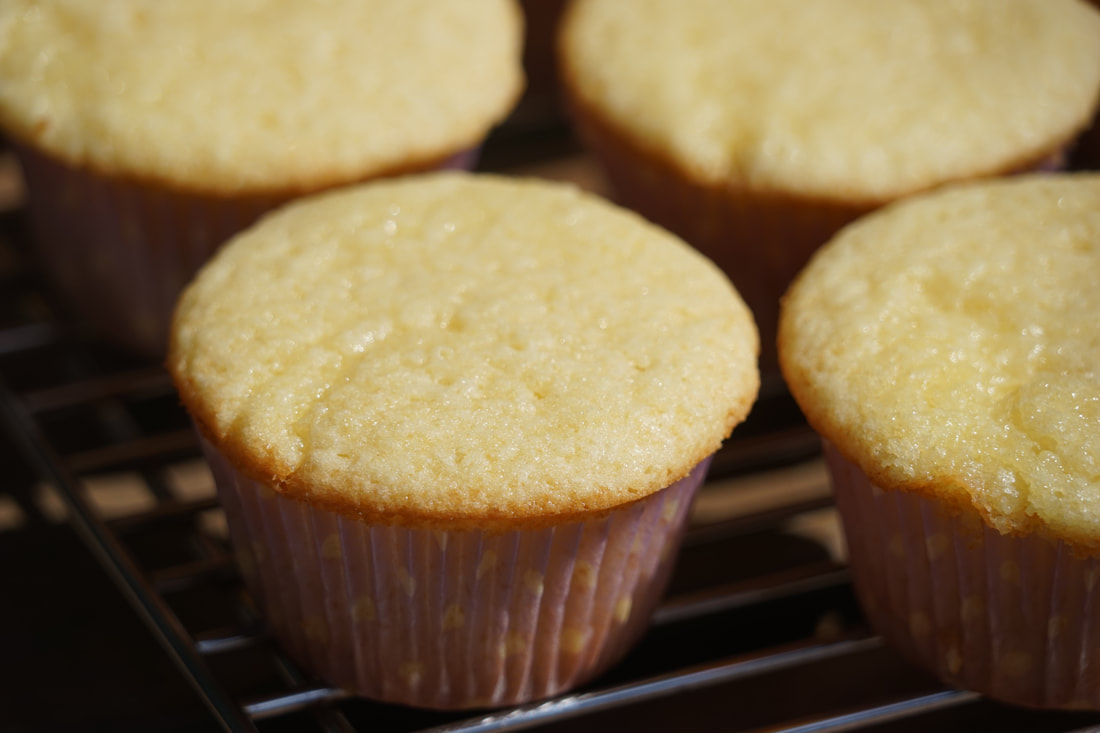
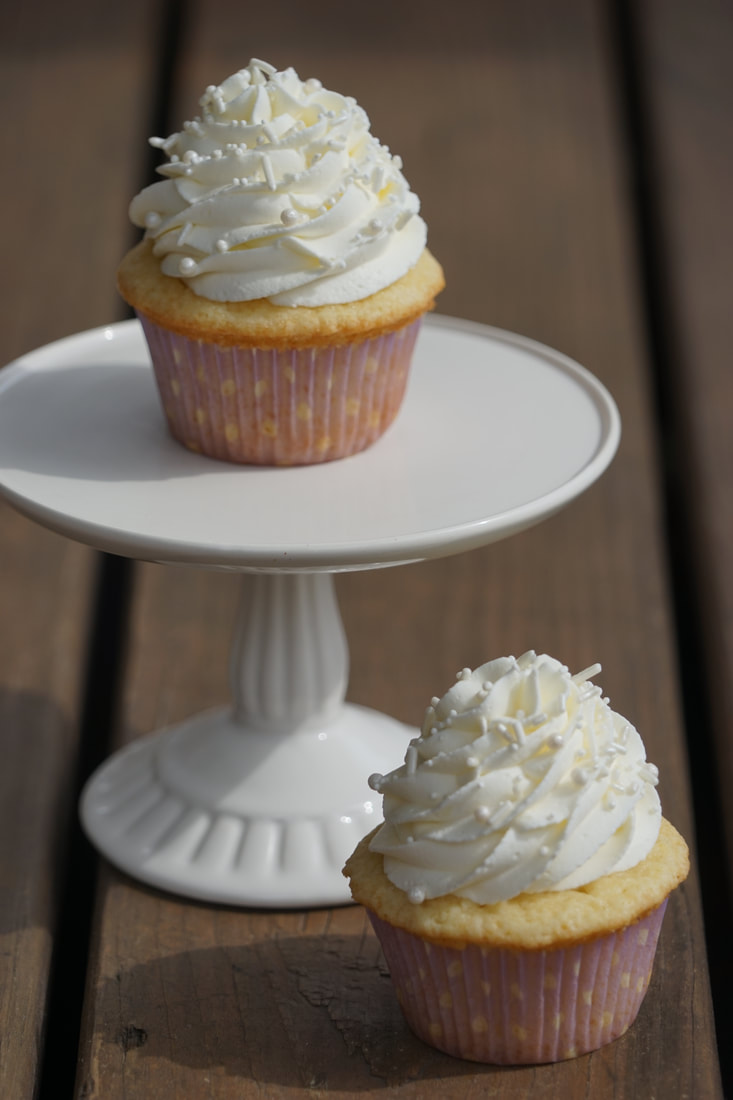
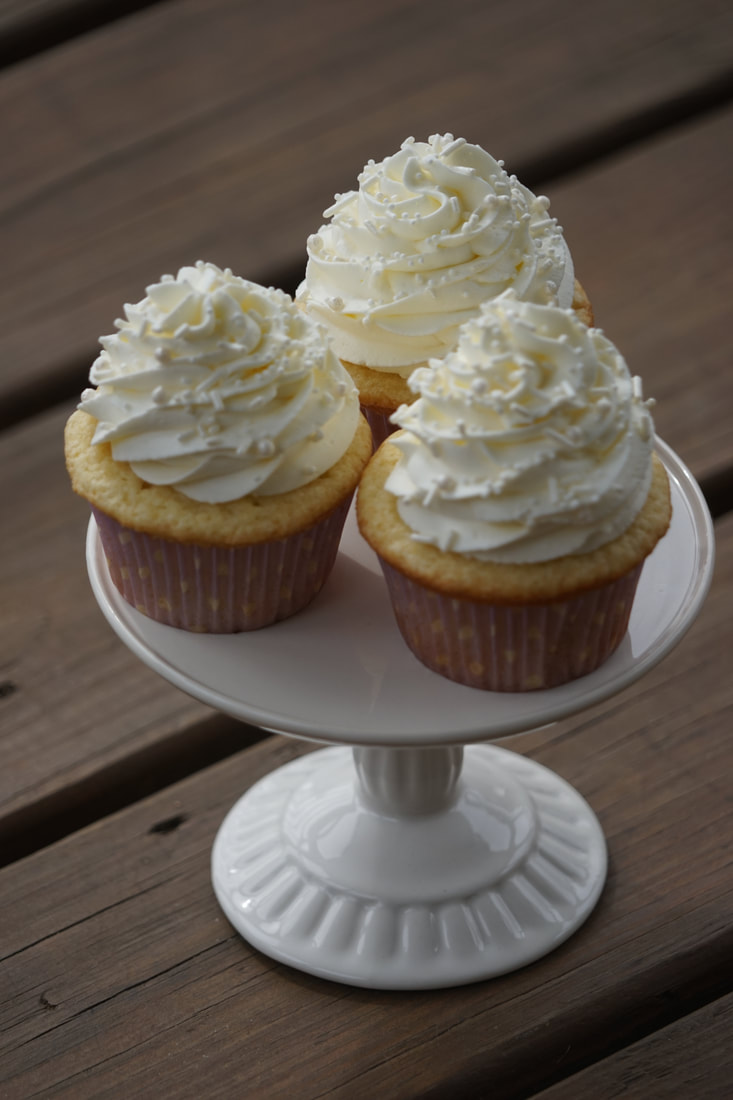
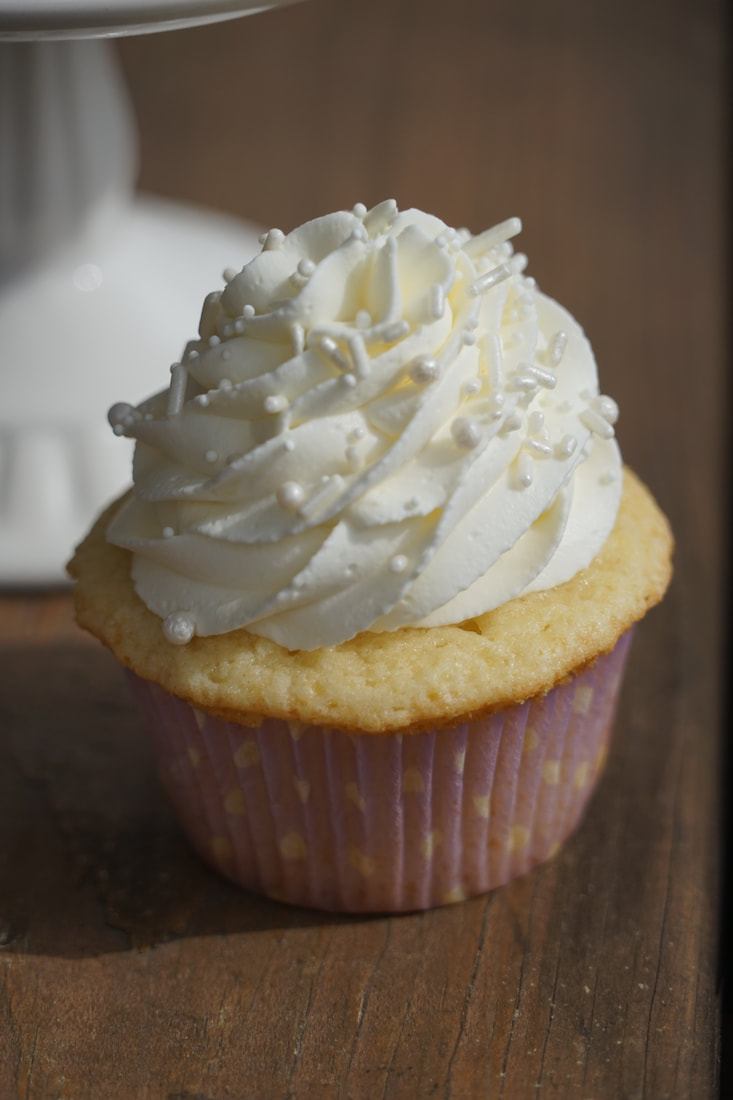
Traditionally a white cake is made with egg whites instead of whole eggs in order to maintain the pure white color of the cake. I am calling these cupcakes White(ish) because they're somewhat of a white and yellow cake fusion. Whole eggs used in a fluffier and more tender white cake batter. These cupcakes really are the best of both cake worlds.
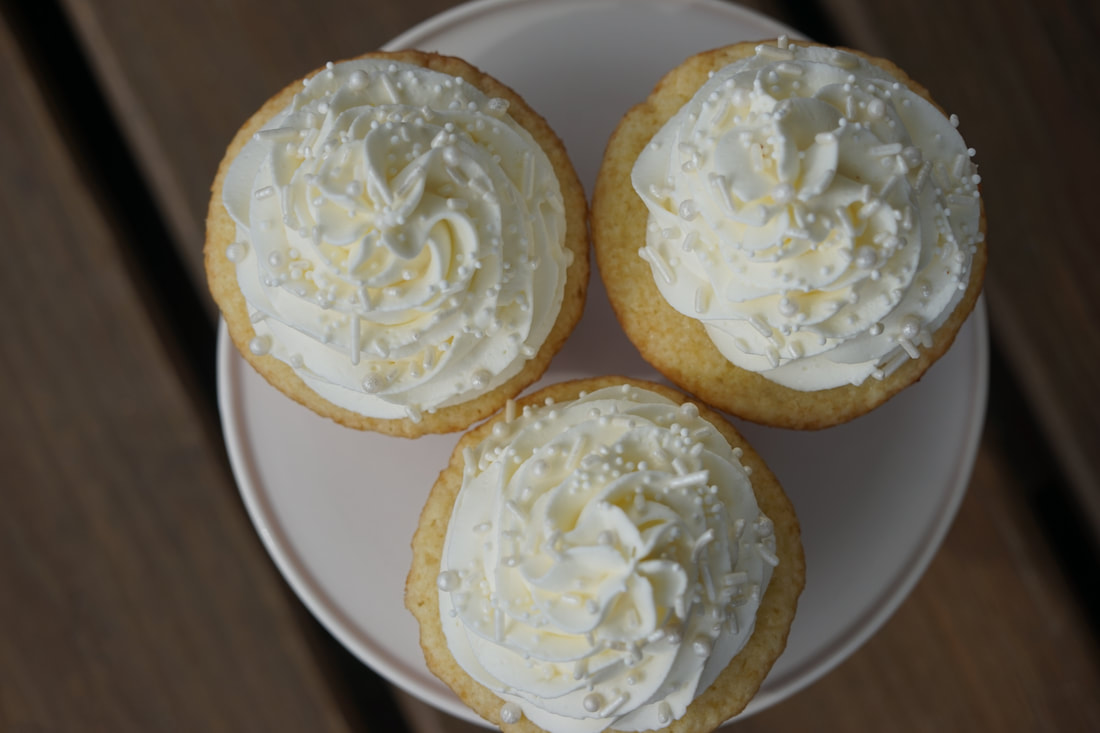
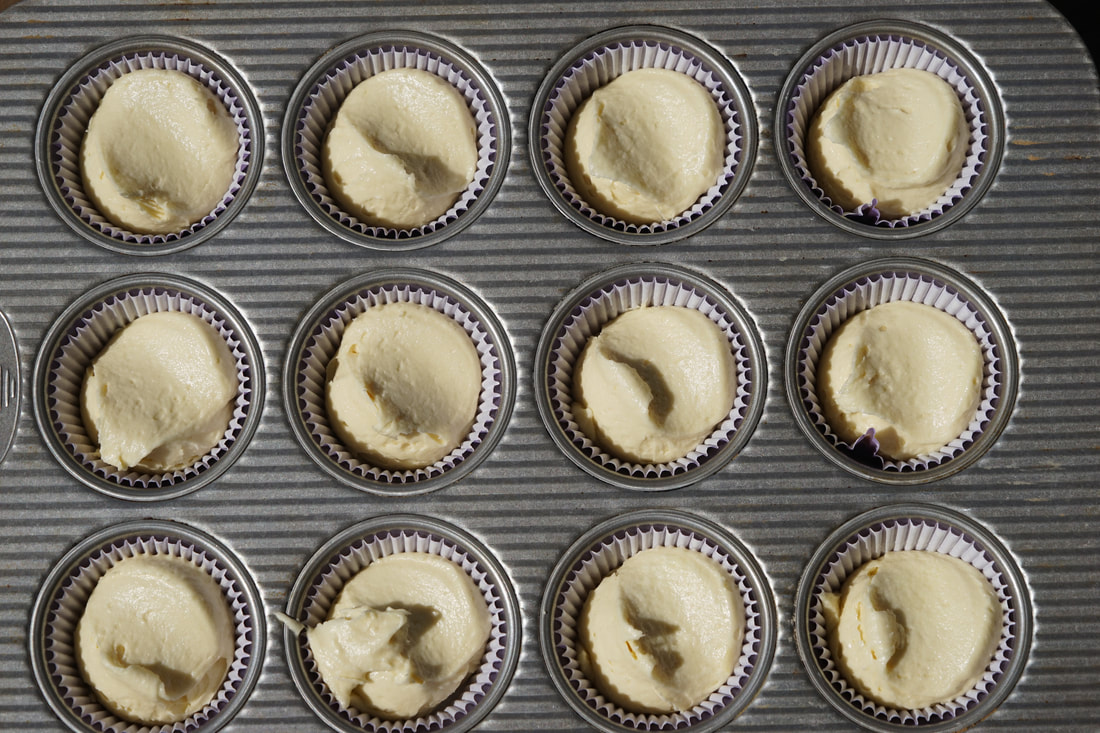
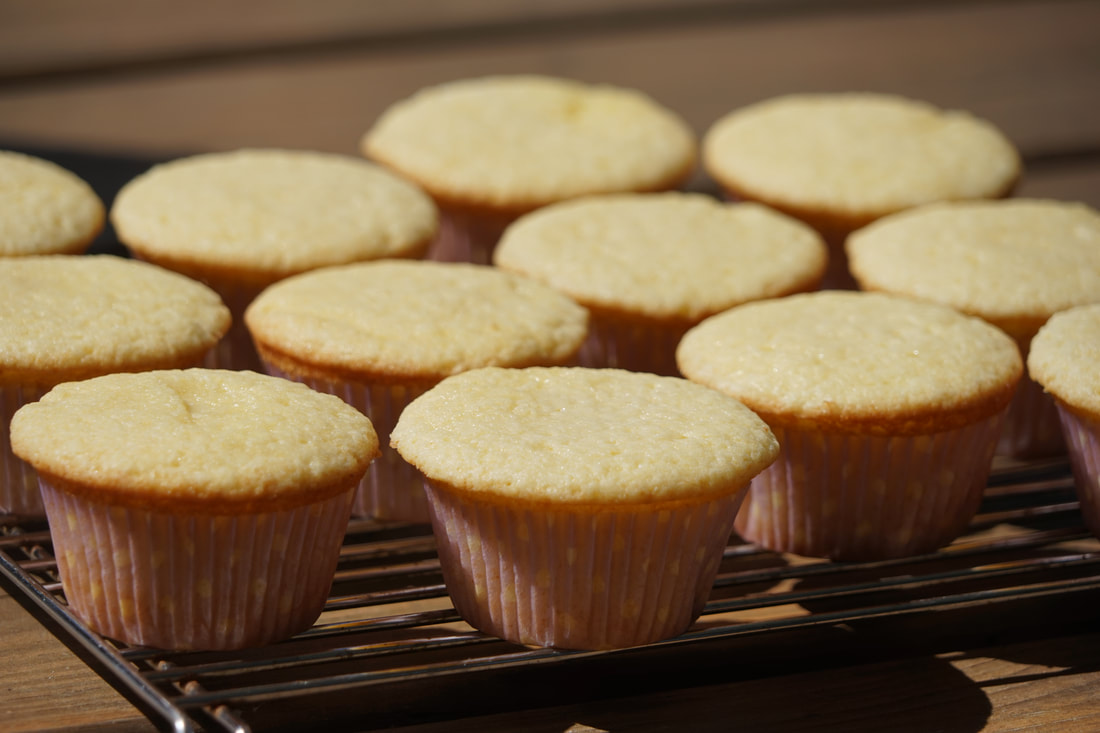
White(ish) Cupcakes
Cool on wire racks.
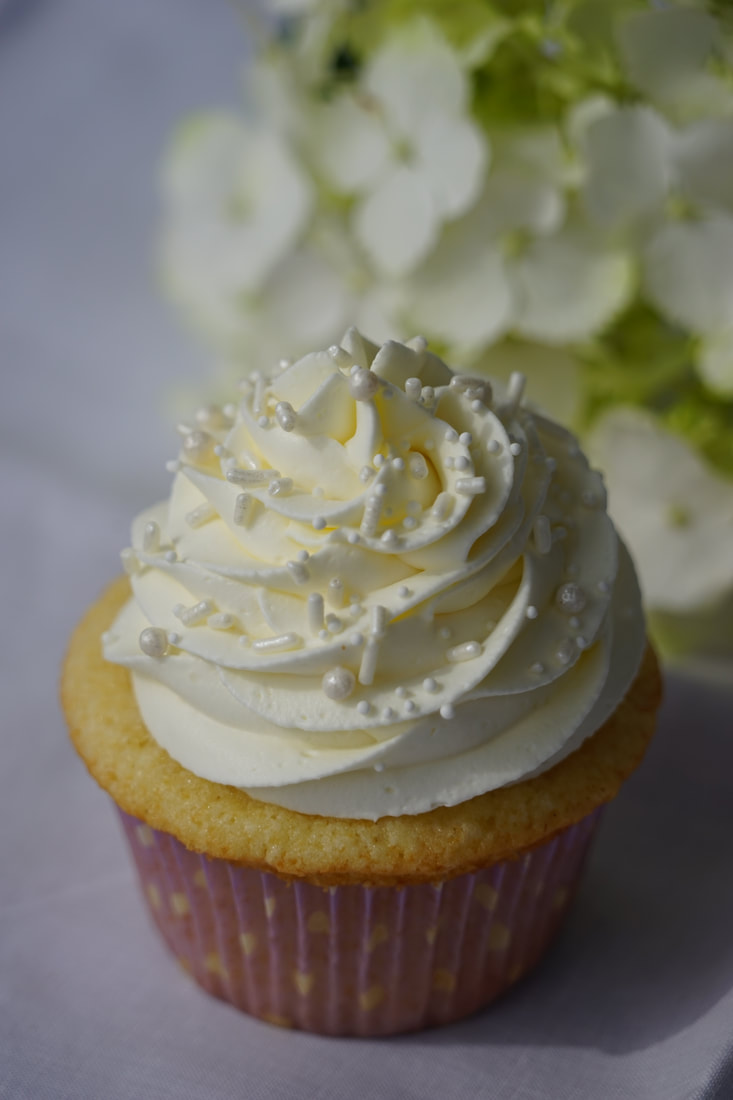
Frost as desired.

I generally stick with white frostings on white cupcakes but you could certainly switch things up and top these tasty treats with any sort of creamy frosting that you love. Experiment with a swirl of rich, dark chocolate buttercream or a raspberry buttercream. I chose a whipped cream cheese frosting for my cupcakes just because it's my favorite.
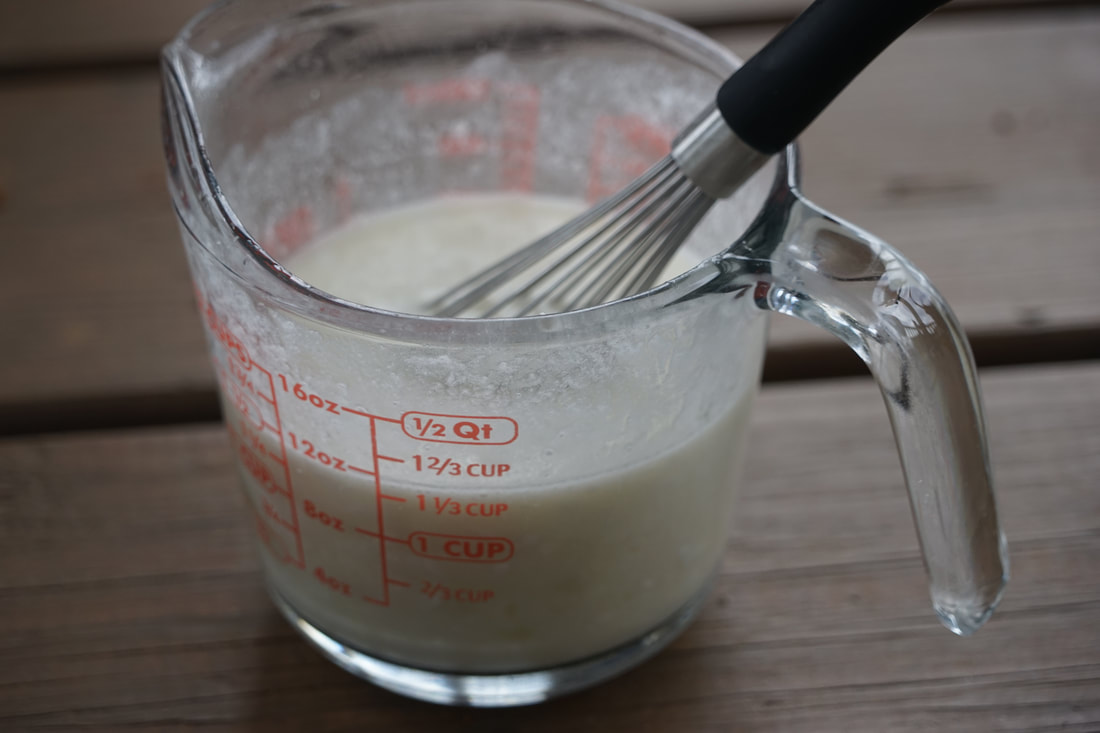
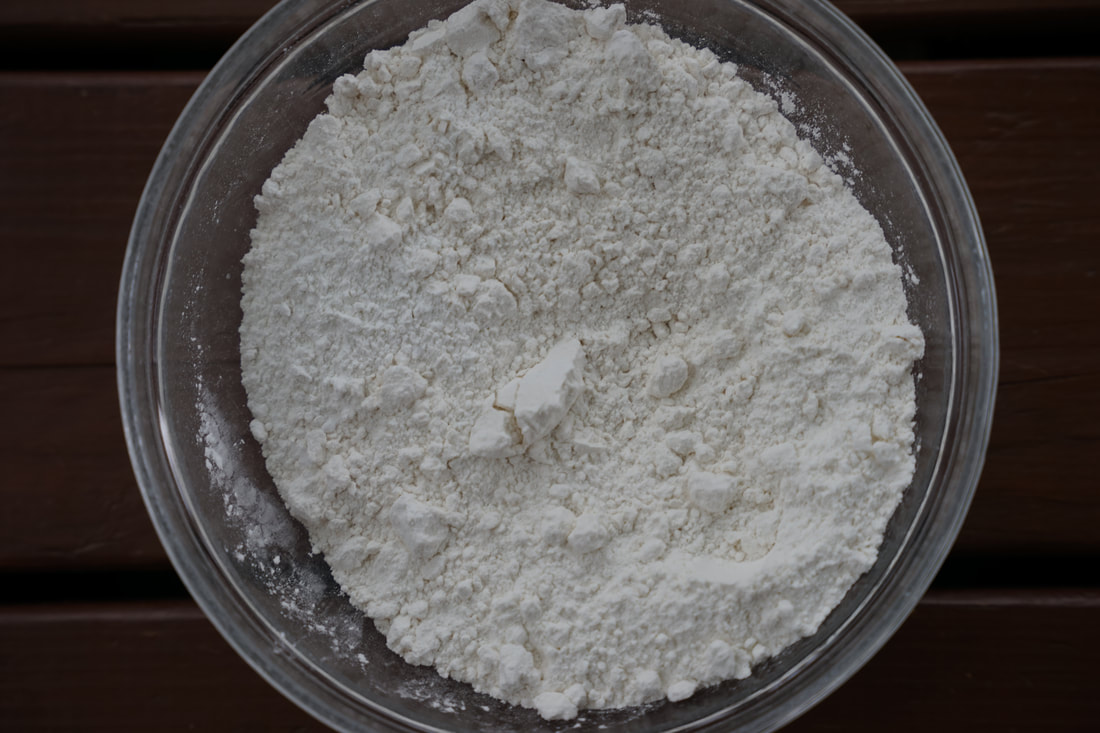
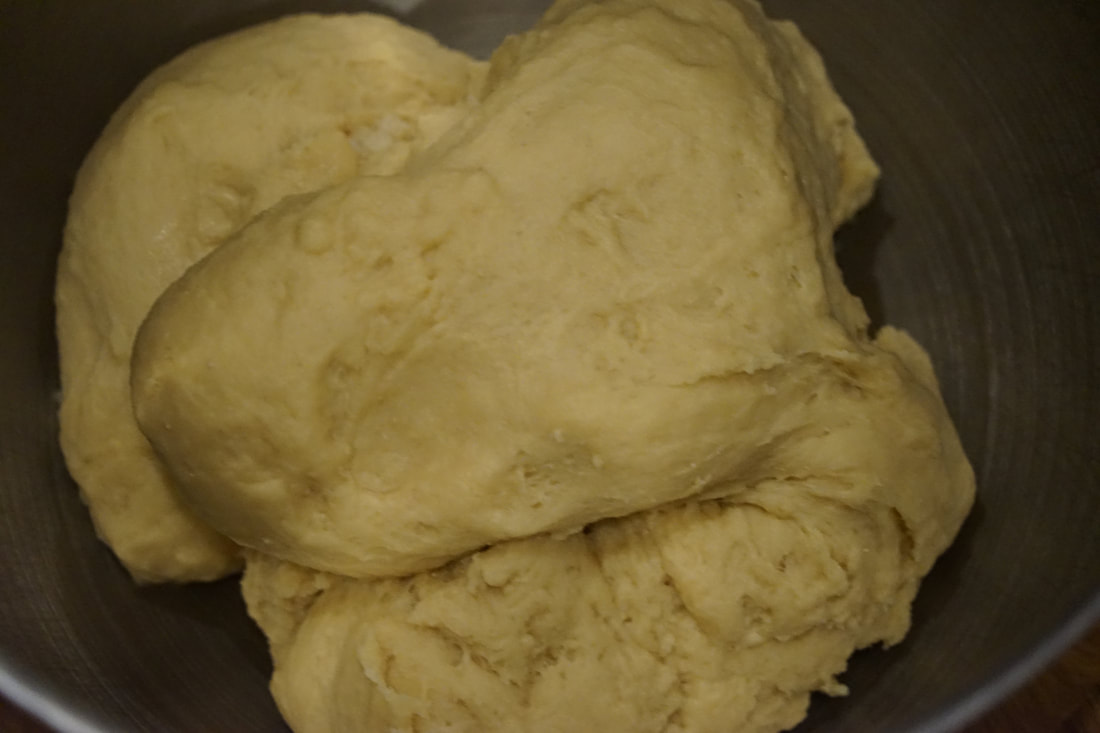
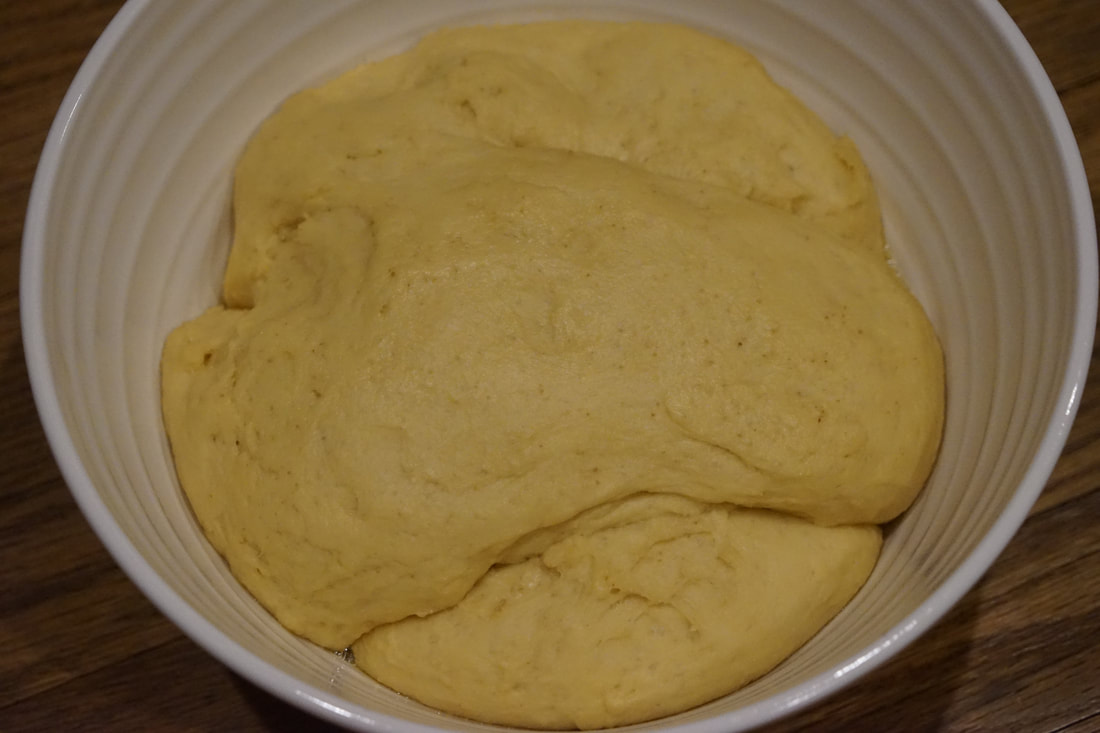
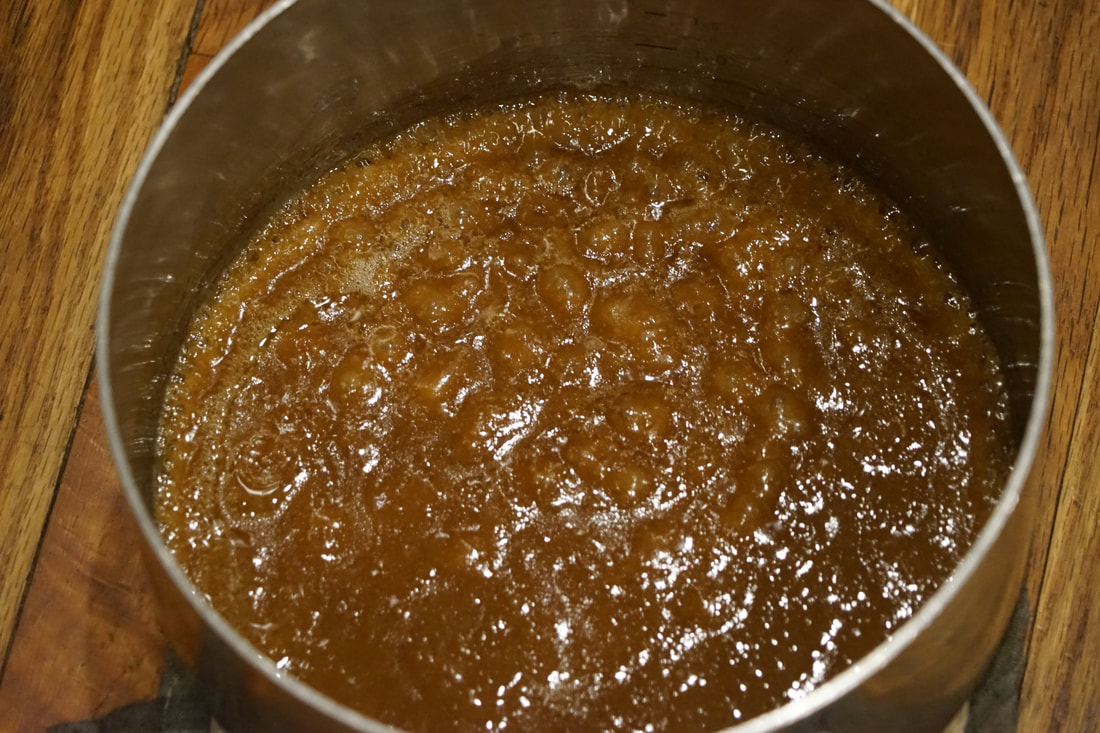
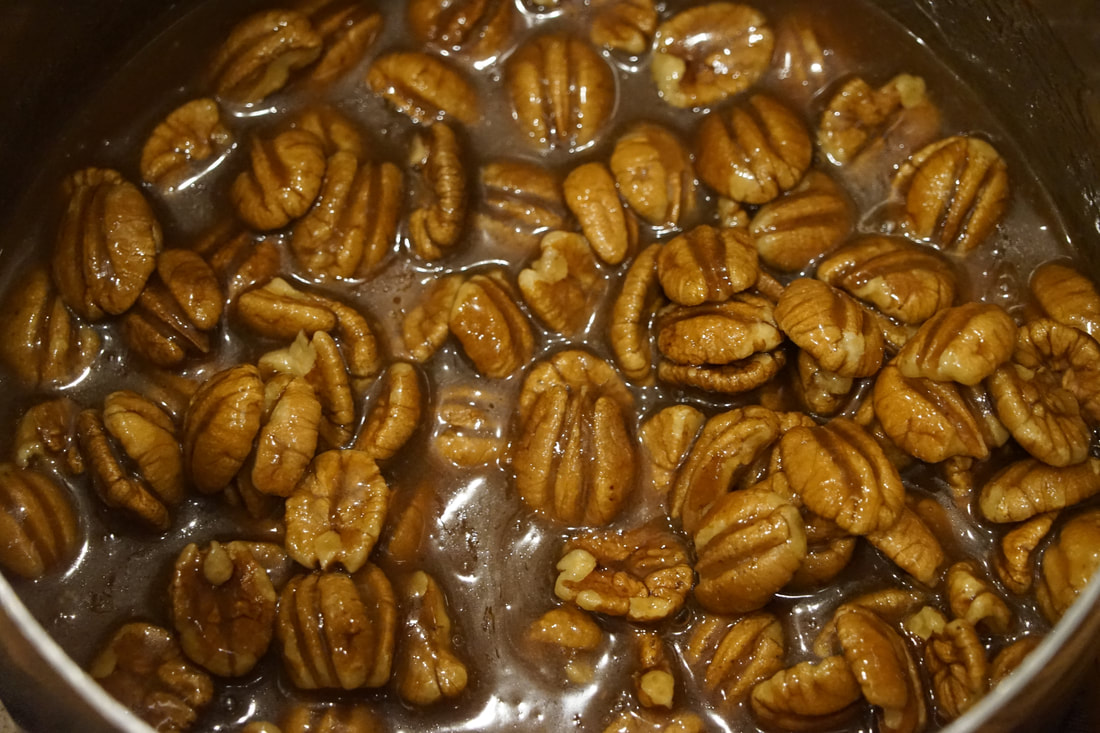
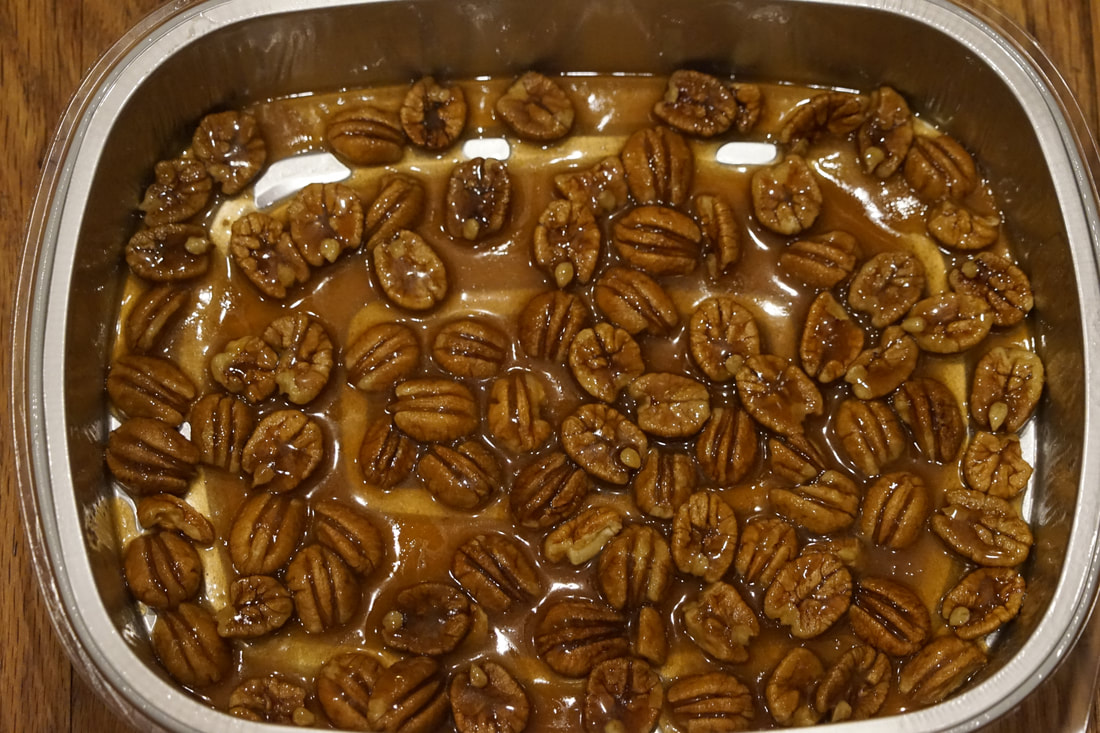
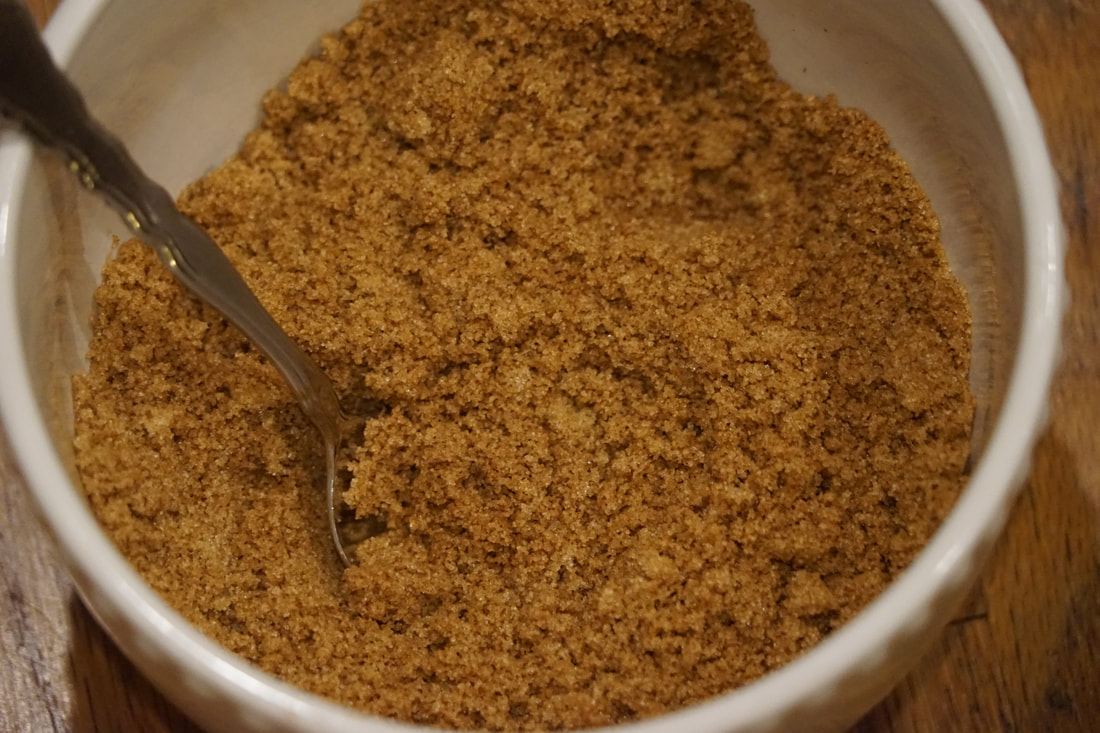
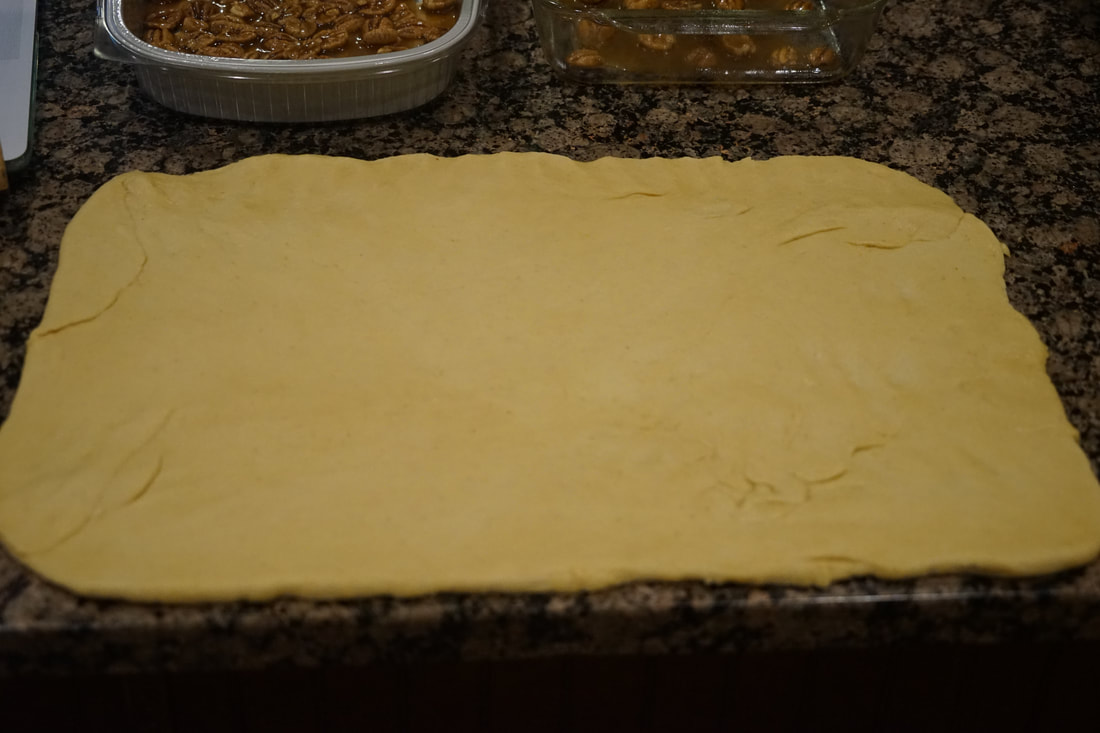
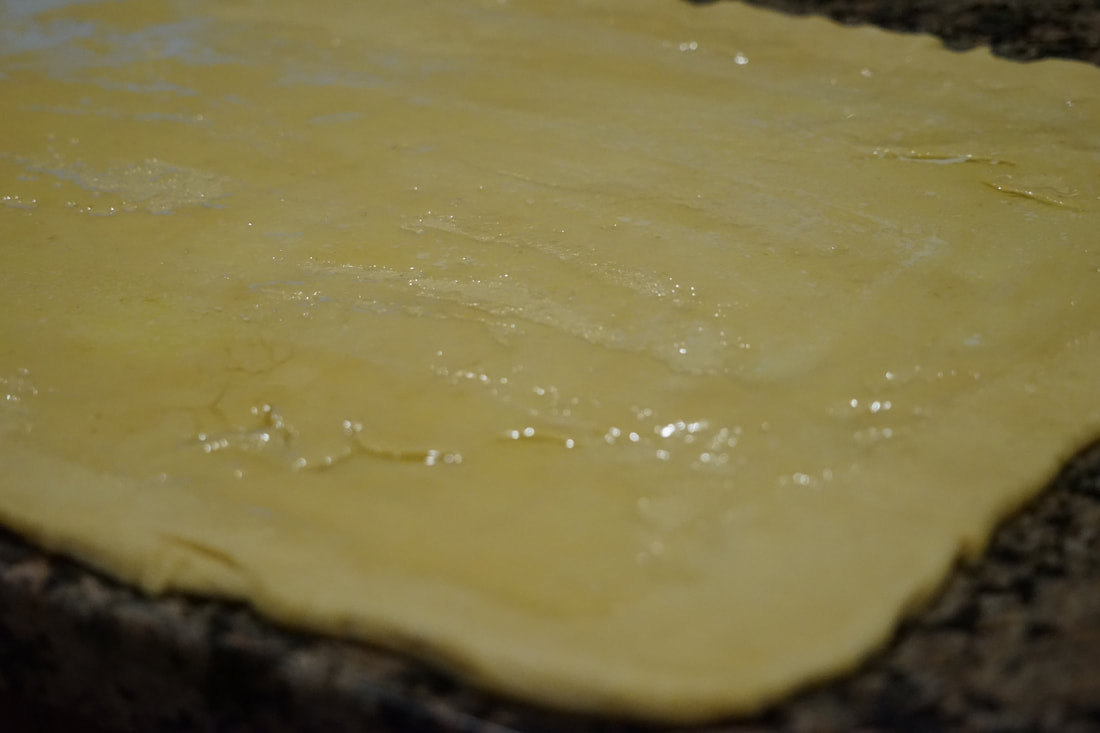
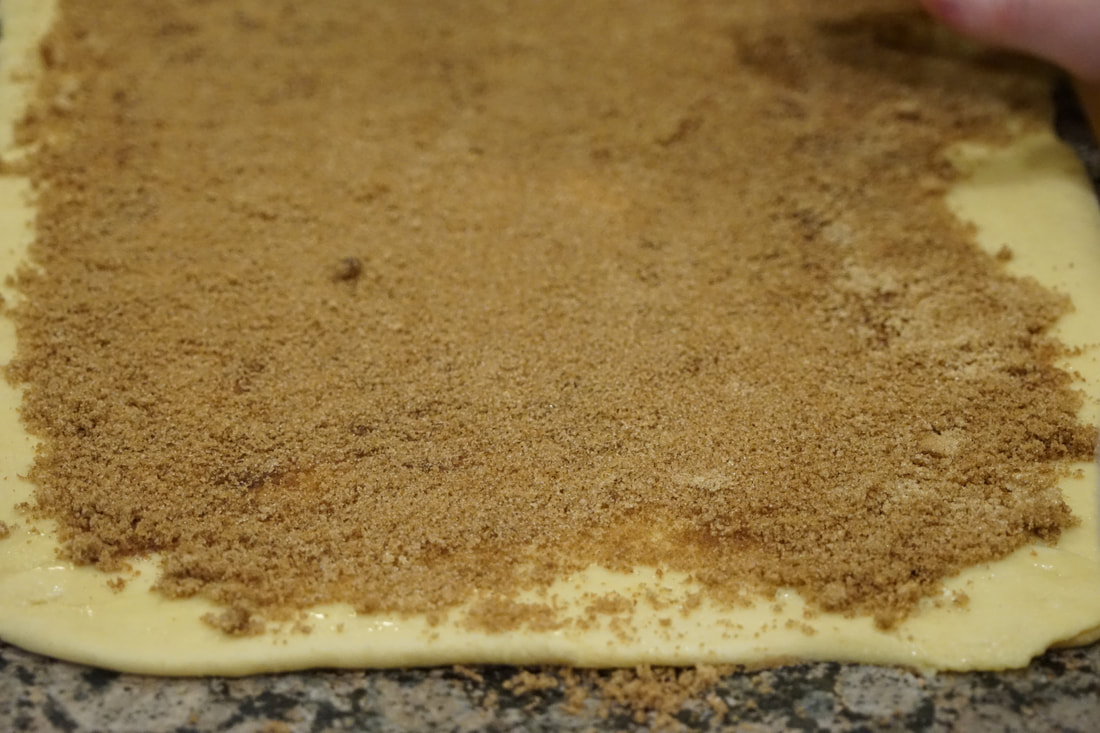
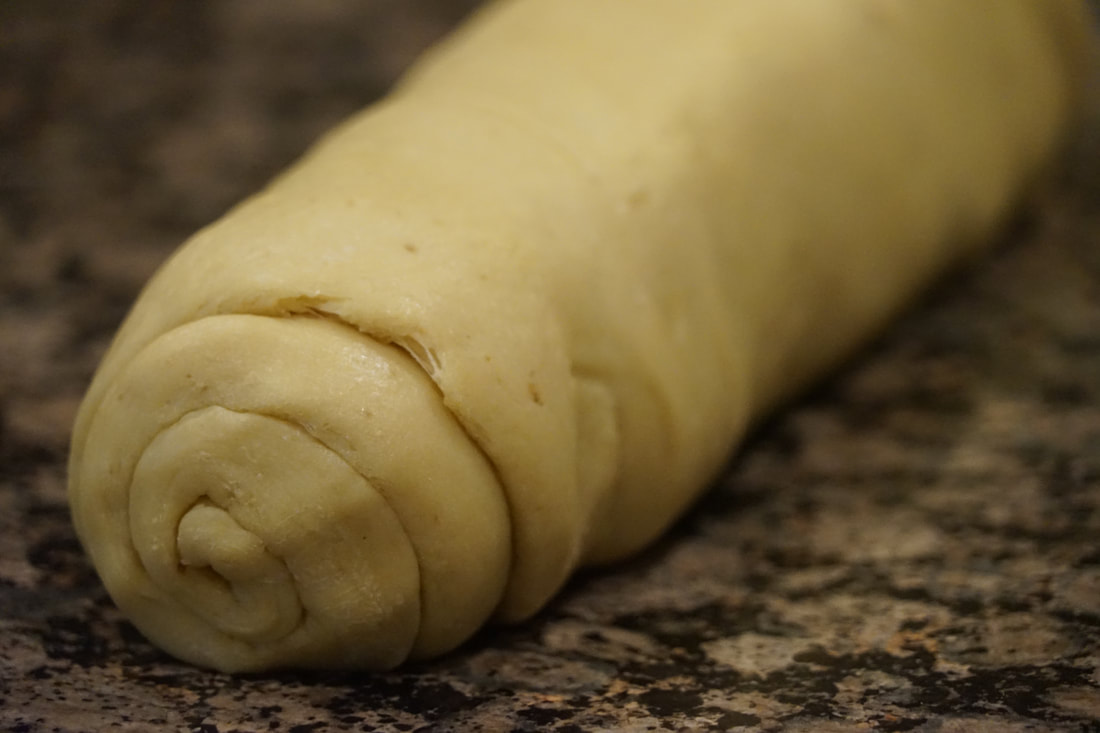
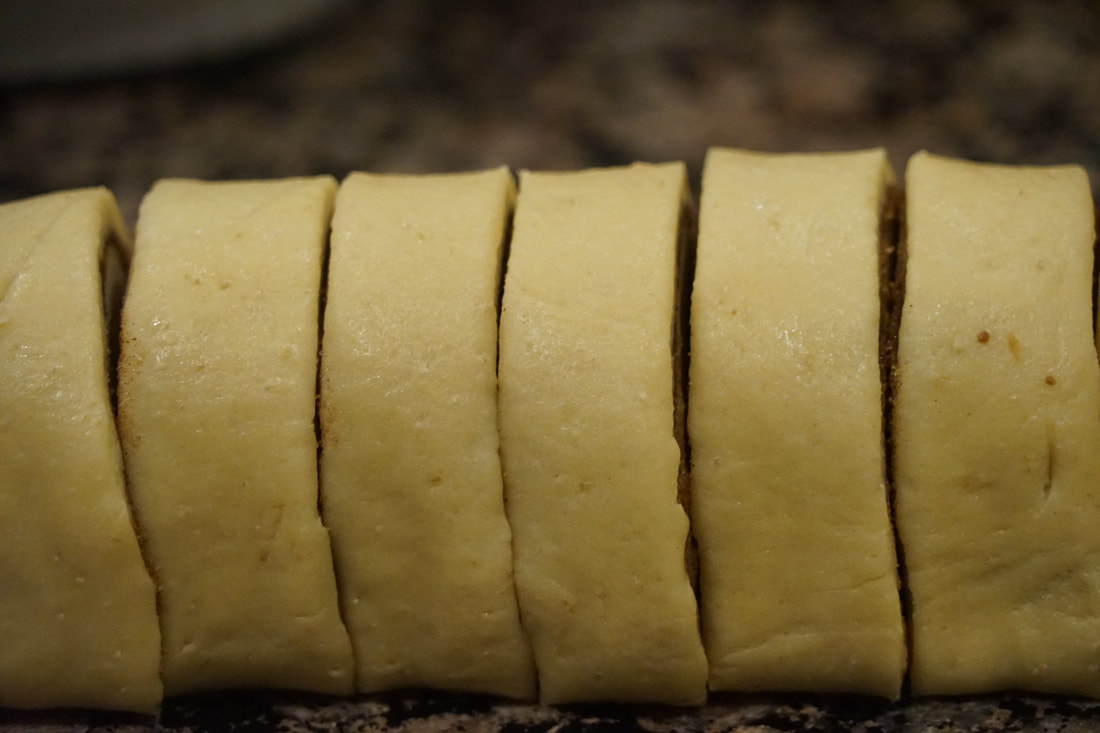
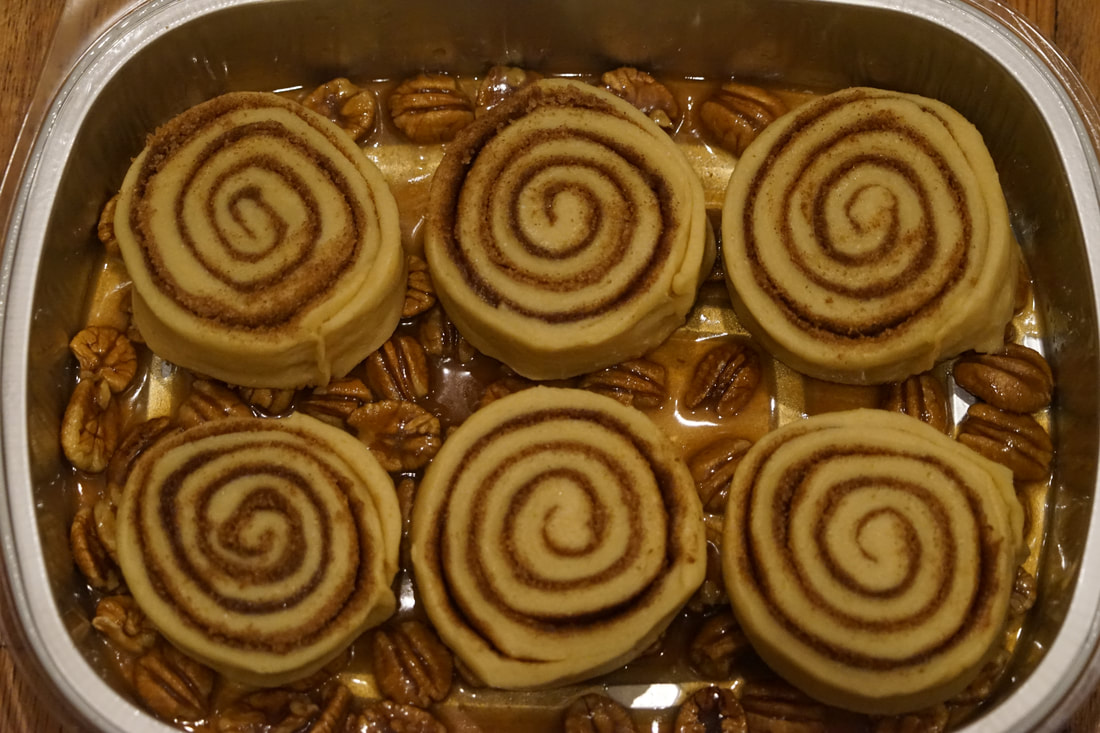
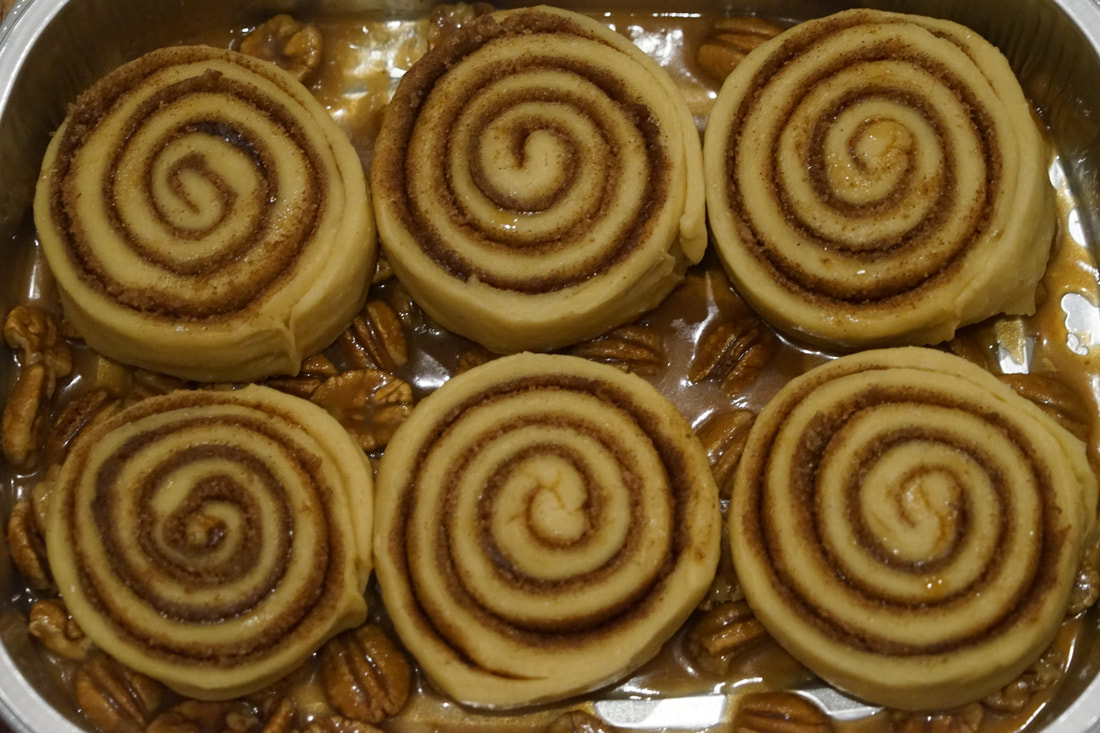
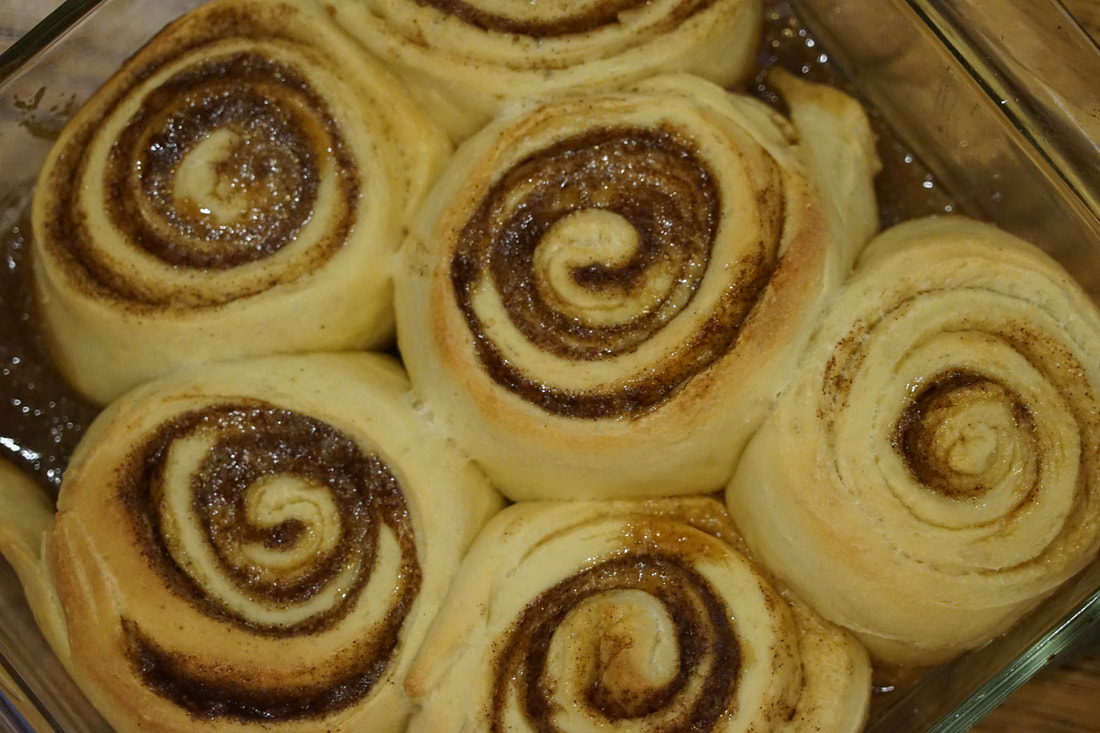
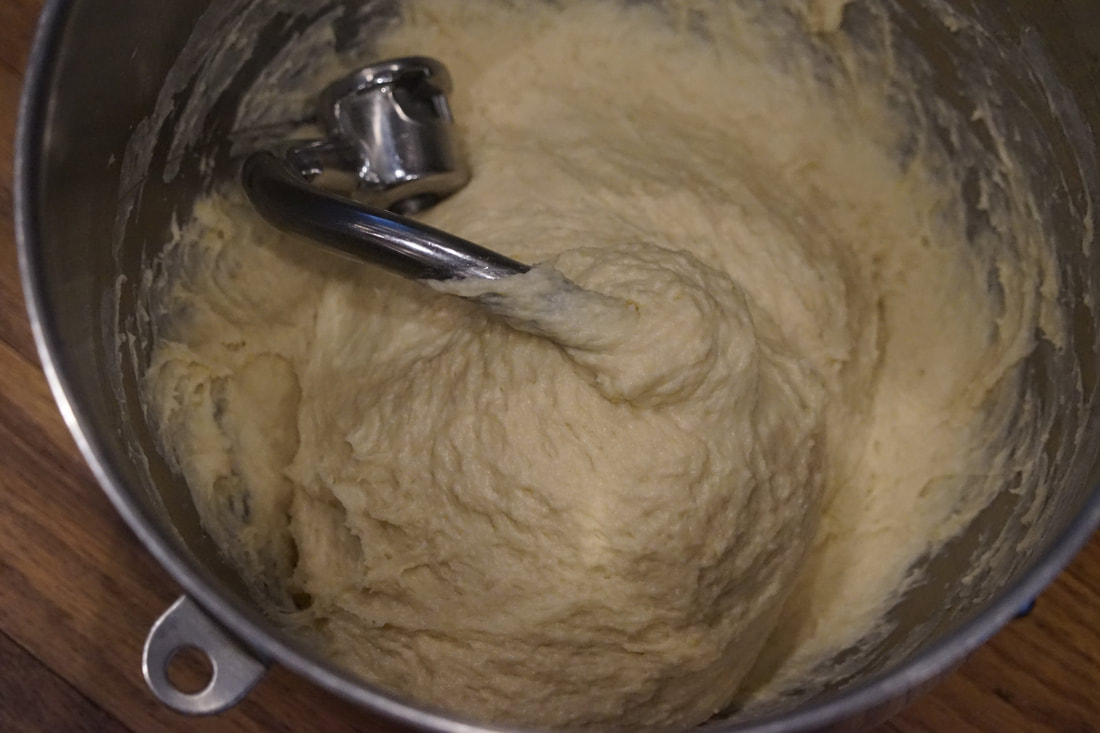
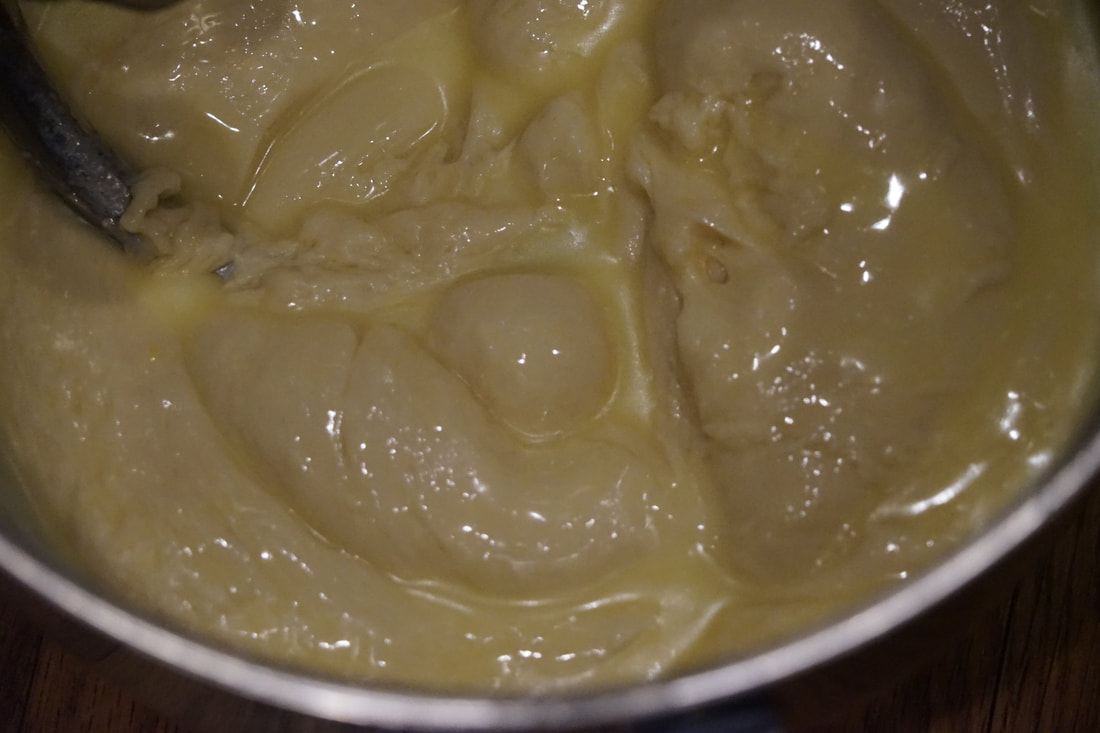
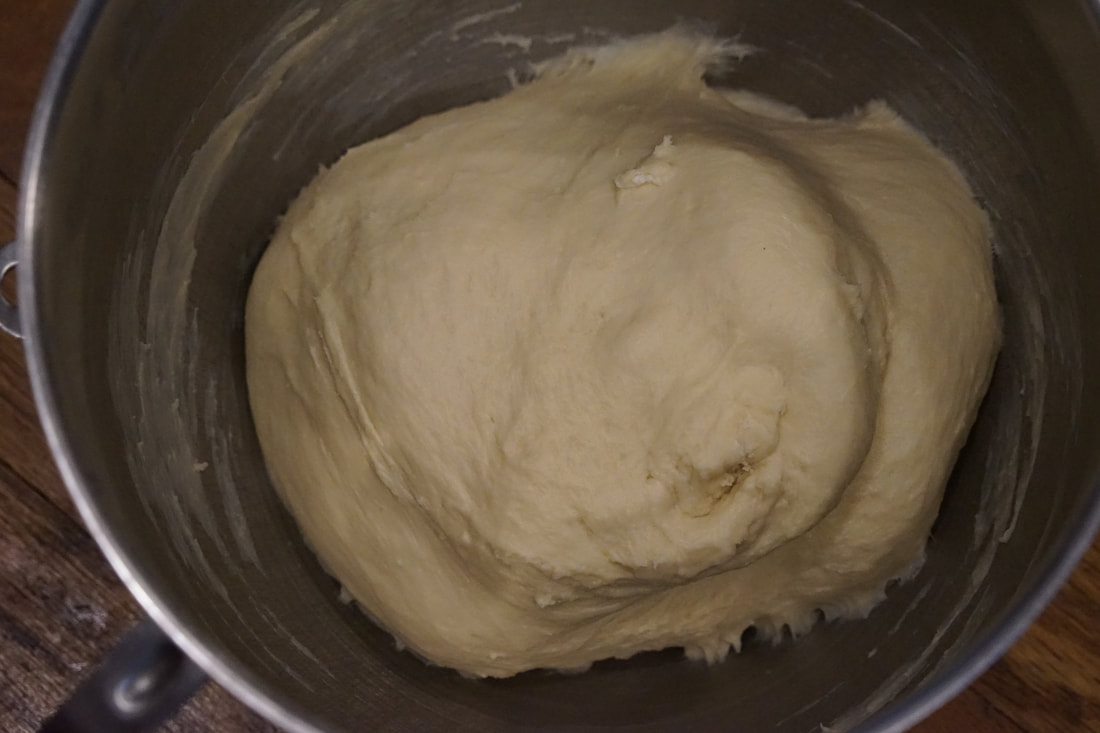
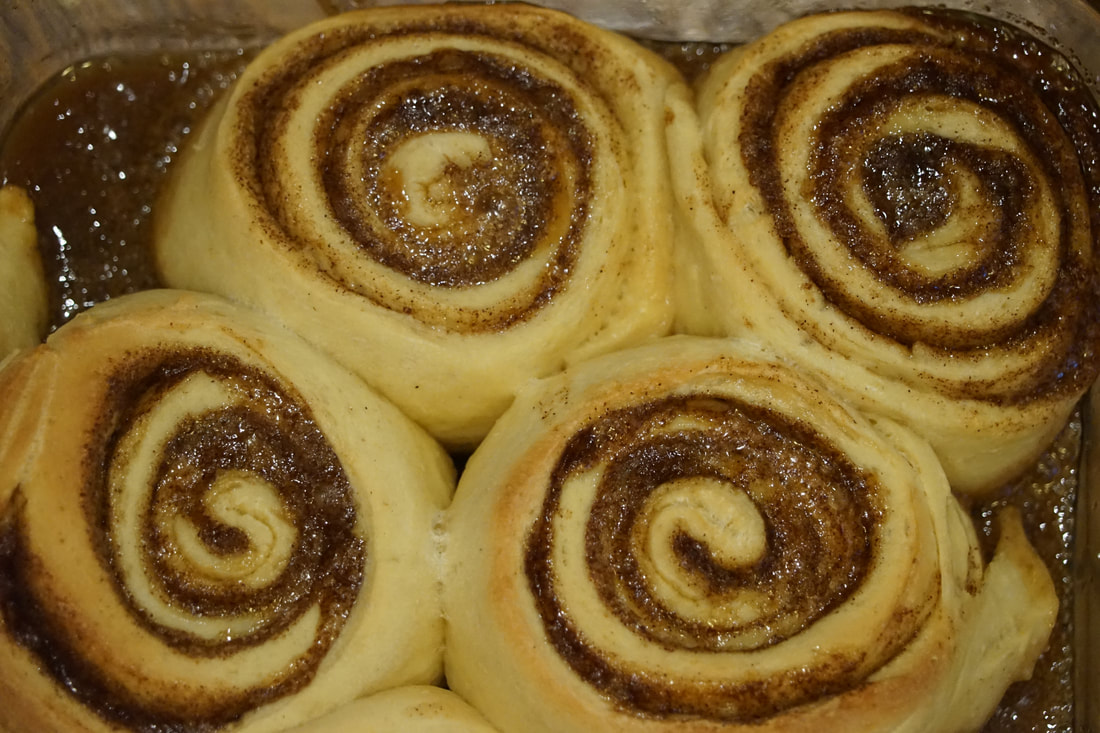
Ciao! 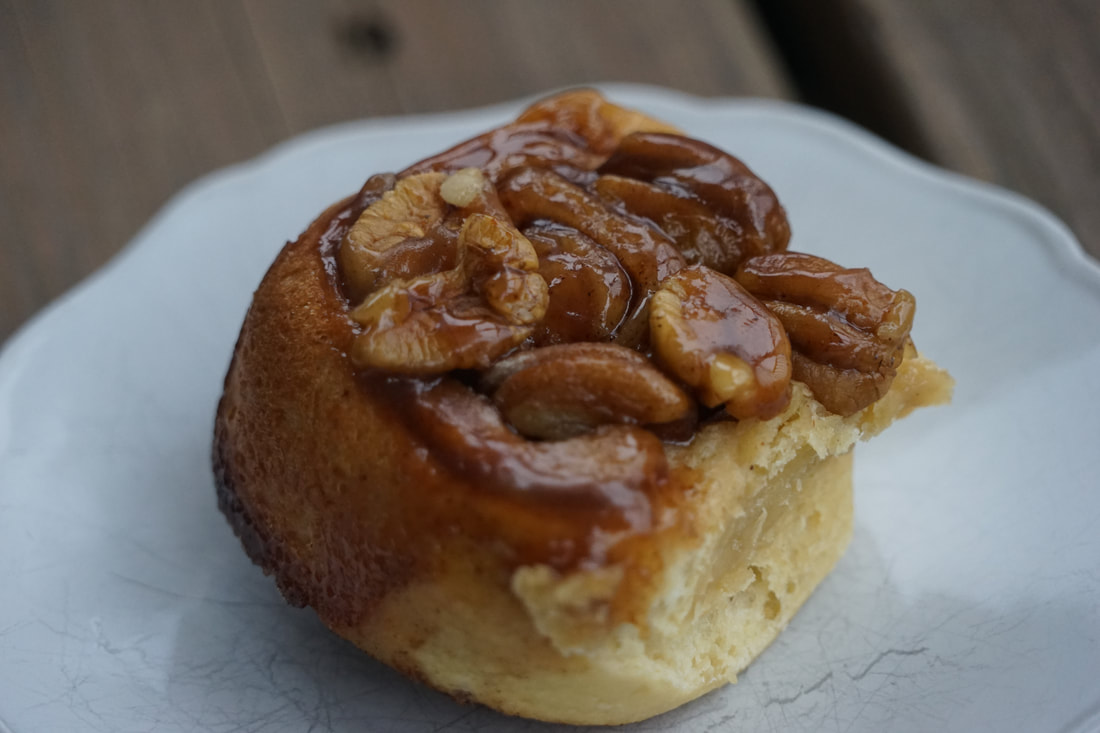 Can I really call myself a true Georgia gril if I don't indulge in gigantic, gooey pecan sticky buns from time to time? This is what living in the South is all about. Pillowy soft yeast rolls drenched in sweet caramel glaze and sprinkled with fresh Georgia pecans and a steaming cup of herbal tea is my idea of breakfast perfection. I guess if I was a true "Southern" girl I would wash my pecan sticky buns down with a glass of sweet tea instead but I'm just not quite there - give it another 13 years. 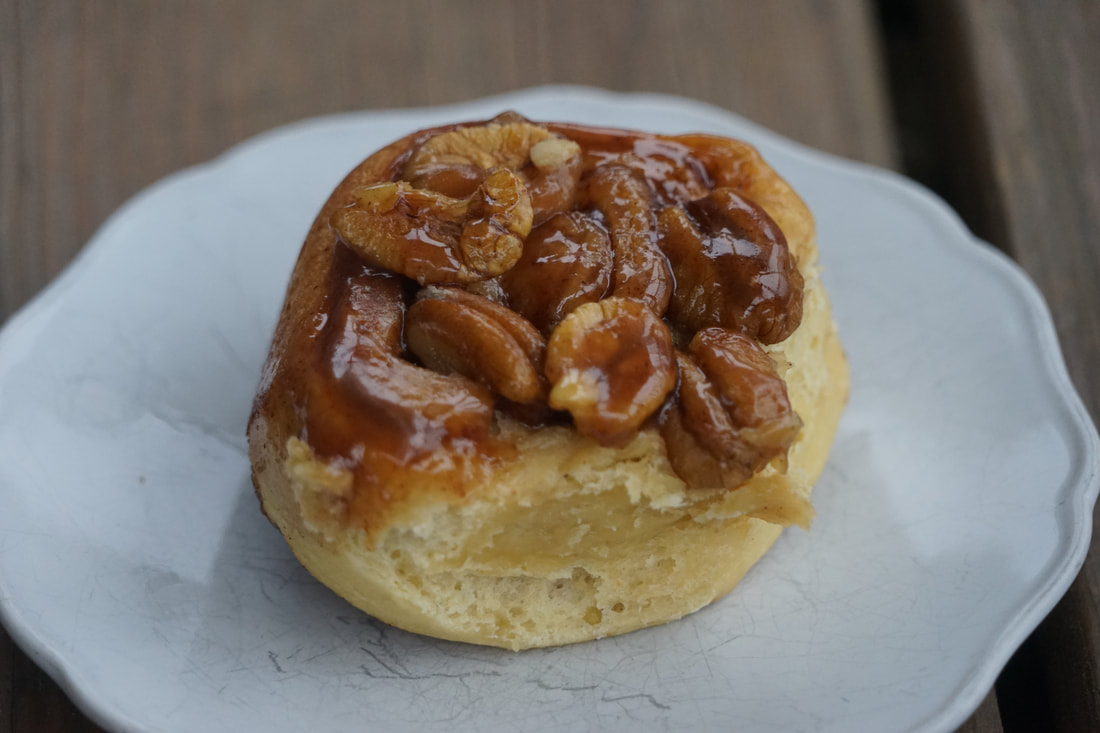 If you're looking at these rolls and thinking that they look way too complicated for you to make at home - think again. These rolls are surprisingly easy to put together AND you can make them a day in advance, store them in the refrigerator overnight and pop them in the oven in the morning. No more painstaking wait times for breakfast while I wait on the dough to rise. 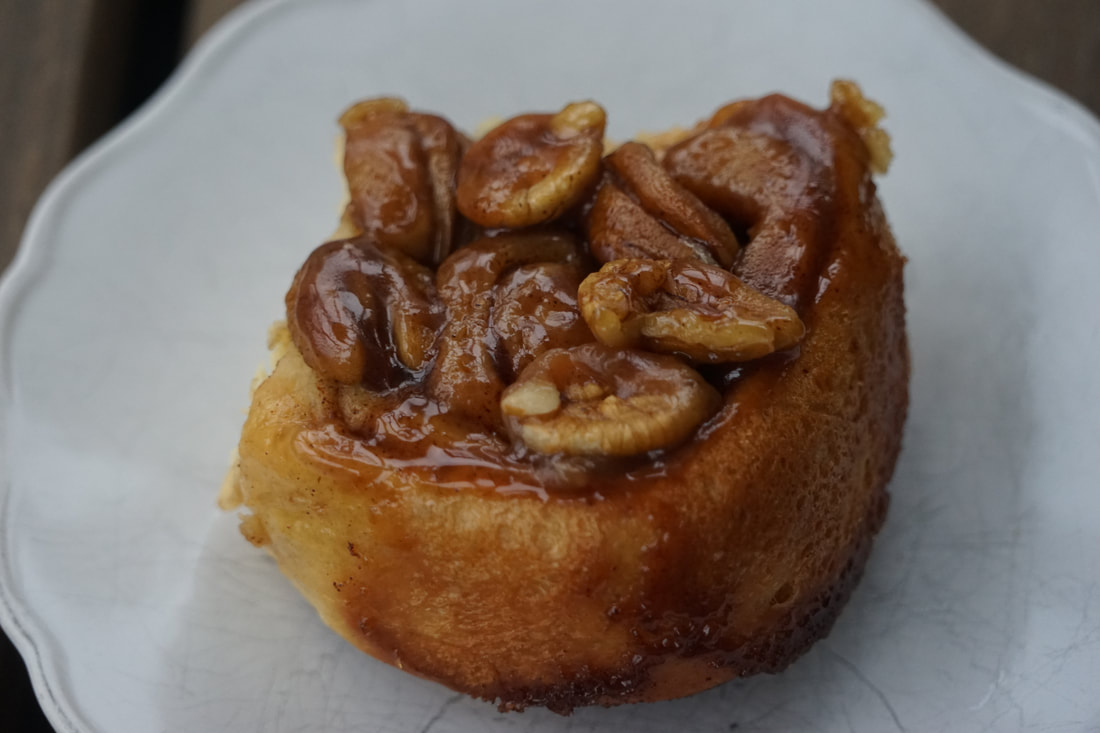 Pecan Sticky Buns For the Dough 3 large eggs ⅓ cup packed light brown sugar ¾ cup buttermilk 1 teaspoon salt 2 teaspoons instant yeast 6 tablespoons butter melted 4 cups flour For the Pecan-Caramel Sauce 4 tablespoons unsalted butter ⅔ cup packed light brown sugar 3 tablespoons buttermilk 1 cup of toasted pecans coarsely chopped Pinch of kosher salt For the Filling 1 cup packed light brown sugar 1-2 tablespoon ground cinnamon 2-3 tablespoons unsalted butter melted
Allow to cool 5 minutes.
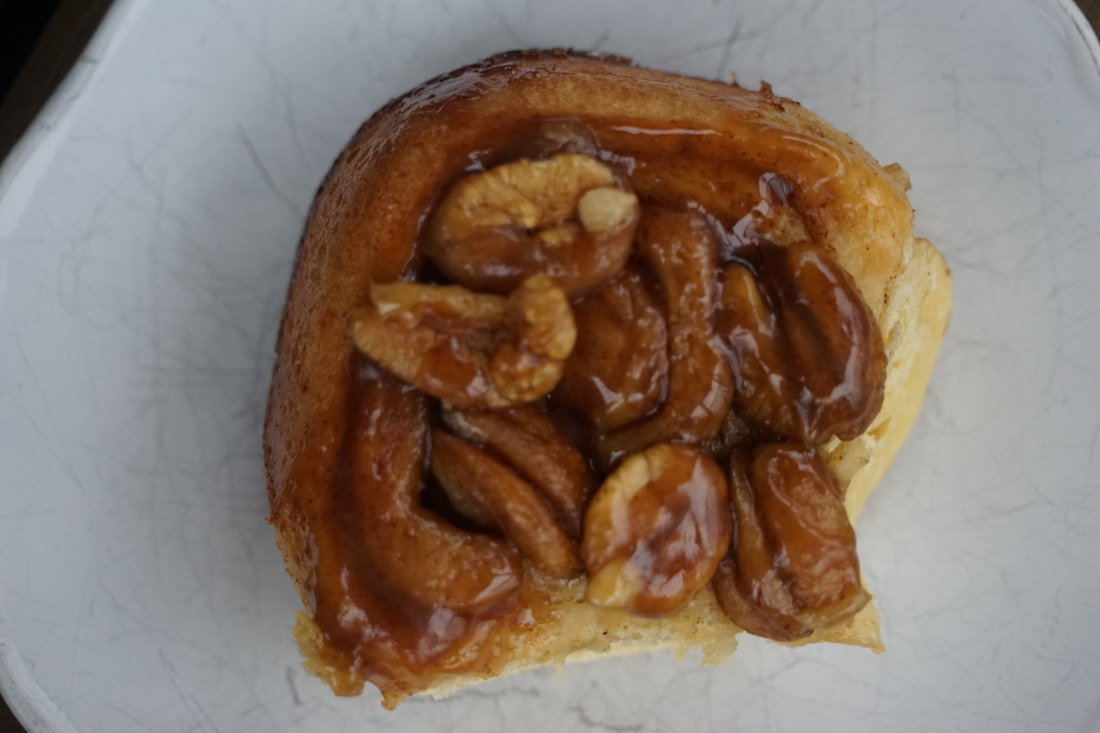
 Invert onto a platter. Scoop any sauce left in pan onto buns. 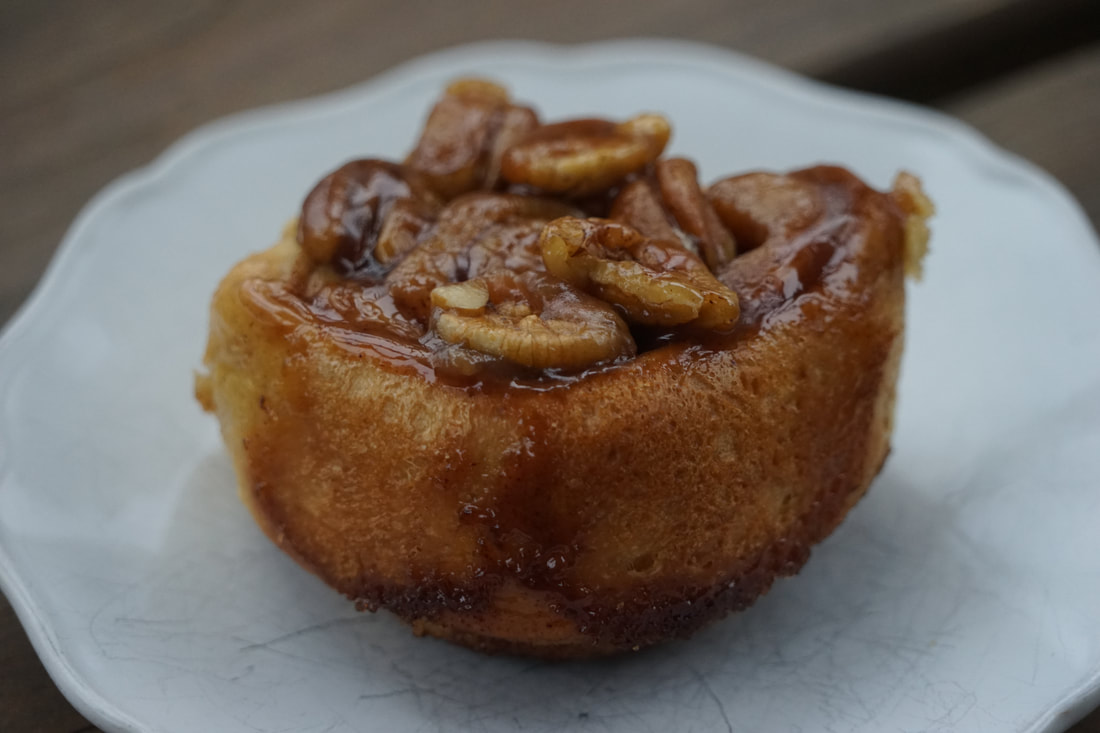
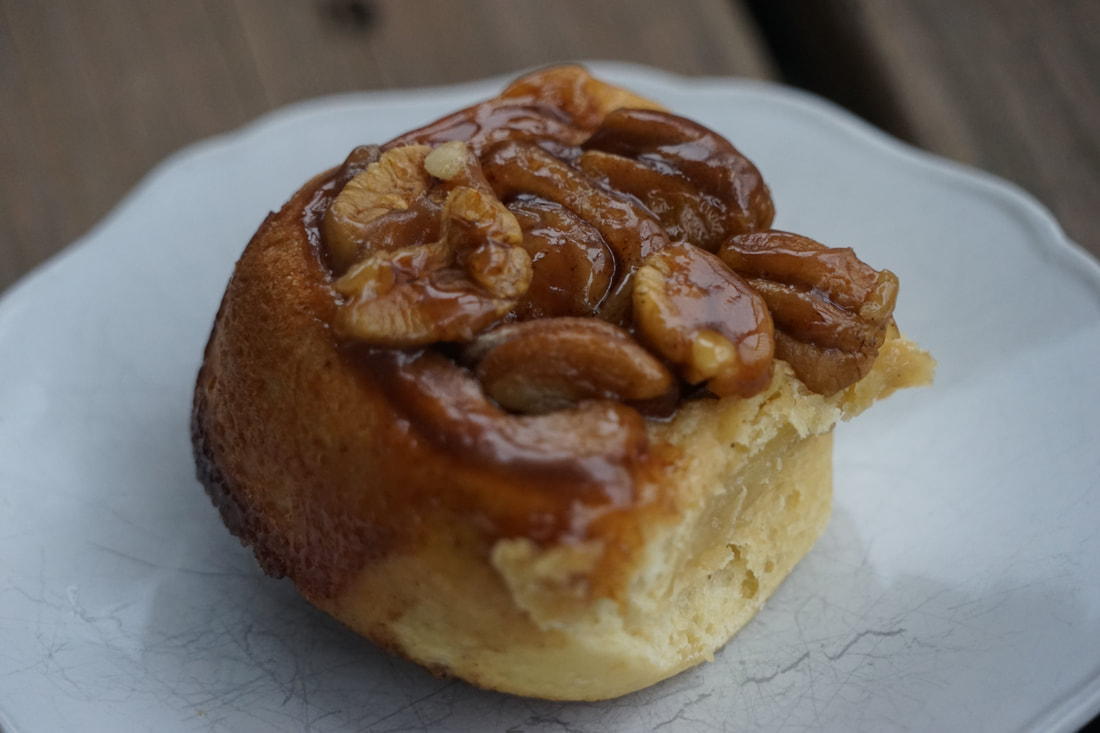 I've also discovered that I can put pans of Pecan Sticky Buns in the freezer. I can pull a pan out of the freezer and put it in the refrigerator overnight to defrost before baking the rolls in the morning. I think I just figured out what I will be serving to my family before we head to church on Easter morning.
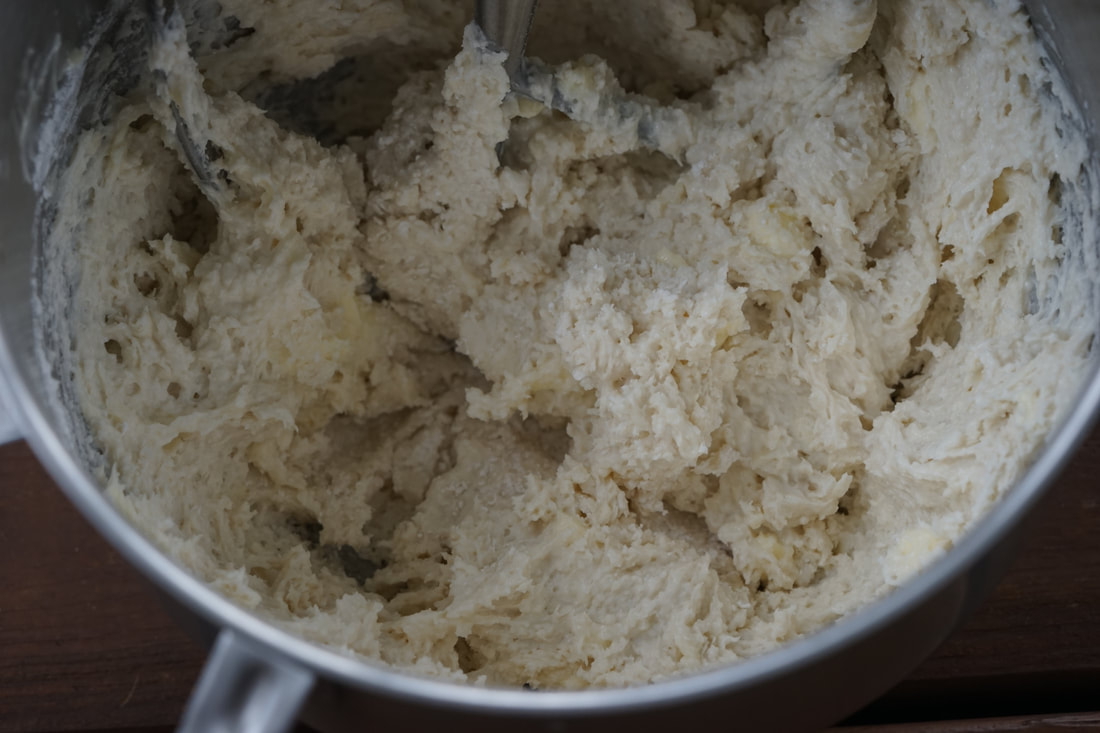
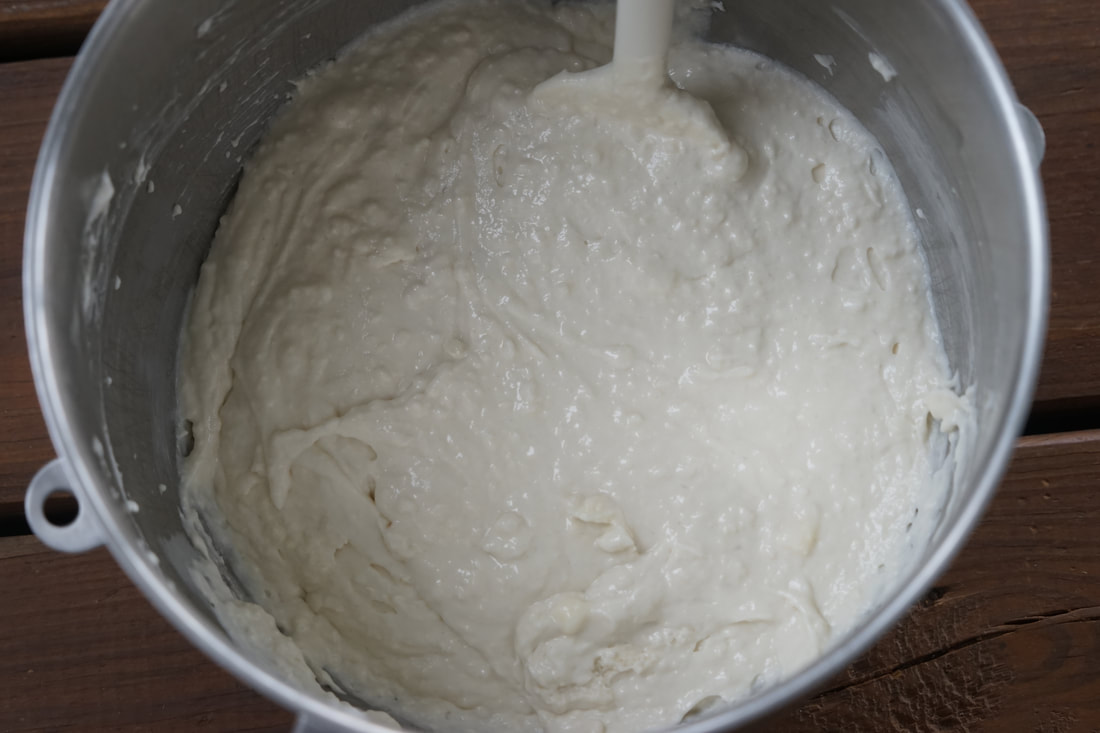
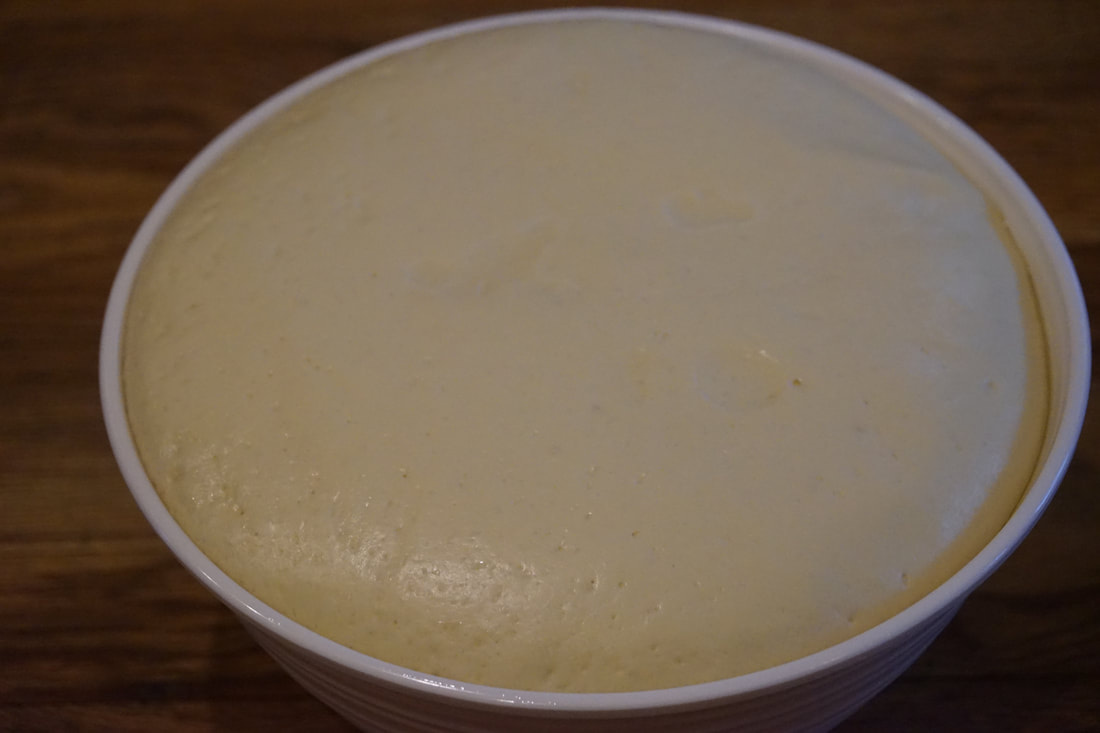
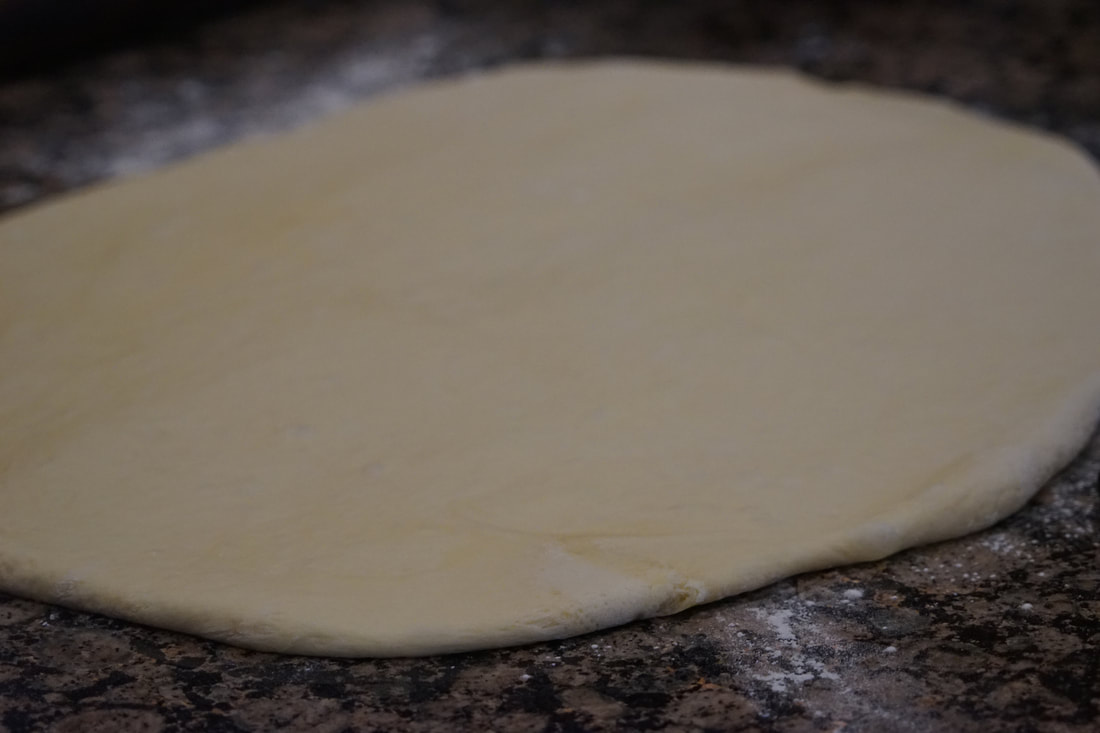
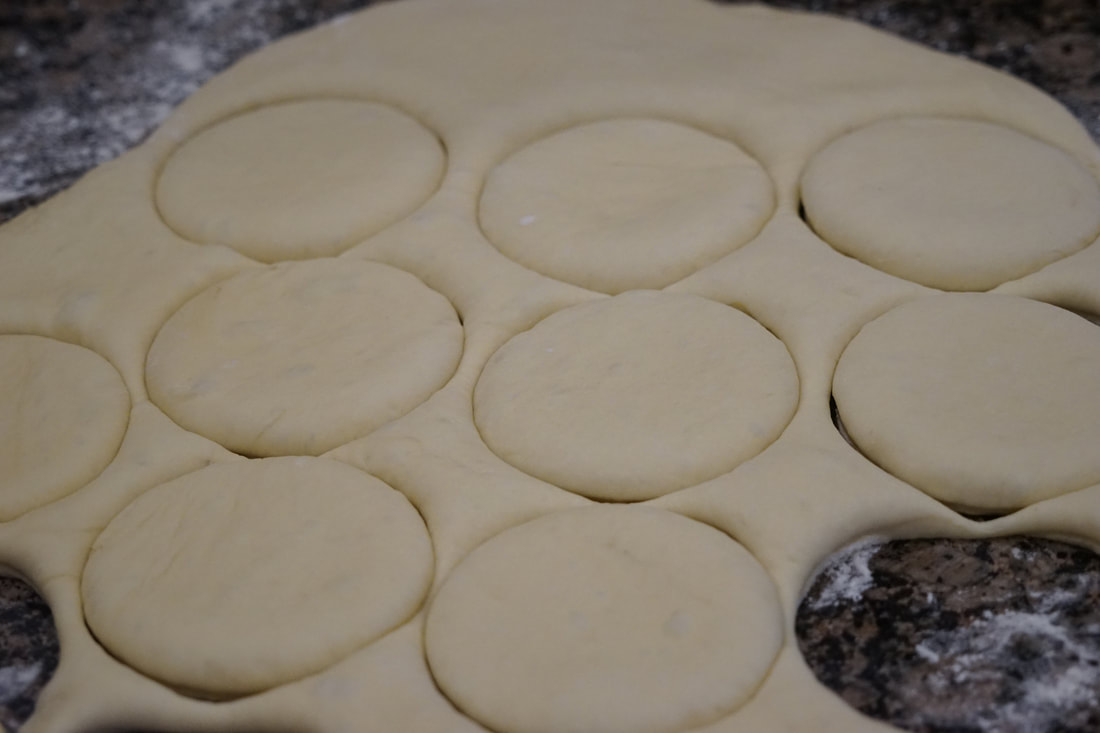
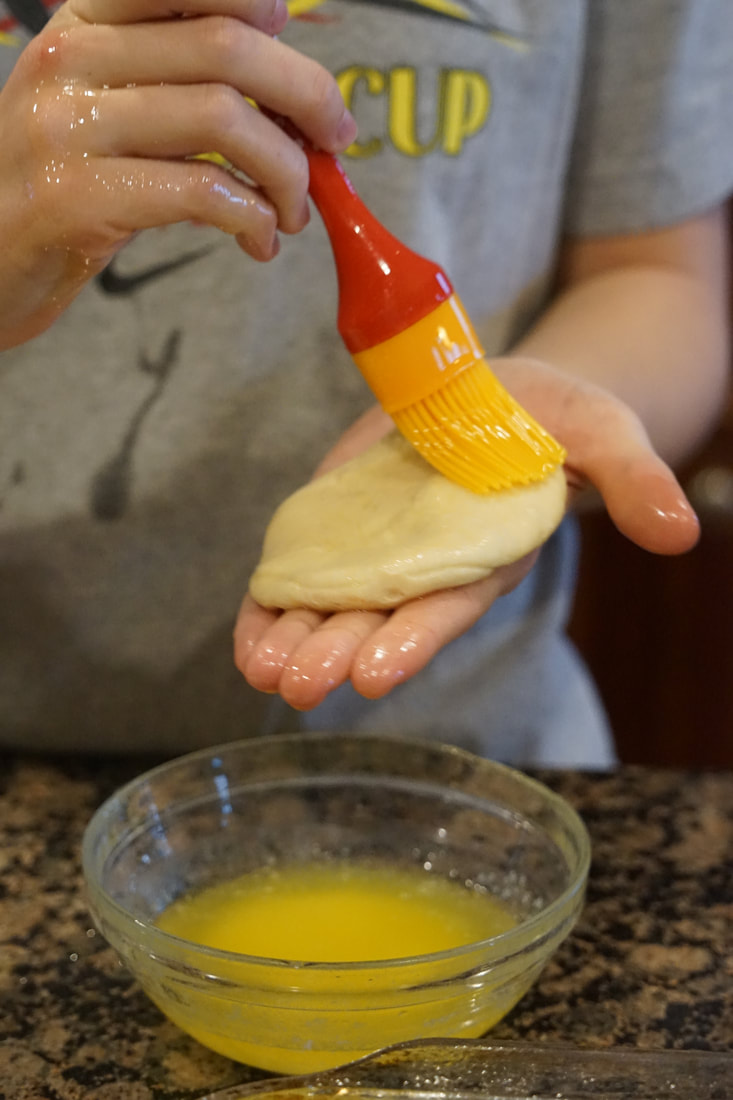
Ciao! 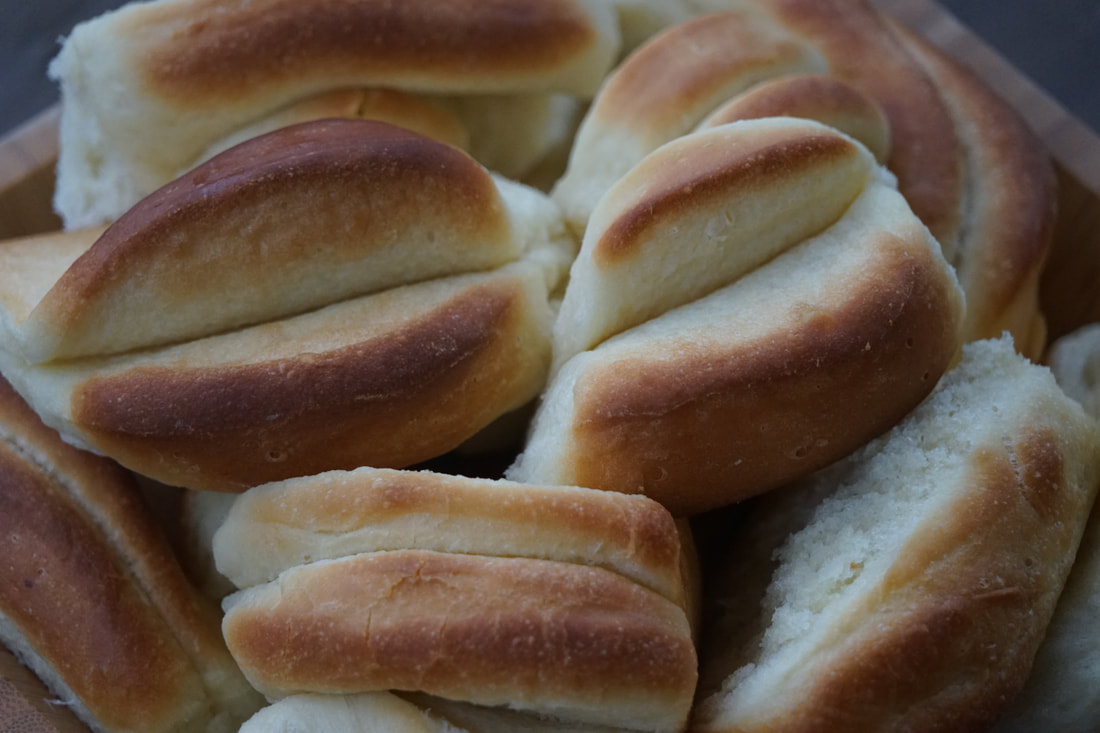 I know I've blogged a lot of roll recipes when I run out of names for my new rolls. If I called them all "dinner rolls" I would have a really hard time telling them apart. Each of the roll recipes on my blog are slightly different and I actually use different recipes for different occasions. This particular recipe I named "Buttery Dinner Rolls" because it has 2 (yes, I said TWO) sticks of butter in this recipe! How could these rolls possibly be any better? This is a perfect roll recipe for those family holiday dinners when calories and carbs just don't count. 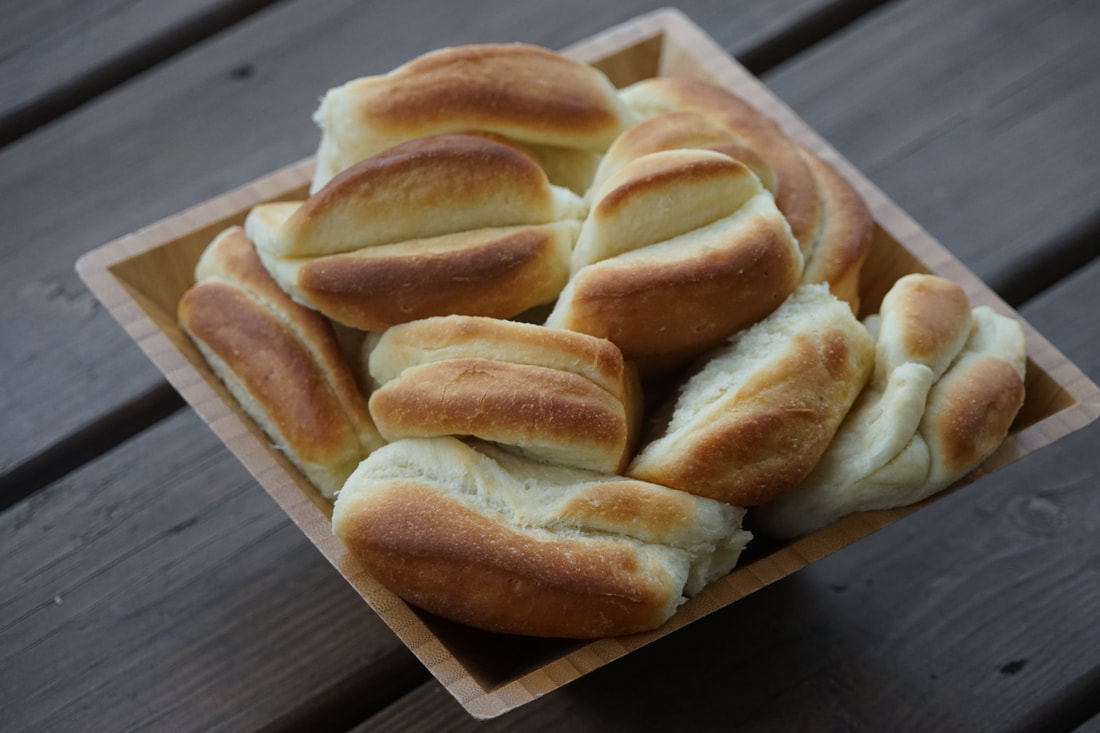 Buttery Dinner Rolls 4 1/2 teaspoons yeast 1/2 cup sugar 2 cups warm water 1 egg 2 teaspoons kosher salt 6 cups flour 1 cup butter, room temperature
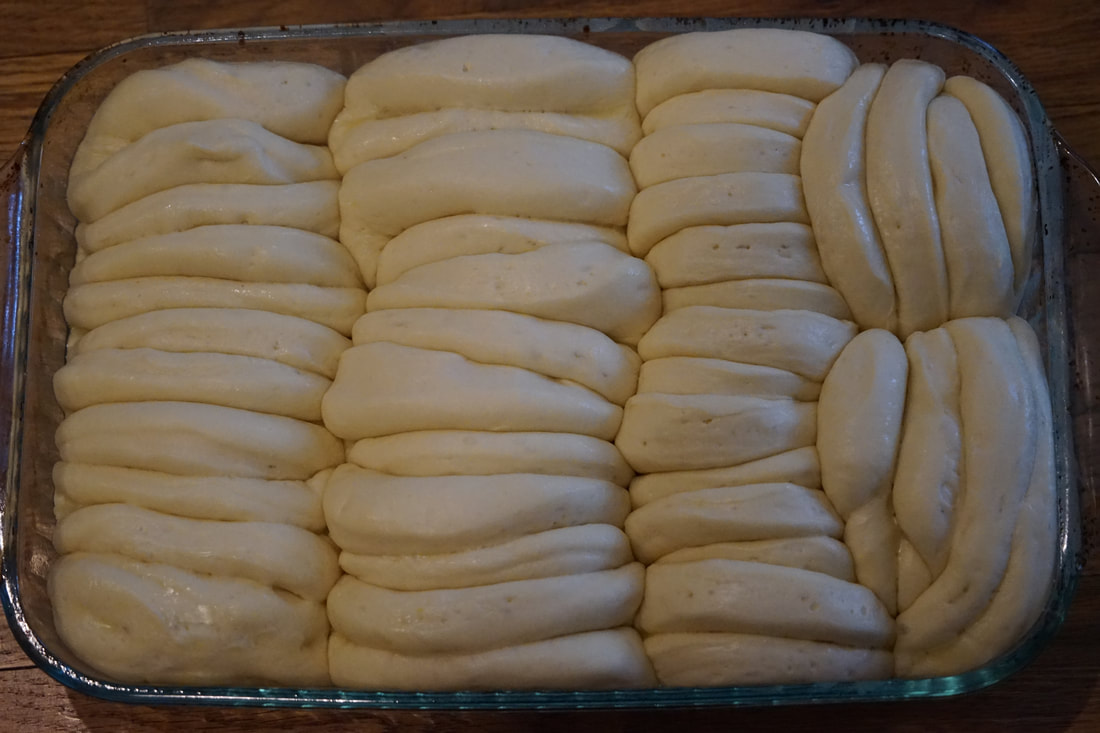
Remove plastic wrap and bake rolls 20-25 minutes at 400. 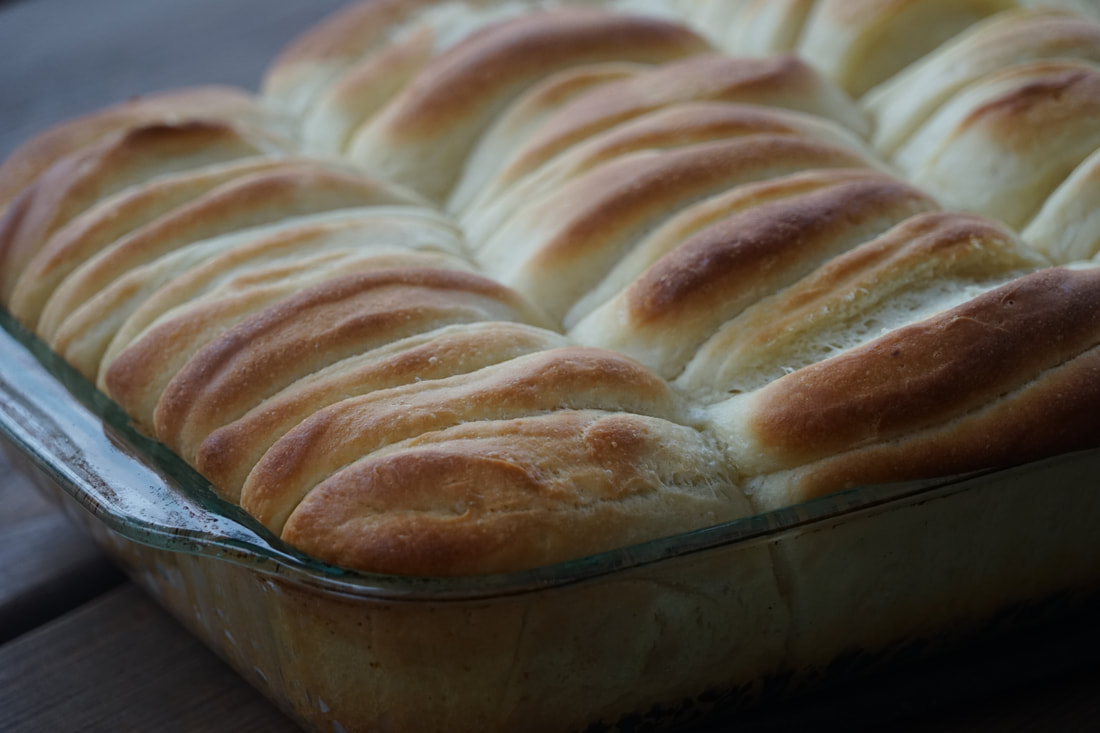 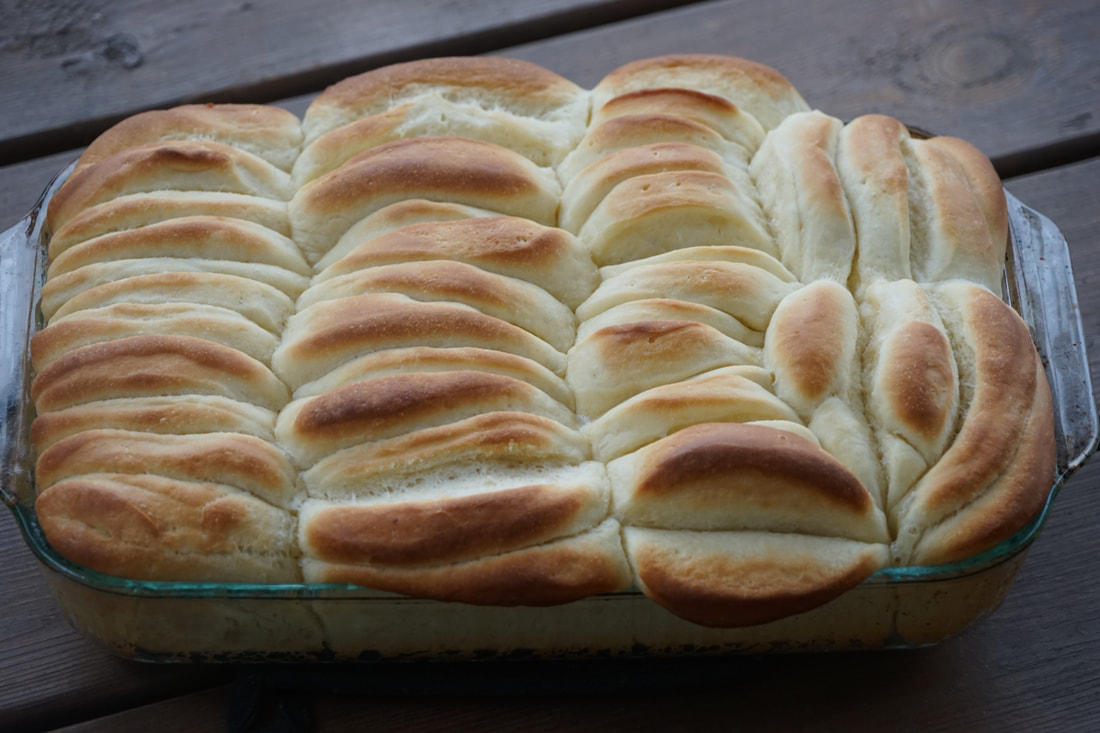 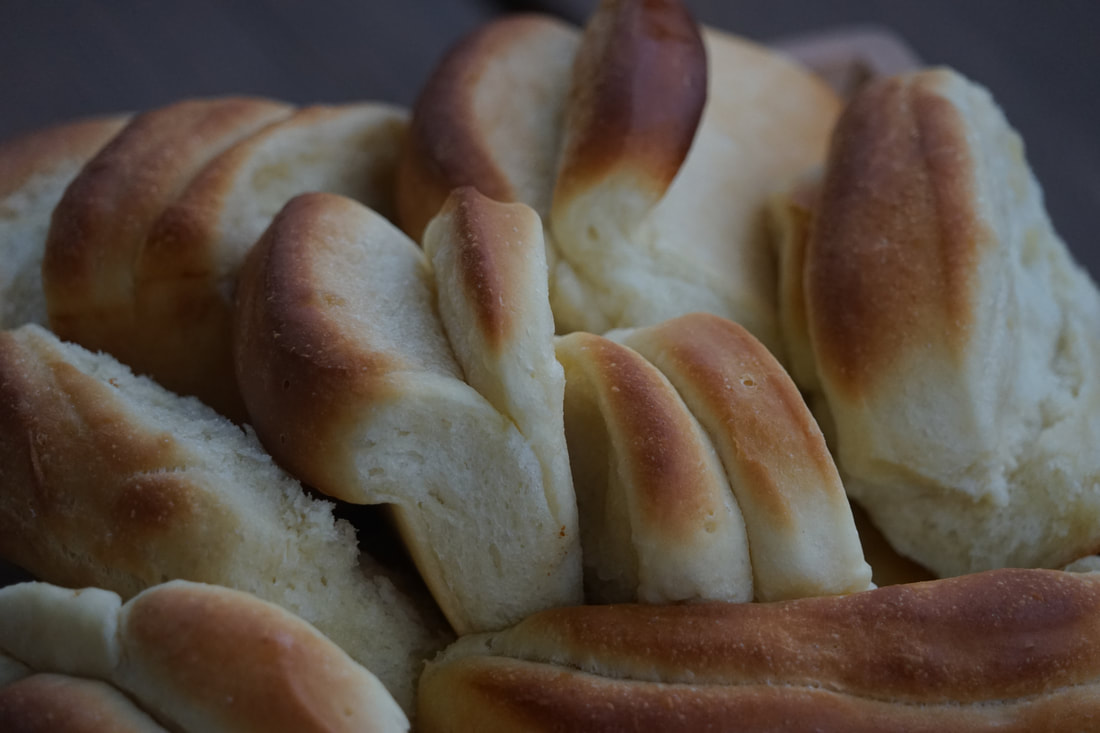 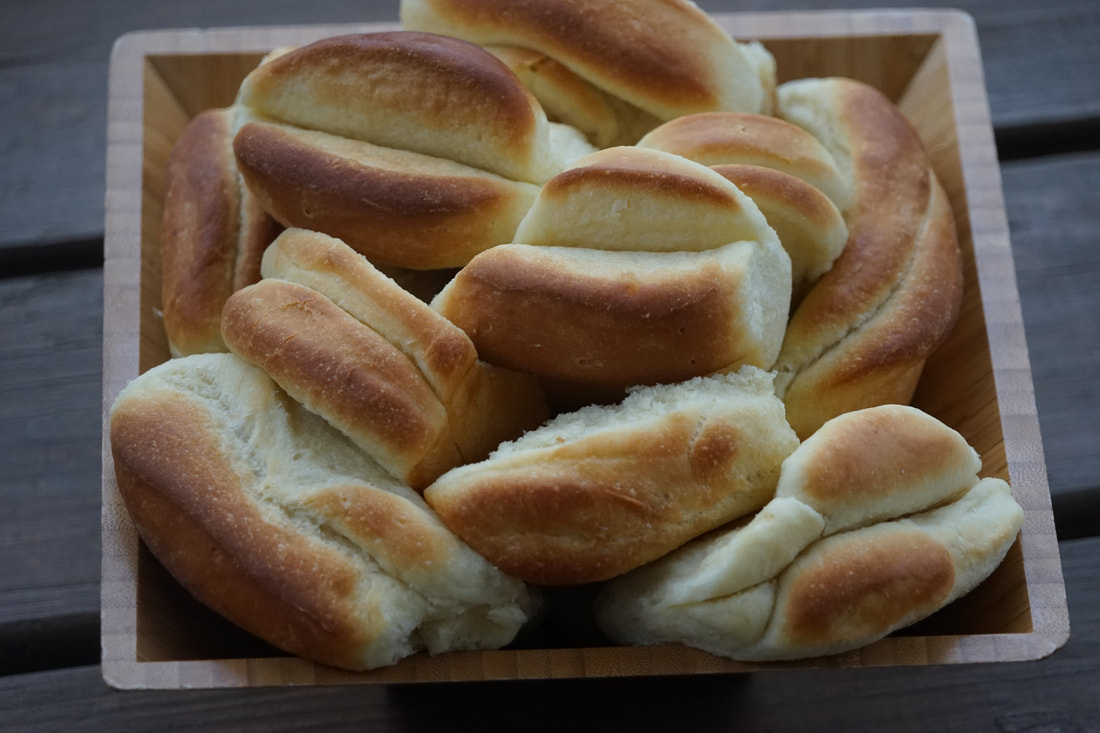 If you are a guest at my house for Easter dinner - you can be assured that you WILL see these on the table. I hope that you will indulge in these flaky, buttery rolls and enjoy every single delicious bite.
Ciao! |