 Baking is a science. There's plenty of room for experimentation and trial and error in cooking but you're much better off following a recipe as closely as possible when you're baking. Trust me - I learned that the hard way! There are so many elements that can throw off a great recipe for baked treats. The size of your eggs, the texture of the sugar, improperly measured flour, the fat content of the milk that you use, the size of your cake pans, the temperature of your ingredients, the tools you use, the accuracy of your oven or even the freshness of your ingredients. Tweaking a recipe even a tiny bit can have exponentially adverse effects on the final product.
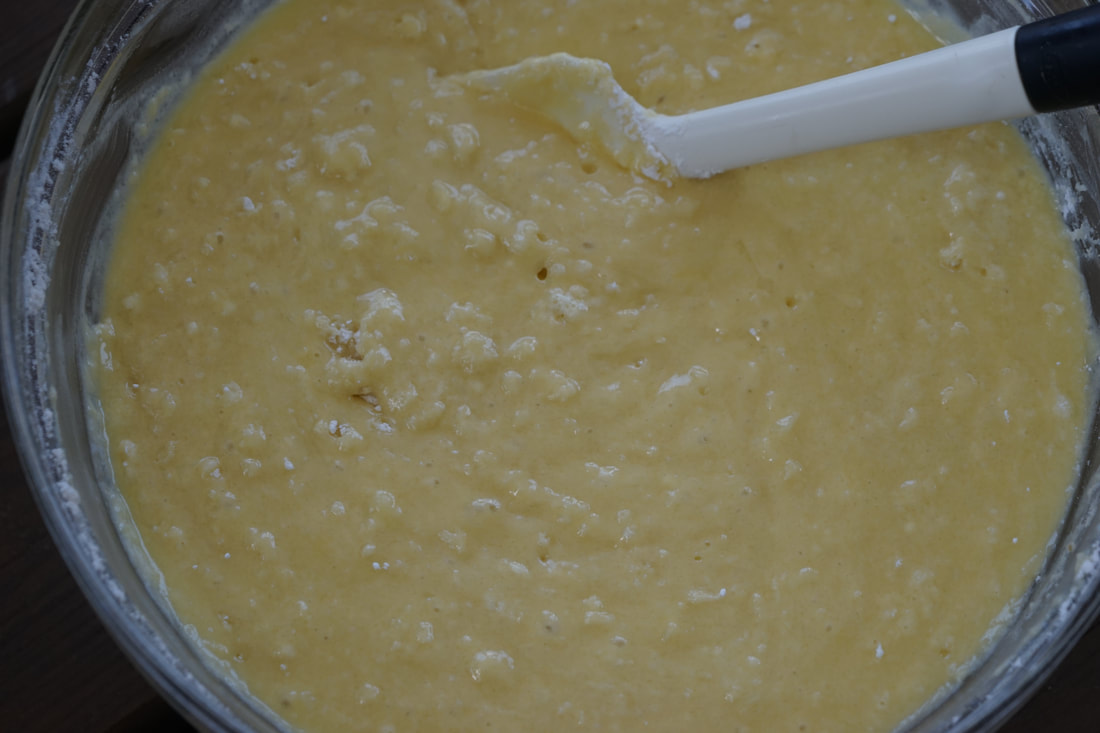
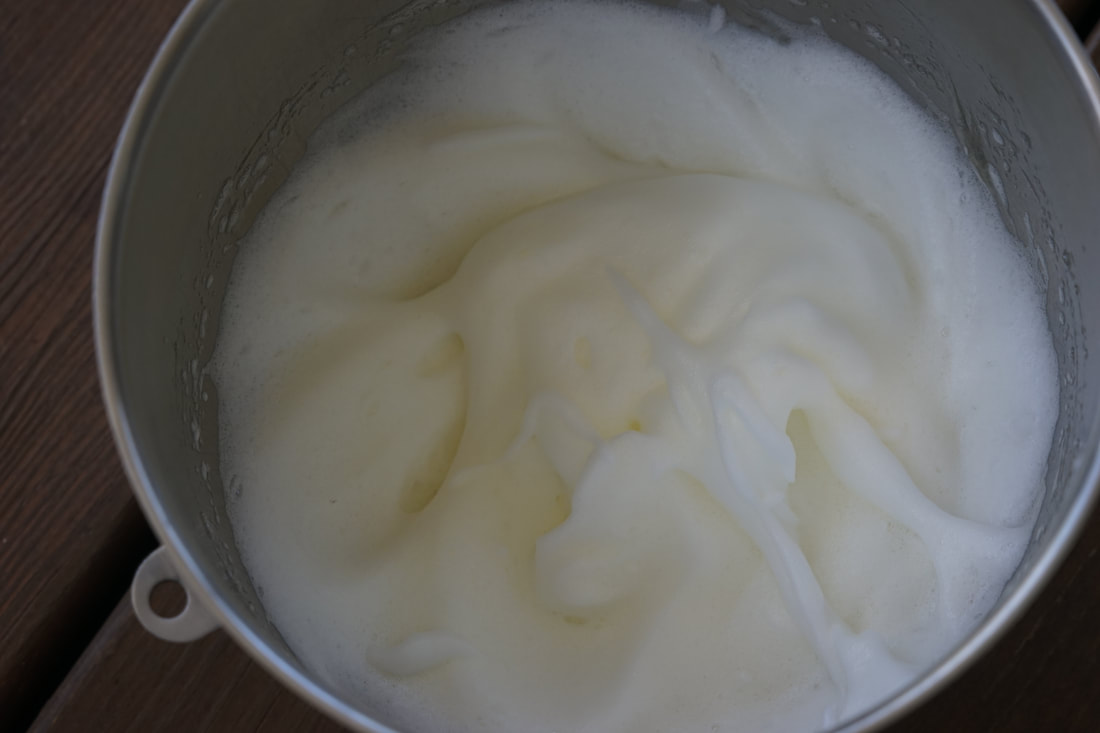
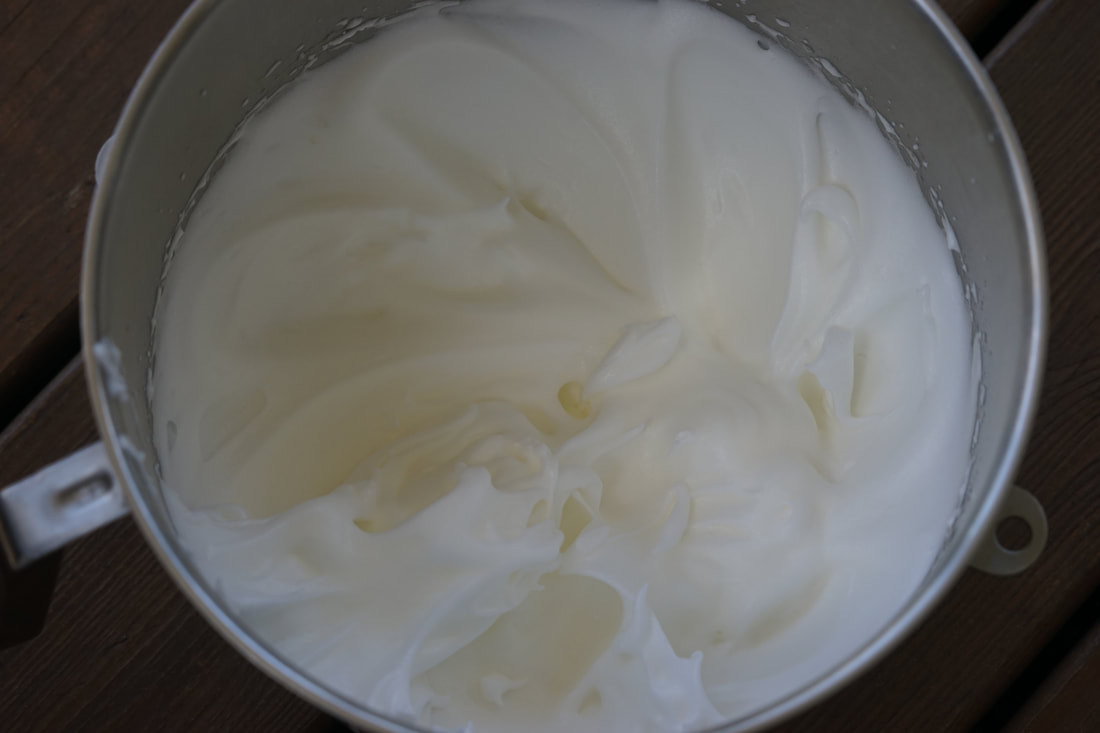
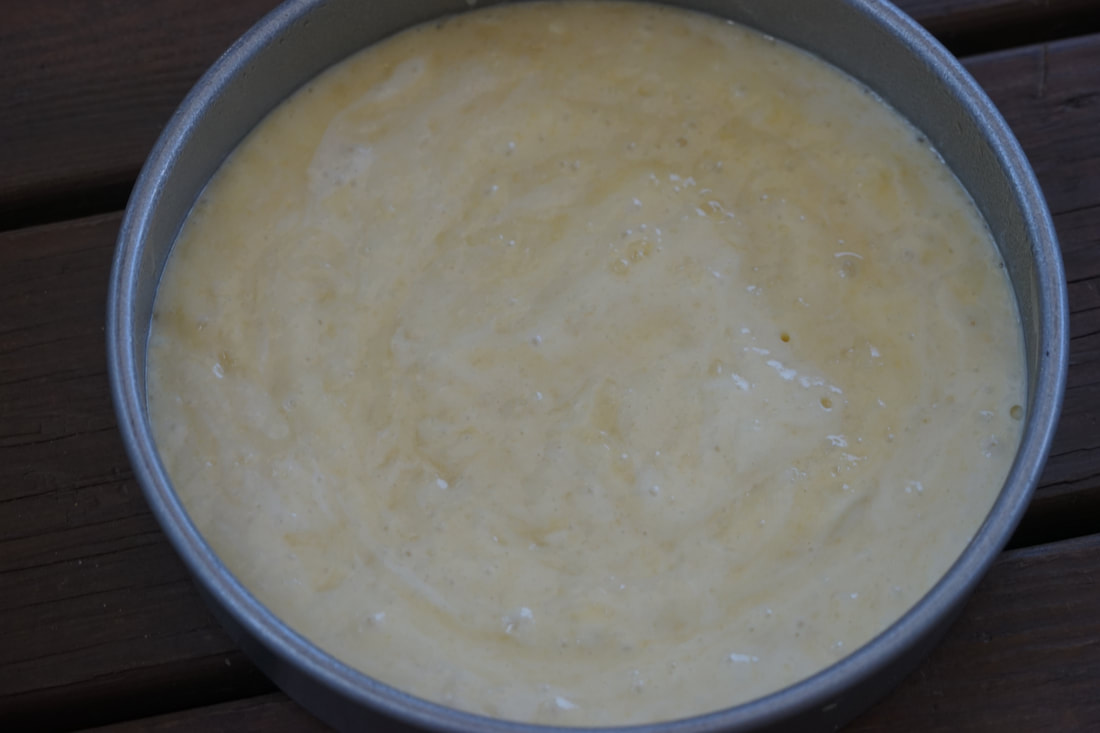
I get emails all the time from people who follow my recipes but end up with disappointing results. Let me just say - I am not a cake doctor and it's really hard to determine the exact cause of the baking problem based on the end result. I can run through my usual check list of common mistakes but finding the exact cause of a baking casualty is exceedingly difficult. Are your eggs and milk at room temperature? Did you use superfine sugar or raw sugar? Did you use parchment paper in the bottom of your cake pans? To be honest, major cake catastrophes are easier to pin point than things like cakes that are too dense or too dry. I recommend that you follow one of my cake recipes if you're new to baking and you want to avoid major cake catastrophes. Follow my step by step instructions for the best chances of achieving perfect cake status. 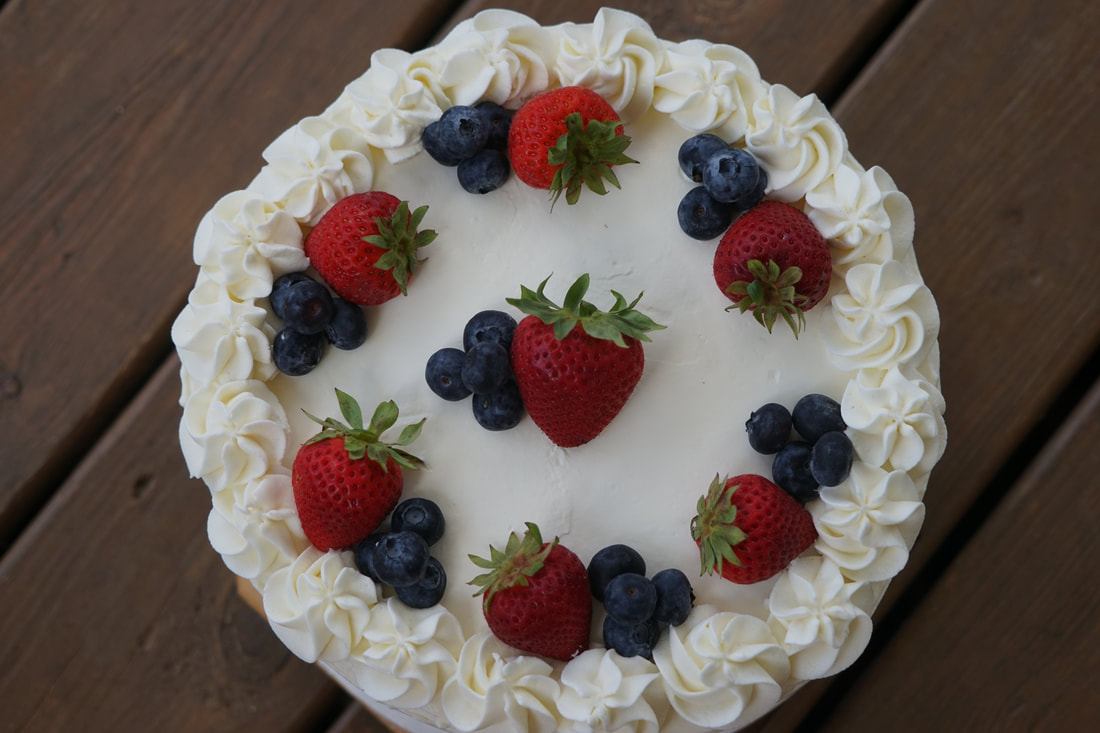 Three Layer Yellow Cake 3 cups cake flour 2 1/4 cups granulated sugar 1 1/2 teaspoons baking powder 1/4 teaspoon baking soda 1 1/4 teaspoons salt 1 1/4 cups buttermilk 8 large egg yolk plus 5 large egg whites 12 Tablespoons unsalted butter, melted and cooled 4 1/2 Tablespoons vegetable oil 2 teaspoons vanilla extract 1/4 teaspoon cream of tartar
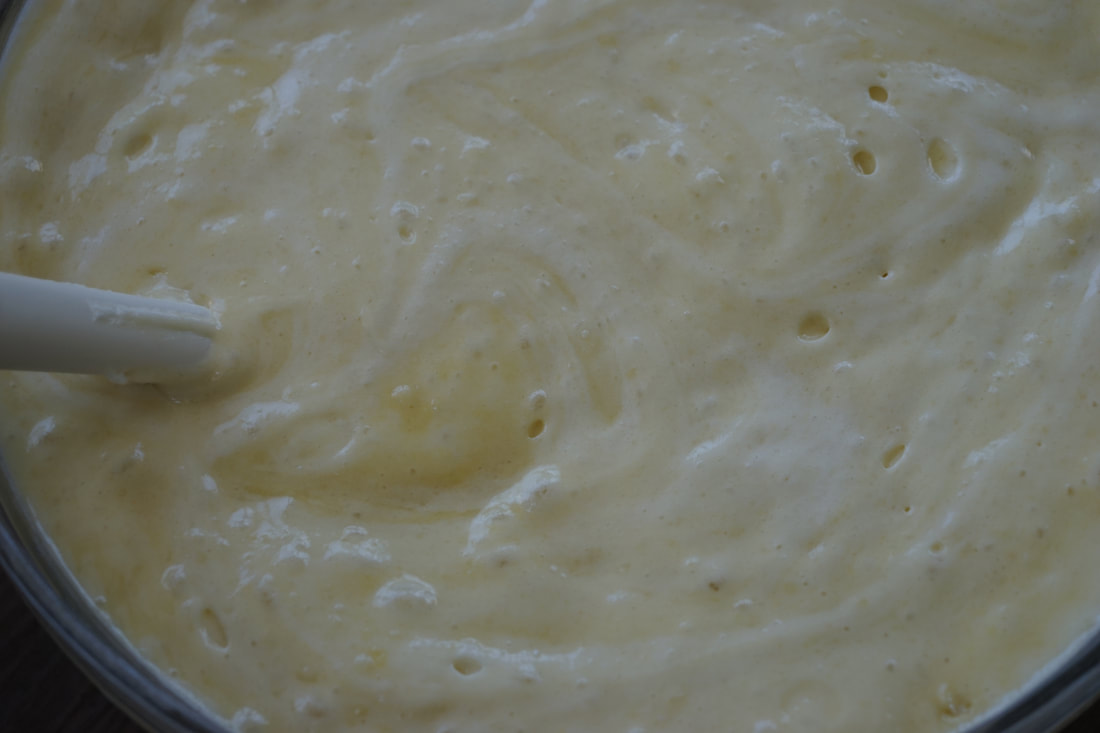
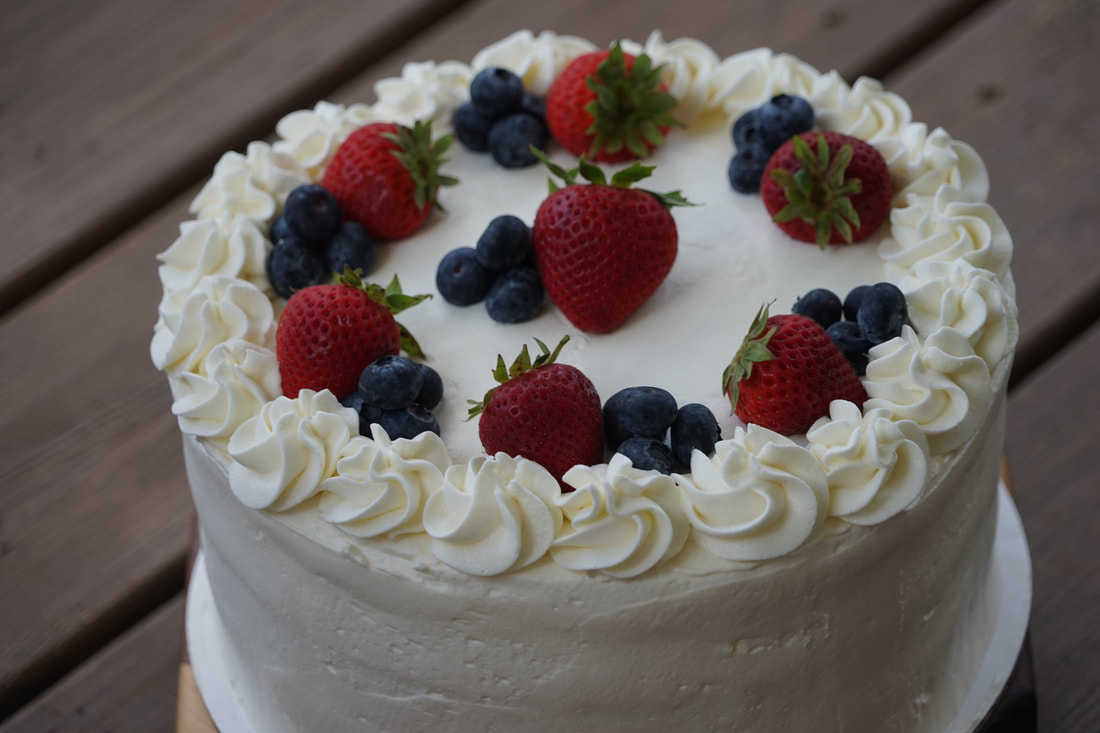
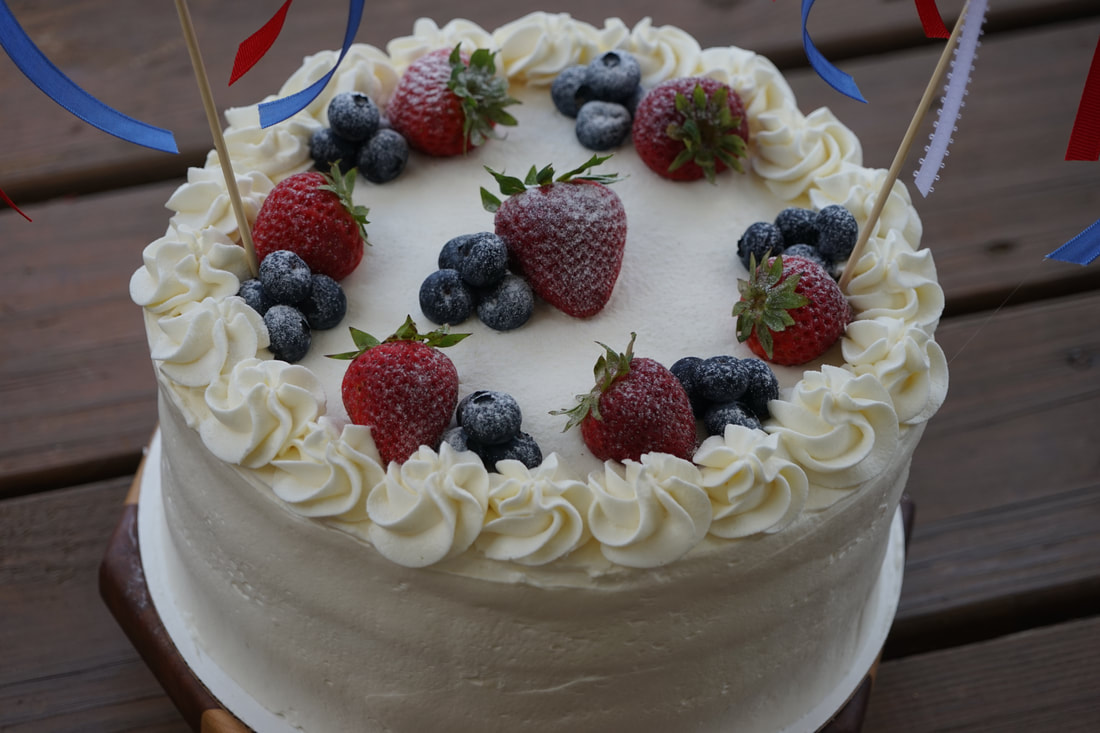
Remove from pans and cool completely. Frost with whipped cream cheese frosting.
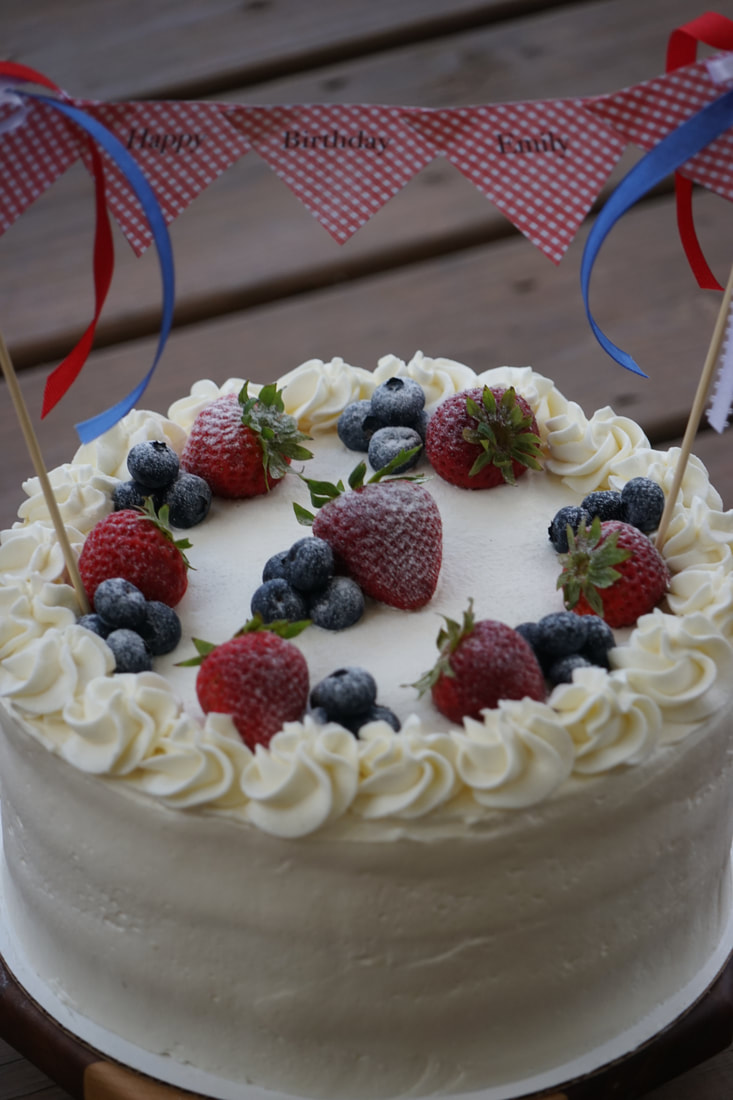
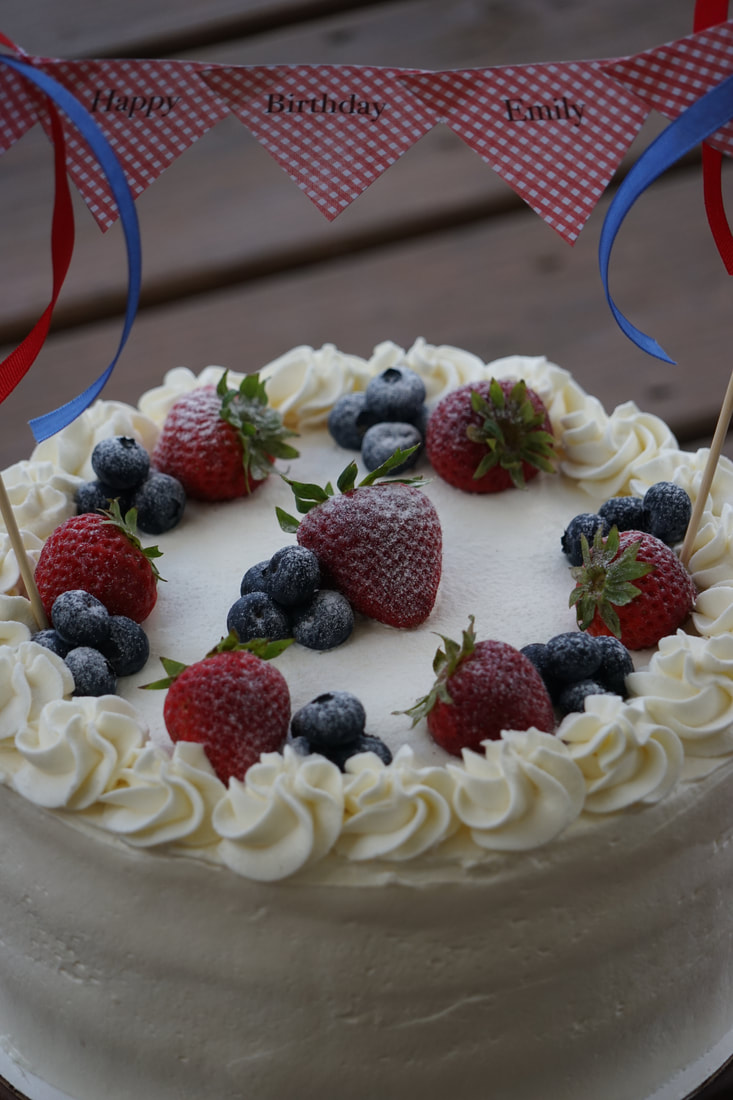
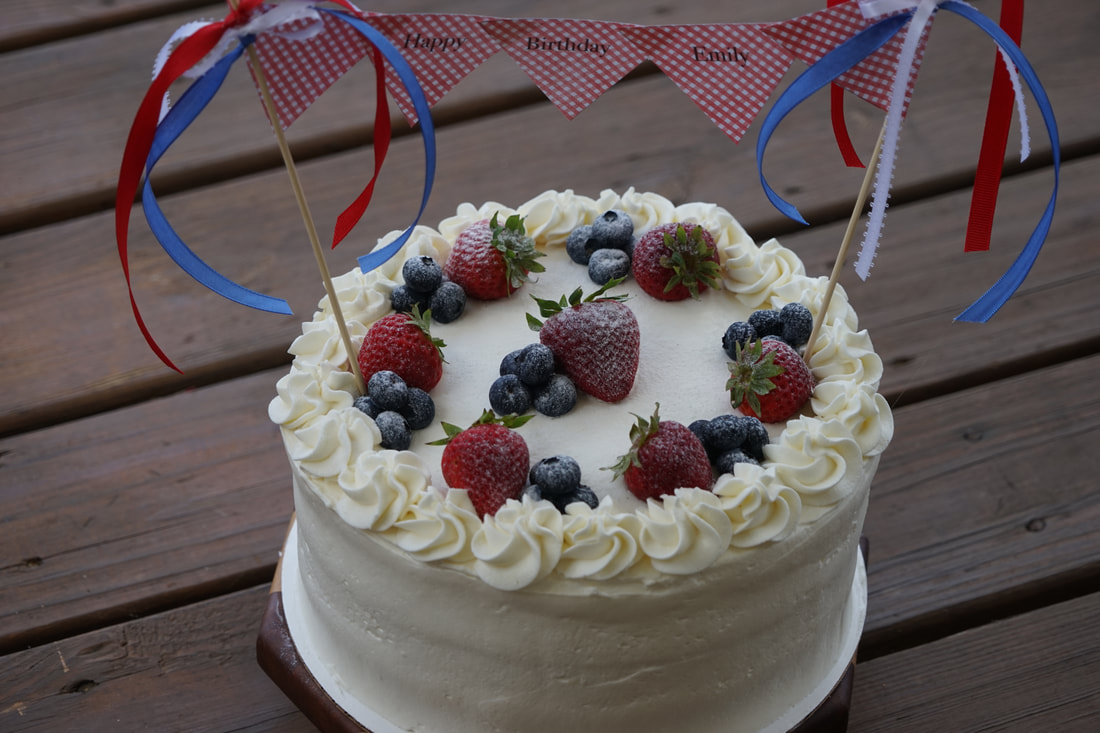
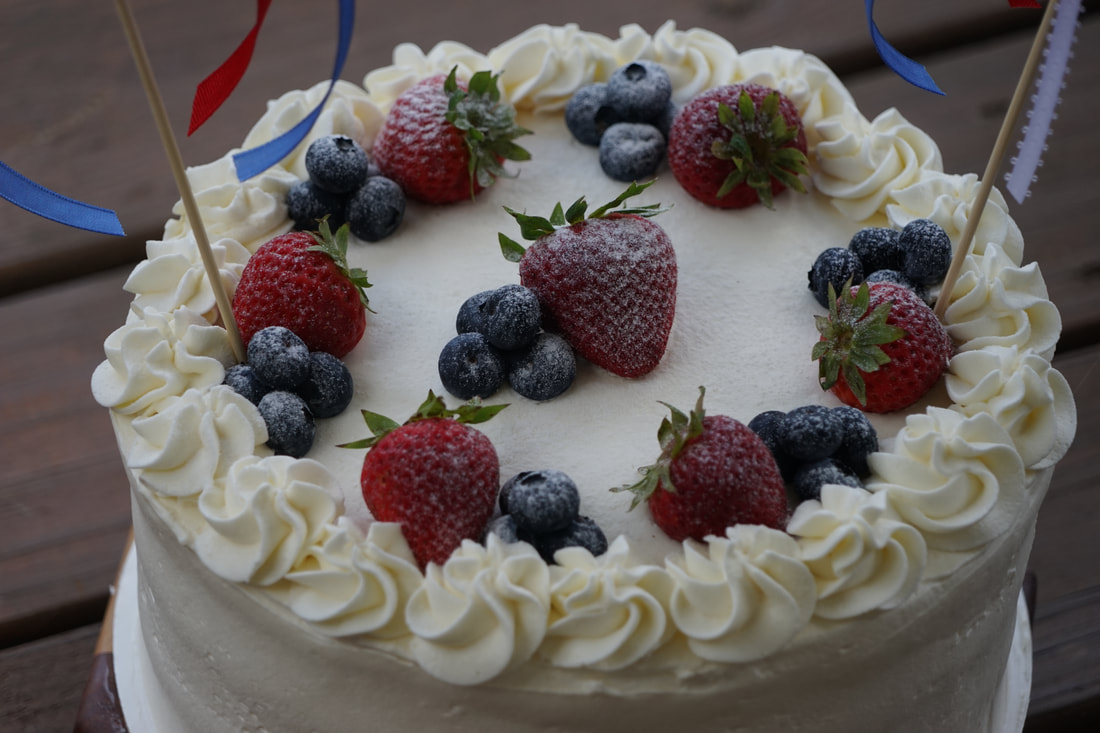
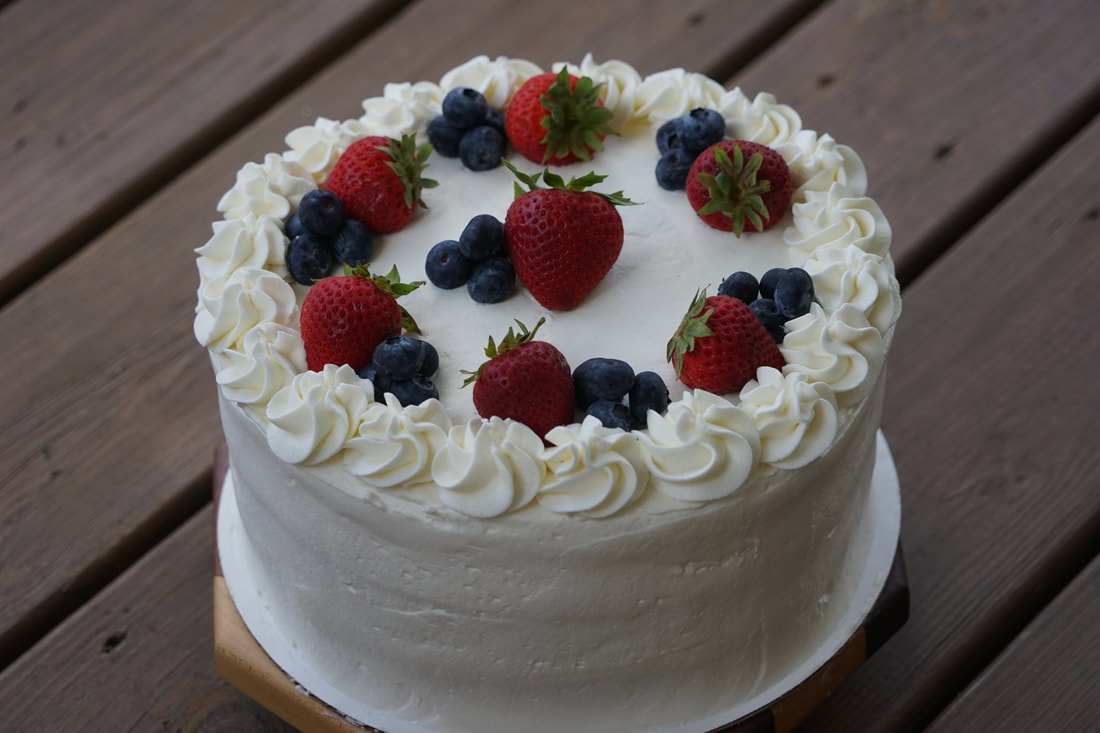
Baking is a science. Your best bet is to follow the directions. Save all of your artistic and creative ideas for the decorating. You can be as expressive as you like with the decorations. I chose to add a cream cheese whipped cream to my three layer yellow cake. It was the perfect compliment to this moist and delicious yellow cake.
Ciao!
0 Comments
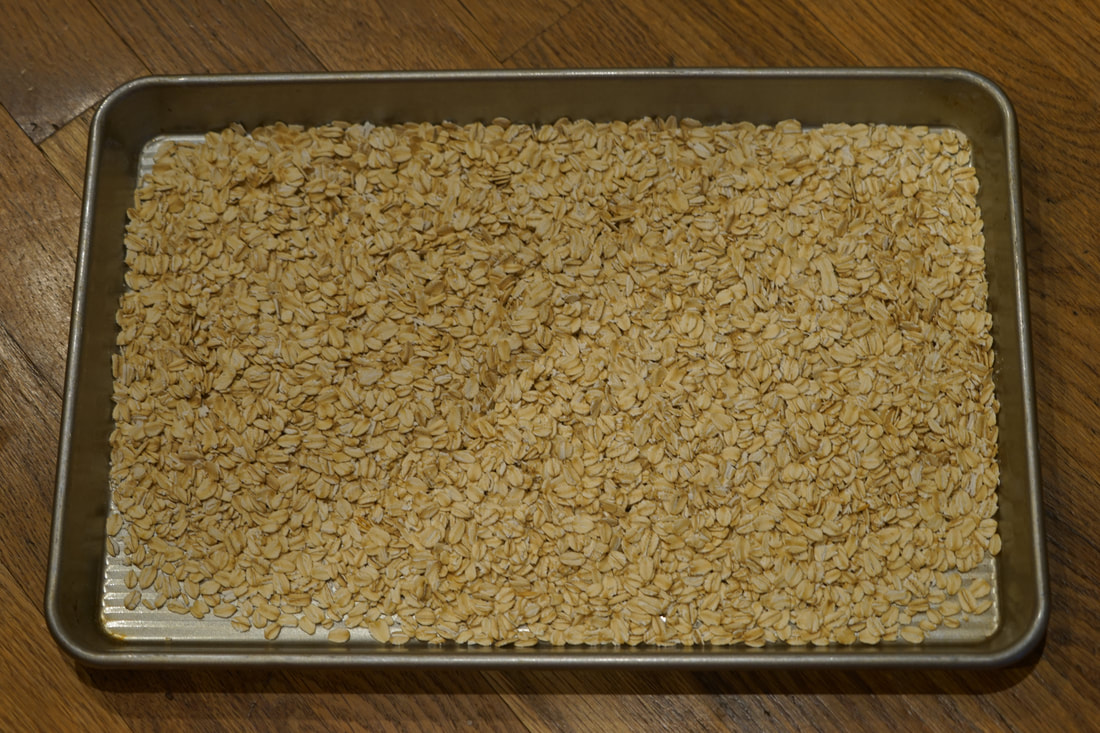
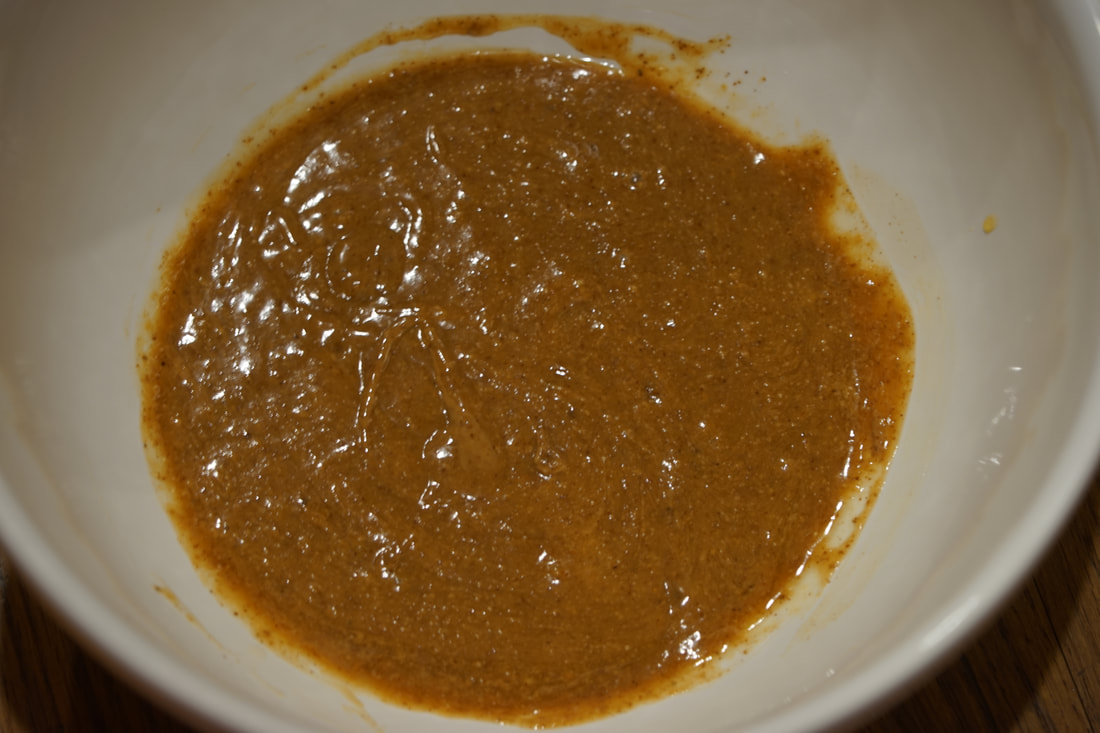
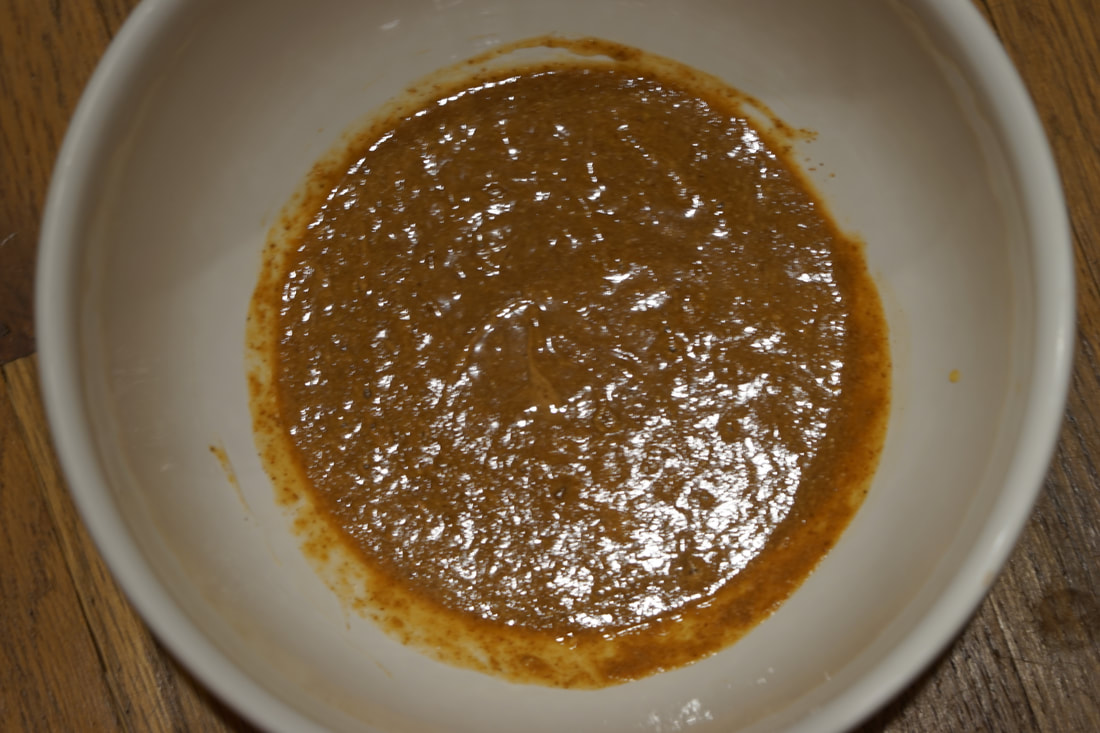
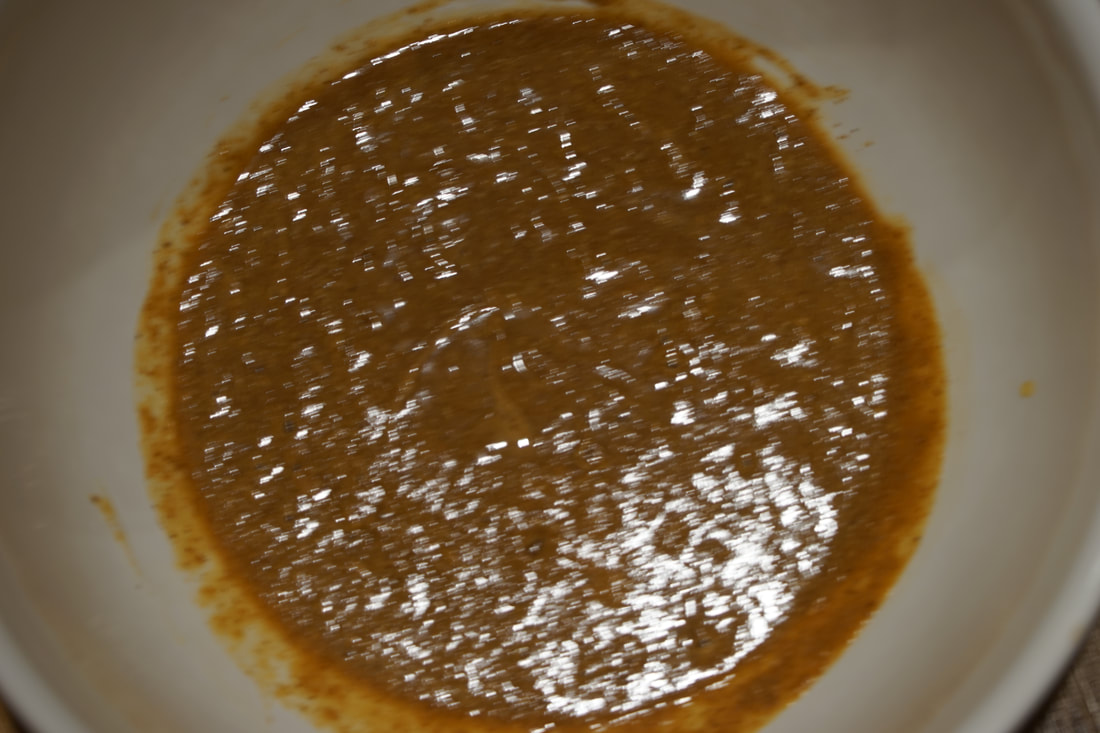
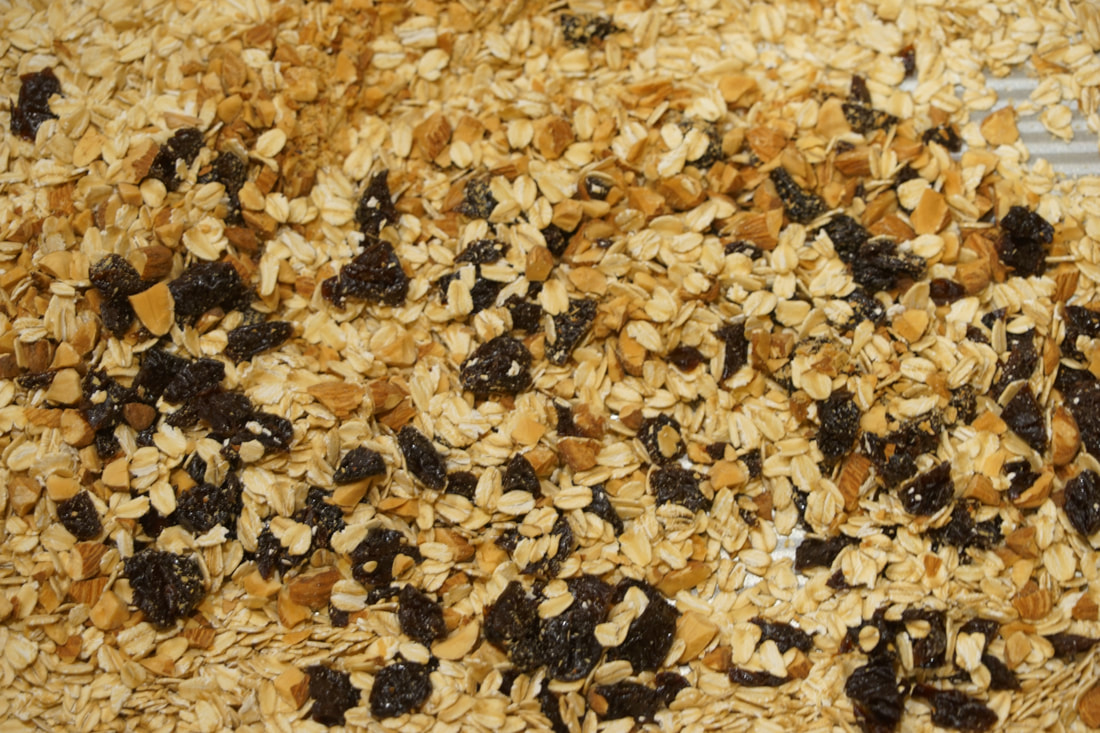
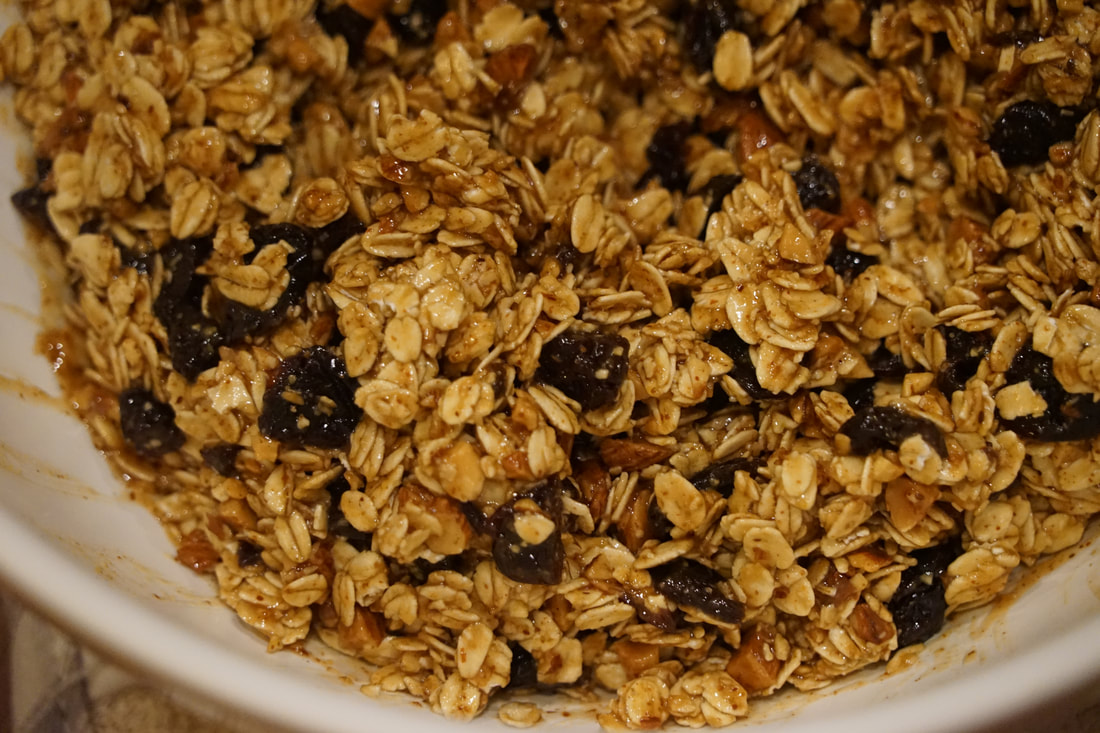
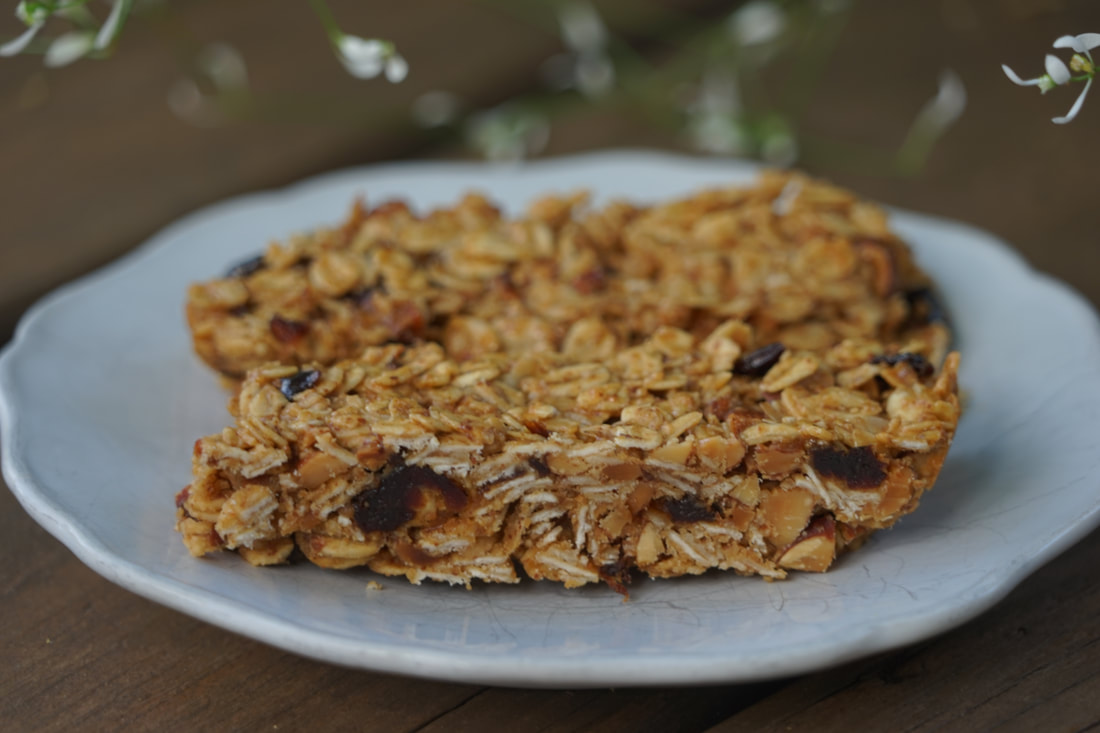
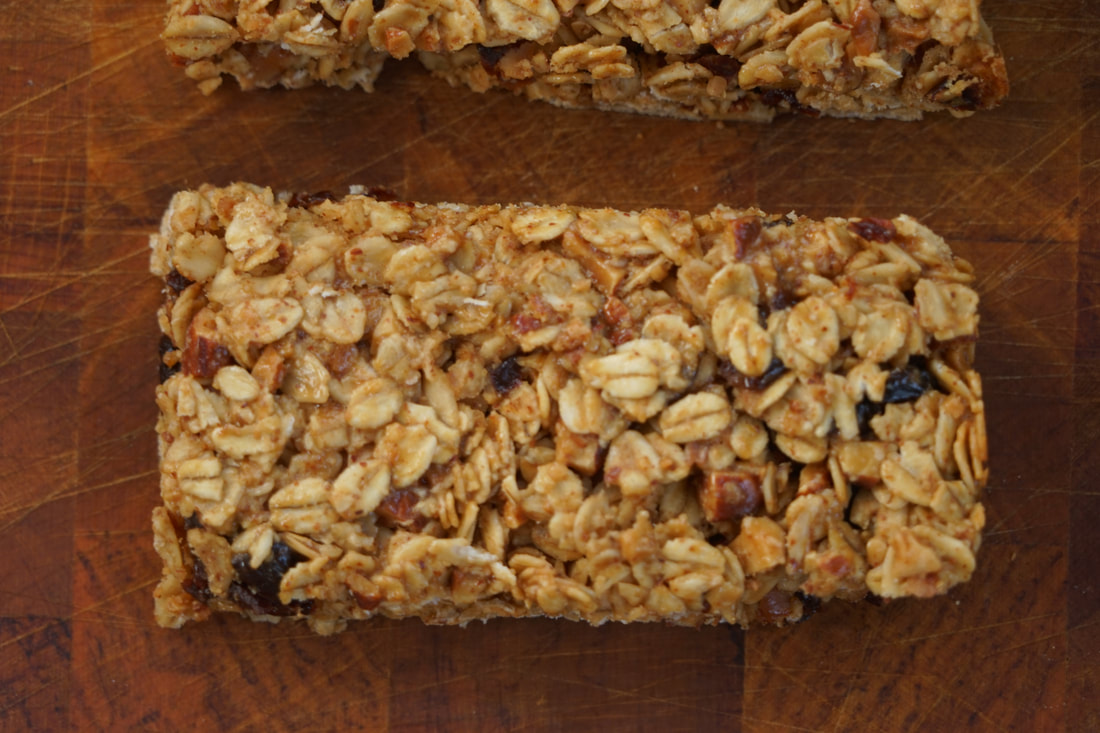
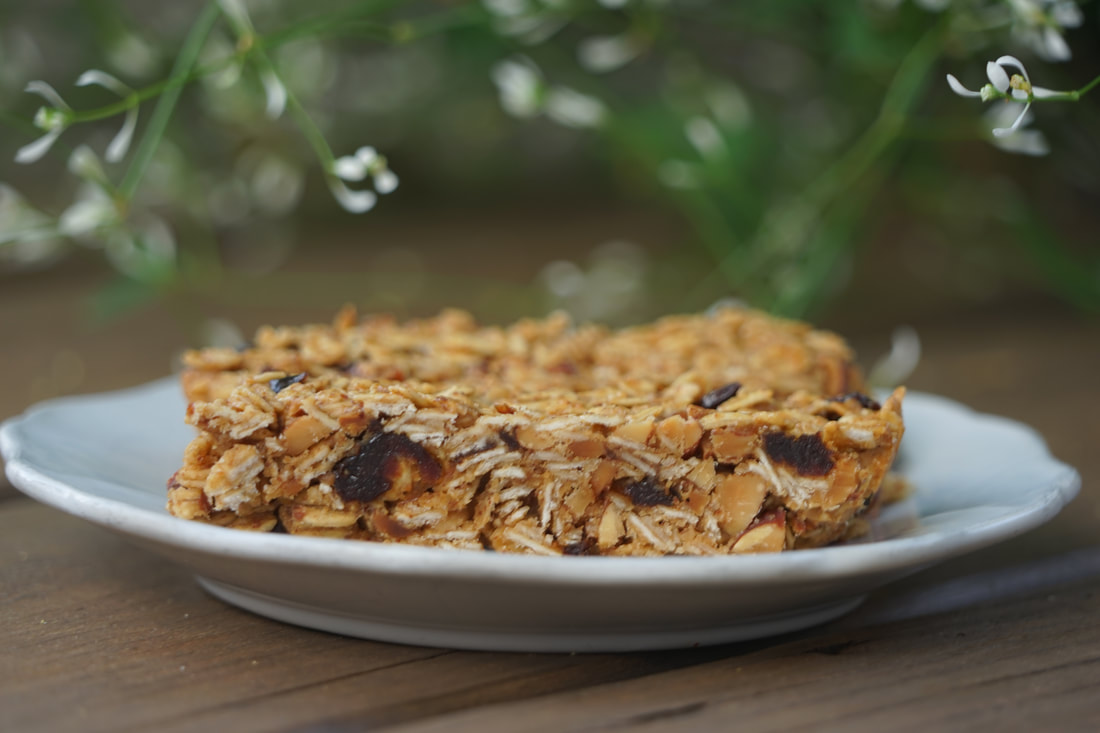 I've only recently discovered that I'm a fan of almond butter and on my last trip to the grocery store, I picked up a different brand of the my newest obsession. Turns out - I'm not a fan of ALL almond butter - only certain brands. Whomp, whomp. Normal people would cut their losses and simply throw the jar of undesirable almond butter away and start over with a different jar. Not this girl. Wasting food is just not in my DNA. (I'm pretty sure I inherited this conservative genetic trait from my mother.) I am somehow UNABLE to throw away a perfectly good jar of almond butter even though I don't want to eat it. What is wrong with me? 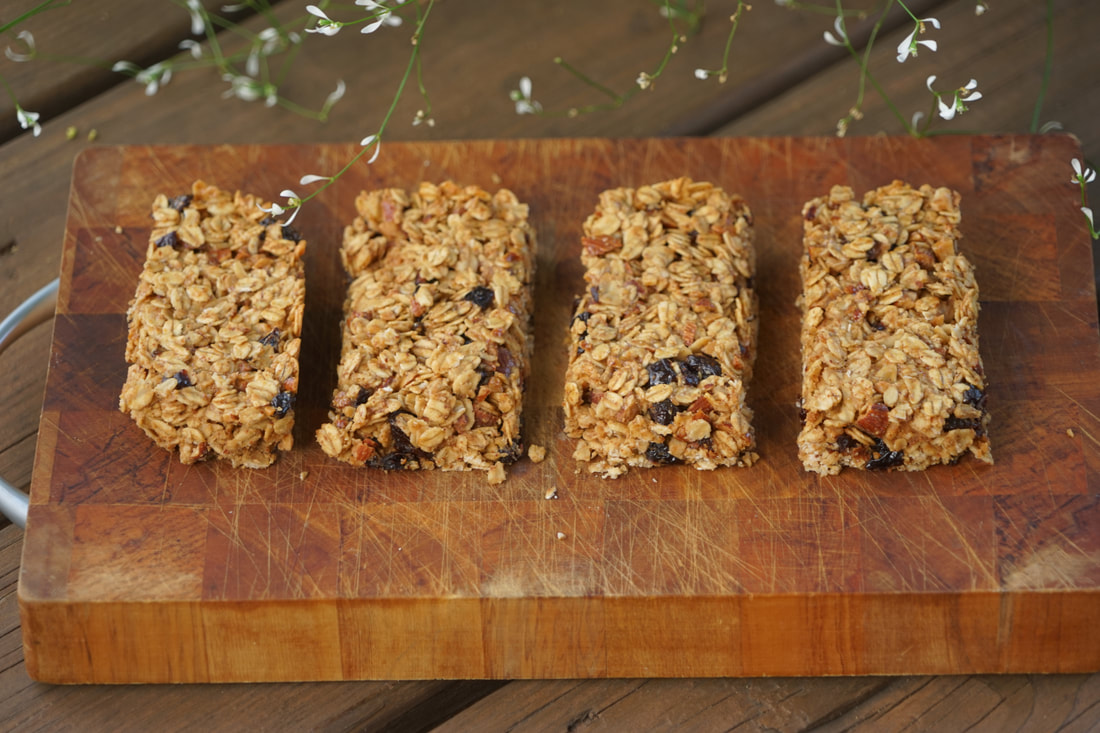 Instead of tossing it in the trash - I came up with ways to add almond butter to recipes until I found myself at the bottom of the jar. This was no easy task - I had to do a little google search. I came up with recipes for almond butter muffins, cookies, overnight oats and granola bars. These almond cherry bars caught my eye because a.) I love granola bars and b.) I was certain that the addition of sugar, salt and fat to my otherwise tasteless almond butter would improve its appeal. My suspicions were correct - these bars made with even mediocre almond butter were amazing. To be honest, that same principle applies to almost any undesirable food. Add sugar, salt and fat and voila - improved taste. 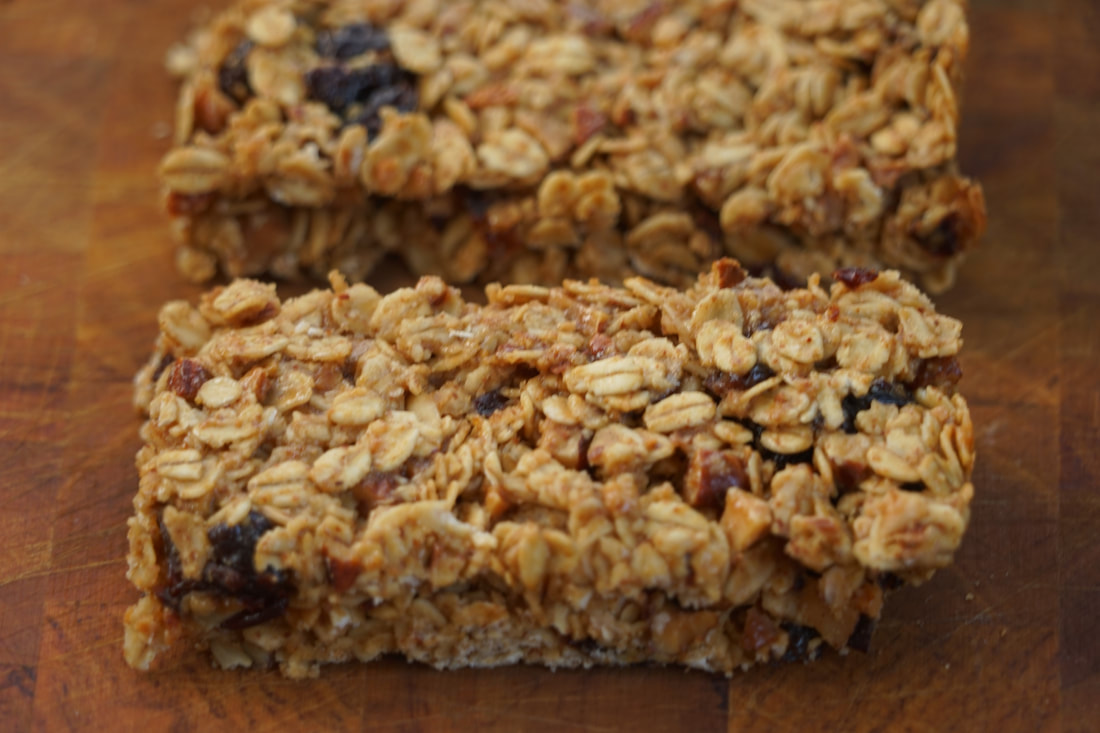 Almond Cherry Bars 2 cups old fashioned oats 1/3 cup almond butter 1/4 cup maple syrup 1 1/2 Tablespoons coconut oil 1 teaspoon vanilla 1/2 teaspoon salt 1 egg white 1/2 cup chopped, roasted almonds 1/3 cup chopped dried cherries
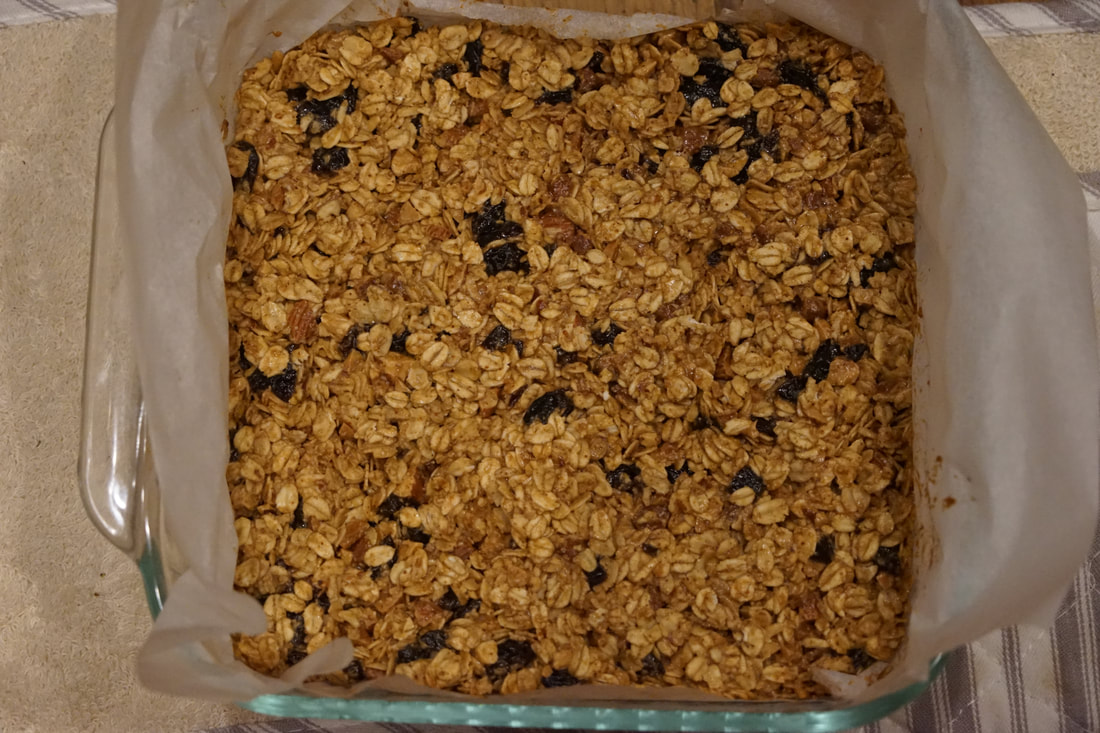
Cool 15 minutes in pan. Remove using parchment paper. Cut into 12 squares. 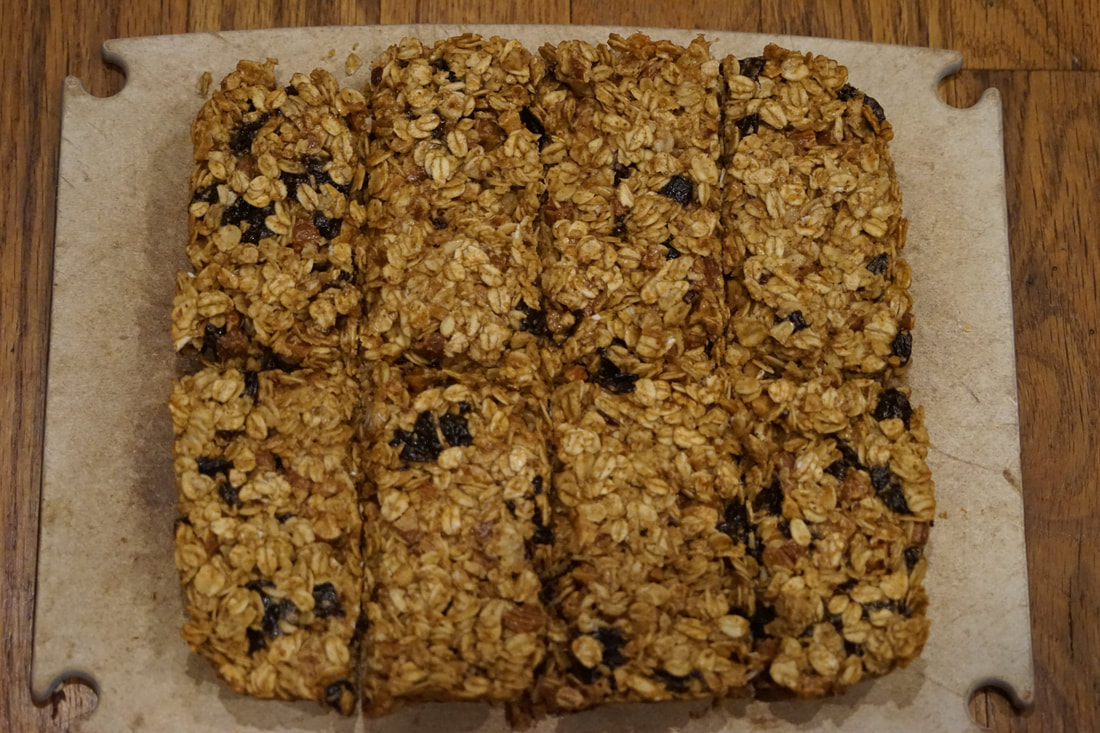 Devour.
These soft, moist granola bars are a great little breakfast treat. I'm happy to report that I've used up the entire jar of mediocre almond butter and I'm back to enjoying my old favorite. (It's Sam's Choice Honey Almond Butter, by the way.) Now I feel like I need to make these Cherry Almond Bars again just to see if the almond butter brand makes any difference. Between you and I, it's really it's just another excuse to make another batch but let's call it research. ;)
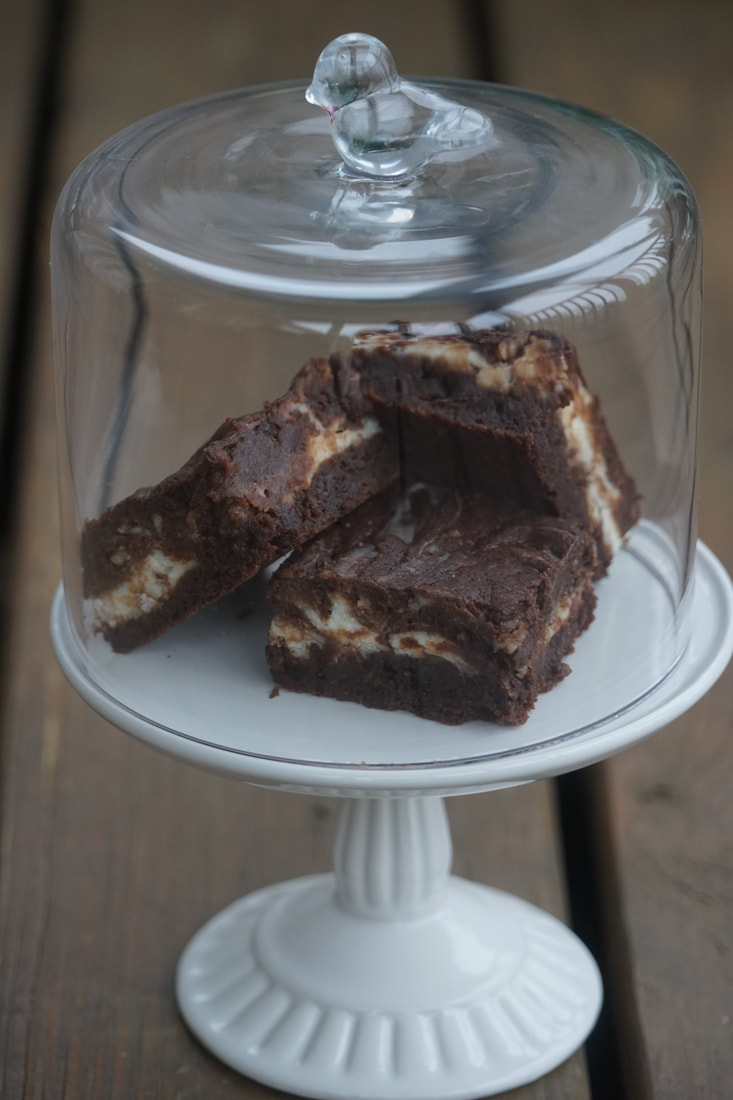
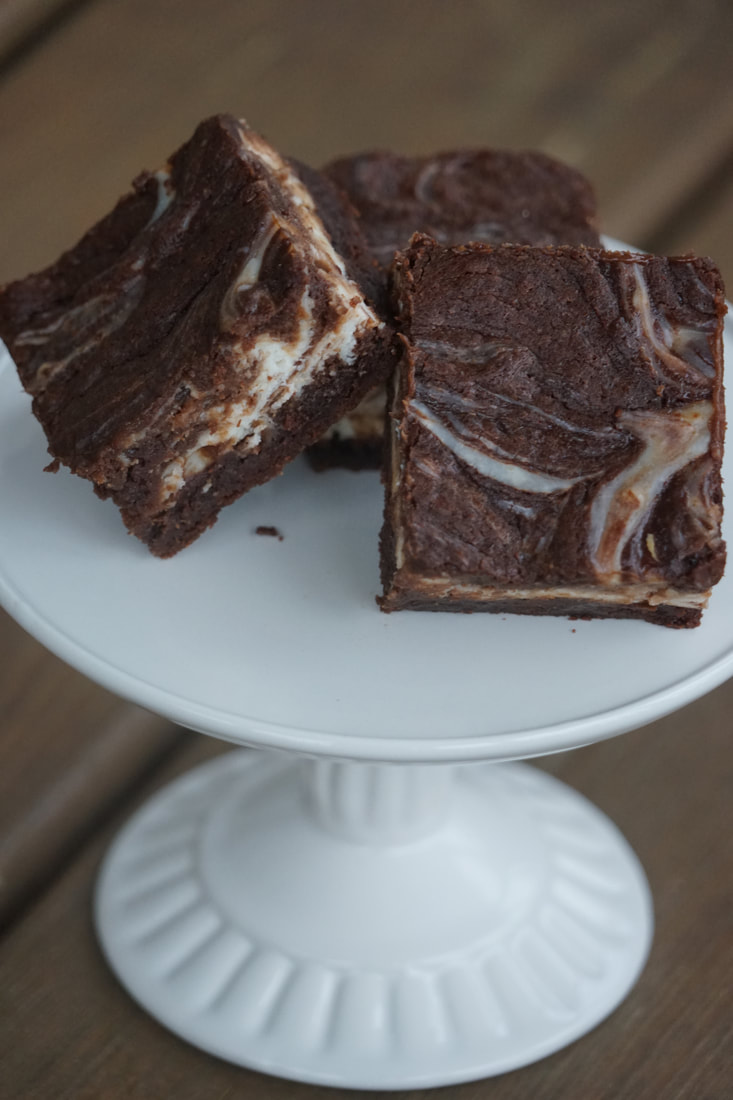
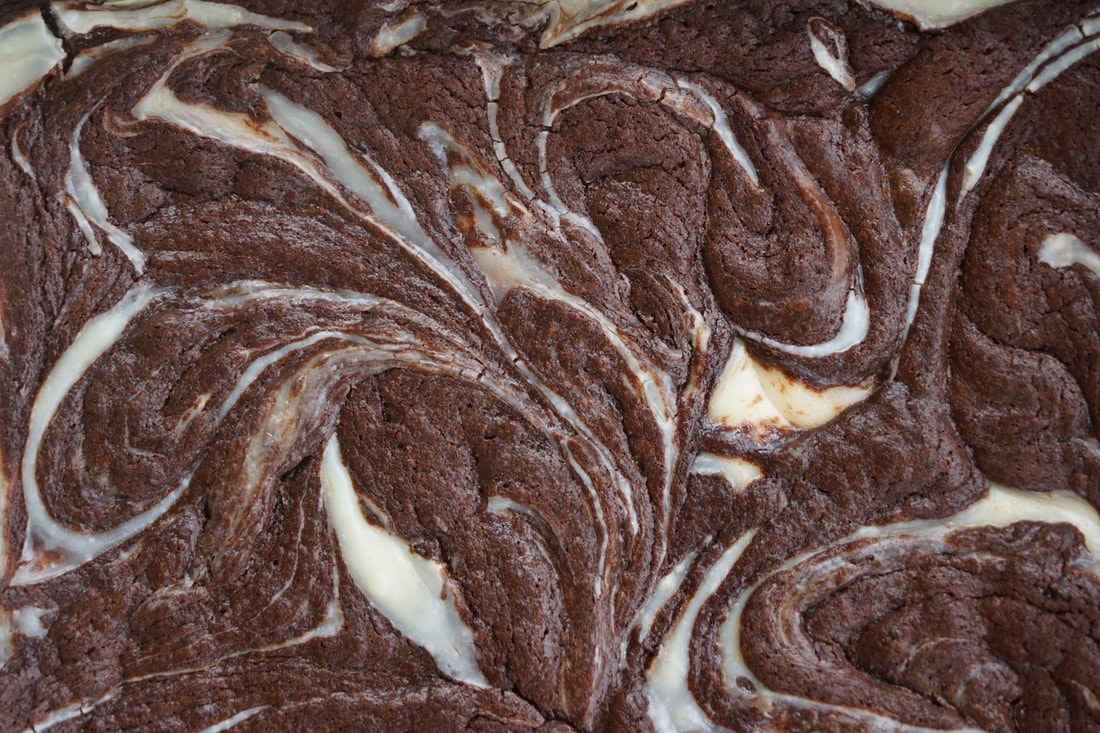
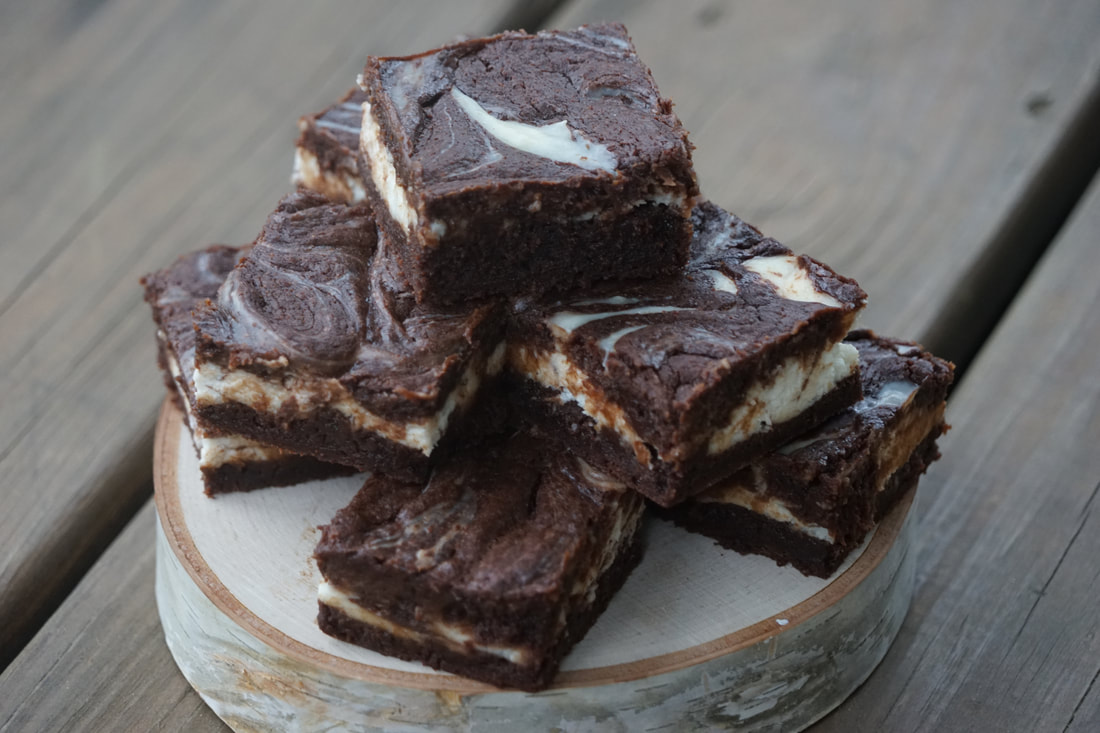
Ciao! 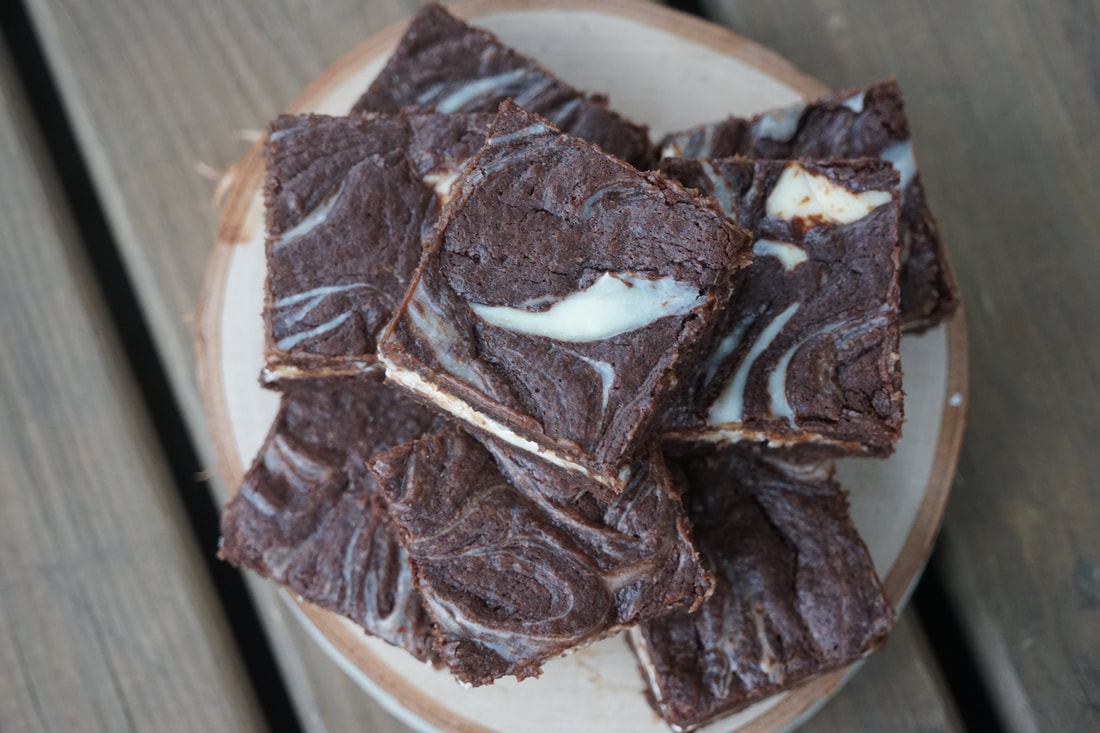 Is it really worth the effort to make homemade brownies instead of buying a box mix? Boxed brownie mixes average around 4.00 a box and a batch of homemade brownies will probably cost you almost double that amount. It's also going to take more time to put together a homemade batch of brownies since the ingredients aren't pre measured. So the obvious question is: Are homemade brownies really worth the extra cost and time that it takes to prepare them?
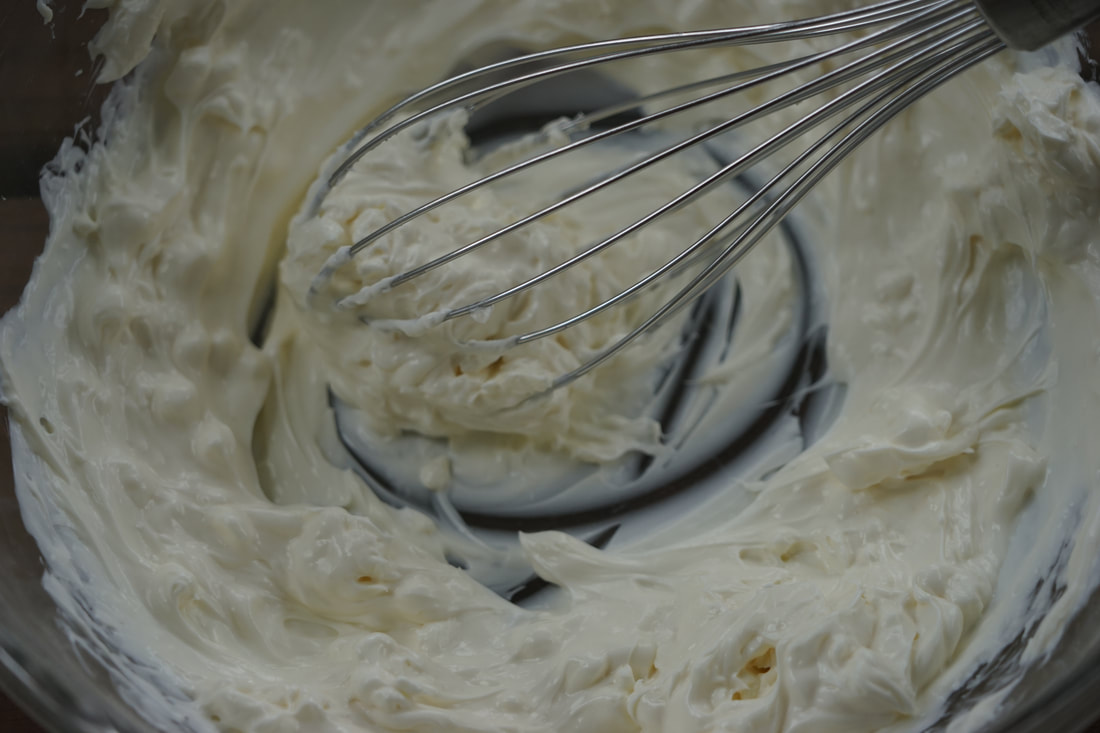
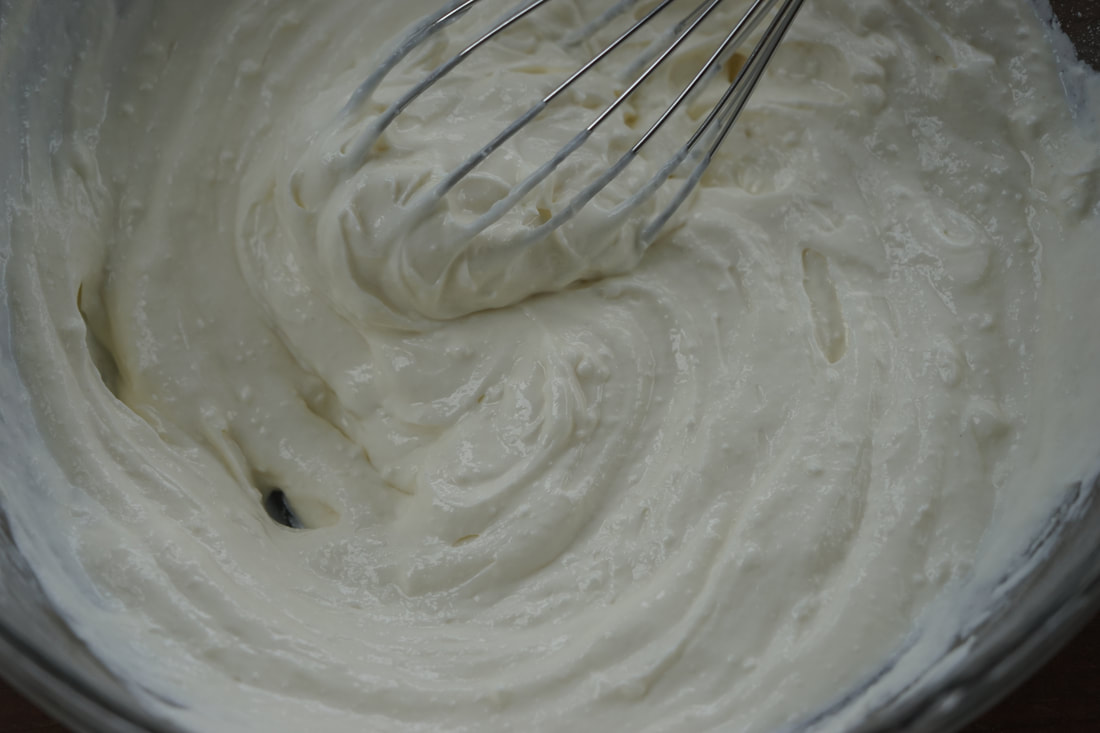
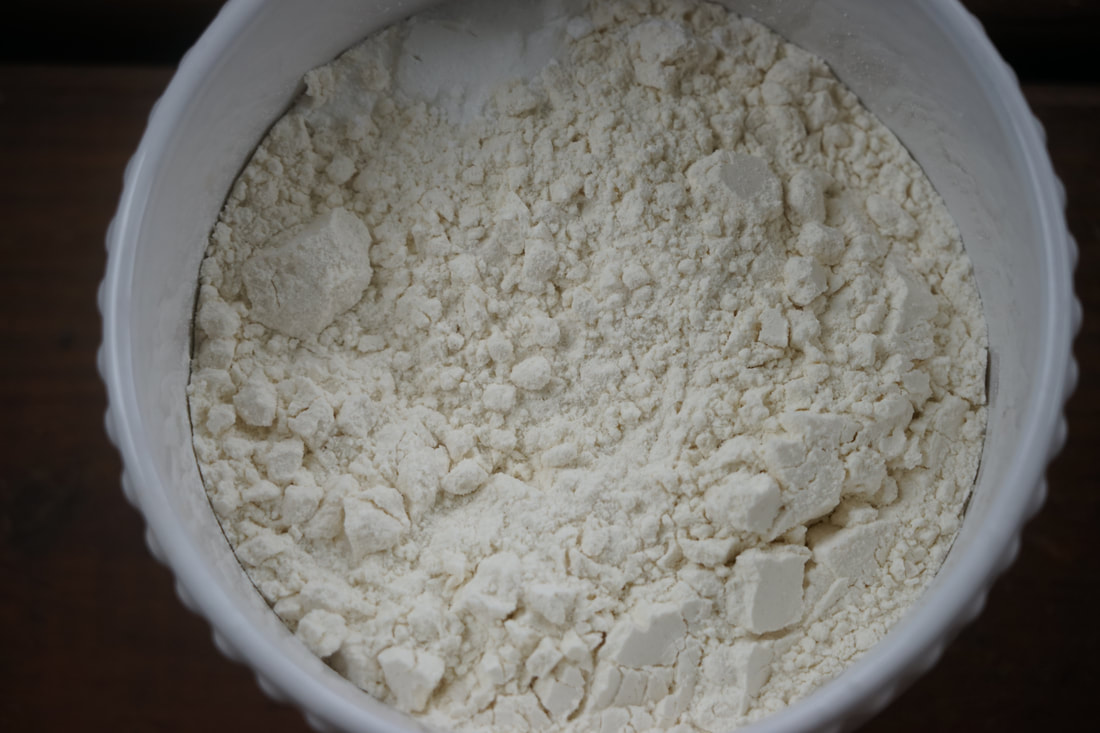
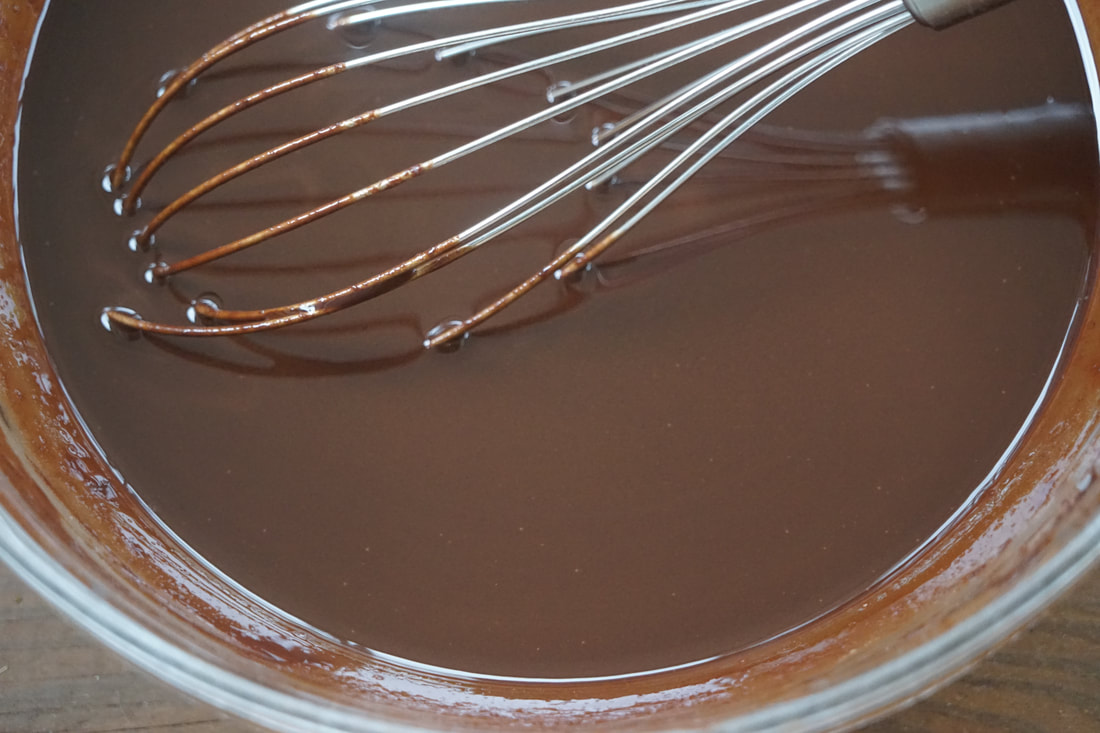
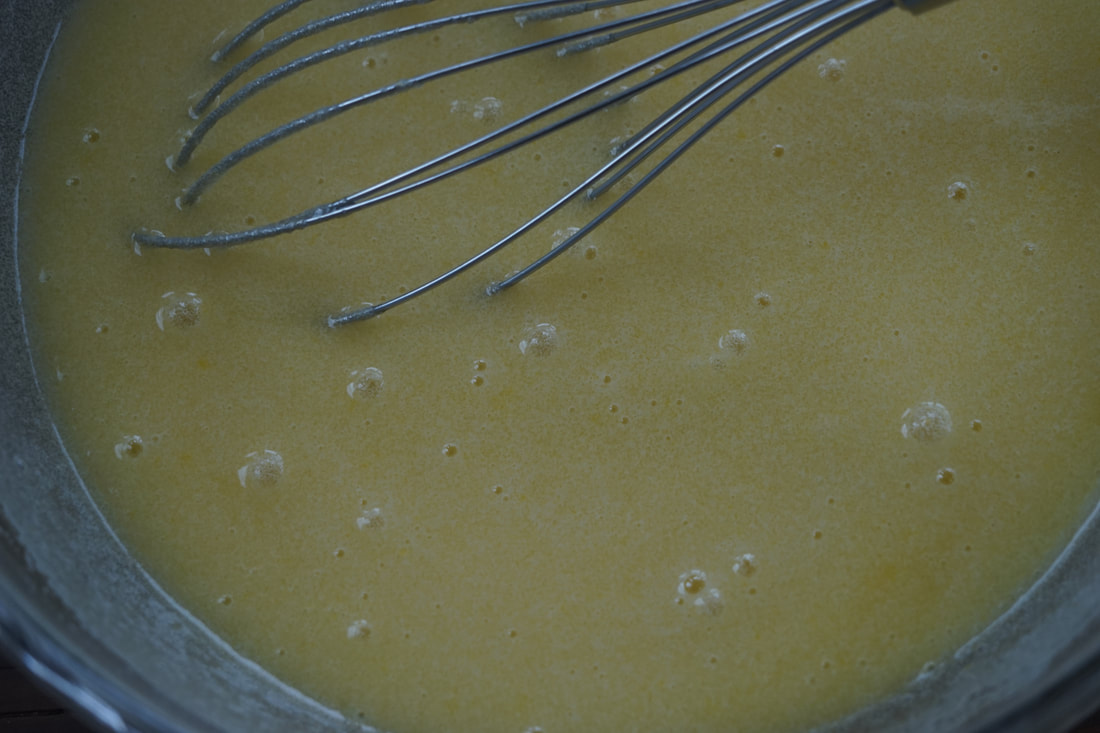
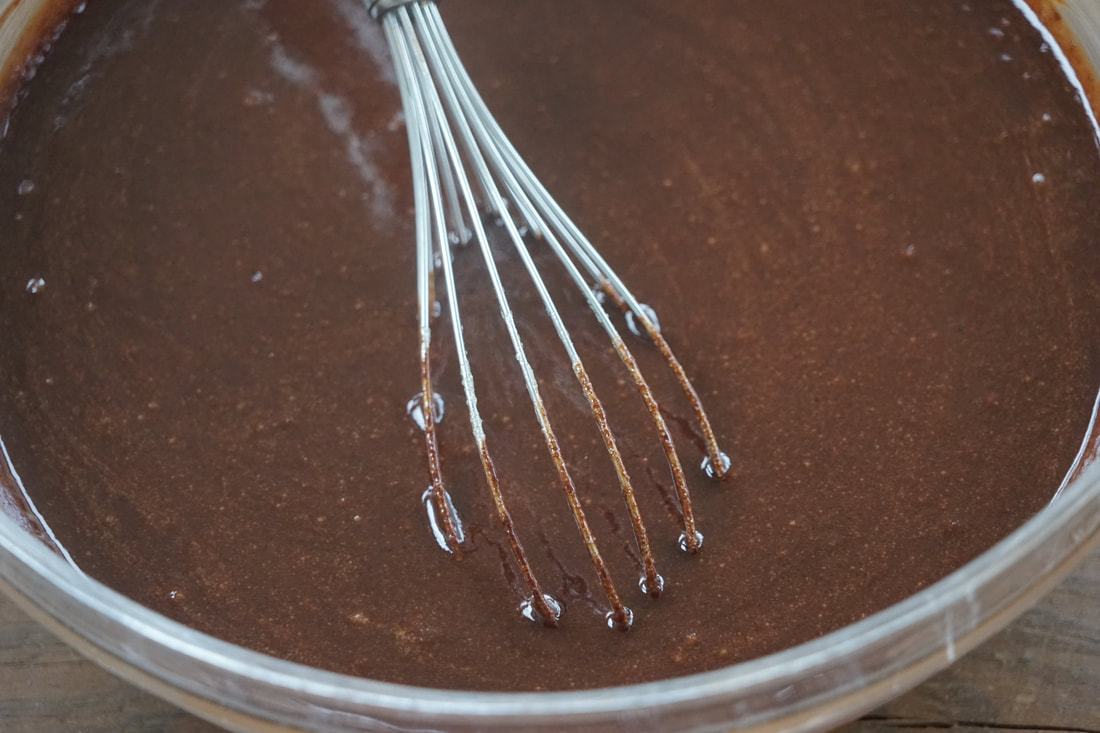
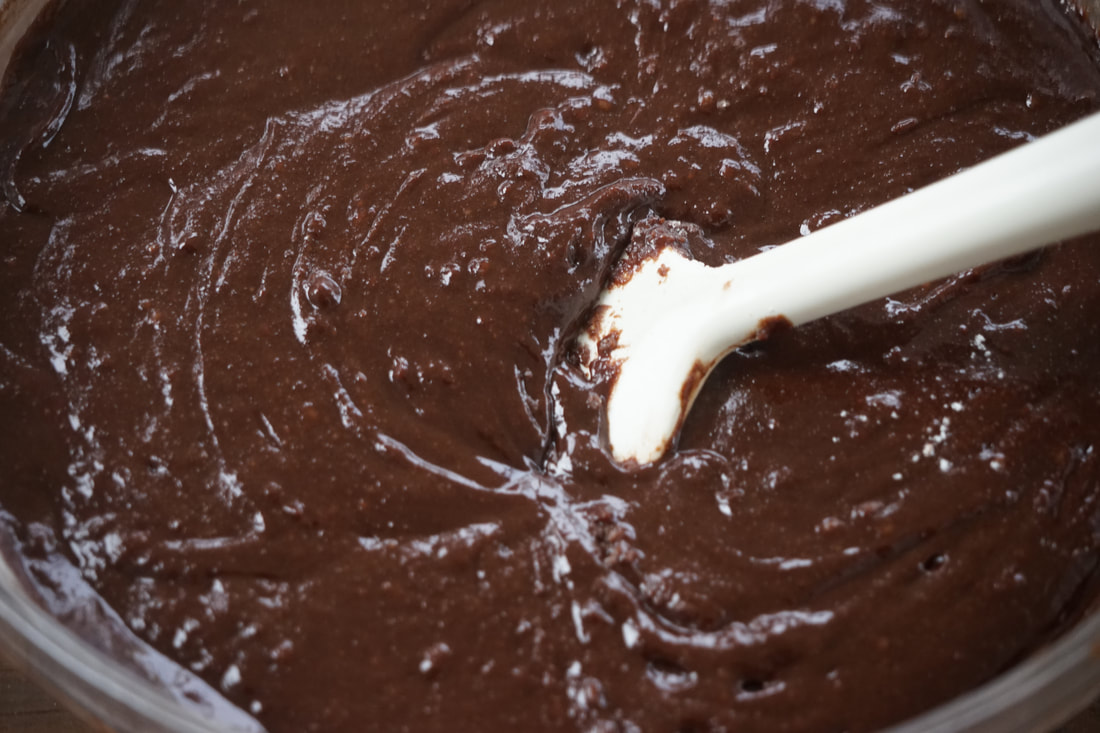
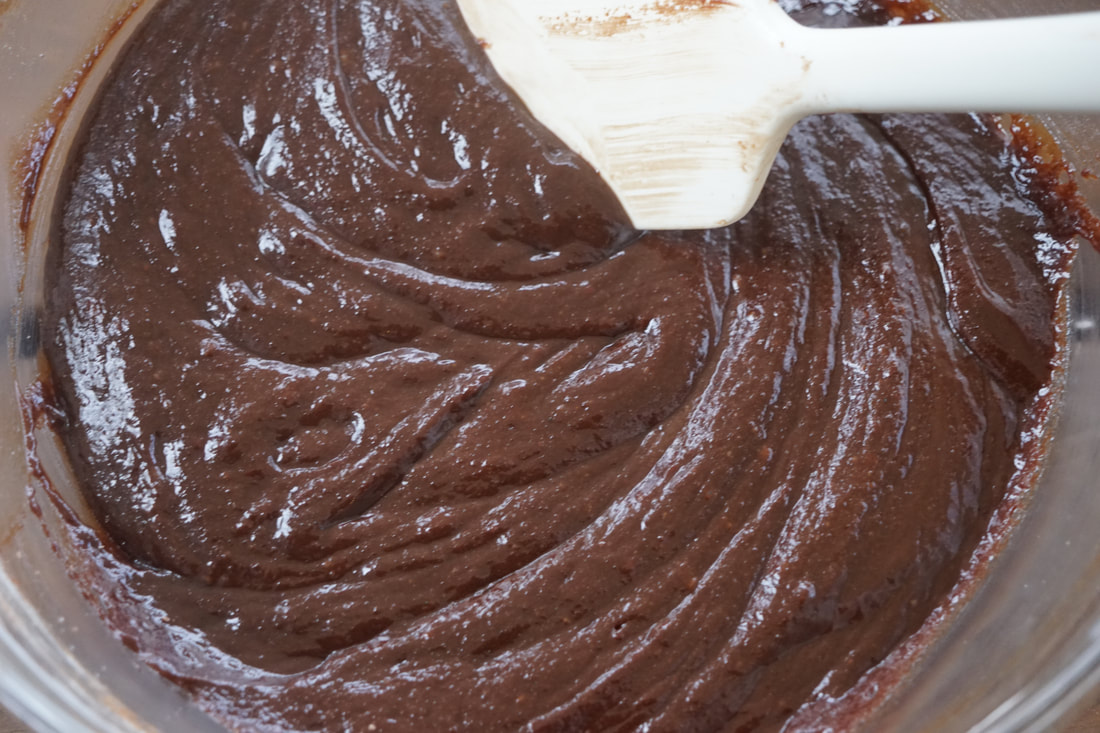
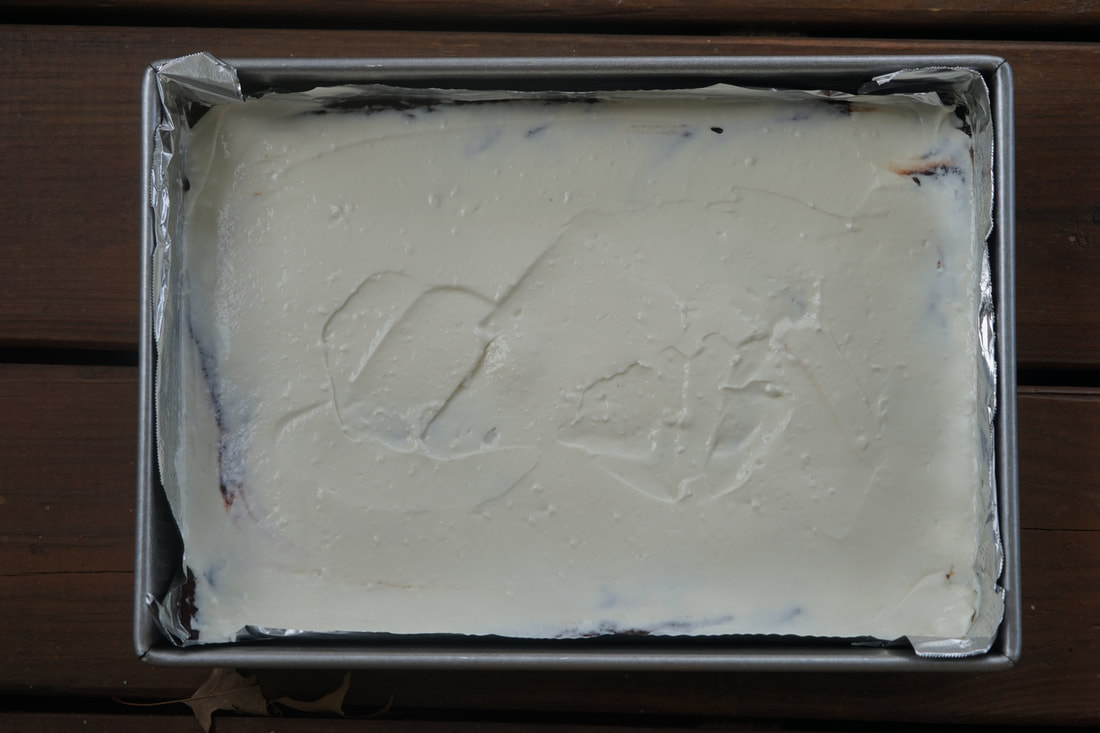
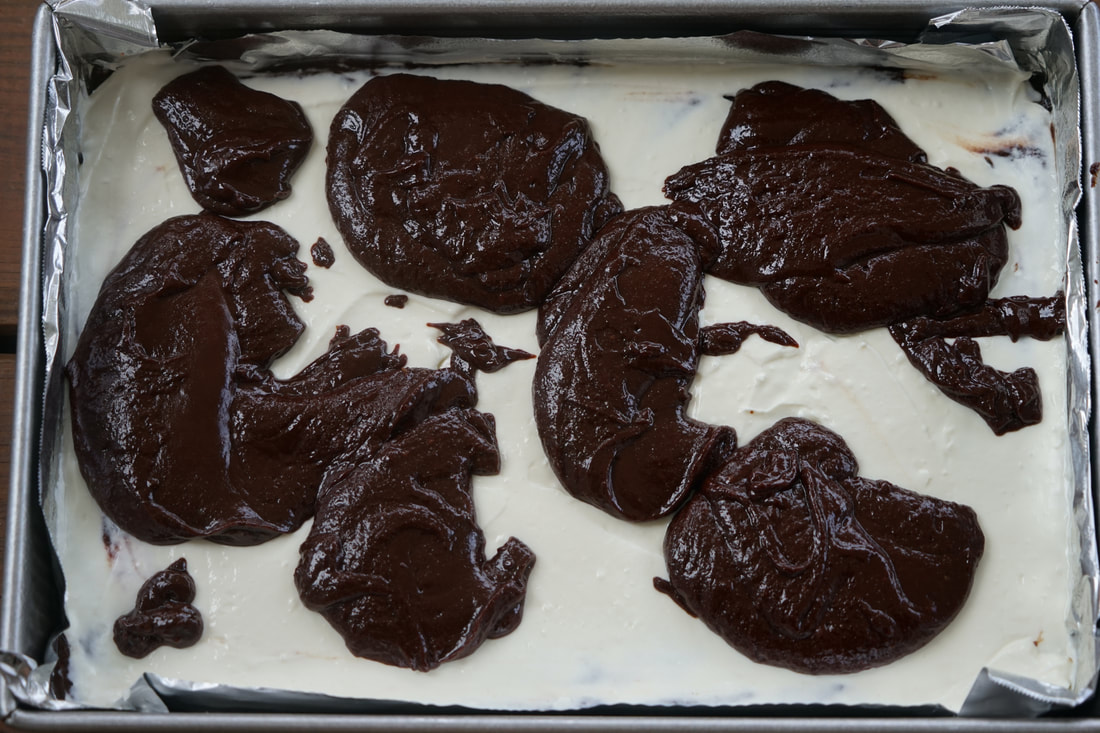
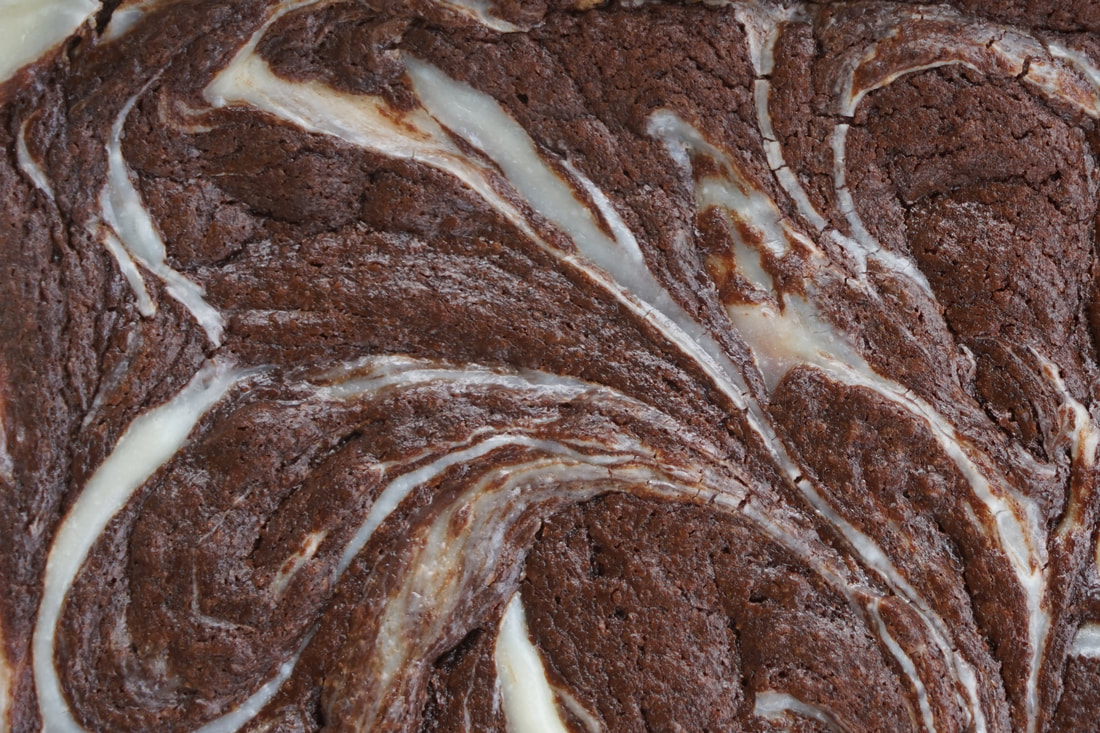
It may surprise you to know that I really do like boxed mix brownies. Seriously. Boxed mix brownies are quick, easy, reliable and convenient. Fudgey, chocolatey boxed mix brownies with crispy edges and flaky tops are amazing. But ... I love homemade brownies even more. If you're a fan of boxed mixed brownies and you don't think that homemade brownies even come close to their greatness, I have one thing to say to you. Cream Cheese Brownies - Try them. 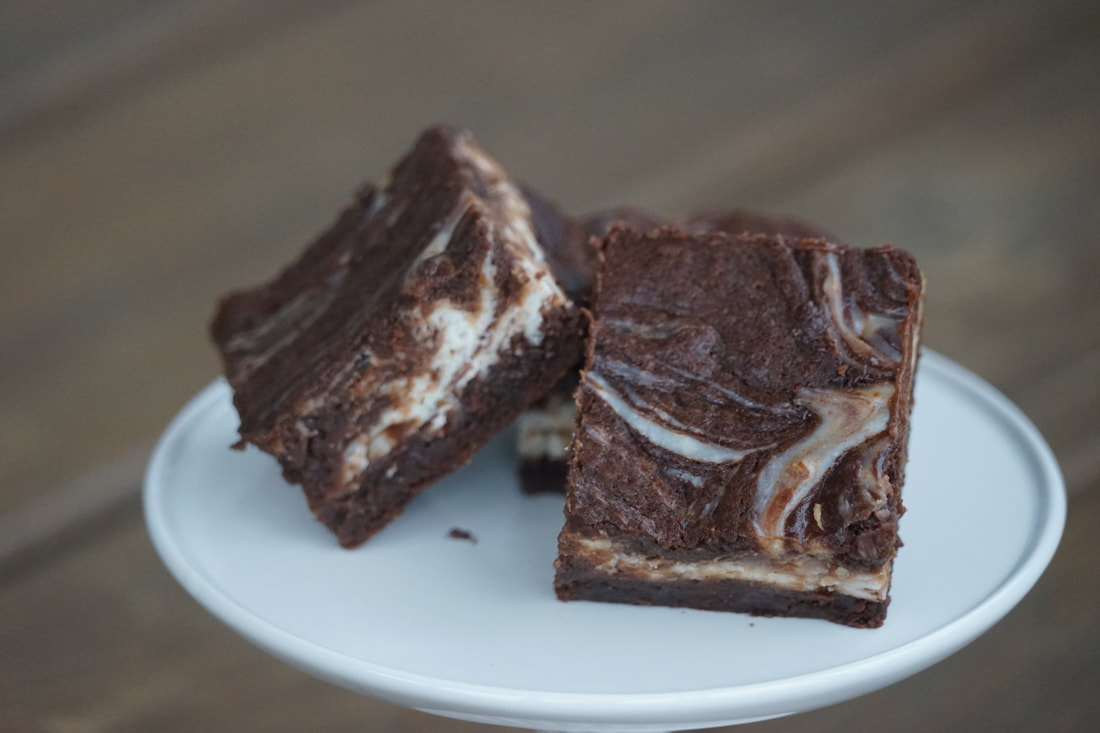 Cream Cheese Brownies Cream Cheese Filling 4 ounces cream cheese 1/2 cup sour cream 2 Tablespoons sugar 1 Tablespoon flour Brownie Batter 2/3 cup flour 1/2 teaspoon baking powder 1/2 teaspoon salt 4 ounces unsweetened chocolate 8 Tablespoons butter 1 1/4 cups sugar 2 eggs 1 teaspoon vanilla
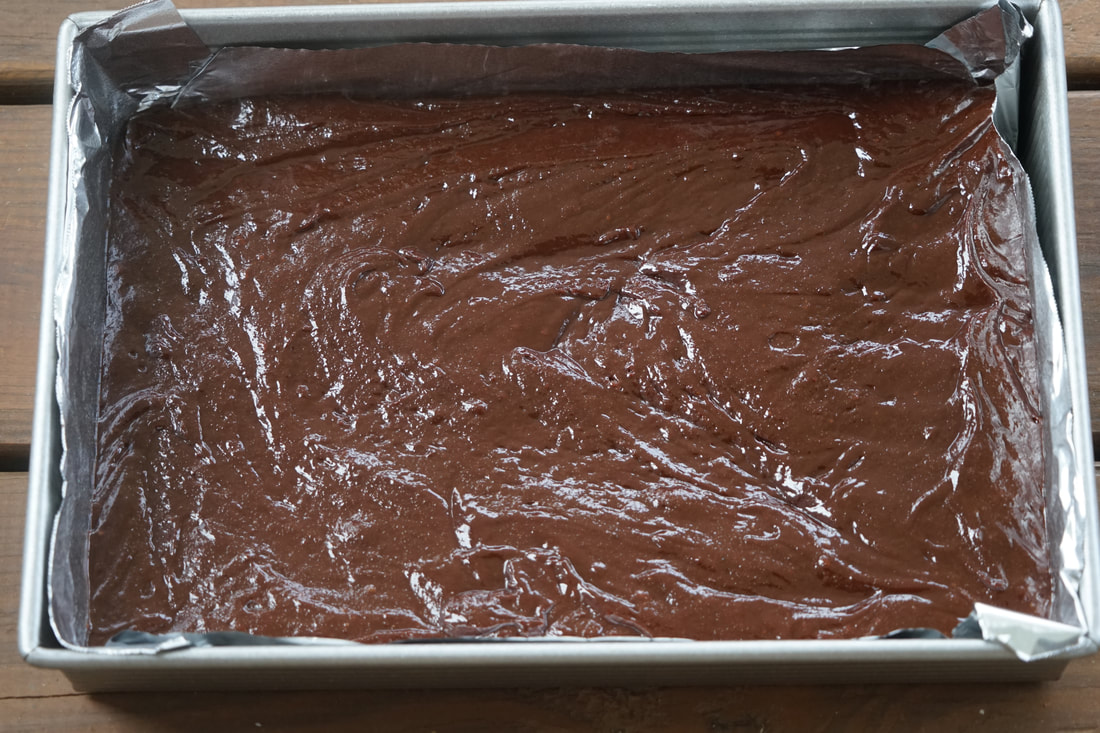
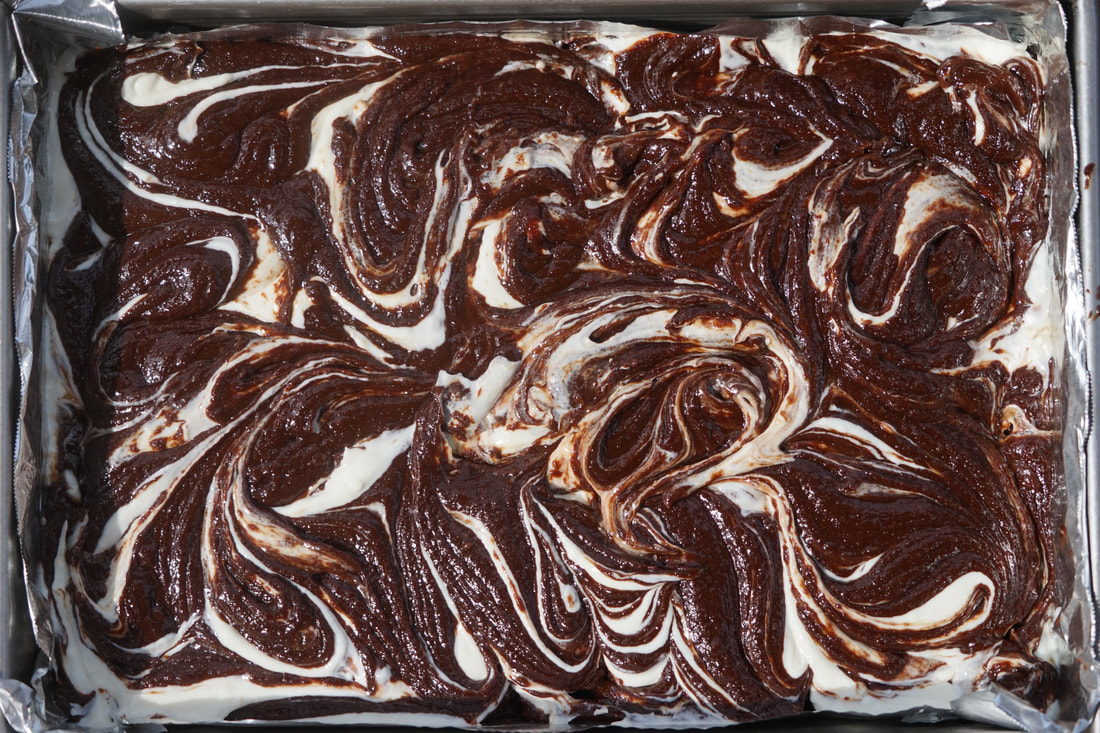
Bake 35-40 minutes at 325. Let cool 1 hour.
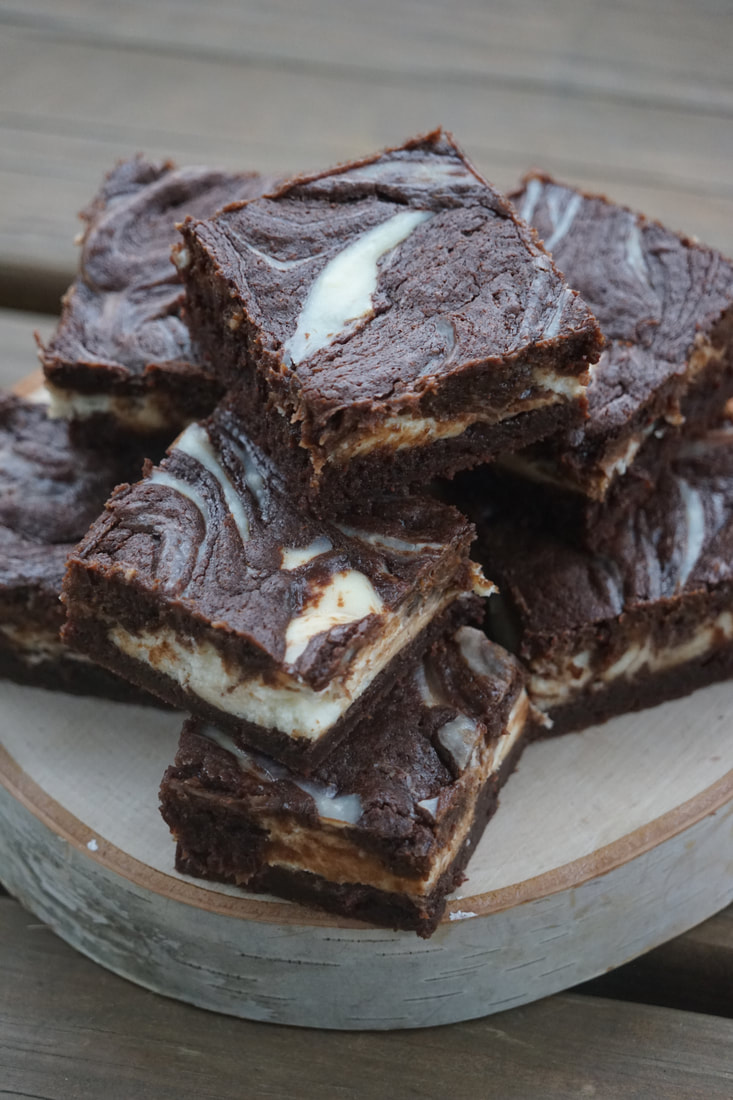
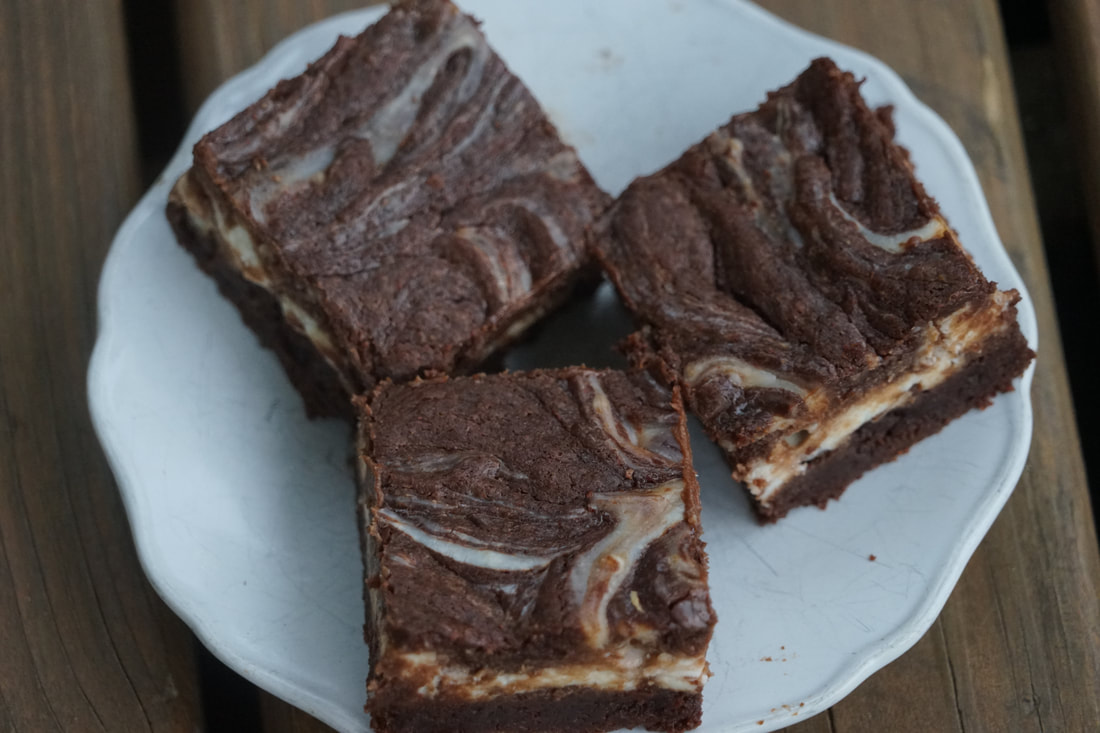
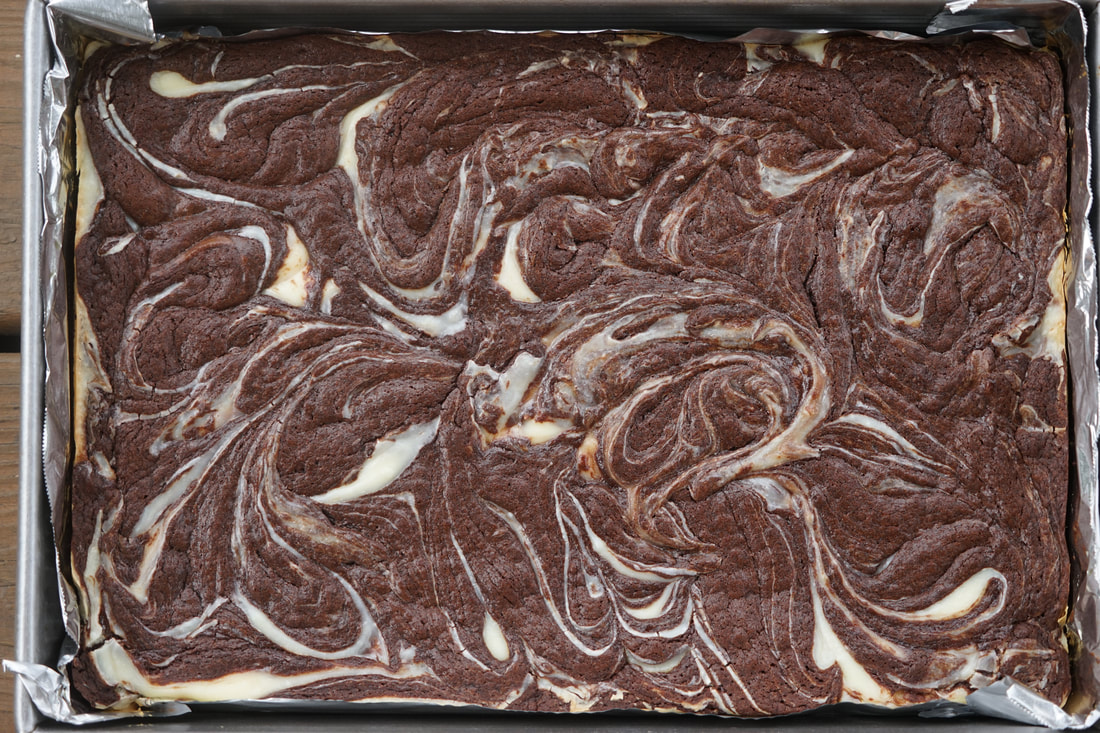 Lift brownies from pan using foil sling. Cool 1 hour. Slice. 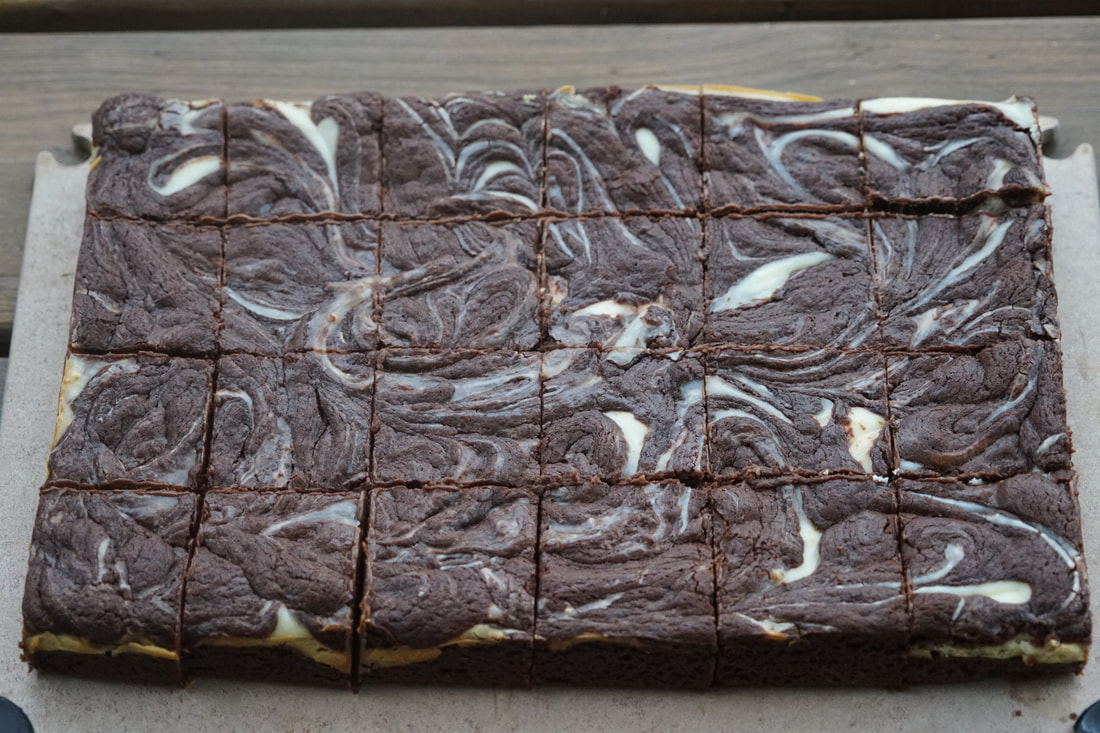 Enjoy!!!
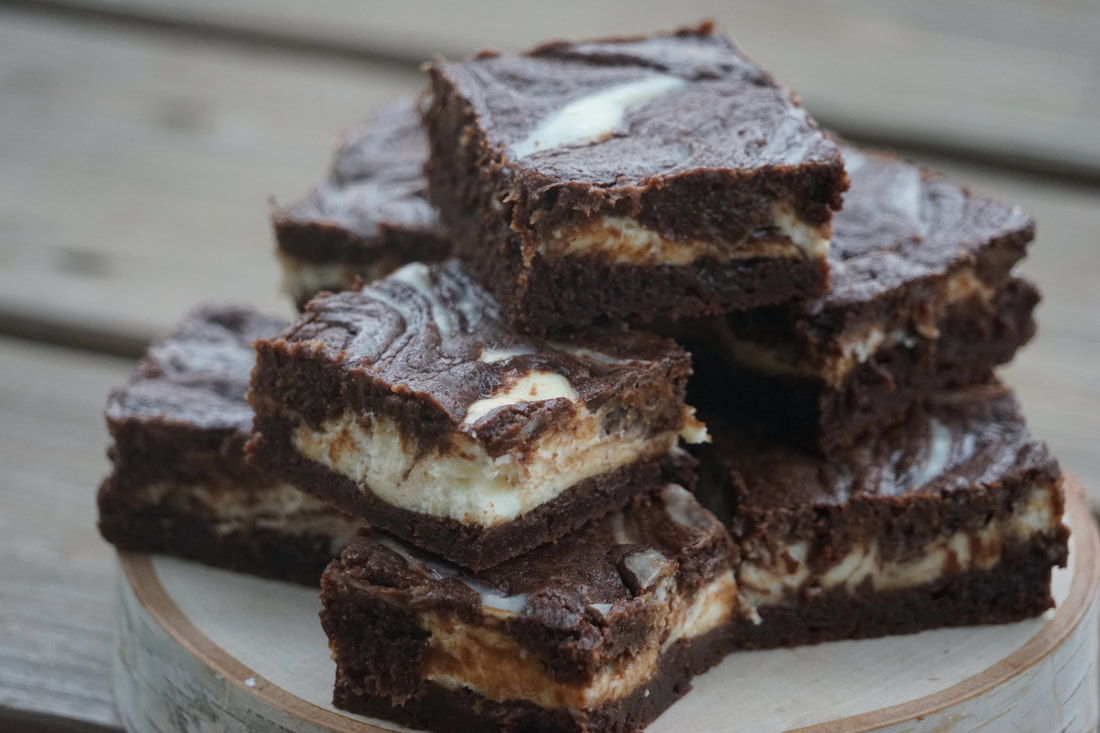 Now that I've successfully converted you to a homemade brownie fan, I feel like I can answer my own question. YES - homemade brownies really ARE worth the extra cost and effort. They're just that good.
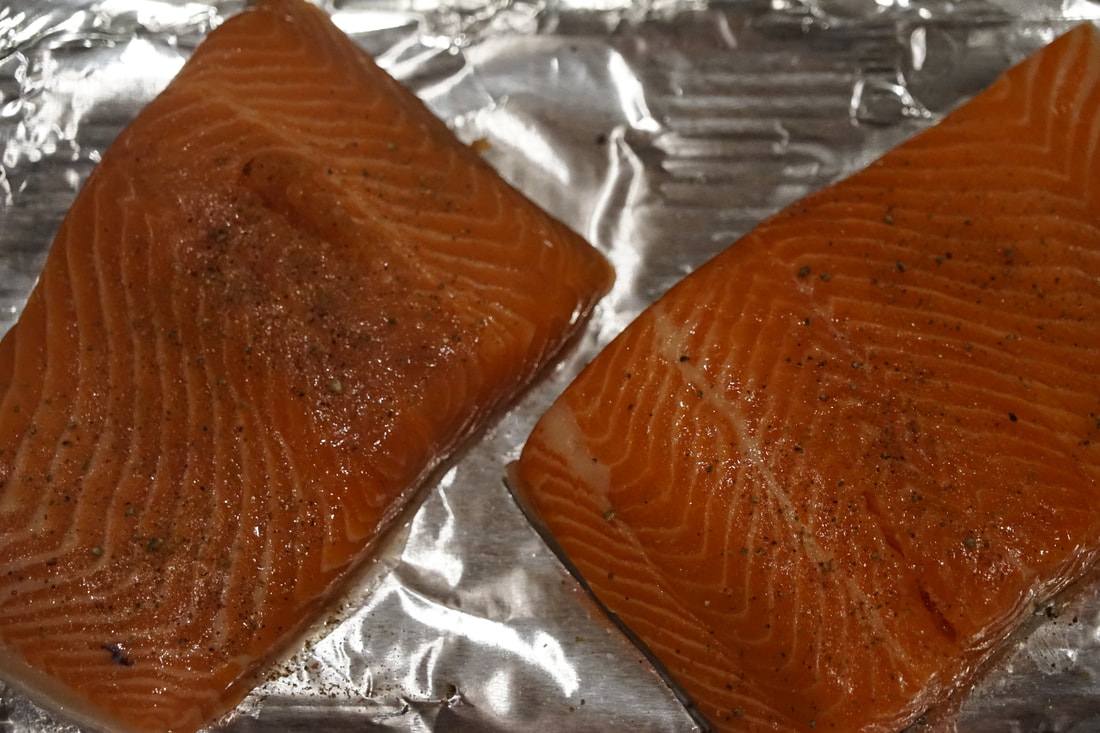
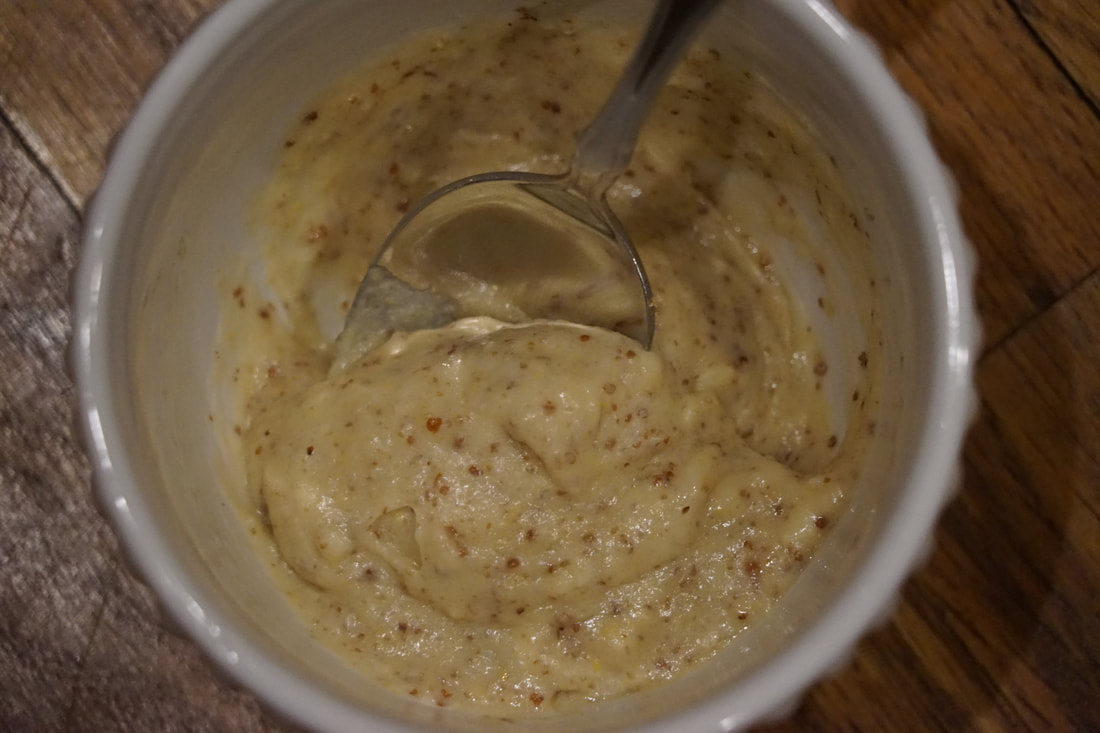
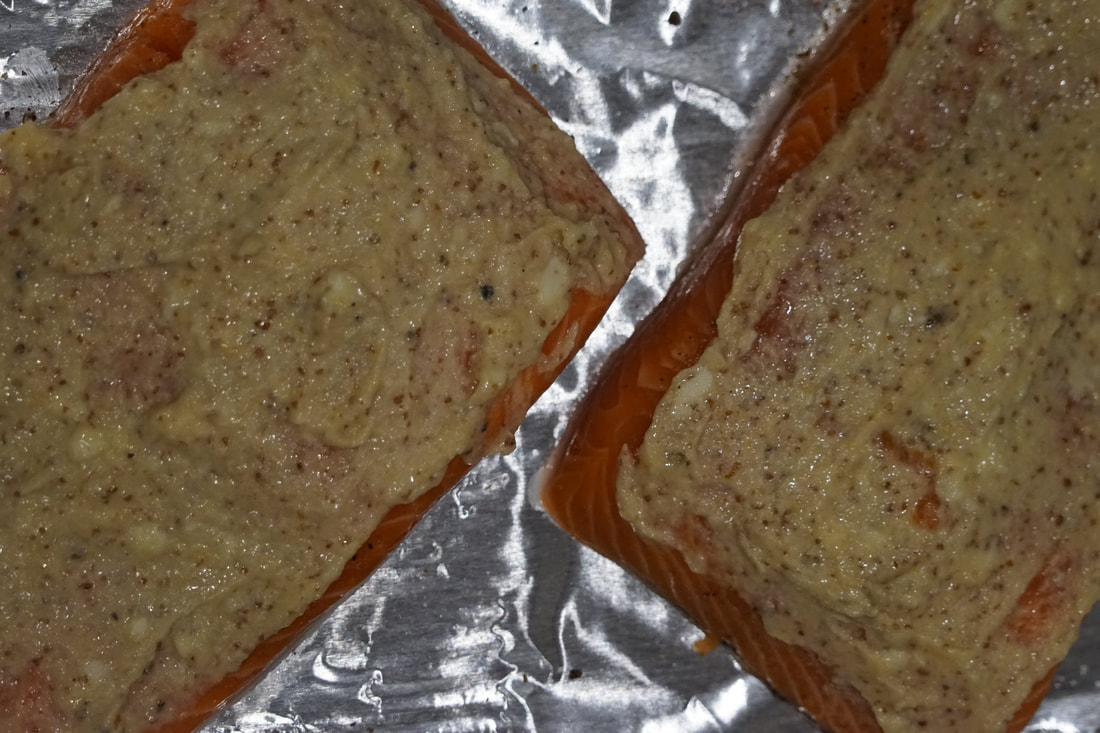
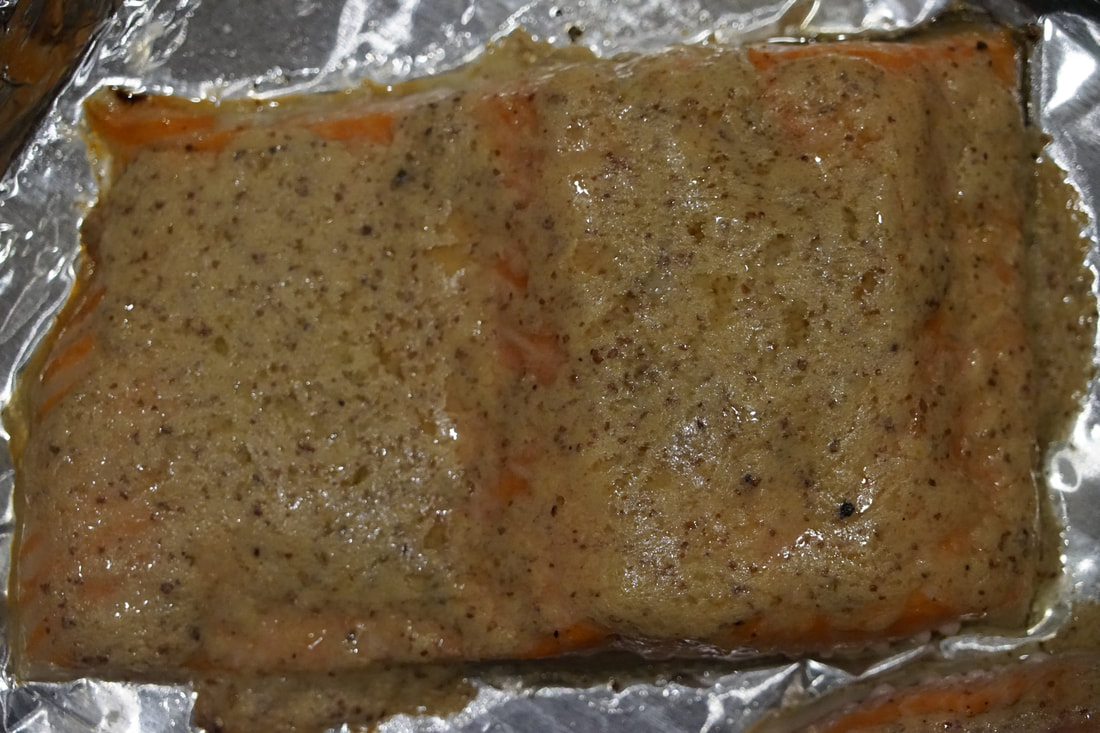
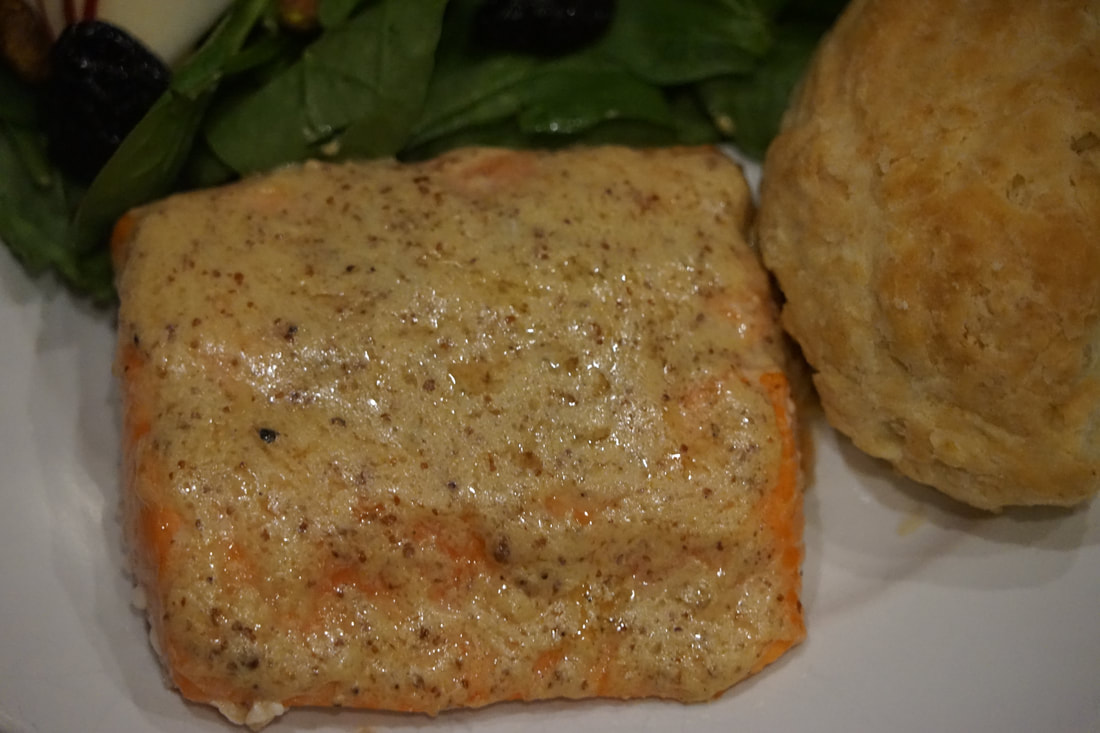
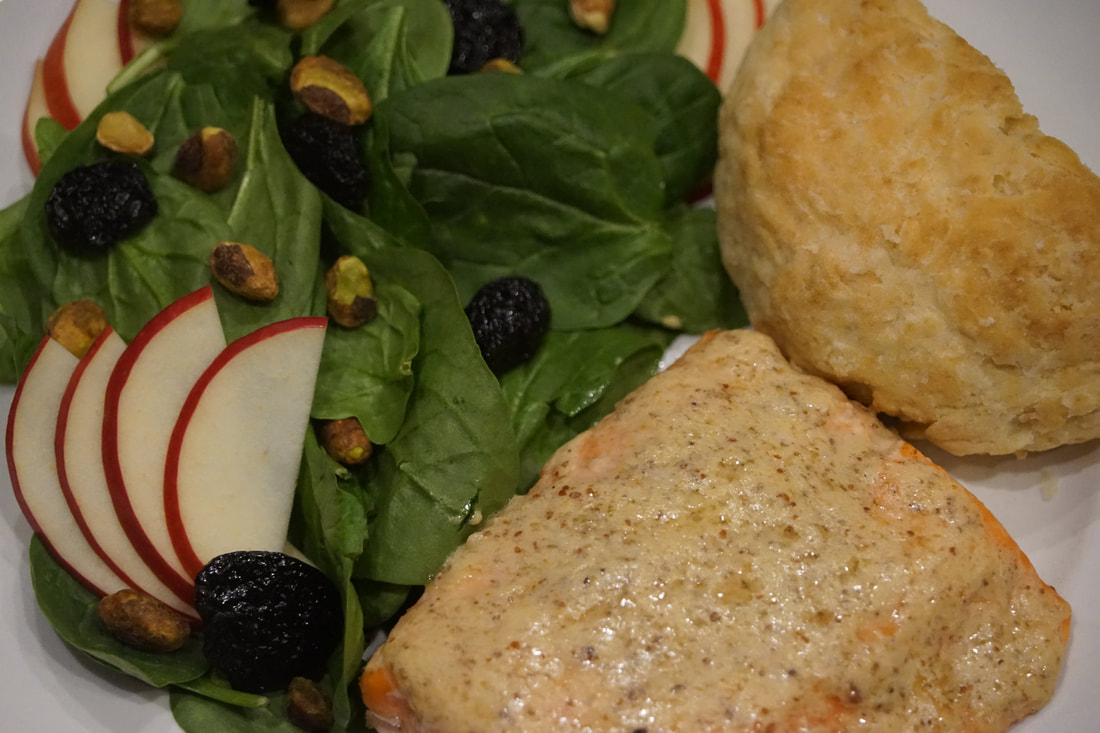
Ciao! 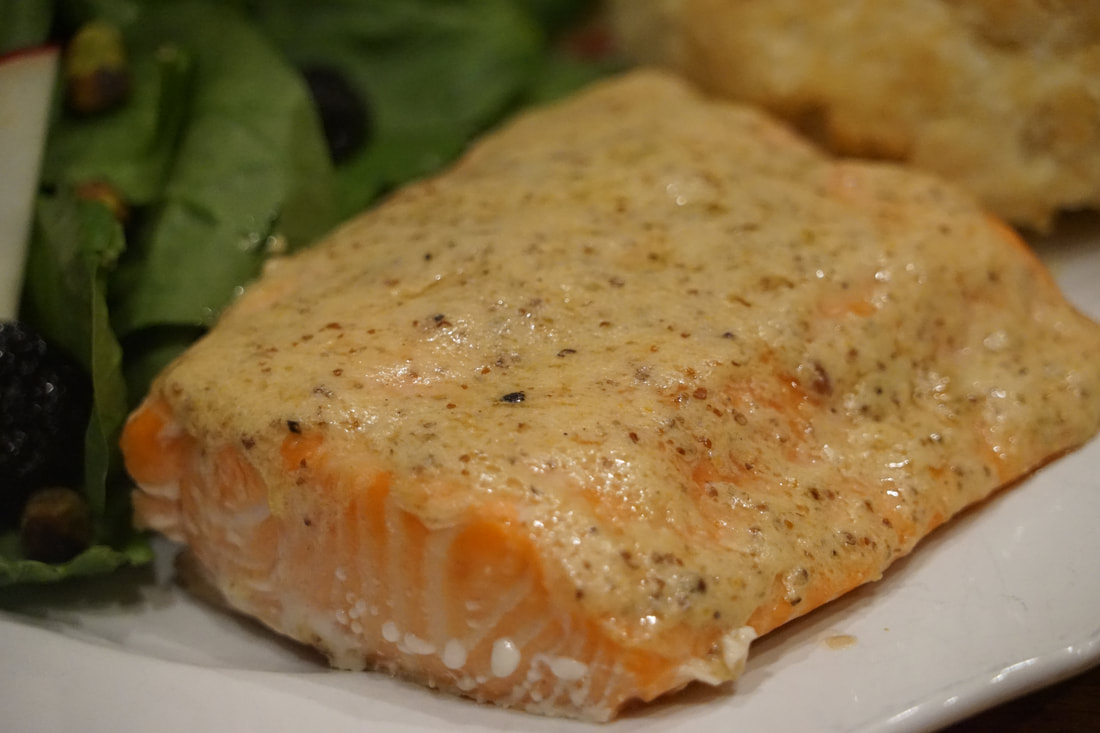 Put away the uber salty soy marinades and the ultra sweet brown sugar glazes - its time to bring the taste of salmon to the forefront. Don't get me wrong, I like a lovely piece of "dressed up" salmon but quite honestly, I really don't need fancy glazes and sauces to enjoy it. A few spices, a drizzle of lemon or a simple mustard coating is really all it takes to bring out the very best flavor of the fish without covering it up. 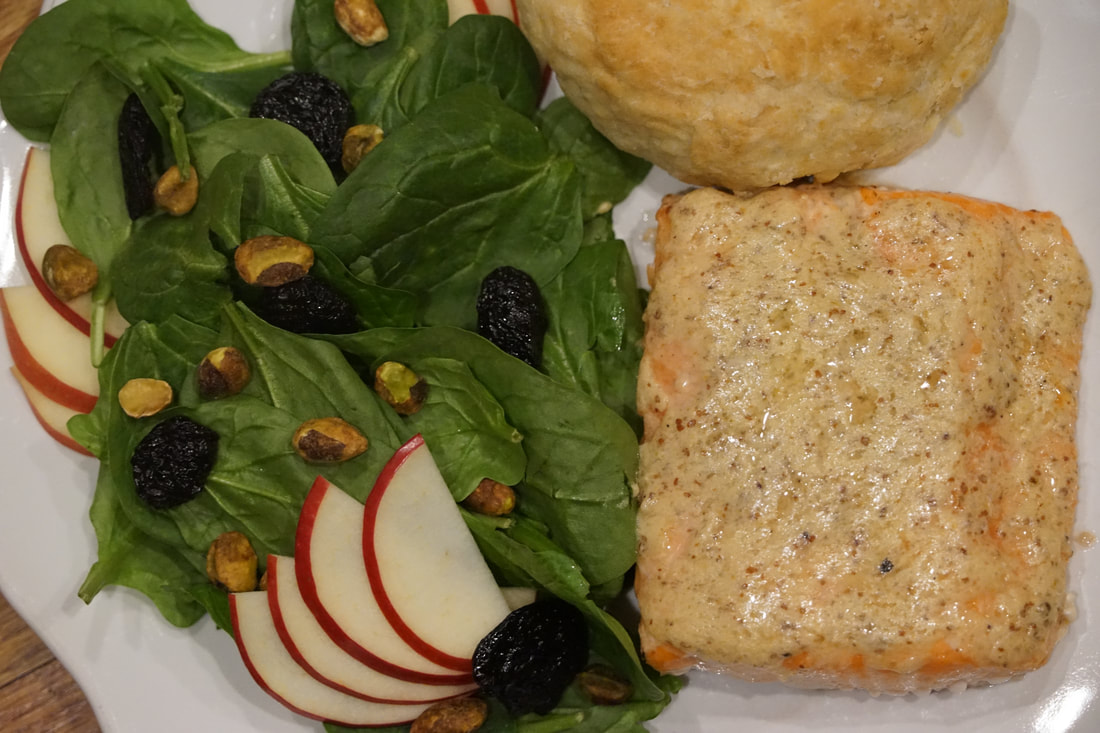 This recipe is perfect for busy week nights. I paired my salmon with an easy spinach salad and it took less than 30 minutes to prepare. More importantly - it was super tasty. 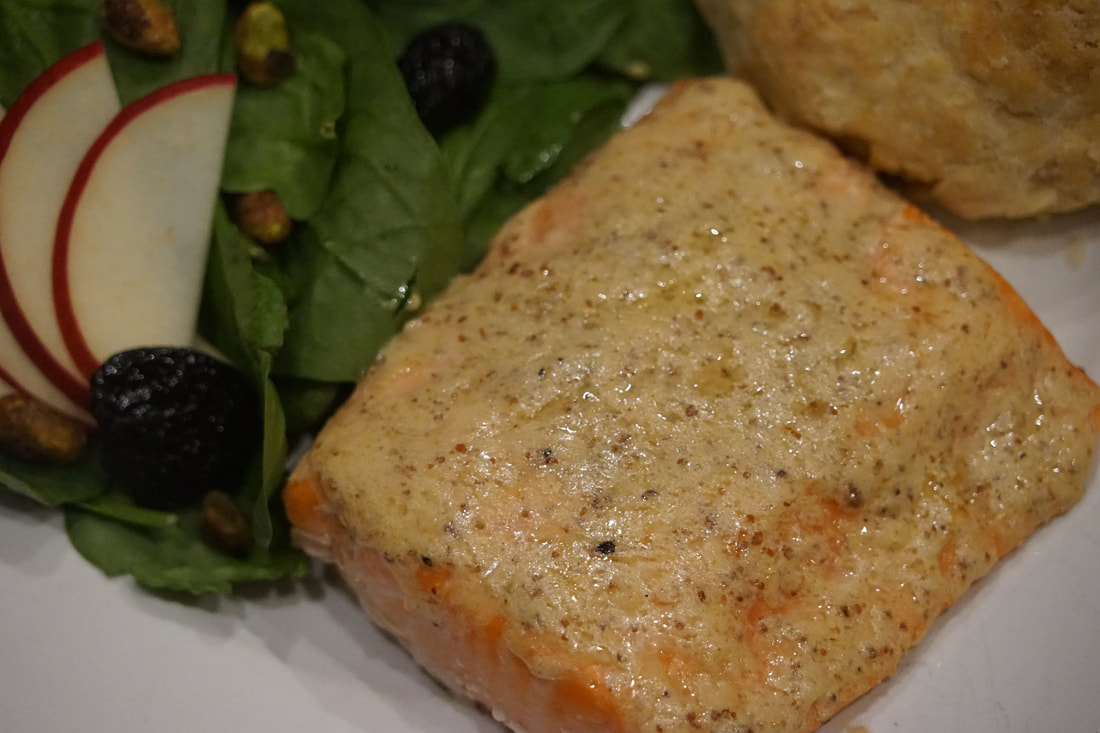 Mustard Butter Roasted Salmon 2 1/2 pounds salmon kosher salt pepper 3 Tablespoons Dijon mustard 2 Tablespoons butter, softened 1 Tablespoon brown sugar
Serve.
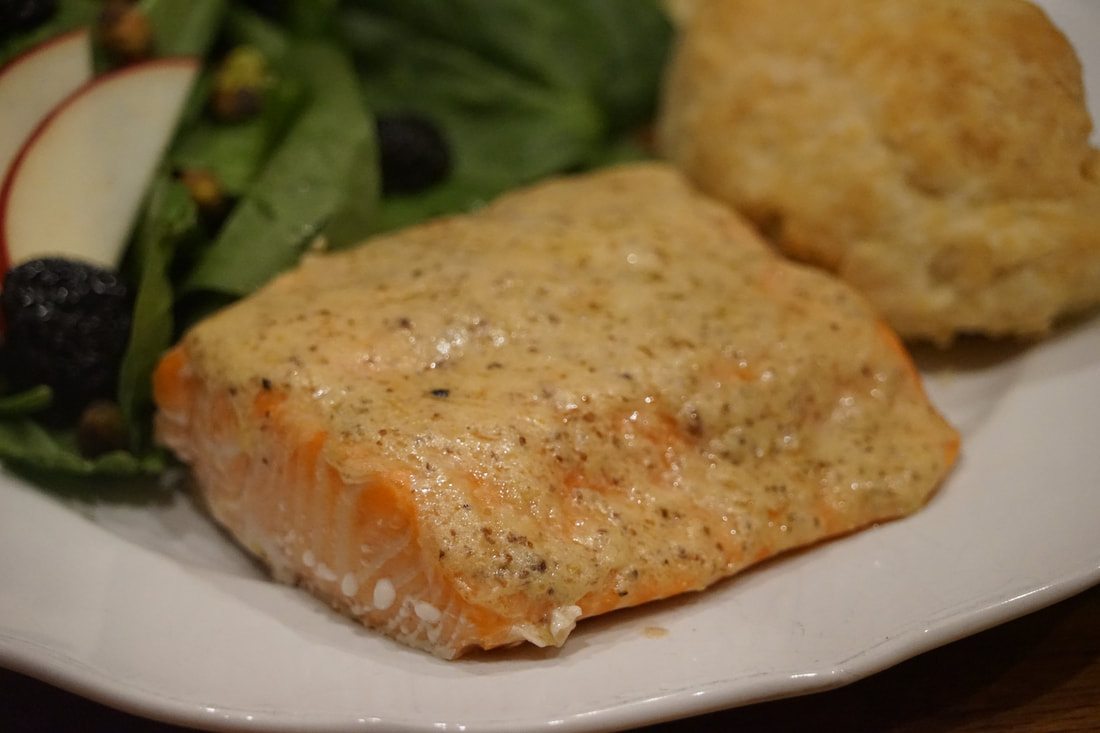 I've had a super busy week of catering orders to fill and I've been spending 12-14 hours a day in my kitchen so I'm taking a little hiatus this weekend. I love this salmon recipe because it's so easy to prepare and it minimizes the time that I have to be in the kitchen this weekend. Don't get me wrong, my kitchen is my happy place but a couple of days of minimal cooking is exactly what I need right now. Thank goodness for easy, simple and tasty salmon recipes.
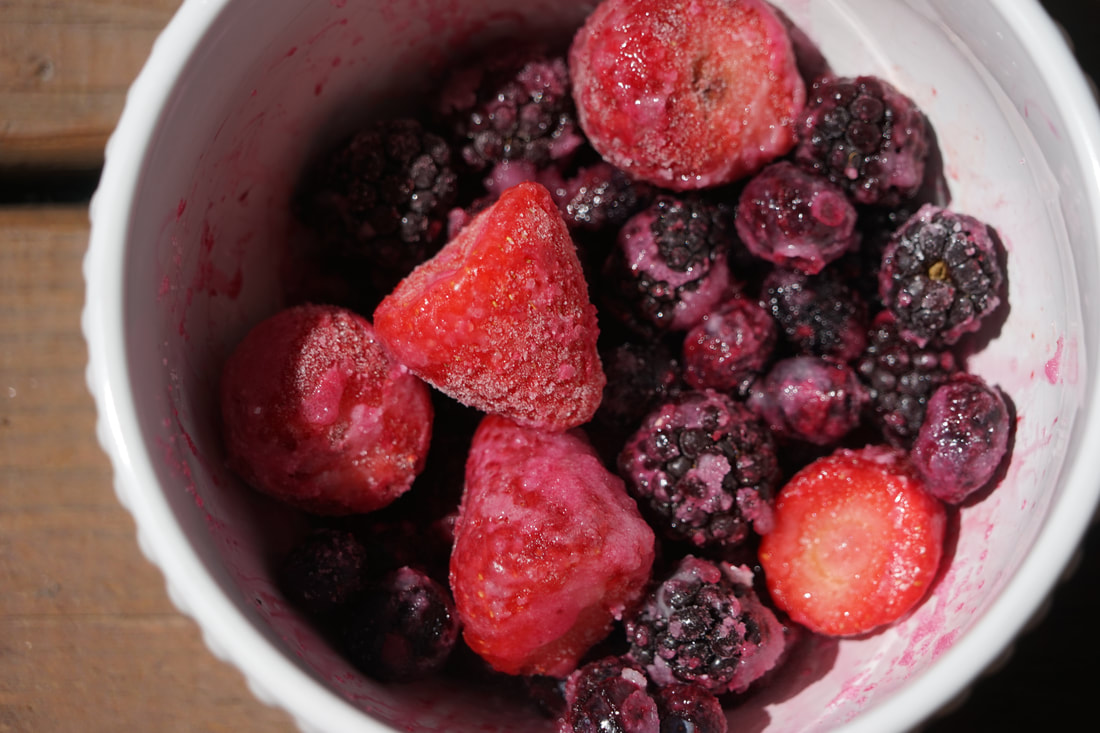
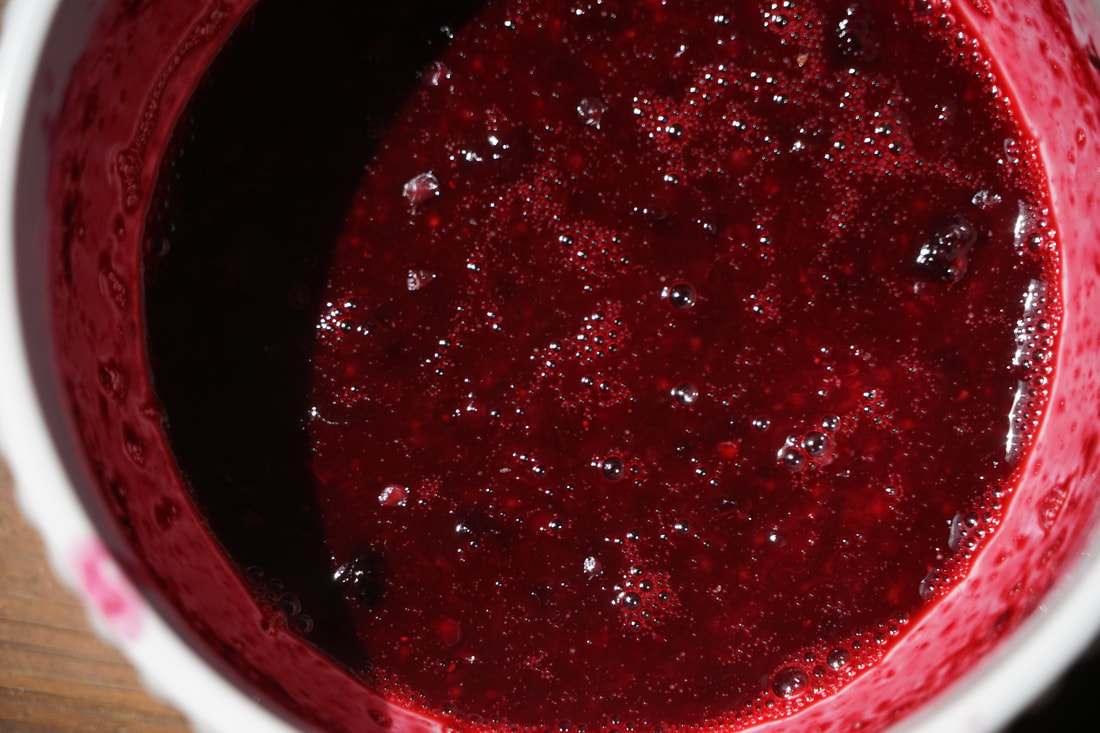
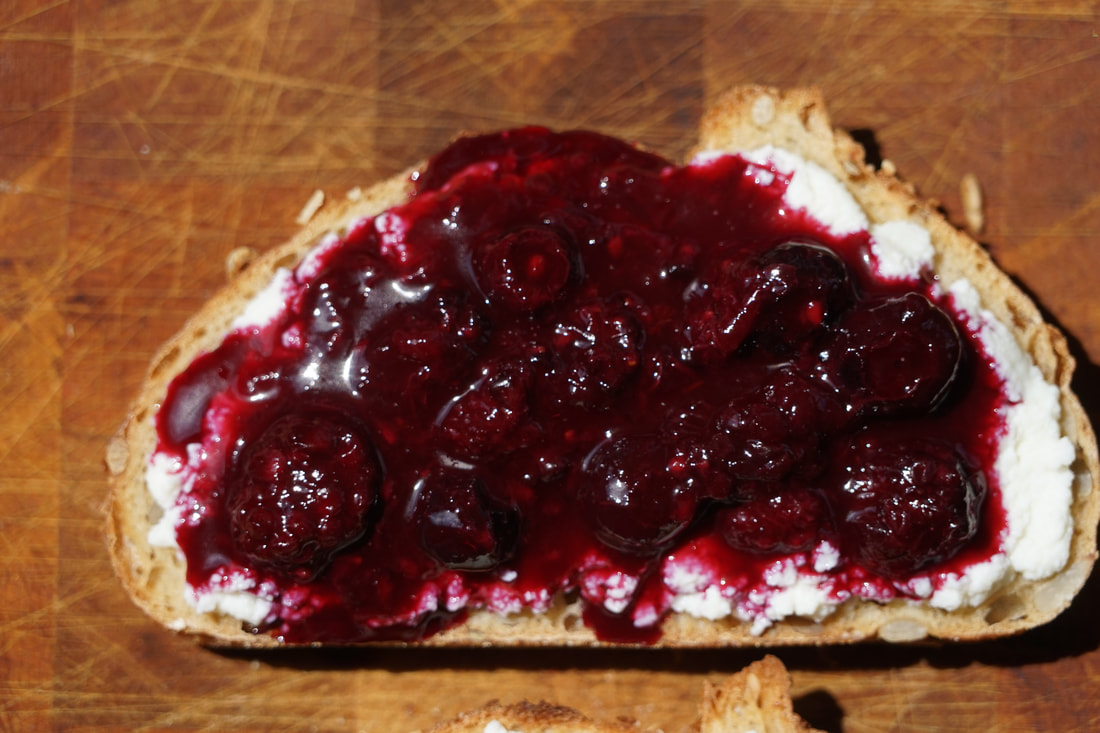
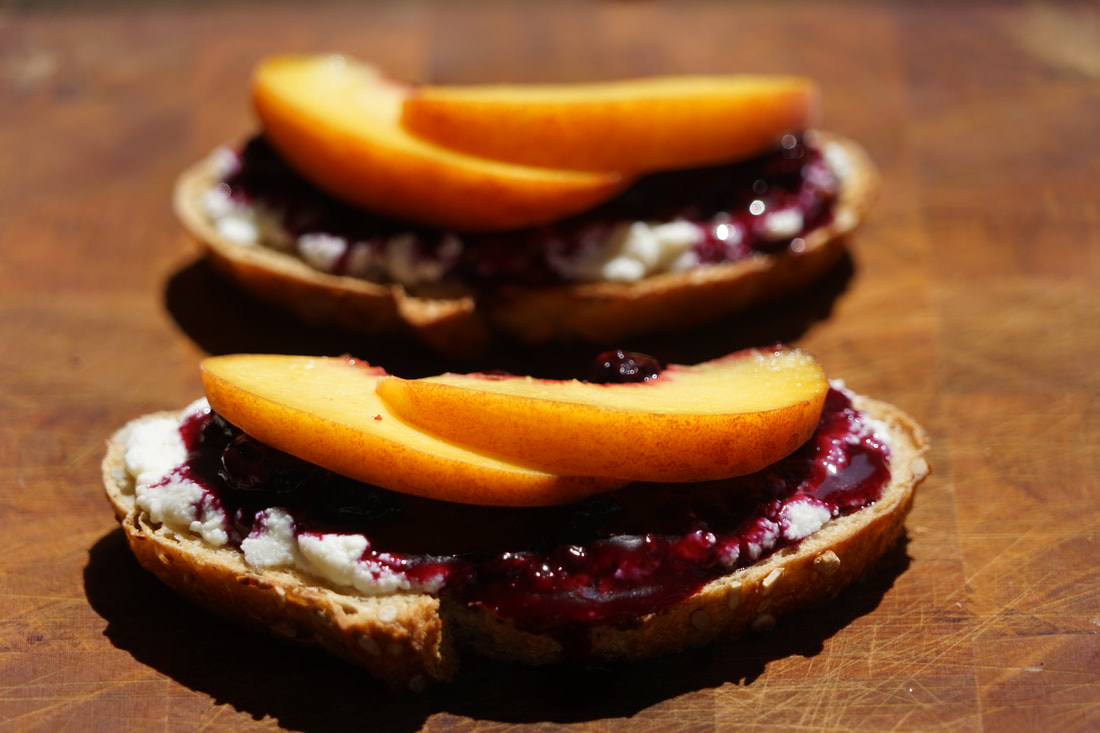
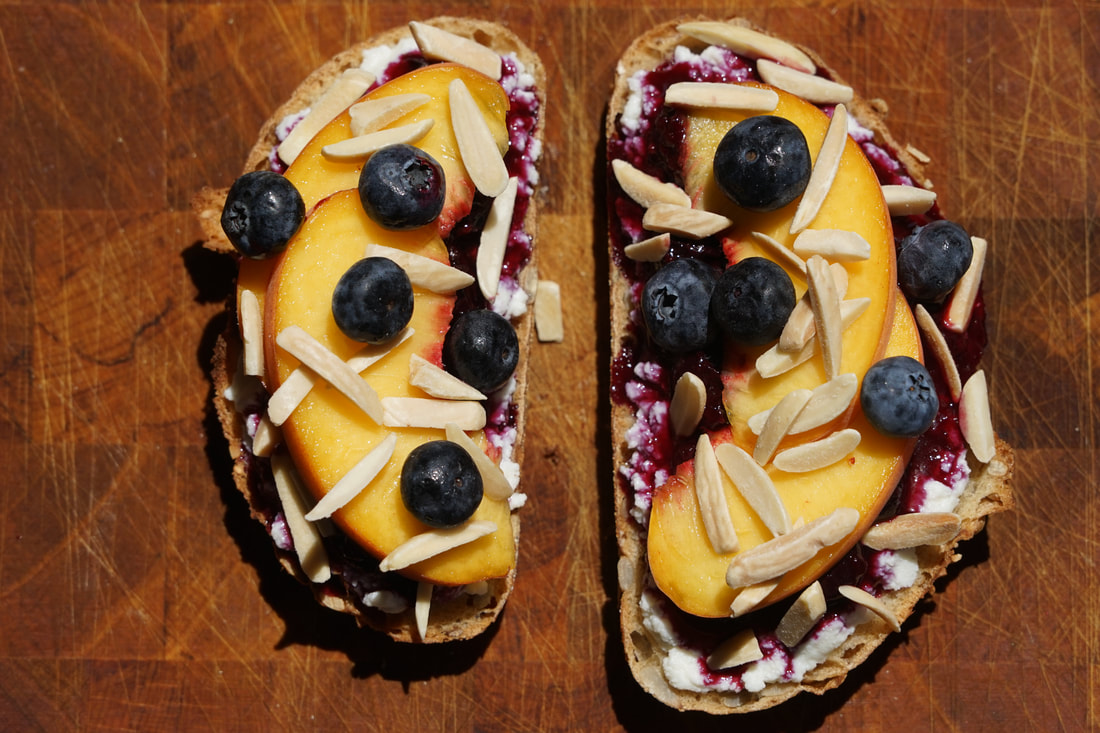
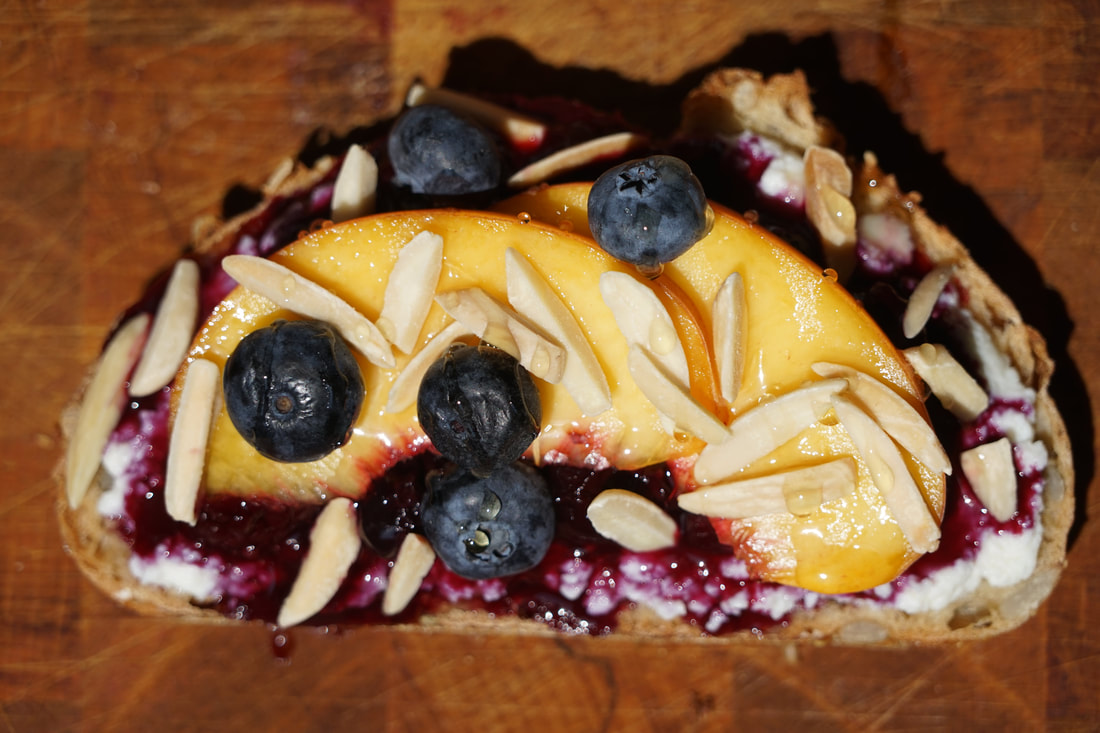
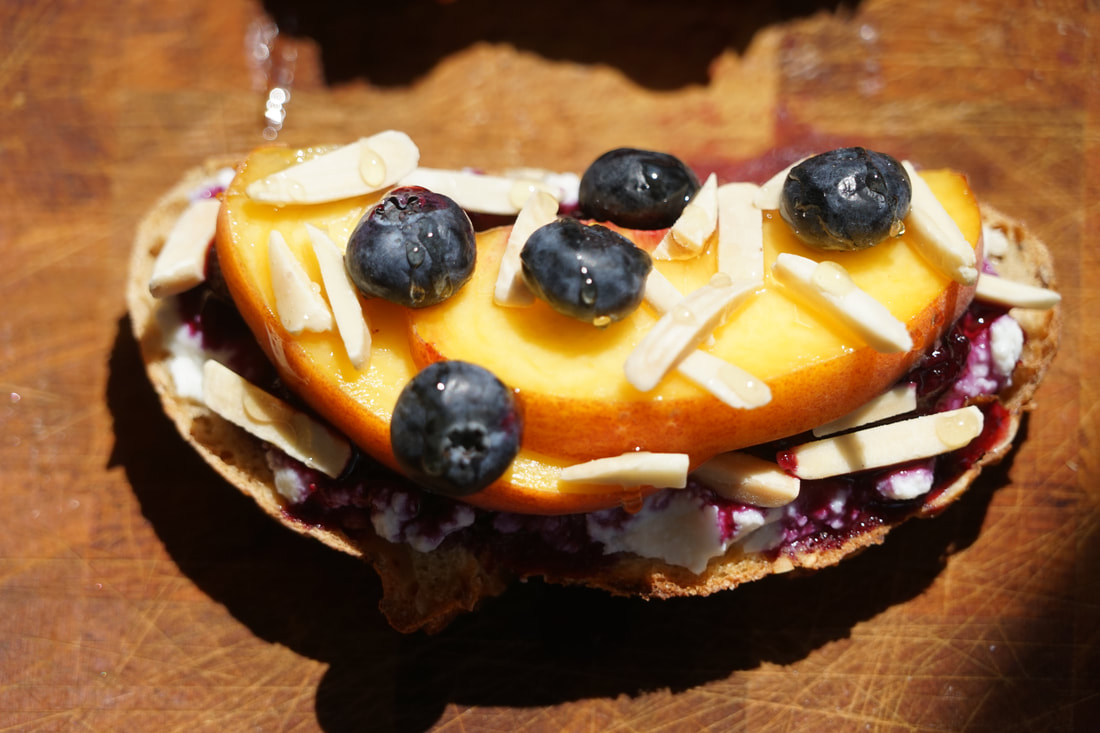
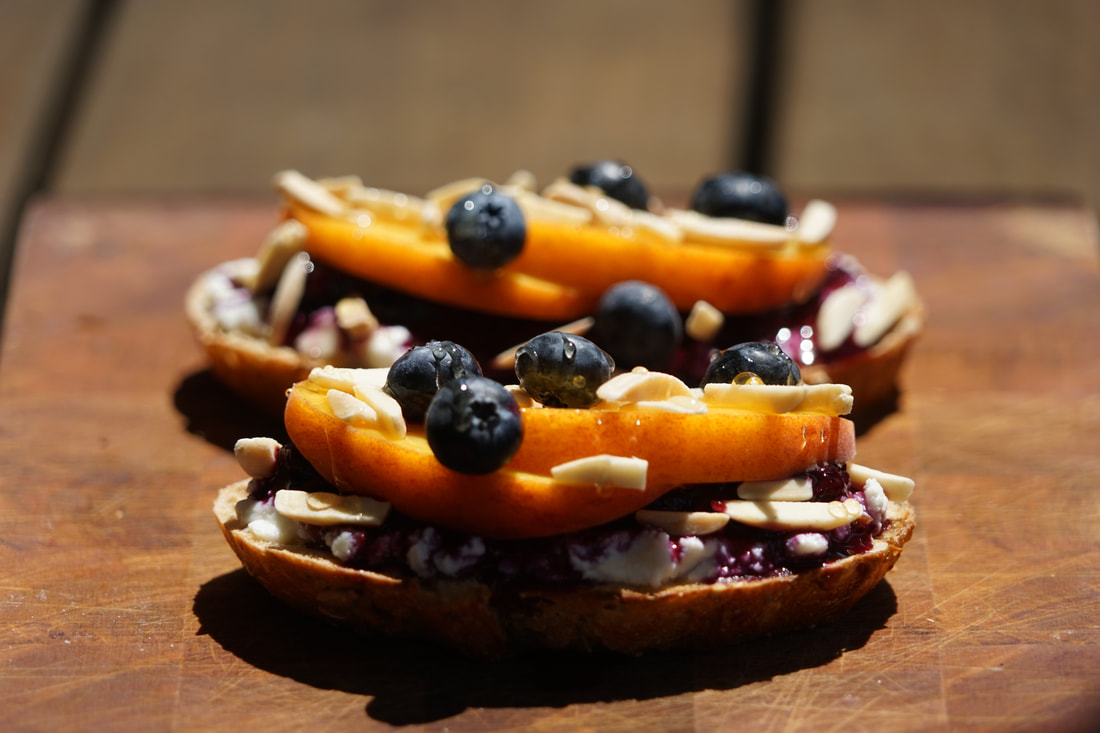
Ciao! 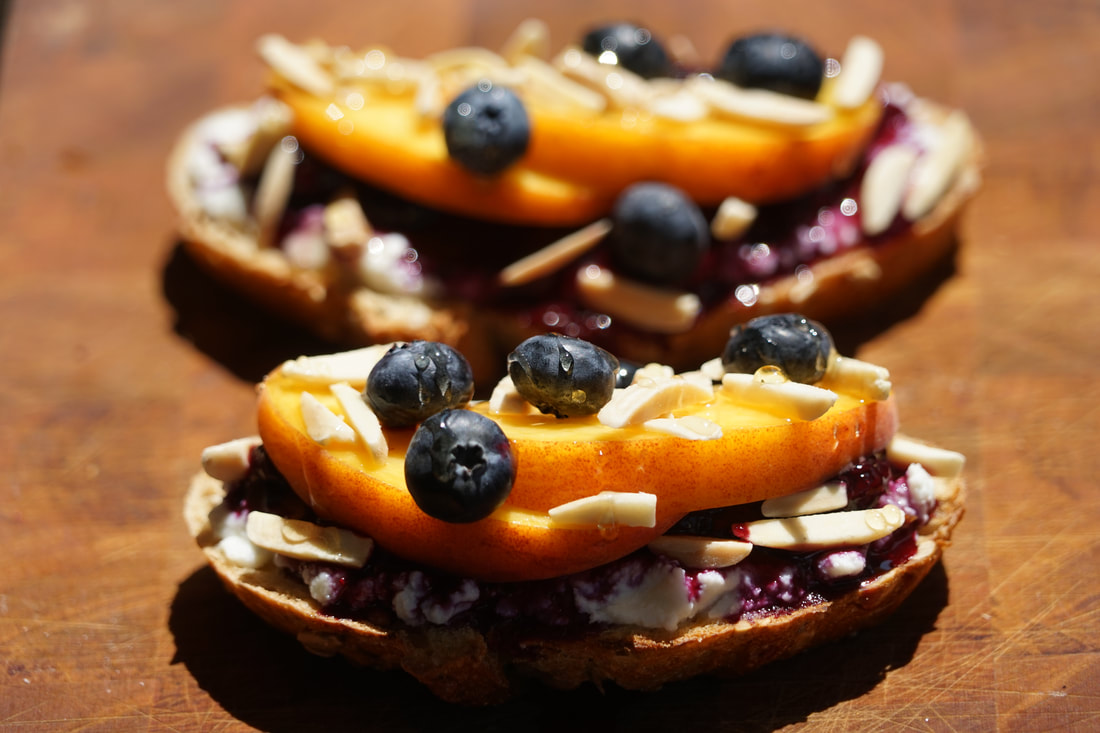 Why is it that every time I go to the grocery store looking like I was caught in the middle of an elementary school food fight, I run into 17 people that I know? It never fails! It's not that I love the idea of grocery shopping with stains on my shirt and food in my hair but let's be real - it happens more often that I'd like to admit. I'm innocently working away in my kitchen on a clients cake when I suddenly realize that I'm completely out of cake flour. Epic fail for a baker. (Have I mentioned lately how much I miss having my kids at home to help with emergency grocery store runs?) Since another shower and complete wardrobe change aren't in the schedule for the day, my only option is to run to the store with flour hand prints on my butt and cake batter in my ears. (Believe it or not, I've actually done that.) So, if you happen to catch me running up and down the aisles of the grocery store trying to avoid eye contact with the other shoppers, it's probably because I'm embarrassed about being splattered with buttercream and I'm hyper-focused on my objective. Please don't take it personally if in my haste to gather my supplies and get back to my cake that may or may not be baking in the oven while I'm shopping, I walk right past you. It's not that I don't want to stop and chat, it's more a matter of distraction and utter humiliation about my appearance. 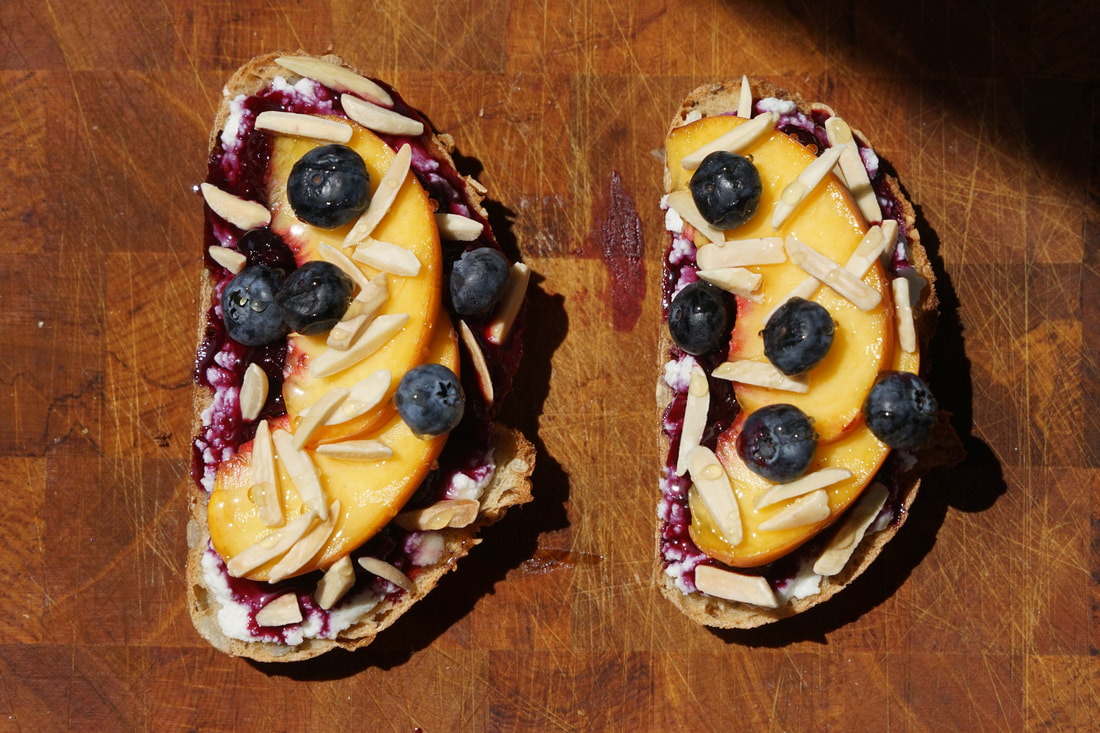 I make a LOT of trips to the grocery store. I would estimate that only about 15% of them are pre-planned trips. The rest are out of necessity and it only happens after I've called several neighbors in search of my missing ingredient. Sometimes when I have the option, I like the challenge of NOT going to the grocery store and using up whatever I happen to have on hand in my refrigerator and pantry. A spoonful of ricotta, a handful of nuts, a half of a bag of frozen mixed fruit, a leftover peach, a few blueberries and a slice of multigrain bread - ultimate breakfast toast. My original idea was to use frozen raspberries and fresh blackberries but since that would have required a trip to the store - I used up the fruit that I had on hand. I think it turned out pretty well. 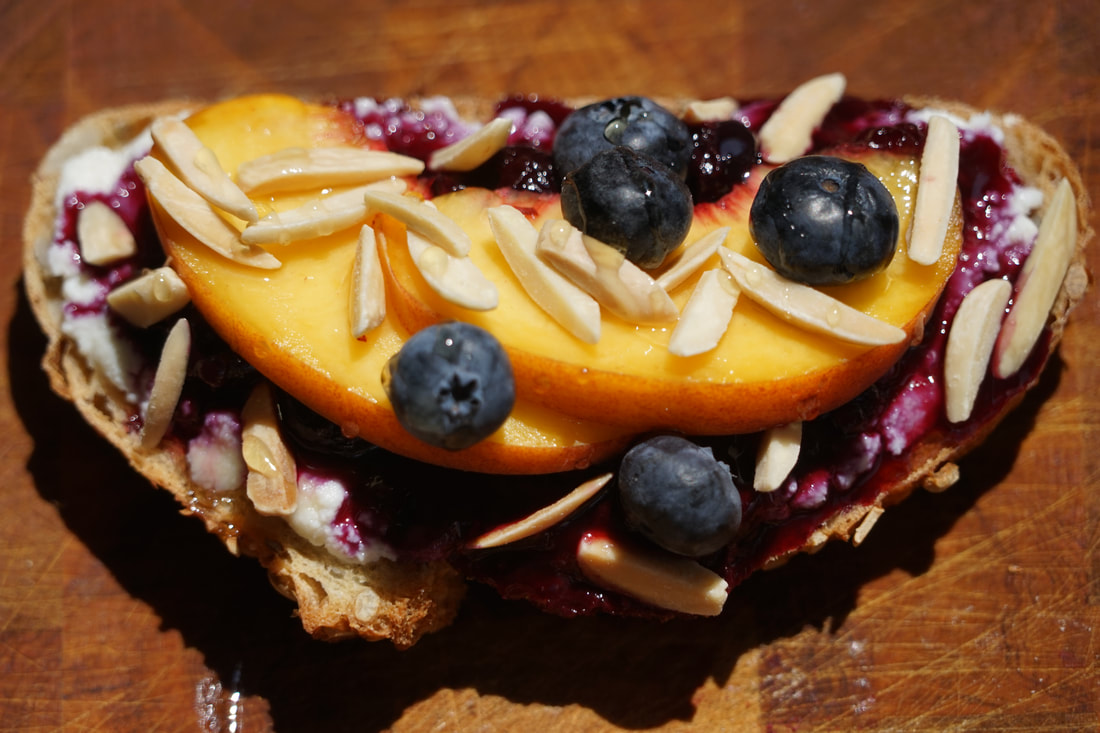 Ultimate Breakfast Toast 2 cups mixed frozen berries 1/4 cup sugar 1 Tablespoon lime juice 1/4" thick slice fresh ginger 1/2 cup part skim ricotta 4 multigrain bread slices, toasted 1 peach, sliced 1/2 cup fresh blueberries 5 Tablespoons toasted, slivered almonds, chopped 2 Tablespoons honey
Drizzle with honey and enjoy.
 My only saving grace really is the fact that a 5 foot nothing cook dressed in a food stained t-shirt isn't actually tall enough to make the camera in the self checkout line. It's true. My forehead is the only thing visible on that tiny little screen while I scan my grocery items. As long as I don't check out with flour splattered on the top of my head, my unkept appearance can go undocumented. LOL.
Ciao! |