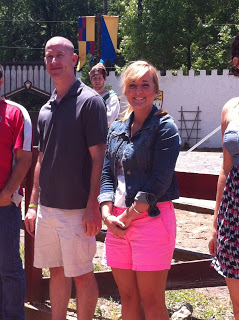
 Well, I did it. I finally jumped in and entered my very first cupcake war! Luckily for me, I am blessed with a good friend who gave me the encouragement that I needed to submit my registration form. The Royal Cupcake Challenge was held at the Renaissance fair on Mother's Day. The rules were simple: Bake 3 unique cupcake flavors and decorate each with a Renaissance theme. (4 cupcakes of each flavor for a total of 1 dozen cupcakes.) Easy enough - right? I thought about it for a few days then finally decided on my three "unique" flavors to enter in the competition.
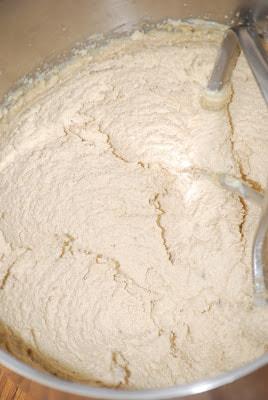
A Snickerdoodle cupcake - a cinnamon sugar cupcake with a cookie crumble crust and toasted meringue buttercream.
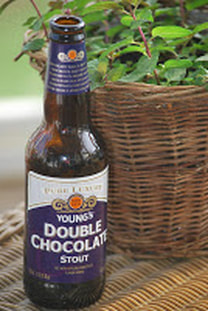
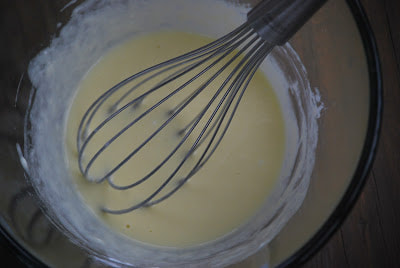
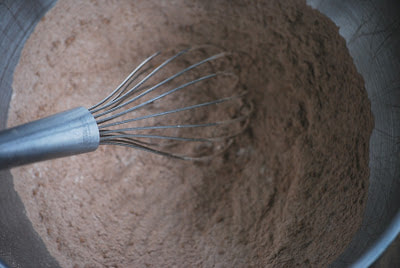
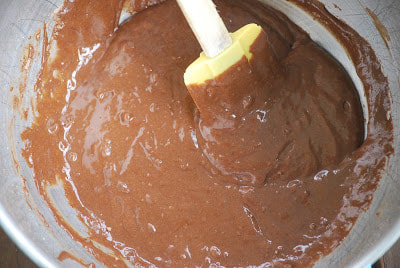
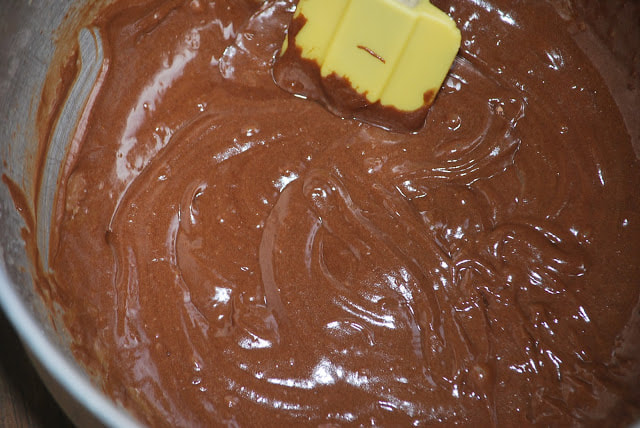
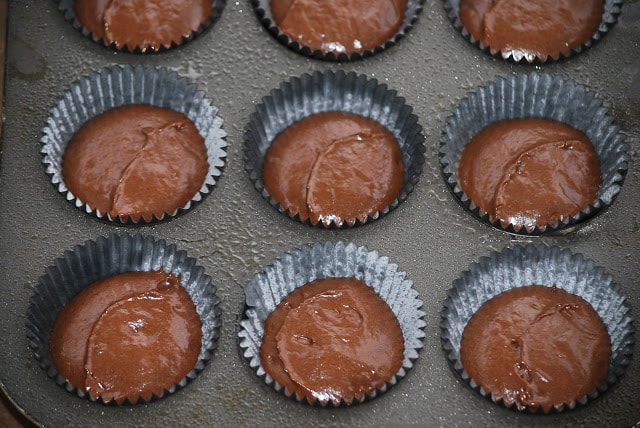
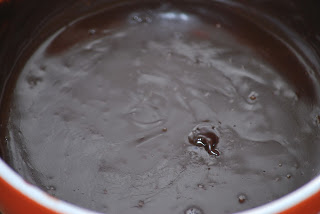
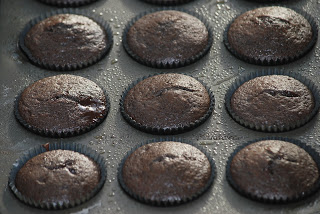
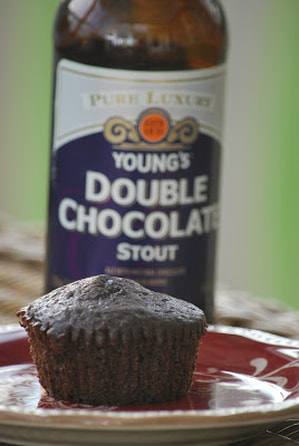
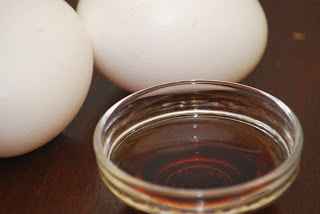
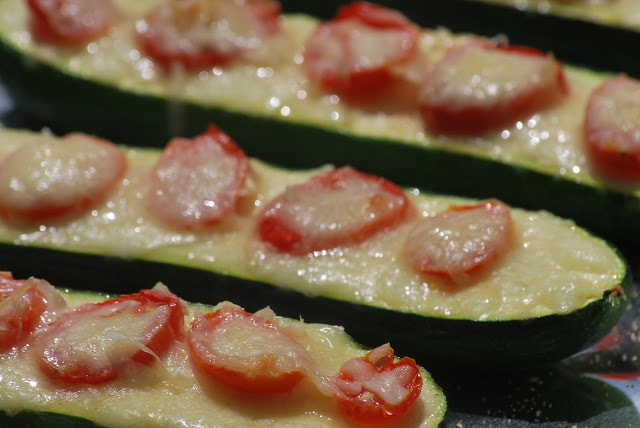
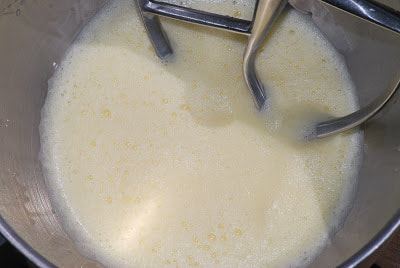
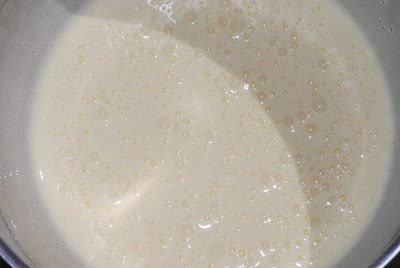
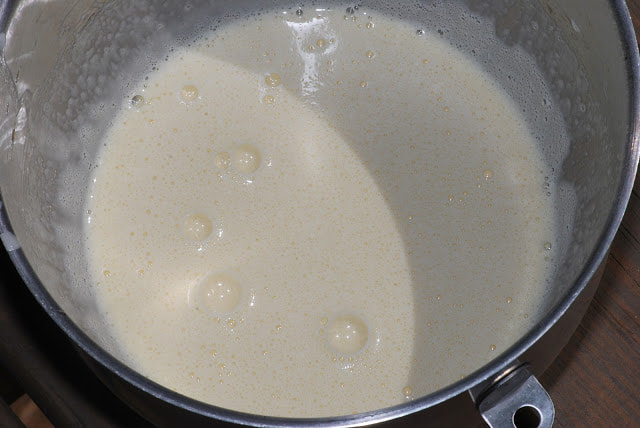
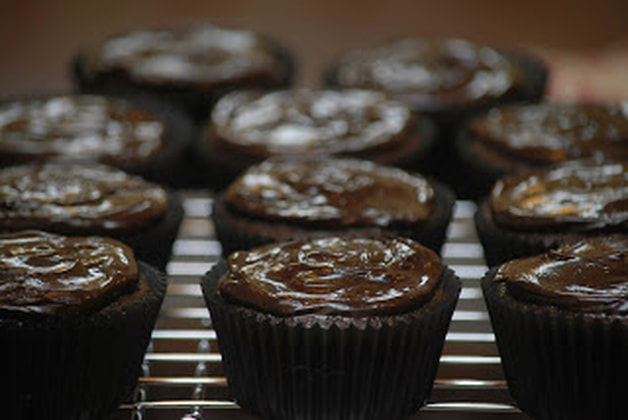
The pink lemonade and the snickerdoodle are cupcakes that I make fairly regularly. The the chocolate stout cupcake was a new one for me so I gave it a trial run a few days before the competition. I made a half recipe so my portions are going to look a little different than what is printed here. Chocolate Stout Cupcakes 2 eggs 1/2 cup plain Greek yogurt 6 ounces dark stout 2 teaspoons vanilla 1/2 cup cocoa powder 1 cup sugar 1 1/4 cups flour 1 teaspoon baking soda 1/8 teaspoon cinnamon 6 Tablespoons butter, melted Chocolate Ganache 3 ounces dark chocolate 1/4 cup whipping cream 1 Tablespoon powdered sugar
Cool on wire racks. 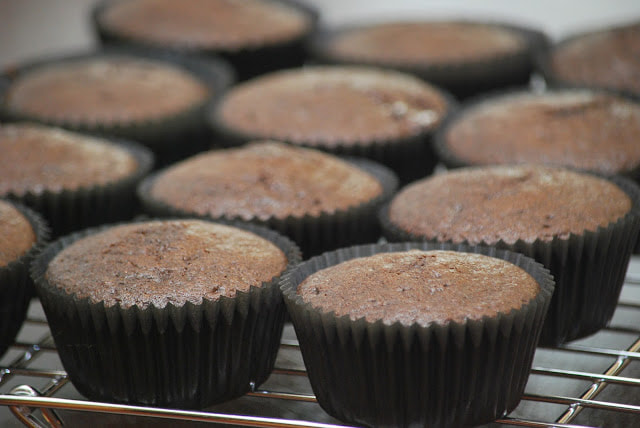
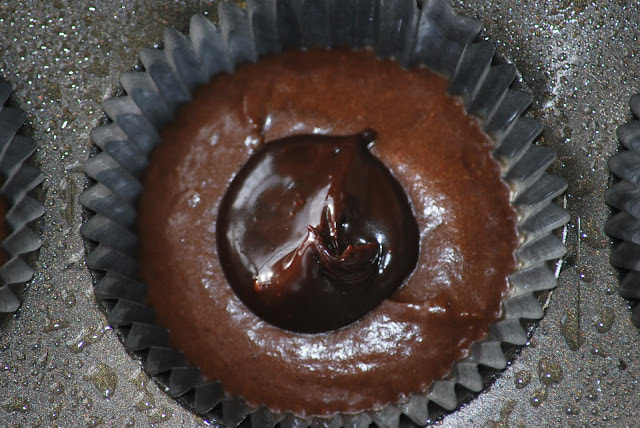
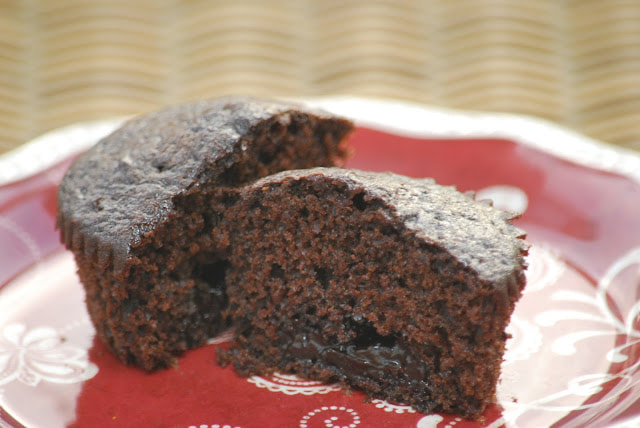
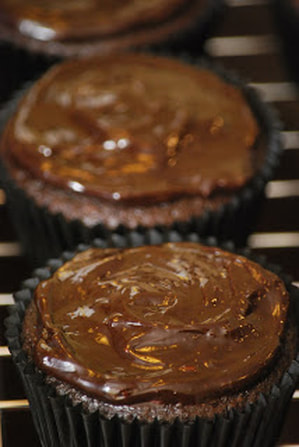
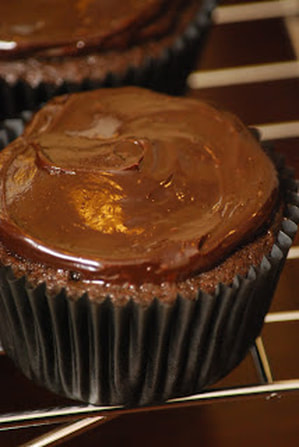
I sampled this cupcake - the entire thing! I could taste the chocolate stout but it wasn't overpowering. It was delicious and not overly sweet. I decided that it would be even better if I added more chocolate ganache to the top of the cooled cupcakes.
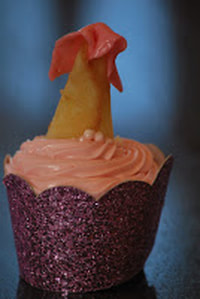
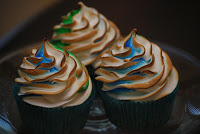
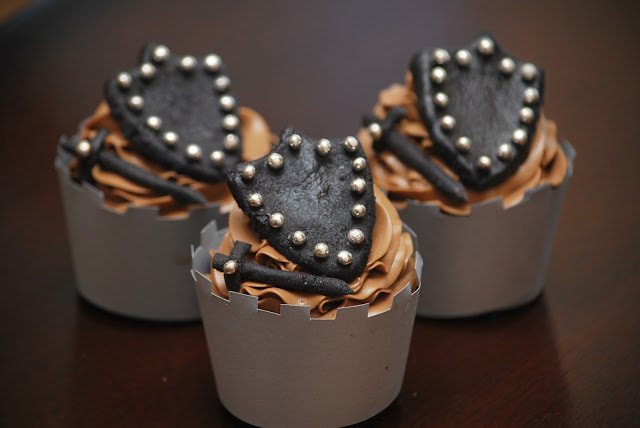
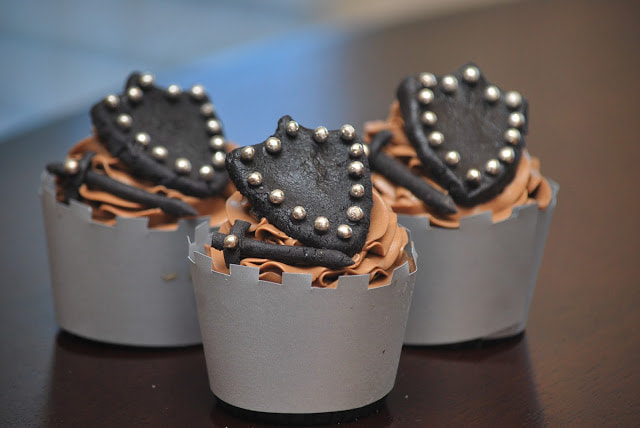
 Since these were sample cupcakes, I frosted a few for sampling. I used a white chocolate frosting and chocolate jimmies for these yummy treats. 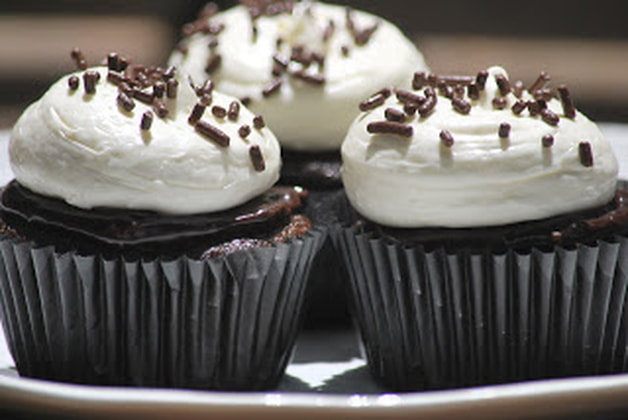 Now to turn the rest of these cupcakes into dark knights. I printed out a cupcake wrapper patterns from the internet to use as a template for my wrappers. I cut some slits in the top of mine to resemble a castle. I used hot glue to secure the wrappers.
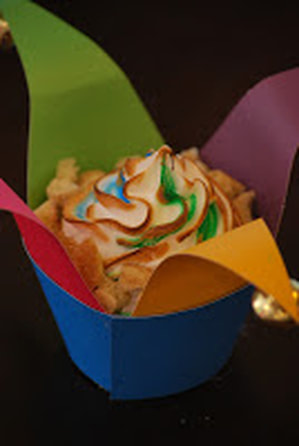
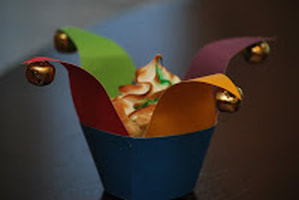
I made shields and swords using black candy melts and silver dragees. For those of you who are anxiously awaiting the results of the Renaissance Fair Cupcake War - I did not win. It was a lot of fun to participate and even though it was stressful, I would definitely do it again. These are the pictures from our day at the Renaissance festival.
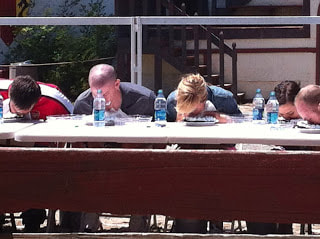
Yes, that is my husband with his face in a chocolate pie. He didn't win the pie eating contest either, but - he had pie!
Ciao!
0 Comments
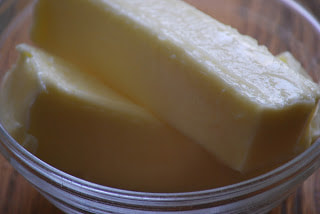
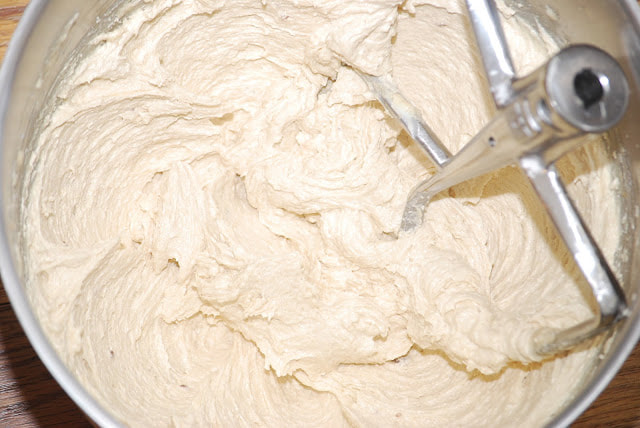
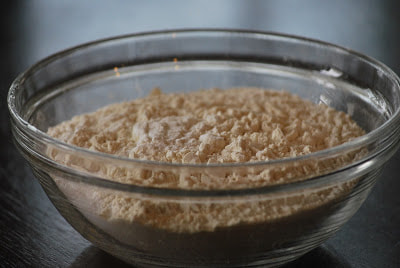
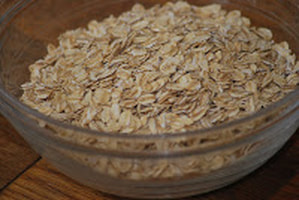
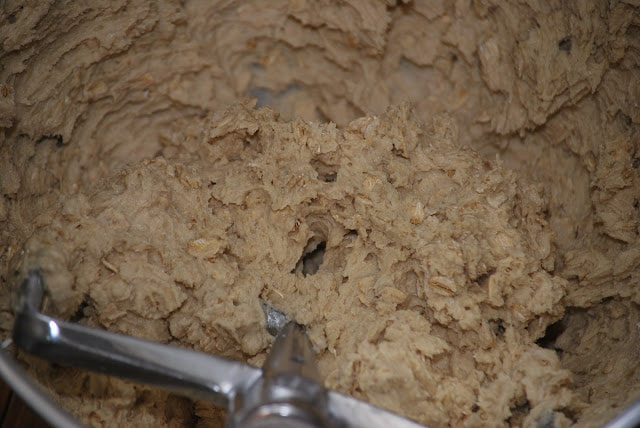
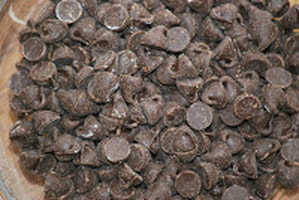
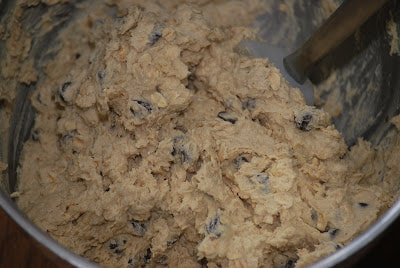
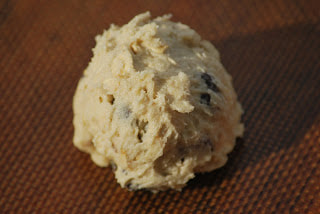
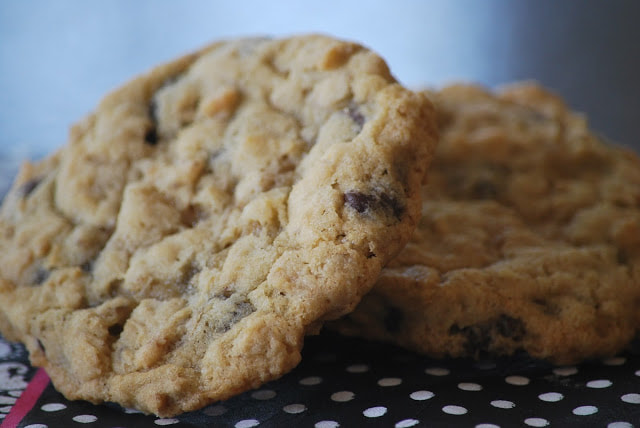 Ever had a recipe that you've used for years and years and one day, it doesn't turn out? For no apparent reason? These Neiman Marcus cookies used to be my old standby for chocolate chip cookies. They are packed with rich chocolaty flavor and hearty oats and nuts - simply delicious. I probably made these cookies over 4 dozen times and then one day I made a batch and they simply didn't turn out. I was convinced that I had just done something wrong so I waited a week and made them again - another failure. I combed through the recipe, line by line, trying to figure out if I had missed a step or changed brands on a certain ingredient. I never did come up with a legitimate reason for the sudden cookie flop. Eventually I stopped making my favorite chocolate chip cookie after several failed attempts to correct the issue. 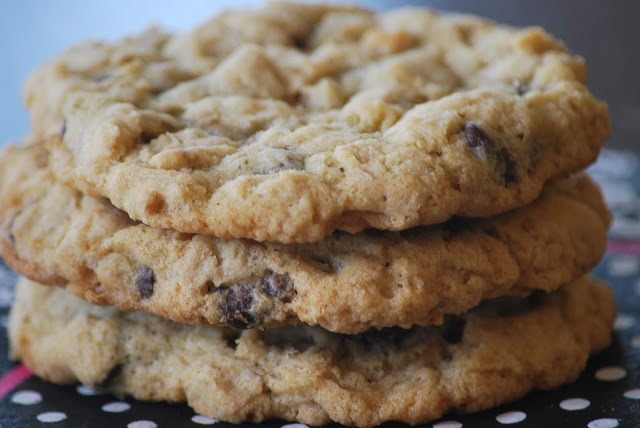 Last month, I ran across my old favorite cookie recipe and I decided that it was time to give them another try. It's been at least 3 years since I've even thought about making these cookies. The wounds of failure have healed and I was ready for another attempt. 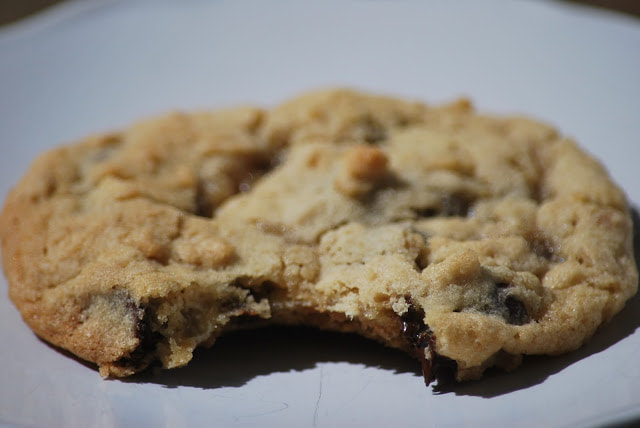 Neiman Marcus Chocolate Chip Cookies 1 cup butter ½ teaspoon salt 1 cup sugar 1 teaspoon baking powder 1 cup brown sugar 1 teaspoon baking soda 2 eggs 12 ounces chocolate chips 1 teaspoon vanilla 1 ½ cup walnuts 2 cups flour 2 ½ cups oatmeal
Add chocolate chips and nuts.
The cookies came out perfectly! I wish that I could tell you what changed and what I did to correct the problem but the truth is - I have absolutely no idea. For now, I will just appreciate the fact that they are turning out just as I remember. 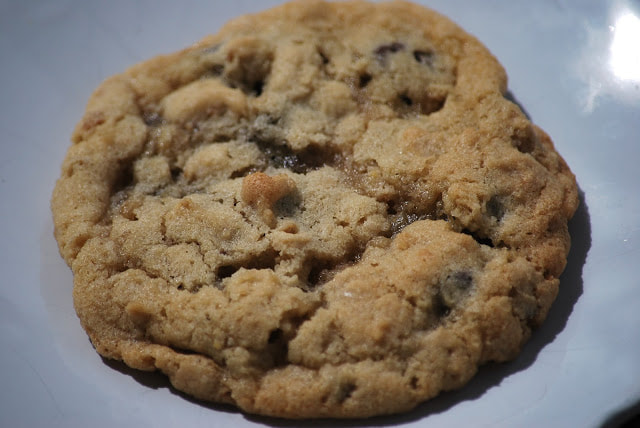 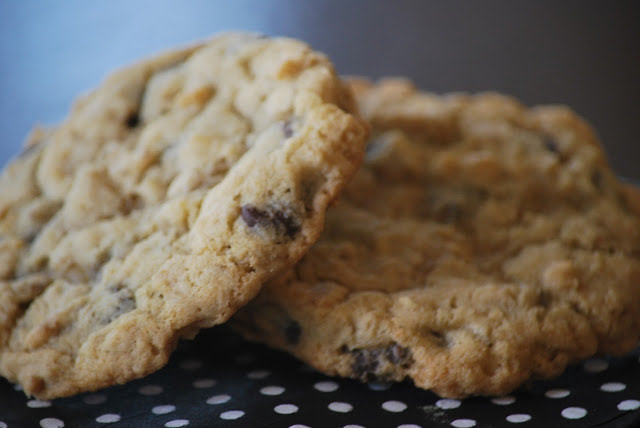 There is just something about larger than life pictures of chocoalte chip cookies that I can't resist.
Ciao!
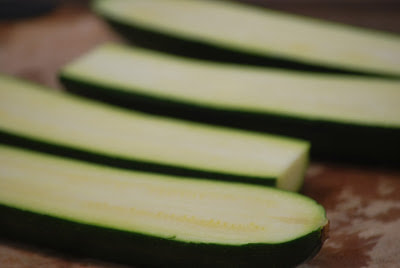
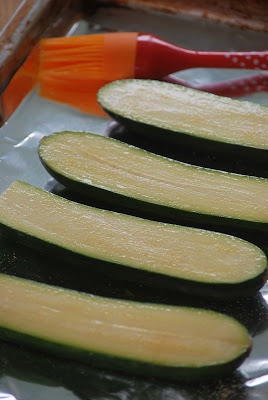
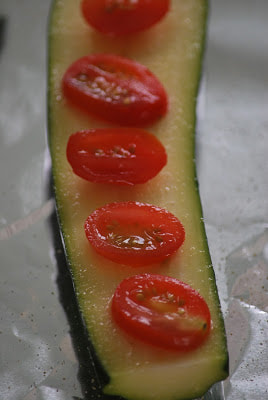
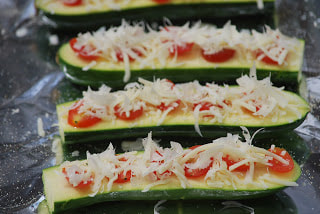
The kids are out of school for the summer. Yea! Both of my children are officially high school students now! To celebrate the end of school, we had a pizza party at the pool this weekend. 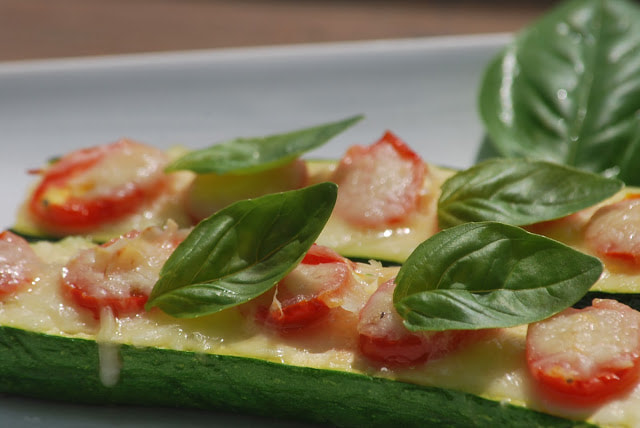 Since I was feeling like eating something a bit lighter than pizza but more substantial than salad, I made some zucchini pizzas for myself. I love stuffed zucchini but quite honestly, they are a lot of work. There is a lot of chopping and sautéing and baking and broiling that goes into make a really great stuffed zucchini. This zucchini pizza is super easy to make and they are really quite tasty. It's a great alternative for me when I don't want to indulge in a cheesy pizza. 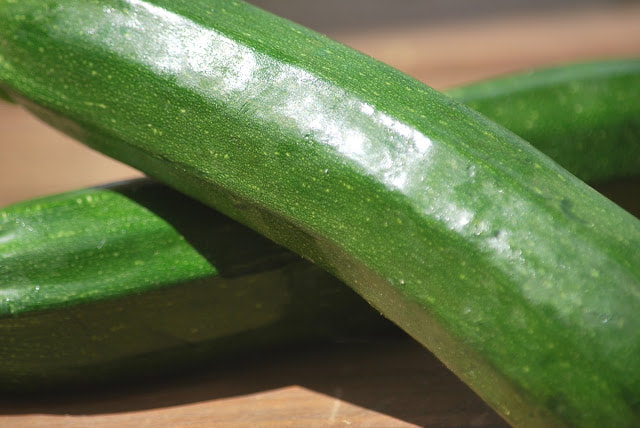
Top with fresh basil and enjoy. 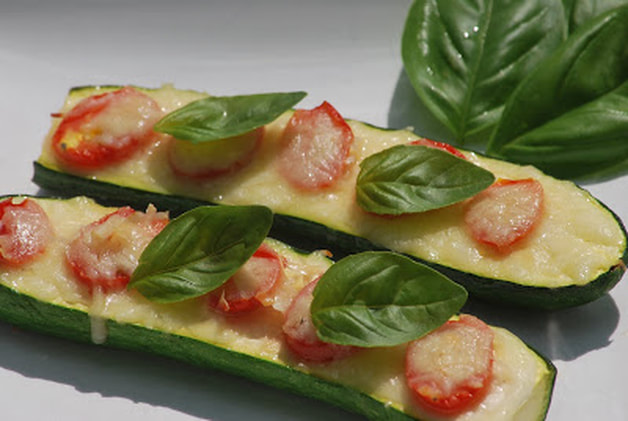 This is a great recipe to have in your collection when your garden starts producing zucchini in abundance this summer. Enjoy.
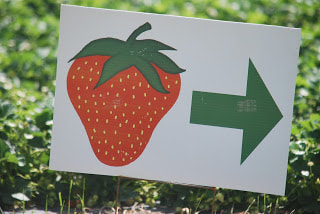
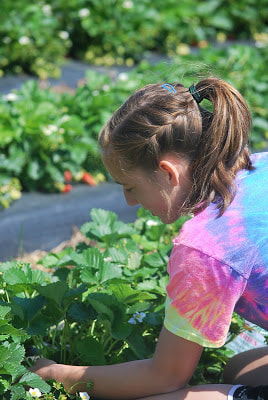
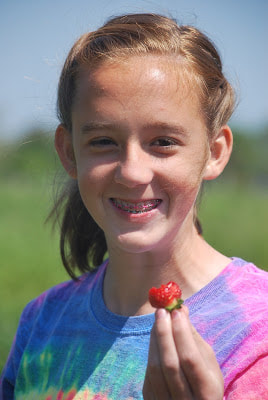
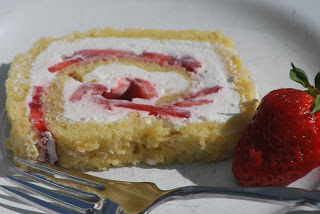
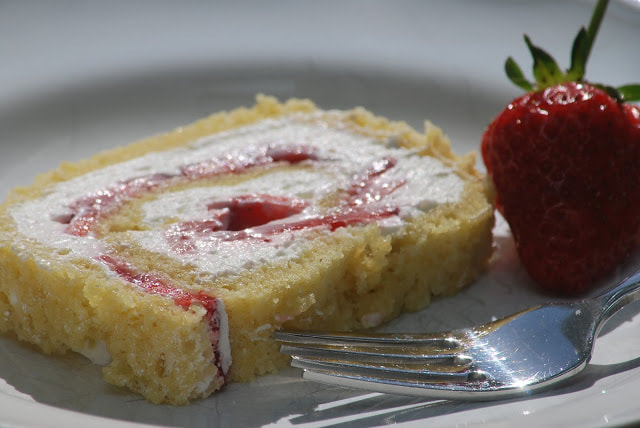
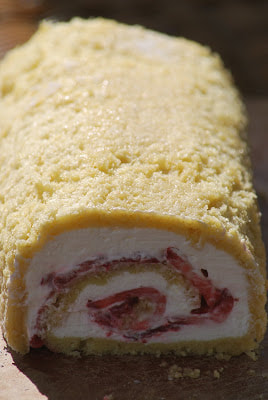
Ciao! 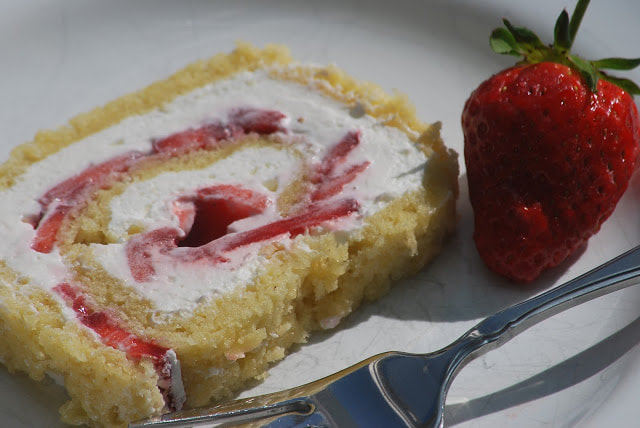 Almost immediately after I received the email that the strawberry fields were open for business, I gathered up my daughter and buckets and headed out the door. The plants were so covered in juicy, red berries that it only took about 15 minutes for us to pick 2 big buckets of strawberries.
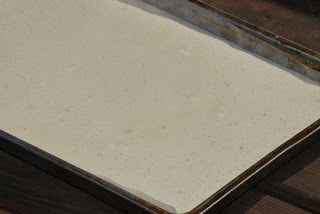
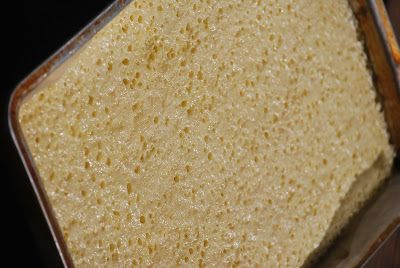
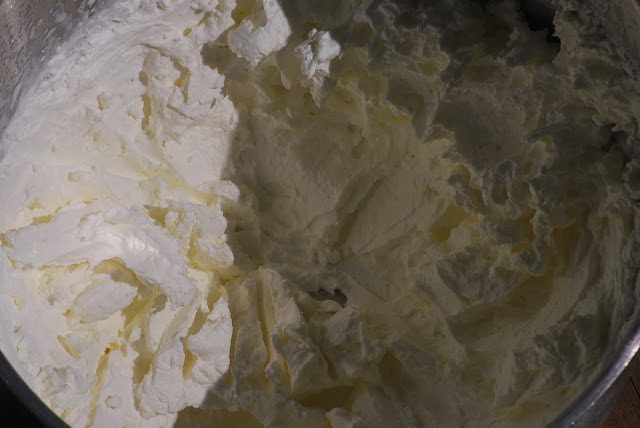
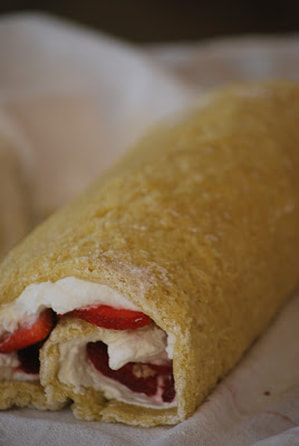
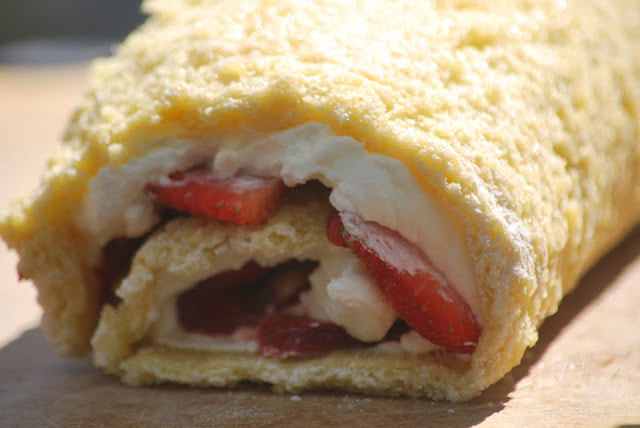
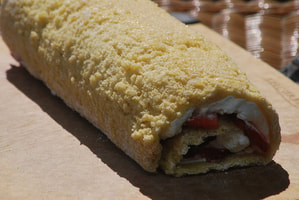
We ate a lot of the berries plain but we saved a few for some delicious strawberry treats. I used a recipe from a Taste of Home magazine for my inspiration for this strawberry cake roll. It's a simple combination of sponge cake, whipped cream and fresh strawberries. 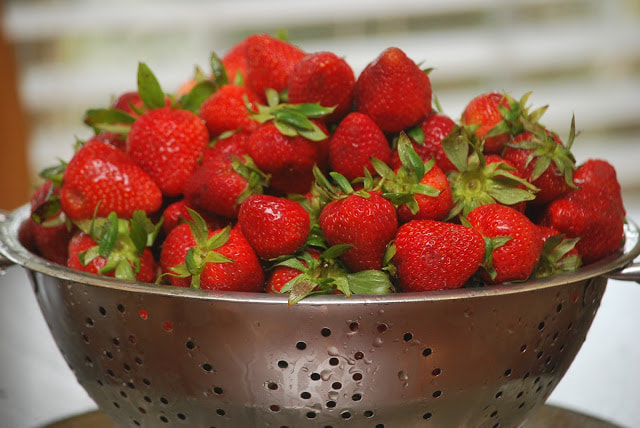 Strawberry Cake Roll 3 eggs 1 cup sugar 1/3 cup water 1 teaspoon vanilla 3/4 cup flour 1 teaspoon baking powder 1/4 teaspoon salt Filling Fresh whipped cream Fresh sliced strawberries Line a 10x15" baking pan with waxed paper. Grease paper. Preheat oven to 375. Beat eggs for 3 minutes.
Gradually add sugar and beat until thick and lemon-colored.
Spread into greased pan. Bake 12-15 minutes.
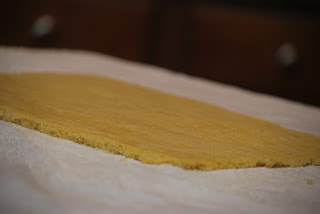
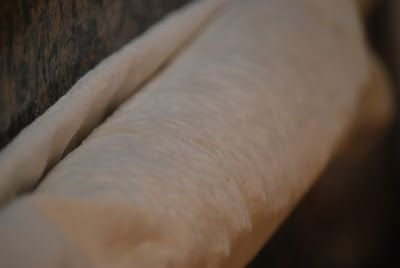
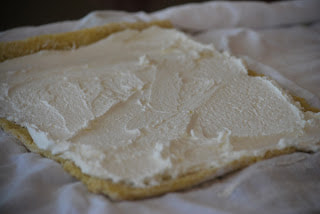
Invert cake onto a towel that has been sprinkled with a generous amount of powdered sugar. Roll cake up in towel and let cool completely.
Add a layer of thinly sliced strawberries to the cake. 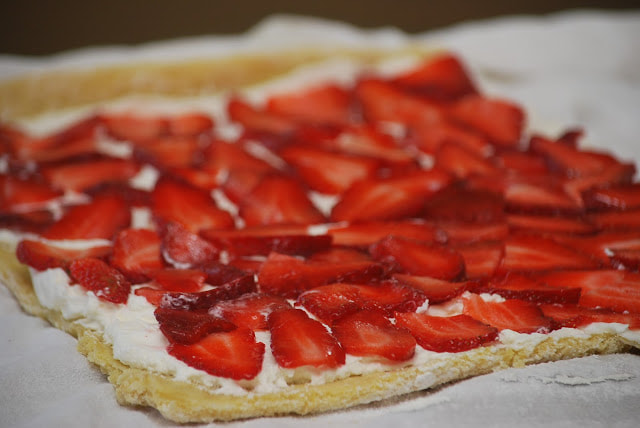 Reroll cake.
I like to put my cake roll in the freezer for a few minutes before slicing.
Ciao!
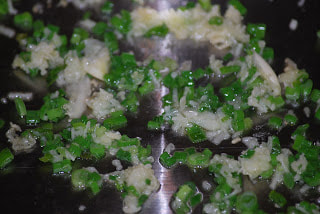
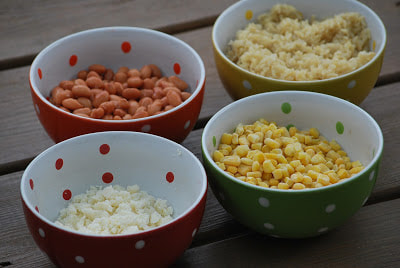
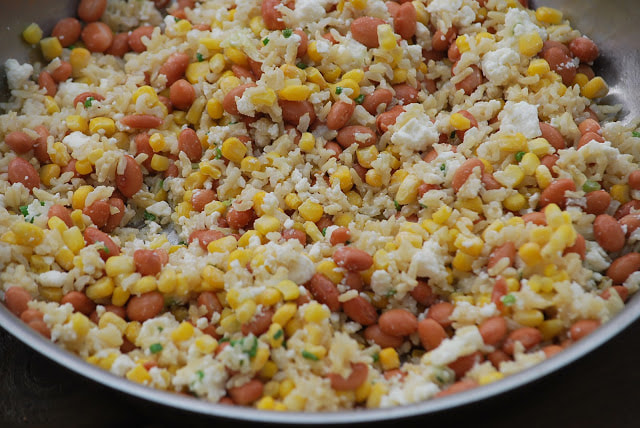
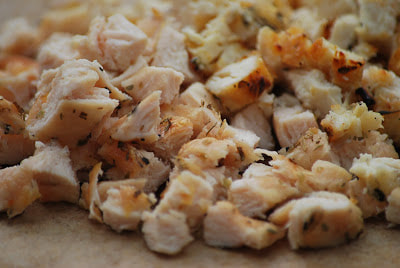
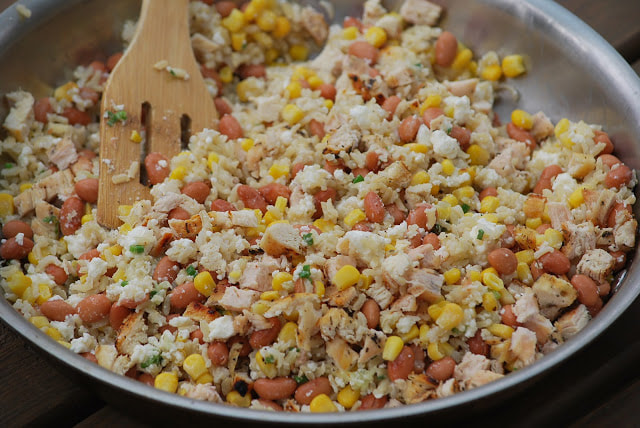
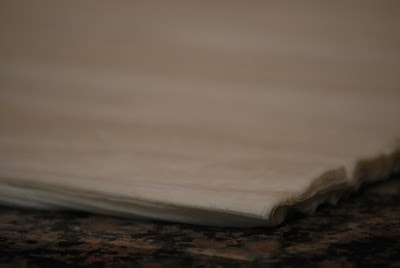
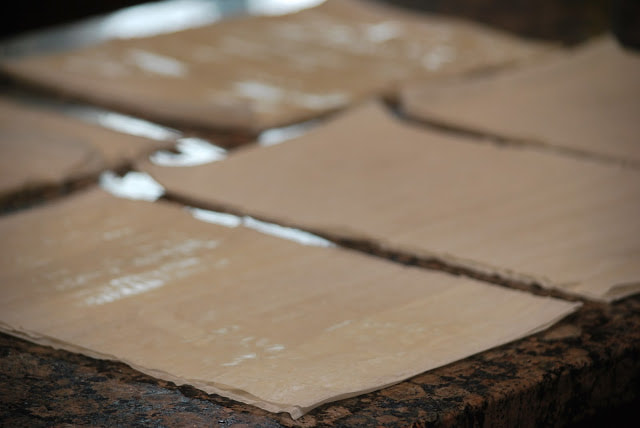
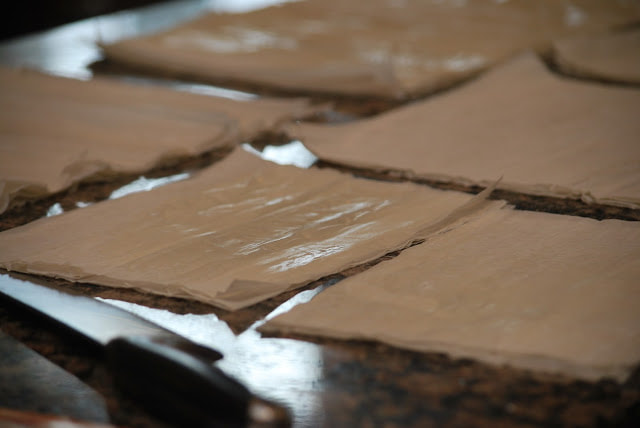
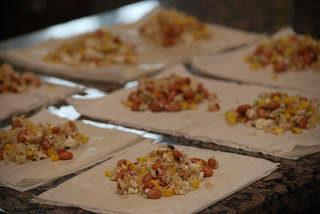
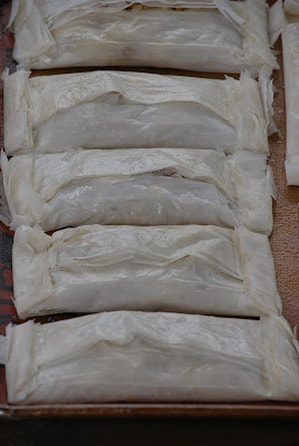
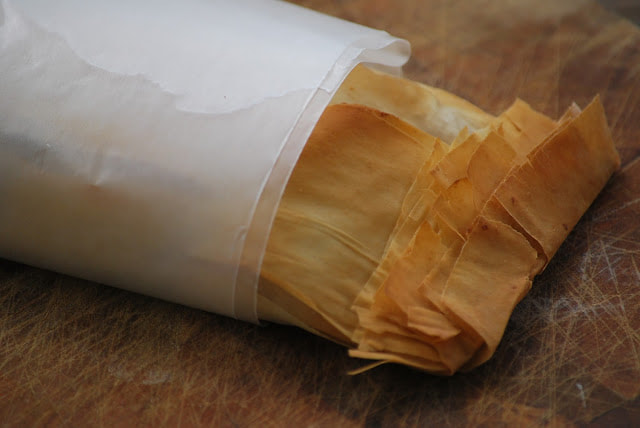
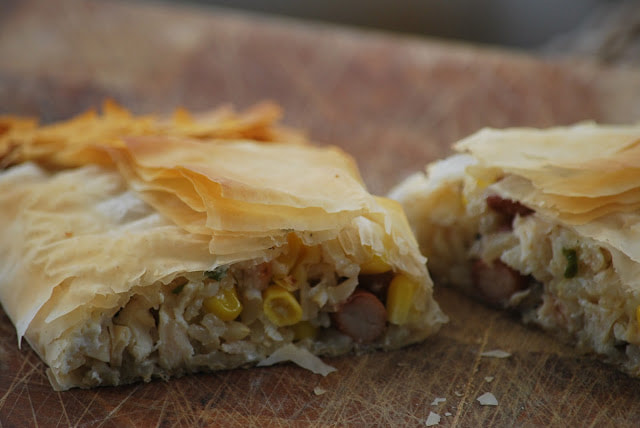
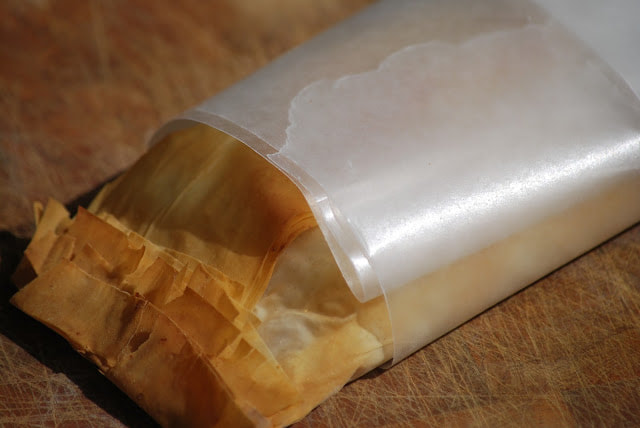 If you are trying to eat a vegetarian or a vegan diet - you need to be familiar with this recipe. My bean burritos were not vegetarian but you could certainly leave out the chicken or substitute your favorite tofu to make them vegetarian. To make them vegan, you will need to substitute vegan cheese for the queso fresco to leave out the cheese altogether. No matter what you put inside these bean burritos, they are bound to be delicious. 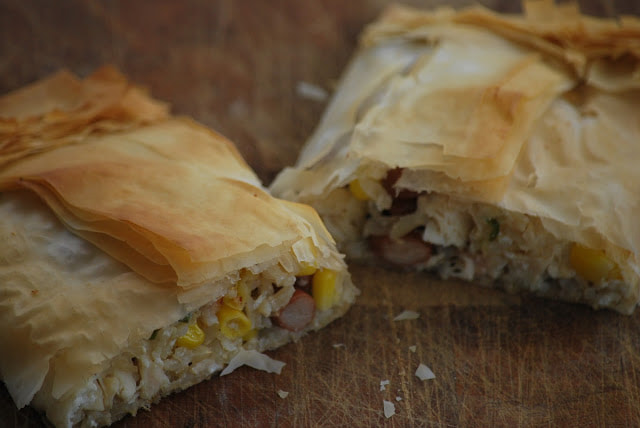 Crispy Bean Burritos 2 teaspoons canola oil 1/3 cup thinly sliced green onions 15 ounce can pinto beans, rinsed and drained 3 cloves garlic 1 cup frozen corn, thawed 1 cup cooked brown rice 2 chicken breasts, cooked and chopped 3 ounces queso fresco, crumbled 12 sheets frozen phyllo dough, thawed
Remove from heat. Stir in rice, corn, beans and cheese.
Add chicken.
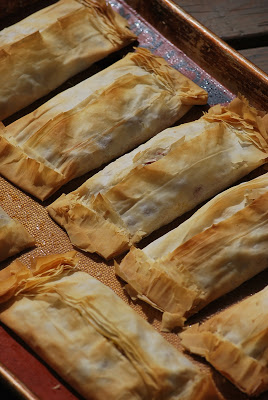
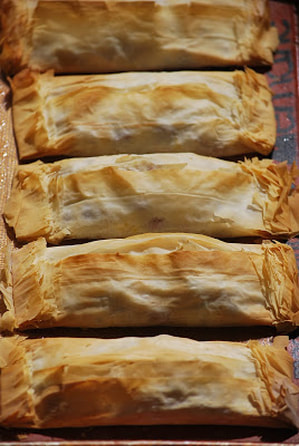
Bake 20 minutes.
These are the perfect ball park food. (Protein, veggies and starch all wrapped up in a warm, flaky crust.)
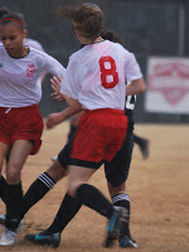
I packed my burritos up and took them to a soccer game. They were a great energy booster for my daughter after an exhausting game. She loved it. As for me, I just love phyllo dough. It doesn't really matter what's inside, I love the crispy, flaky dough when it's baked. This just happens to be one of my favorite flavor combinations to put inside. As for the game, it was also a big success. Despite the pouring rain, the team came away with a win.
Ciao!
|