 Key West is on my bucket list of places that I want to visit. Even though I haven't made it there myself, I've seen a lot of photographs of this picturesque paradise and talked to a lot of people that have traveled to Key West which only makes me want to visit even more. One of the things that I'm most excited about when I do make it to the island is eating as much Key Lime Pie as I possibly can. Conducting my own personal taste test in search of the "best" key lime pie in the keys. I can only imagine how much better the silky smooth treat will taste when sitting at a corner cafe on the island of Key West. 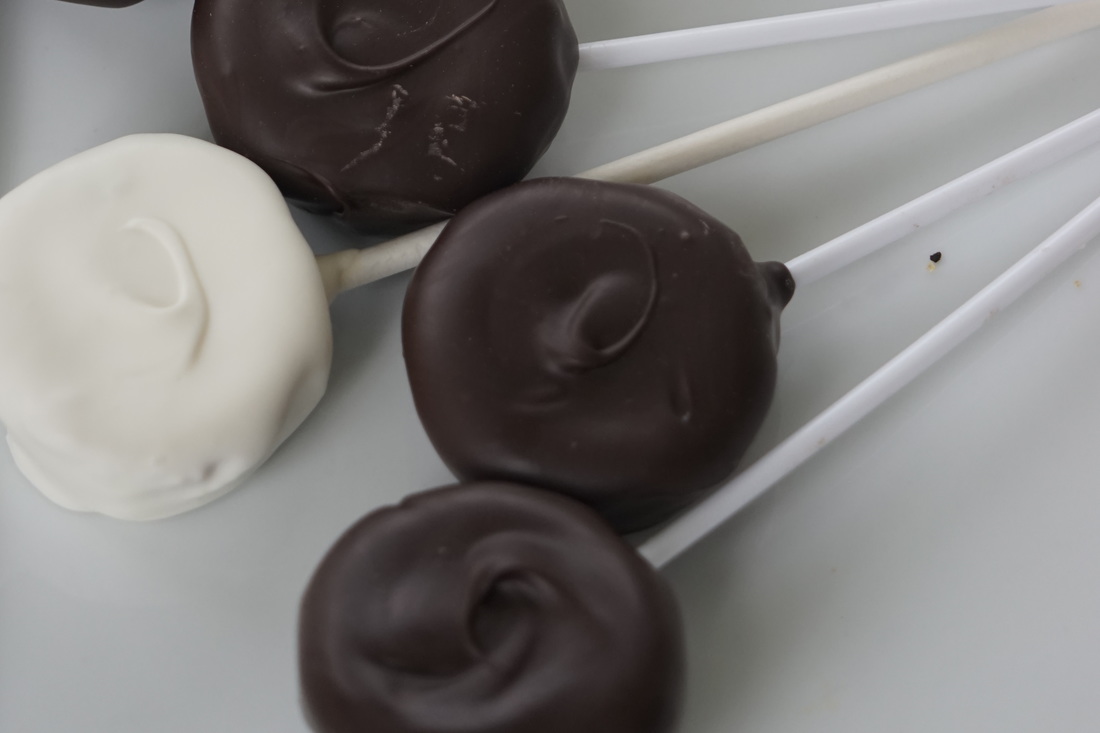 I've heard that there are slices of pie dipped in rich dark chocolate and served on the street corners in Key West. Is there any wonder why I'm anxious to visit this tropical paradise? Since visiting the Keys isn't in the near future for me, I decided to create my own version of a chocolate dipped key lime pie pop. 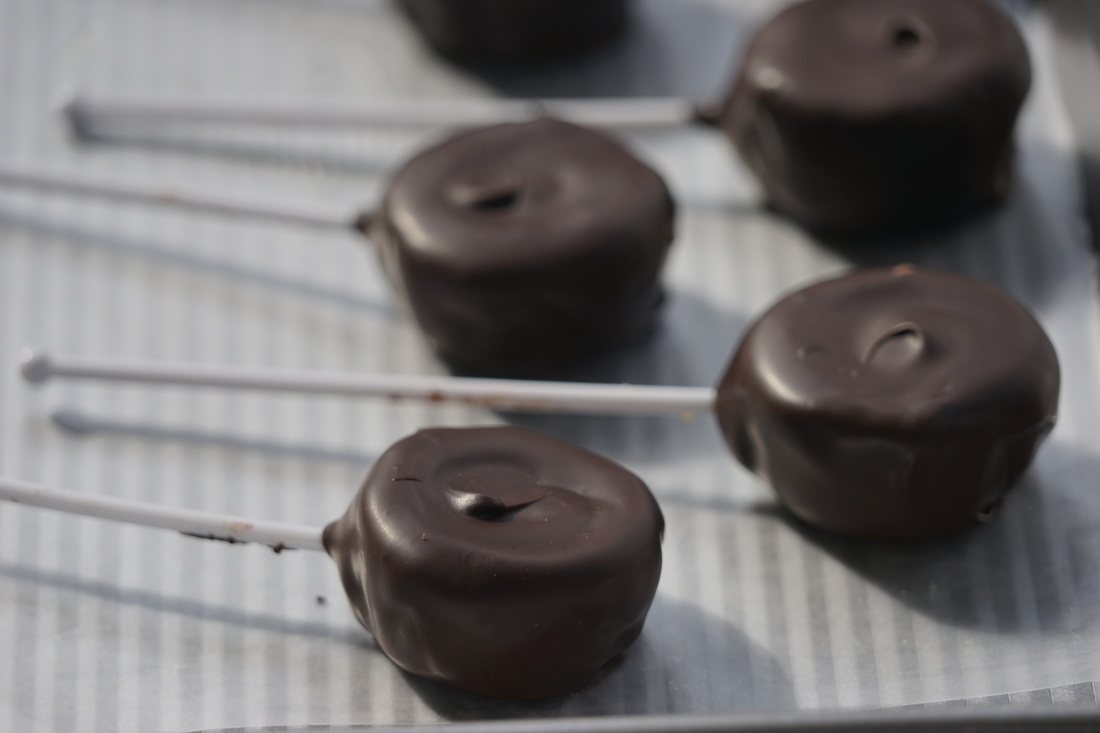 I made a batch of these little treats a week a couple of weeks ago and then stored them in the freezer until Easter. I served these on my Easter dessert buffet. Needless to say - everyone else liked them just as much as I did. 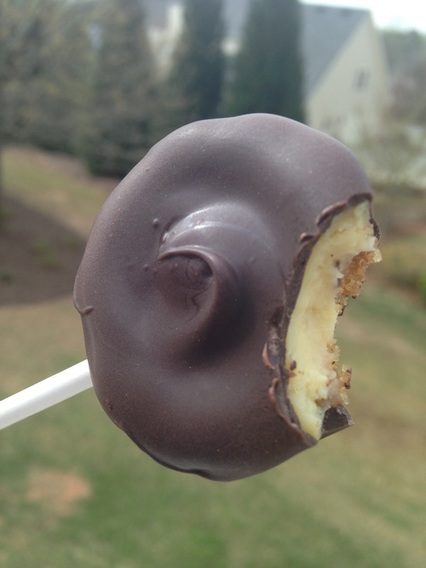 Key Lime Pie Pops Crust
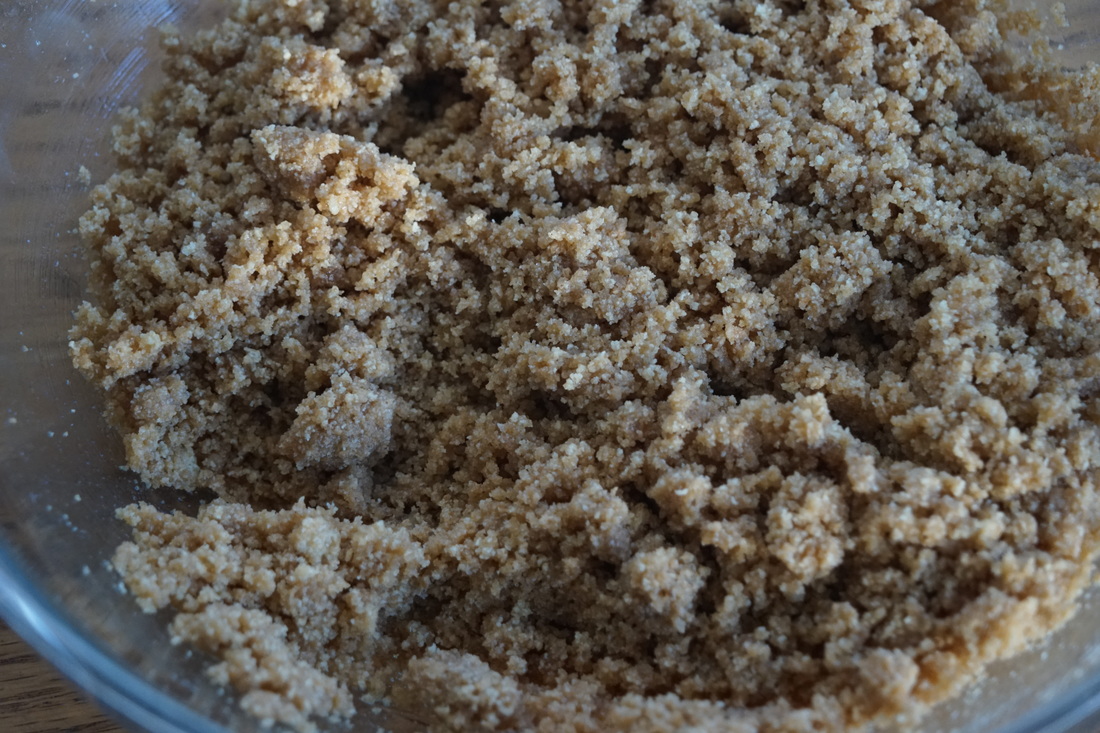
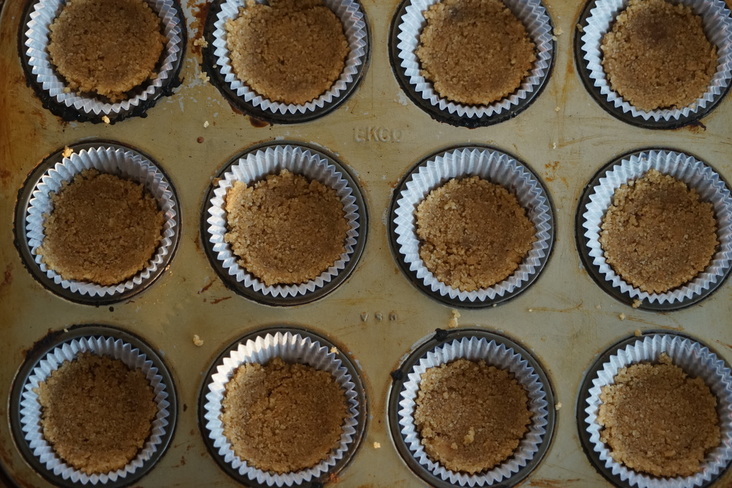
Melt butter and add graham cracker crumbs and brown sugar for crust.
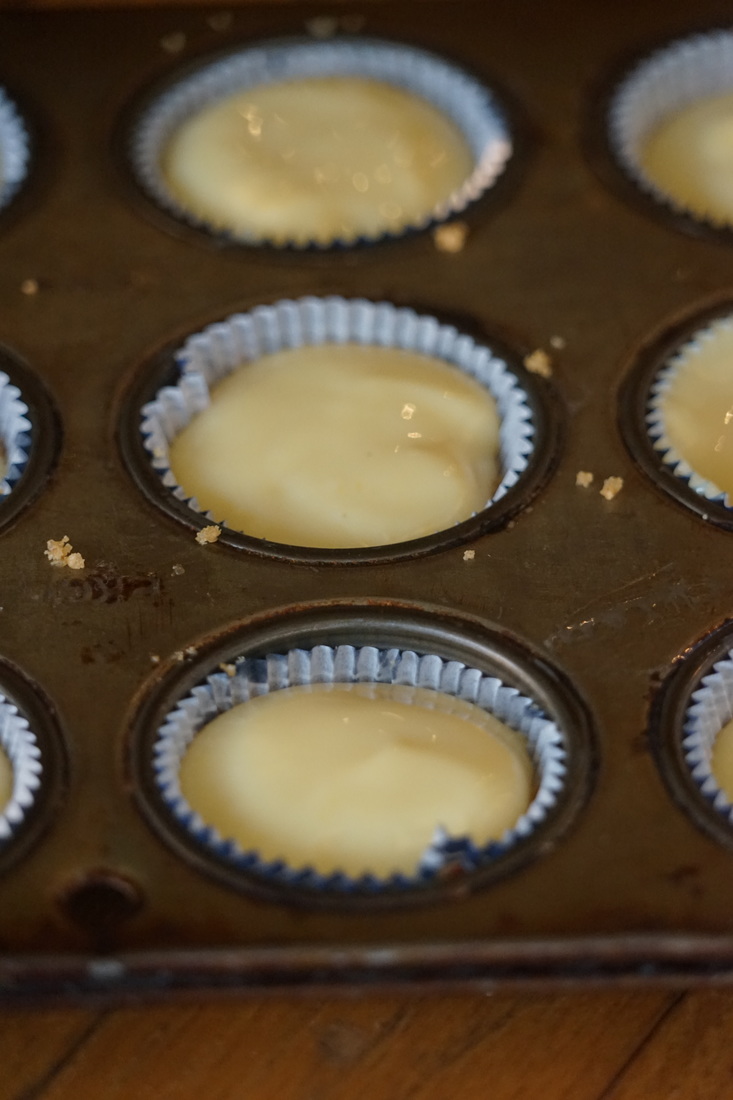
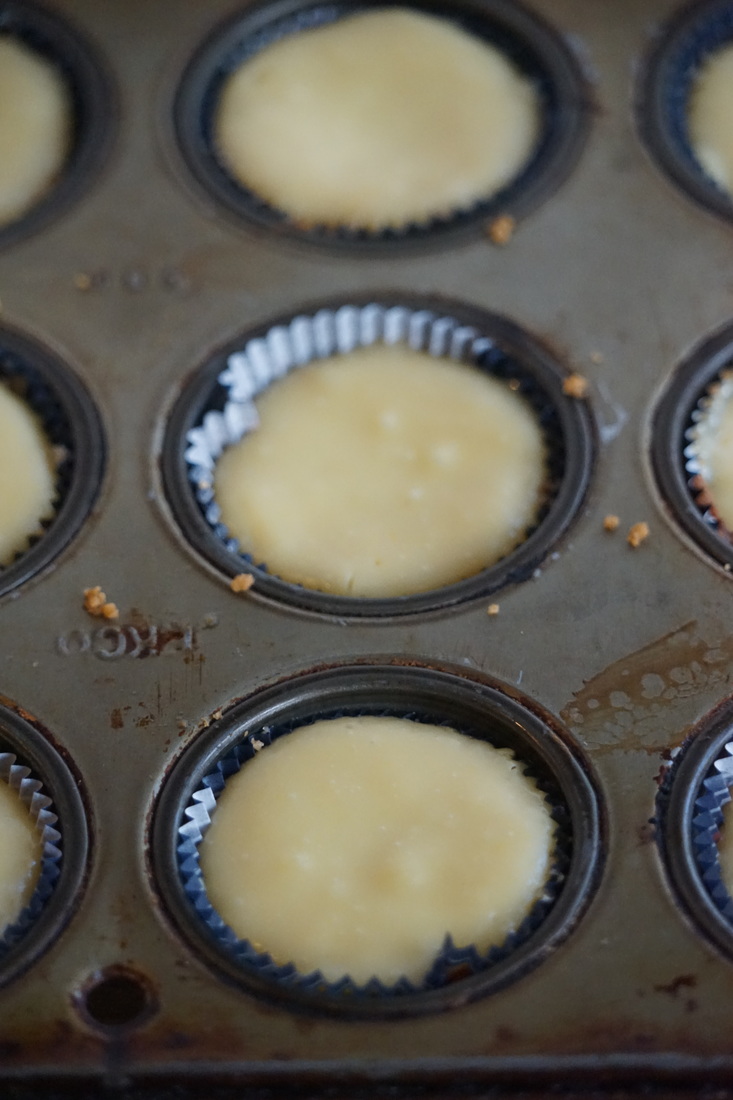
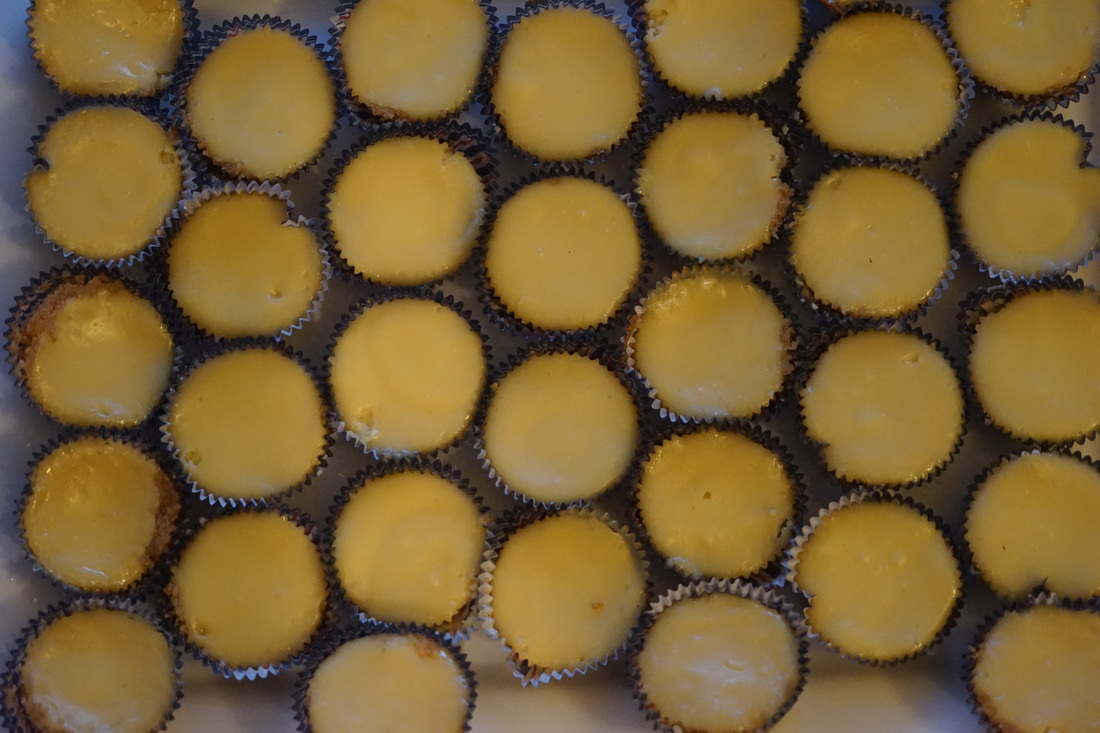
Whisk together filling ingredients. 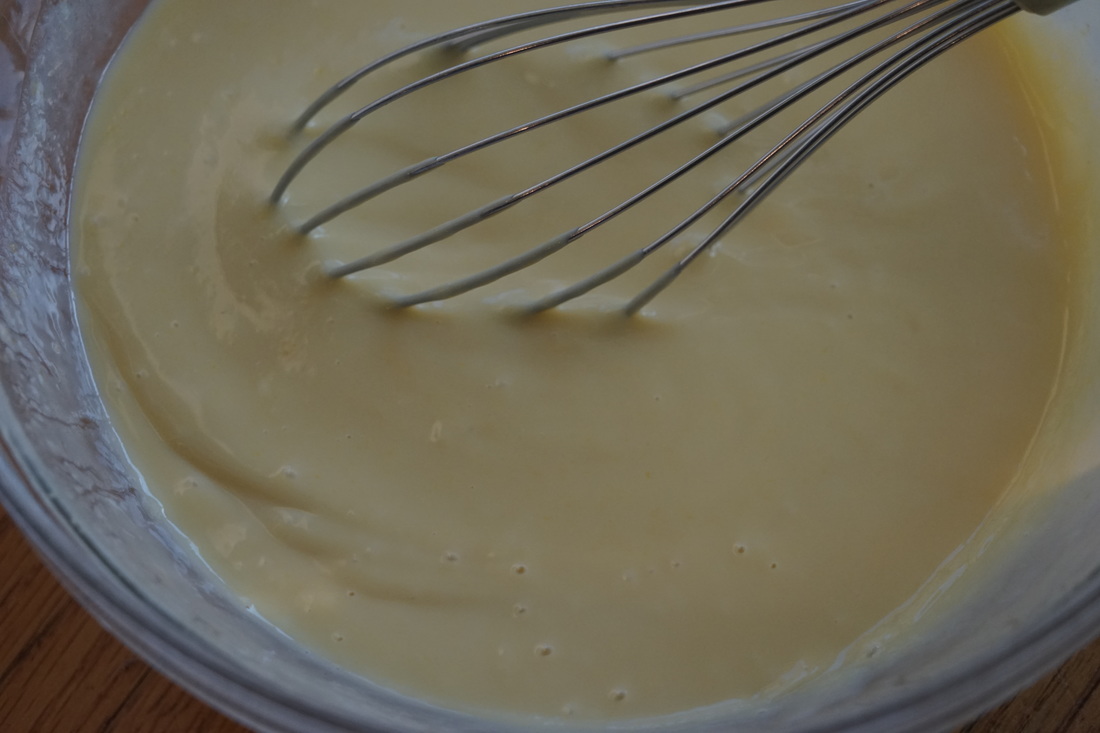 Spoon filling over crust and bake 15 minutes. Cool 10 minutes in pan.
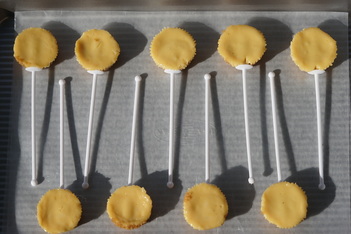
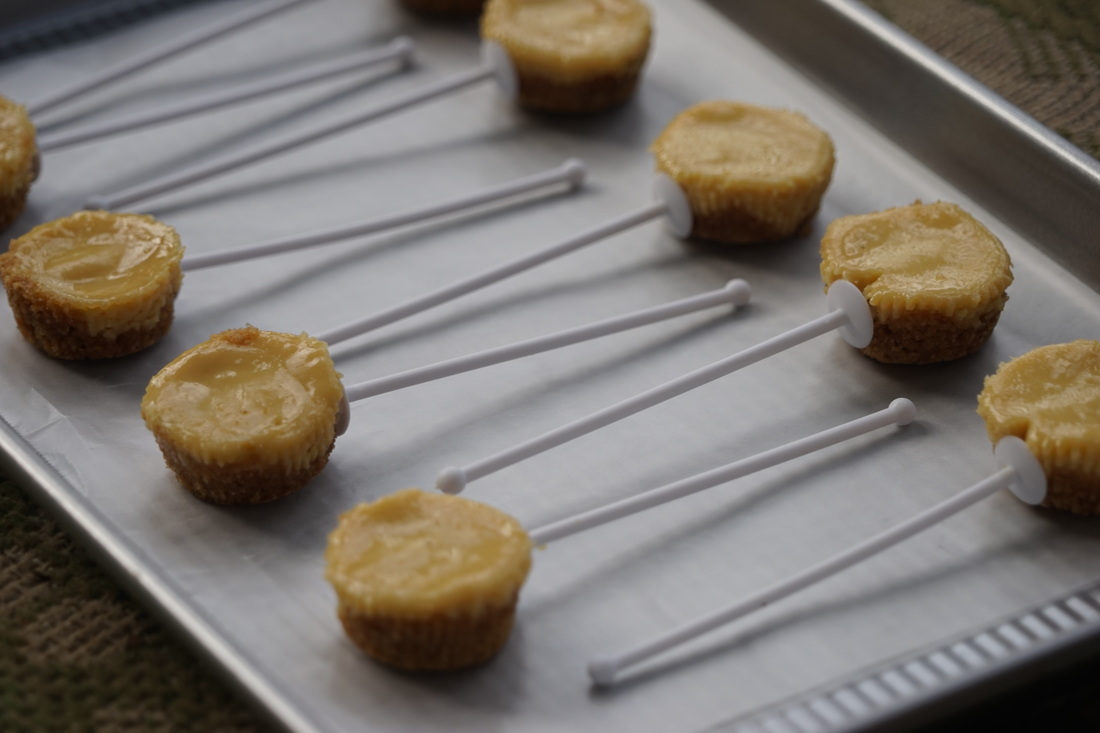
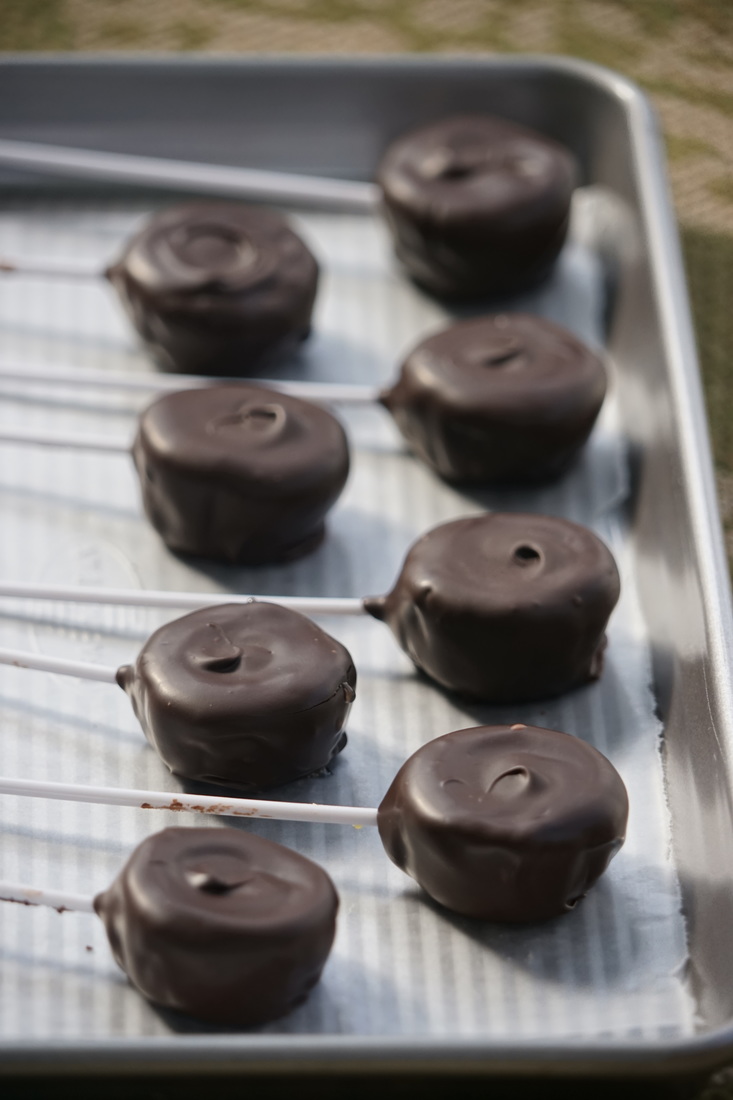
Peel off paper liners and insert a stick into each pie. Return to freezer for another hour.
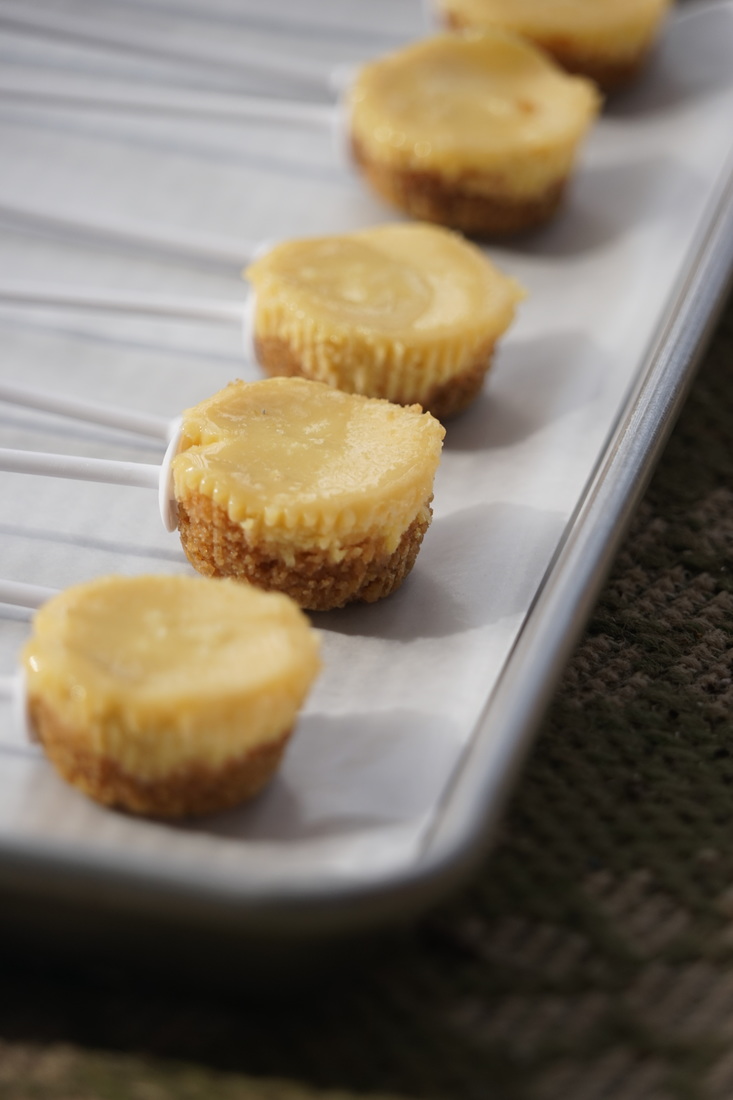
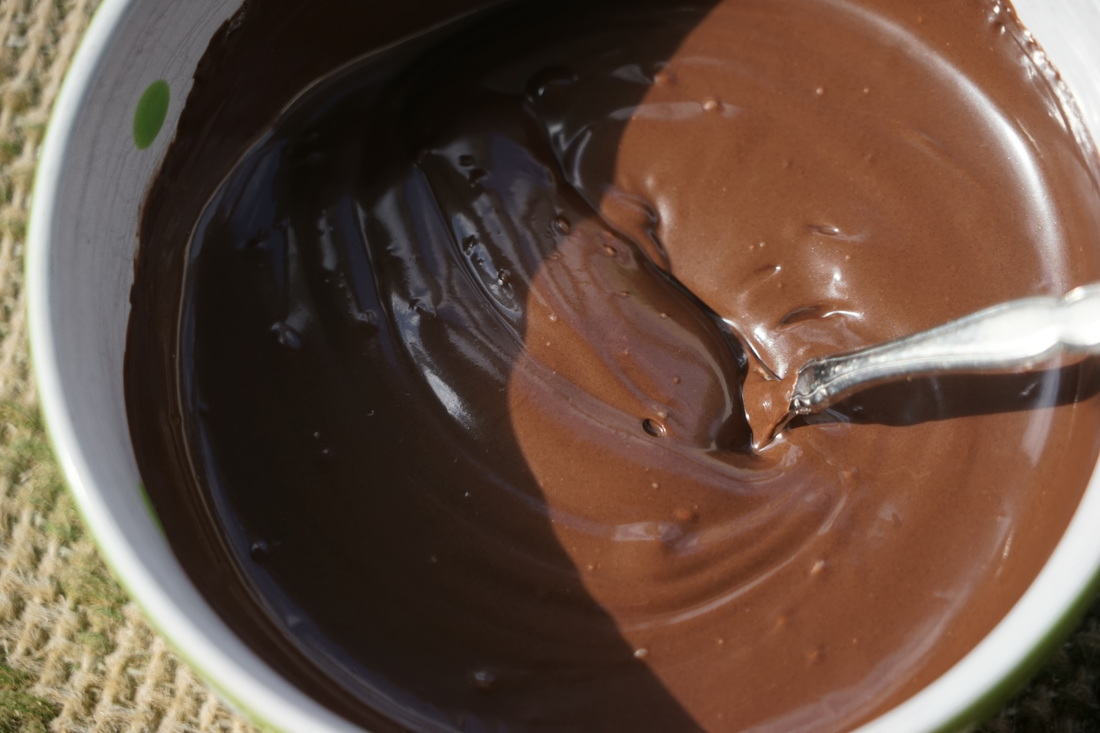
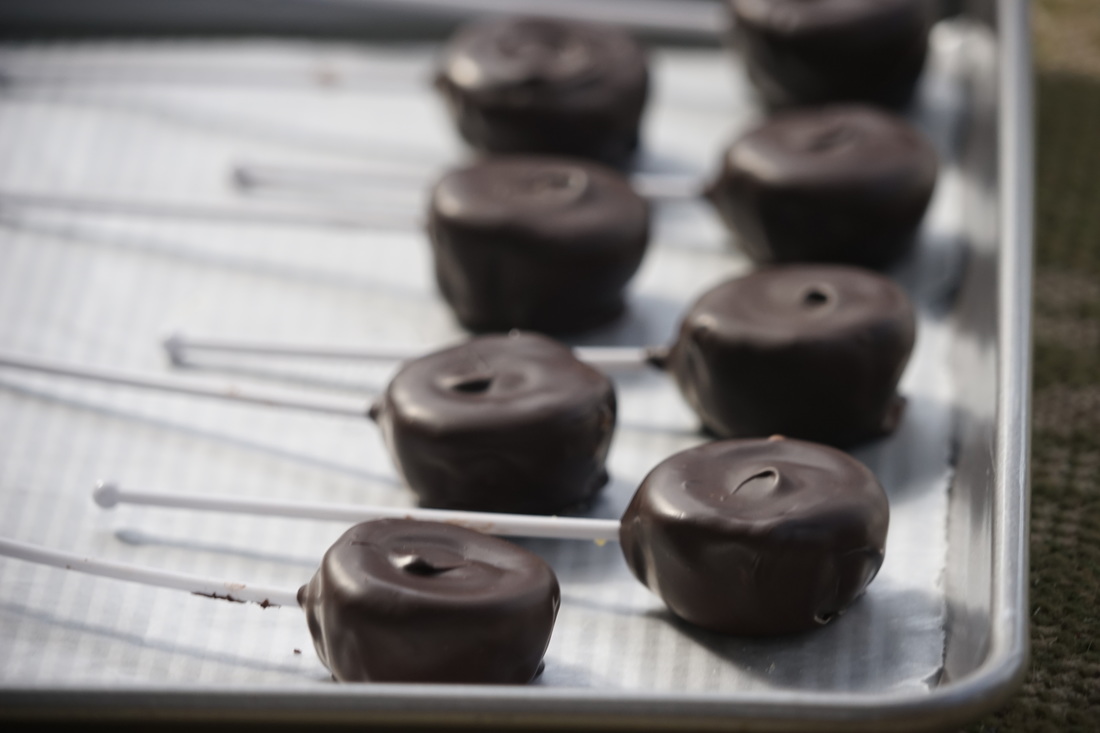
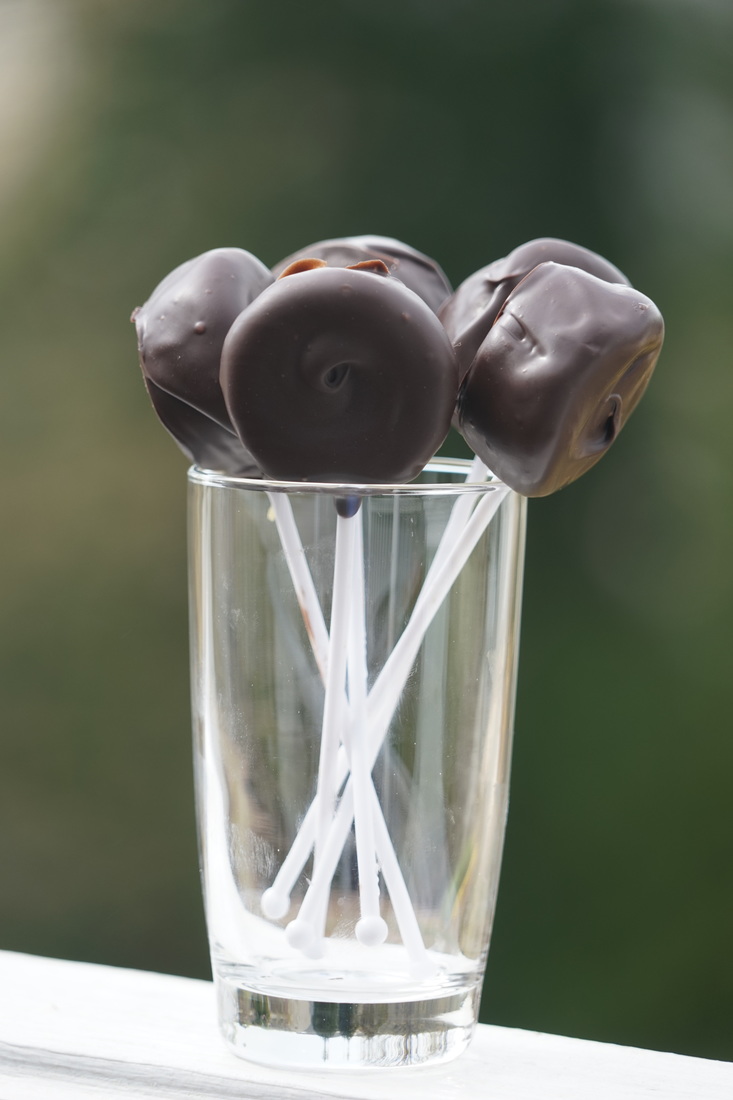
Melt chocolate and dip each pie into melted chocolate. Place on waxed paper lined baking sheets to cool.
Serve on trays or stand in glasses to serve. 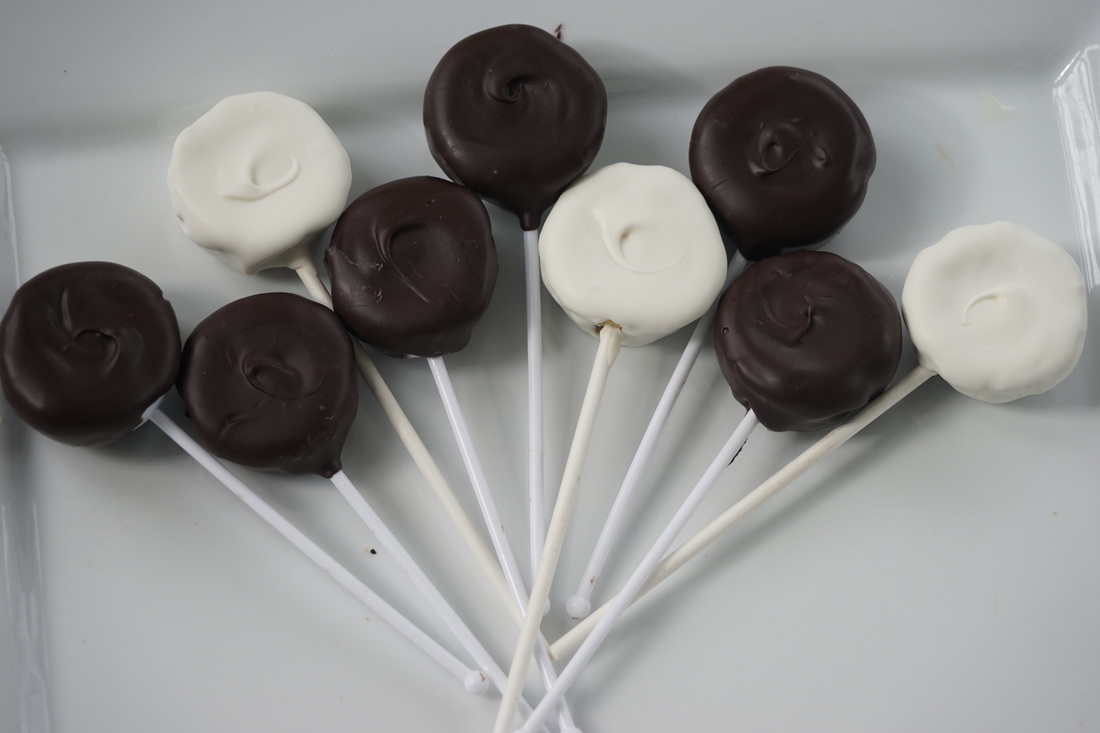 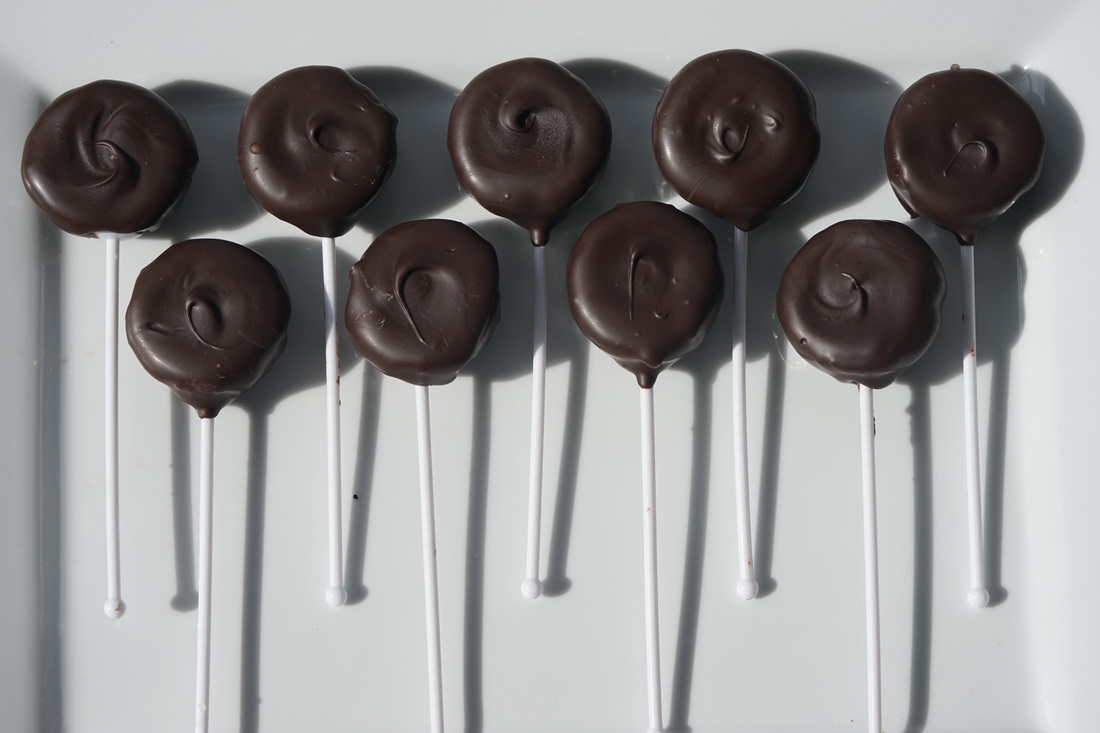  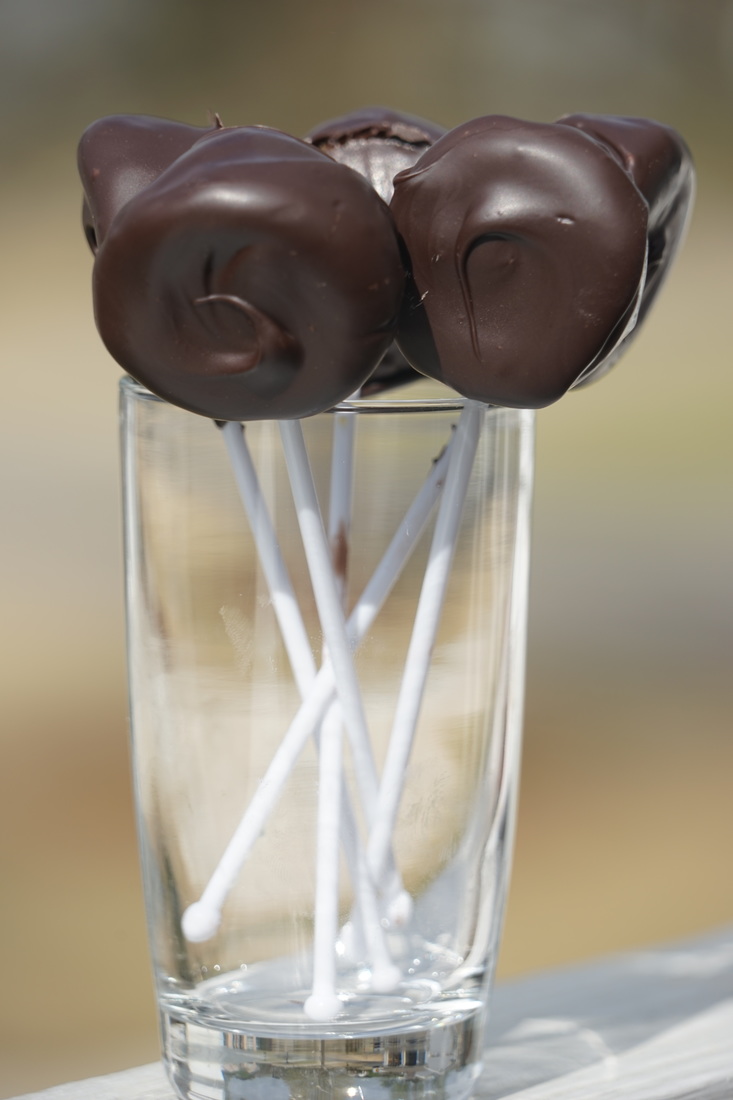 These key lime pie pops are easy to make and really delicious but the best part is that you can keep a batch in your freezer all summer long. Key Lime Pie pops make the perfect little summertime treat.
Ciao!
0 Comments
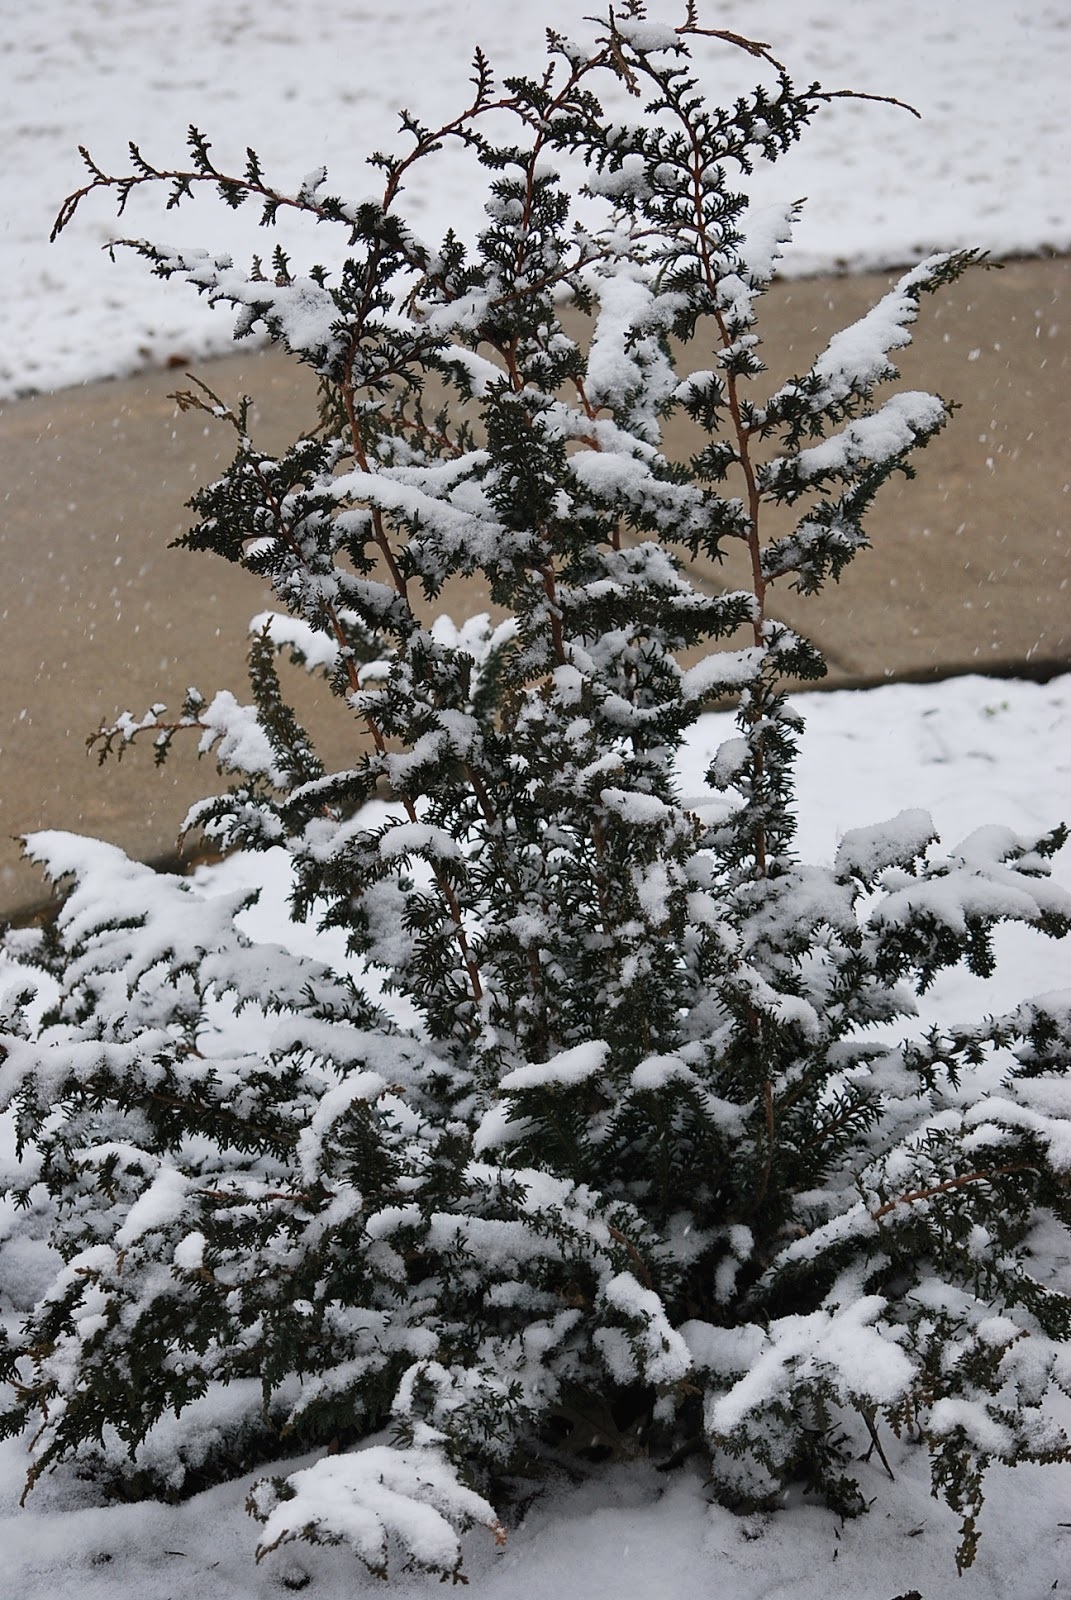
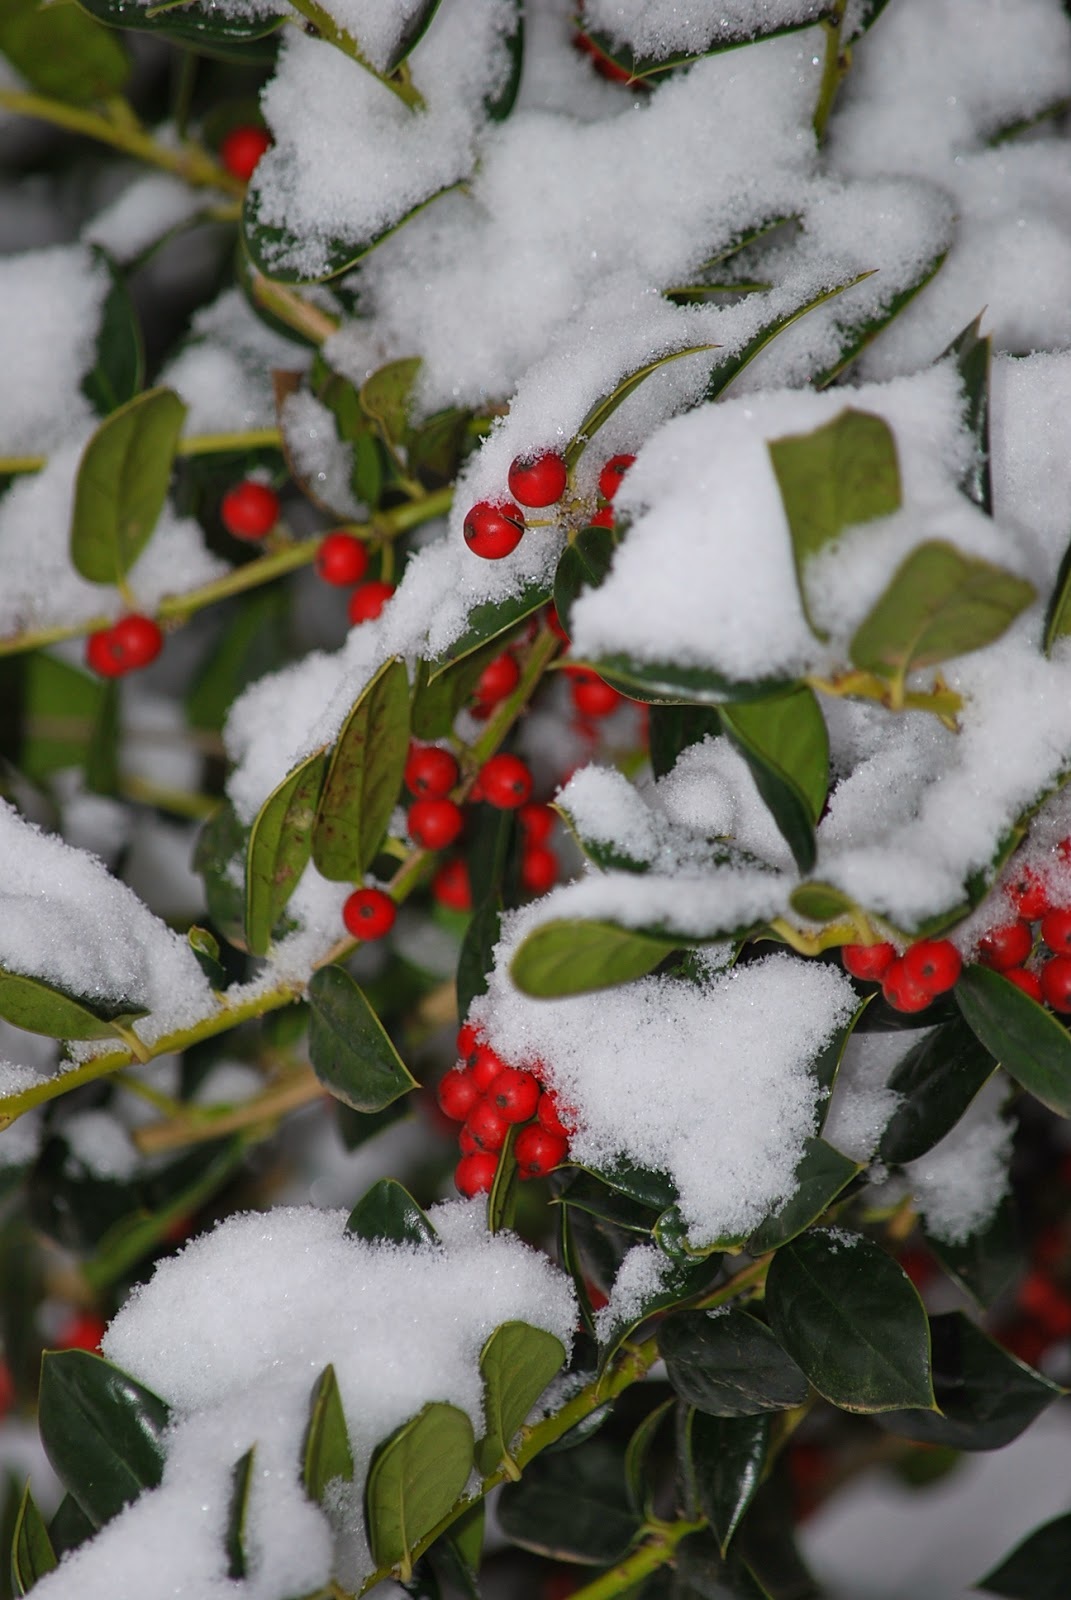
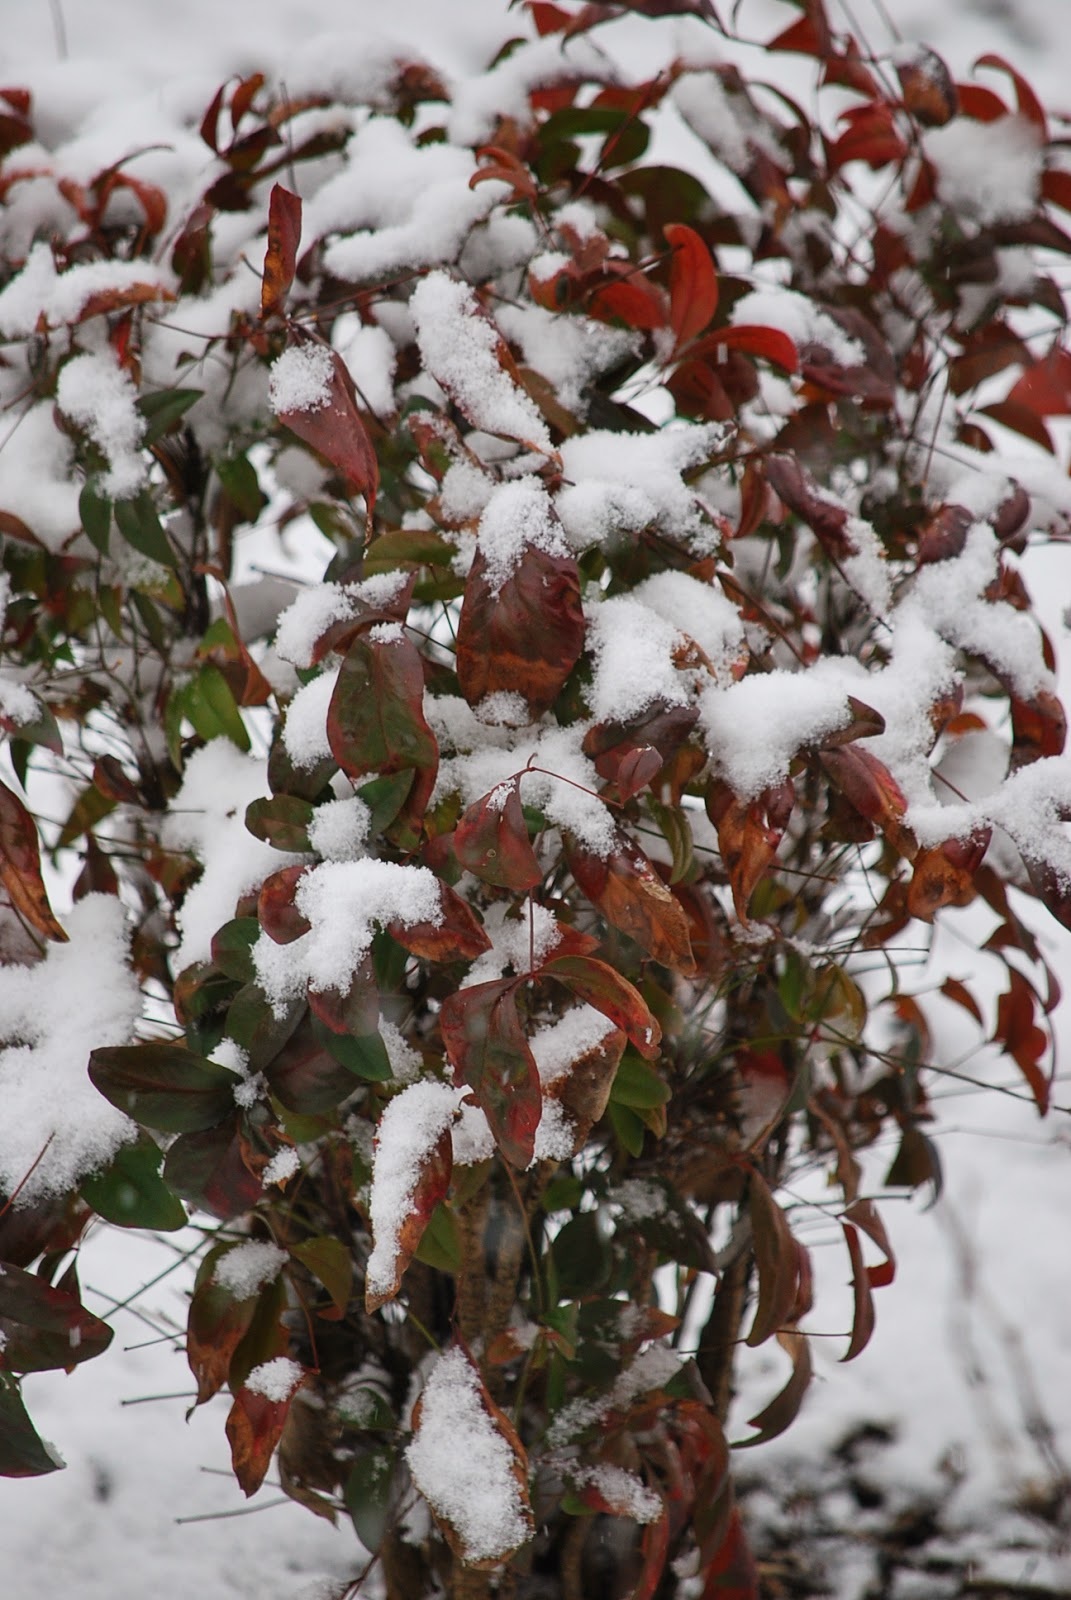
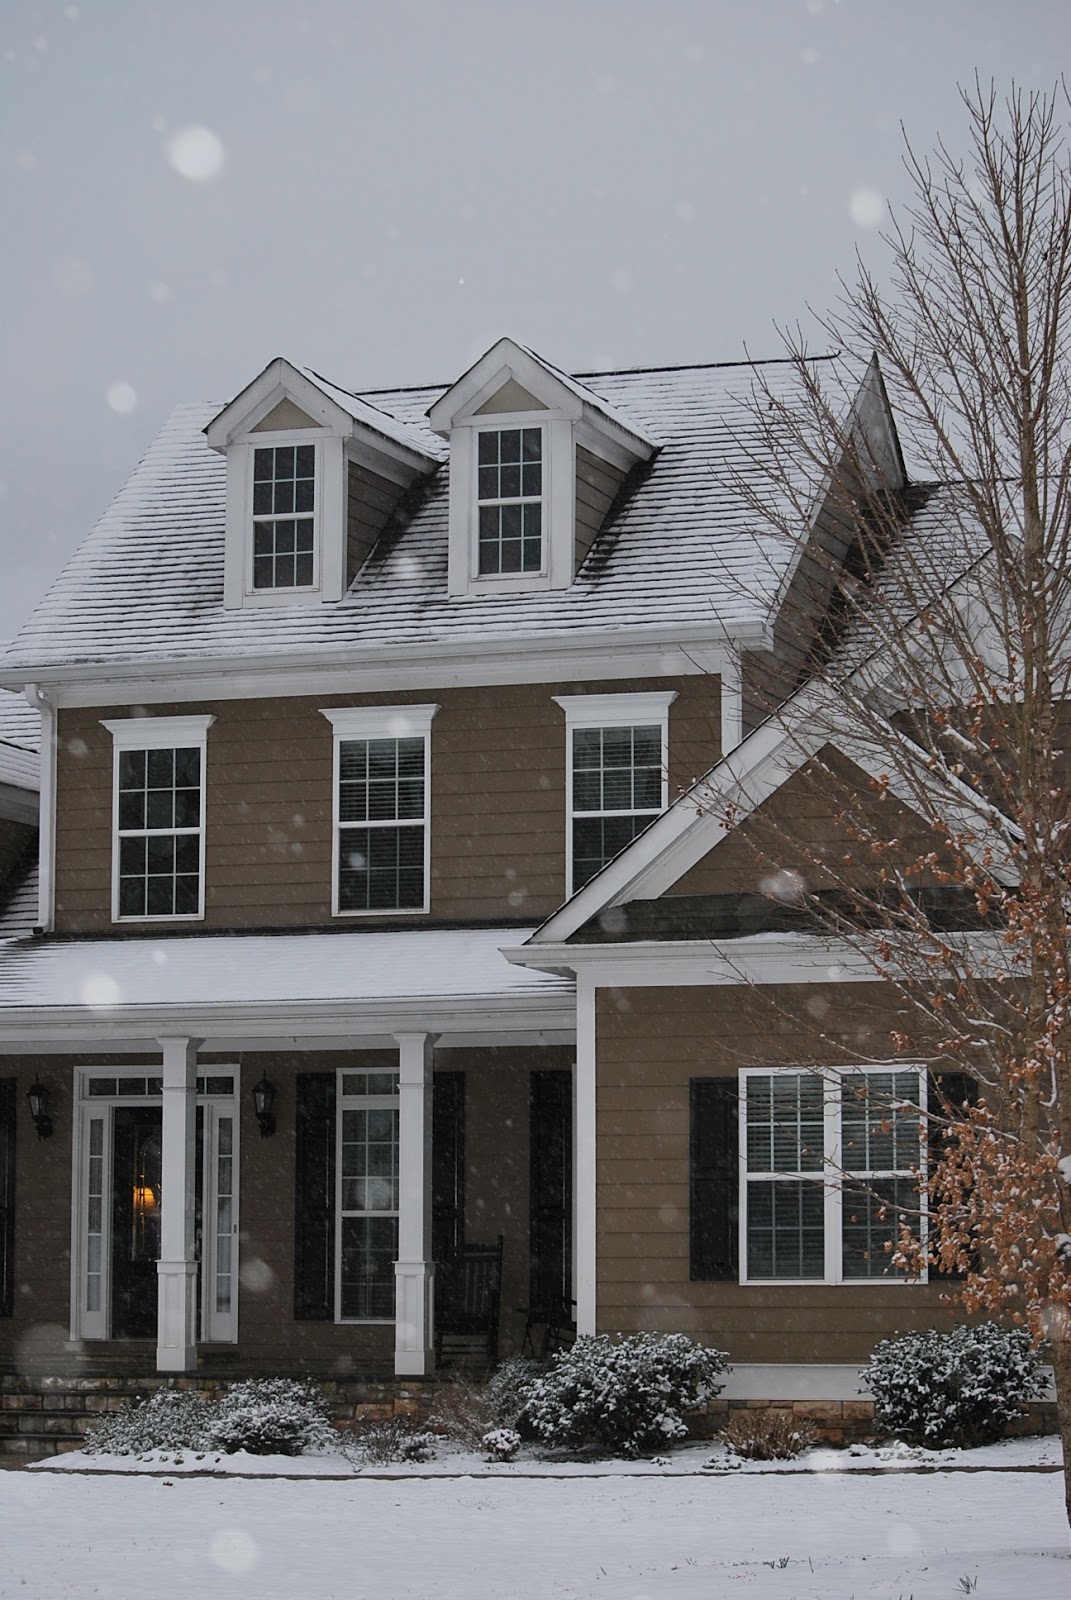 Snow Day!!! The snow is falling and school is cancelled! Let the snow day festivities begin. It's been a couple of years since we've had snow in Atlanta so (almost) everyone was super excited about the snow. Before the grass was even covered, snowballs were flying and snowmen were being constructed. I even ran outside with my camera to get a few pictures of our snow covered house.  Mia loves the snow too - can you tell?
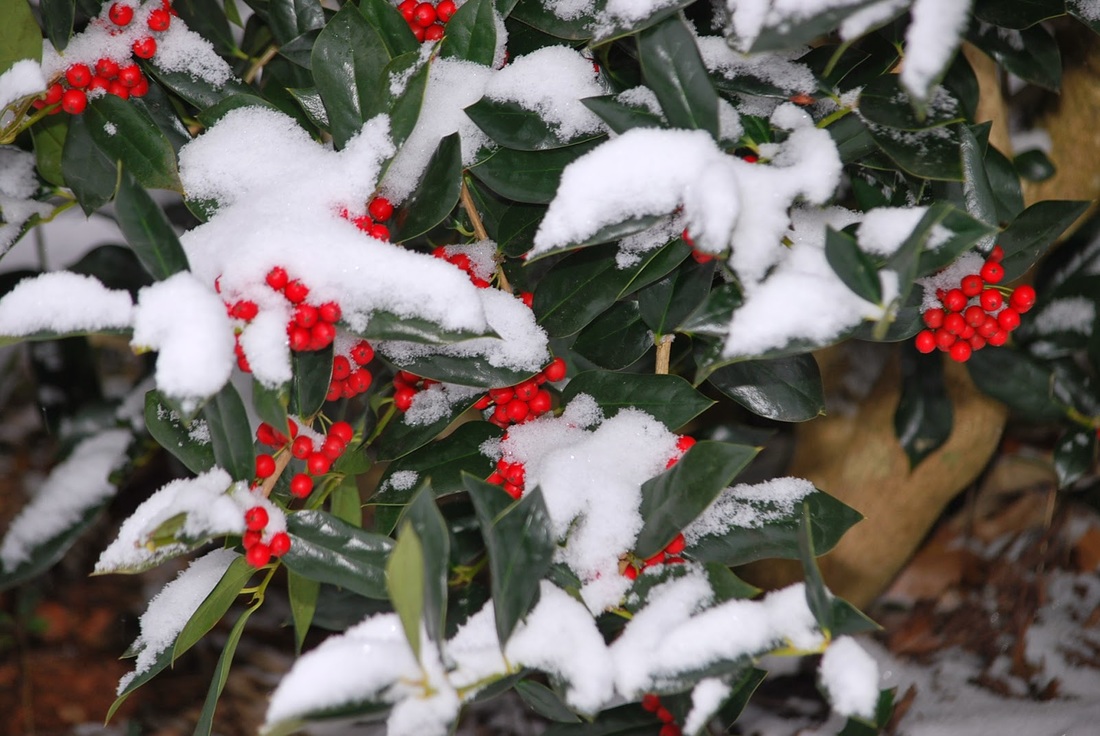
 It is so fun to see everything covered in snow.
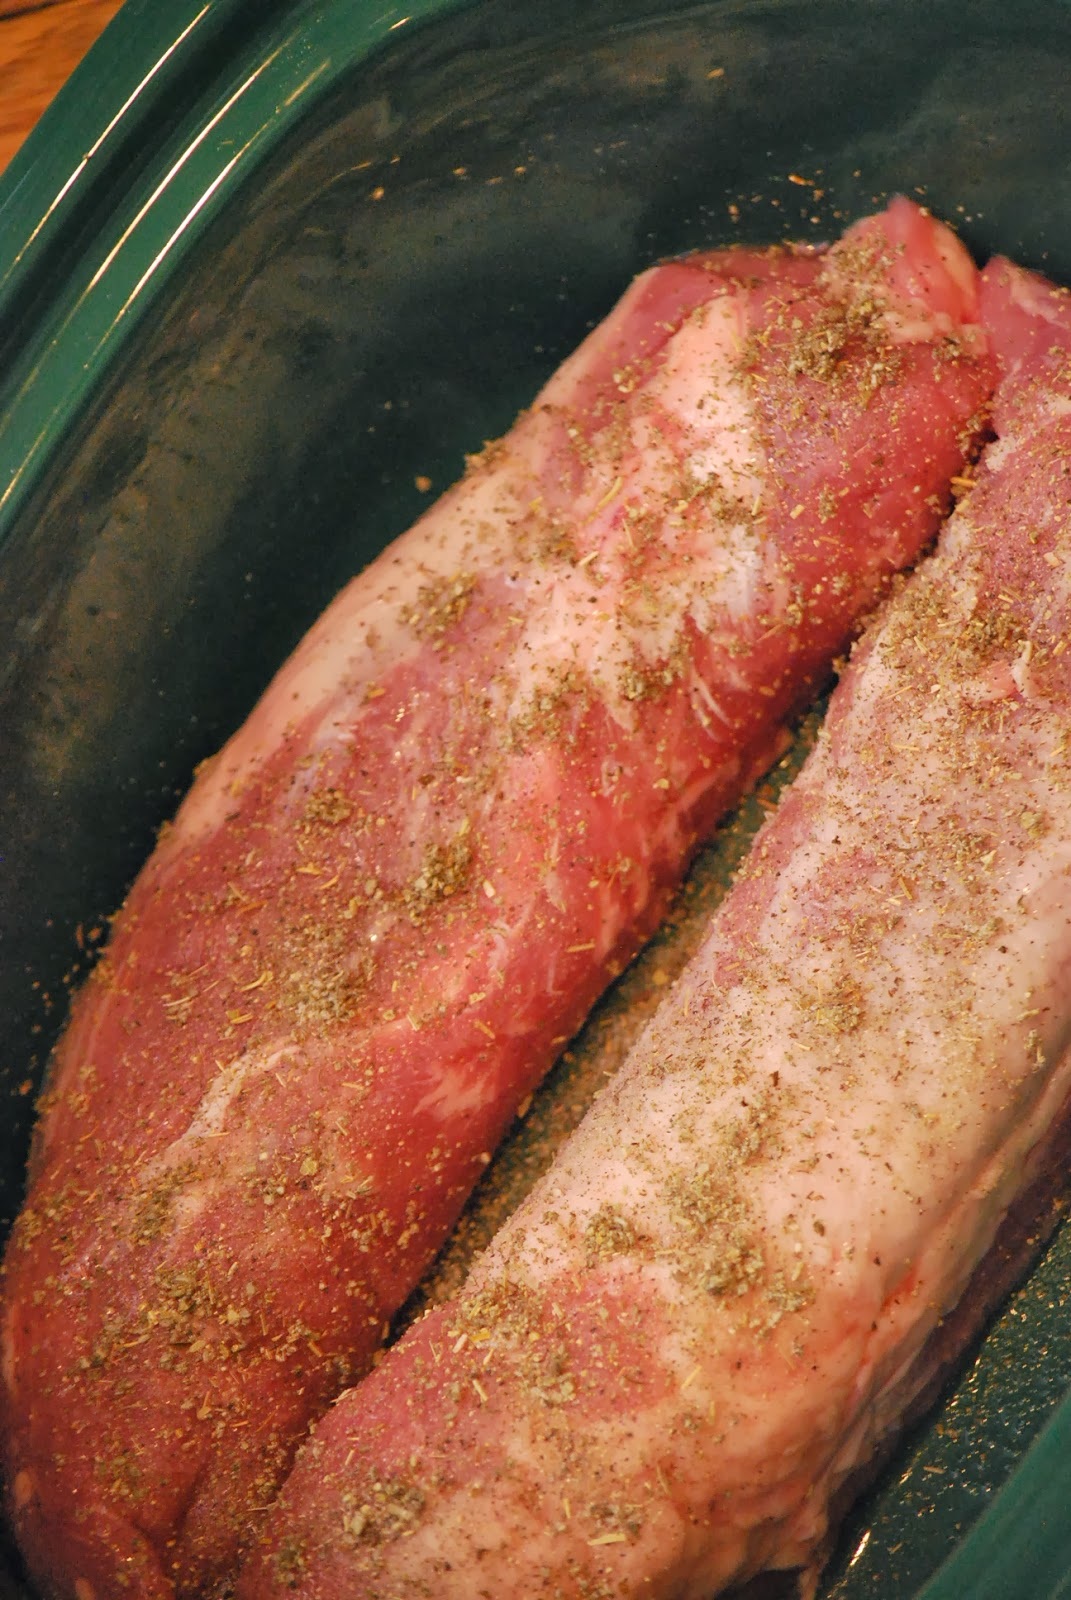
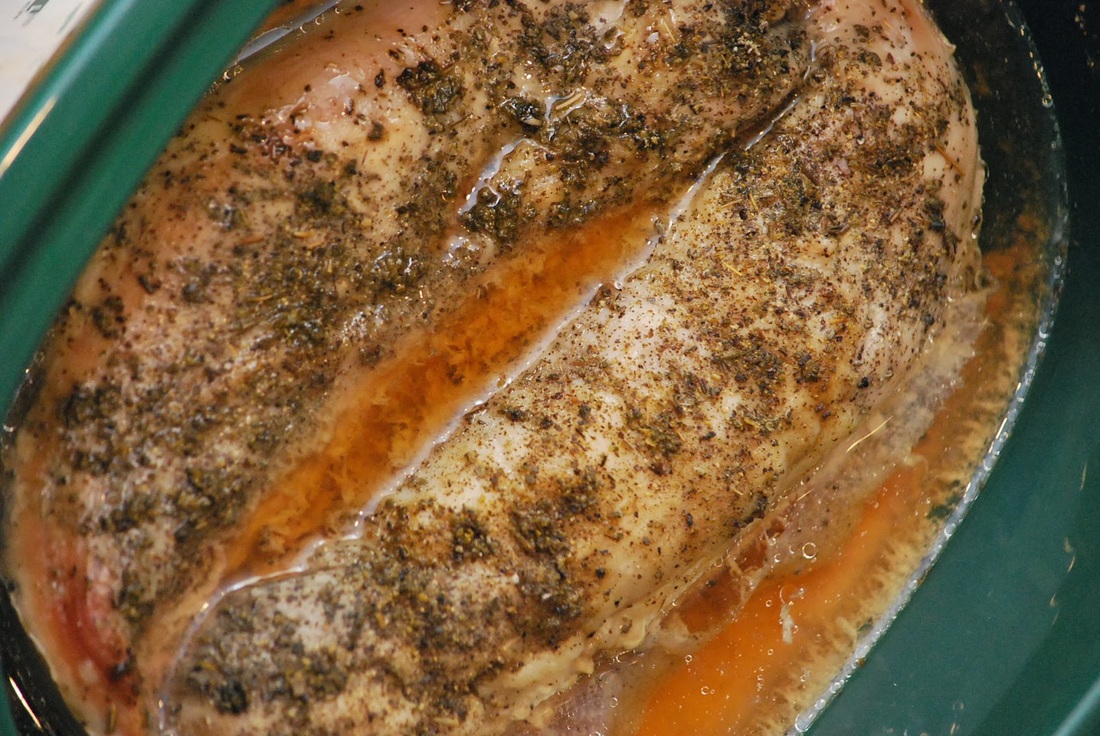
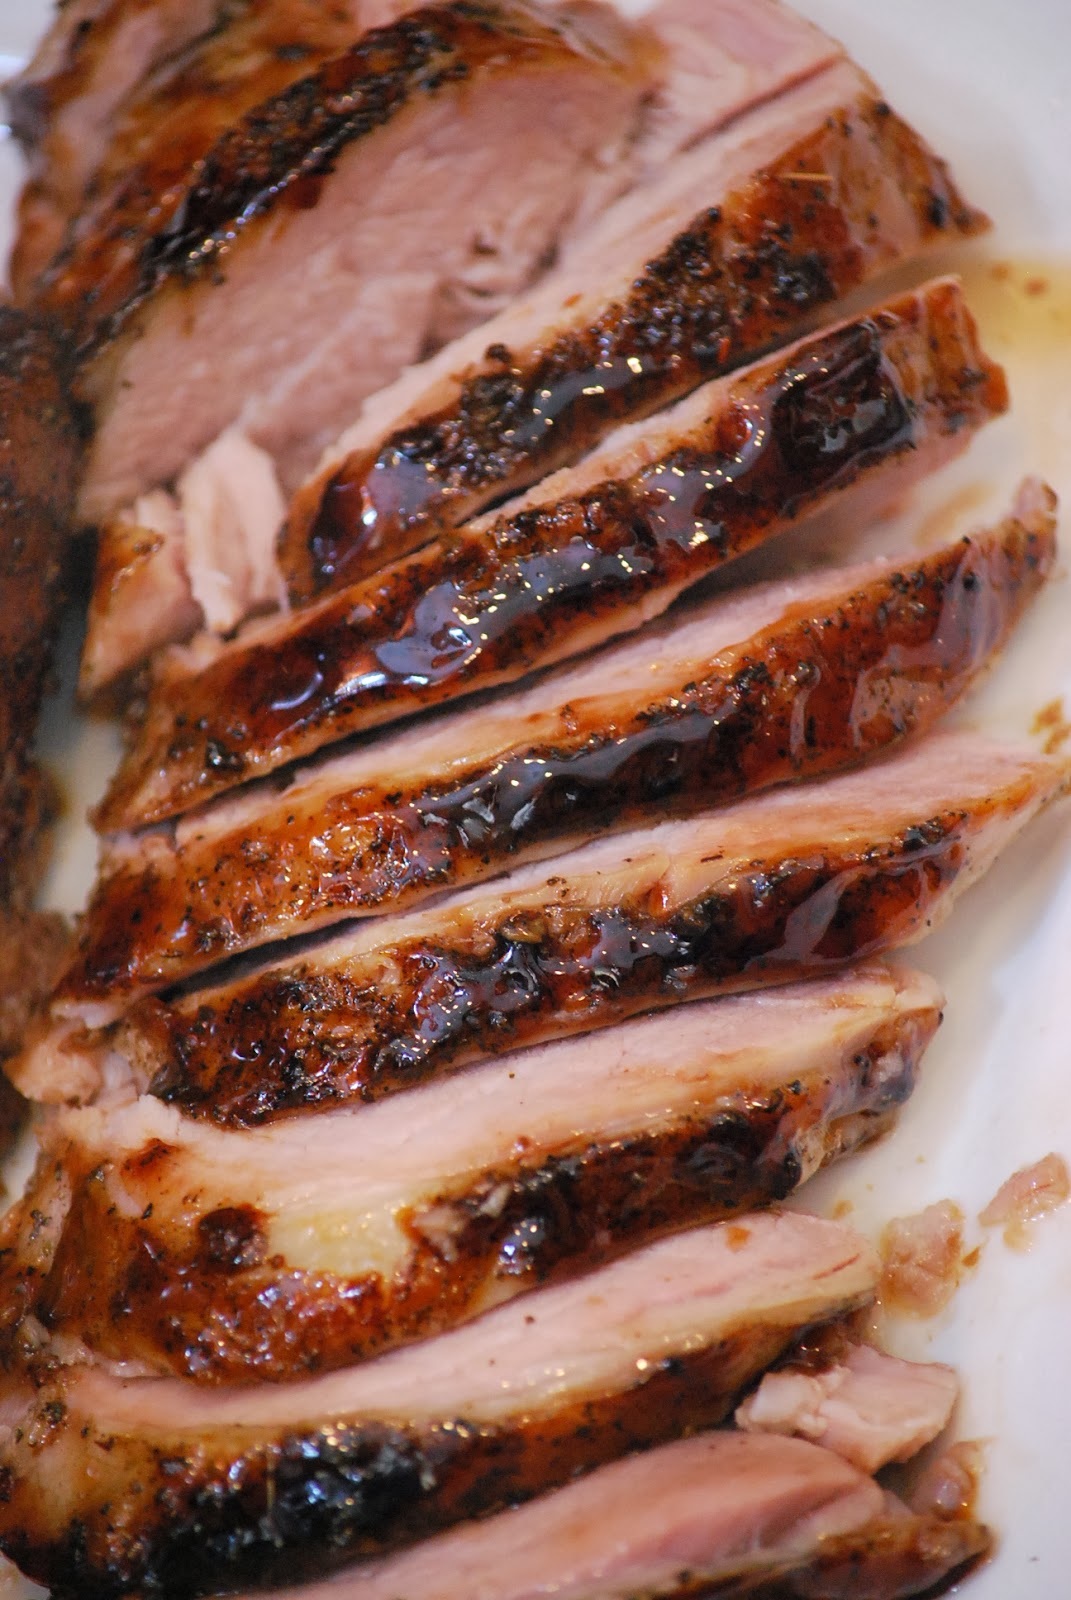
 The cold weather and snow had me in the mood for a nice warm meal last night. As luck would have it, crock pot brown sugar balsamic glazed pork tenderloin was on the menu for he snowy night. I put the pork in the crock pot in the morning and the aroma of the roasting pork filled the house all afternoon. By the time we were ready to sit down for dinner, I could hardly wait to taste it. This recipe came from laurasweetspot.com. 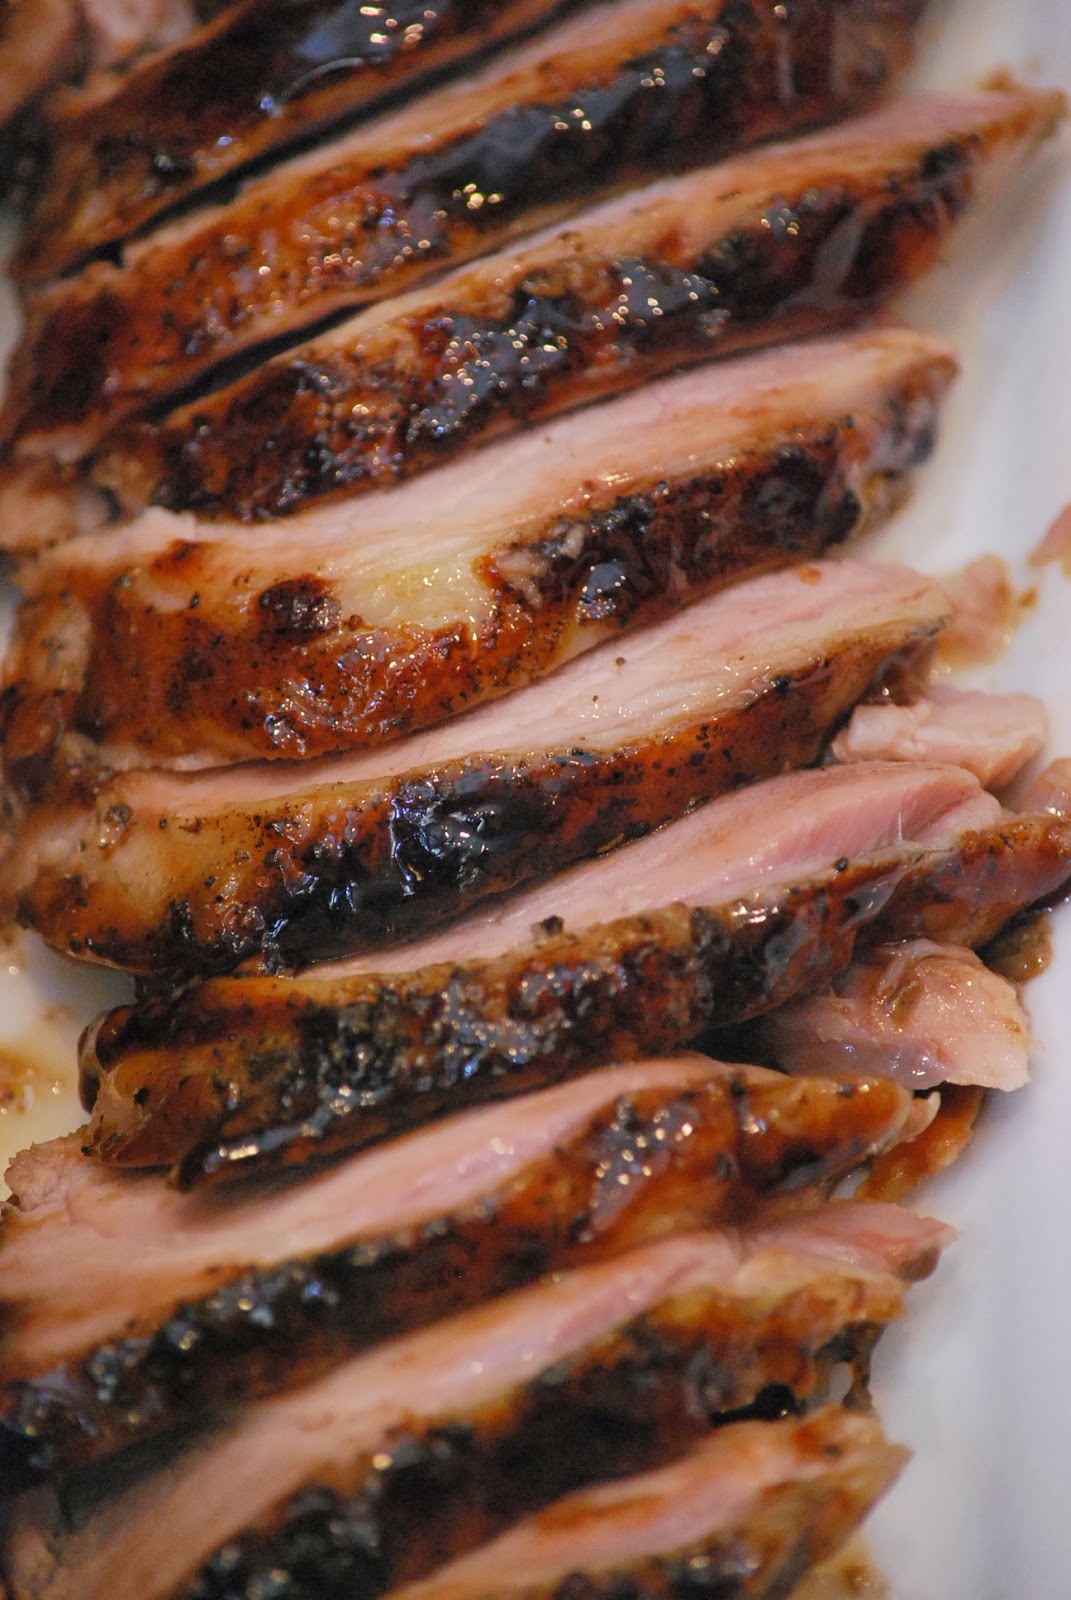 Crock Pot Brown Sugar Balsamic Glazed Pork Tenderloin Ingredients
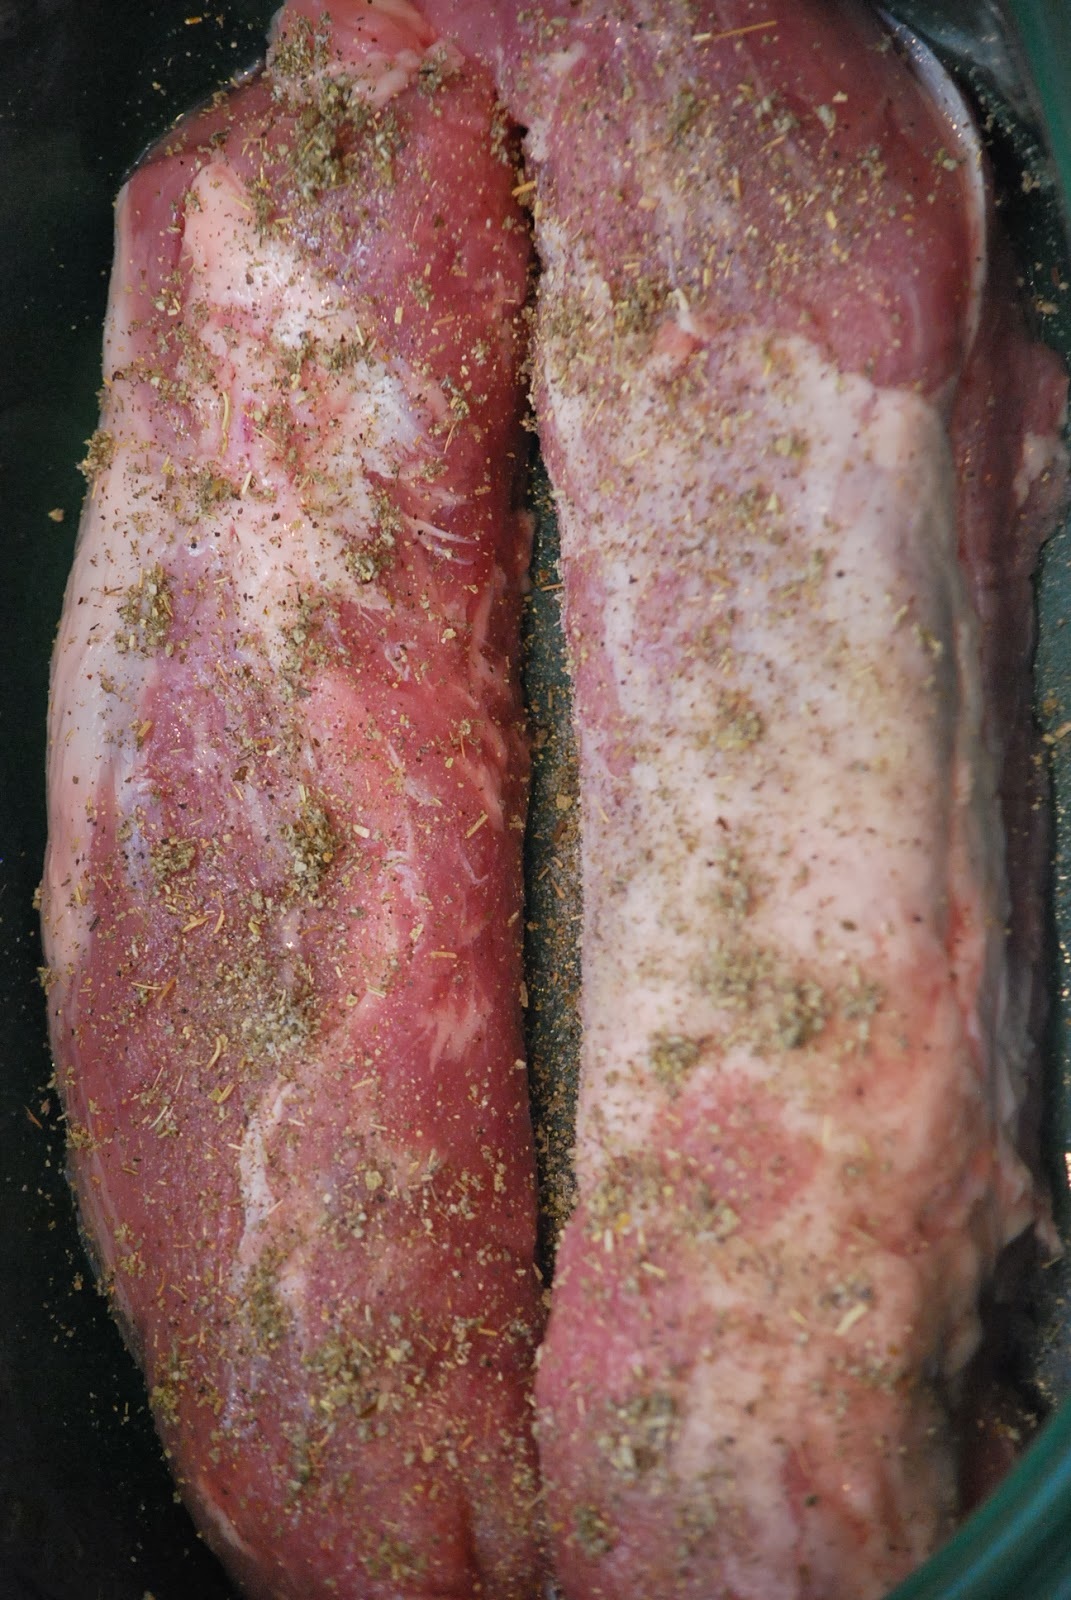
Mix together the seasonings: sage, salt, pepper and garlic. Rub over tenderloin. Place ½ cup water in slow cooker; place tenderloin in slow cooker.
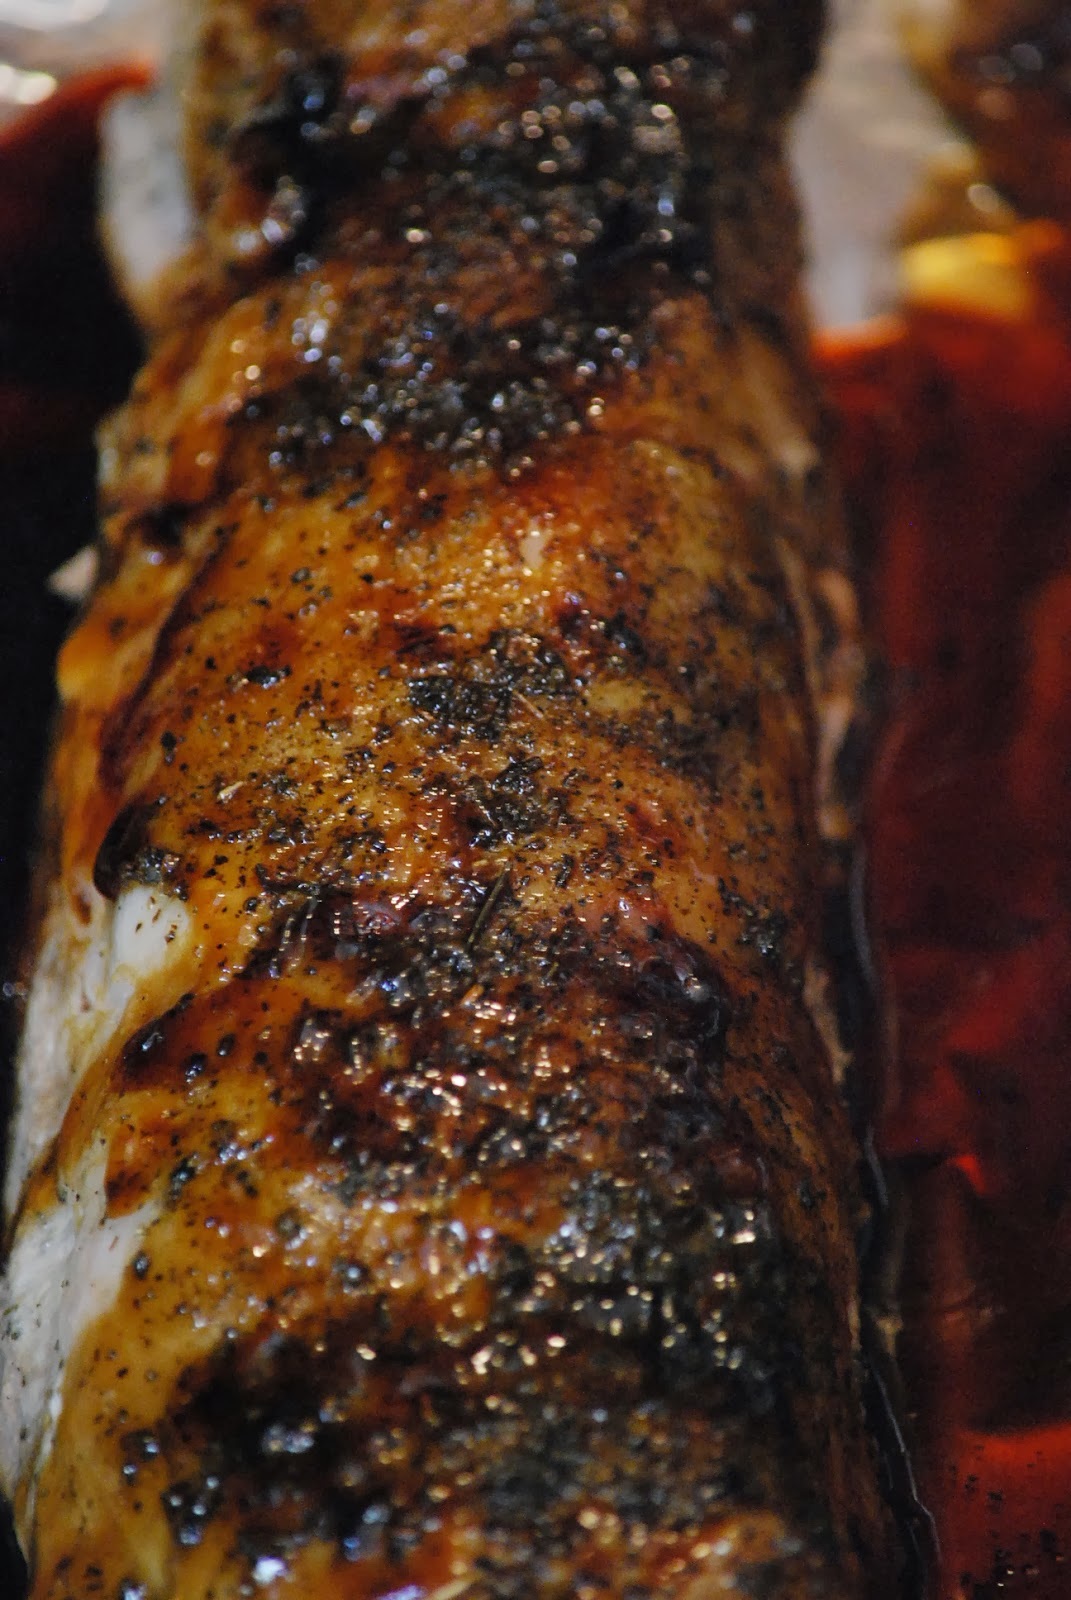
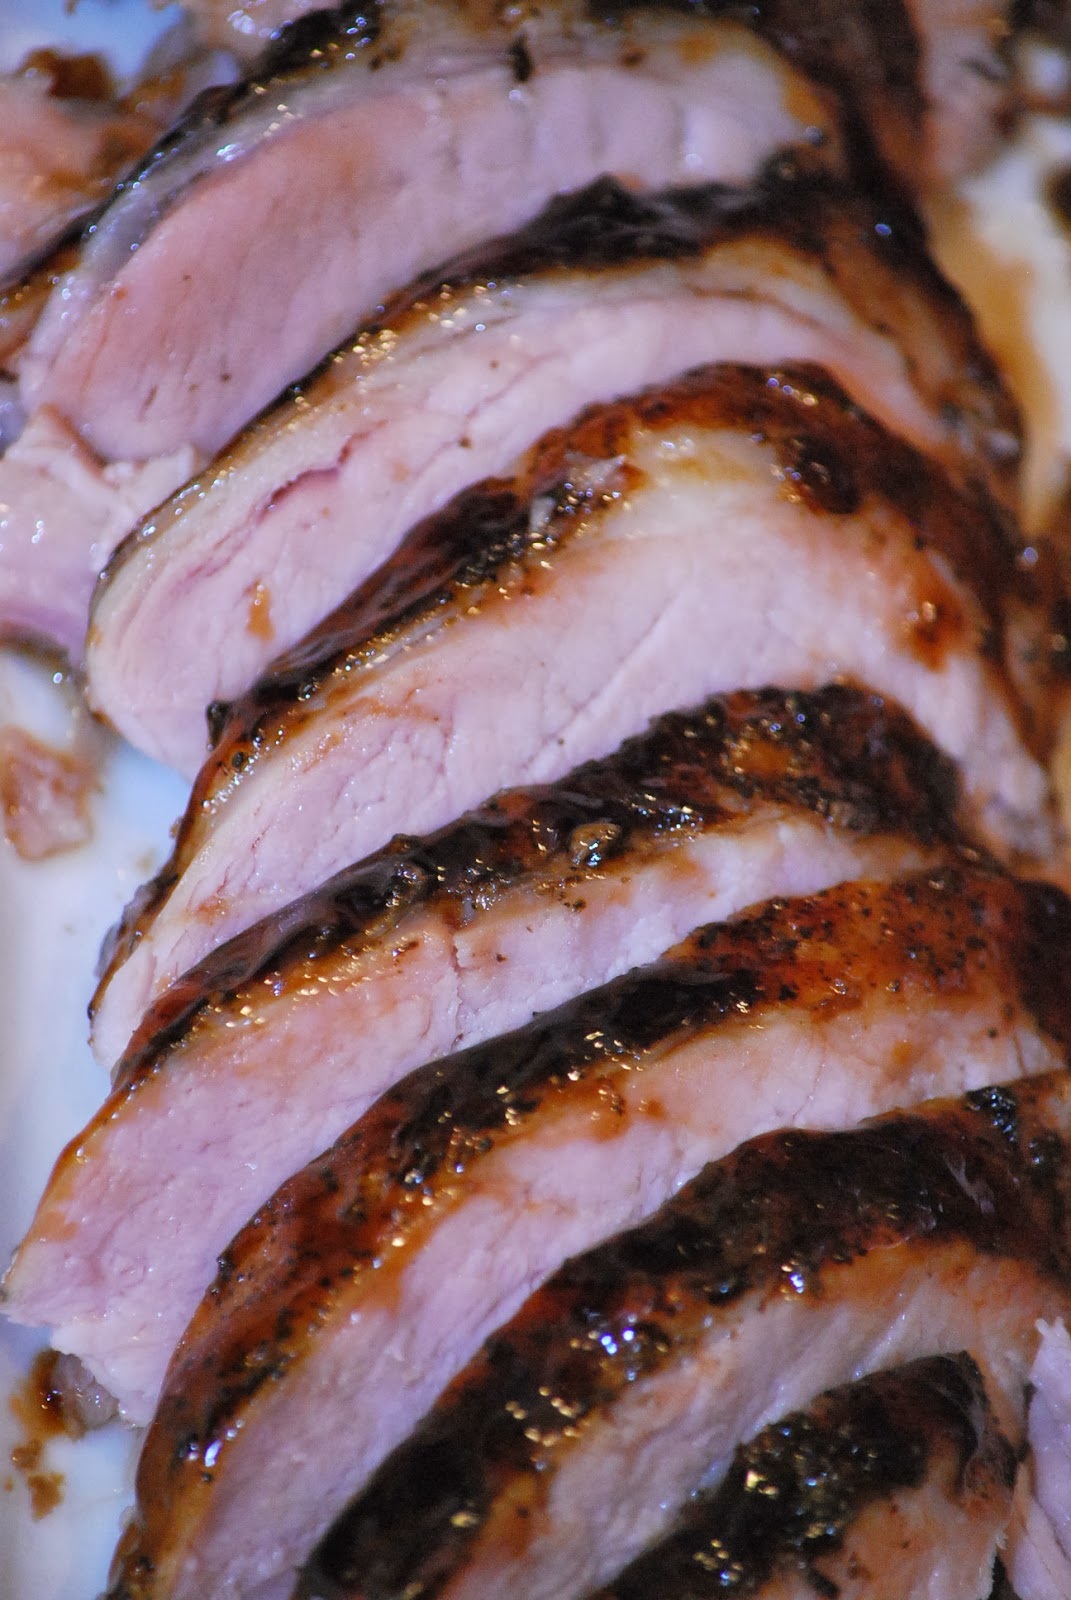
1 hour before the roast is finished, mix together the ingredients for the glaze in a small sauce pan: brown sugar, cornstarch, balsamic vinegar, water, soy sauce. Heat over medium and stir until mixture thickens, about 4 minutes. 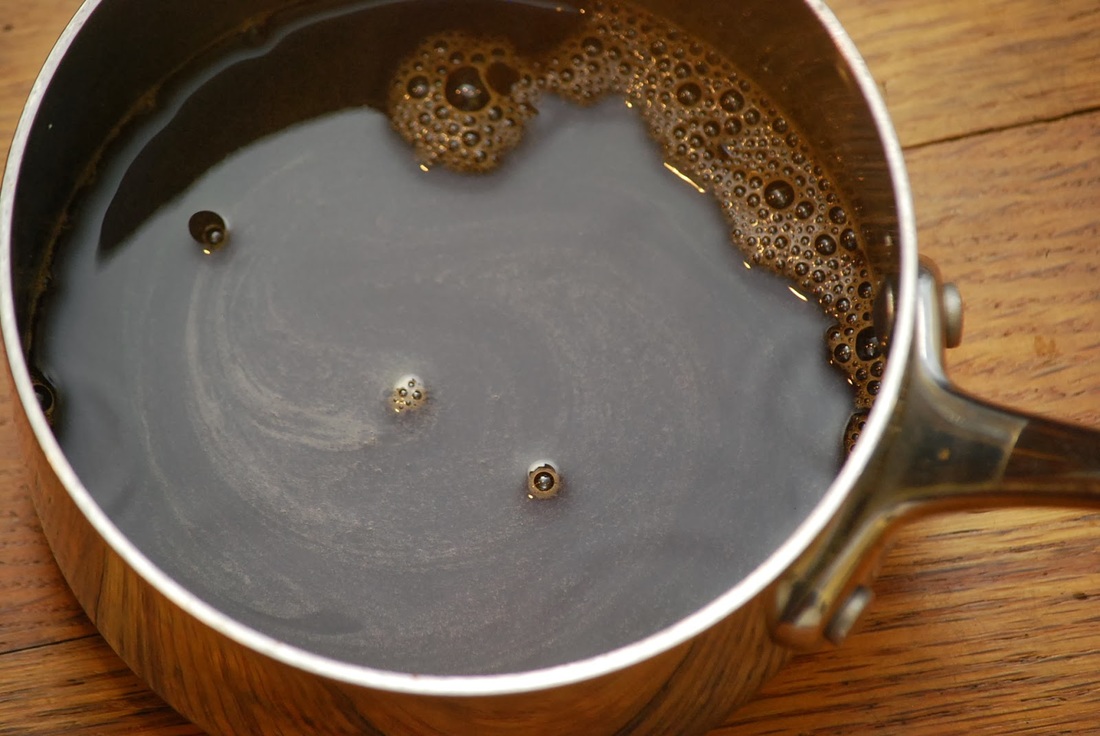 Place pork on aluminum lined sheet pan, glaze, and set under broiler for 1-2 minutes until bubbly and caramelized. Repeat 2 to 3 more times until desired crust is achieved.
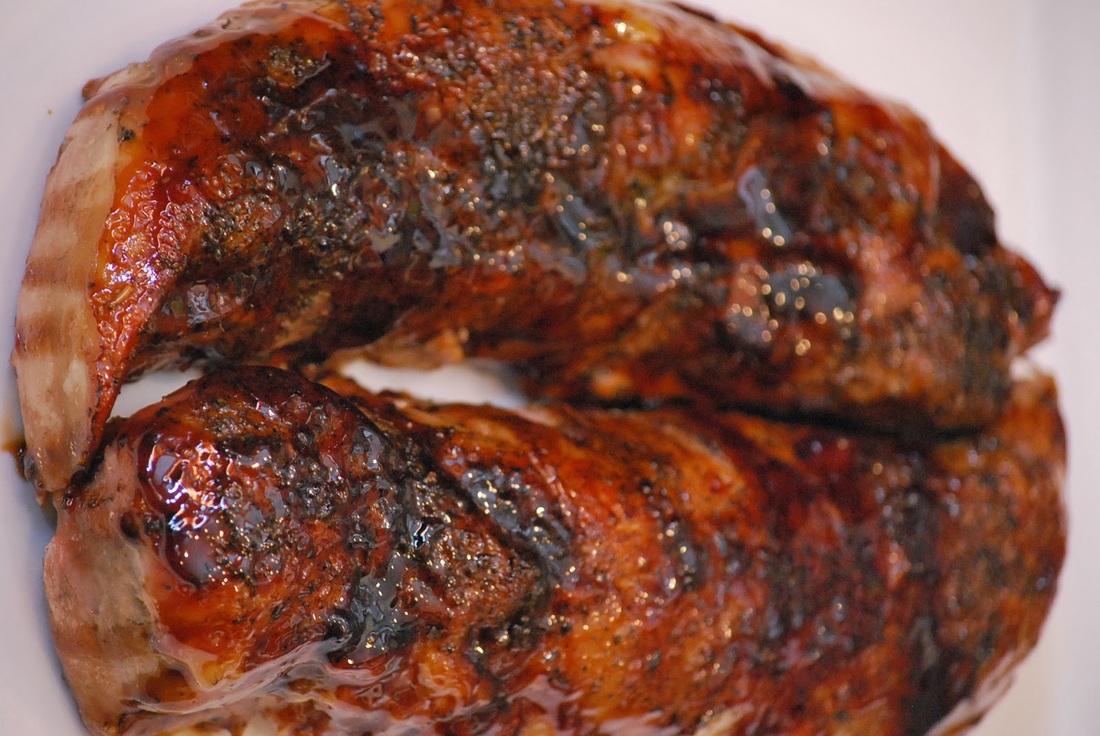
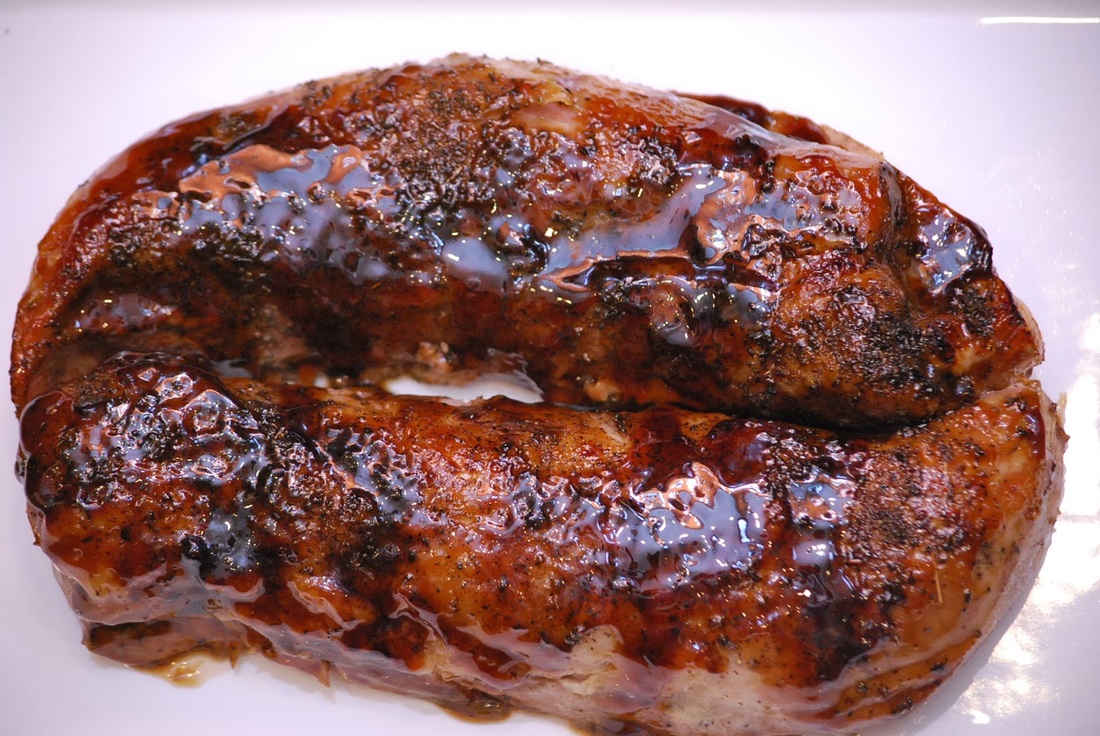
Serve with remaining glaze on the side.
This pork tasted exceptionally good because it was exactly what I was craving on a snowy winter night. The glaze was perfect and the pork was super tender. I loved it and apparently I wasn't alone because my family gobbled it up too.
I'm off to have some snow adventures today - I have to enjoy it while it lasts because snow doesn't stick around very long in this part of the country. You can be sure that I'll document our snow fun in pictures so that I can share them with all of you very soon. Have a great snow day - Ciao! |