|
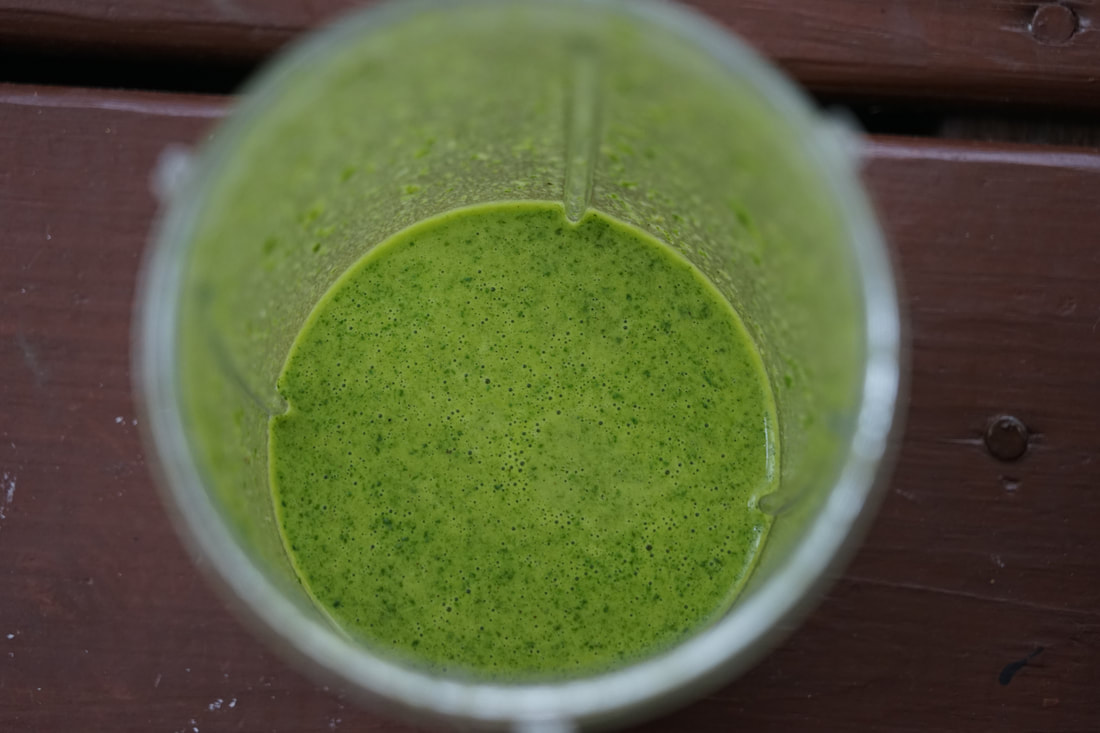
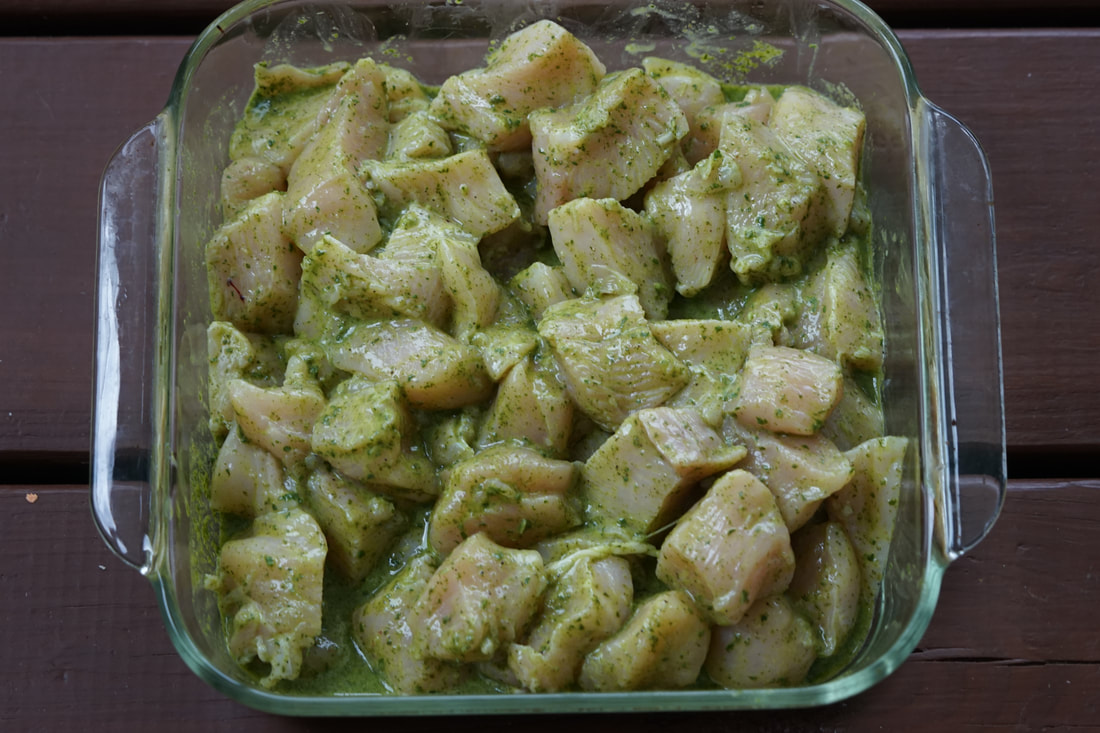
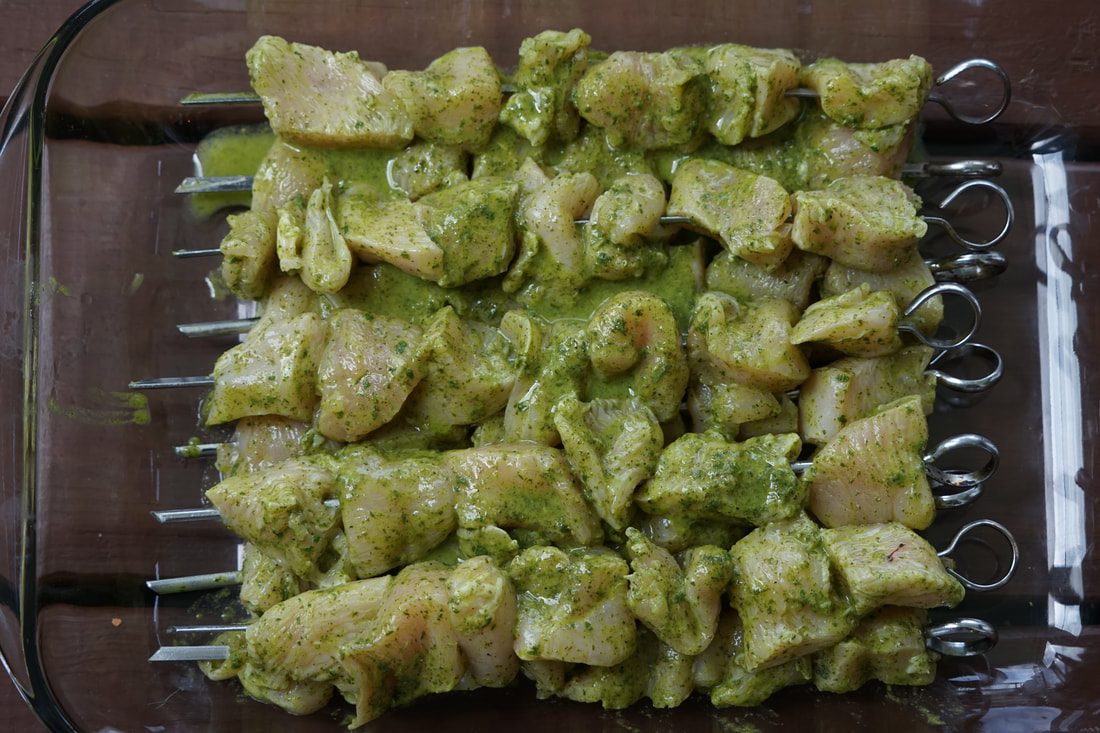
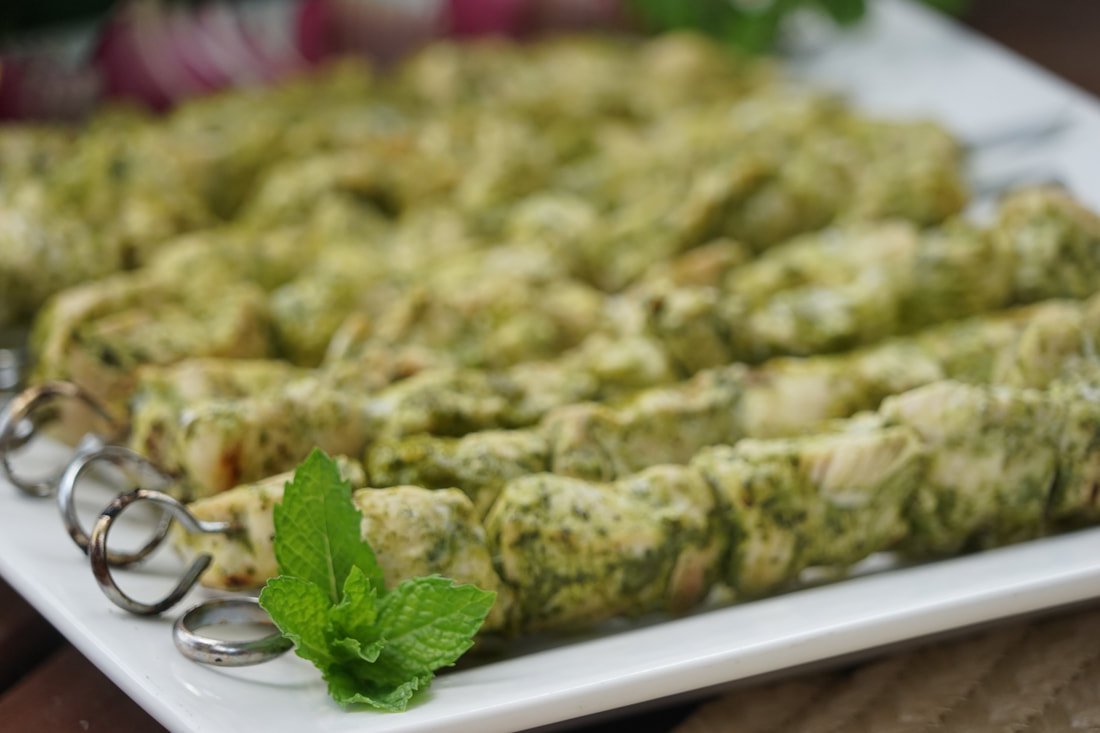
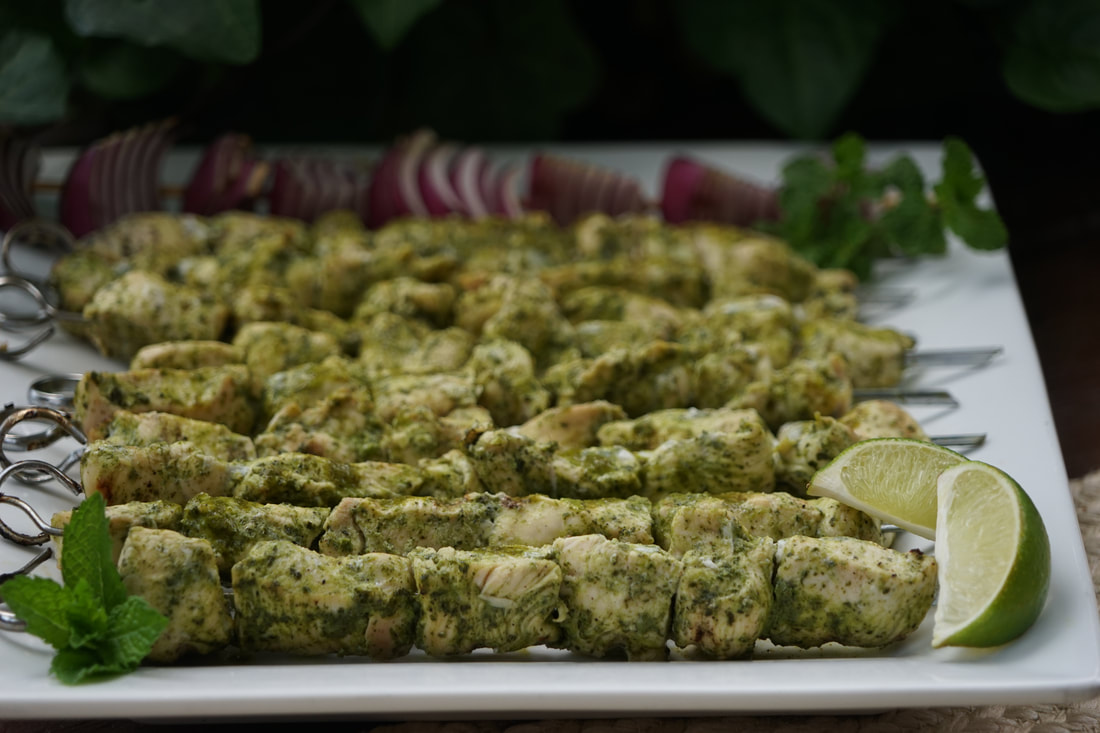
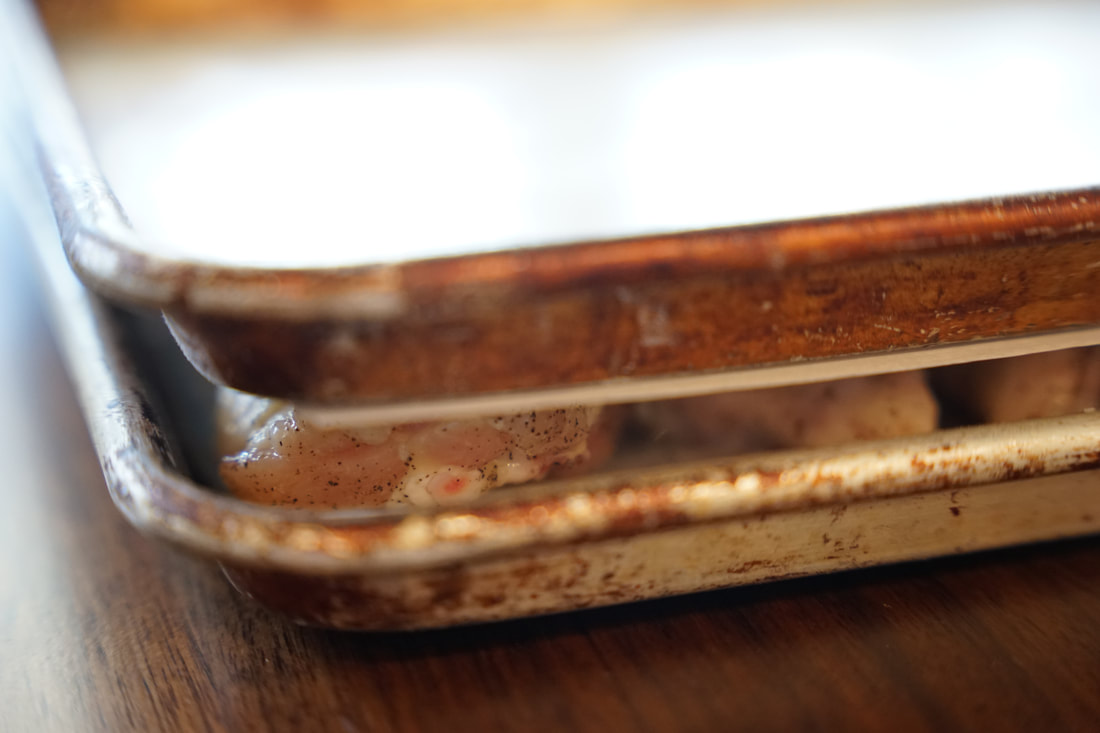
When I first started my blog, I felt like I was publishing posts that no one ever read. The only comments that I got were from my mom. (No kidding) I would share posts on my social media and all I heard was crickets. My blogging community was very small. Mostly comprised of people that I was related to or that I knew personally. Professional bloggers offer all kinds of tricks and tips for getting more blog followers and increasing traffic to a website. I've looked through the list of tactics even though my goal isn't necessarily to increase traffic OR reach the ten thousand followers mark. If you ever need a good laugh though - google "blogger tips". It's guaranteed to crack you up. The blog community is in agreement that adorable pictures of babies, travel photos and cute puppy pictures are sure fire ways to generate more interest in a website. So here's to testing out the theory. We'll see if this blog post with beyond adorable puppy pictures gets more interest than blog posts without puppy pictures. This is not only a test of the effect of cute puppy photos on blog traffic, it's also my shameless attempt to incorporate pictures of our grand-dog onto my blog. 😂🐶 I think that we can all agree that this is just about the cutest little German Shorthair Pointer that there ever was. He's a water loving, curious, adventure seeking puppy that doesn't quite know how to control all of his legs yet. It feels random to transition to the recipe of the day after posting these beyond adorable puppy pictures but according to blog "experts" this is what increases followers. 🤷🏻♀️ I can't think of anything more refreshing on a hot summer day than an ice cold mojito. If you're not into day drinking though and the sound of mojitos before noon makes you cringe - you may want to try these Mojito Marinated Chicken Kebabs instead. It's all of flavors that make mojitos so irresistible - fresh mint, lime juice and great rum - in a much more family friendly food version. Mojito Marinated Chicken Kebabs 1/2 cup chopped fresh mint 3 Tablespoons lime juice 2 Tablespoon oil 2 Tablespoons rum 2 teaspoon agave syrup 1/2 teaspoon salt 1/4 teaspoon pepper 1 1/2 pound chicken breasts, cut into 1/2" pieces 1 medium red onion, cut into 1" rounds and quartered
Serve with more mint and lime wedges. Looking for more great summertime recipes? Use the categories on the right to search through some of my favorites. And for those of you who love to grill in the summer, you can also search Big Green Egg recipes.
Ciao!
0 Comments
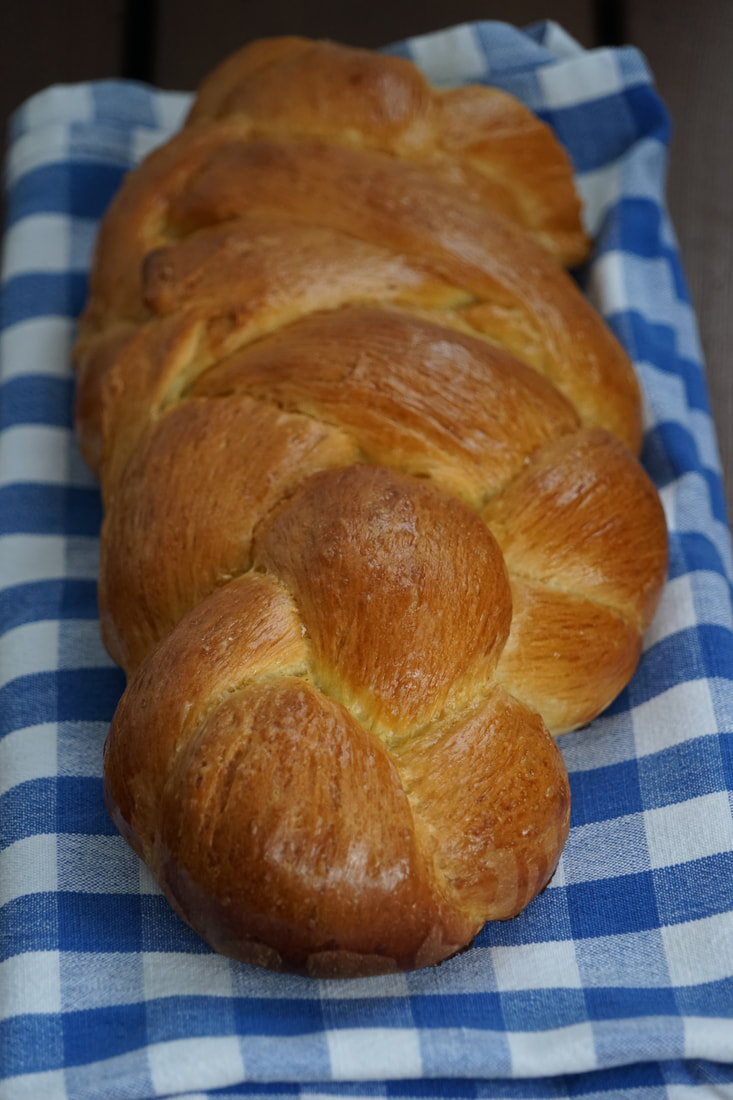
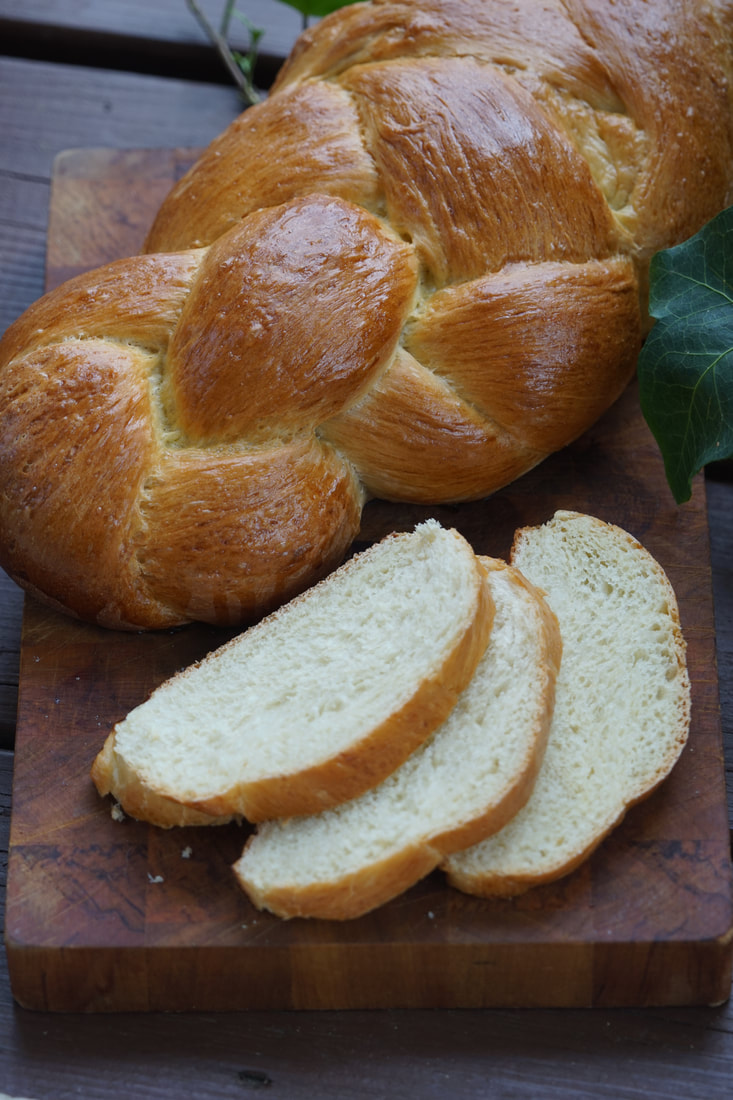
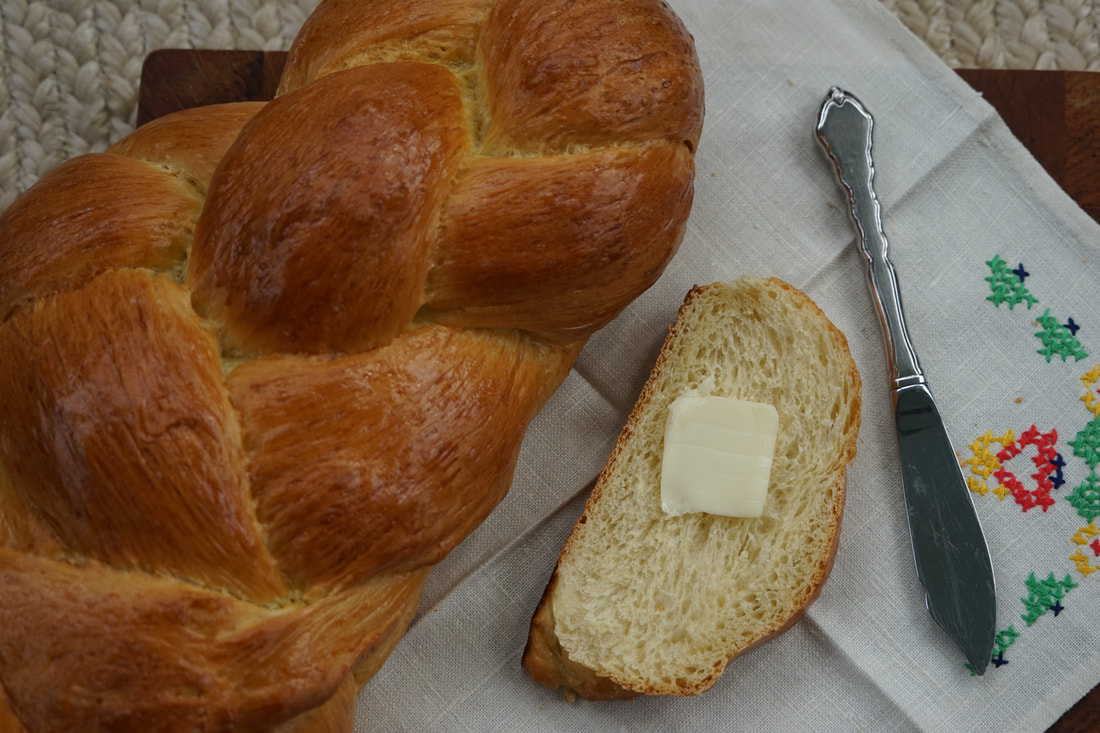
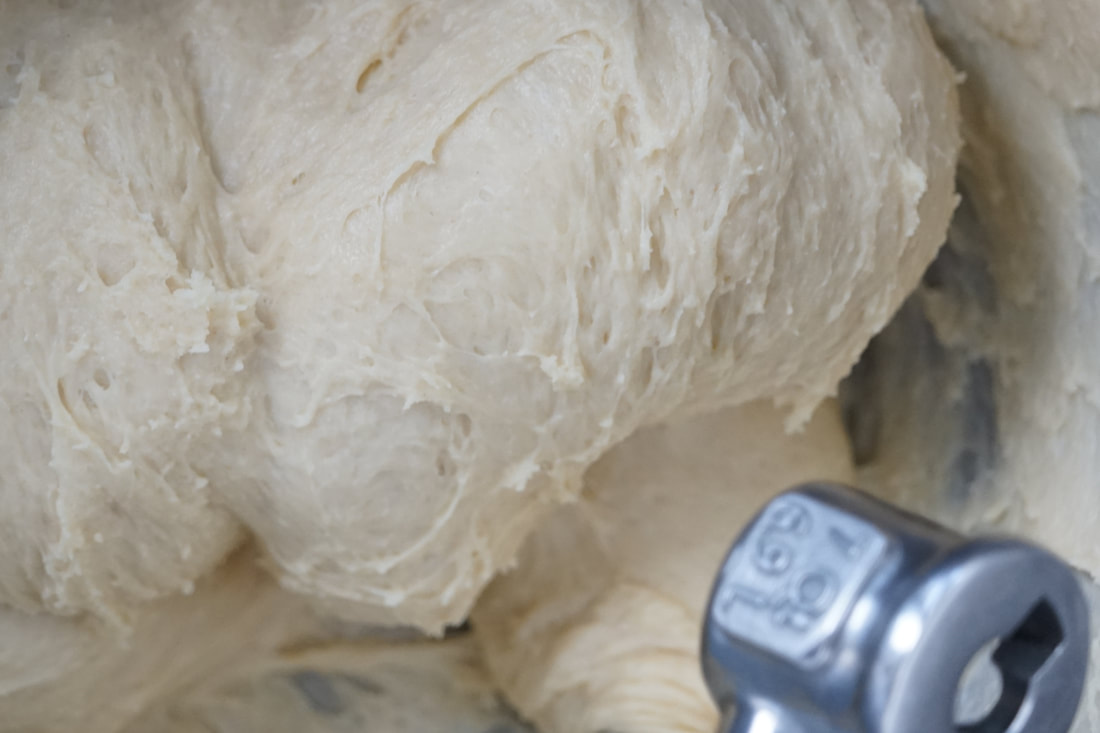
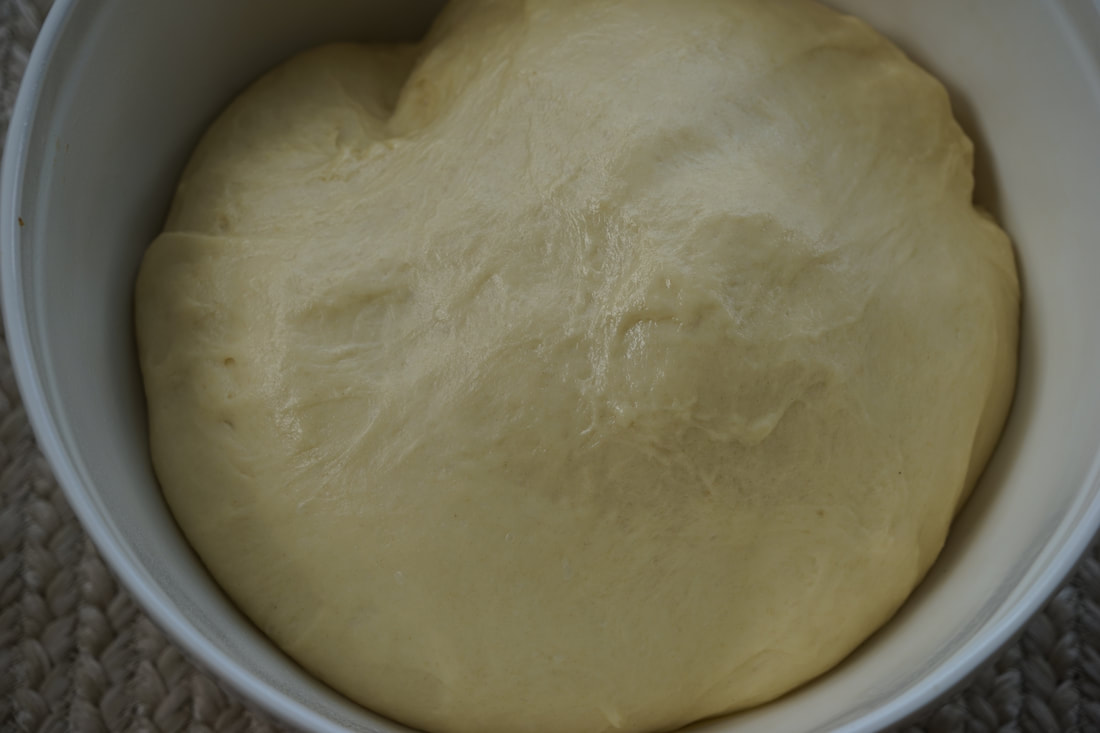
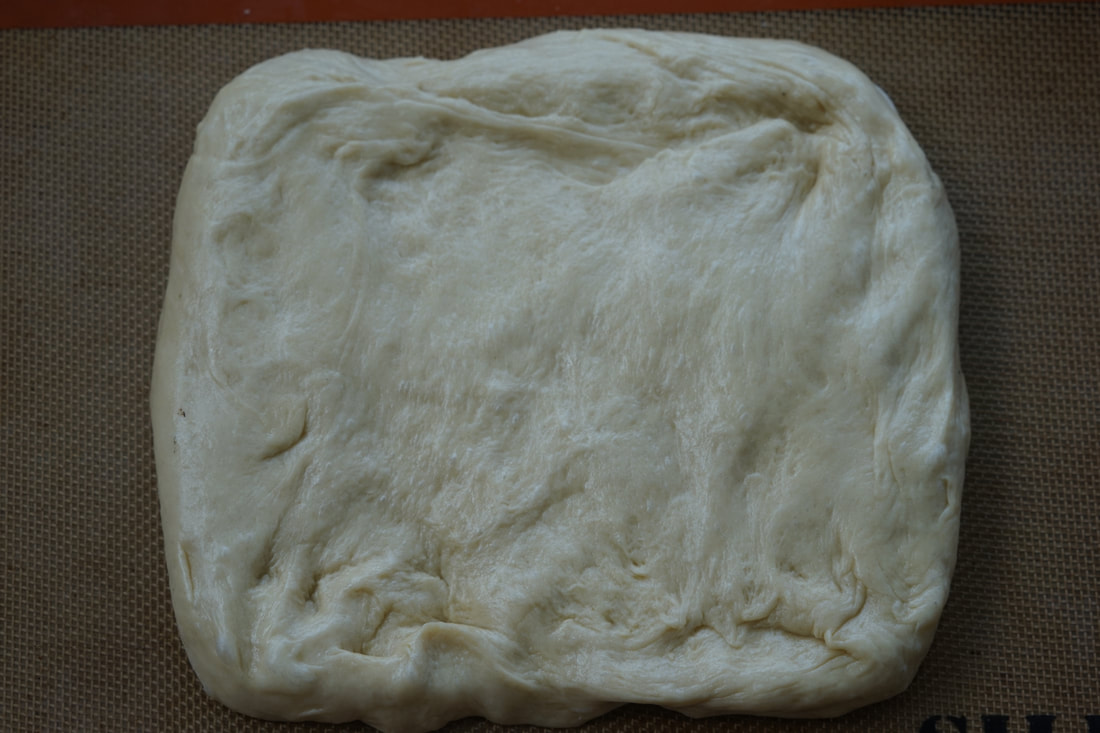
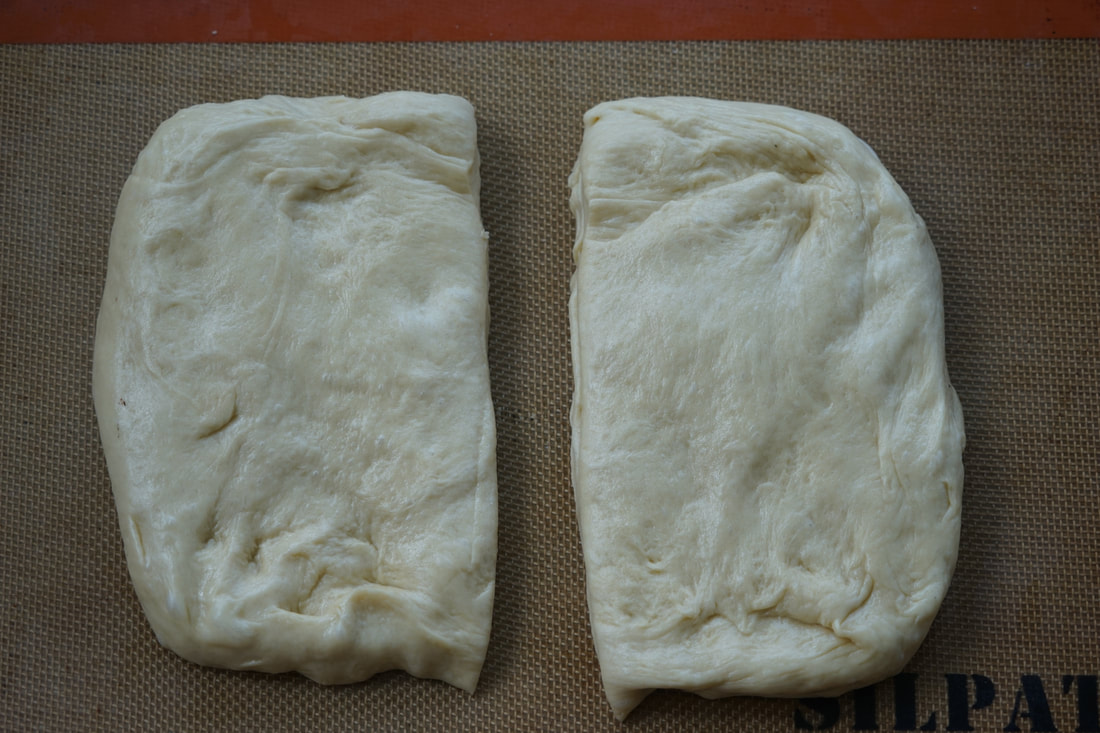
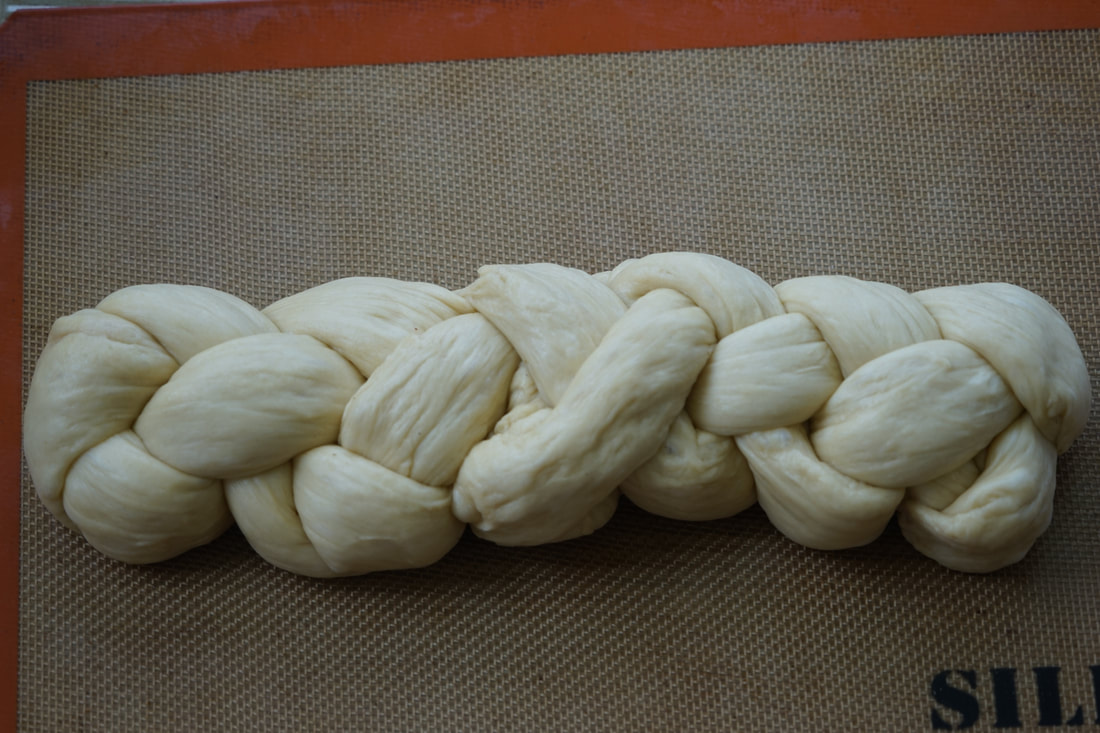
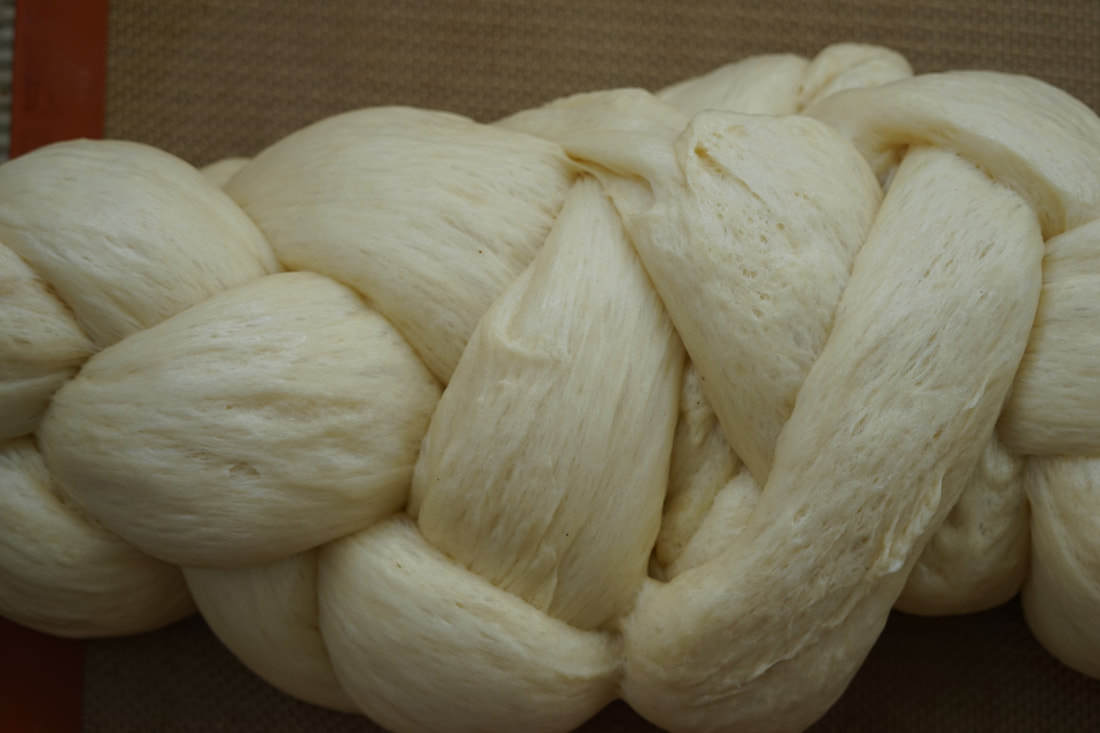
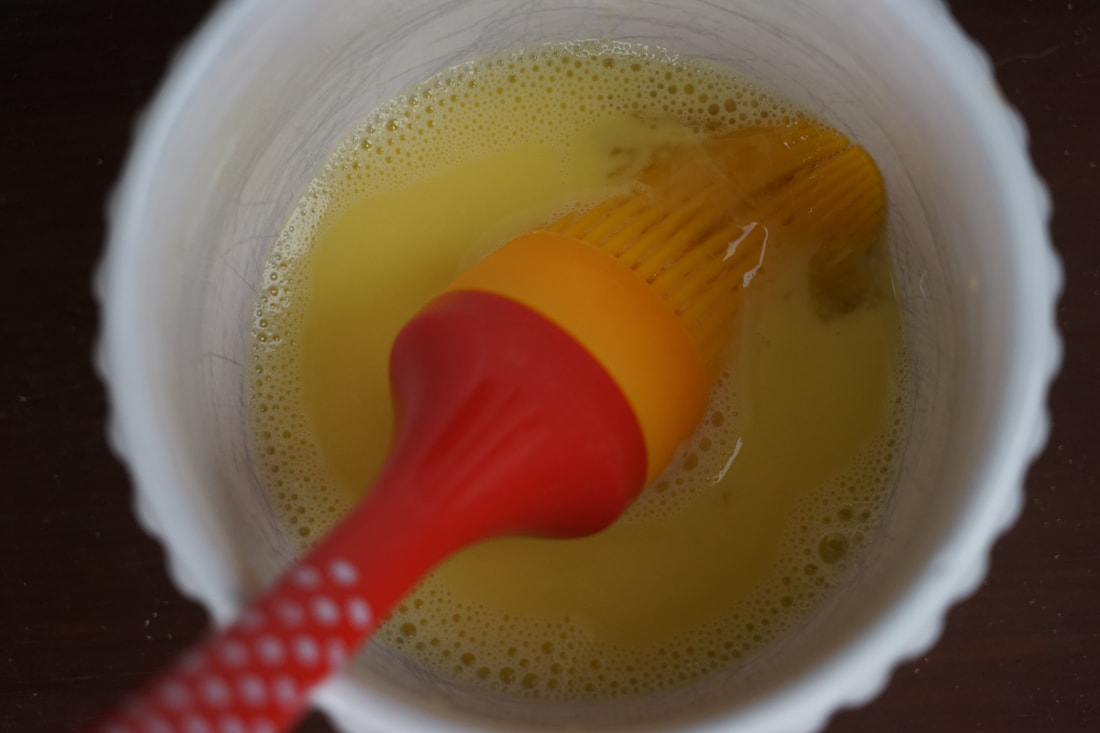
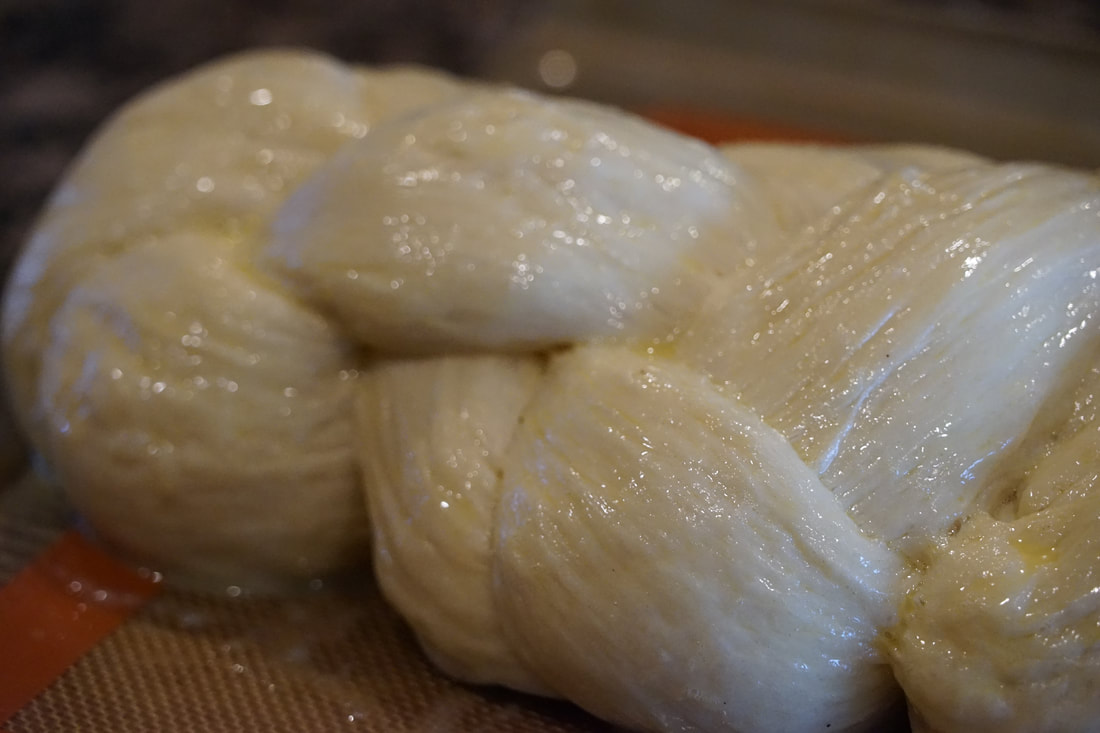
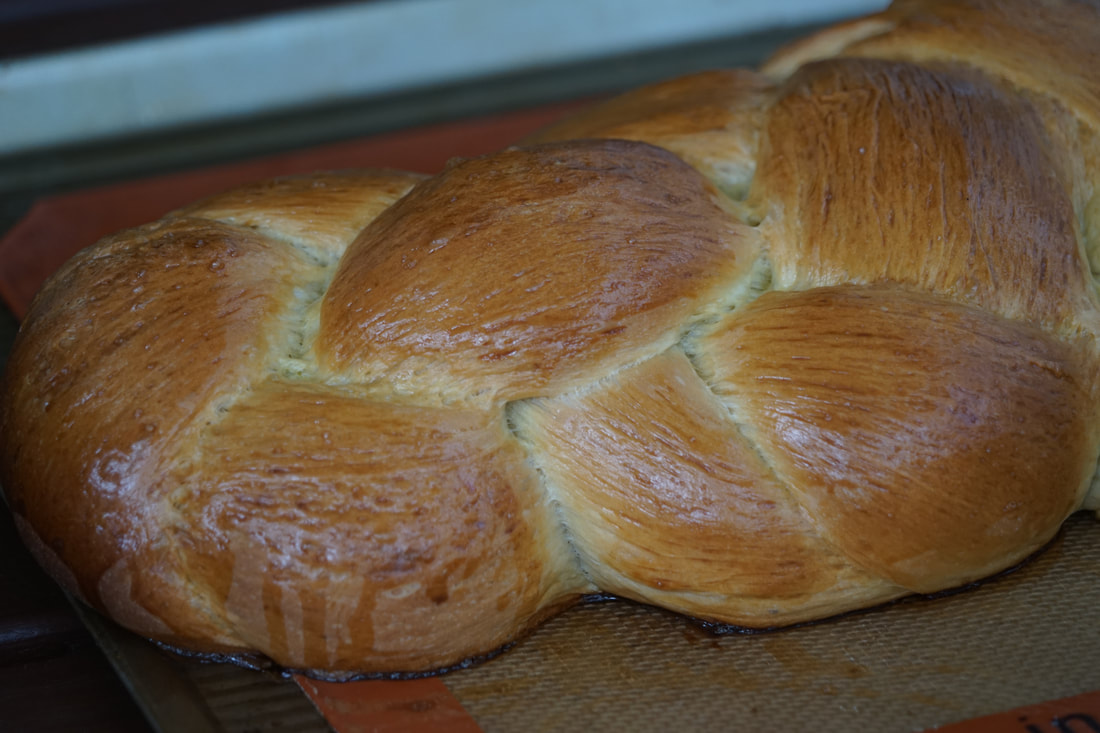
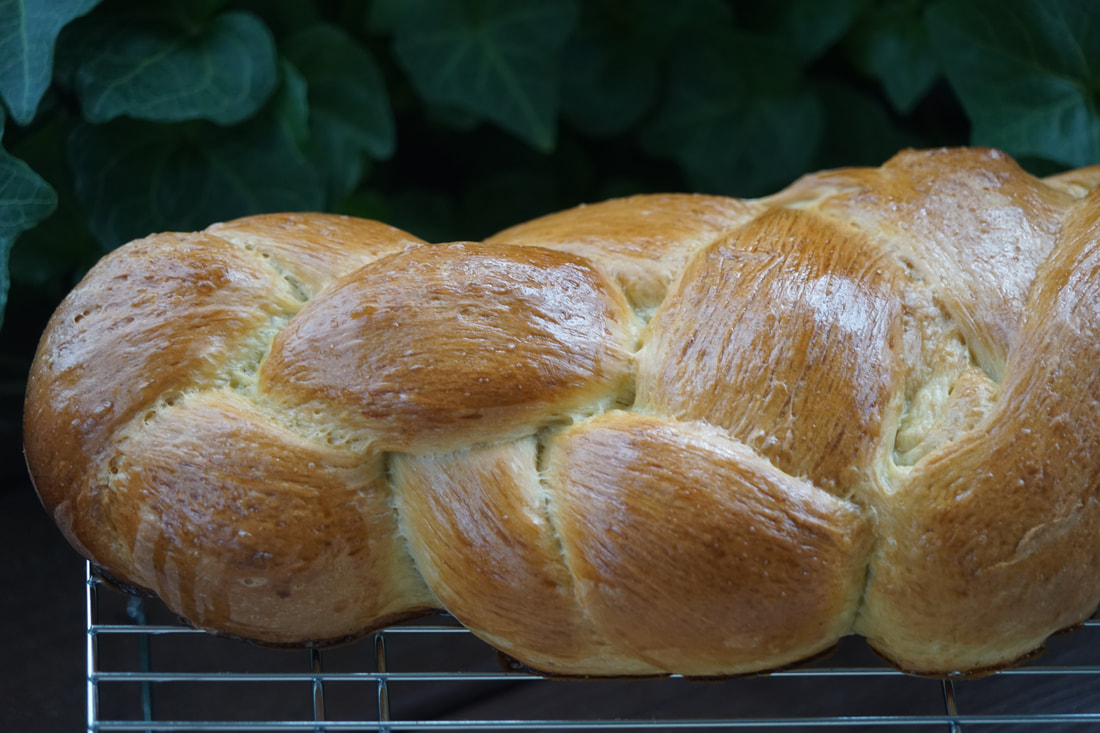
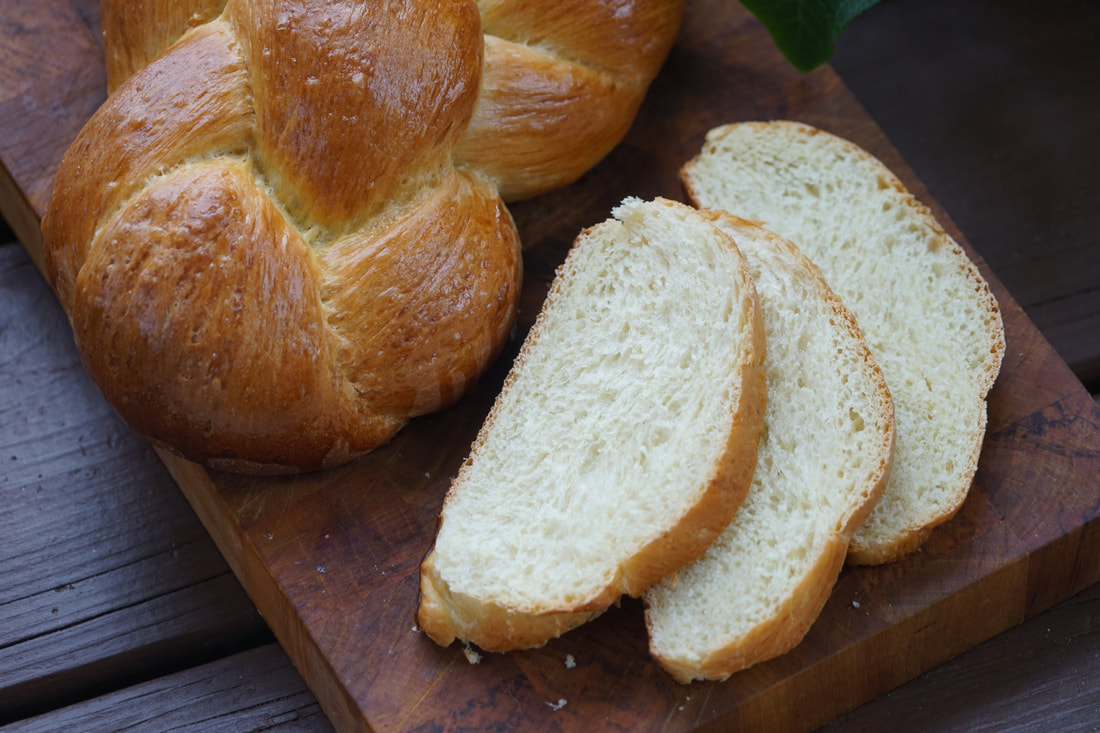
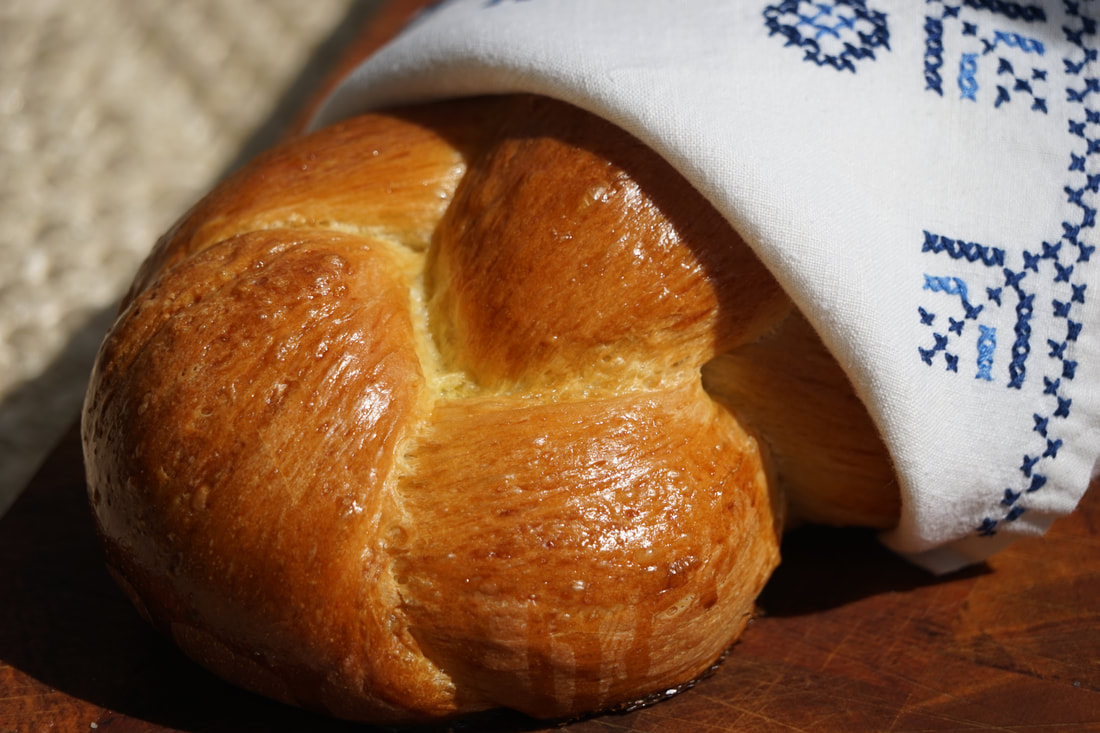
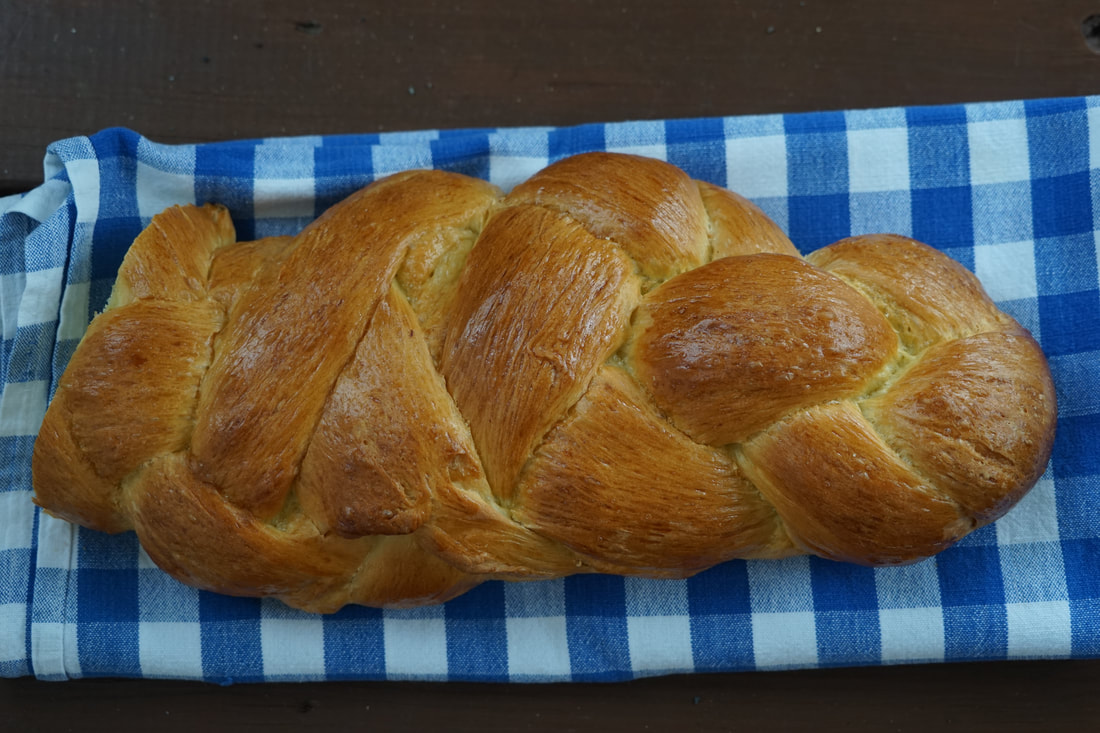
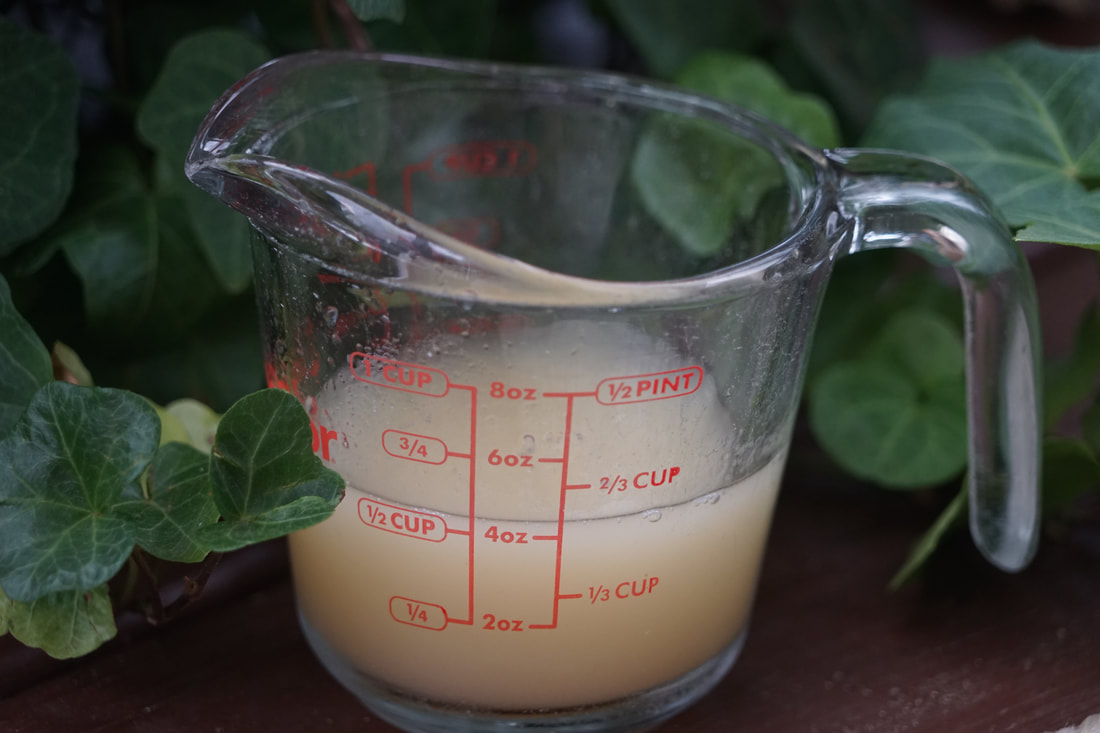
For the those of you who haven't already heard - my son and his beautiful soul mate got married last month in the most magical and whimsical wedding ceremony ever. Can you tell that I was beaming with pride and joy over this blessed union? I know that I'm biased but it truly was a magnificent day. One of the hardest things that I had to do to prepare for their wedding day was to purchase a mother of the groom dress. 😬 When I started my search, I had no idea what I was about to get myself into. I underwent a comprehensive search of all malls, dress shops and boutiques in the greater Atlanta area without finding anything even remotely close to what the dress that I had pictured in my mind. Completely exhausted and frustrated, I turned to internet in pursuit of a proper dress. (A process that lasted at least 2 months) If you've ever searched for a mother of the groom dress, you know the struggle. First of all, I'm not a hundred. Second of all, I didn't want to wear chiffon or sequins. Thirdly, I'm only 5 feet tall so there are very few dress styles that are actually flattering on my small frame. When I finally found a dress that I was happy with, my next challenge was to find someone who could cut a several FEET off of the bottom so it would fit me. (No kidding. What kind of giants are these designers making these dresses for?) Luckily, I found a wonderful person to alter and hem my dress several weeks before the wedding and all I had to do was to maintain my weight until the wedding. You see where this is going, right? I was on track and then May hit. We celebrated Mother's Day with food. Three days later we celebrated my birthday. Four days after that we celebrated my birthday with friends in Atlanta. Three days after that we celebrated my birthday AGAIN with some other friends. I was feeling all the love but I wasn't feeling like I was going to fit into my dress anymore. I had two options really. I could go back to the alterations person and have her let the dress out to fit my cake belly OR limit my sugar intake on the few non-birthday celebration days. I opted for the second - much harder choice. That means that this yummy Challah bread had to be put on hold until AFTER the wedding. There is no way that I would have been able to resist the temptation to eat this delicious homemade bread if I had made it in May. It was worth the wait. It was amazing. Challah Flour Paste 1/2 cup water 3 Tablespoons bread flour Dough 1 egg + 2 egg yolks 1/4 cup water 2 Tablespoons vegetable oil 2 3/4 cups bread flour 1 1/4 teaspoons yeast 1/4 cup sugar 1 teaspoon salt Egg wash 1 egg salt
Bake 35-40 minutes at 350. Let cool 20 minutes on pan. Transfer to a wire rack and let cool 2 hours before slicing.
I grew up on a little island in the middle of the Sandusky Bay. It was on this "rock" that I learned to water ski, ride a motorcycle and jump off of ridiculously high cliffs into the water. It was an amazing place to spend my summers and since my parents still live on this tiny island, I try and spend a week of my summer there every year with my family. I think that it's my favorite place on earth to relax and rejuvenate. During our visit to the island last week, we fished, kayaked, paddle boarded, biked, tubed, sailed, swam at the beach, took boat rides, flew in a plane over the islands, watched fireworks, and built beach fires. Doesn't that sound relaxing? At least I've given up on the cliff jumping and motorcycle riding. 😂 My summer just wouldn't be complete without a trip to Ohio to visit my parents on the island. There's a lot to love about this special place and the people who live on the "rock". What is it about being on an island that makes me crave rum? The night that Ben and I arrived in Hawaii last September - I had an undeniable urge to drink a Mai Tai. Never mind the fact that we had been travelling for 15 hours and it was 4:00 in the morning. (eastern time) That didn't stop us from going to the hotel bar and ordering a Mai Tai before we went to bed. That was my very first taste of the deliciously tropical cocktail and to be honest - I haven't had one since I left Maui. Being on an island last week made me think about this recipe for Rum punch that's been sitting in my blog que for 2 years!!! I was given a bottle of Bermuda Rum from a friend back in 2017 and it's perfect for this punch recipe. (Everyone needs to find themselves a friend who will bring you rum from his travels.) 😉AlanHoward I have no idea why in the world I've waited so long to make this delicious rum drink. It's the perfect drink for a hot July afternoon - even if you're not on an island. Rum Punch 1/4 cup Gold rum 2/3 cup pineapple-coconut juice (R.W. Knudsen) 1/4 cup fresh lime juice 6 Tablespoons ginger ale Fresh lime slices
Stir 1 1/2 Tablespoons ginger ale into each glass. Garnish with fresh lime slices. I was home alone when I decided to experiment with this delicious rum punch recipe for the blog so I cut the recipe in half. It was so refreshing that I may or may not have enjoyed BOTH glasses. 💁🏻♀️ Good thing I didn't make the full recipe. 😂
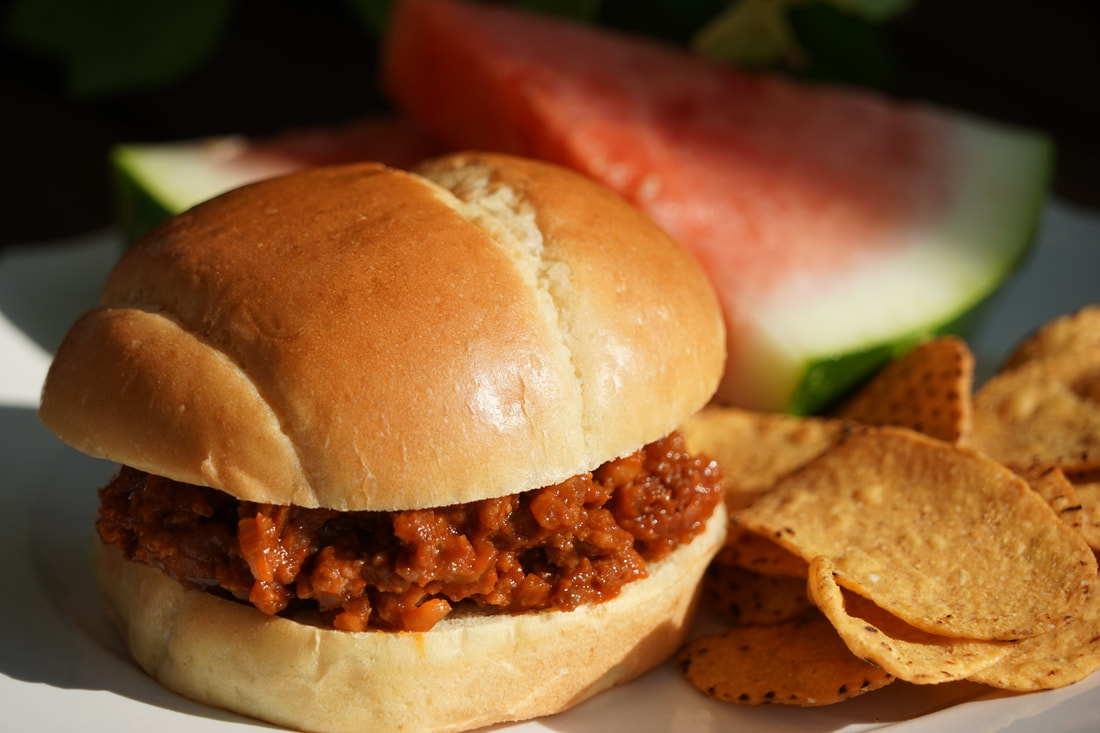
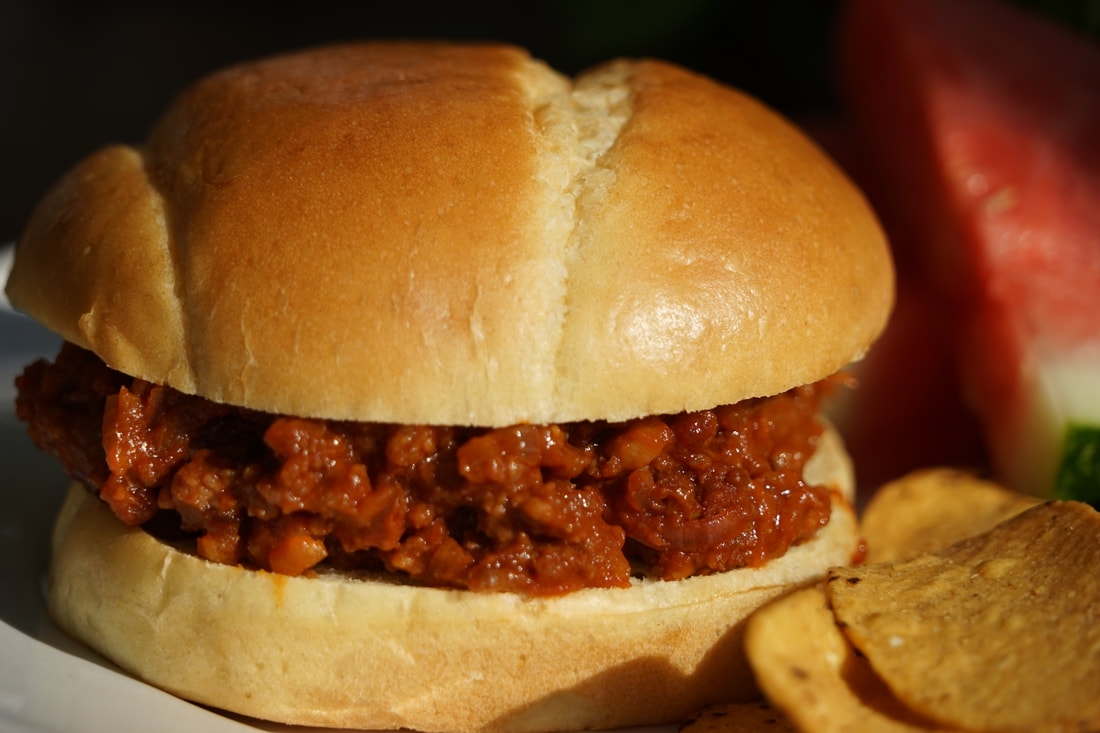
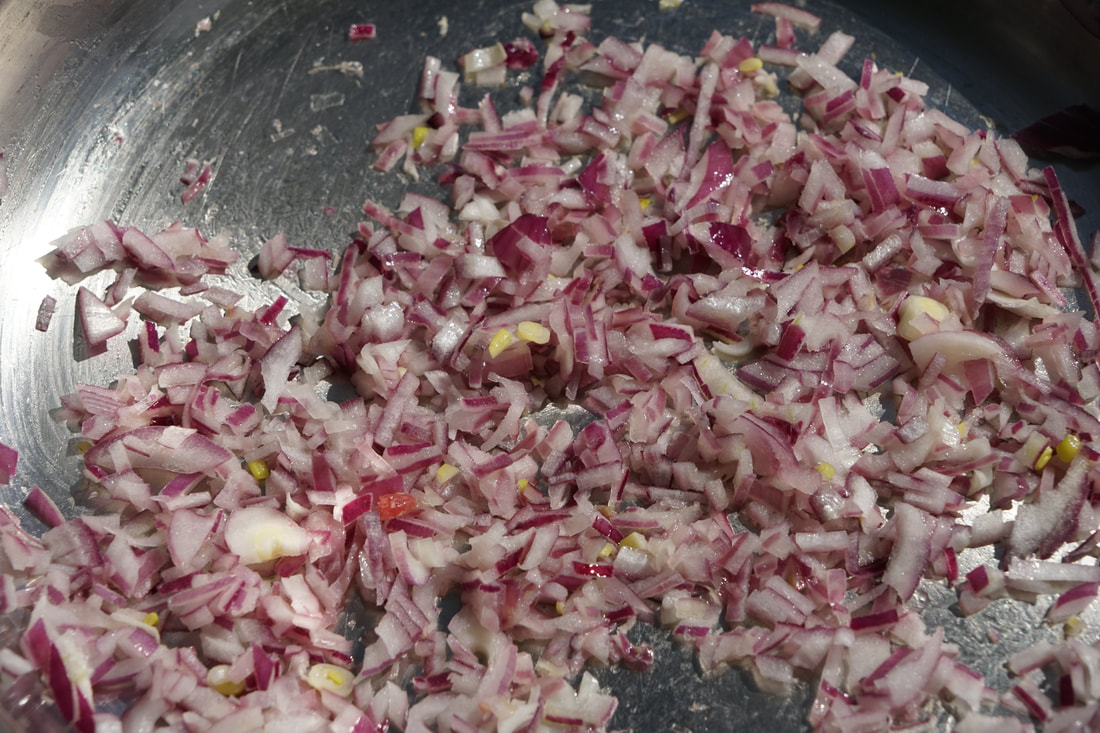
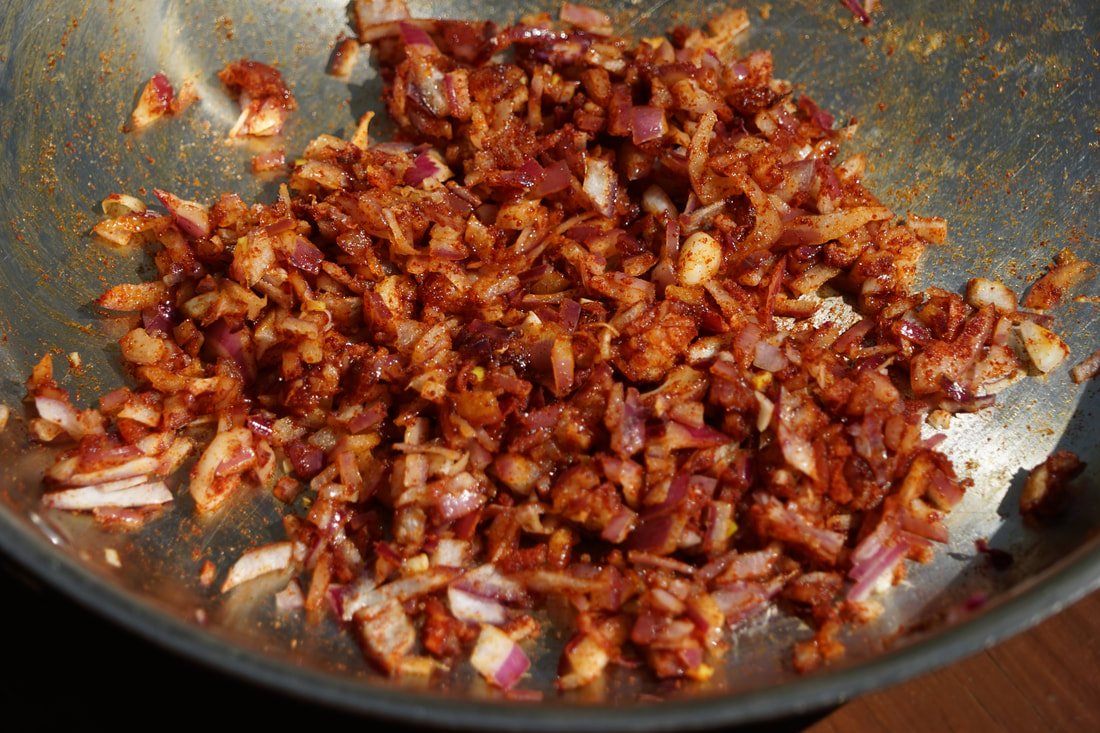
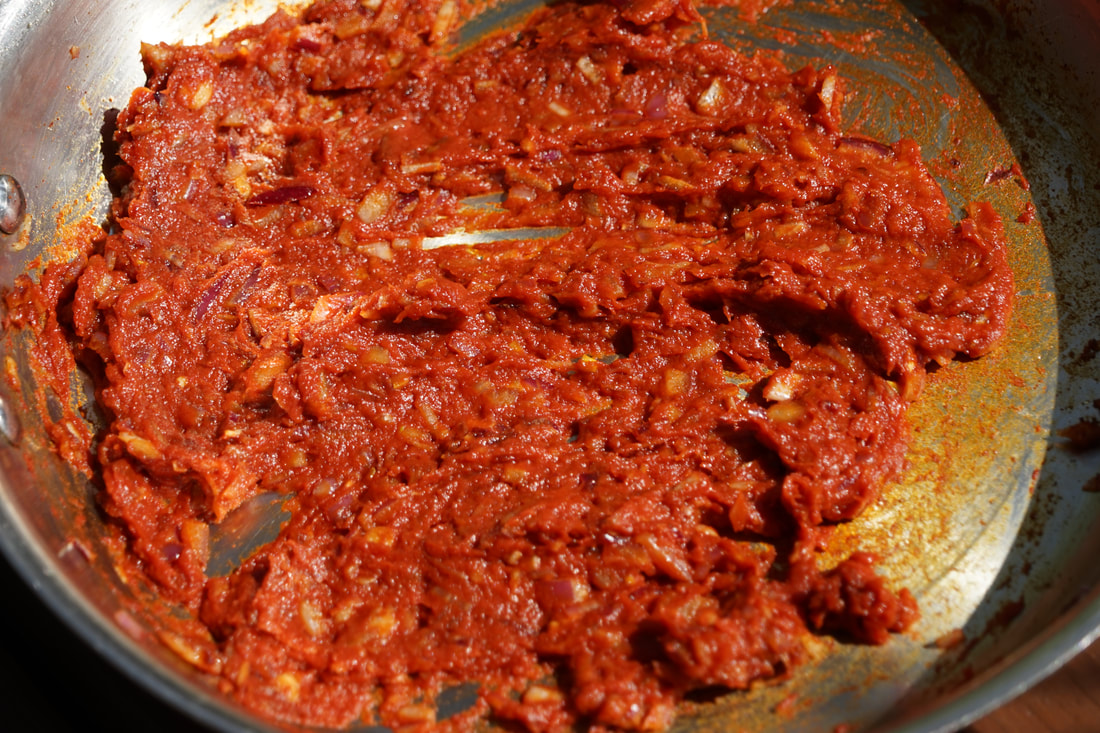
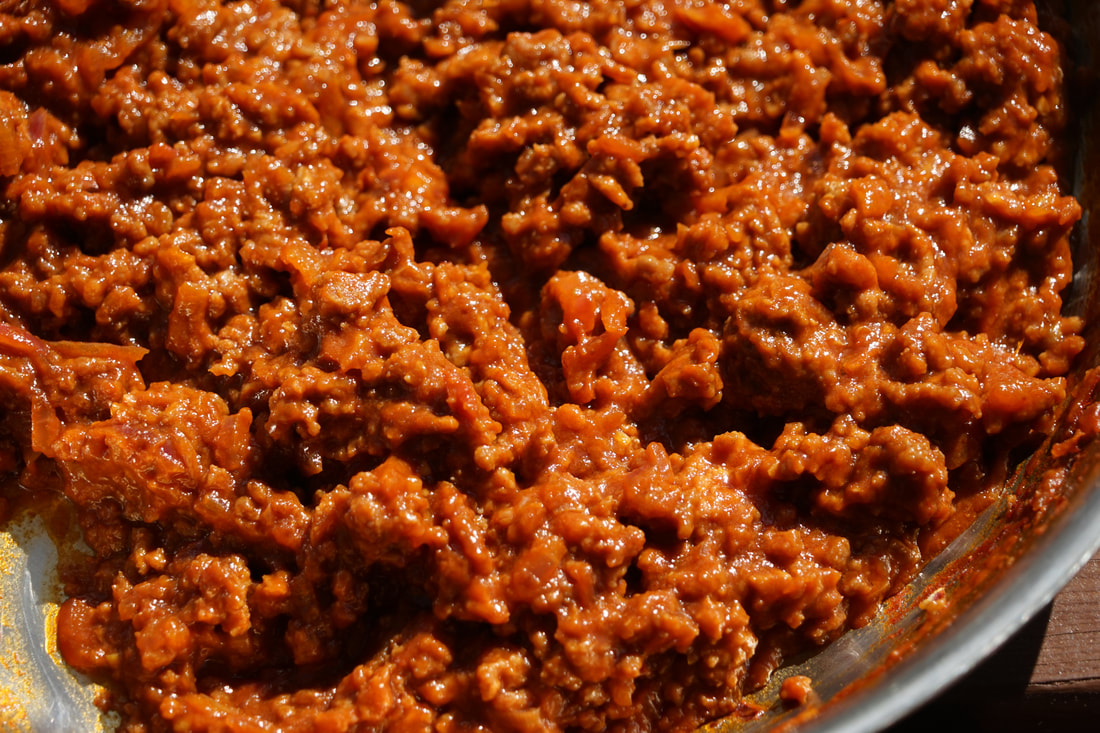
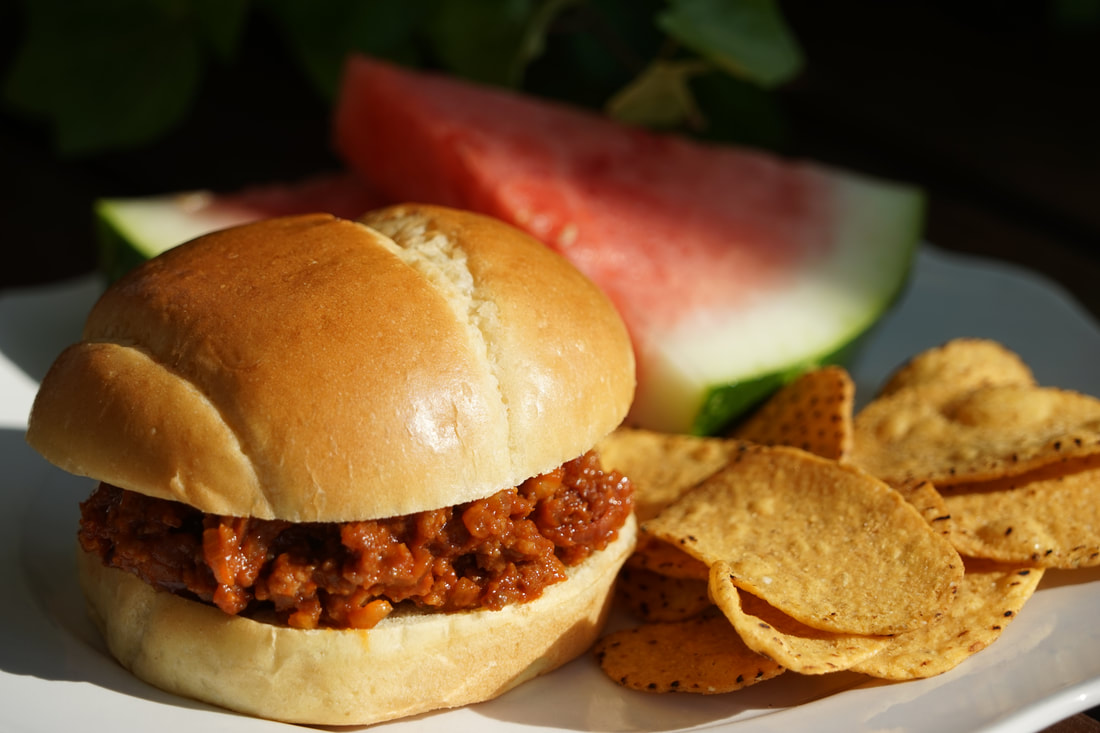
Ciao! I'm going to tell you something that might surprise you - I've never eaten sloppy joes out of a can. I know, I know - it seems un-American, but it's true. My mom wasn't a serve "dinner out of a can" kind of cook so in my defense - I never even knew that such a thing existed until I married a manwich fan. My husband did his best to try and sell me on the ketchup based meat product but after growing up eating my mom's homemade sloppy joe, nothing about meat in a can sounded appealing. Despite his best efforts, my meat loving husband never managed to convince me to sample the canned sloppy joe that he so adored. Instead, I made it my mission to convert HIM to a homemade sloppy joe fan. I started with the simplest of ingredients and sautéed and simmered for the better part of an afternoon before offering him my delicious tomato based ground beef on a bun. Unfortunately, he was underwhelmed by my attempt at homemade sloppy joe. Being a girl who thrives on disbelief, I took that as a challenge. I was more determined than ever to create a recipe that would convert a canned sloppy joe consumer to a homemade sloppy joe lover. So I'm counting on this America's Test Kitchen recipe to be the life changing sloppy joe recipe that turns my husband away from canned sloppy joe FOR GOOD. The sweet and savory combination with a dash of spicy red pepper is really hard to beat. Classic Sloppy Joes 2 Tablespoons water 1/2 teaspoon baking soda 1/2 teaspoon salt 1 pound 85% lean ground beef 2 teaspoons vegetable oil 1/2 onion, chopped 2 garlic cloves, minced 2 teaspoons brown sugar 2 teaspoons paprika 1/8 teaspoon red pepper flakes 1/4 cup tomato paste 1/3 cup ketchup 1 Tablespoon red wine vinegar 1 Tablespoon Worcestershire 1/2 teaspoon cornstarch 4 hamburger buns
Spoon mixture into buns and serve.
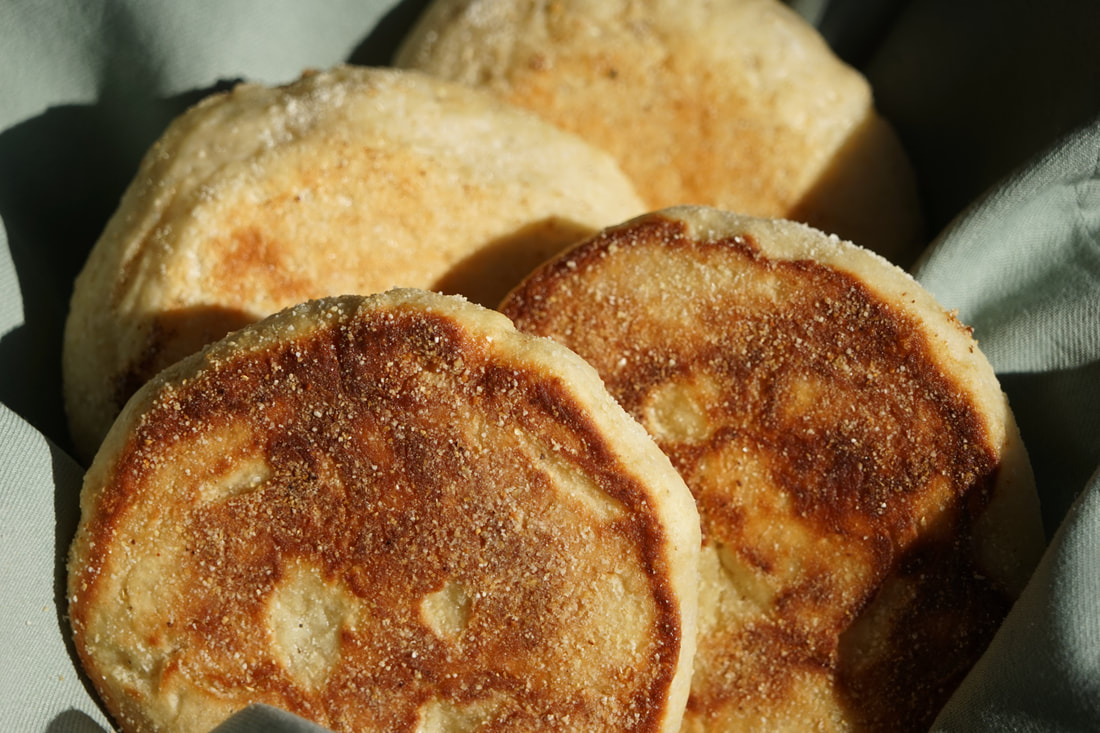
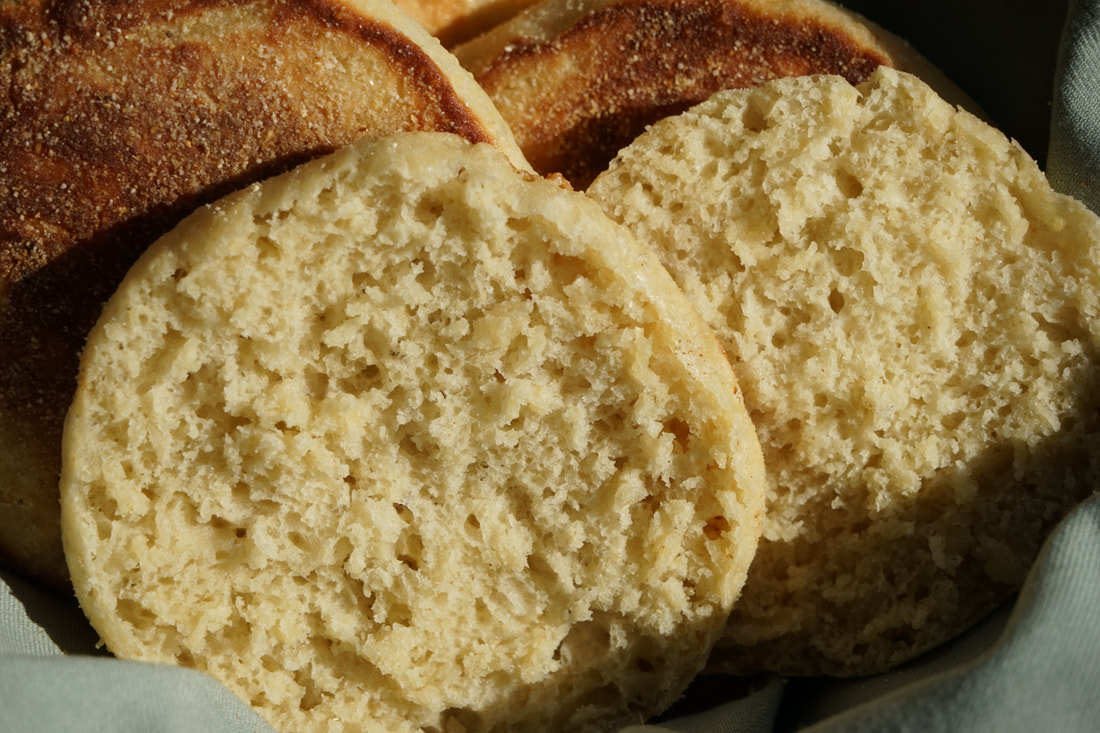
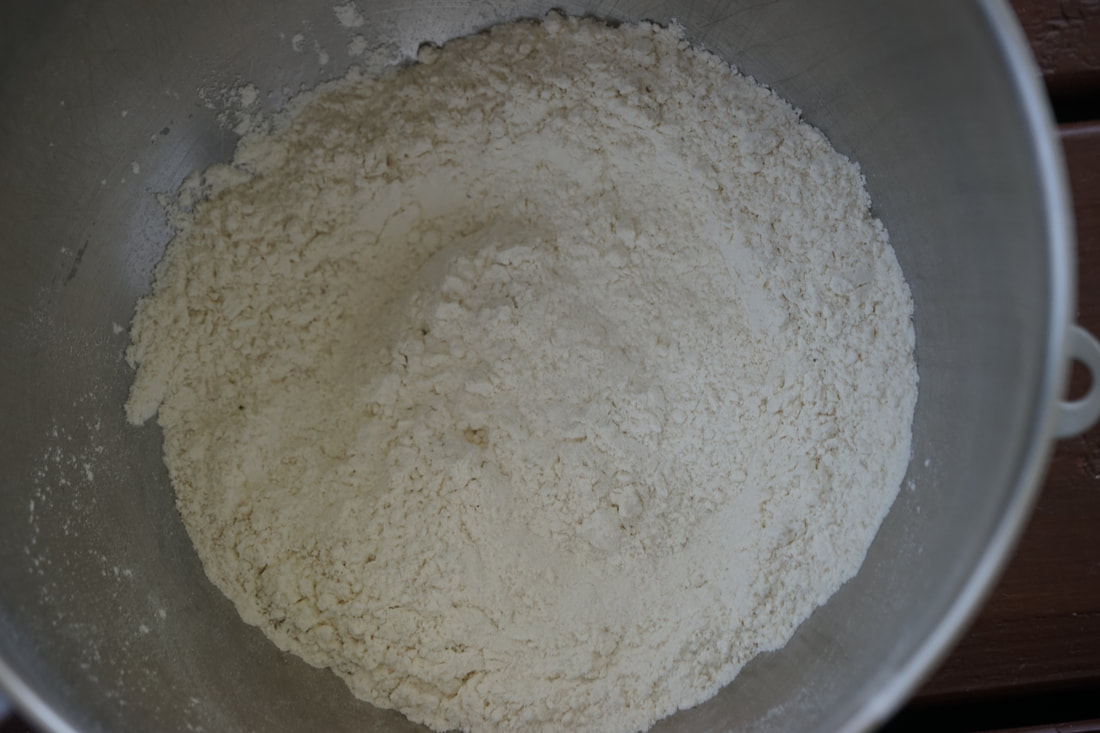
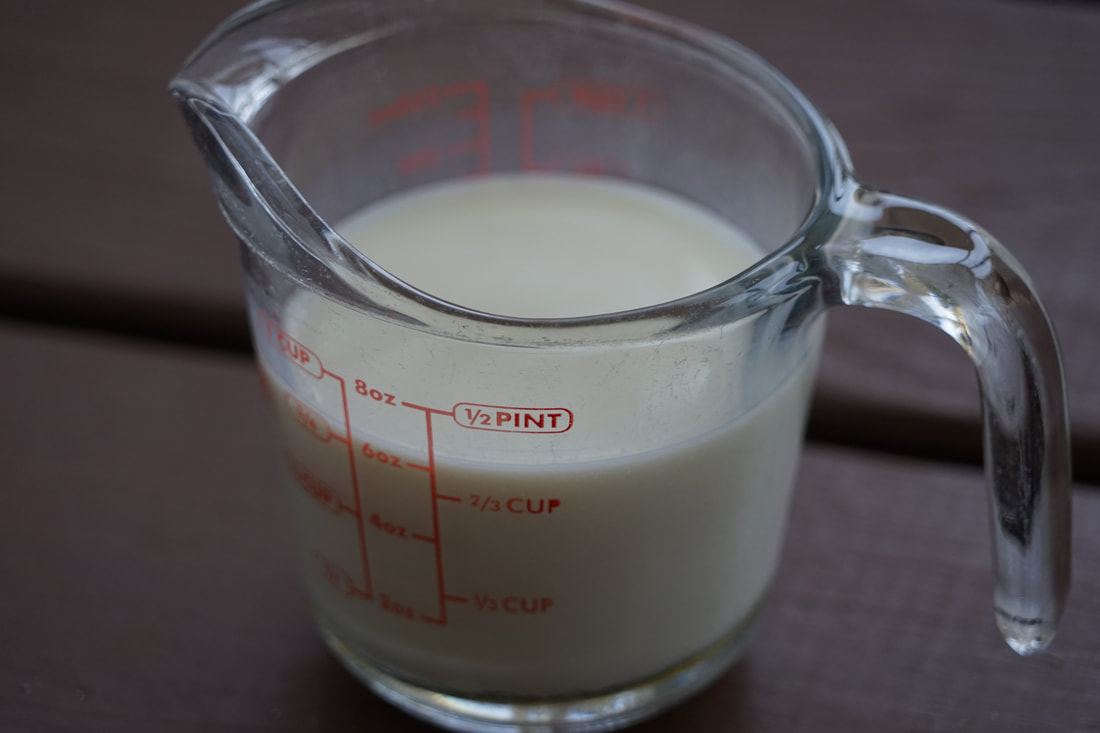
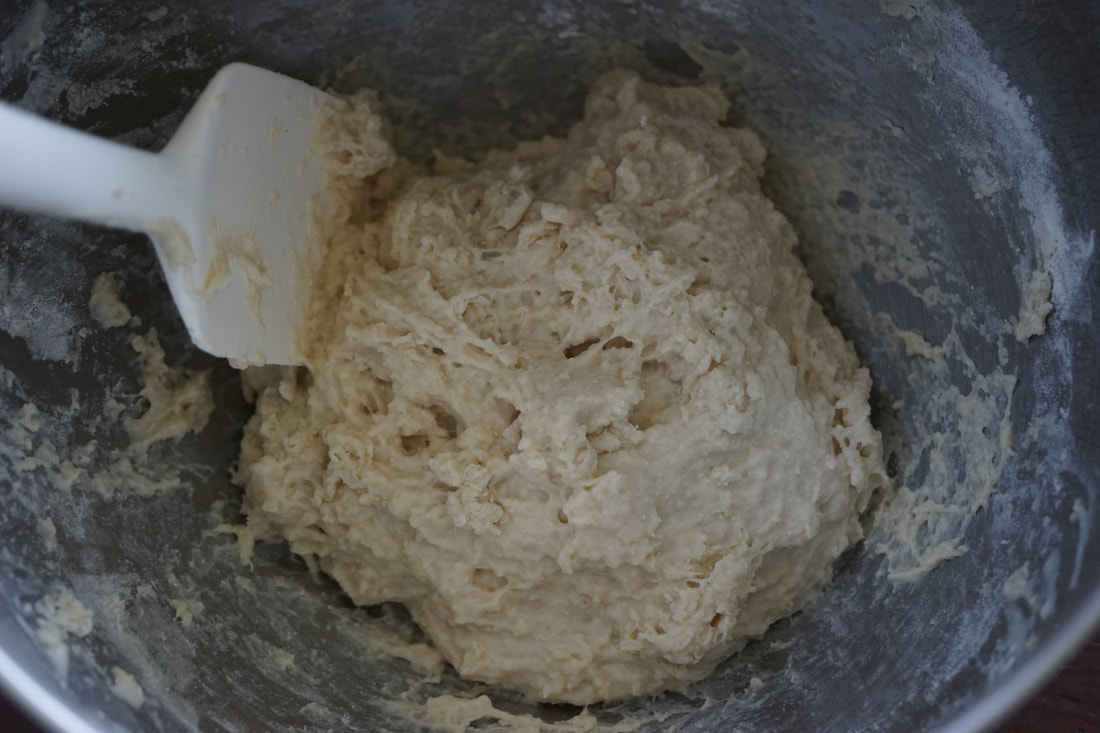
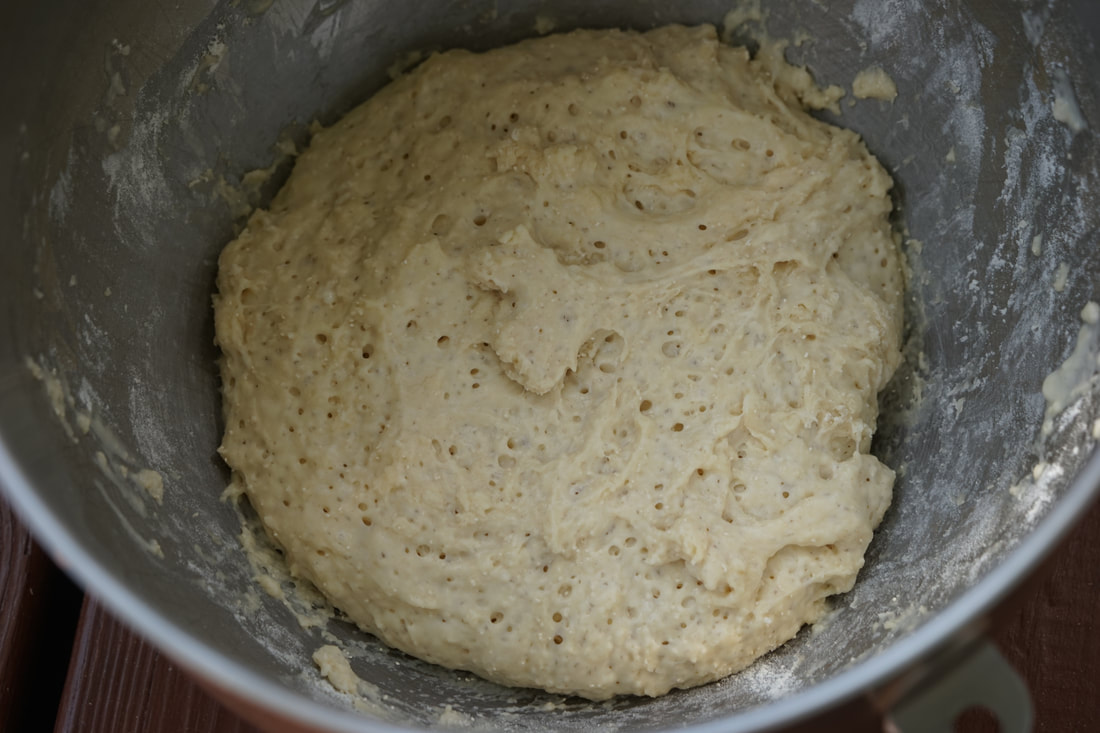
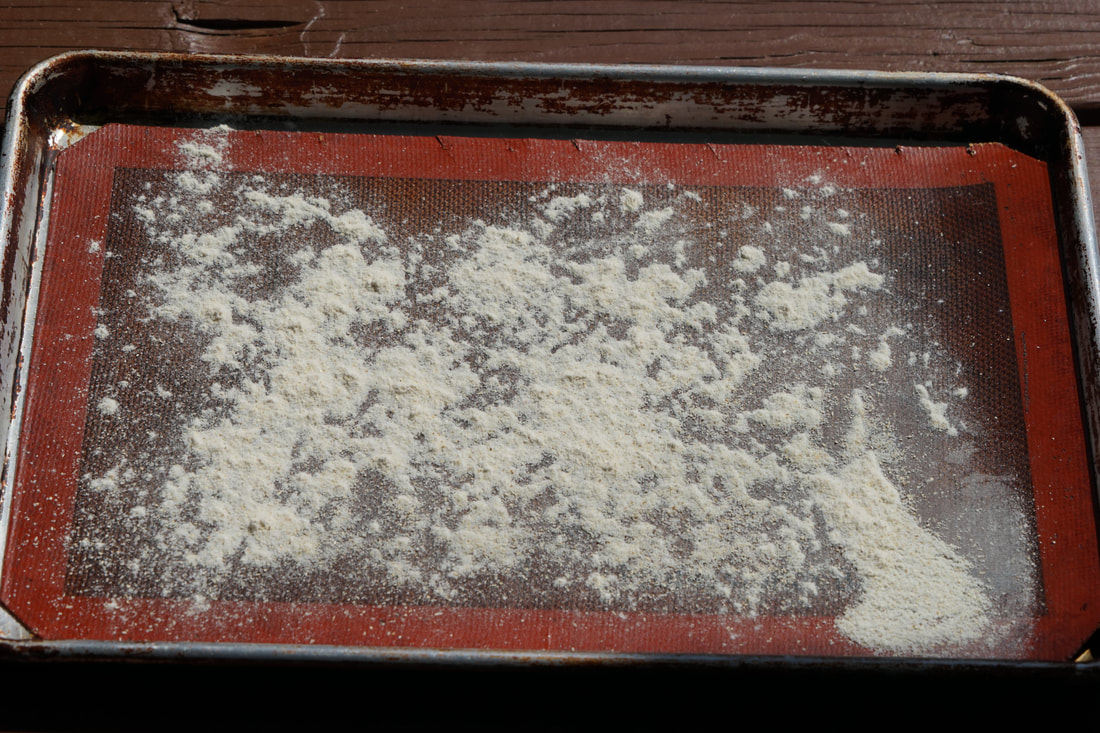
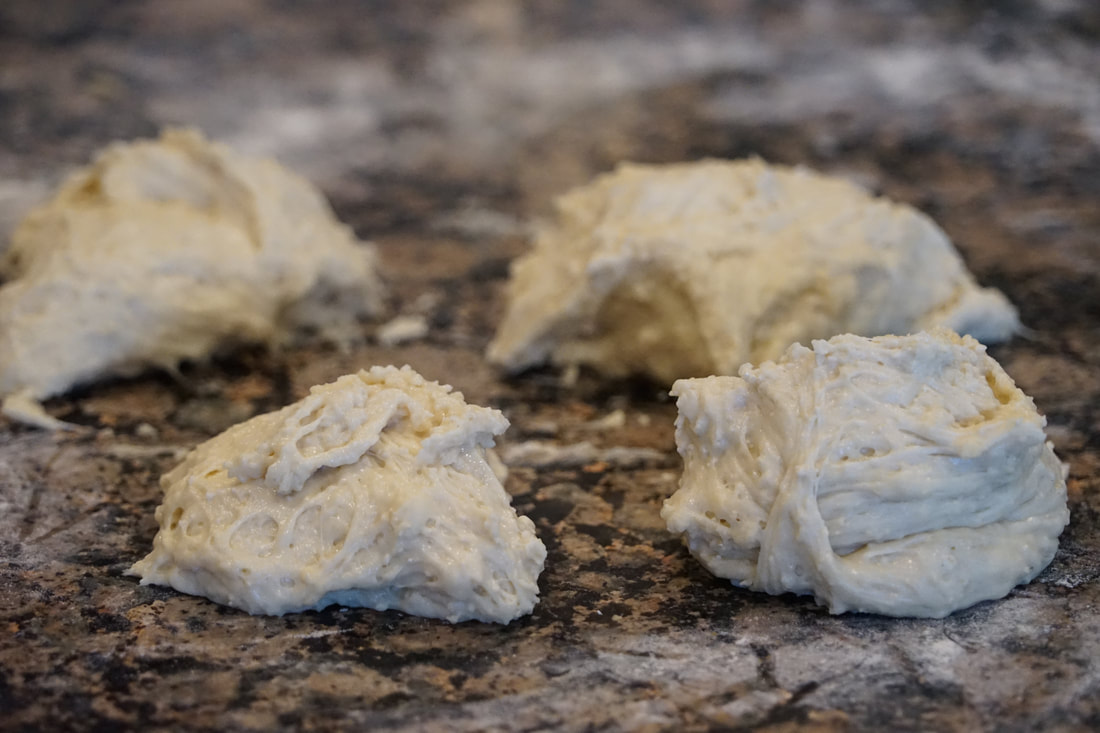
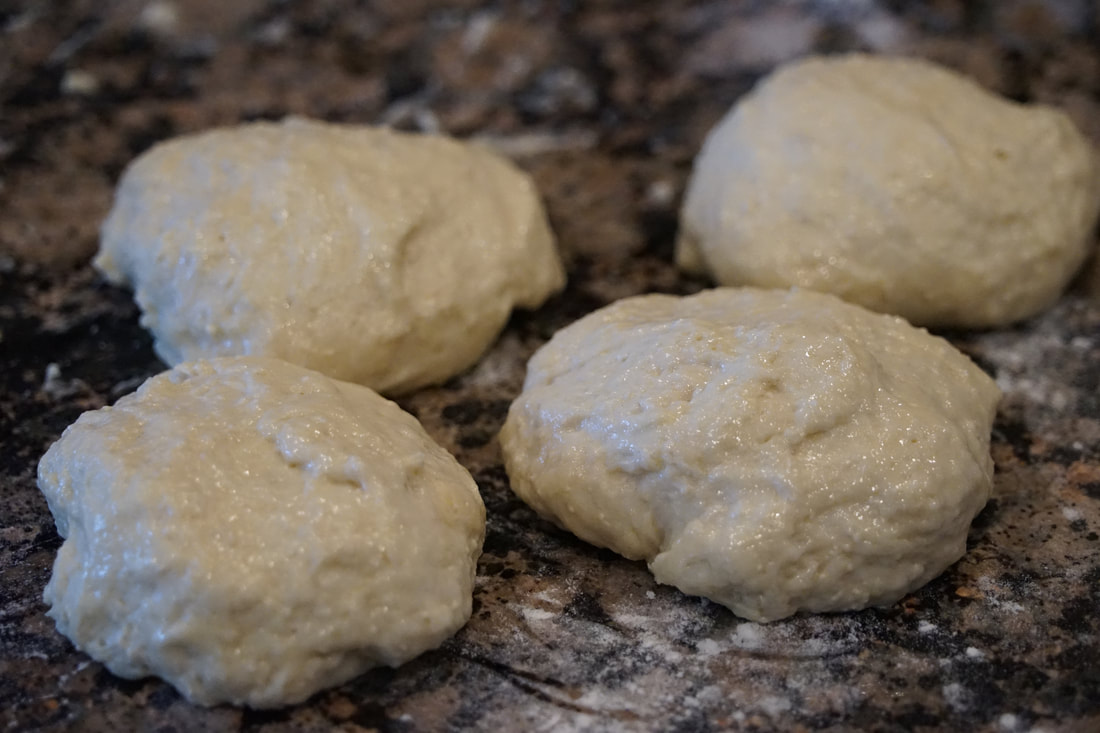
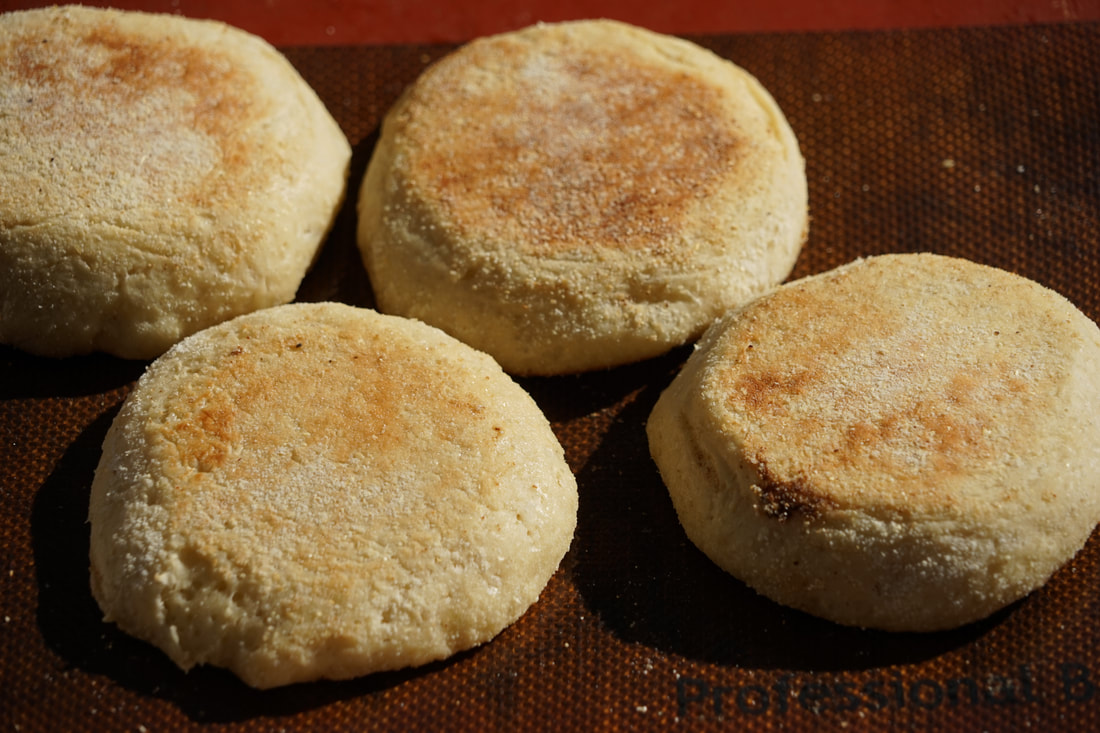
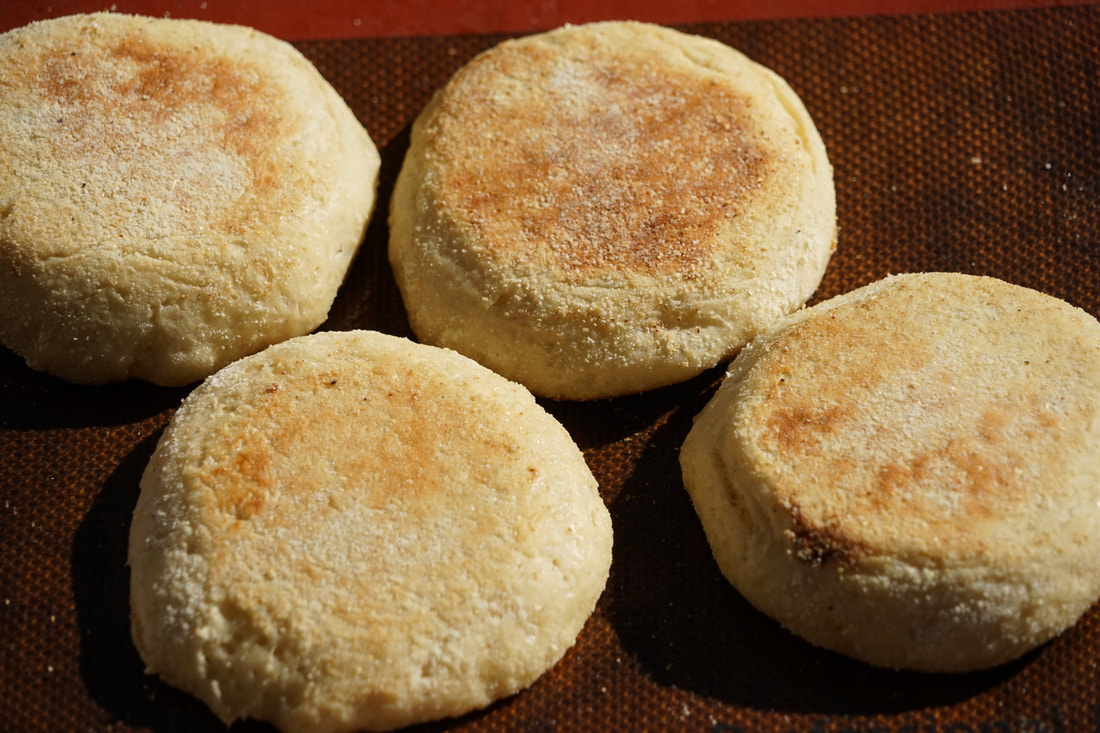
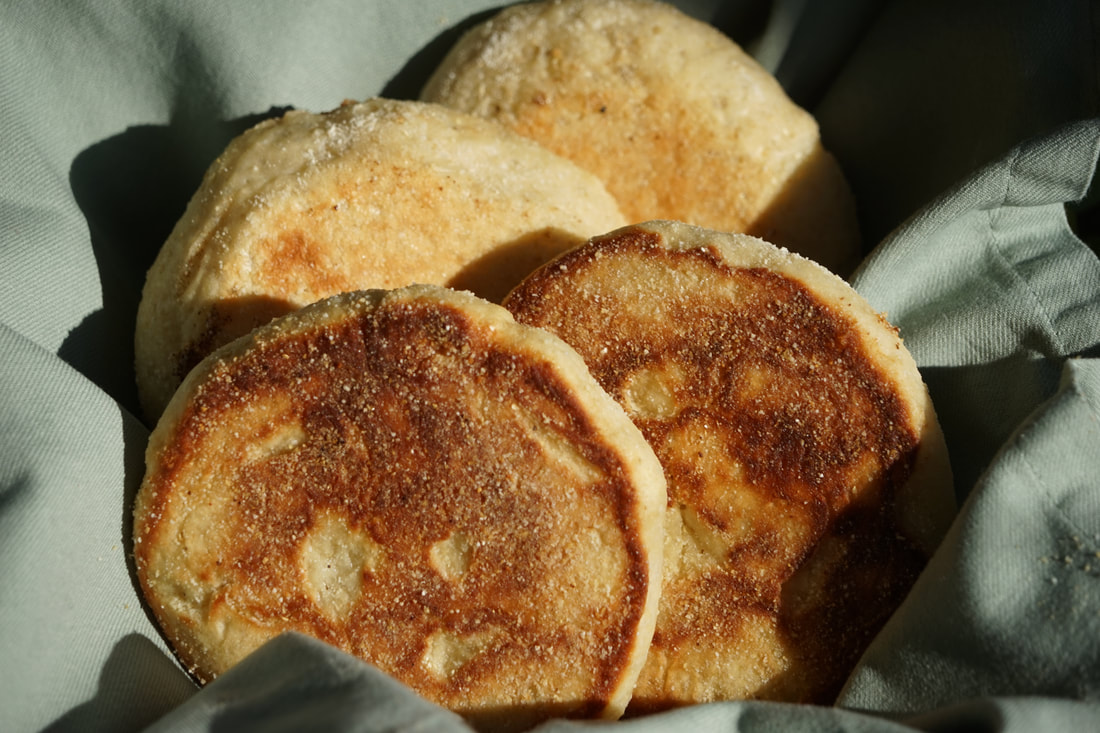
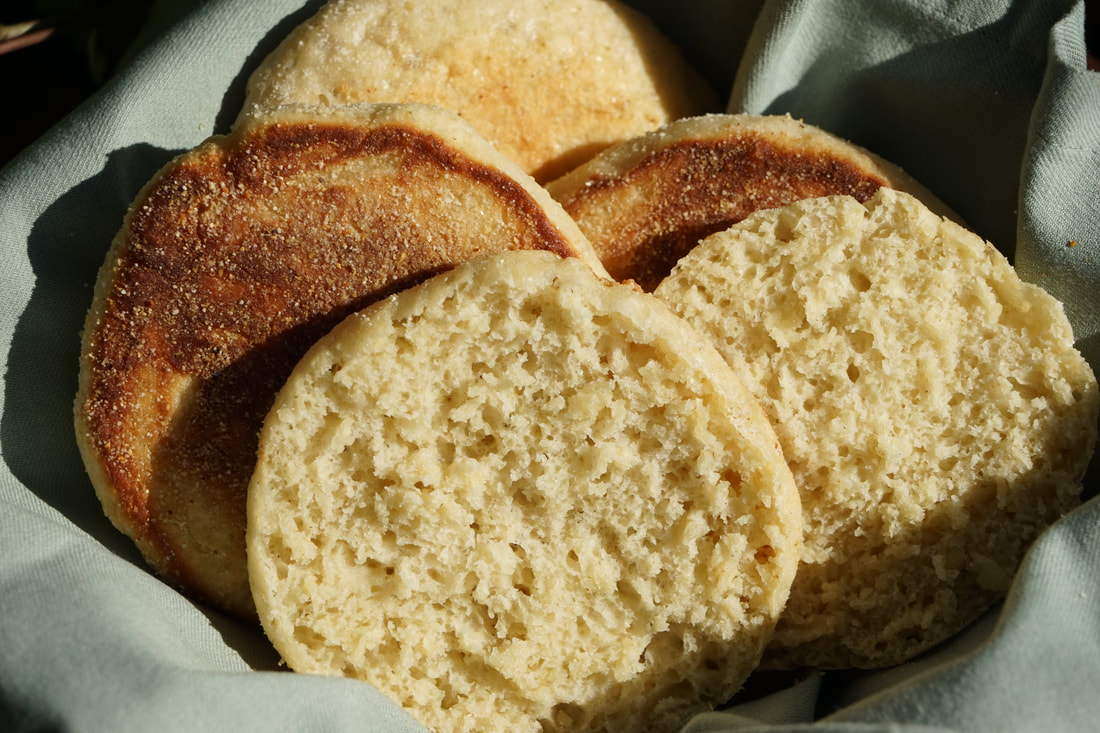
The verdict is in - my manwich loving husband is a fan of these homemade sloppy joes! Success! Ciao! There are some foods that I consider to be just a catalyst for other, more appealing foods. Take french fries, for example. I actually refer to the long fried potatoes as ketchup sticks because without the ketchup, I really see no point in eating a french fry. I've always applied the same principle to my english muffin eating experience. The crater filled muffin has always served as a suitable holder for my butter, jam, peanut butter, eggs or avocado but beyond that - they really didn't serve any purpose. It's not that there's anything inherently displeasing about english muffins, but on their own, they've never been that appealing. Then it occurred to me that perhaps I just haven't been eating the right kind of English muffins. I honestly don't think that I've ever tasted a made from scratch, freshly baked English muffin. Is it possible that I could make a muffin at home that is crave worthy, all on its own? If anyone can turn an ordinary English muffin into an exceptional breakfast treat filled with nooks and crannies, it's America's Test Kitchen. I'm wasn't completely convinced that making homemade English muffins would get me to put aside my jar of peanut butter, but it was certainly worth a try. English Muffins 2 3/4 cups bread flour 1 Tablespoon yeast 1 1/4 teaspoons salt 1 cup + 6 Tablespoons warm whole milk 2 Tablespoons honey 5 Tablespoons cornmeal 2 Tablespoons butter
Let muffins cool completely on wire rack. Split muffins with fork or knife. Toast and serve. Well it turns out, I really DO like plain English muffins. As I suspected, I was eating the wrong kind of muffins all this time. Homemade from scratch English muffins are AMAZING! And I can eat them plain - without any toppings. And when I do add my favorite toppings or filings, they're even more amazing.
Ciao! |
Like my page on facebook.
Follow me on Instagram
Categories
All
Archives
April 2024
|
