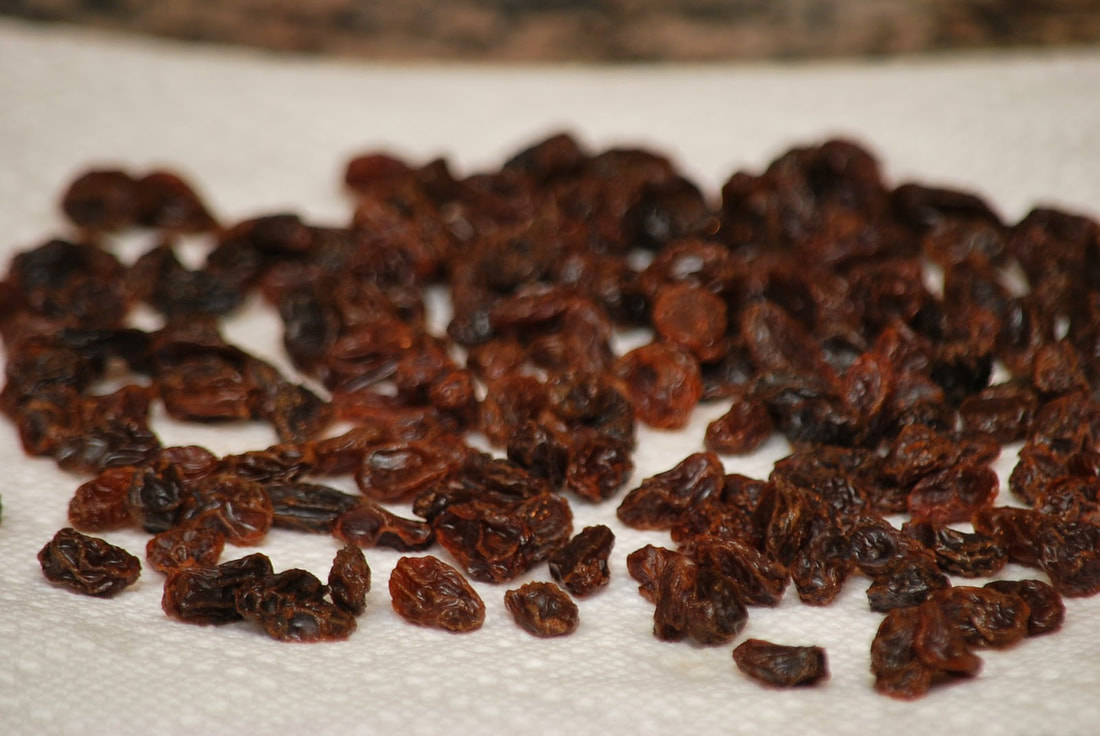
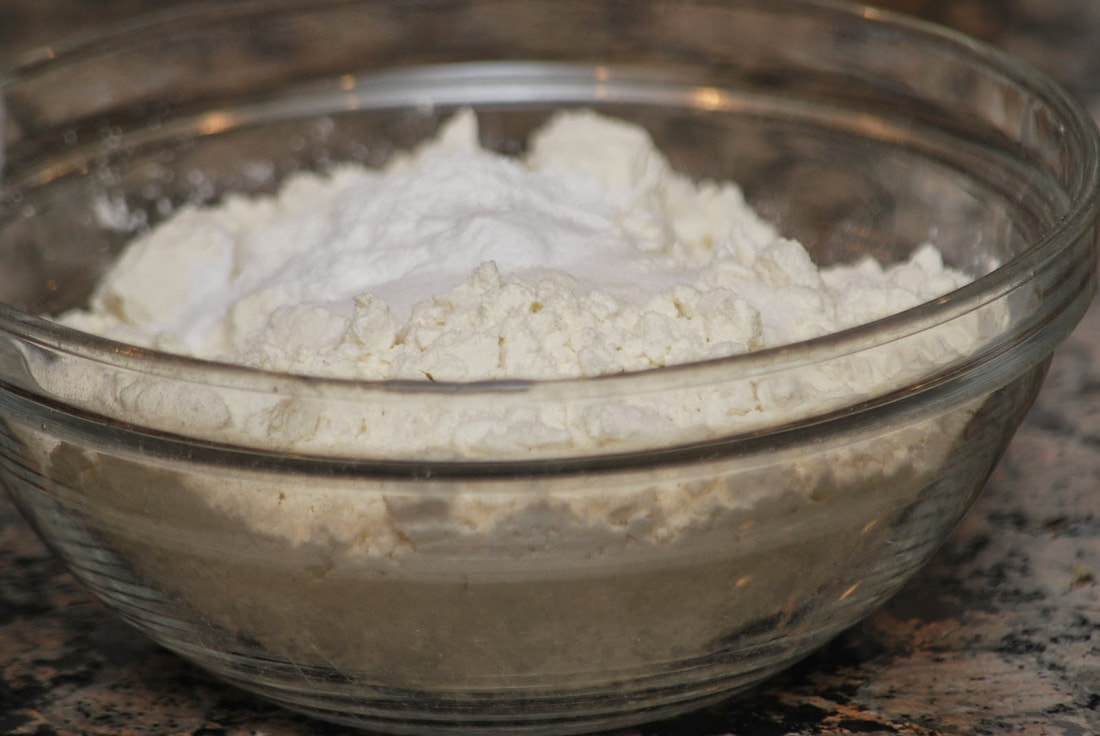
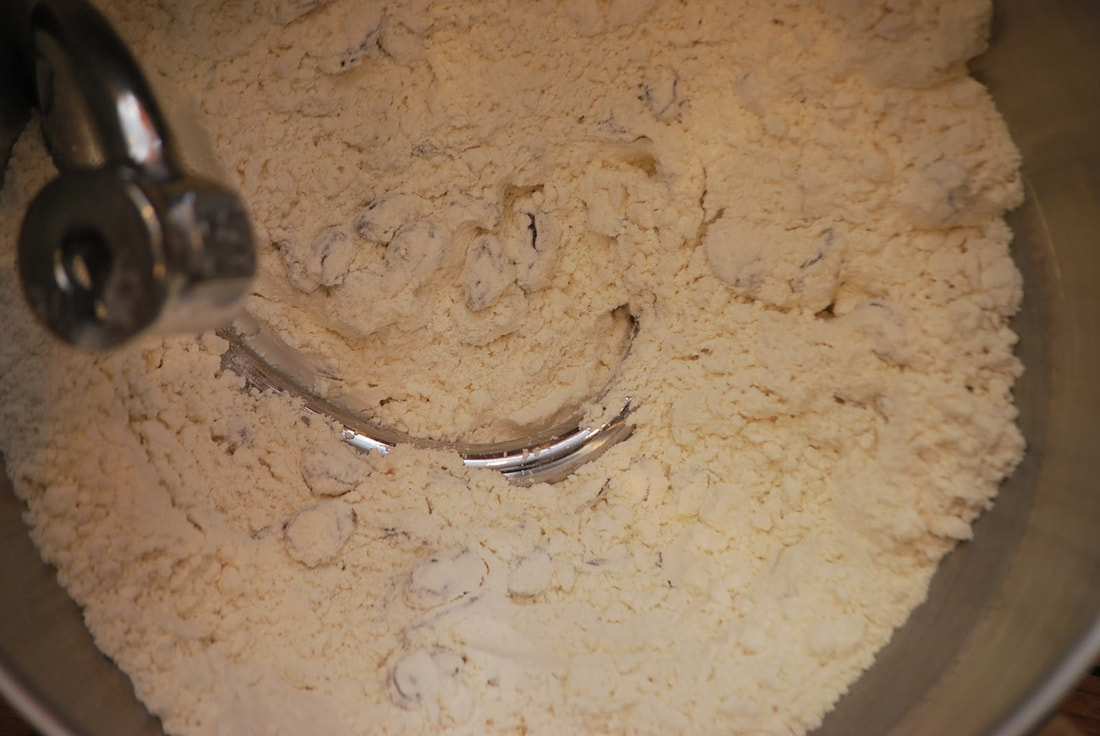
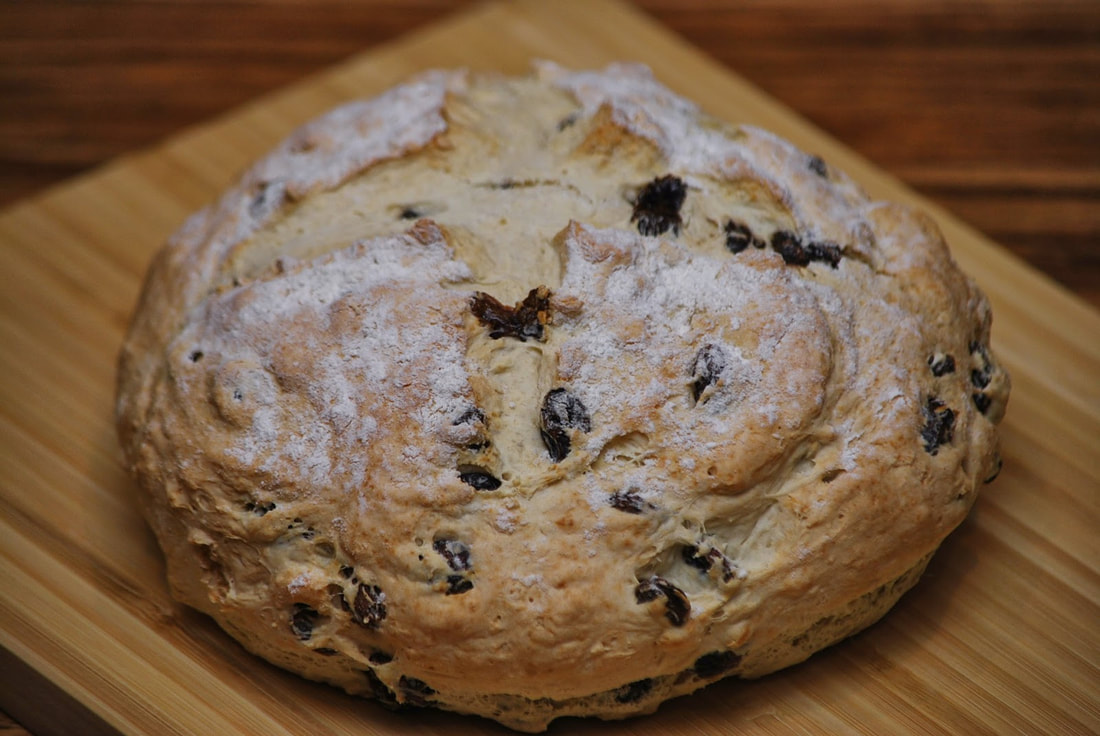
 This year, we are celebrating St. Patrick's Day with a little Irish Soda Bread. I've been saving this recipe from bakeatmidnite.com for at least 6 months now. I'm not sure why I felt like I could ONLY make it on St. Patrick's Day but for whatever reason -- I did. 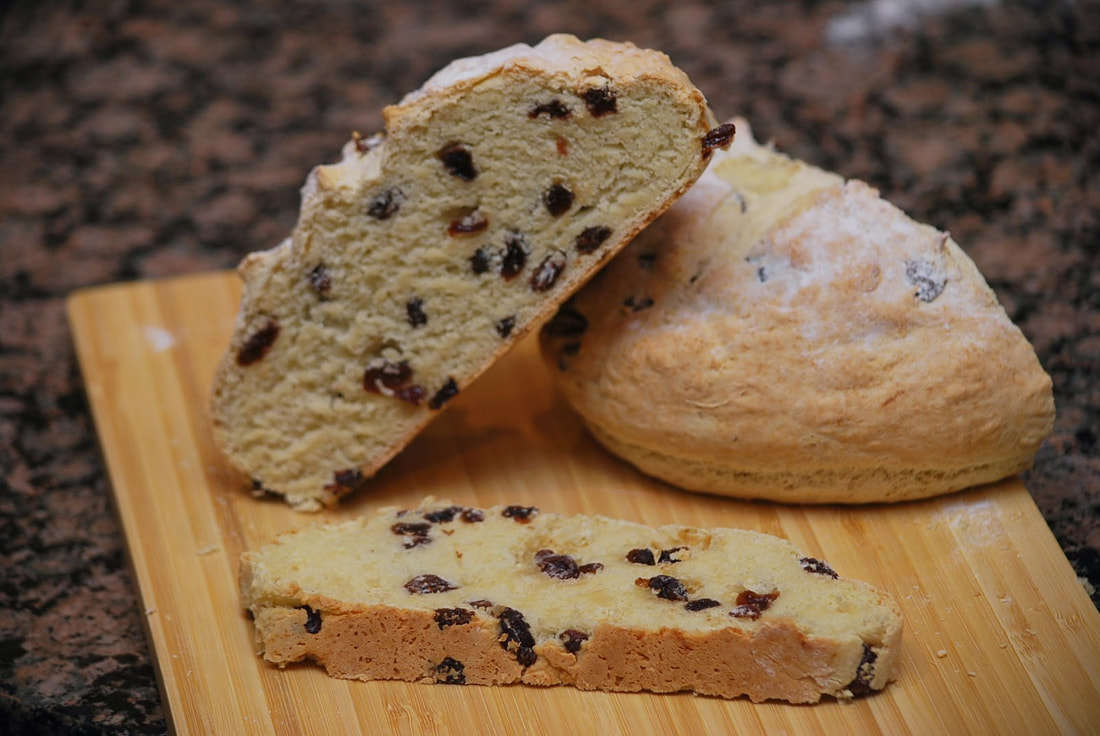 Irish Soda Bread 2 cups bread flour 1/2 Tablespoon baking powder 1/4 tsp baking soda 1/2 tsp salt 1/2 cup raisins 1 cup buttermilk Preheat oven to 350 degrees F. Line a large baking sheet with parchment or lightly grease. Set aside.
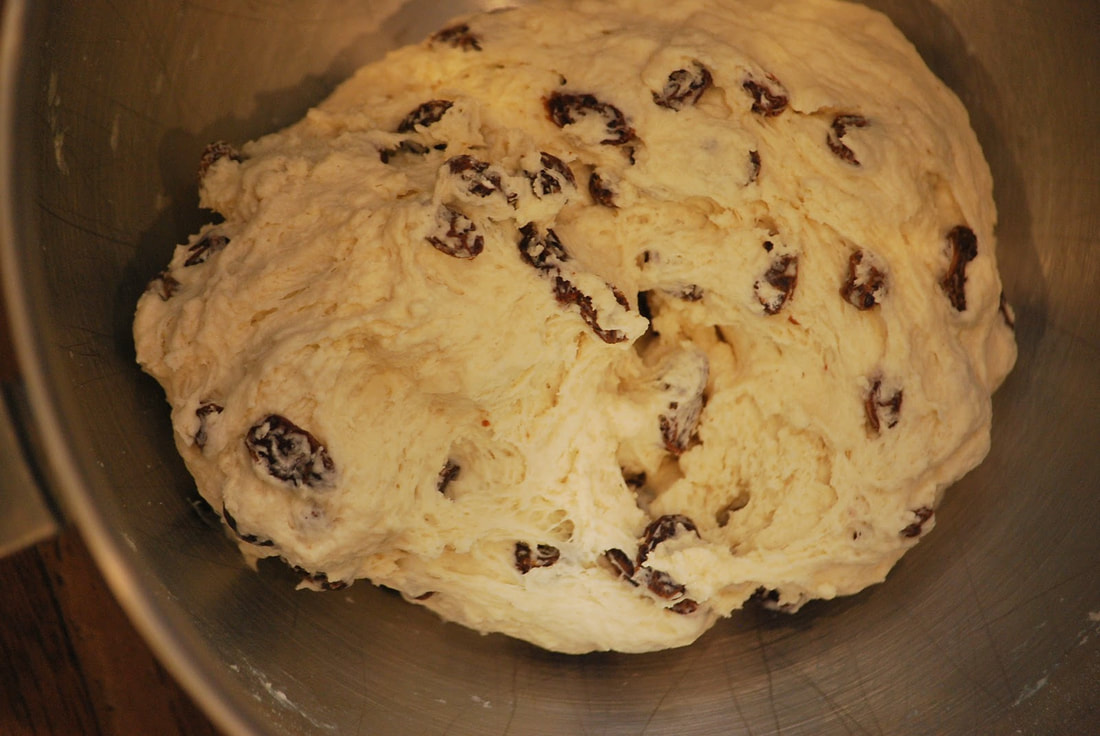
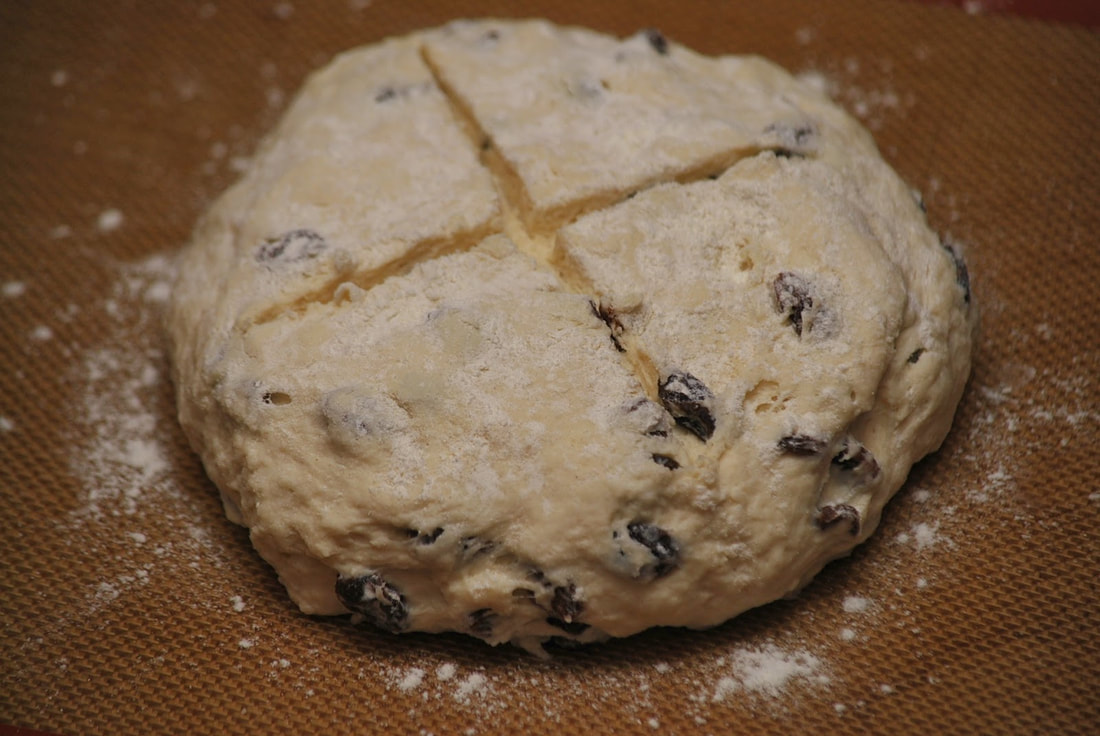
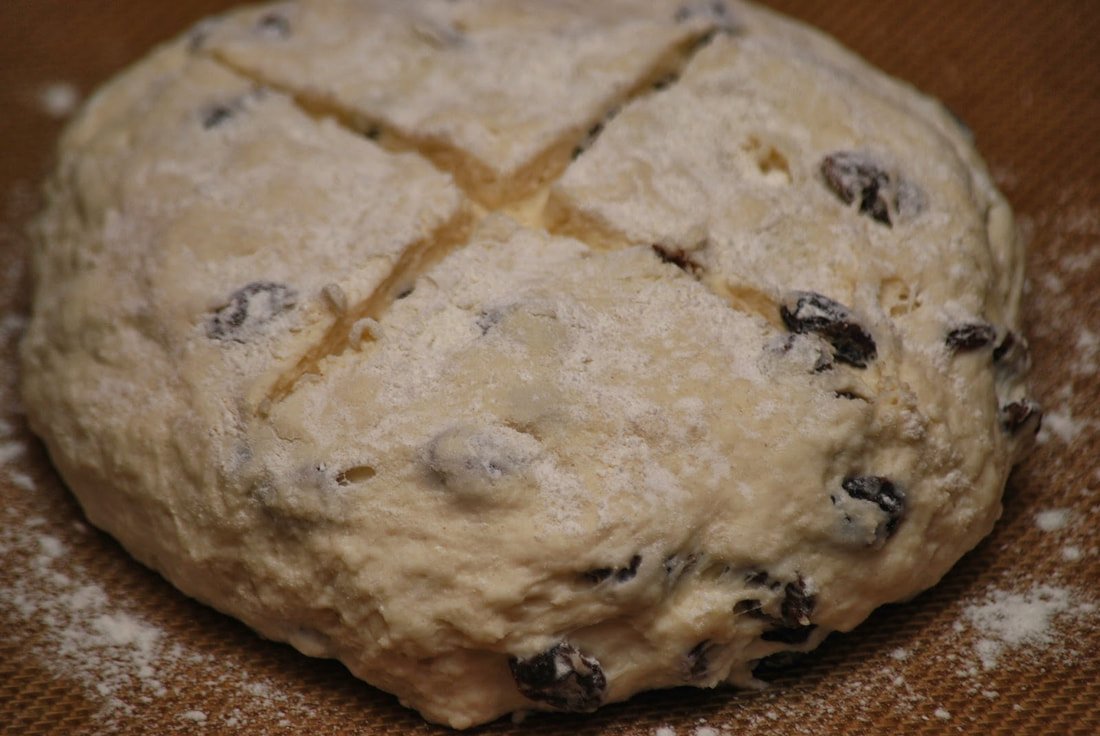
Turn out the dough on a well-floured surface and shape into a round and place on prepared baking sheet. With a sharp knife, cut an "x" about 1/4-inch deep on loaf. Sprinkle with additional flour if desired.
Bake for 45-55 minutes, or until golden brown and a toothpick inserted in the center comes out clean. 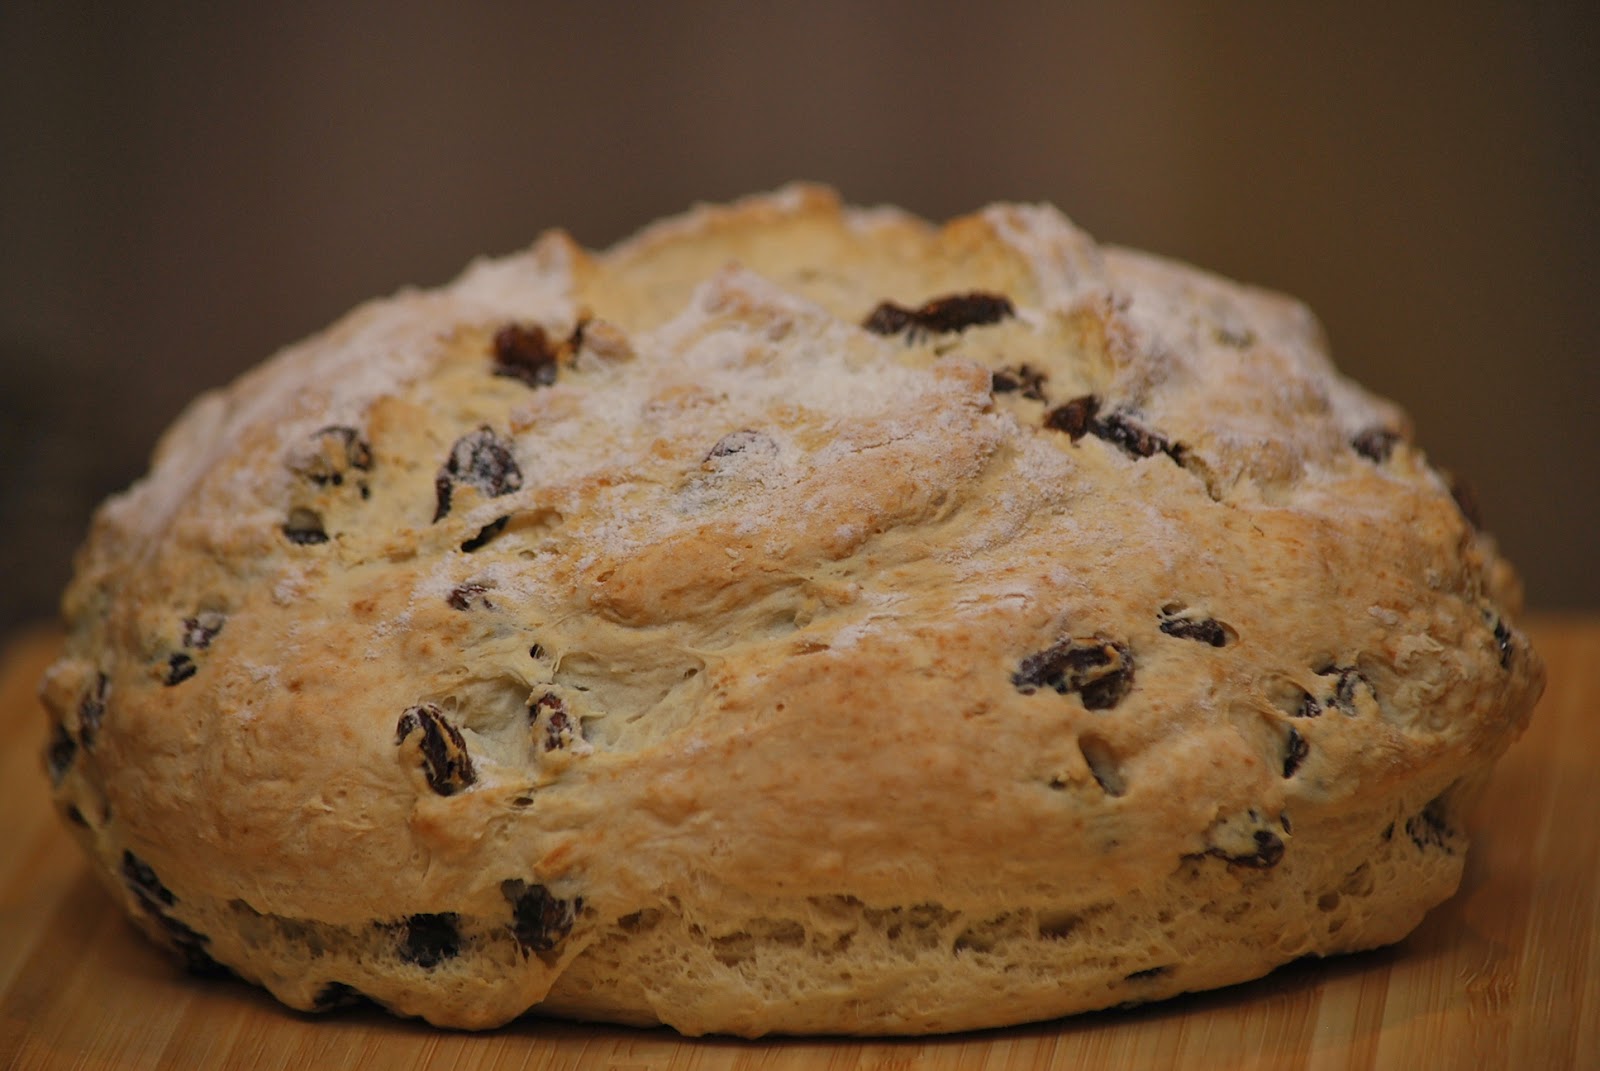 Slice and serve. 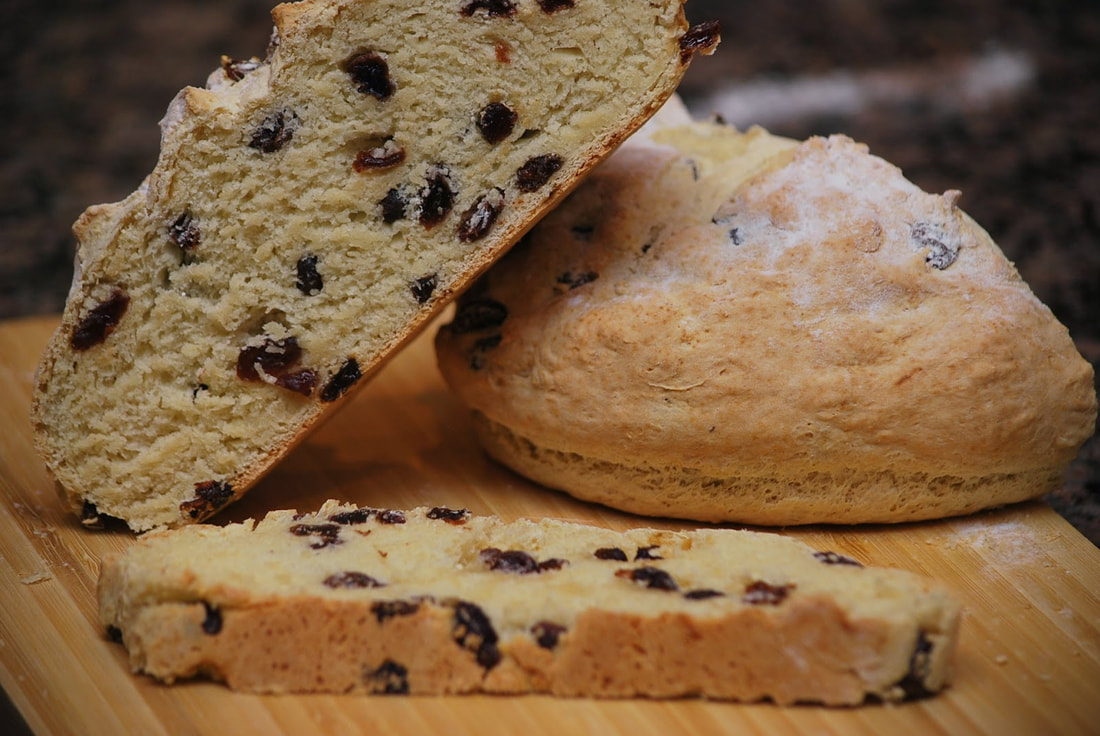 This is BY FAR the easiest bread recipe that I've ever made. I had the dough mixed up and into the oven within 10 minutes! There is no yeast which means that it doesn't have to proof before the baking process. It goes right into the oven and viola - delicious Irish Soda Bread. There's still time to make a loaf of Irish Soda Bread for your St. Patrick's Day dinner. (It takes less than an hour - start to finish.) I'm pretty sure that this is going to be mighty tasty with green beer too.
I also enjoyed a toasted slice of this bread for breakfast this morning with my cup of tea. It makes really yummy toast too! Ciao!
0 Comments
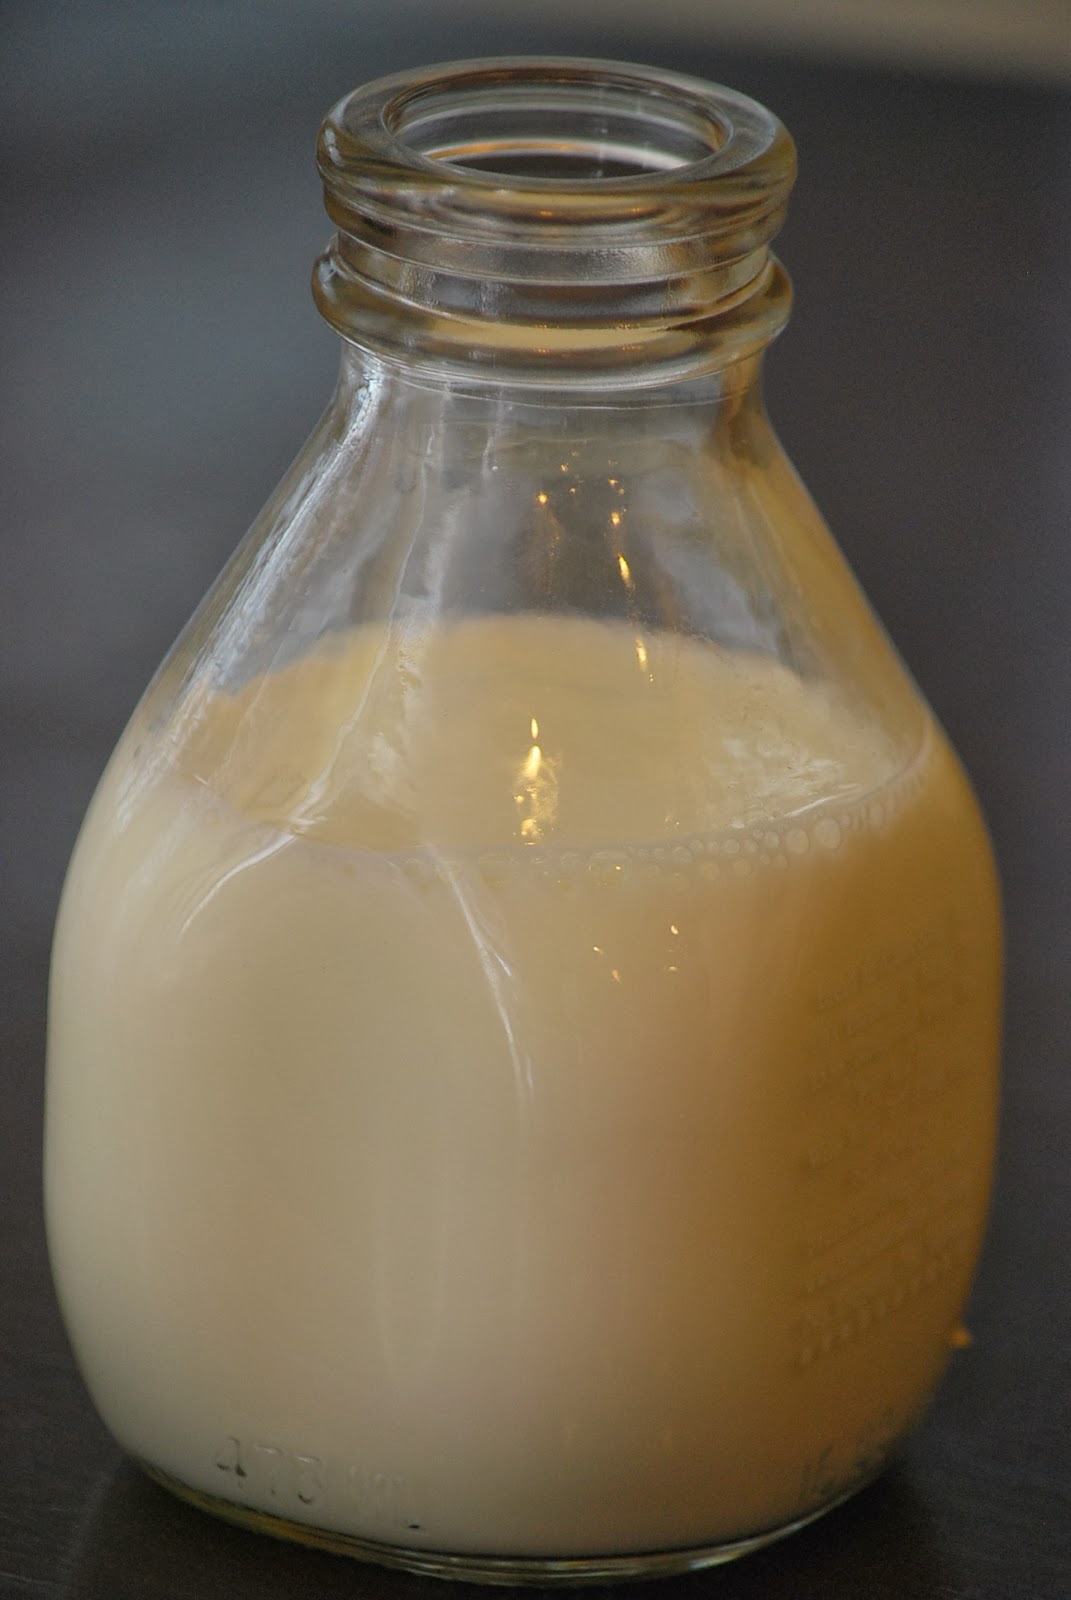
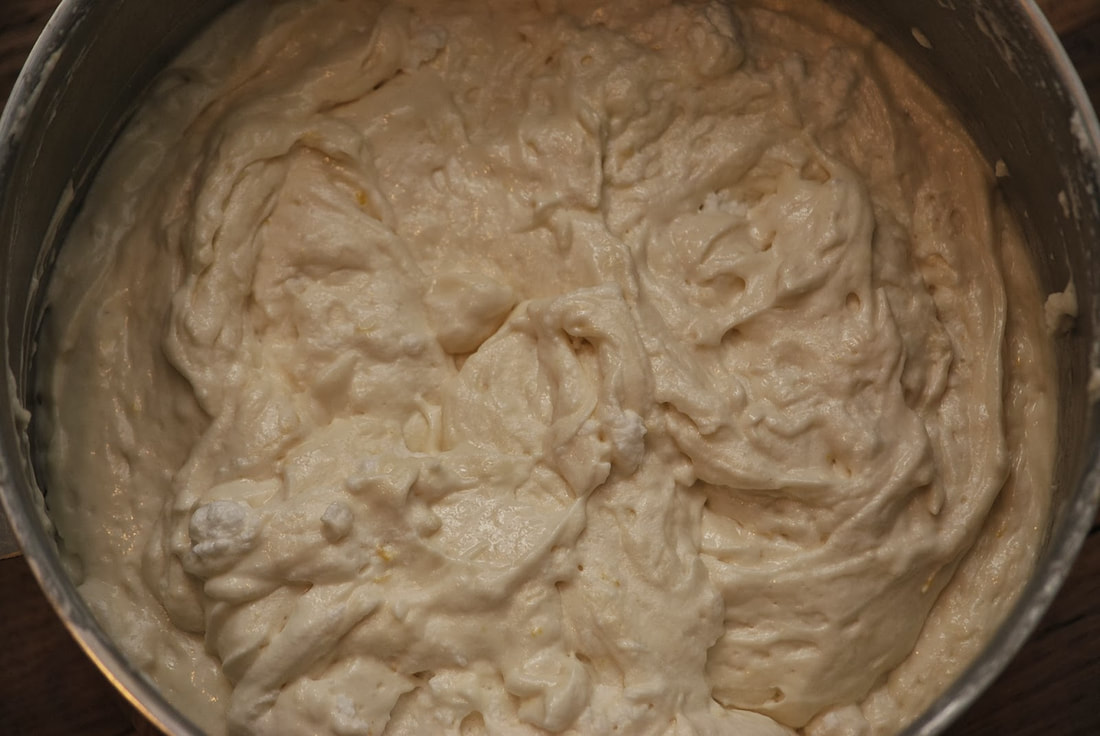
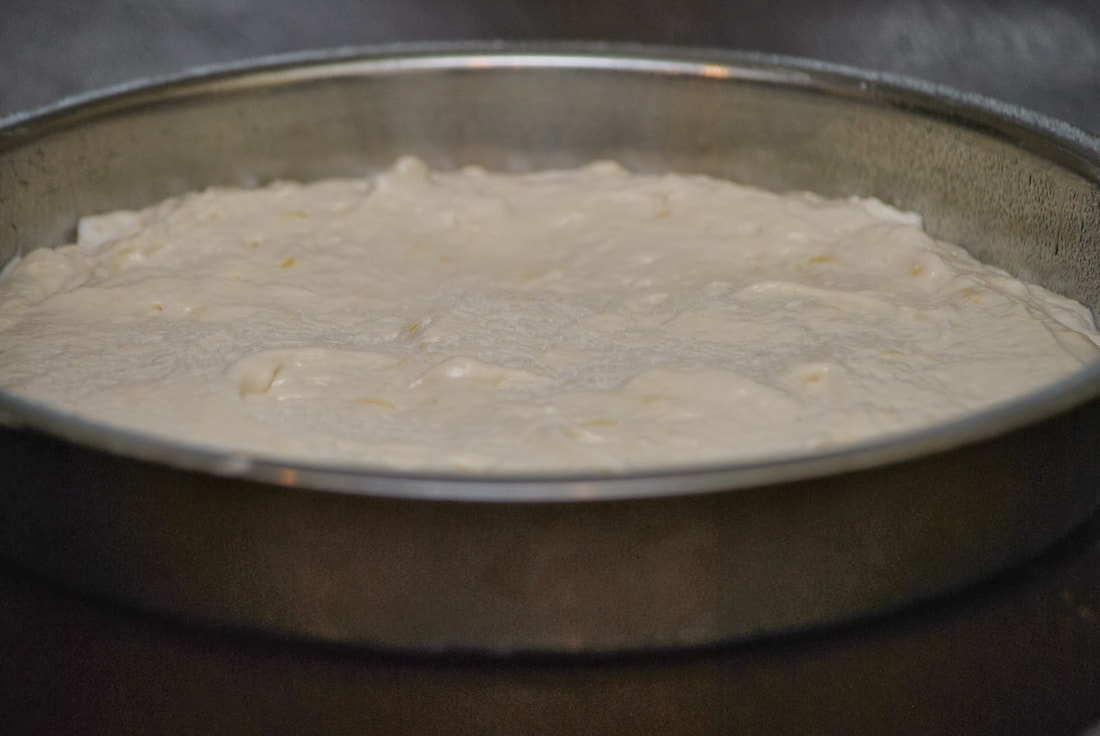
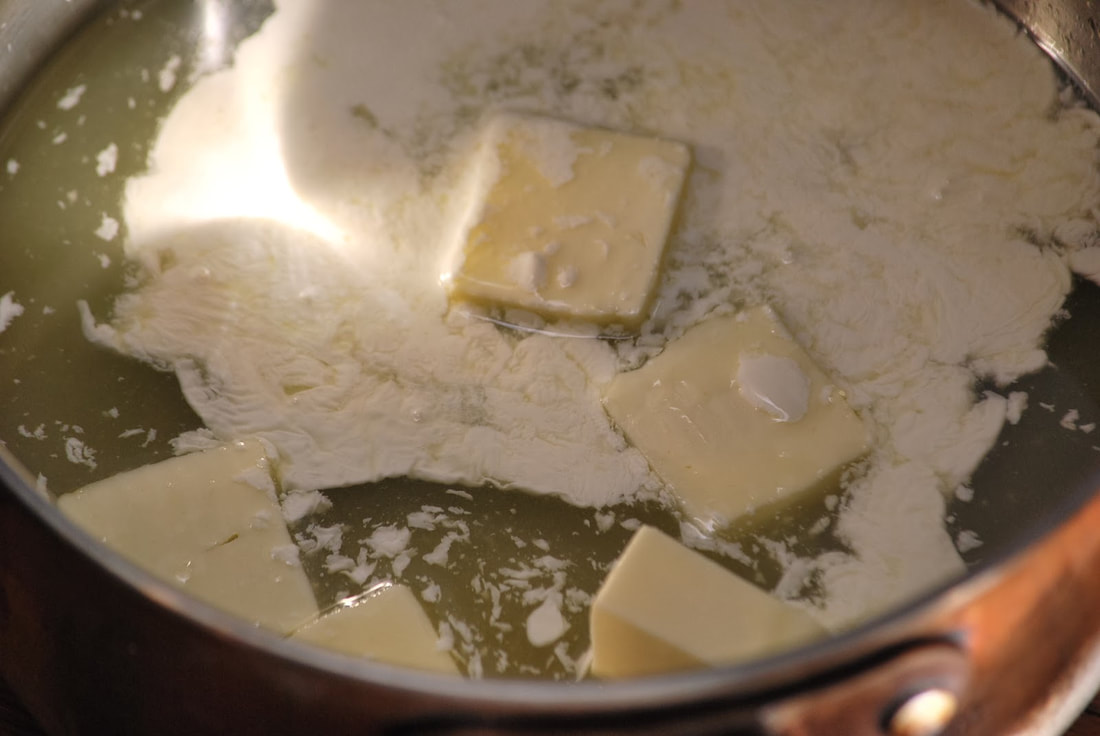
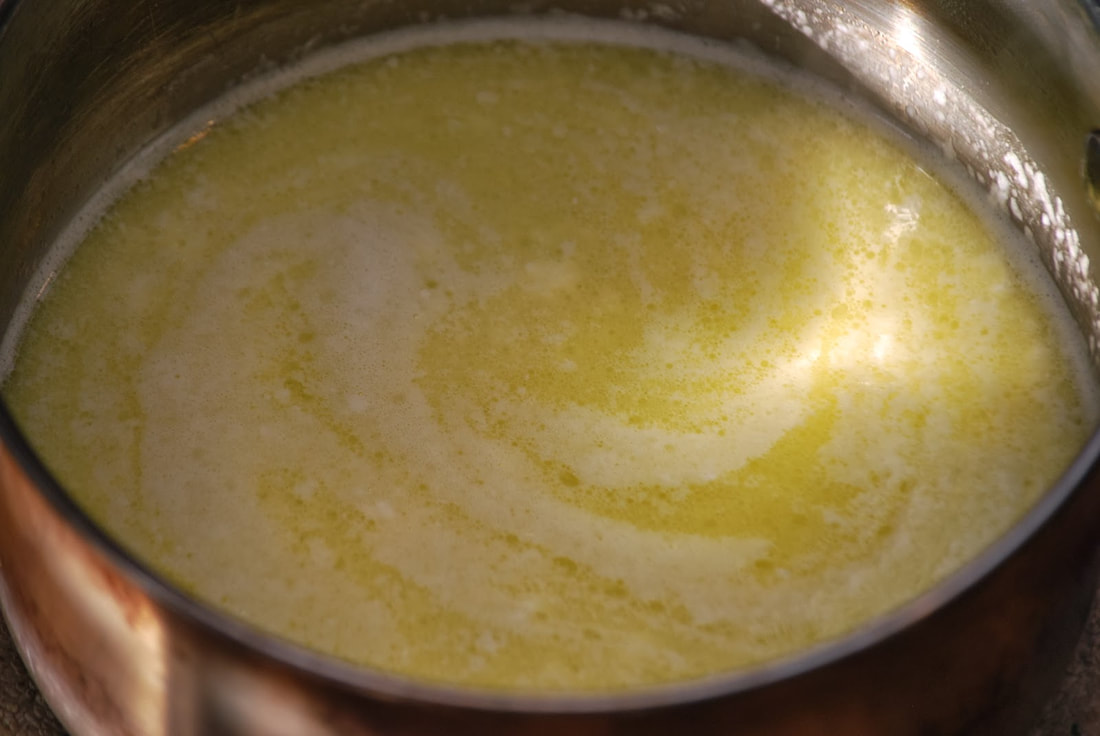
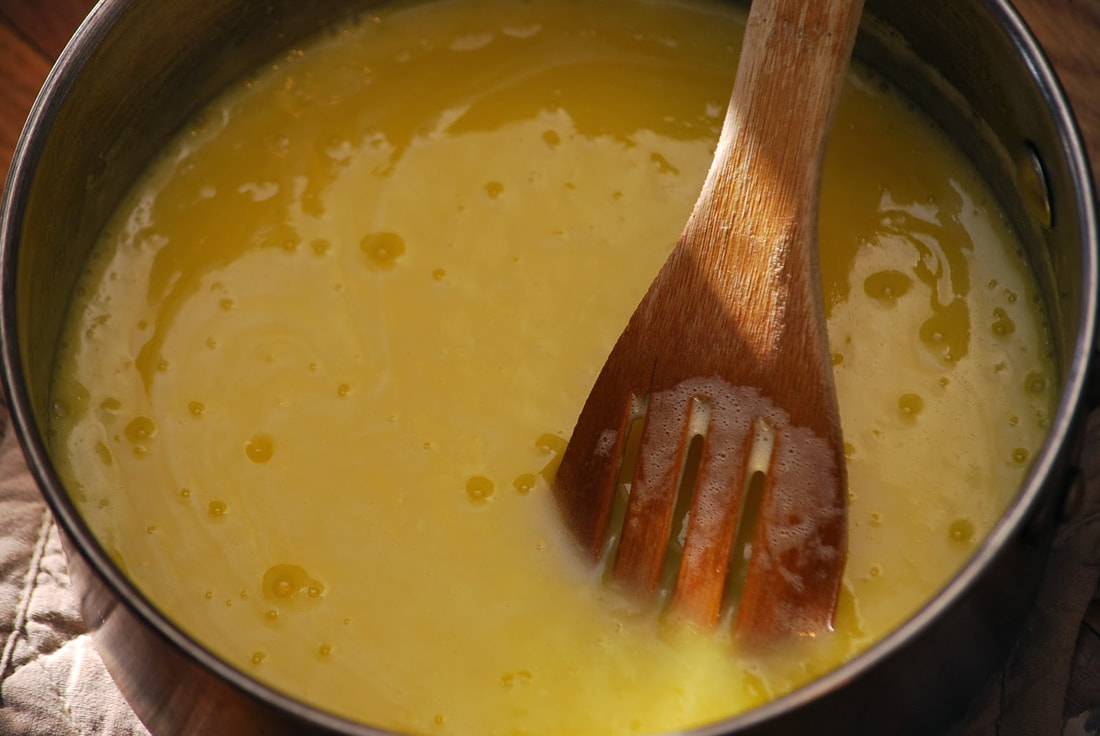
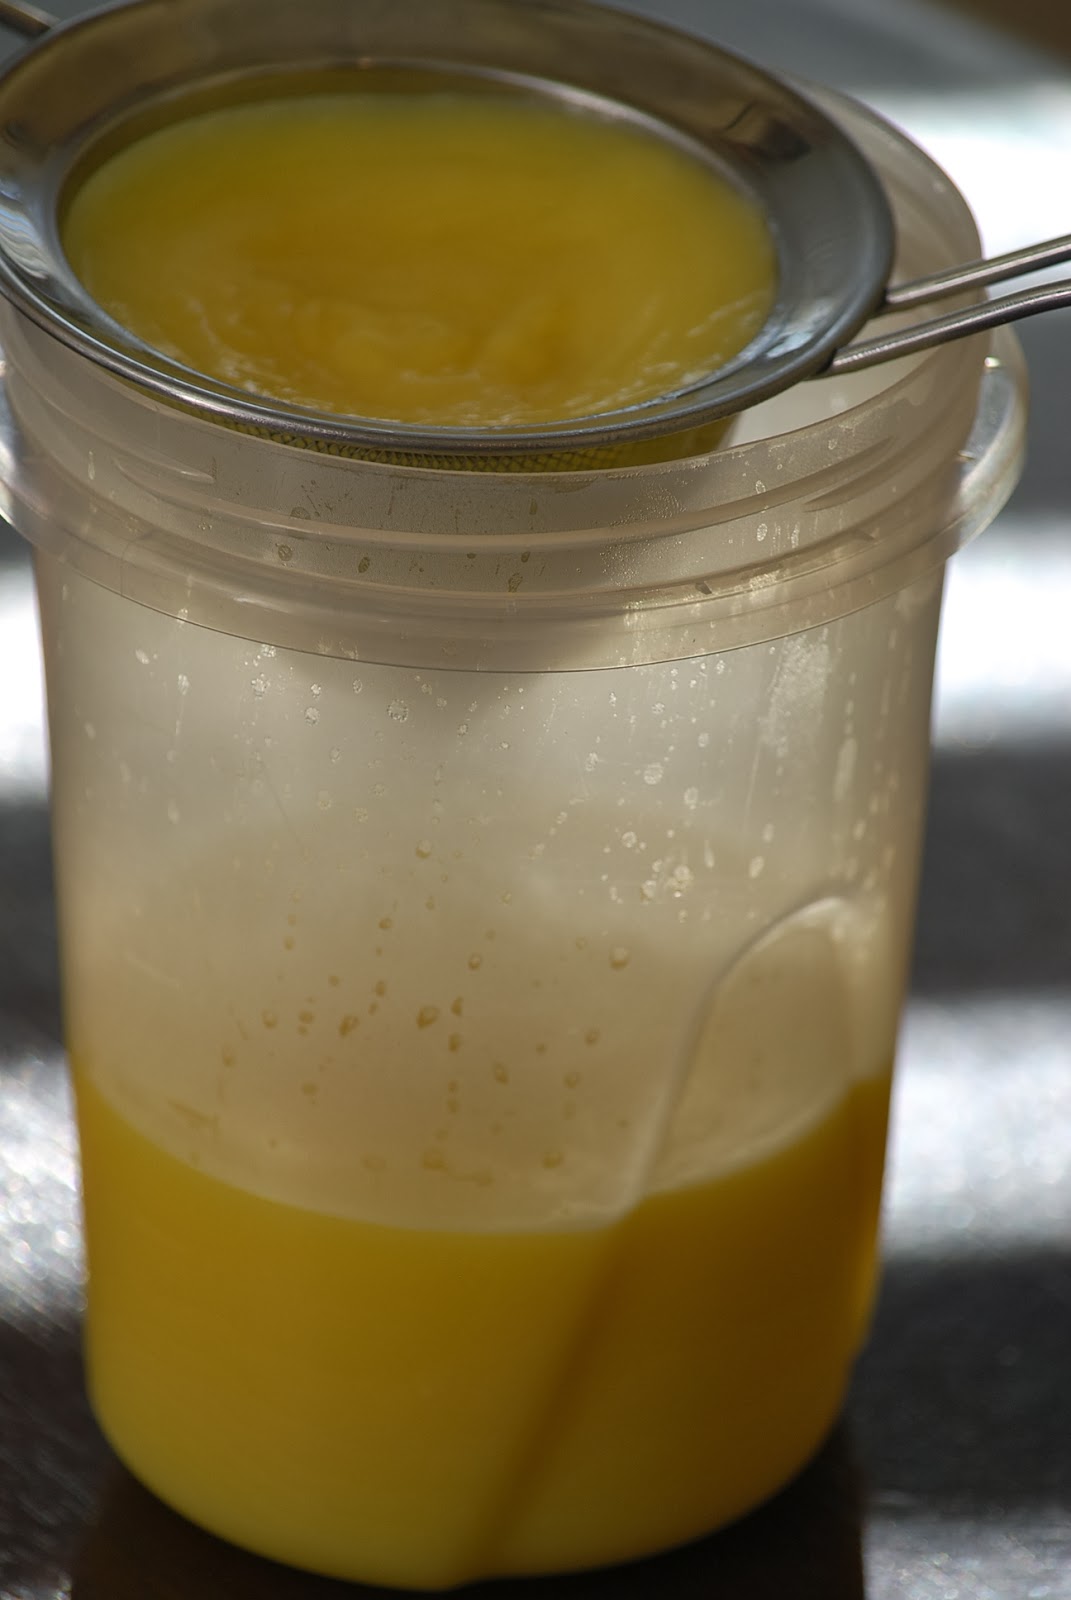
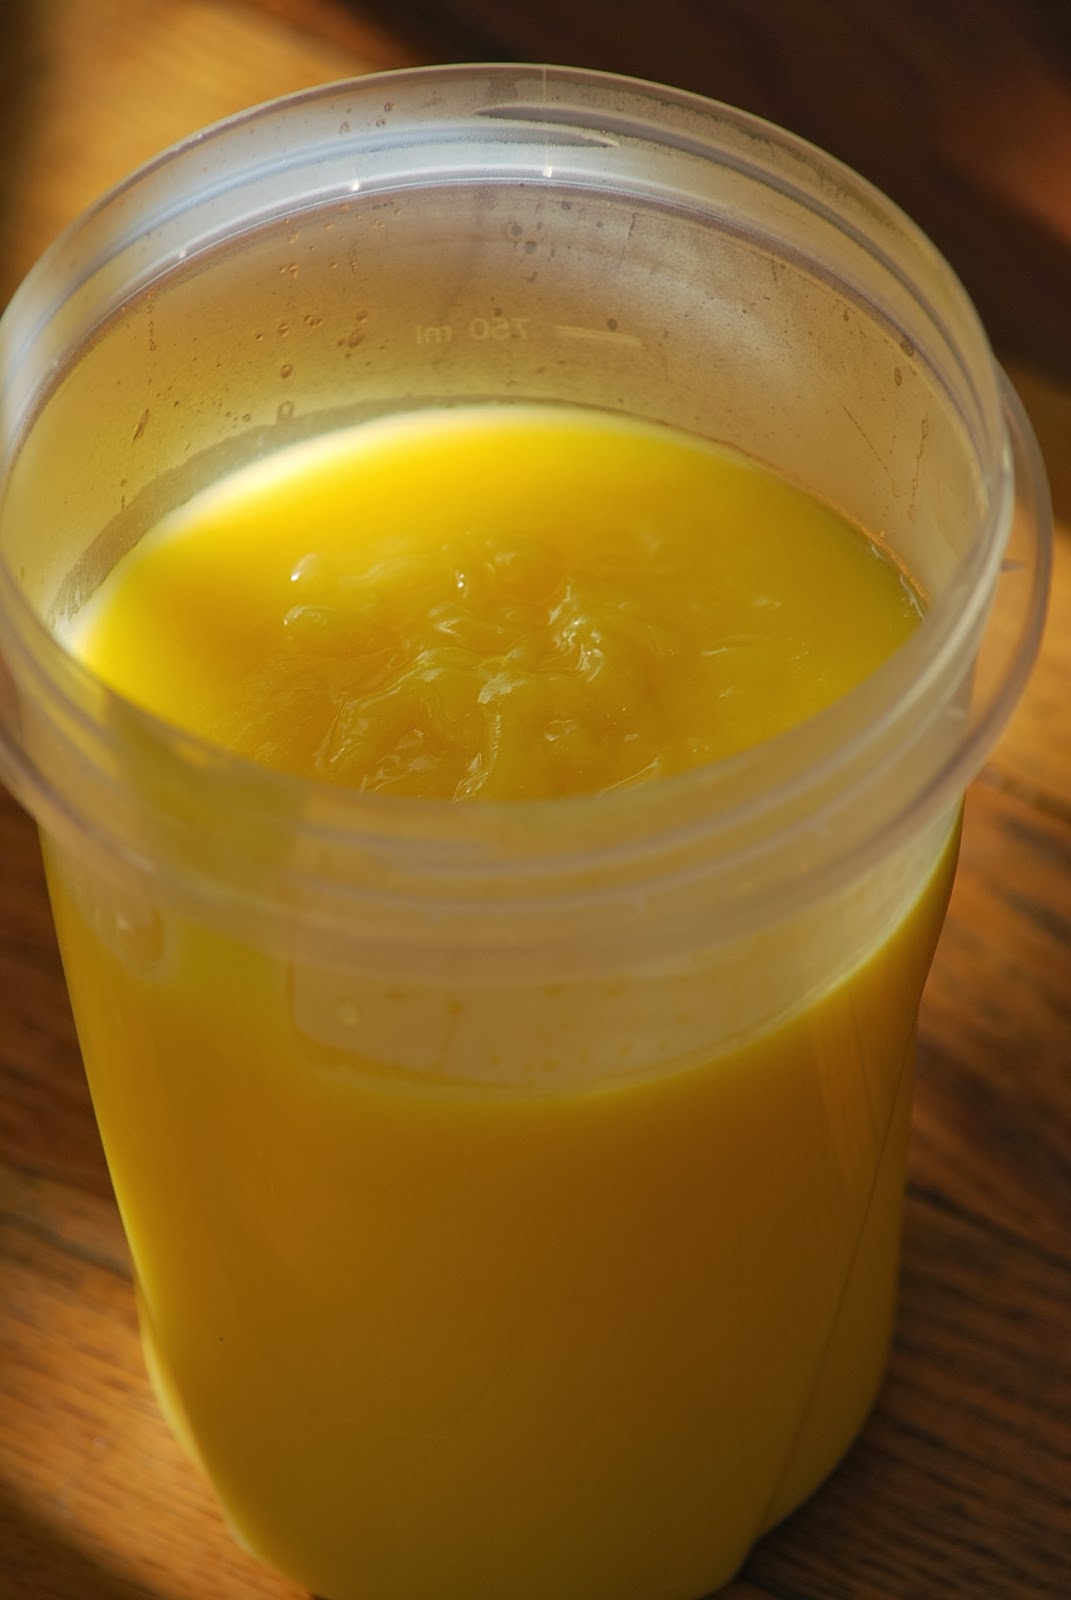
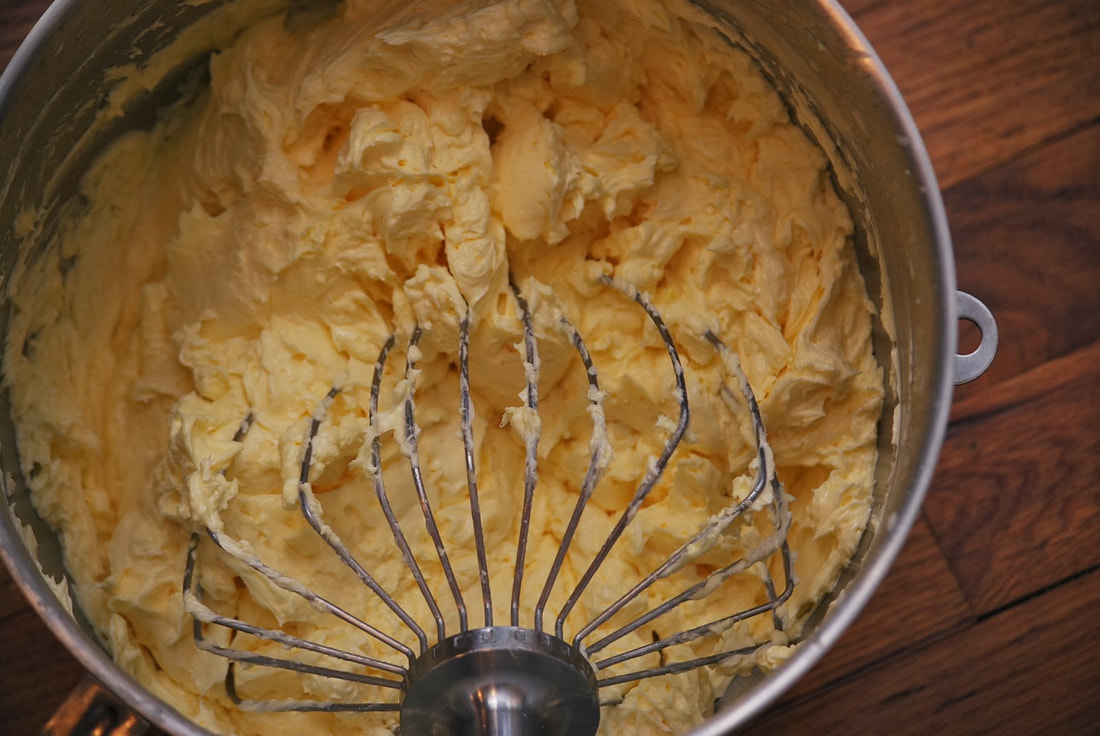
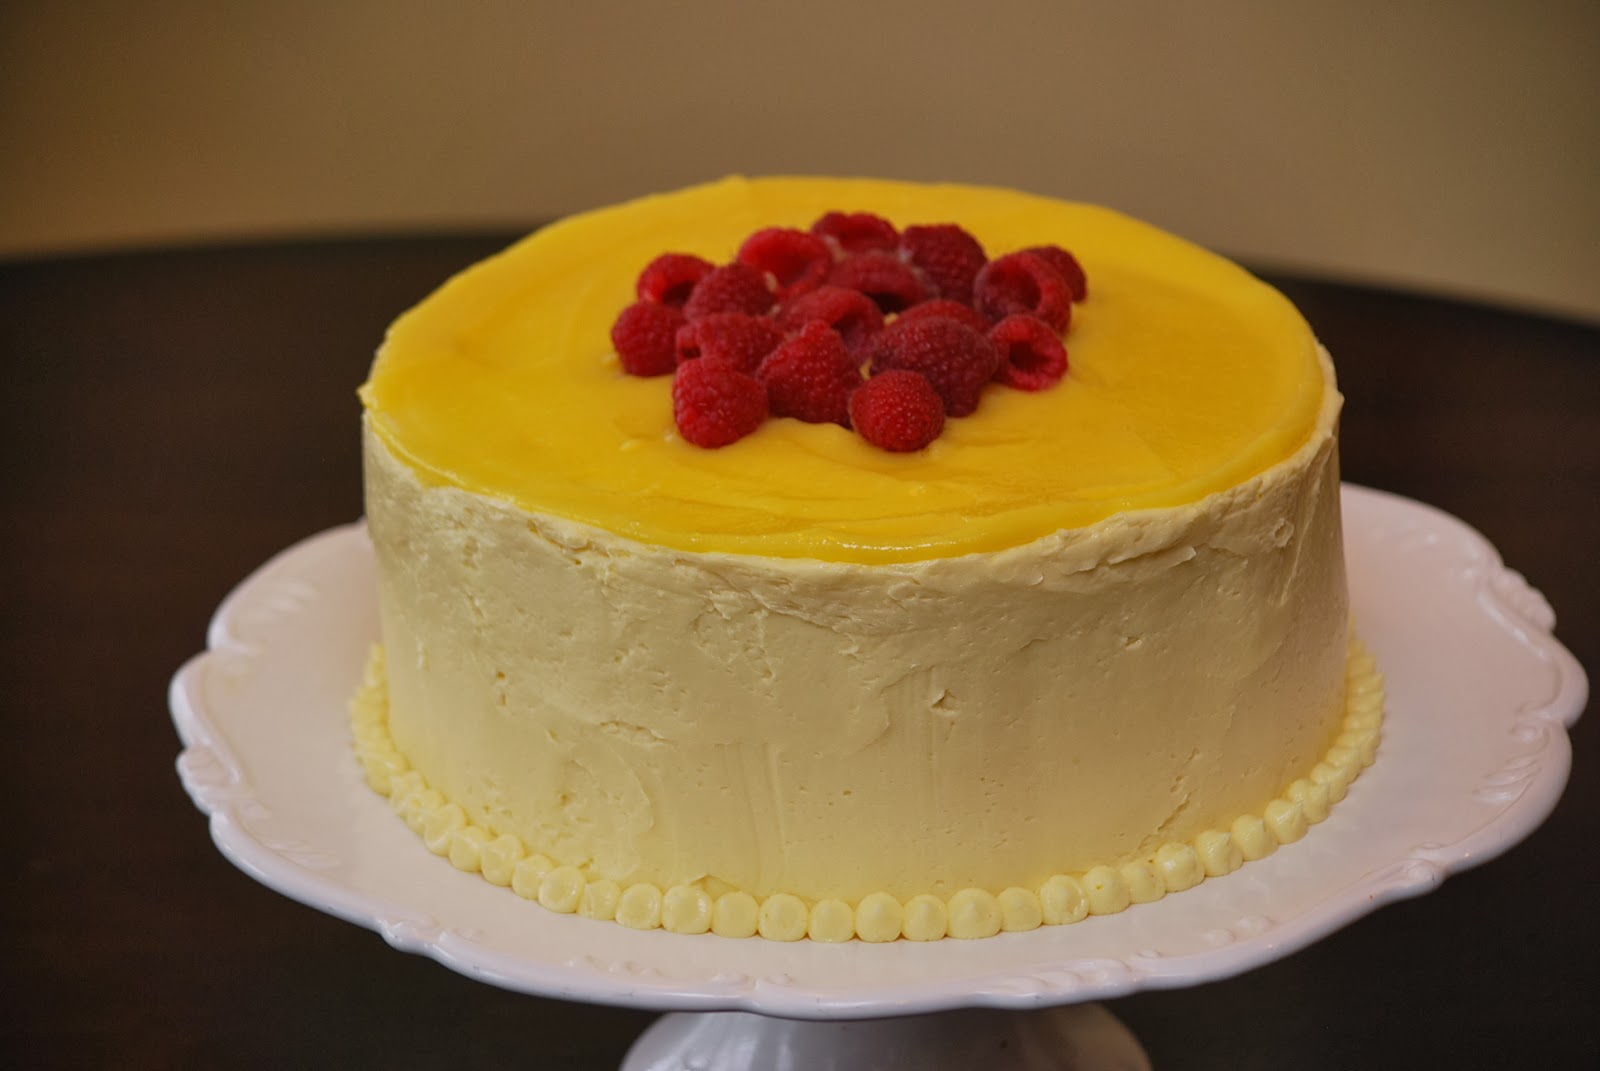
 Friendship is powerful and important. (Profound way to start the blog, don't you think?) I've been thinking about my friends lately and it occurred to me that they are quite often, under appreciated. It was in a women's group about 10 years ago that I first heard someone make the claim that we were not created to live independently but to exist within a community of relationships. That statement hit me like a ton of bricks. I had been working so hard to be a strong, INDEPENDENT woman. I actually think that I was secretly relieved to know that I didn't have to accomplish all of my goals - alone. The reality is that the relationships that we have with our friends (both past and present) shape who we are today. Even our very first childhood friends taught us some very important life skills about acceptance and love. I am so thankful for the friends that had as a child, the friends that I had as a teenager and the friends that I have now, as an adult. They are my sounding board, my support system and my source for a reality check when I need it most. I'm so grateful for these precious friends who will tell me the truth, even when I don't want to hear it. The bottom line is, when it comes to happiness, my friends are a key. Like I said in the beginning, my friends often go under appreciated. I take them for granted far too often so it was a special treat for me to have the privilege of making a birthday cake for one of my sweet friends recently. (Food is my love language - just in case there was any doubt in your mind.) She is a fan of lemon desserts so when I found this recipe in my Flour cookbook, for lemon raspberry cake, I knew it would be perfect. This cake just screams springtime deliciousness. The recipe is rather lengthy but bear with me - it's soooo worth the effort. 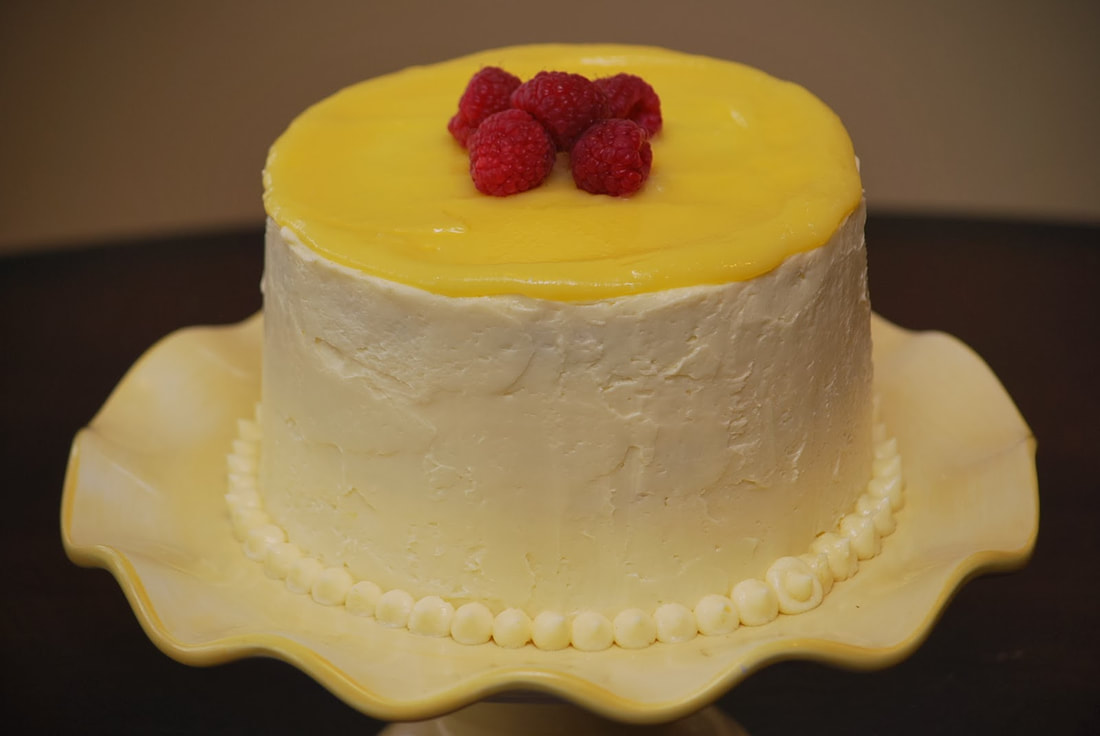 Lemon Raspberry Cake 6 Tablespoons butter 6 Tablespoons canola oil 1 1/3 cups sugar 2 teaspoons vanilla 1 Tablespoon lemon zest 3 cups cake flour 1 Tablespoon baking powder 1/2 teaspoon salt 1 cup milk, room temperature 6 egg whites Lemon Curd 1 cup fresh lemon juice 1/4 cup butter 2 Tablespoons heavy cream 4 eggs 2 egg yolks 1 cup sugar 1/2 kosher salt 1/2 teaspoon vanilla Buttercream 1 1/2 cups sugar 3/4 cup water 4 eggs 2 egg yolks 3 cups butter, room temperature Syrup 1/2 cup lemon juice 1/2 cup water 3/4 cup sugar 1 pint raspberries
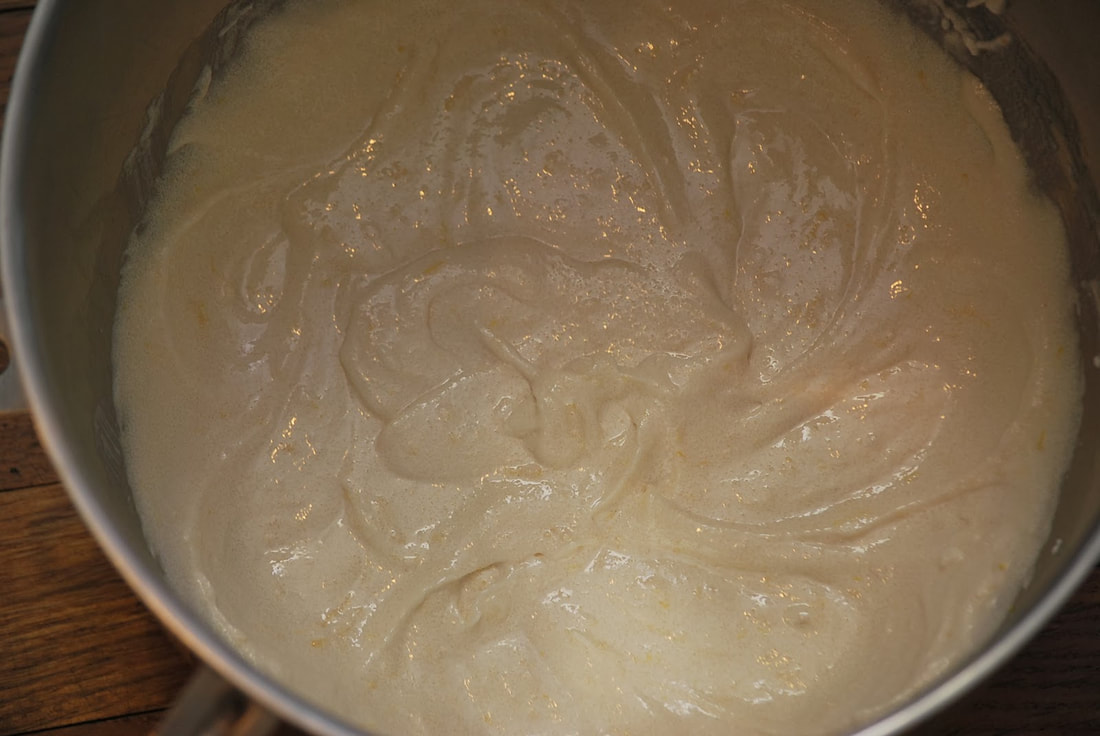
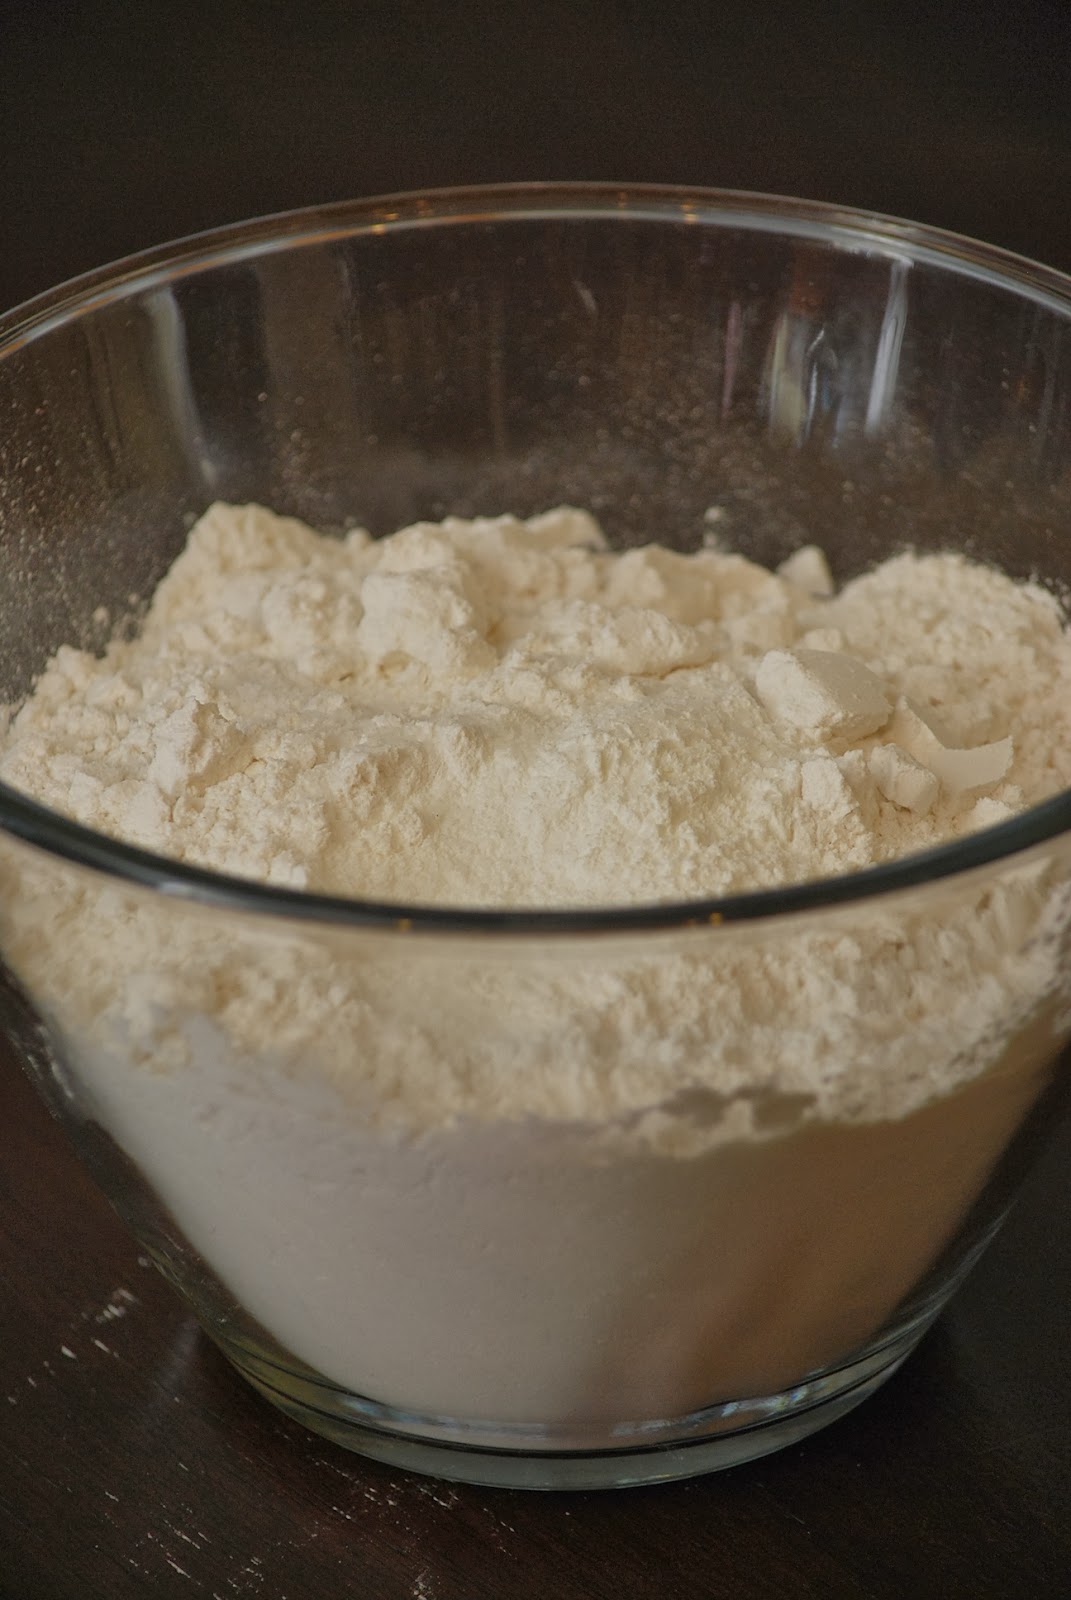
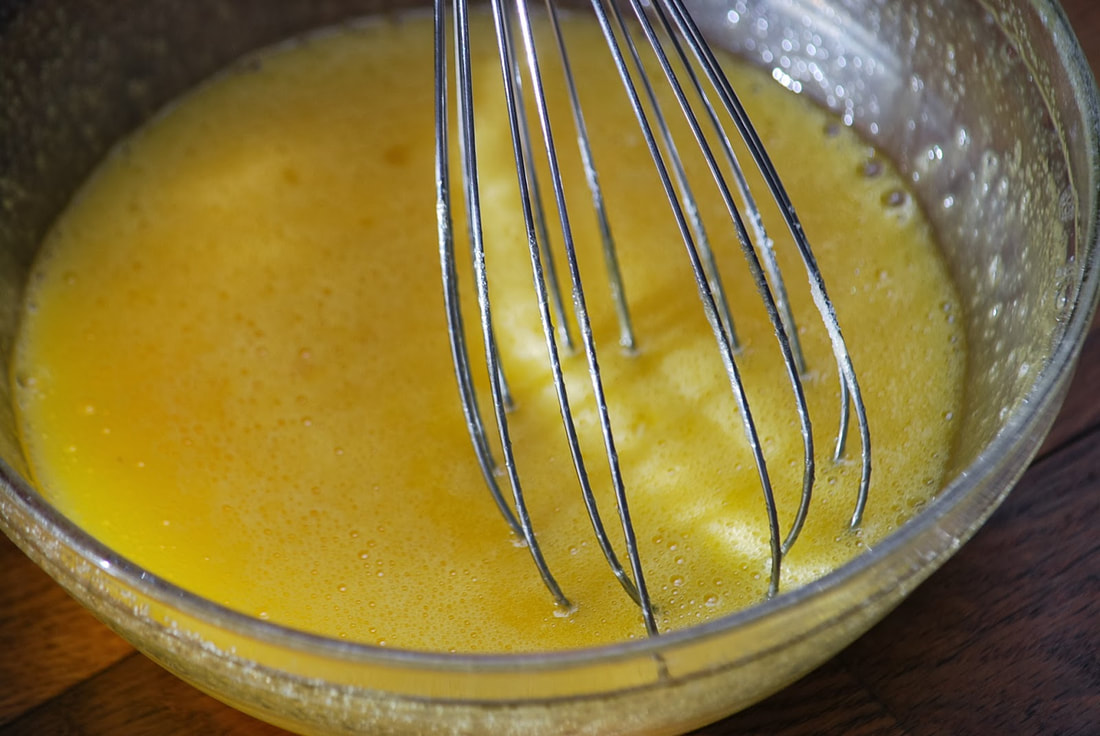
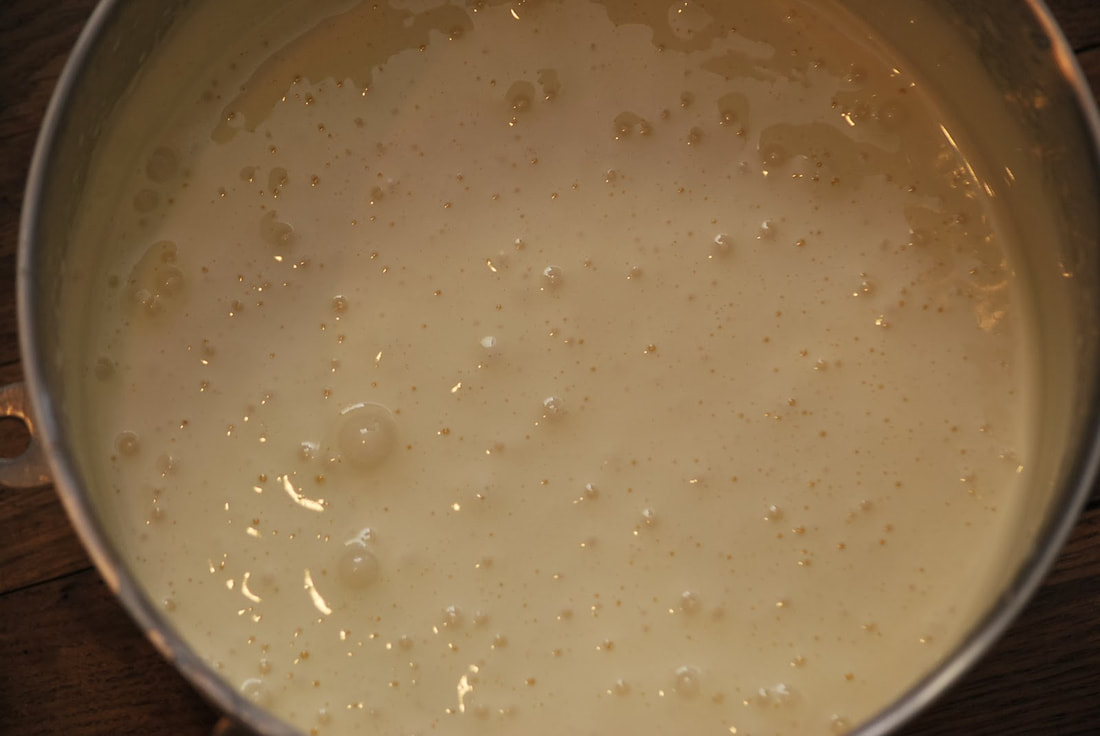
Sift together flour, baking powder and salt. Add to butter/sugar mixture one third at a time, alternating with milk.
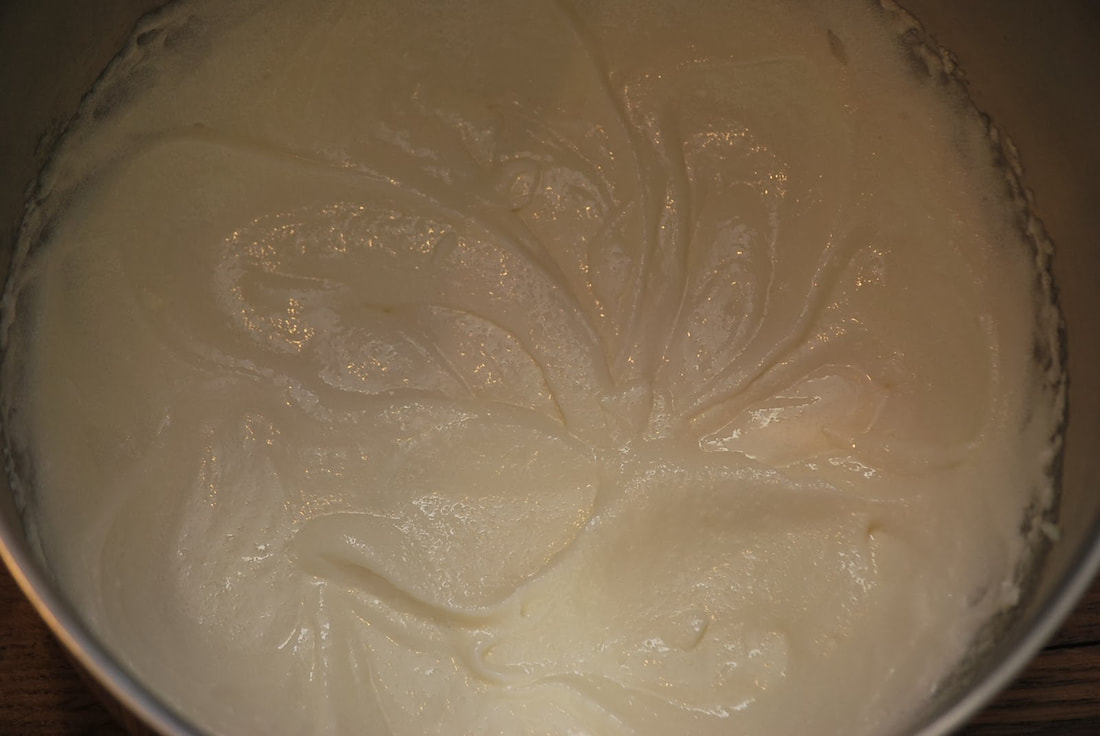
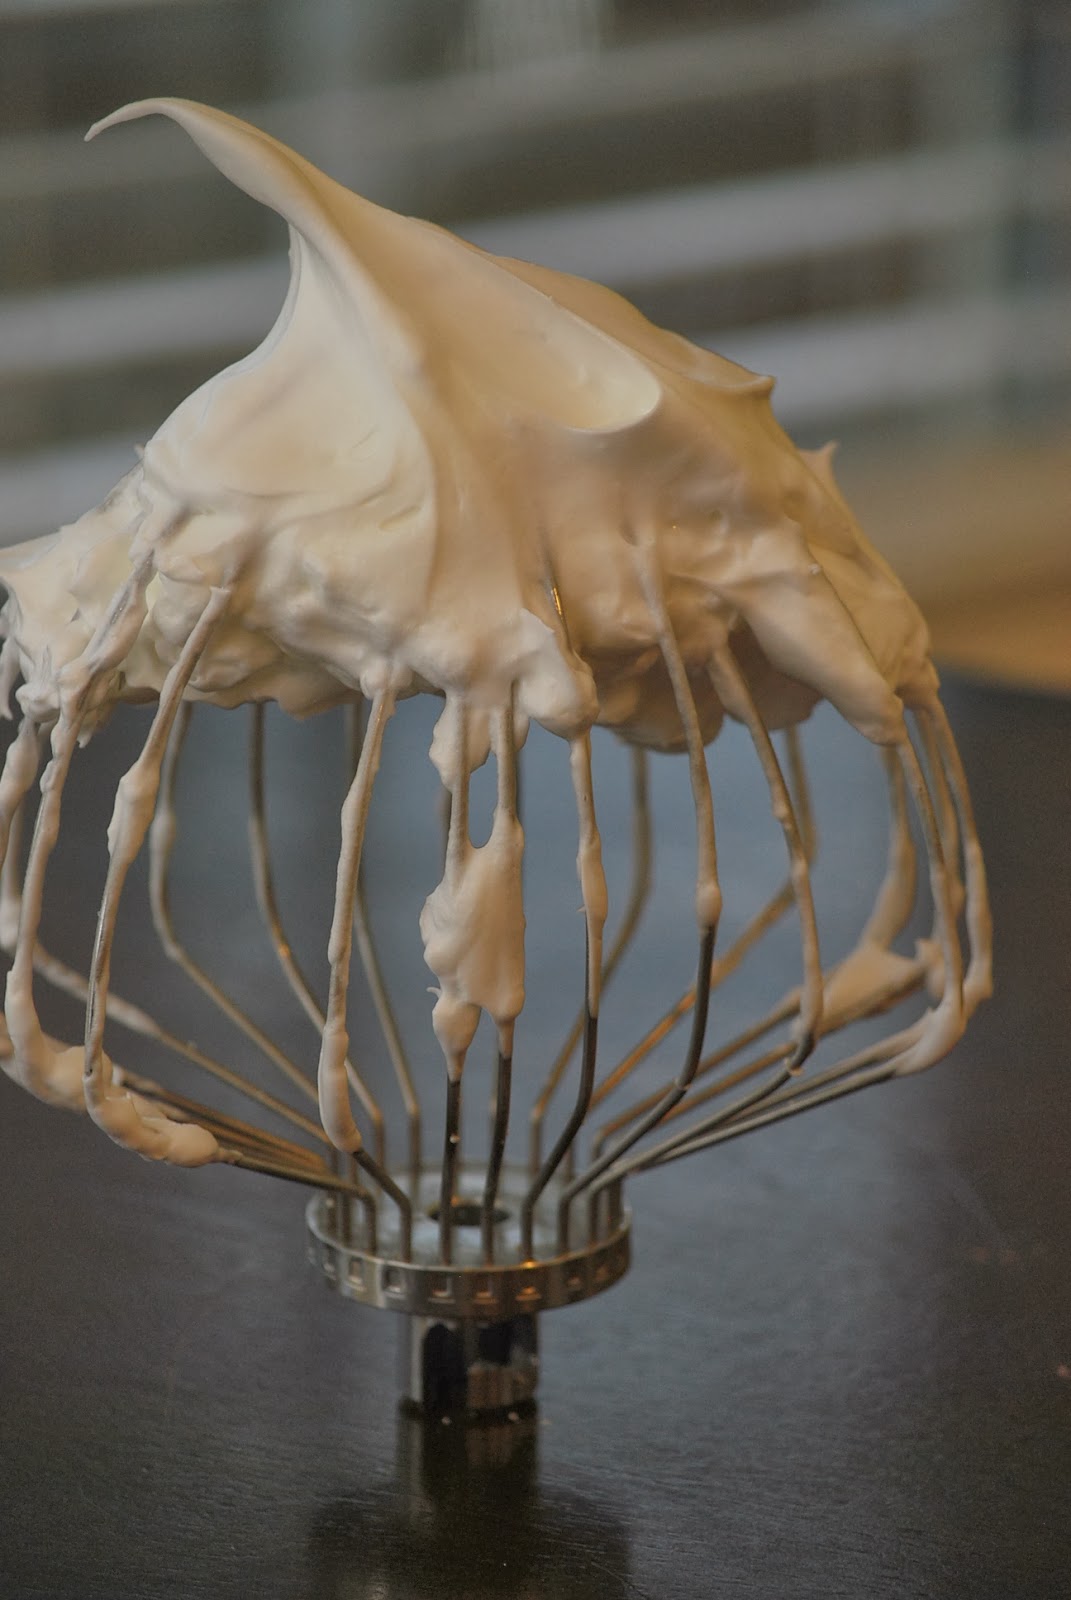
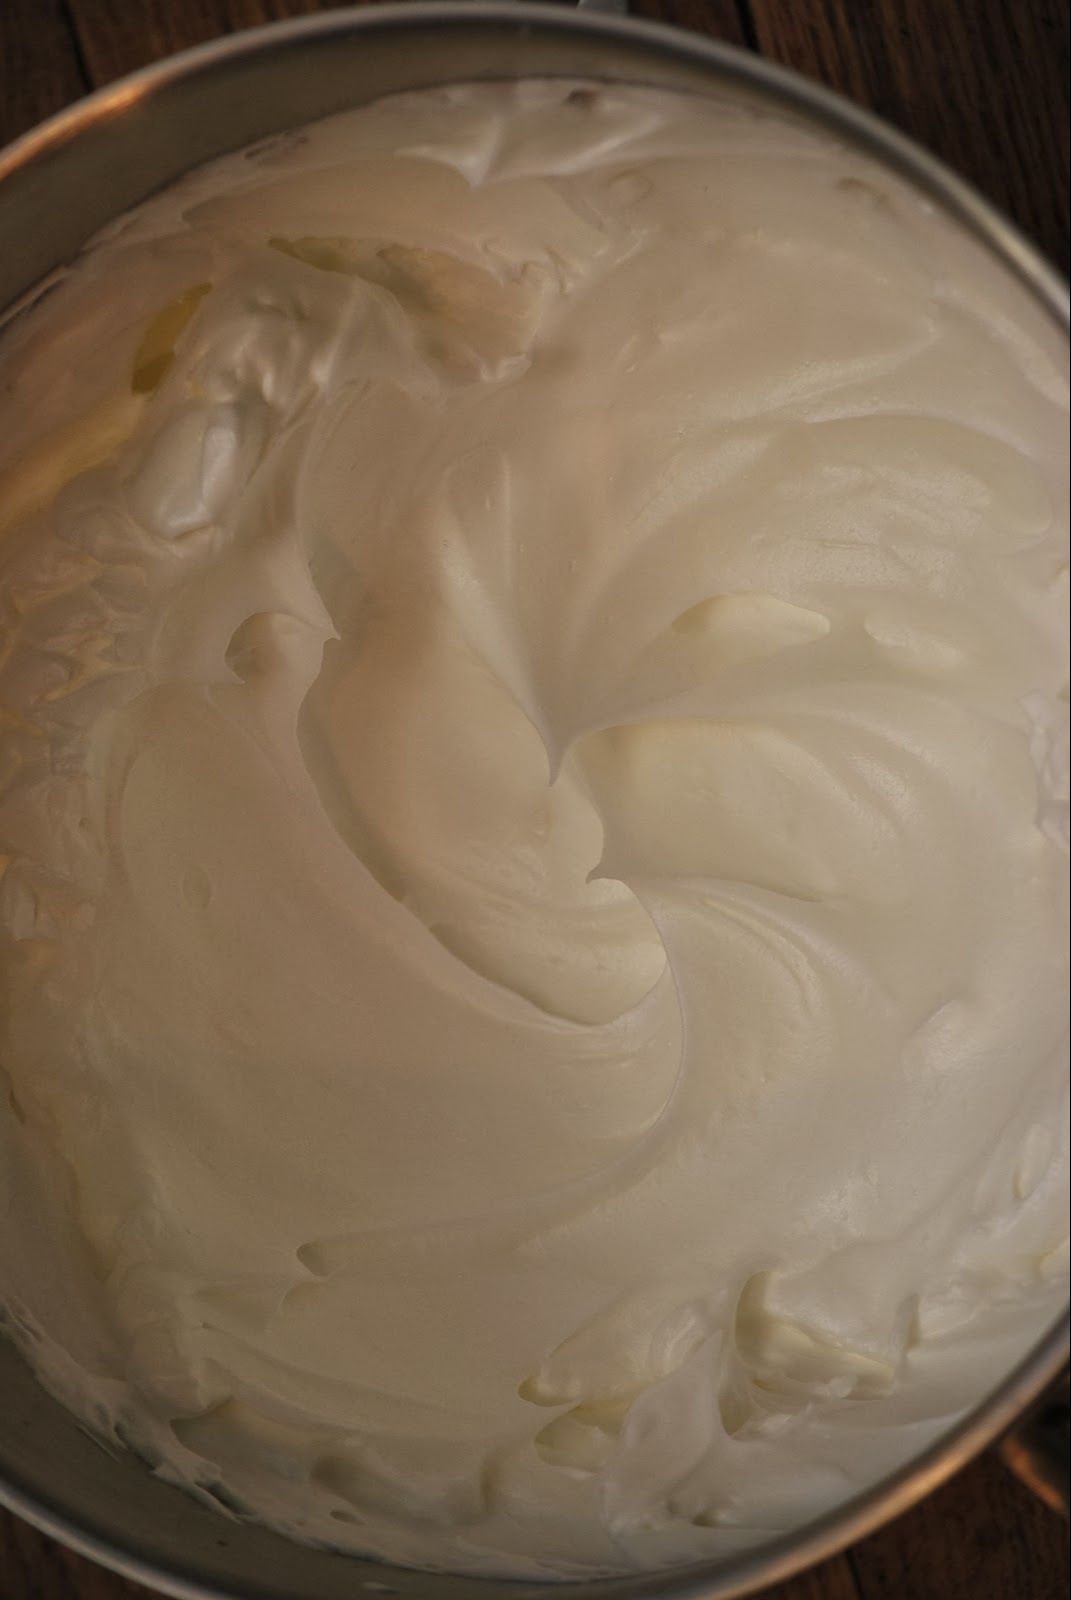
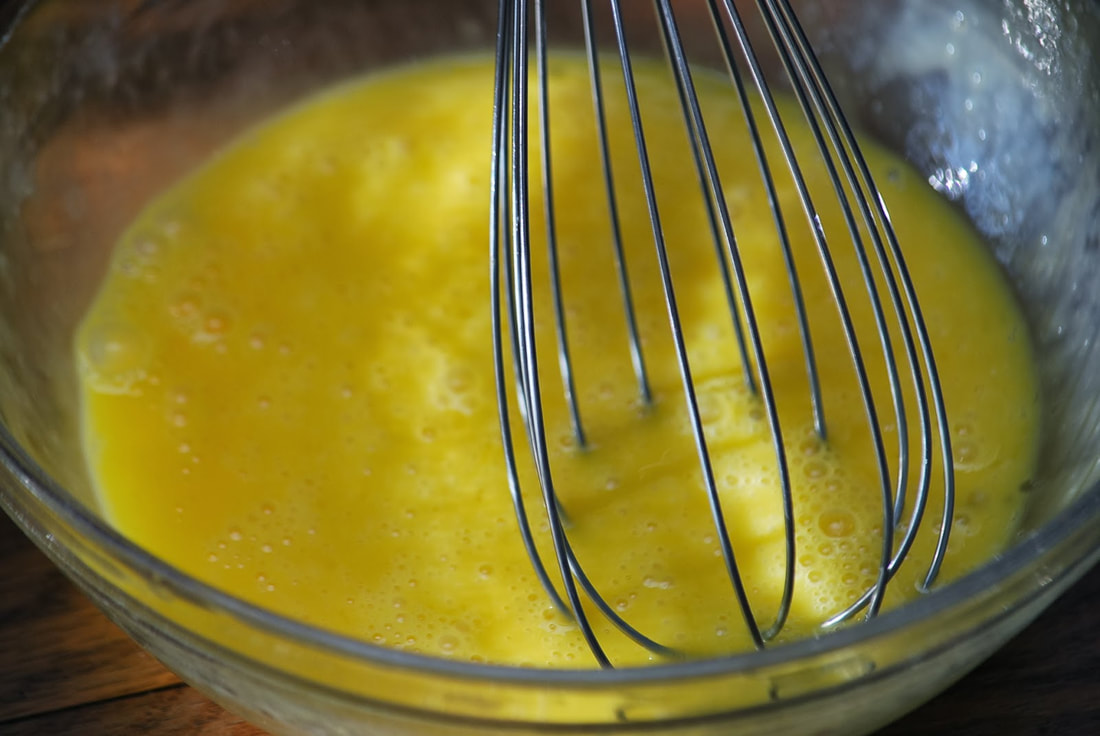
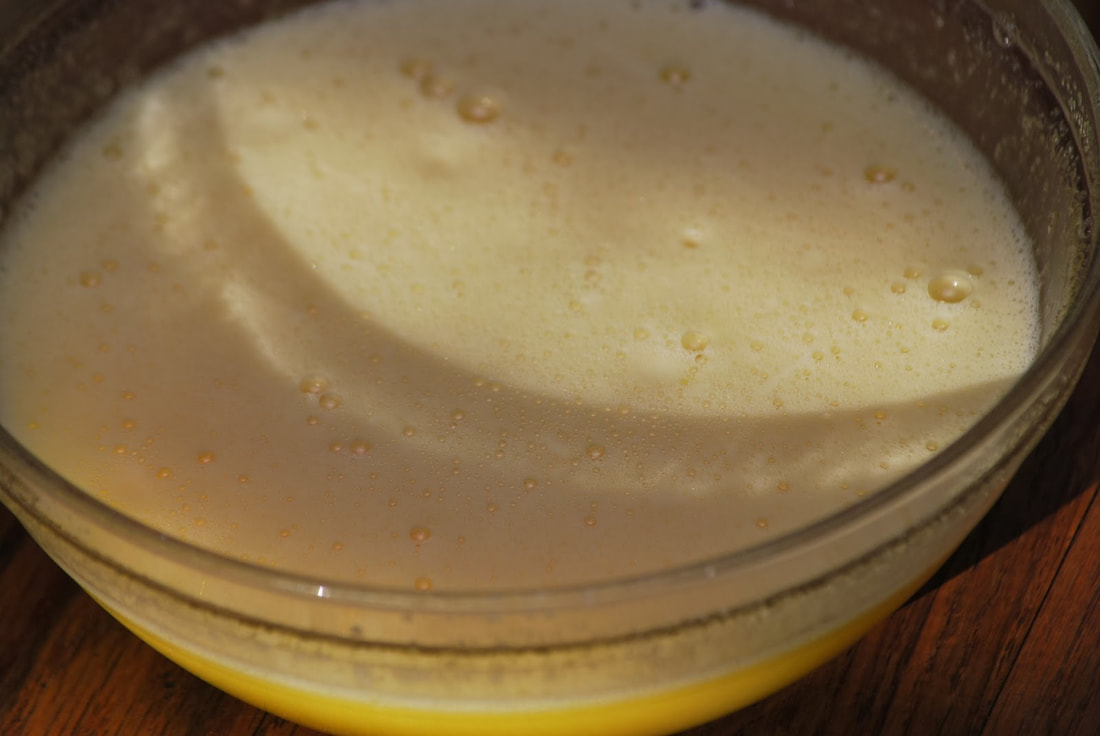
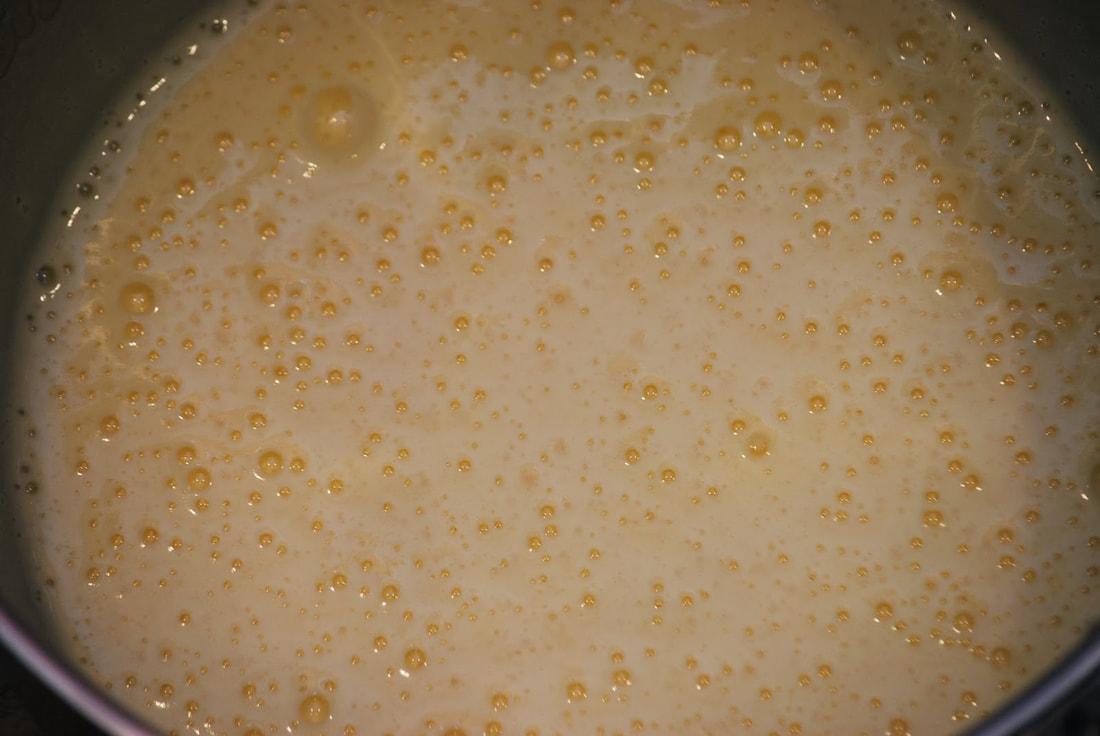
Remove batter from mixing bowl and wash and dry bowl completely. Place egg whites in bowl and beat on medium speed until soft peaks form. Slowly add 1/3 cup sugar and then whip until stiff peaks form.
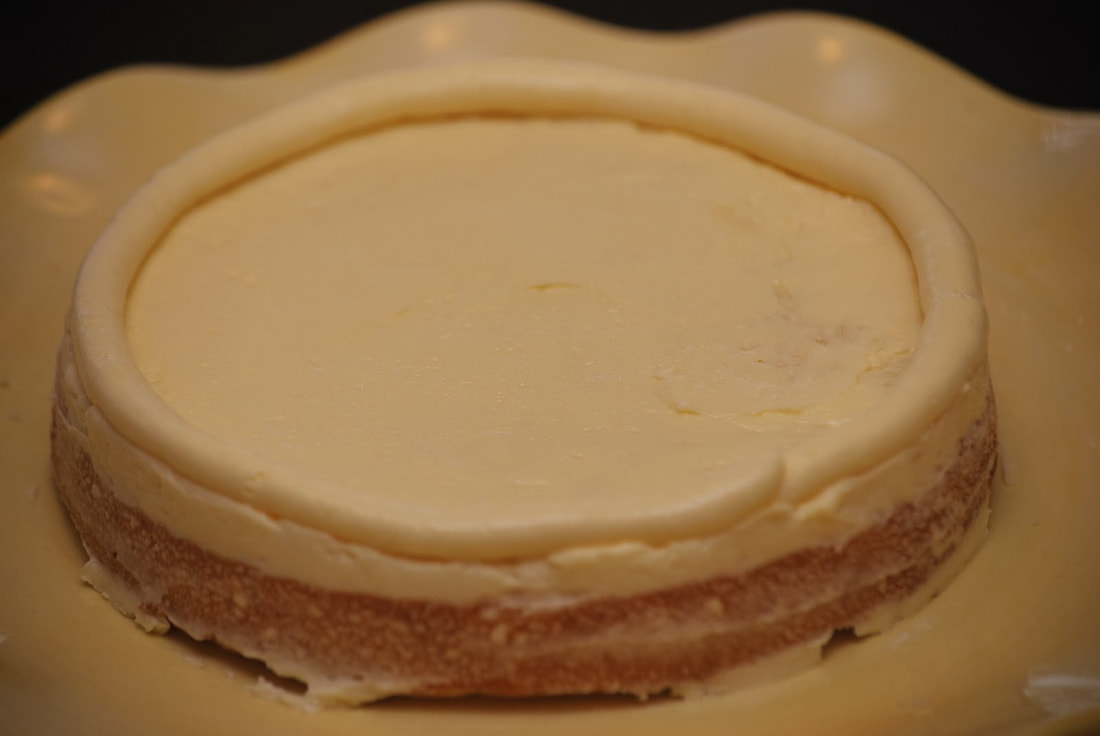
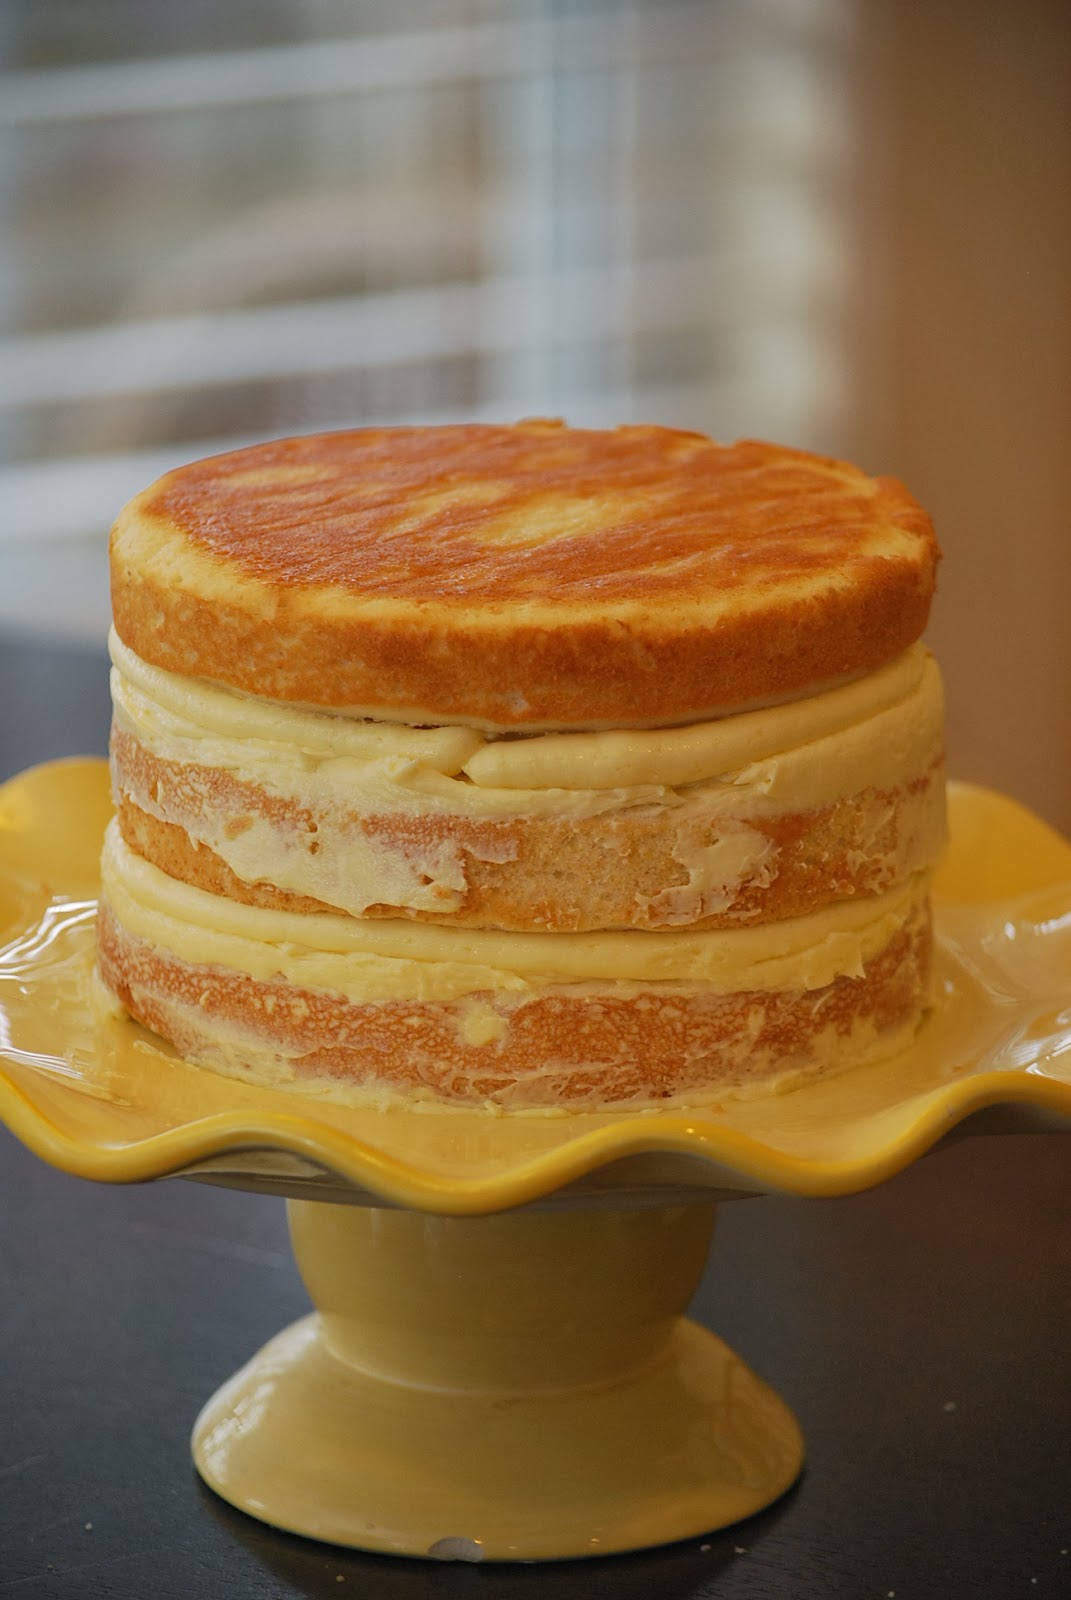
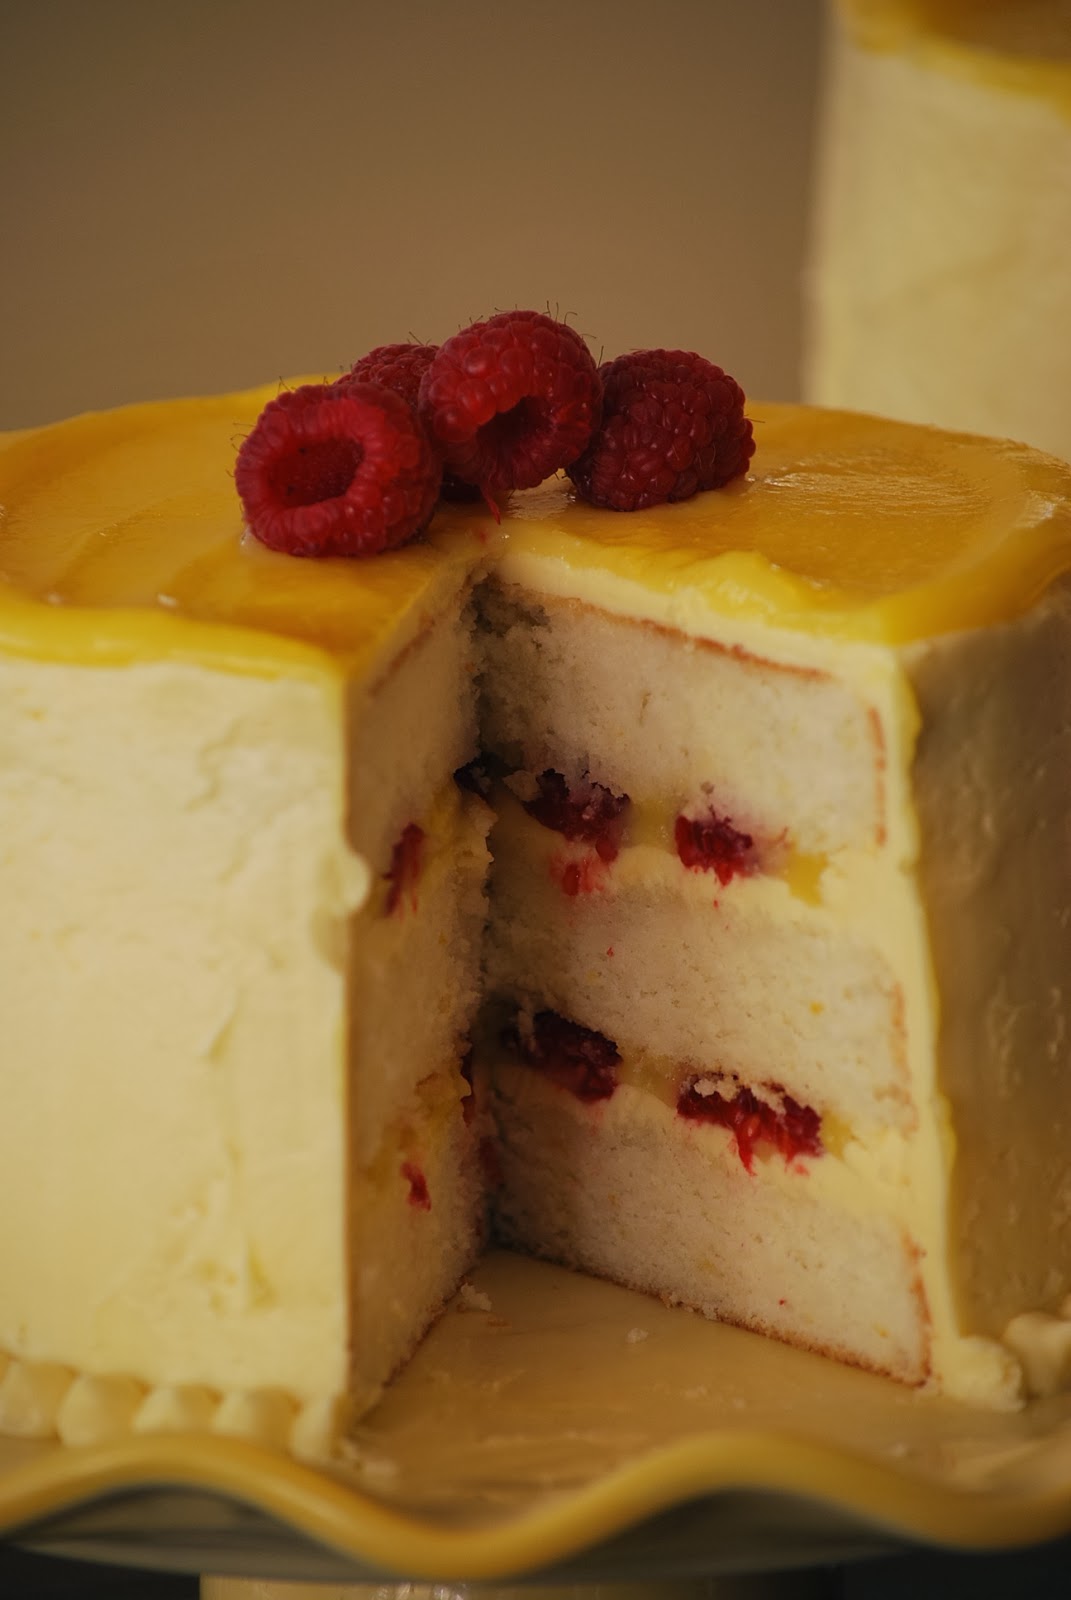
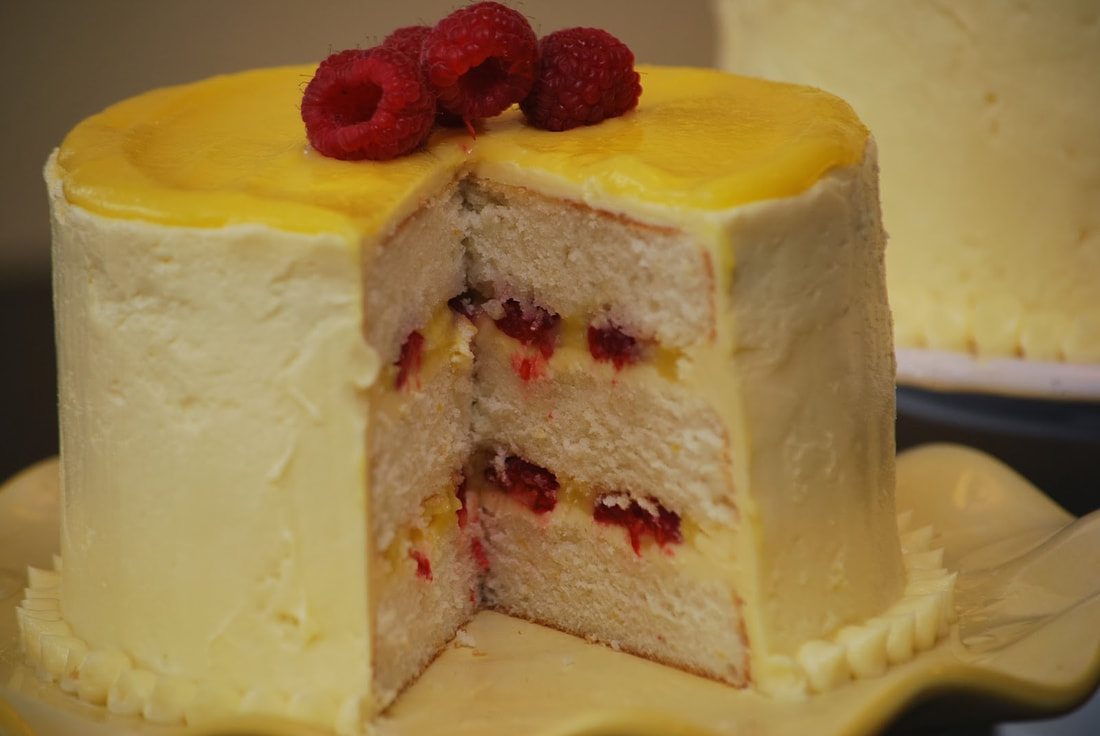
Place 1 cake layer on a cake stand or plate. Brush with one third of the lemon syrup. 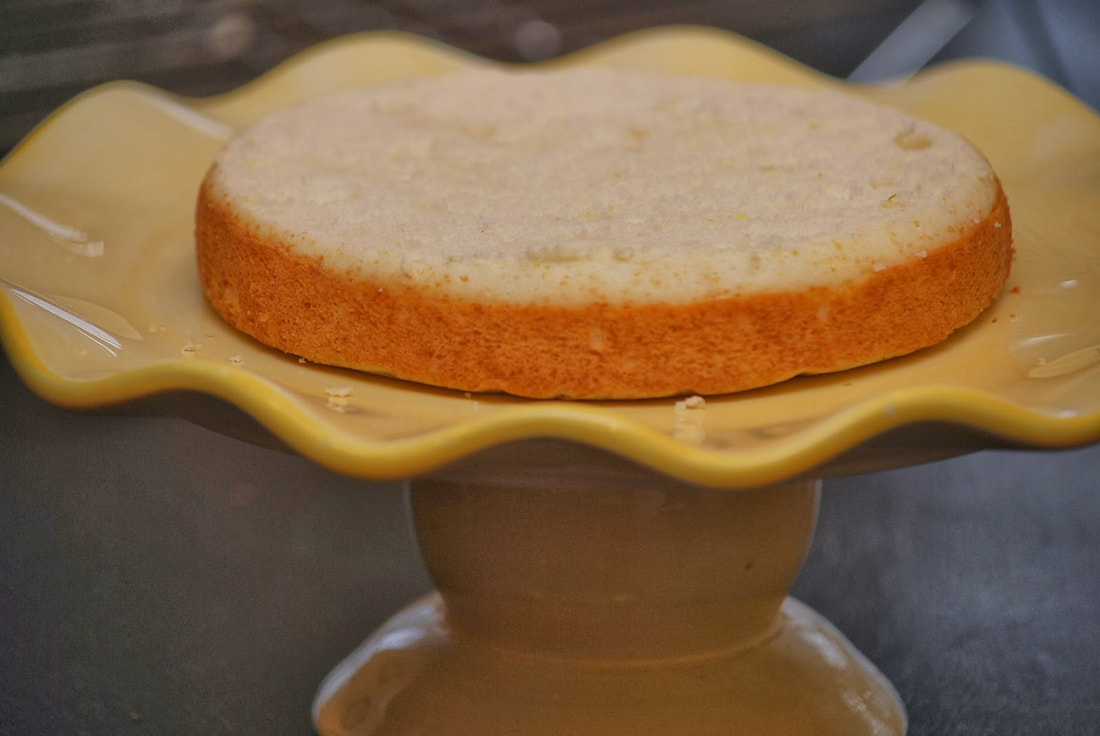 Spoon 1 cup of curd buttercream onto cake layer and spread evenly to edges. 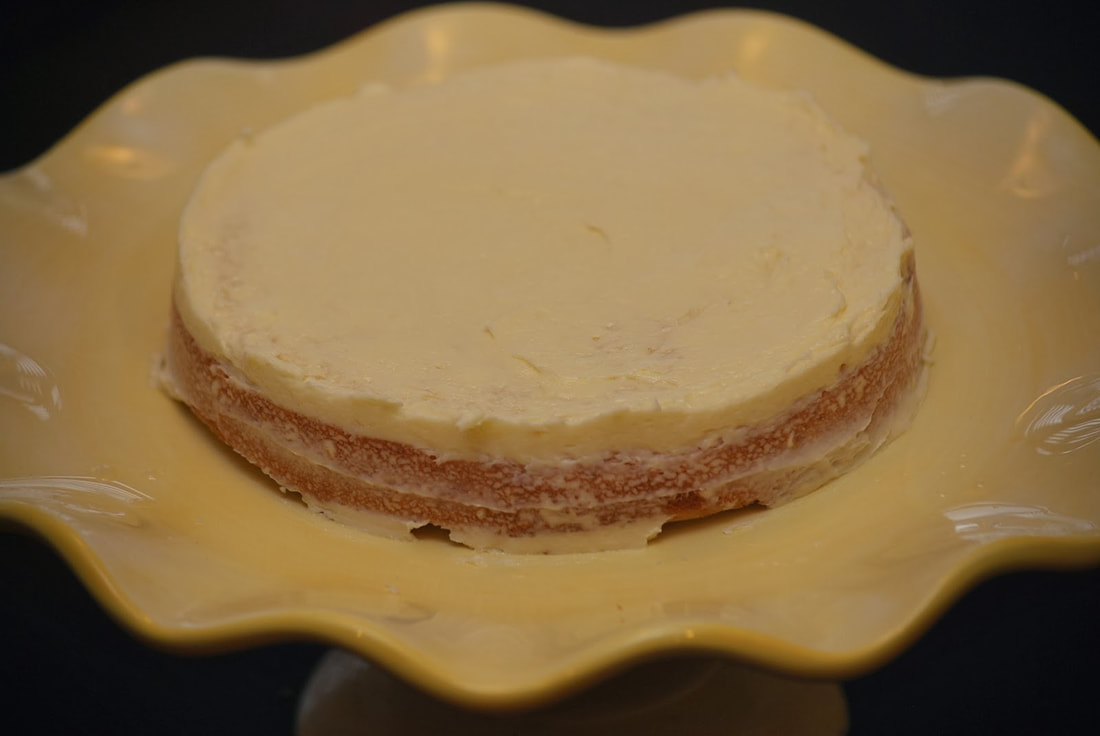
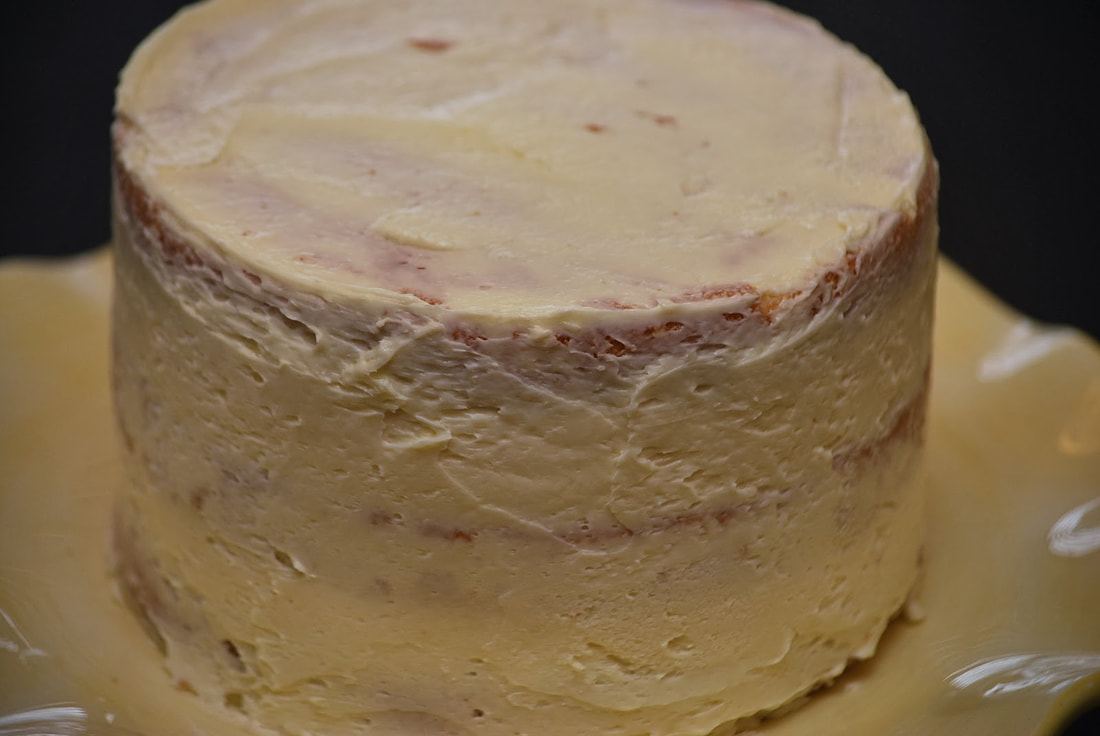
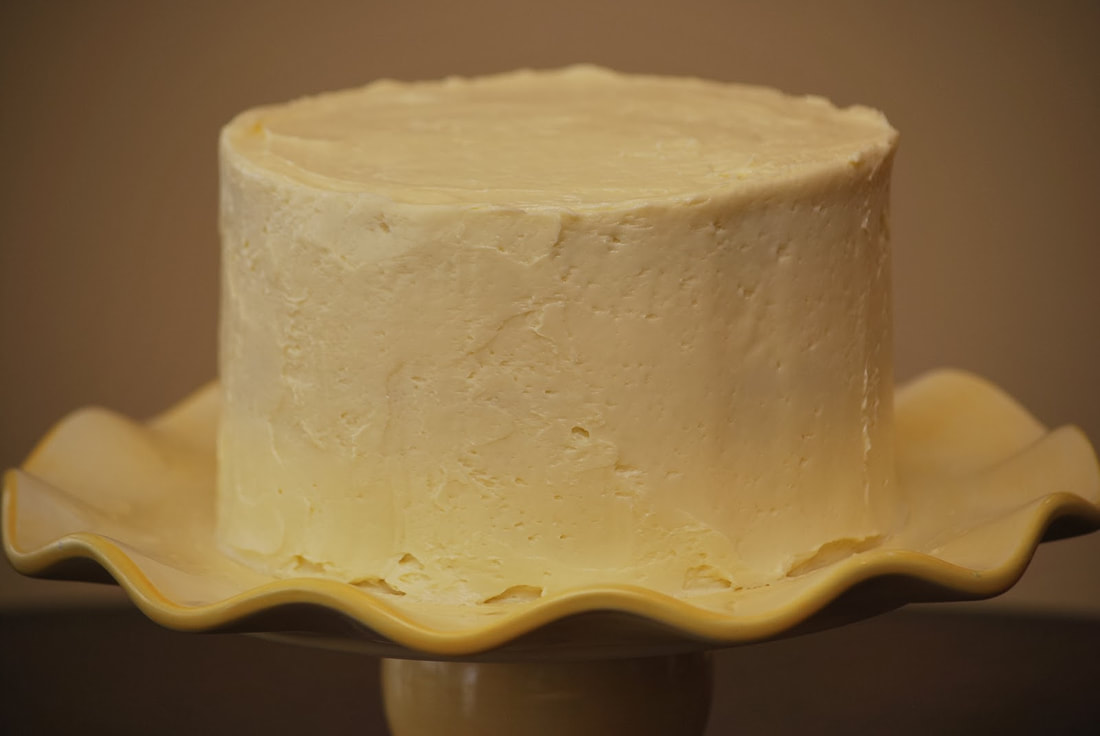
Spoon 1 cup of plain buttercream on top of cake and spread it over the top and down the sides of the cake, smoothing it to create a crumb coat. Refrigerate cake again for at least 30 minutes. Spoon 1 1/2 cups buttercream on top of cake and spread evenly across top and of cake and down the sides.
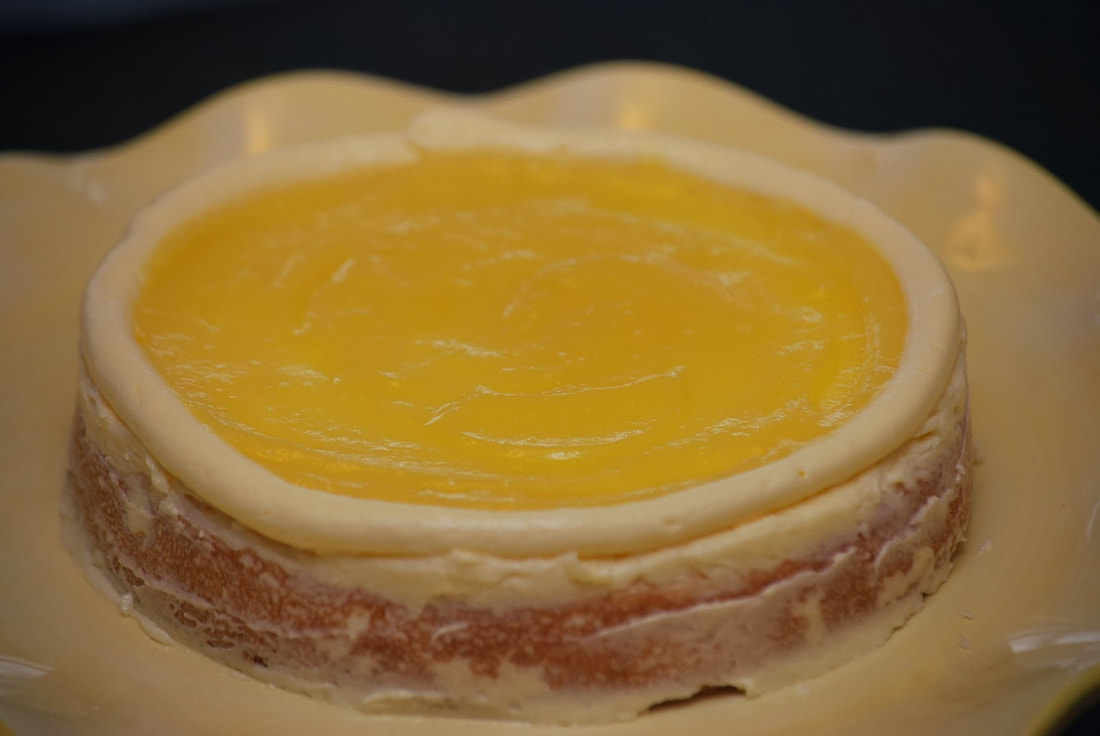
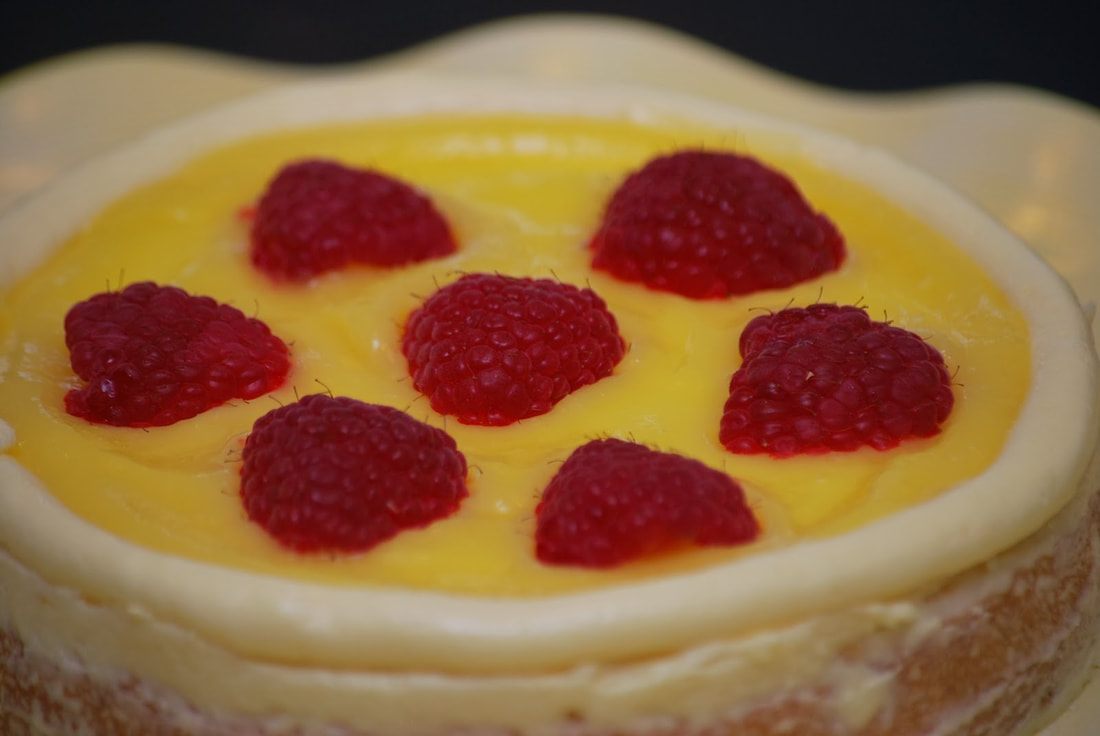
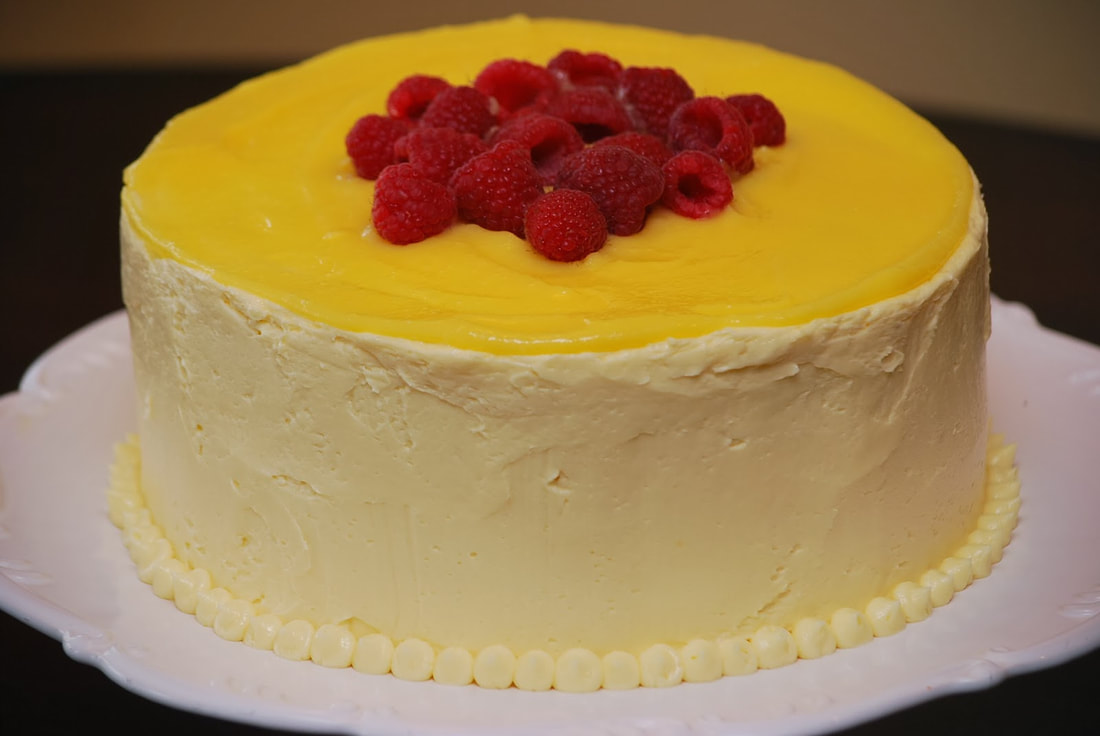
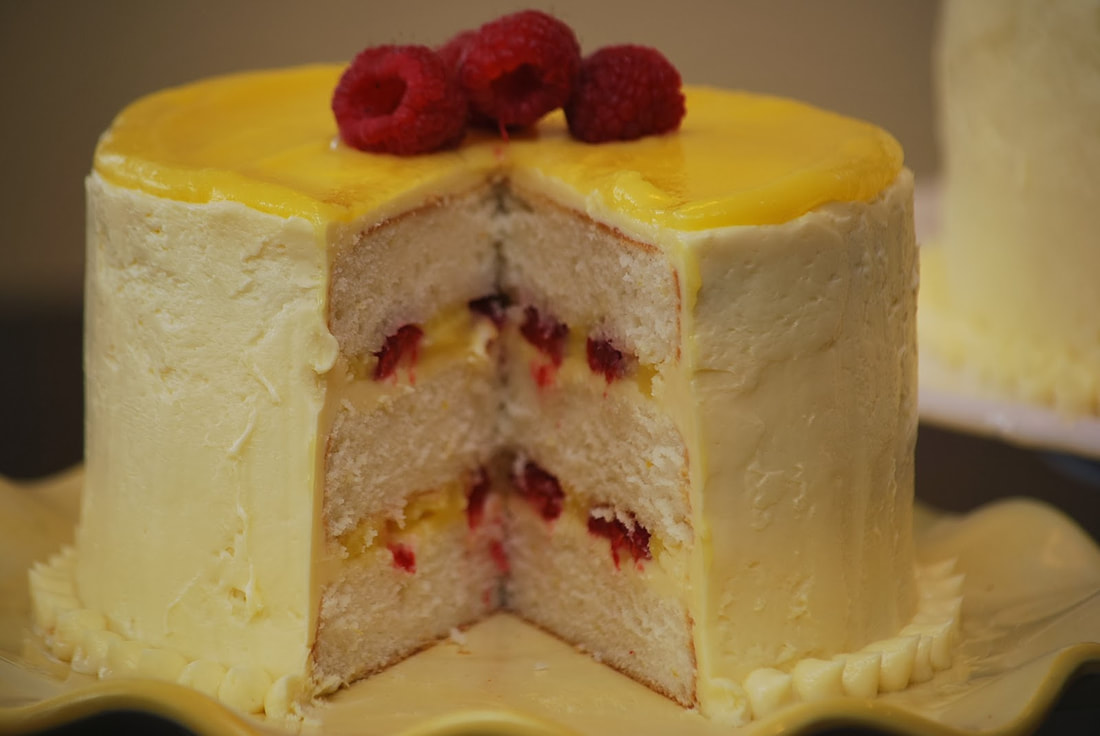
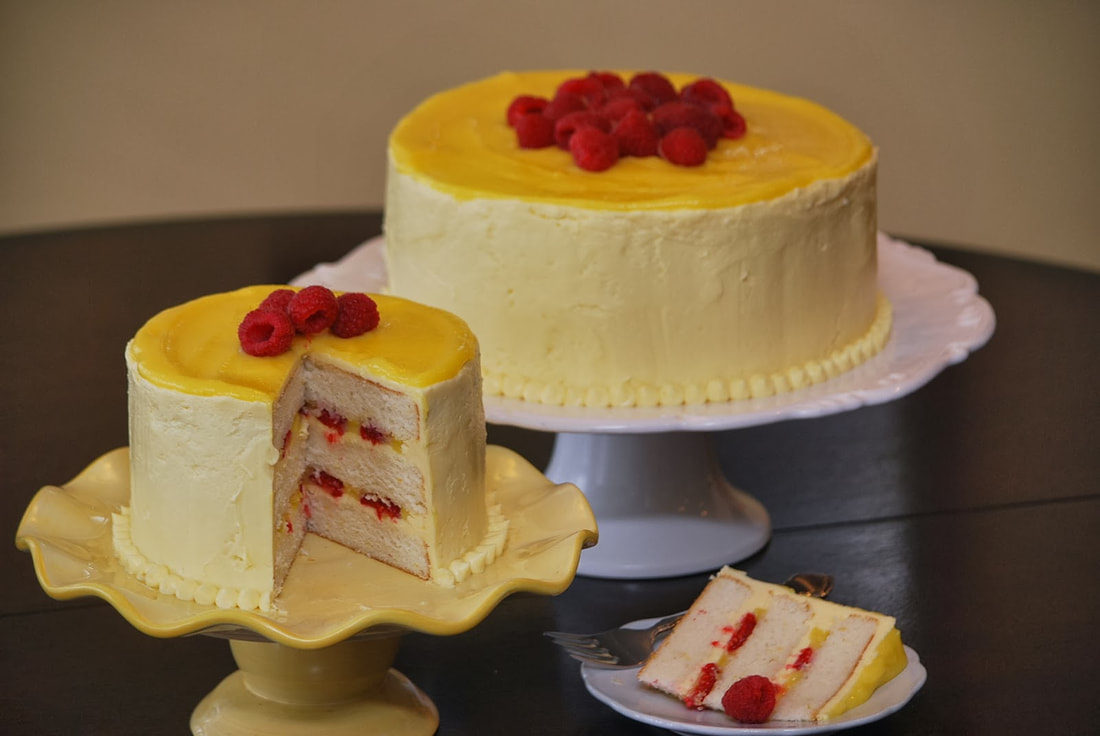
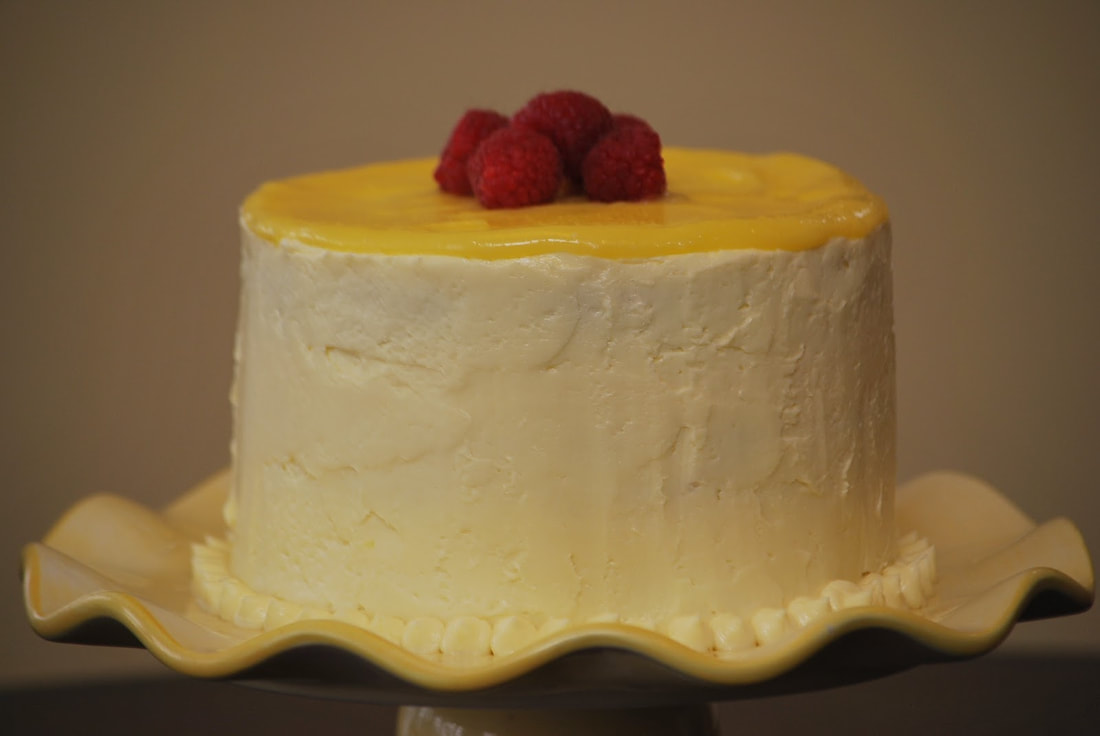
Spread 1/3 cup reserved lemon curd across the top and cake, spreading it into a thin layer. Top with fresh raspberries. Pipe dots along bottom edge of cake.
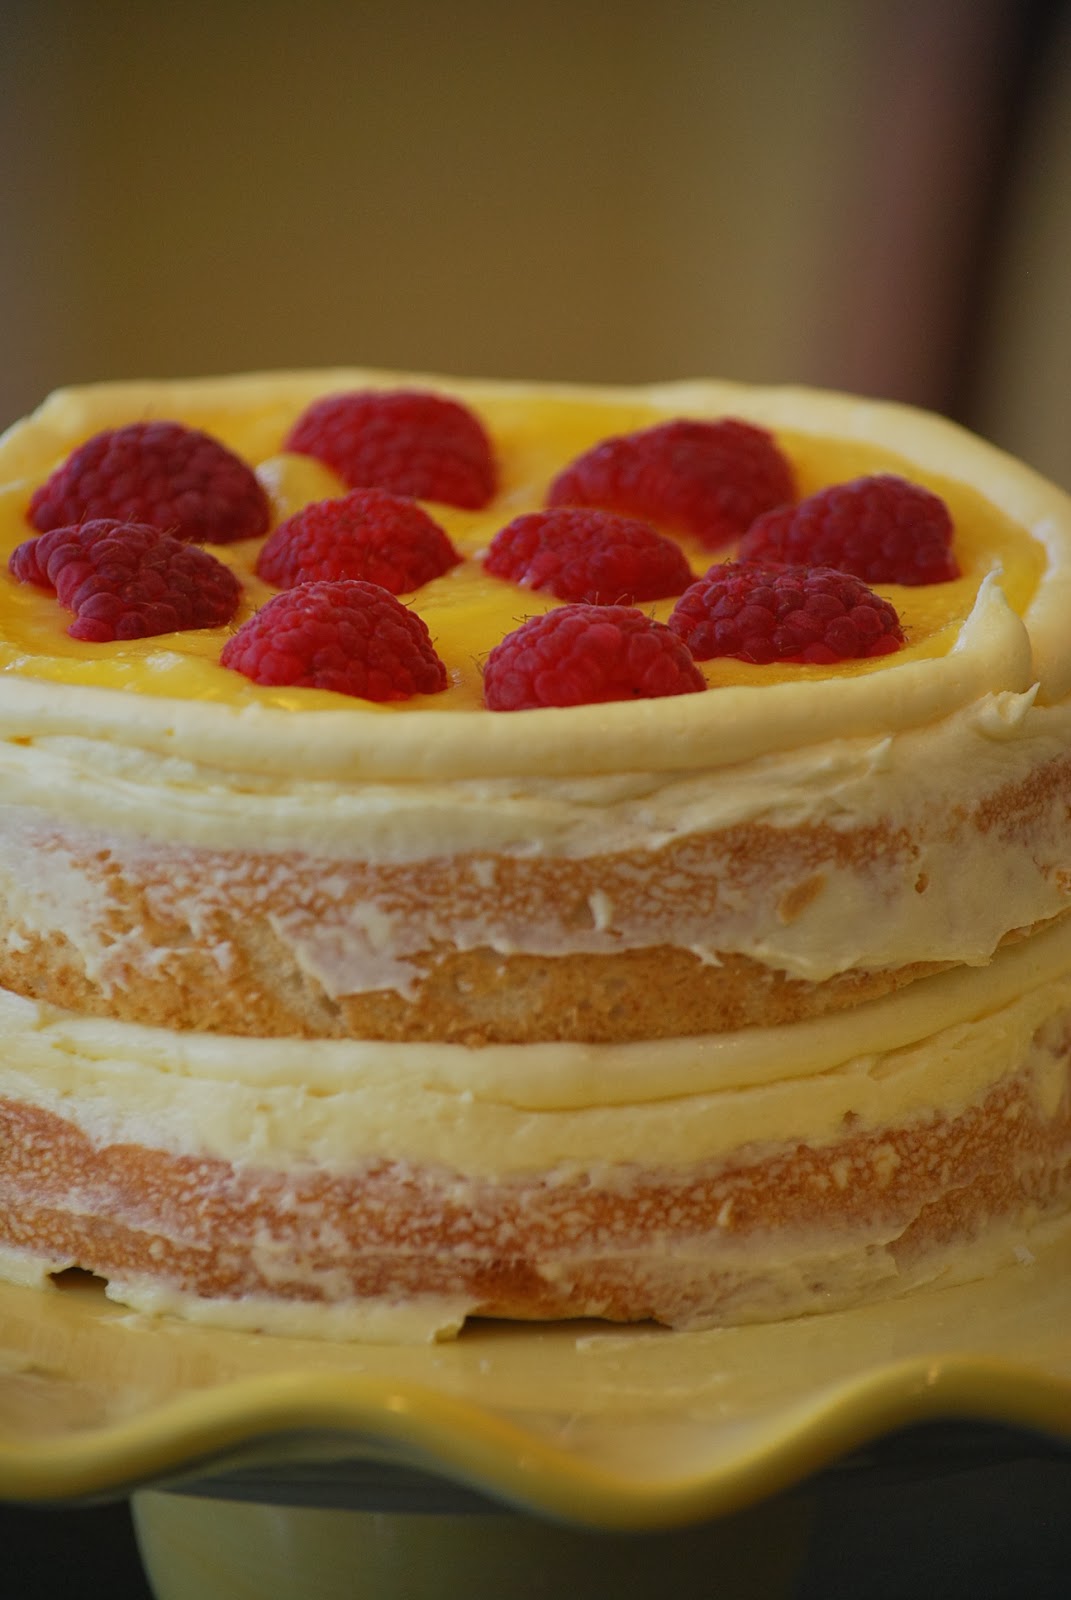
 Slice.
This is quite possibly the prettiest cake that I ever made so I took LOTS of pictures. 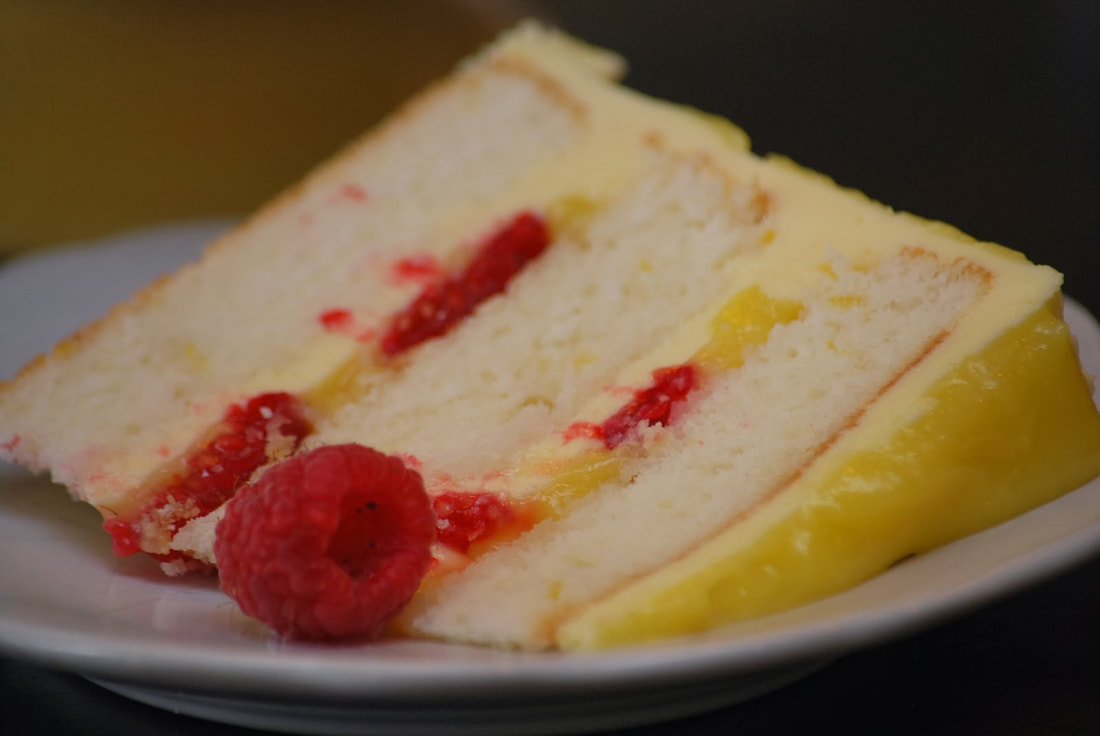 To my sweet friend - Happy (Belated) Birthday!
You are a wonderful friend. I Love You. Ciao! 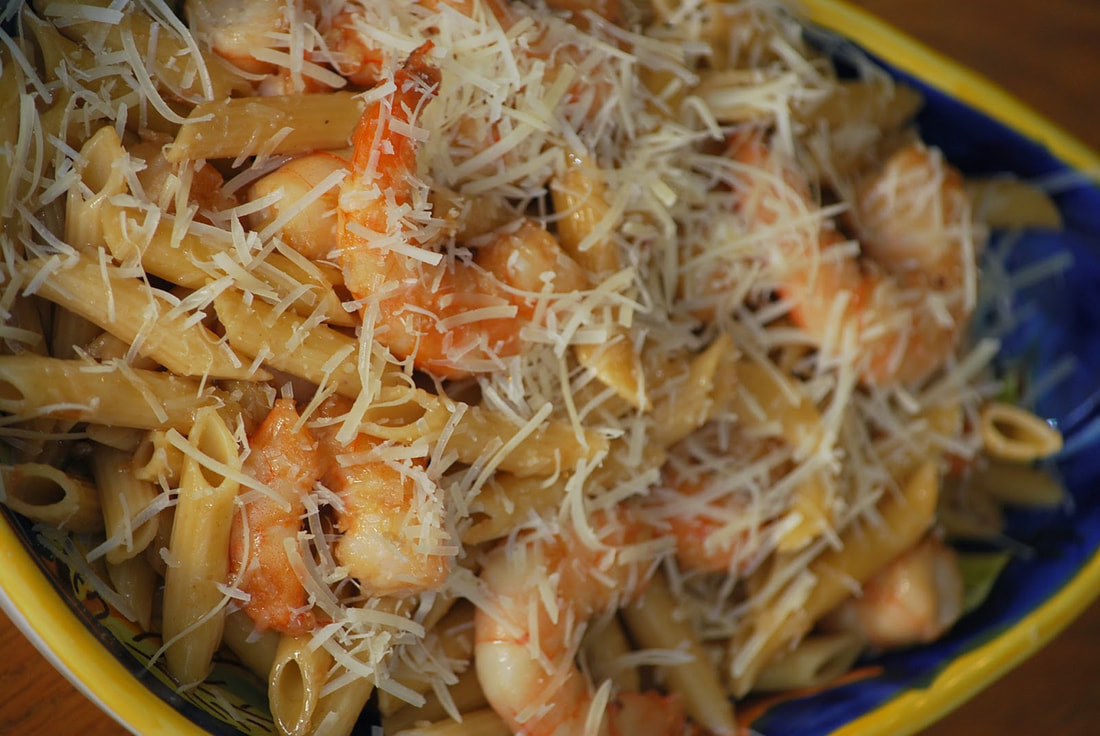 This weather is killing me! We've had a couple of days of nice warm 60 degree temperatures and I was in the mood for spring. Then the bottom seems to fall out again and it was back to 20 degree temperatures. Uuugg. I need Spring!!! For my own mental health, I decided to go out in search of the early signs of Spring. I had my camera in hand of course, so that I could document what I saw for all of you. (I needed proof that this cold weather is going to be replaced by nice warm 70 degree temperatures soon.)
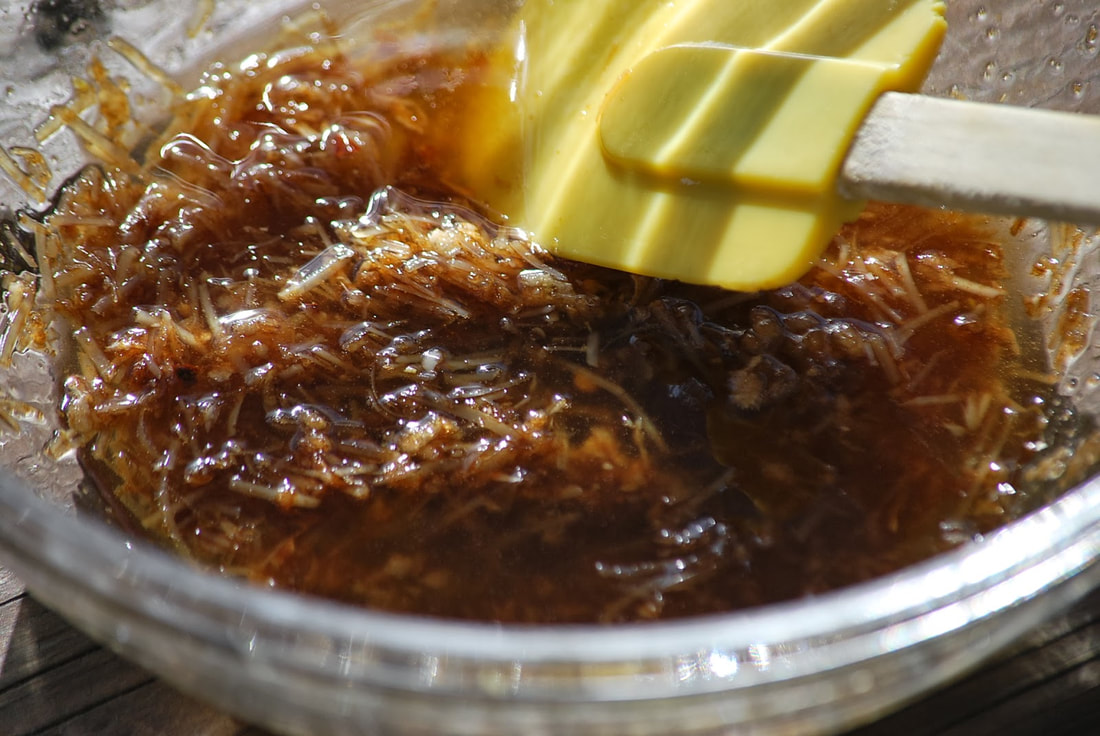
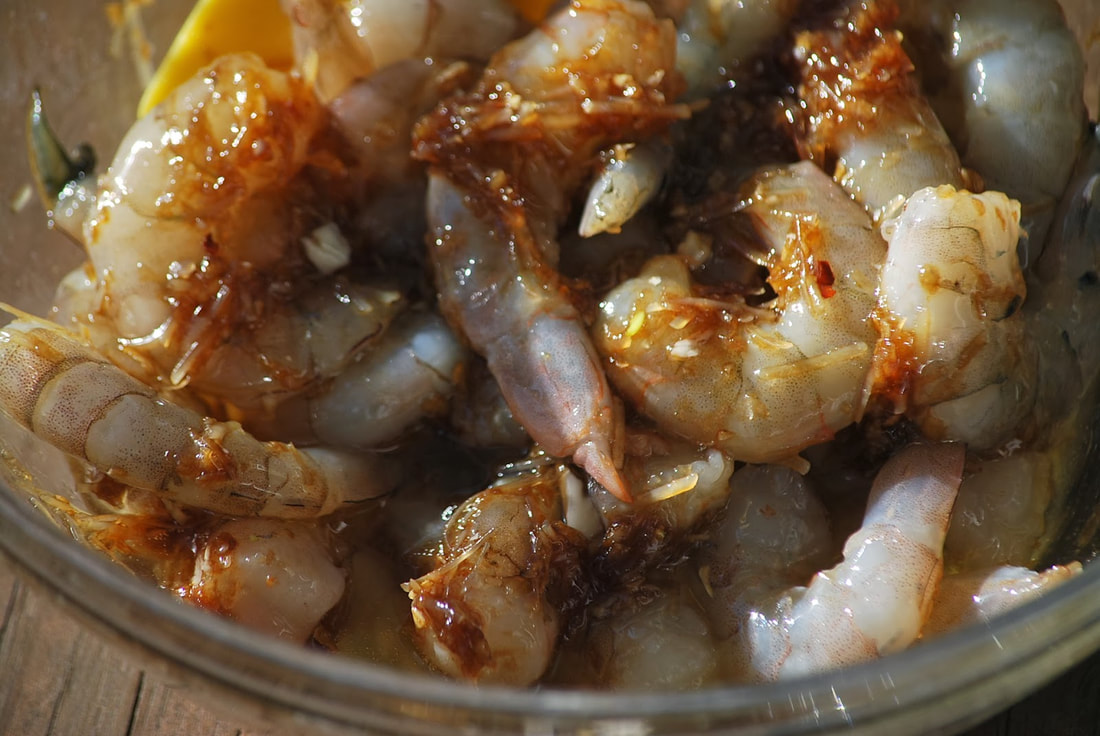
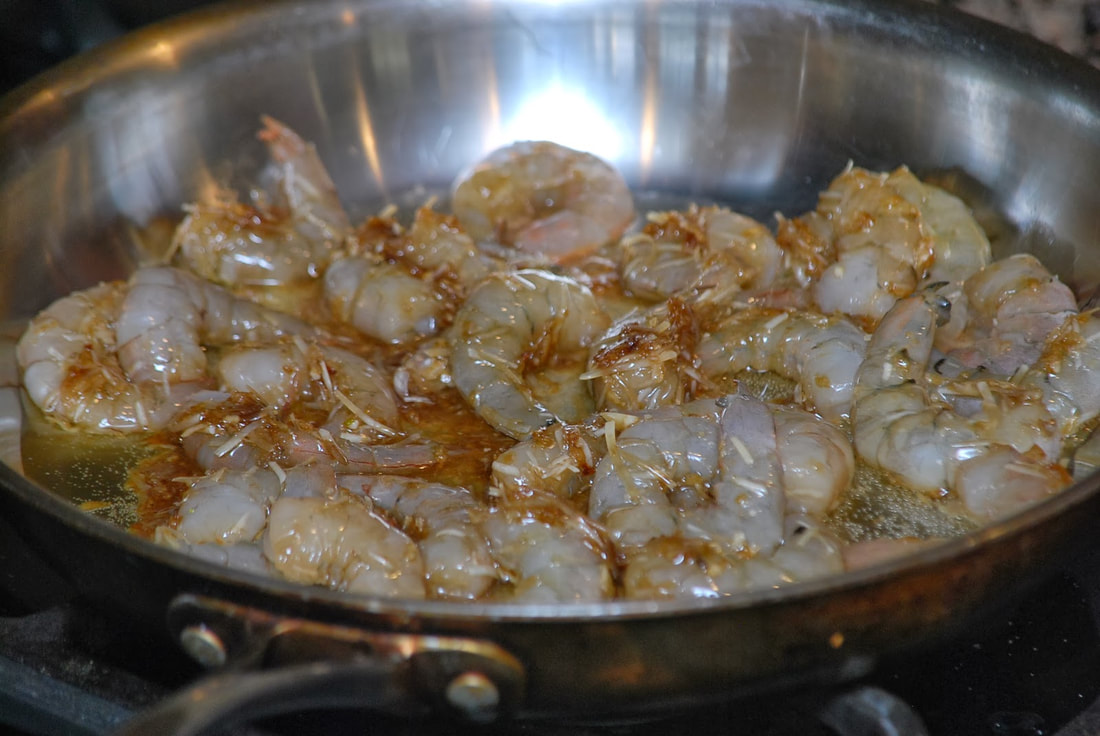
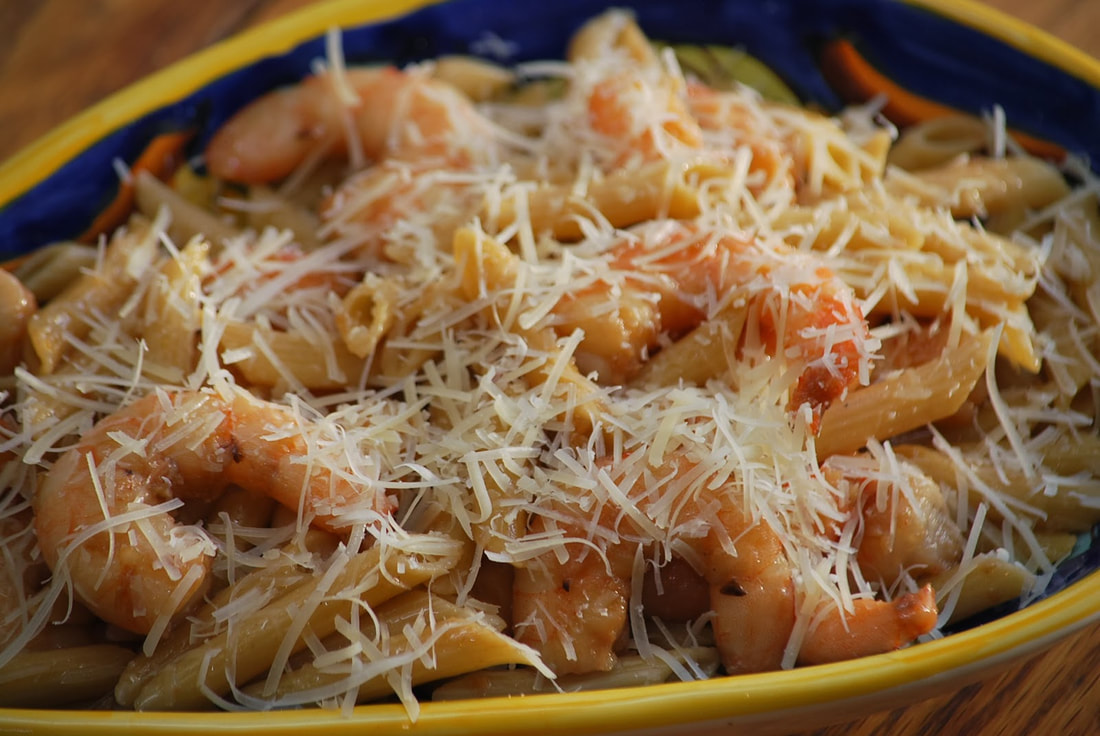
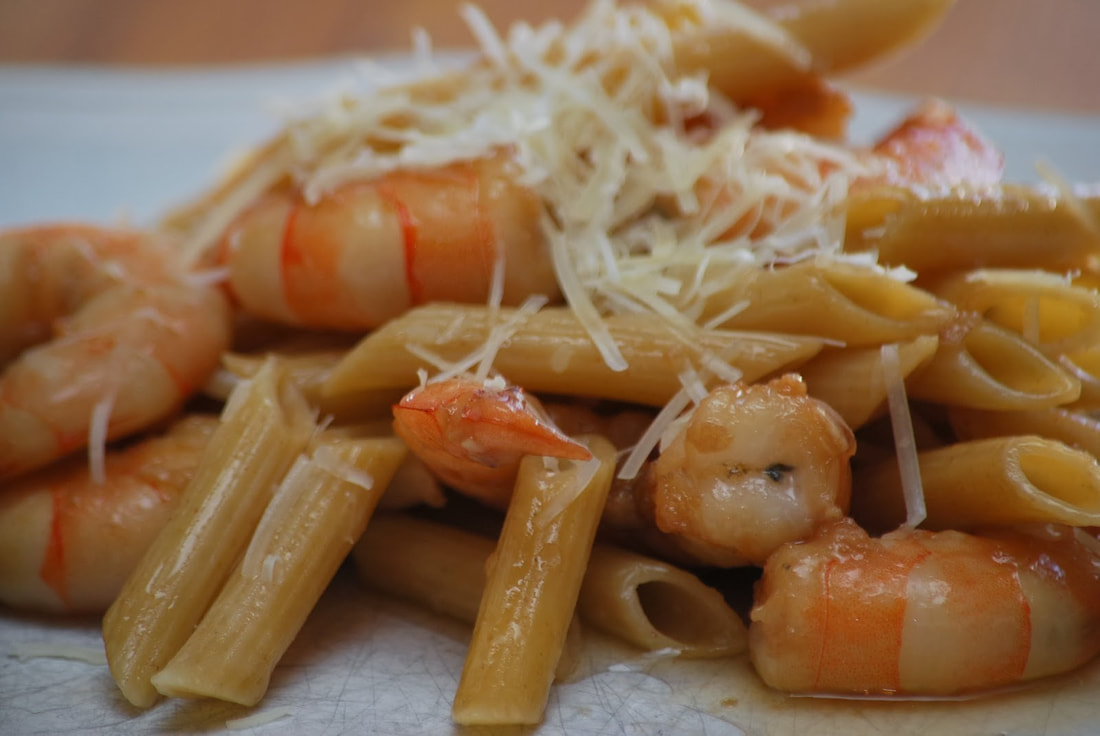
Another sign that Spring is close is the start of soccer season. Courtney still insists that we "carbo load" the night before game day but I just can't fathom preparing spaghetti and meatballs, twice a week. I decided to change things up a little bit last week and make a spicy parmesan shrimp pasta from damndelicious.com. 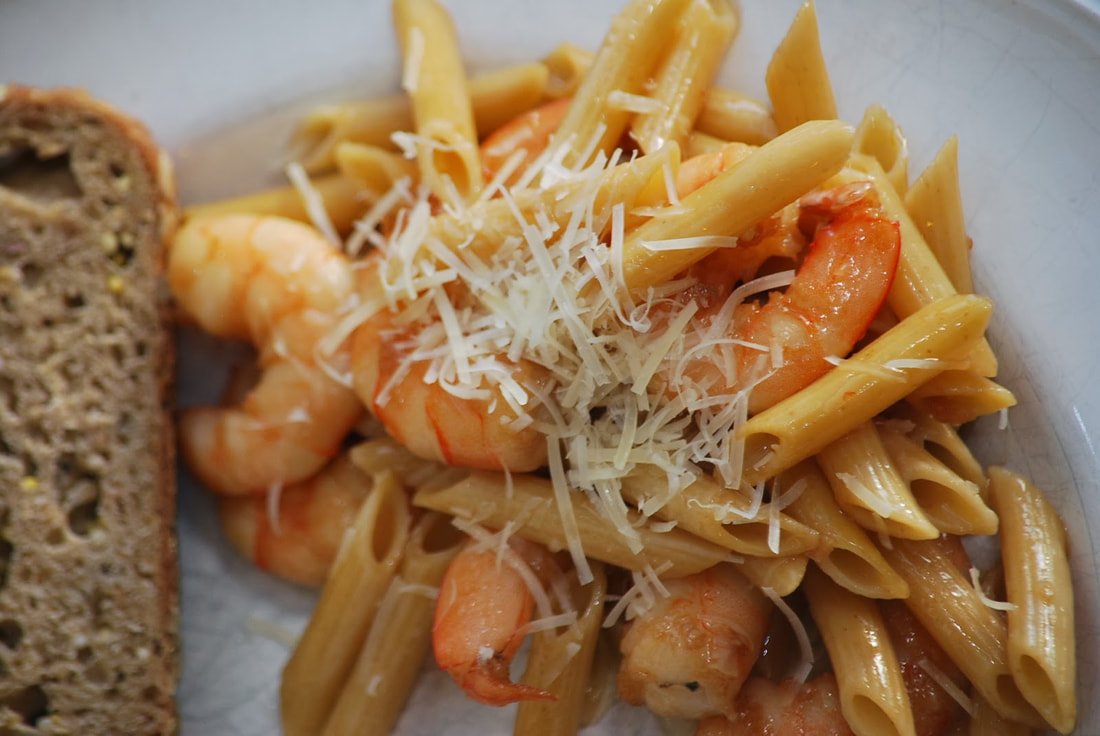 Spicy Parmesan Shrimp Pasta 2 Tablespoons olive oil 1/4 cup Parmesan cheese 4 cloves garlic, minced 1 tablespoon brown sugar 2 teaspoons soy sauce 1/2 teaspoon red pepper flakes, or more, to taste 1 pound medium shrimp, peeled and deveined 8 ounces penne Kosher salt and freshly ground black pepper, to taste
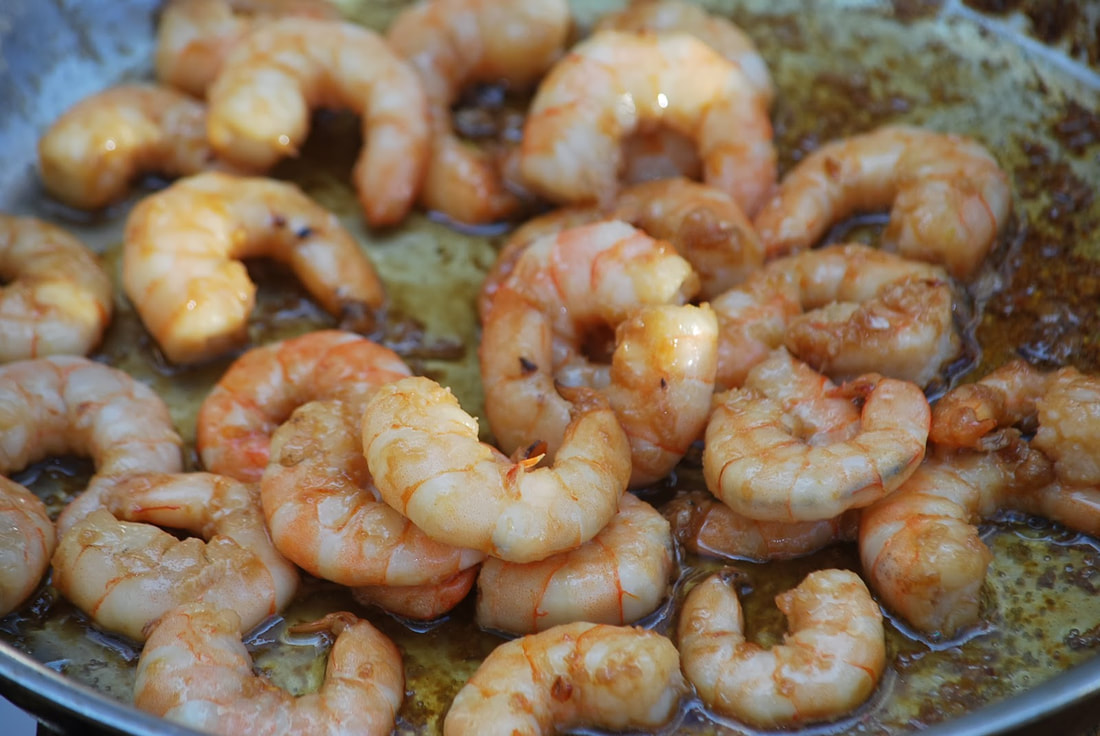
Heat a large skillet over medium high heat. Add shrimp and sauce mixture and cook, stirring occasionally, until pink, about 2 minutes.
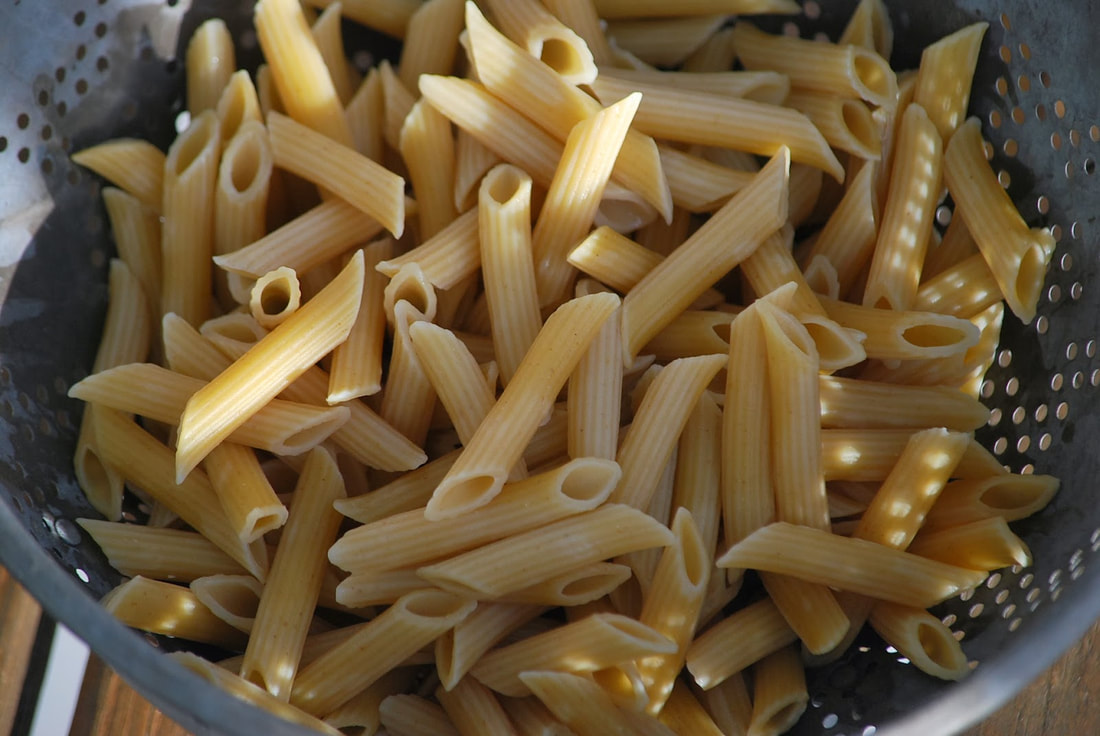
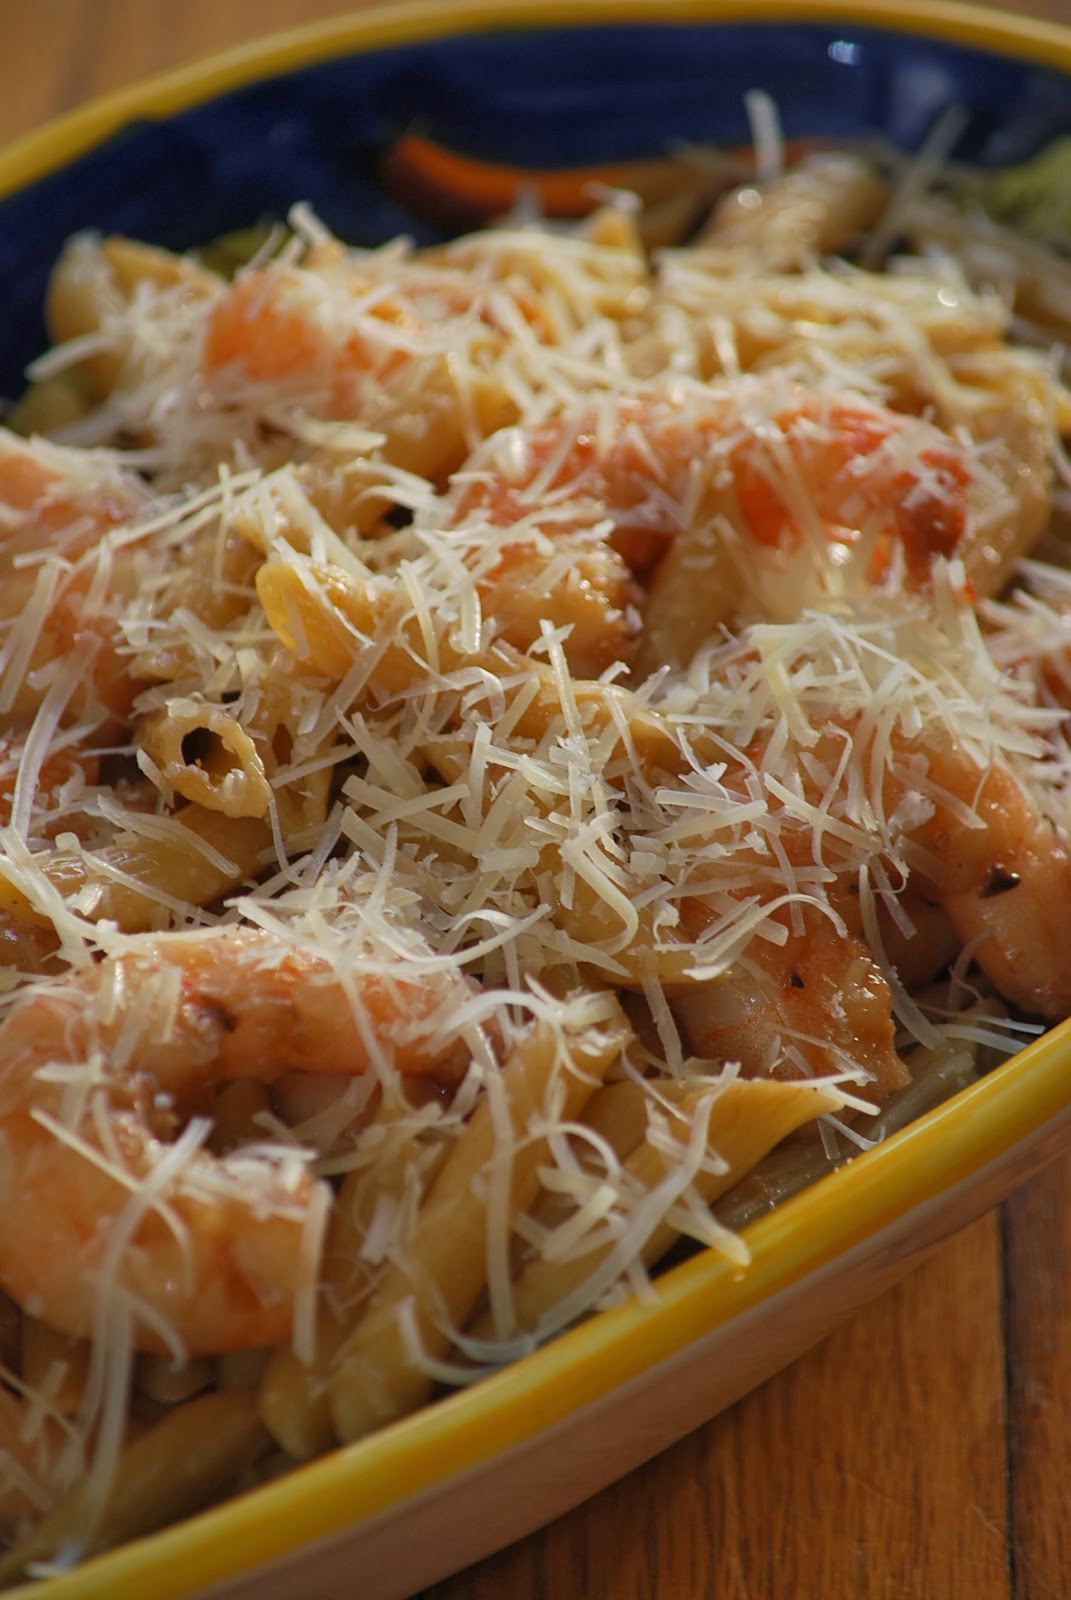
Stir in pasta and gently toss to combine; season with salt and pepper, to taste. 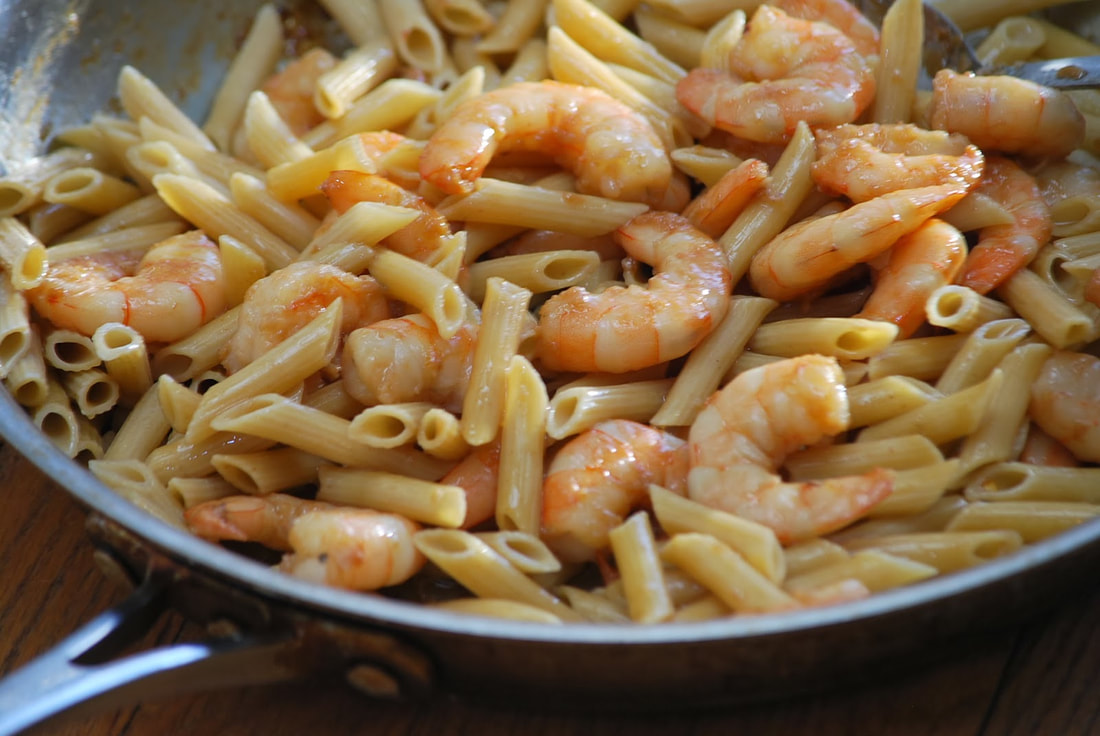
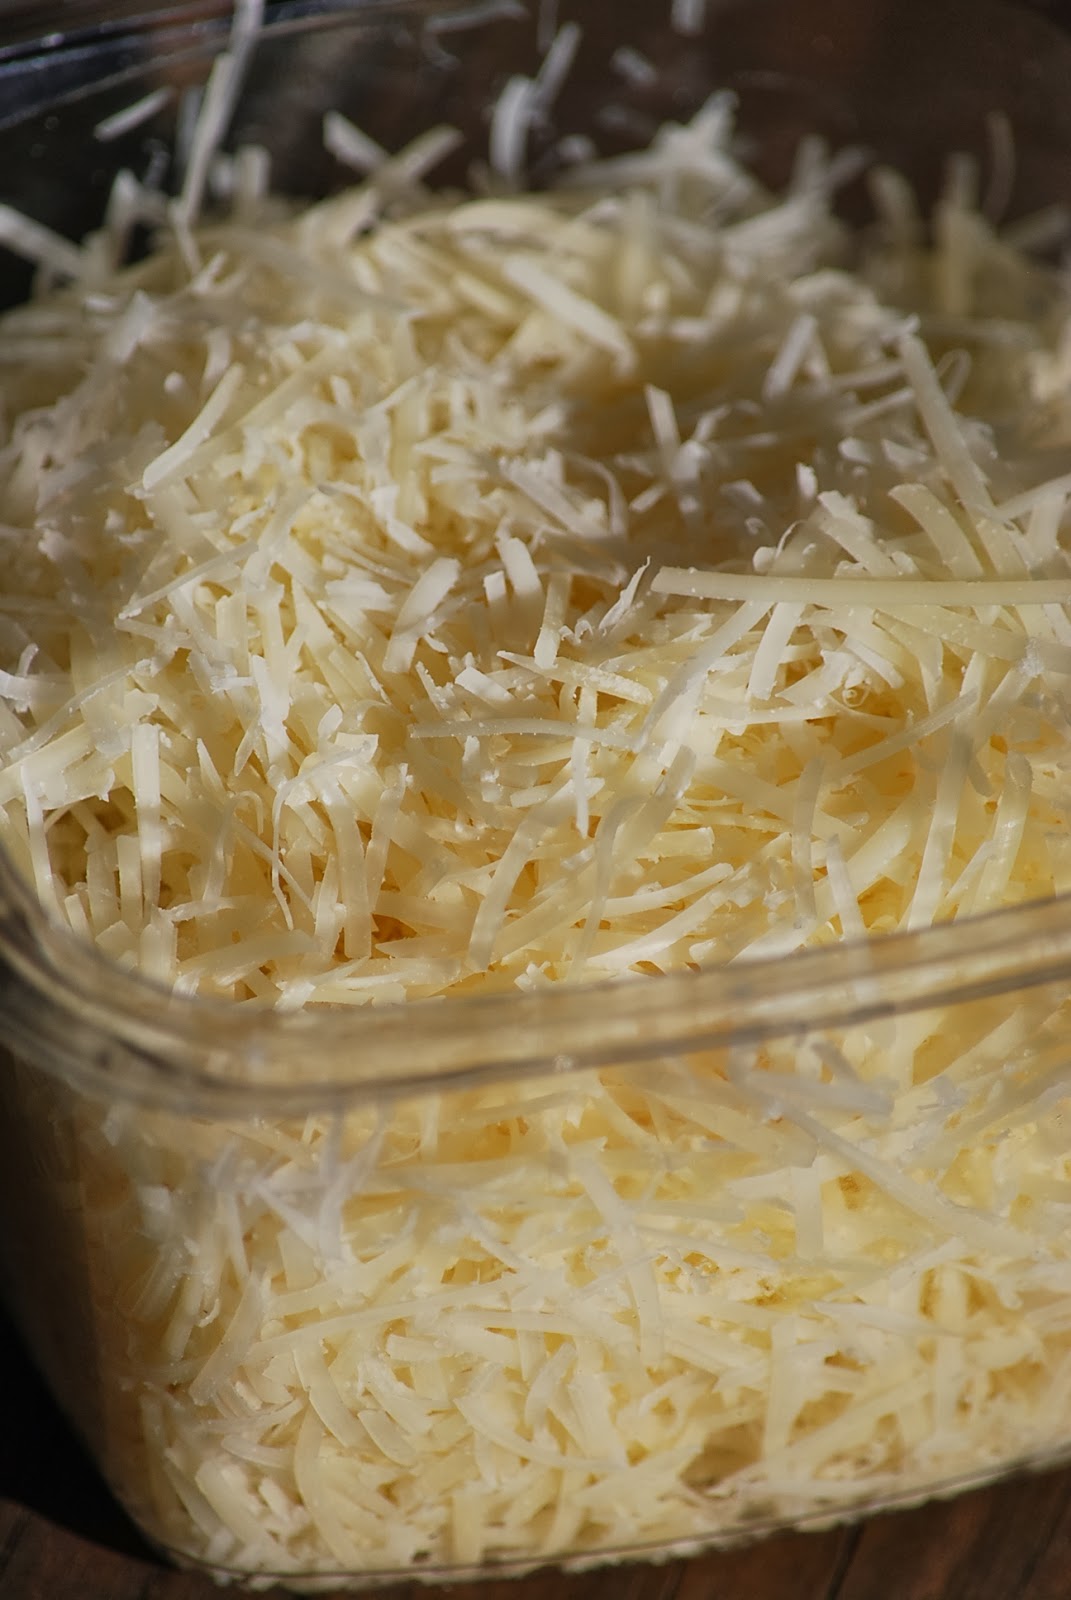
I had 2 major complaints with this recipe. The first is that it was way too oily. It really needed a couple Tablespoons of oil and 1/3 cup was excessive. The second thing is the parmesan cheese is added to the marinade and then poured into a skillet along with the shrimp. Most of the cheese clumped in the bottom of the pan and some of it even burned.
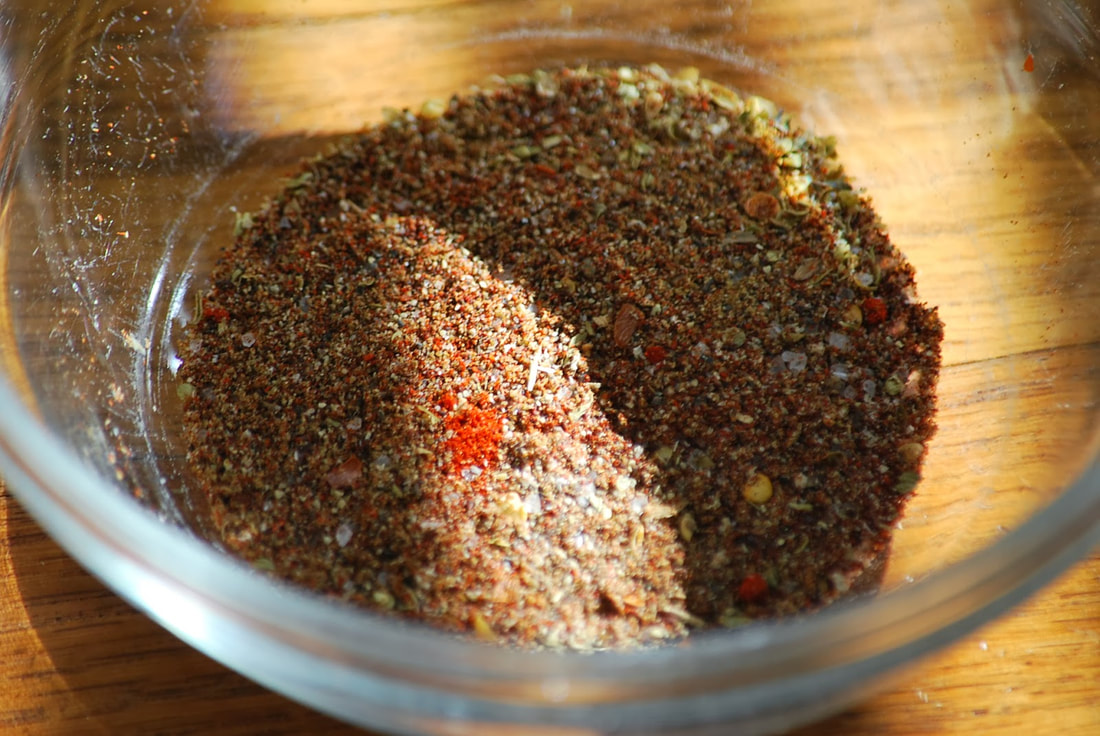
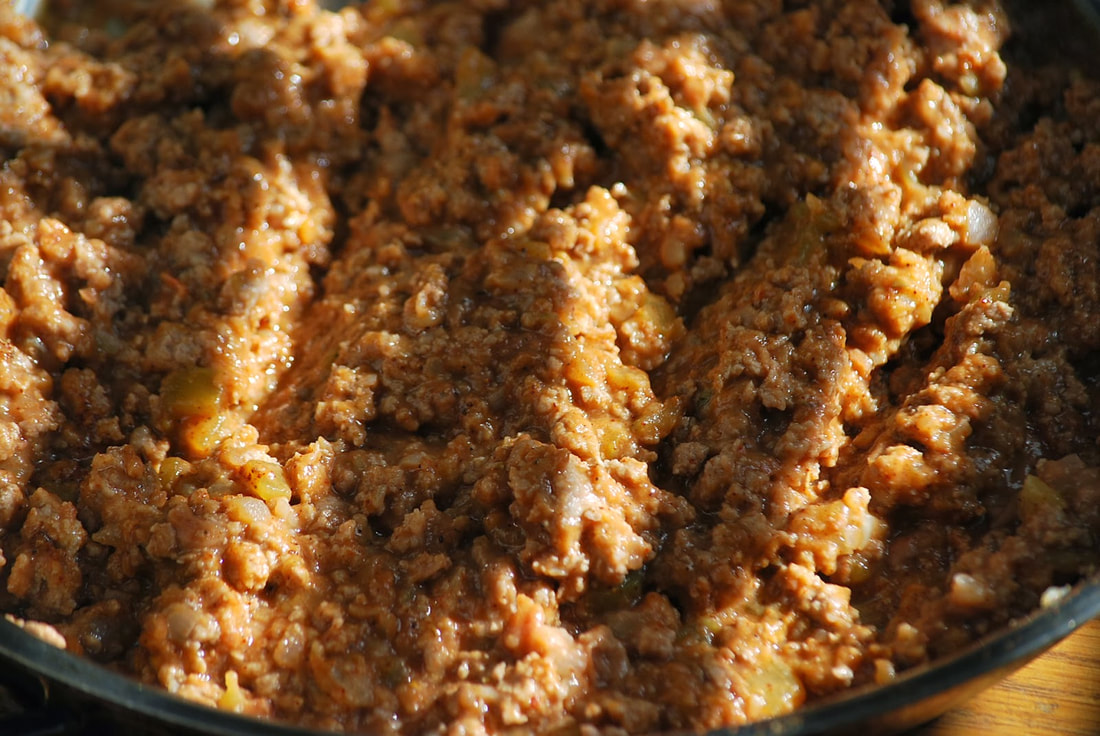
I would make this recipe again with a couple of changes: Reduce the oil to 2 Tablespoons and add the cheese at the very end. Ciao! 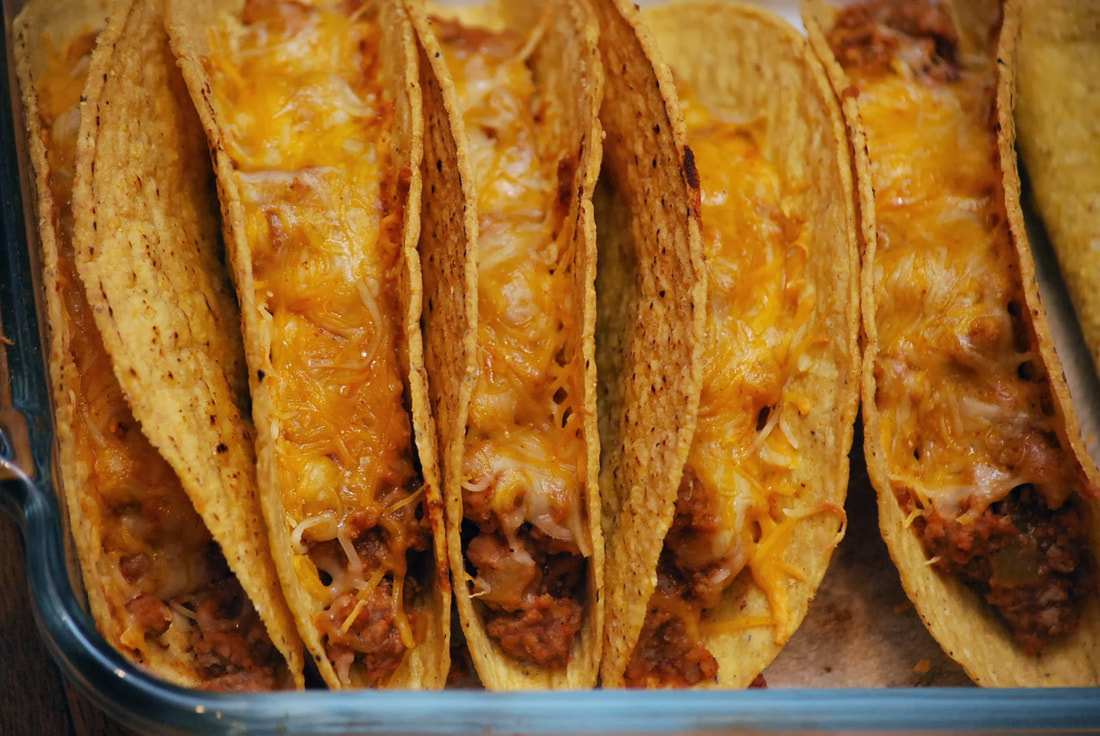 I am the shortcut queen when it comes to making dinner. I like to save time and energy just as much as the next gal but at the same time, I don't want to sacrifice taste or quality. My kids love tacos. Not the gourmet, sliced skirt steak with fresh pico de gallo kind of tacos - I'm talking about the hard shell, ground beef kind of tacos. I can't say that I share their admiration for this kind of tacos but every once in a while I make them, just because they love it. I shouldn't really complain about their taco love because it's a super simple dinner. I buy a box of taco shells, a pound of ground beef (sometimes I secretly swap it out for turkey) and a packet of taco seasoning. What could be simpler? A few years ago, while I was frying up my ground beef I happened to turn my seasoning packet over and read the list of ingredients. I was shocked! First of all, it was LOADED with sodium and even worse than that is that it had MONO-SODIUM GLUTAMATE! MSG, really? They can still sell that stuff? I thought maybe it was my brand of seasoning so I went back to the grocery store in search of an MSG-free taco seasoning packet. I couldn't find one! This was alarming.
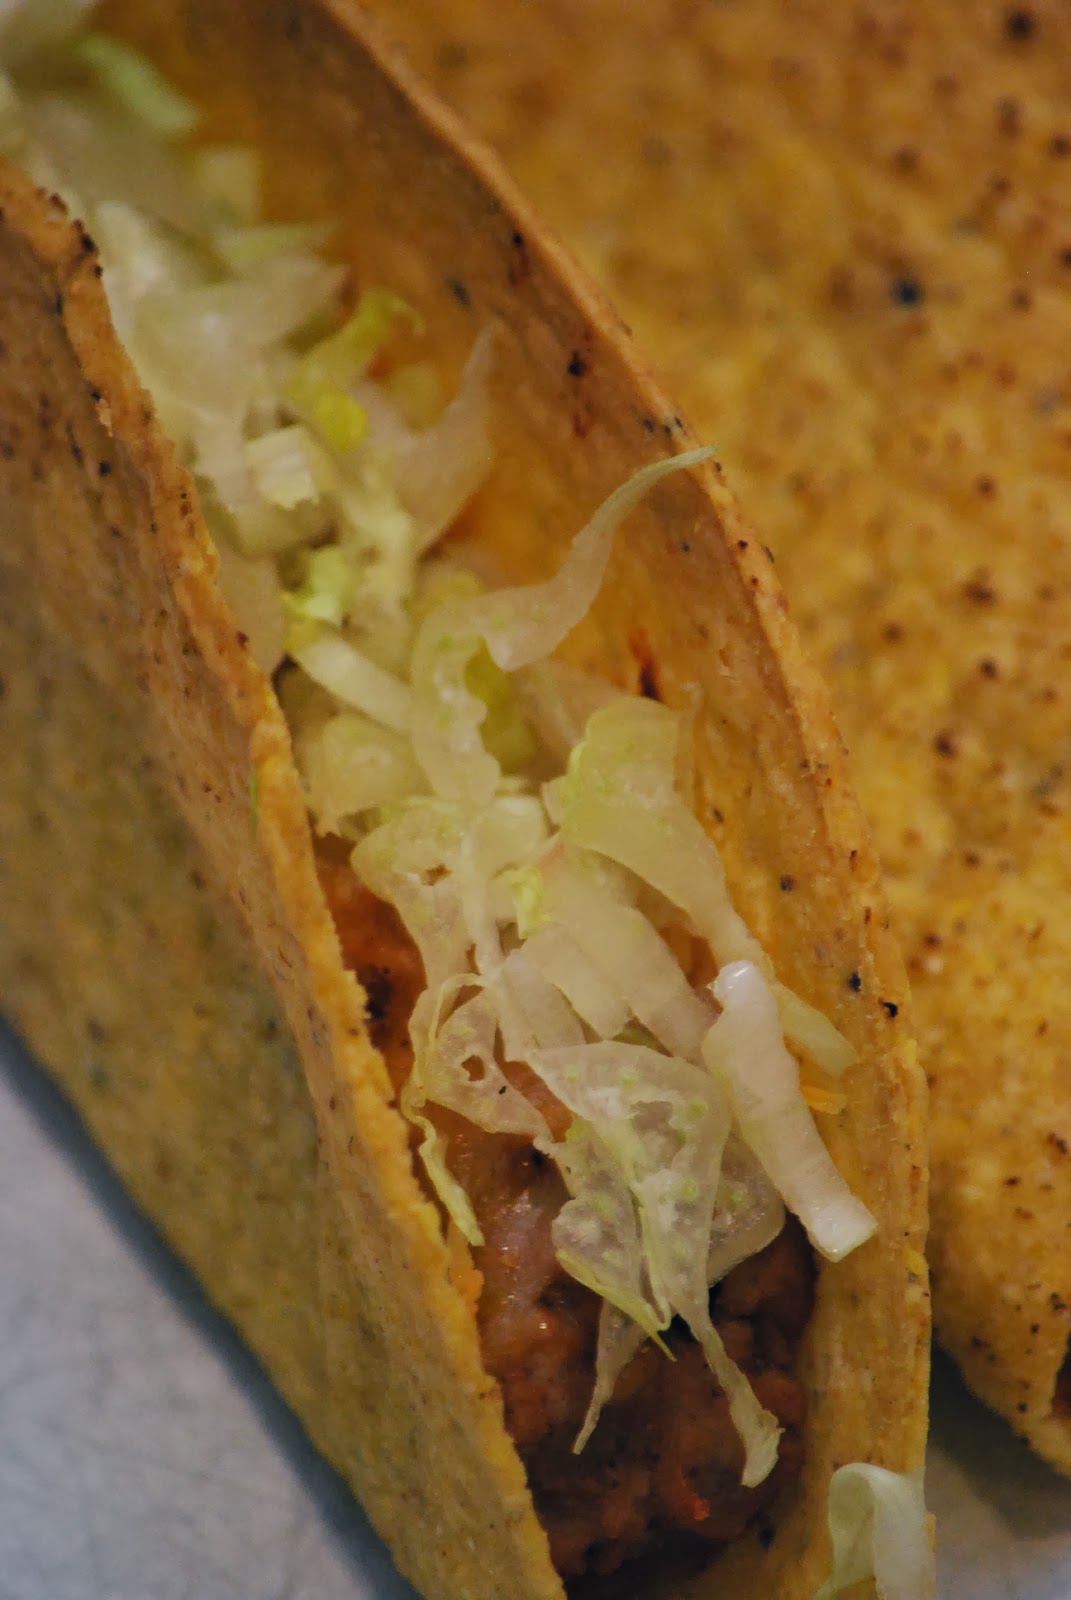
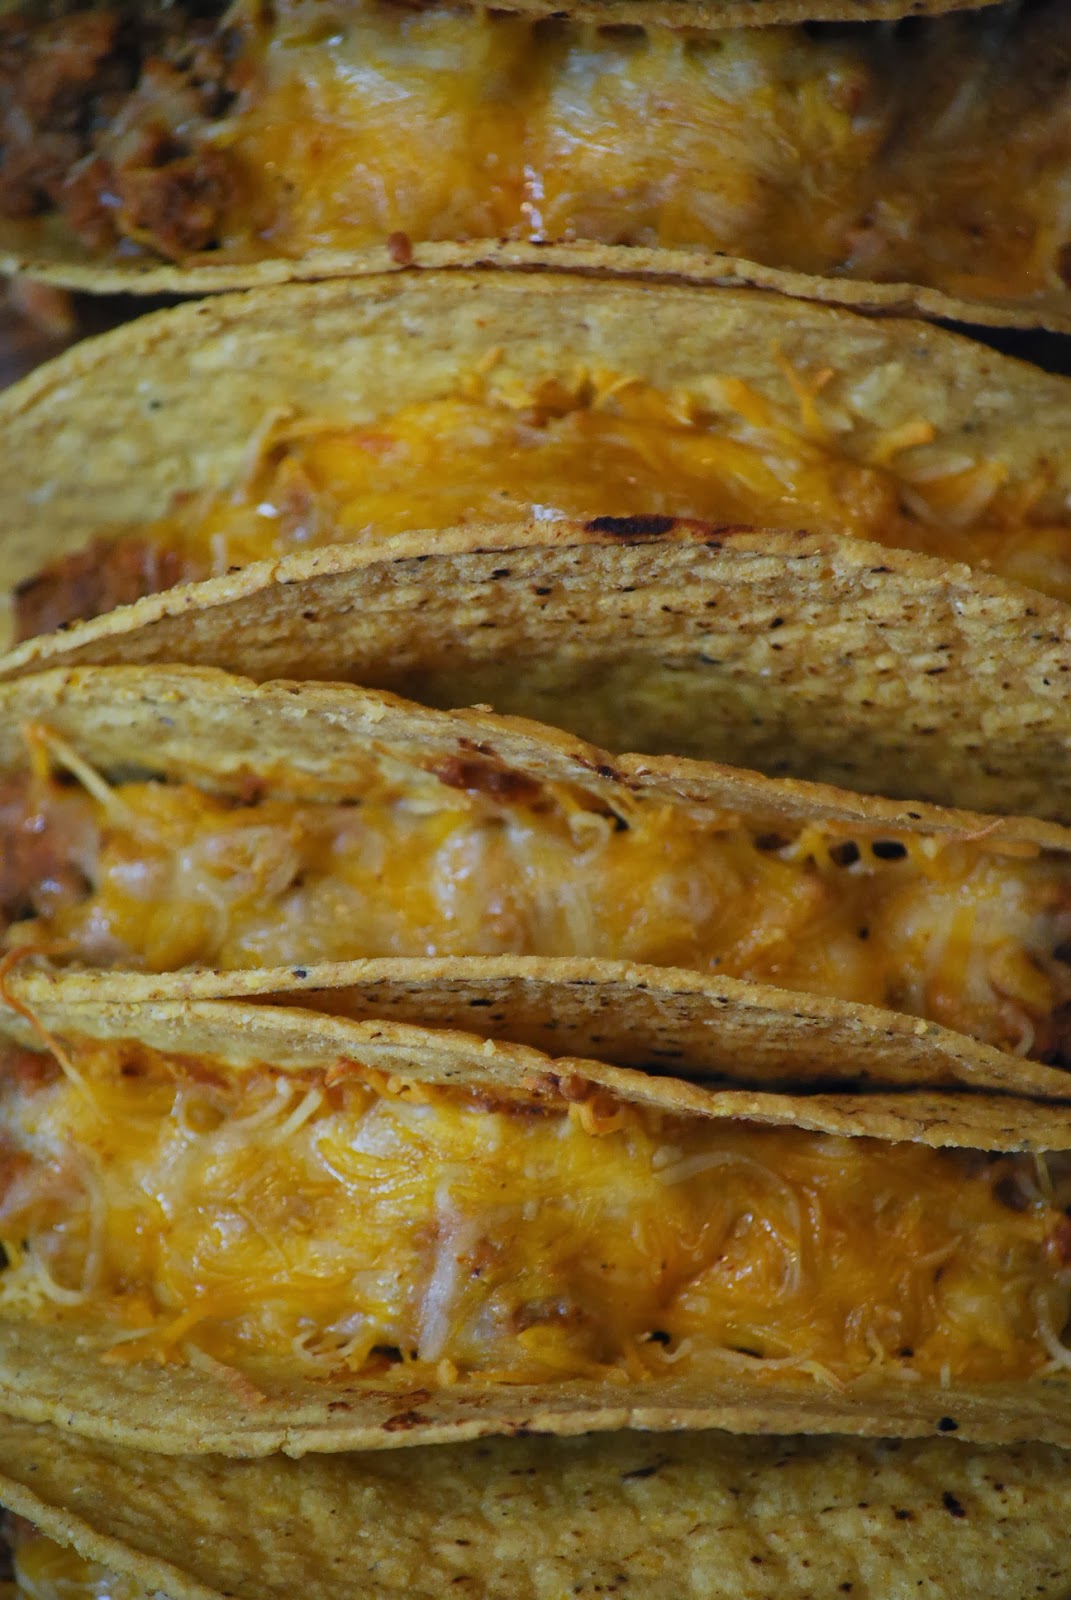
Hard Shell Oven Tacos 2 lbs ground turkey 1 small onion diced 1 small can diced green chilies 1 recipe for Homemade taco seasoning (below) 1 (8 ounce) can low sodium tomato sauce 1 (16 ounce) can fat free refried beans 2 cups shredded reduced fat Colby-jack cheese 18-20 hard taco shells Taco Seasoning 1 tablespoon chili powder 1/4 teaspoon garlic powder 1/4 teaspoon onion powder 1/4 teaspoon crushed red pepper flakes 1/4 teaspoon dried oregano 1/2 teaspoon paprika 1 1/2 teaspoons ground cumin 1 teaspoon sea salt 1 teaspoon black pepper
We like pretty simple toppings on our tacos. (lettuce, salsa and on rare occasions - black olives.) 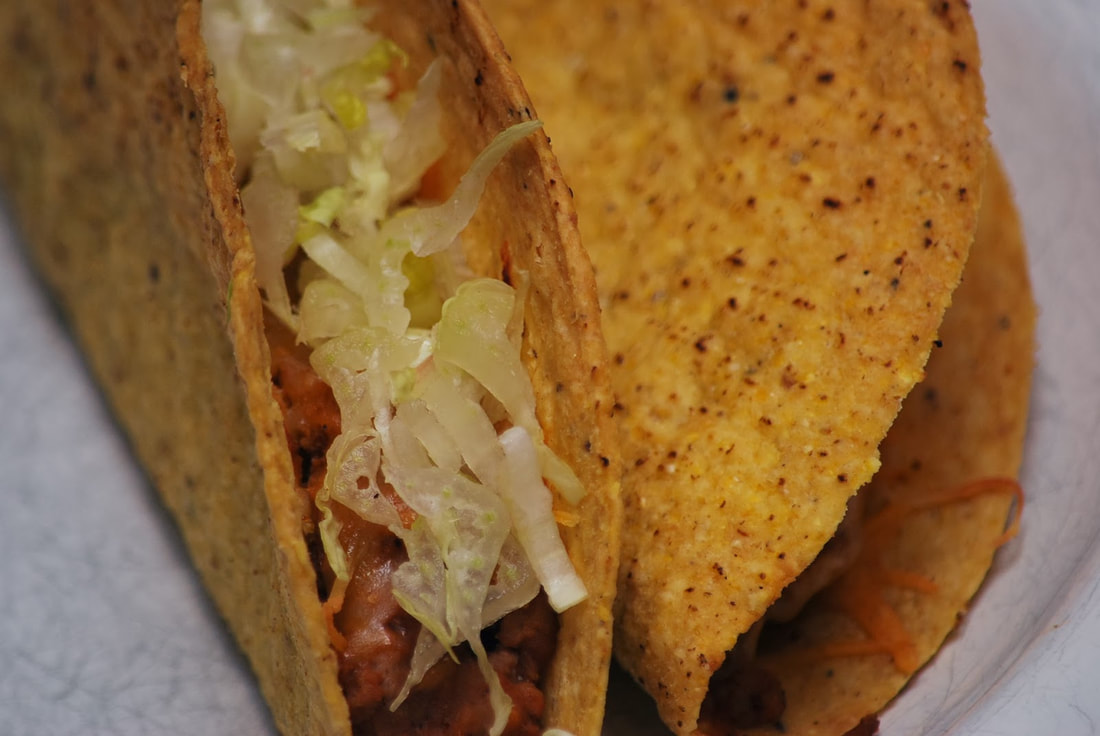 Courtney said that these tacos tasted just like the mini tacos that we get from trader joes. (I'm 99% sure that she meant that as a compliment.) Anyway, I thought they were super tasty.
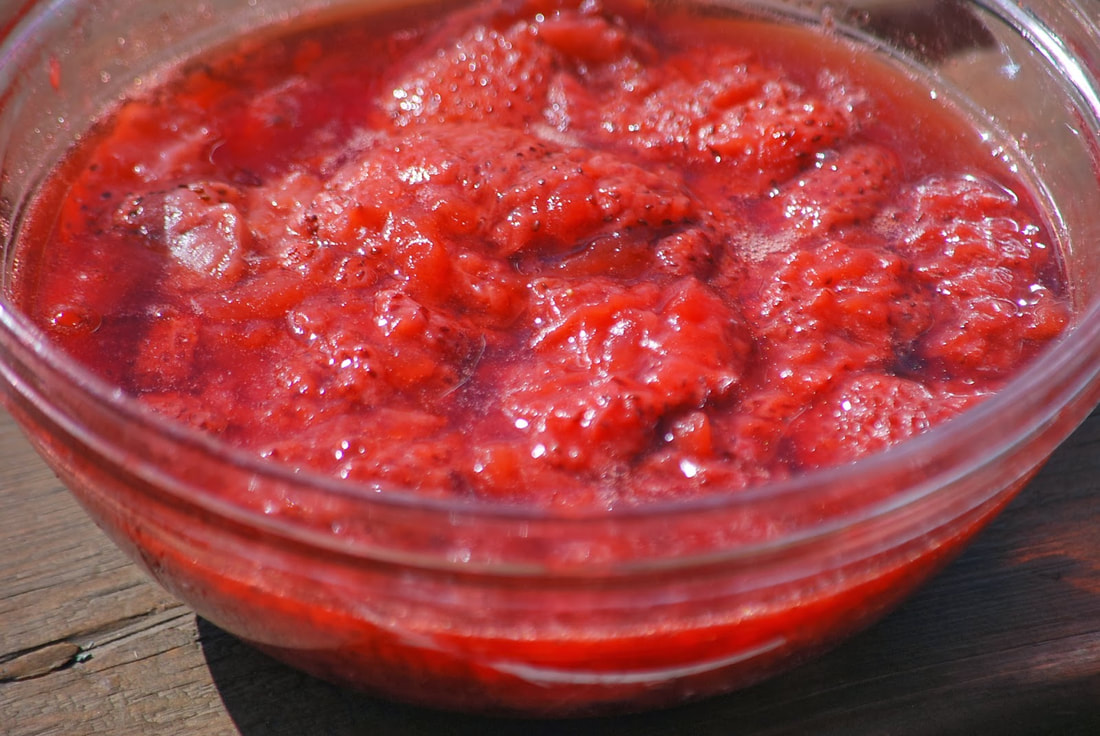
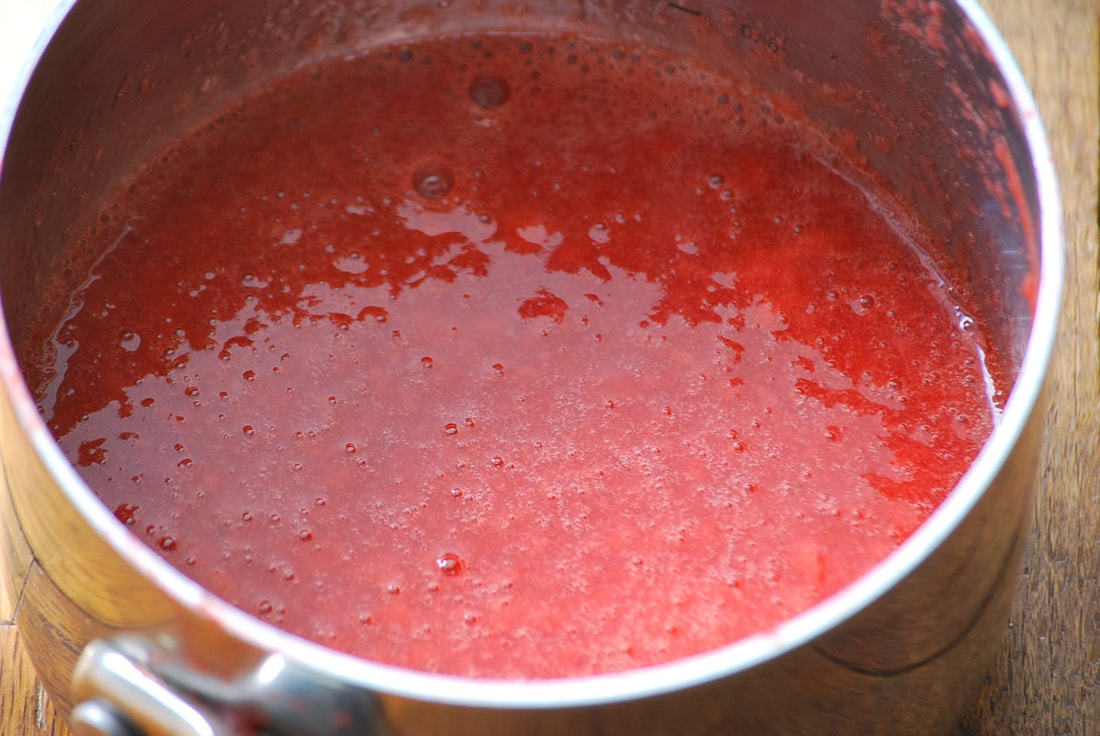
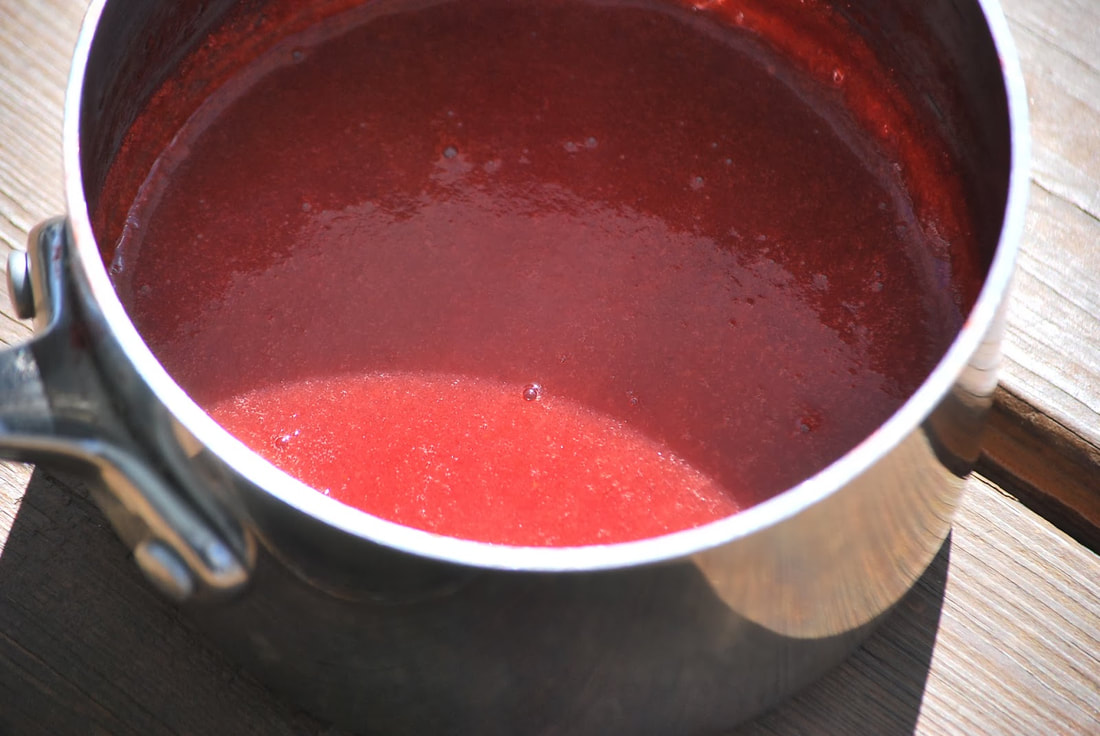
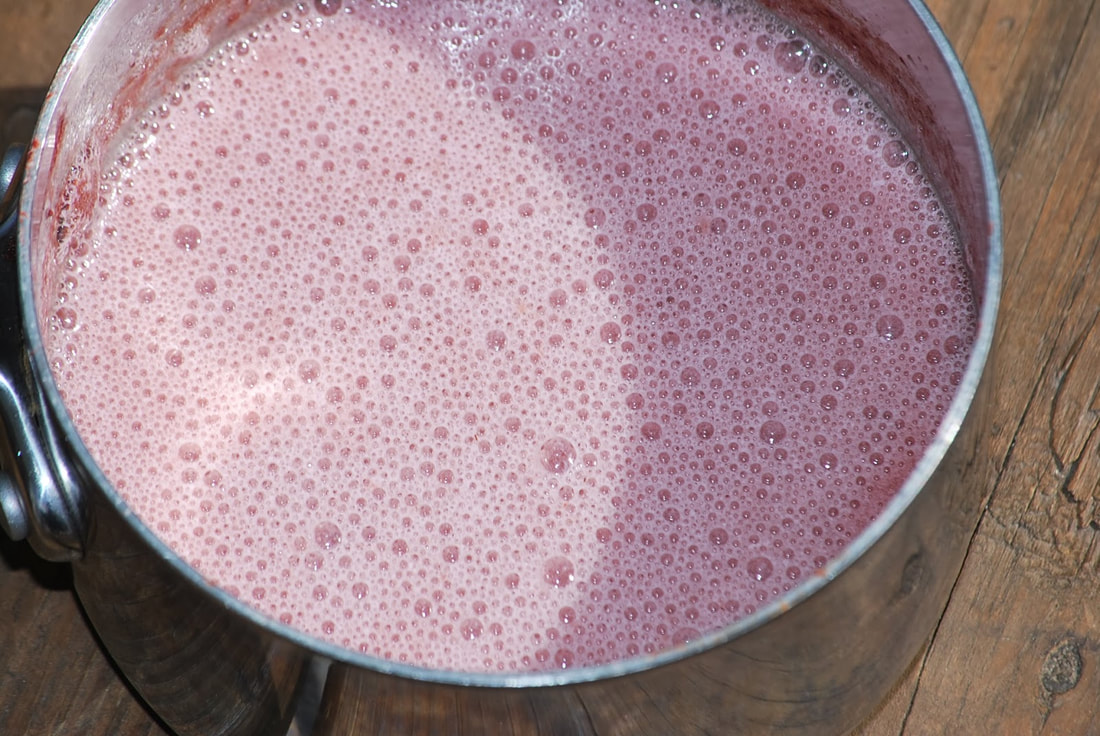
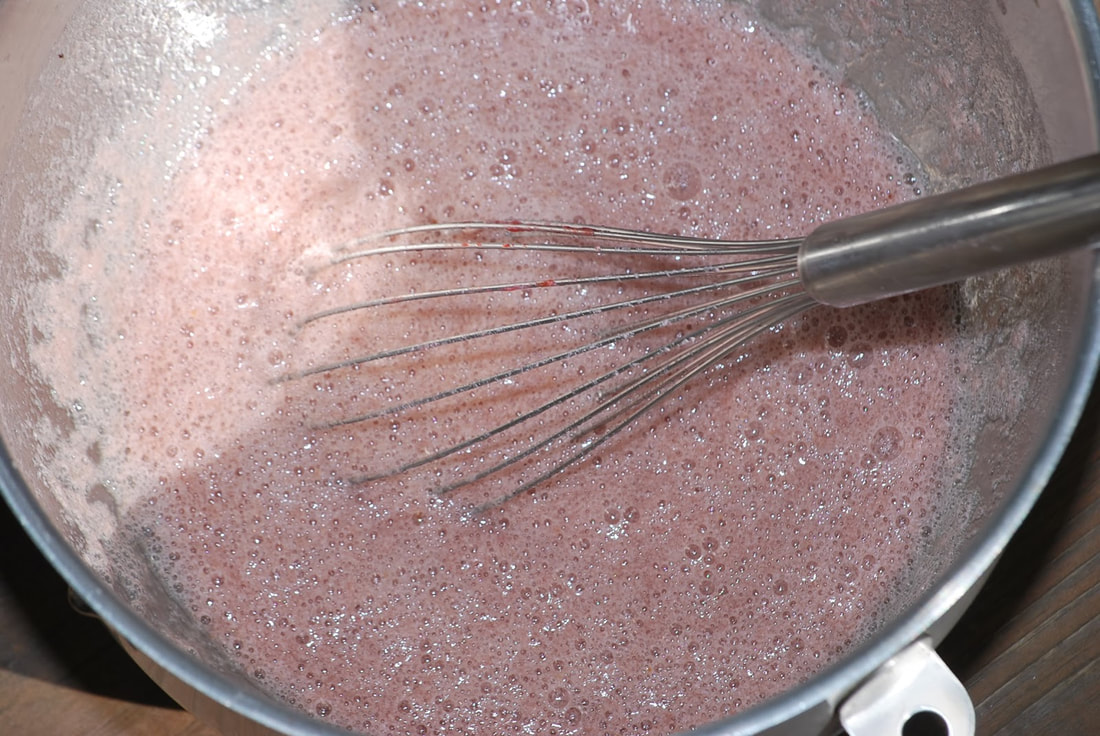
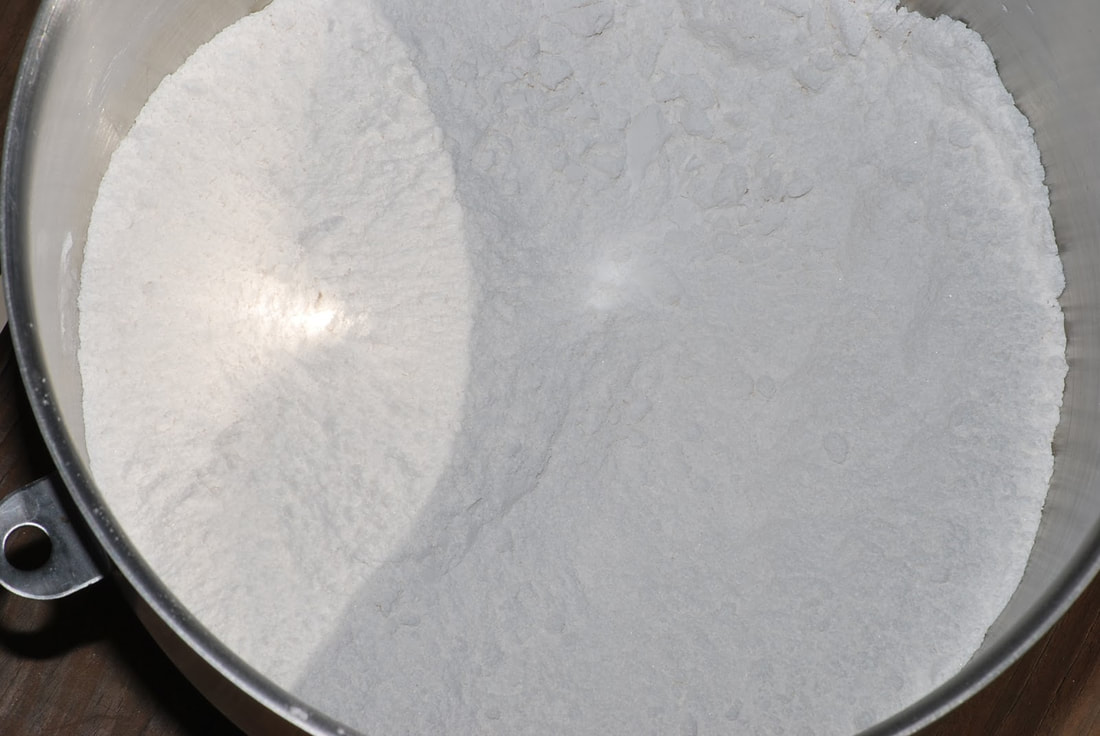
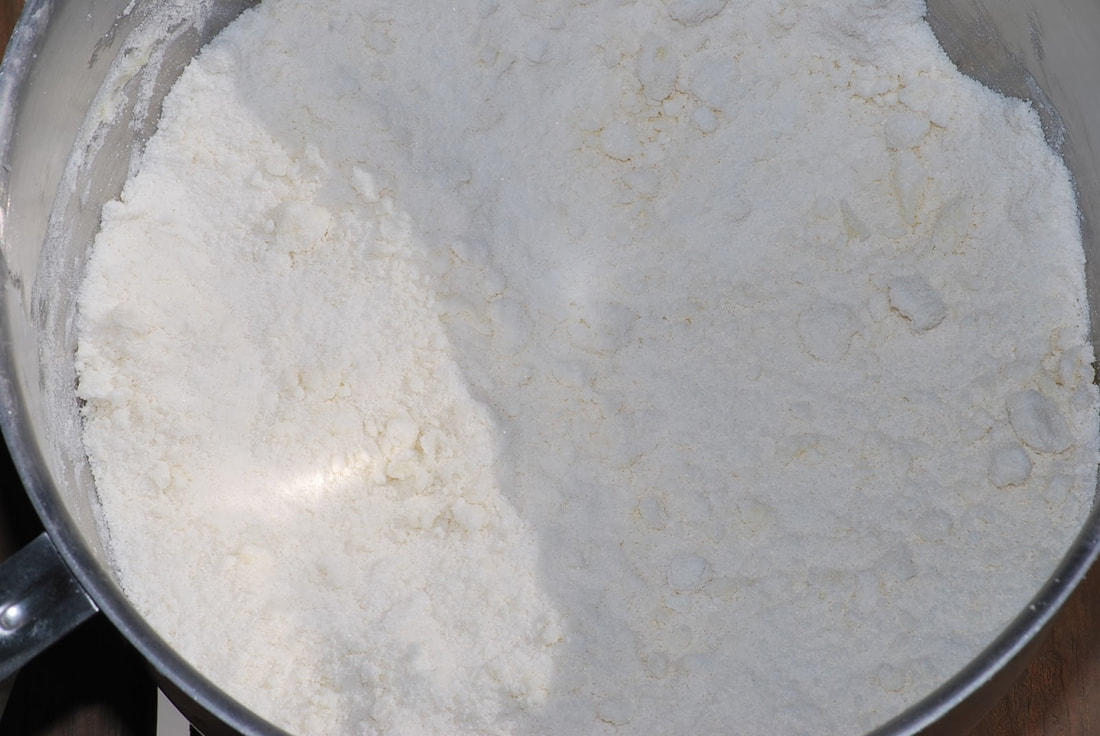
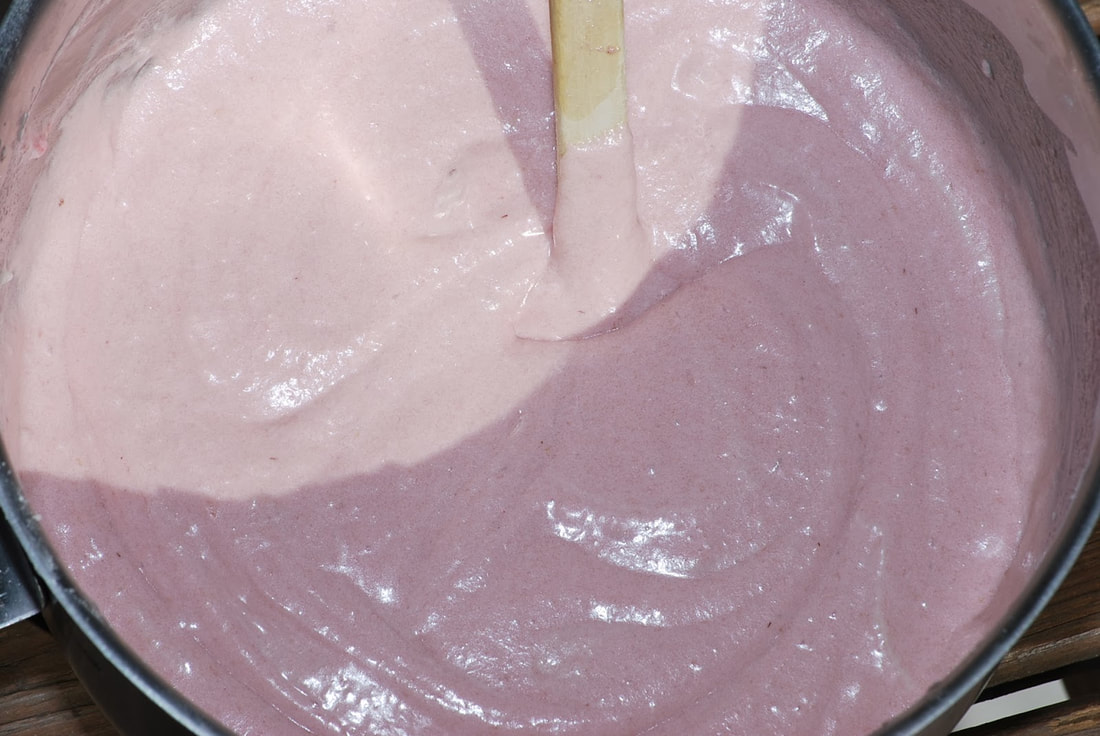
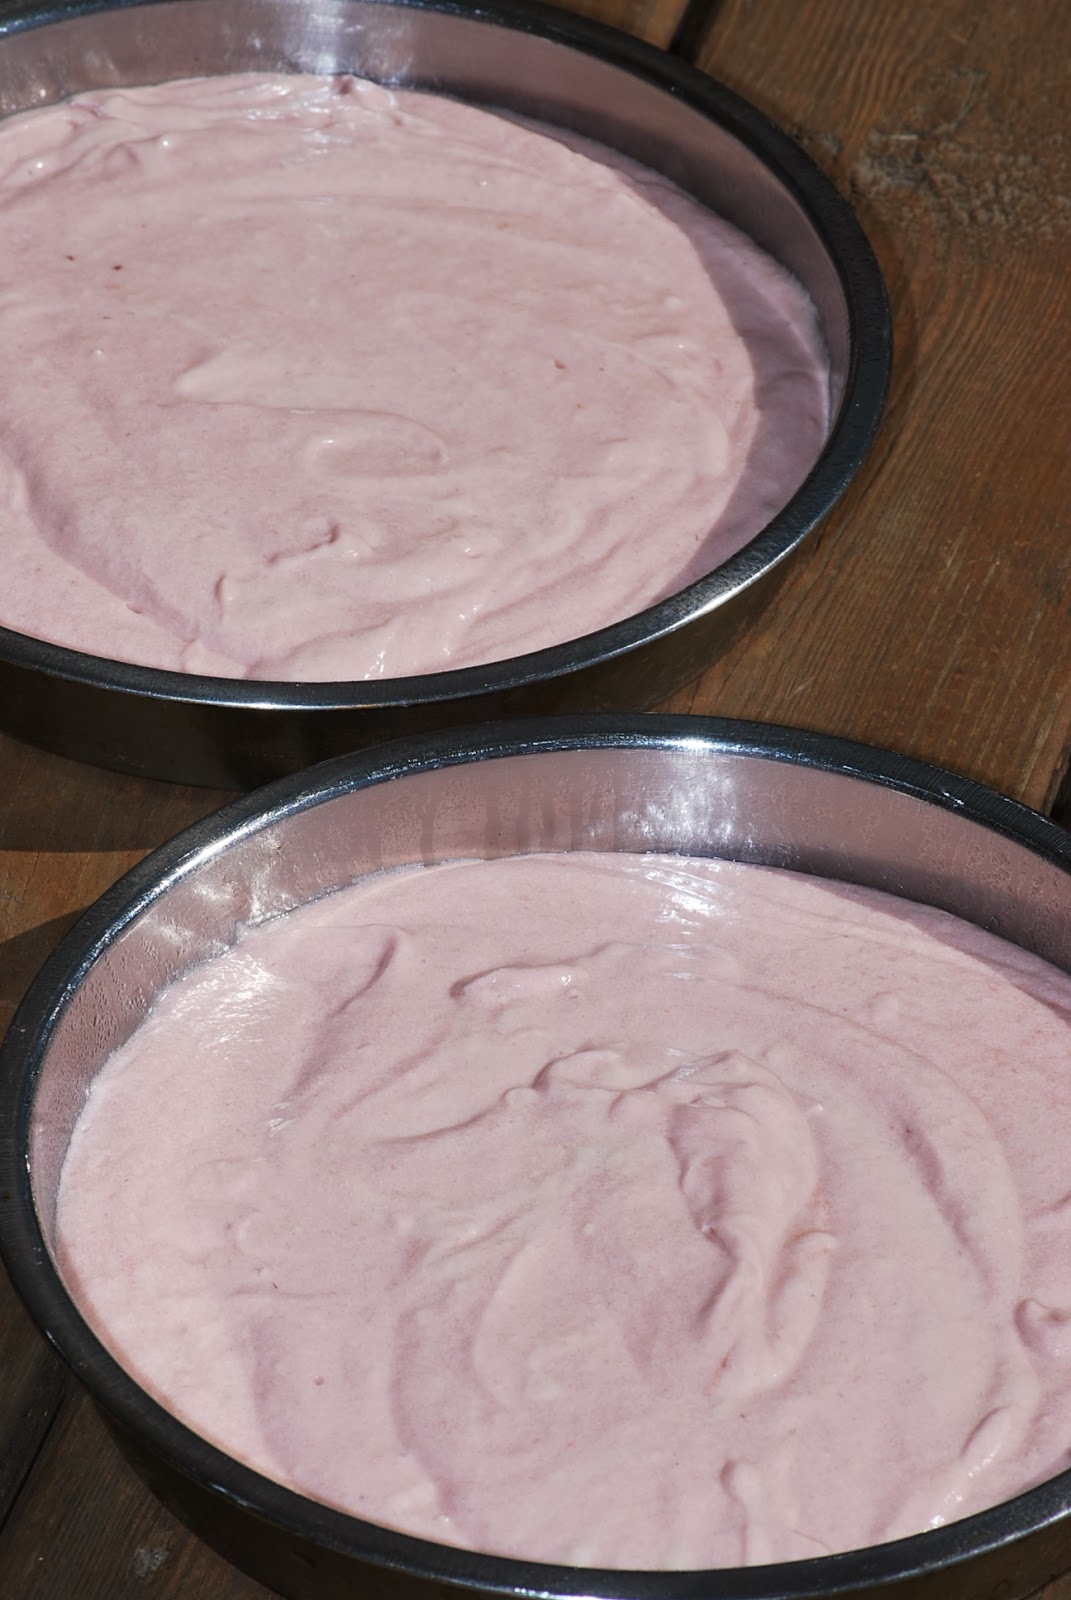
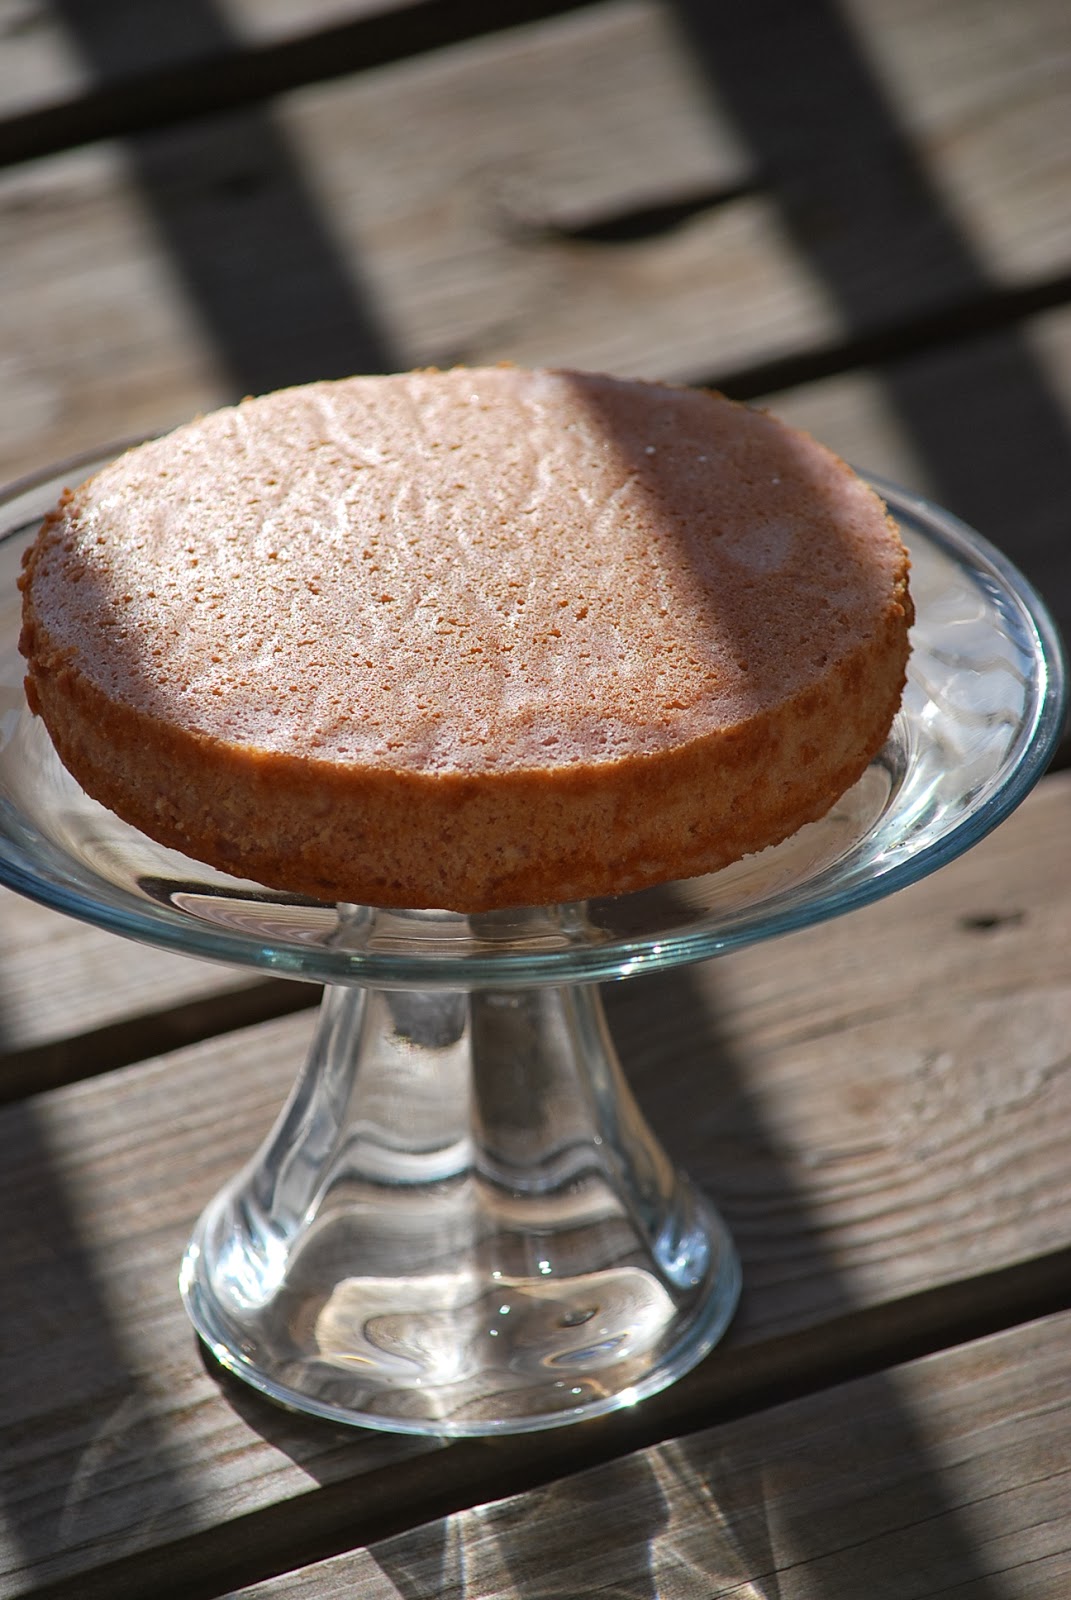
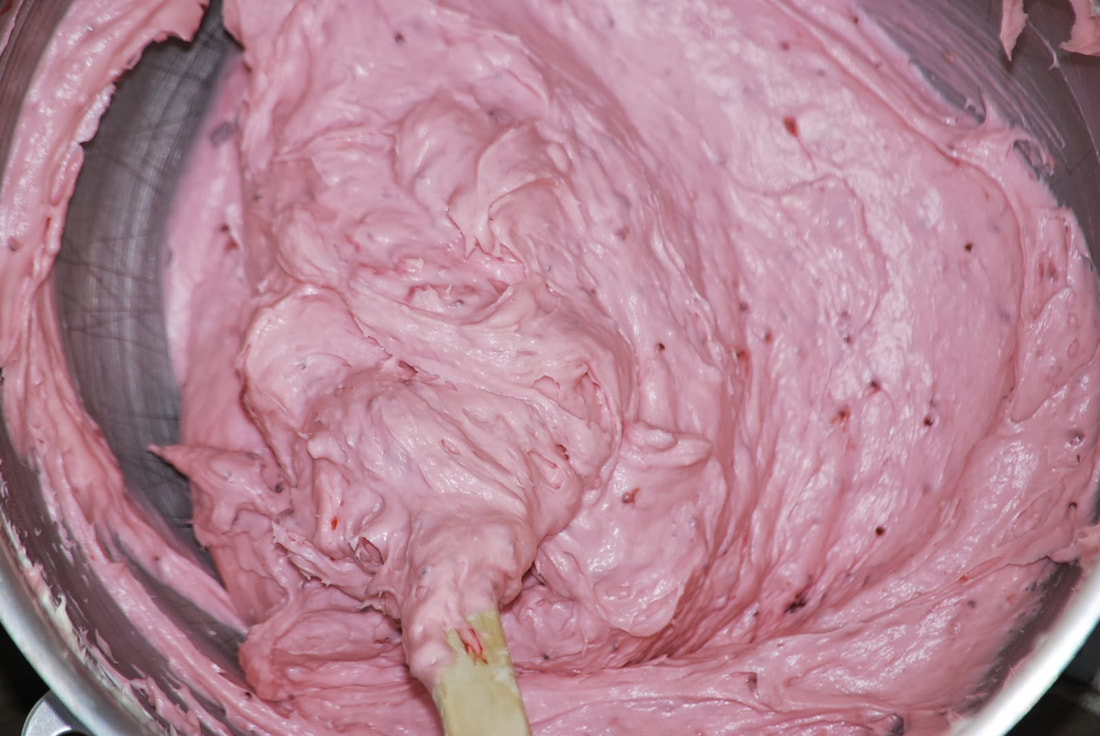
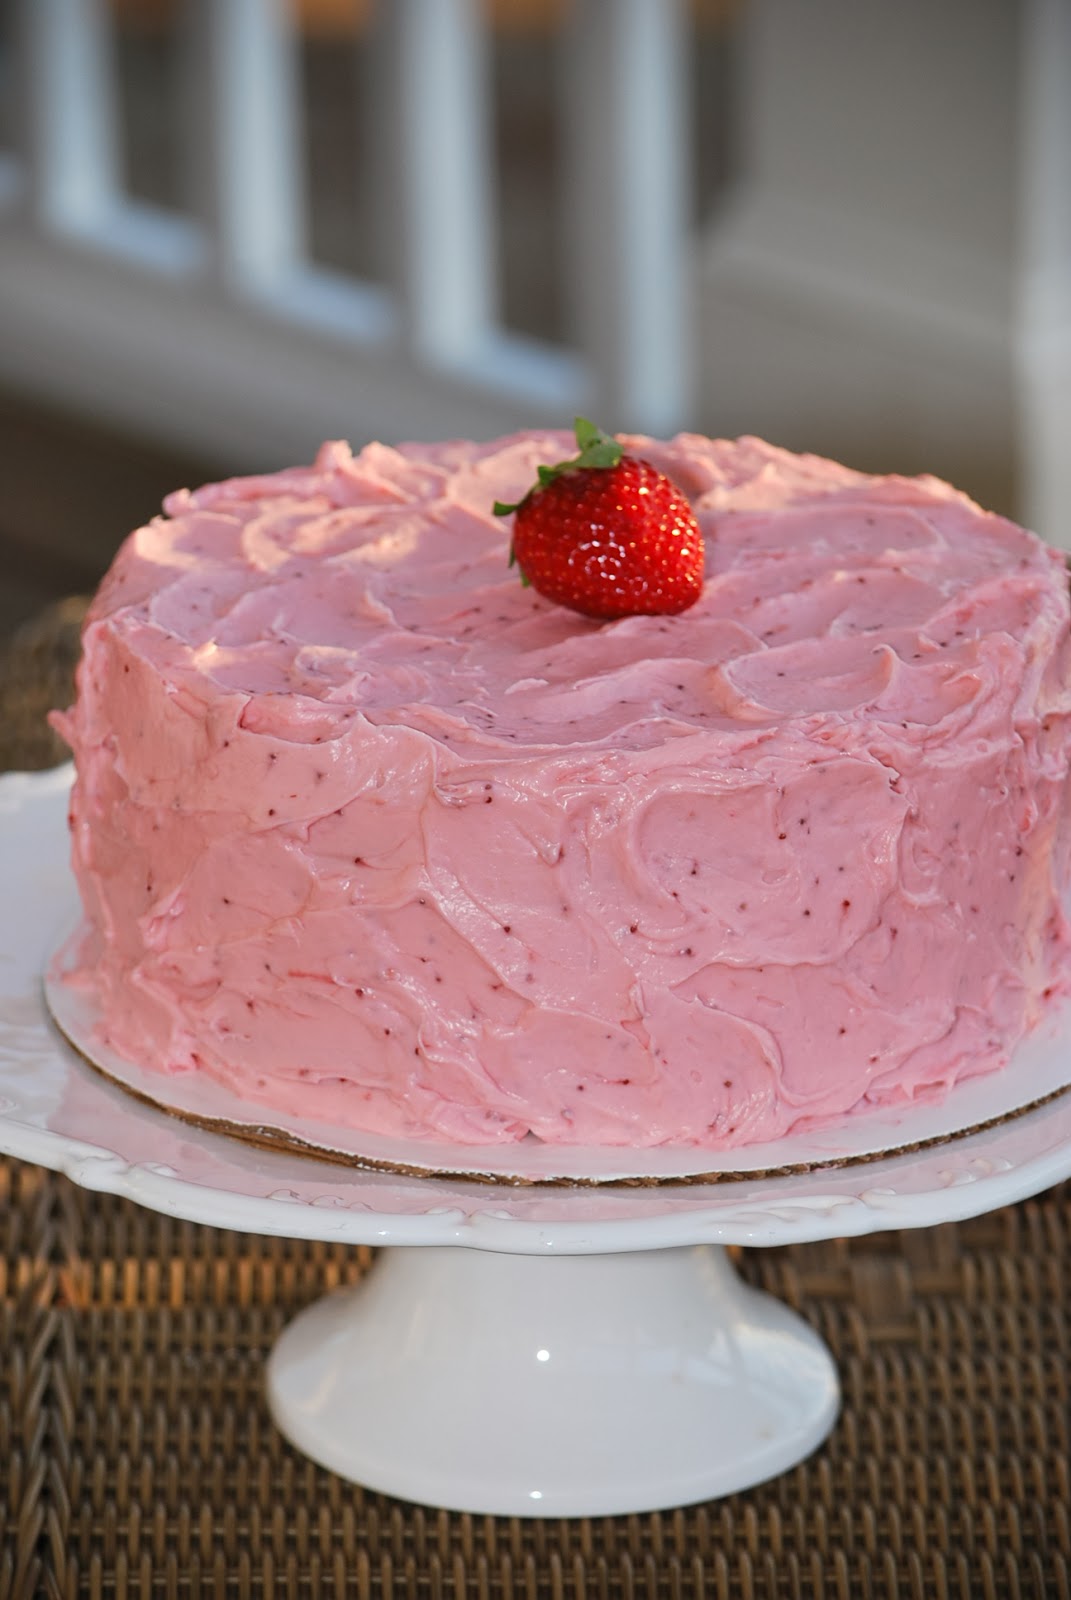
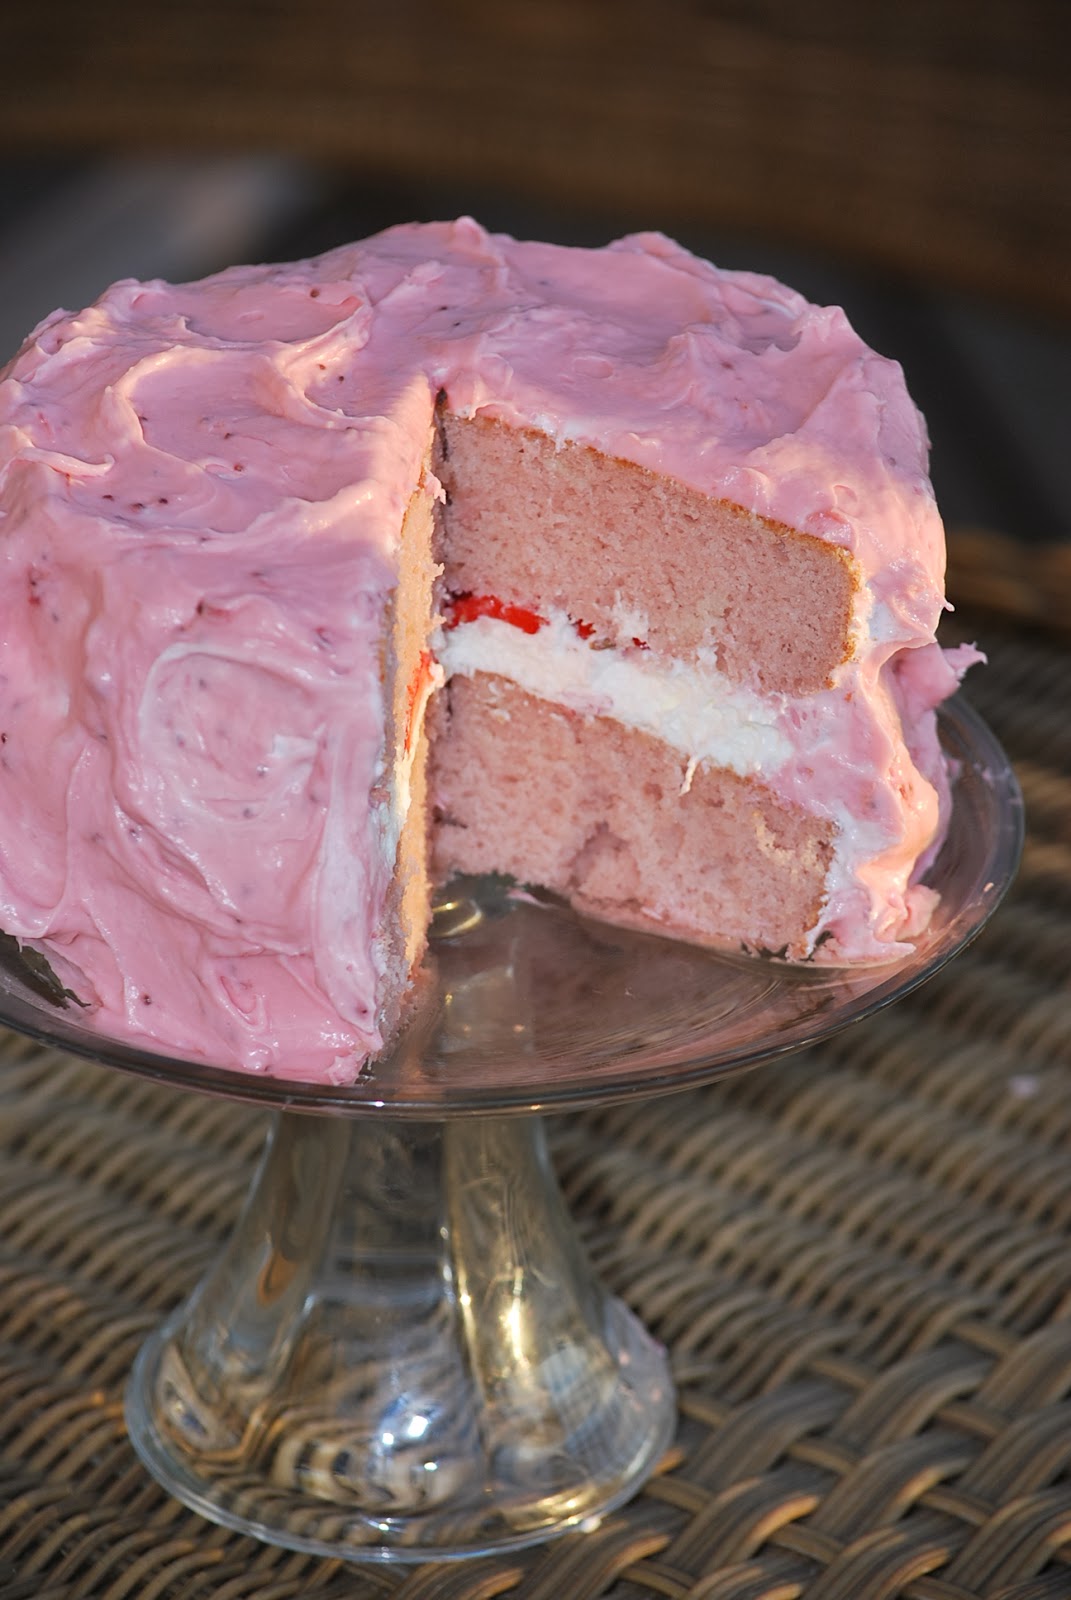
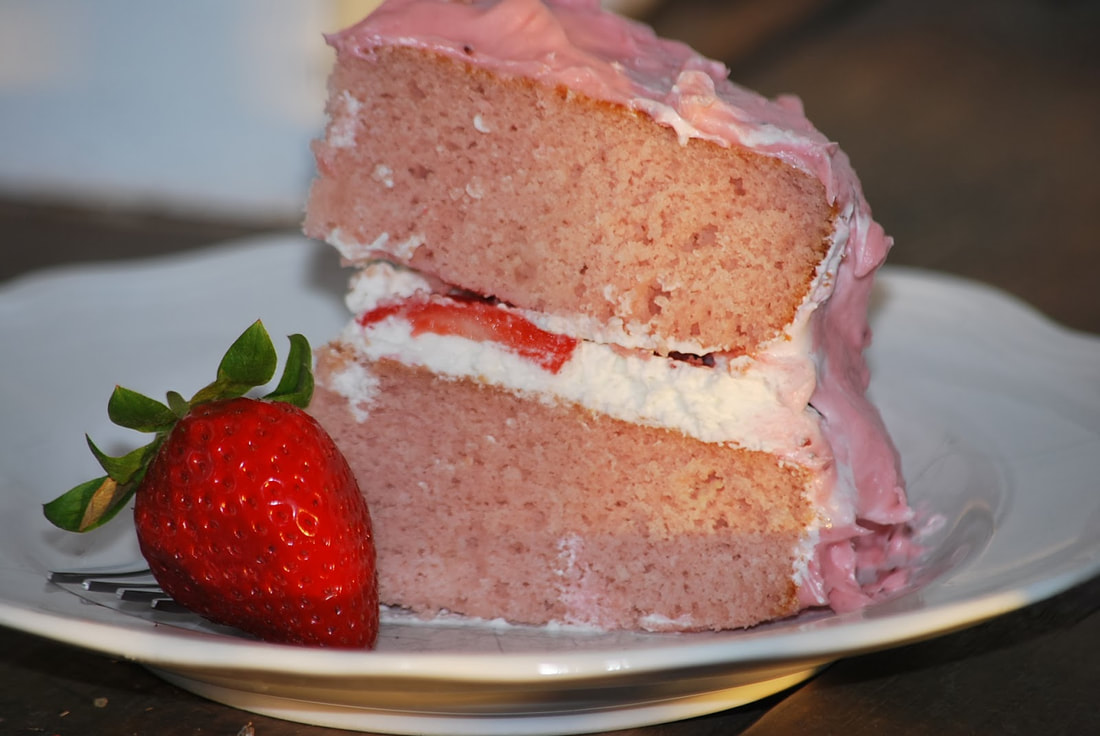
Ciao! 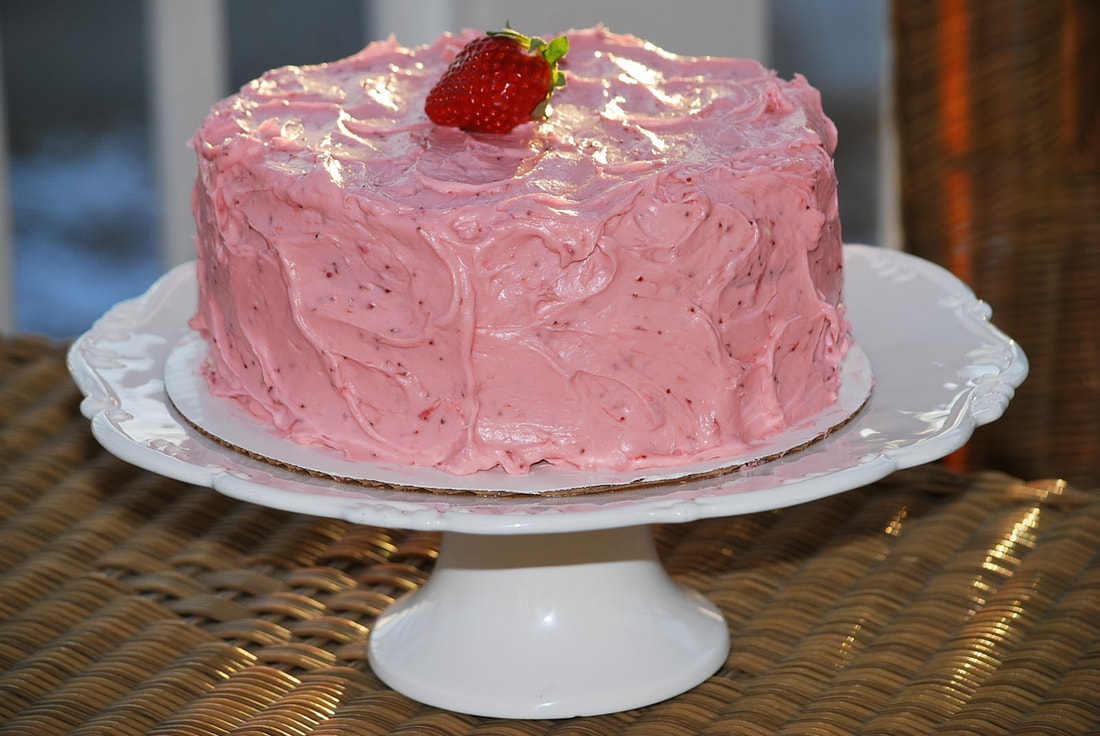 I'm counting down the days to strawberry season in Georgia. I've driven past the strawberry fields this winter, and watched as the farmers have been busy taking care of their precious strawberry crop. I've seen them pull tarps to protect the tender plants on the coldest winter days and I've seen them uncovering plants so they could soak up the warmth of the sun on other days. I am so glad that there have been people to take such good care of the strawberry crops all winter long. 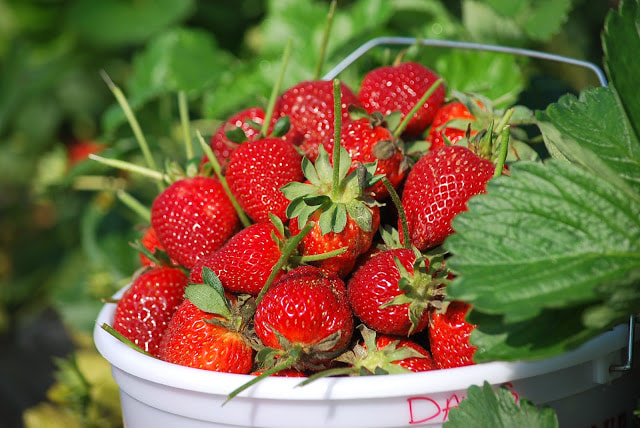 In preparation of the upcoming strawberry season, I am making a strawberry cake. This recipe is really good. It doesn't use strawberry jello or any artificial strawberry flavors, it uses REAL strawberries for the truest - most delicious - strawberry flavor. 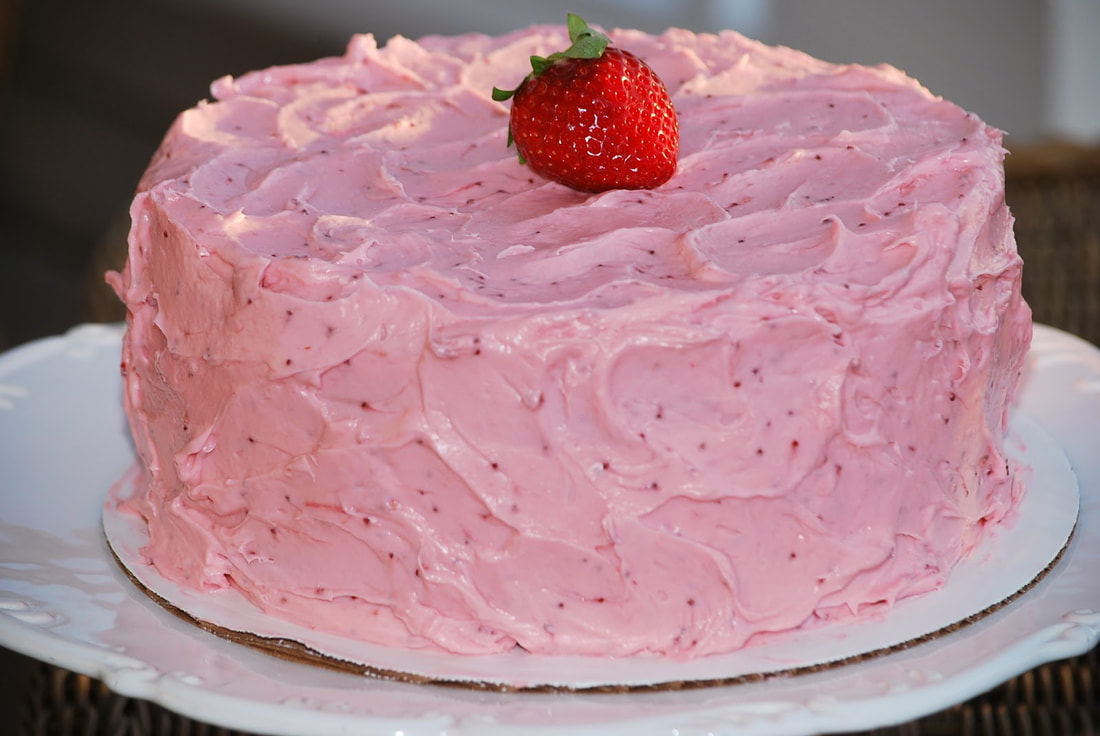 Strawberry Cake Cake 10 ounces frozen whole strawberries, thawed 3/4 cup whole milk 6 egg whites 2 teaspoons vanilla 2 1/4 cups cake flour 1 3/4 cups sugar 4 teaspoons baking powder 1 teaspoon salt 12 Tablespoons butter, room temperature Frosting 10 Tablespoons butter 2 1/4 cups powdered sugar 12 ounces cream cheese 8 ounces fresh strawberries, sliced thin Filling 1 cup heavy whipping cream 1/4 cup powdered sugar
Place in a strainer over a saucepan and press fruit until dry. (Save solids)
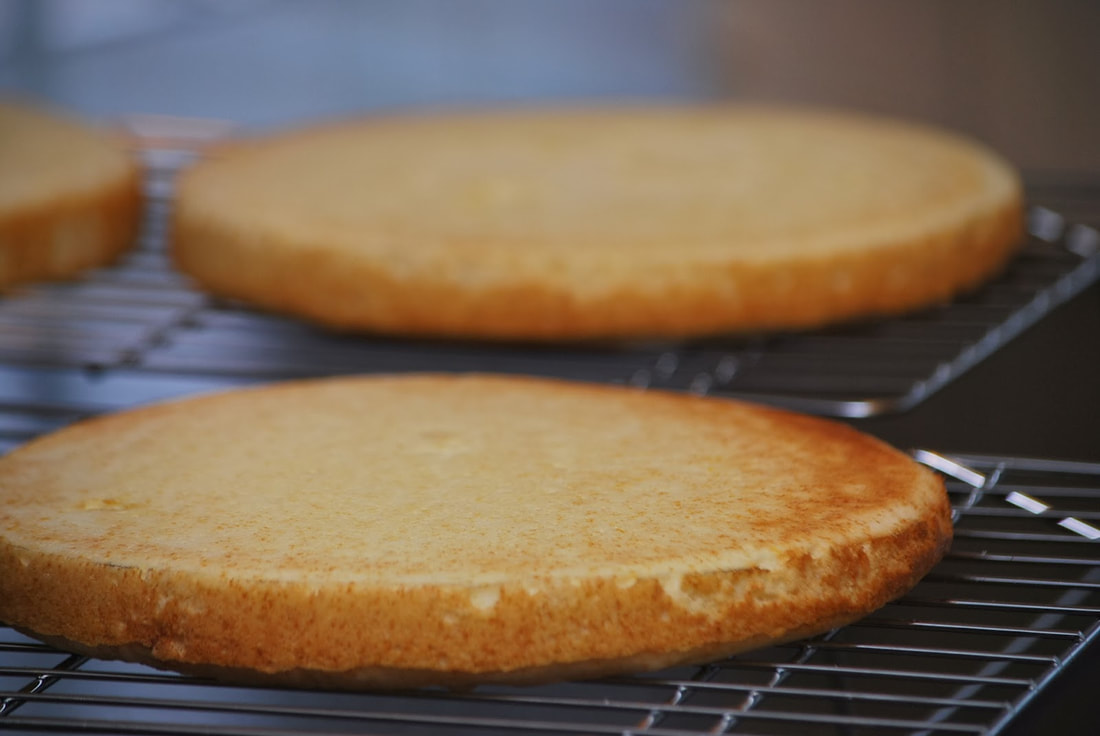
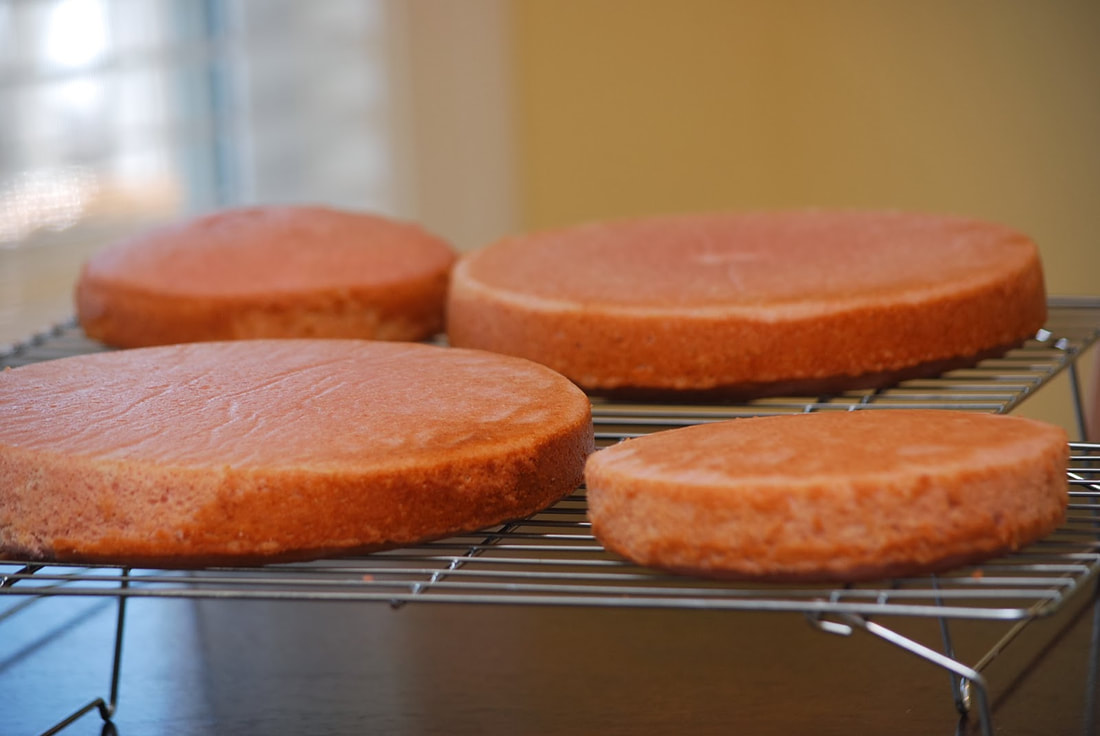
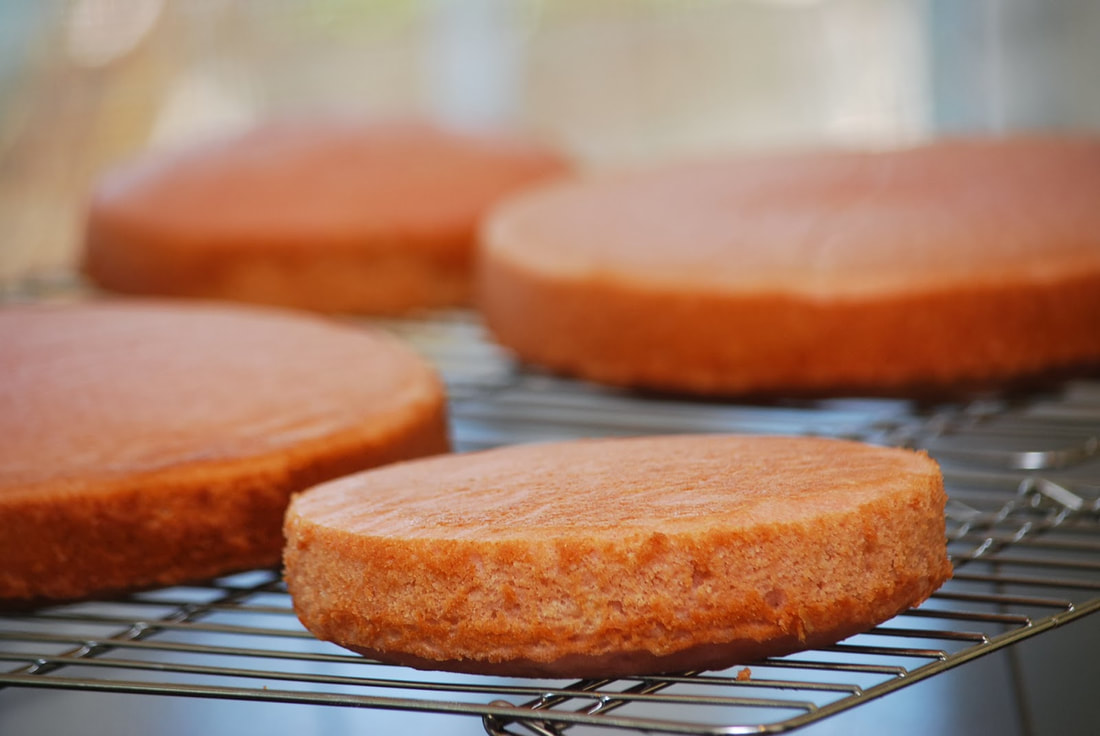
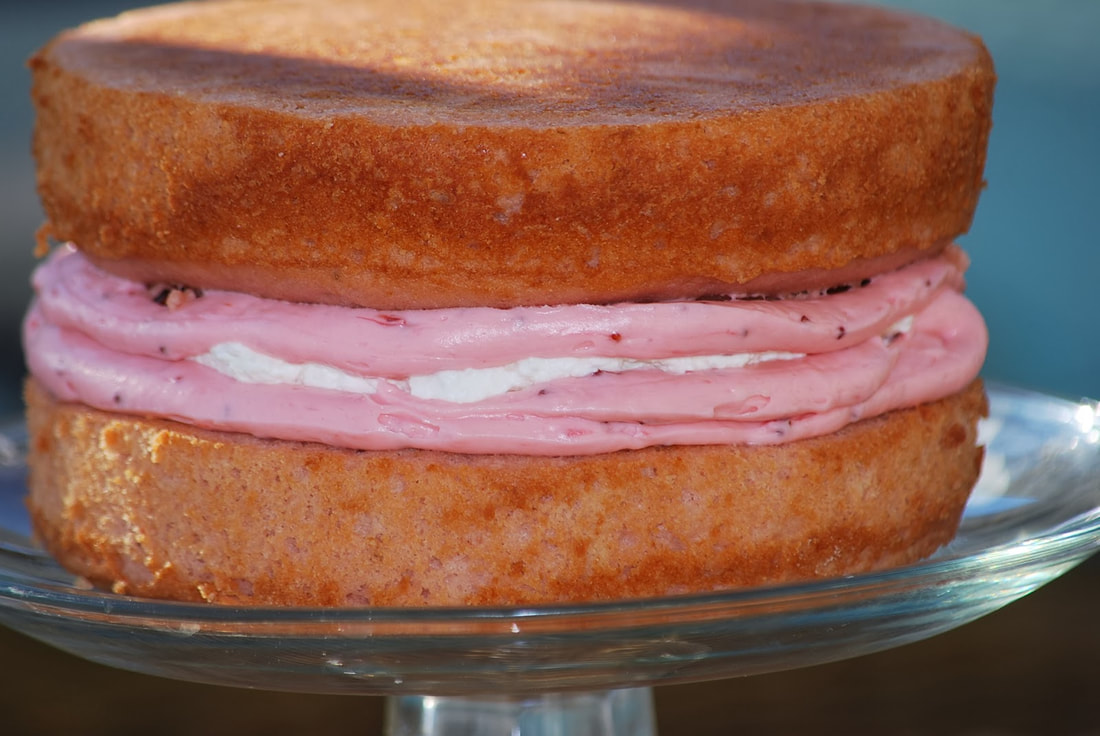
Cool on wire racks.
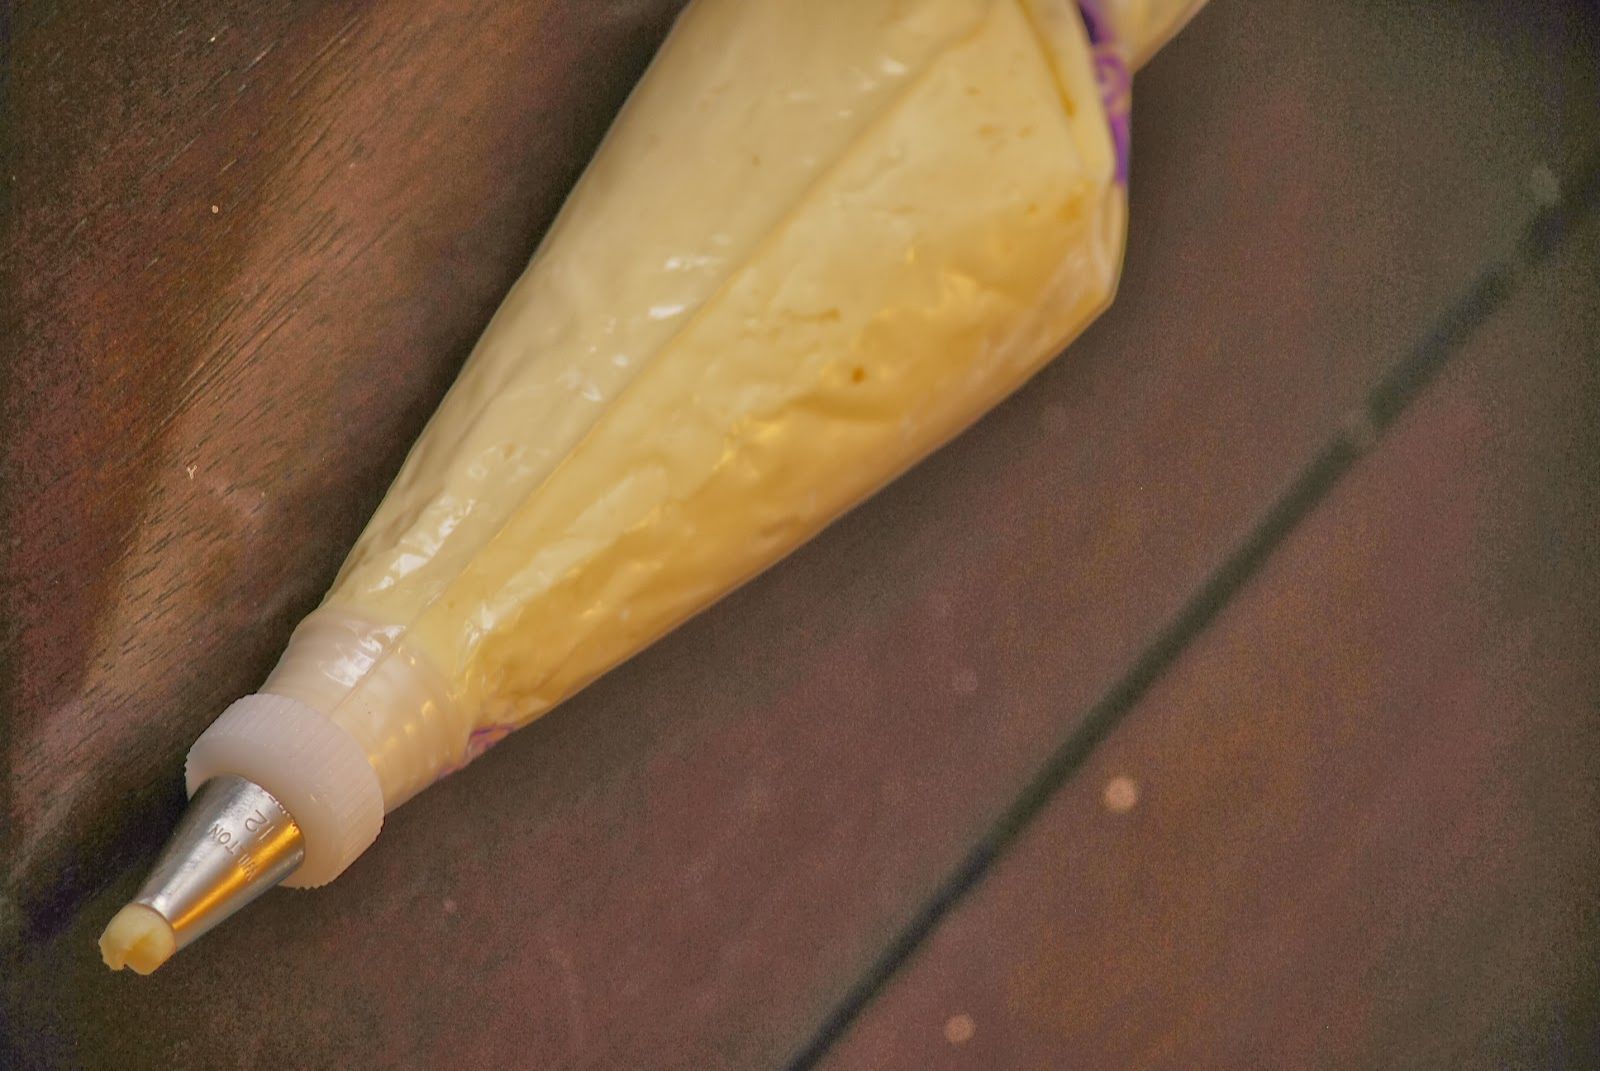
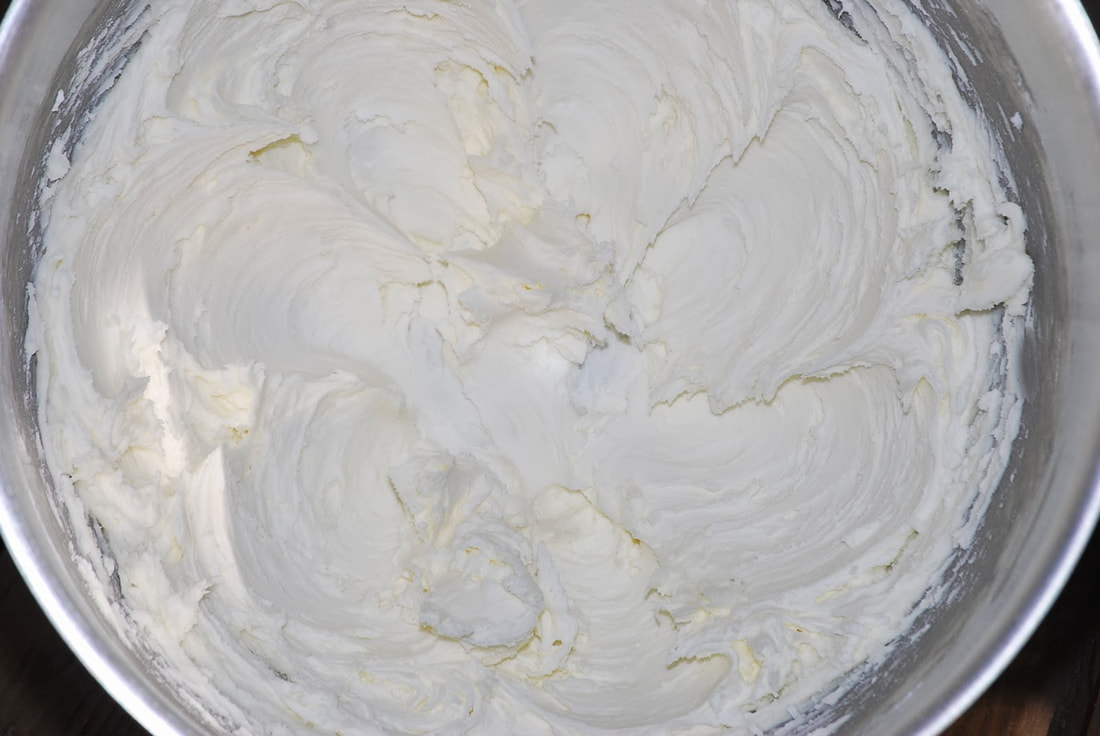
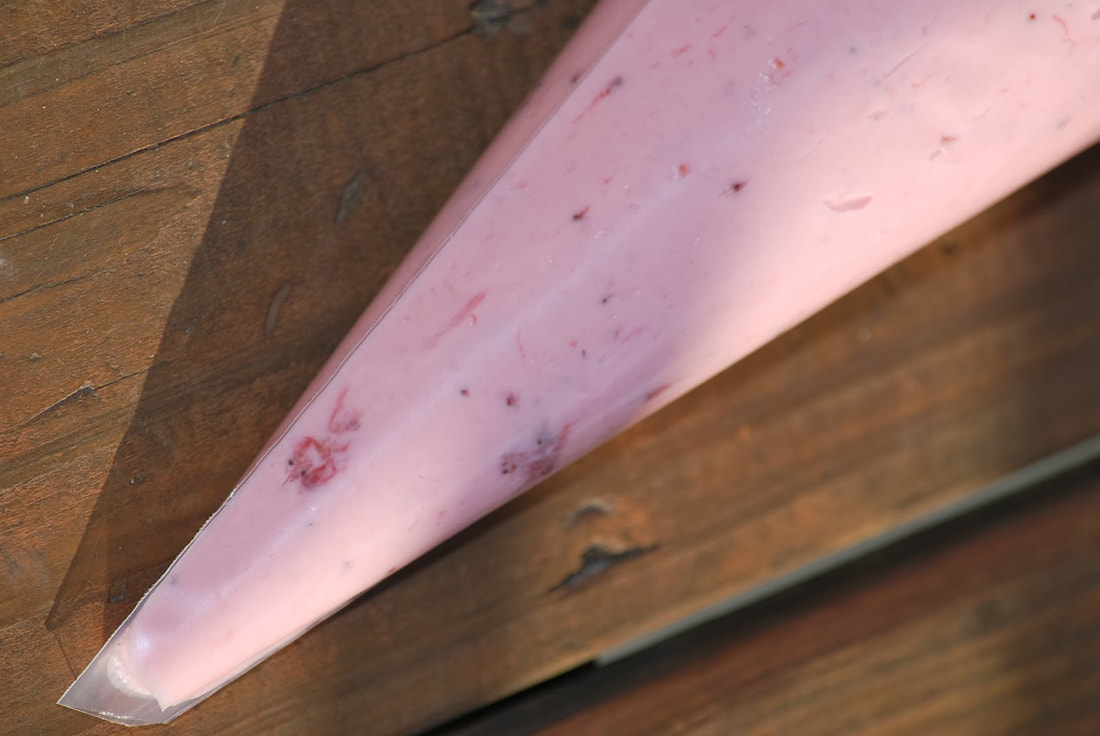
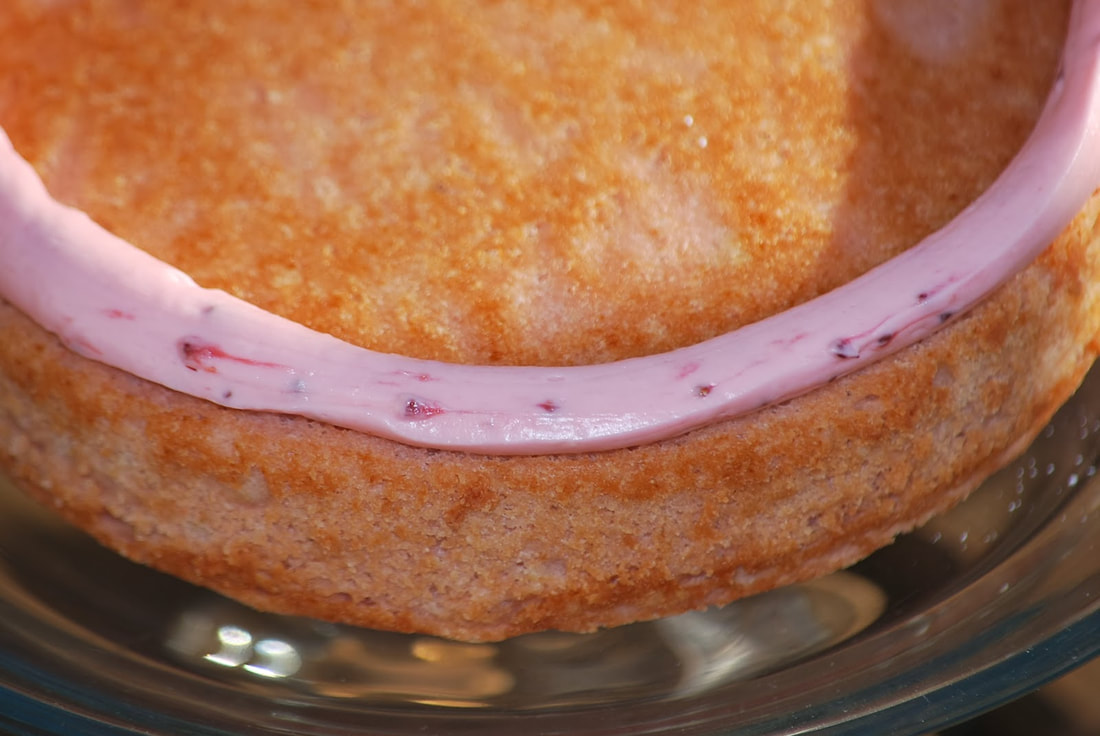
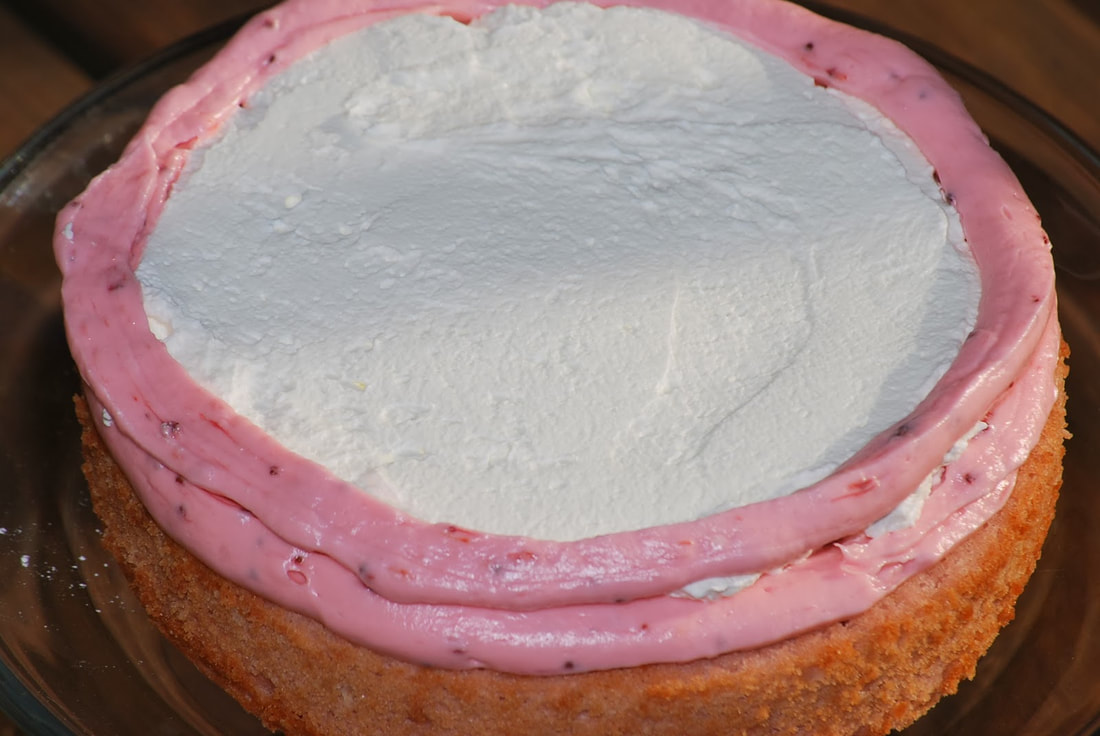
Spoon some of the frosting into a pastry bag and pipe a circle around the outside of the bottom cake layer.
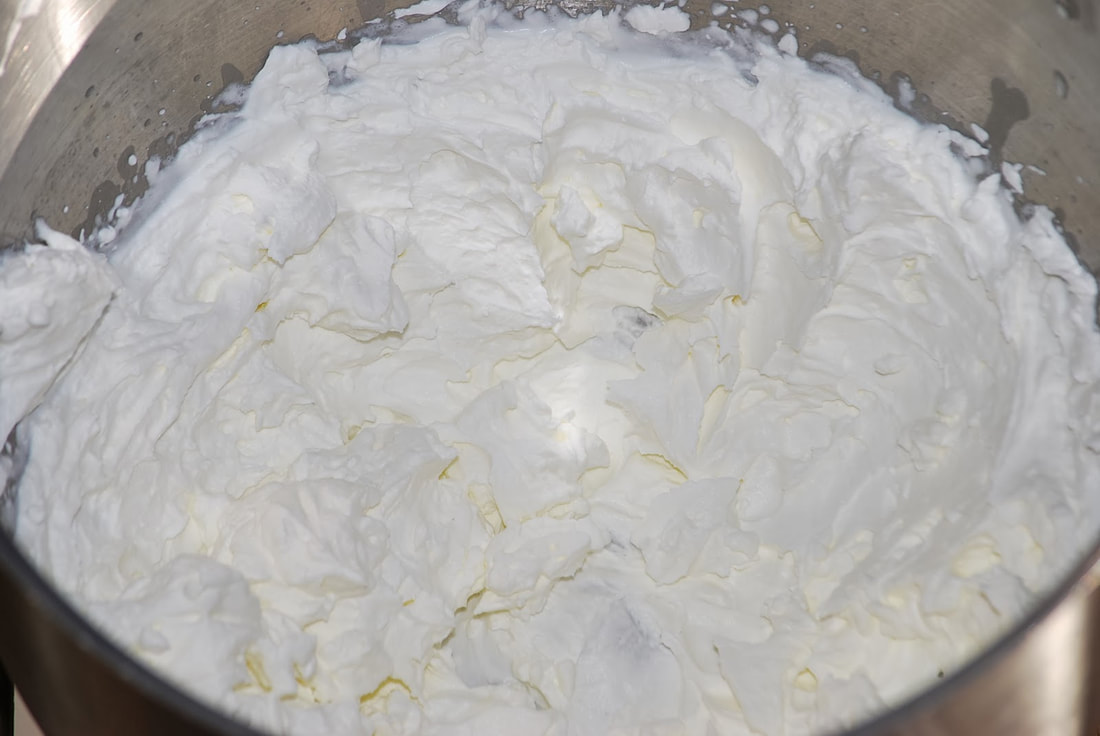
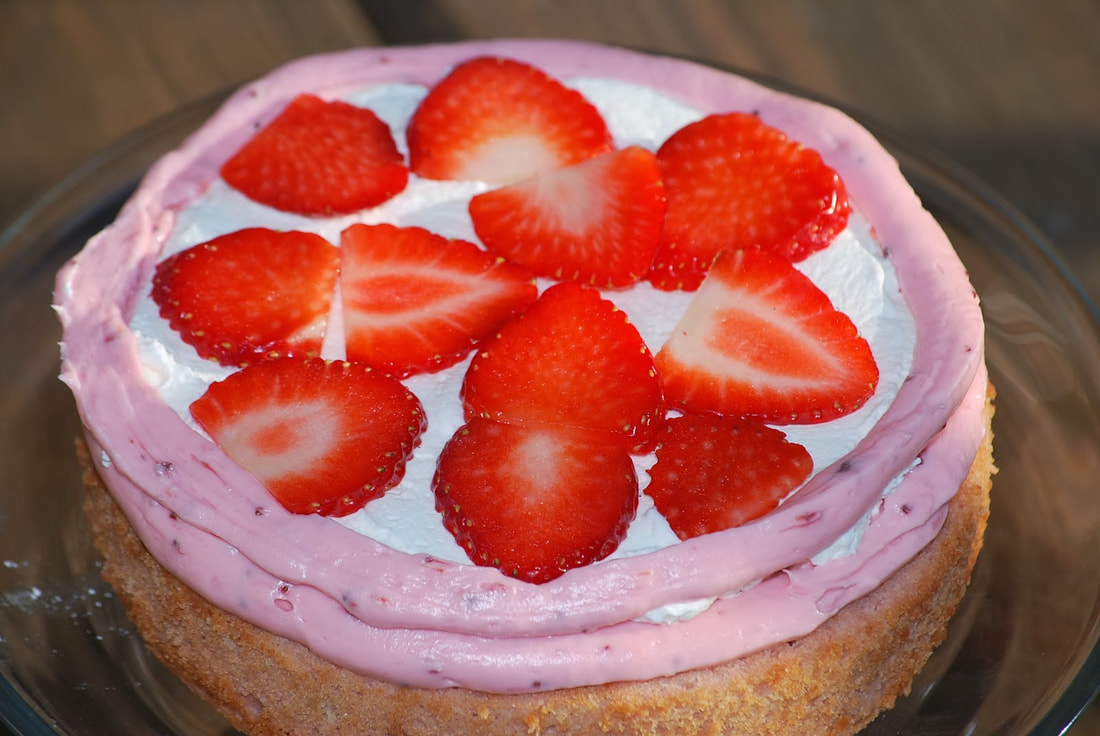
Whip whipped cream and sugar until soft peaks form. Spoon into middle of bottom cake layer.
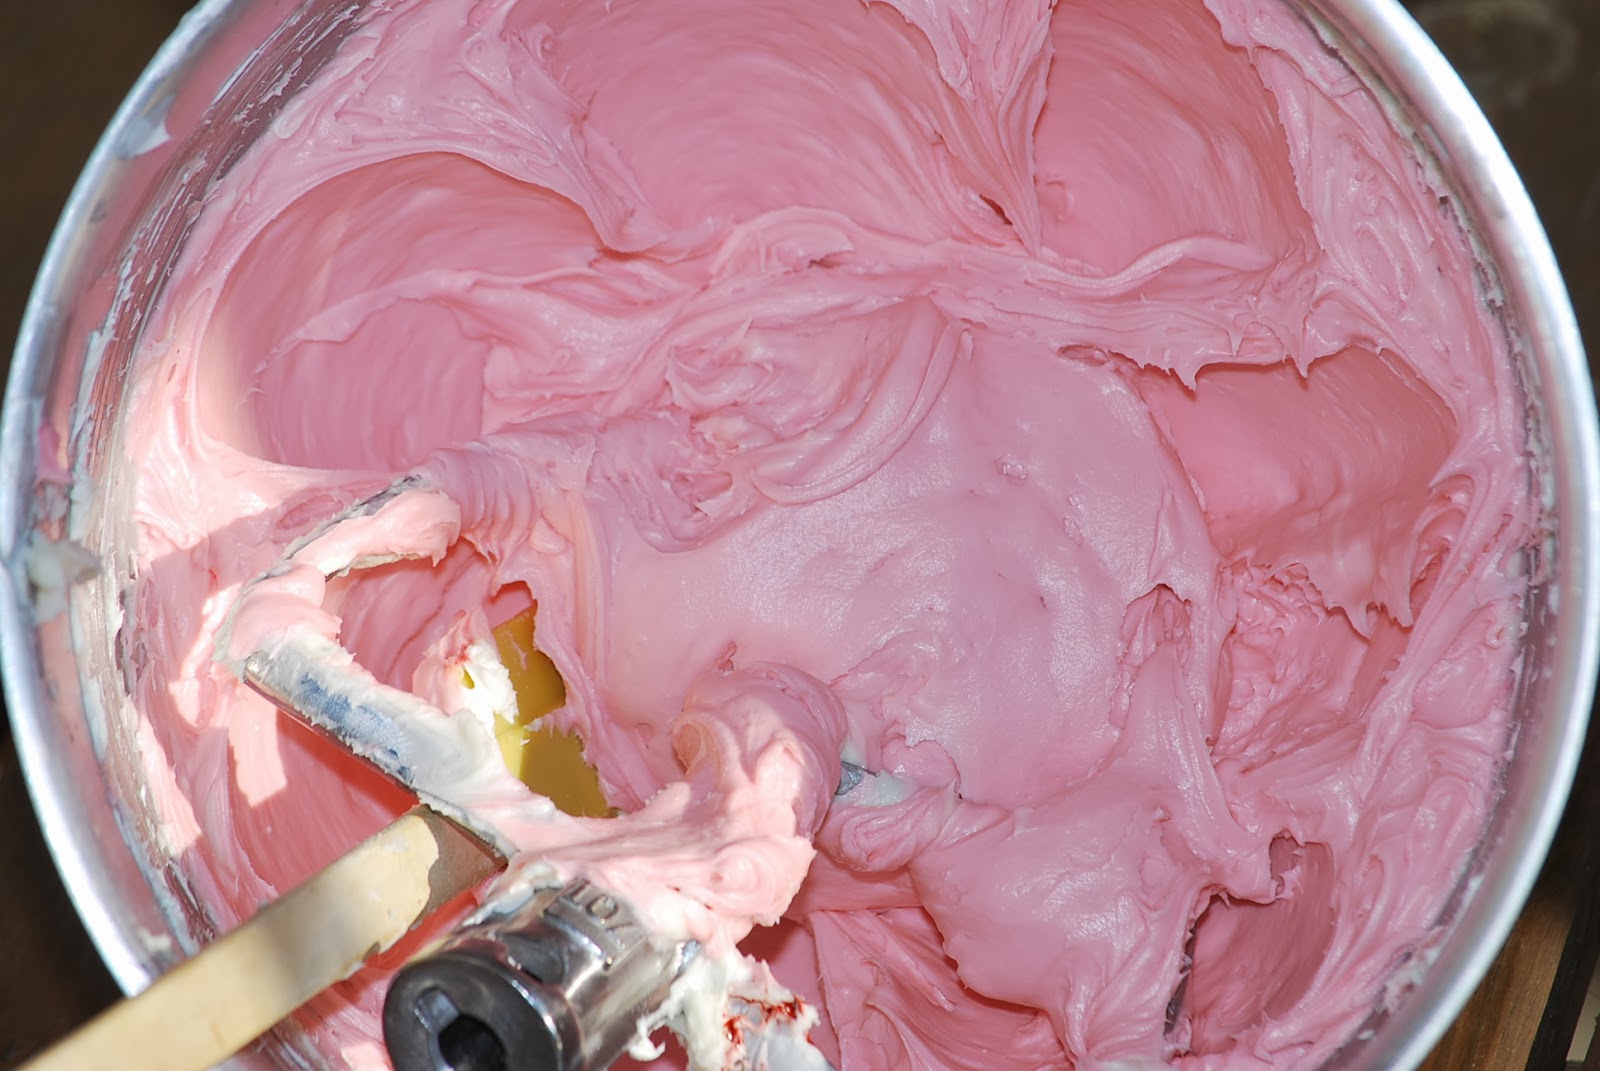
Spread a thin coat of frosting over entire cake as a crumb coat. Refrigerate at least 30 minutes. 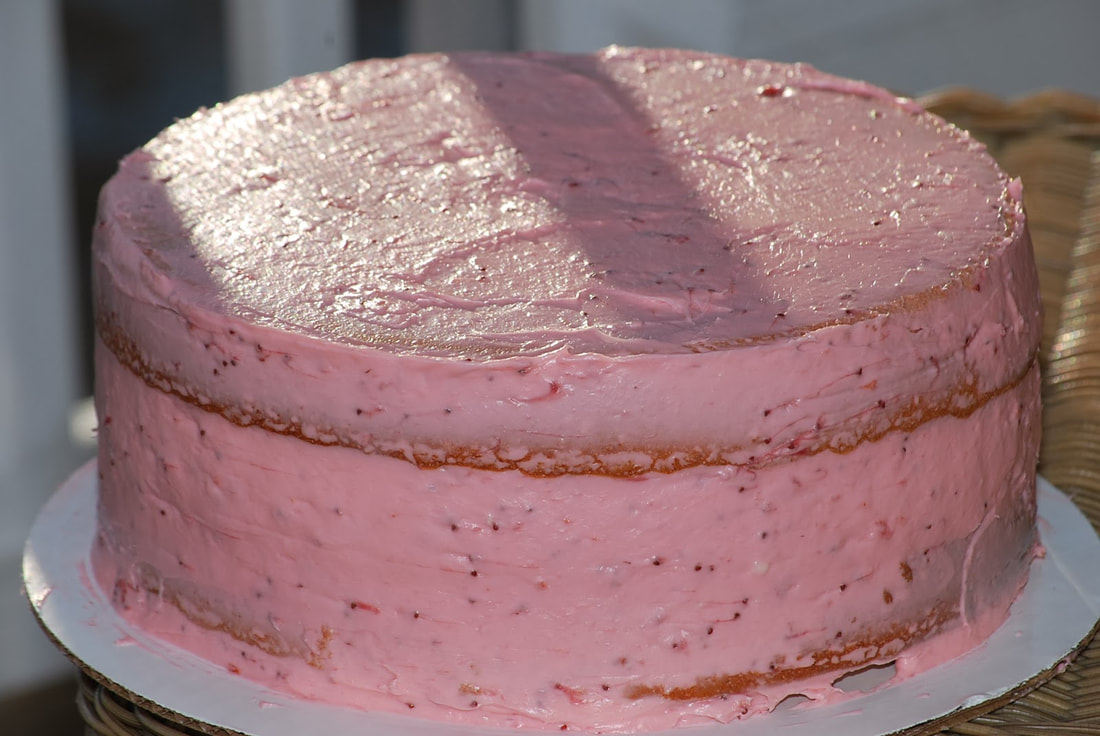 Apply remaining frosting.
 Hungry yet?
Ciao! |