 I recommend getting a cup of coffee and a snack before you sit down to read this post - it's lengthy and it's guaranteed to make you hungry. Okay, now that you're ready, let me tell you about my first experience with homemade croissants. I first came across a recipe for croissants in the January issue of Cook's Illustrated magazine. I've never actually attempted homemade croissants because quite honestly - I was intimidated by this delicate pastry. After reading through 3 full pages of instructions, I came to the conclusion that mastering croissants was not going to be easy. It took a couple of months for me to work up the courage to conquer this recipe but I dreamed of the satisfaction that it would bring if I could pull it off. 
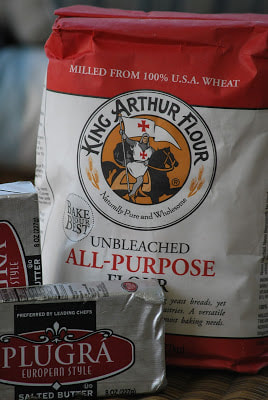
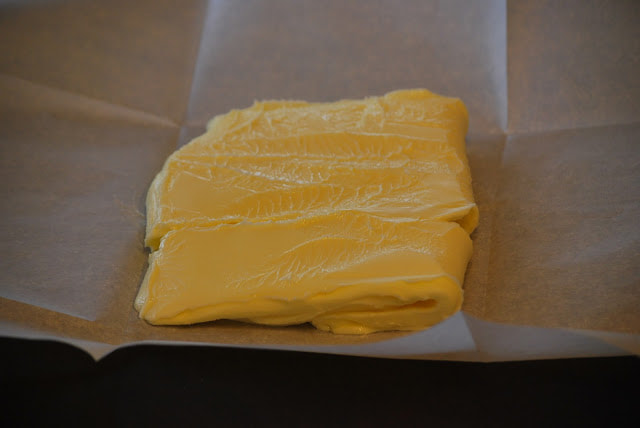
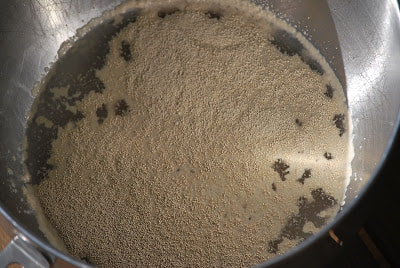
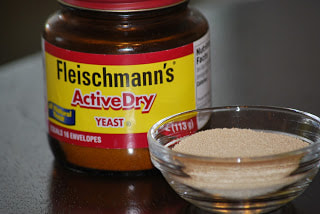
 The recipe warns that it takes a minimum of 10 hours to prepare the croissants (not including my trip to the store) so I set aside plenty of time. It was a lengthy process but it was fun, and at times even stress revealing.  Croissants 3 Tablespoons butter 24 Tablespoons European-style butter 1 3/4 cups whole milk 4 teaspoons yeast 4 1/4 cups all purpose flour 1/4 cup sugar salt 1 large egg 1 teaspoon cold water
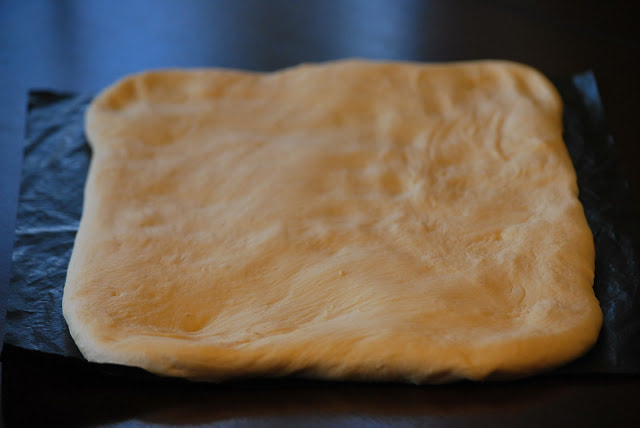
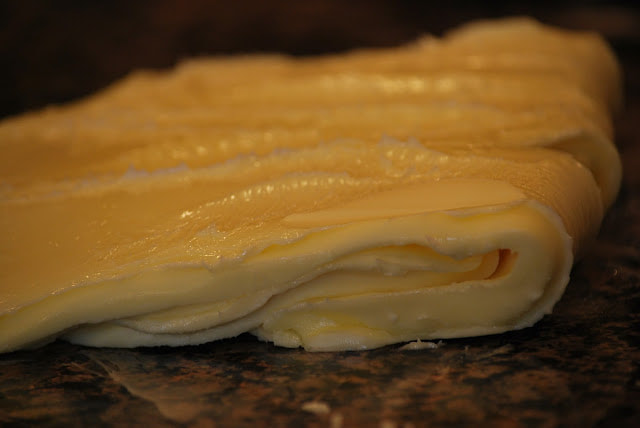
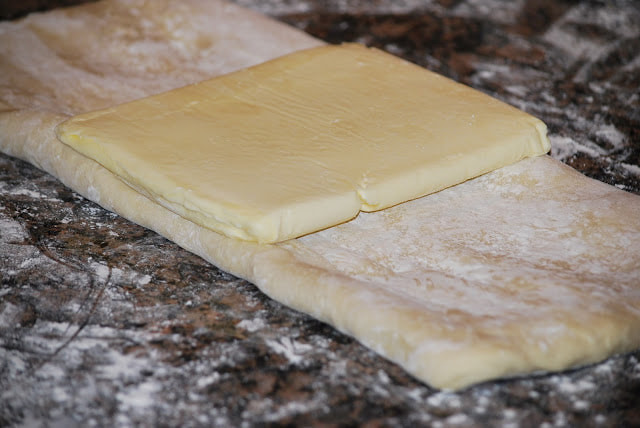
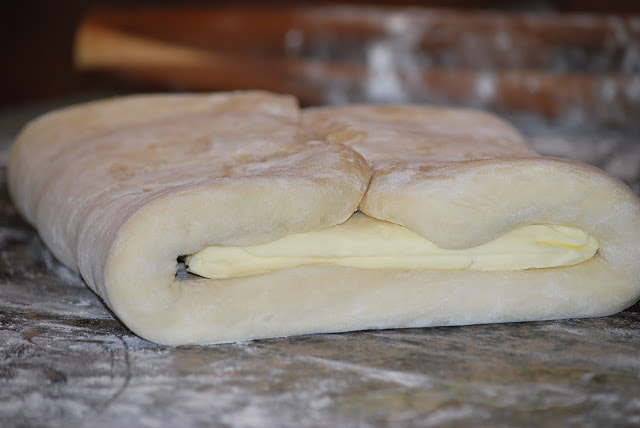
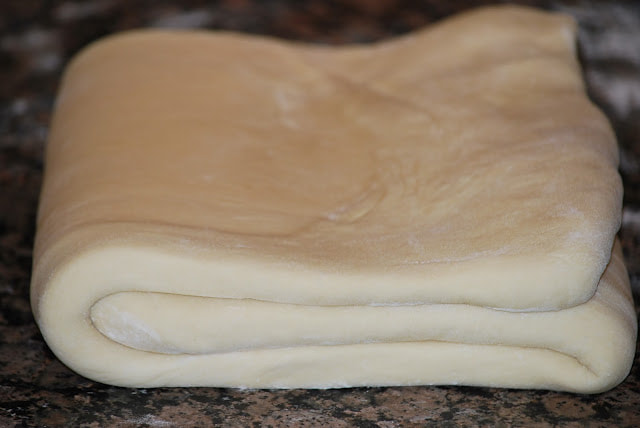
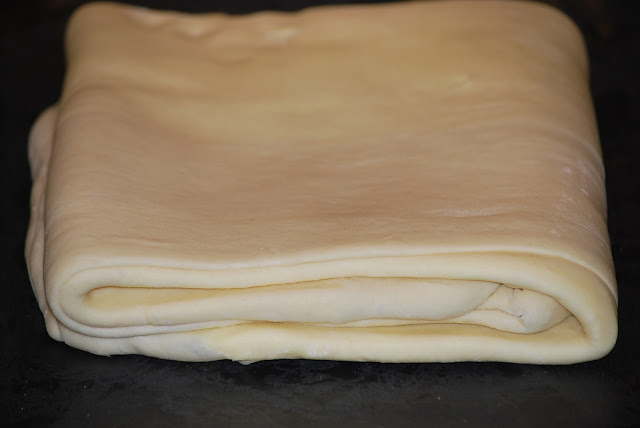
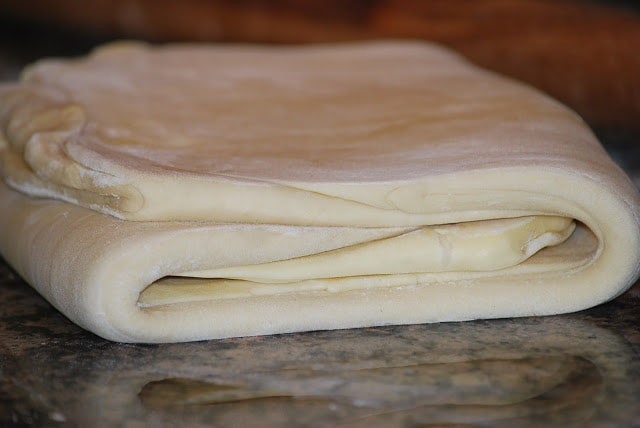
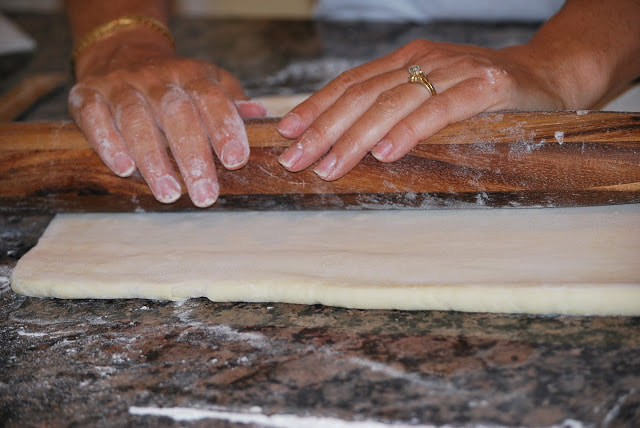
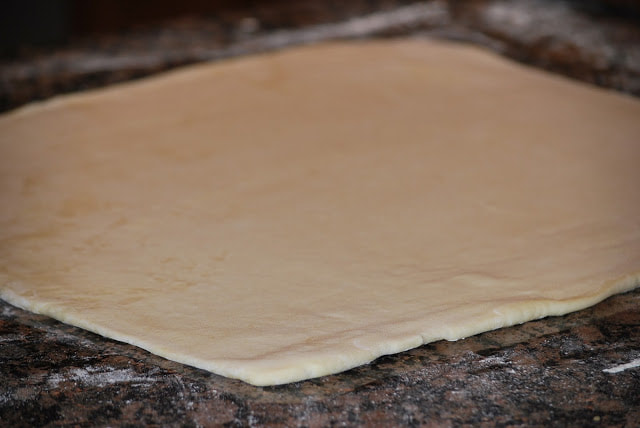
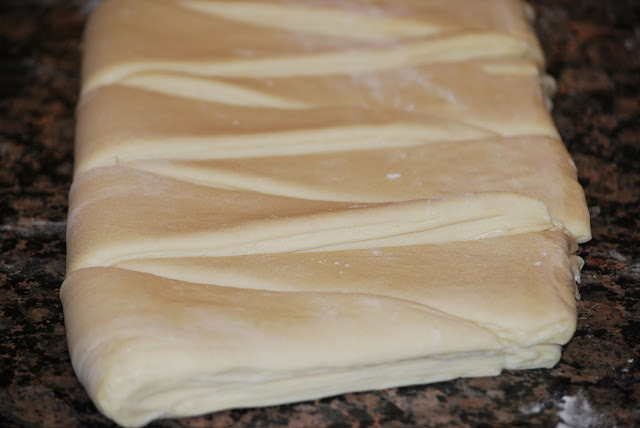
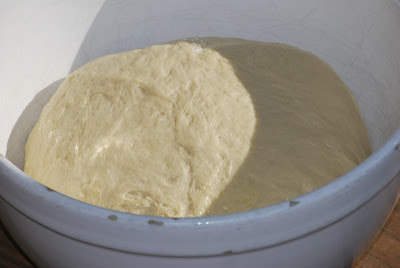
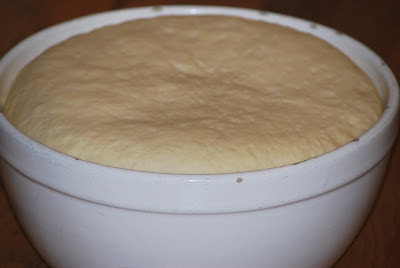
Place dough on baking sheet, wrap in plastic wrap and refrigerate for 2 hours. Transfer dough to freezer for 30 minutes. Transfer dough to counter and roll into an 18 by 16 inch rectangle.
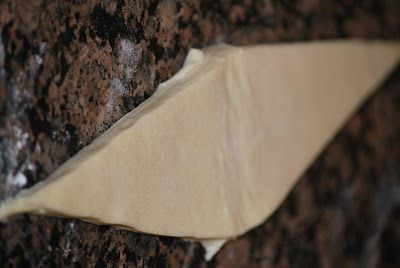
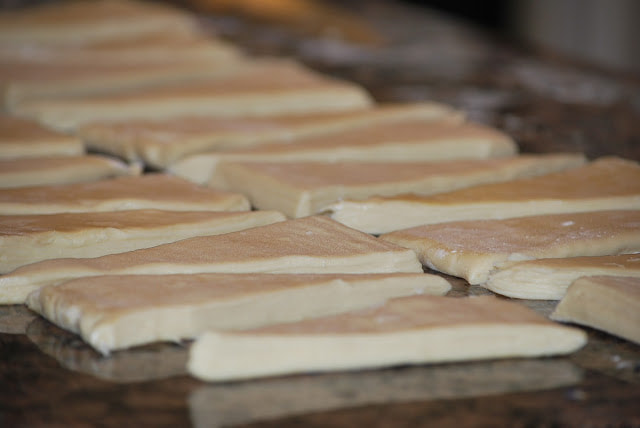
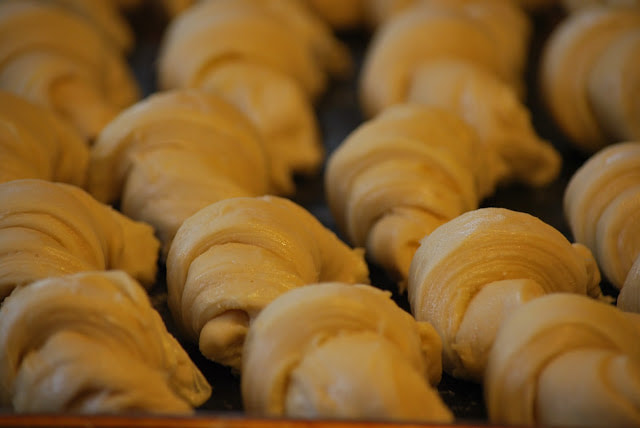
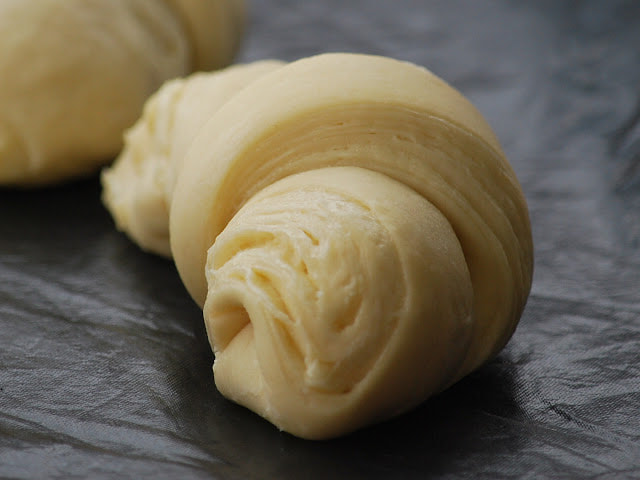
Holding triangle by the 2 corners on either side of the slit, start to roll up the croissants. Gently tuck the end of the croissant underneath and bring the two ends together. Place croissants on a baking sheet at least 2 1/2 inches apart. Lightly warp with plastic wrap and let rise 2 1/2 - 3 hours. You can also refrigerate formed croissants for up to 18 hours or freeze them for up to 2 months. (Refrigerated croissants take an extra 30 minutes to rise and frozen croissants take an extra 1-2 hours to rise.) I put mine in the freezer because I didn't want to bake my croissants at 10:00 at night. The next morning I set out 4 croissants to rise. (I only planned to make 4 croissants because I wanted to save the others for a special occasion.)
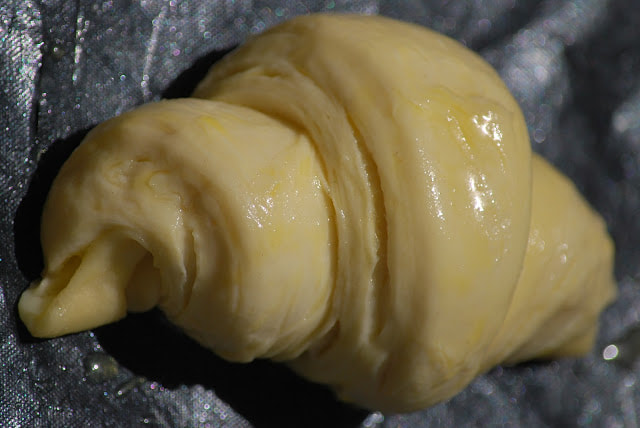
Heat oven to 425. Whisk together egg, water and a pinch of salt. Brush croissants with egg wash and place in oven. Reduce heat to 400 and bake 12 minutes. Rotate baking sheet and bake another 8-12 minutes.
After 10 hours of croissant preparation, to say that my expectations of these pastries was high, is an understatement. As I pulled the tray out of the oven, the overwhelming smell of buttery dough was captivating. I quickly slid them to a cooling rack so I could take a quick picture of the warm pastries.  There was no need to add butter to these croissants. They were a perfect balance of rich and buttery goodness with light, flaky, delicate layers of dough. This was by far the best croissant that I have ever had - it was CRAZY good! It took less than 2 minutes to eat the entire croissant and then the picture taking resumed. I was so glad that I had only defrosted 4 croissants because I don't think I could have stopped myself from eating a whole lot more of these. I managed to find the will power to save the other 3 croissants for my family. (Mostly because I had already promised them a sampling.)  I have 18 croissants left in my freezer to save for another day. I'm not quite sure what occasion I will deem special enough for these labor intensive pastries but you can be sure that it will be soon. These would be a perfect compliment to any brunch menu.
Hungry yet? Don't say that I didn't warn you. I was so proud of my very first batch of homemade croissants. I think I found a new favorite recipe to add to my collection. Ciao!
1 Comment
 After 9 years of watching my daughter play soccer - I'm officially a soccer mom. We started cheering for her on the field as an energetic 4 year old. It's hard for me to believe that my pony tailed preschool girl is now a talented 13 year old with incredible speed and ball handling skills. We've loved watching every stage of her soccer career and it's been amazing to watch her skills progress over the years. I've also learned a thing or two about soccer since she started playing and I've come to realize that there are some traits that all female soccer players share - no matter how young or old. The top 10 things that I have learned about female soccer players:
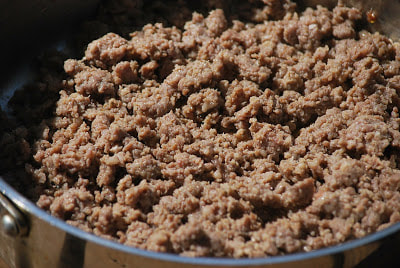
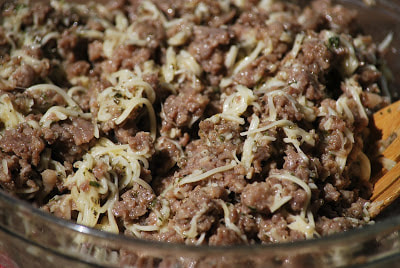
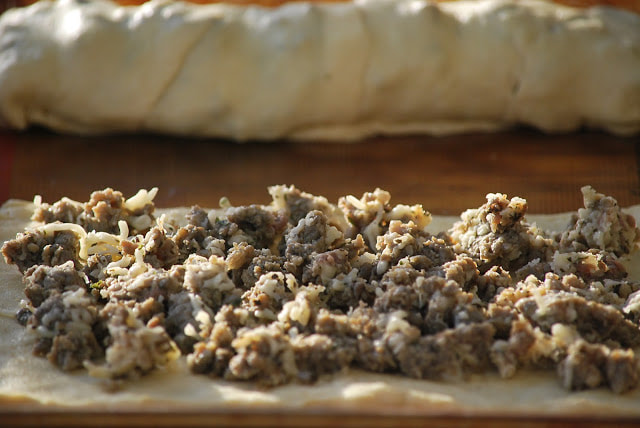
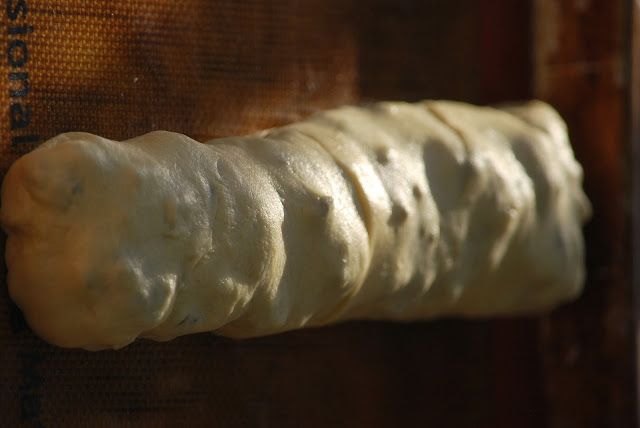
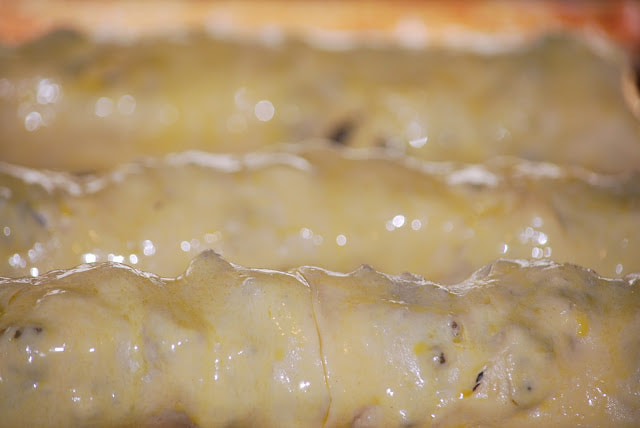
It's been a challenge to keep my hungry athlete full. A couple of weeks ago, I made a big batch of sausage bread for that very reason. This recipe makes 3 big loaves or 6 smaller loaves so there is plenty for dinner and enough leftover to put in the freezer for another day.  Sausage Bread 3 cans crescent rolls 2 teaspoons basil 2 pounds sausage 2 teaspoons parsley 2 eggs, beaten 1 teaspoon garlic 1 cup Swiss cheese 1 egg yolk, beaten 2 Tablespoons Parmesan cheese
 Ciao!
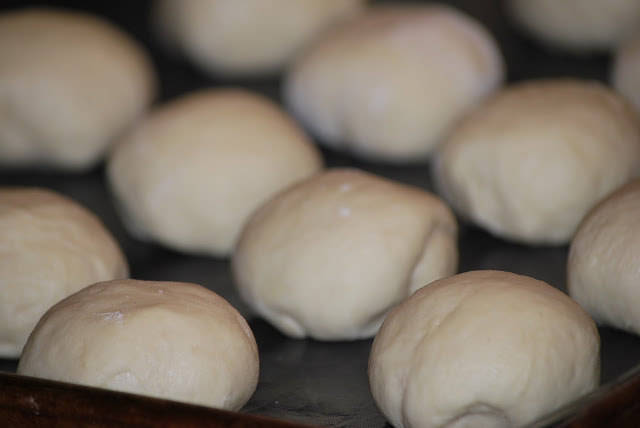
 Every good chef needs a basic - never fail yeast roll recipe that they can rely on. Mine came from my mom which is why it is appropriately named "Mom's Dinner Rolls." My mom served these freshly baked rolls at every holiday meal that I can remember. I even asked her one time why she went to the trouble of making fresh rolls when there were so many other meal preparations that had to be done. Her answer -- "they're worth it." That really sums it up. These rolls take a little extra time and effort - but - they're worth it.  Yeast Rolls 1 ¾ cups warm water 5 ½ - 6 cups flour 4 ½ teaspoons yeast ¼ cup butter, melted ½ cup sugar 1 egg 1 Tablespoon salt
Bake 10-12 minutes at 400.  There is nothing like the smell of freshly baked rolls lofting through the house. Every time that I smell these rolls baking in the oven - it reminds me of my childhood. I can always rely on this recipe to never let me down - just like my mom. You're the best, mom - Love you.
Ciao!  Does anyone else feel like summer just got started? Here we are in the middle of August and I feel like summer has slipped away between my fingers. My kids are back in school but that doesn't mean that I have to accept the fact that summer is over. Technically, summer lingers on until September 22nd right? Nothing says summer like homemade lemonade - enjoy. Honey Lemonade 1/3 cup honey 1 1/2 cups water 1 cup fresh lemon juice ice cubes
Ciao!
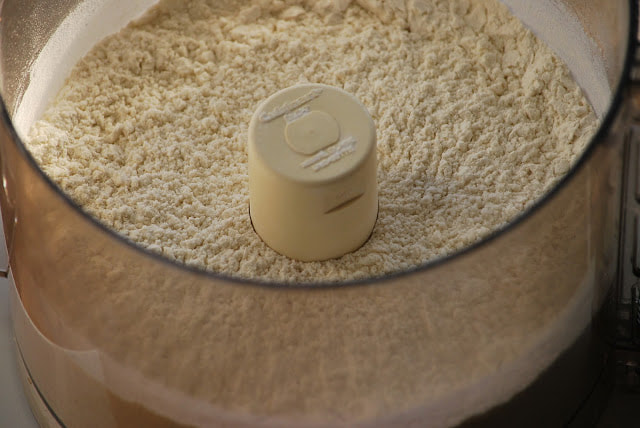
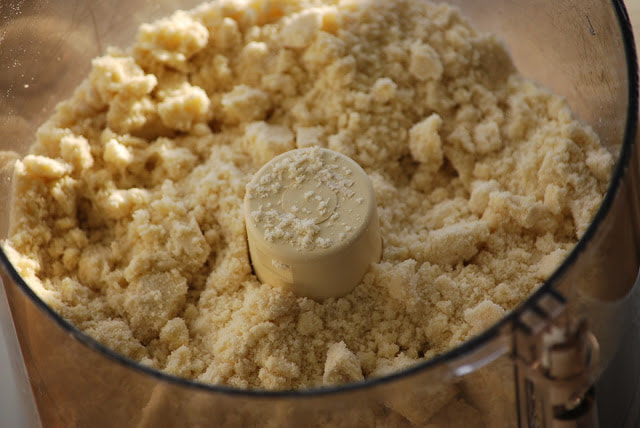
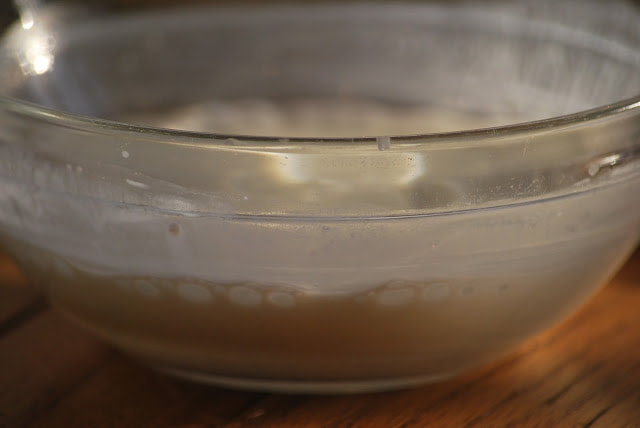
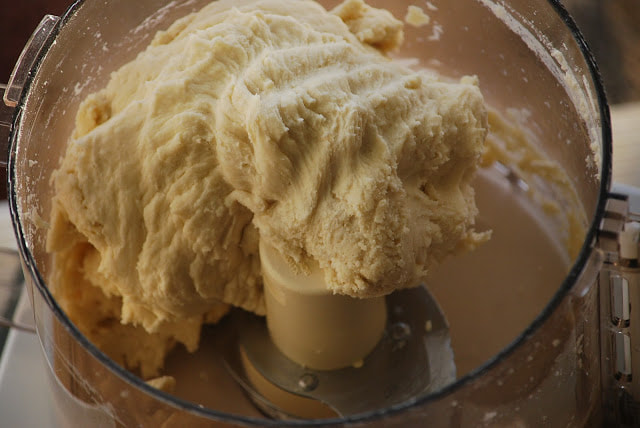
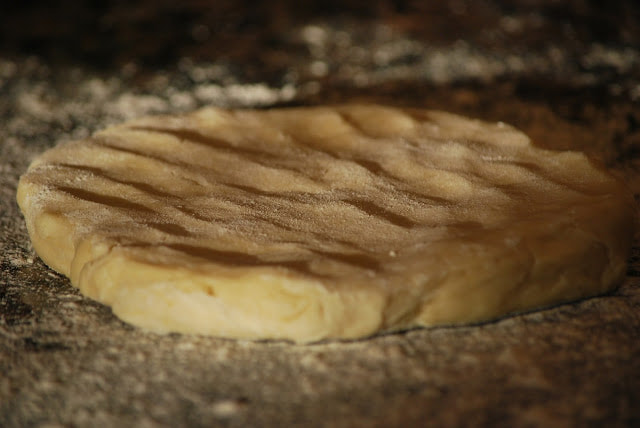
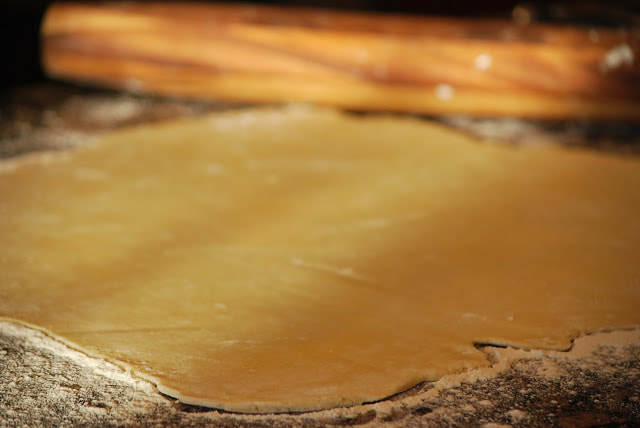
 It is with very sore muscles that I sit here blogging tonight. (Thank goodness for our new - extra cushy - computer chair.) On the way to church this morning, my son asked if I wanted to go mountain biking with him - duh, yes! Now that he's 16 it seems like the opportunities to hang out with him are farther and fewer between so I jumped at the chance to spend the afternoon together. I was thrilled that he offered to spend his Sunday biking with me so I dropped everything that was on my calendar for the day, we loaded the bikes into the truck and headed off to the trails. It was my first ride of the season and it definitely wasn't my best ride. I took a couple of spills and I ended up with a popped tire about 8 miles into the ride. It didn't really matter that the biking wasn't great, it was the company that was most important to me. In my mind, it was a wonderful Sunday afternoon - hanging out with my favorite 16 year old. Before I sat down to rest my tired legs for the night, I did manage to get a couple of pies baked. I love fruit pies and with strawberries in season now and blueberry season just around the corner, it's time for me to get busy on my first fruit pies of the season. The trickiest part of making any pie is the crust - with that said, this blog is dedicated specifically to making the perfect pie crust. I use a very basic pie crust recipe that I make in my food processor. This is definitely NOT what they will teach you in pastry school as the proper technique for flaky pastry dough but it works for me. (Sometimes you have to throw technique out the window and do what works.) 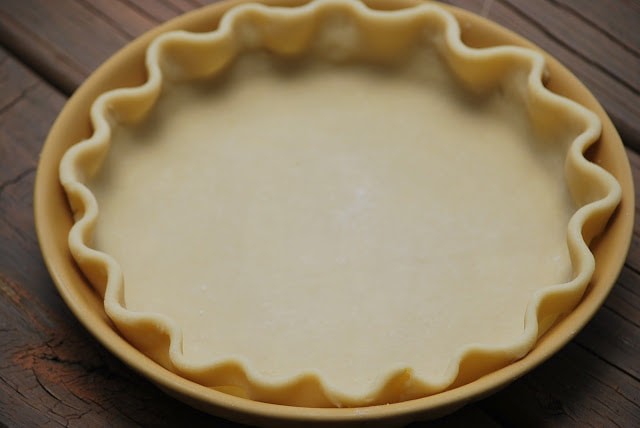 Pastry Dough 2 ½ cups flour 16 Tablespoons butter 1 teaspoon salt 1/3 cup ice water 1 Tablespoon sugar 3 Tablespoons sour cream
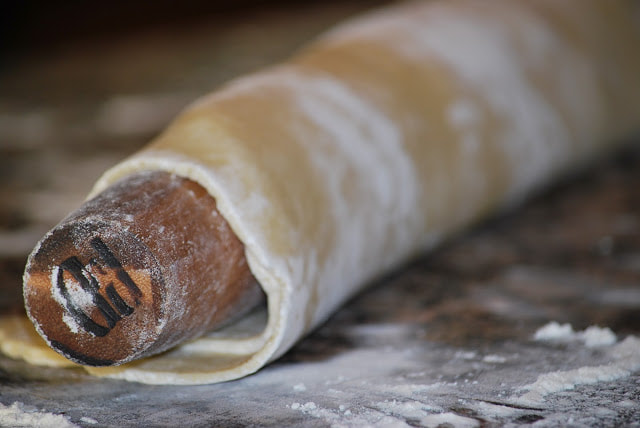
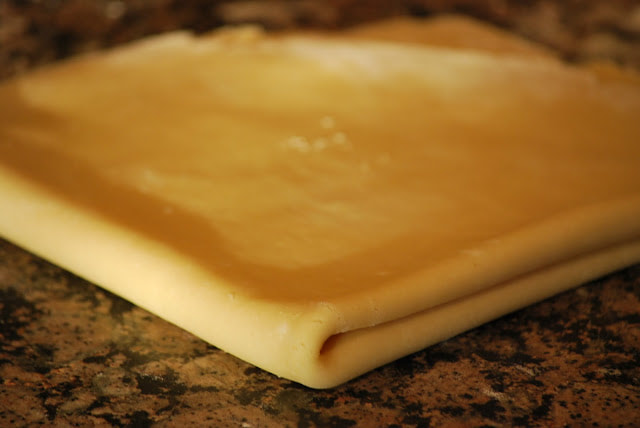
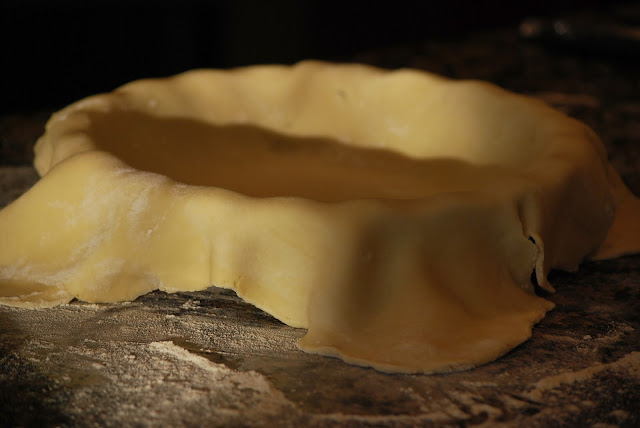
At this point I either, roll the crust onto the rolling pin or I fold it into quarters to transfer it to my pie plate. Both methods work equally well, it just depends on whether I feel like folding or rolling.
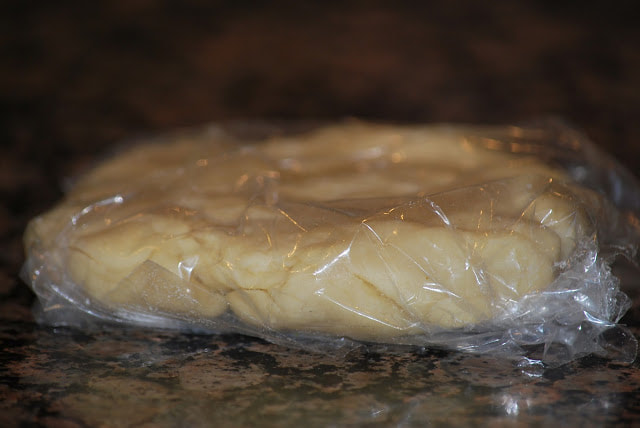
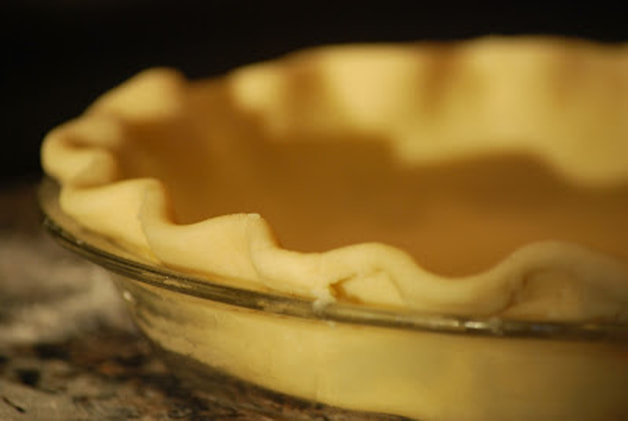
Flute the edges by placing the index finger of one hand in between the thumb and index finger of the other hand. (I wish that I had pictures of this process but I didn't have any available photographers during my crust making.)  I fit 2 pie crusts into pie plates and I had enough dough left over to make a top for one of my pies. (I like to roll my crust extra thin so I usually get 3 crusts out of this pie dough recipe.) For one of the pies that I wanted to make, I needed a baked pie shell so I heated a baking sheet in a 425 oven on the lowest rack. I covered the pie dough with foil before placing it on the baking sheet in the oven. Amy's hint: I have better luck when I refrigerate the dough in the pie plate for at least 15 minutes before baking. I can't tell you what the science is behind this technique but I know that when I don't refrigerate the dough, the sides tend to collapse in the oven. You can also use pie weights but I didn't have any so I just skipped that step. I baked the pie for 15 minutes, removed the foil and baked it another 10 minutes. 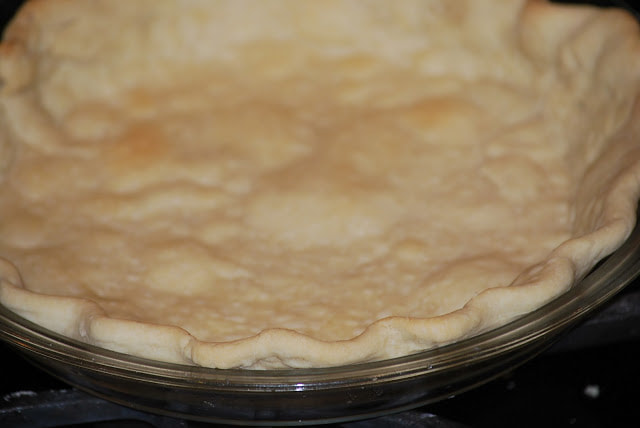 The crust came out golden and crispy - perfect for my fruit filling.
Ciao! |