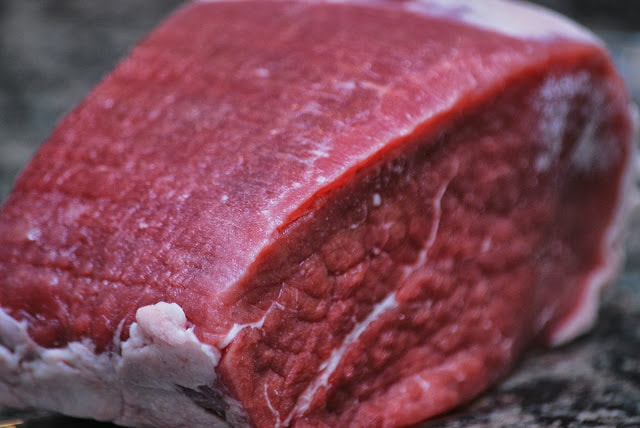
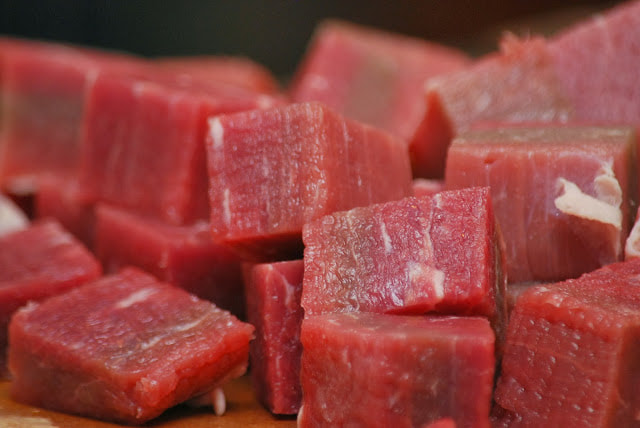
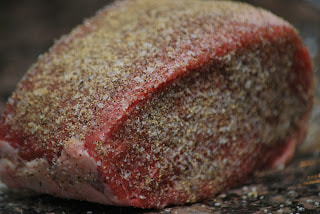
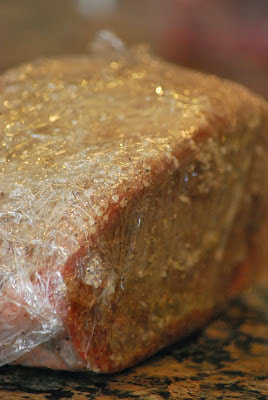
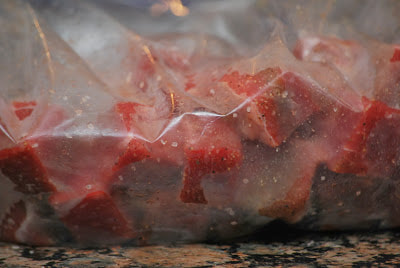
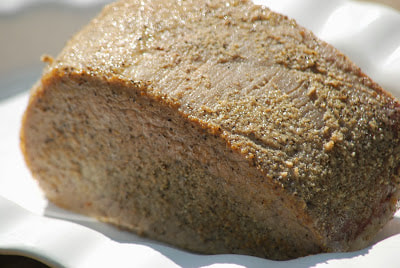
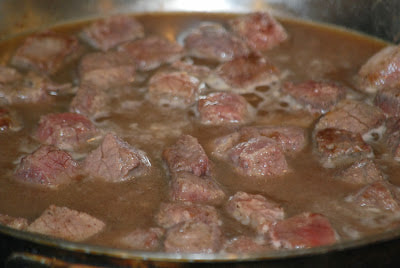
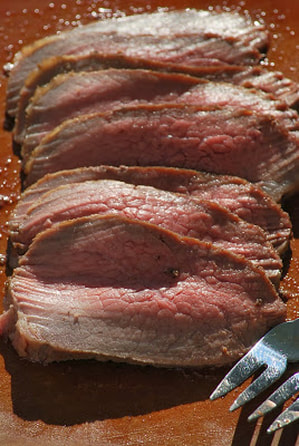
 I am about to state the obvious.. I'm a multitasker. What can I say? - I'm a mom. It's actually hard for me to sit down and concentrate on a single task. (Something that I'm working on, by the way.) My mind is going in at least 3 different directions at any given moment during the day. I can pack lunches, start dinner preparations, check email on my ipad, answer a phone call and help the kids with their homework - all at the same time. (Again- nothing that any other mom doesn't do every single day.) I enjoy cooking and I love to be in the kitchen but it's not always practical for me to spend an hour preparing dinner. There are uniforms that need to be washed and school projects to help with and meetings and games to attend - some nights I just don't have the time to prepare dinner - even for a multitasker like myself. Whenever possible, I like to cook at least 2 dinners at one time so I can have leftovers to serve my family on our extra busy nights. I cook a turkey one day and serve it in sandwiches and salads and tacos and quesadillas all week. It's a great way to save time on dinner preparations and still be able to serve healthy meals to my busy family. I found this recipe for slow roasted chuck roast in my Cook's Country magazine and after I read through the entire article, I realized that it was actually two recipes in one. The roast is divided in half and half is served as a roast and the other half is served as roast beef po' boy sandwiches. Genius. By cooking all of the meat at the same time, I can save lots of time in the kitchen. This will probably make more sense when you actually see how this recipe comes together so I'll just let you enjoy. 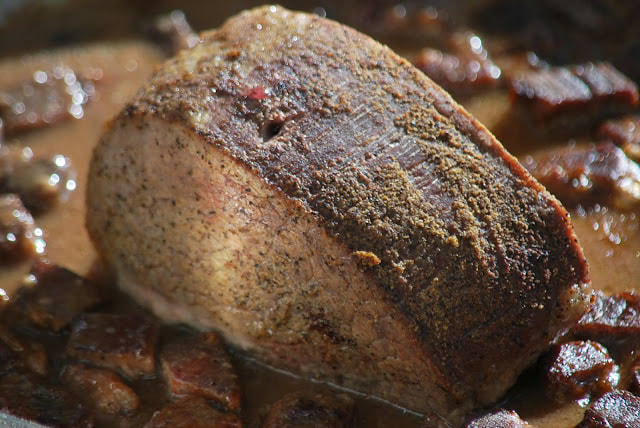 Slow Roasted Chuck Roast 1 5-8 pound center cut boneless check - eye roast 5 teaspoons kosher salt 2 teaspoons pepper 2 teaspoons onion powder 2 teaspoons garlic powder 2 Tablespoons oil 1/4 cup flour 1/2 cup red wine 1 1/2 cups beef broth 1 1/2 cups chicken broth Pat roast dry with paper towels. Separate roast into 2 pieces. Cut smaller roast into 1 inch cubes.
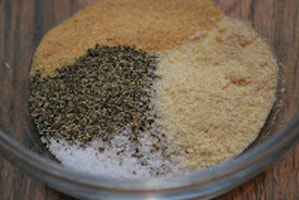
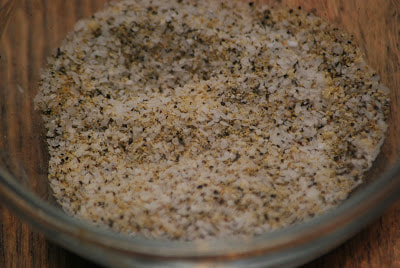
Combine salt, pepper, onion powder and garlic powder in a bowl.
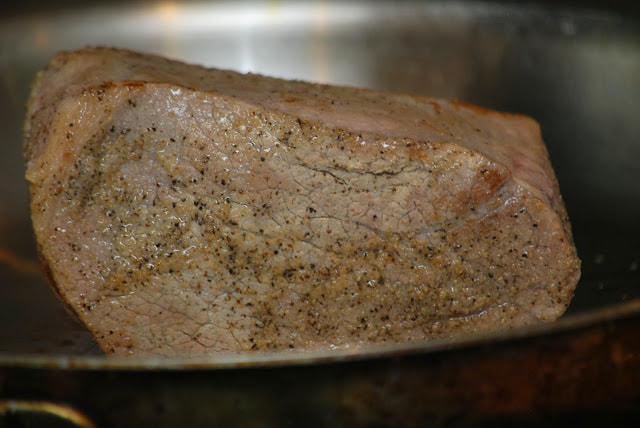
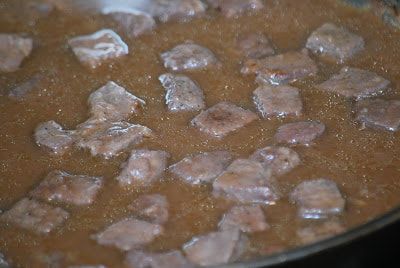
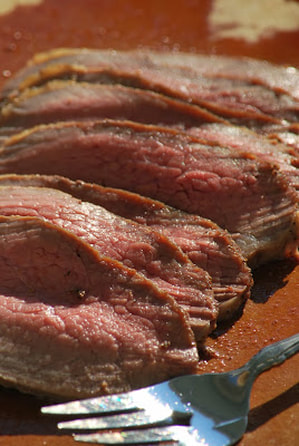
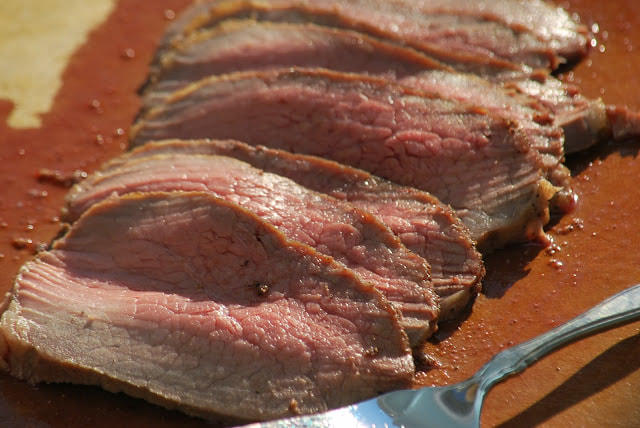
Place browned roast on top of cubed beef and bake, uncovered for another hour. (Or to an internal temperature of 150.) Transfer roast to a platter, cover and let rest for 20 minutes. 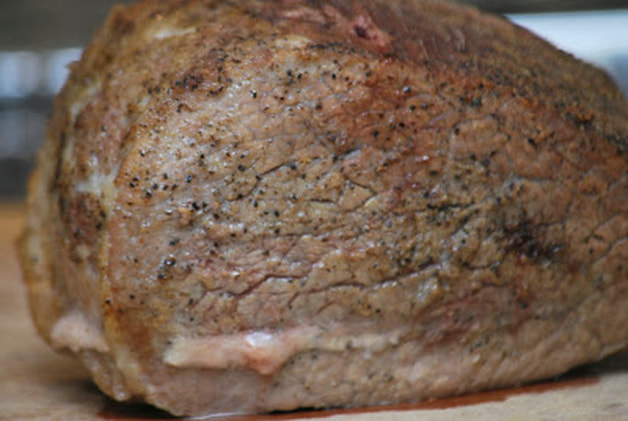 Slice and serve with pan sauce.
I served mine with mashed potatoes, buttermilk rolls and a green salad. 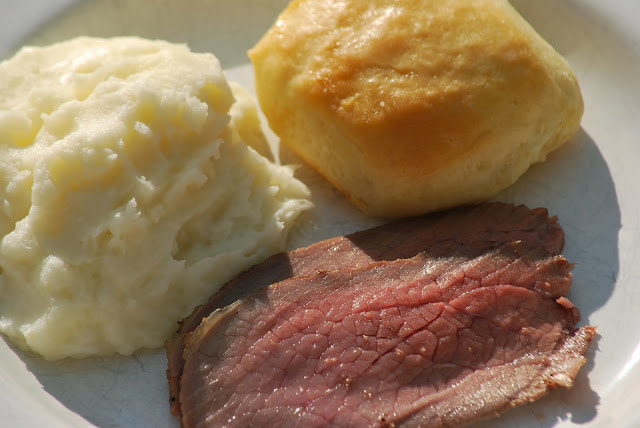 Put the beef cubes into a container and be sure and check tomorrows blog to see how you can turn those into a delicious po boy sandwich. Trust me - you don't want to miss that one.
Ciao!
0 Comments
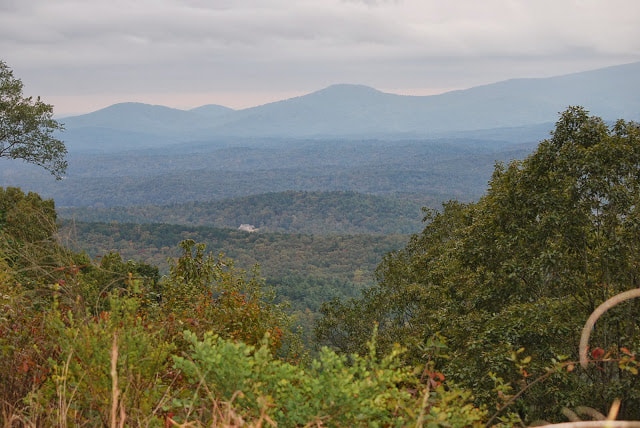
The Davis family headed up to the Appalachian Trail a few weeks ago for a day hike. It was a great day. This was the only picture that we have of the 4 of us from that day. It was our attempt at a selfie. (he, he, he)  These are some better pictures of our day on the trail.
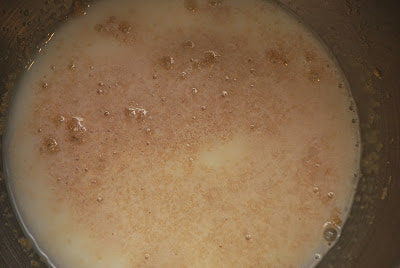
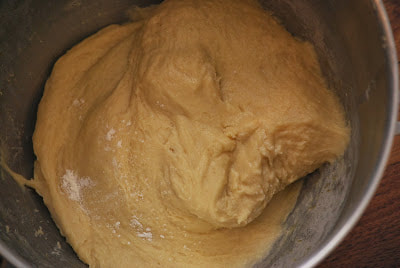
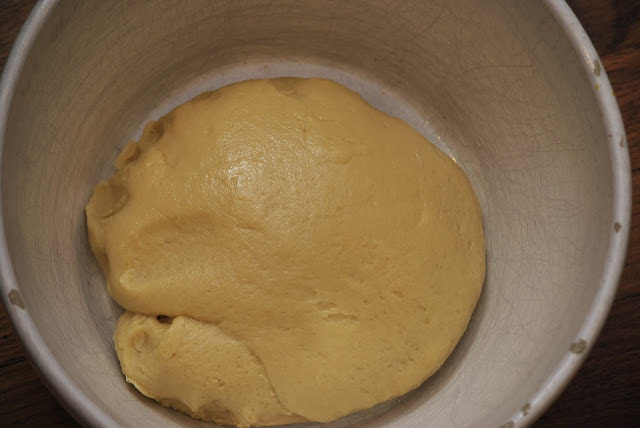
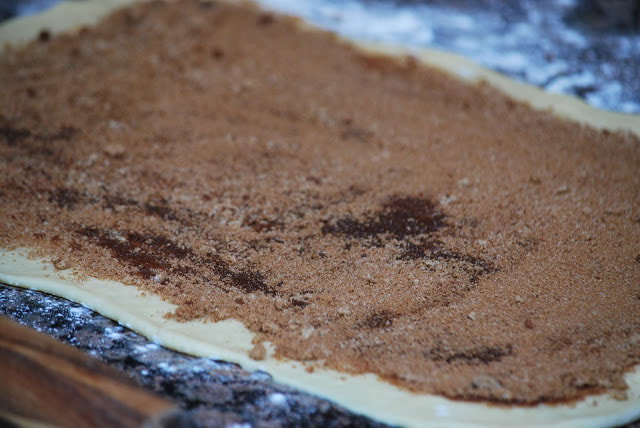
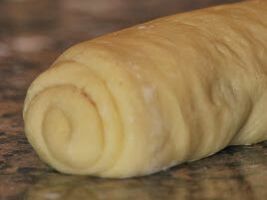
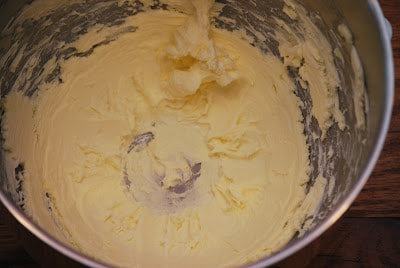
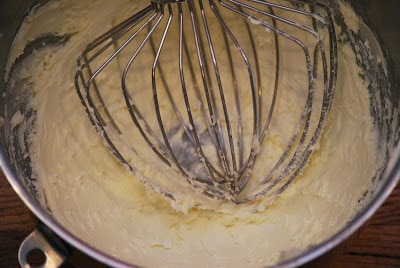
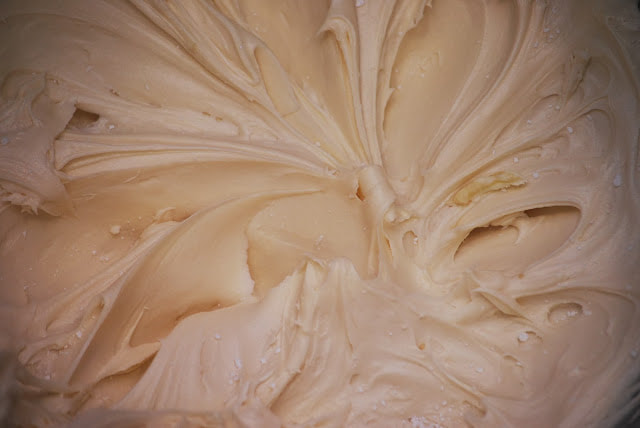
What do I need before I head out for a hike on the Appalachian Trail? A backpack? A great pair of hiking boots? A water bottle? No. No. No. This girl needs a great - energy boosting - breakfast of course and a camera. 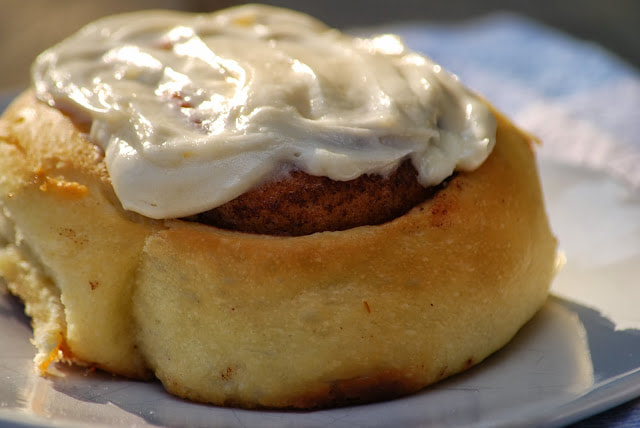 Cream Cheese Frosted Cinnamon Rolls 1 (7 g) package dry yeast 1 cup (237 ml) whole milk, warm 1/2 cup (100 g) granulated sugar 1/3 cup (75 g) margarine (or 80% margarine 20% butter spread) 1 teaspoon (8 g) salt 2 large eggs 3-1/4 cups (410 g) all-purpose flour 3/4 cup (105 g) bread flour For the Filling: 1 cup (220 g) packed light brown sugar 3 tablespoons (36 g) ground cinnamon 1/3 cup (75 g) butter, melted For the Frosting: 1/2 cup (114 g) cream cheese, softened 30 mins 1/2 cup (114 g) margarine, softened 30 mins 1-3/4 cups (220 g) powdered sugar, sifted 1 teaspoon (5 ml) vanilla flavor
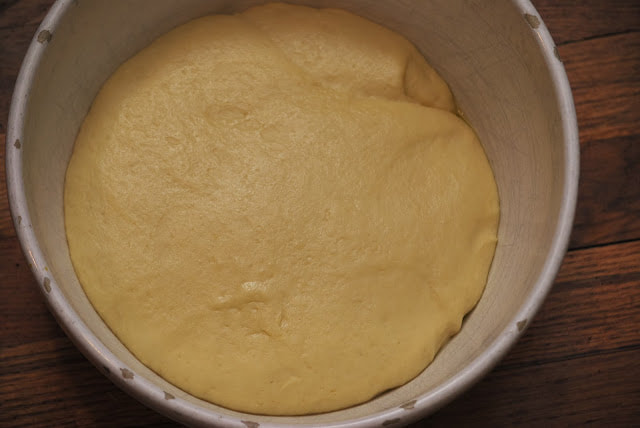
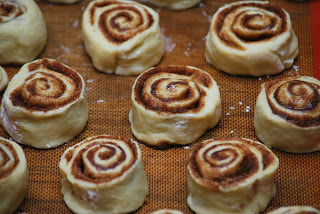
Put in a bowl, cover and let rise in a warm place until the dough has doubled in size, about 1 hour.
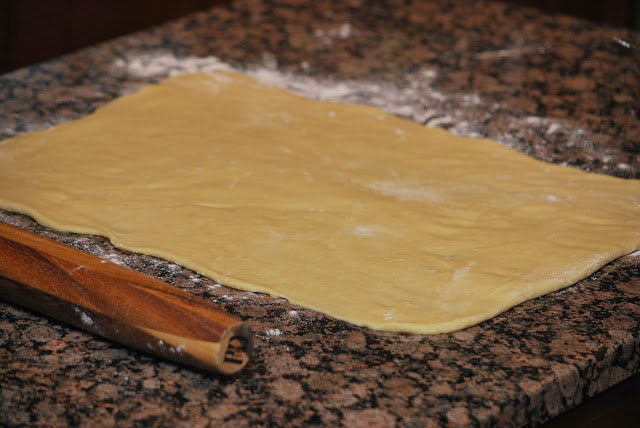
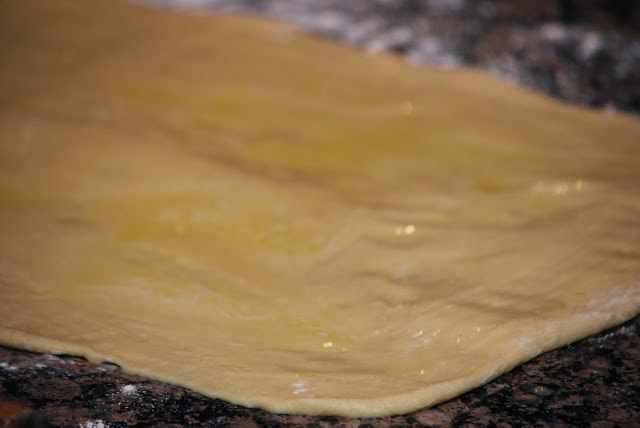
For the Filling: In a small bowl, combine the brown sugar and cinnamon.
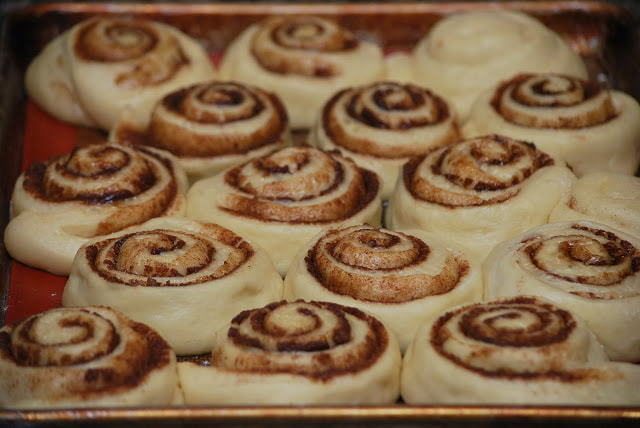
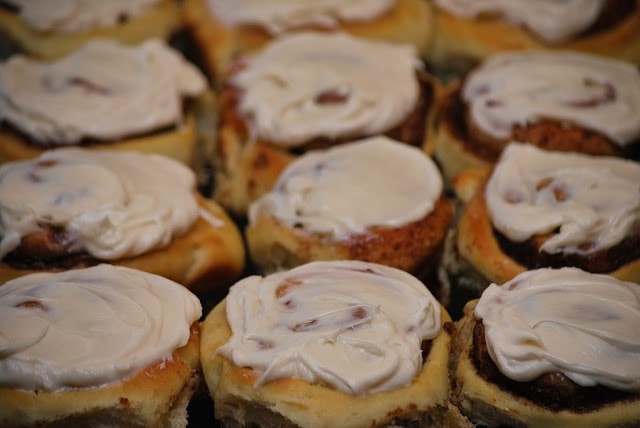
Bake in 400°F on rack just above center, for about 10 minutes, or until light golden brown. Cool on cooling rack and gently place into airtight container when cool. 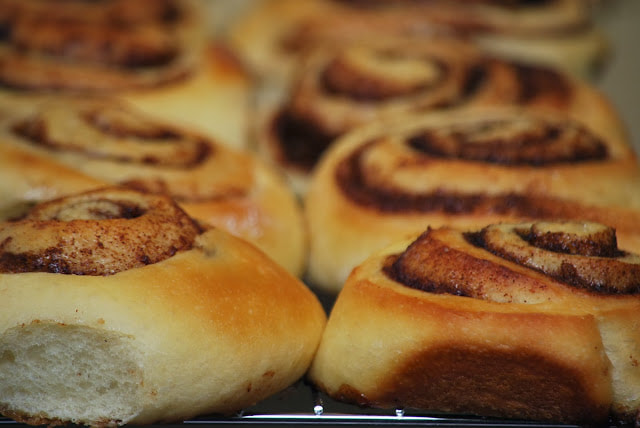
These rolls didn't last long in this house. 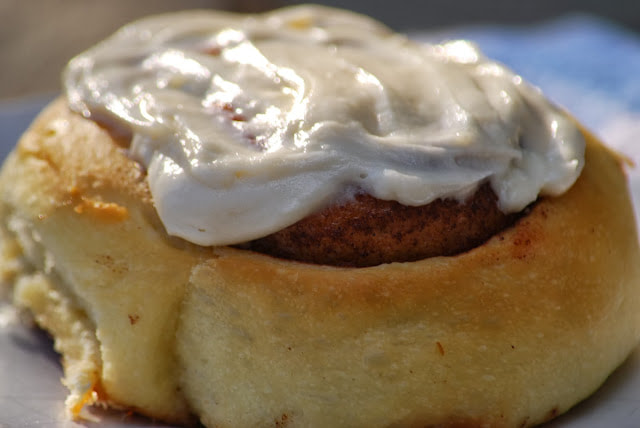 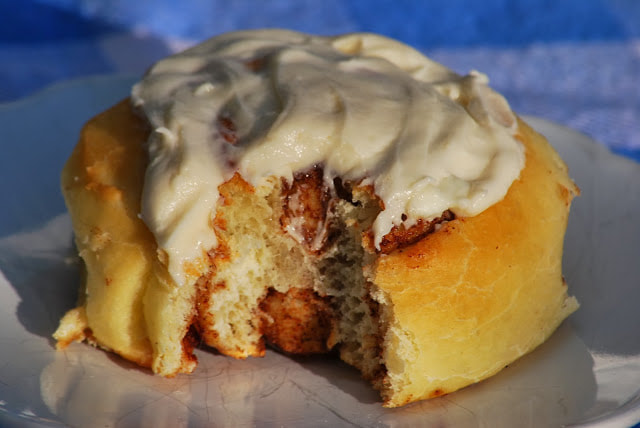 So after we fueled our bodies with cinnamon rolls, we headed out for our hike. Not your average pre-hike meal but I think the extra sugar helped carry me through the last few miles.
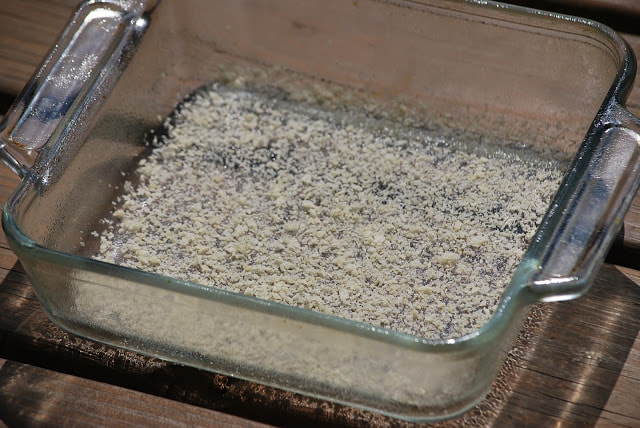
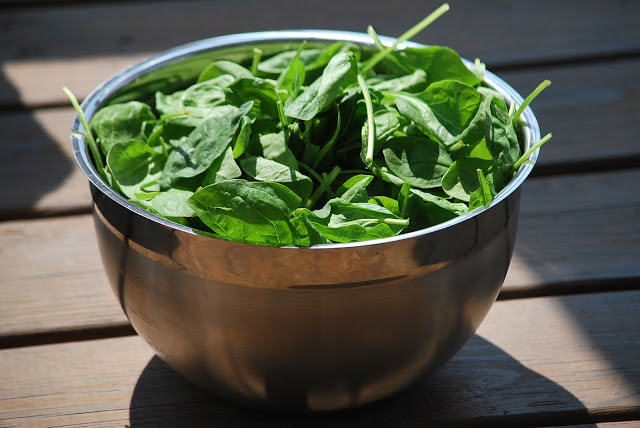
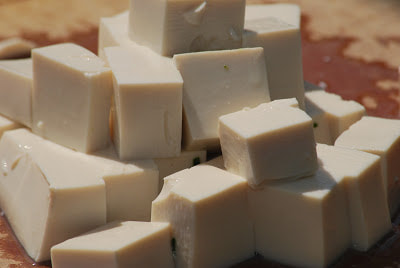
Ciao! 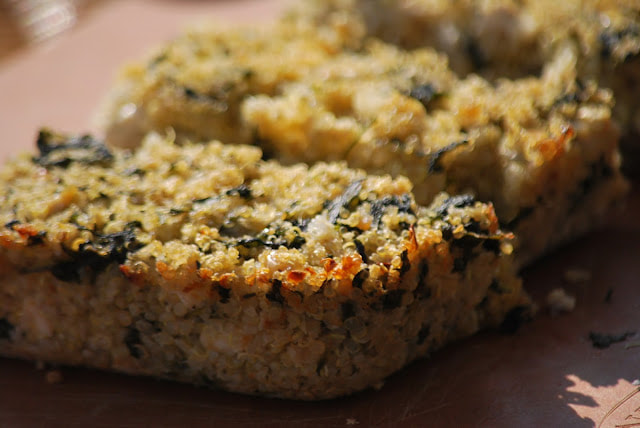 Did you ever do something and as soon as you did it, you instantly knew that it was wrong? Like when you go to the supermarket, spend an hour selecting a heaping basket full of groceries and carefully place them on the conveyer belt to be scanned only to look into your purse and suddenly realize that you don't have your wallet? (Seriously, you don't really think that I would be that absent minded to pull a stunt like that? haha) OK, it was totally me. I had to hang my head, walk out of the store leaving my groceries behind, drive home, get my wallet, drive back to the store, walk in and face the teenager who I'm pretty sure mocked me for the 40 minutes that I was gone, and then drive home again - this time with groceries in the car. (So humiliating.) Fortunately, my mistake was easily correctable. It cost me an extra 40 minutes out of a busy day but no real harm done. Sometimes, I'm not so lucky when it comes to cooking mistakes. There are times when I just can't undo what I did wrong and I have to figure out another way to fix the problem. When I make cooking mistakes sometimes I don't even realize that I messed up and there are other times when I know immediately that I did something wrong. I made a big mistake when I made this quinoa bake and I'm chalking it up to my lack of experience in working with tofu. This time, I knew right away that I hadn't prepared my tofu correctly but there was no turning back. Quite simply, I crumbled the tofu into the mixture because for some strange reason, I thought it would melt. I realized instantly that I should have blended my tofu first into a smooth consistency before adding it to my mixture. (It would have been extremely helpful if my brain had processed that information about 1 minute earlier.) Oh well, there was nothing I could do to correct my mistake so I decided to just go for it. The results, slightly crumbly quinoa bake. Oh well, next time I'll blend it first. 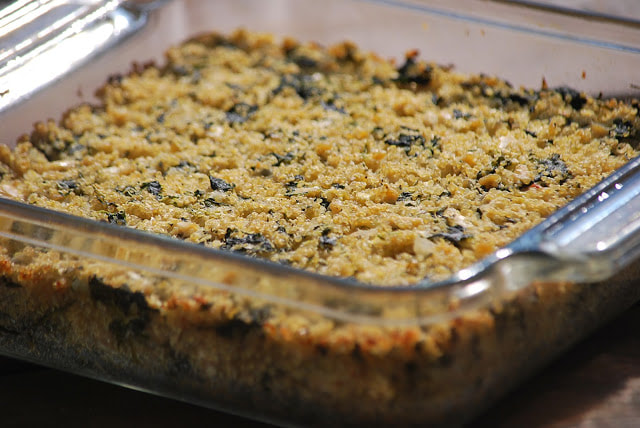 Quinoa Bake Olive-oil cooking spray Breadcrumbs, for baking dish 12.3 ounce box silken tofu 1 pound spinach leaves, picked and washed 2 teaspoons olive oil 1 yellow onion, peeled and diced 2 cloves garlic, peeled and minced 1 tablespoon picked fresh thyme leaves 1 teaspoon finely chopped fresh rosemary 1/4 teaspoon crushed red-pepper flakes 2 cups cooked quinoa (about 1 cup uncooked quinoa), made according to package directions 1/4 teaspoon freshly ground black pepper
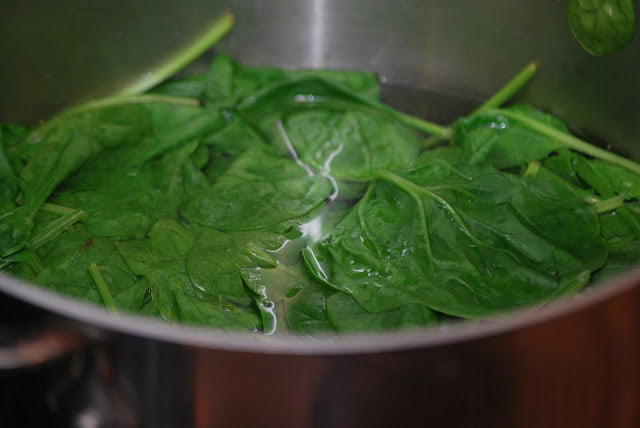
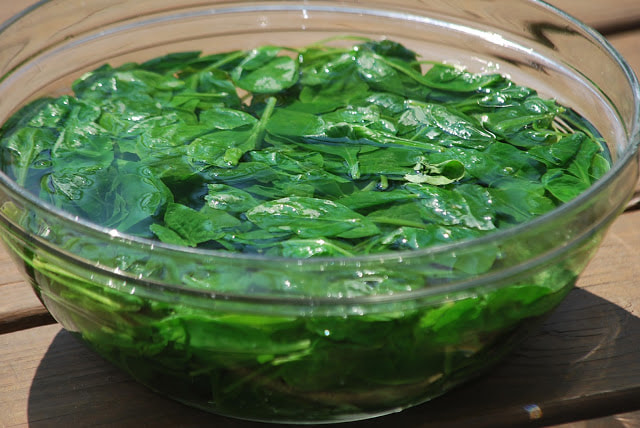
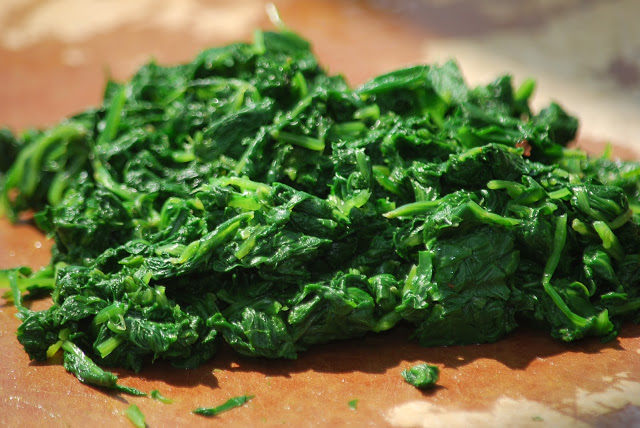
Fill a large bowl with ice and water; set aside. Bring a medium pot of water to a boil. Add spinach; blanch until bright green, about 10 seconds. Transfer to ice bath. When spinach is cold, remove from ice bath, squeeze out all water, and finely chop; set aside.
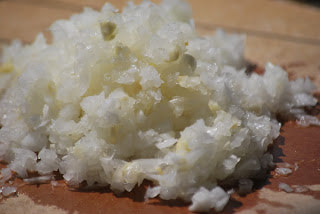
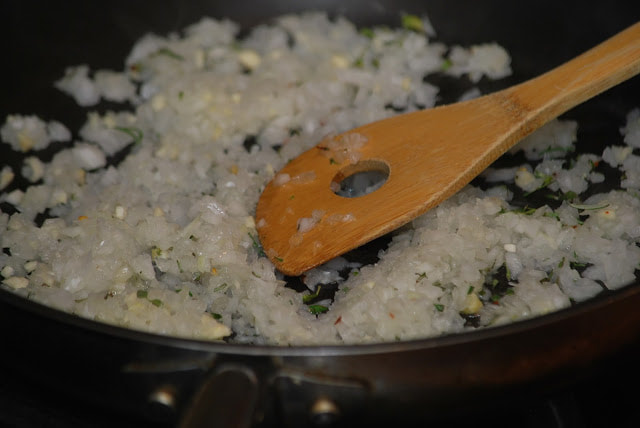
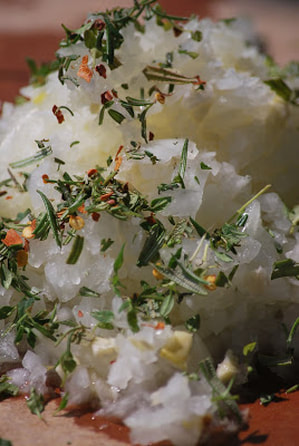
Heat the olive oil in a medium saute pan. Add onion, garlic, thyme, rosemary, and red-pepper flakes, and saute until translucent, about 8 minutes.
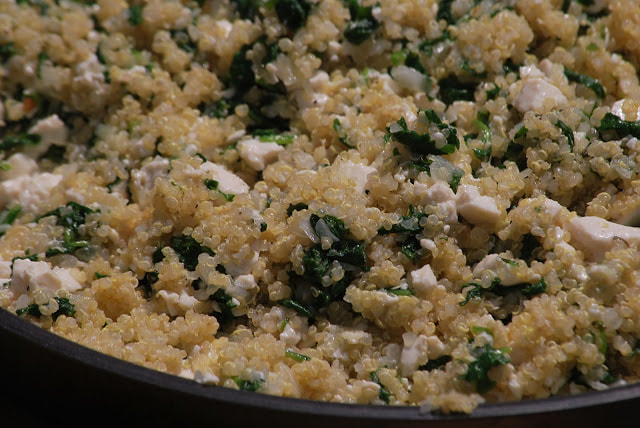
Add spinach, quinoa, pepper, and tofu to the onion mixture, and stir until well combined.
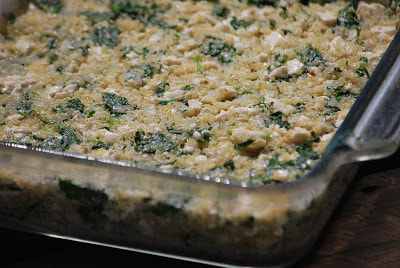
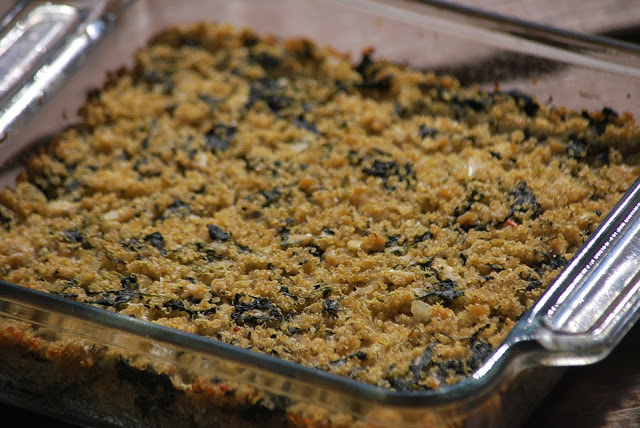
Pour the mixture into the prepared baking dish, and place in the oven. Bake until set and edges are brown, 60 to 70 minutes. Slice, and serve warm or at room temperature.
Cut into squares.  This is a really nice little side dish for any vegetarians or vegans who might be joining you for Thanksgiving dinner. (Just a suggestions.) I liked the quinoa bake a lot so and I reheated the leftovers for lunch for several days after I made it.
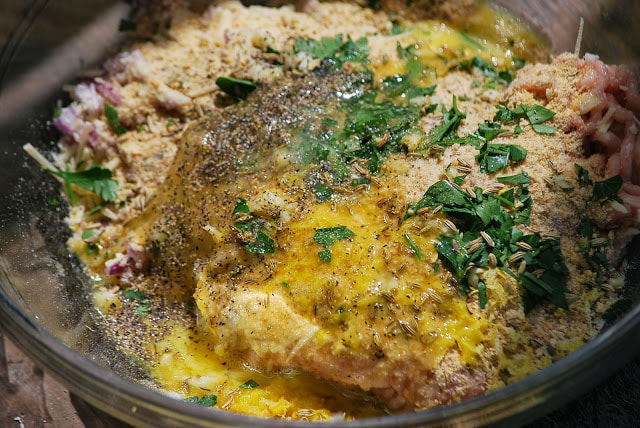
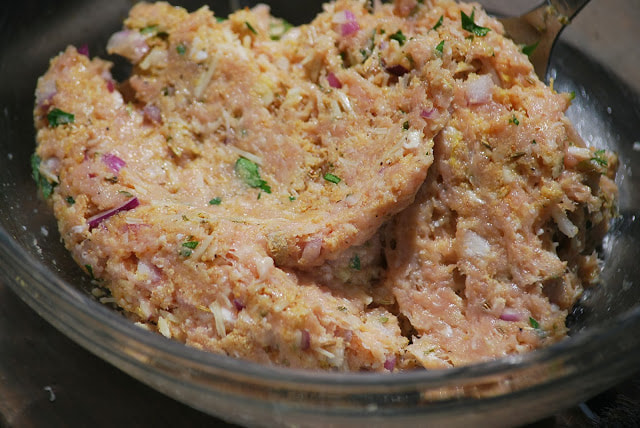
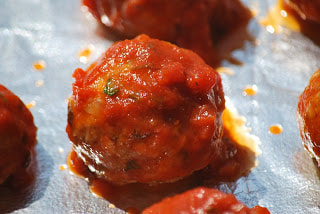
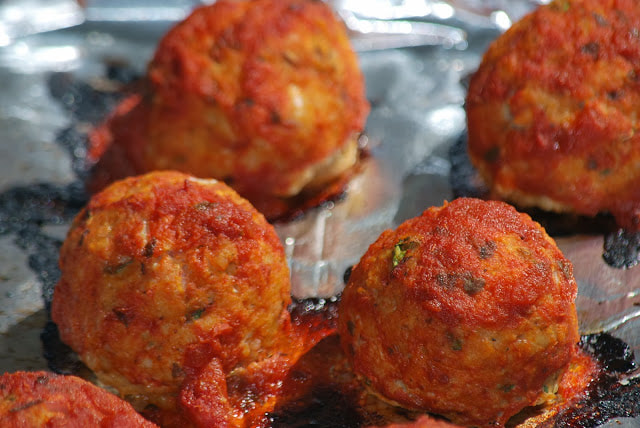
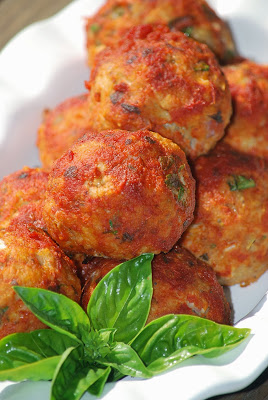
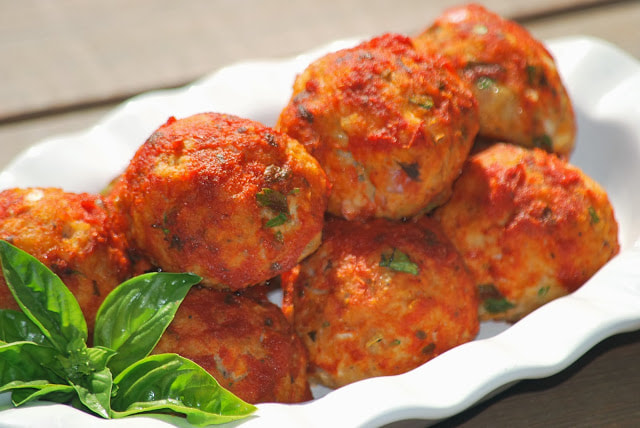
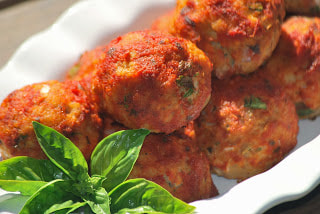
Ciao! 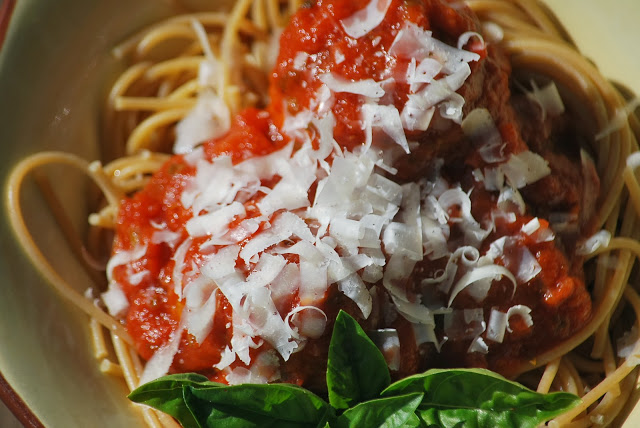 Friday night spaghetti dinners have become somewhat of a tradition in our house this Fall. Perhaps it's been driven by Saturday morning Cross Country meets and the need to "carbo-load" or perhaps it came out of a necessity for quick and easy meals before we head out to watch high school football. Either way, there have been no complaints about Friday spaghetti night. My daughter Courtney will tell you that you cannot have a pasta dinner without - meatballs! For her, eating spaghetti without meatballs is like eating peanut butter without jelly, Oreos without milk, biscuits without jam - you get the idea. She just can't bring herself to eat pasta without meatballs. It took me a while to catch onto her quirky meatball habit but I've finally learned to keep a few meatballs in the freezer specifically for our pasta nights. (It saves me from making a batch of meatballs EVERY time I cook pasta for dinner.) I almost always make a double batch when I make meatballs and I freeze the leftovers, pop them into ziploc bags and toss them in the freezer. 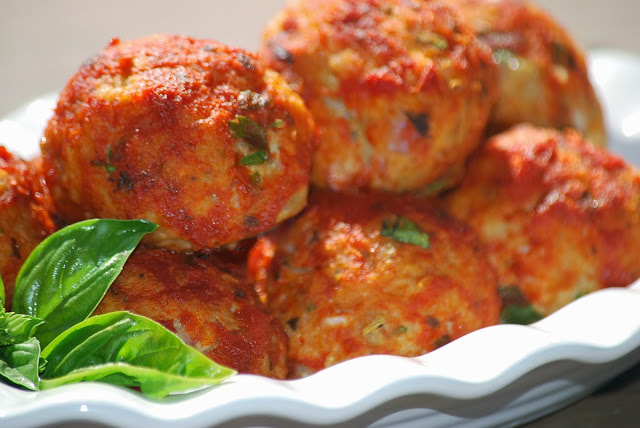 These chicken parmesan meatballs are really yummy but they didn't quite pass the taste test of Courtney - the great meatball connoisseur. I thought they were really good and I loved the fact that they were a little healthier than their beefy counterparts. I'm not ready to give up on this recipe quite yet. Perhaps I will melt a little mozzarella cheese on top and a drizzle a little spaghetti sauce over these meatballs to make subs for lunch this weekend. Chicken Parmesan Meatballs 1 1/4 pounds minced chicken 2 tablespoons onion, chopped 1/2 cup Parmesan 1/2 cup breadcrumbs zest of 1/2 lemon 1 tablespoon parsley, chopped 1 minced clove garlic 1 tsp fennel seeds 1 egg, whisked salt & pepper to taste 1 cup spaghetti sauce Preheat oven to 400 degrees with the rack near the top. Throw in all the ingredients – except for the last 3 – into a bowl, and mix well.
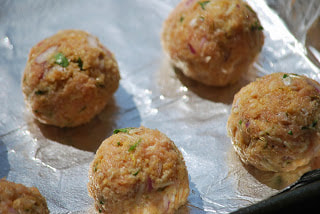
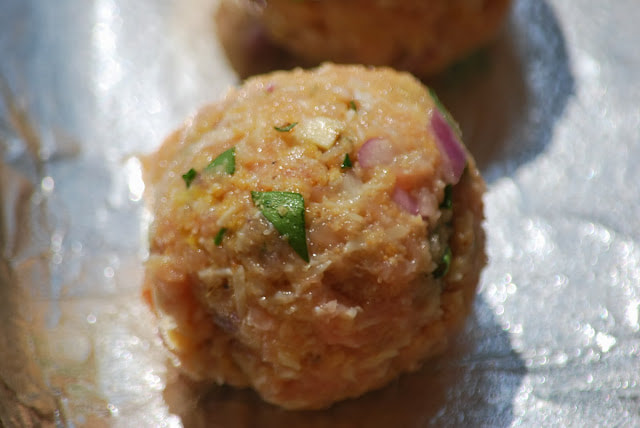
Make large balls with your hands, and arrange them on a foil sheet.
Serve with whole grain pasta or on sub rolls. 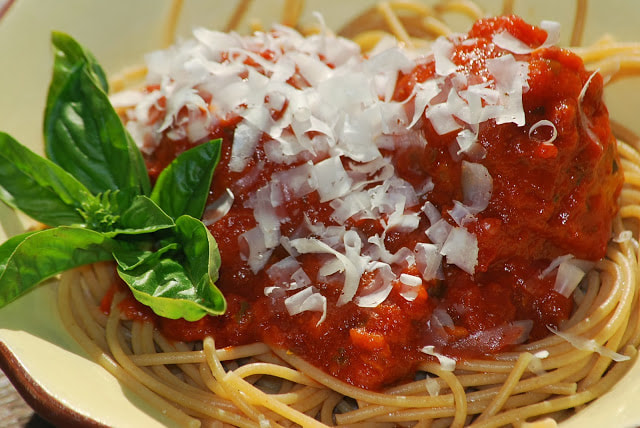 Ciao!
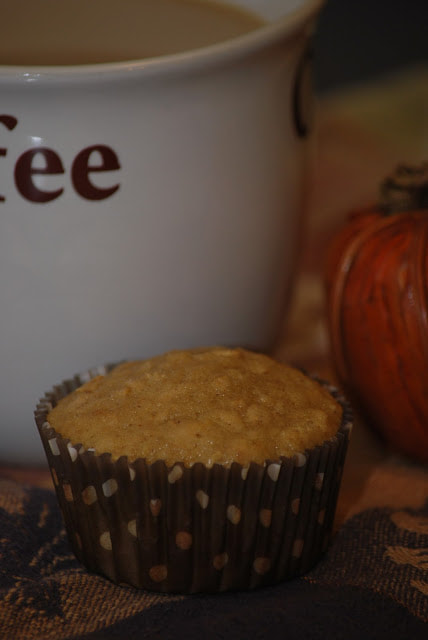
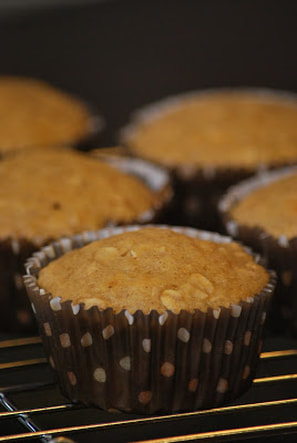
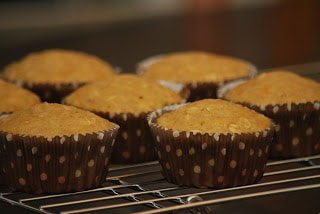
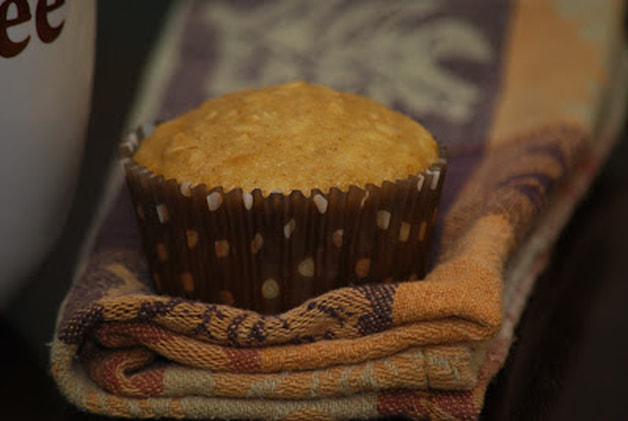 Growing up in northeast Ohio, I had the opportunity to experience the tapping of maple trees - first hand. I can remember walking through the park and seeing the metal buckets hanging on the large maple trees to collect the sweet sap. My brother and I used to put our fingers under the spout and steal a drop of the sweet syrupy sap while we walked past. Every April, the town next to my hometown of Kirtland would host a maple festival. We would walk through the sugarhouse where I we could see great big pots of sap slowly simmering over open flames. The smell of the sugarhouse was intoxicating - thick and sweet and warm. I don't think we ever left the festival without sampling the fresh maple candy. It was super sweet and kind of grainy but after a day of being surrounded by the smell of warm maple syrup - it was perfect. 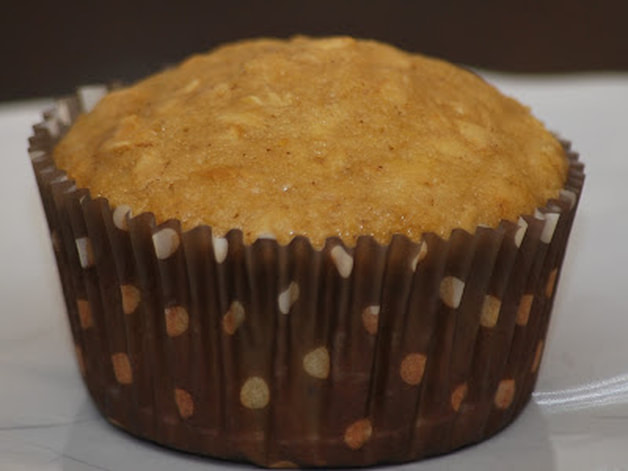 So why all of a sudden am I reminiscing about my childhood maple syrup memories? I recently made a batch of maple oatmeal muffins and every time I open a jar of REAL maple syrup I can't help but be reminded of those metal buckets hanging on the huge trees in Ohio every February. I didn't make these muffins with fresh OHIO maple syrup but they're still really yummy. They're simple enough to make for weekday breakfasts and they freeze really well too. (That's my subtle way of saying - make a double batch and freeze some for later. You'll thank me later.)
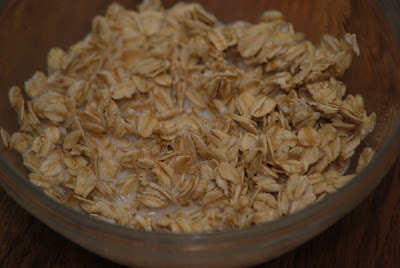
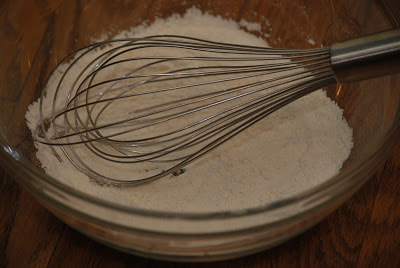
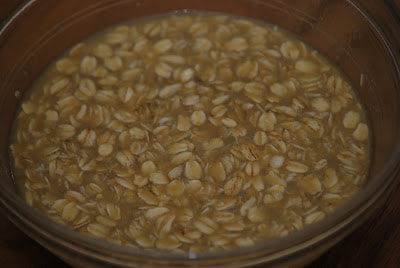
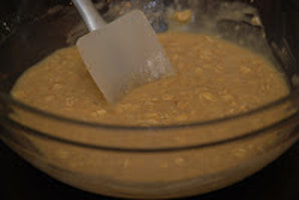
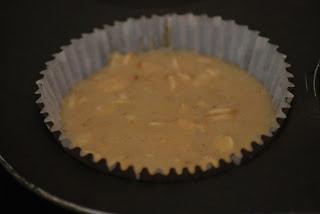
Maple Oatmeal Muffins 1 cup oats 1/2 cup milk 1 cup flour 2 teaspoons baking powder 1/4 teaspoon salt 1/4 teaspoon cinnamon 3/4 cup maple syrup 1/4 cup butter, melted 1 egg
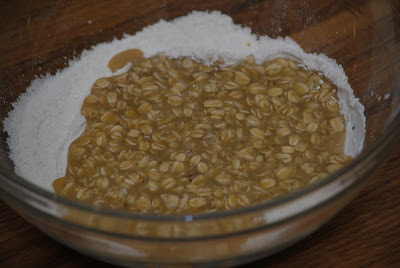
Pour mixture into the center of dry ingredients and fold together.
 Ciao!
|