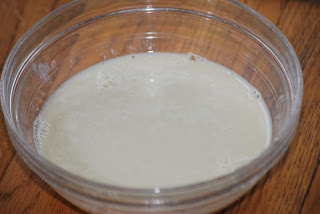
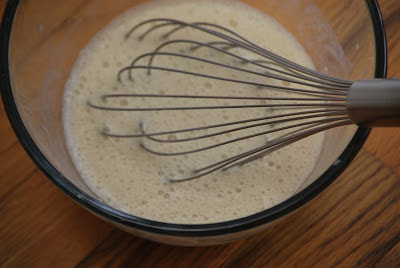
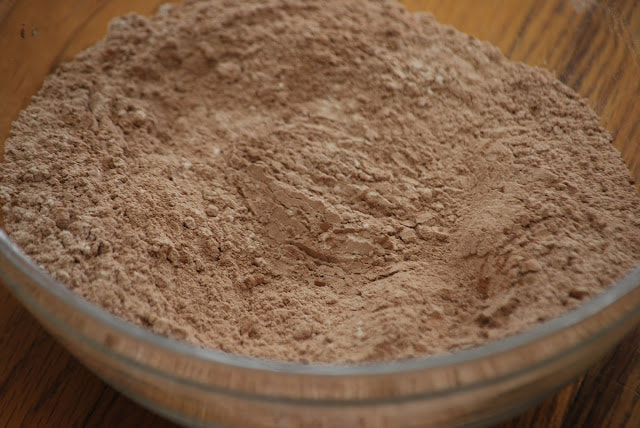
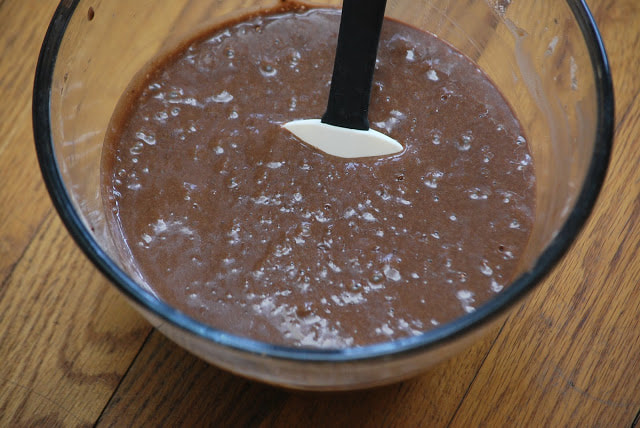
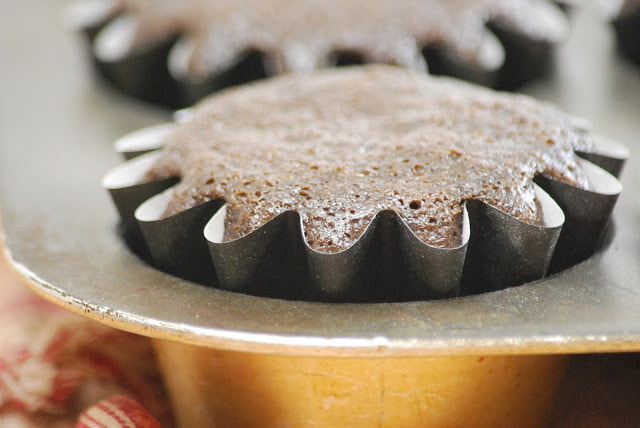
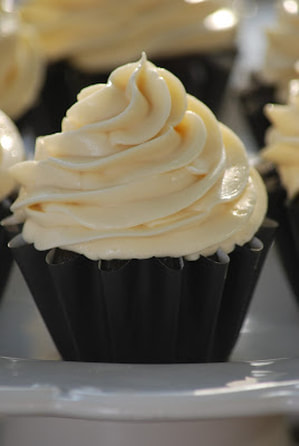
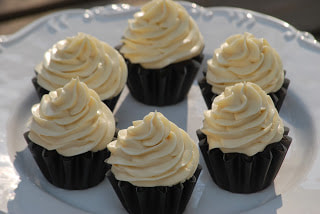
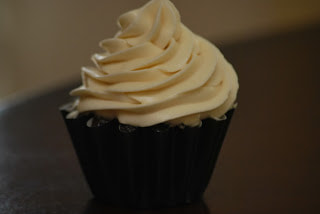
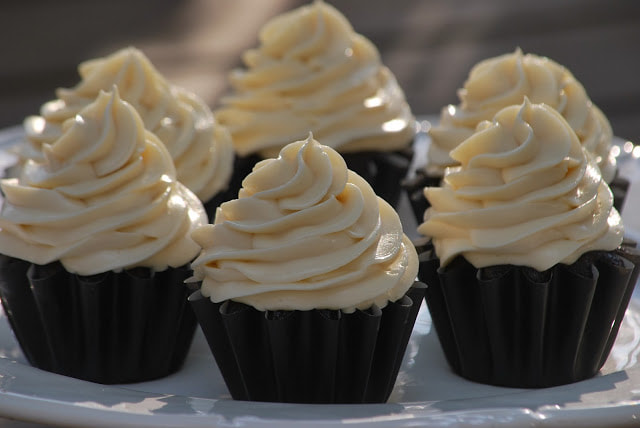
 I am here to publicly confess that I over complicate EVERYTHING! (I would call myself an overcomplicator but I'm not sure that's even a word.) Even the simplest of tasks - I manage to turn into extreme challenges. (I think it's a disease.) When a client calls to order a plain chocolate cake - I immediately start dreaming up all kinds of different things that I can do to it. (I just can't help myself.) The truth, some pretty great desserts have come out of my need to over complicate everything - that is the positive side to this weird sickness. I love all of the exotic flavors but I also love the plain and simple desserts. When I go to a bakery and pick out a cupcake - I almost always choose one of the basics flavors. (Yellow cake with chocolate frosting or chocolate cake with vanilla buttercream.) Making an over-the-top elegant dessert is great but the true test of a great baker is how well they can make the simple flavors. Baking a really great vanilla or chocolate cupcake isn't easy and it's taken me quite a while to perfect my recipes. A cake or cupcake with just the right texture, crumb and moisture that's absolutely bursting with fresh flavor is always my goal. (There I go - over complicating even the simplest of flavors.) I set out to make a batch of vegan cupcakes for a friends birthday recently and I made a conscious effort to "keep it simple." I wanted to create a deep, dark, rich chocolate cupcake without any added flavors or fillings. I wanted to top it with a pure, smooth and creamy vanilla buttercream. 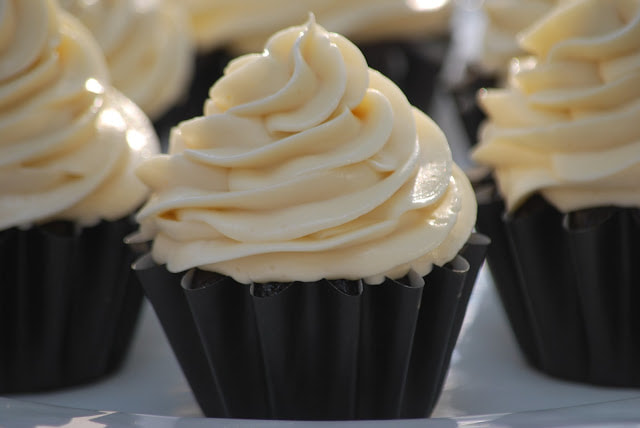 Vegan Chocolate Cupcakes 1 cup soy milk 1 teaspoon apple cider vinegar 3/4 cup sugar 1/3 cup sugar 1 teaspoon vanilla 1 cup flour 1/3 cup cocoa 3/4 teaspoon baking soda 1/2 teaspoon baking powder 1/4 teaspoon salt
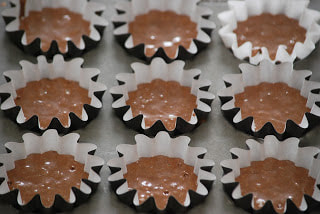
Bake 18-20 minutes at 350.
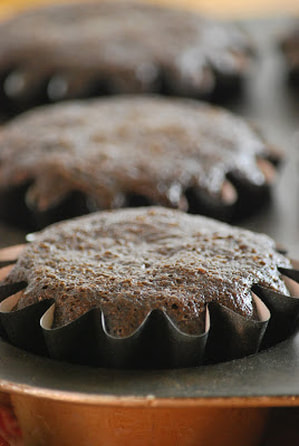
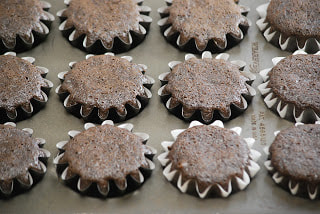
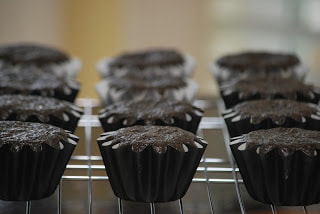
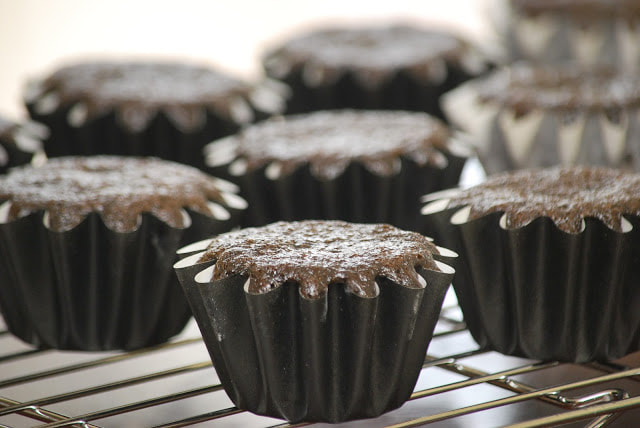
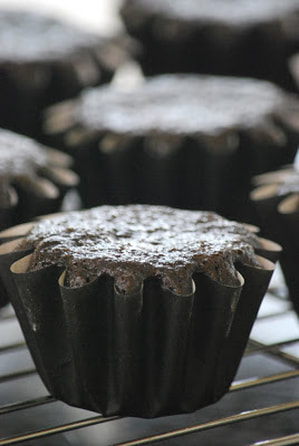
Cool on wire racks.
Combine buttercream ingredients in a standing mixer with a whisk attachment. 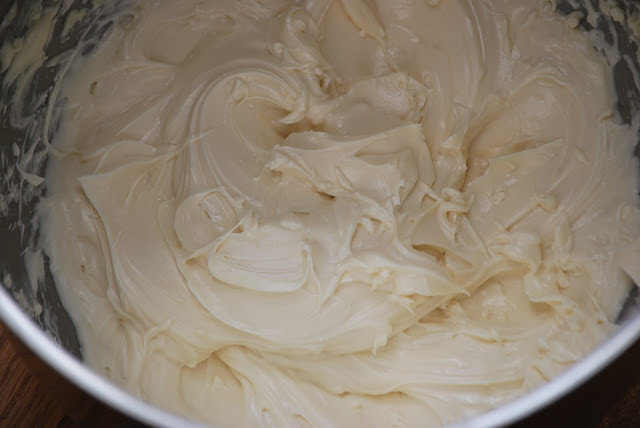 Pipe onto cupcakes.
Who says vegan cupcakes can't be beautiful? These cupcakes are beautifully simply and simply delicious. No fancy flavors or fillings or decorations - just plain and simple - good.
Ciao!
0 Comments
 Some things are all looks and no substance. Take Mia for example. When someone rings our doorbell, she goes ballistic. I'm talking about crazy "I'm going to bite your head off" barking, frantic spinning in circles and uncontrollable drooling. You get the picture - she's turns into an absolute nut. To be perfectly honest, I think she's half excited to see who is behind the door and half afraid.  She acts the same neurotic way when someone passes our house while she is in the yard. (The Fed Ex and the UPS trucks make her exceptionally wild for some reason.) She is in an invisible fence so she can't quite reach the sidewalk but she gets about as close to it as she possibly can and barks like a crazy dog at anyone who might we walking or biking or heaven for bid - running - past out house. She is uber protective of our her yard.
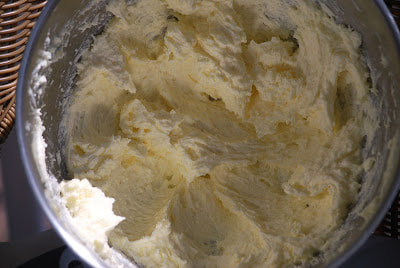
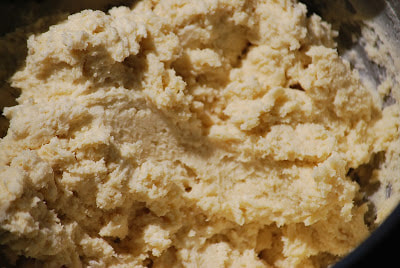
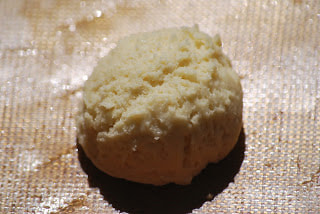
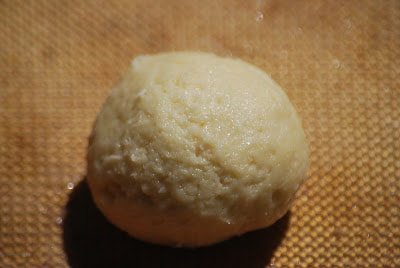
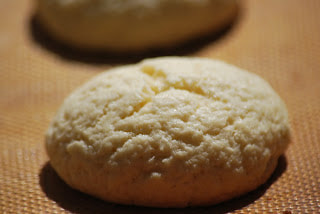
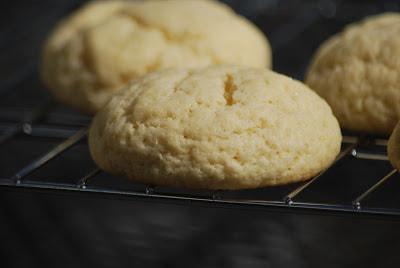
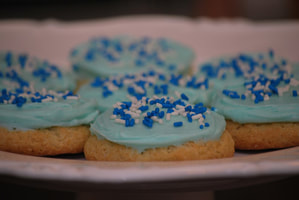
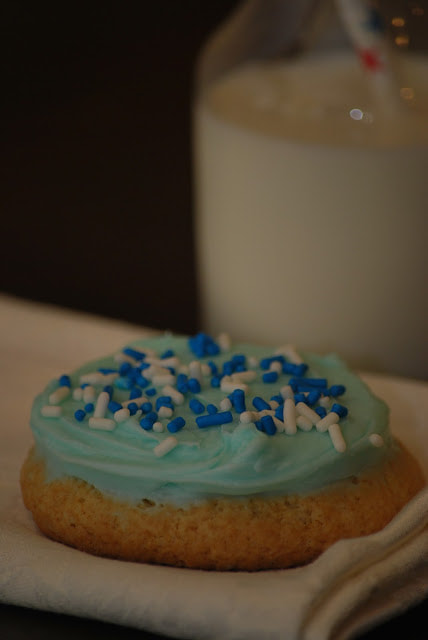
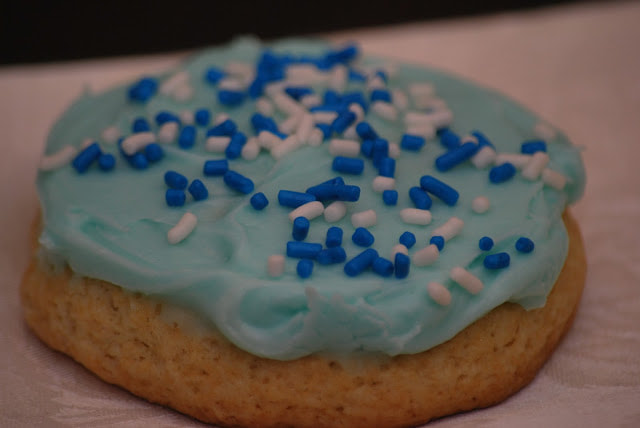
I'm sure you've experienced this "things are different than they appear" even in your dessert choices. A beautiful dessert catches your eye and so you decide to give it a try. After the first taste you realize that the flavor doesn't live up to its eye catching presentation. I feel that way about the soft sugar cookies that they sell at most major supermarkets. I'm sure you know the ones that I'm talking about. (I don't want to name the brand because I mean them no harm.) Thick, round sugar cookies with a thick layer of pastel colored frosting smeared across the top and finished with a scattering of brightly colored sprinkles. They're usually set out on a display table to catch the eye of the impulsive grocery shopper or a passing child who will inevitably beg to put a package into their basket. Who can blame them really? They really do look so delicious that I myself have succumb to the temptation to buy them. It's hard to describe the flavor of these cookies because they don't really have much flavor at all. At the risk of sounding harsh, they're bland and tasteless. The overly sweet frosting on top of the cookies doesn't really do it any justice either. If you are someone who loves these soft cookies from the grocery store - I apologize for my super critical evaluation. I respect your opinion but I'm here to tell you that there is something better out there. I can assure you that once you try my recipe for soft sugar cookies with a creamy, cream cheese frosting, you will never go back to the store bought version again. I found this recipe on remarkablehome.net. These cookies blow those other cookies out of the water. They're so easy to make and they're cheaper than their grocery store counterparts - win -win! 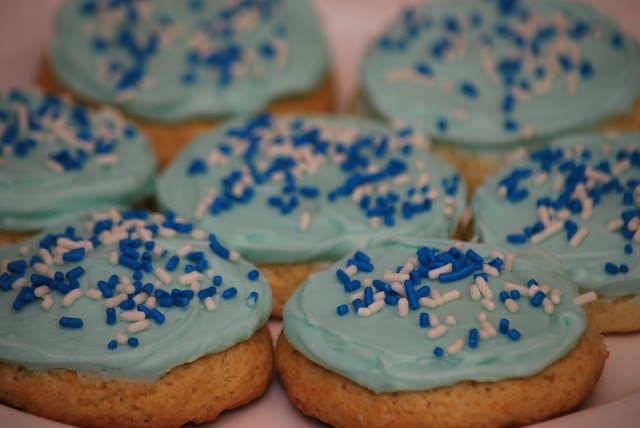 Old Fashioned Sugar Cookies 1 c. butter 1 1/2 c. sugar 2 eggs 4 1/2 c. flour 1 tsp. soda 2 tsp. baking powder 1 tsp. salt 1/2 tsp. nutmeg 1 c. sour cream 1 1/2 tsp. vanilla
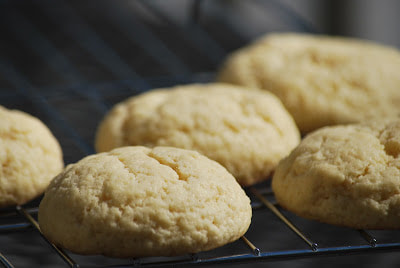
Cool on wire racks.
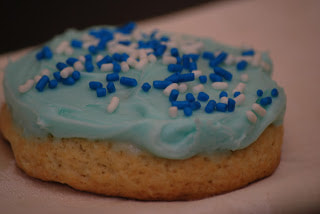
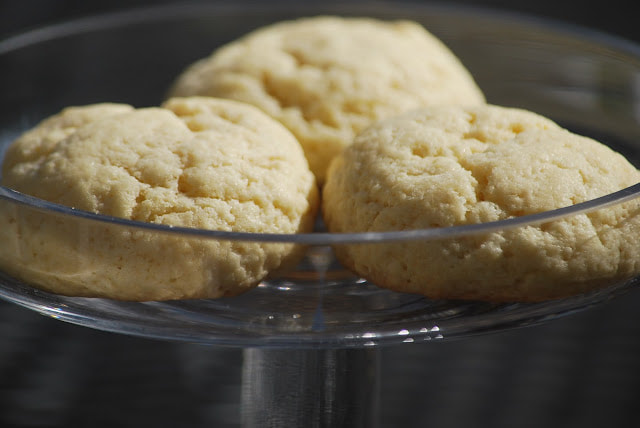 Frost with cream cheese icing. Icing 1 stick butter 8 ounces cream cheese 3-4 cups powdered sugar 1-2 Tablespoons milk
I hope that your family loves these cookies as much as mine did. They are definitely going to make a repeat appearance at Christmas time. I'm thinking light blue icing with snowflake sprinkles.
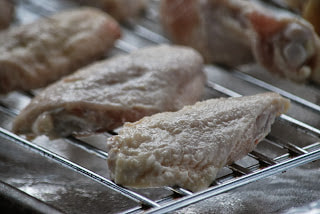
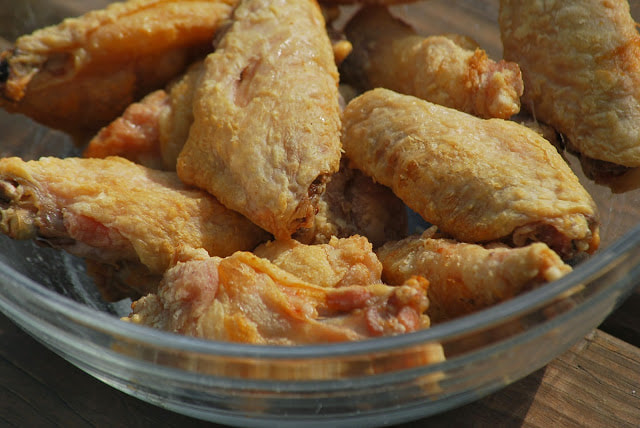
Ciao!  It's November which means that college football is on the schedule for the weekend. What games will you be watching this weekend? More importantly, what will you be snacking on while you cheer on your favorite team? Cooks' Country published a baked chicken wing recipe in their latest magazine. My family is always up for chicken wings so I decided to try it out on them.
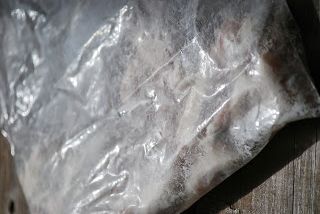
Oven Fried Chicken Wings 4 pounds chicken wings 2 Tablespoons baking powder 3/4 teaspoons salt Wing Sauce 1/2 cup hot sauce 4 Tablespoons butter, melted 1 Tablespoon molasses
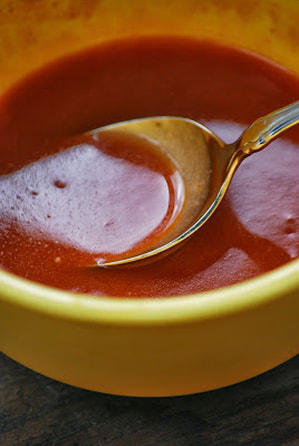
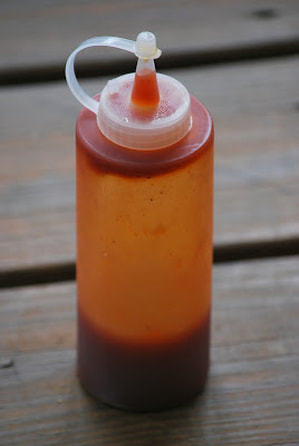
Transfer wings to a bowl and coat with sauce of your choice. 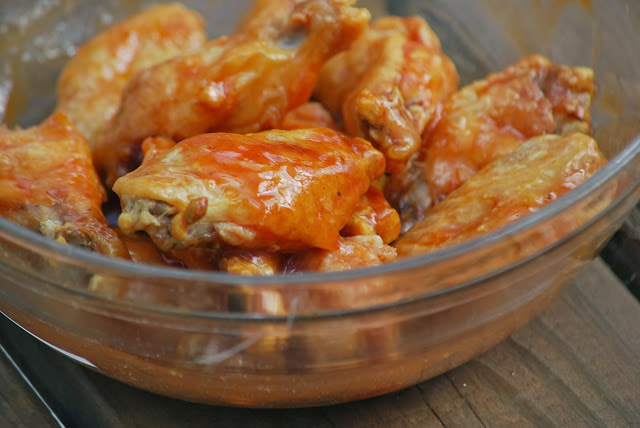 I mixed up the recipe for hot sauce but I put that in a separate dish for dipping. I coated my wing with a mildly tangy barbecue sauce that is more kid - friendly.
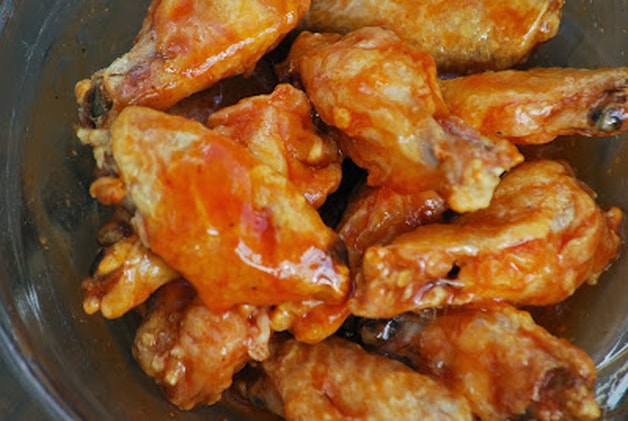 Serve with celery and ranch. (or blue cheese)  Watching the football game will never be quite the same again.
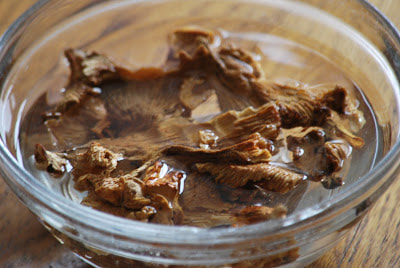
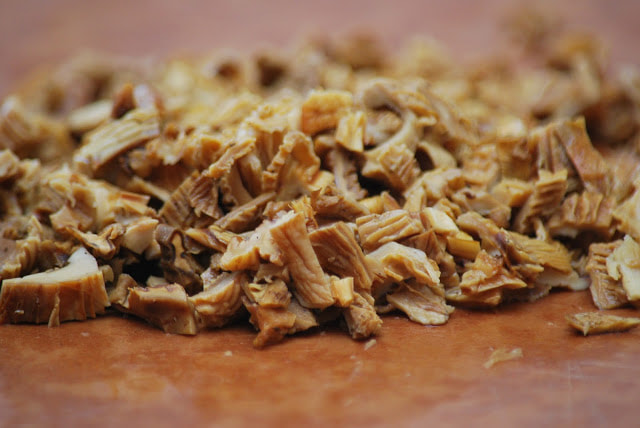
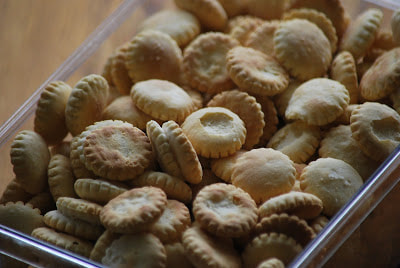
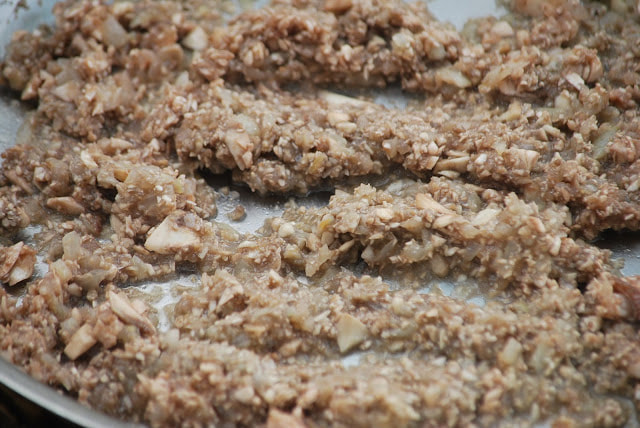
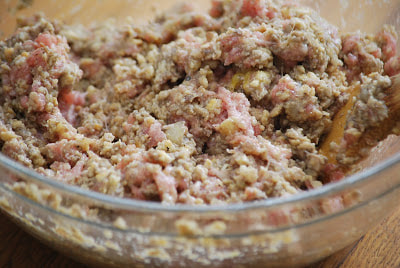
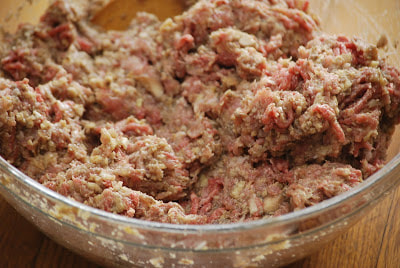
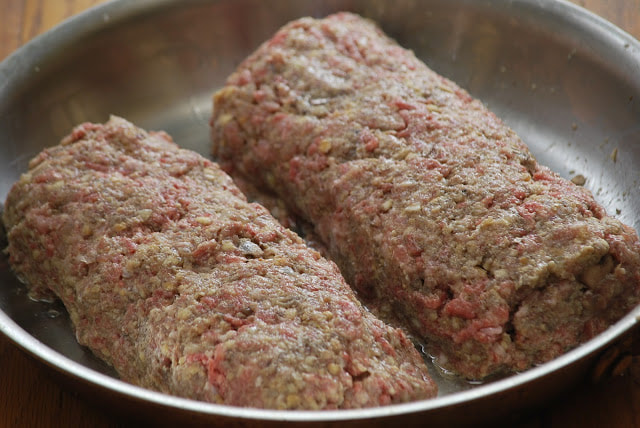
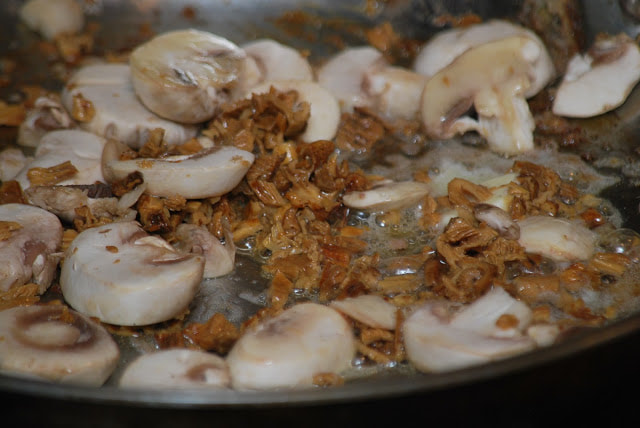
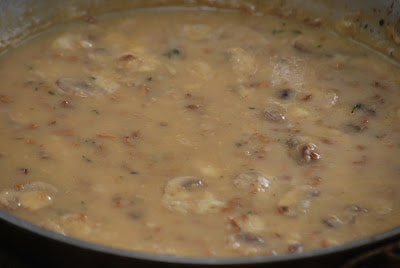
Ciao! 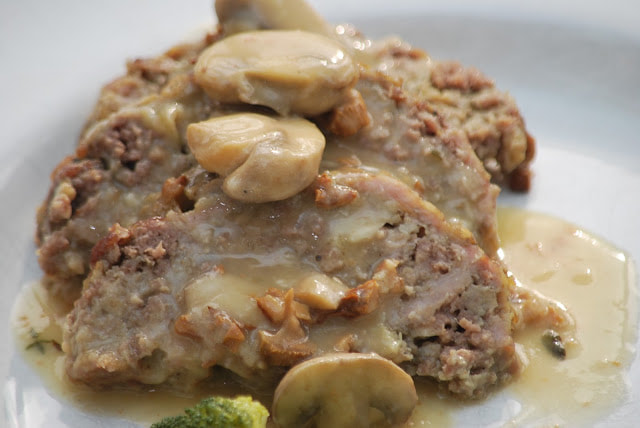 It's Fall - time to cuddle up inside with your favorite comfort food. So what's your favorite go-to Fall comfort food? Macaroni and cheese? A hearty bowl of tomato soup? Freshly baked bread? Whatever it is - I want to hear about it so send me a comment and tell me about YOUR favorite Fall comfort food. My daughter's Fall comfort food is meatloaf. (Yes, I know it's a little weird but it's always her food of choice when the weather starts to turn cooler.) A warm, hearty meatloaf is all it takes to make her a happy girl at dinnertime.  I found this recipe for Meatloaf with mushroom gravy in my Cook's Country magazine. The recipe is a little long so you'll have to stick with me but I think you will agree that it's worth the effort in the end. Everyone really appreciated this meatloaf - especially Courtney. Meatloaf with Mushroom Gravy 1 cup water 1/4 ounce porcini mushrooms (I substituted chanterelle mushrooms.) 16 square saltines (I substituted a cup of oyster crackers.) 10 ounces white mushrooms 1 Tablespoon oil 1 onion, chopped fine salt and pepper 4 garlic cloves, minced 1 pound ground pork 2 eggs 1 Tablespoon + 3/4 teaspoons Worcestershire sauce 1 pound 85% lean ground beef 3/4 teaspoon fresh thyme 1/4 cup flour 2 1/2 cups chicken broth
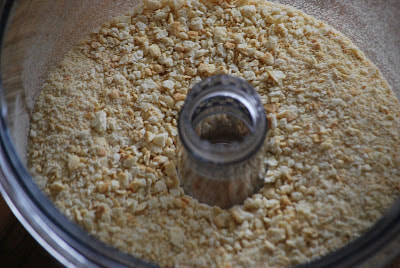
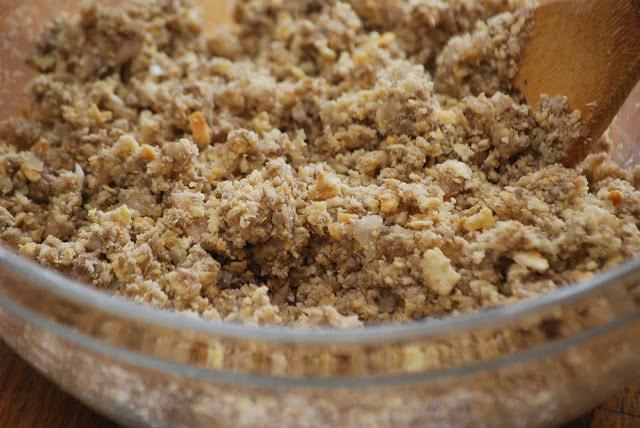
Process crackers in food processor until finely ground. Transfer to a large bowl.
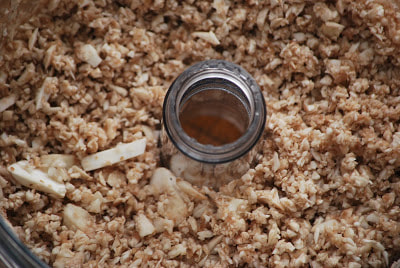
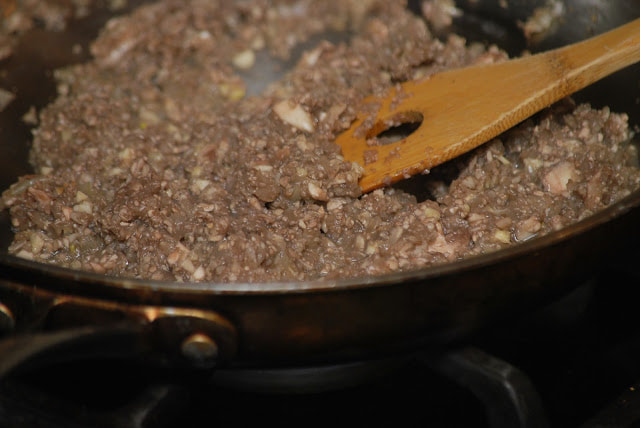
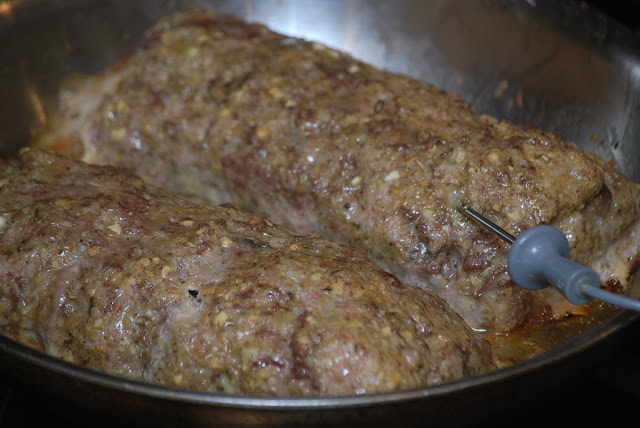
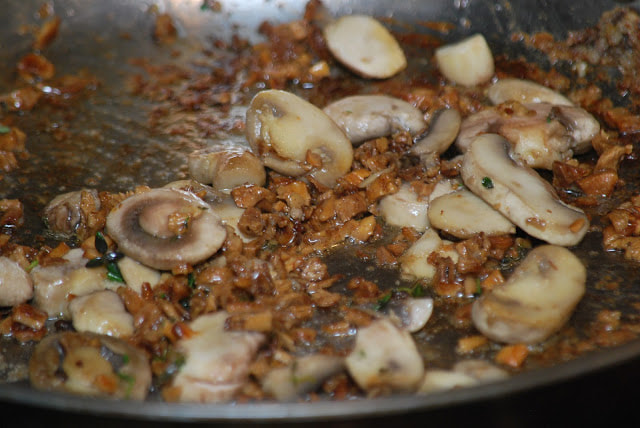
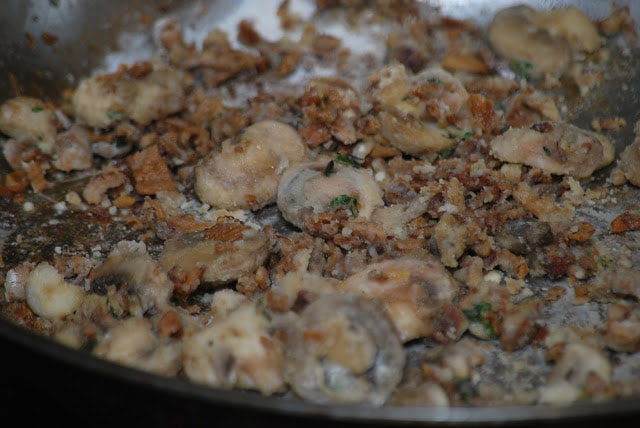
Slice remaining mushrooms. Discard solids in skillet and reserve 2 Tablespoons fat. (If no fat remains, use butter instead.) Add white mushrooms and porcini mushrooms to skillet and cook until deep golden brown. (6-8 minutes) Stir in thyme and 1/4 teaspoon salt. Cook 30 seconds.
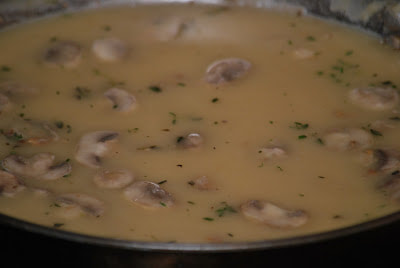
Reduce heat and simmer 10-15 minutes. Season with salt and pepper.
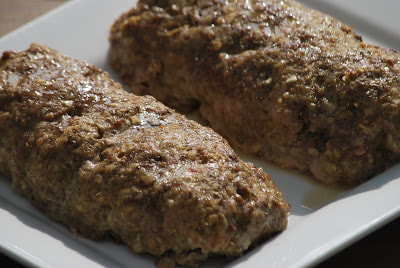
Slice meatloaf and serve with mushroom gravy. 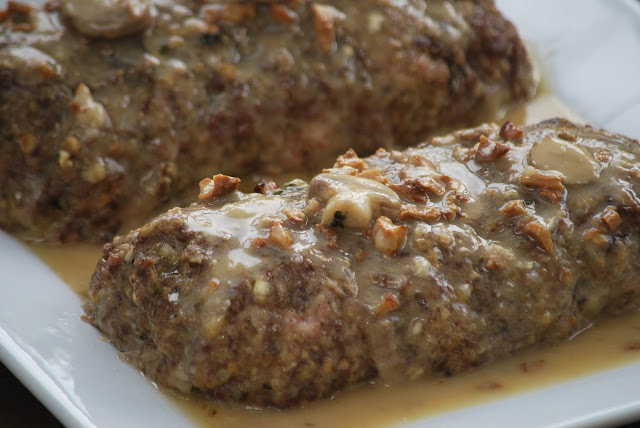 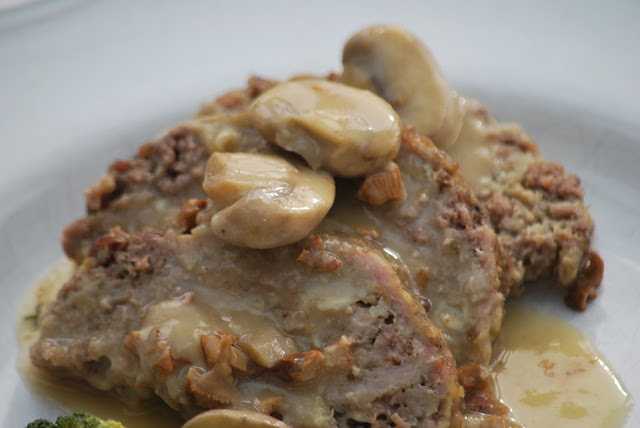 This meatloaf takes a little extra time to prepare but I think it's worth it. It's hearty and flavorful and satisfying. It's definitely worth a try.
Ciao! 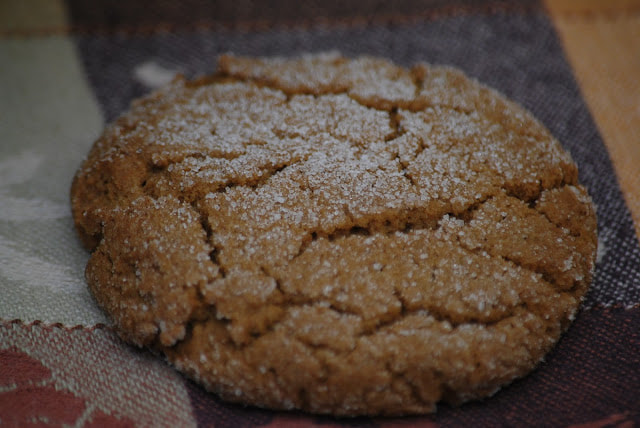 What happens when 4 Davis' all find themselves home on a Sunday afternoon with no plans? We go for a hike. Ben scoped out a 7 mile hike for us at Panther Creek few weeks ago so we packed up some snacks, some sandwiches and the dog and headed north to Clarkville, Georgia. It was a beautiful day for a hike.
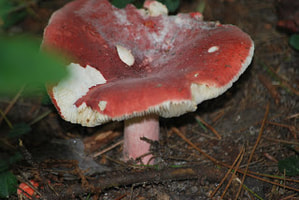
The trail followed the creek for the entire 3 1/2 miles.
Our hike ended at the most beautiful waterfall, tucked away deep in the national forest.
We spent about an hour at the base of the waterfall - enjoying the water, eating some snacks and resting up for the return hike.
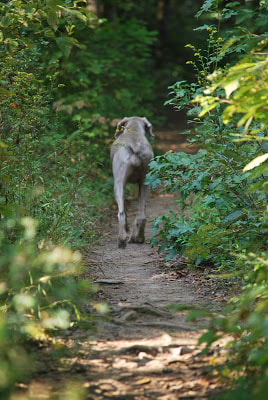
Mia's pace slowed ever so slightly on the hike out of the forest but she still kept us moving along at a pretty good clip.
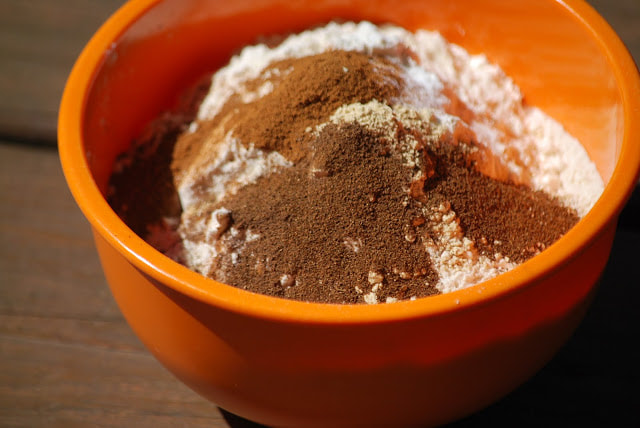
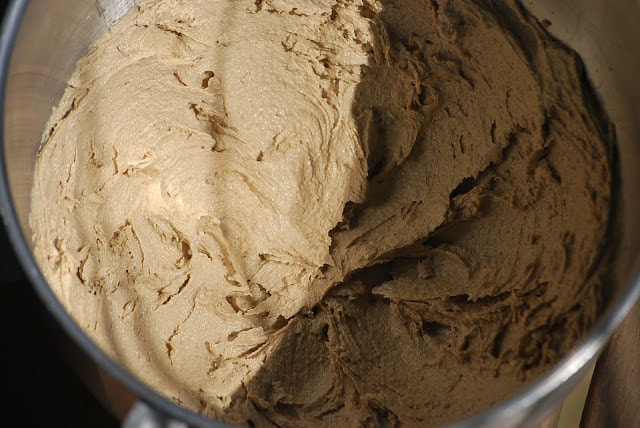
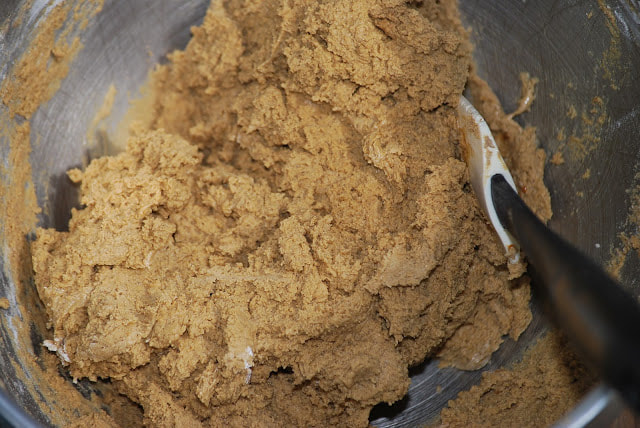
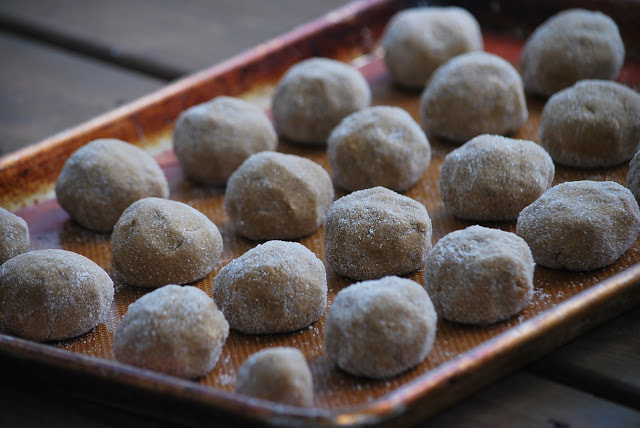
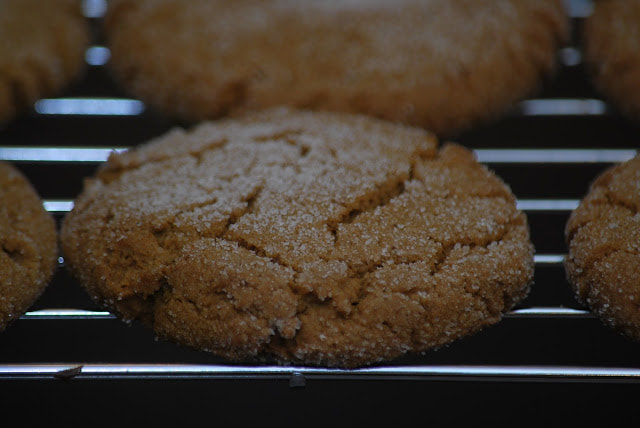
It was a great hike - I highly recommend it for any of my fellow Georgia residents. Want to know what was in those packs that the boys carried on our hike? A lot of food and water, a tent, sleeping bags and various other essentials - just in case we got stranded out in the forest. (It's a good think at least some of us were prepared.) Among other snacks, we took along some ginger molasses cookies - the perfect sweet, energy boost that we needed halfway through our hike. 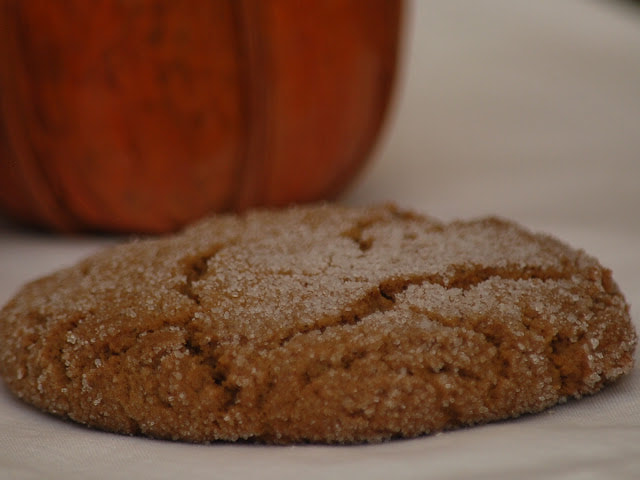 Ginger Molasses Cookies 2 1/4 cups flour 2 teaspoons baking soda 1/4 teaspoon salt 1 teaspoon ground cinnamon 1 teaspoon ground ginger 1/2 teaspoon allspice 1/2 teaspoon ground cloves 3/4 cup unsalted butter, softened 1 cup dark brown sugar 1 extra-large egg 1/4 cup regular unsulphured molasses granulated sugar (for coating cookie dough before baking)
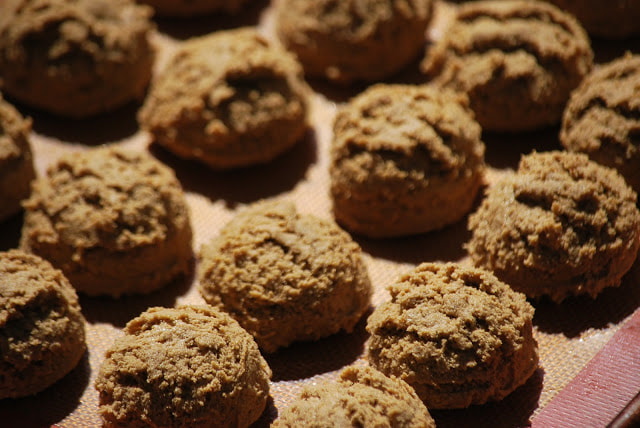
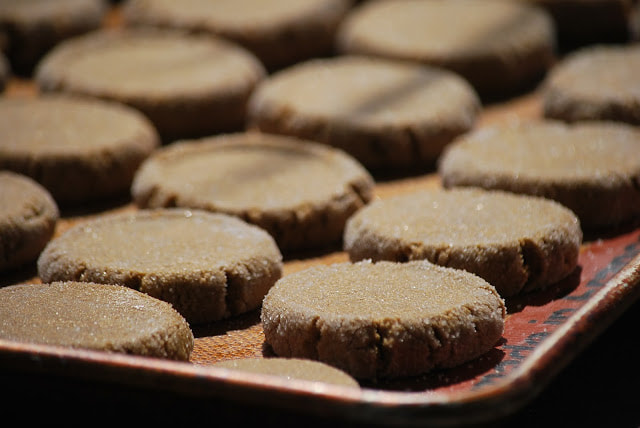
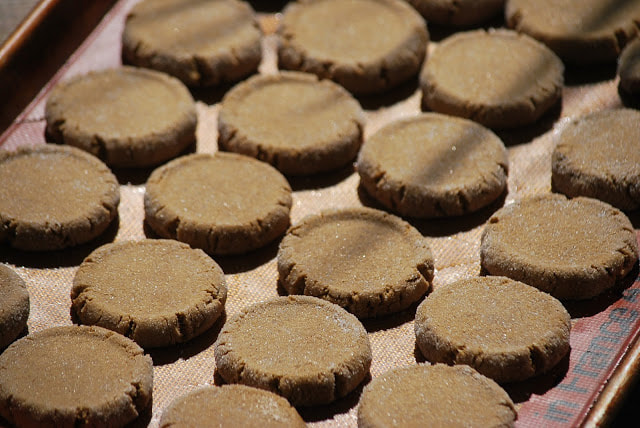
Dampen your fingers with water and press down lightly on each cookie to flatten it a little and dampen the top. Refrigerate one filled baking sheet while the other bakes.
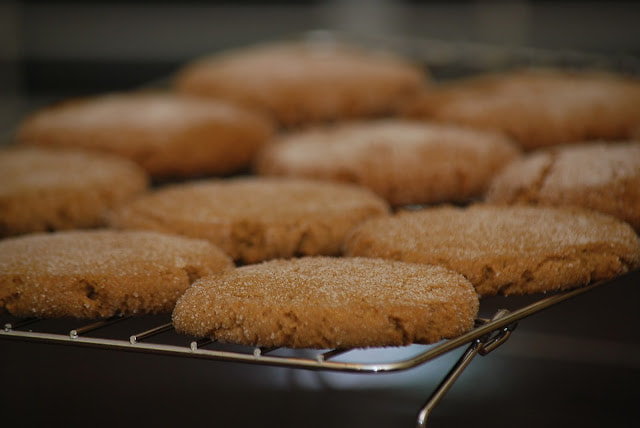
Bake for 12 minutes, or until the cookies have spread and are firm to the touch. Rotate the sheet 180 degrees halfway through the baking time. Remove from the oven and let the cookies cool on a wire rack.
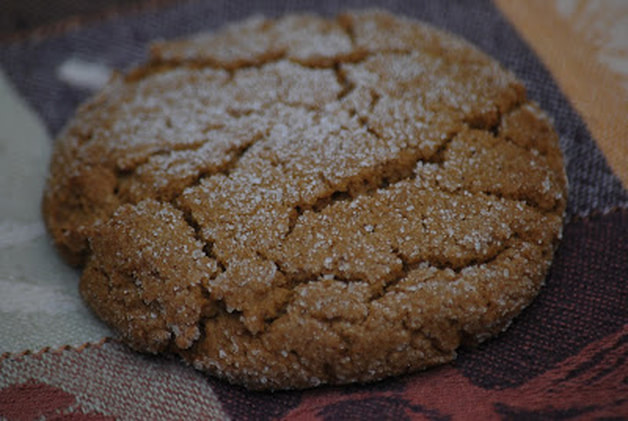 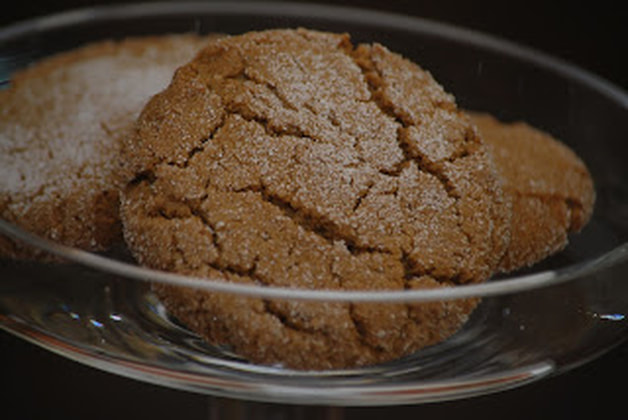 Maybe not your typical trail food but delicious none the less. Happy Saturday - make it a great one.
Ciao! |